Duddly01
-
Posts
1,048 -
Joined
-
Last visited
Content Type
Profiles
Forums
Events
Gallery
Everything posted by Duddly01
-

1950 Chevy 3100 Pickup WIP
Duddly01 replied to Duddly01's topic in WIP: Model Trucks: Pickups, Vans, SUVs, Light Commercial
Thank you! Thank You! -
1950 Chevy 3100 Pickup WIP
Duddly01 replied to Duddly01's topic in WIP: Model Trucks: Pickups, Vans, SUVs, Light Commercial
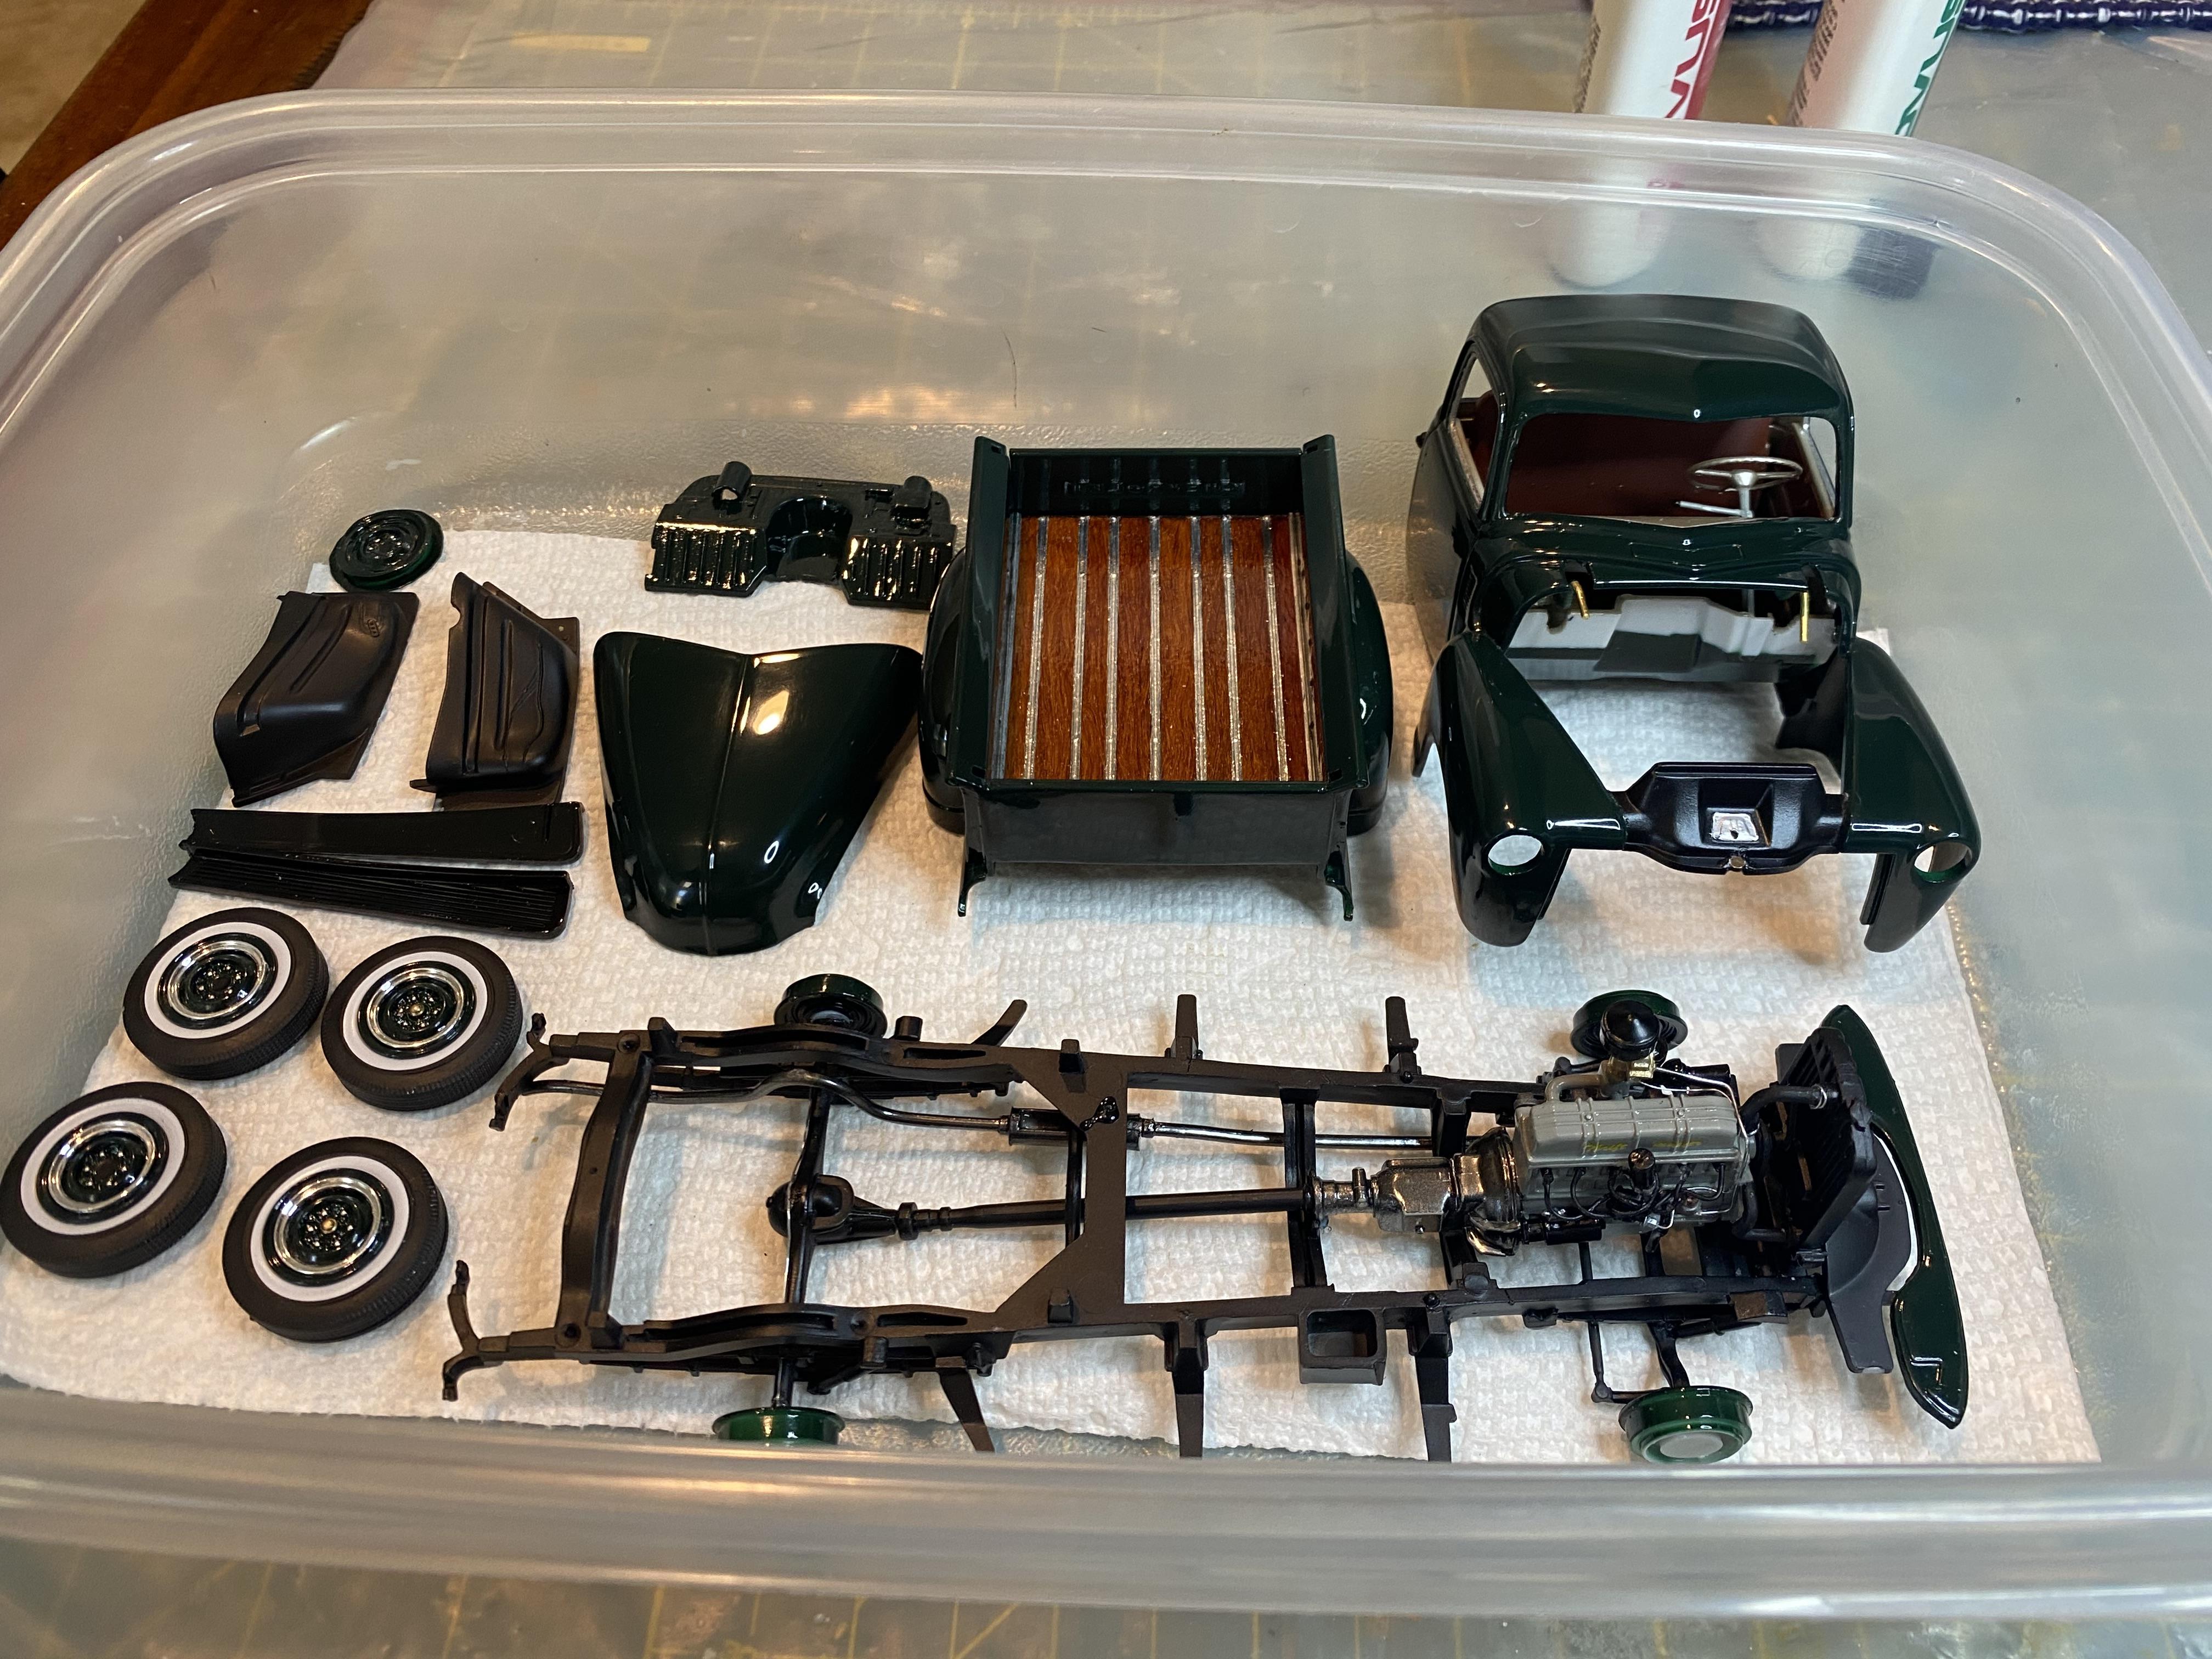
Now time for assembly and final detailing!
-
1950 Chevy 3100 Pickup WIP
Duddly01 replied to Duddly01's topic in WIP: Model Trucks: Pickups, Vans, SUVs, Light Commercial
Thank you! -
1950 Chevy 3100 Pickup WIP
Duddly01 replied to Duddly01's topic in WIP: Model Trucks: Pickups, Vans, SUVs, Light Commercial
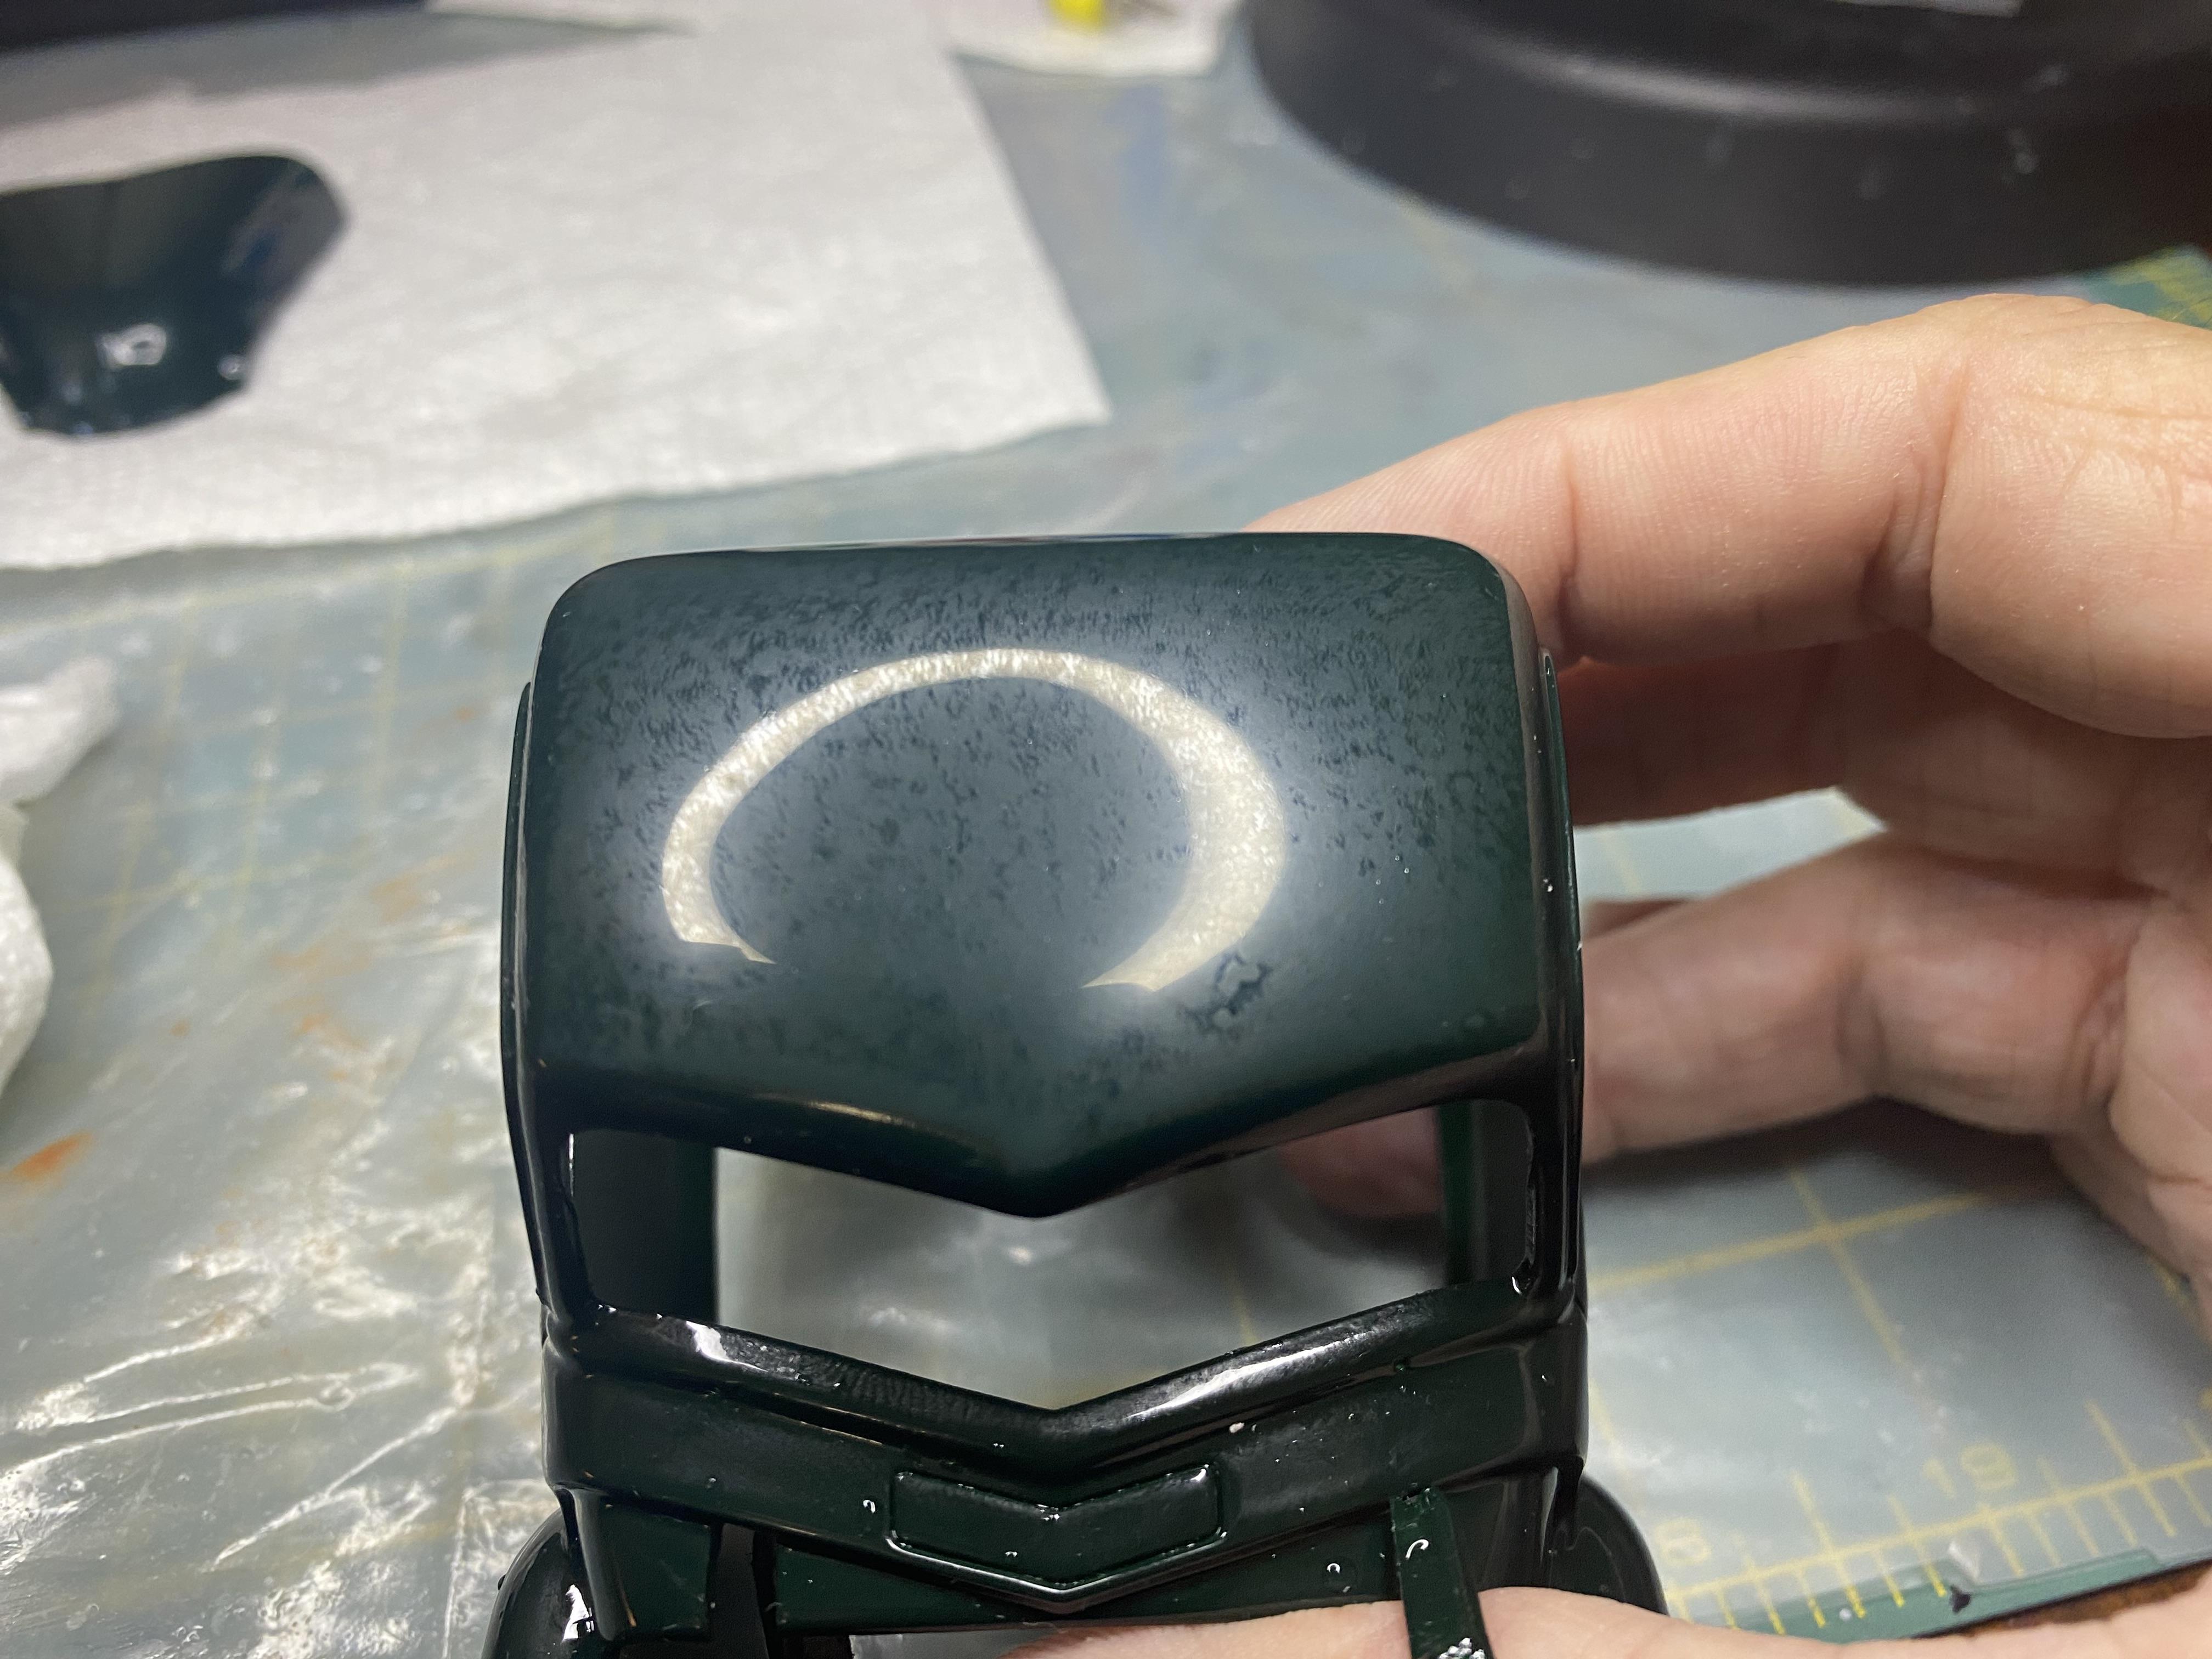
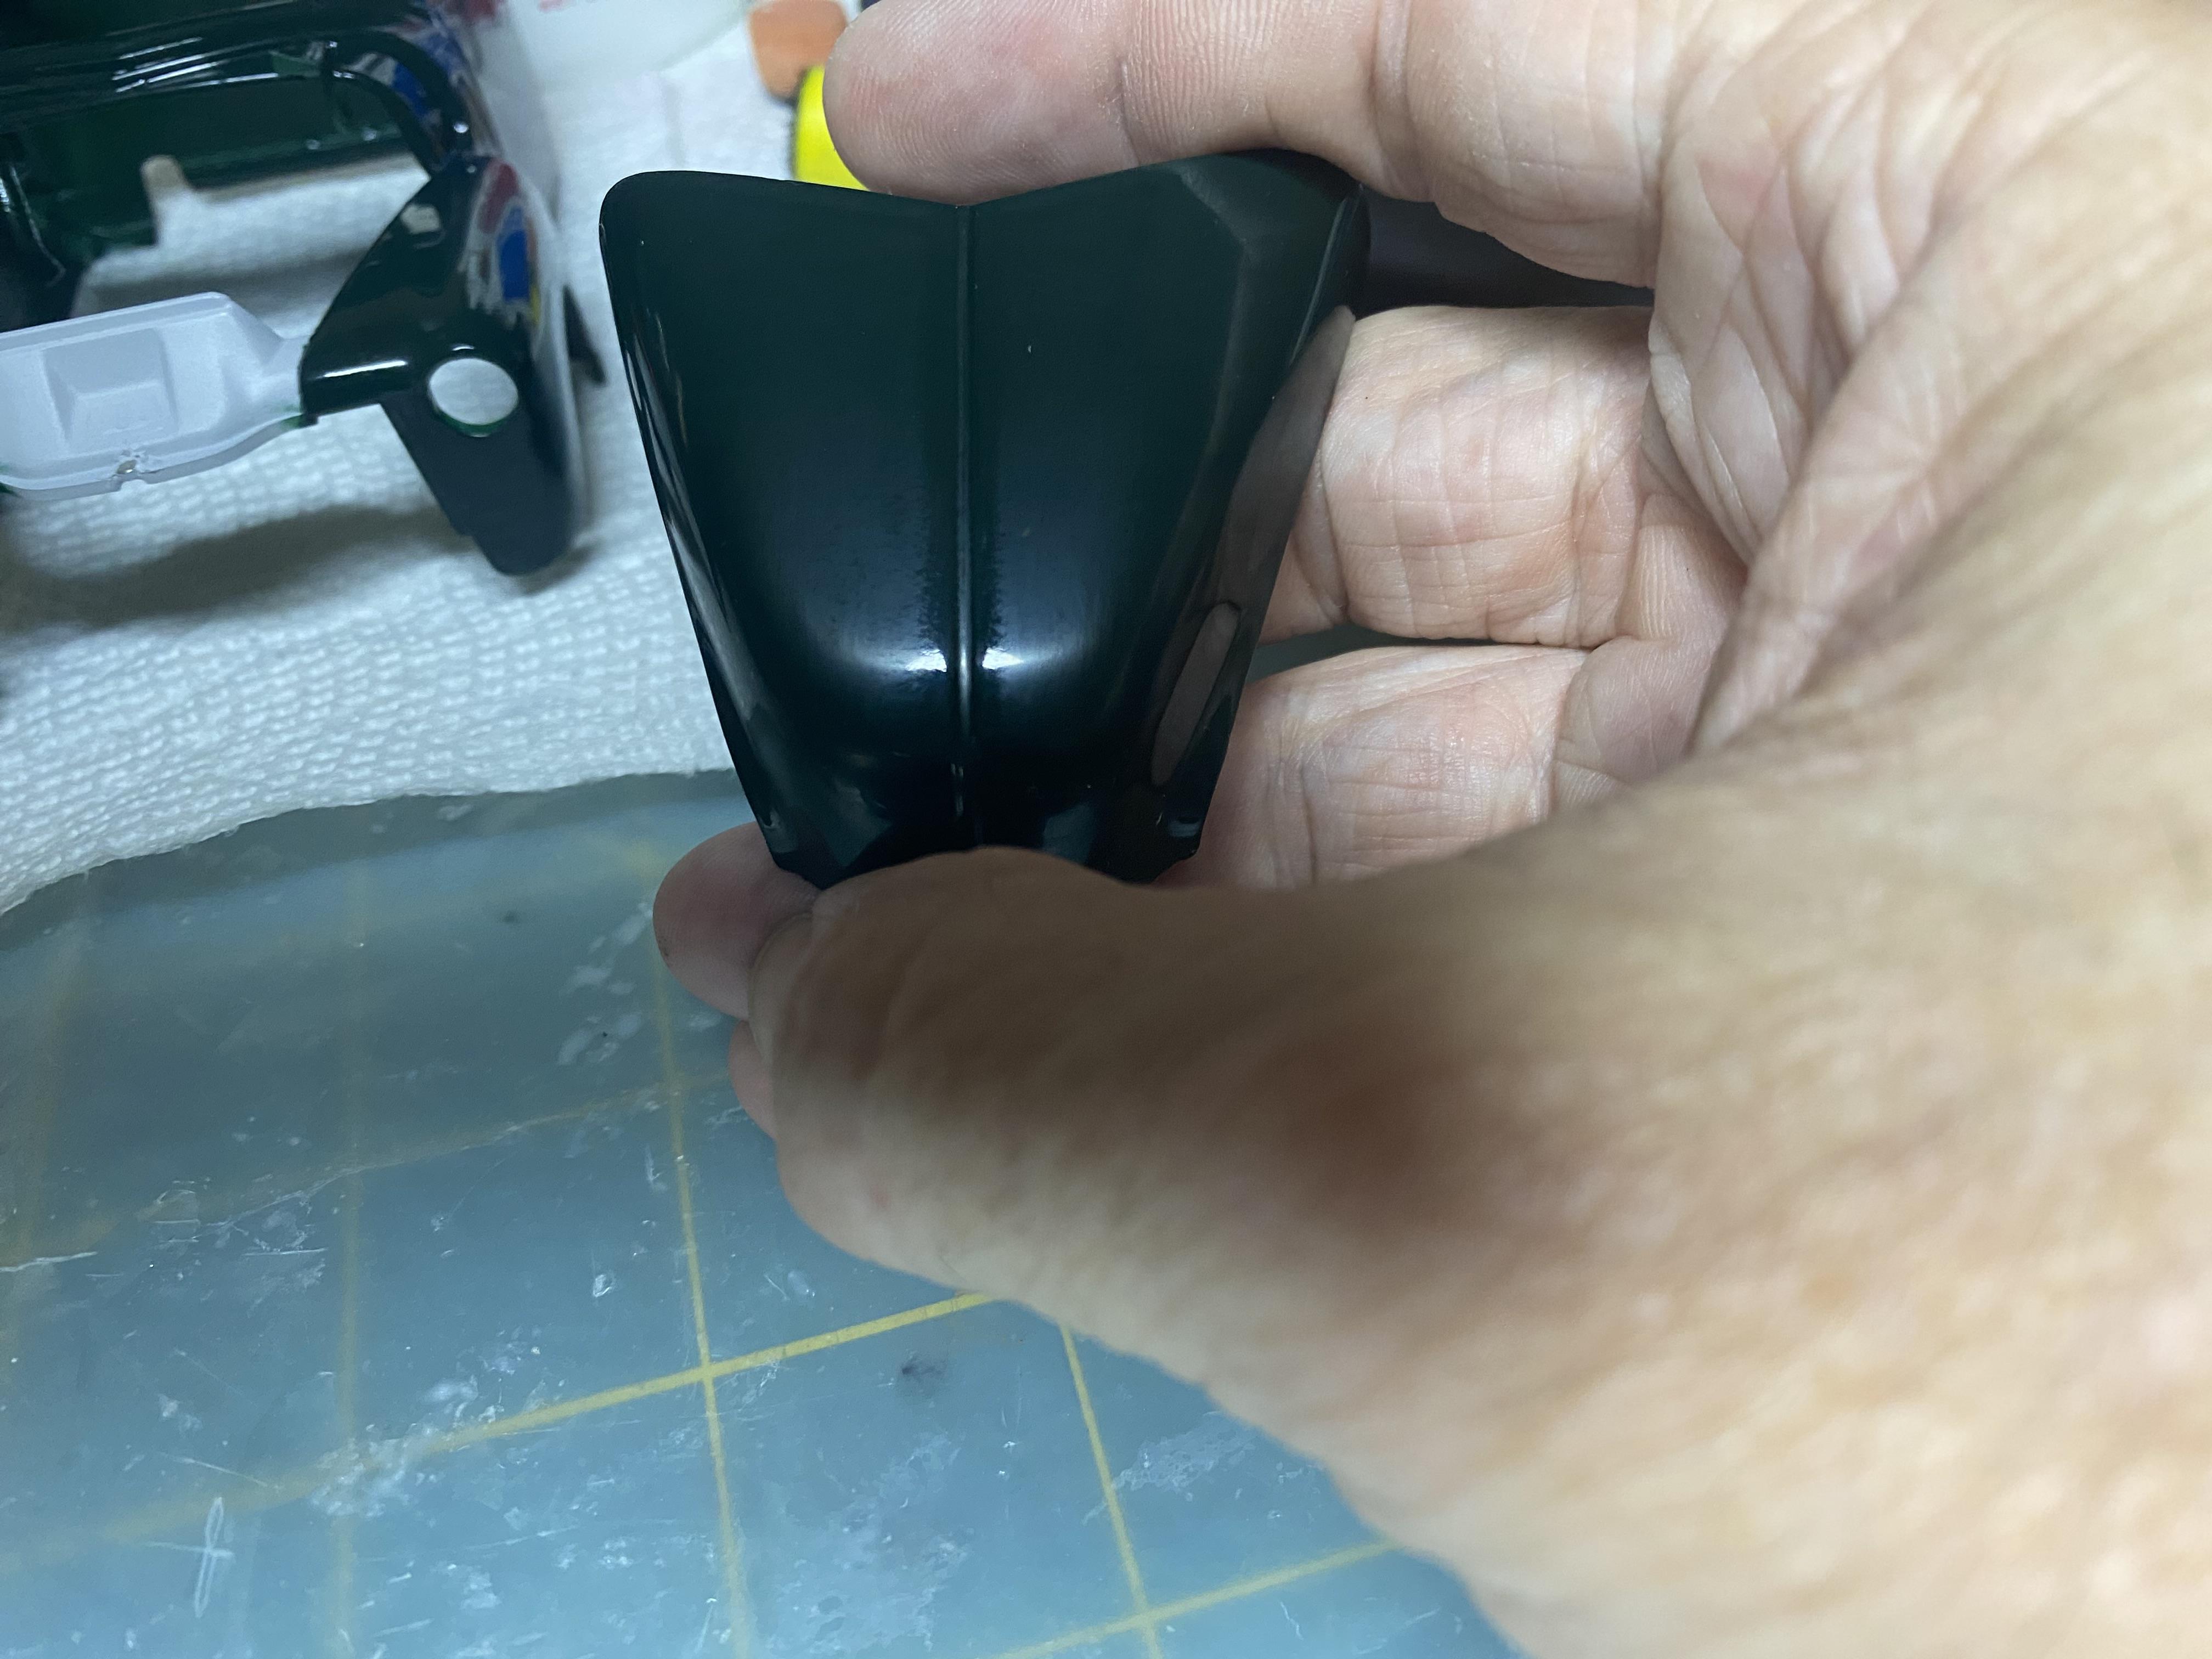
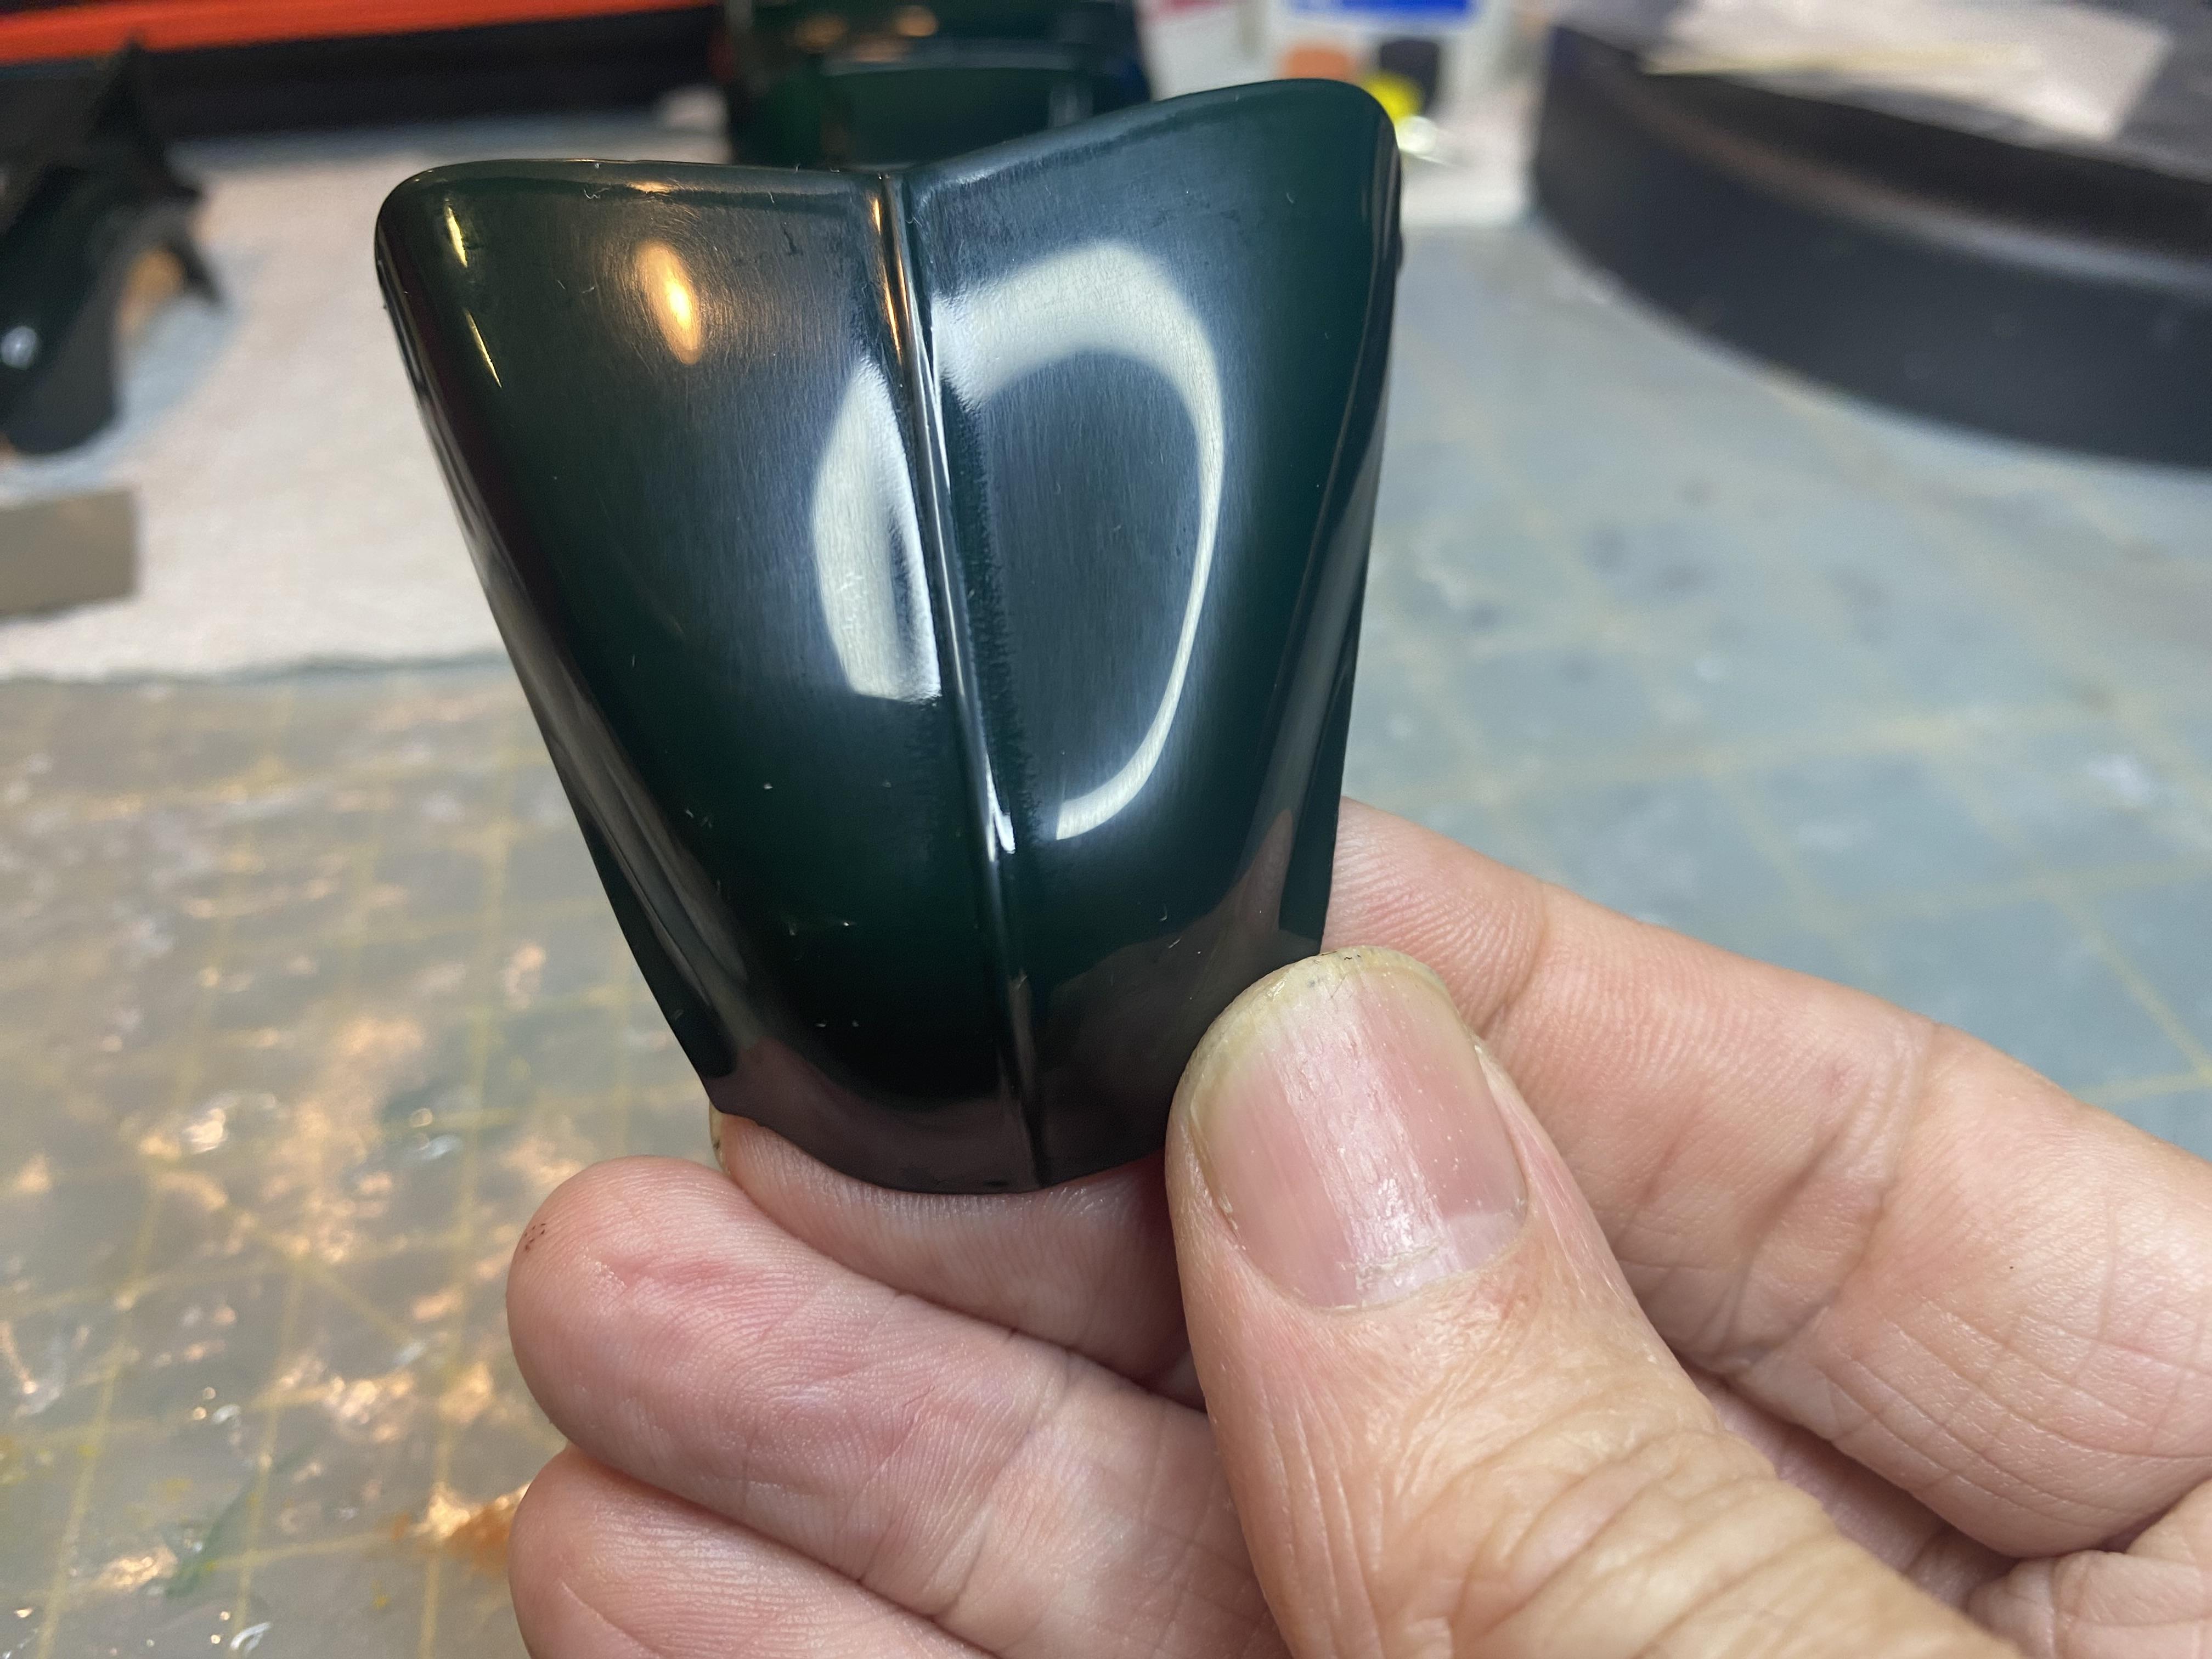
Thanks, I started with a little Novus 2 for a bit this morning. I think it is going to come out pretty well when I am done polishing. Definitely going to be more on the over restored look than factory paint. -
1950 Chevy 3100 Pickup WIP
Duddly01 replied to Duddly01's topic in WIP: Model Trucks: Pickups, Vans, SUVs, Light Commercial
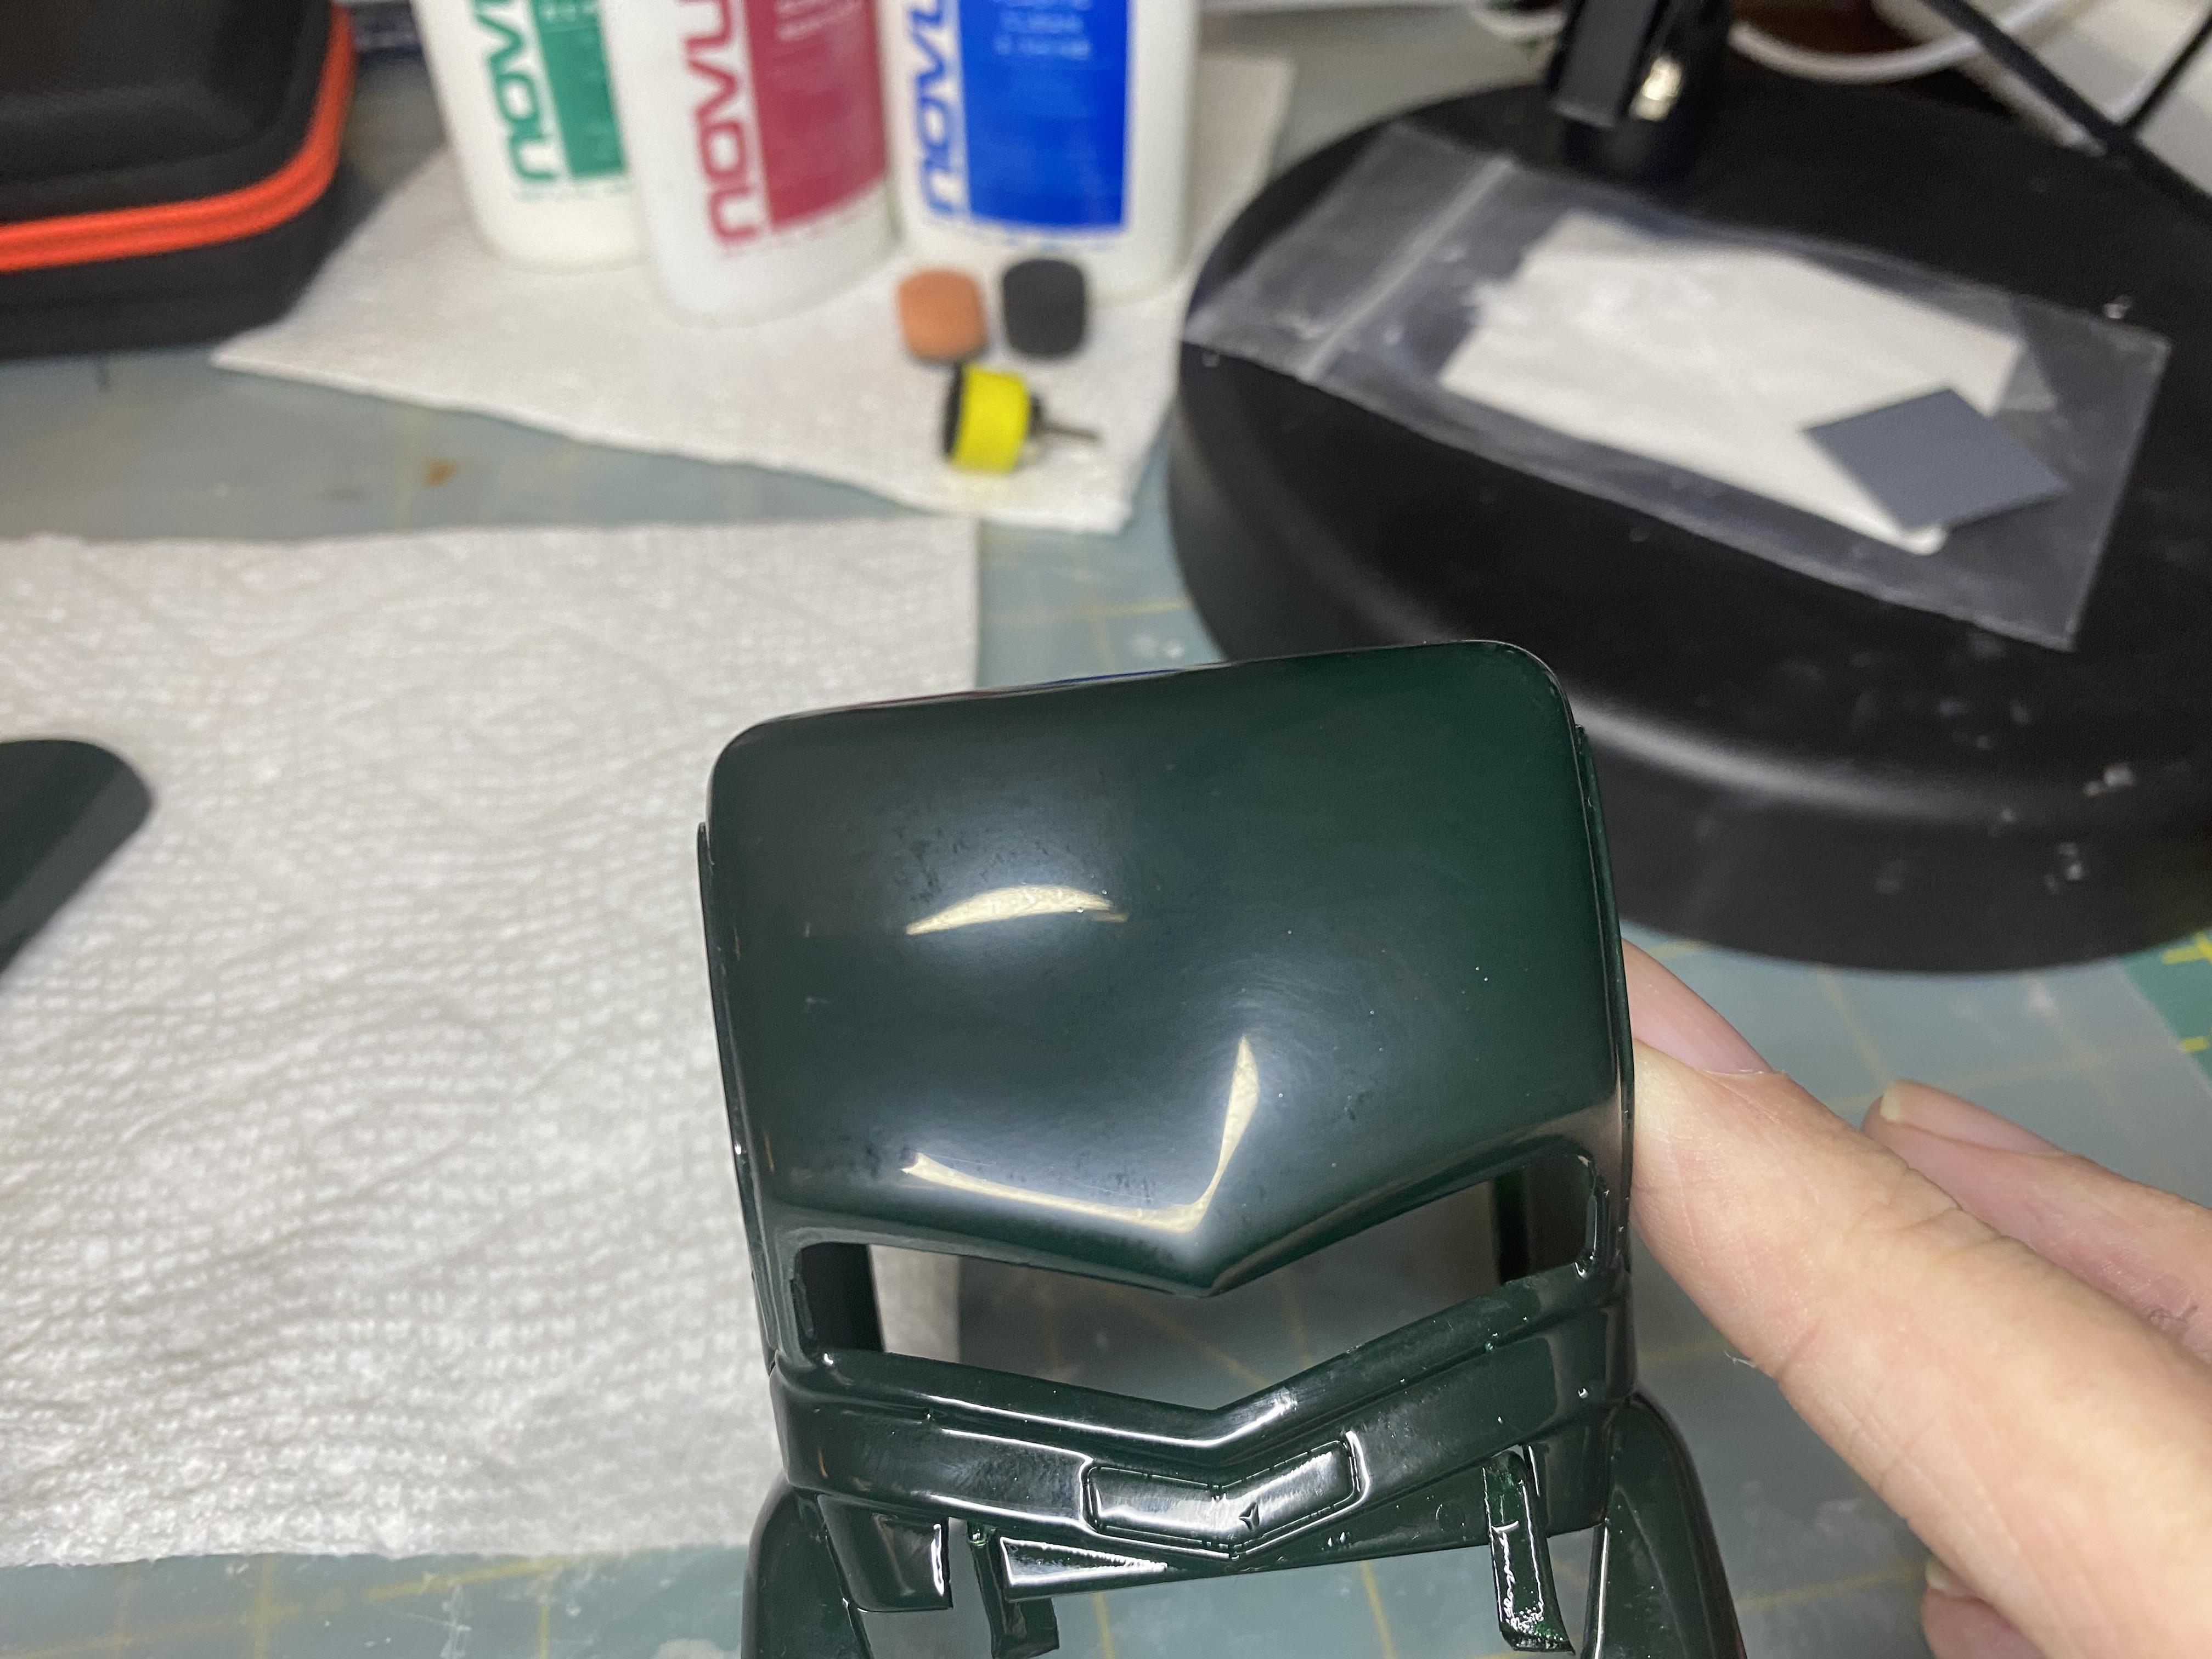
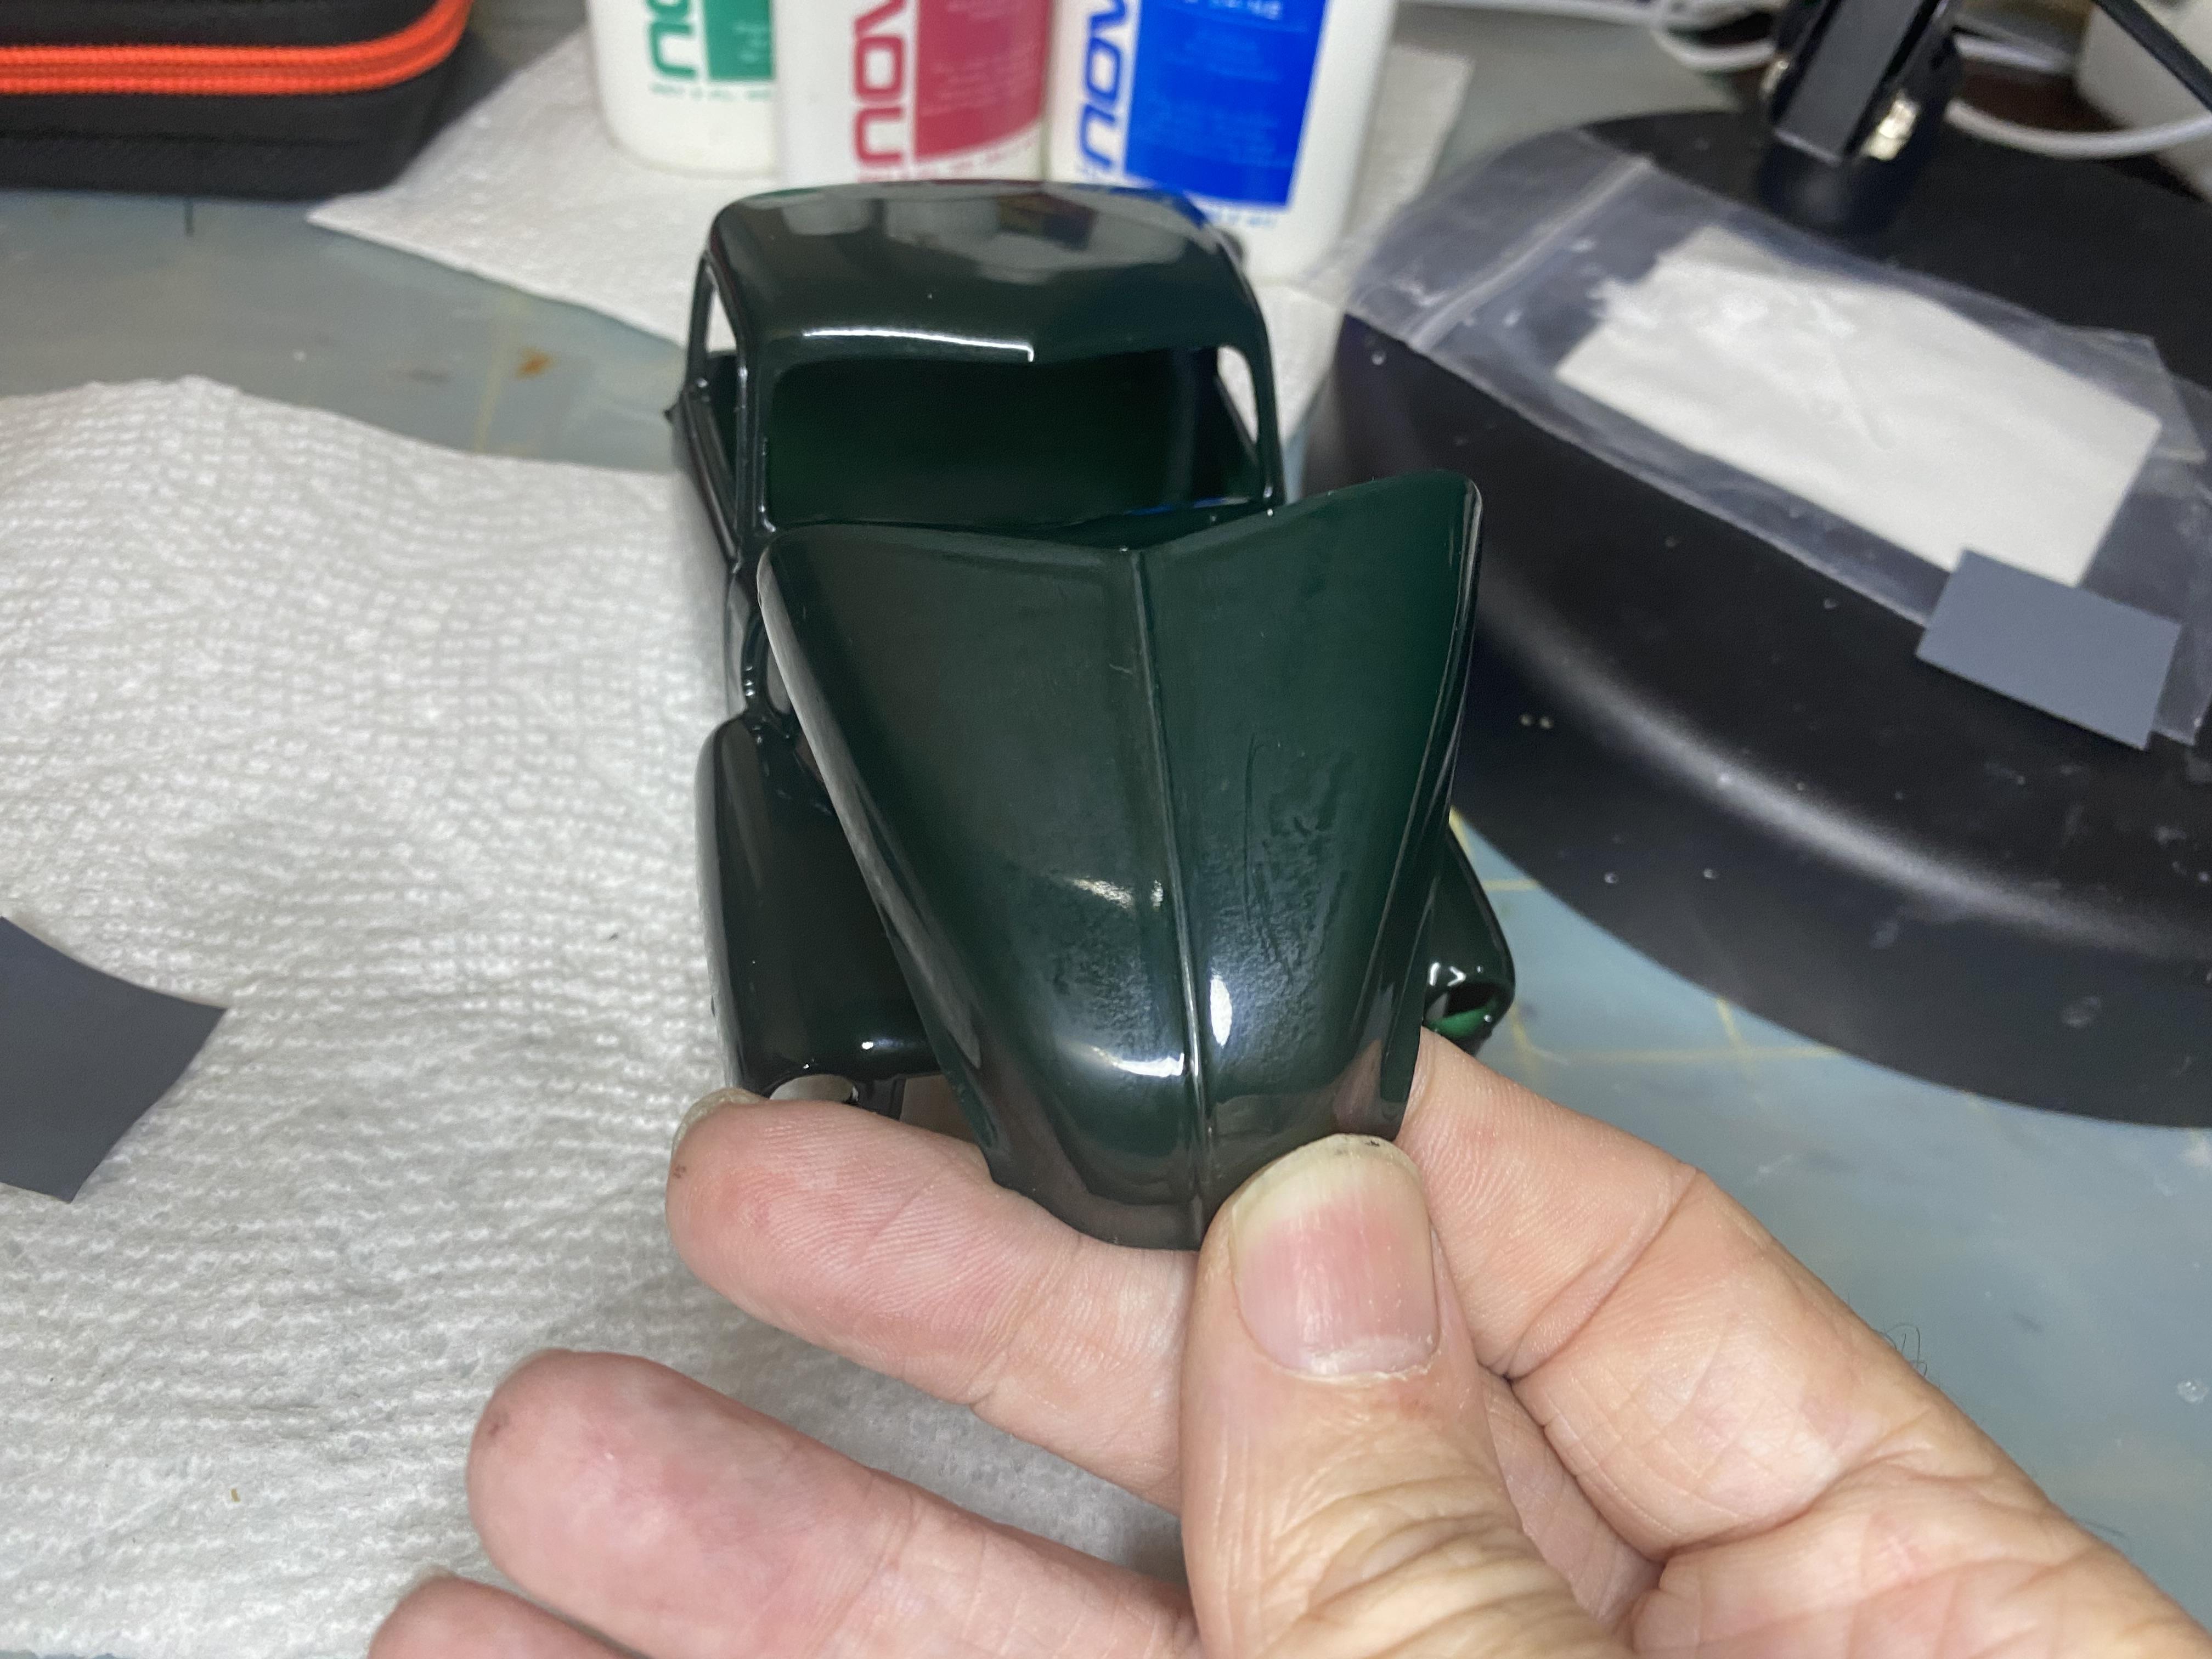
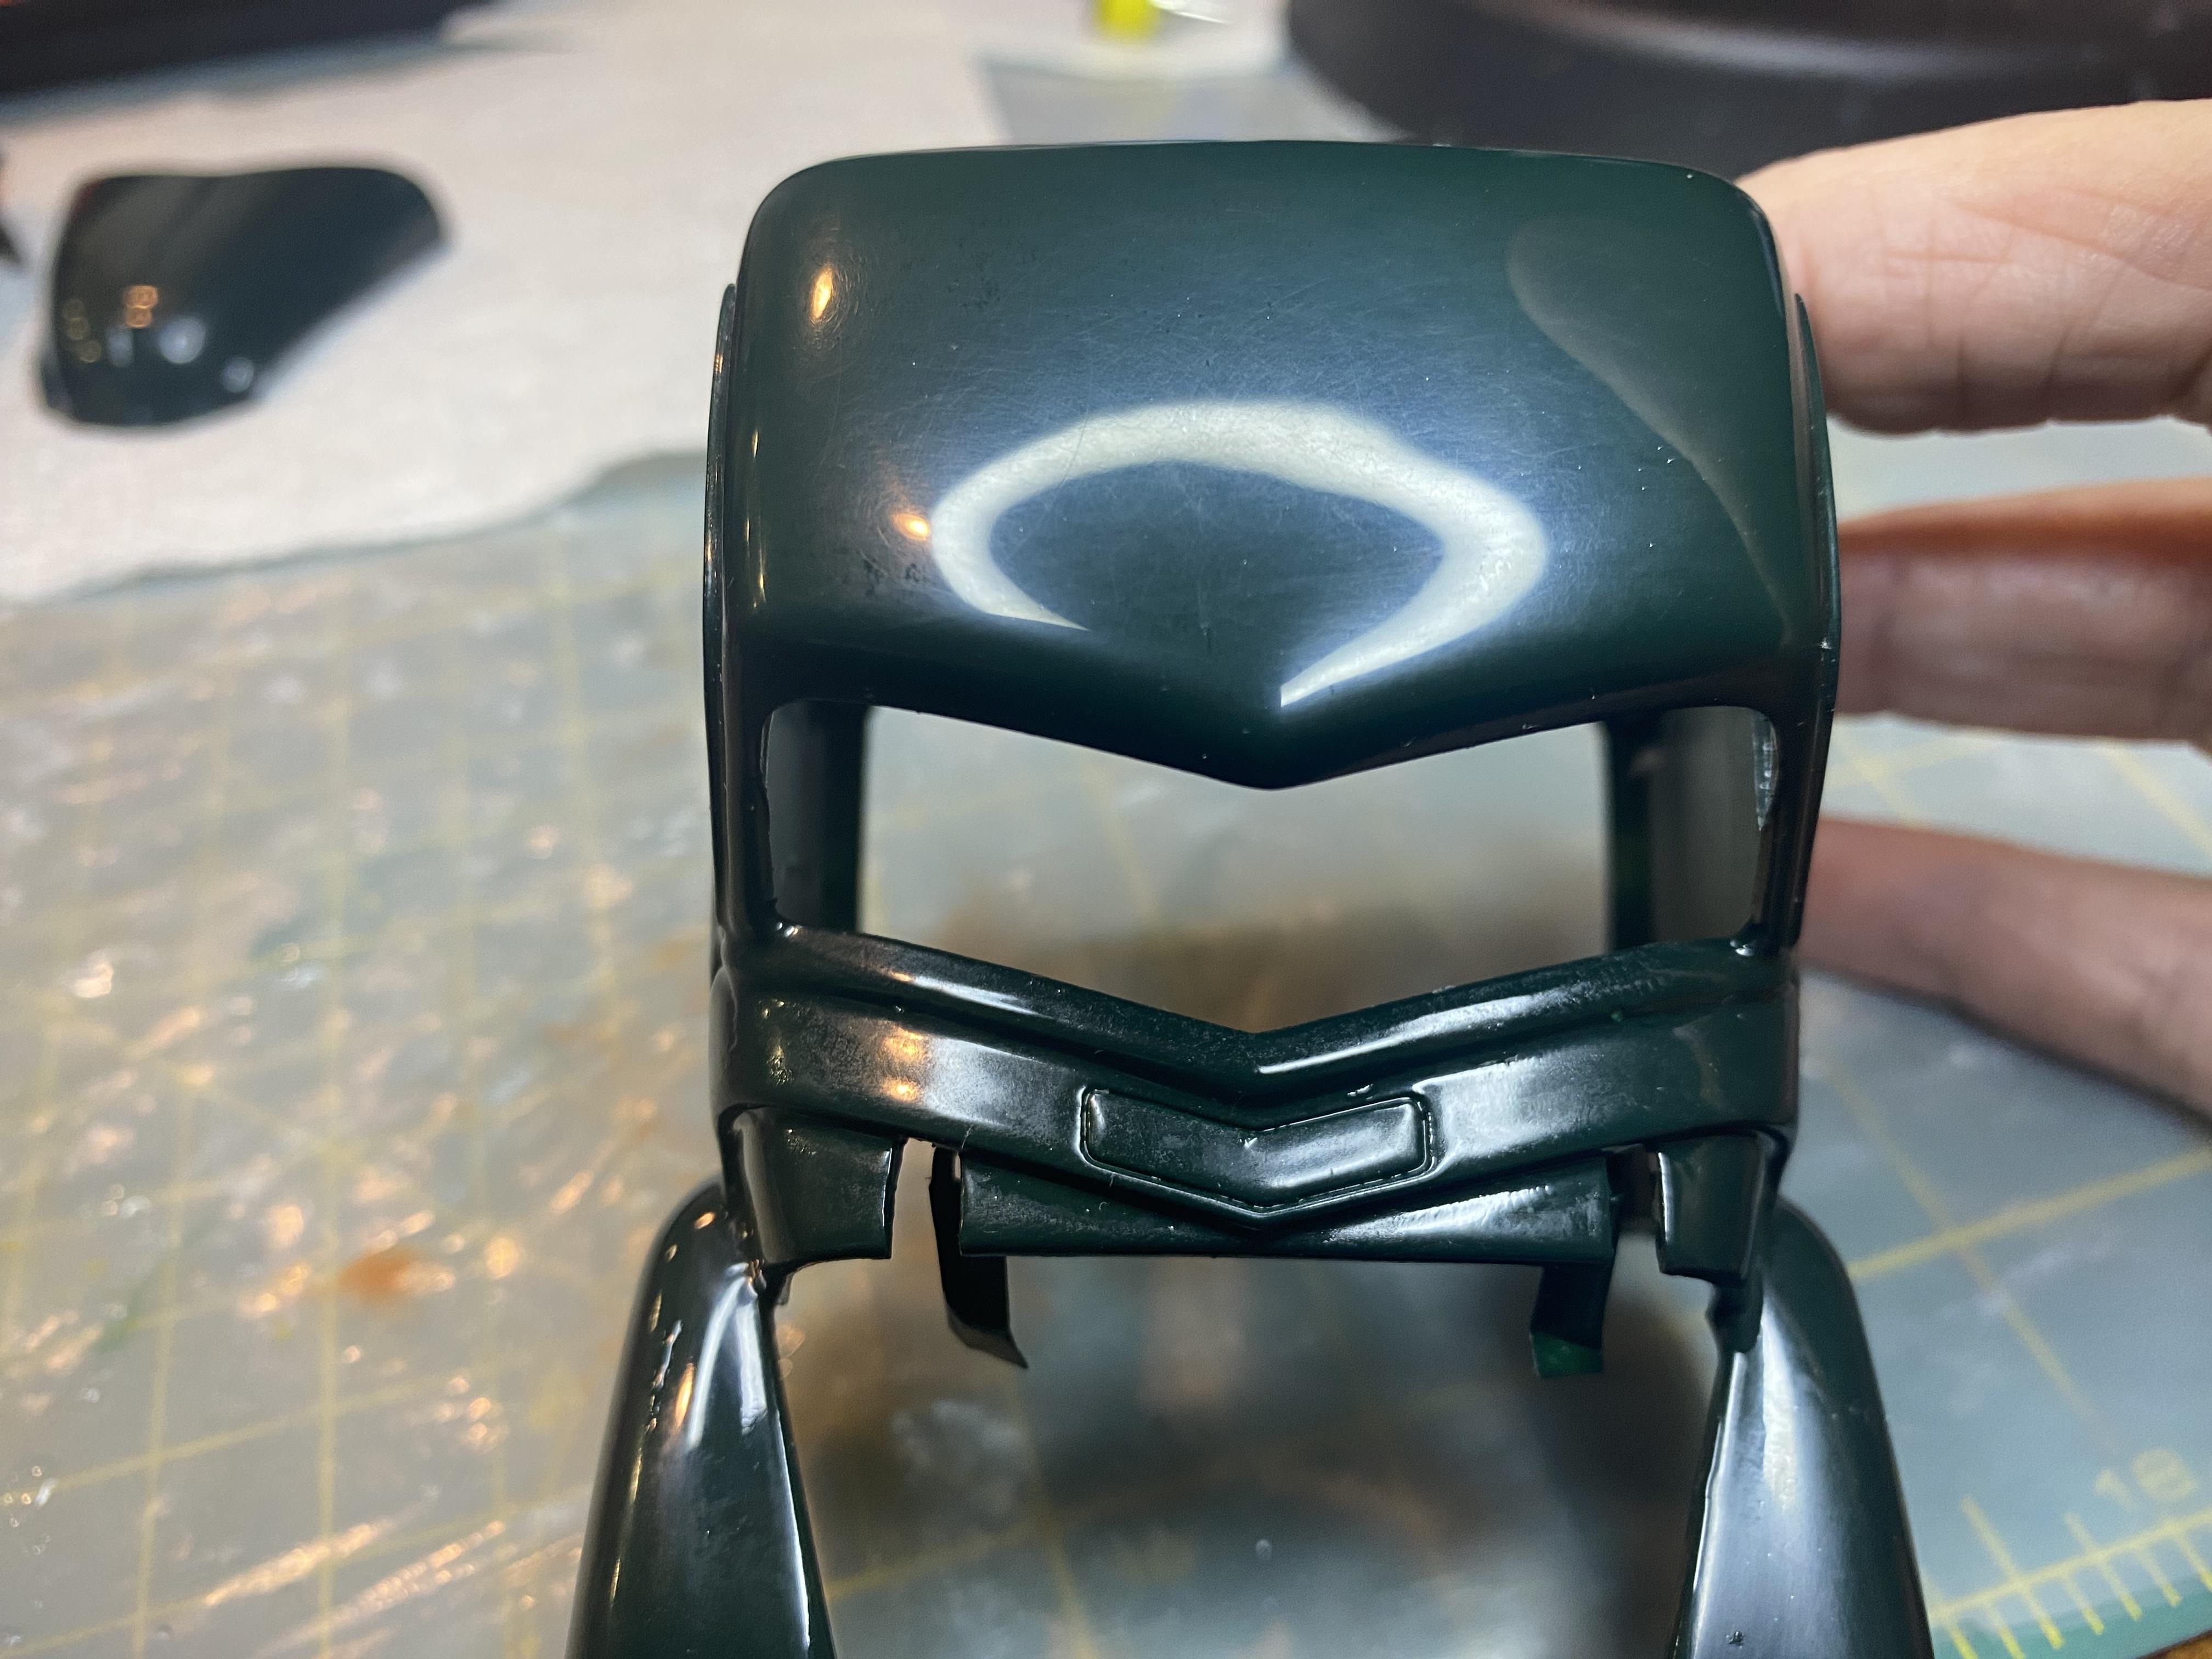
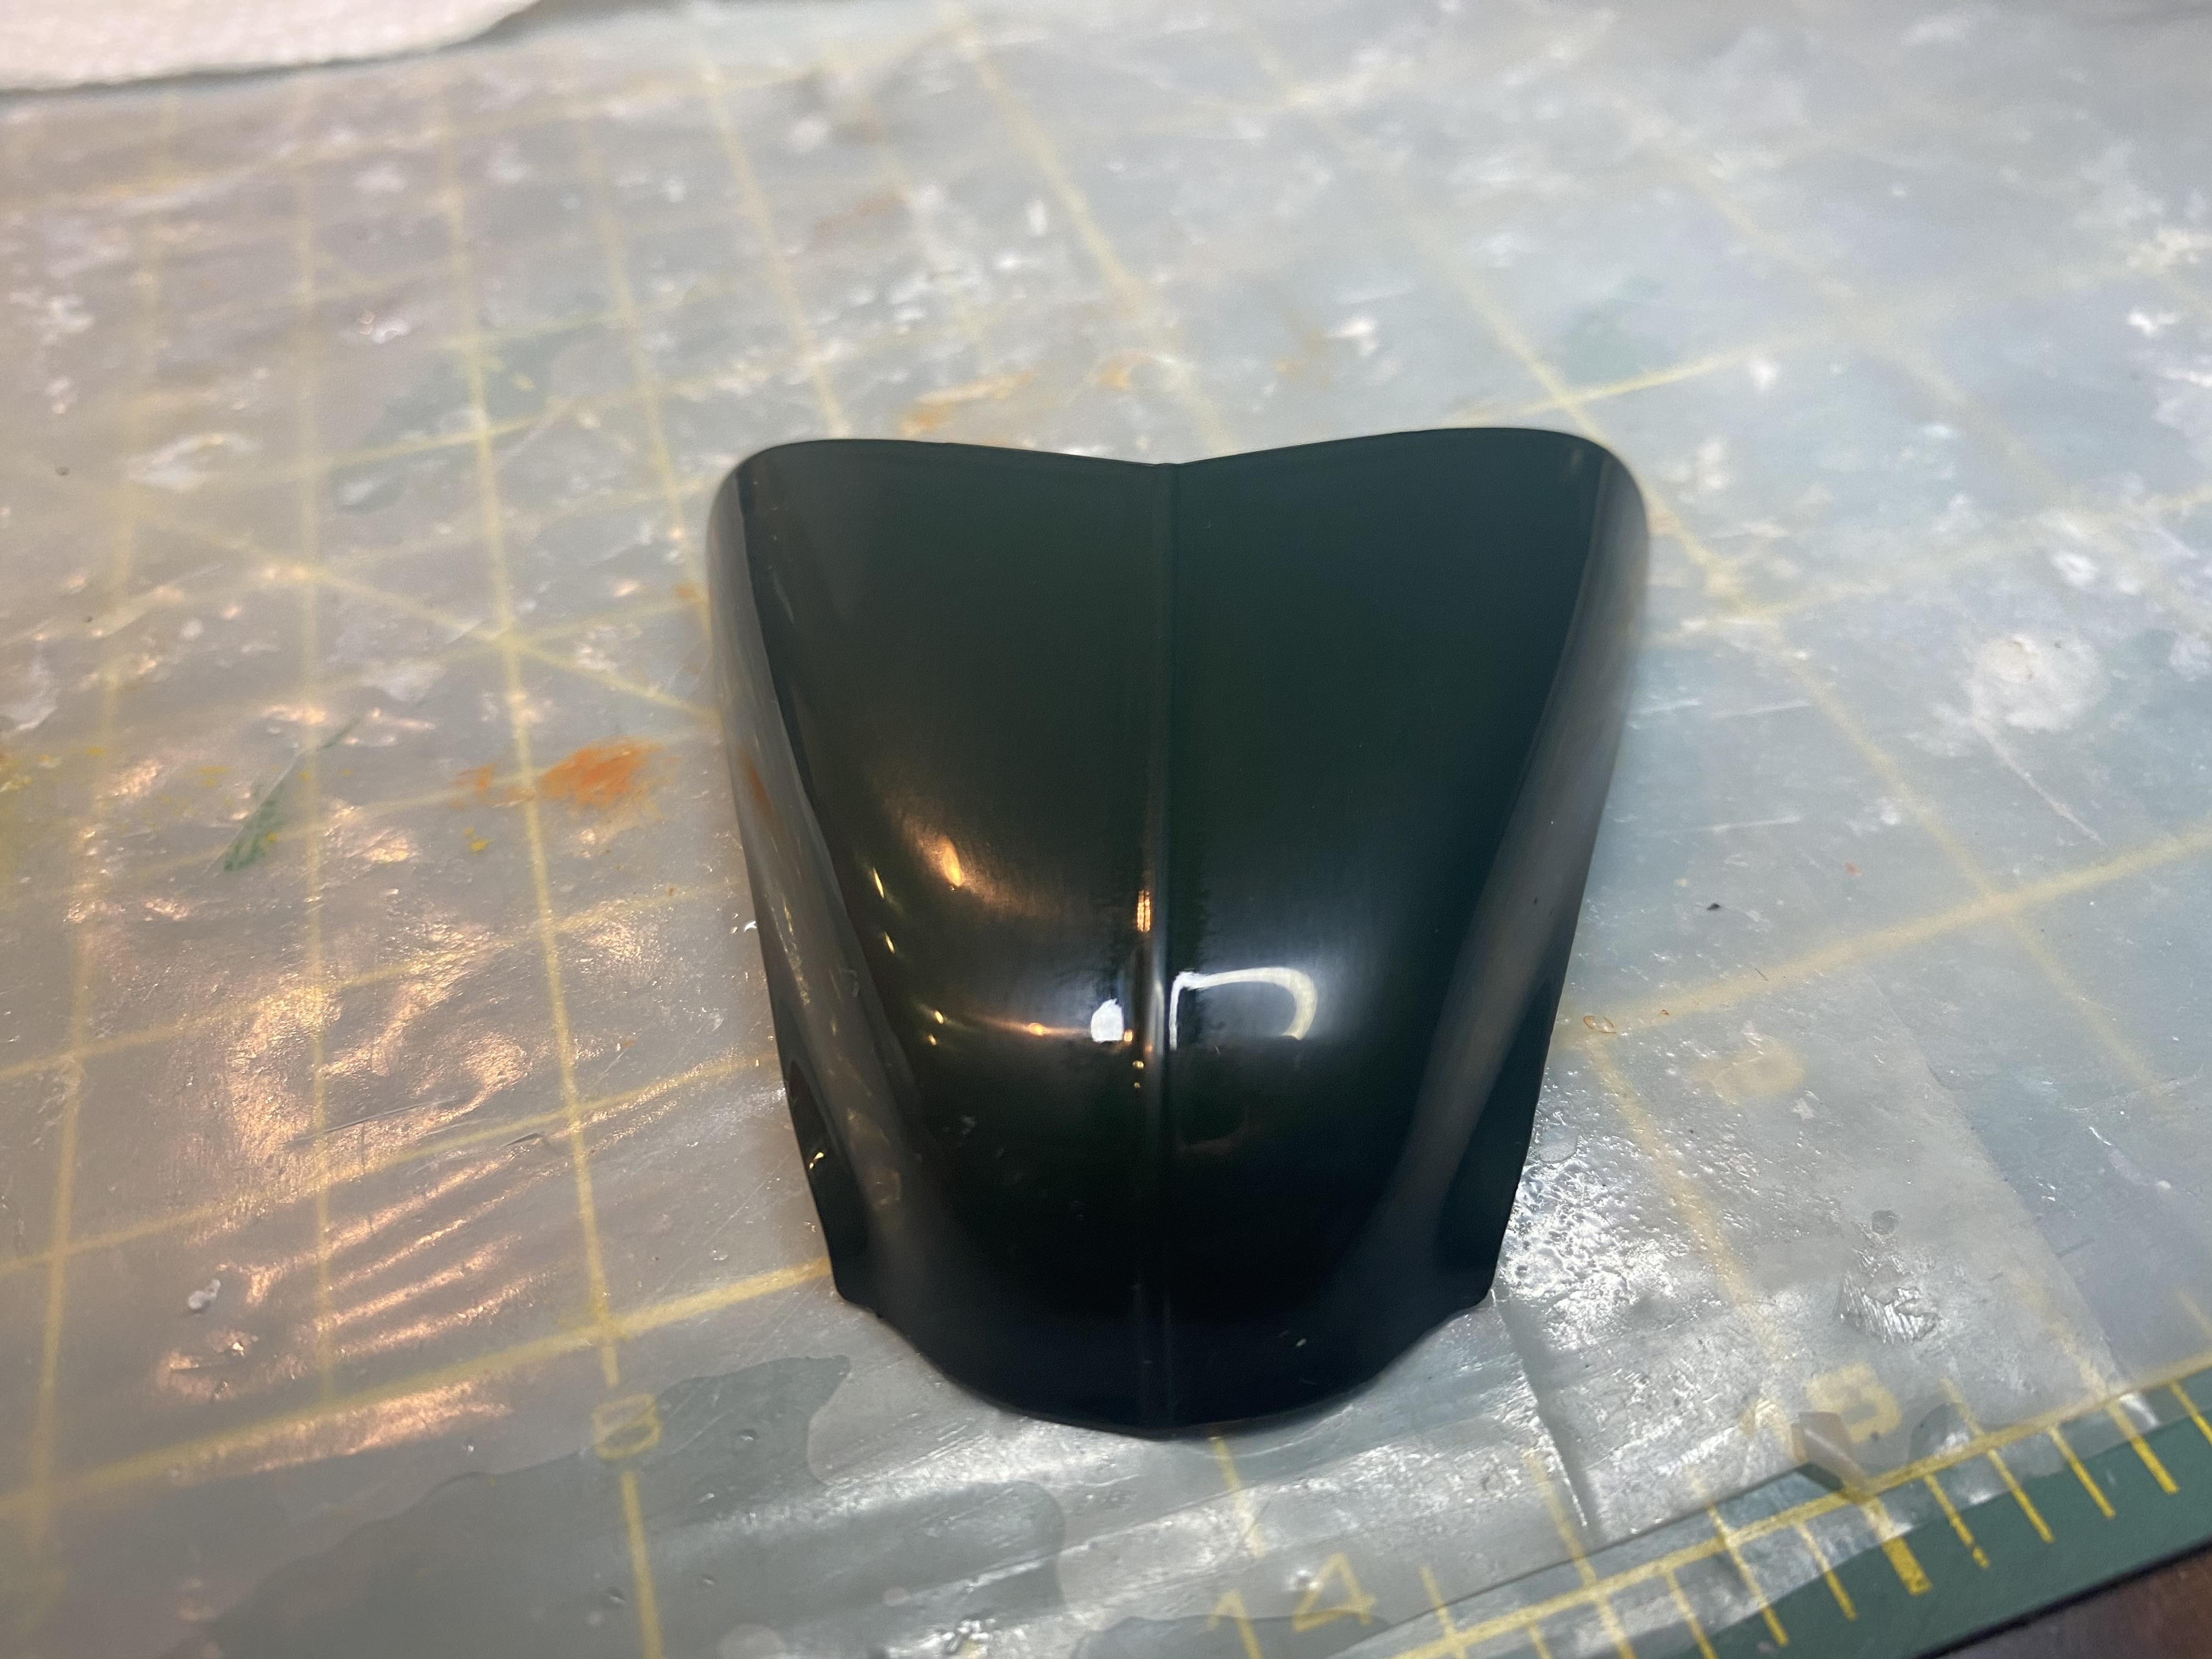
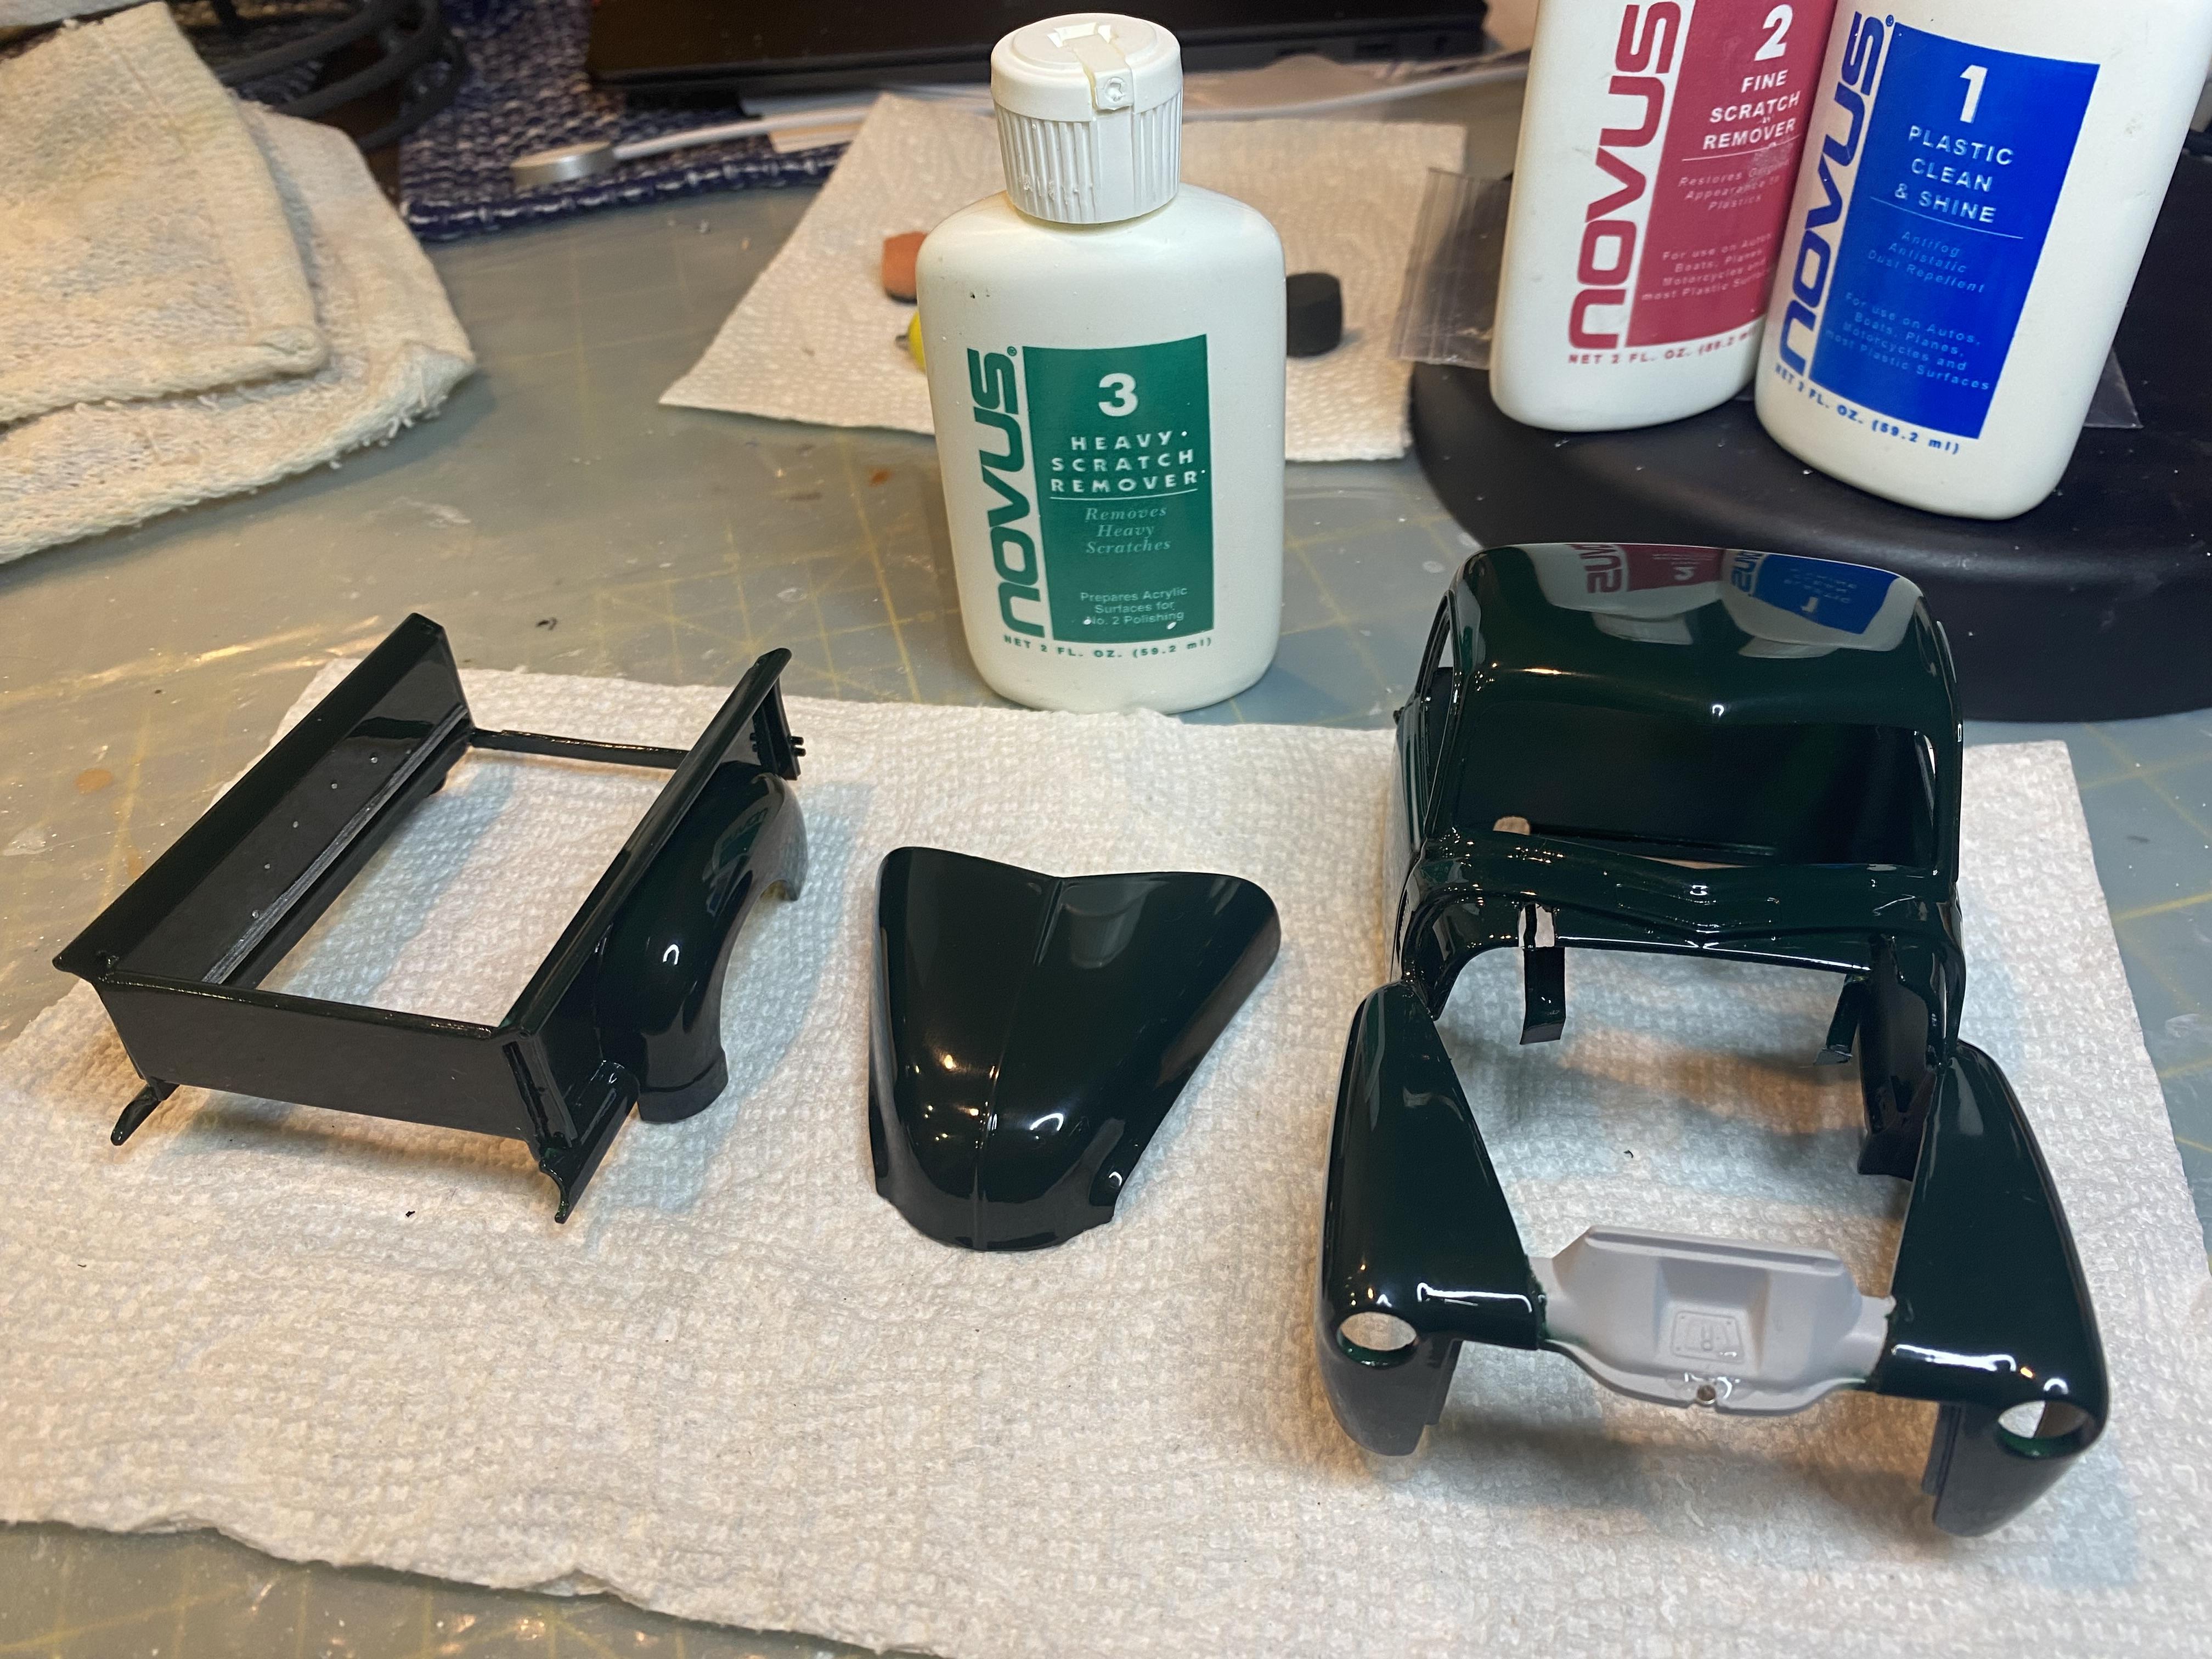
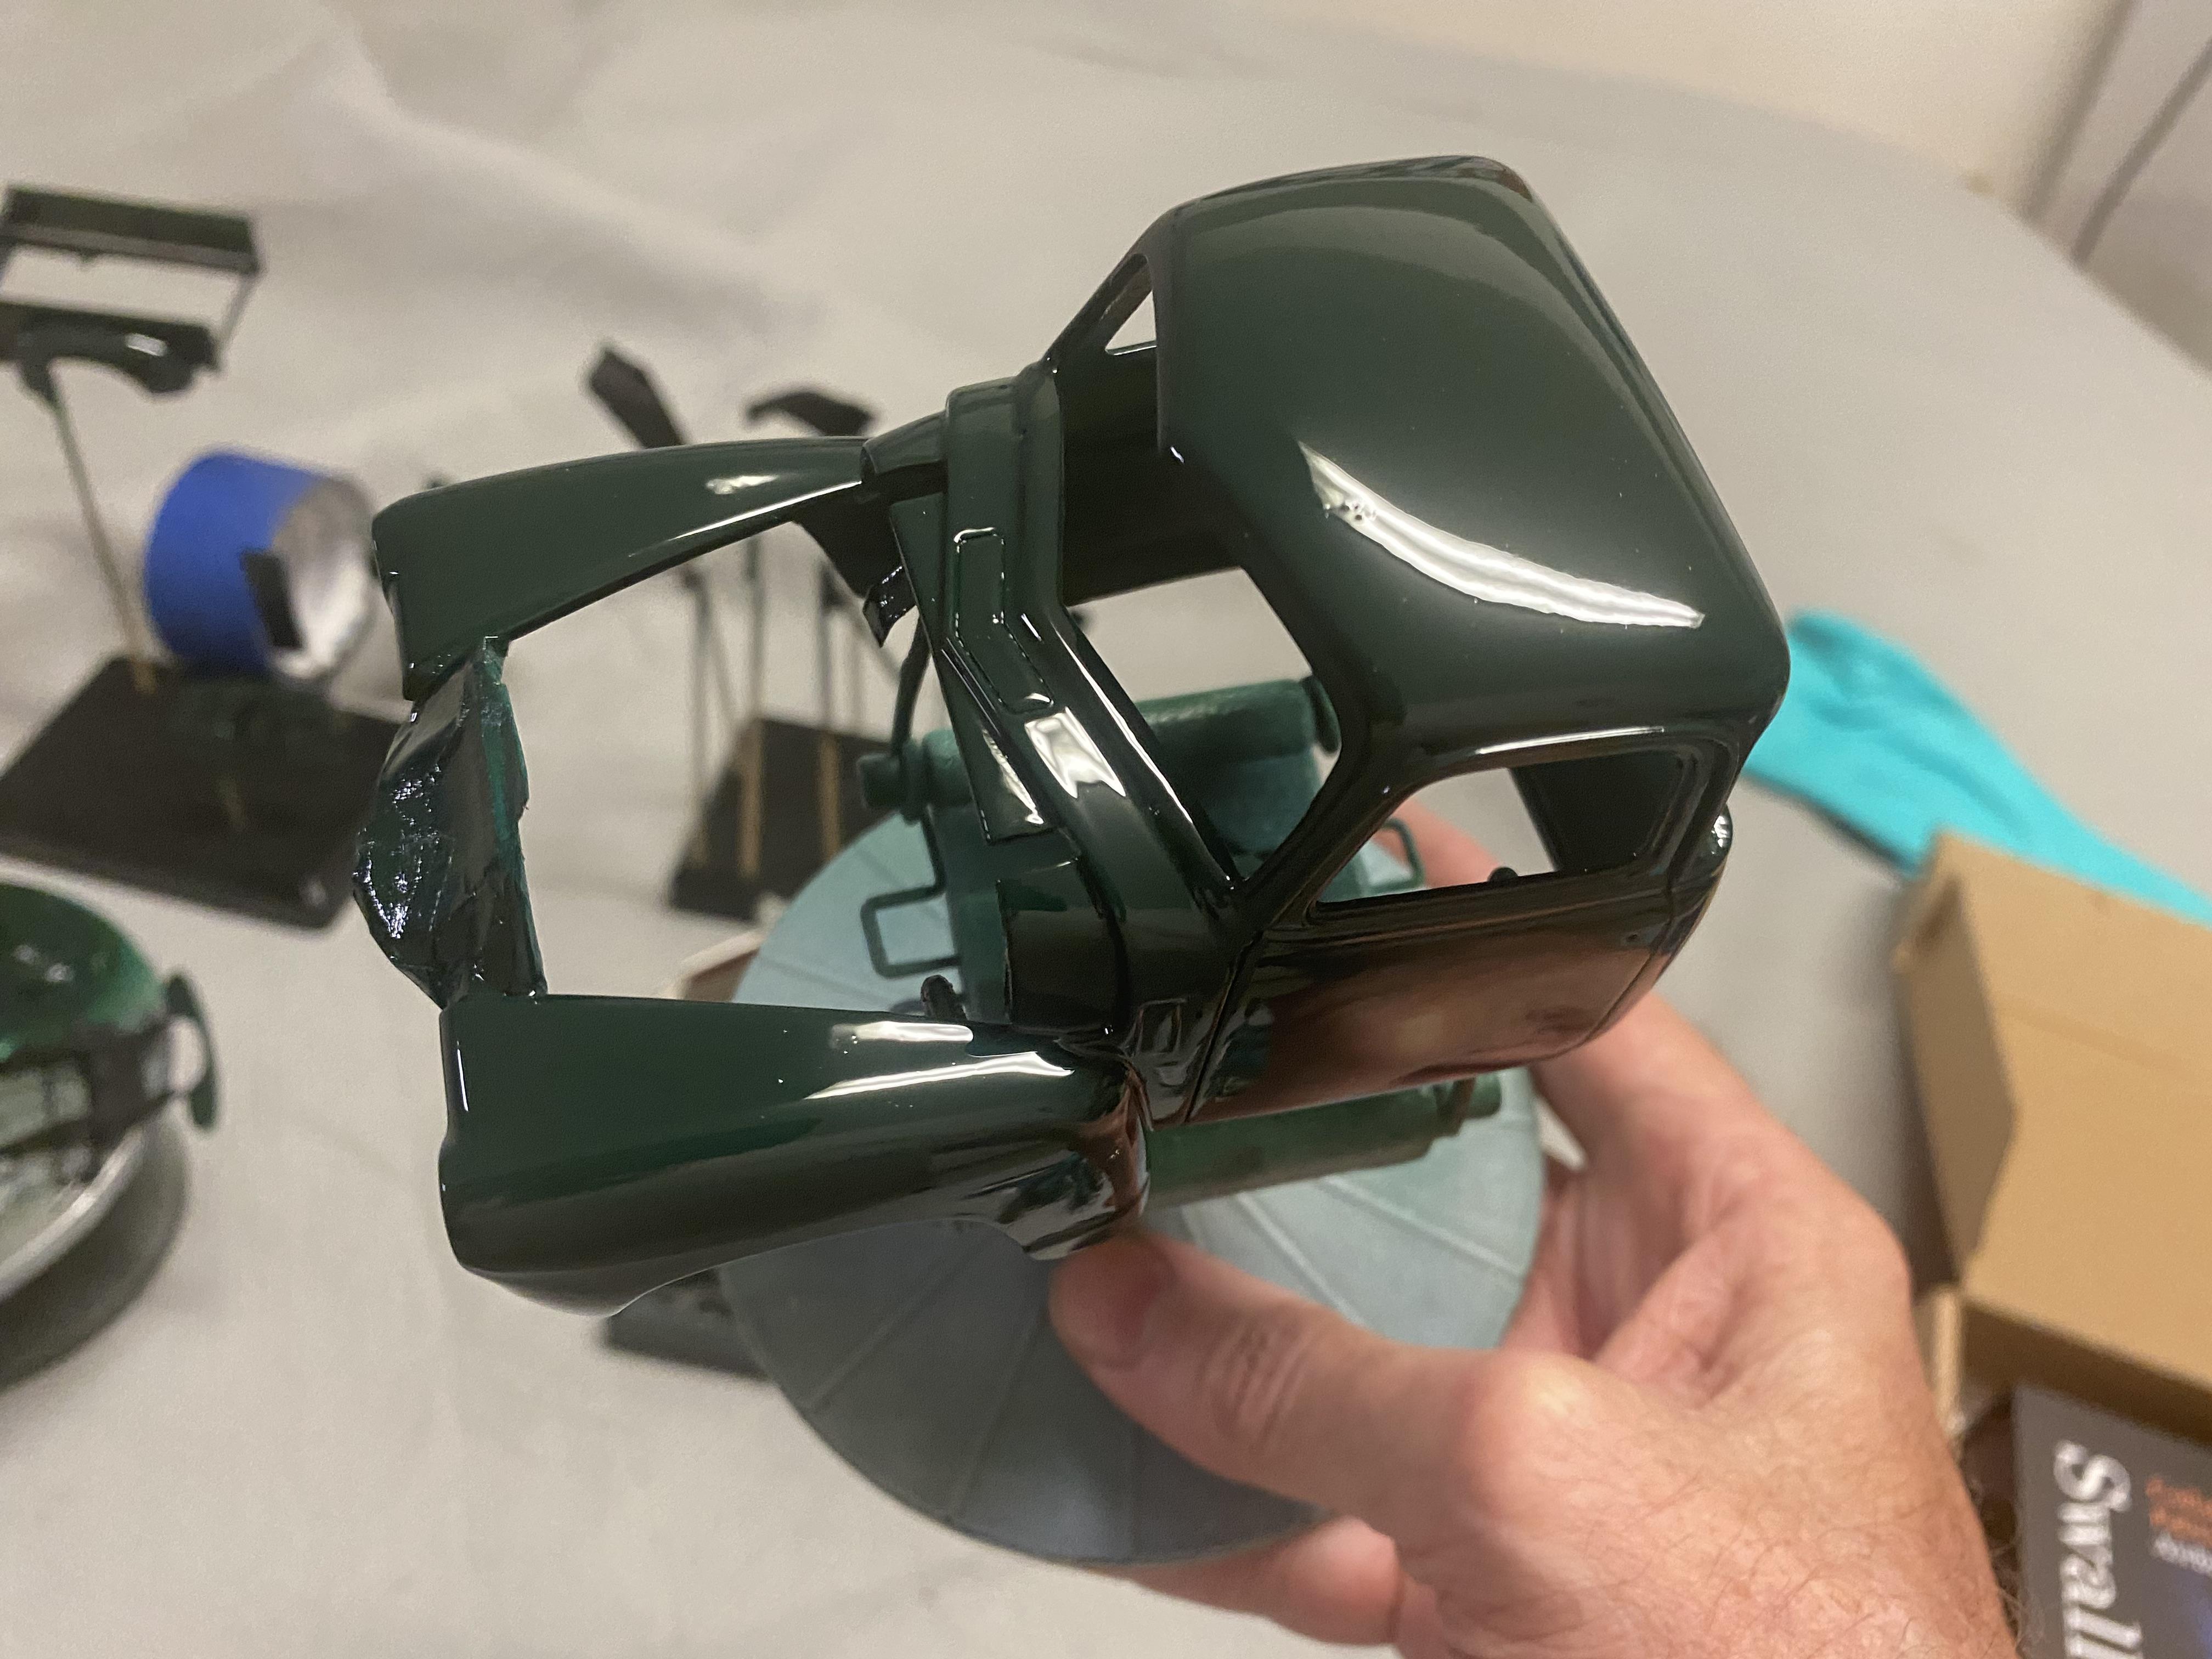
I got some wet sanding and polishing done. Blemishes in roof when starting 4000gt. after 4000 gt after 6000 hood blemishes were much worst than they looked. after 4000 after 6000 after 12000 after Novus 3 Getting close but calling it a night but next Novus 2 then Novus 1 and a ceramic coating. Wet sanding and polish takes a lot of work and time.
-
1950 Chevy 3100 Pickup WIP
Duddly01 replied to Duddly01's topic in WIP: Model Trucks: Pickups, Vans, SUVs, Light Commercial
Thanks, now moving on to wet sanding and polishing. It looks a lot smoother than it really is. This is going to take hours... -
1950 Chevy 3100 Pickup WIP
Duddly01 replied to Duddly01's topic in WIP: Model Trucks: Pickups, Vans, SUVs, Light Commercial
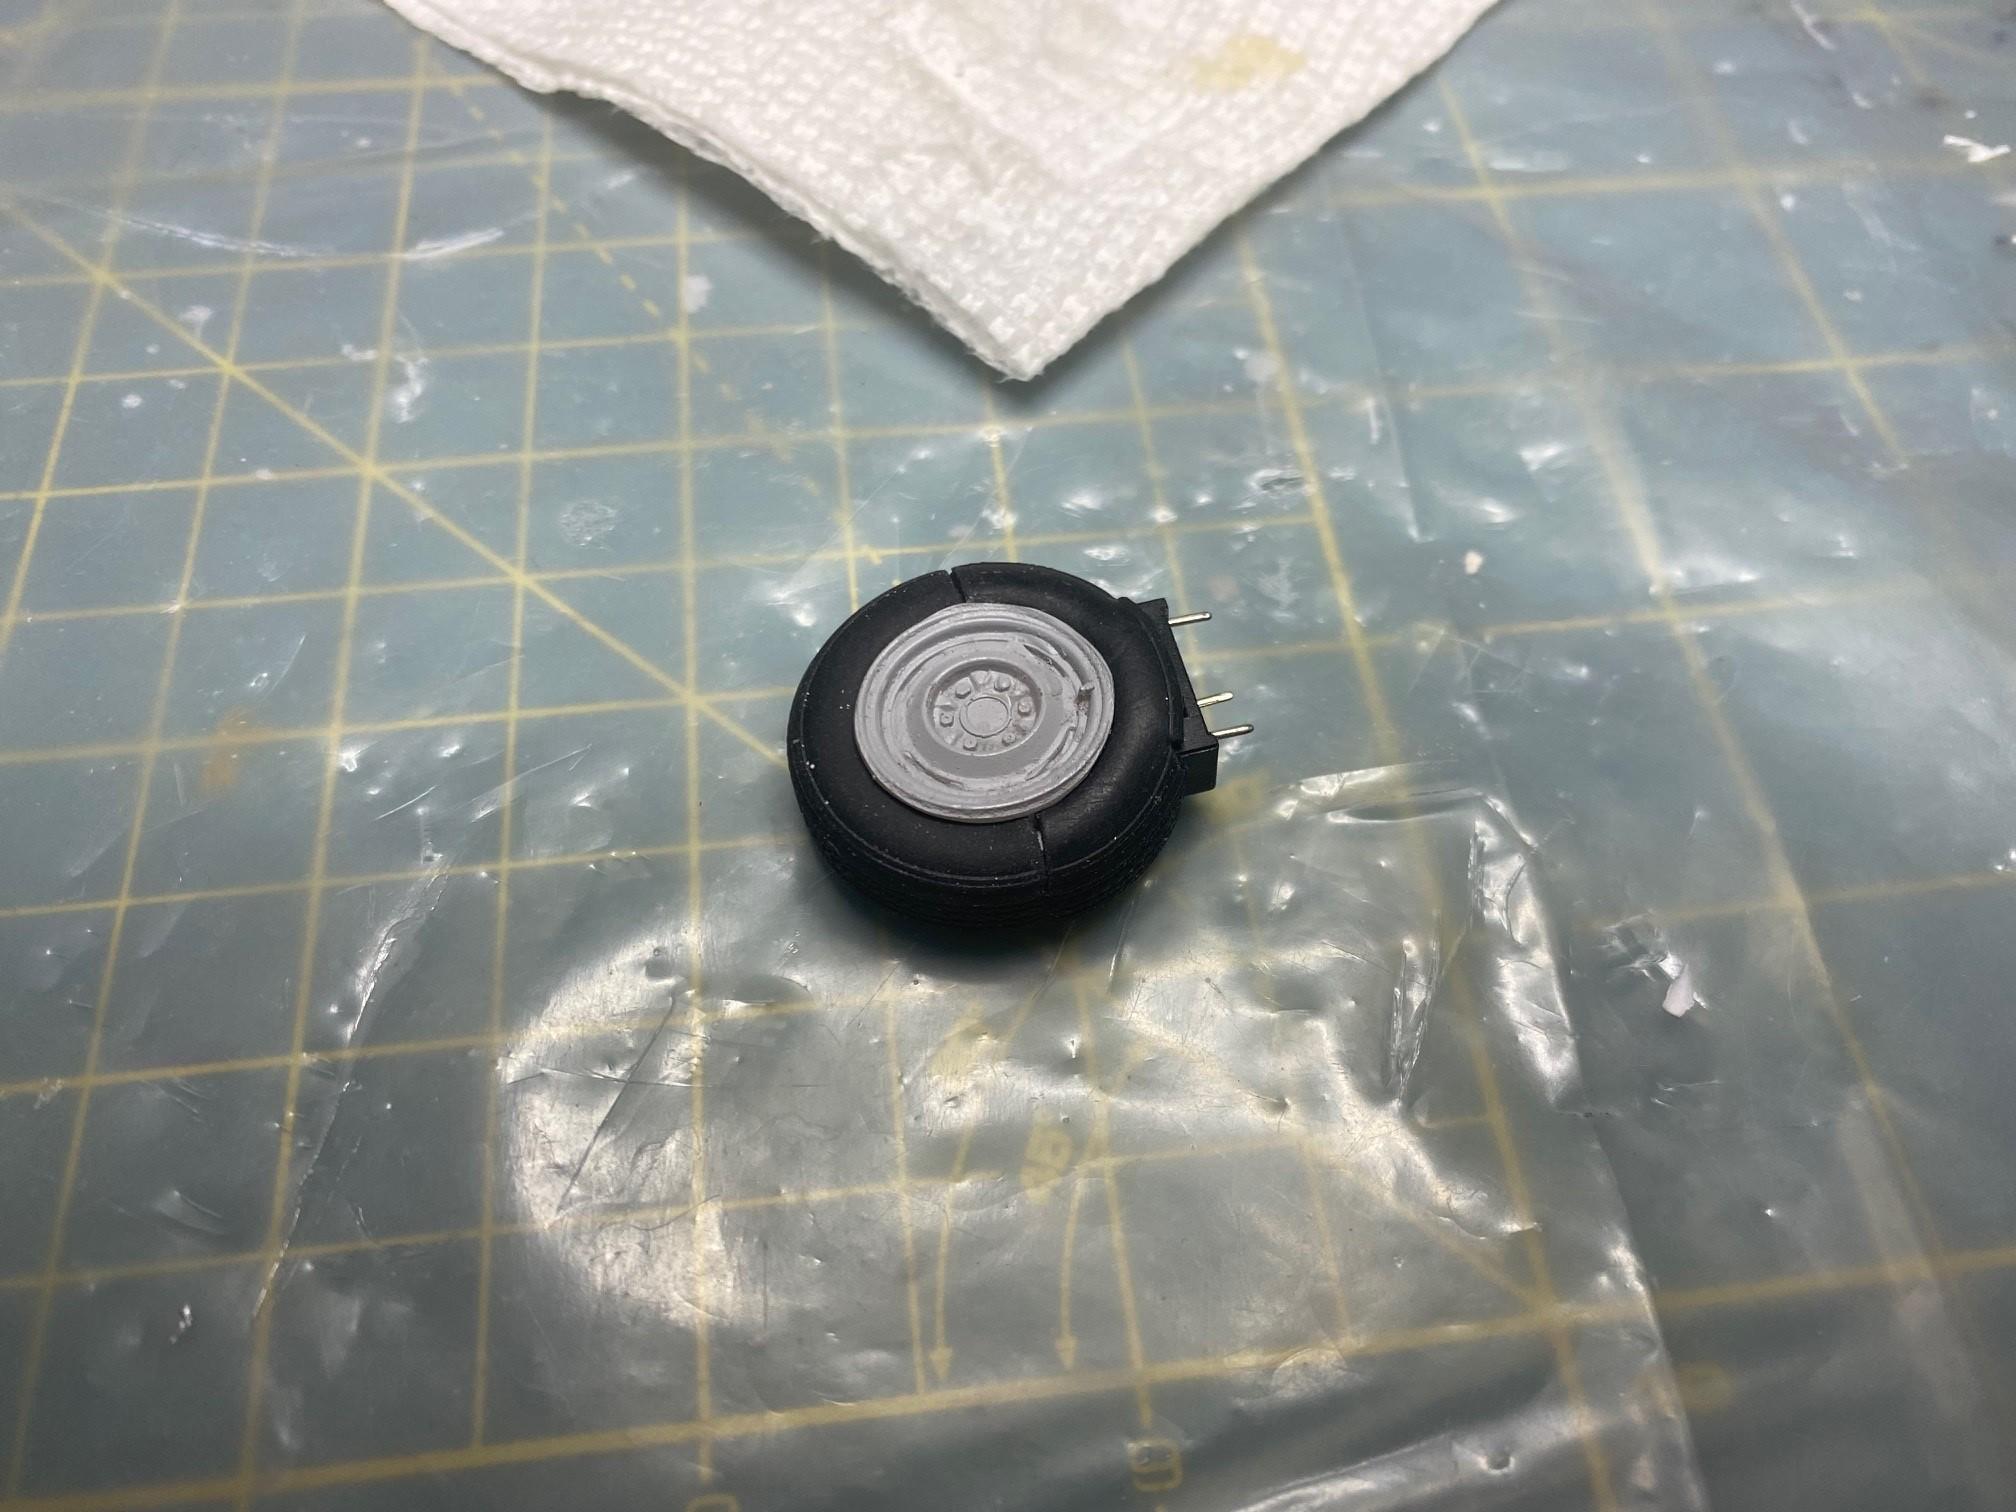
Thank you! Thank you! I actually posted, it is the spare tire under the truck, very well hidden.
-
1950 Chevy 3100 Pickup WIP
Duddly01 replied to Duddly01's topic in WIP: Model Trucks: Pickups, Vans, SUVs, Light Commercial
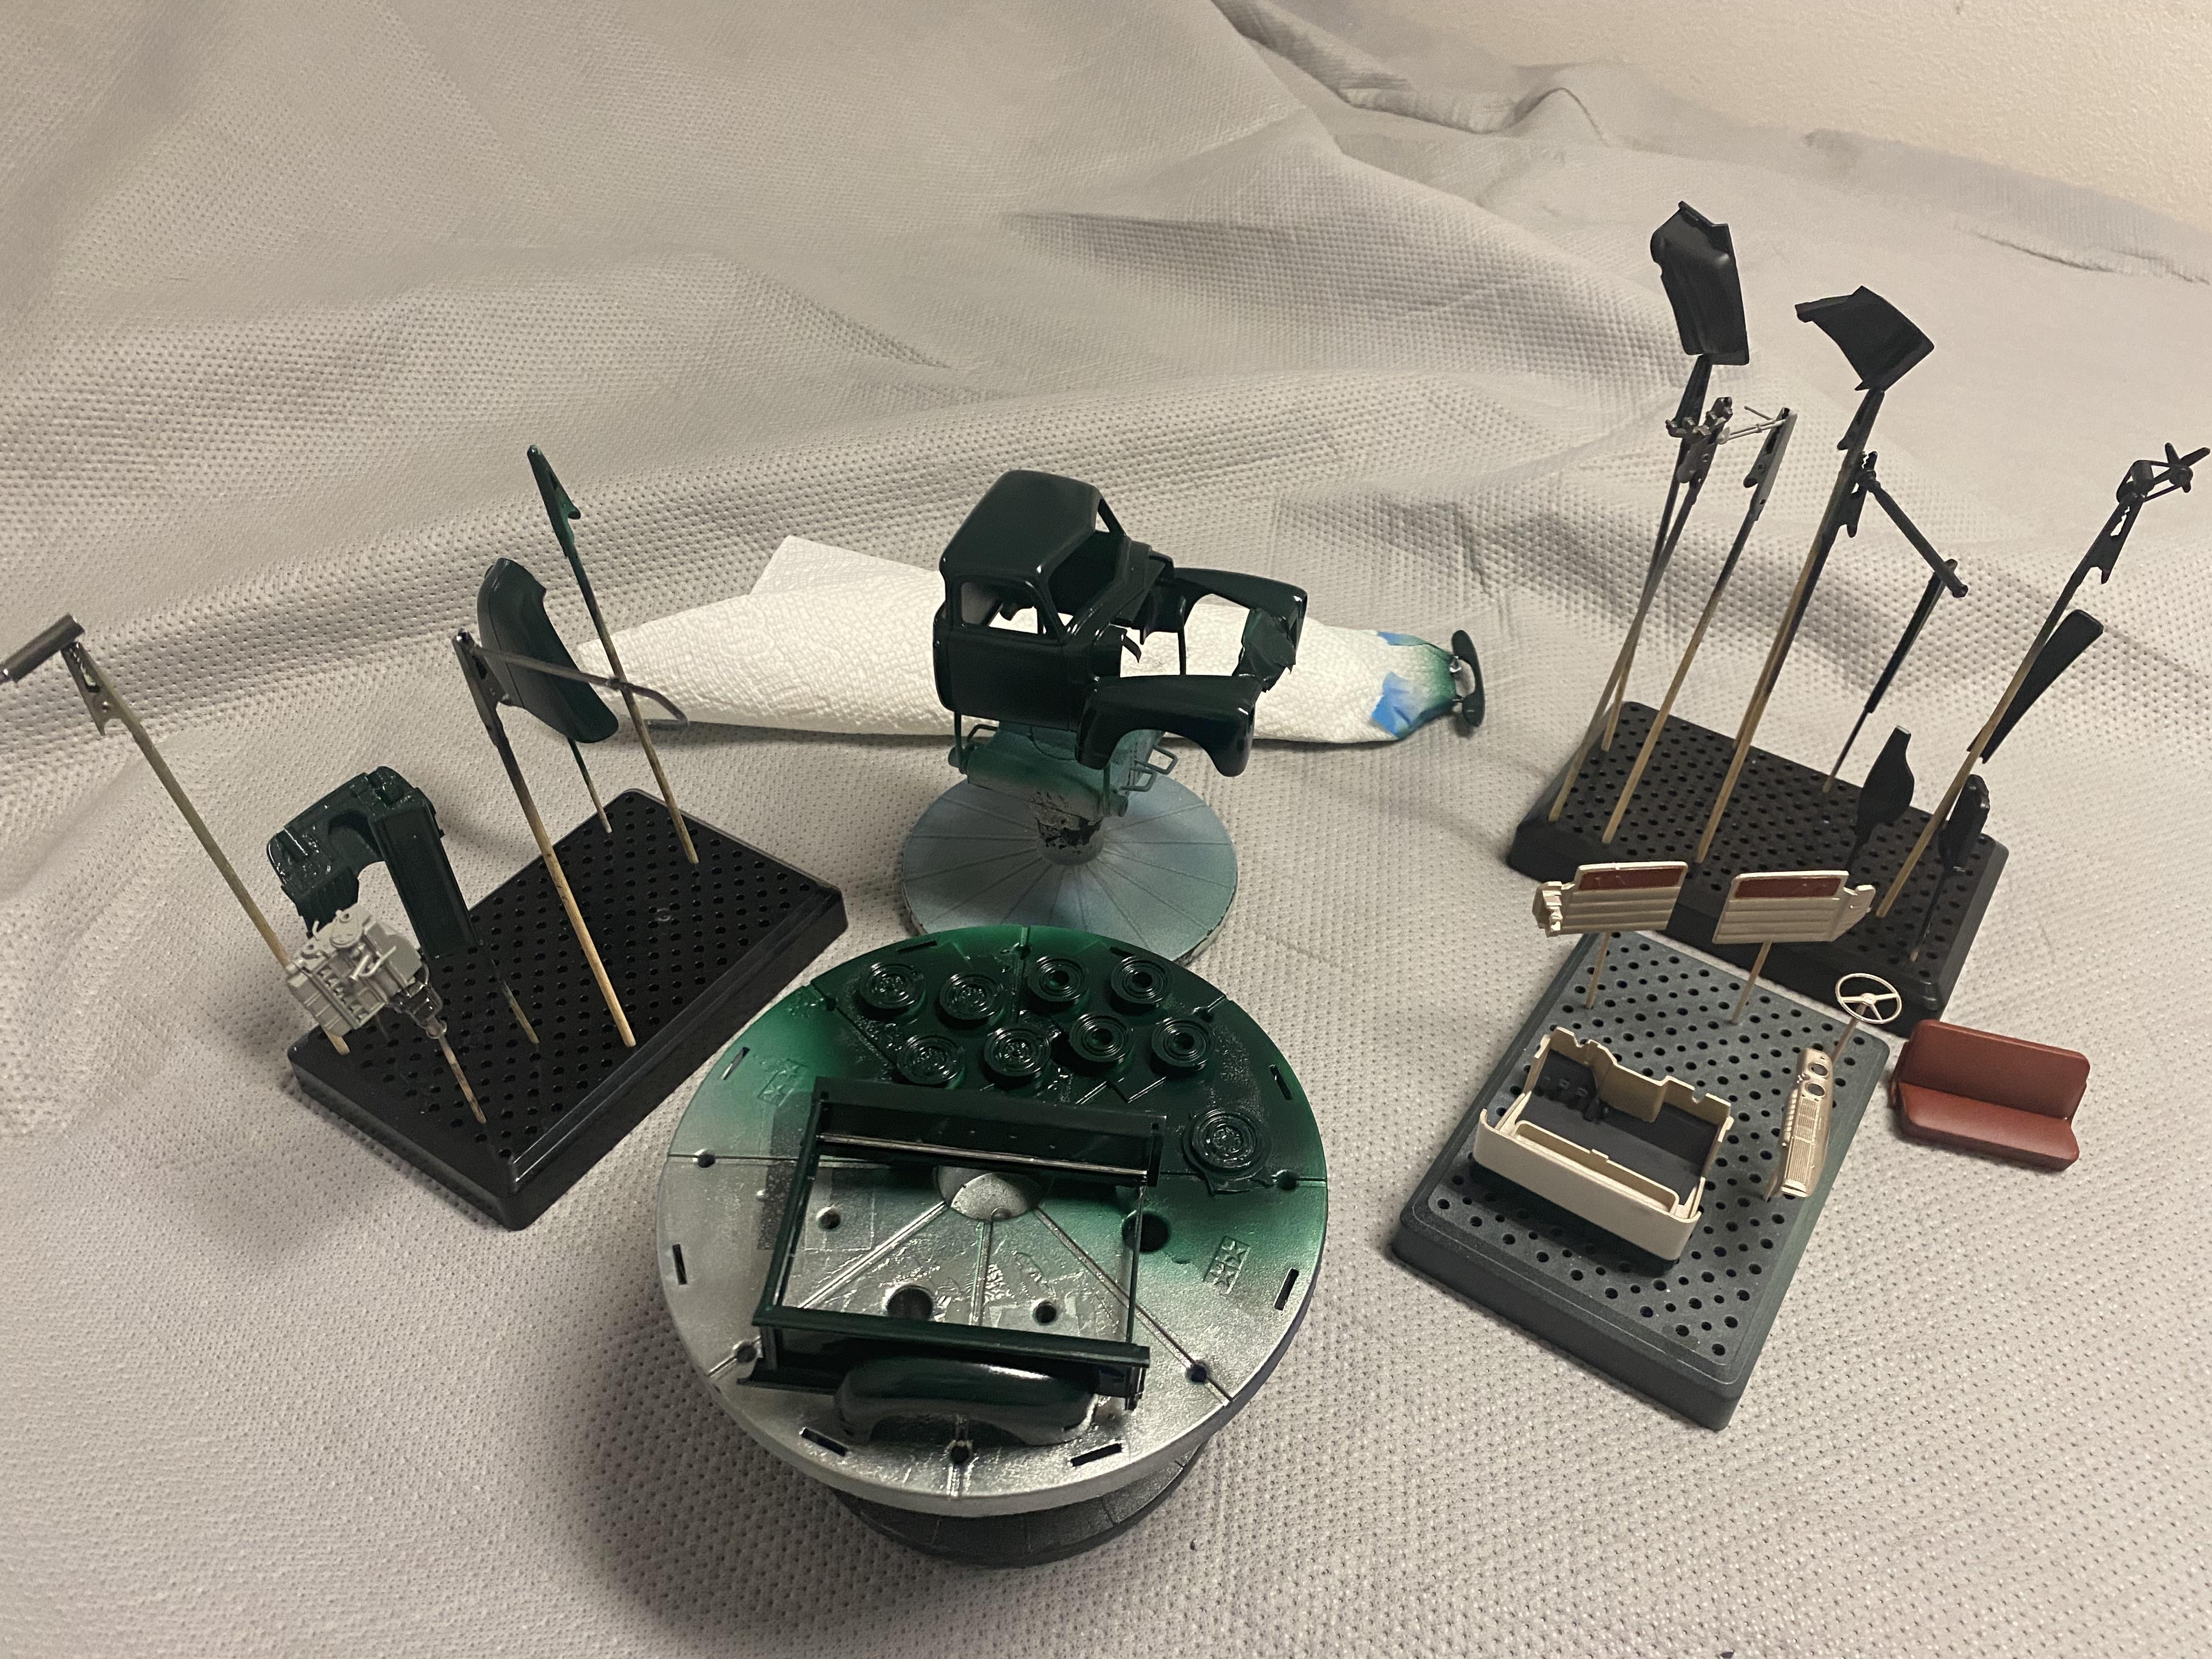
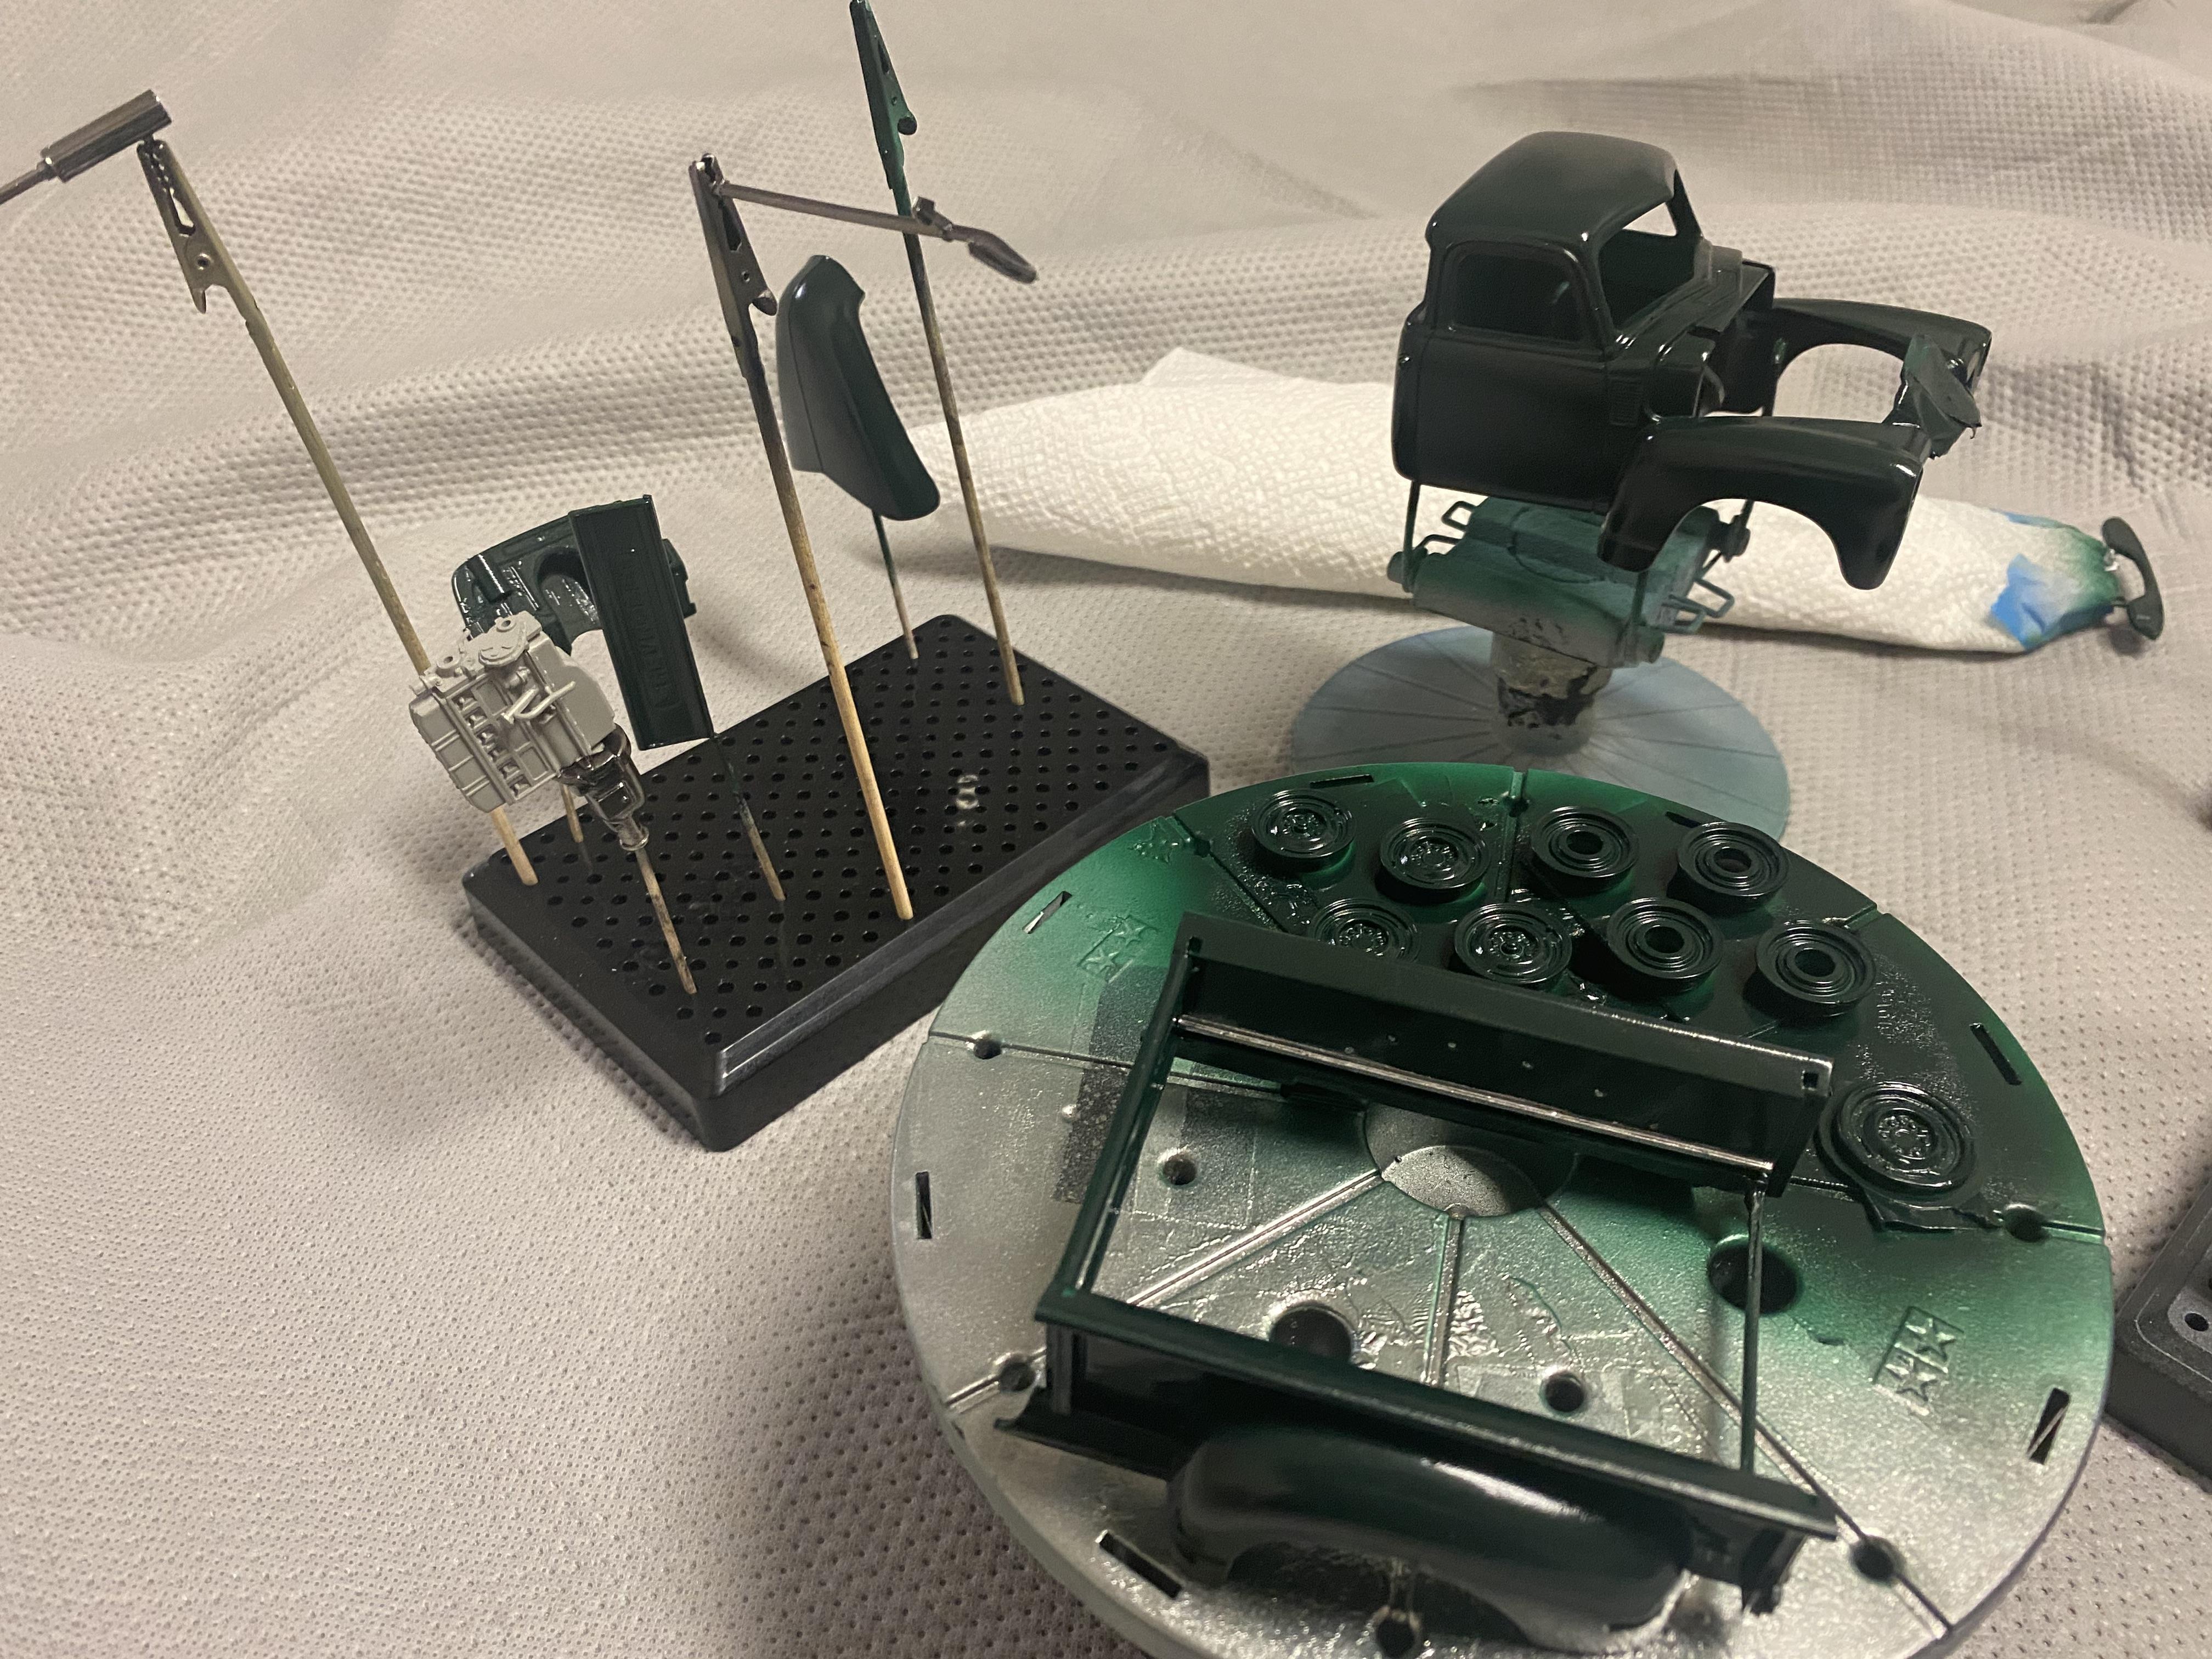
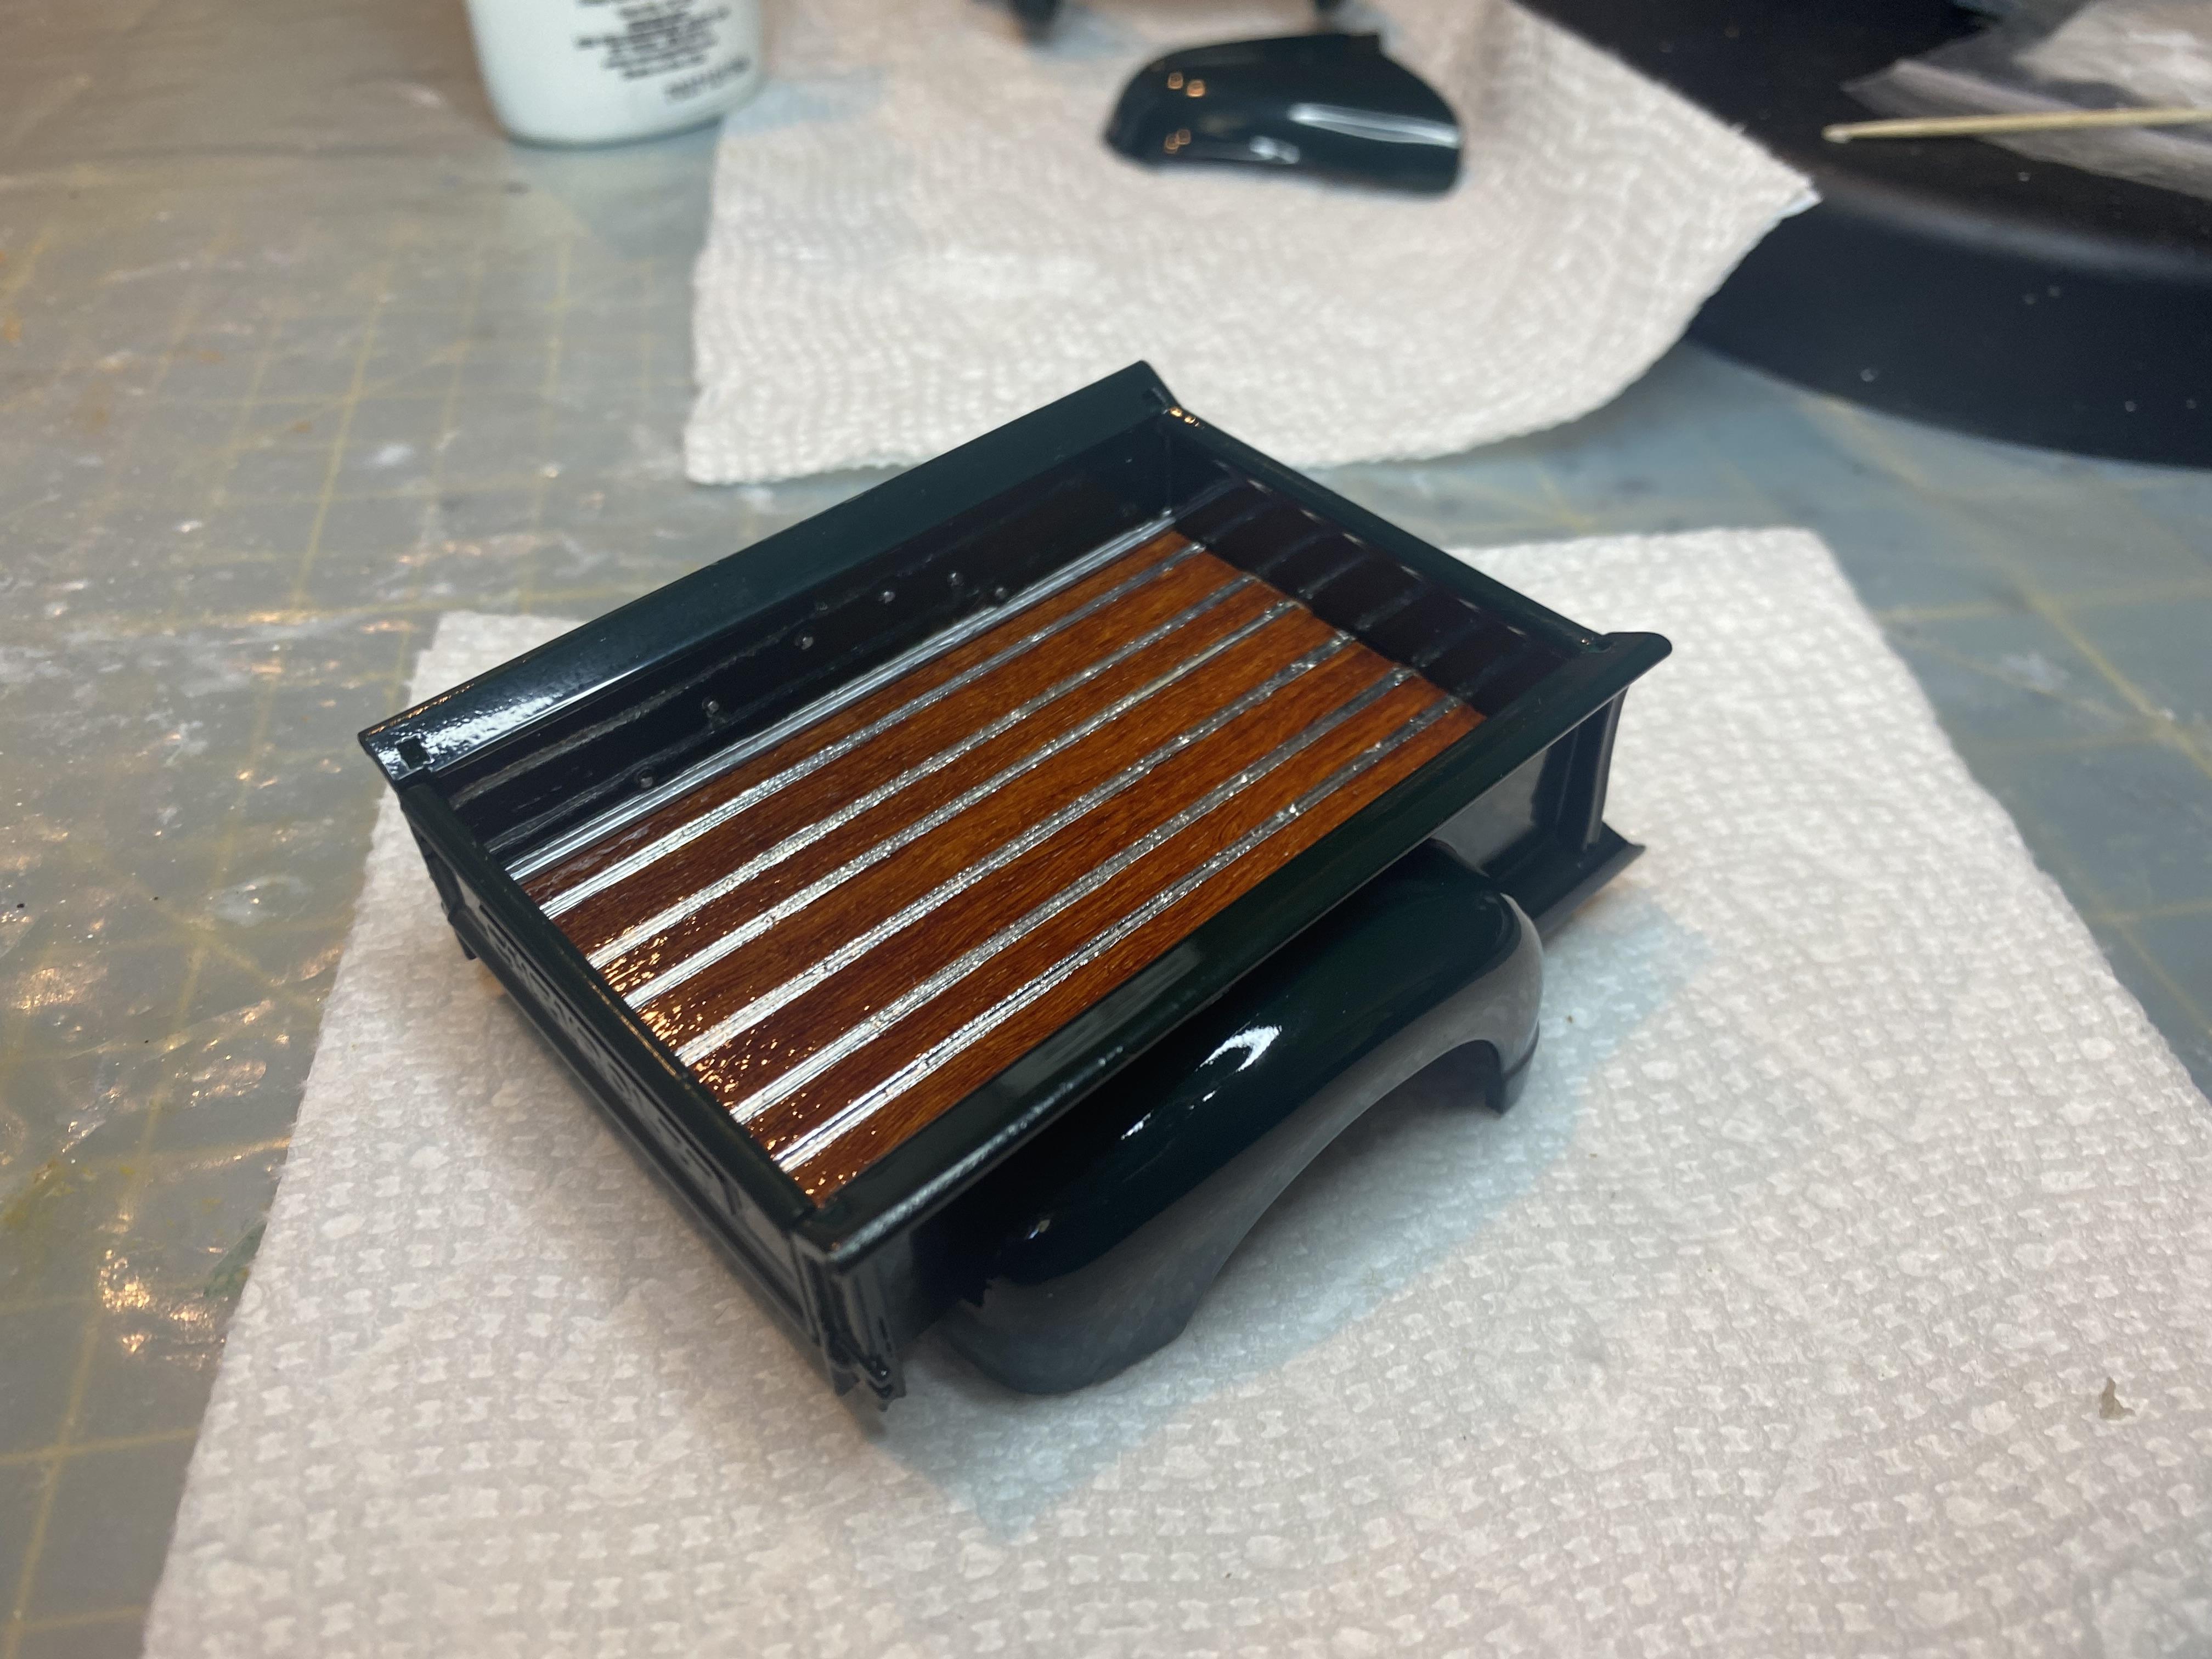
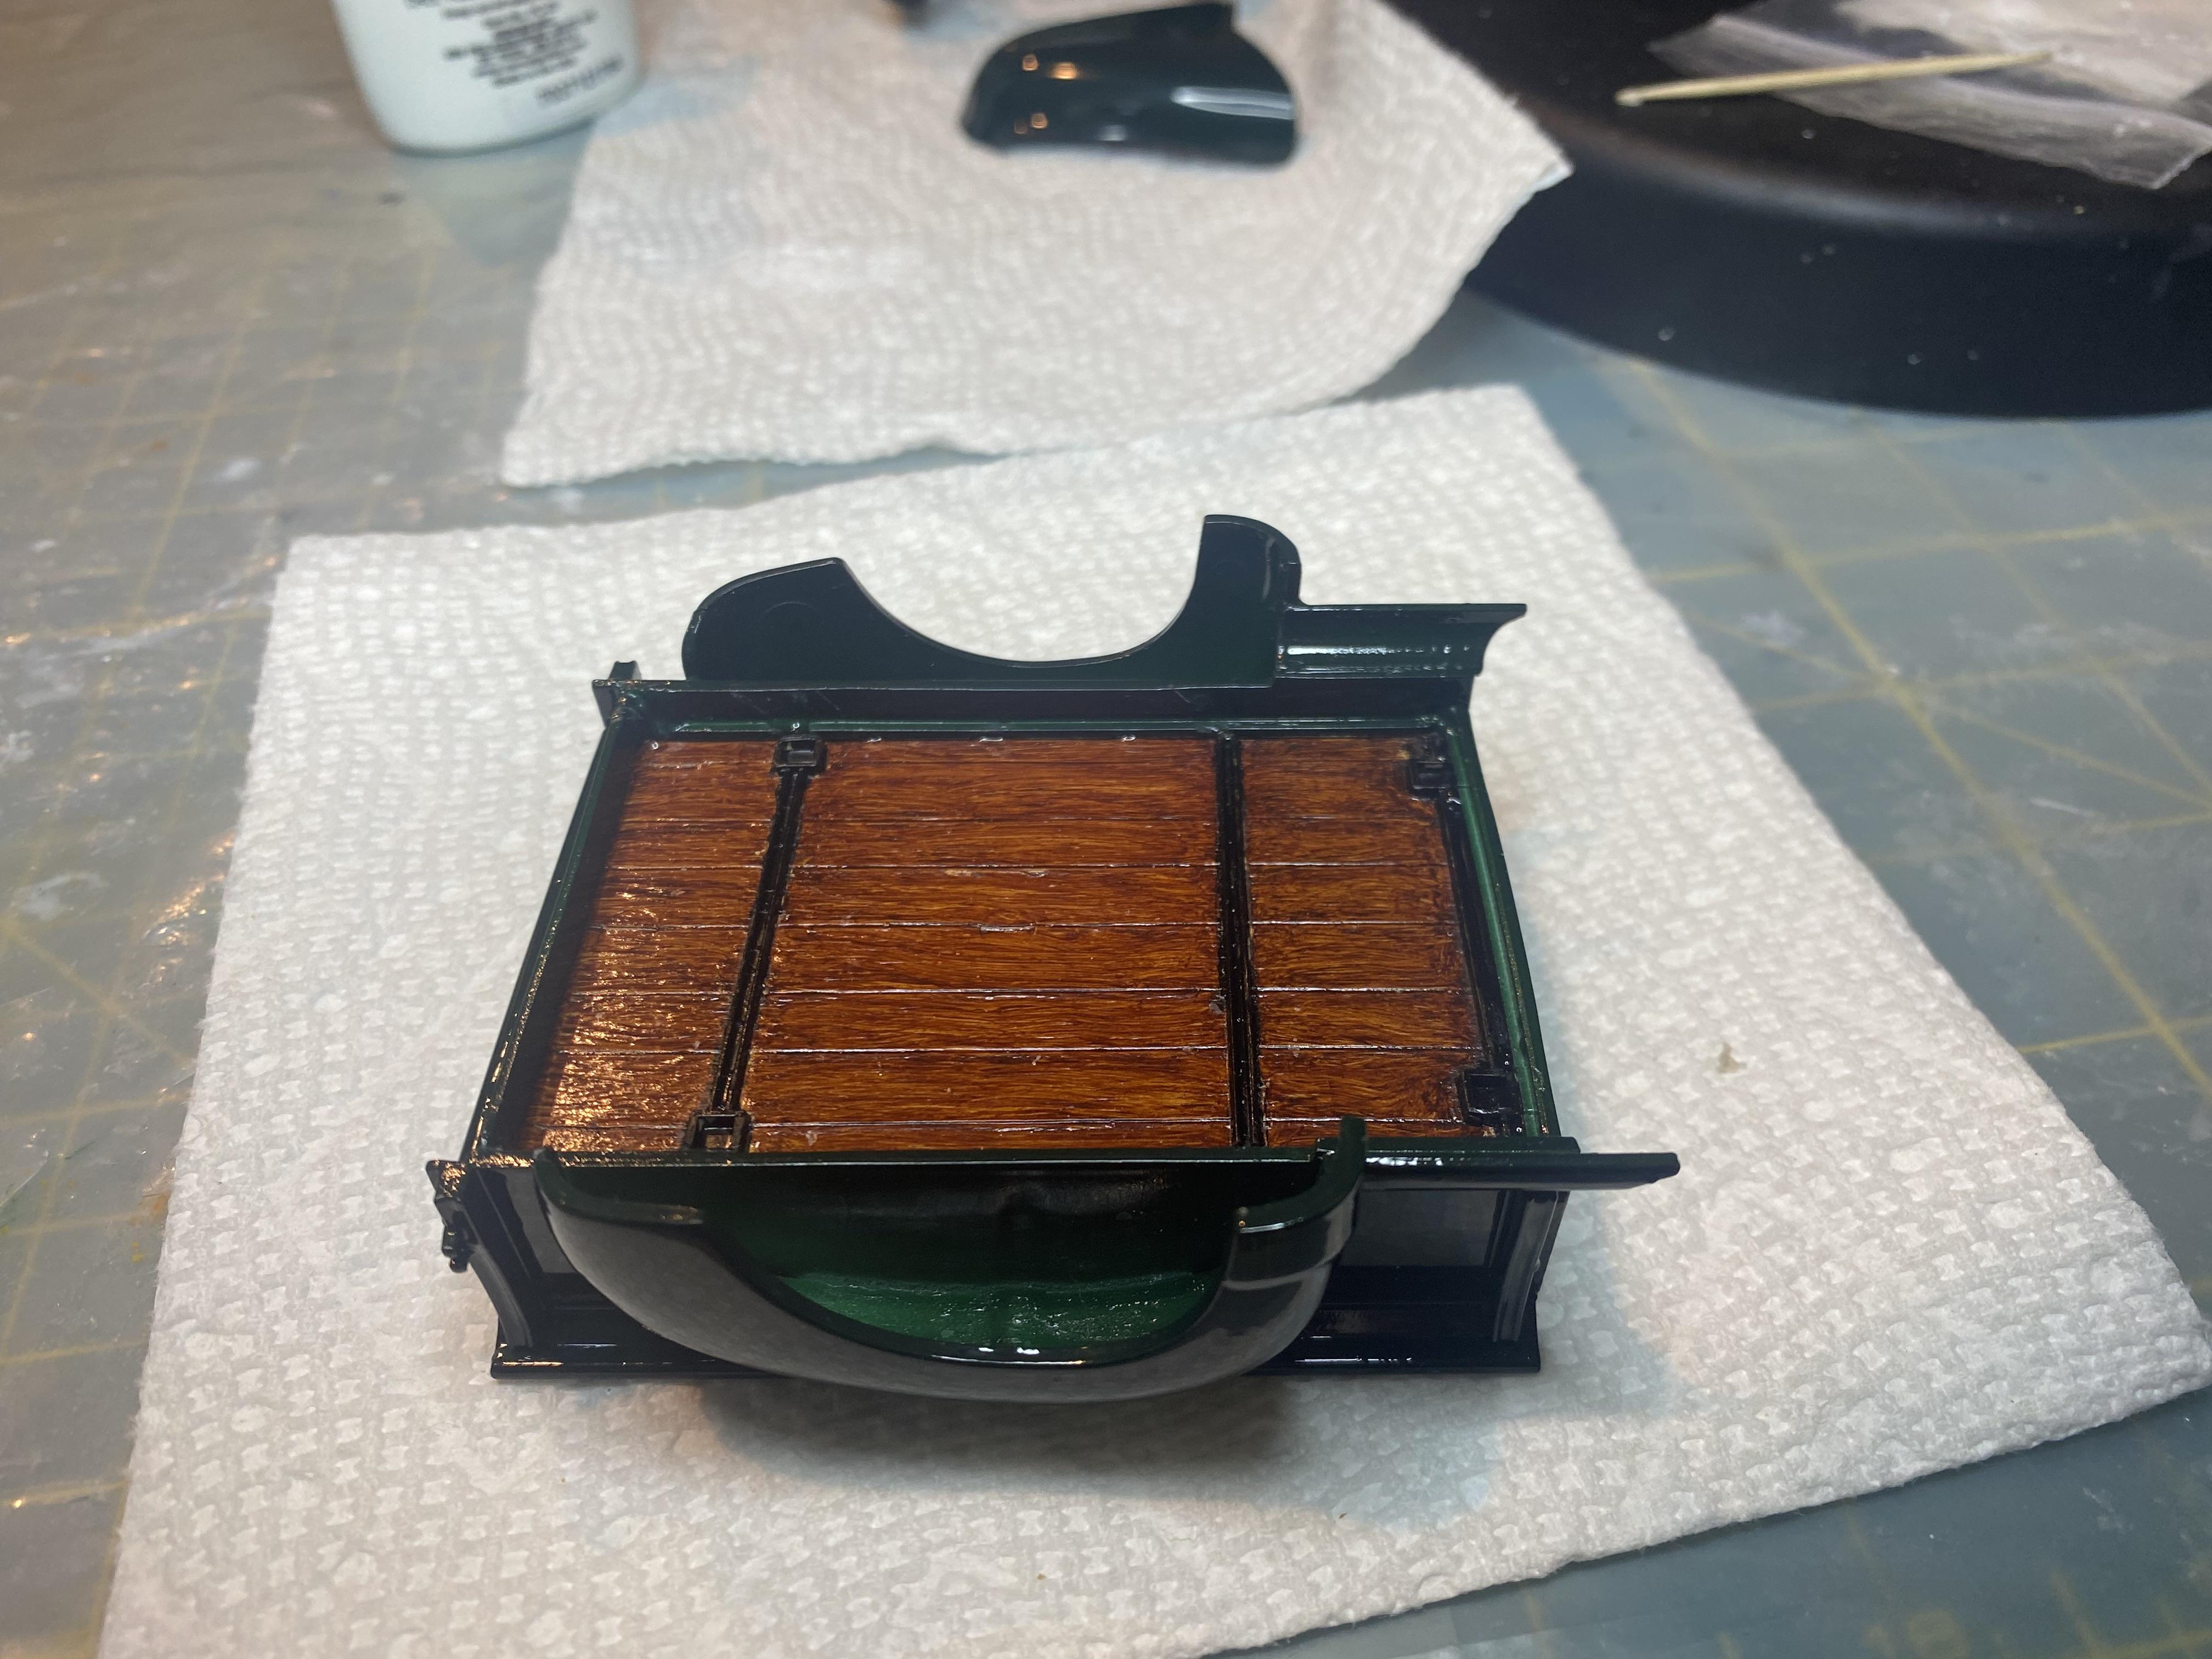
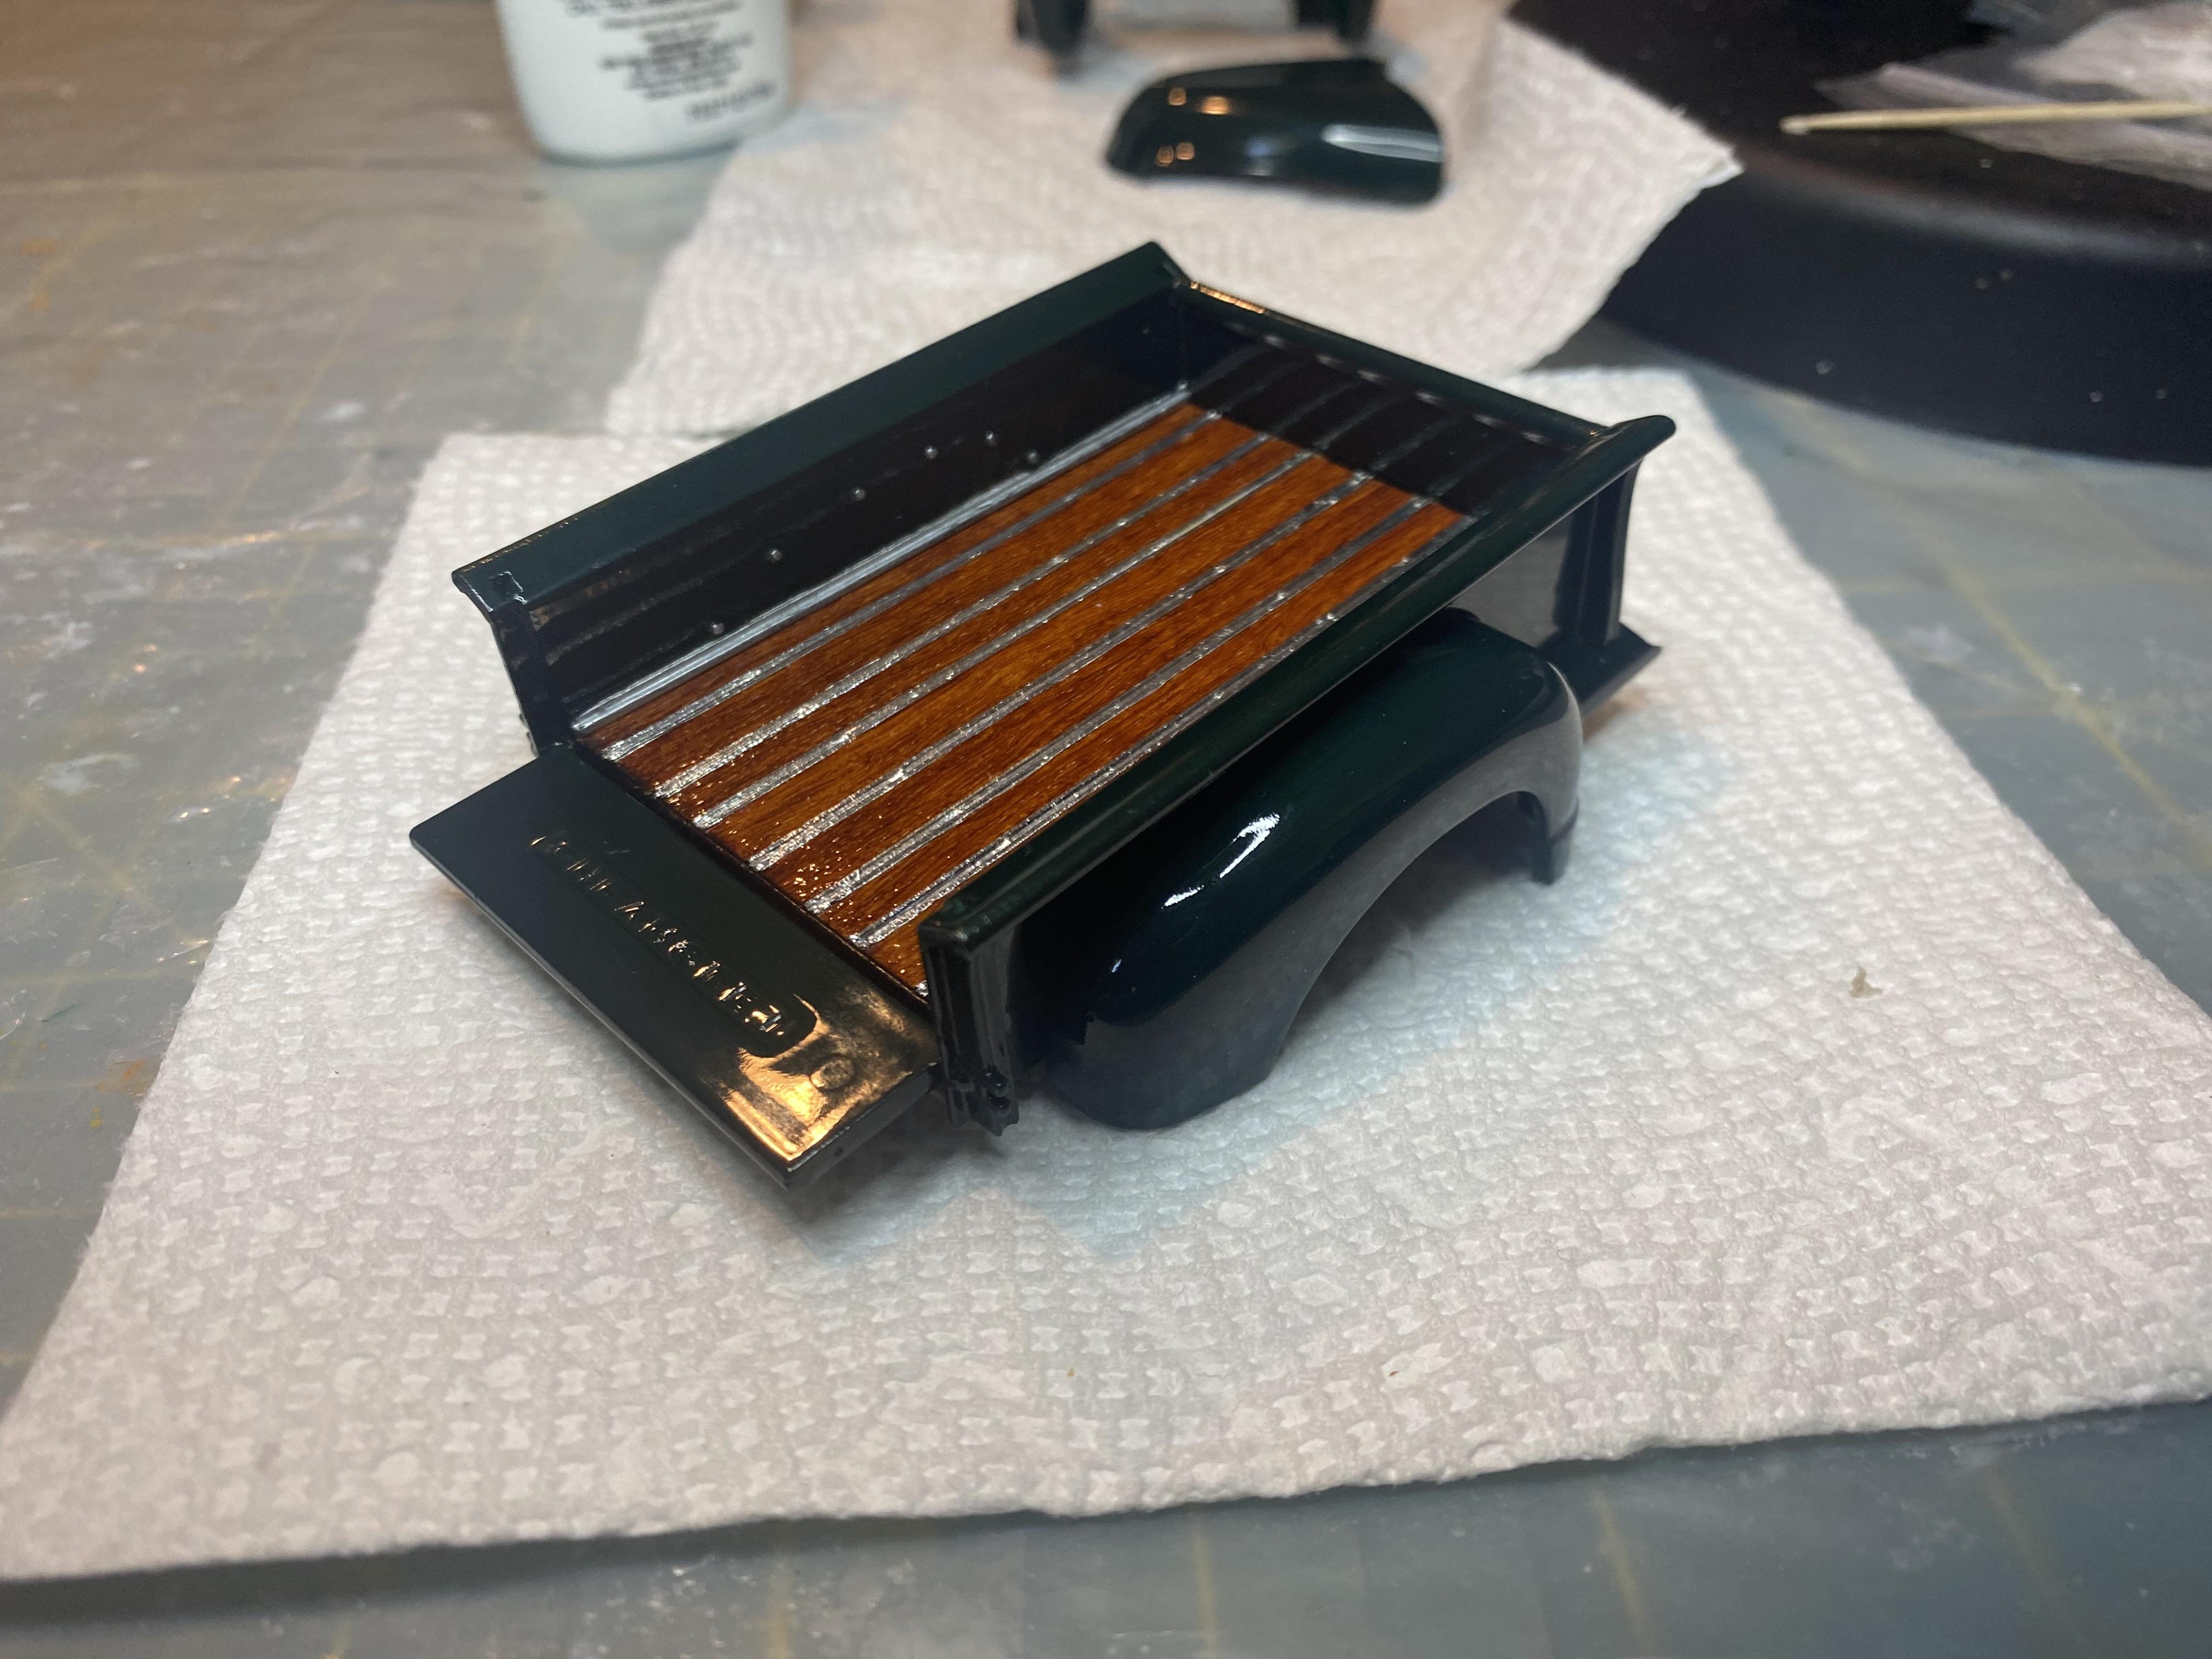
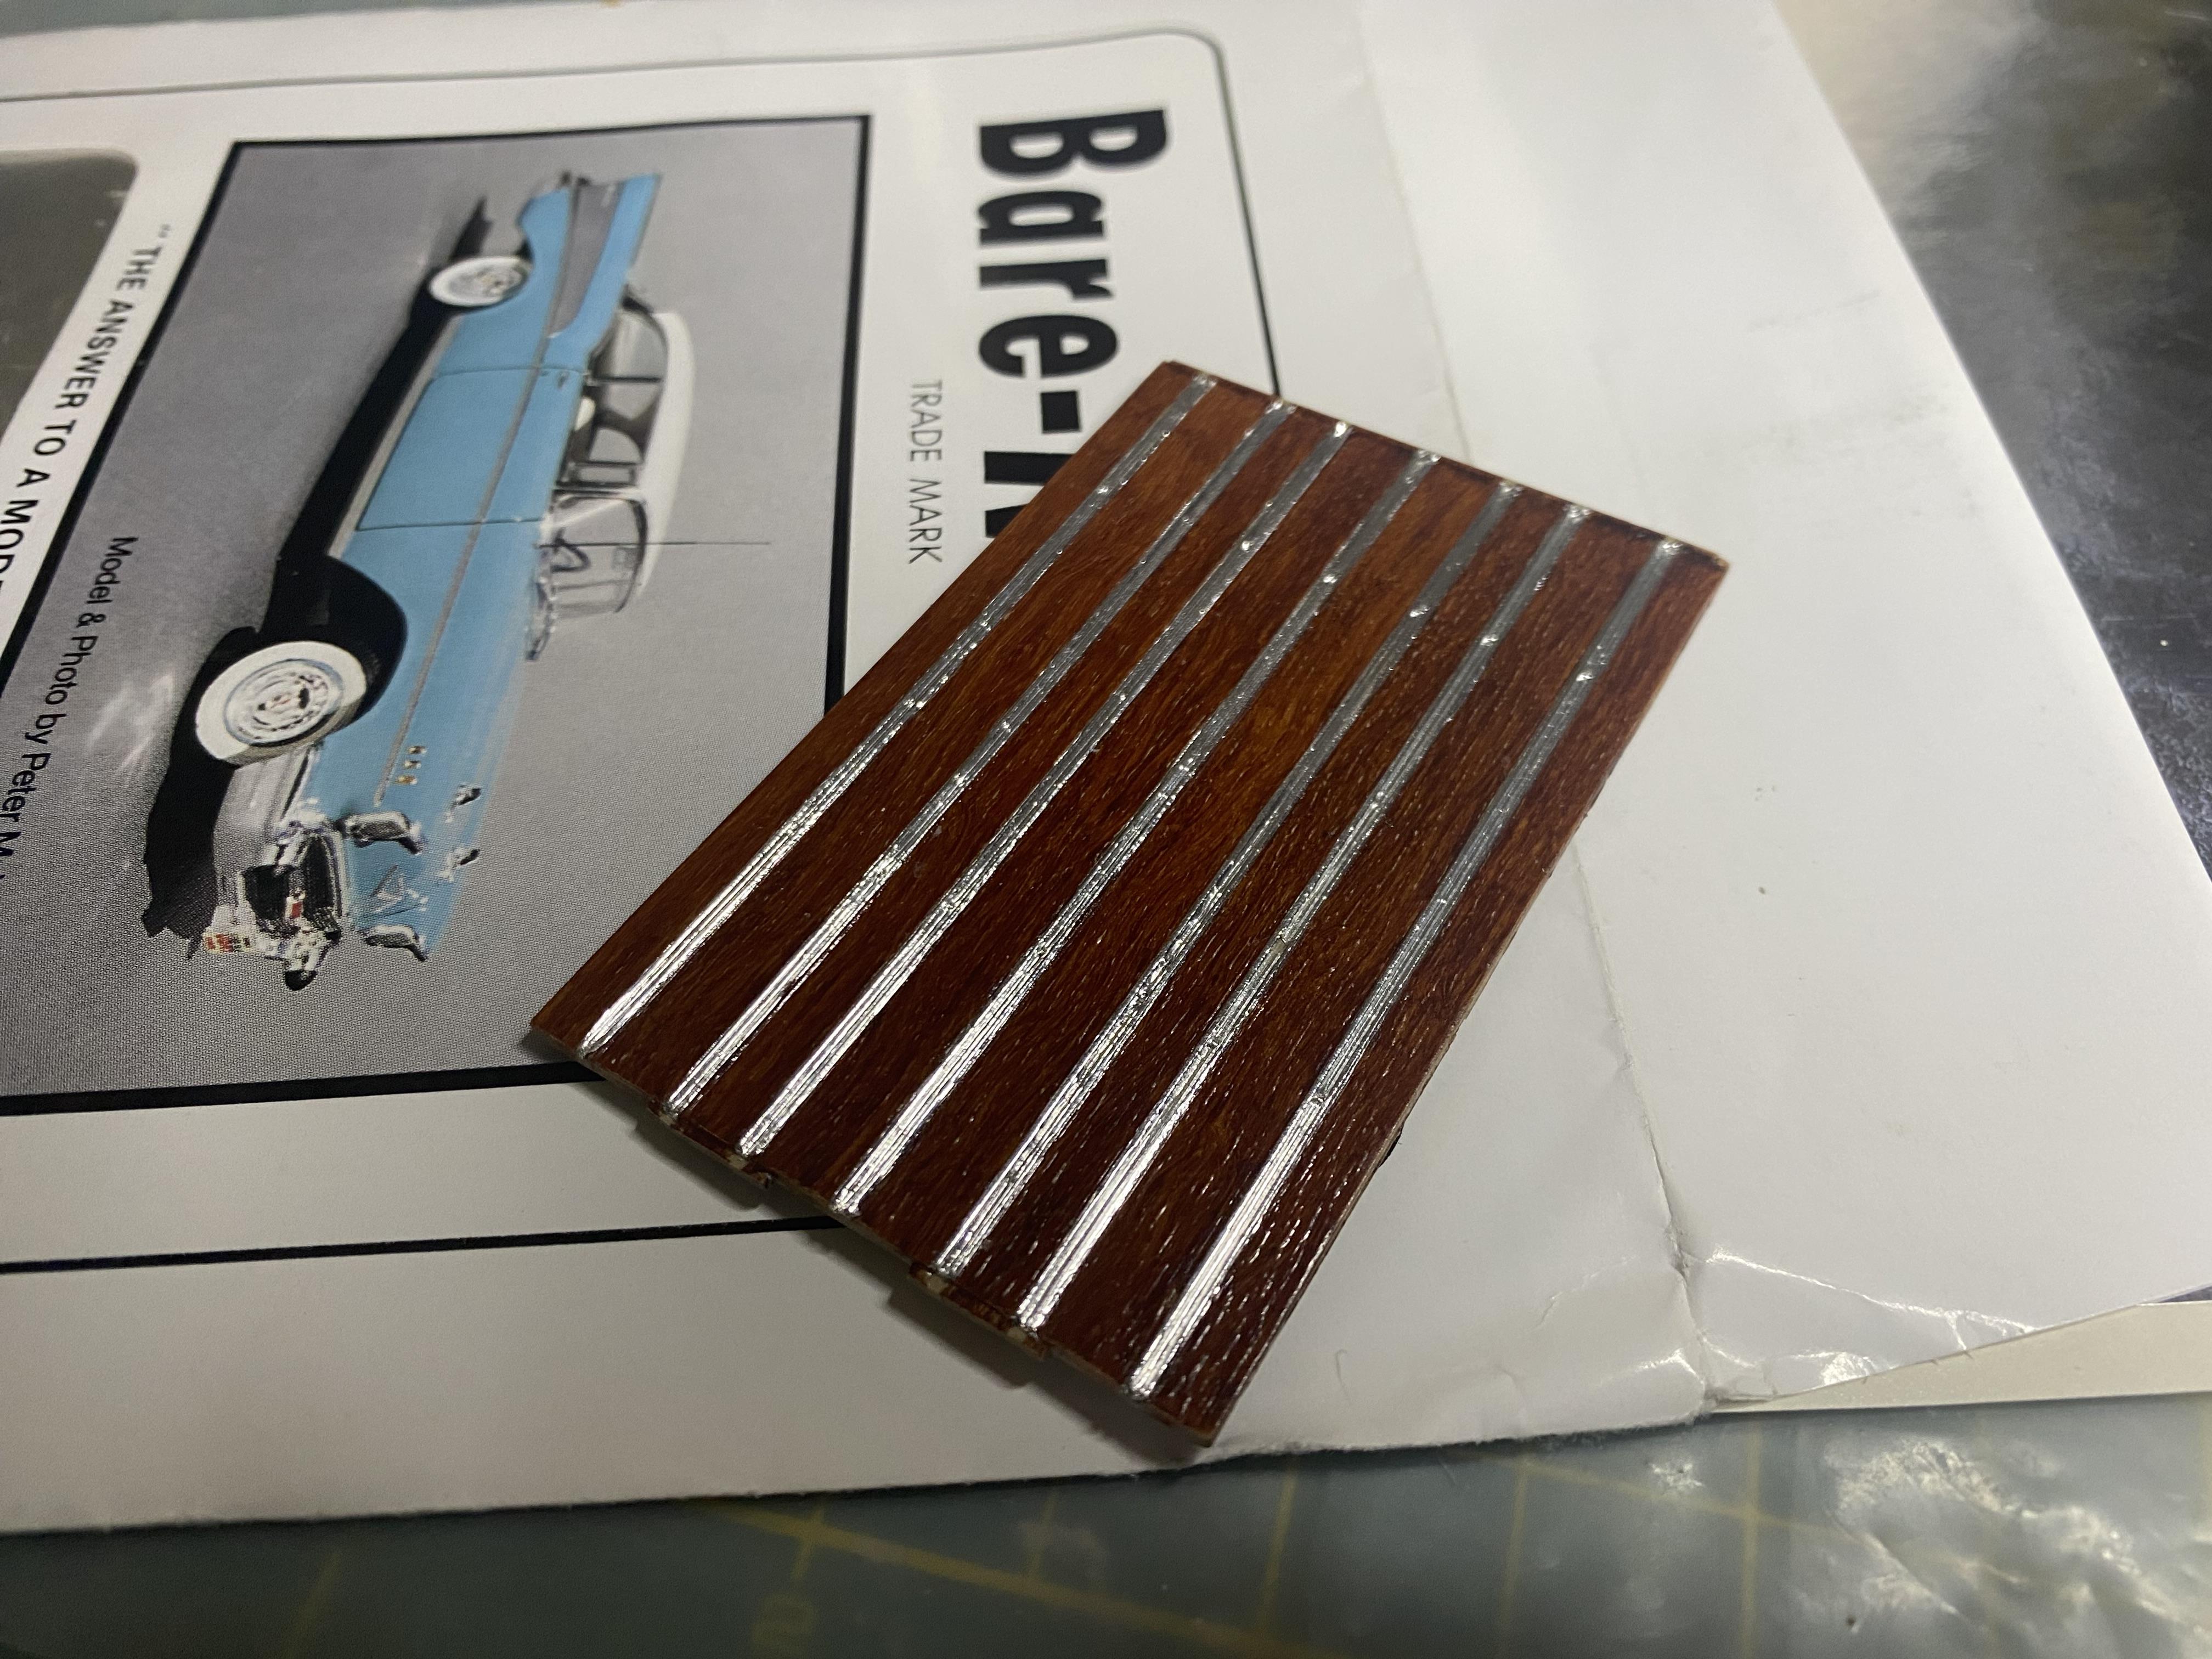
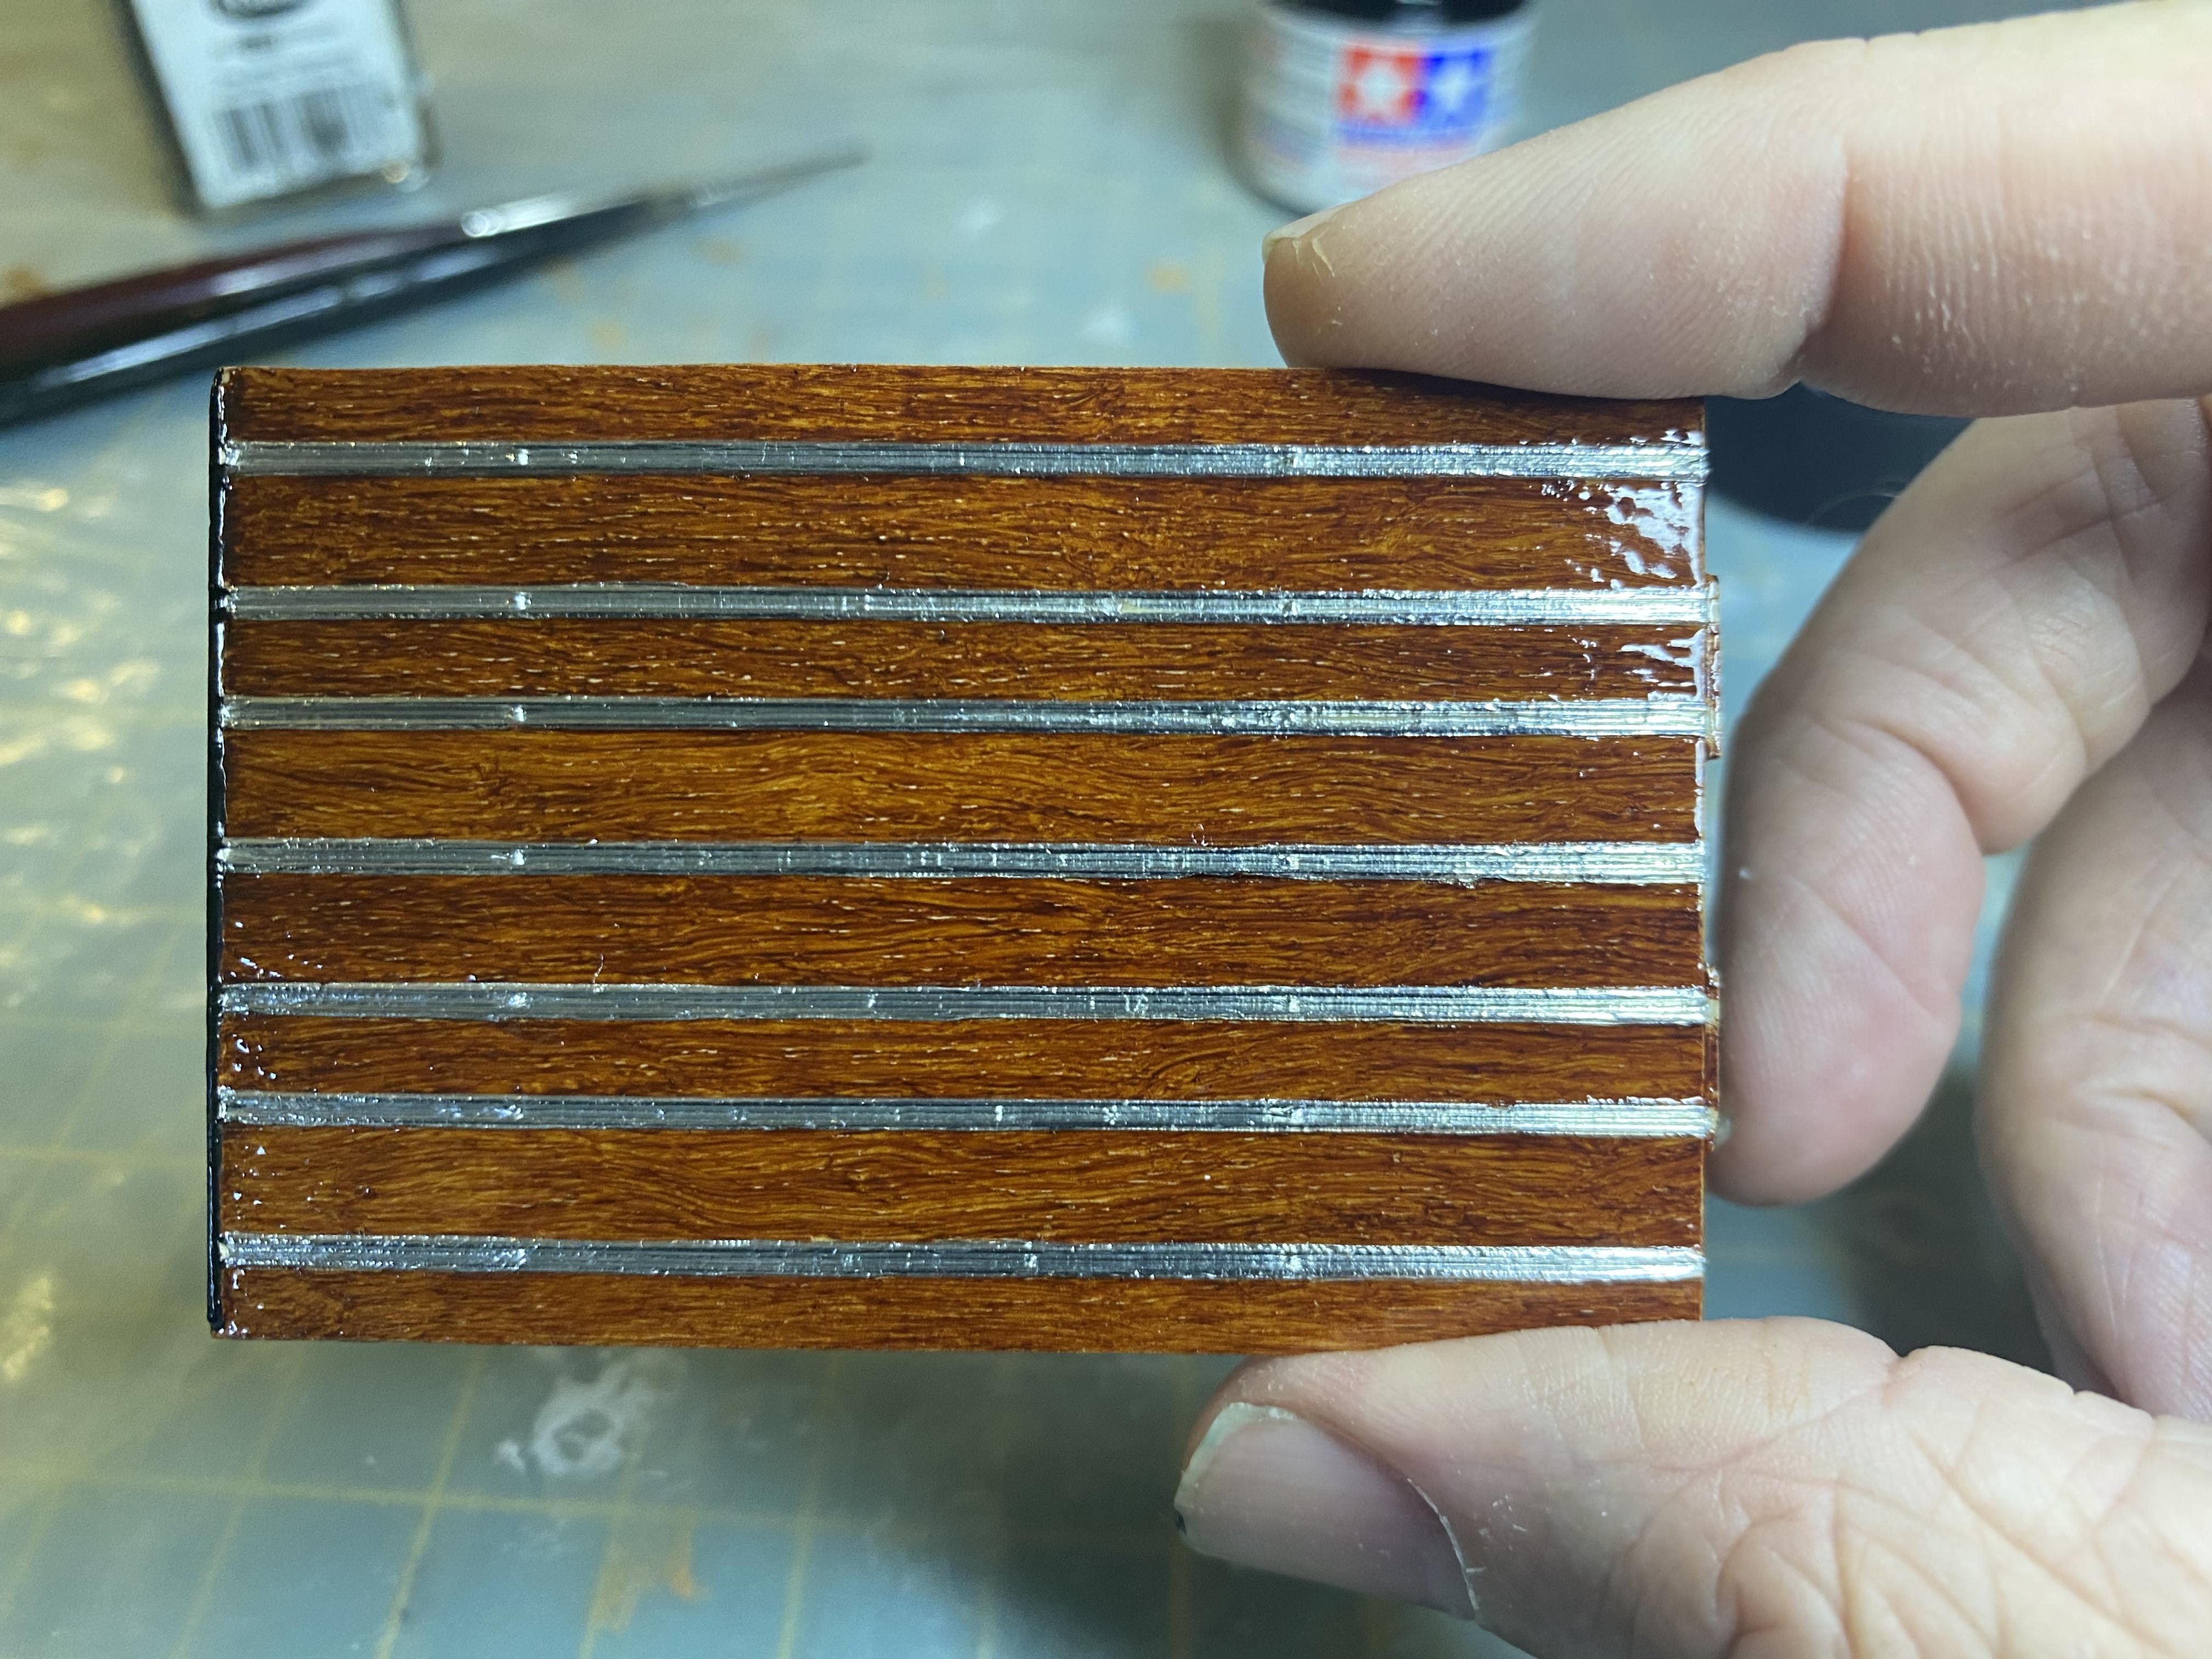
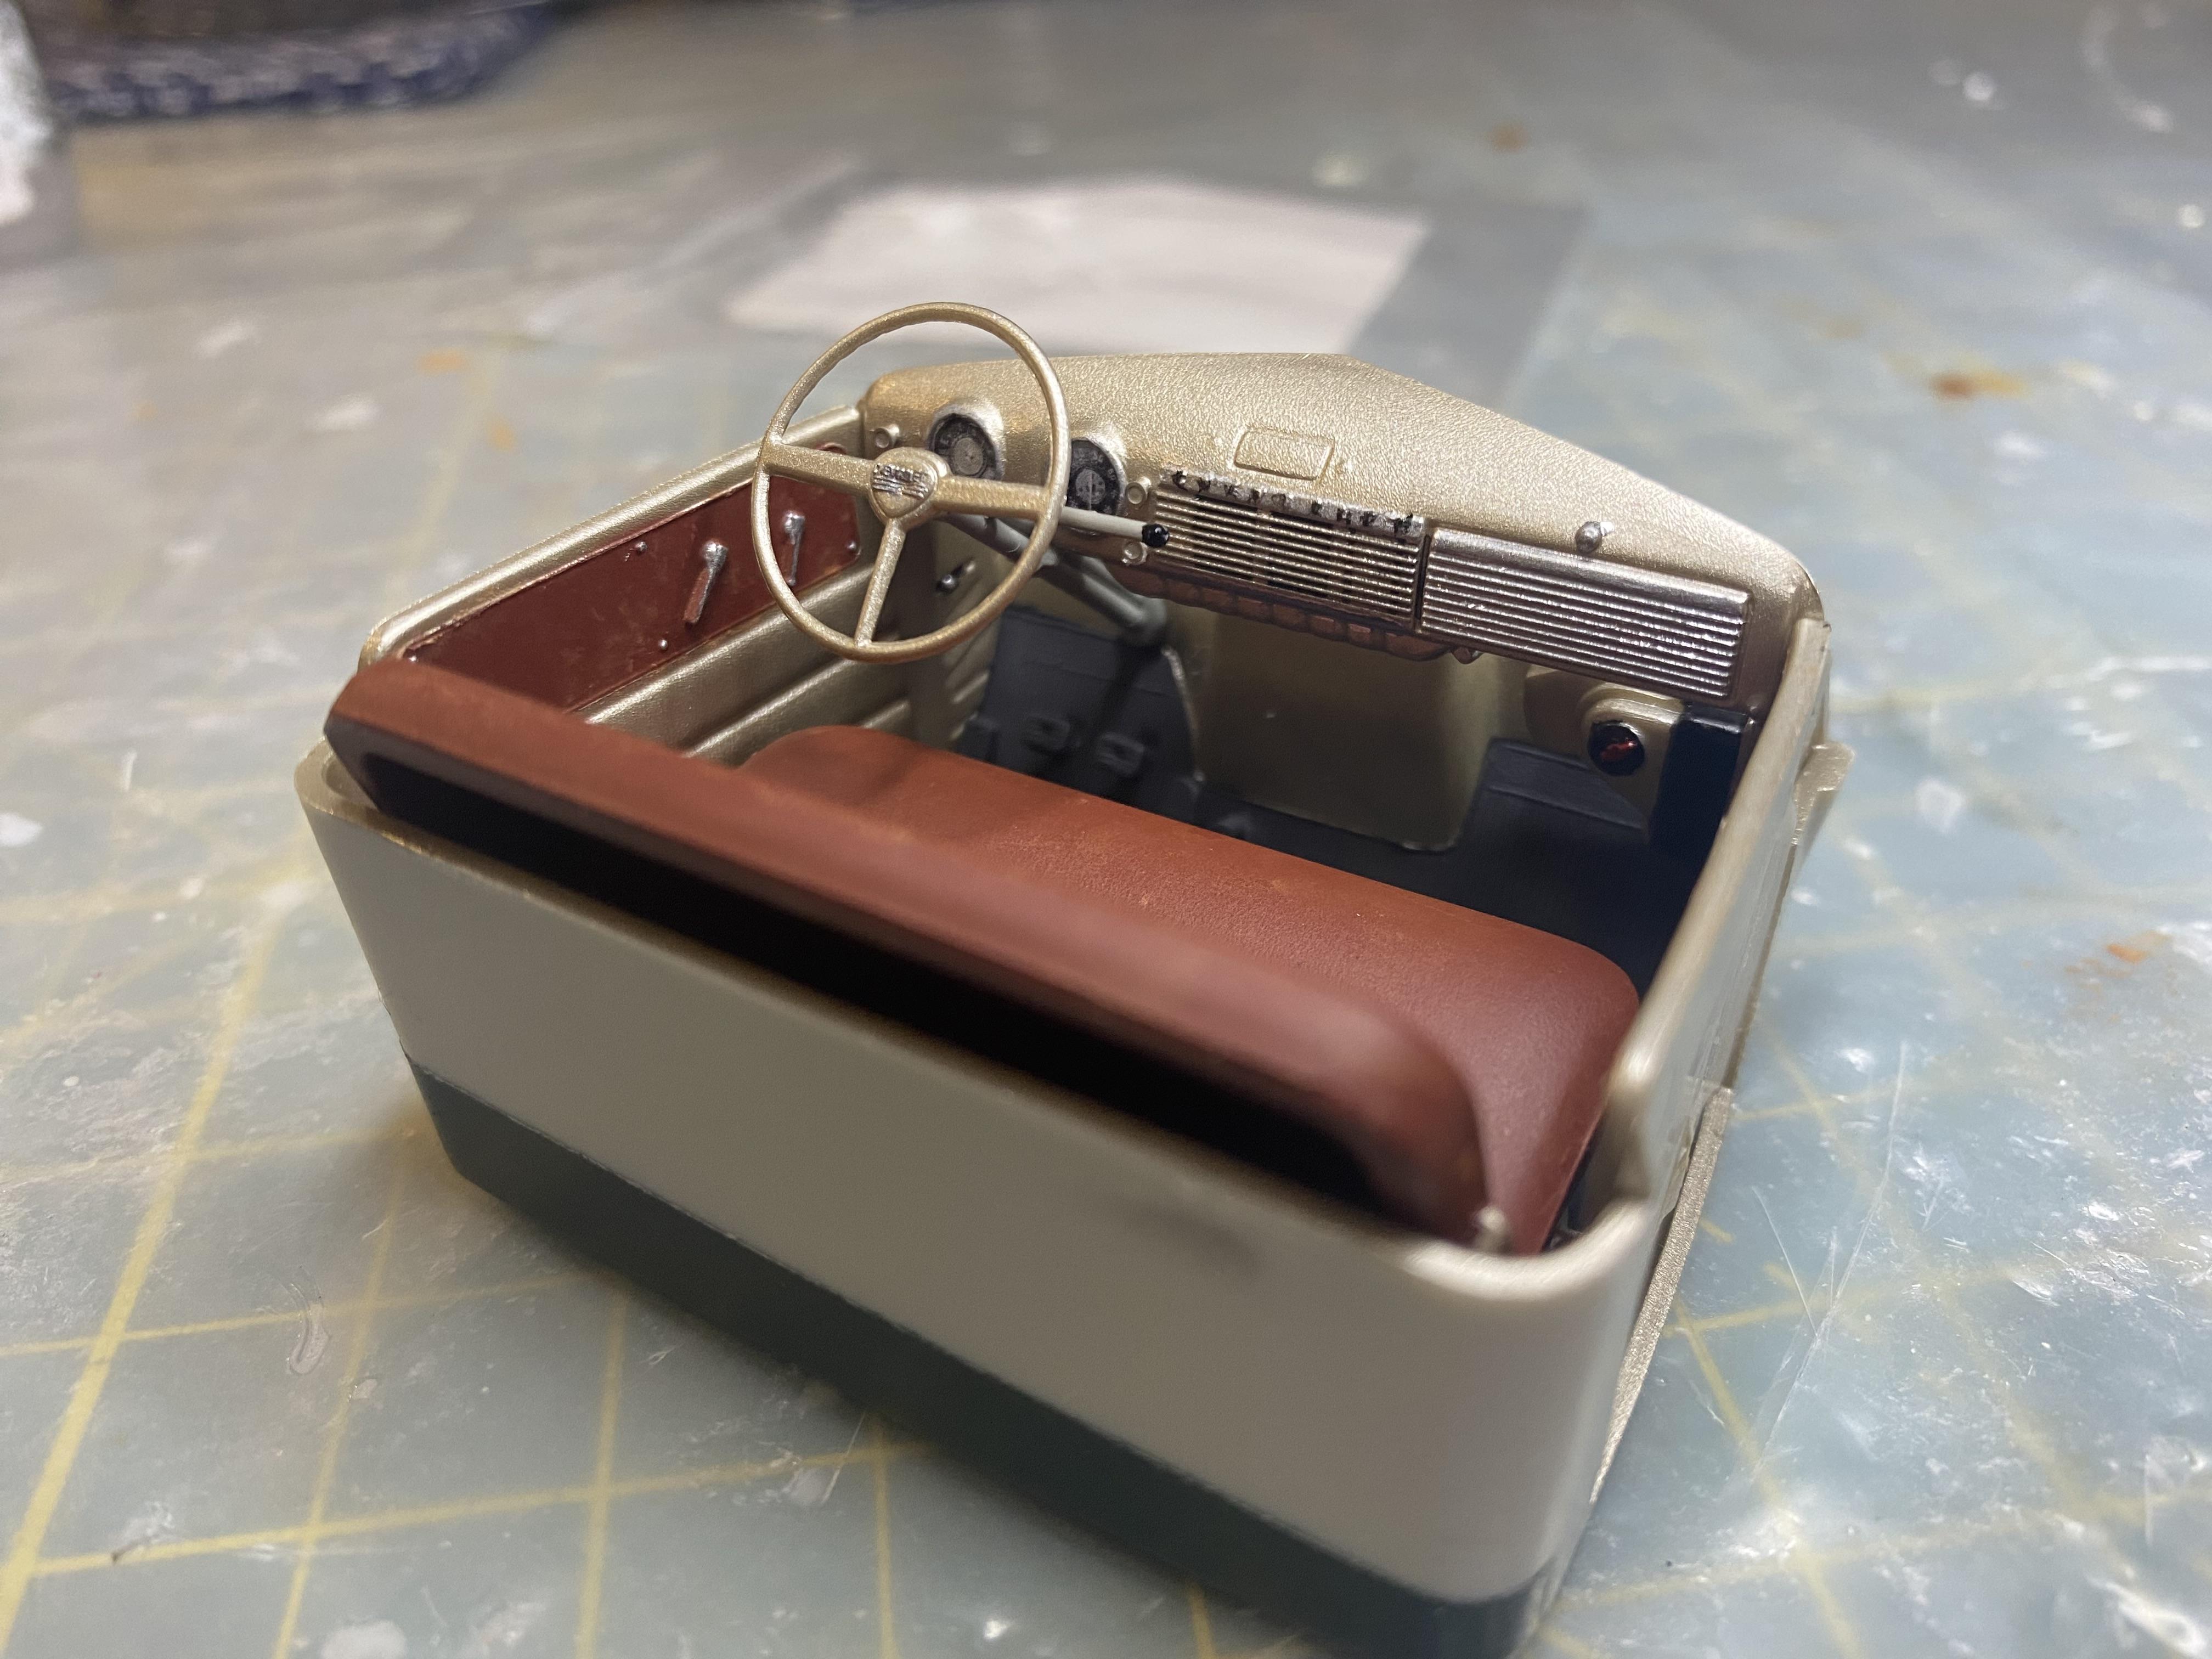
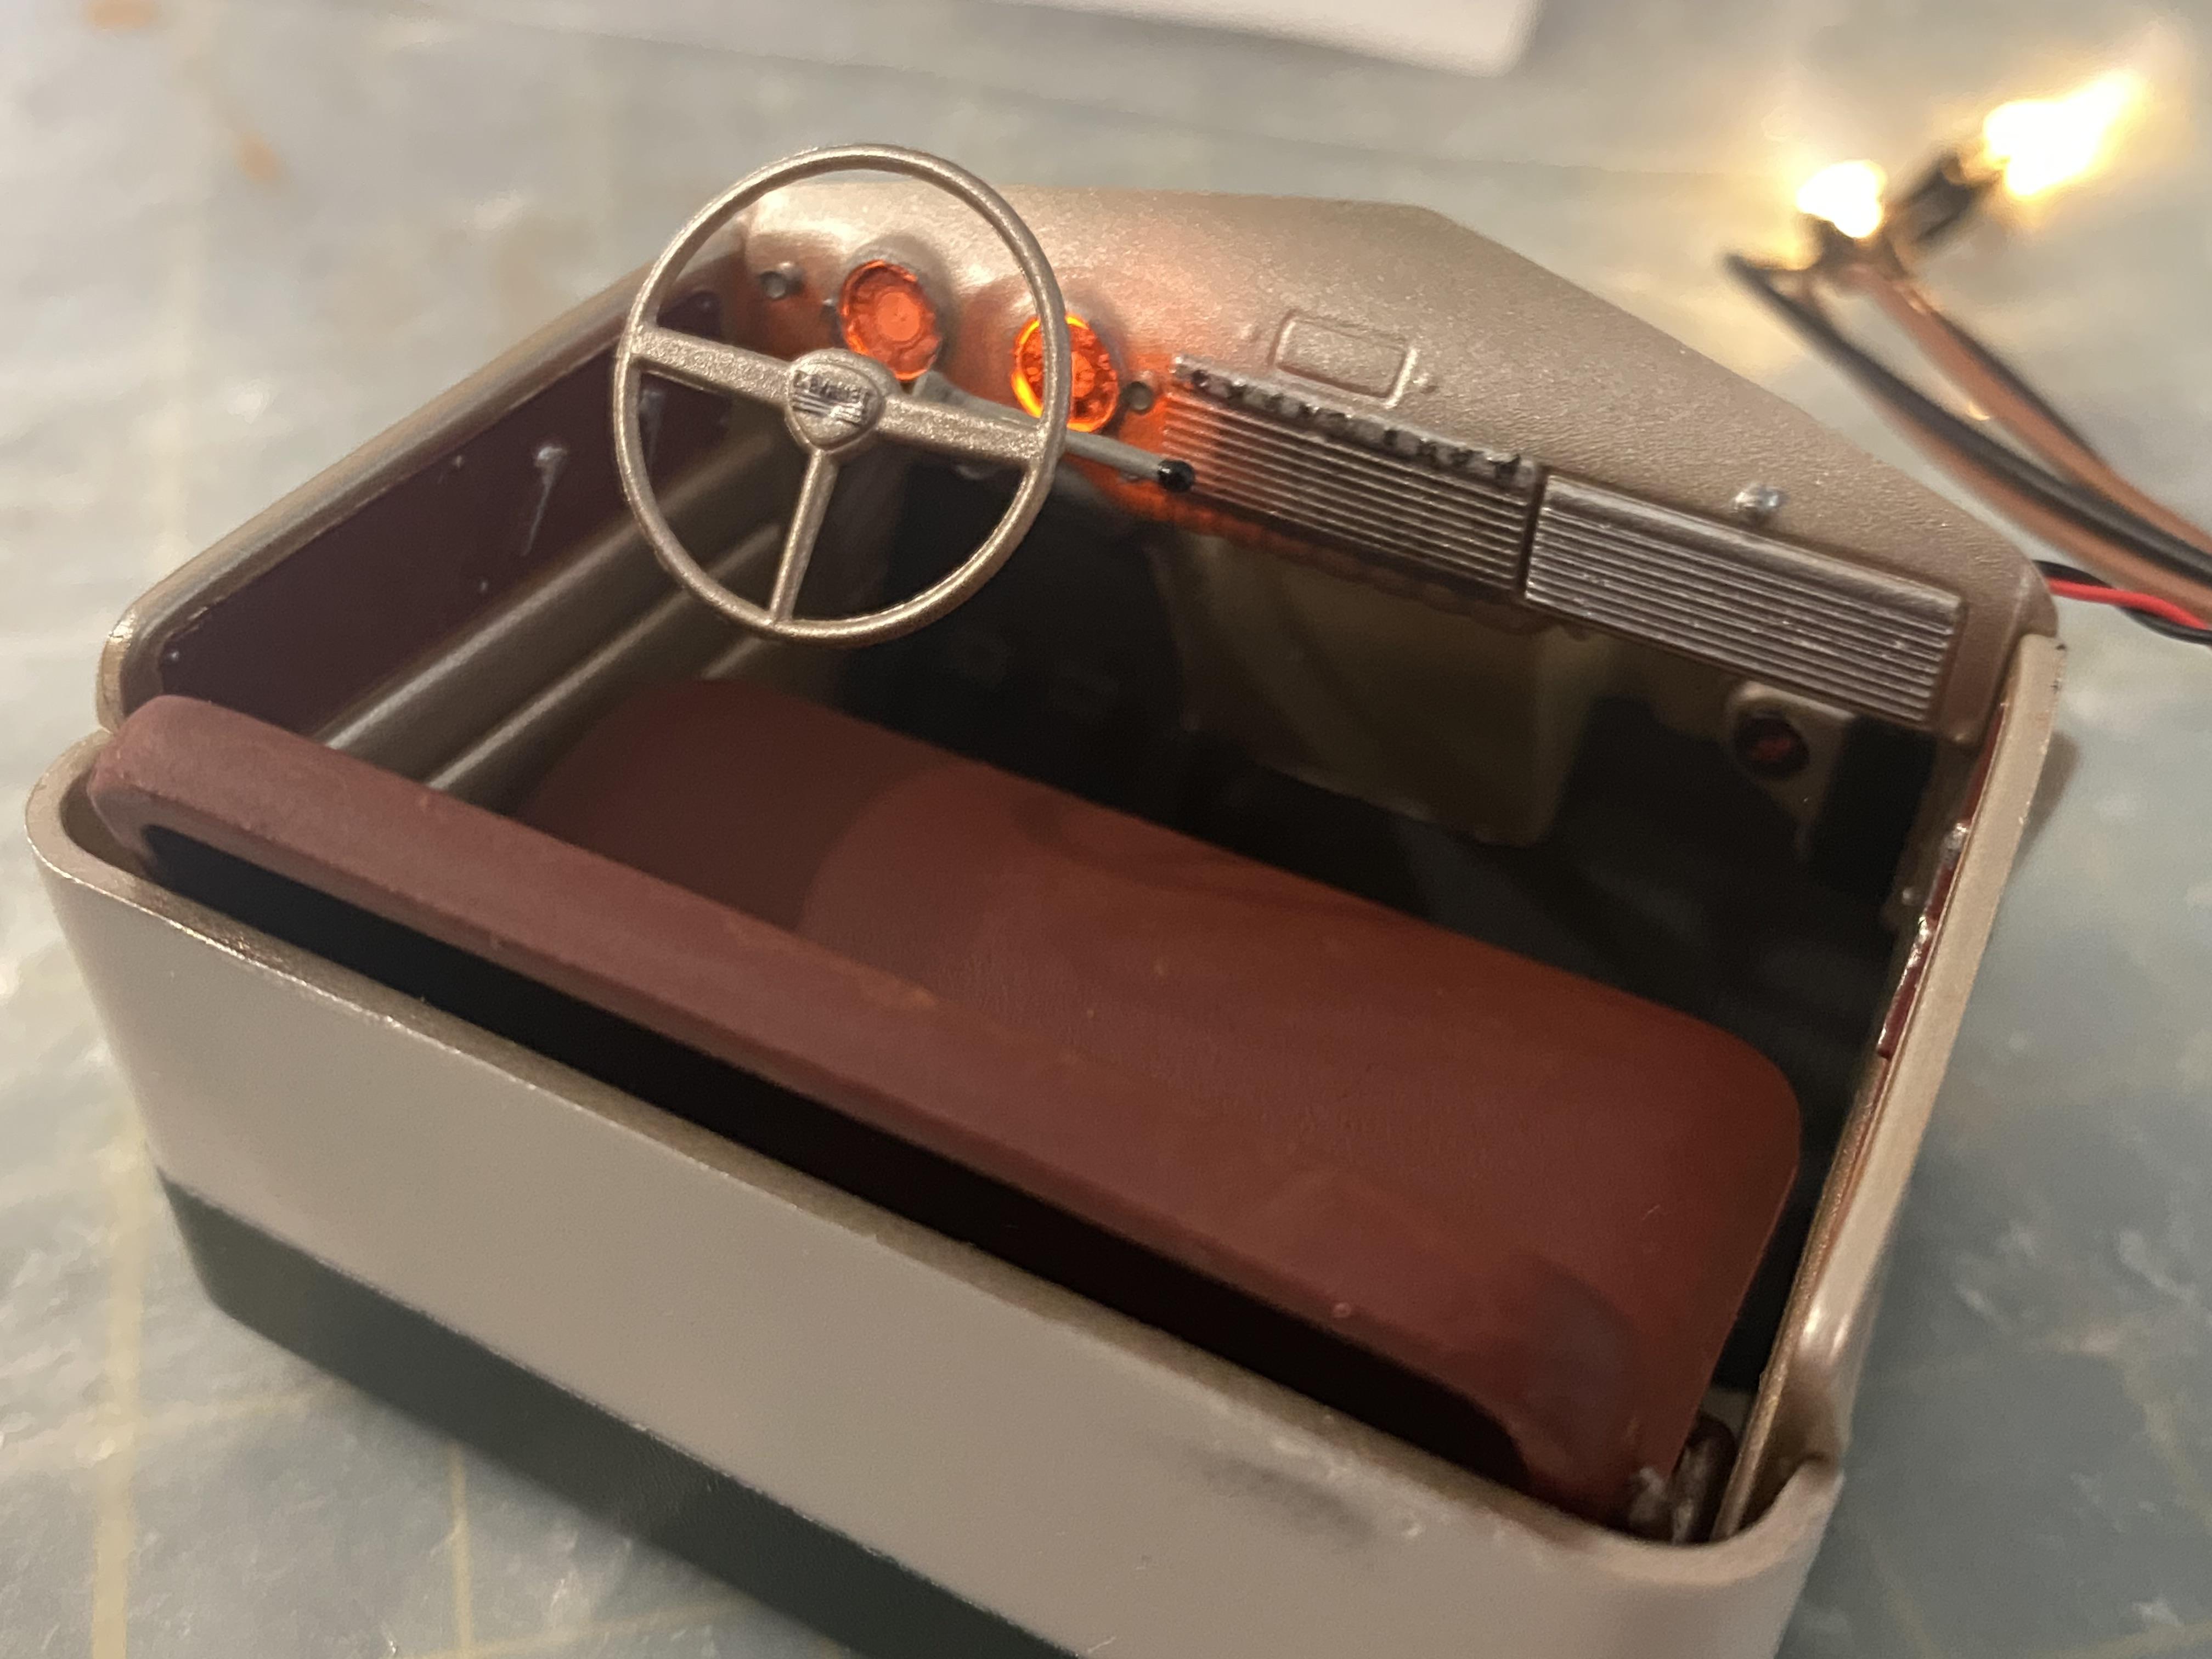
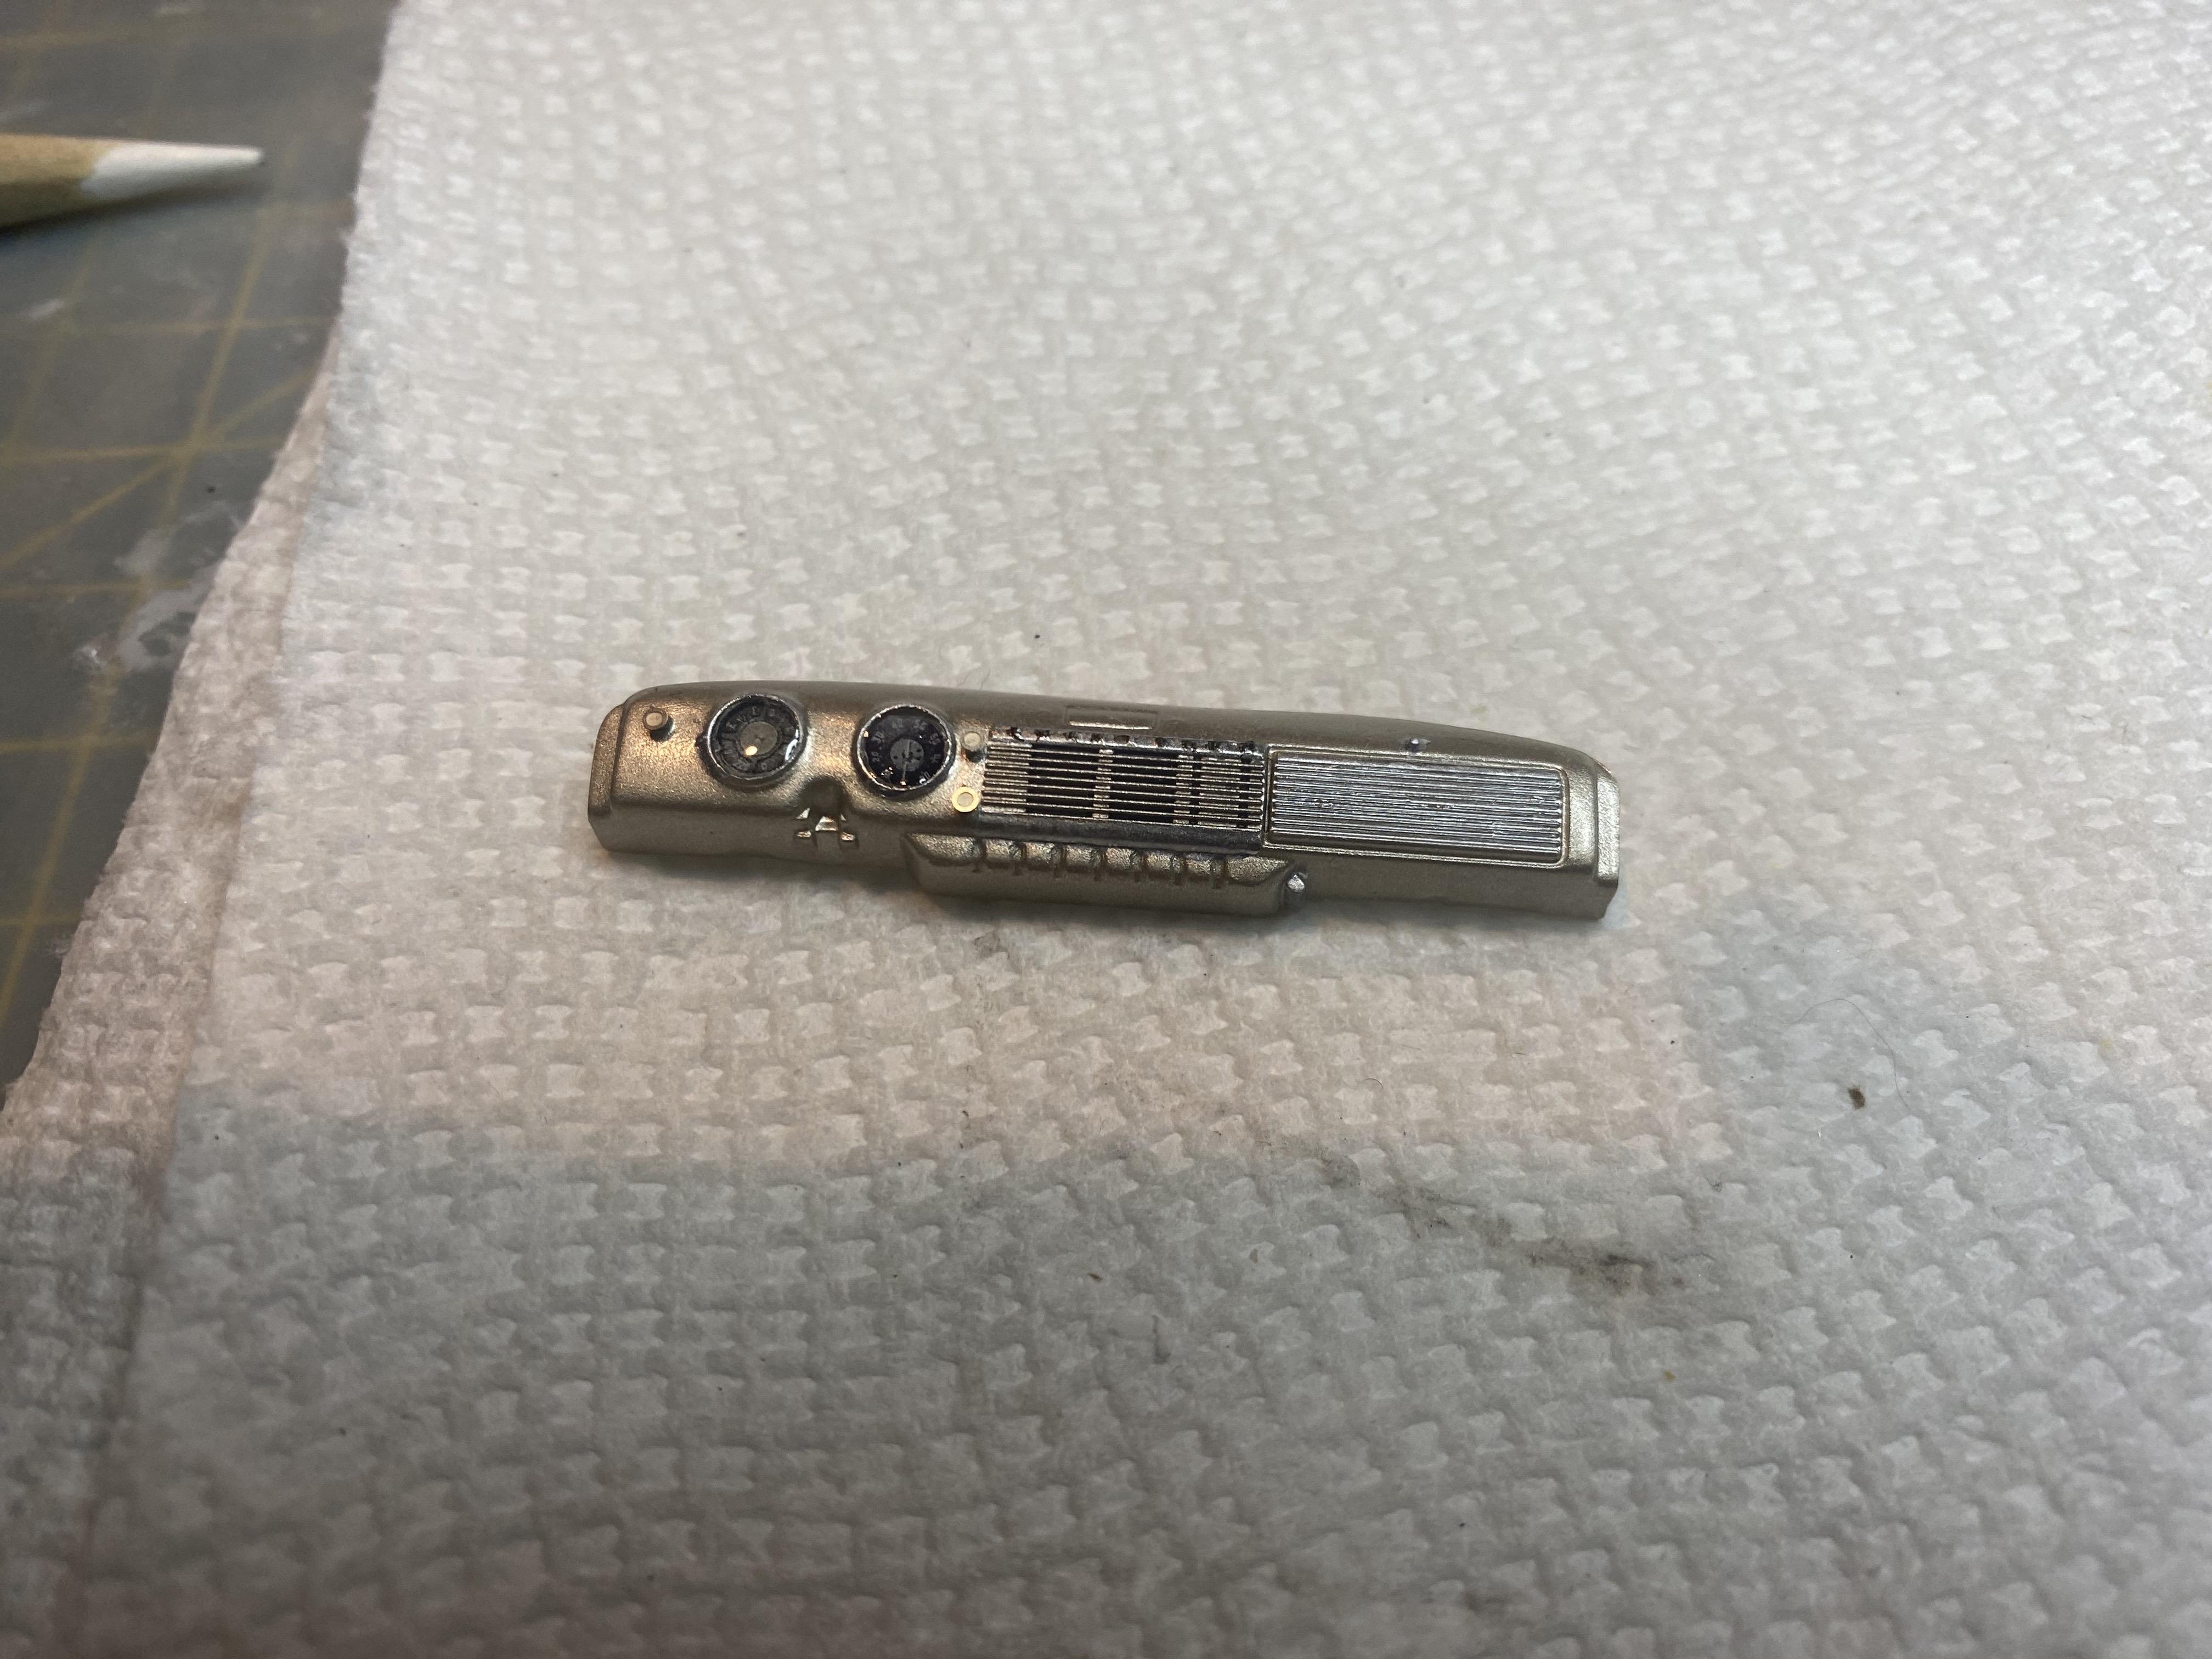
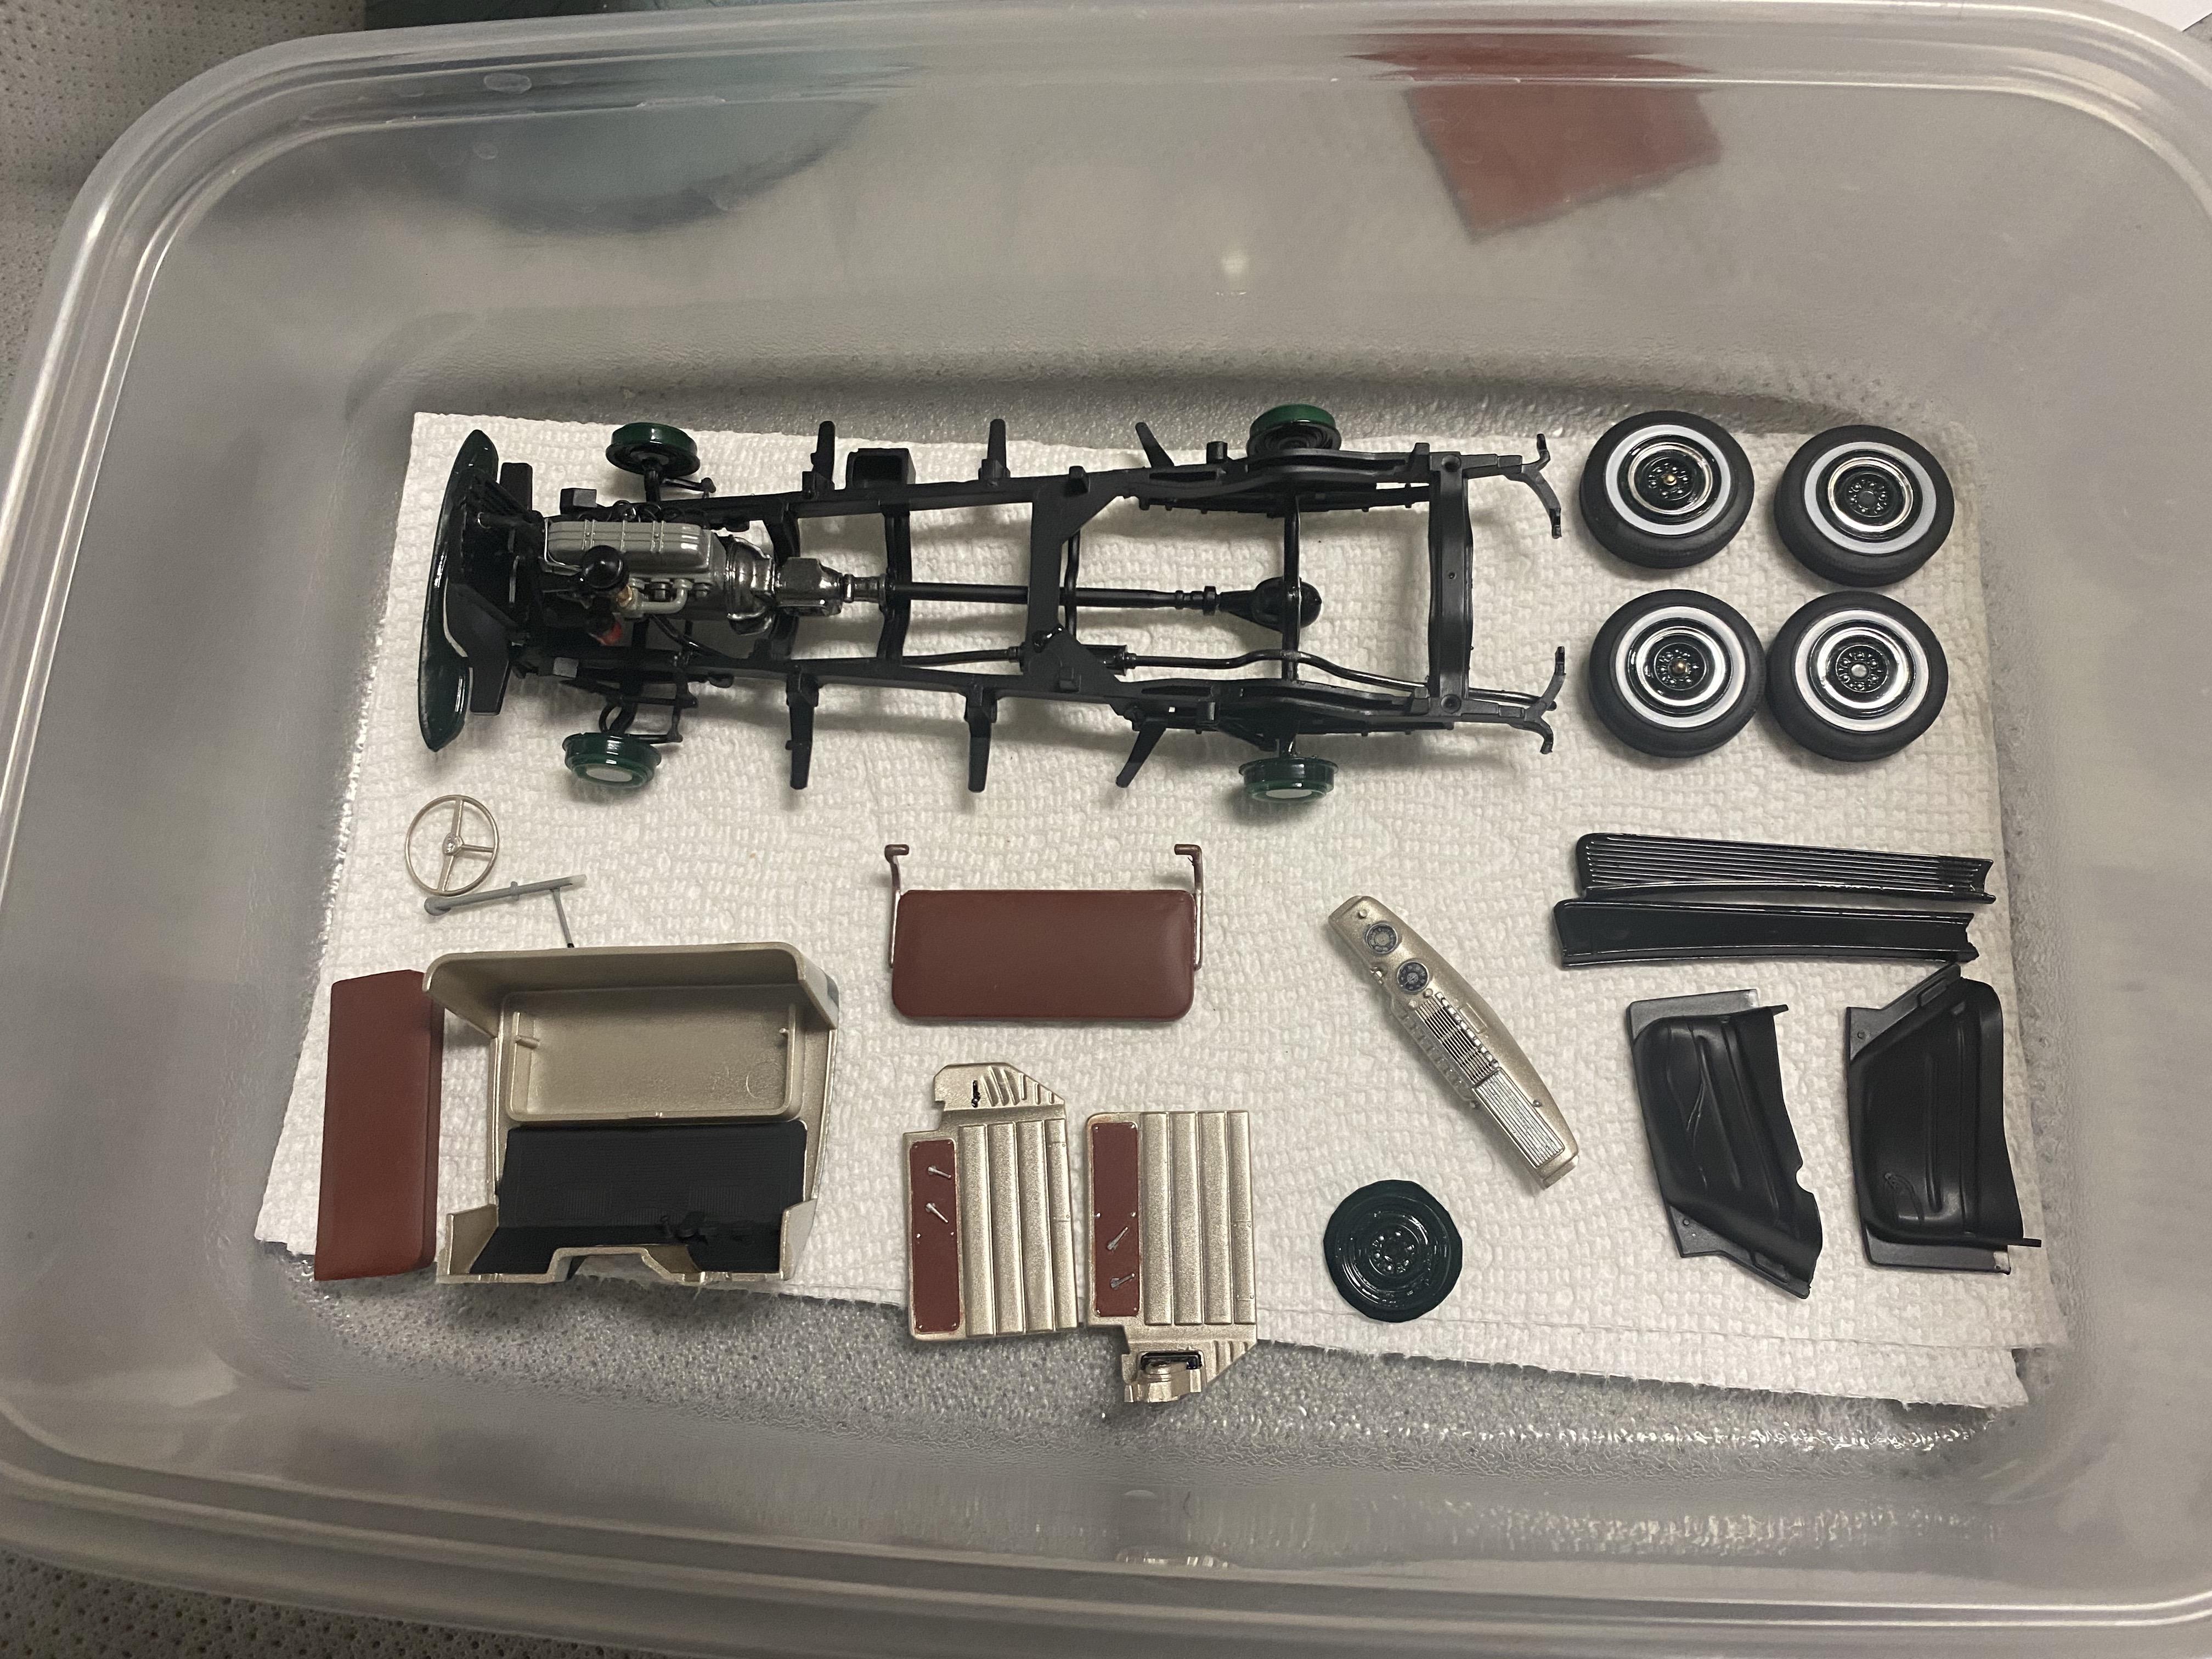
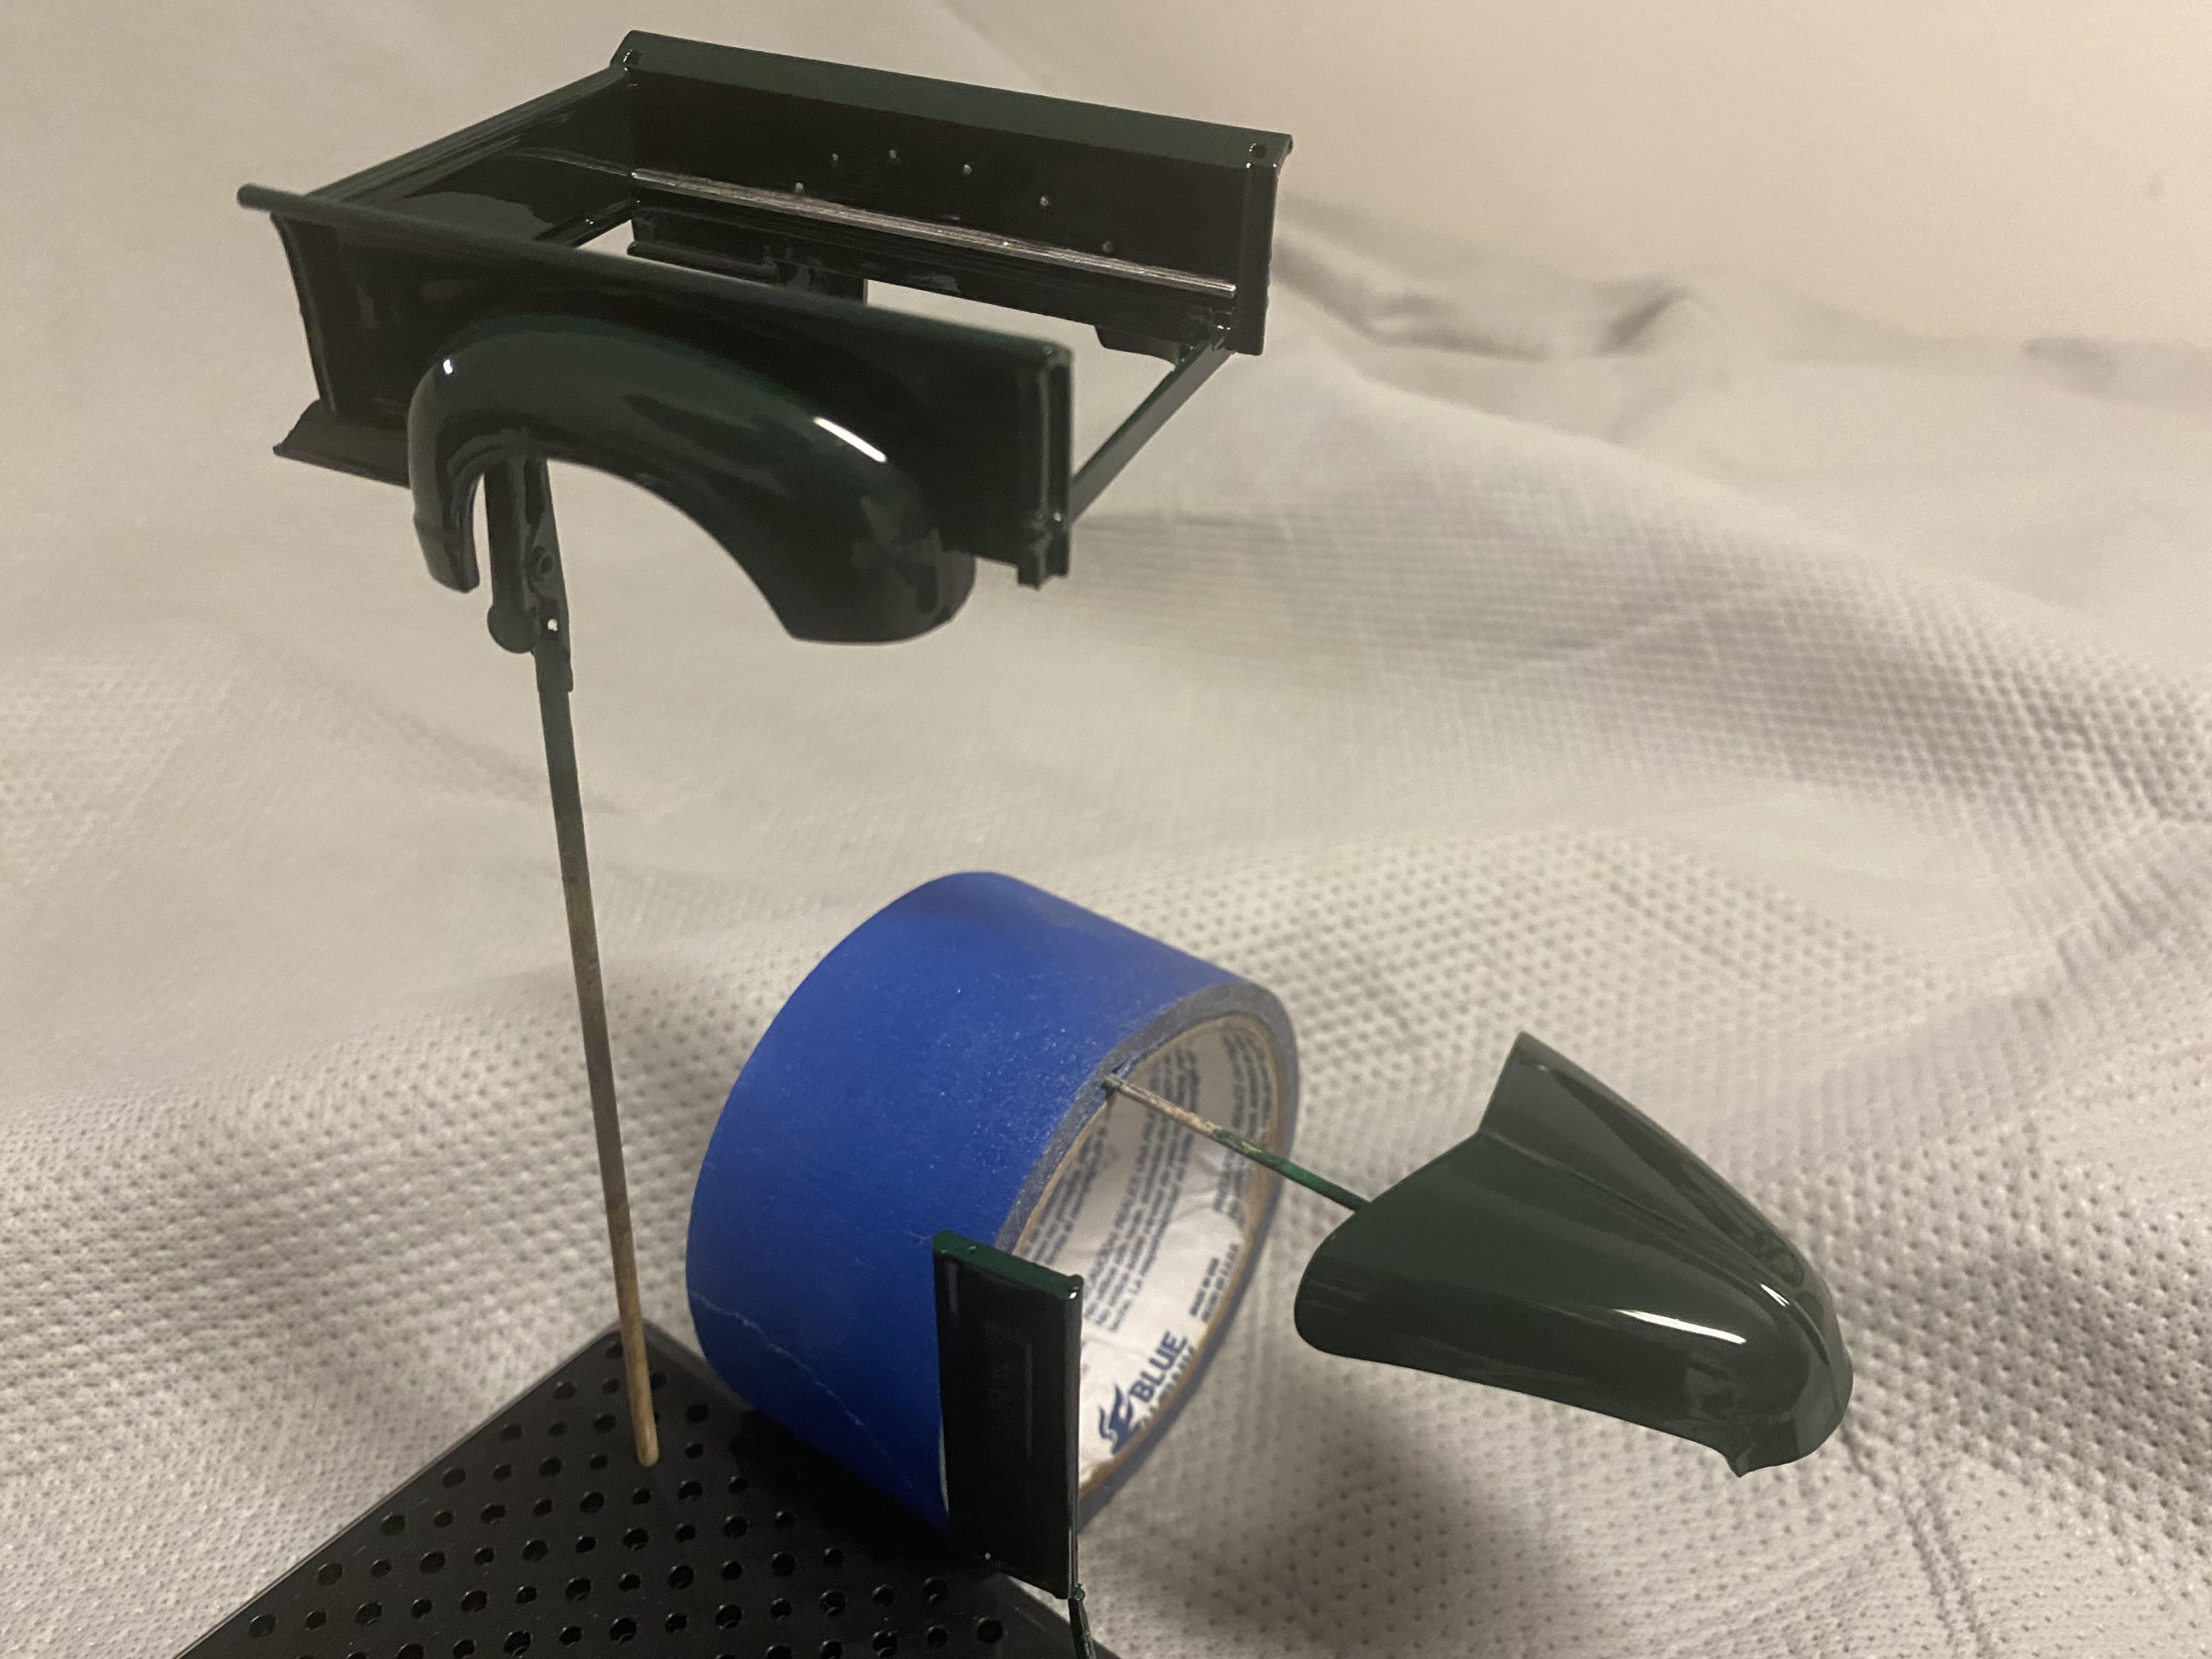
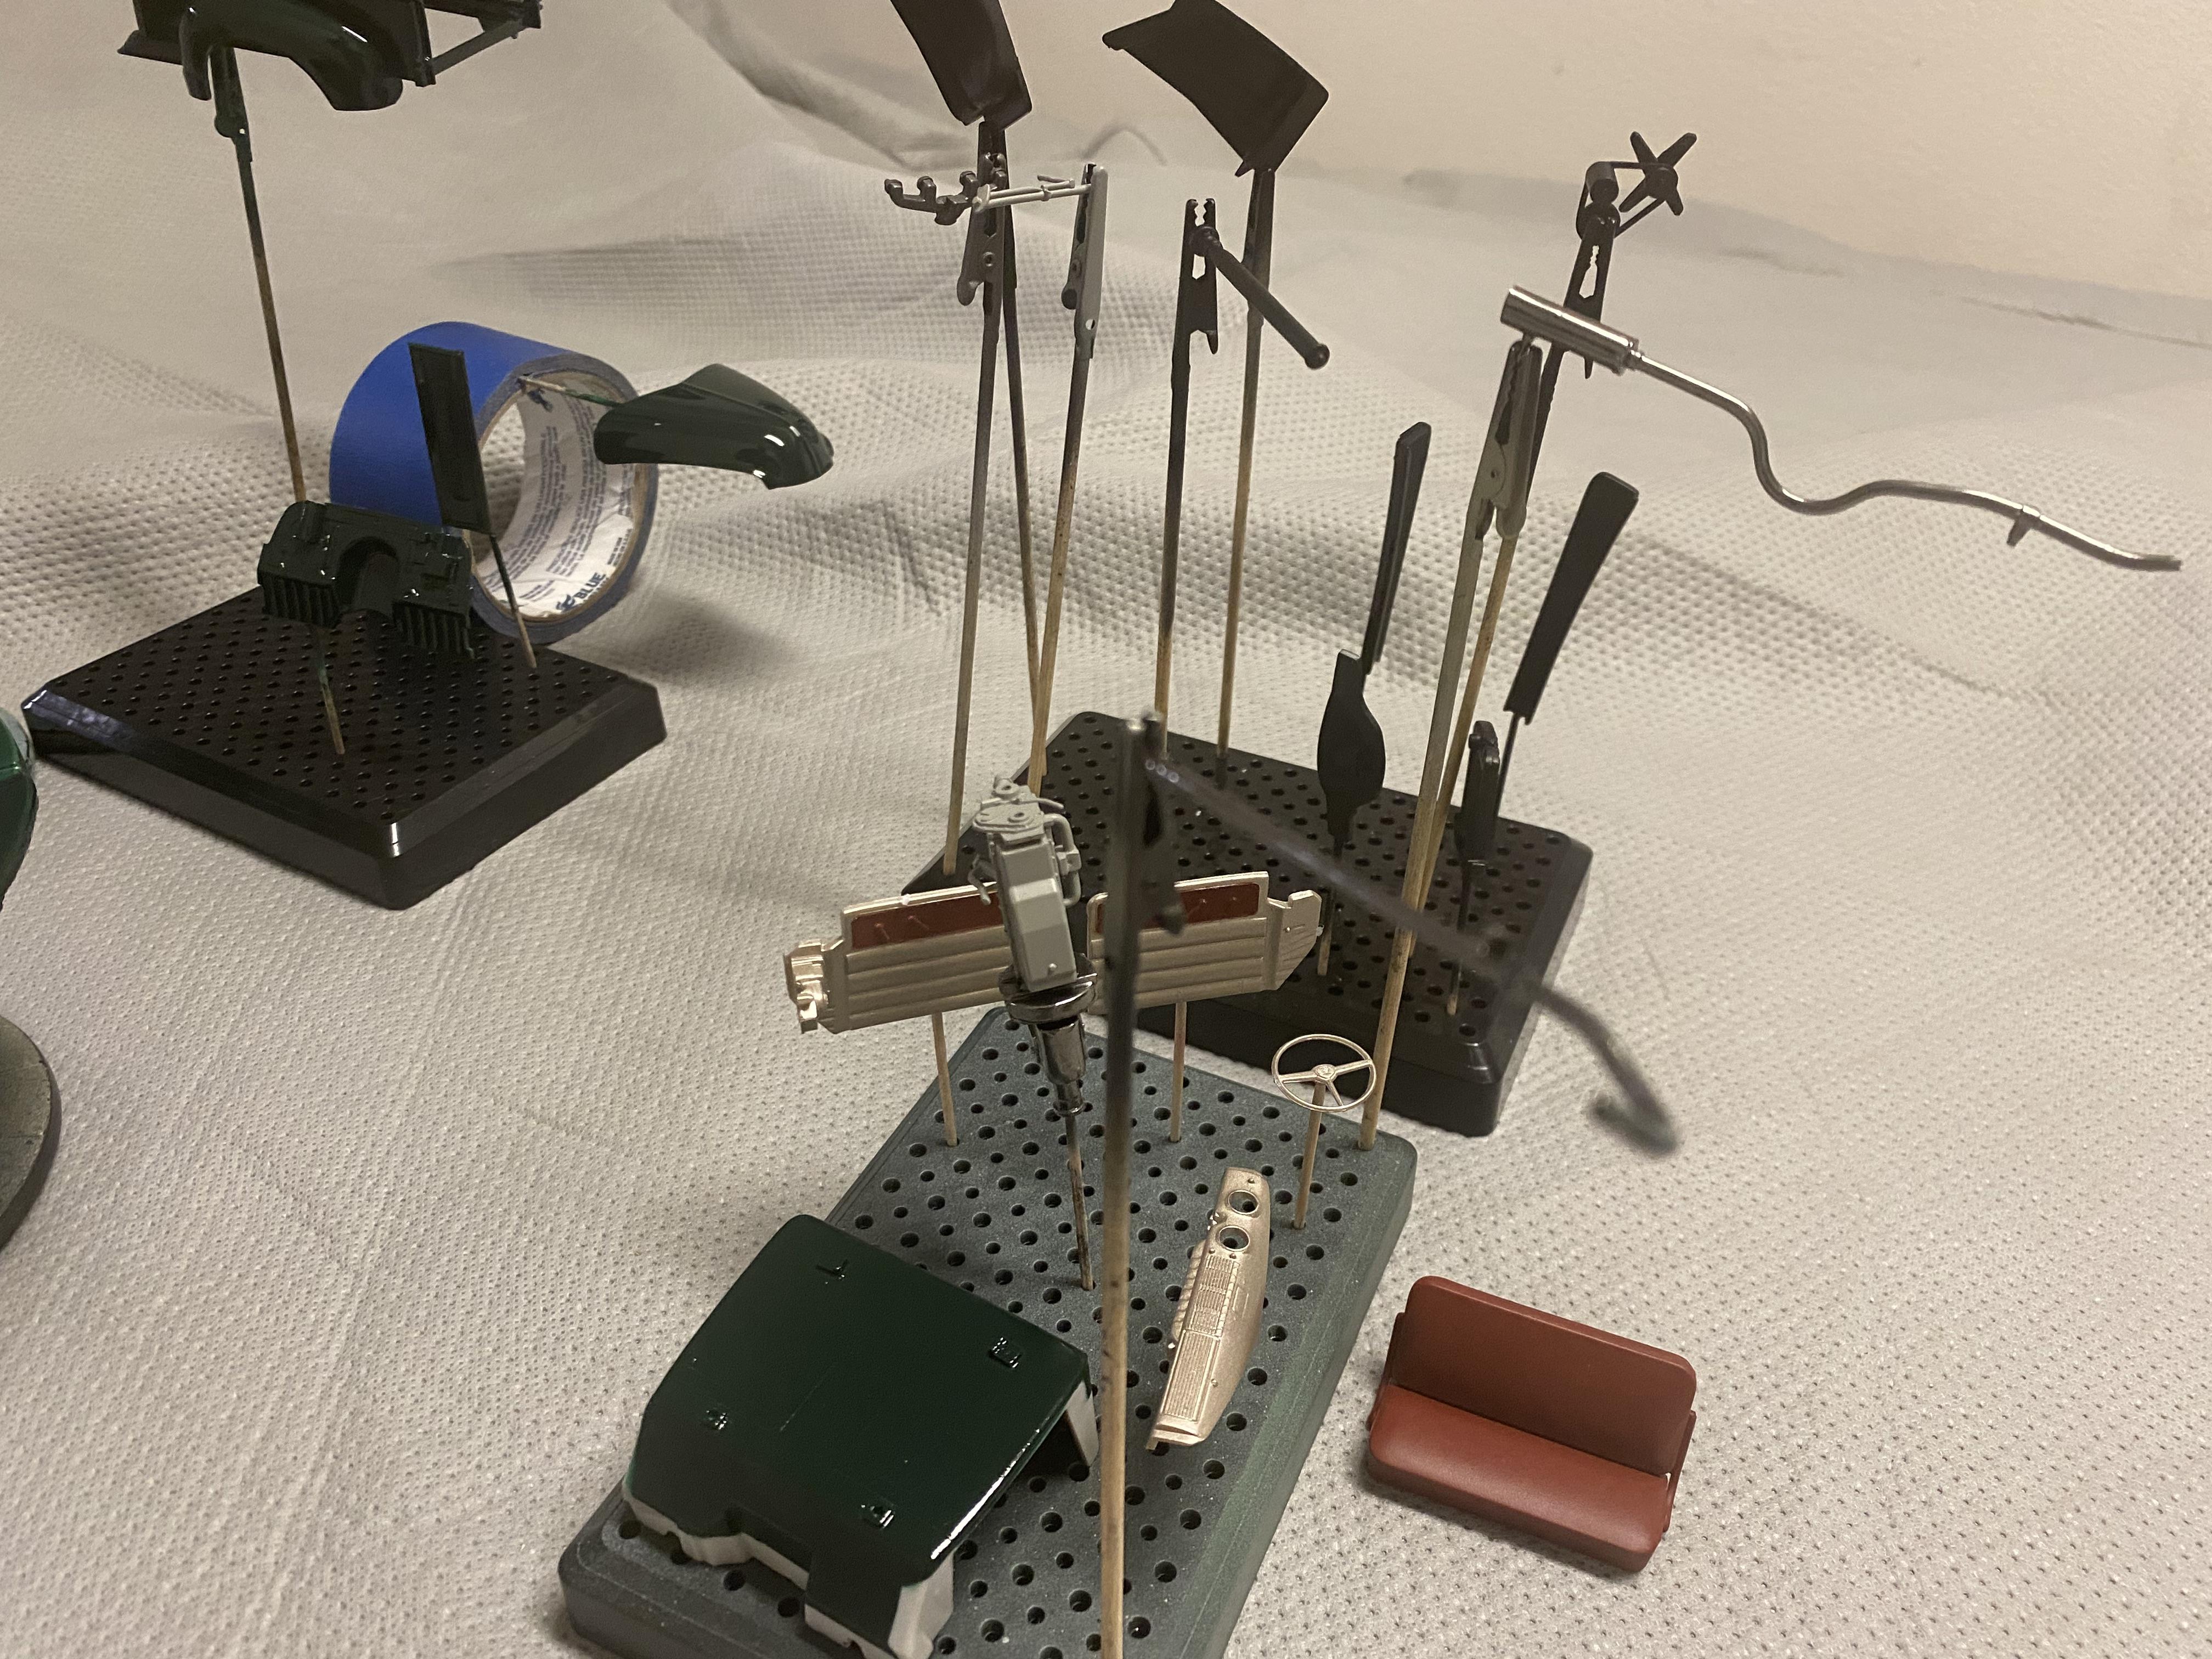
I decided to use bare metal foil for the bed strips. I don’t really love this stuff, too fragile IMHO, but it should be ok in the bed. I usually use Molotov through an airbrush and wait a few days to carefully clear. No fear of it ever pealing. I painted the underside braces satin black. I also assembled the interior and tested the gauge lights.
-
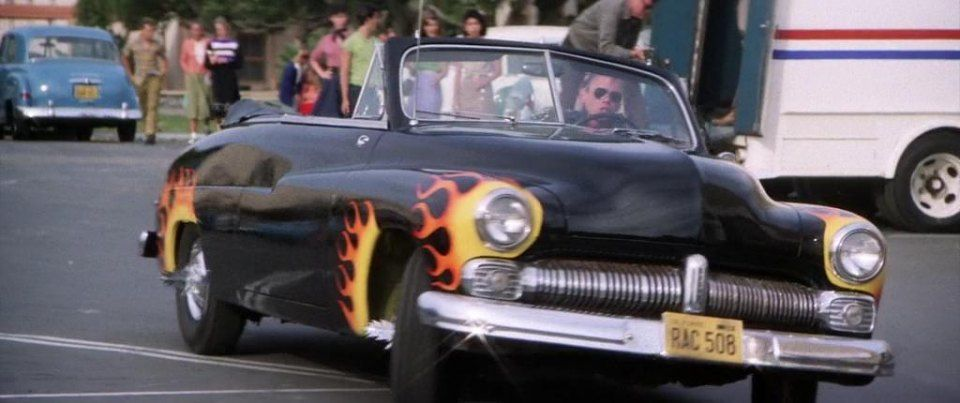
Does anyone make the decals for the Merc from Grease, Hells Chariot?
-
1950 Chevy 3100 Pickup WIP
Duddly01 replied to Duddly01's topic in WIP: Model Trucks: Pickups, Vans, SUVs, Light Commercial
Thank you! -
1950 Chevy 3100 Pickup WIP
Duddly01 replied to Duddly01's topic in WIP: Model Trucks: Pickups, Vans, SUVs, Light Commercial
Thank you! -
1950 Chevy 3100 Pickup WIP
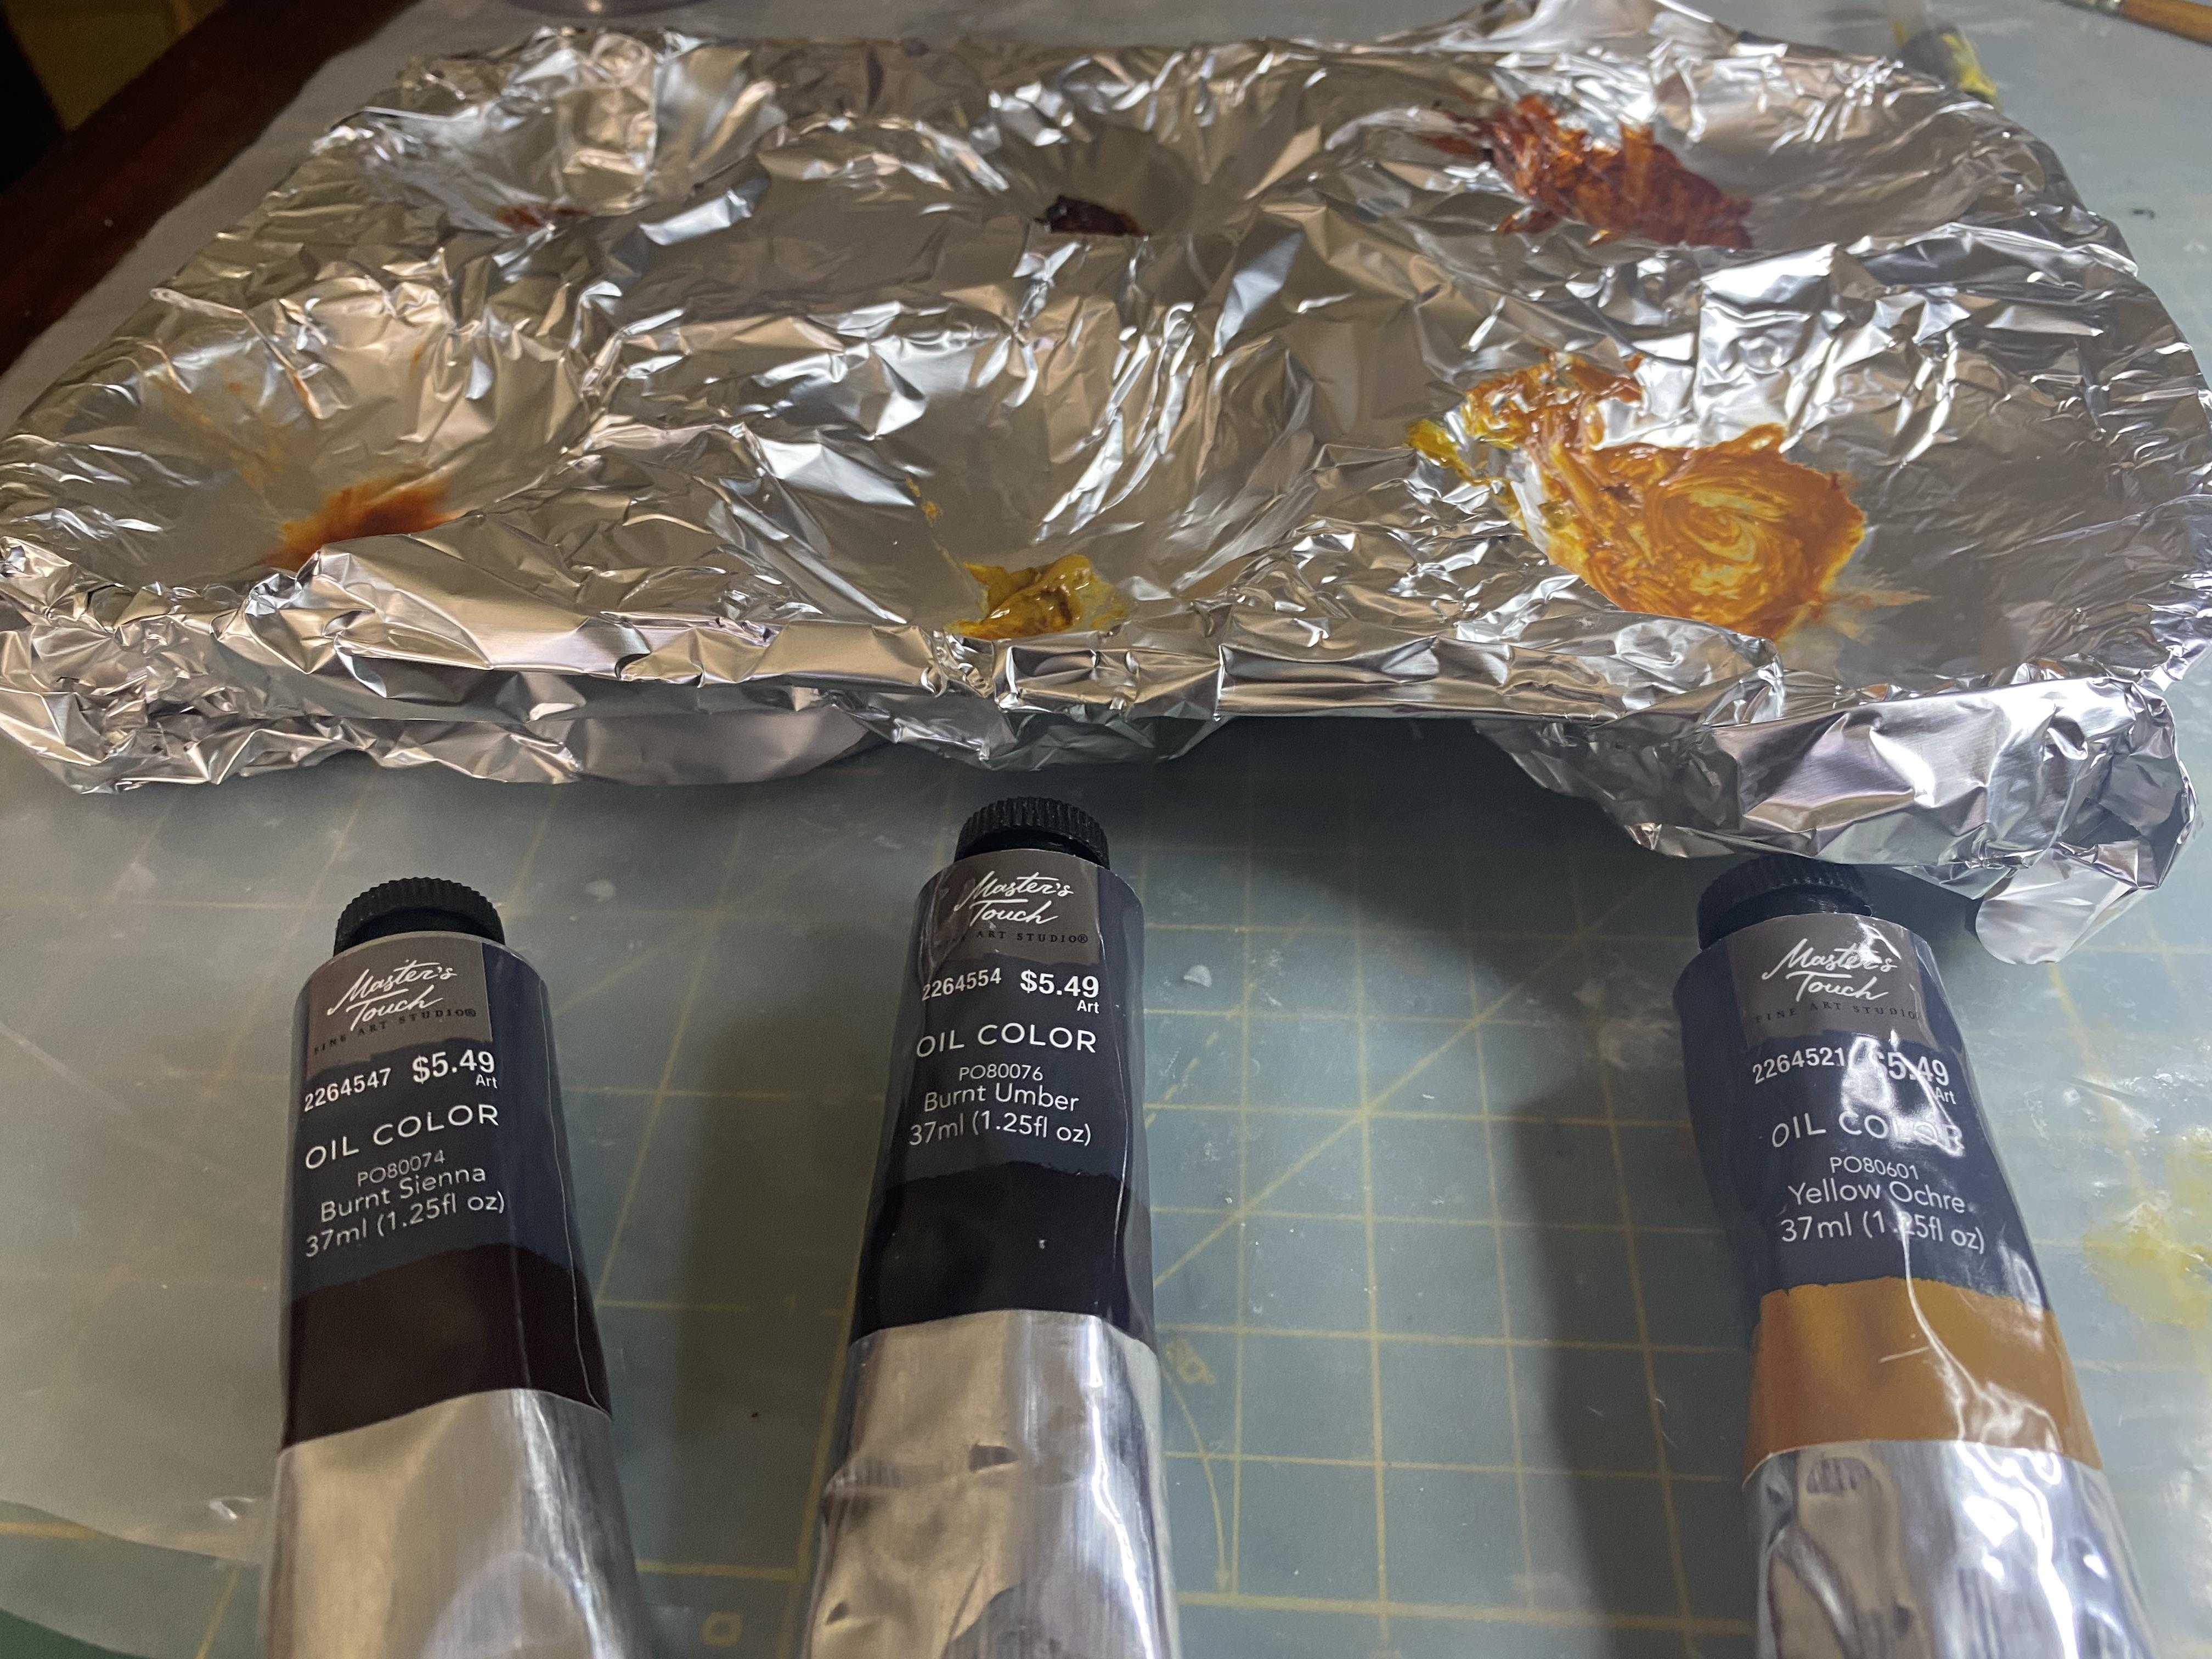
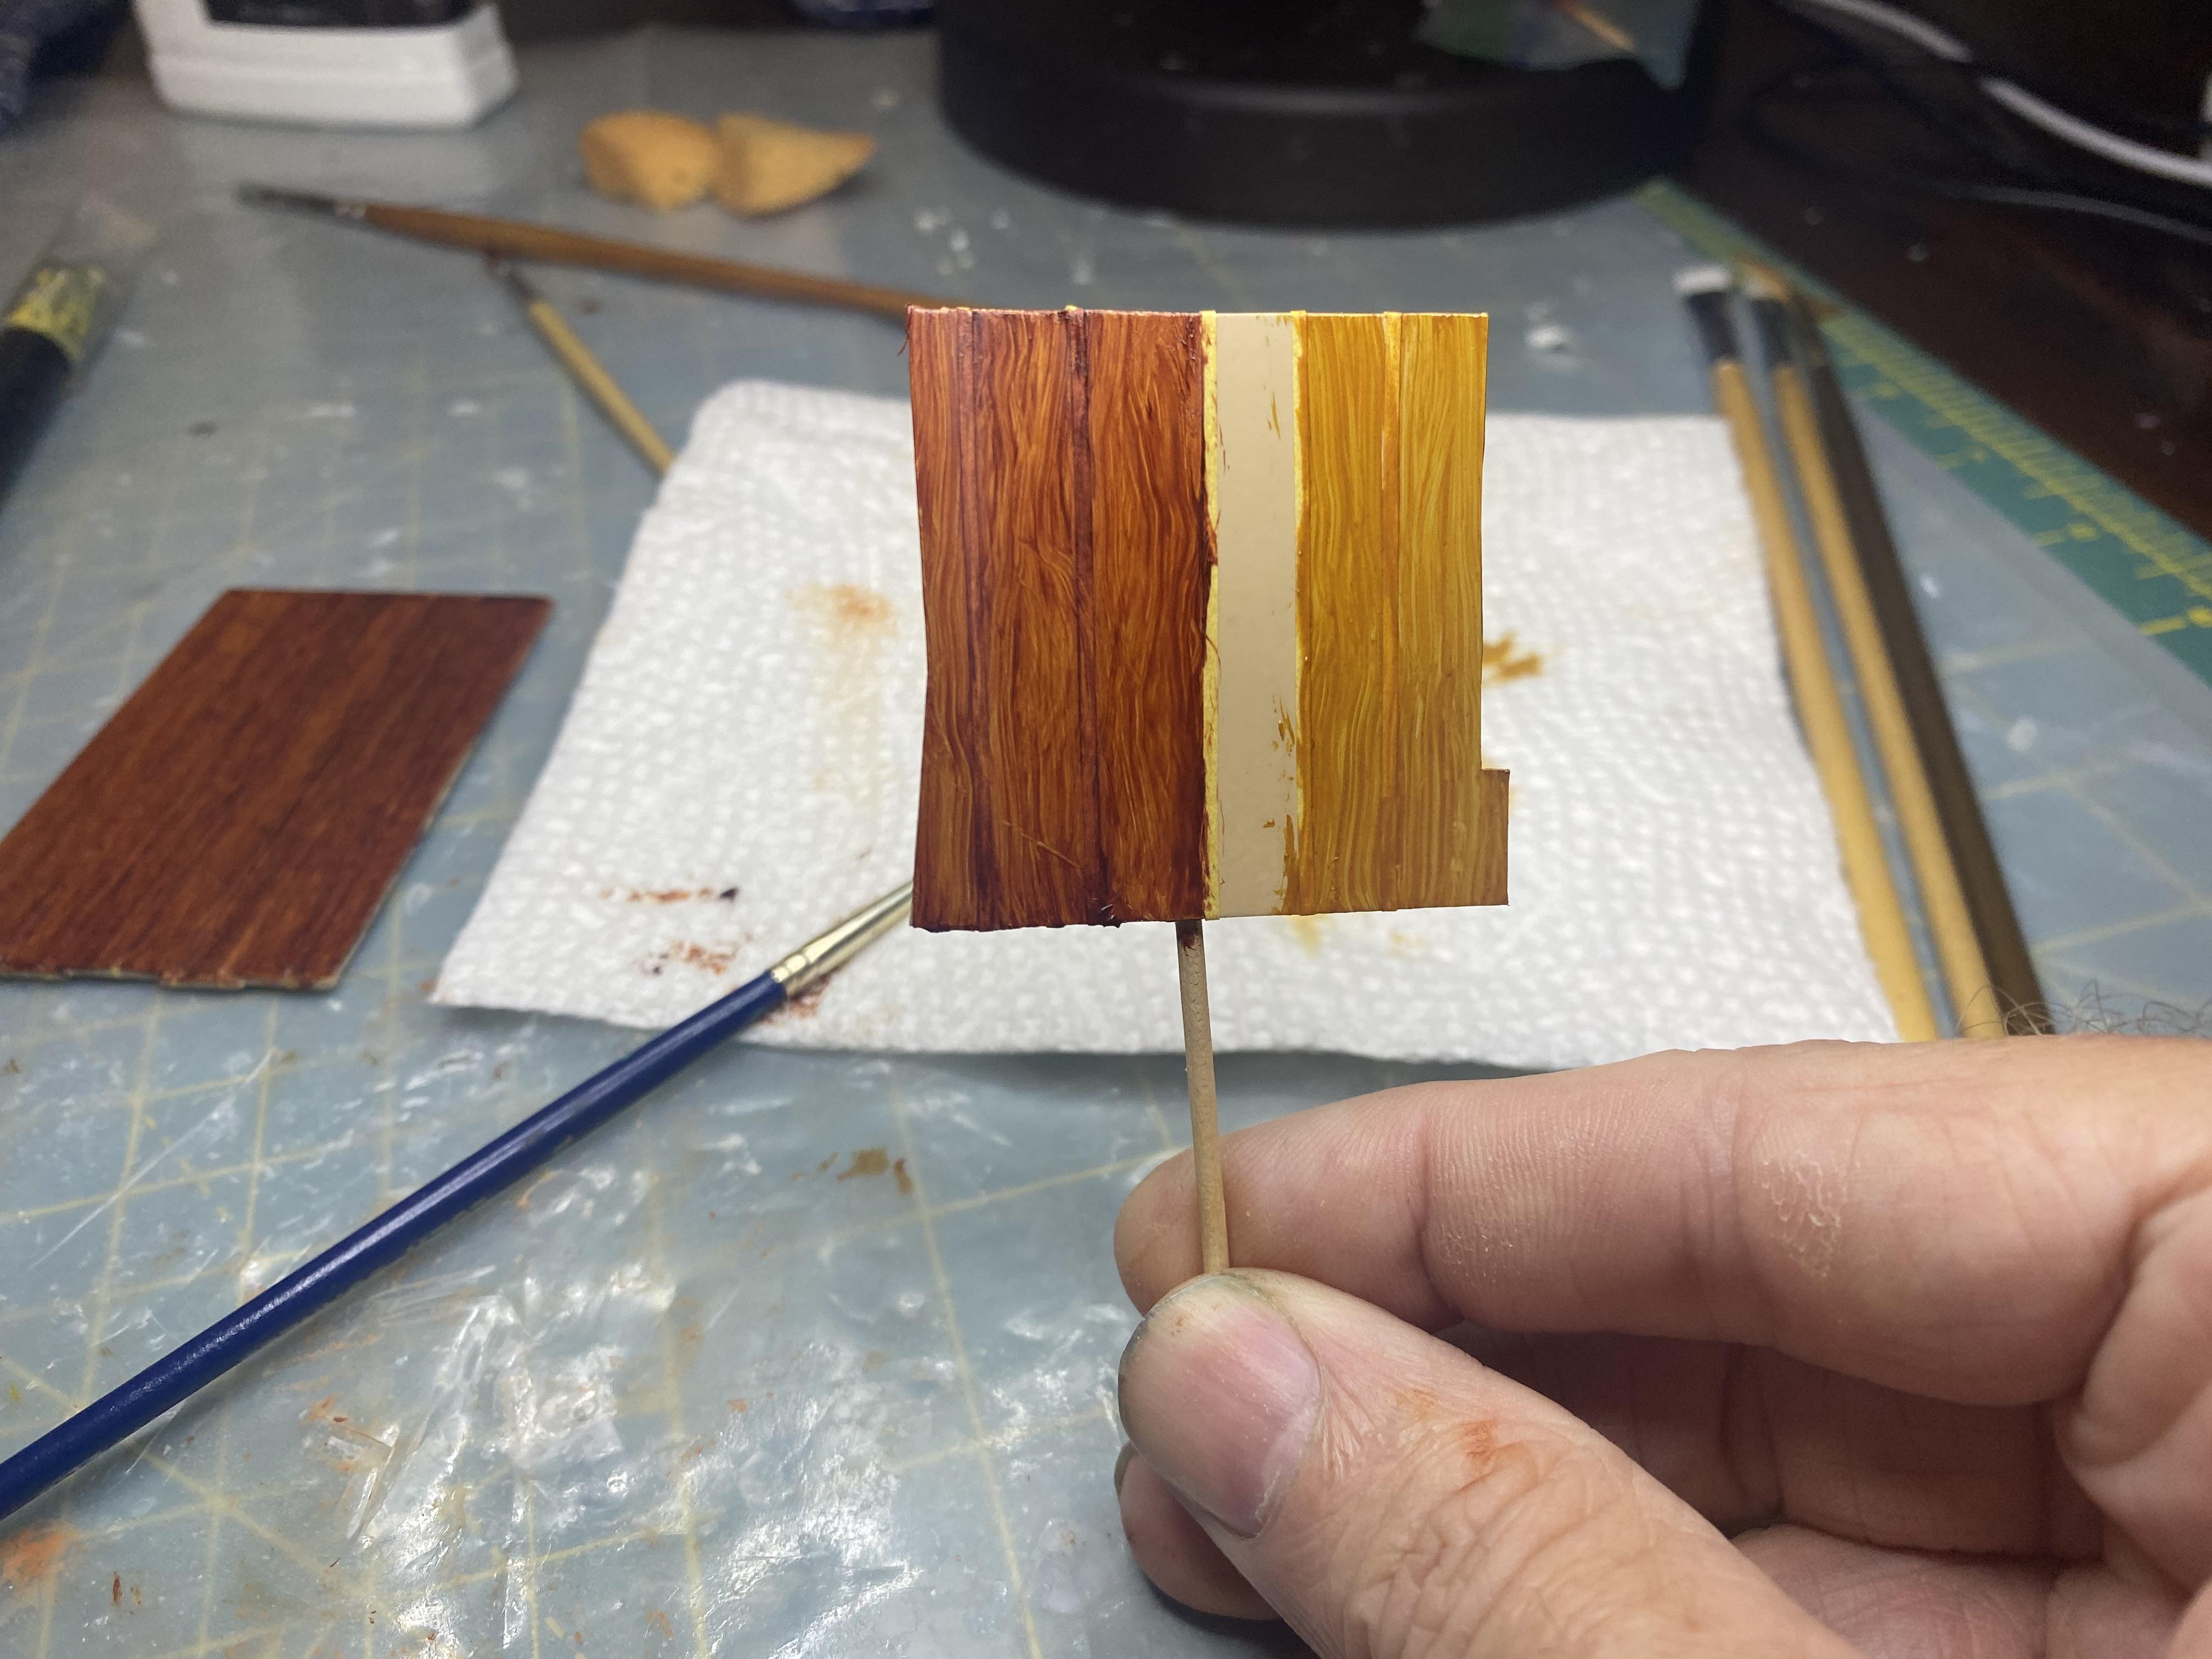
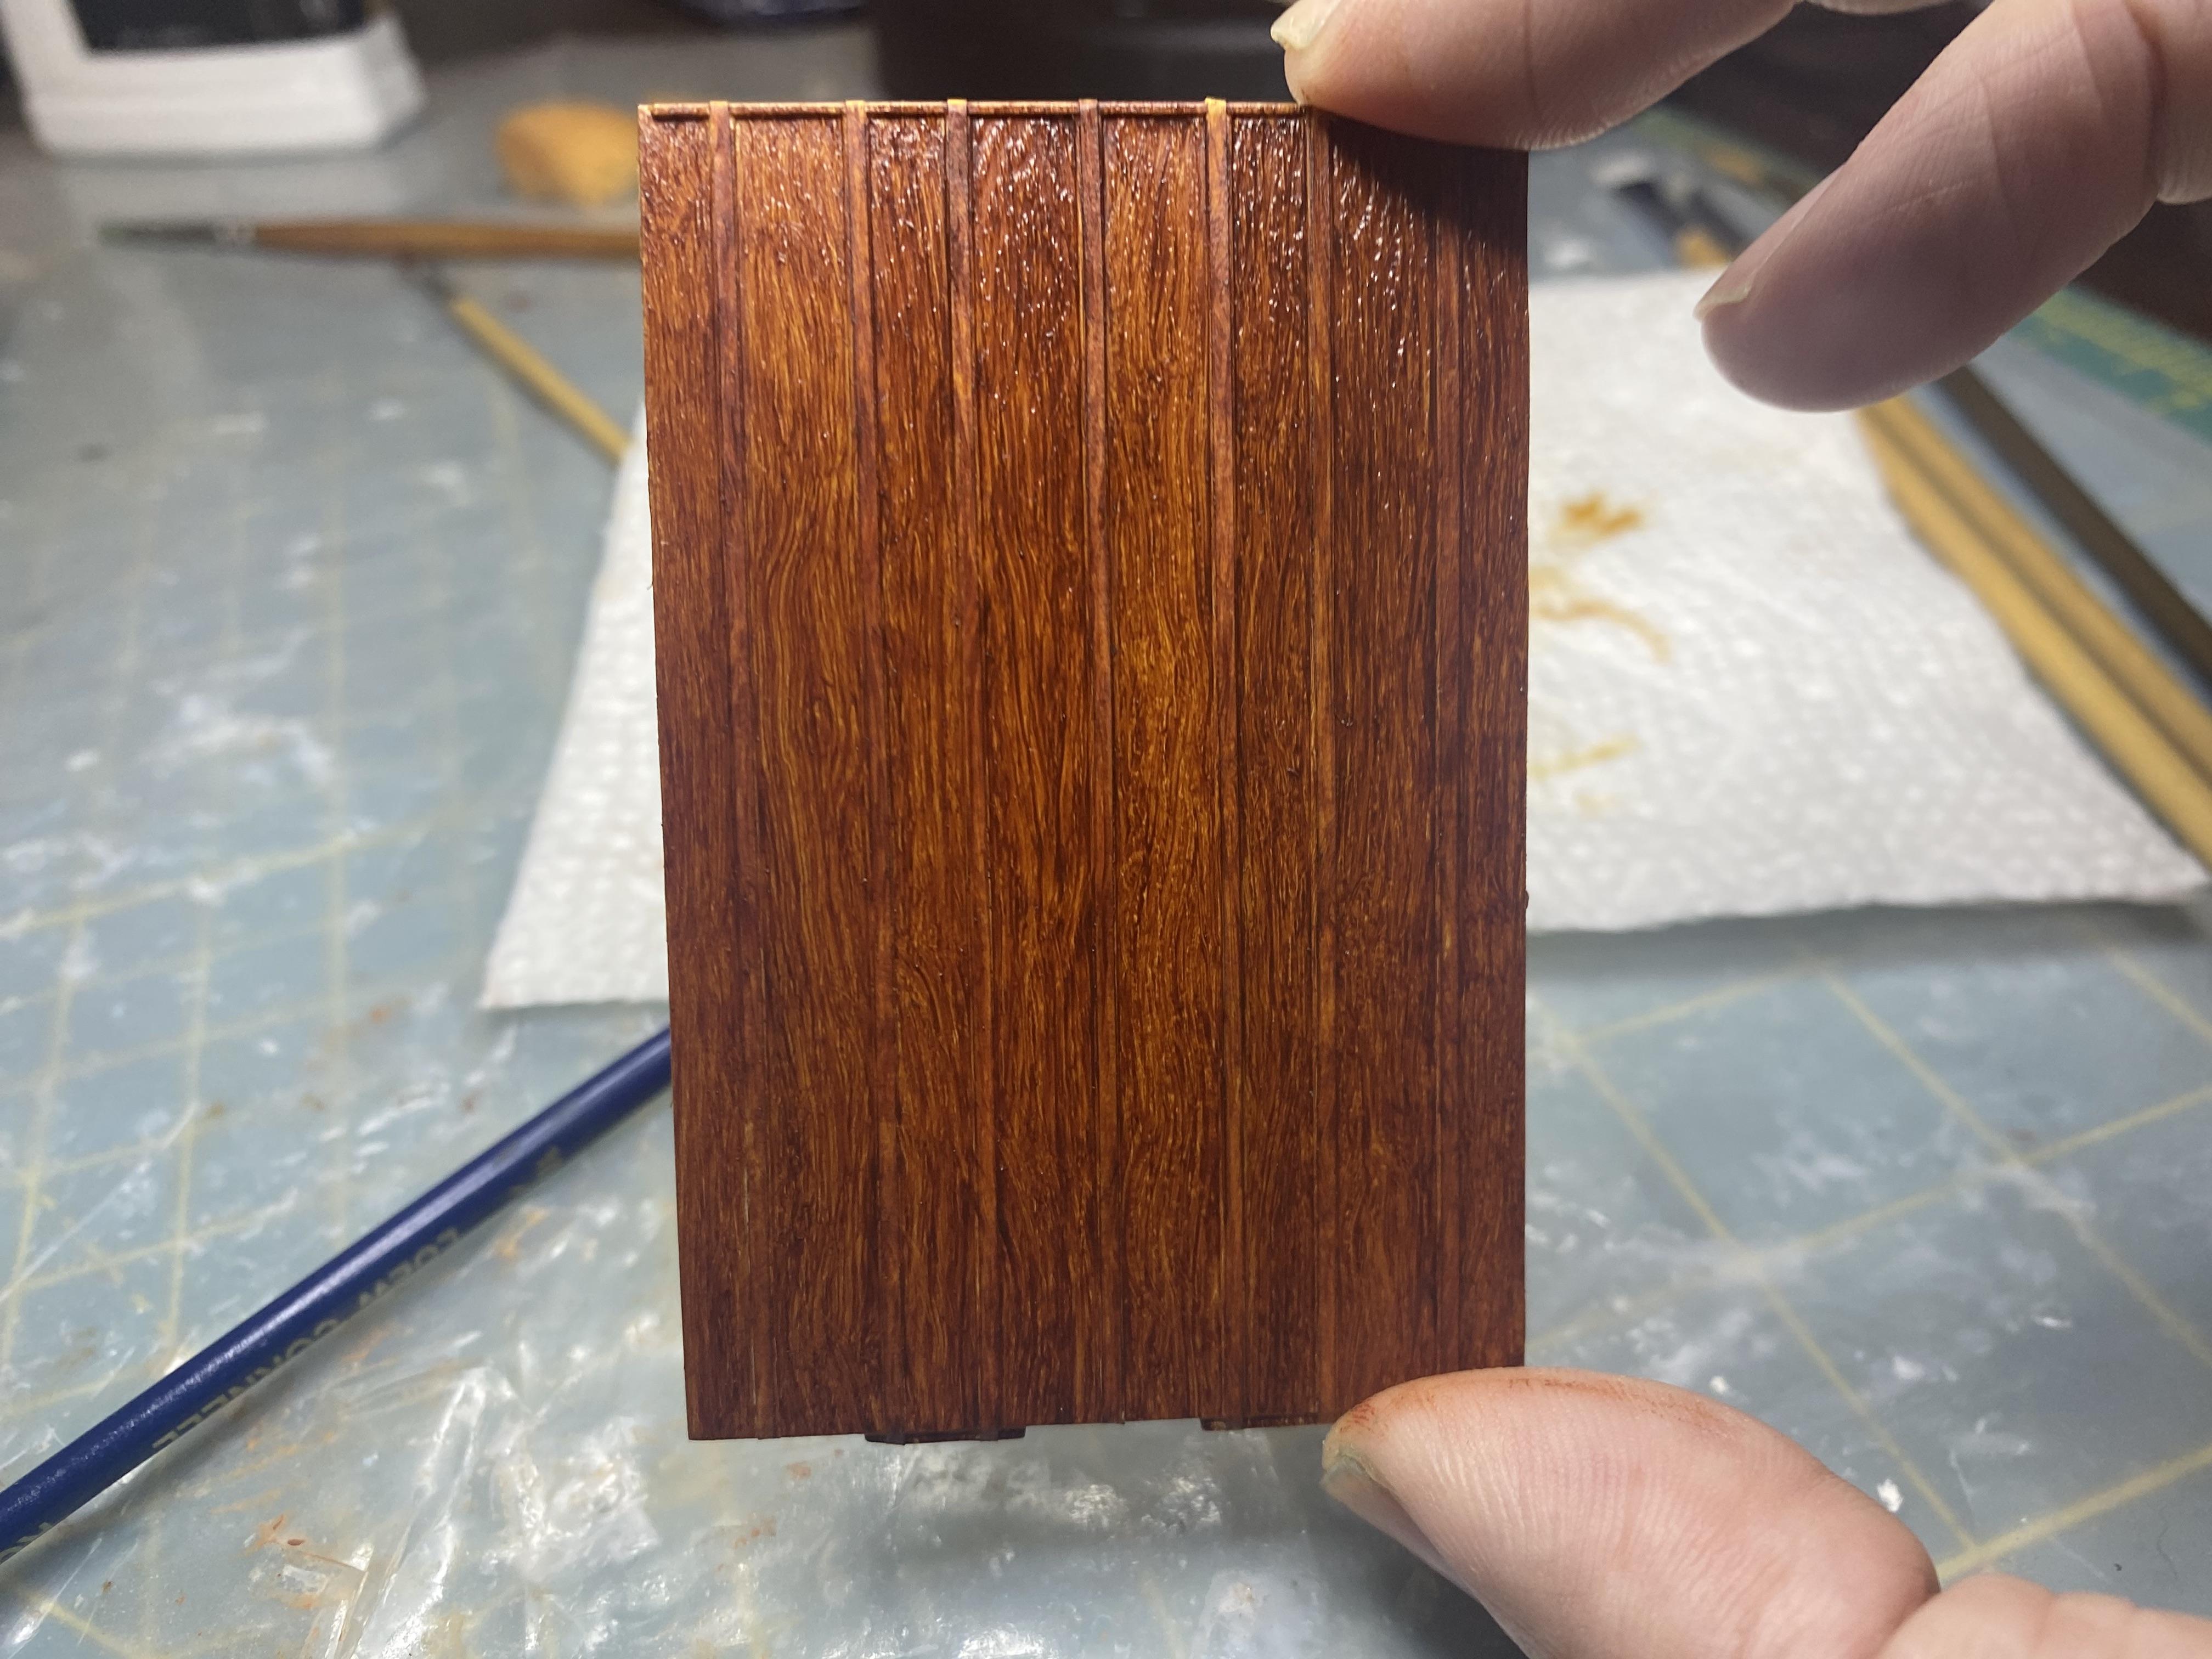
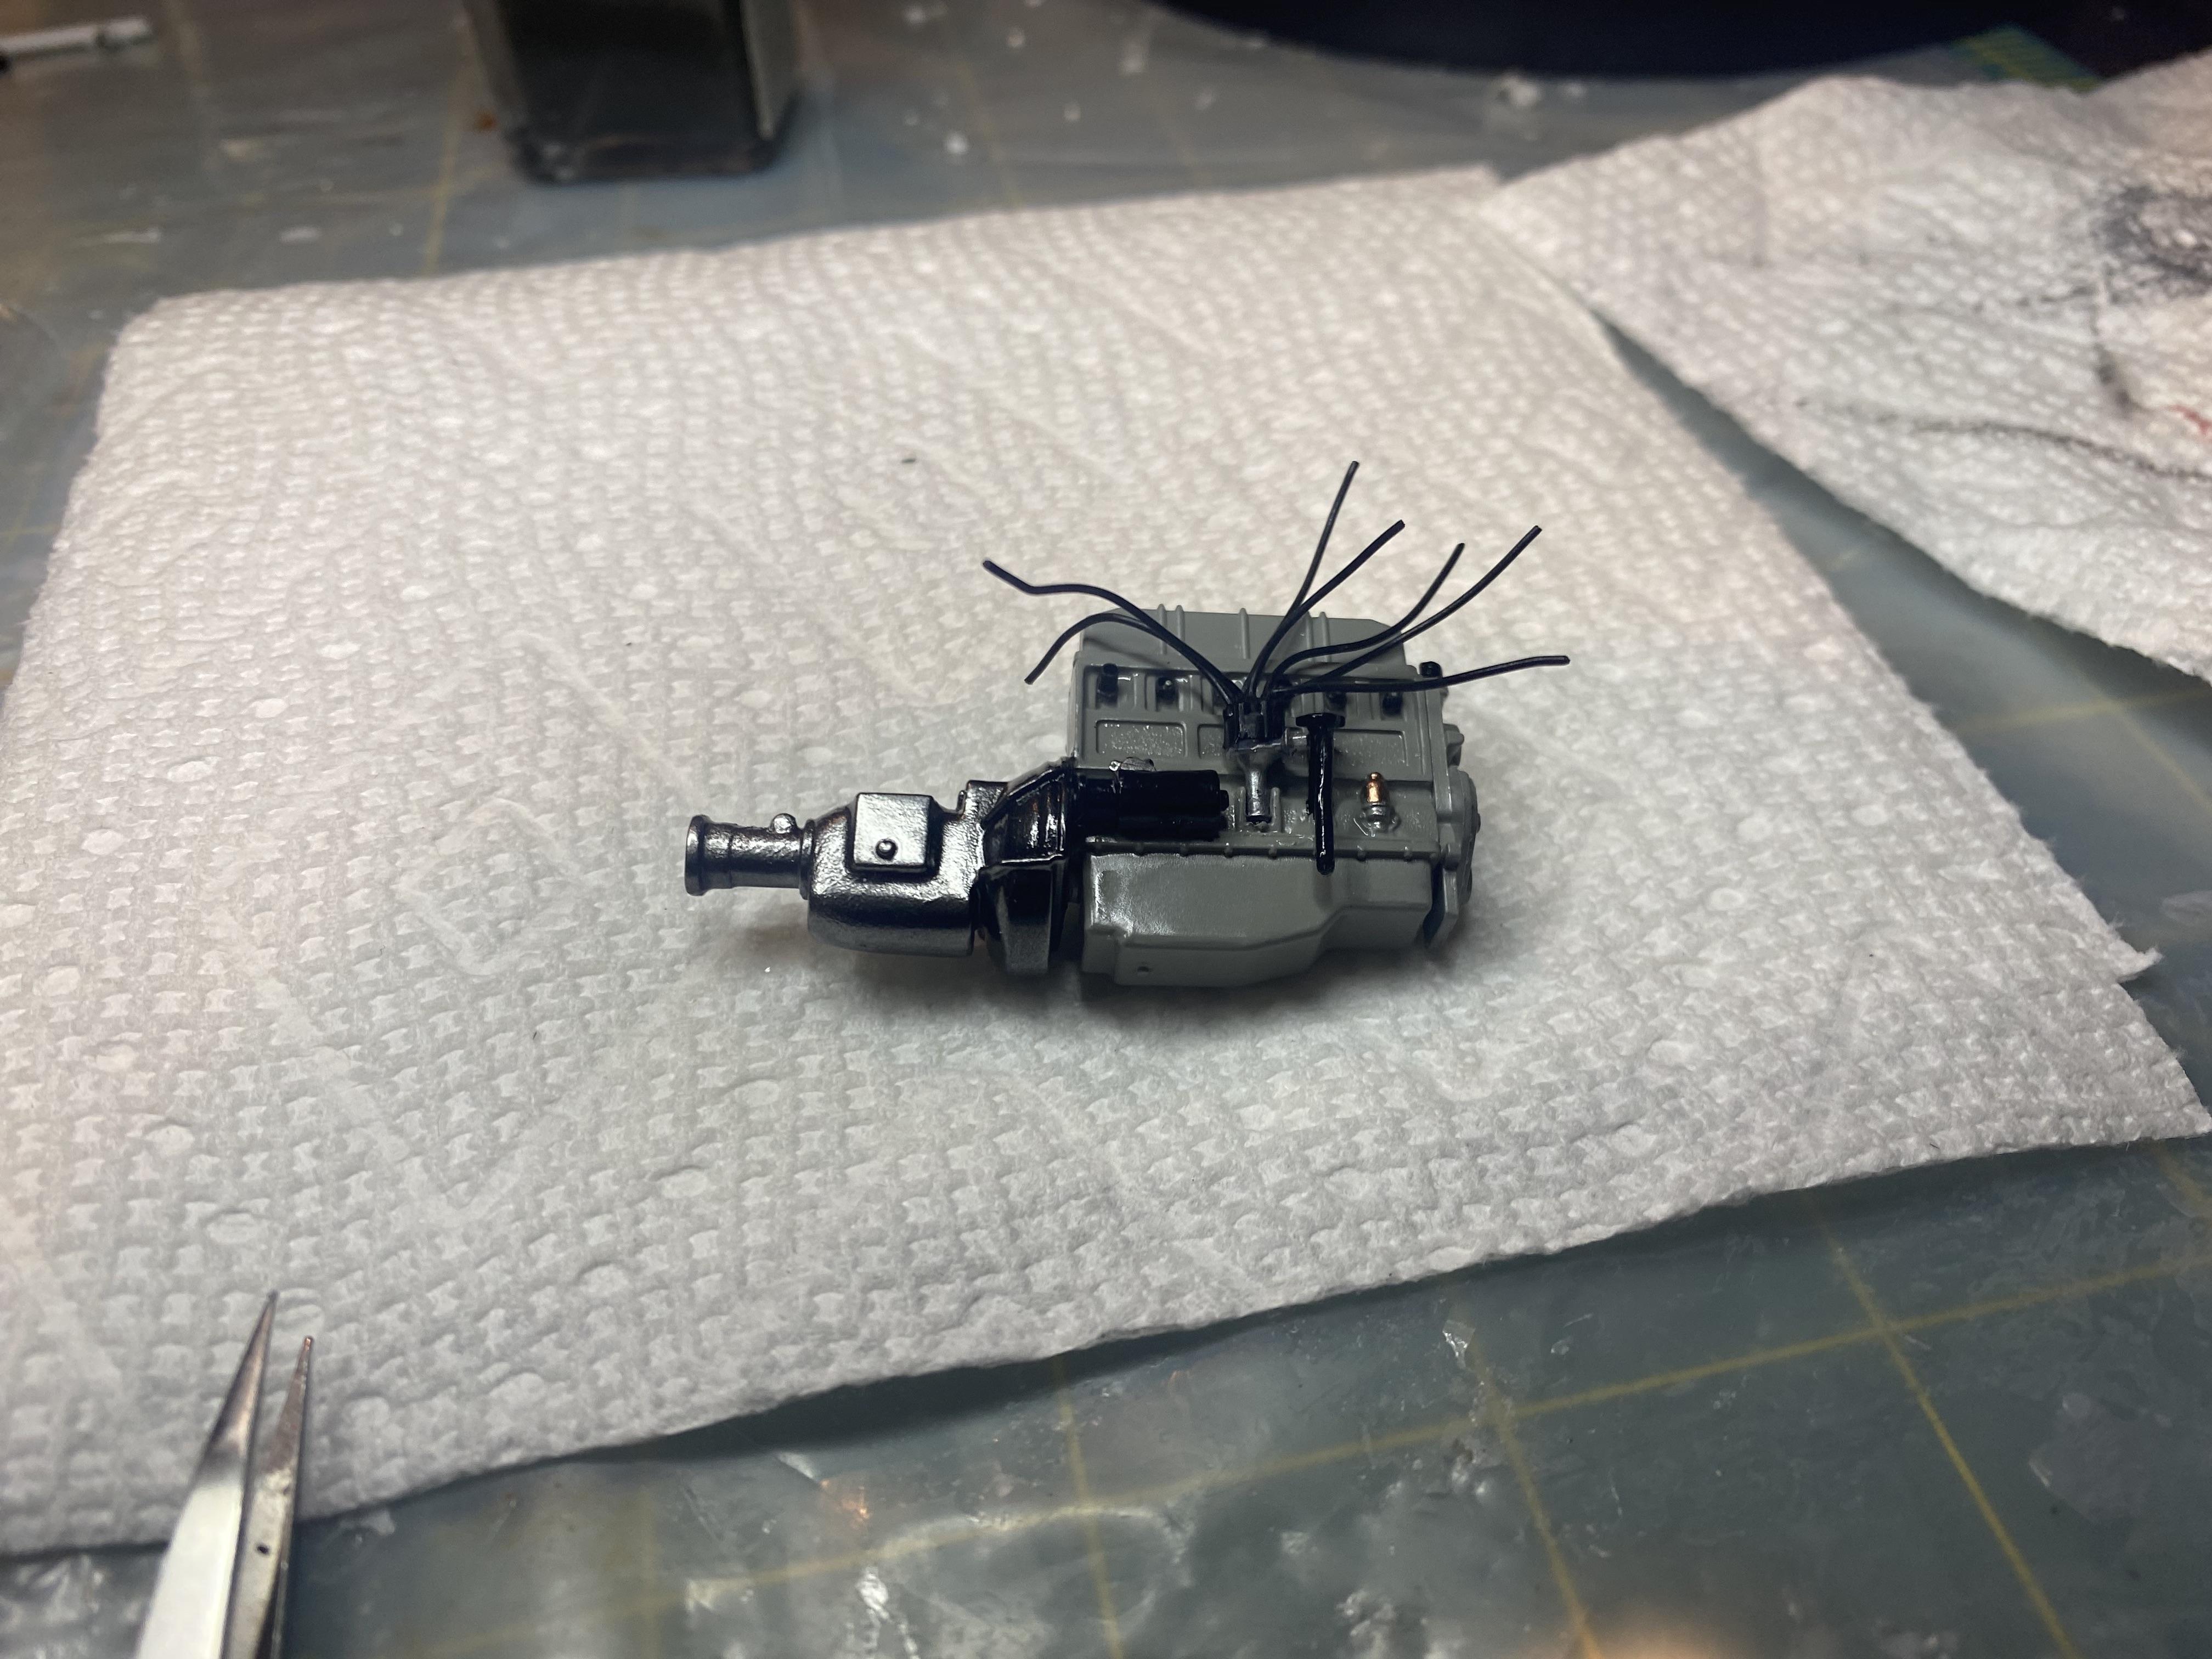
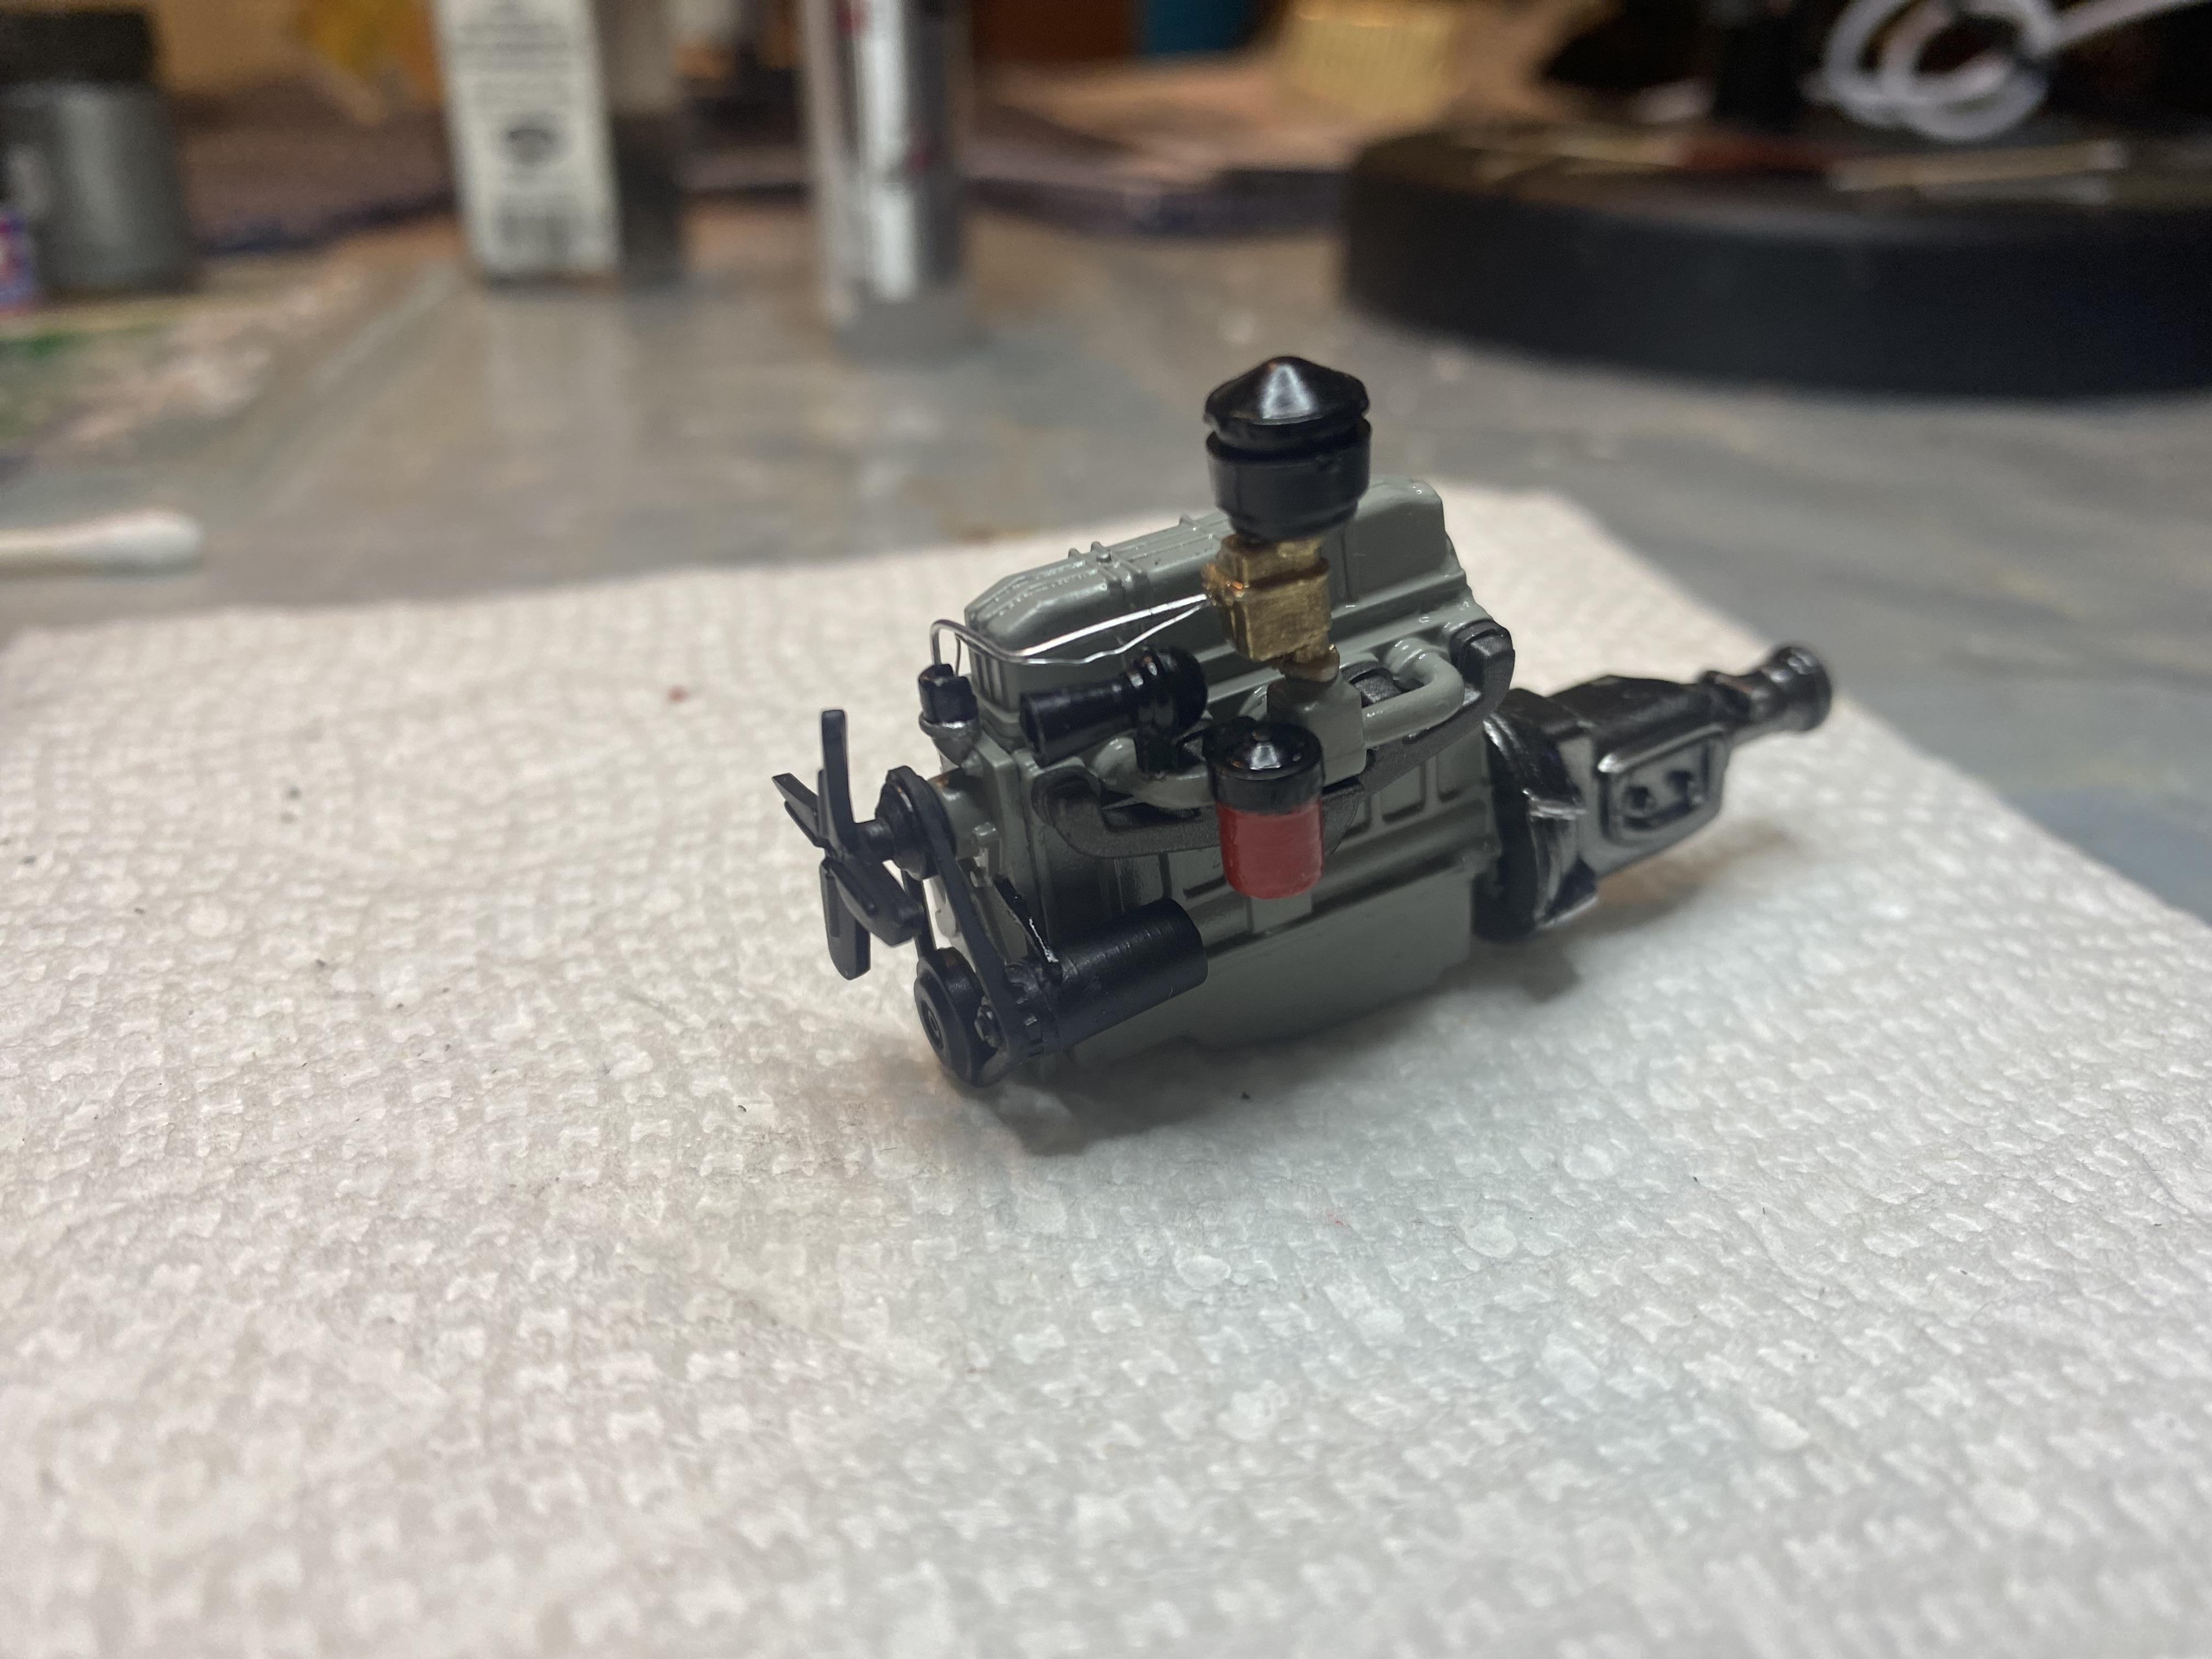
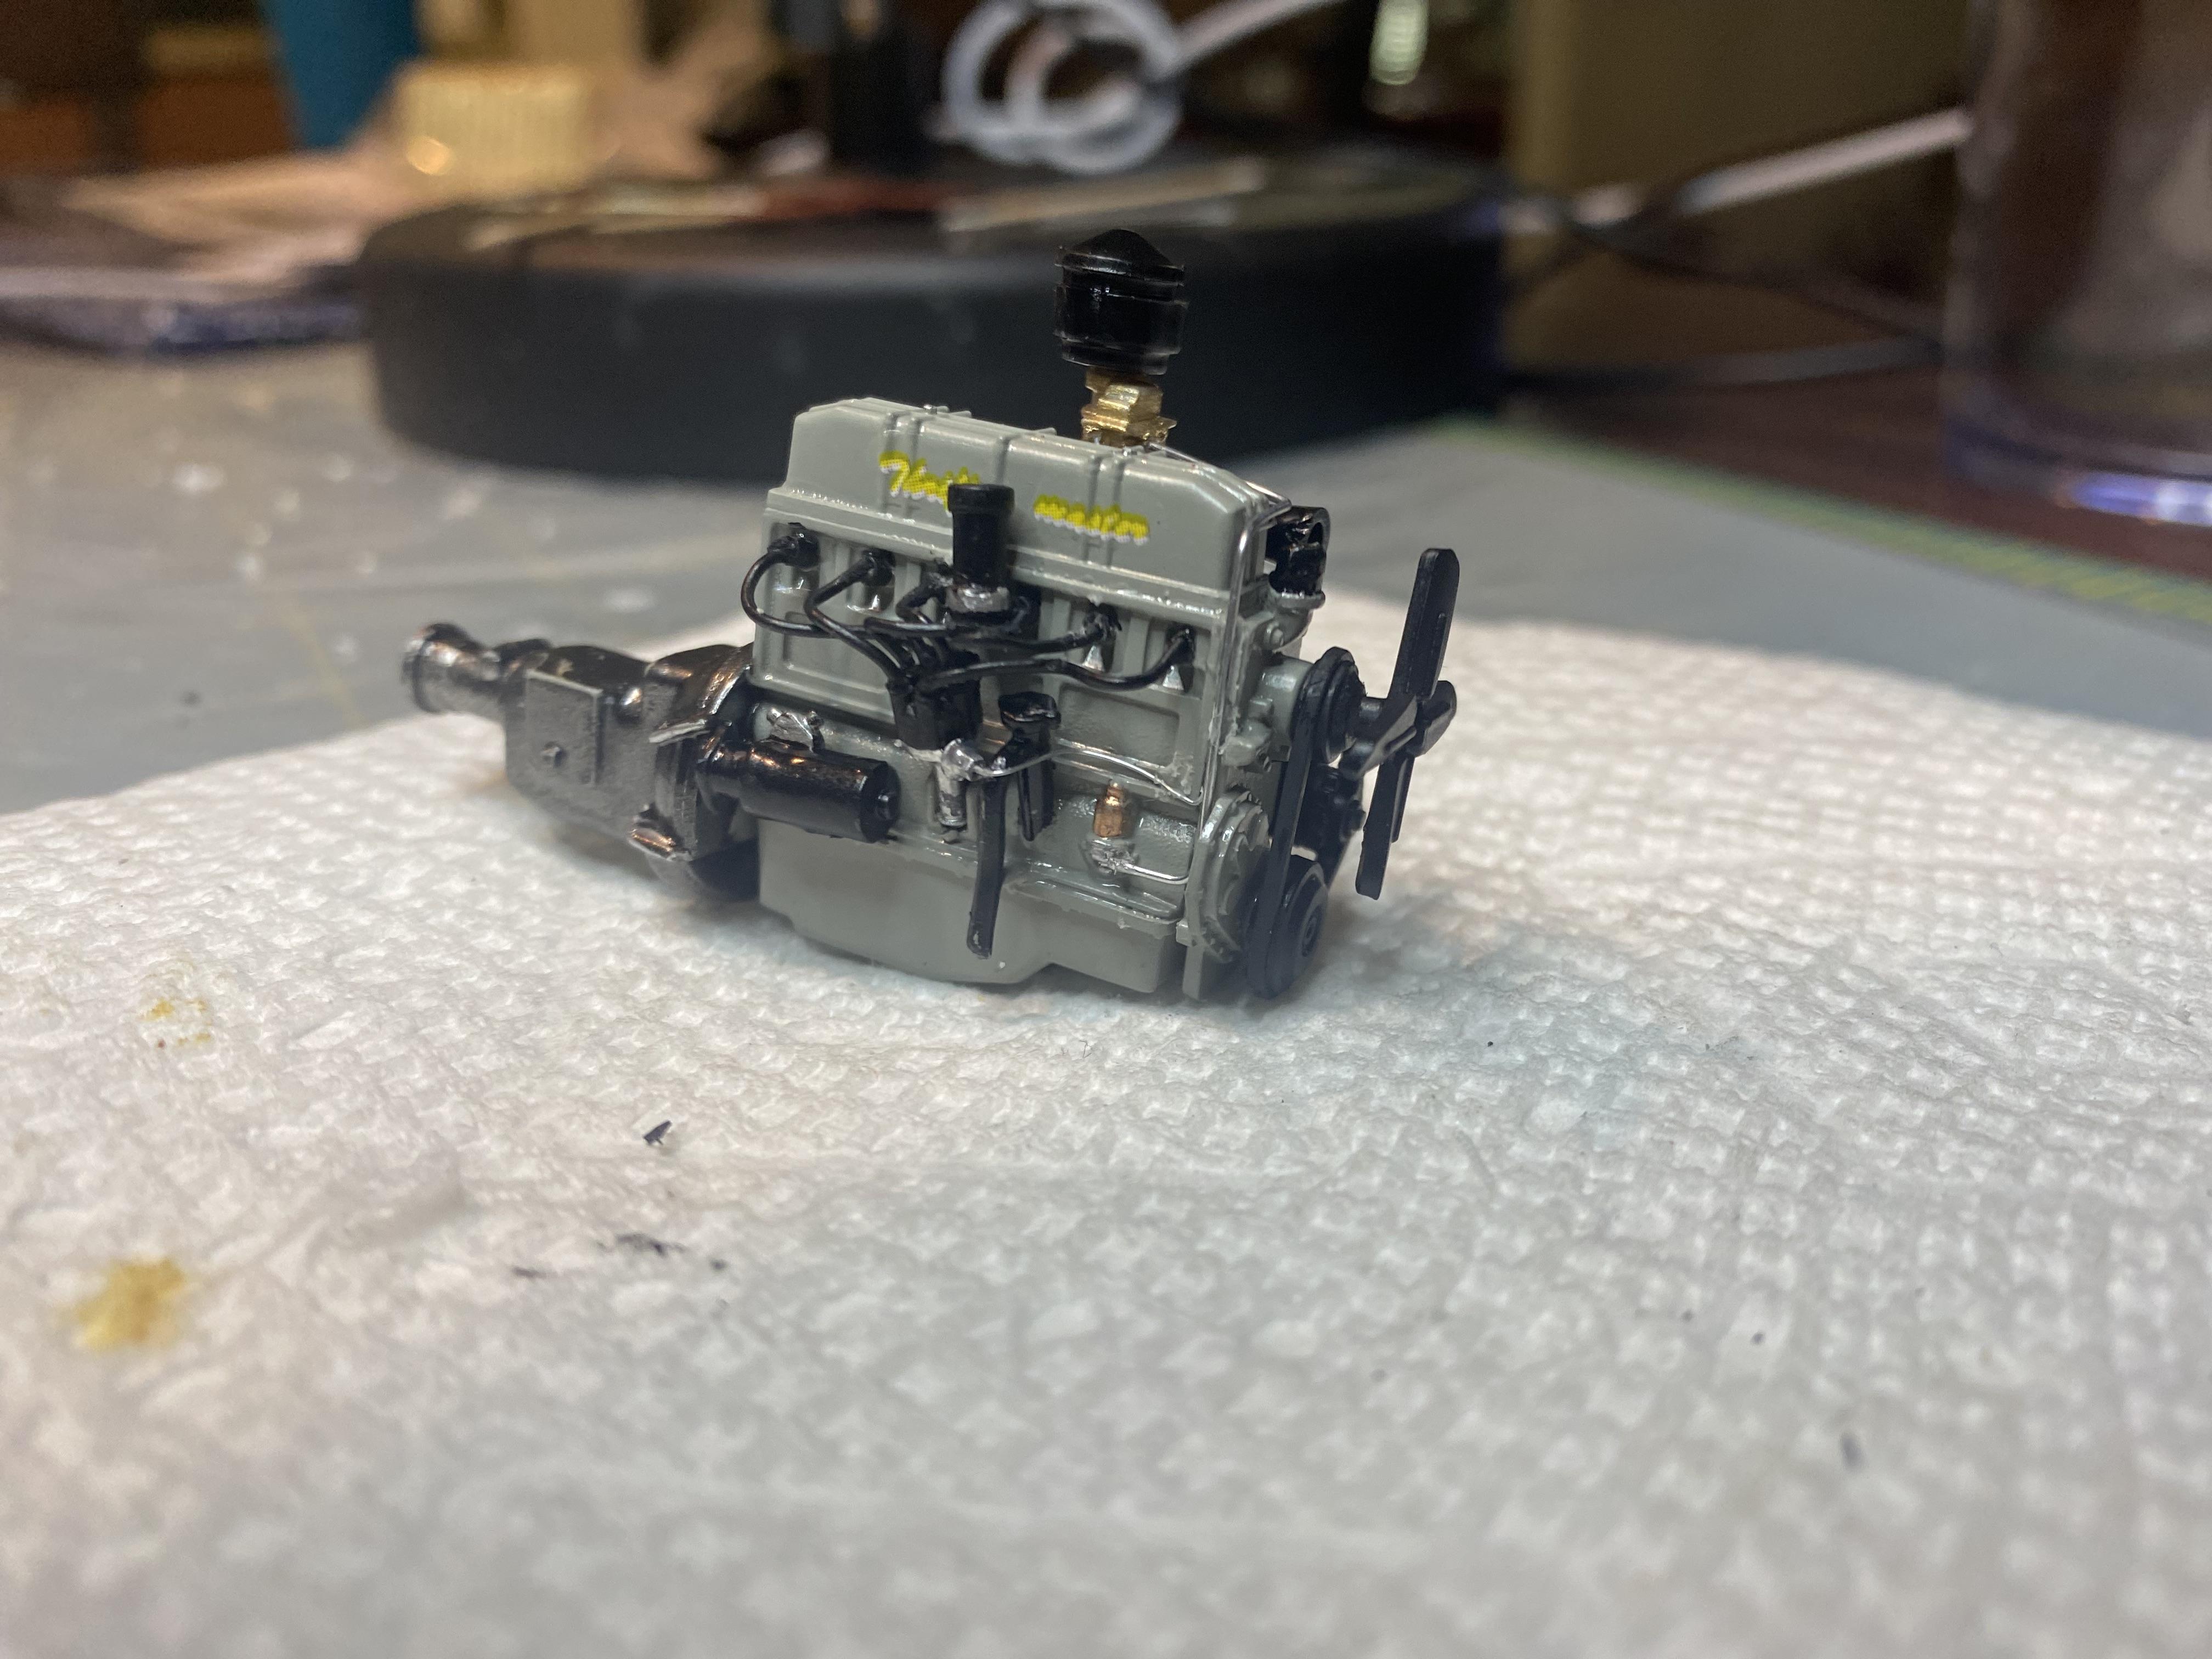
Duddly01 replied to Duddly01's topic in WIP: Model Trucks: Pickups, Vans, SUVs, Light Commercial
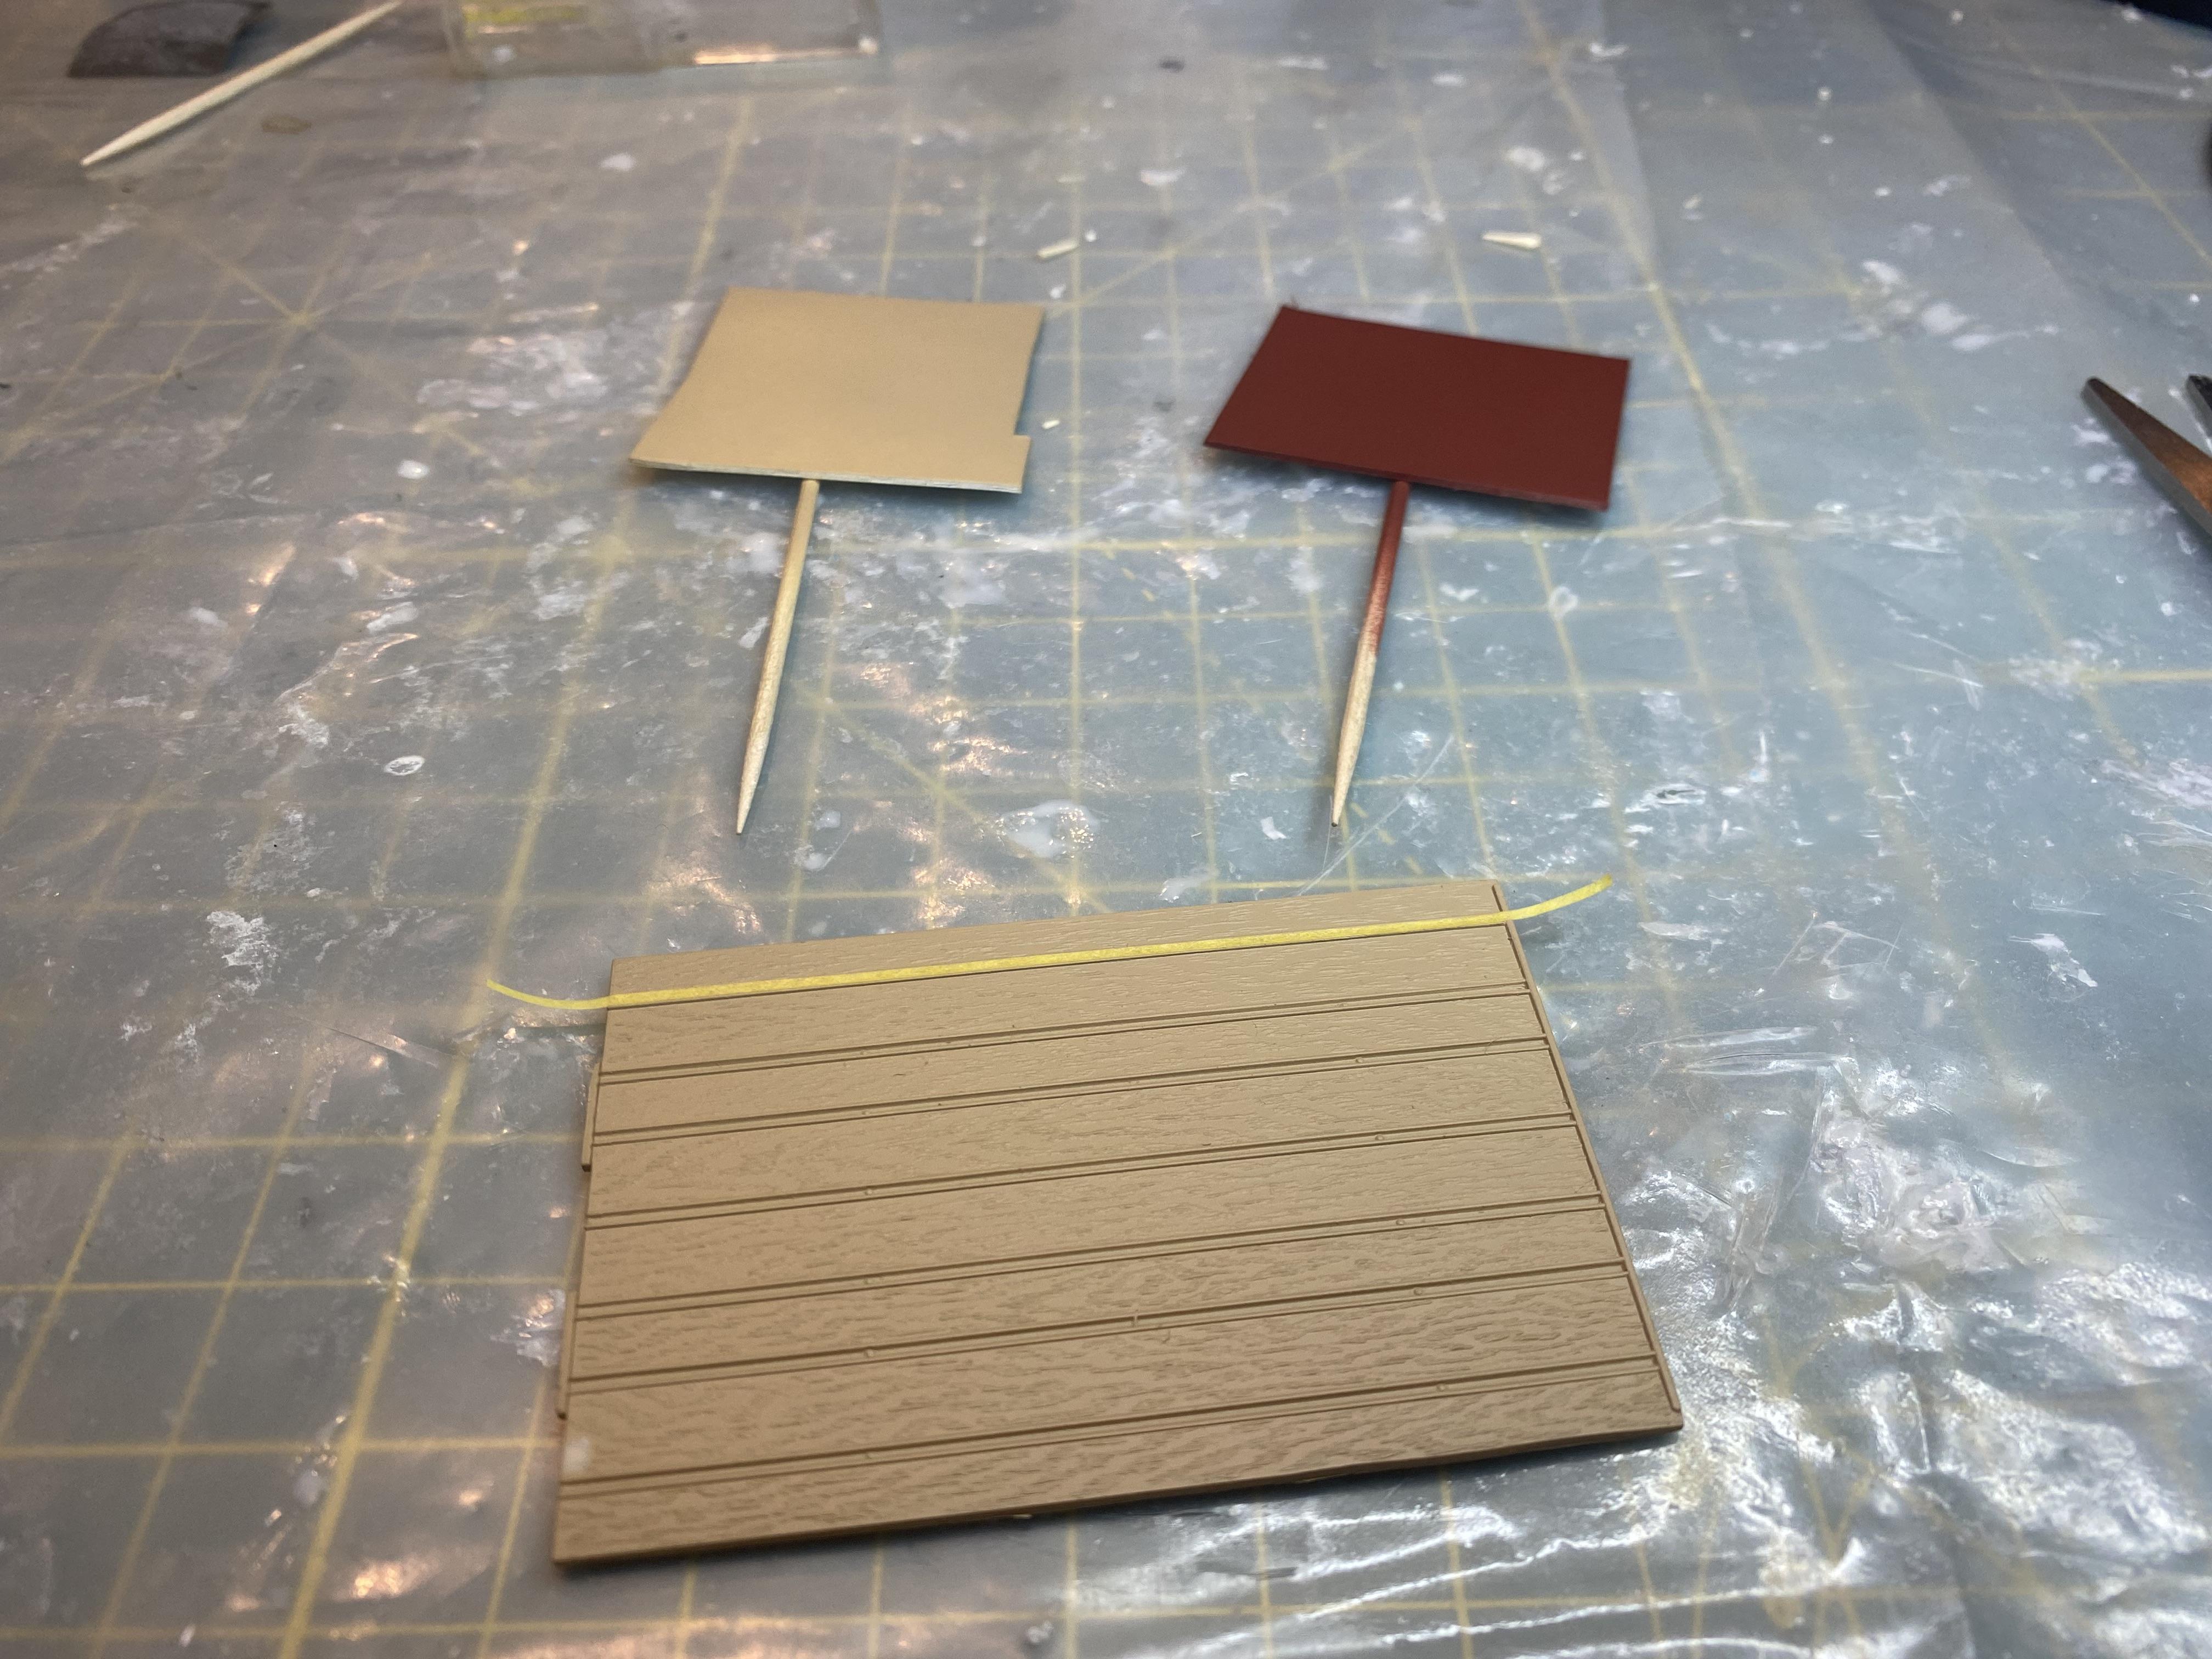
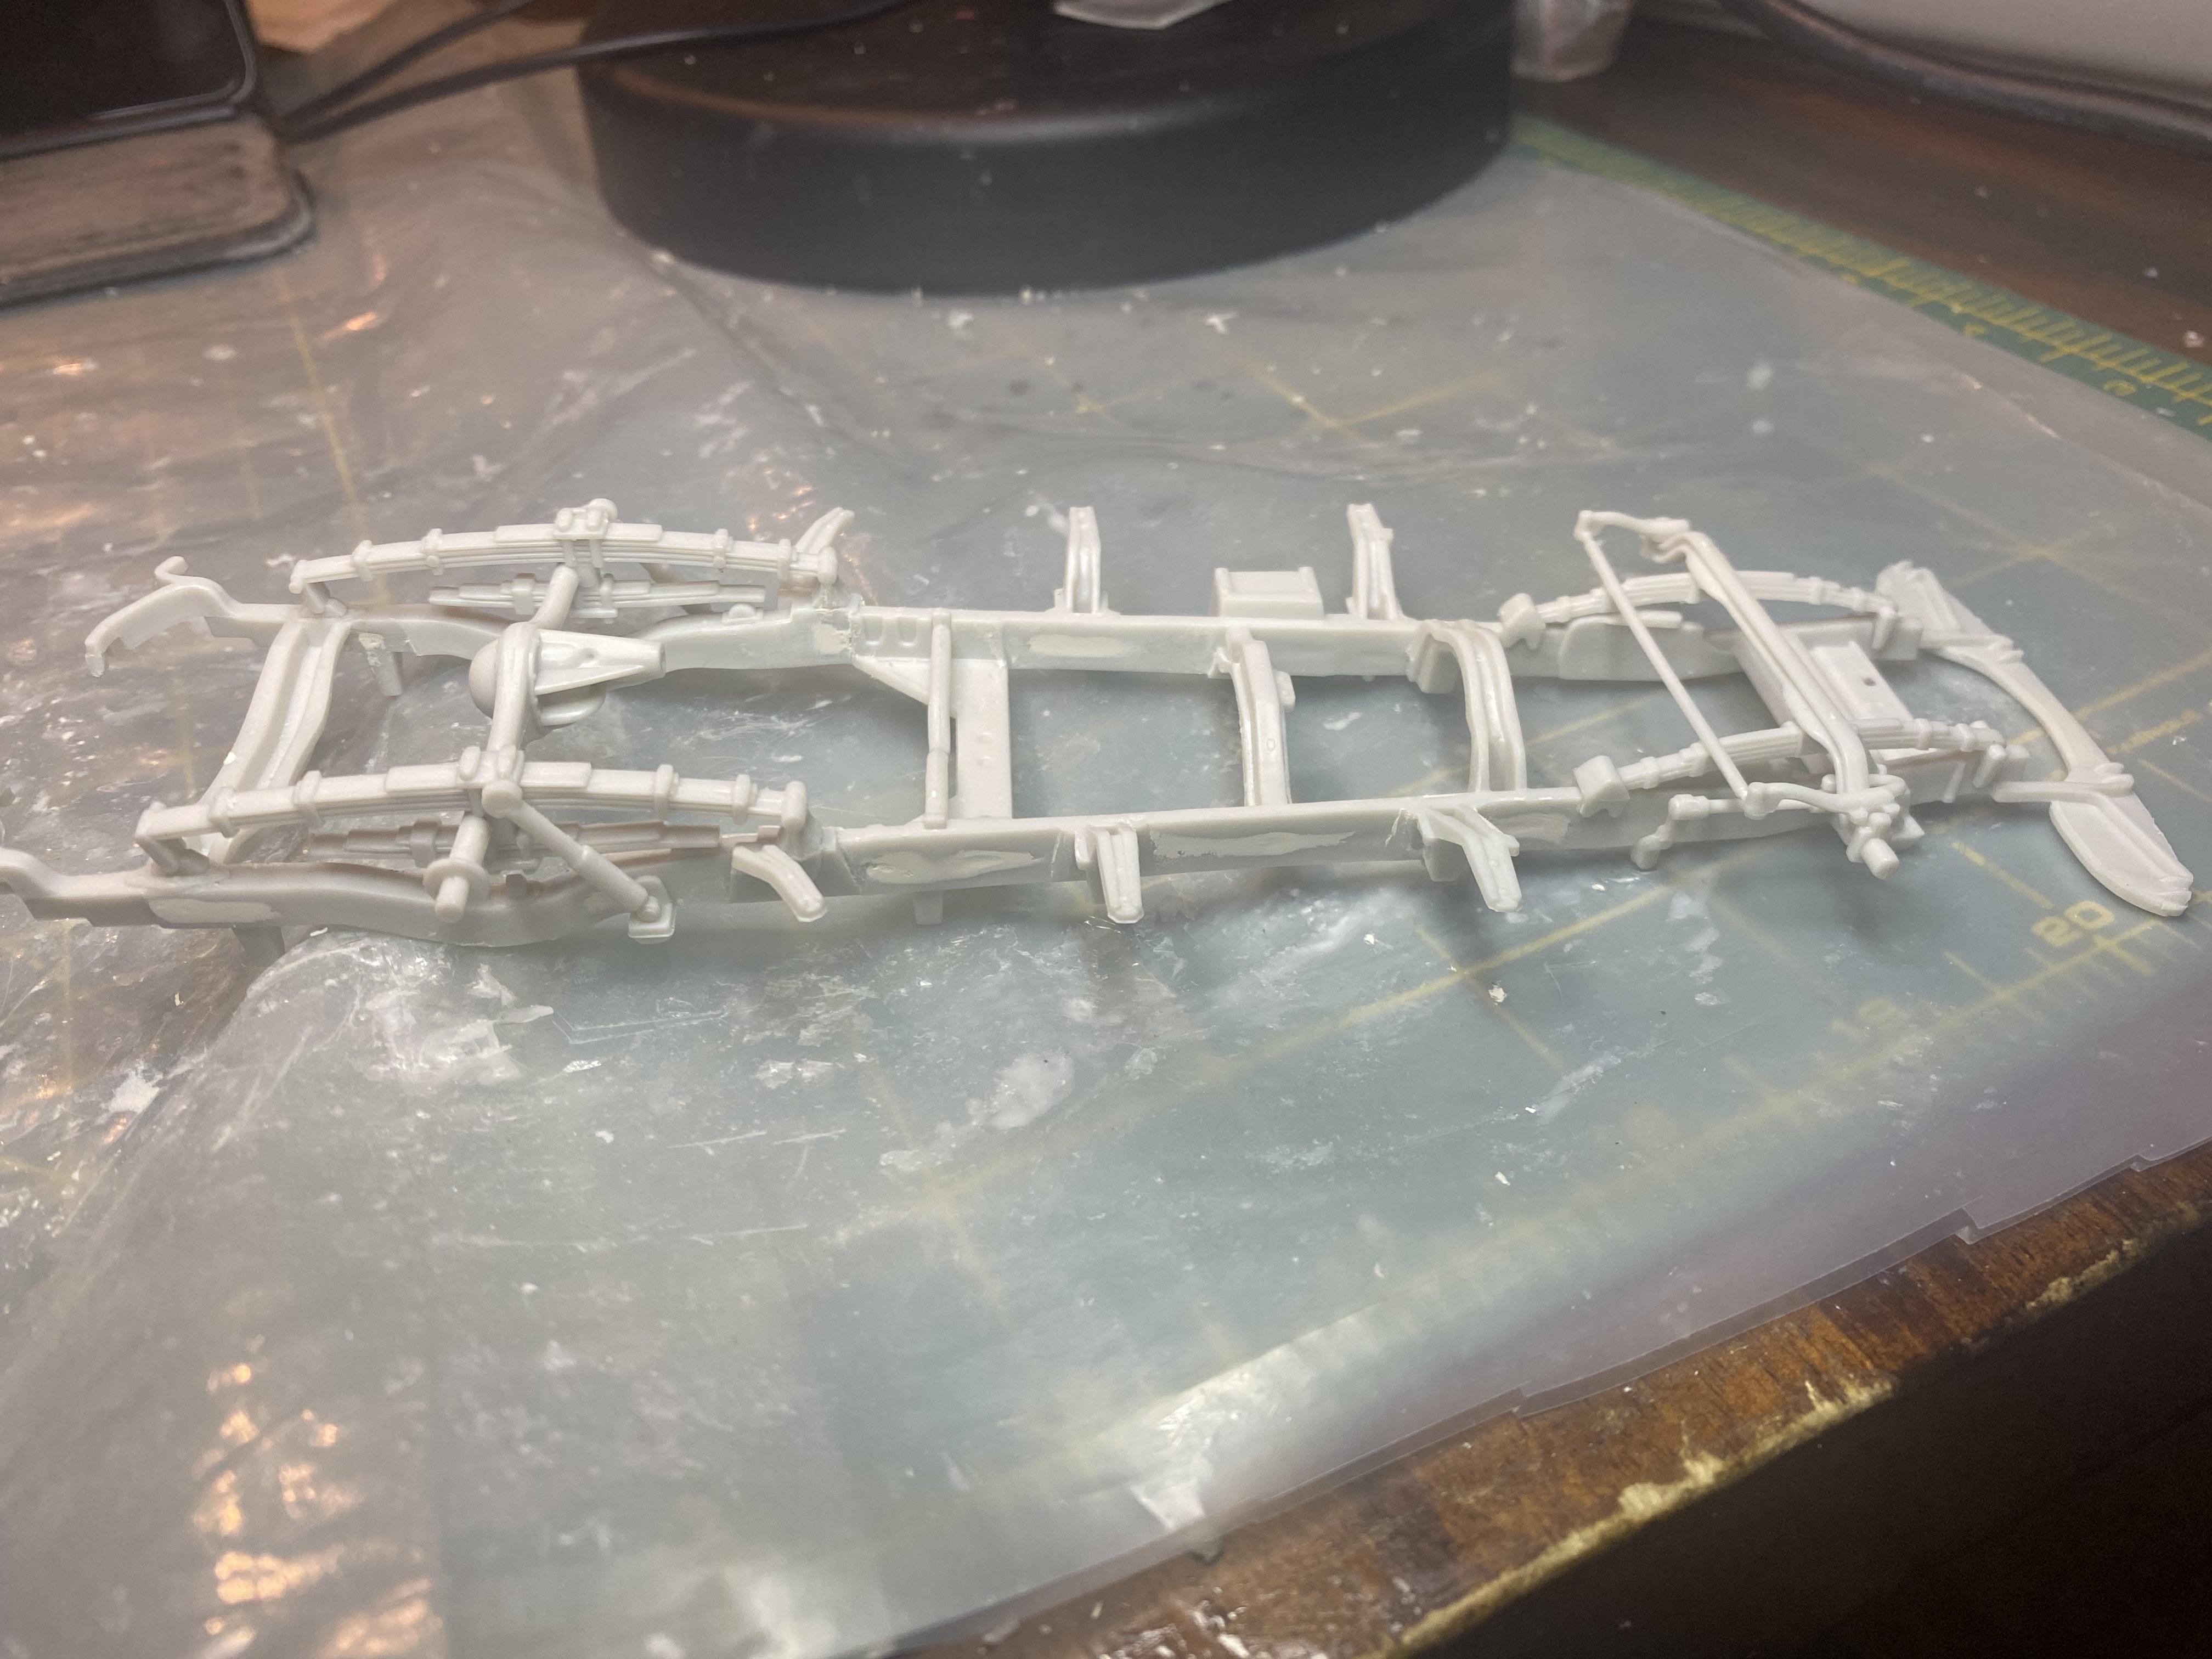
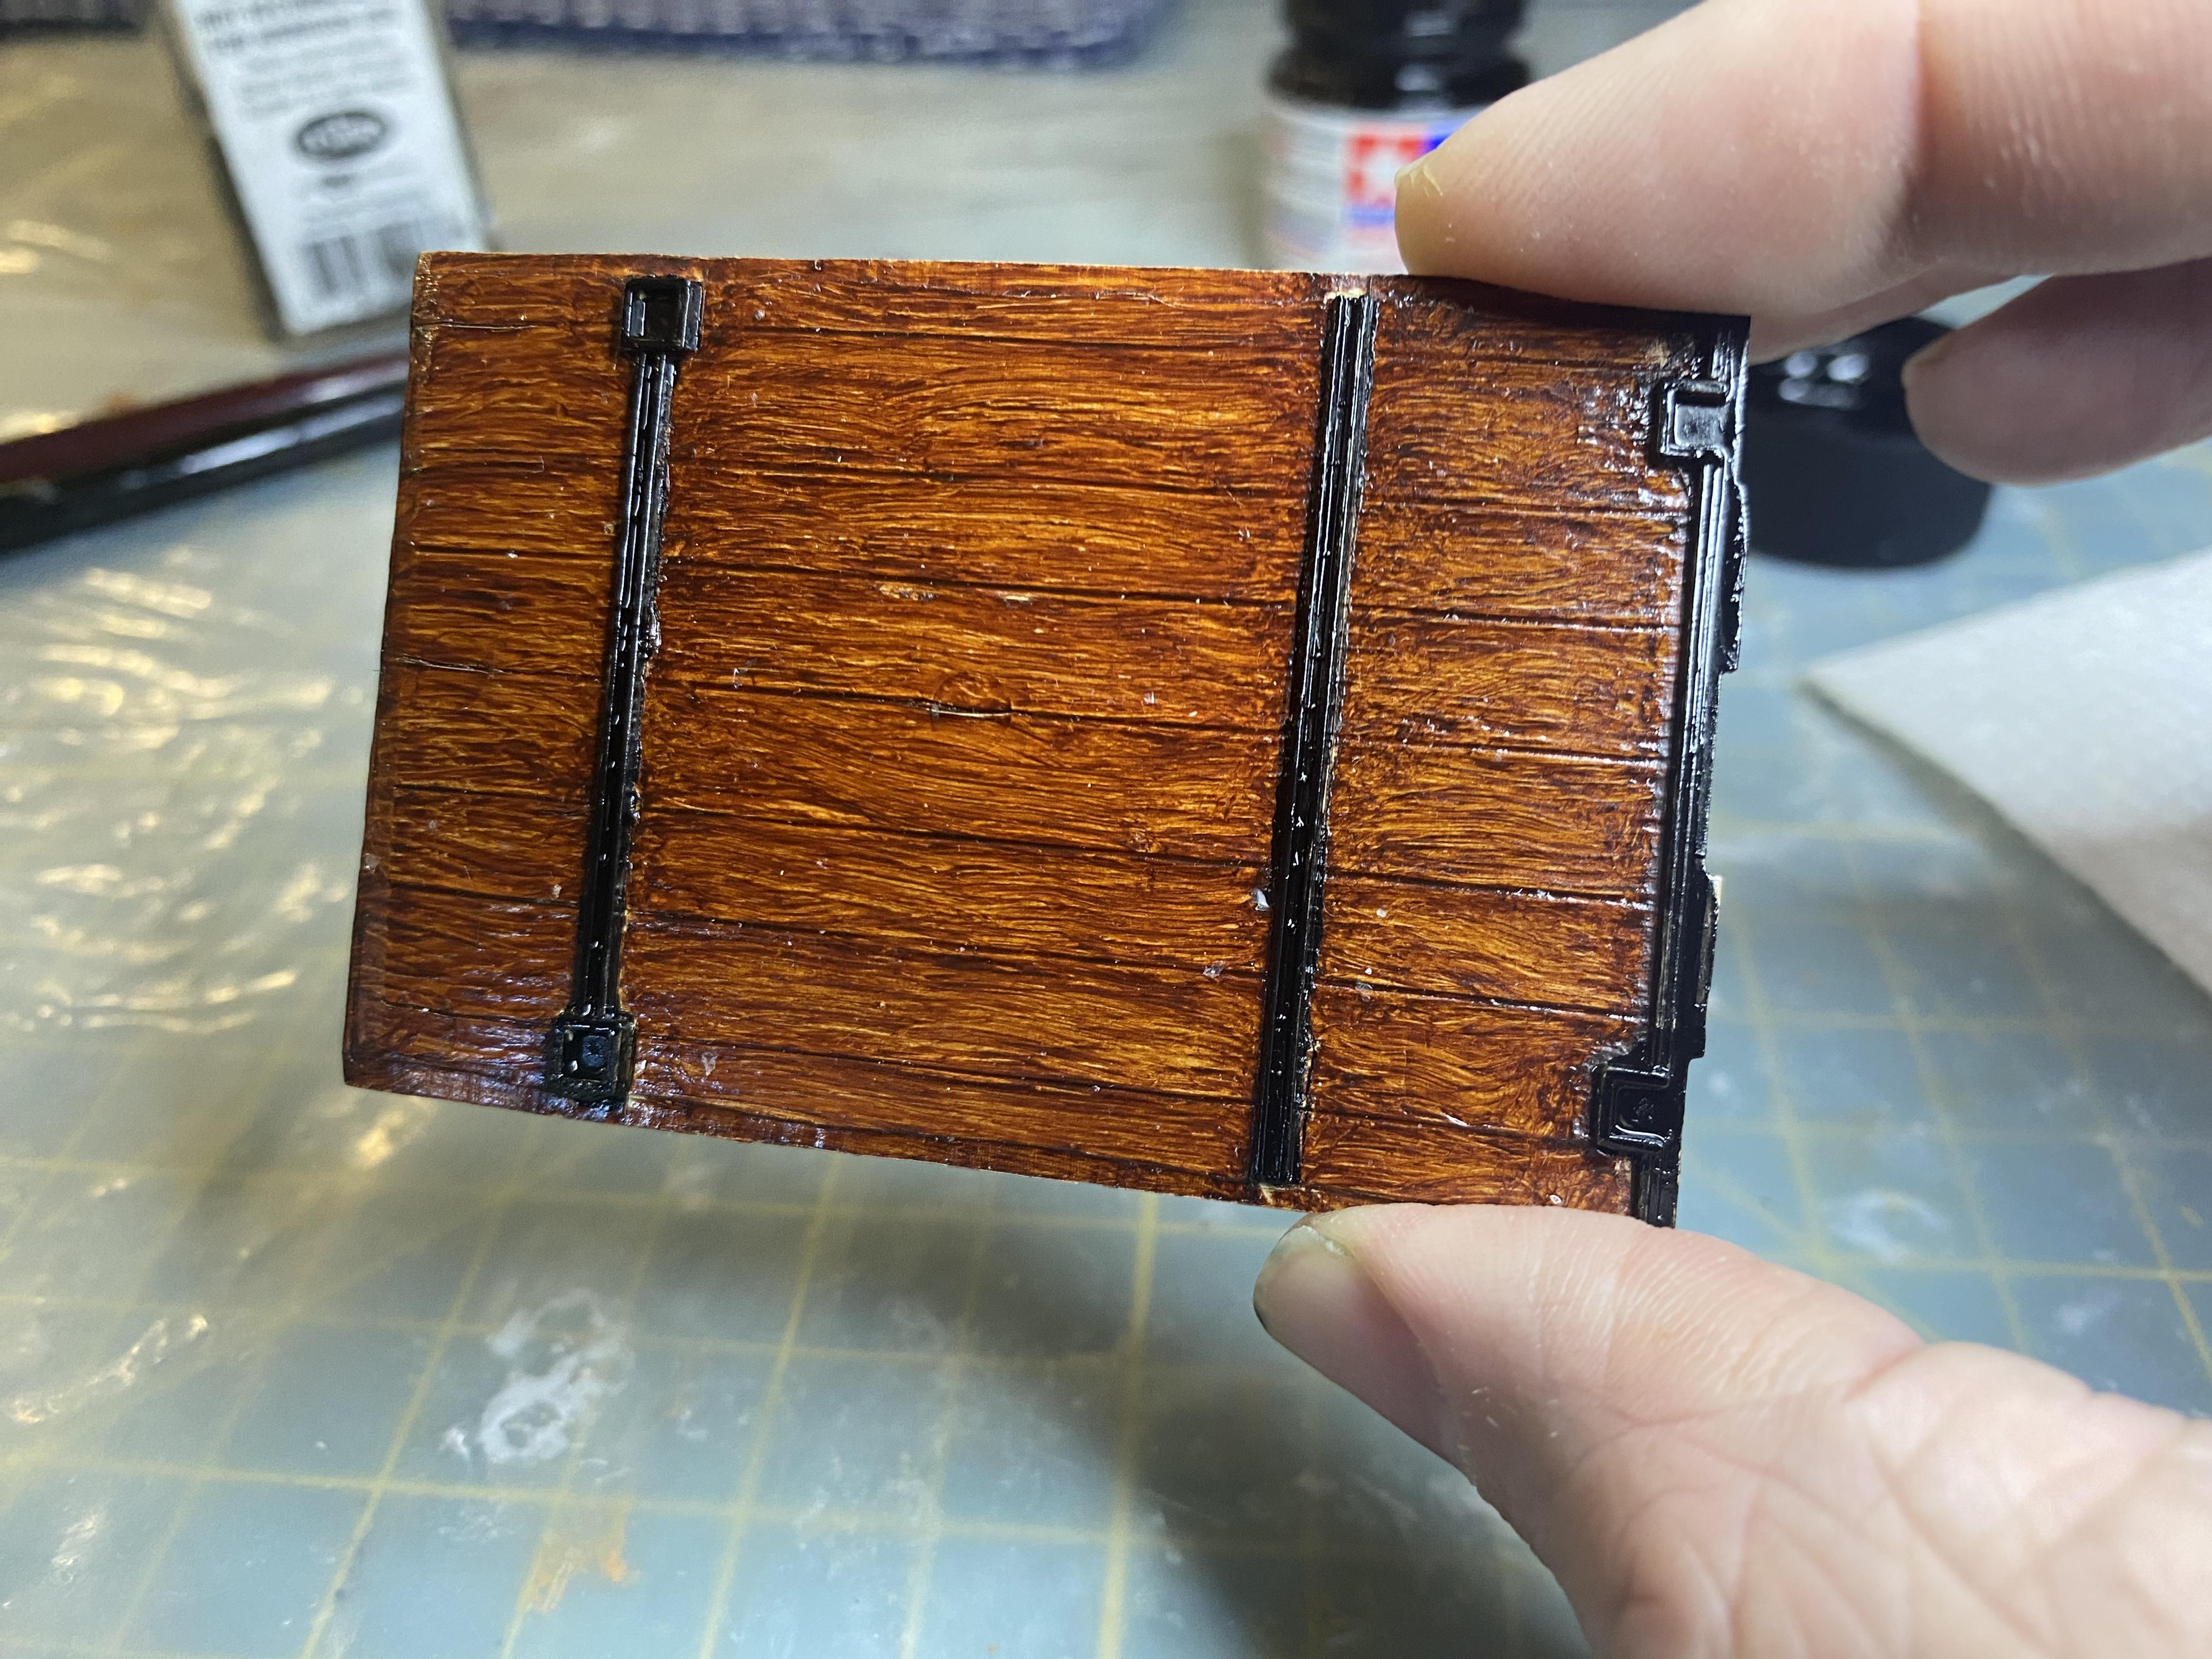
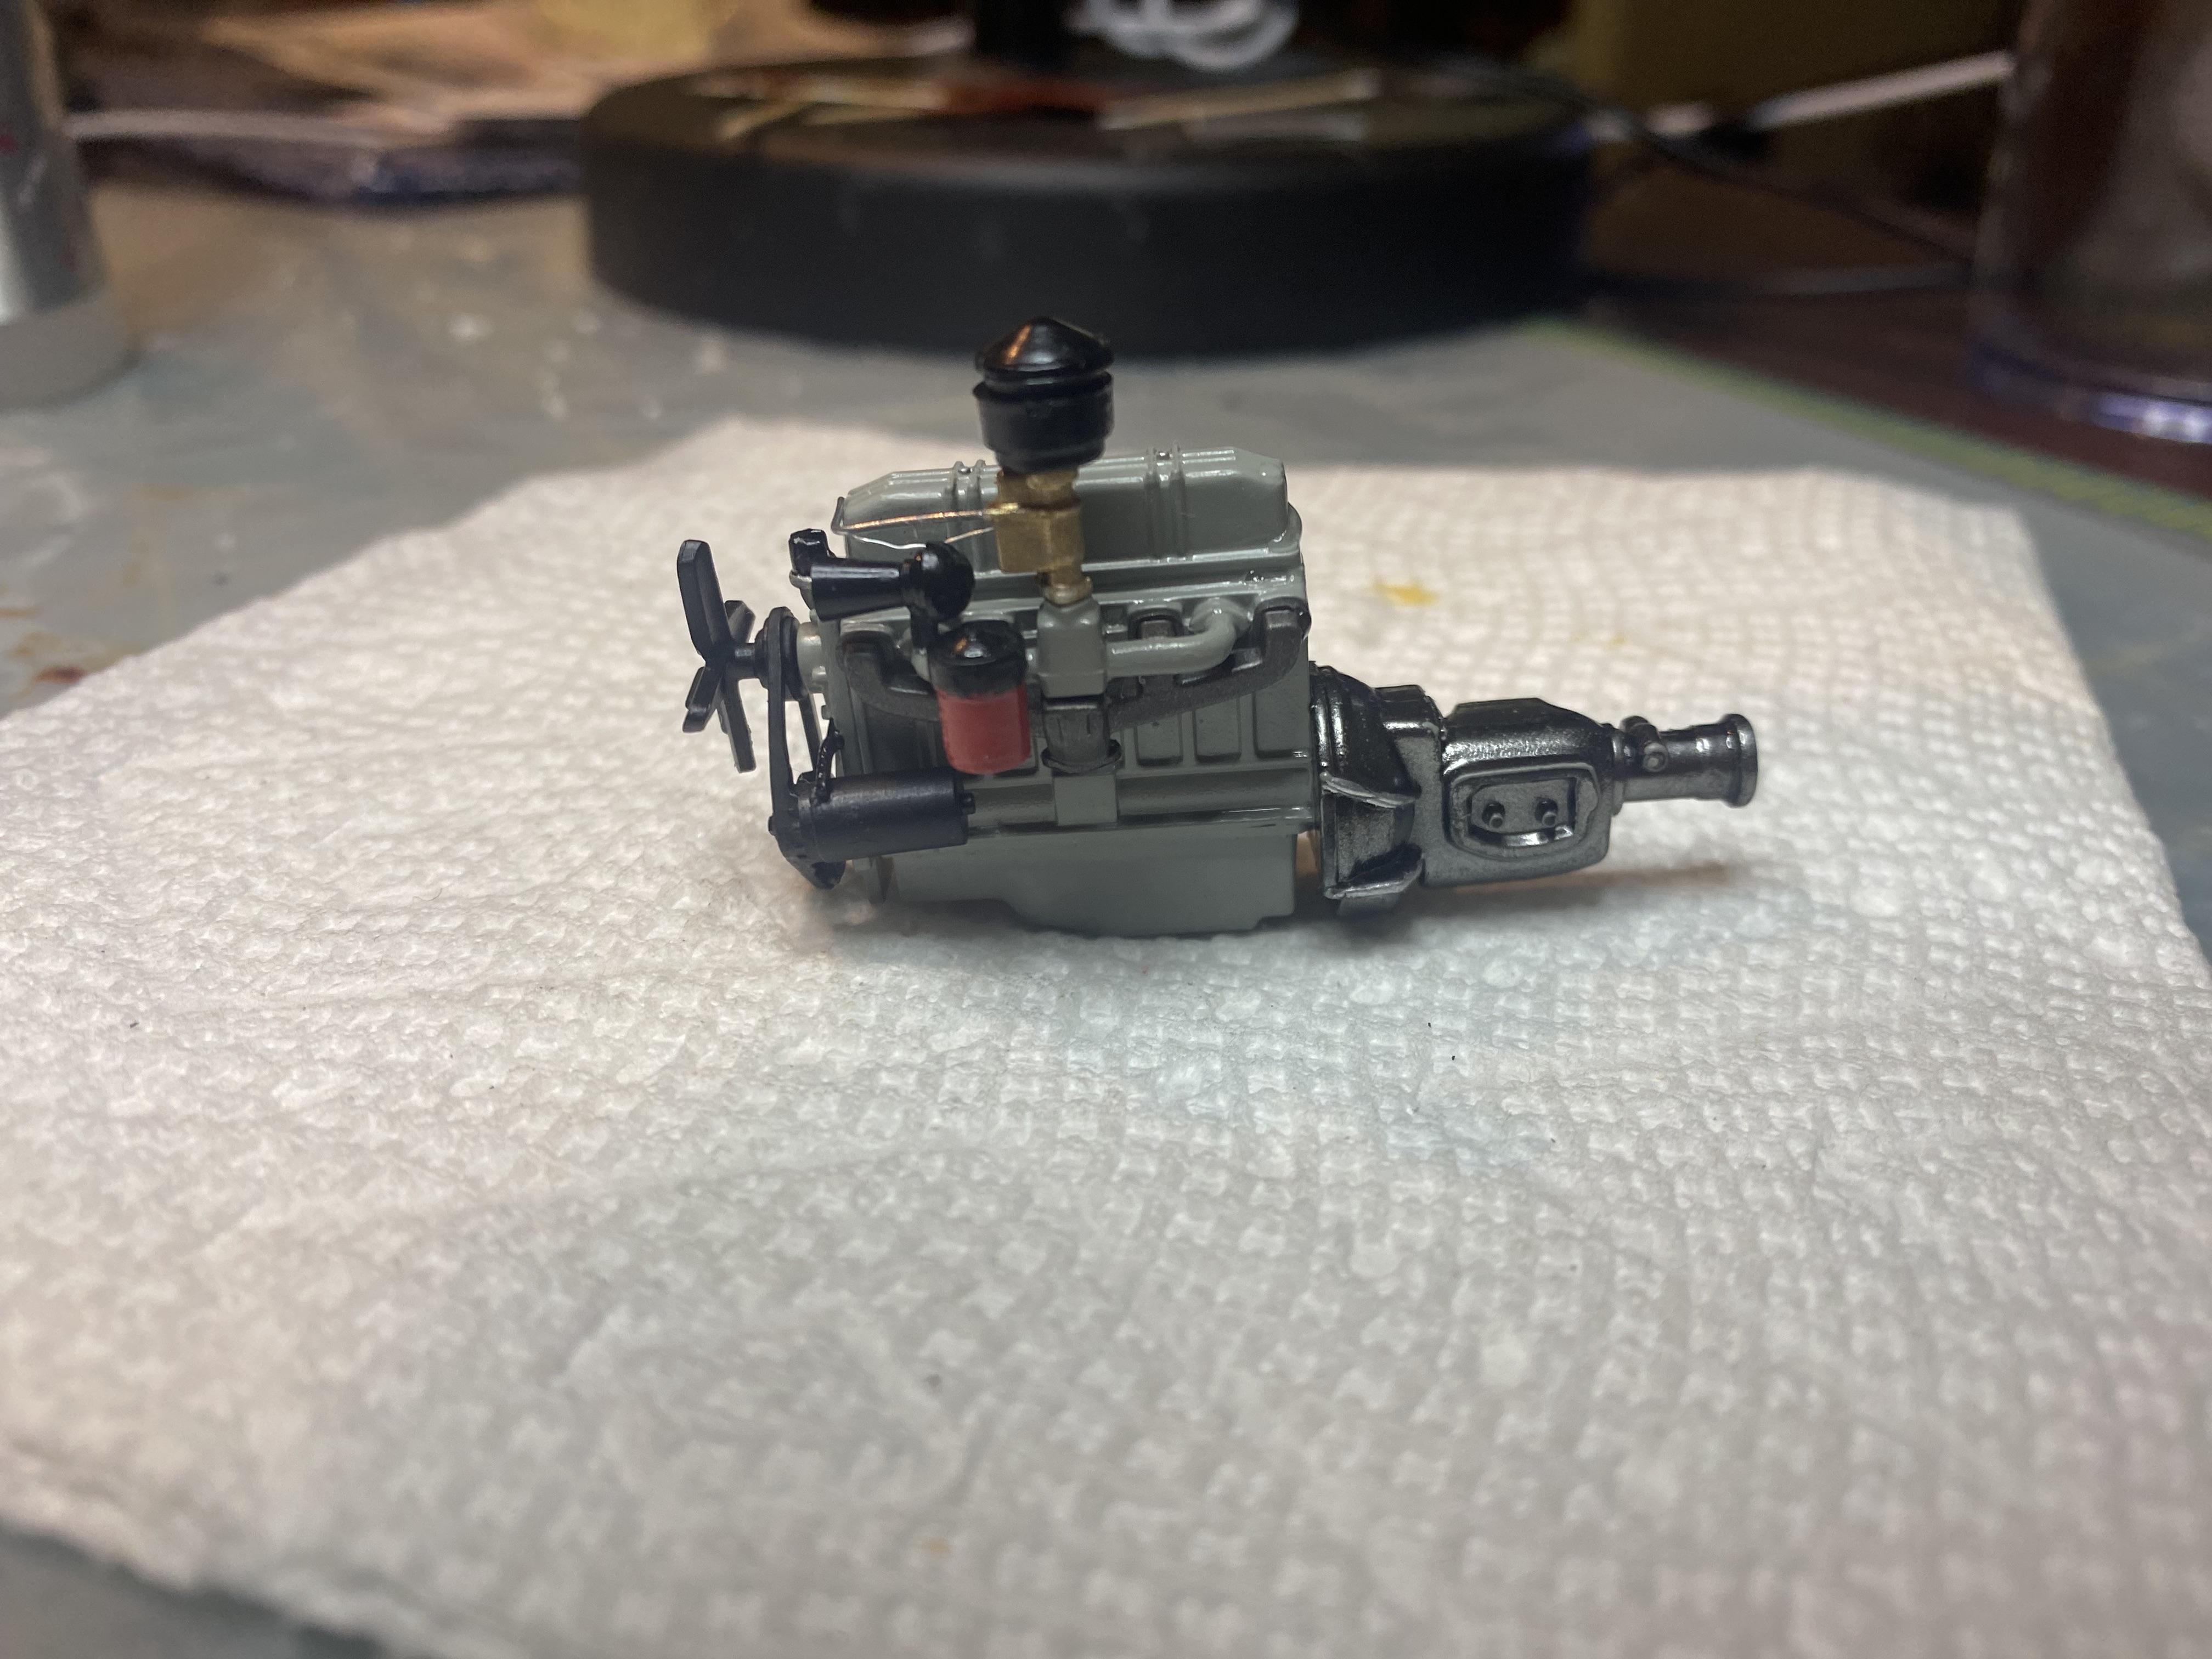
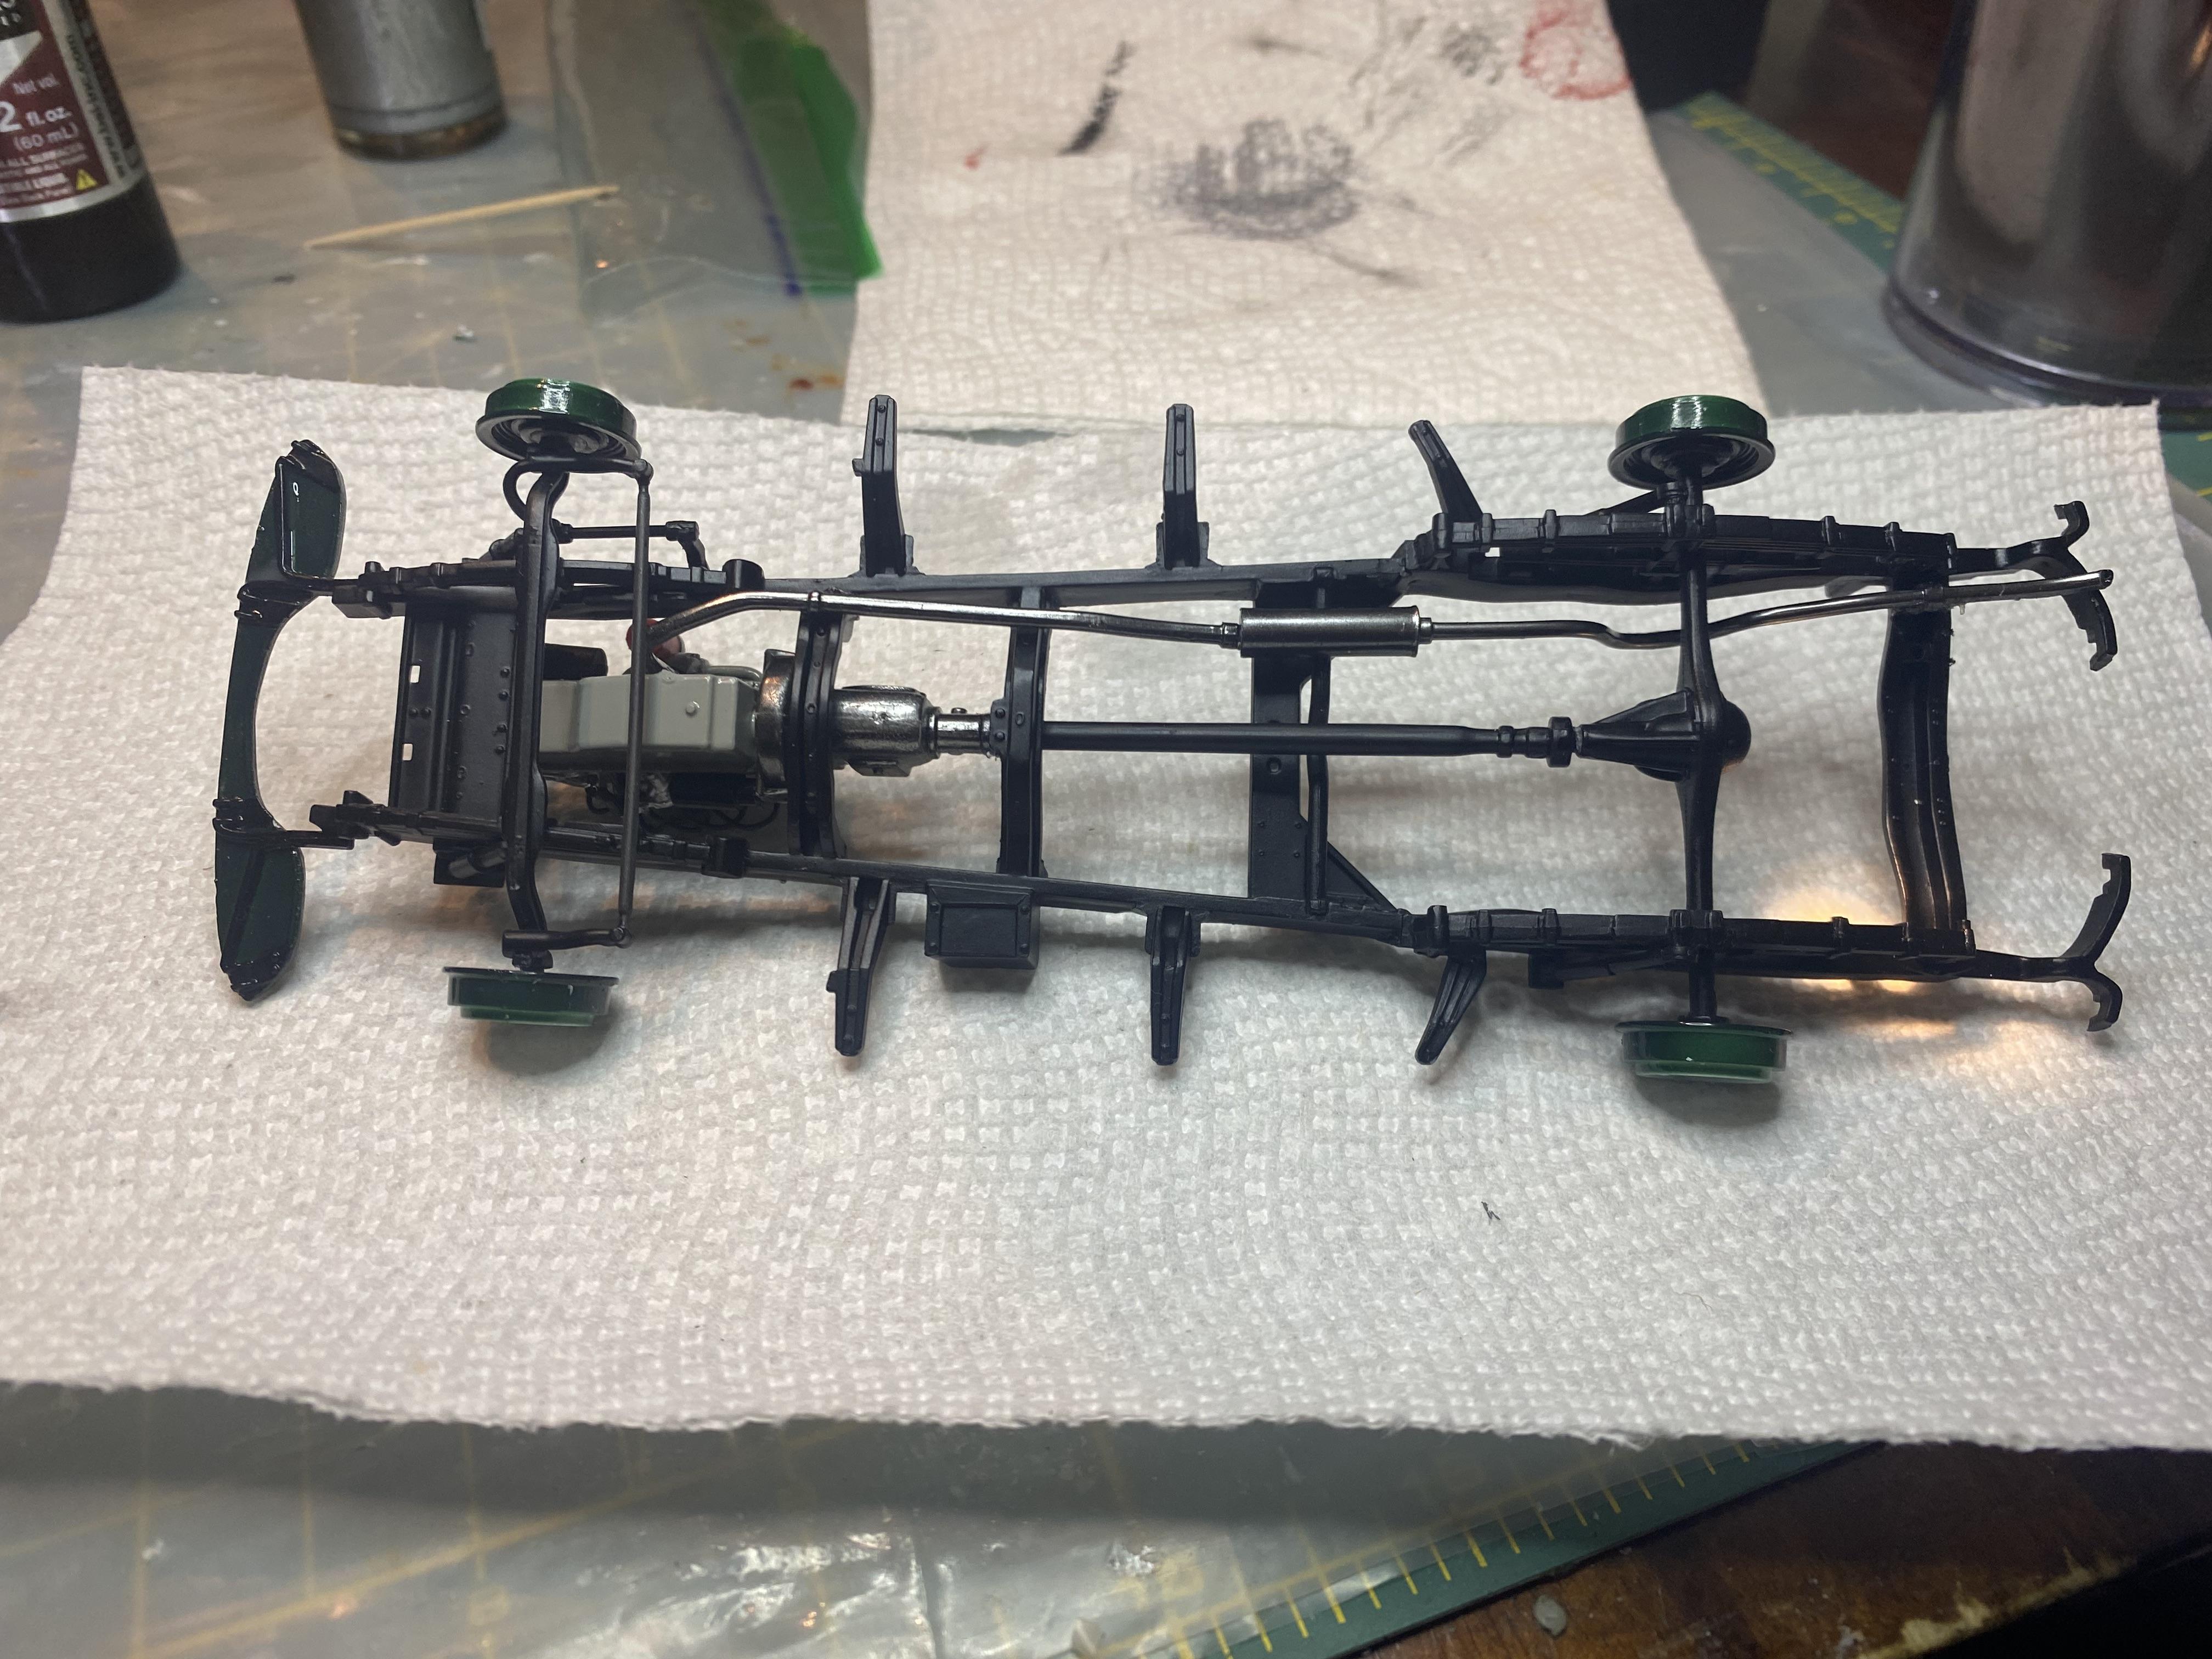
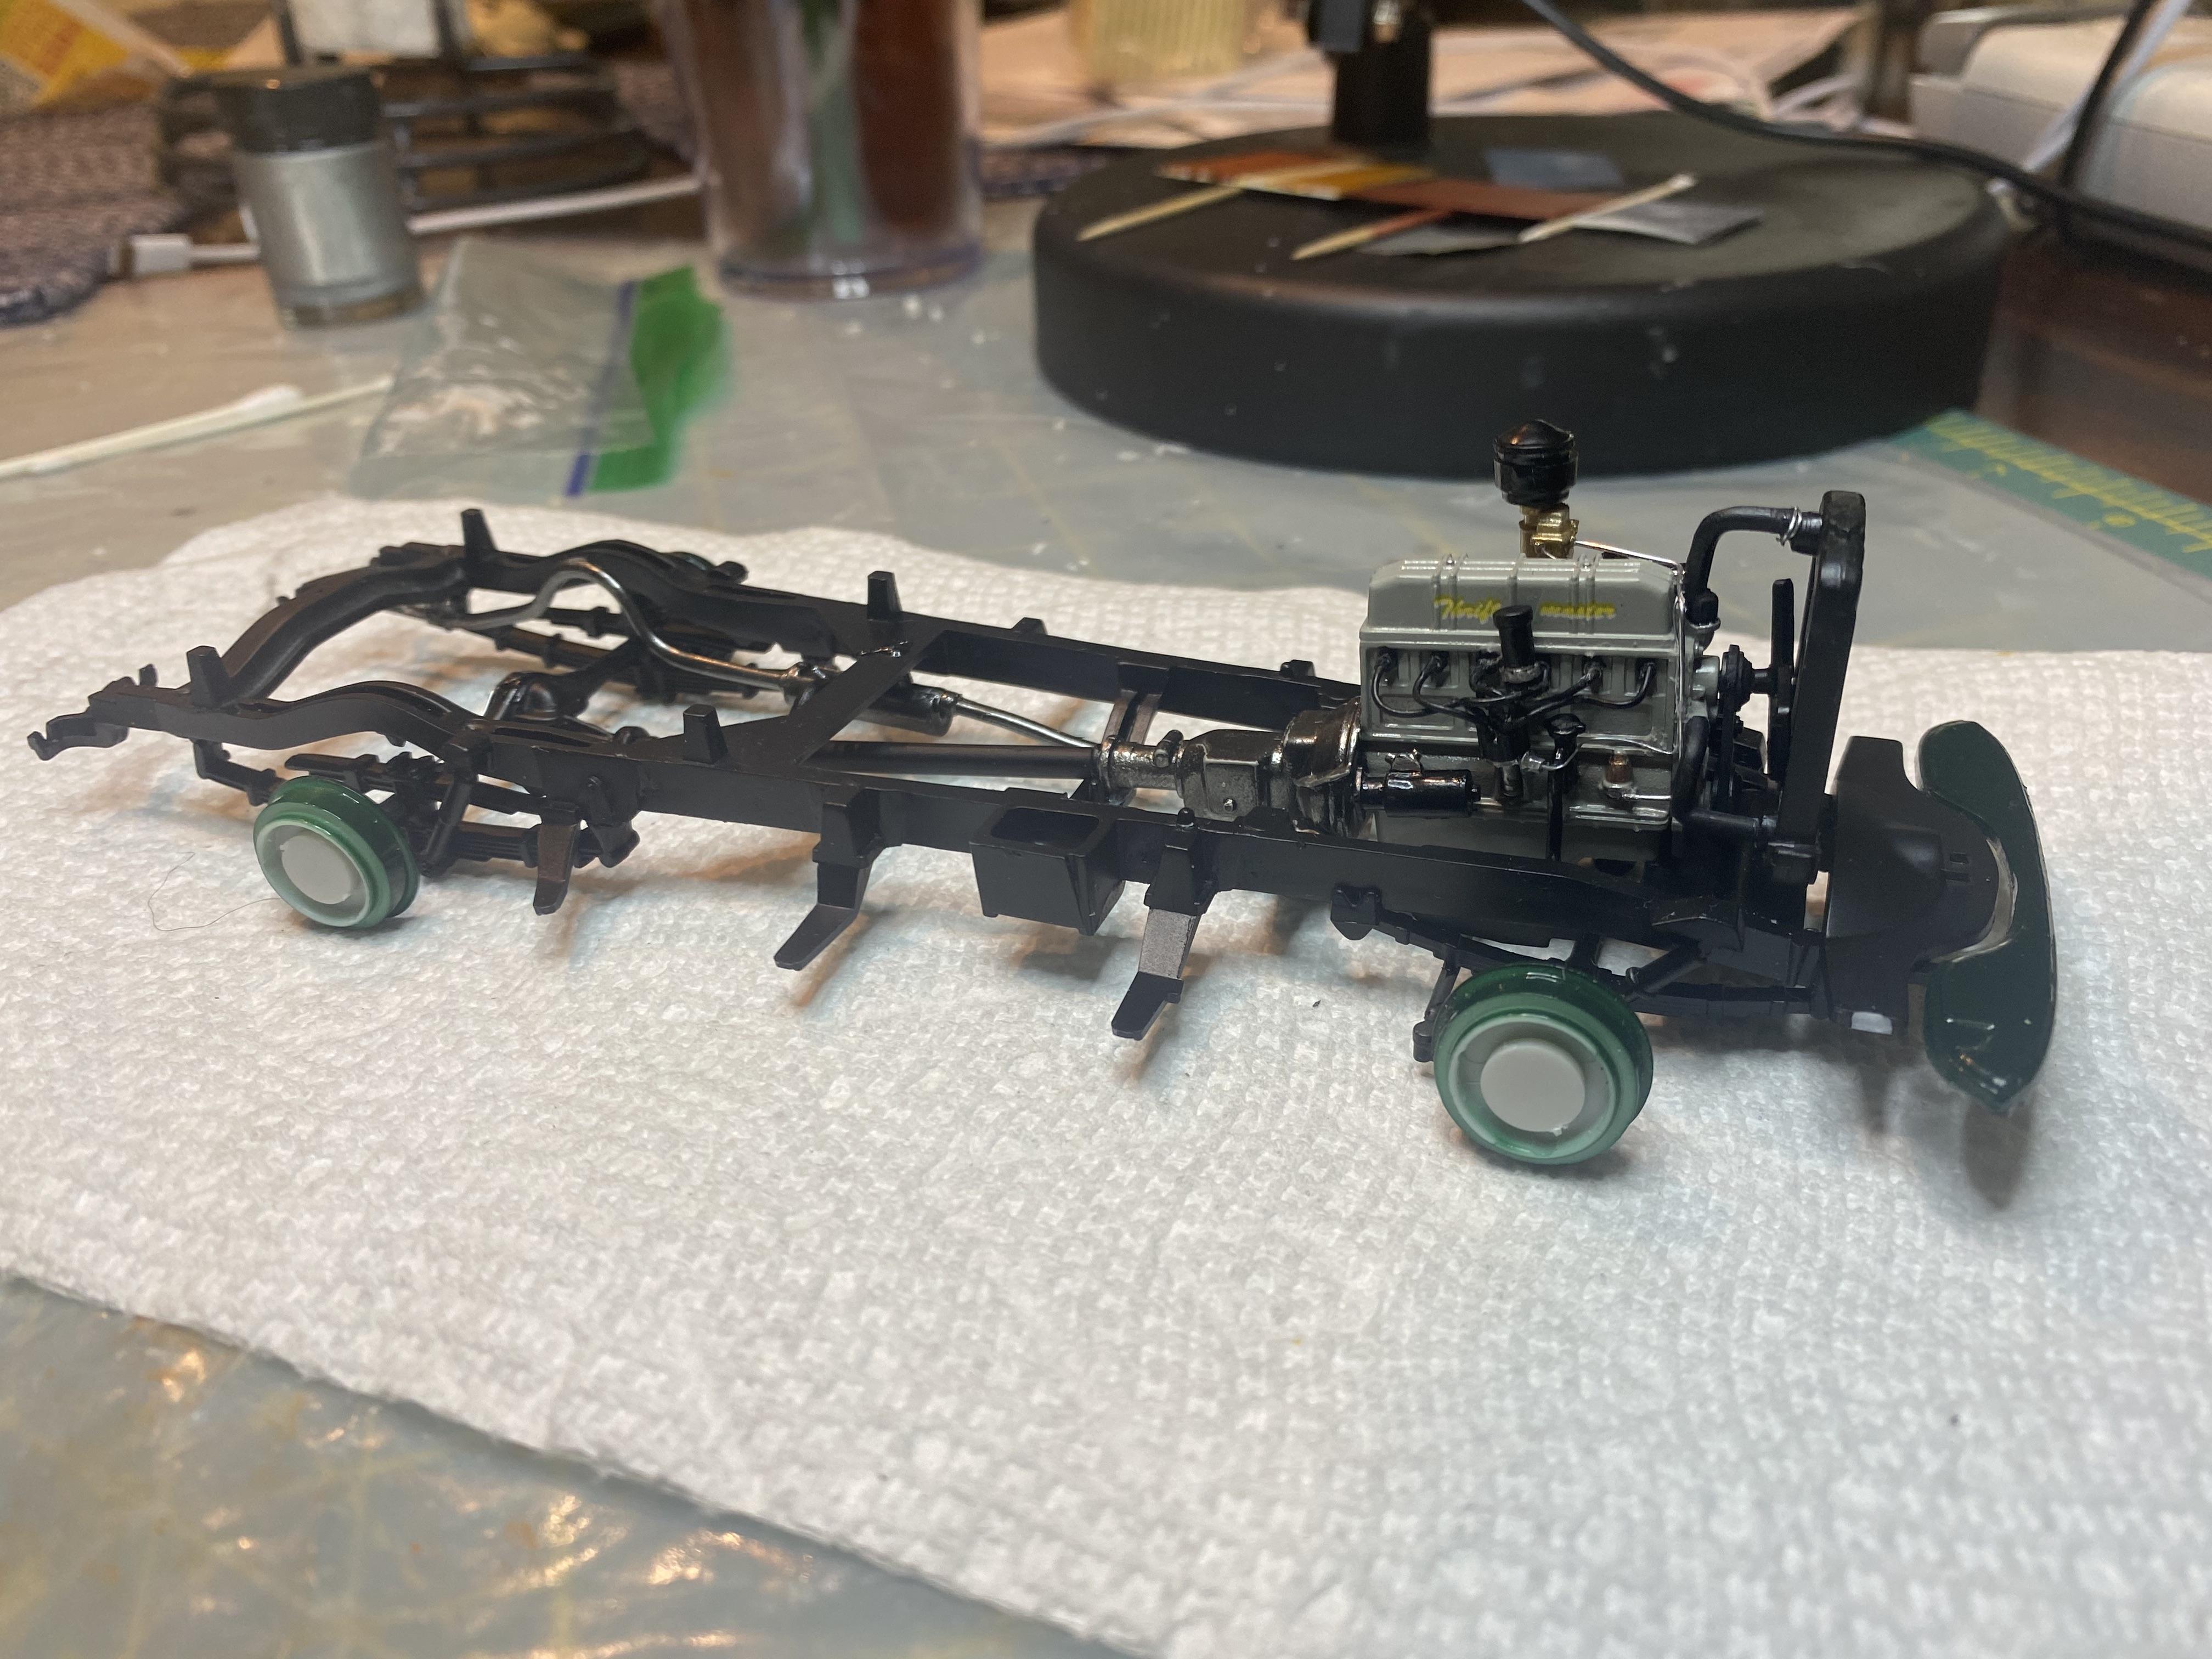
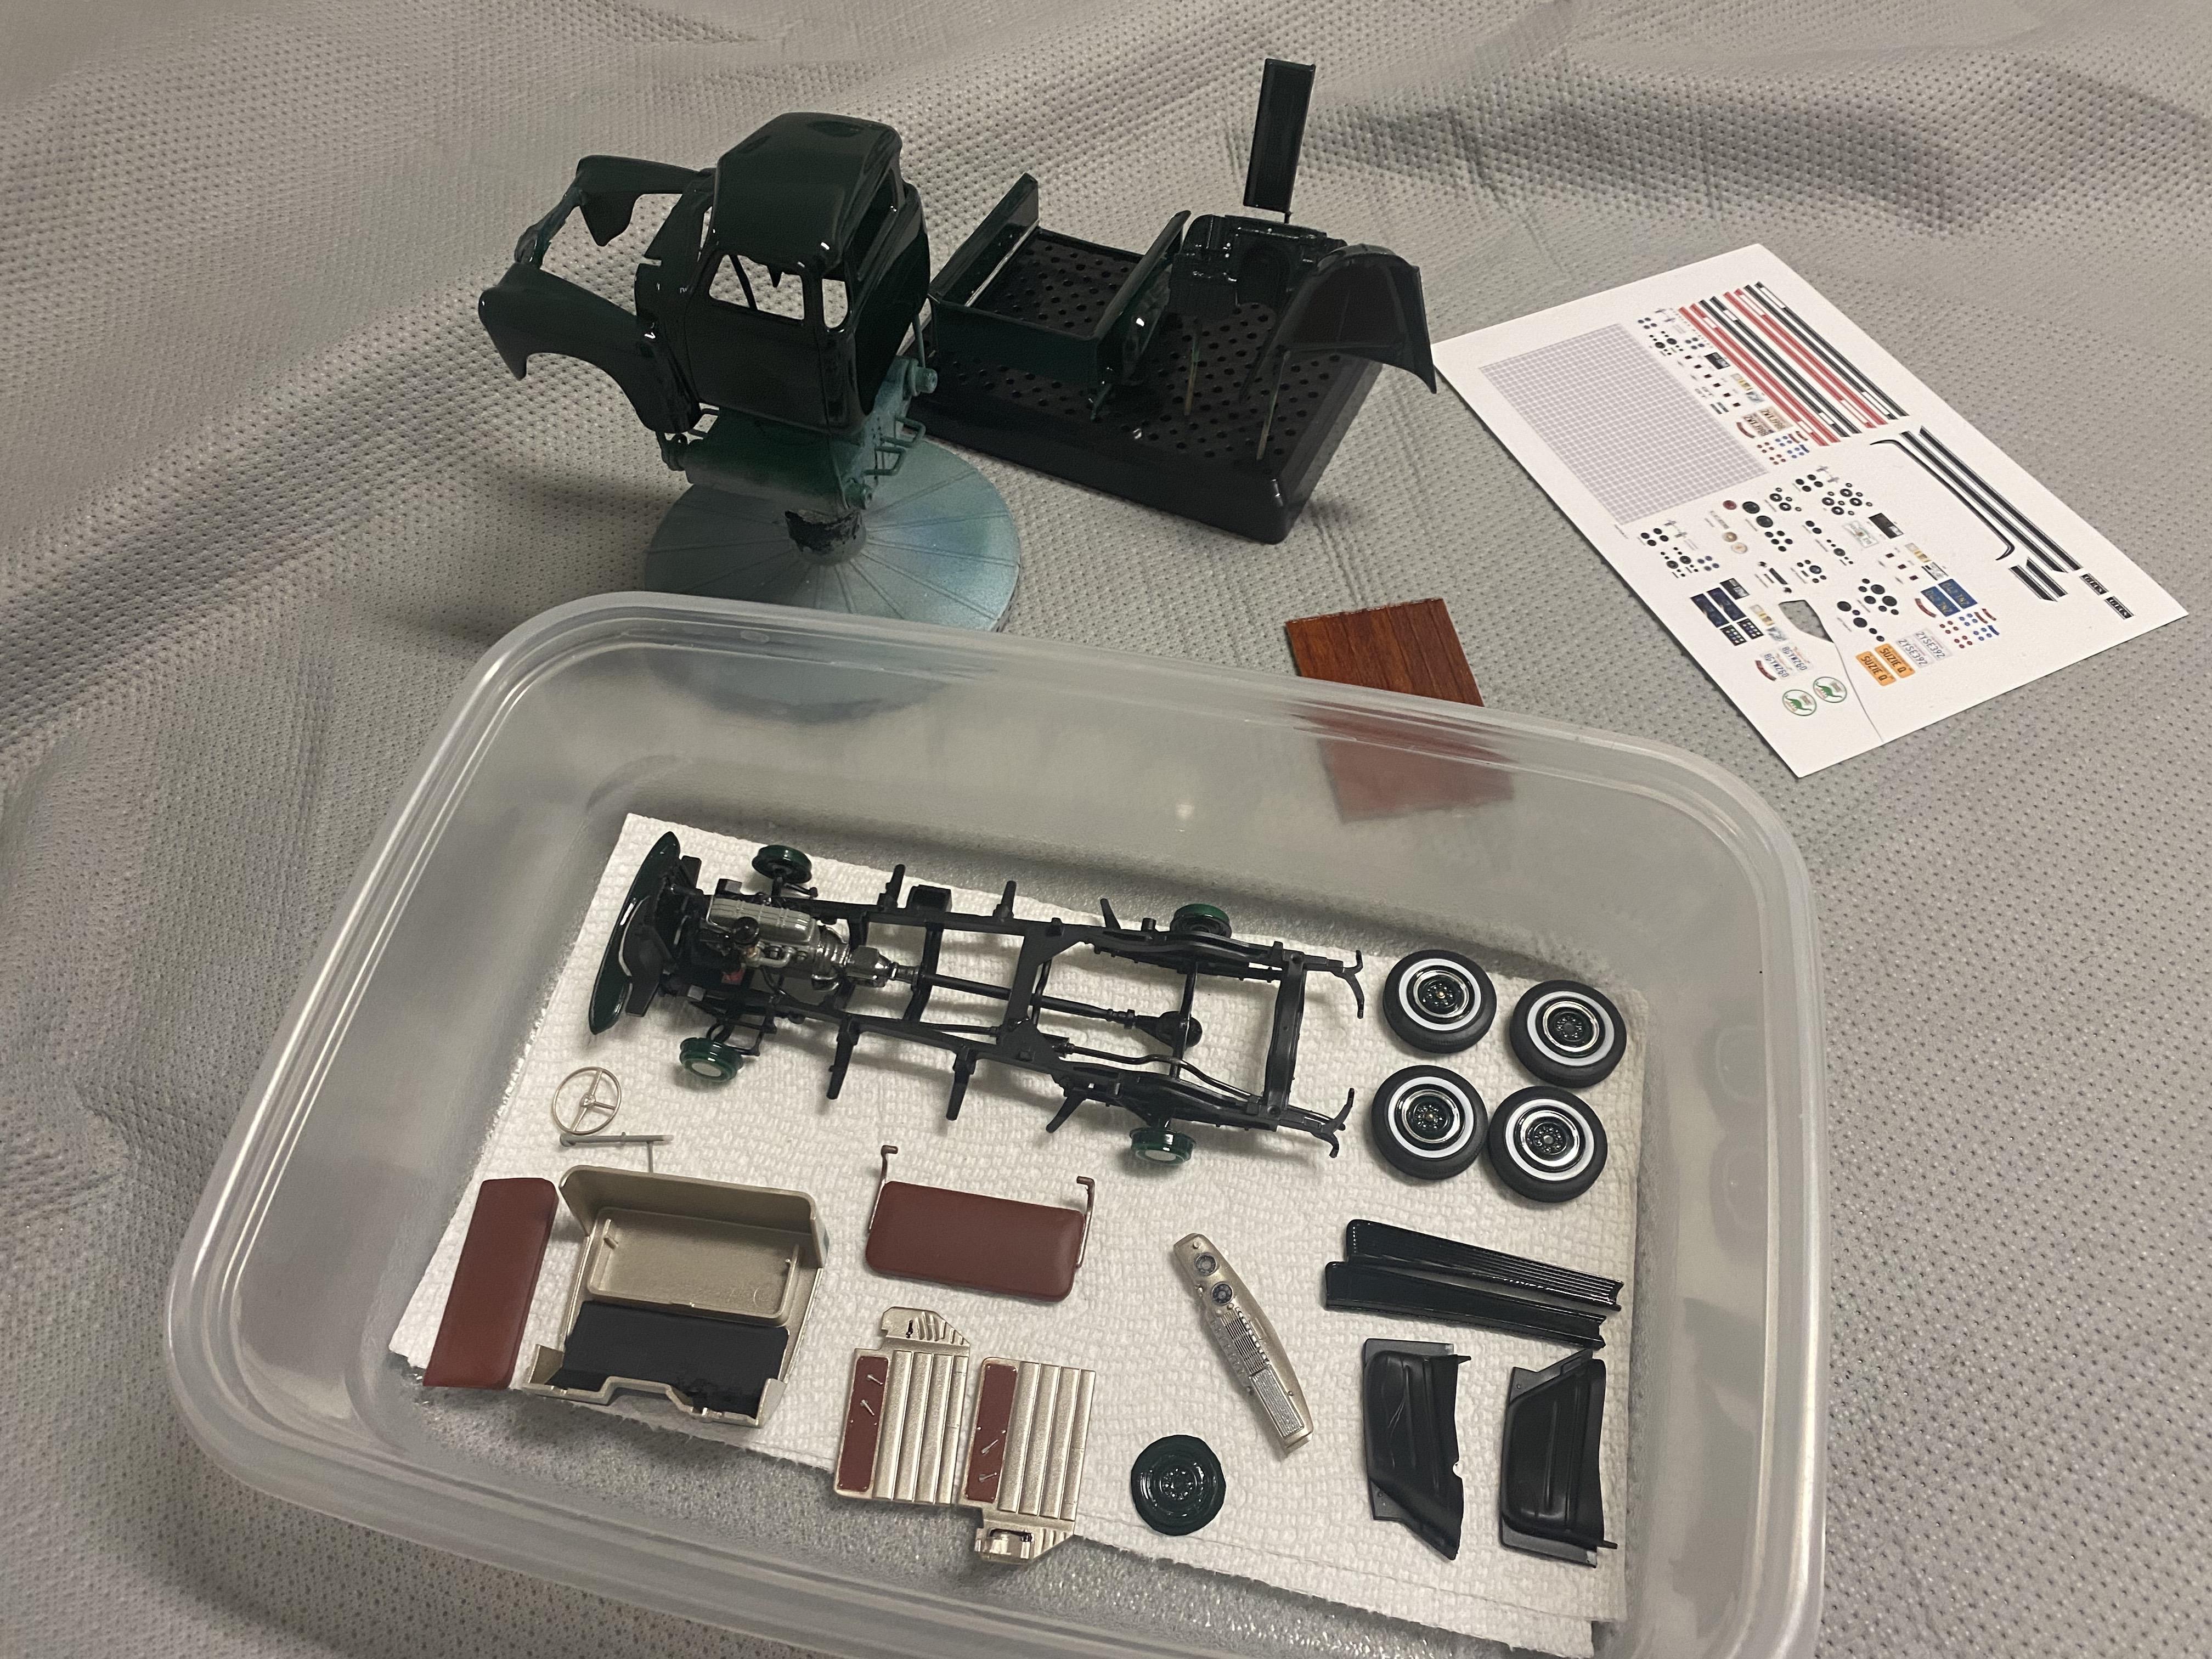
I got quite a bit done today. did a test panel before woodgraining the bed panel using oil paints. Going to take awhile to dry before I can do the underside. Put together the engine, even got the plug wires in the proper firing order and added vacuum and fuel lines. worked on the chassis and added the engine. added clear resin and gauge decals. I tested the gauge LED but I didn’t take a picture.
-
1950 Chevy 3100 Pickup WIP
Duddly01 replied to Duddly01's topic in WIP: Model Trucks: Pickups, Vans, SUVs, Light Commercial
Thanks. The paint is Chevy juniper Green from MCW finishes, the clear is splash paints 2K. -
1950 Chevy 3100 Pickup WIP
Duddly01 replied to Duddly01's topic in WIP: Model Trucks: Pickups, Vans, SUVs, Light Commercial
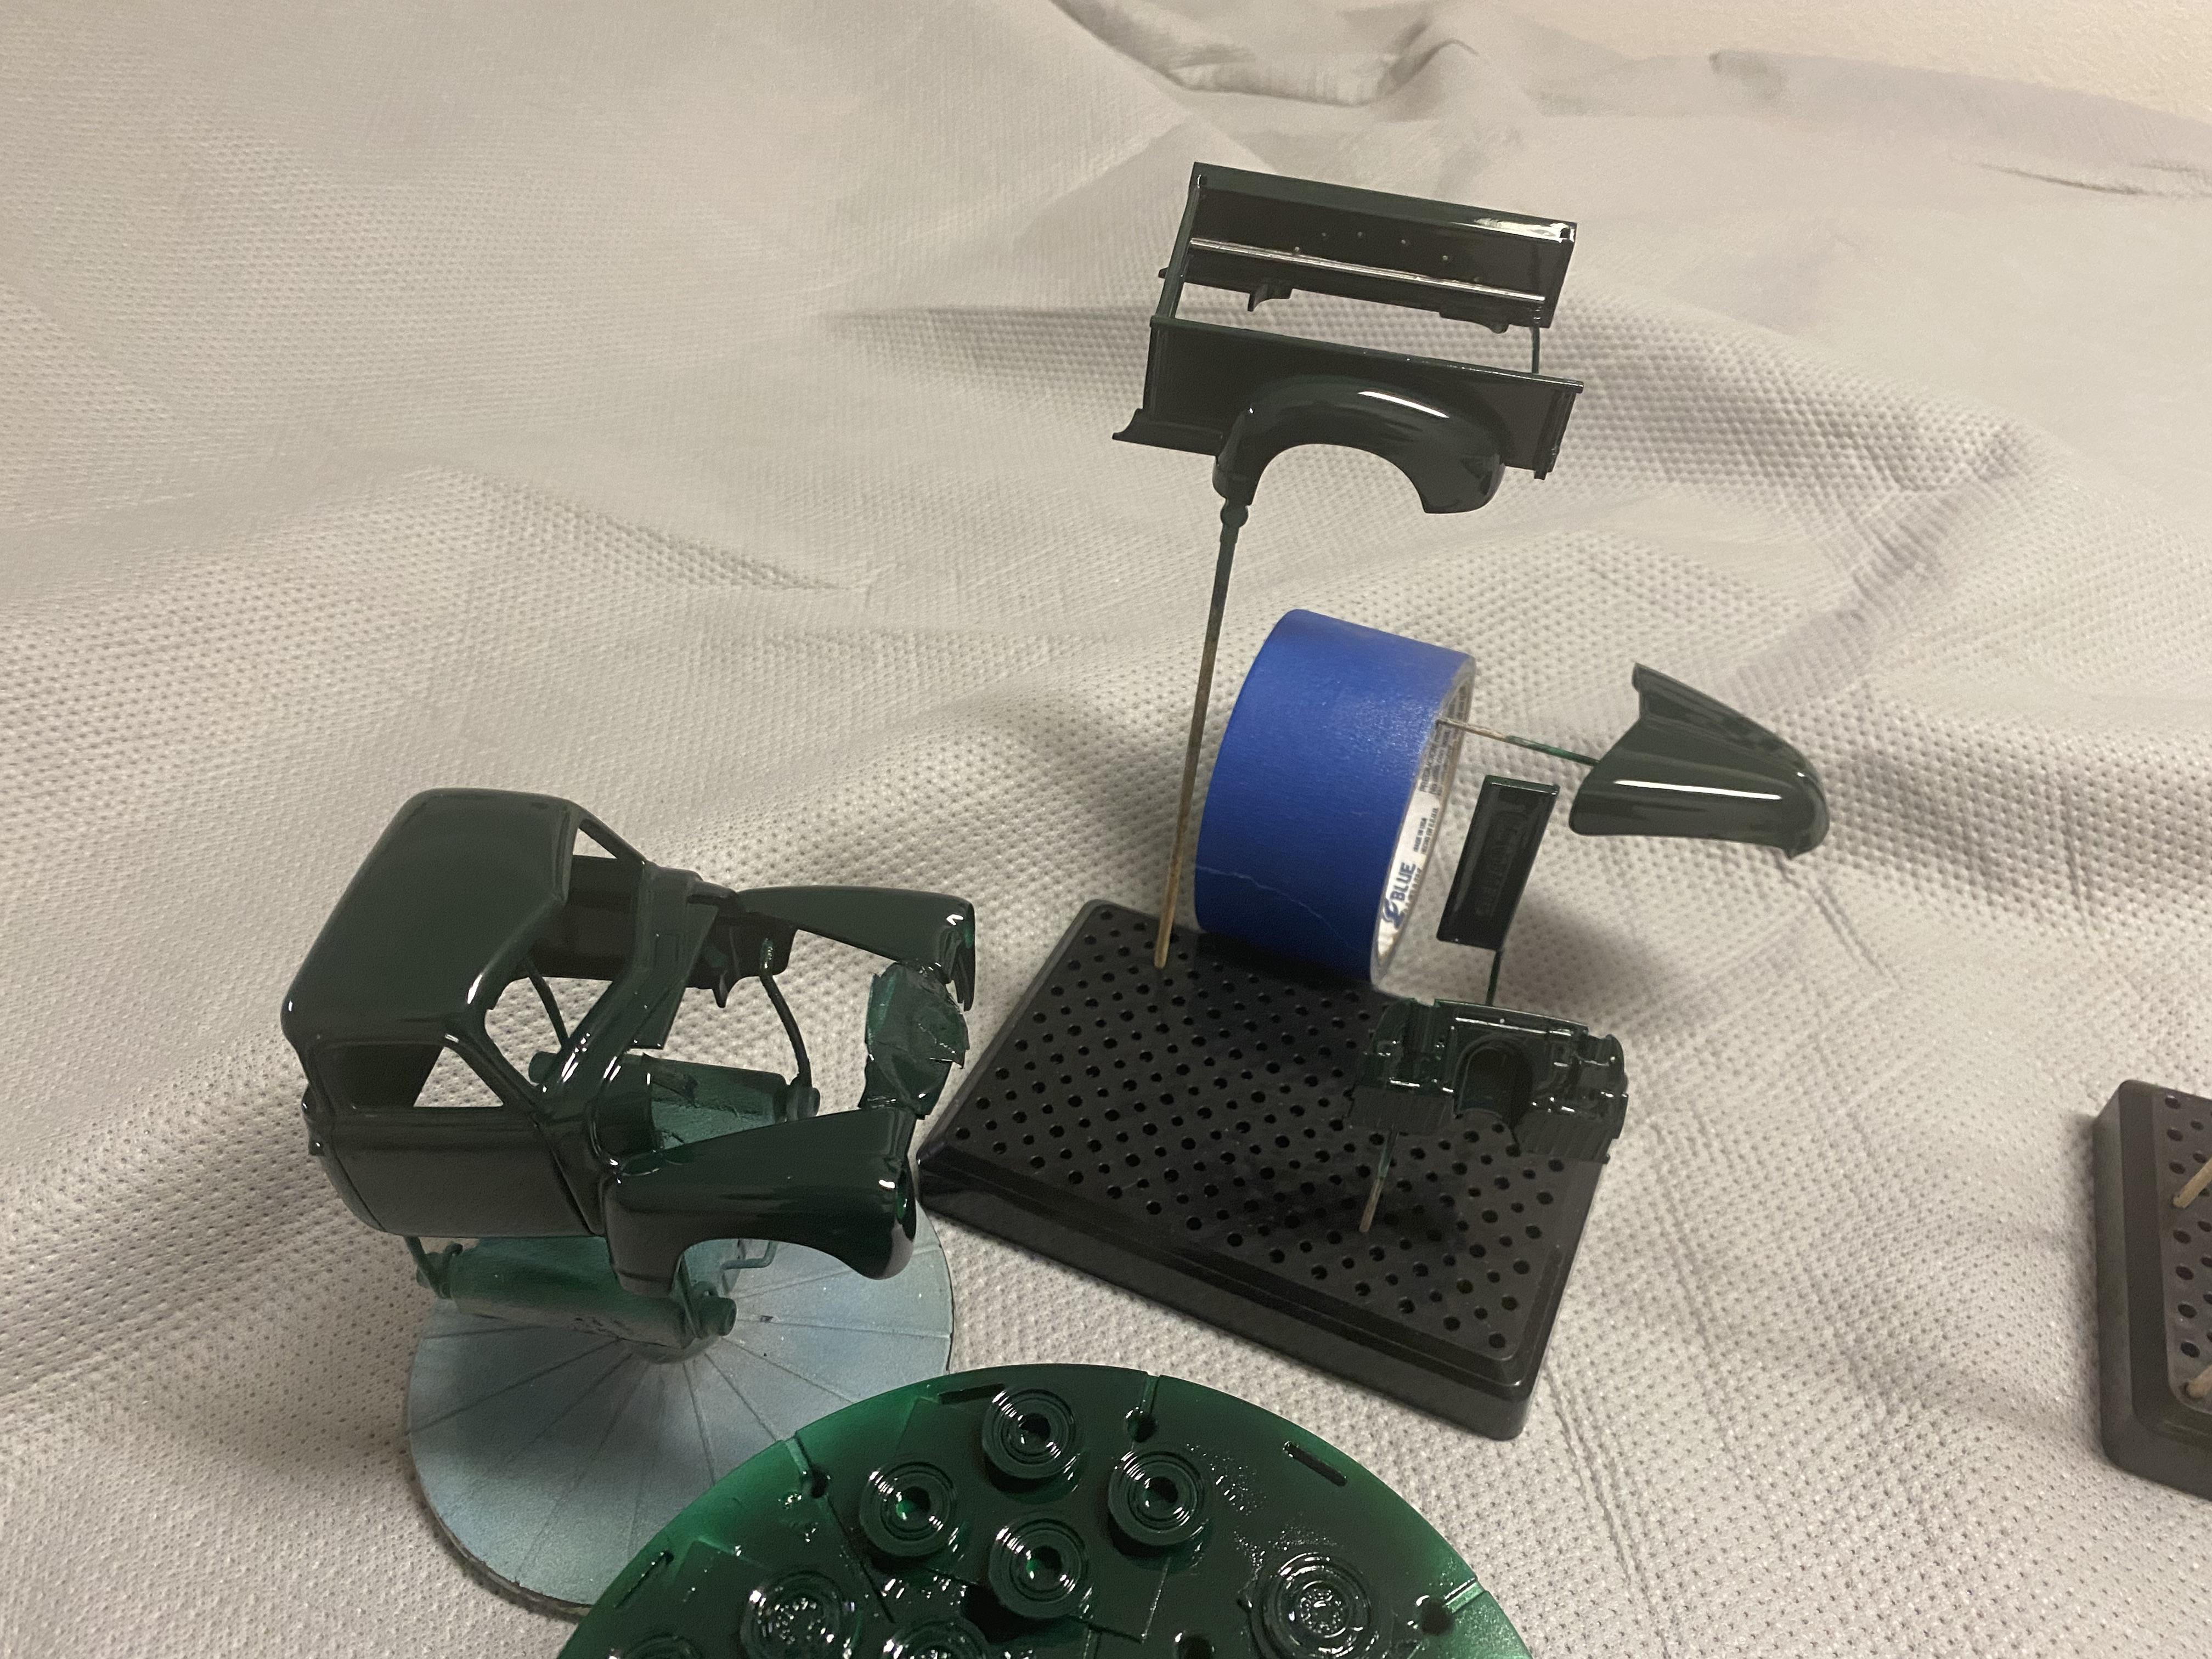
I did go ahead and spray the 2K clear. I did go ahead and spray the cab underside floor body color. I did get a nasty piece of trash in the roof, but I think it will come out when I wet sand and polish in a few days.
-
1950 Chevy 3100 Pickup WIP
Duddly01 replied to Duddly01's topic in WIP: Model Trucks: Pickups, Vans, SUVs, Light Commercial
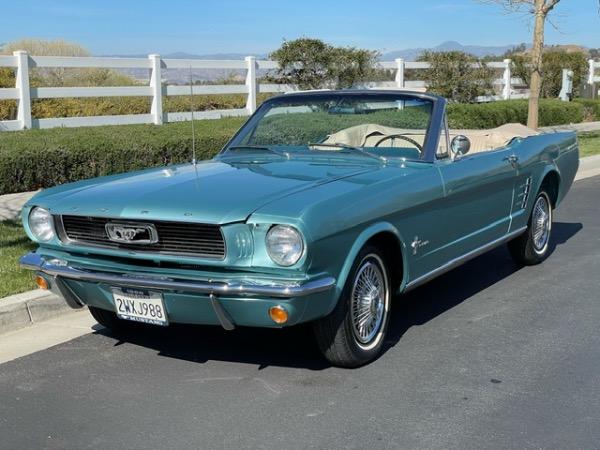
It’s called Fawn Beige metallic. Closest I could find to this
-
1950 Chevy 3100 Pickup WIP
Duddly01 replied to Duddly01's topic in WIP: Model Trucks: Pickups, Vans, SUVs, Light Commercial
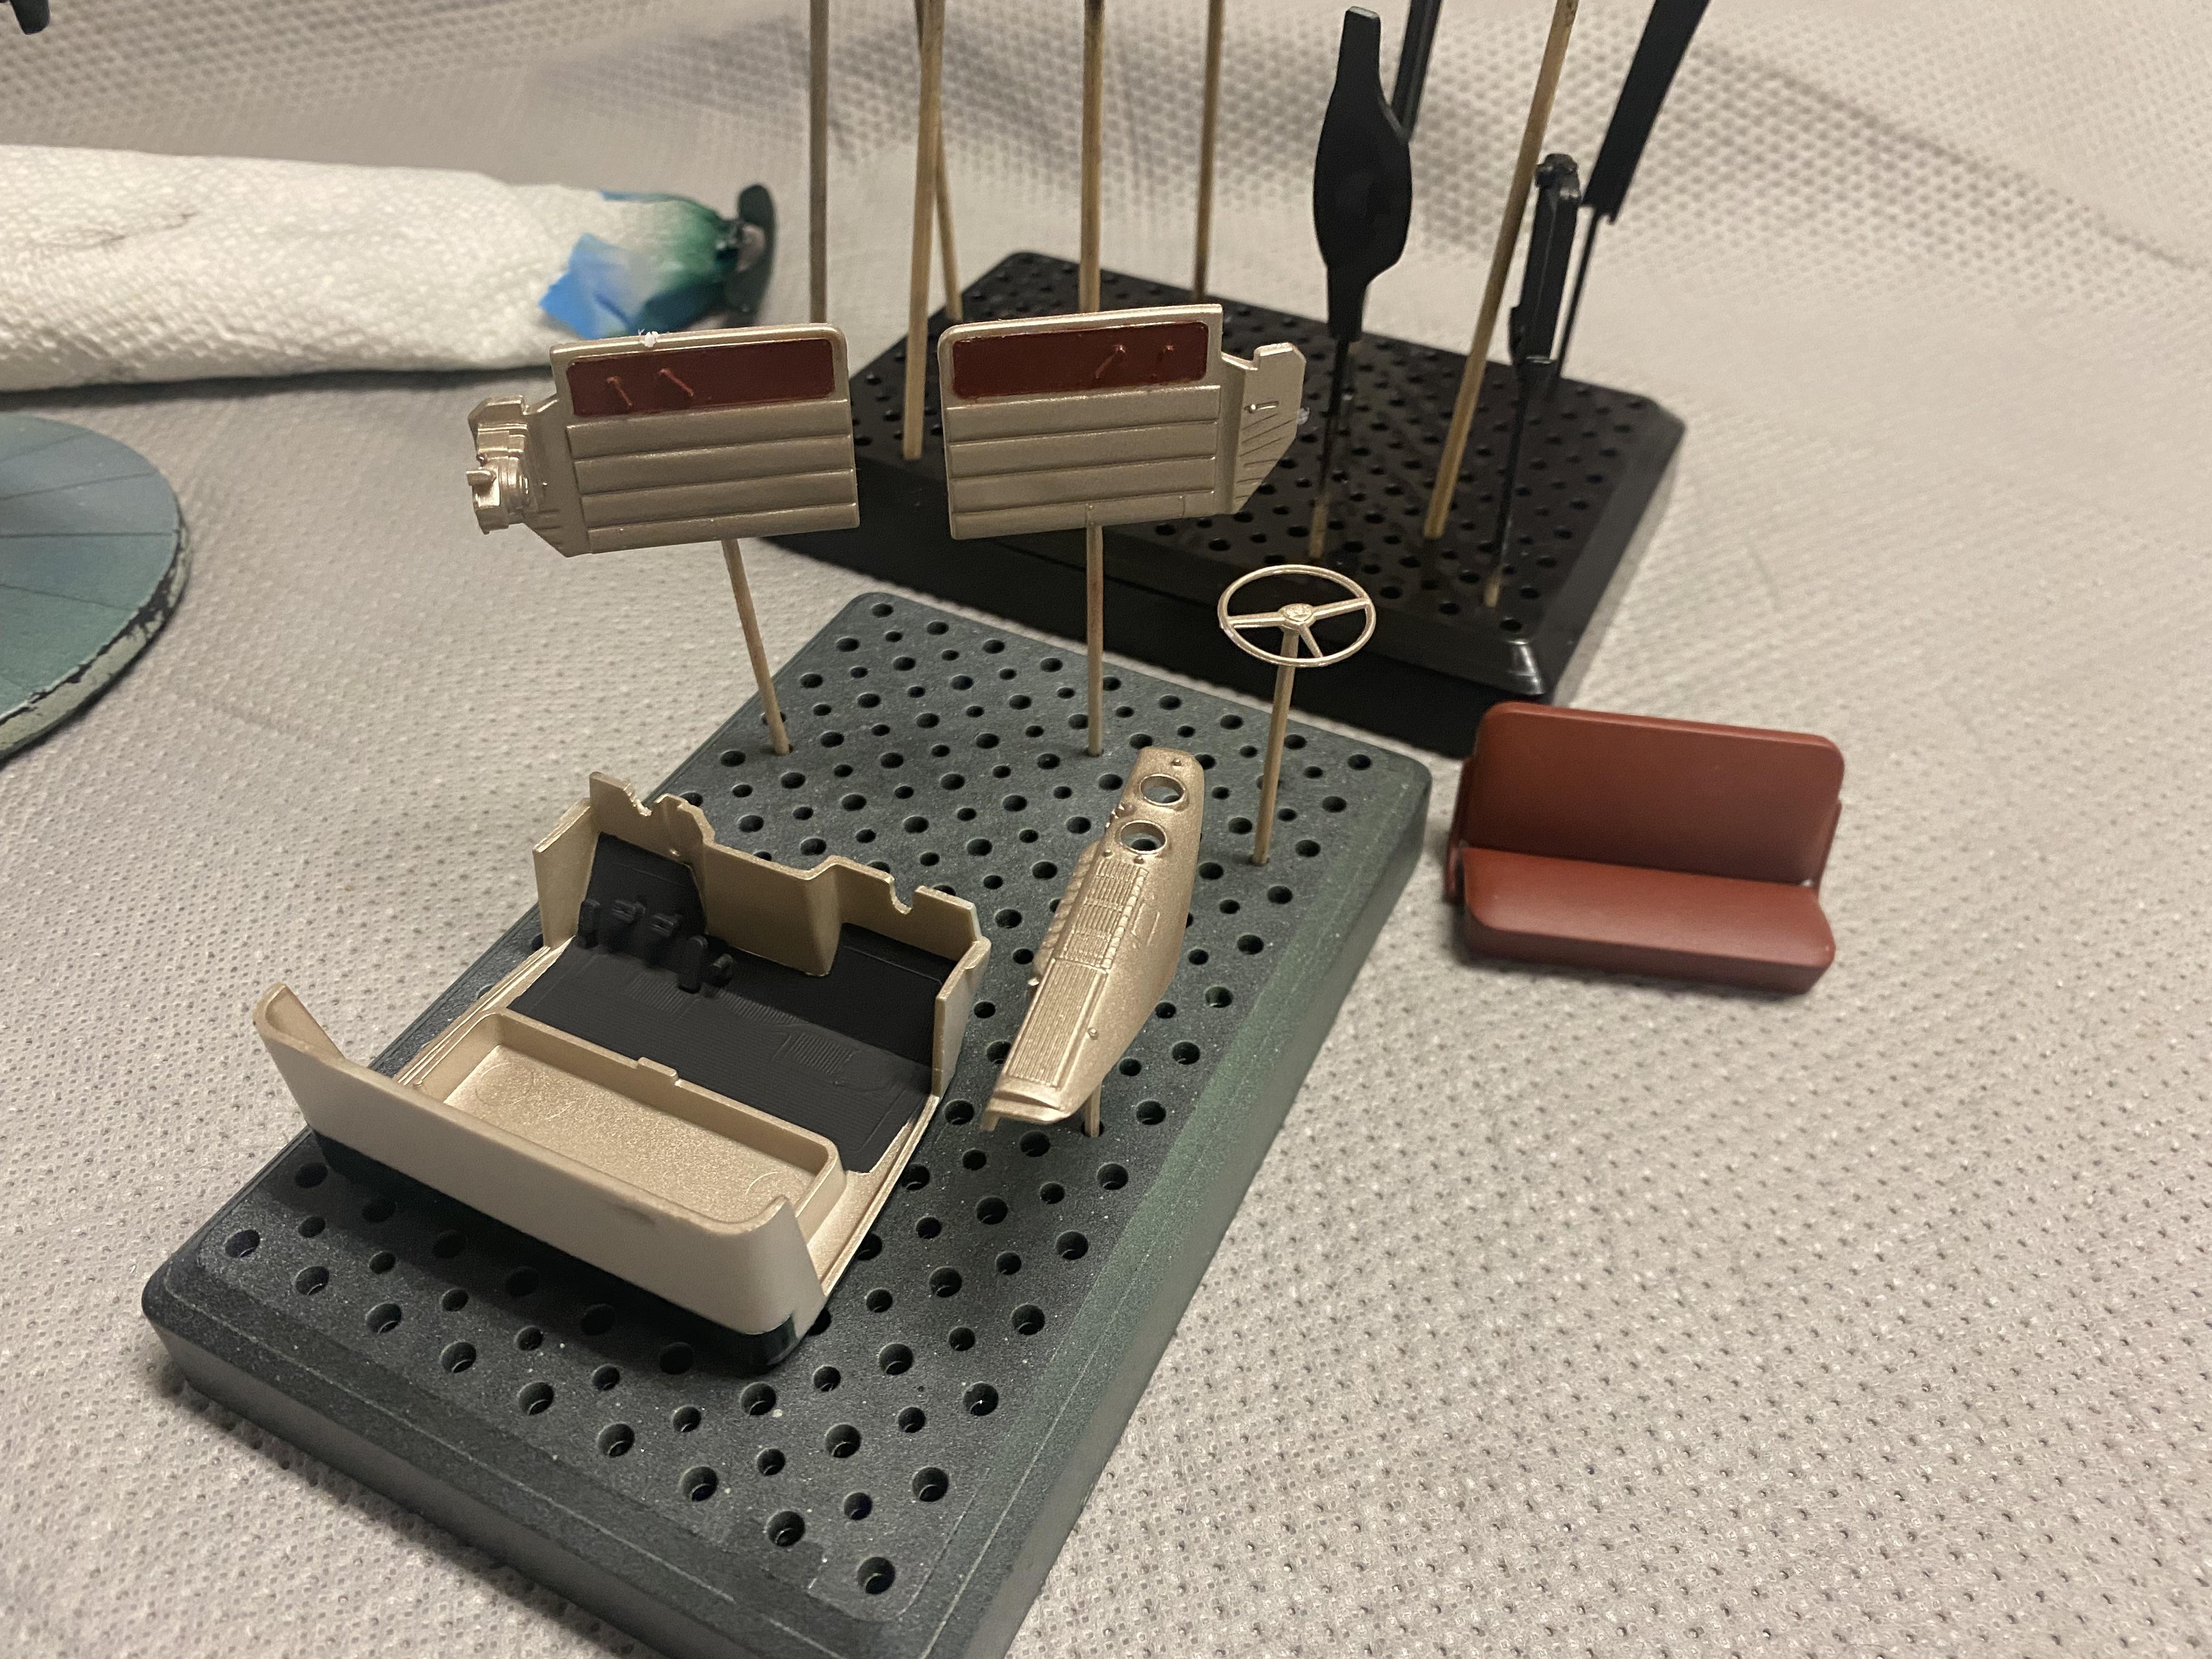
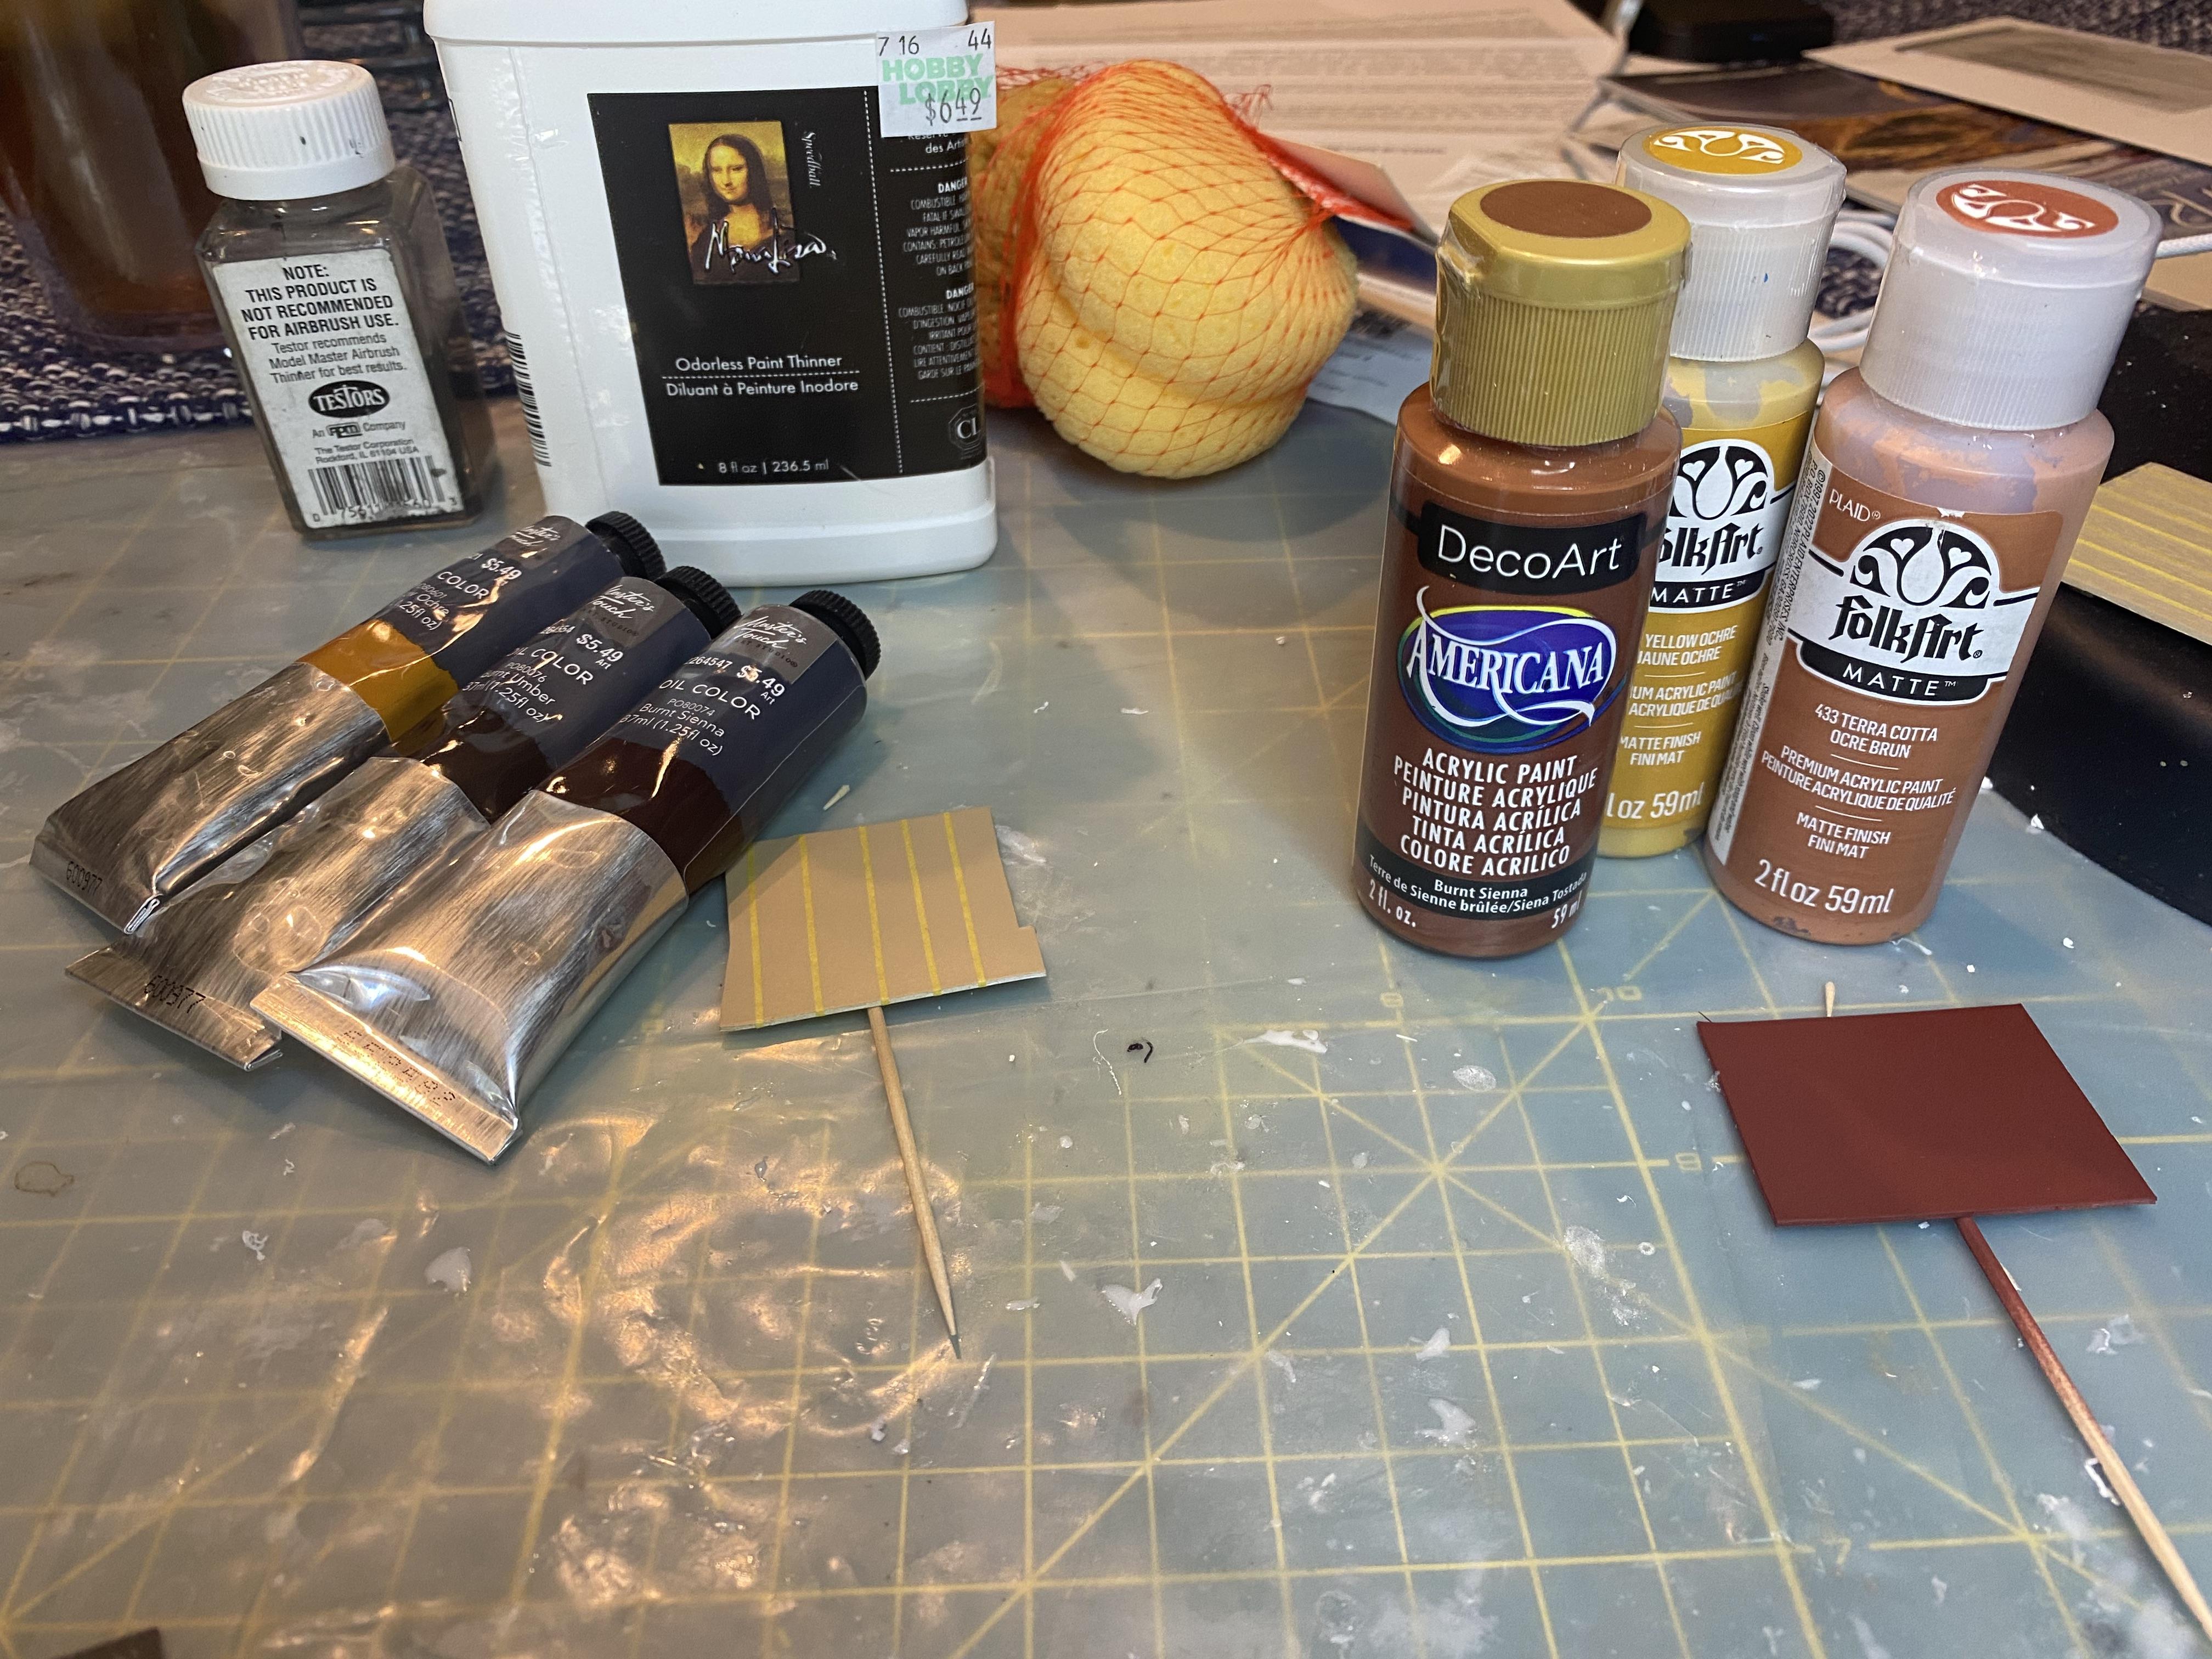
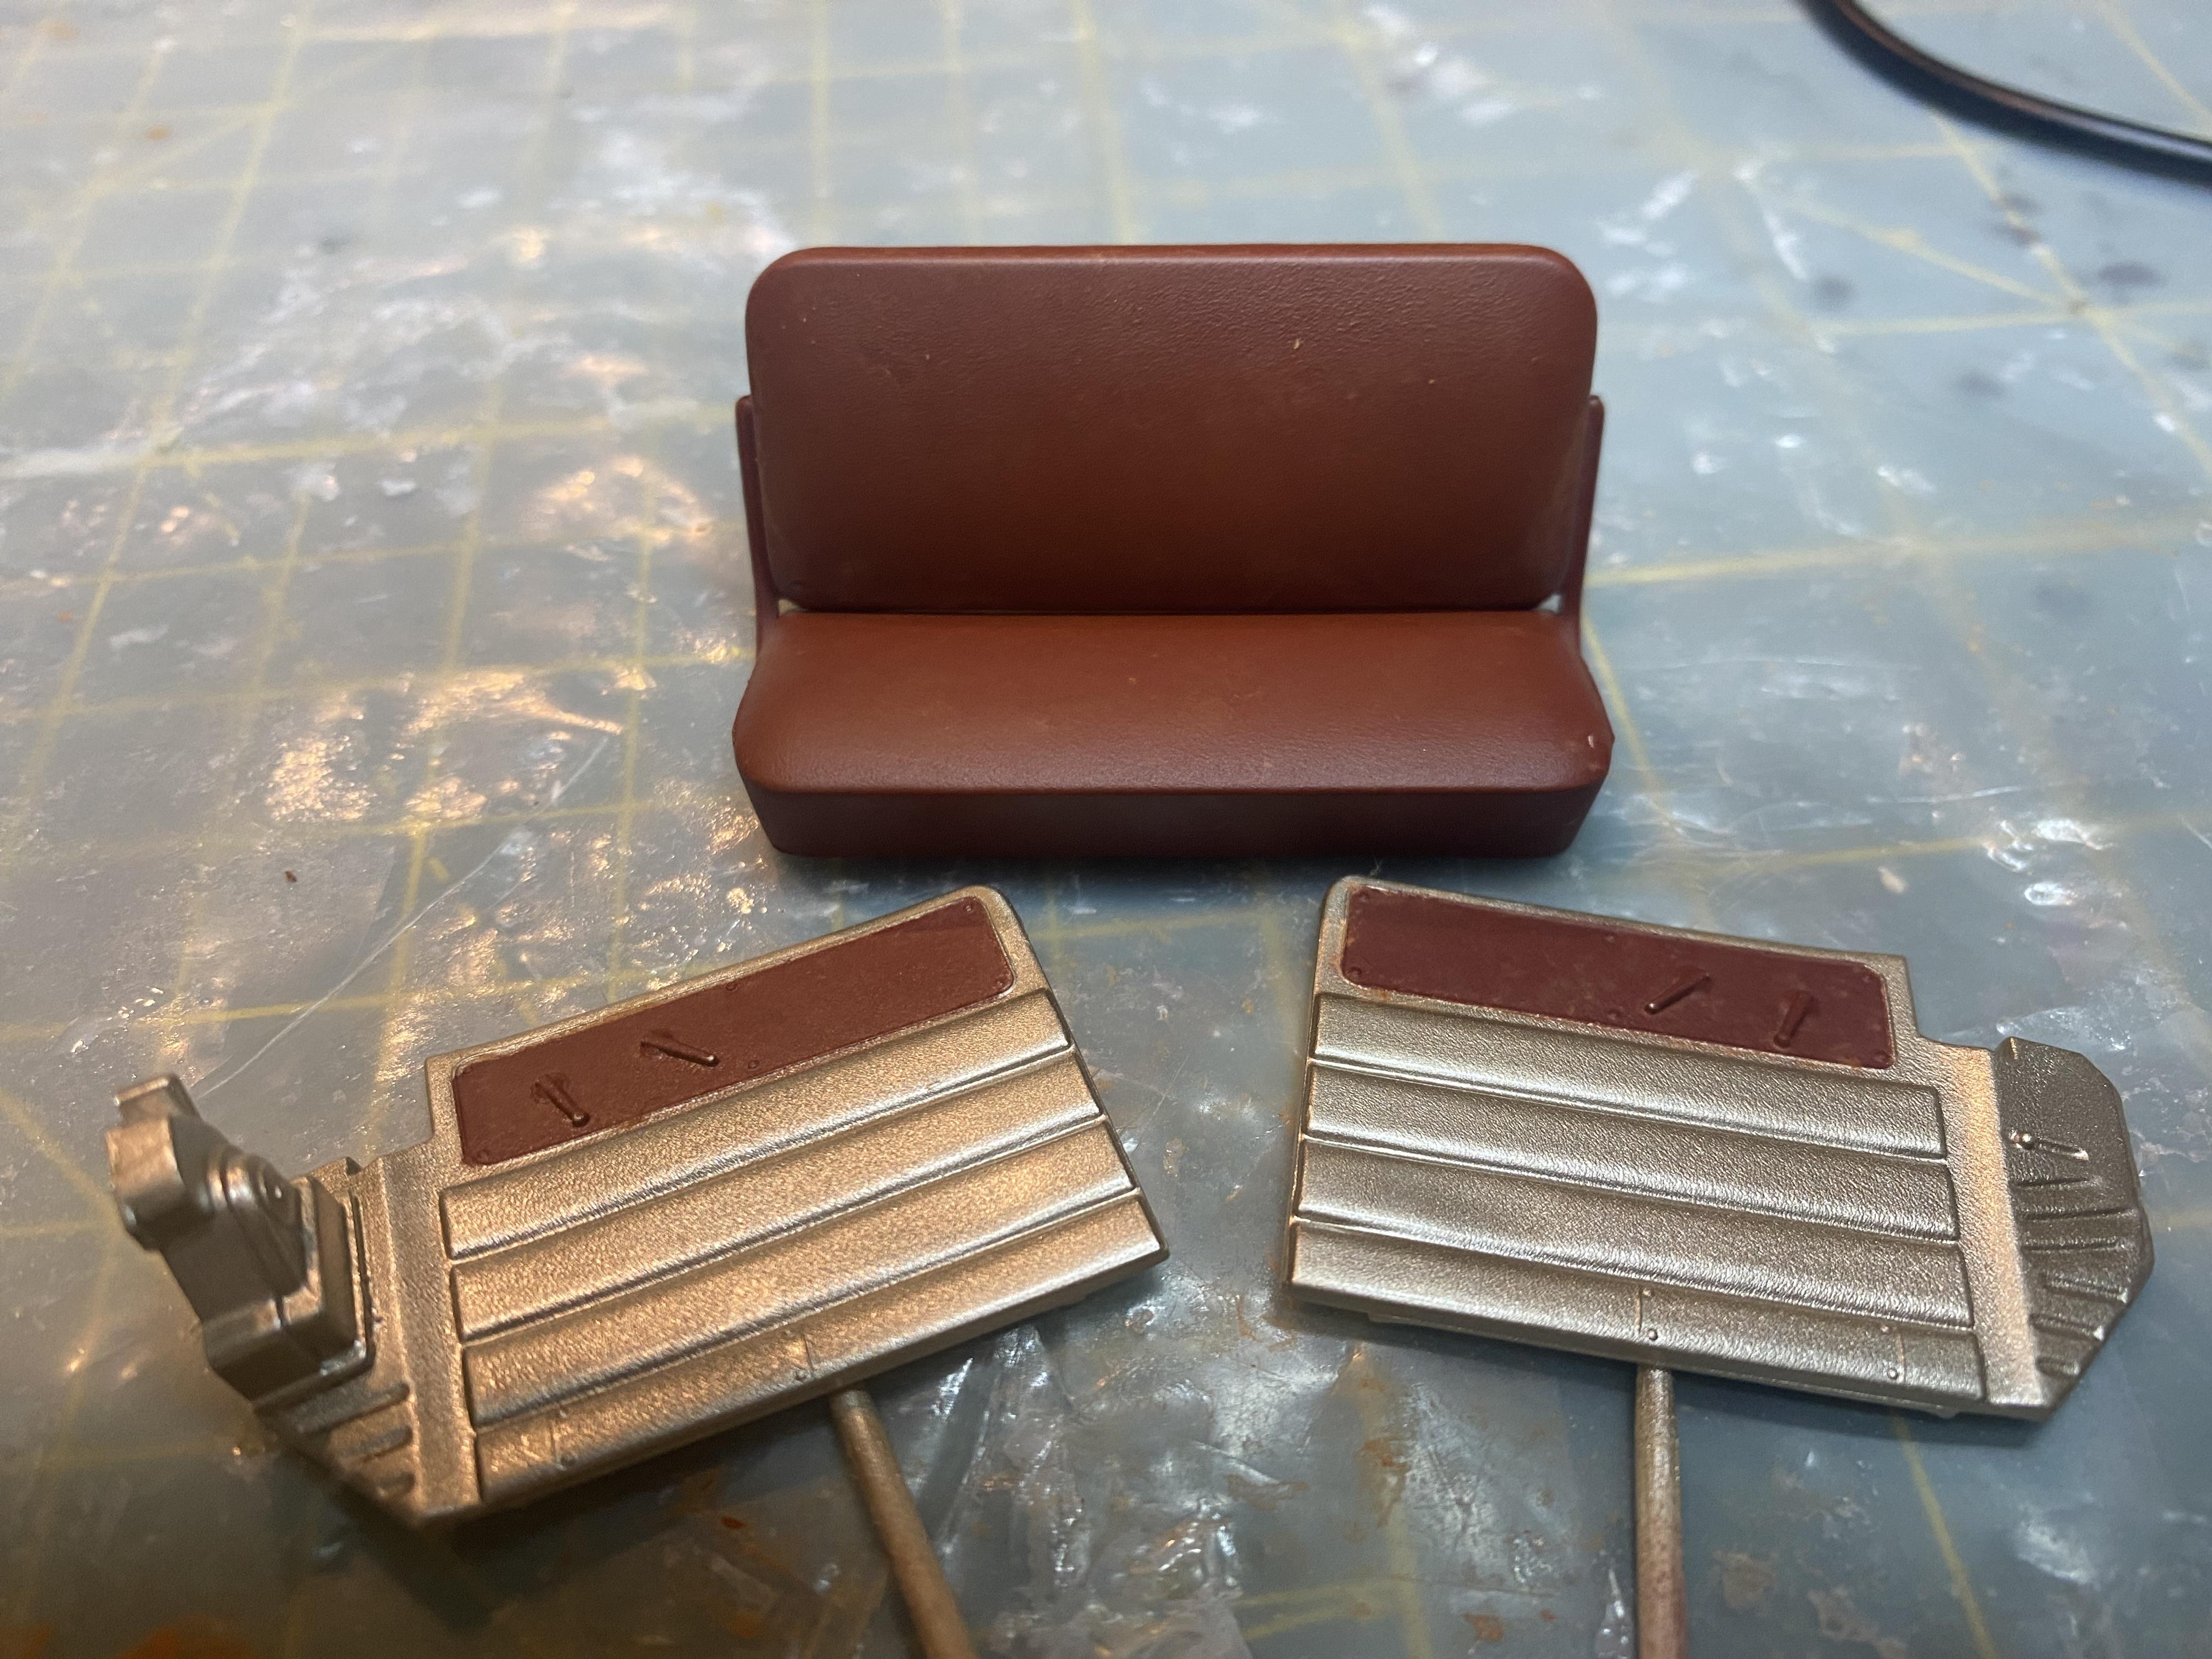
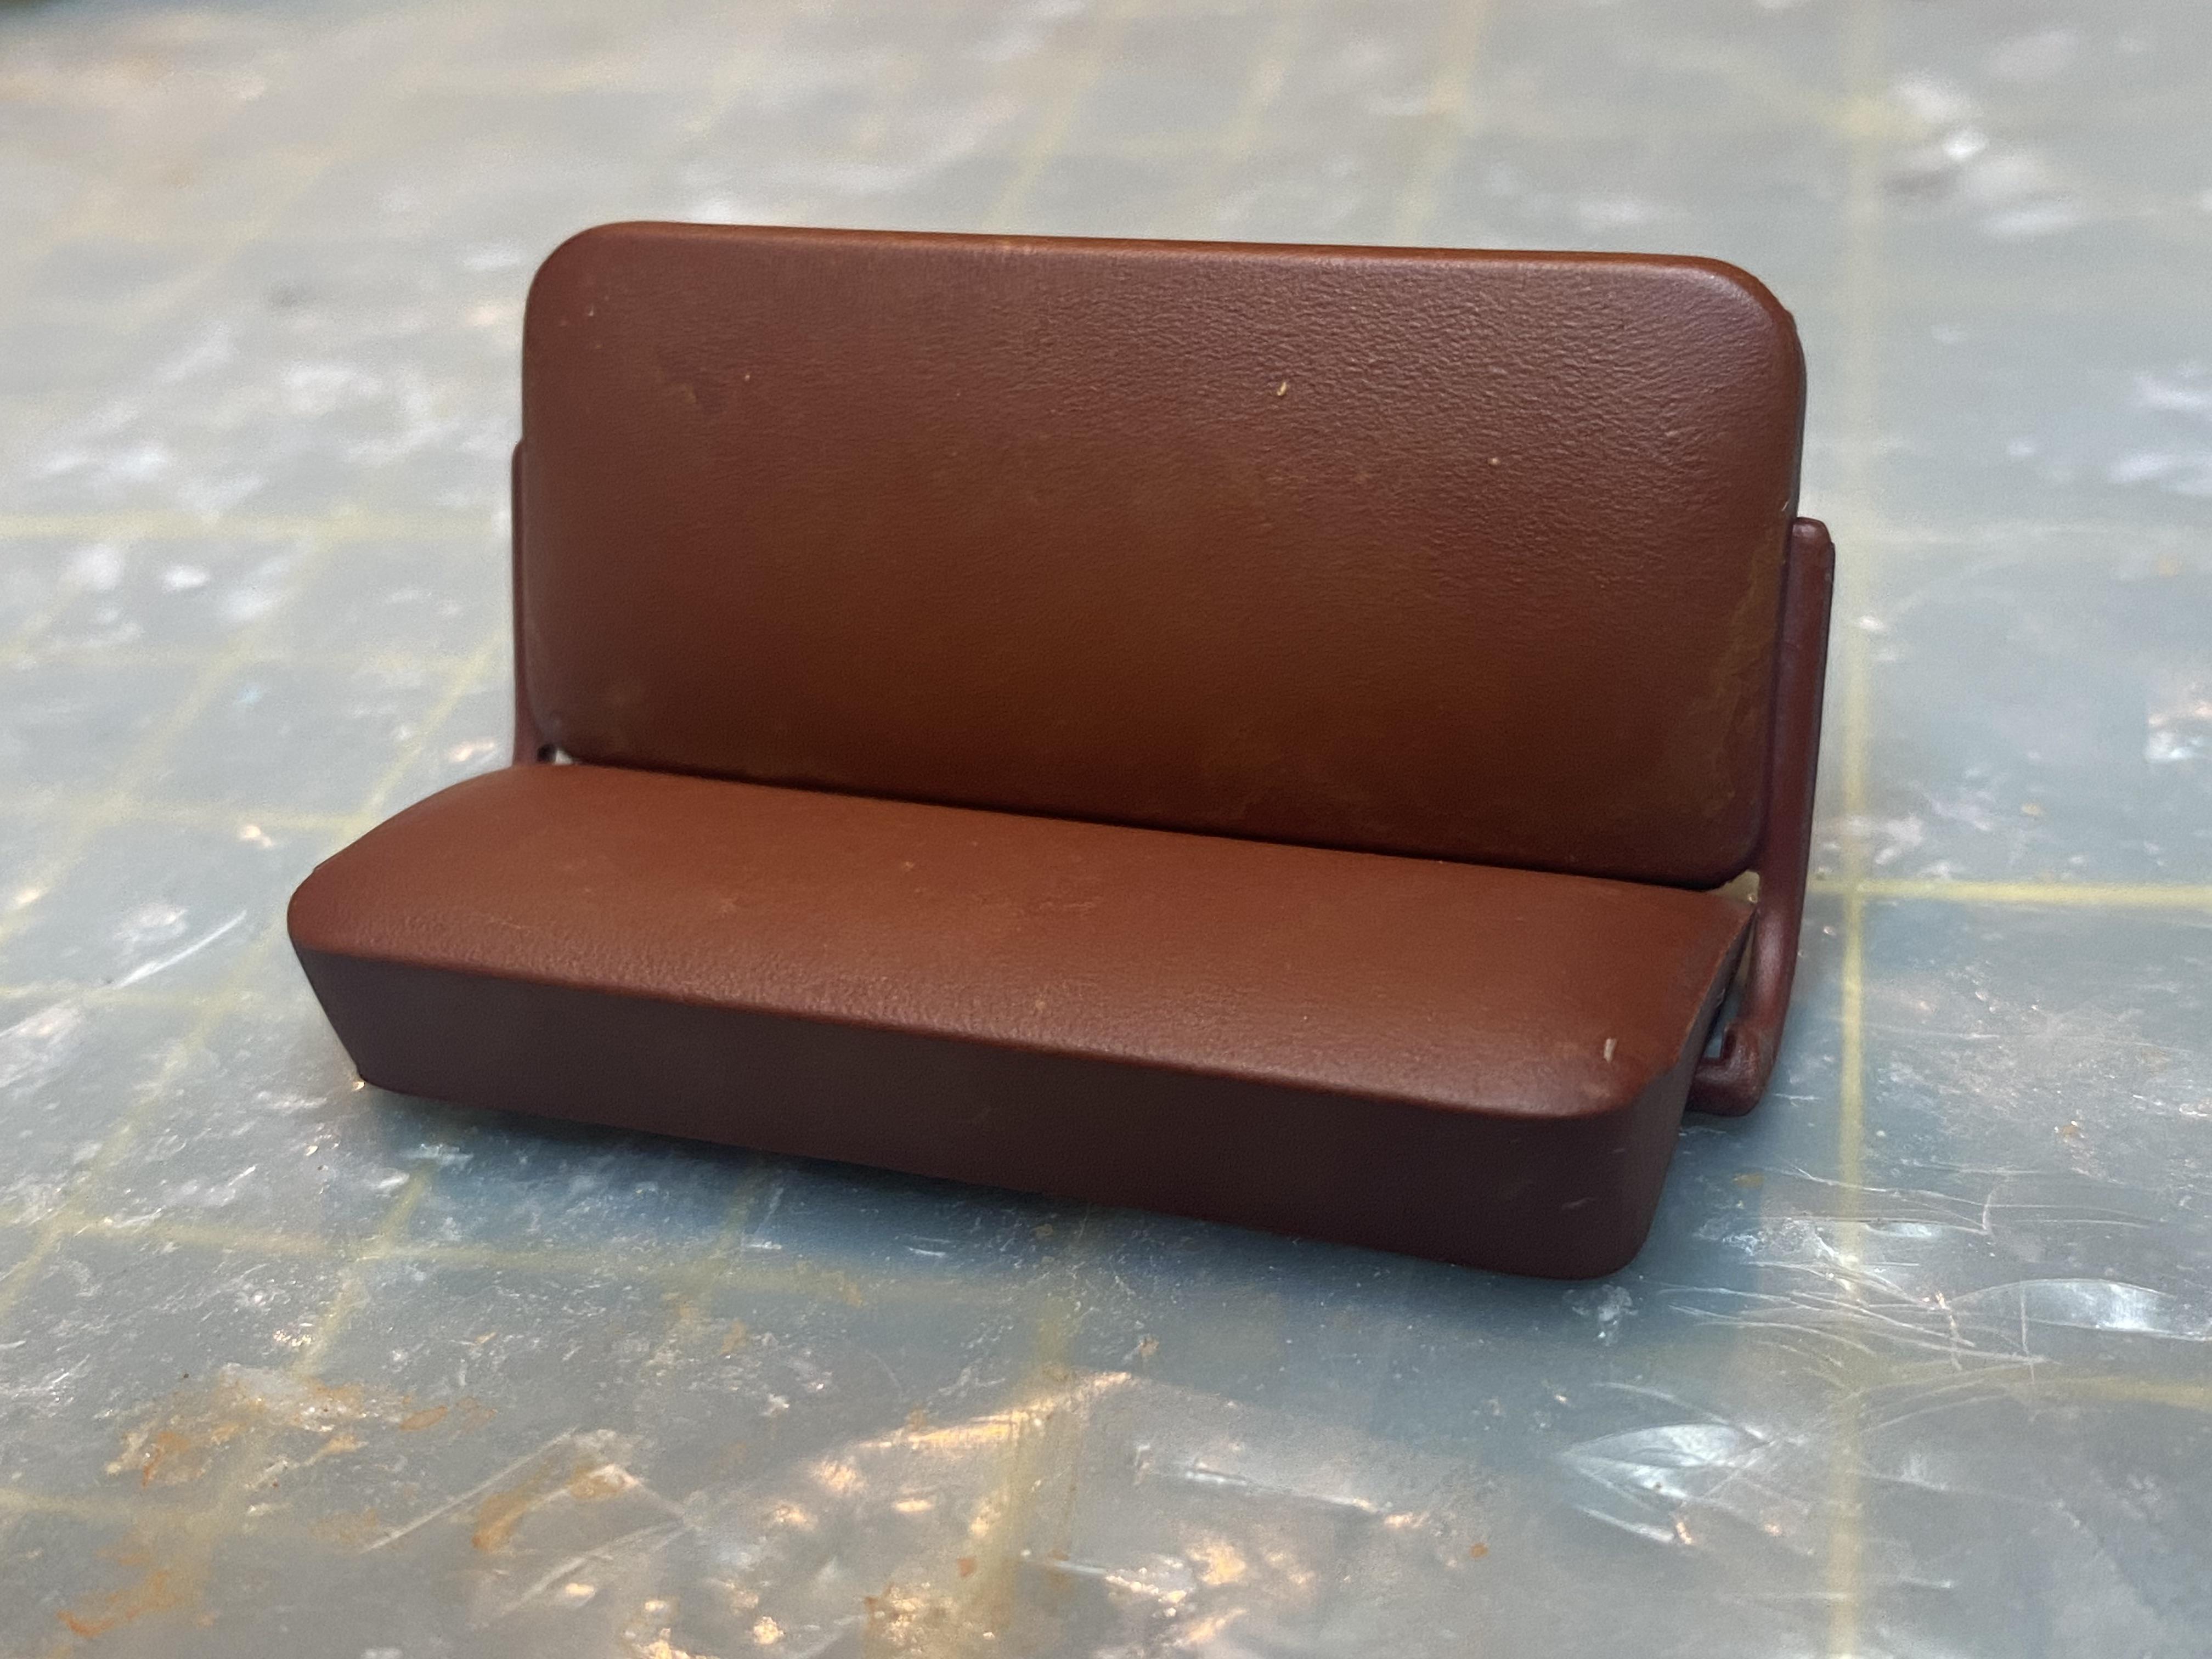
Starting to get base paint on many of the components. created test panels for leather and wood. First attempt for leather came out poorly but I think I settled on a fresh leather look for the seat.
-
1950 Chevy 3100 Pickup WIP
Duddly01 replied to Duddly01's topic in WIP: Model Trucks: Pickups, Vans, SUVs, Light Commercial
Thank you Thank you -
1950 Chevy 3100 Pickup WIP
Duddly01 replied to Duddly01's topic in WIP: Model Trucks: Pickups, Vans, SUVs, Light Commercial
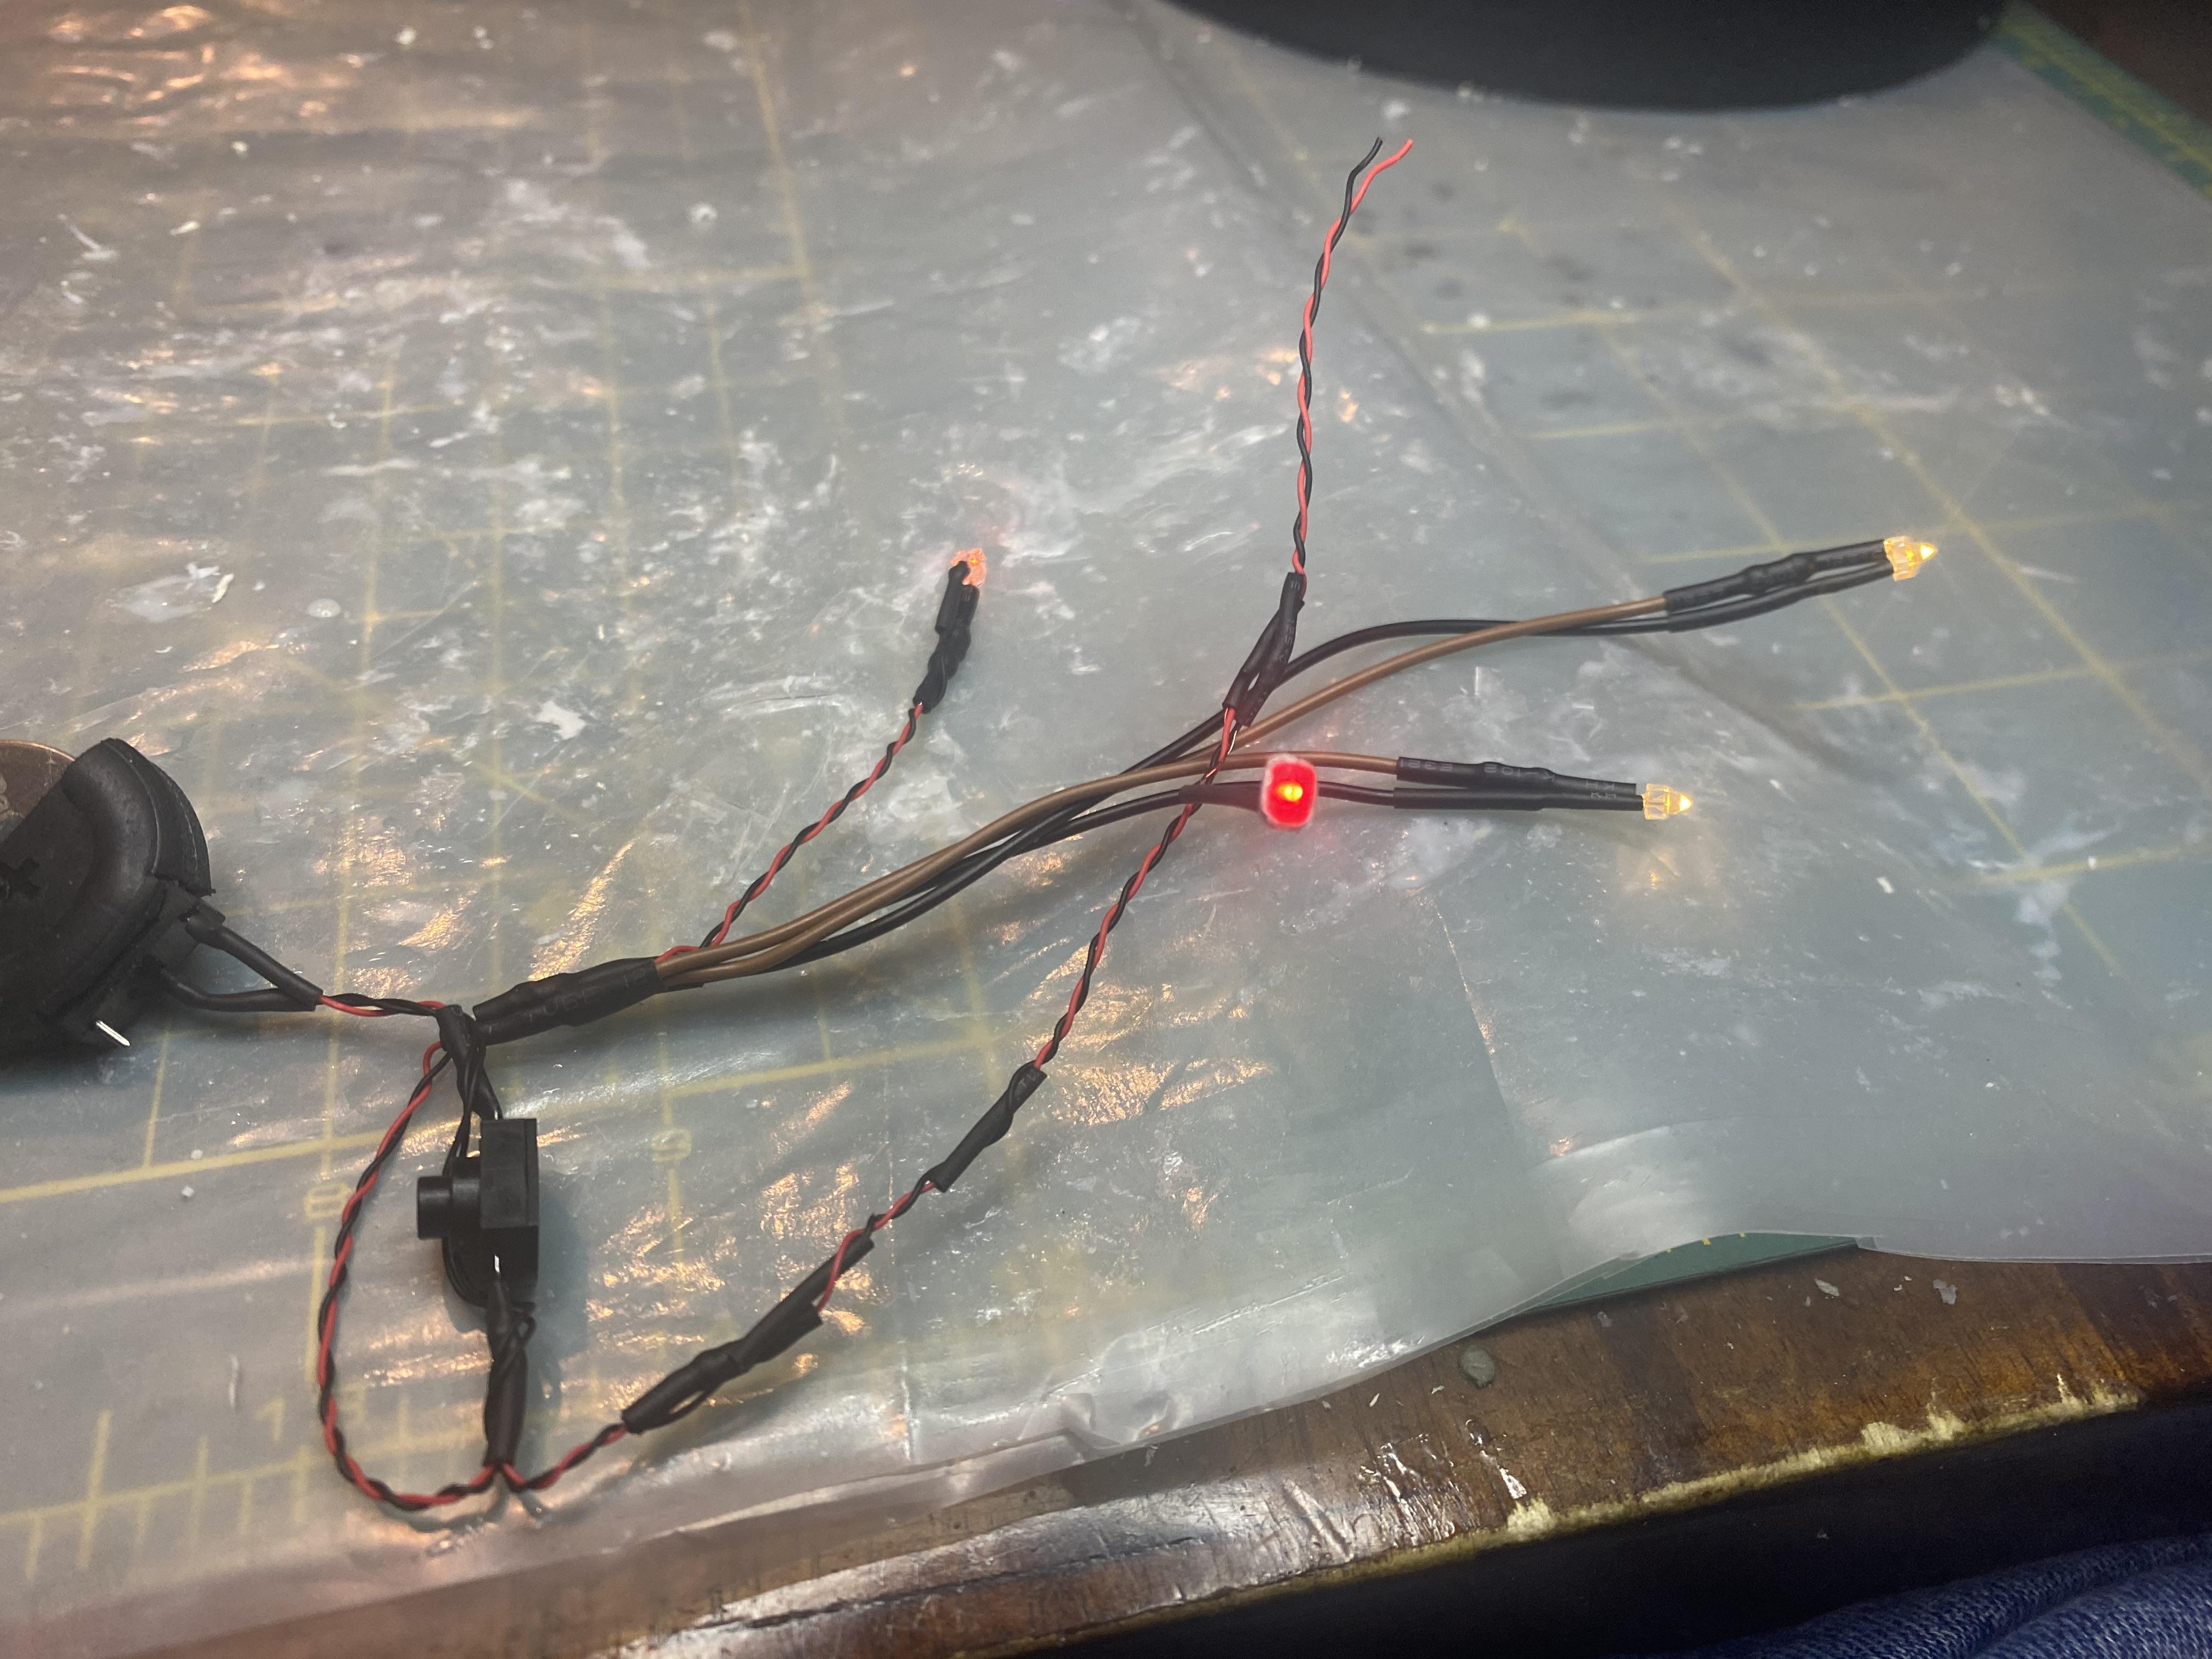
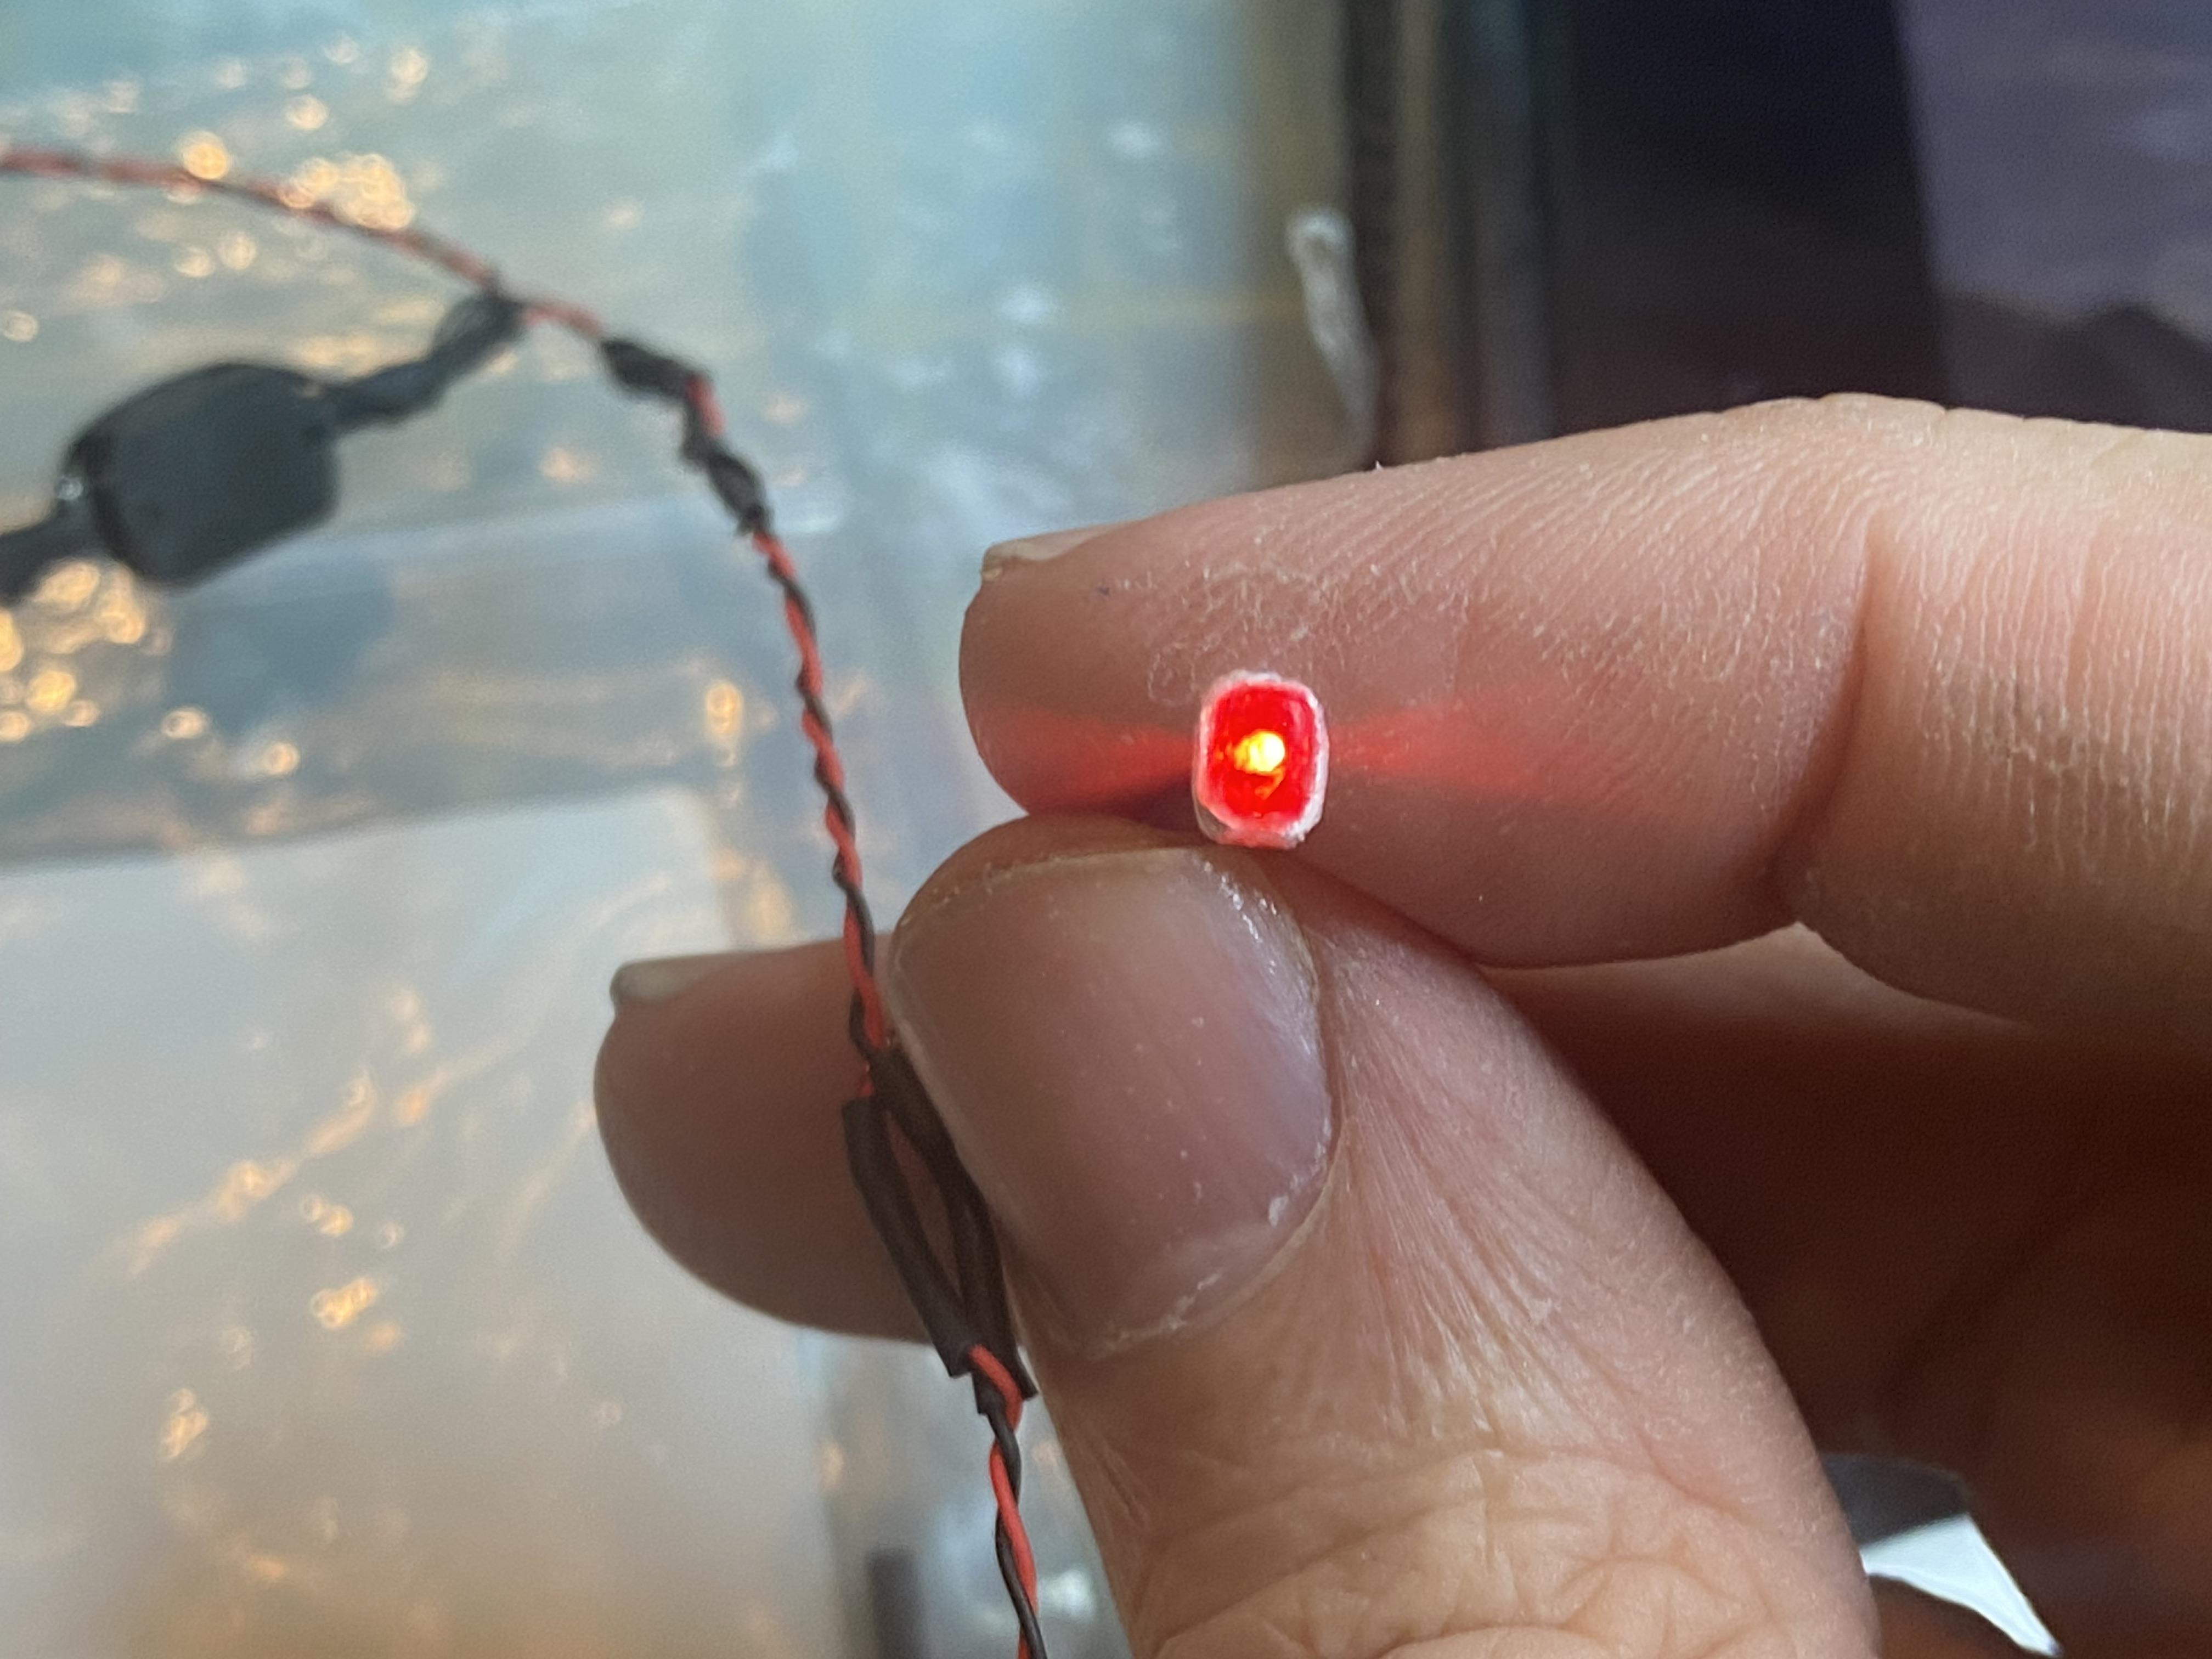
I have gotten a lot from Evan’s as well as Amazon. The LEDs seem to be brighter from Evan’s on average. The dash has always been a 1.8mm bulb the necessary color. 60s fords are usually green, older warm white. The truck taillights I am having to use pico bulbs to fit in the taillights, but they are fragile and I just ordered new ones and extras because I broke one. They make a kit for cars I have used if I can use 1.8 bulbs for headlights and taillights. Warm white for classics, cool White for newer cars like my 2018 mustang build. -
1950 Chevy 3100 Pickup WIP
Duddly01 replied to Duddly01's topic in WIP: Model Trucks: Pickups, Vans, SUVs, Light Commercial
Thanks. Yeah, that is the same issue I am running into. It makes sense it could be either in my opinion. I can see where they could just keep spraying it body color since they do spray the firewall and all, but I see so many blacked out. -
1950 Chevy 3100 Pickup WIP
Duddly01 replied to Duddly01's topic in WIP: Model Trucks: Pickups, Vans, SUVs, Light Commercial
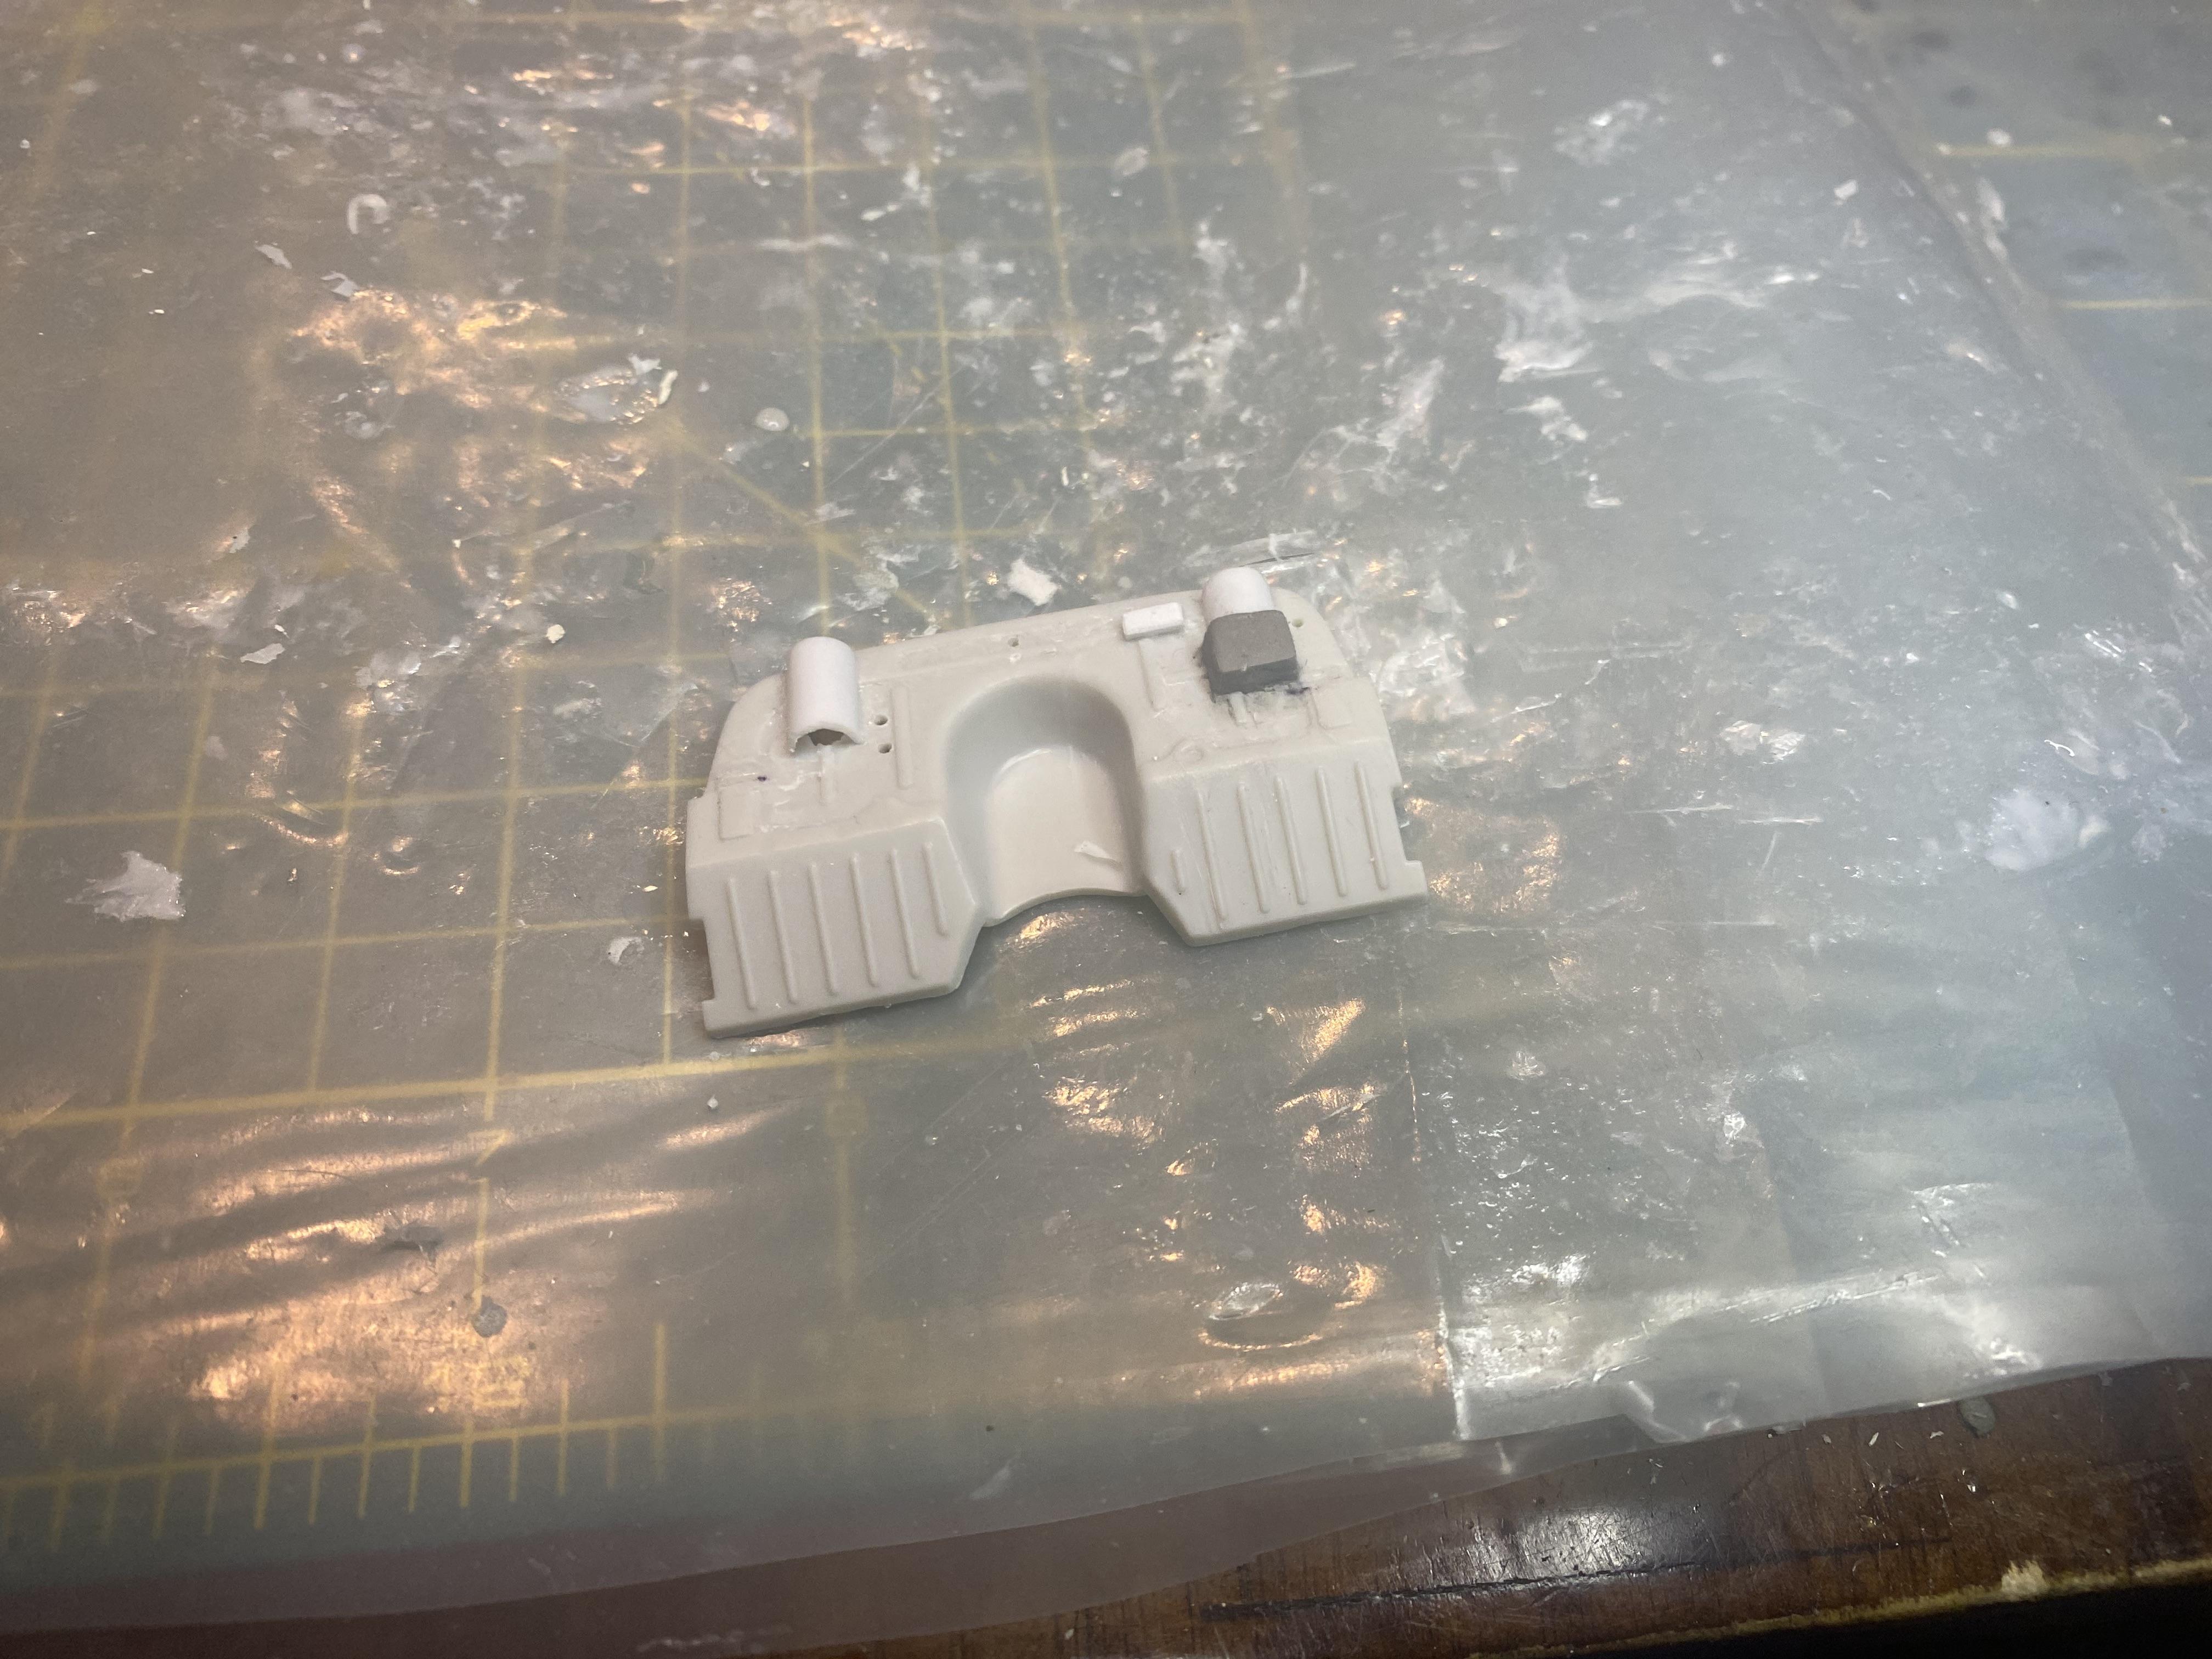
Another question. Should the undercarriage floor of the cab be body color or black? I know the firewall of the cab was painted body color but not sure if they also painted the underside of the cab. -
1950 Chevy 3100 Pickup WIP
Duddly01 replied to Duddly01's topic in WIP: Model Trucks: Pickups, Vans, SUVs, Light Commercial
A bit of bad luck. Started creating the LED wiring harness and broke one of the tiny LED bulbs for a taillight. Had to order a new one. Did fill some issues with the body. I am almost ready to prime, fill and start to paint.
-
1950 Chevy 3100 Pickup WIP
Duddly01 replied to Duddly01's topic in WIP: Model Trucks: Pickups, Vans, SUVs, Light Commercial
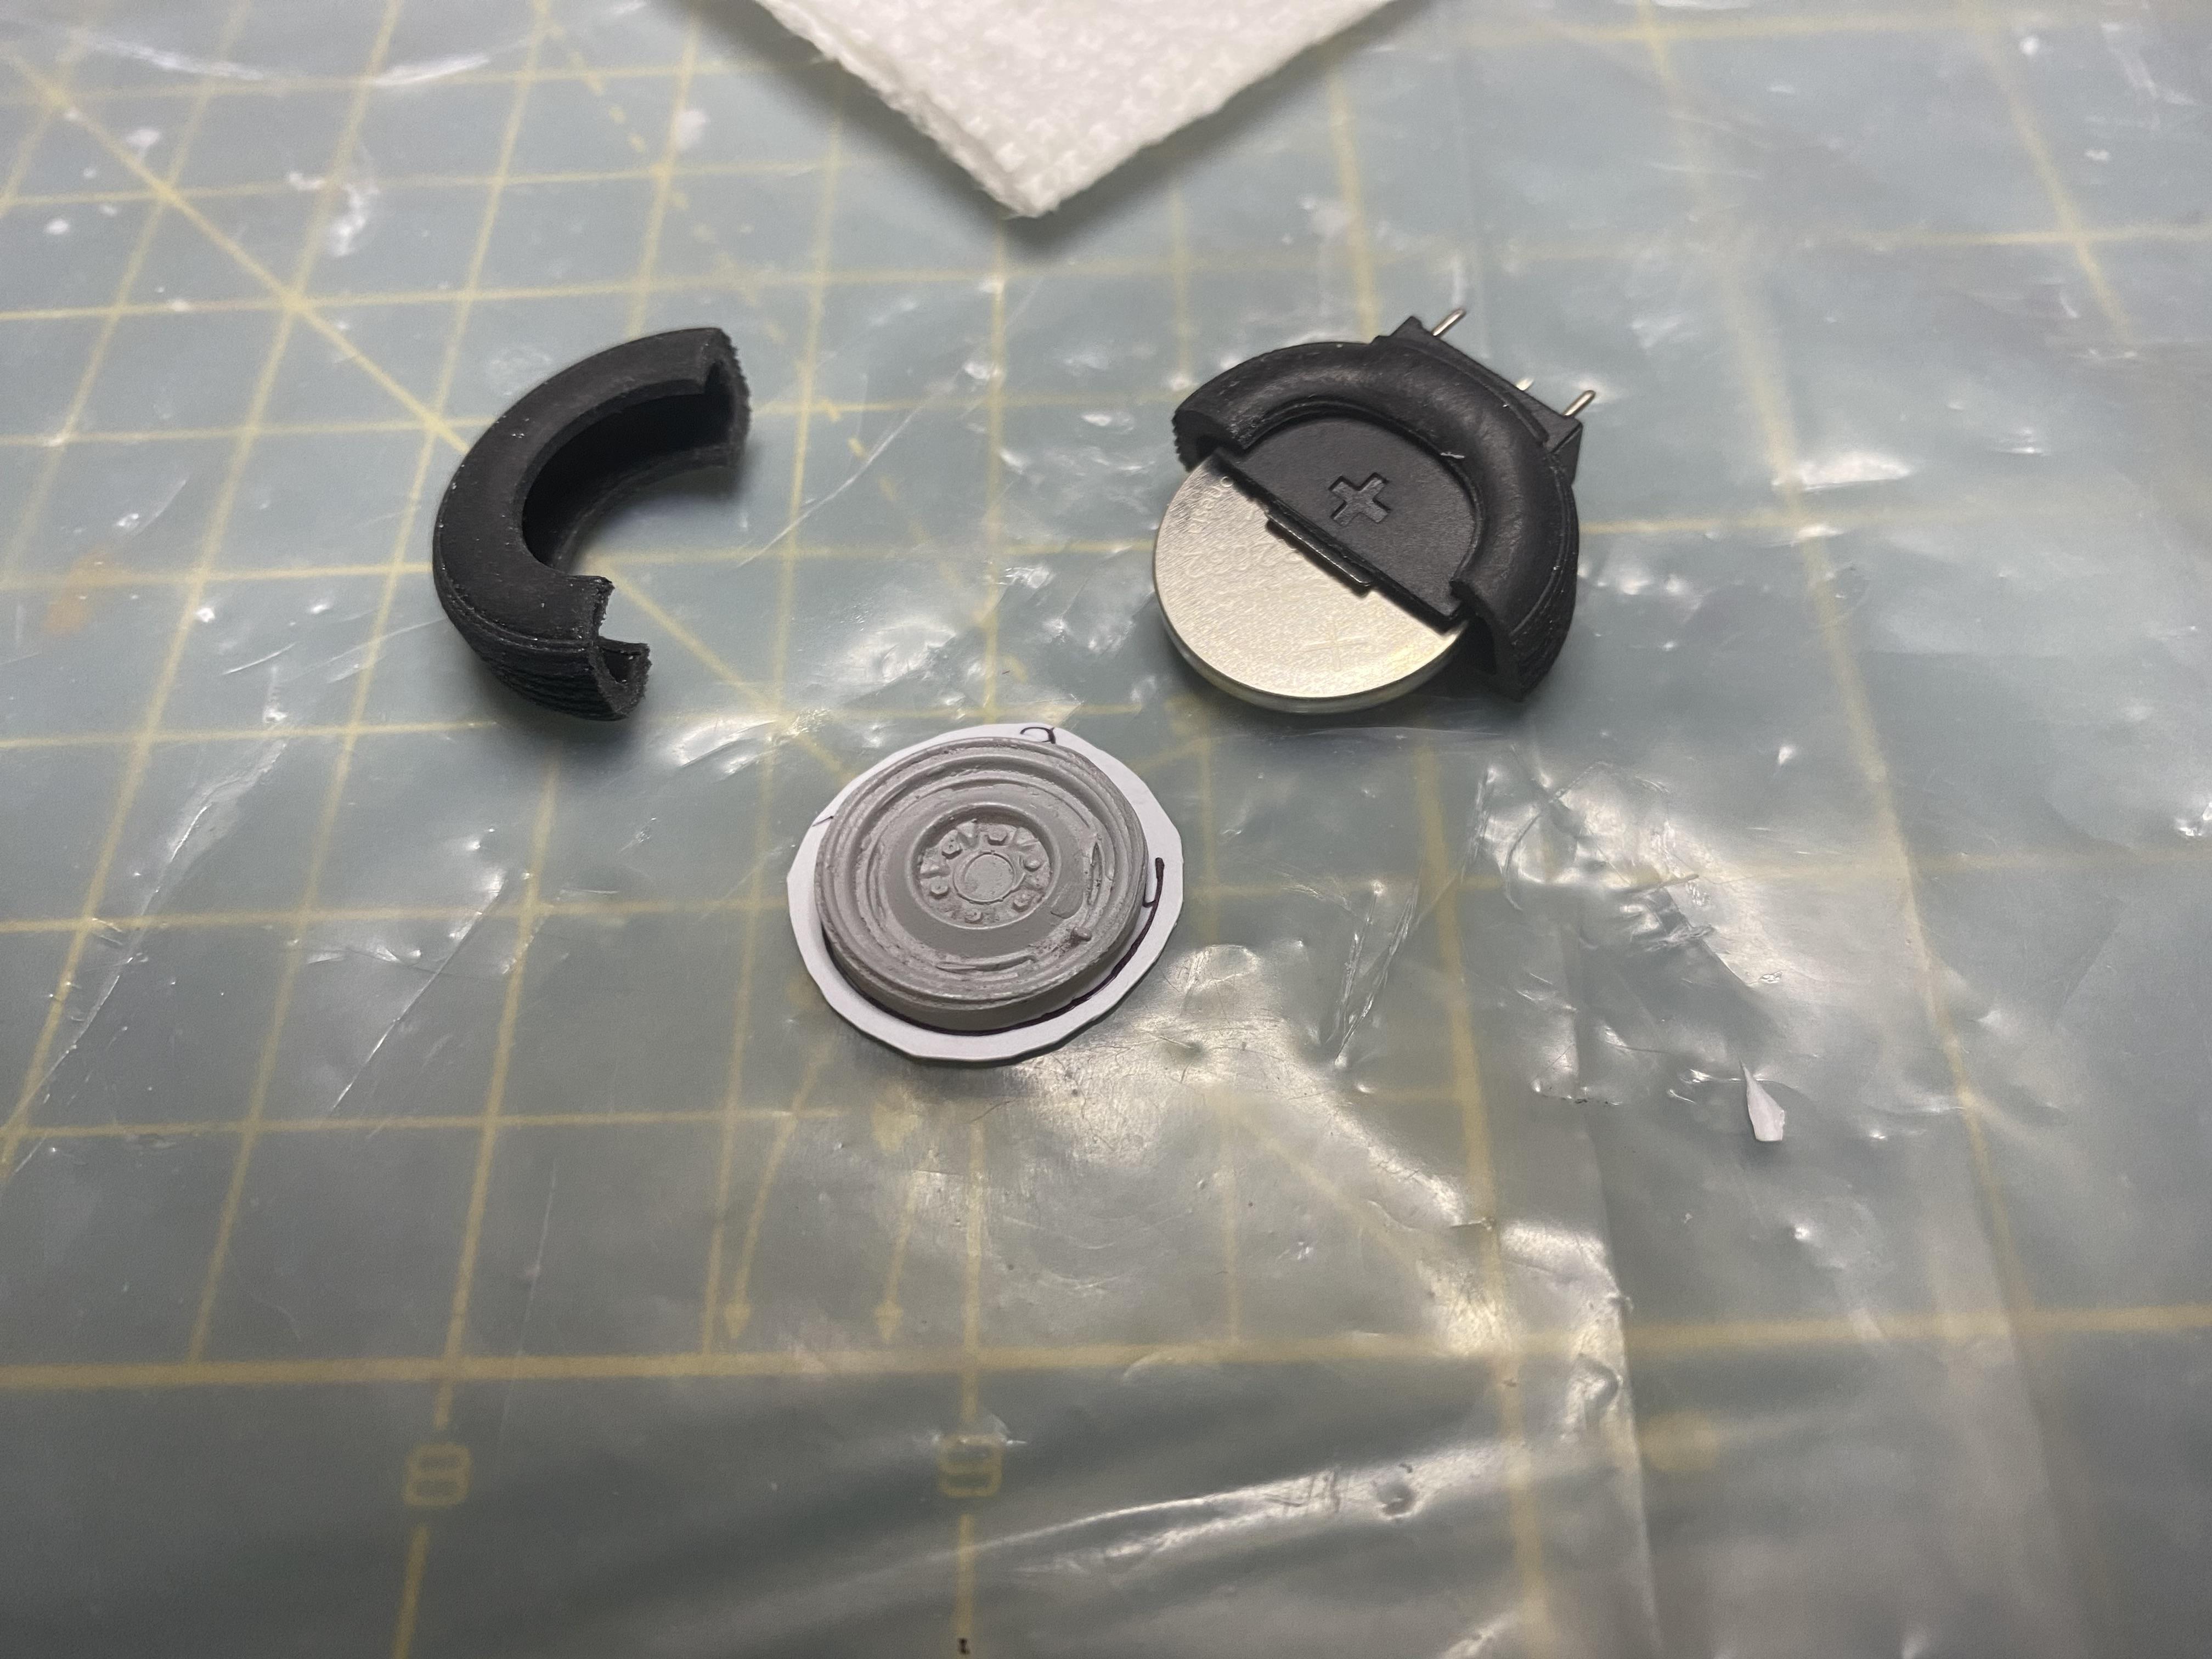
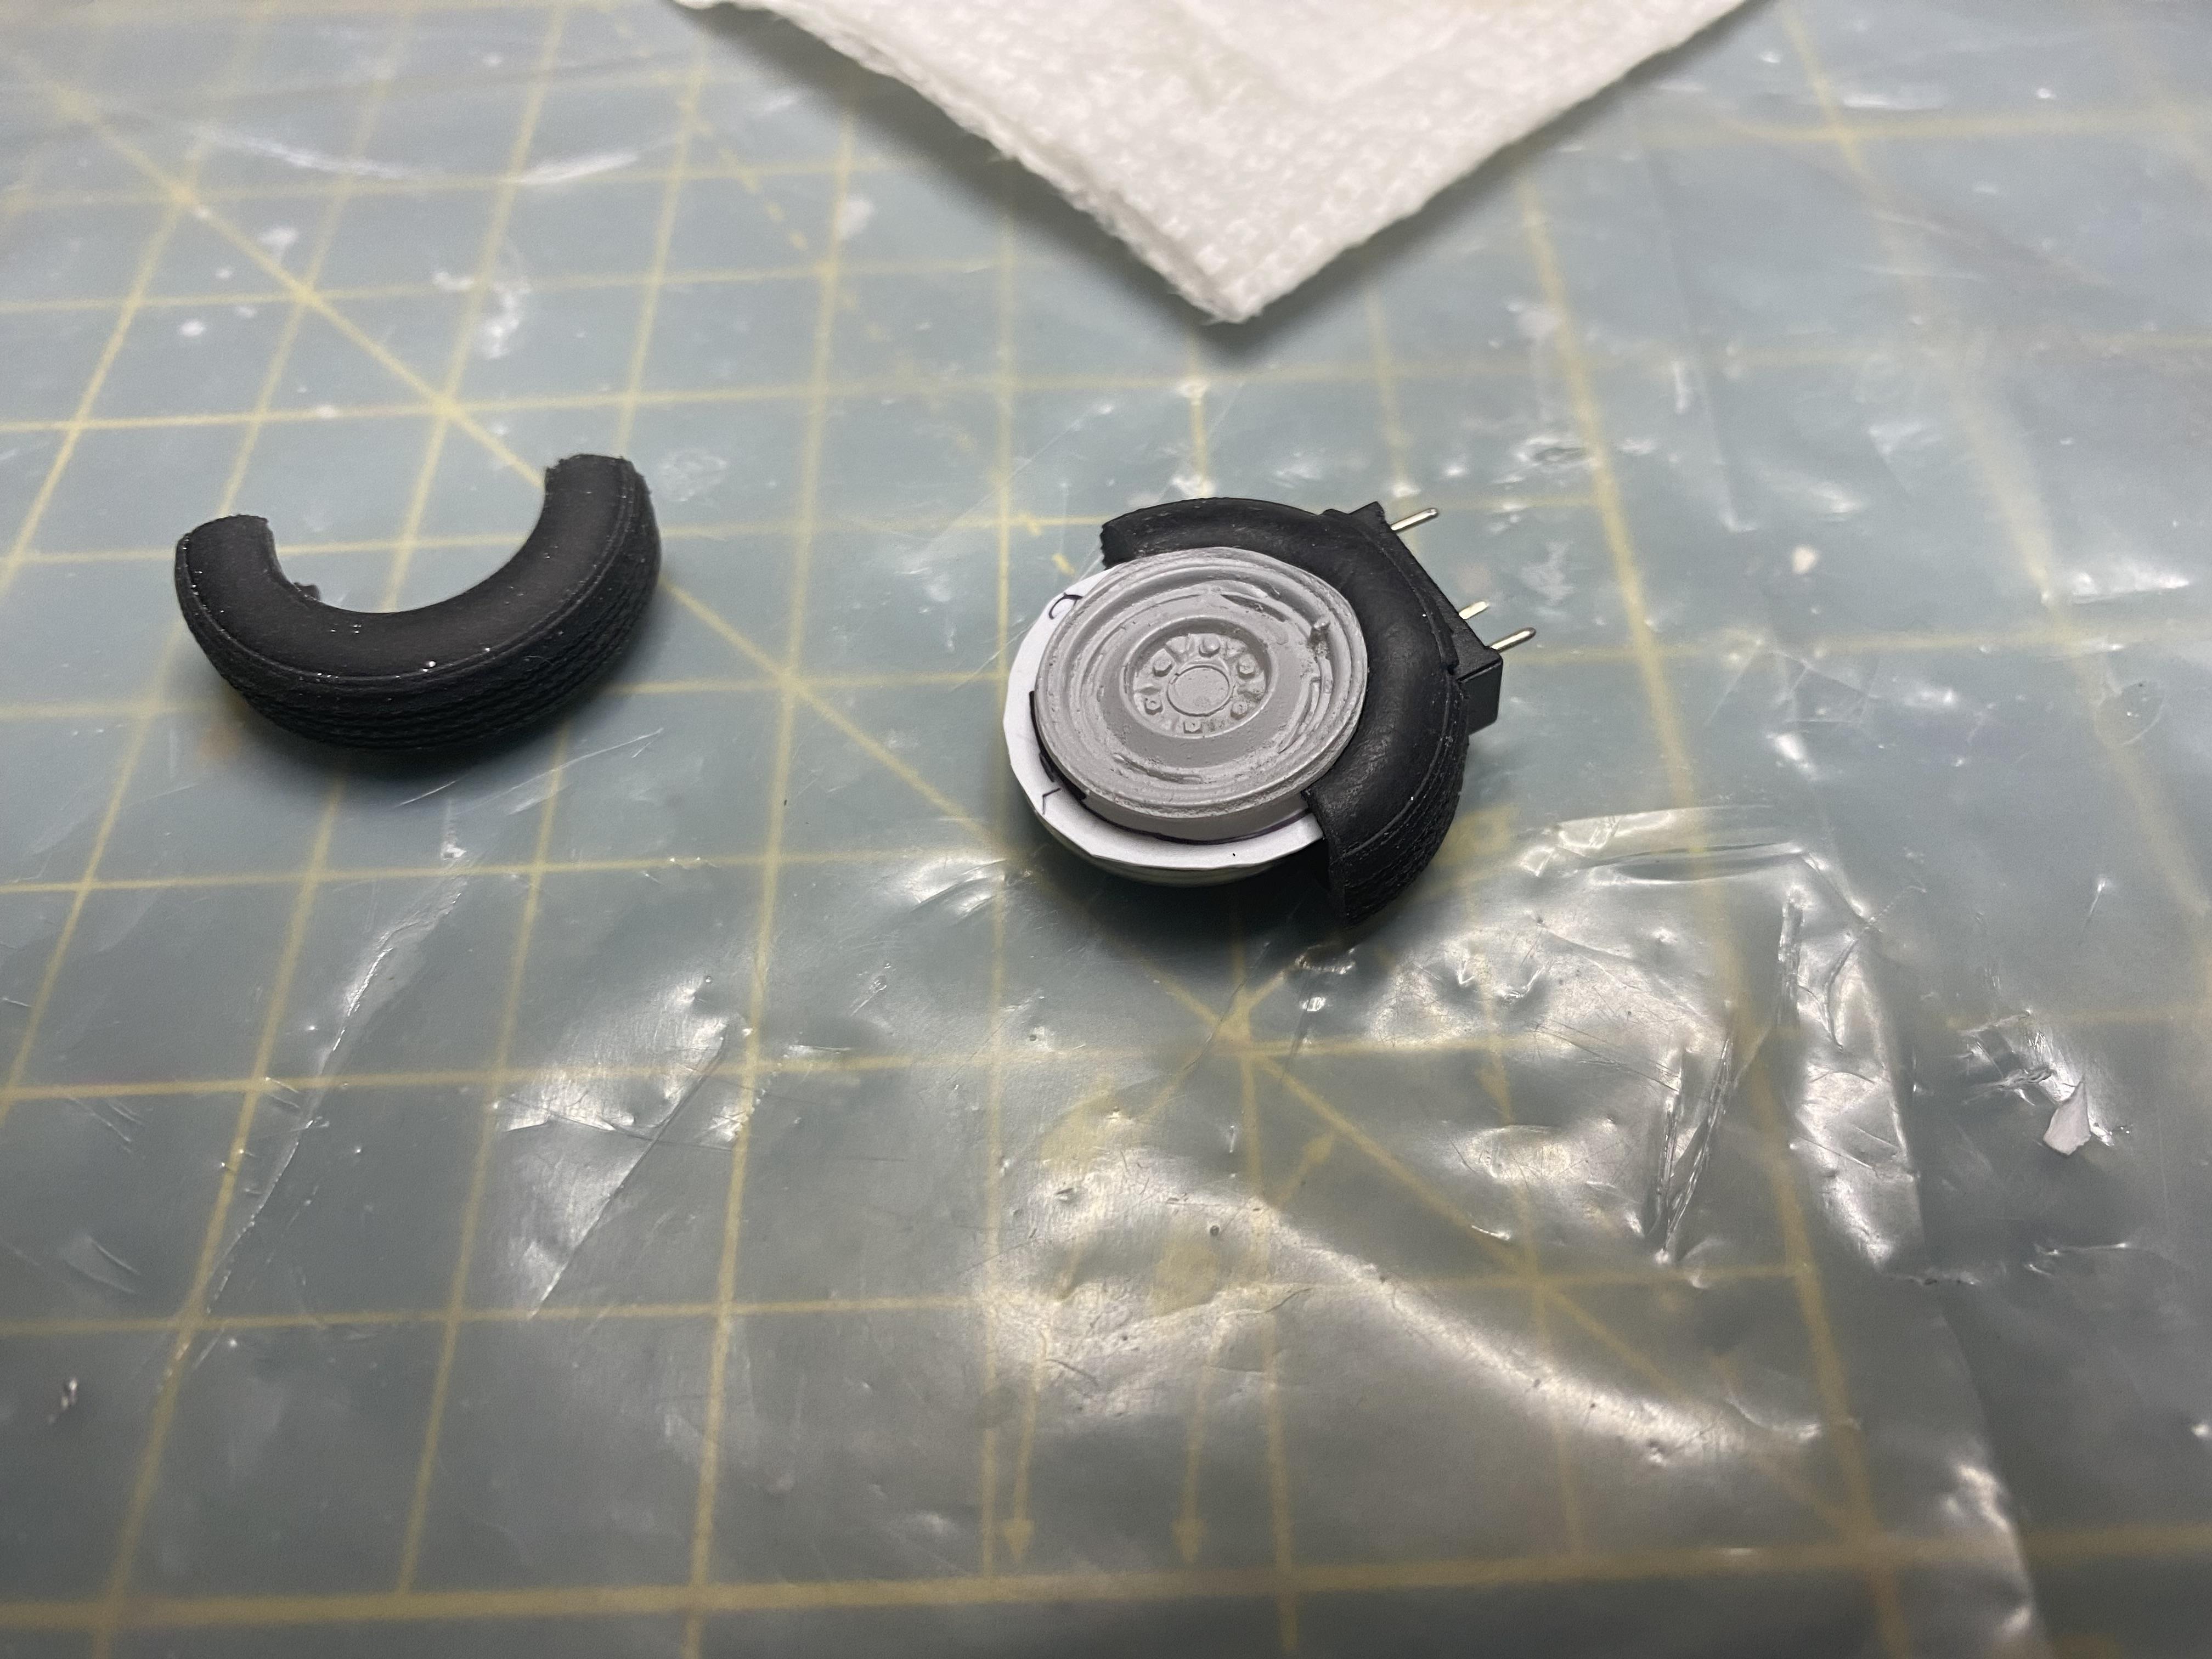
I resin cast a thin version of the steelie wheels that came with the kit. I think this will fit the bill for the spare tire : LED battery holder.
-
'68 Bullitt Mustang (Frank's and Sean's)
Duddly01 replied to Csaba aka felhasznaaloo's topic in WIP: Model Cars
Very nice work! -
Recreation of 1964 Model Car Science ad for AMT Trophy series
Duddly01 replied to Alan Barton's topic in Model Cars
What an amazing display and collection!! -
1950 Chevy 3100 Pickup WIP
Duddly01 replied to Duddly01's topic in WIP: Model Trucks: Pickups, Vans, SUVs, Light Commercial
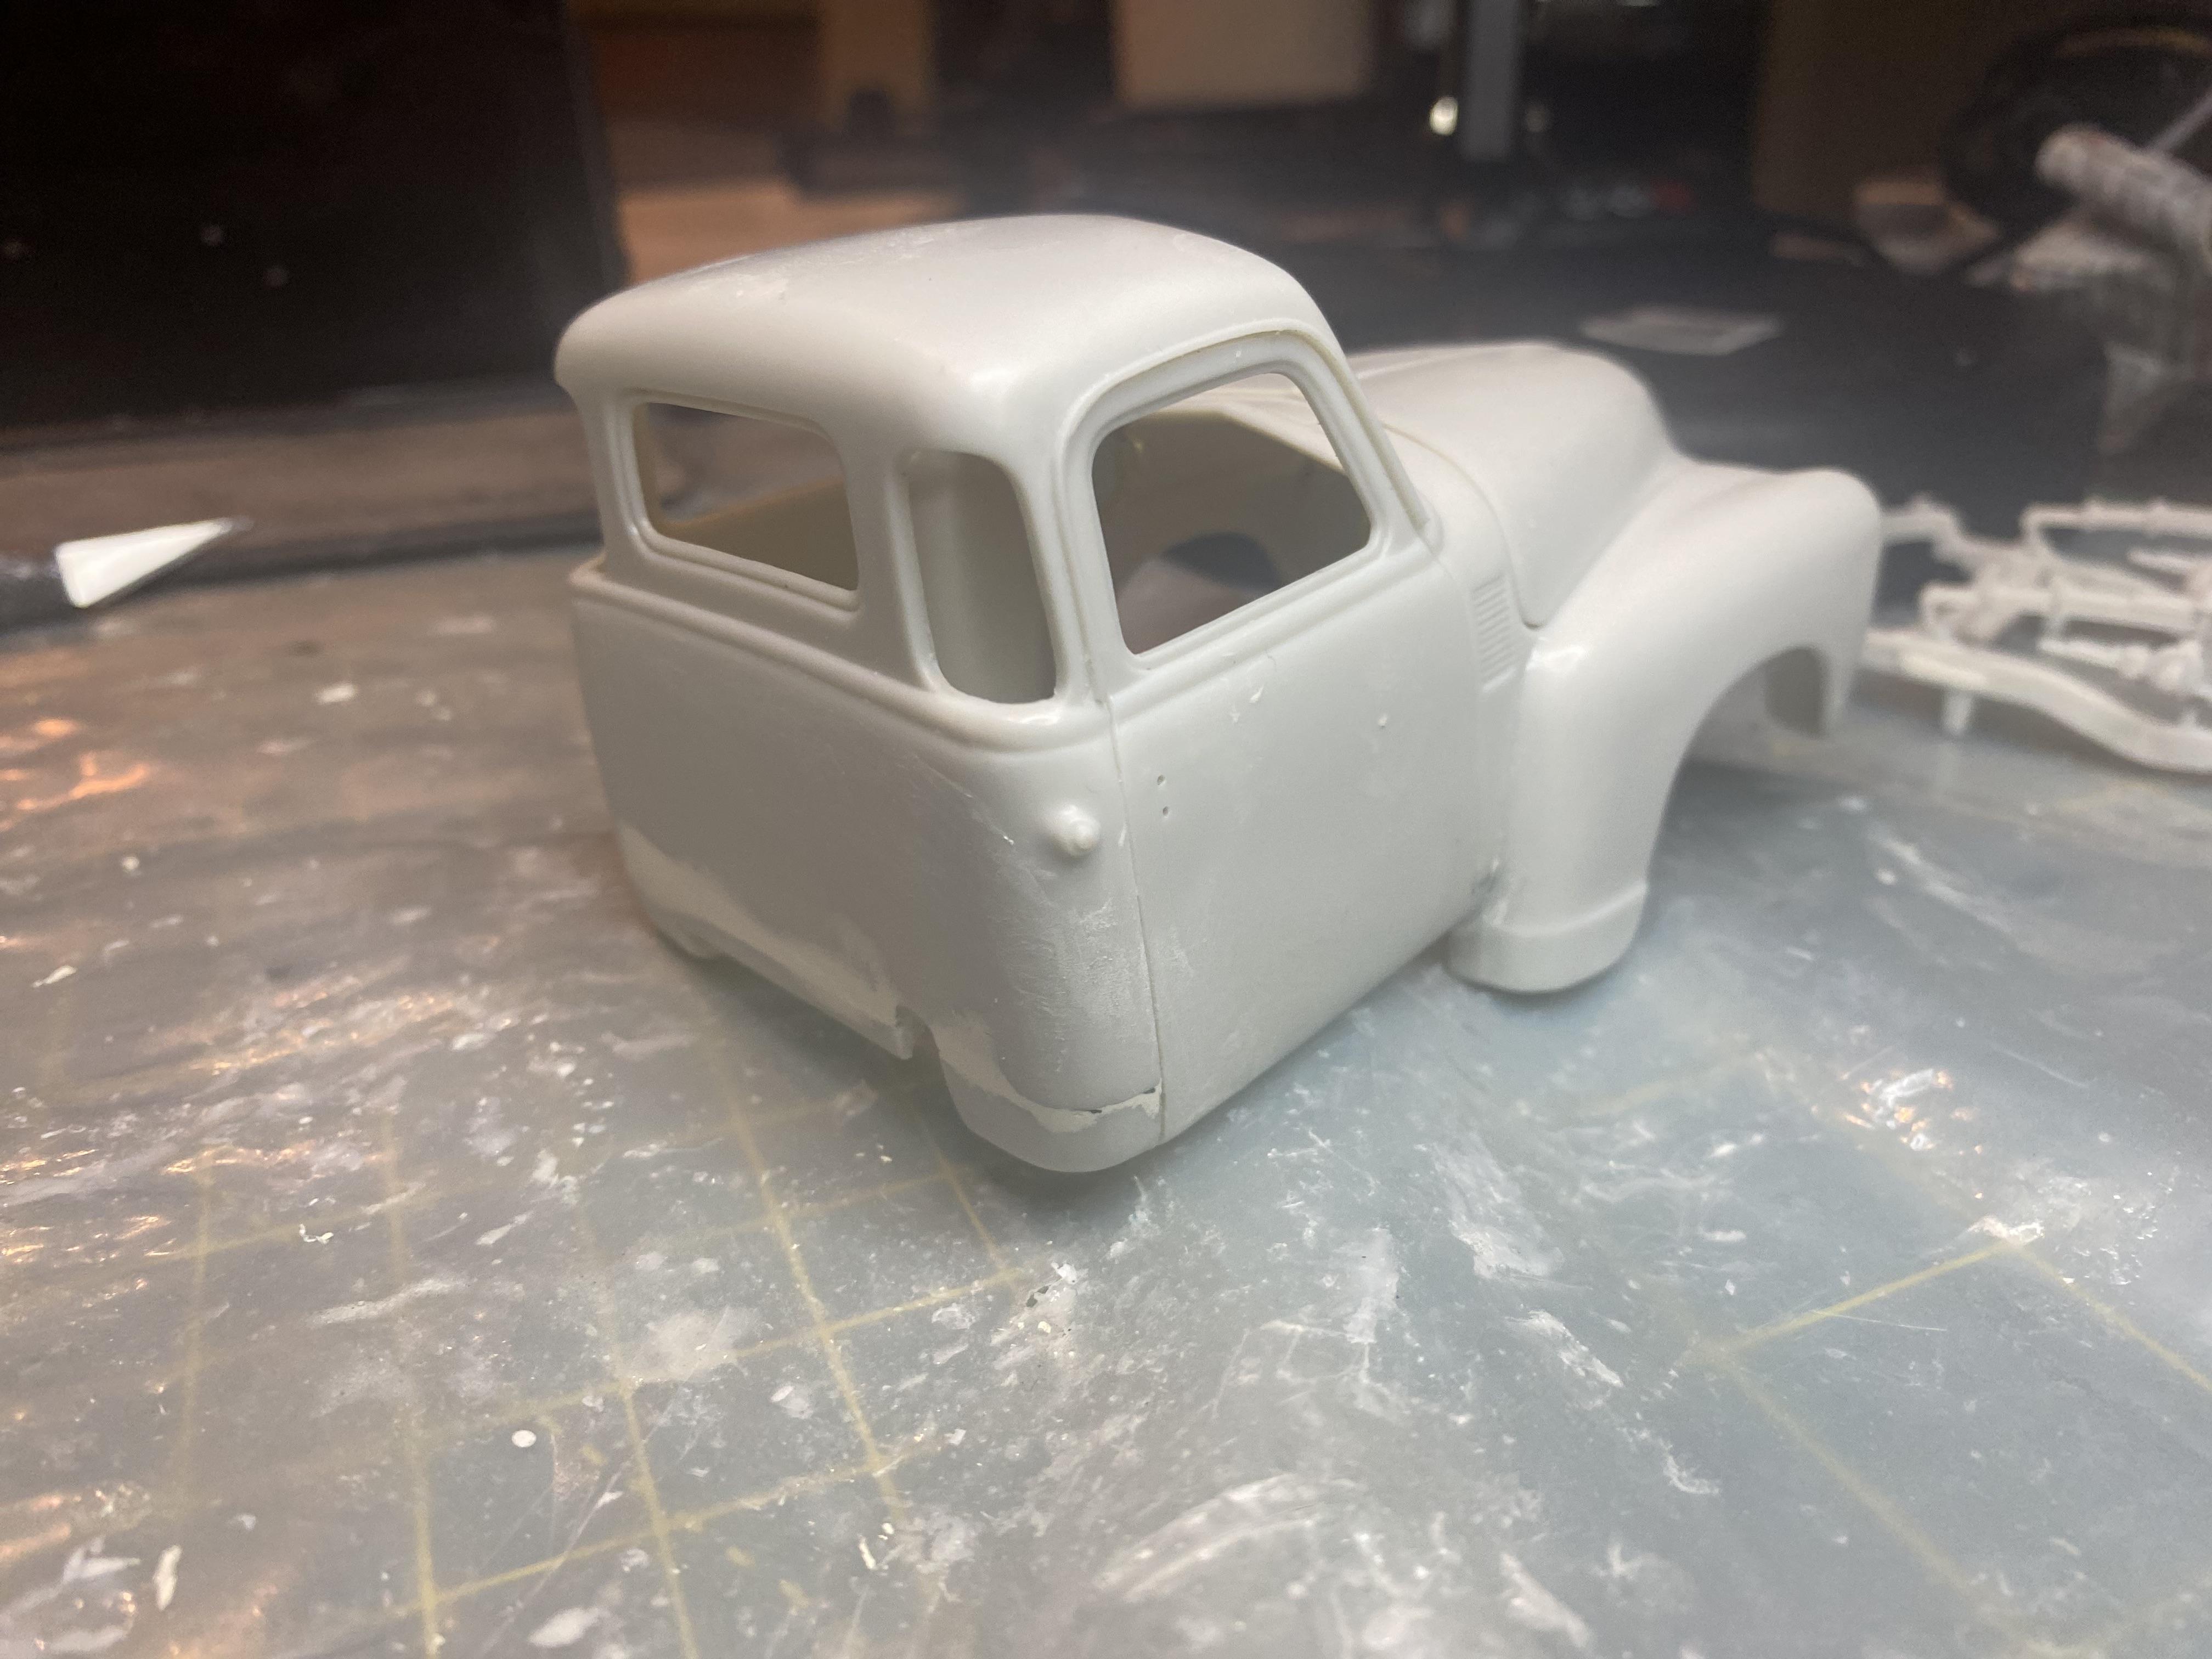
Just Do It! It's actually a really nice kit. Main thing I don't love are the body parts that are designed to go on after the interior that would cause big visible seams in the body. There is mold flash and a few pesky sinkholes here and there, but no worse than normal. I did modify how the bed goes together but that was just to make painting easier for me.

.jpeg.9d93aa5a1da6f9ab648e275bb9cbcf92.jpeg)