johnyrotten
-
Posts
2,247 -
Joined
-
Last visited
Content Type
Profiles
Forums
Events
Gallery
Everything posted by johnyrotten
-
 Having a lathe opens up a whole other world of options. 👍👍
 -
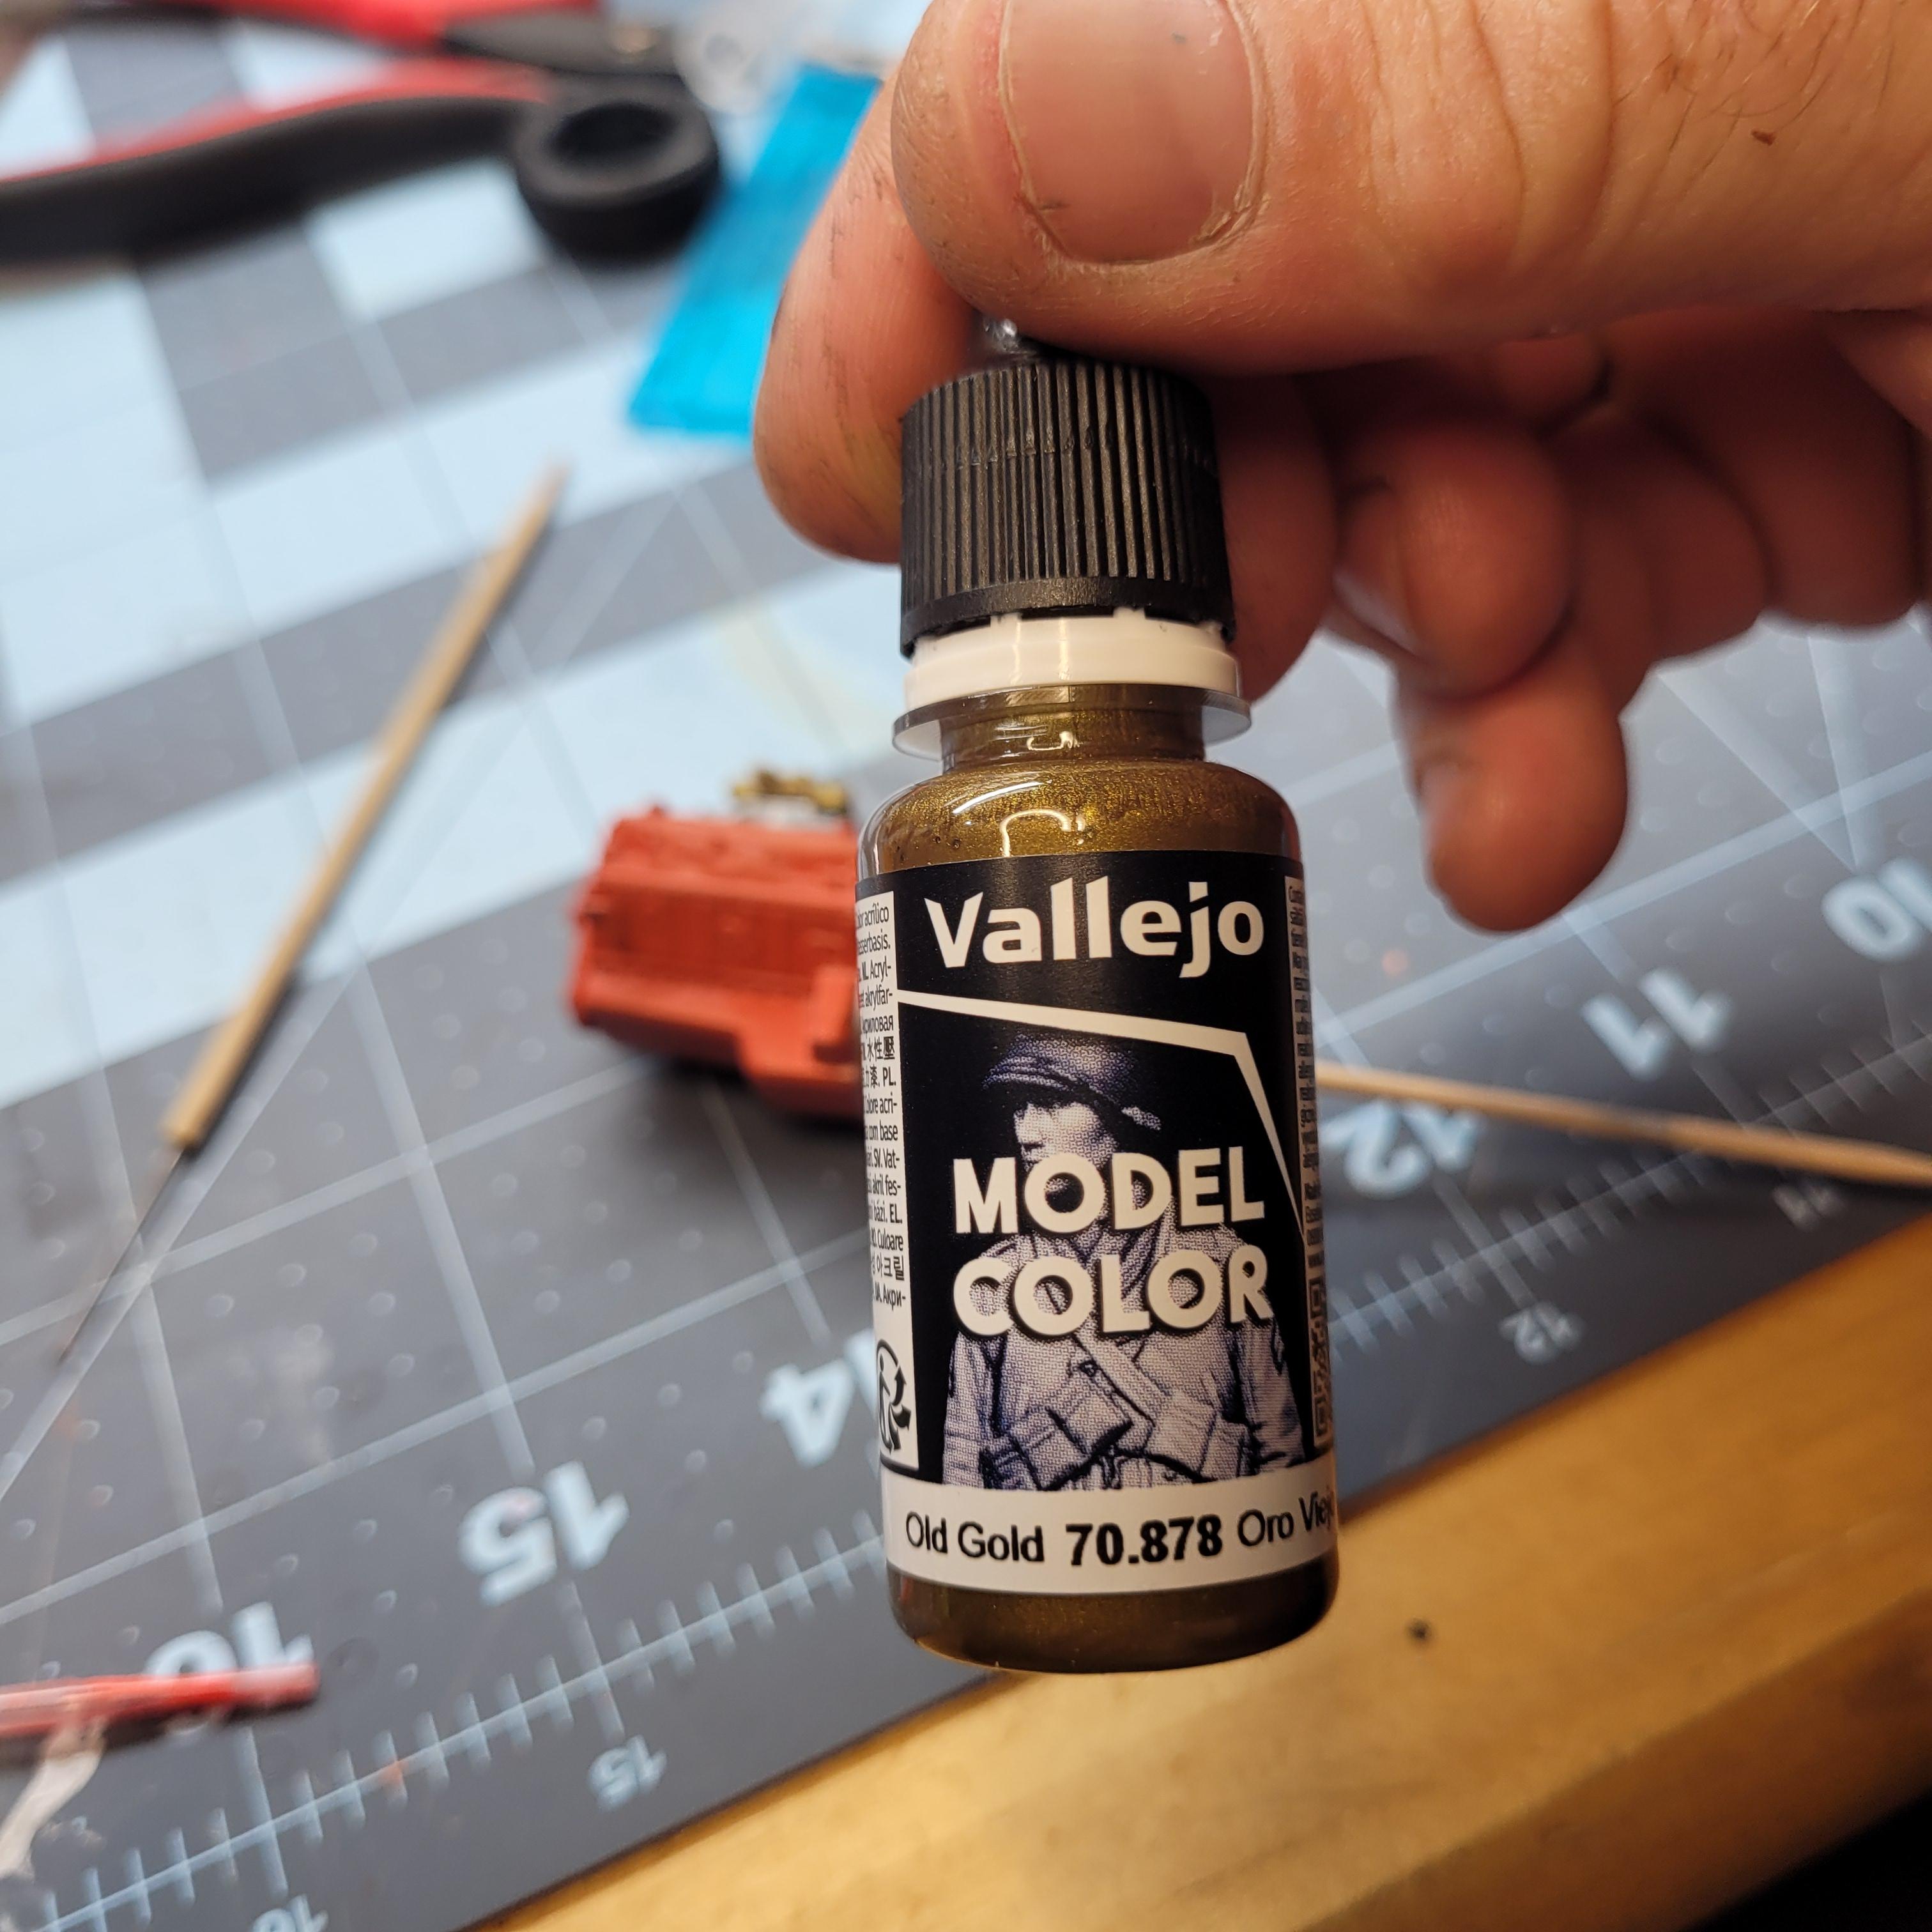
Kinda my thoughts, it would be nice to find something locally that's the right color, no flake. My biggest issue with "metal" colors.
-
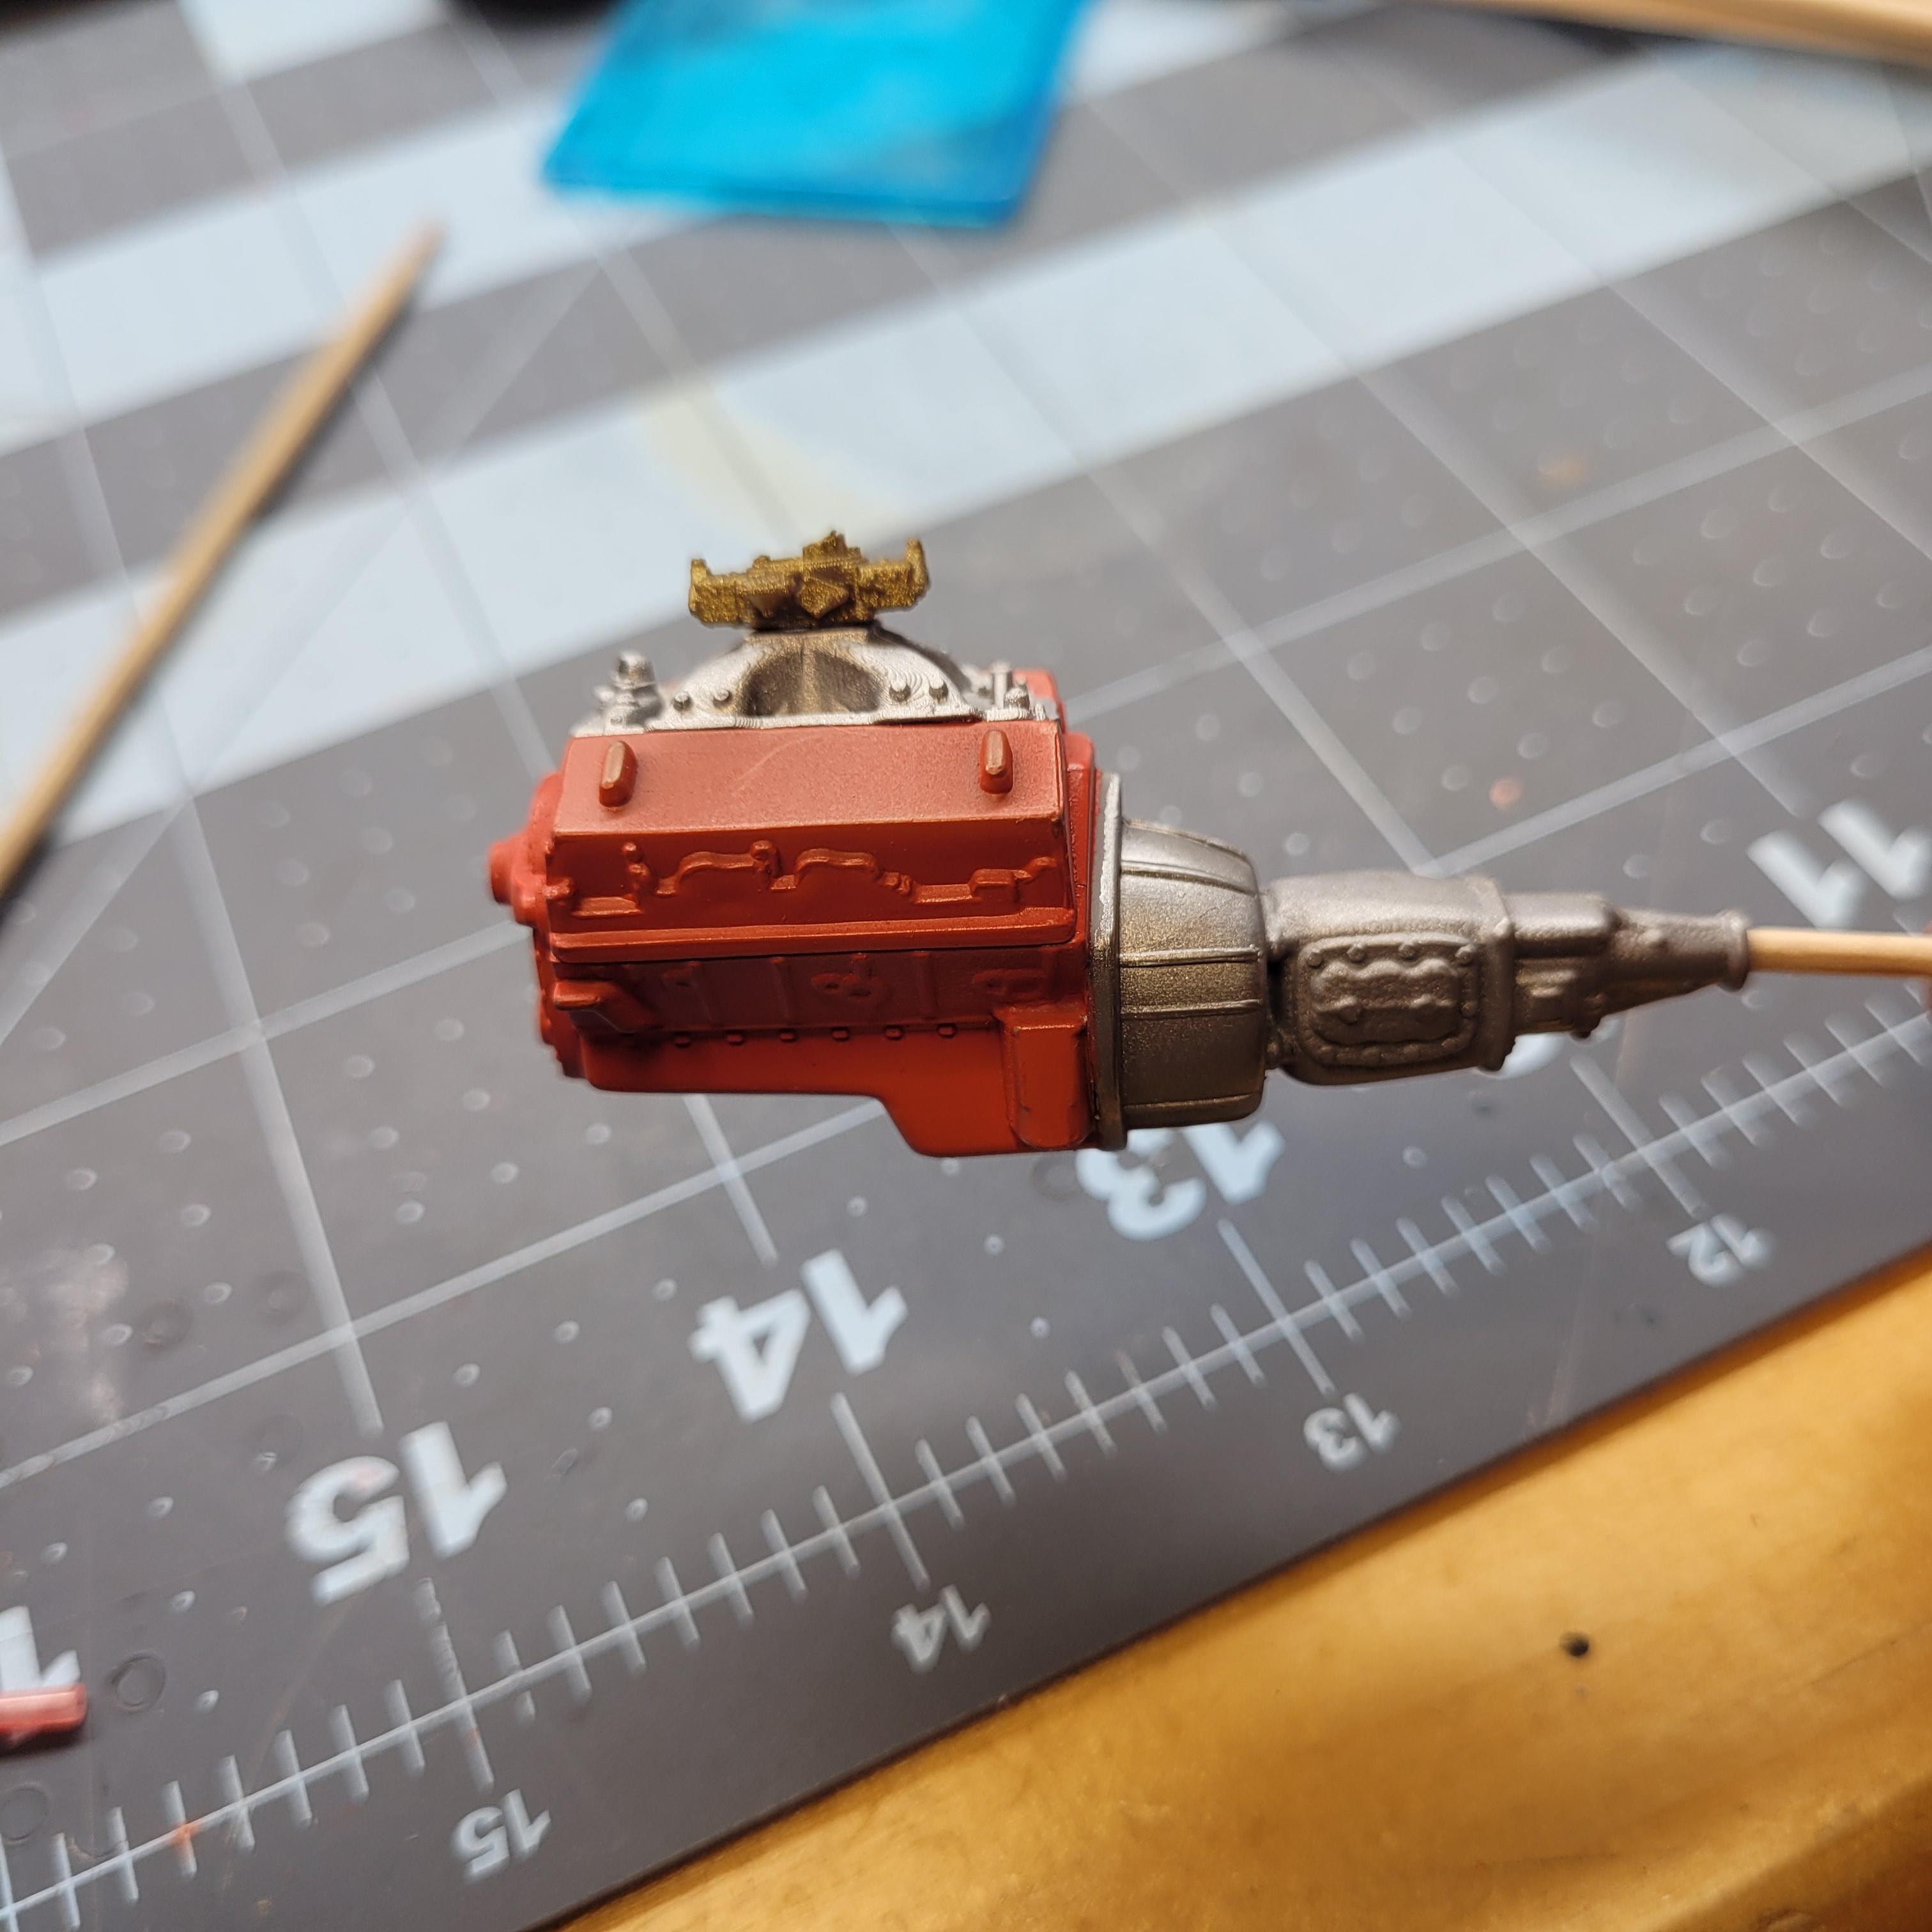
Glued, primed and painted the engine, I think I found a pretty convincing color for holley carbs, we'll see after a bit of detail and wash.

-
What Did You See In Your Yard Today?
johnyrotten replied to Tim W. SoCal's topic in The Off-Topic Lounge
I'm up to try anything, I don't want the dog getting a hold of them, or them getting in the house. They dug themselves a small hole on either side and come running out almost every morning. -
Nice save!
-
What Did You See In Your Yard Today?
johnyrotten replied to Tim W. SoCal's topic in The Off-Topic Lounge
I have a constant battle,not with geese,but the deer and squirrels/chipmunks. Constantly into the bird feeders, and eating plants. I've put a lot of work into my property, it was in BAD shape when I got the place. The critters were here before me, I just try and keep them from getting into the gardens and feeders. New this year is a nest of chipmunks under my front steps (hollow concrete), my one dog tries to chase them. Gotta figure out how to get them to move on without any crazy measures. -
What Did You See In Your Yard Today?
johnyrotten replied to Tim W. SoCal's topic in The Off-Topic Lounge
Funny you mentioned this, a dispensary just opened up across the street from where the photos were taken about a month ago, I saw the whole flock grazing on the fresh hydro-seeding. Bare spots everywhere now. -
Ford Bronco full 3d print
johnyrotten replied to stitchdup's topic in Model Trucks: Pickups, Vans, SUVs, Light Commercial
Great looking Bronco.👍👍 -
Good looking build.
-
What Did You Get Today? (Not Model Related)
johnyrotten replied to LOBBS's topic in The Off-Topic Lounge
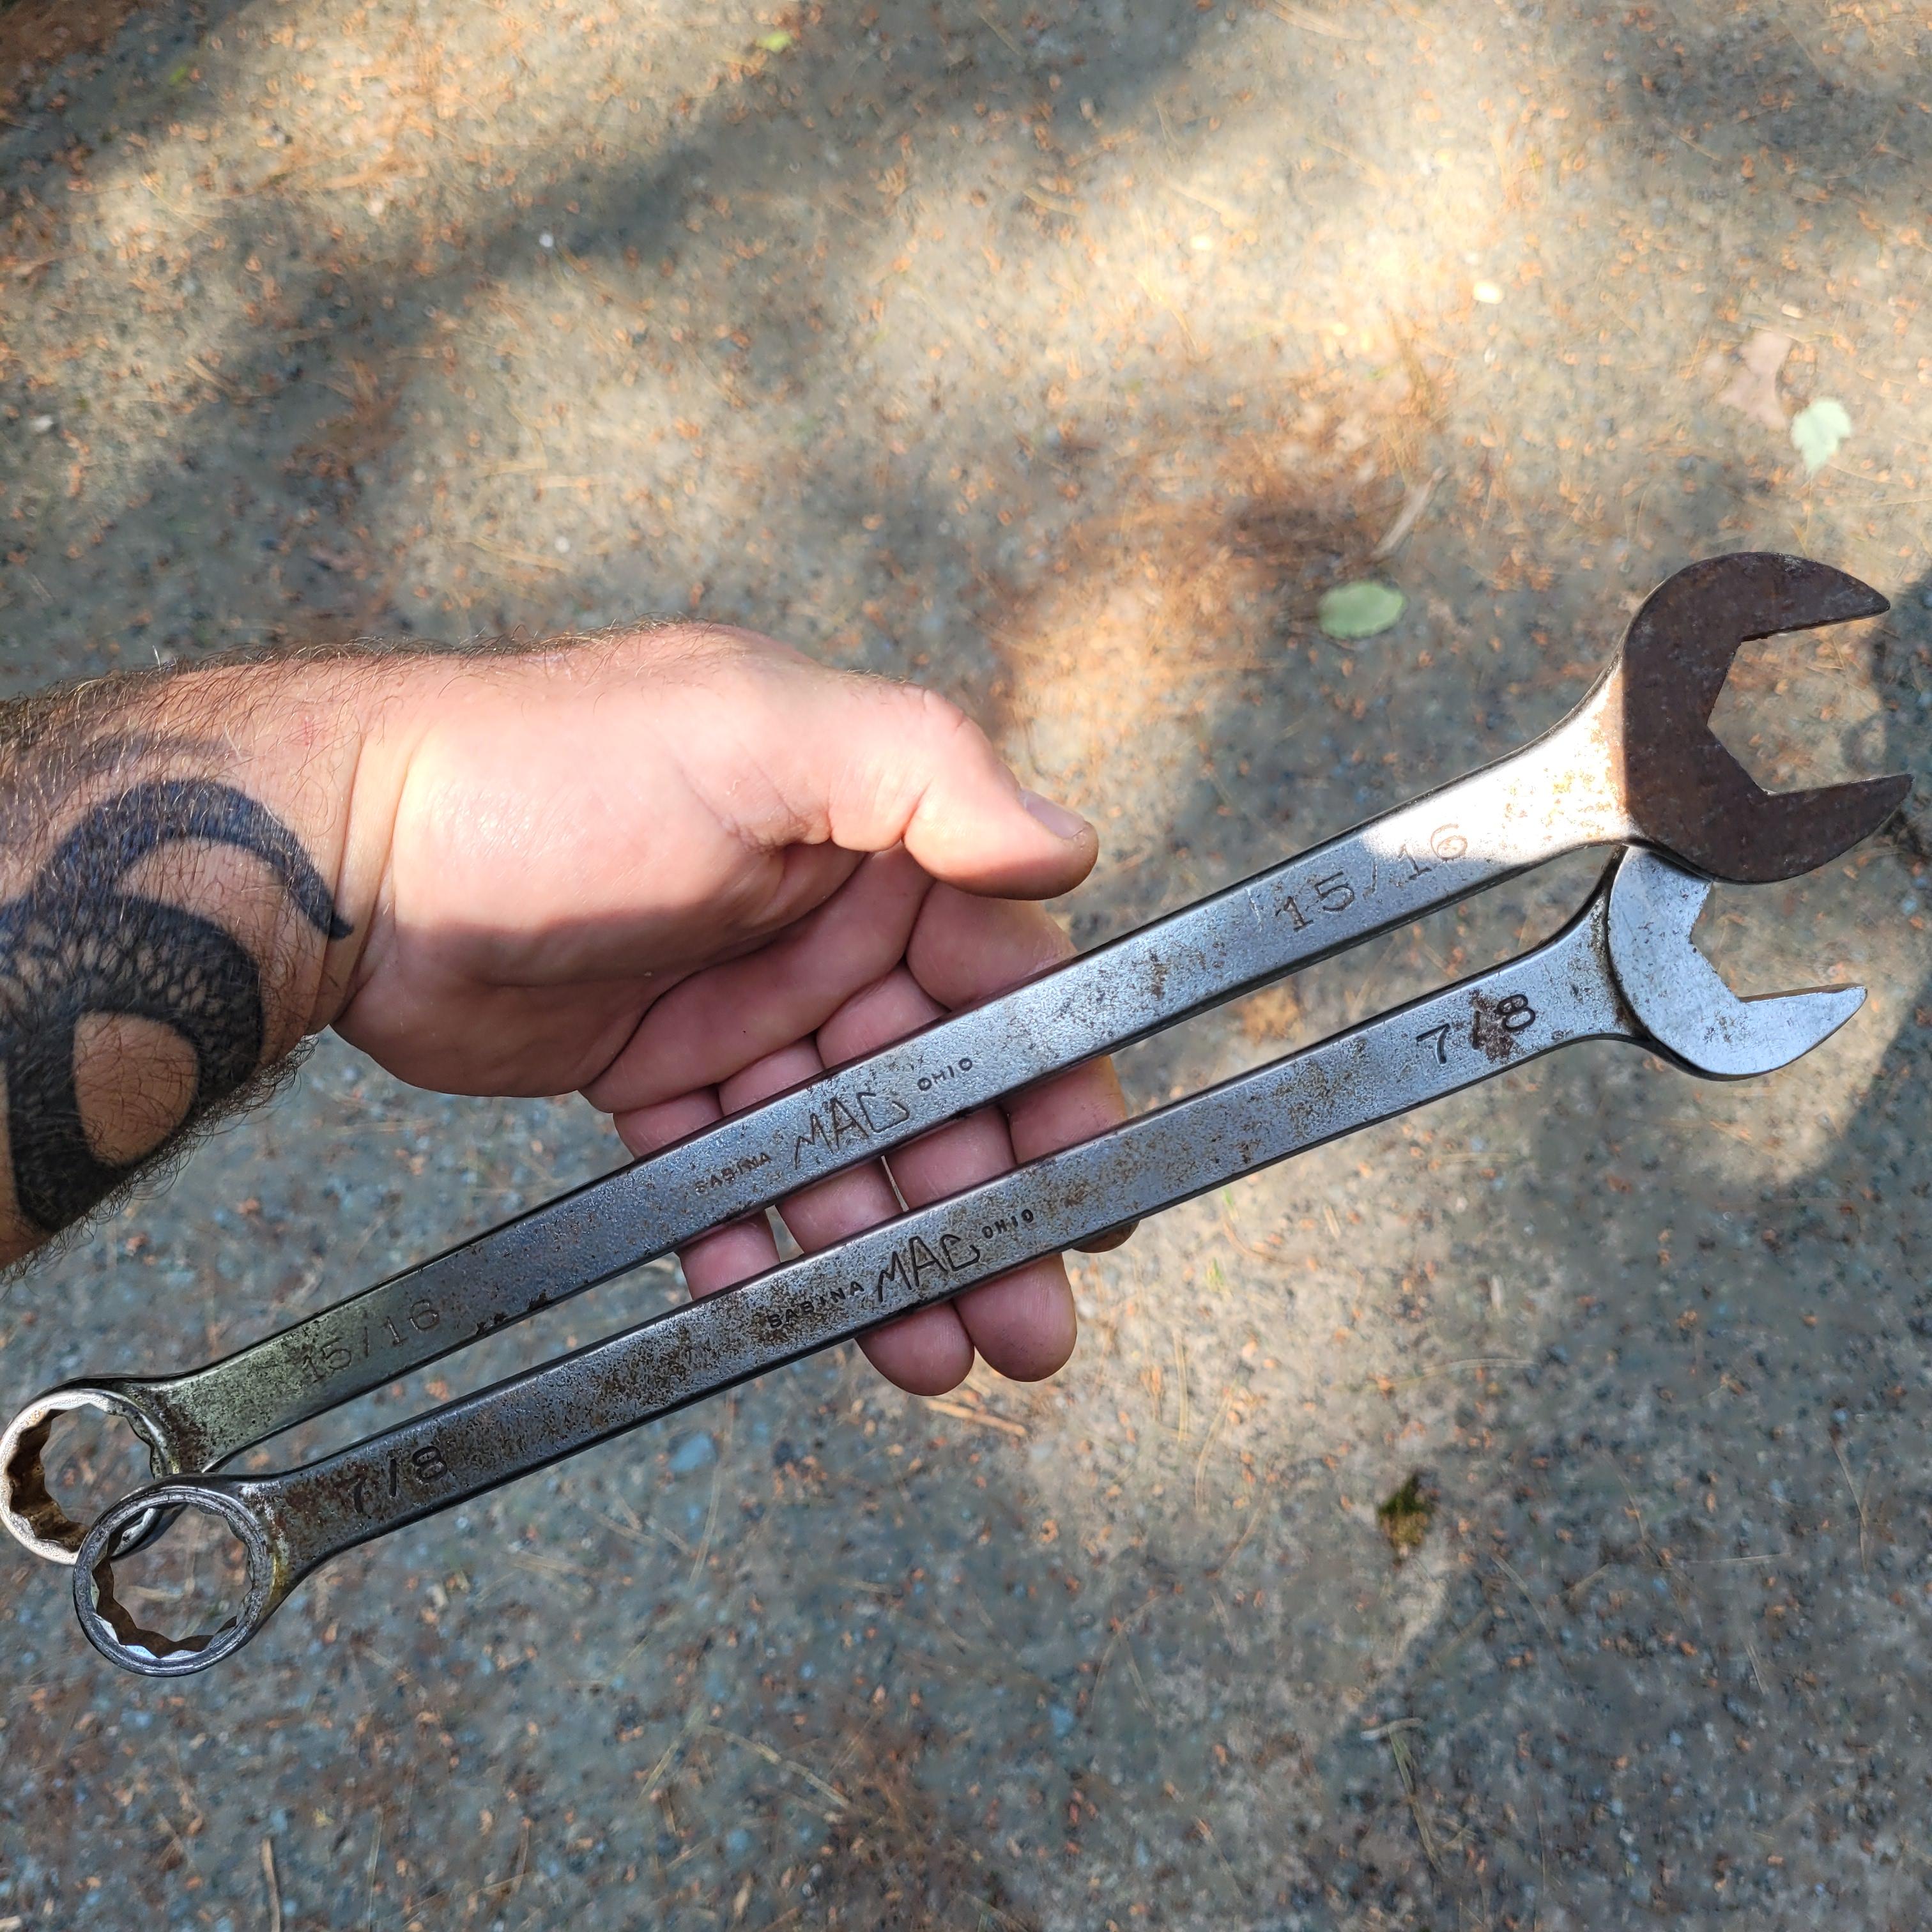
Yard sale finds. I paid 2 dollars. They need a little cleaning up,I'm not gonna complain one bit
-
What Did You See In Your Yard Today?
johnyrotten replied to Tim W. SoCal's topic in The Off-Topic Lounge
This is by a riverfront preserve,part of the Erie canal is actually under the road in my picture from the other day. And that giant white building is the one that's been in the news from time to time,albany's eyesore. The geese pretty much own the place. This group is one of the largest I've seen in a while, I've heard they're a semi protected species something with the migratory bird act. I've been calling this group the Canadian first airborne division. My wife gets a laugh out of that. -
Crossram all the way. That car looks absolutely awesome, by the way
-
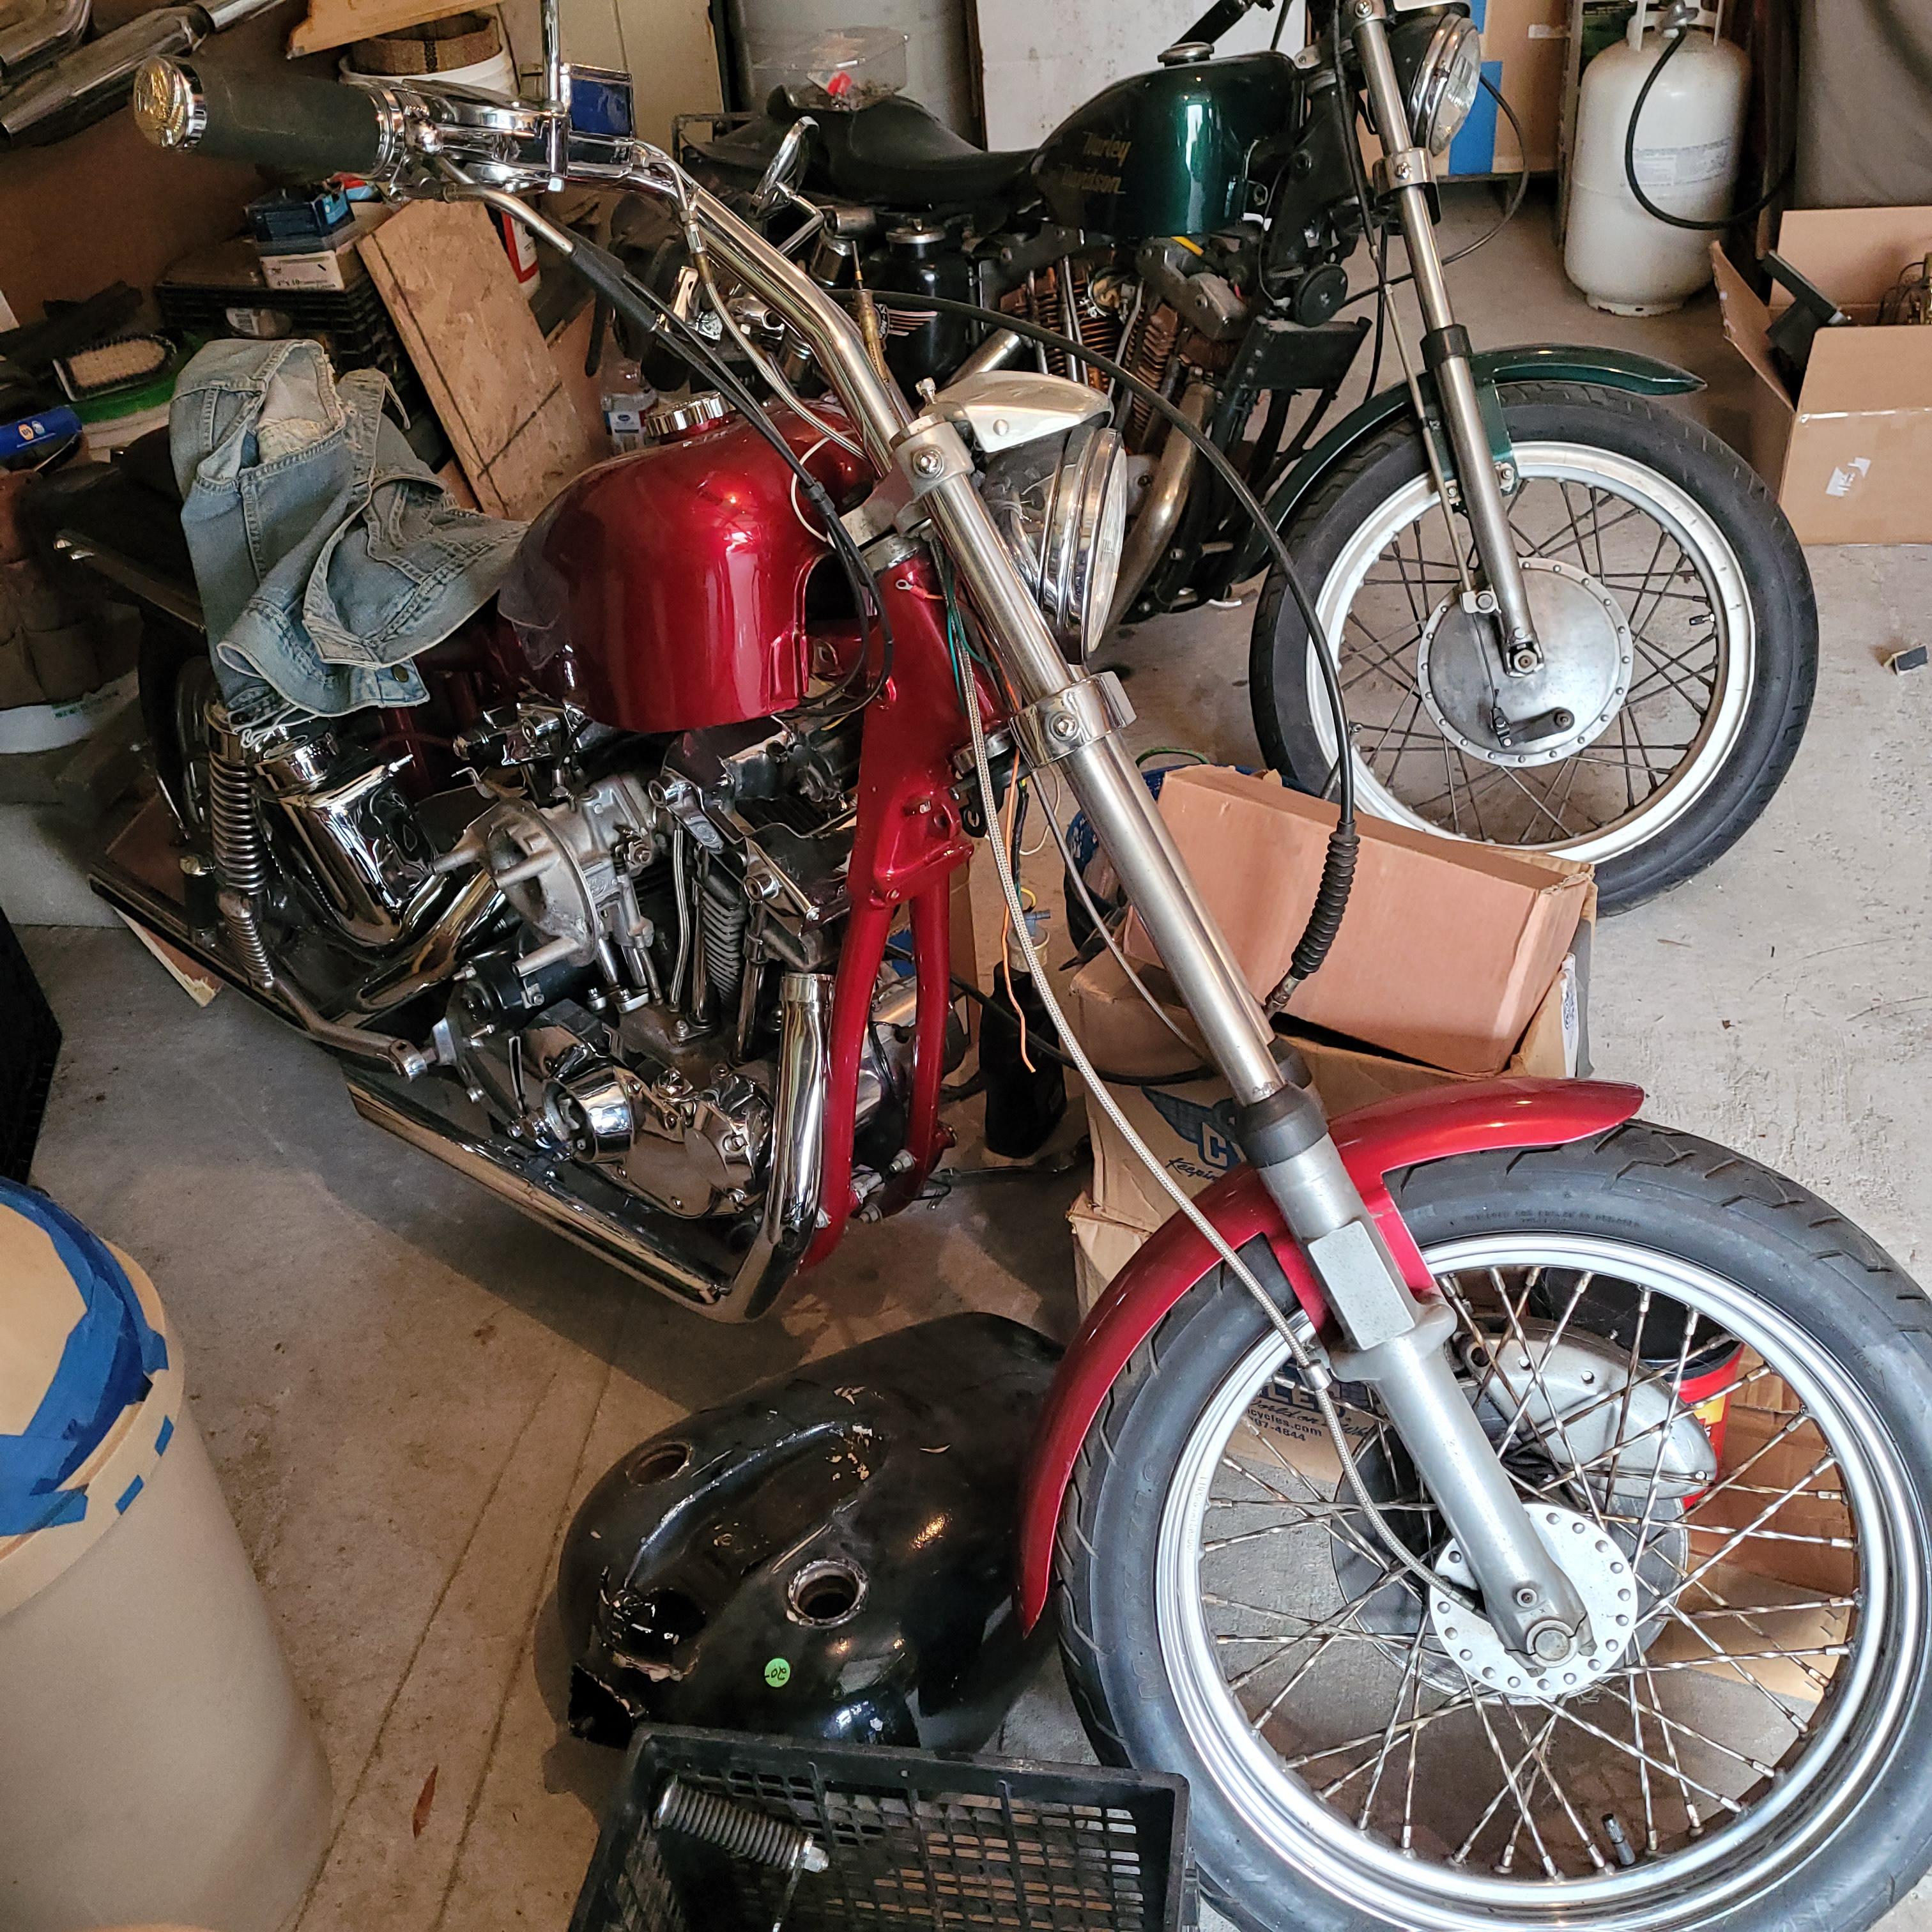
It's a cool car,no doubt about that. It was also someone's else's project at one time so you're left discovering the level of craftsmanship they had. And being an older chassis, you got the parts availability and whatnot, coupled with today's costs and quality issues. You'll get it sorted out. Been there, done that and dealing with the same on an ironhead sportster I inherited from my late father-in-law. Lots of "bad touch" on that bike. Funny thing is it looks like a million bucks at a glance.
-
Cool build. Old school stance with modern wheels, and the engine swap. I like the idea. 👍👍
-
What did you see on the road today?
johnyrotten replied to Harry P.'s topic in General Automotive Talk (Trucks and Cars)
My thoughts exactly. That,and 20 years in the grass. Those floors are probably rice paper. -
Absolutely beautiful. 👍👍
-
Most of these small engine problems are directly related to modern fuel, those carbs have extremely small orifices that clog. In the case of 2 stroke engines, too much oil fouls plugs,and any air leaks in the tank or lines will drive you crazy. And they are tuned very lean due to the epa
-
Ain't this the truth. Actual diagnostic skills and most importantly experience. Lots of guys just fire the parts cannon at a problem.
-
That looks fantastic. Nice touch with the "bluing" on the exhaust, that's something I need to learn. 👍👍
-
What Did You See In Your Yard Today?
johnyrotten replied to Tim W. SoCal's topic in The Off-Topic Lounge
I walked over and took a better picture of these guys. There's 3-4 groups of adults and a bunch of juveniles.
-
Clouds are moving out from yesterday's storms looks like it might be a beautiful day. Yesterday was humid, and monsoon rains in the afternoon. That made for a rough day at work, I welcome the break today.
-
boss hogg's 76 eldorado convertible from the 05&07 dukes movies
johnyrotten replied to michelle's topic in Model Cars
This looks fantastic. Very nice work. -
Do you also have 1:1 project cars?
johnyrotten replied to ctruss53's topic in General Automotive Talk (Trucks and Cars)
Old car things. It happens. Switches get sticky,corrosion happens, bad connections ect. The fact that it worked one time tells you it's probably not a big deal,just gotta pin point the culprit. You'll get it figured out. -
Hello All, New to the Forum and Model Building
johnyrotten replied to Marley's topic in Welcome! Introduce Yourself
Welcome to the forum -
Great looking '32