OldNYJim
-
Posts
251 -
Joined
-
Last visited
Content Type
Profiles
Forums
Events
Gallery
Everything posted by OldNYJim
-
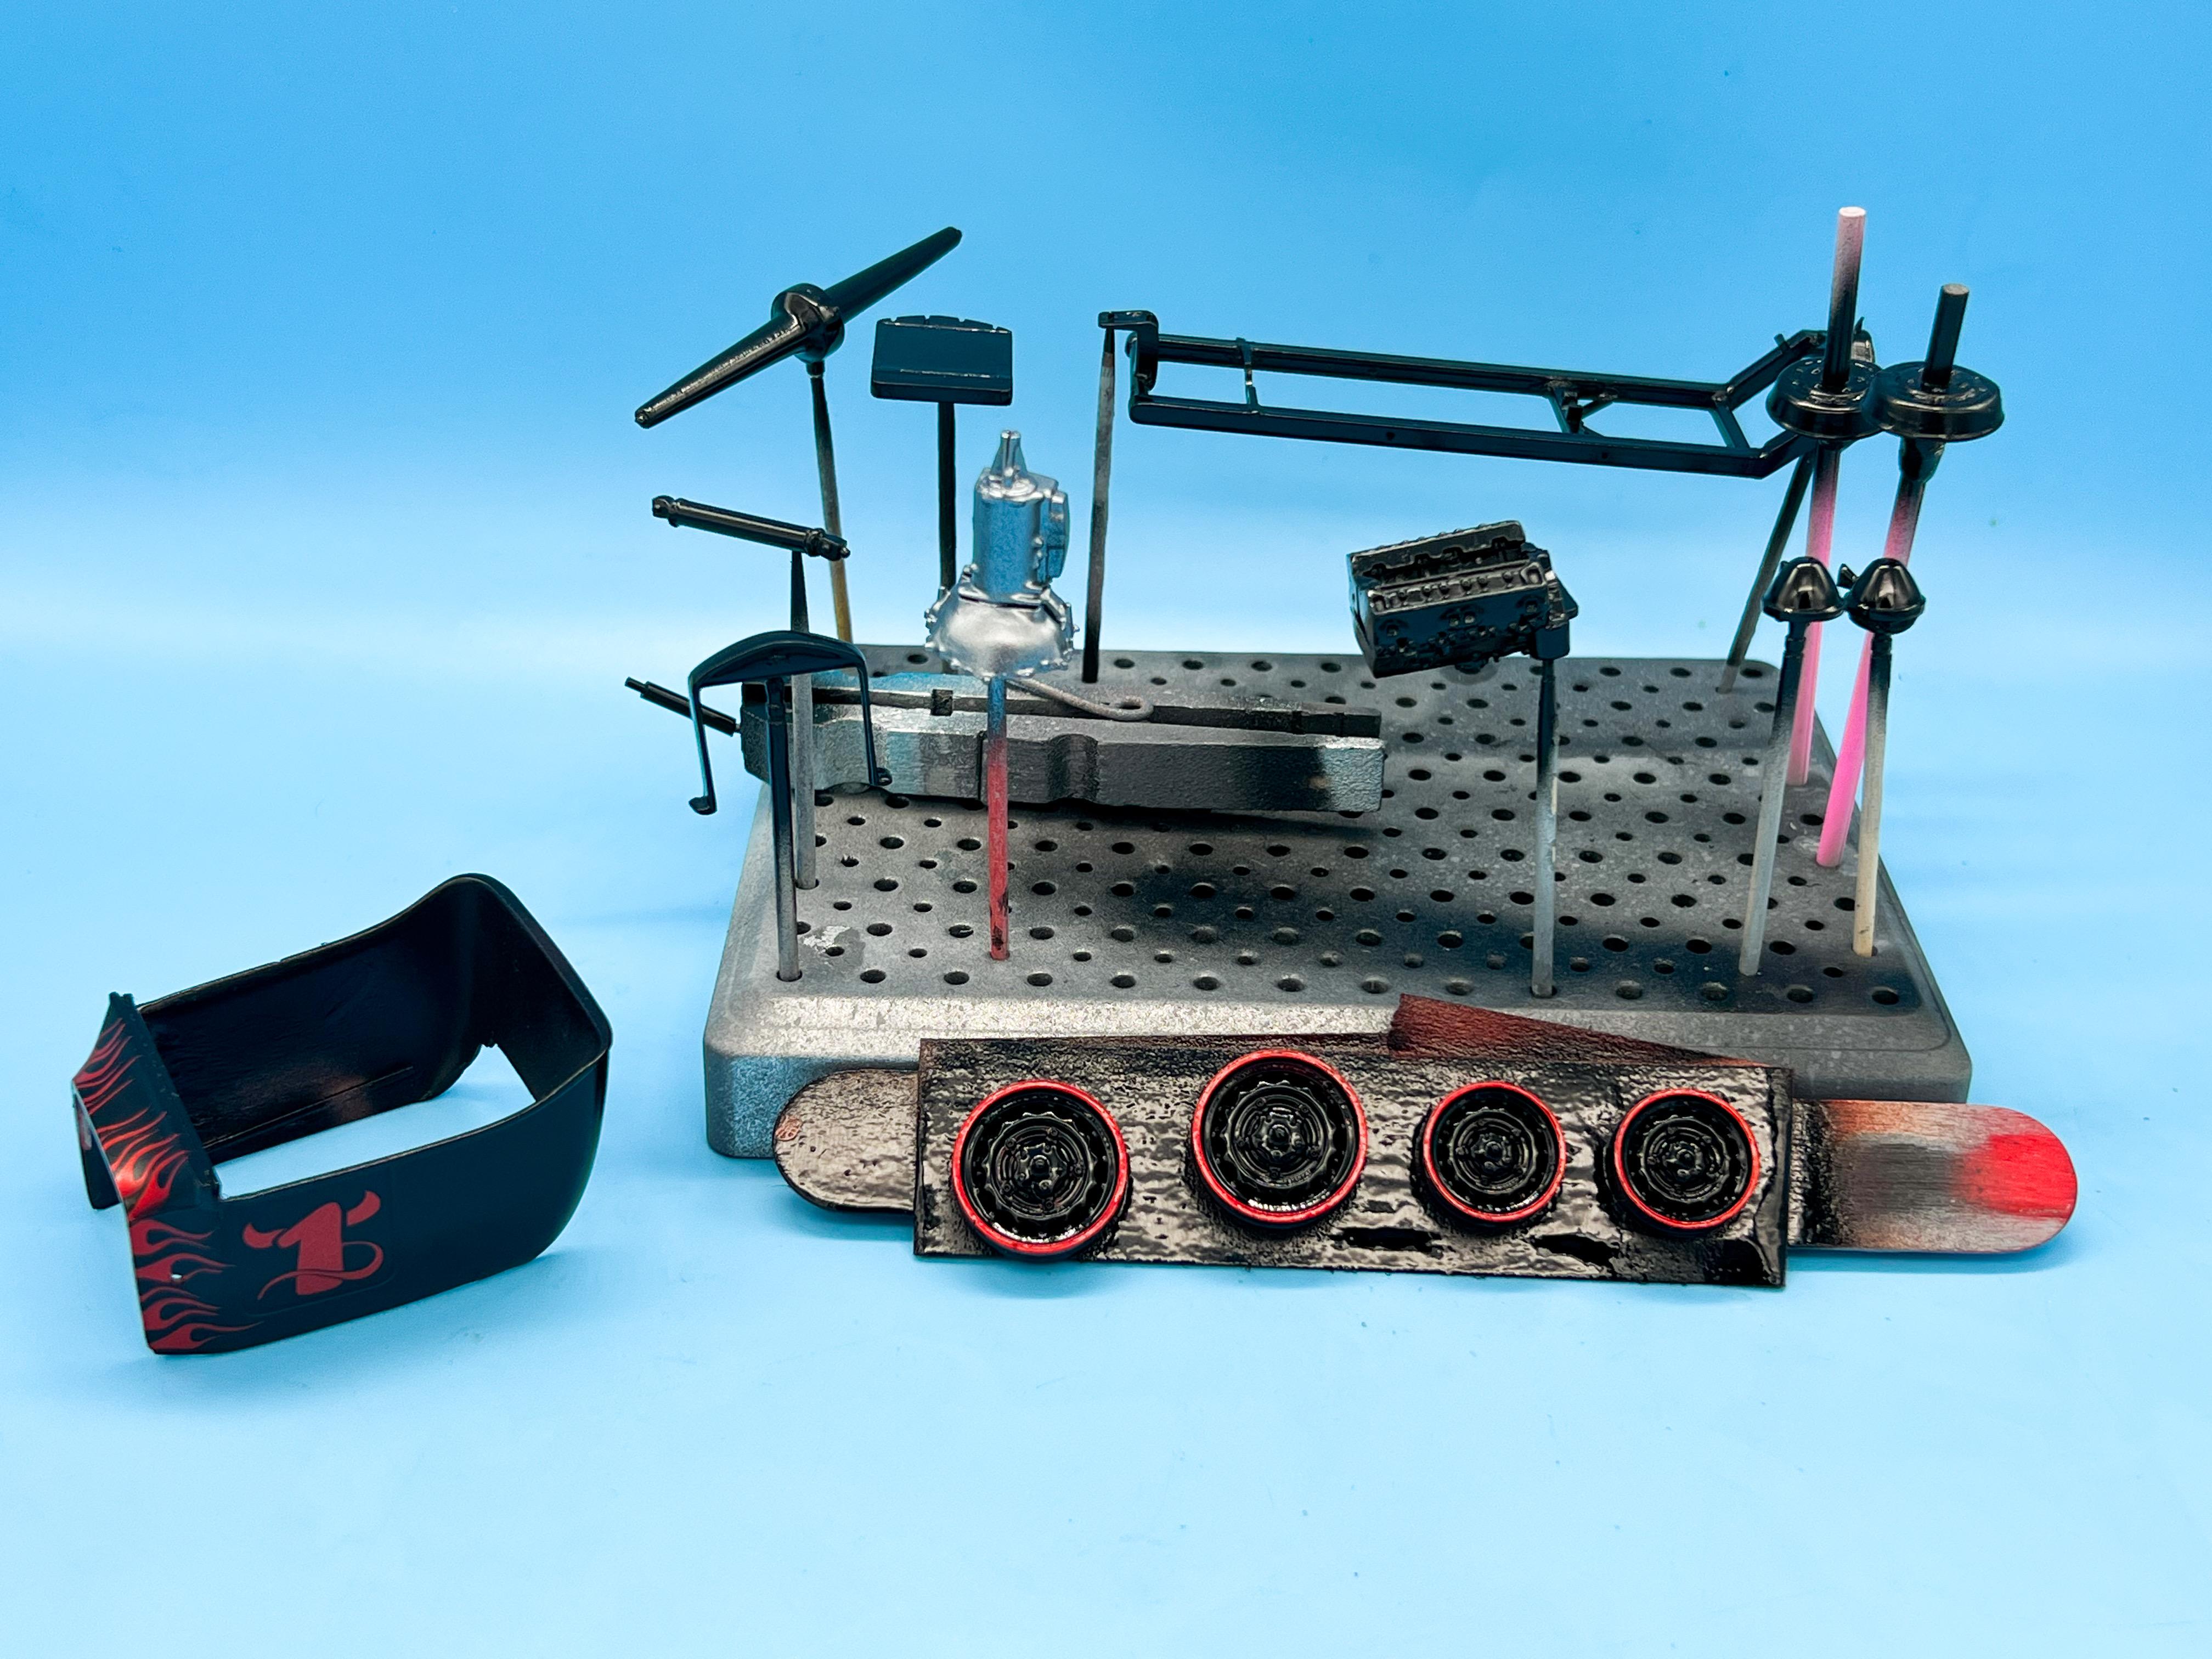
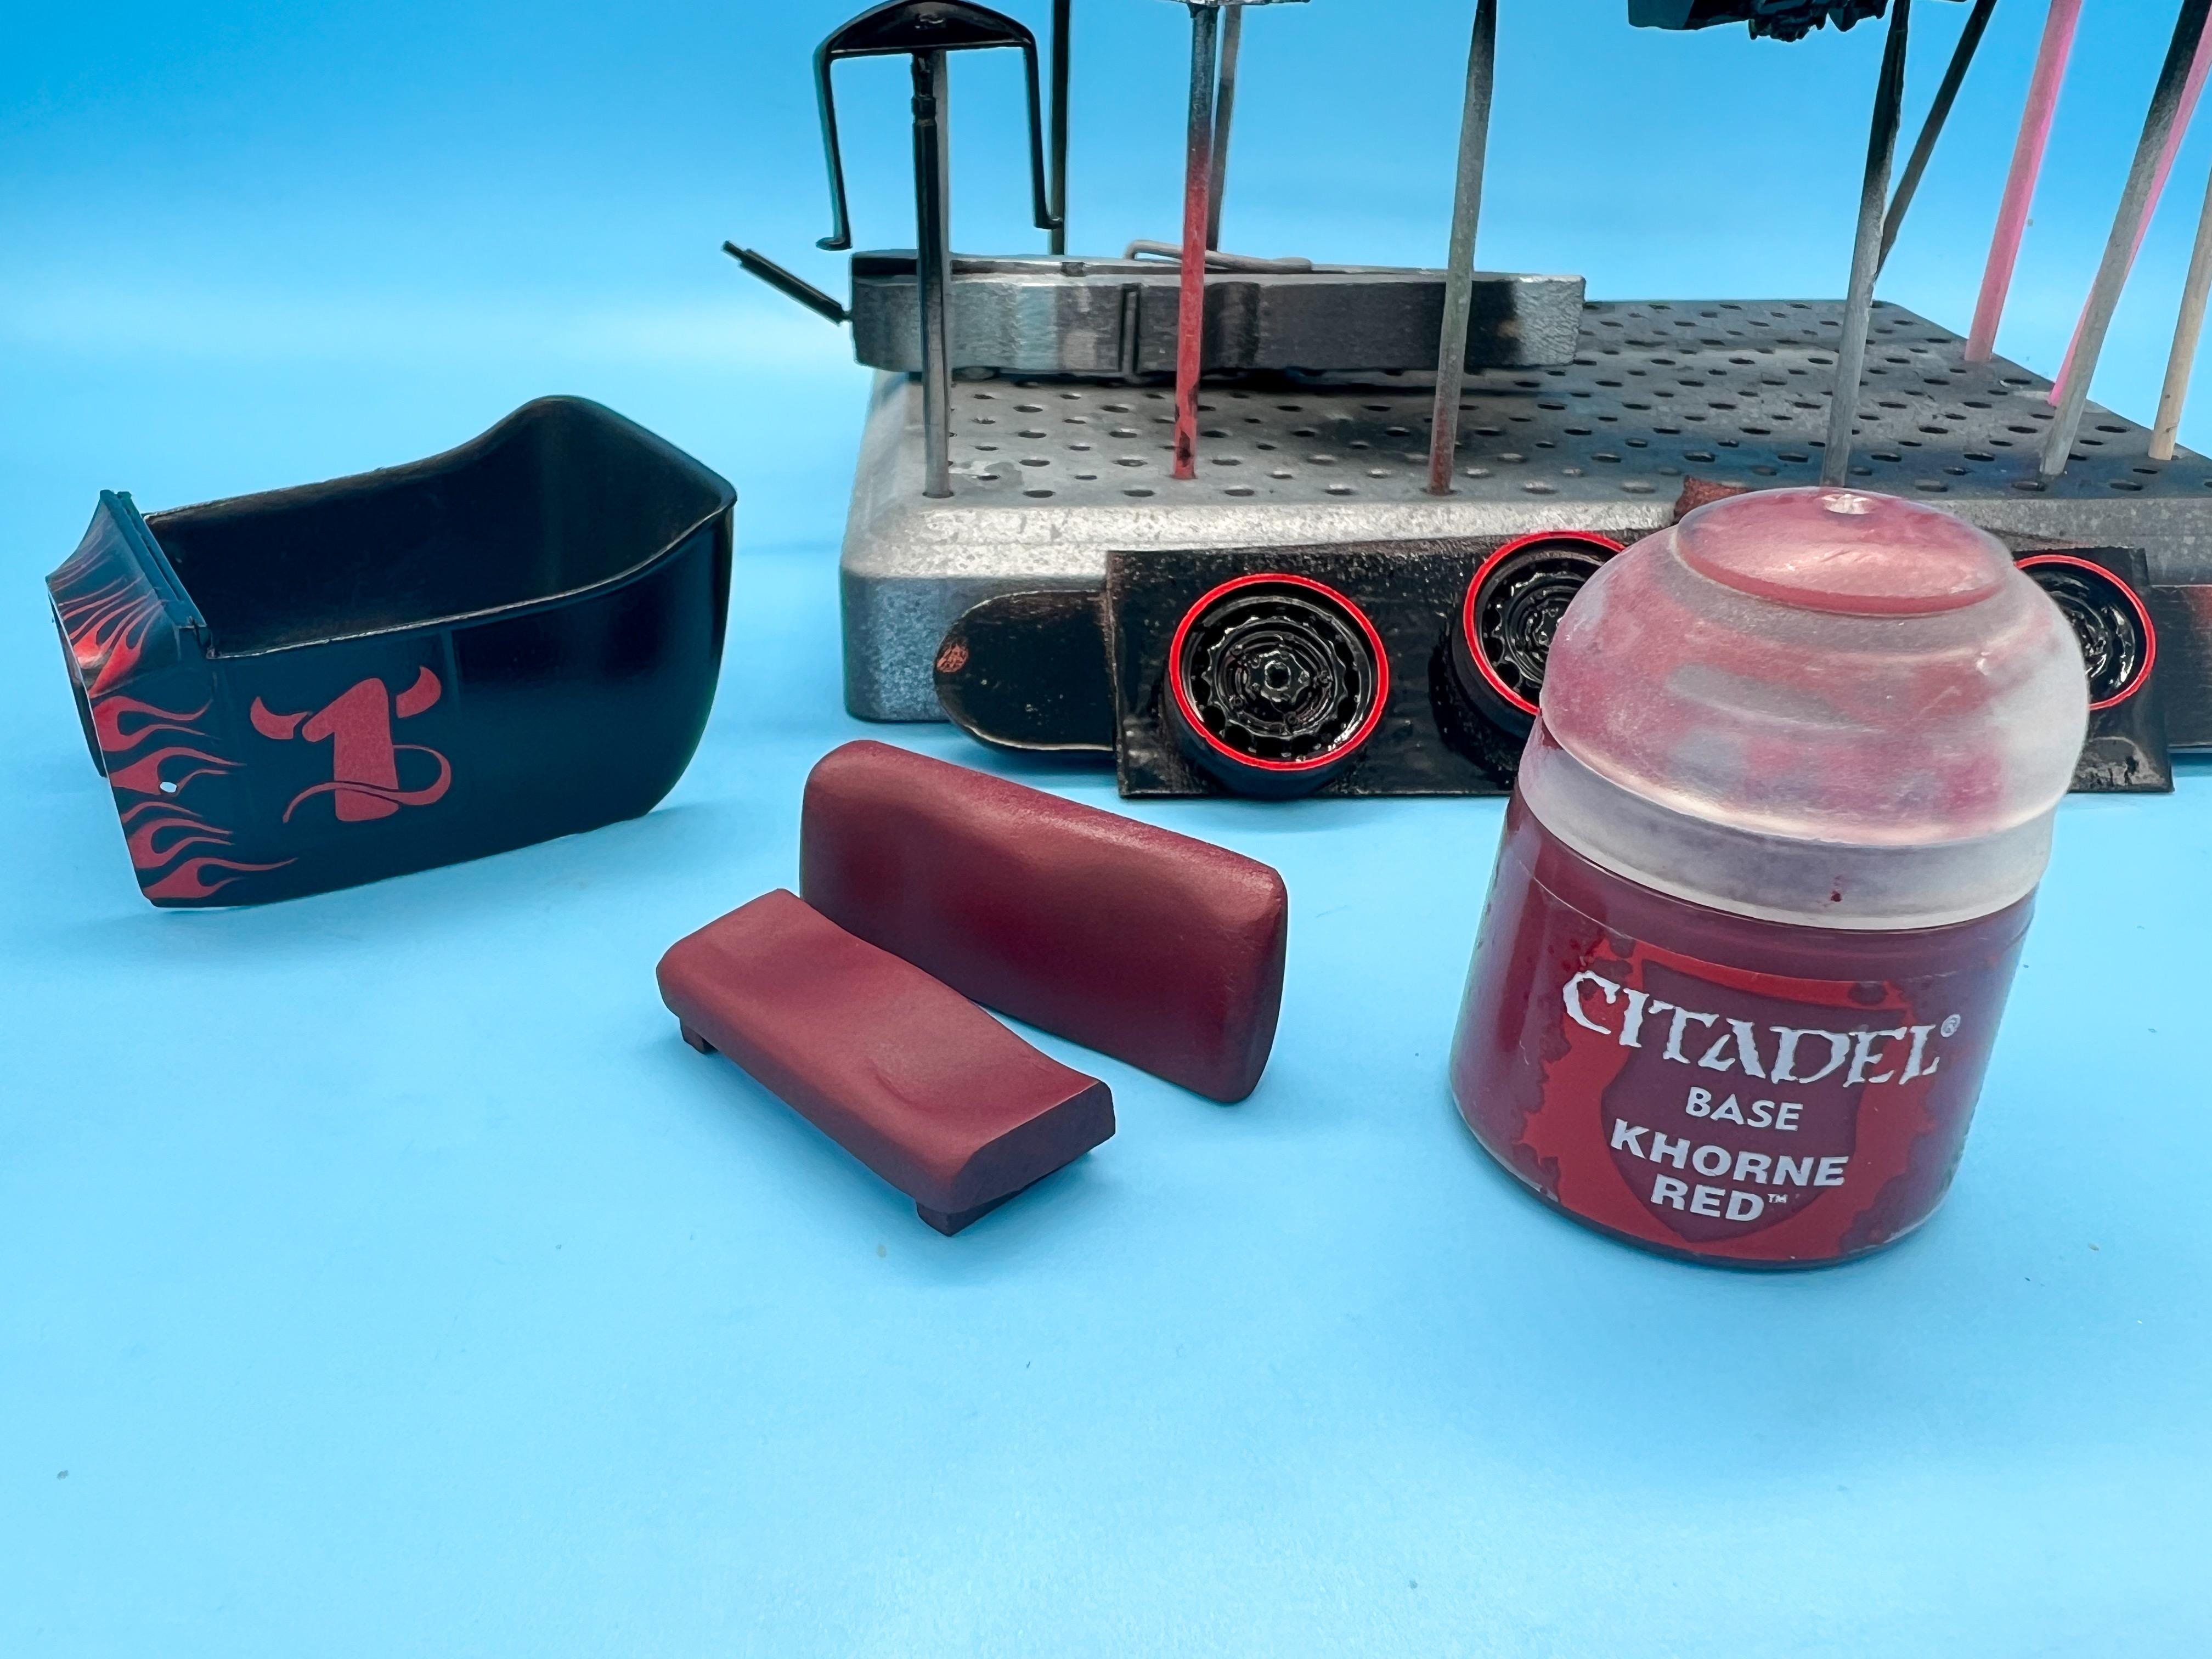
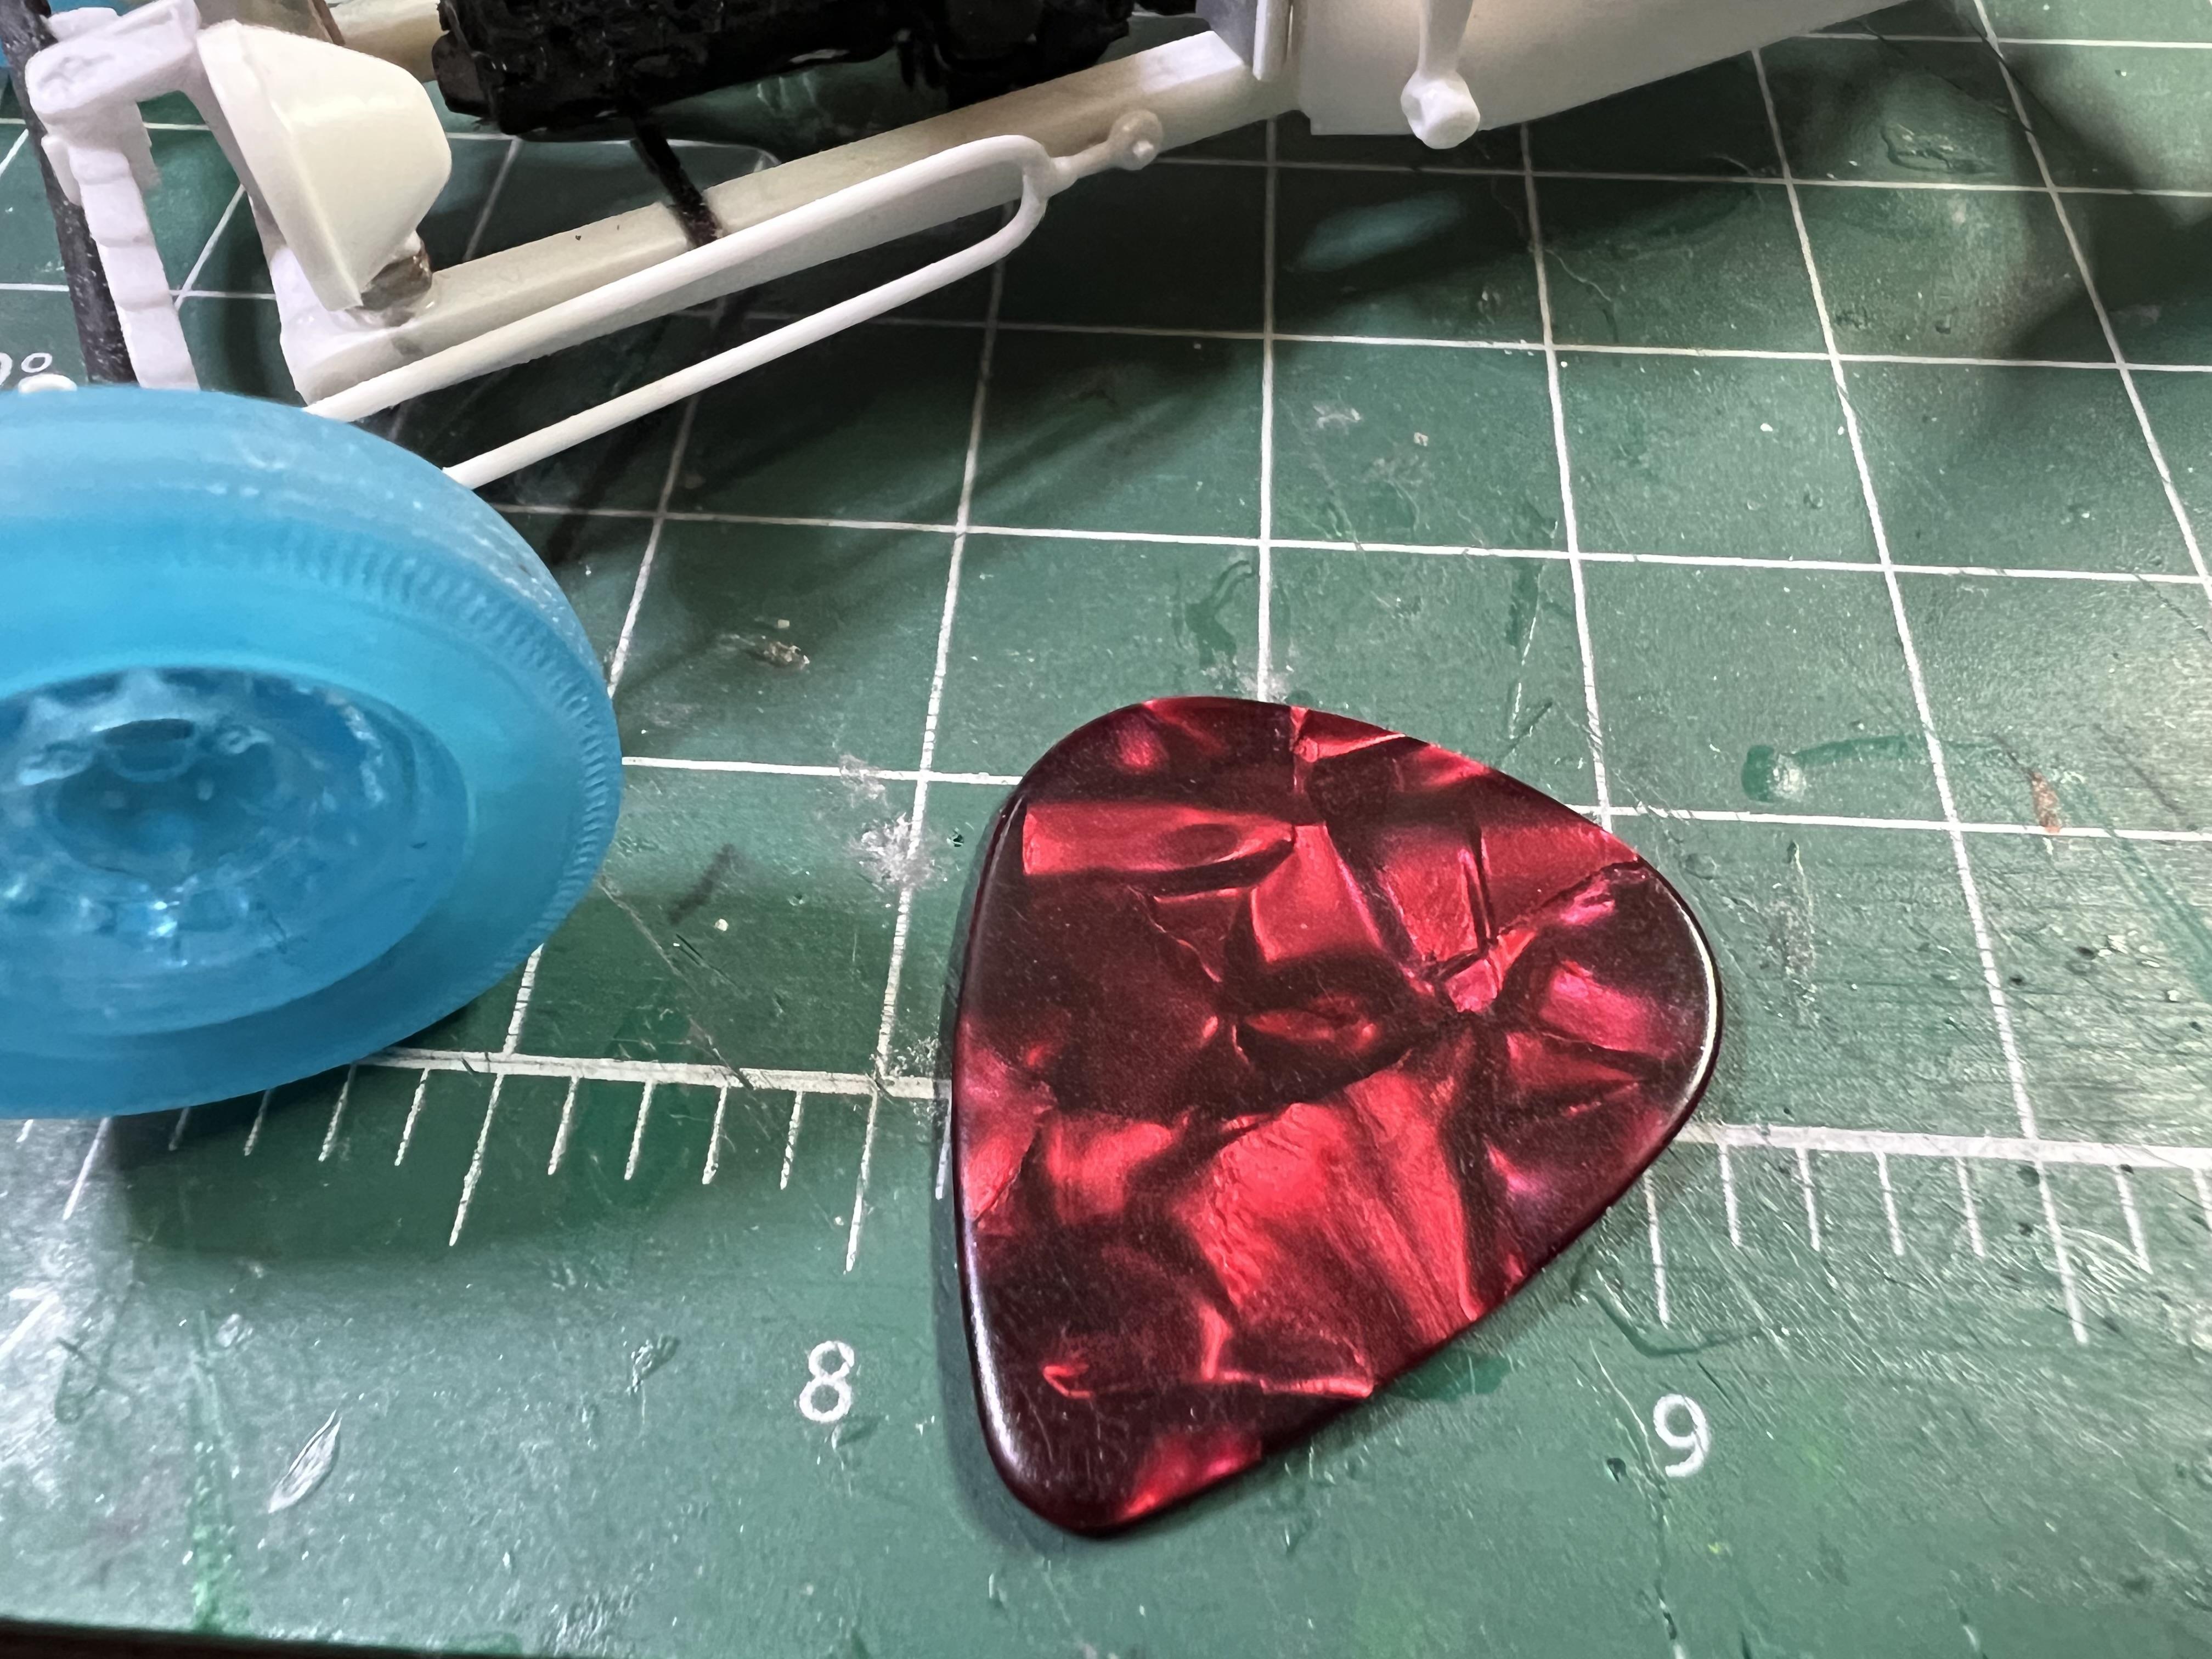
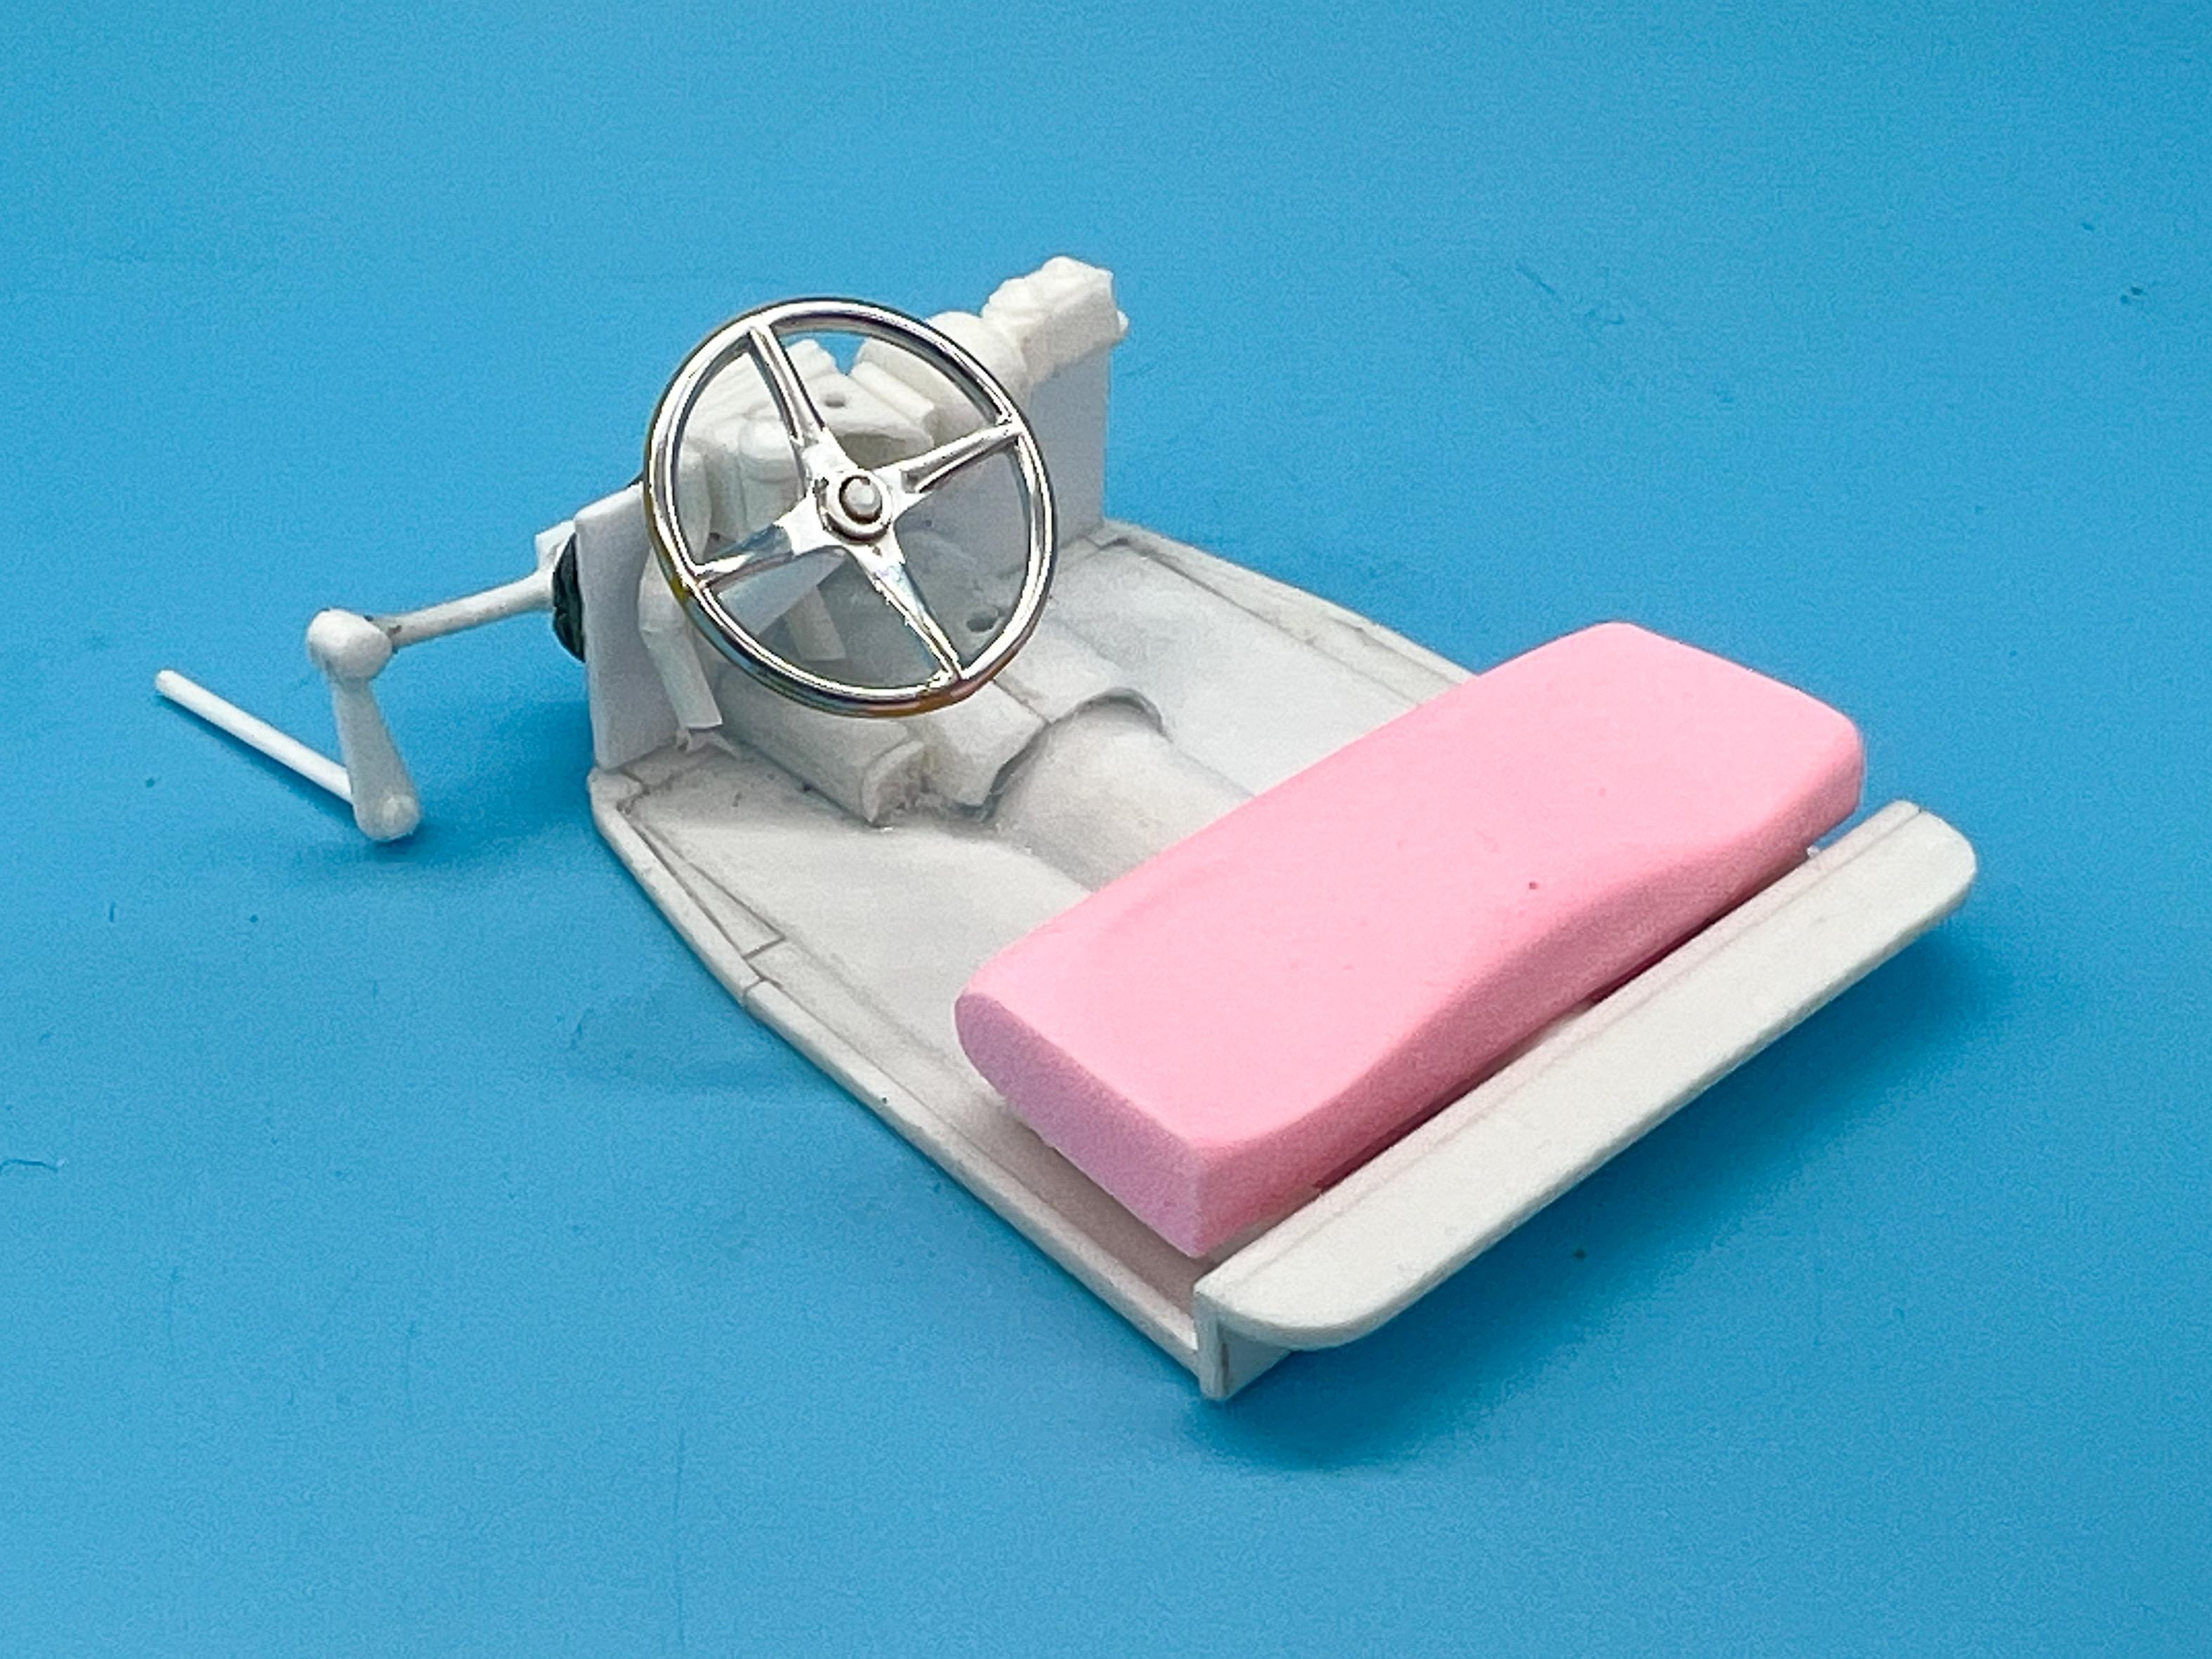
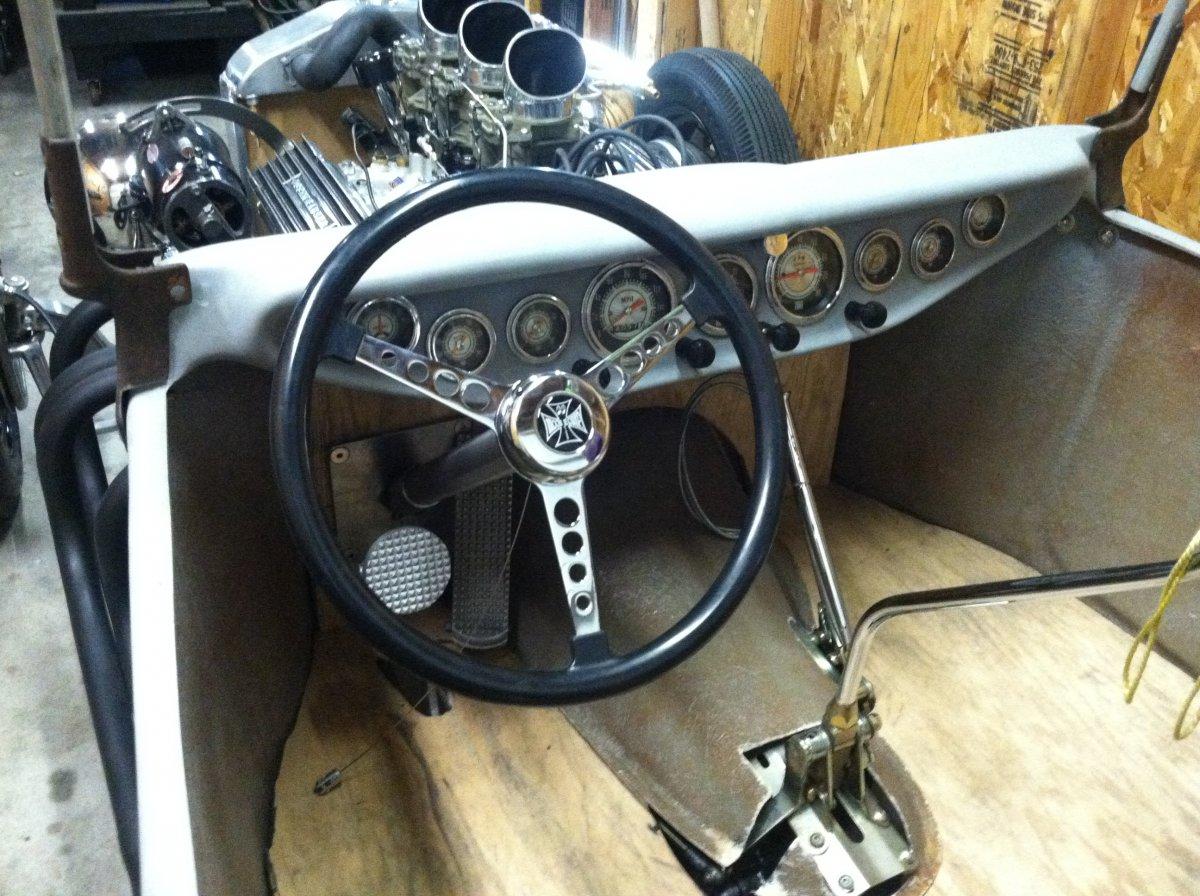
Thank YOU! I’m now at that awkward stage of having a bunch of stuff to paint before I can do some more fun stuff… About every other part aside from the interior will be chrome or some metal shade so I’ll handle those bits in the next couple of days…and tonight I picked out a color for the interior pieces: I really like this Citadel paint - it airbrushes great, but also brush paints and self-levels really well for any awkward little parts that would wouldn’t ideally want to mask (like the steering wheel, in this case…) I still have to figure out exactly where I’m going with the dash, but I’d had the idea of an interesting texture or material for the gauge cluster…I was digging thru my “interesting material” box and found this pearl-looking guitar pic that I thought would be a cool little accent piece: I chopped out an interesting section of it and it’ll sit right in the middle with a couple of gauges and switches, like this: Oh, and that shifter is a resin cast piece - it’s actually a skull-shaped headlamp from a Hot Wheels: Just a mini update…more soon, soon as I’ve done more!

-
I've got basically zero interest in building the cartoony version of this kit, but I'd definitely like a few to build T-buckets with....looks like you'd need to figure out a gas tank, wheels and tires and you're about set...no biggie!
-
I’ve got one of these in the queue myself…I’ll be watching!
-
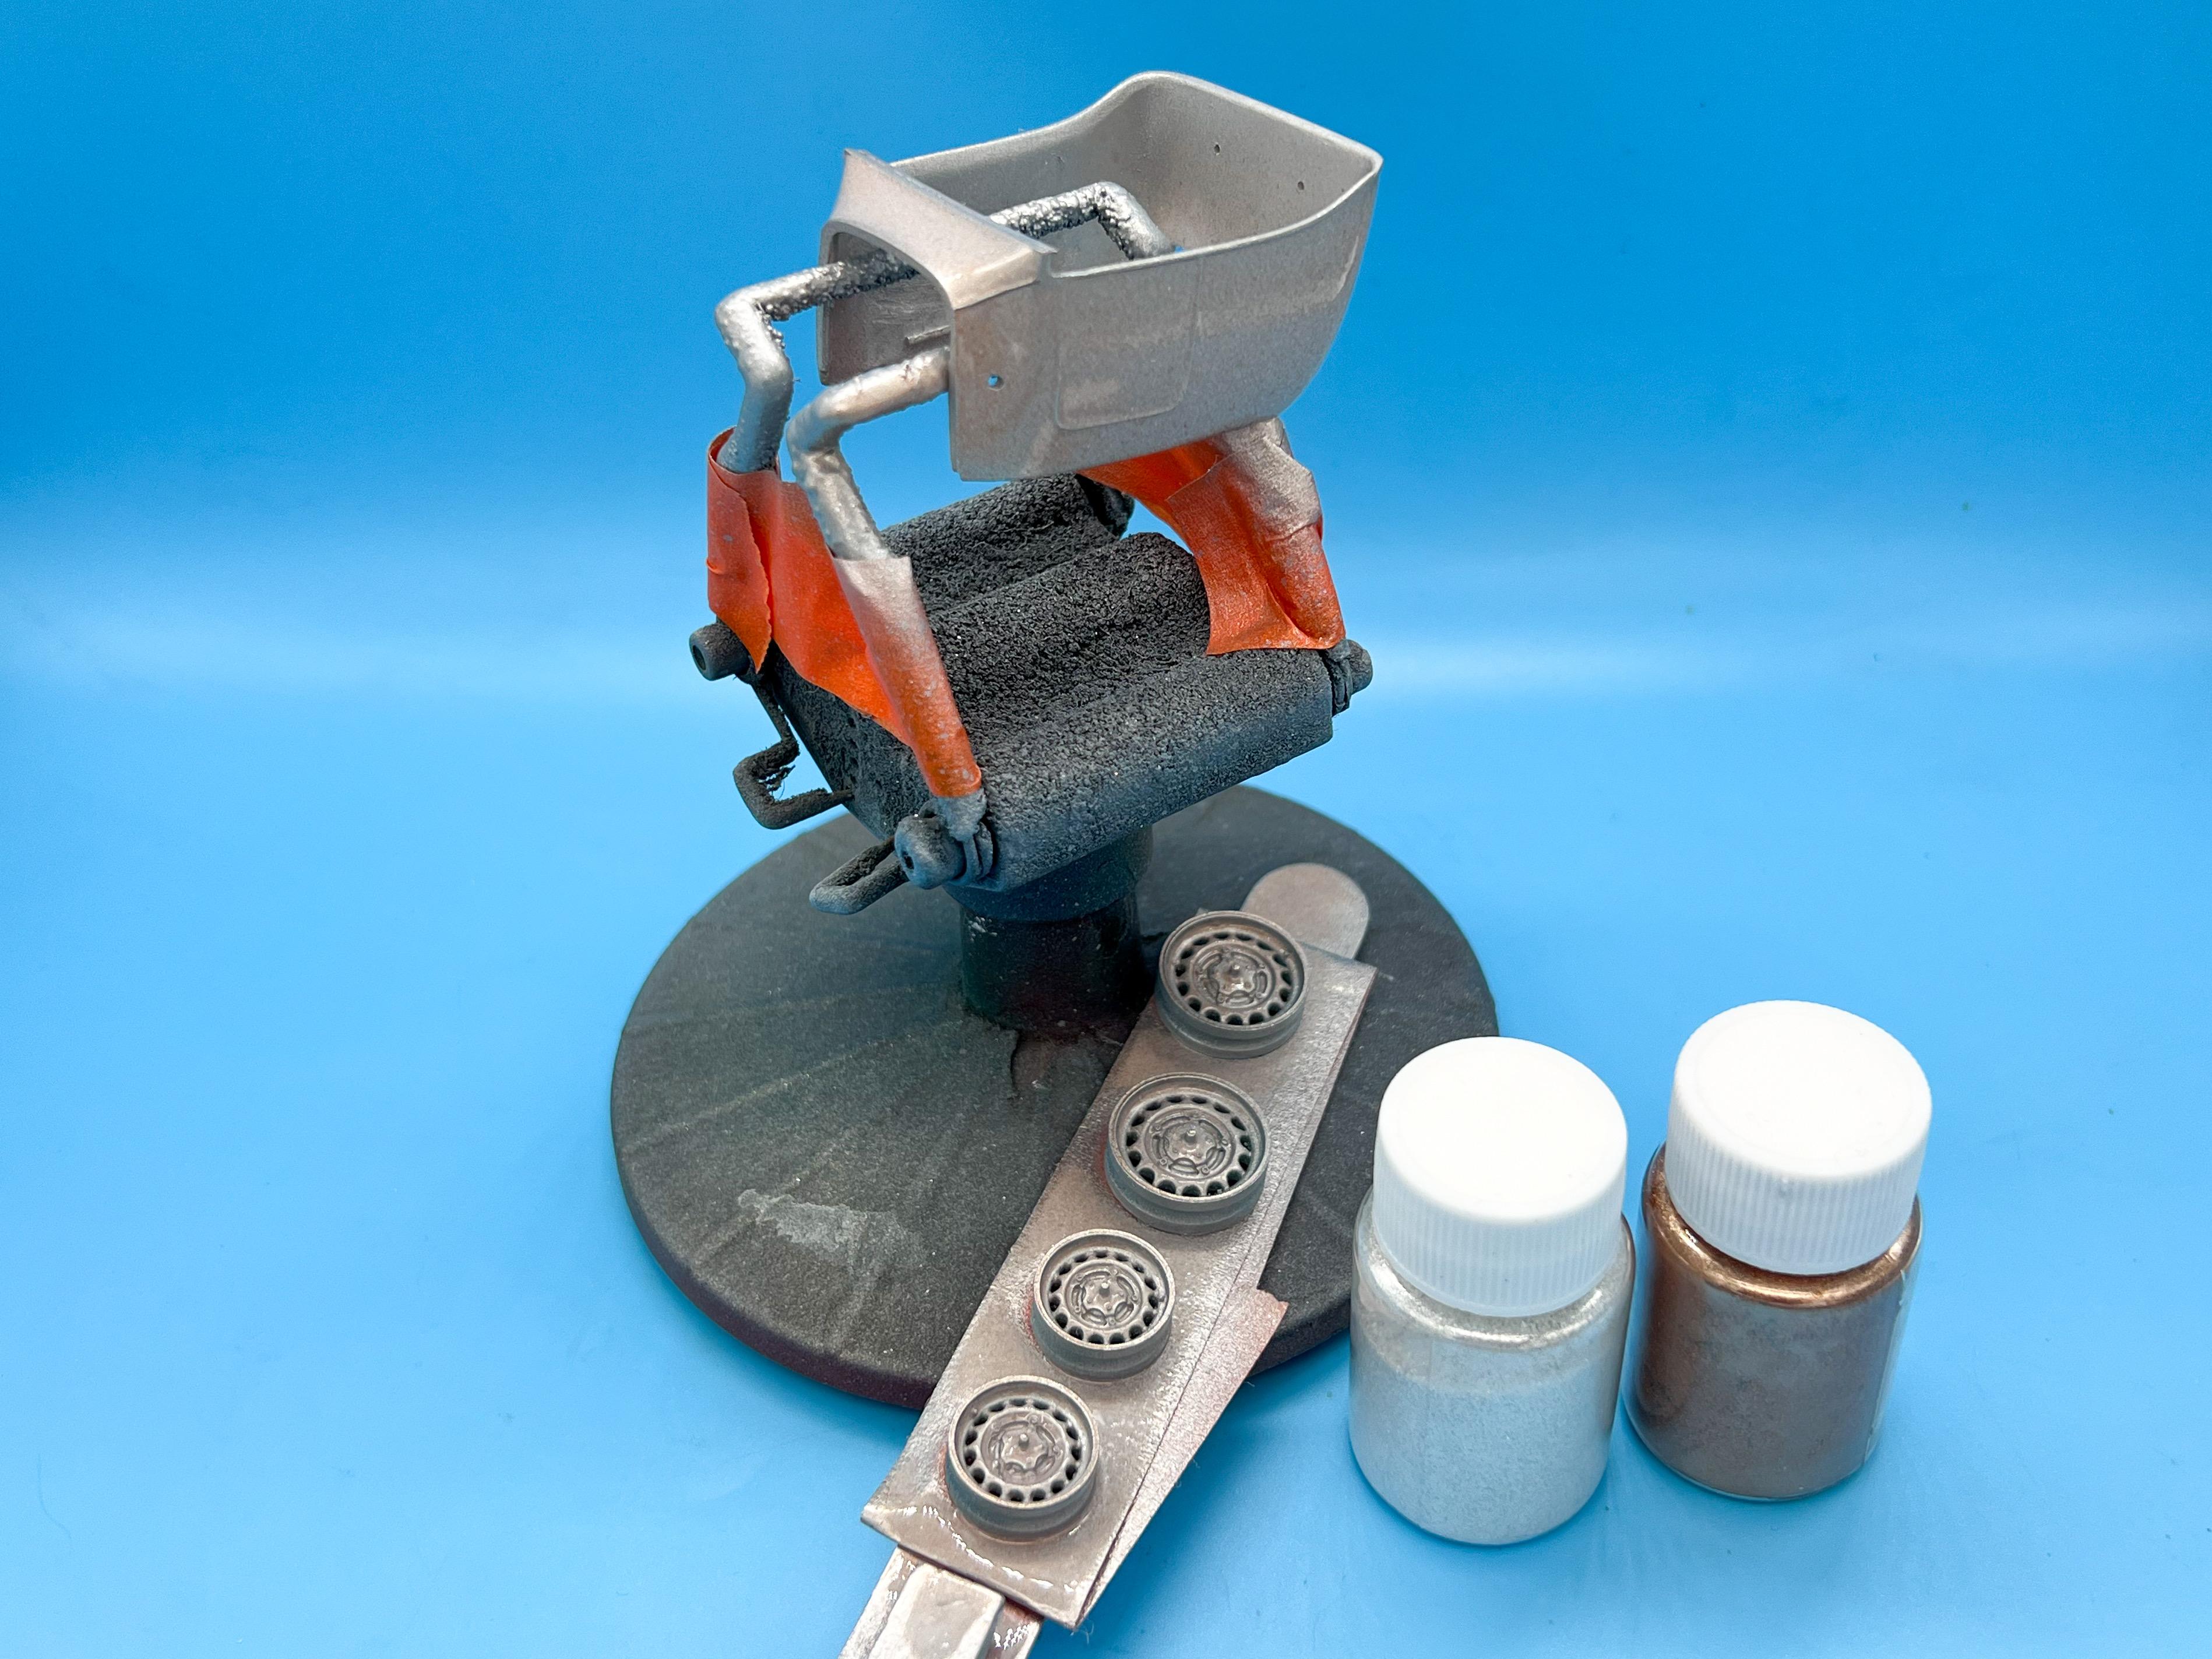
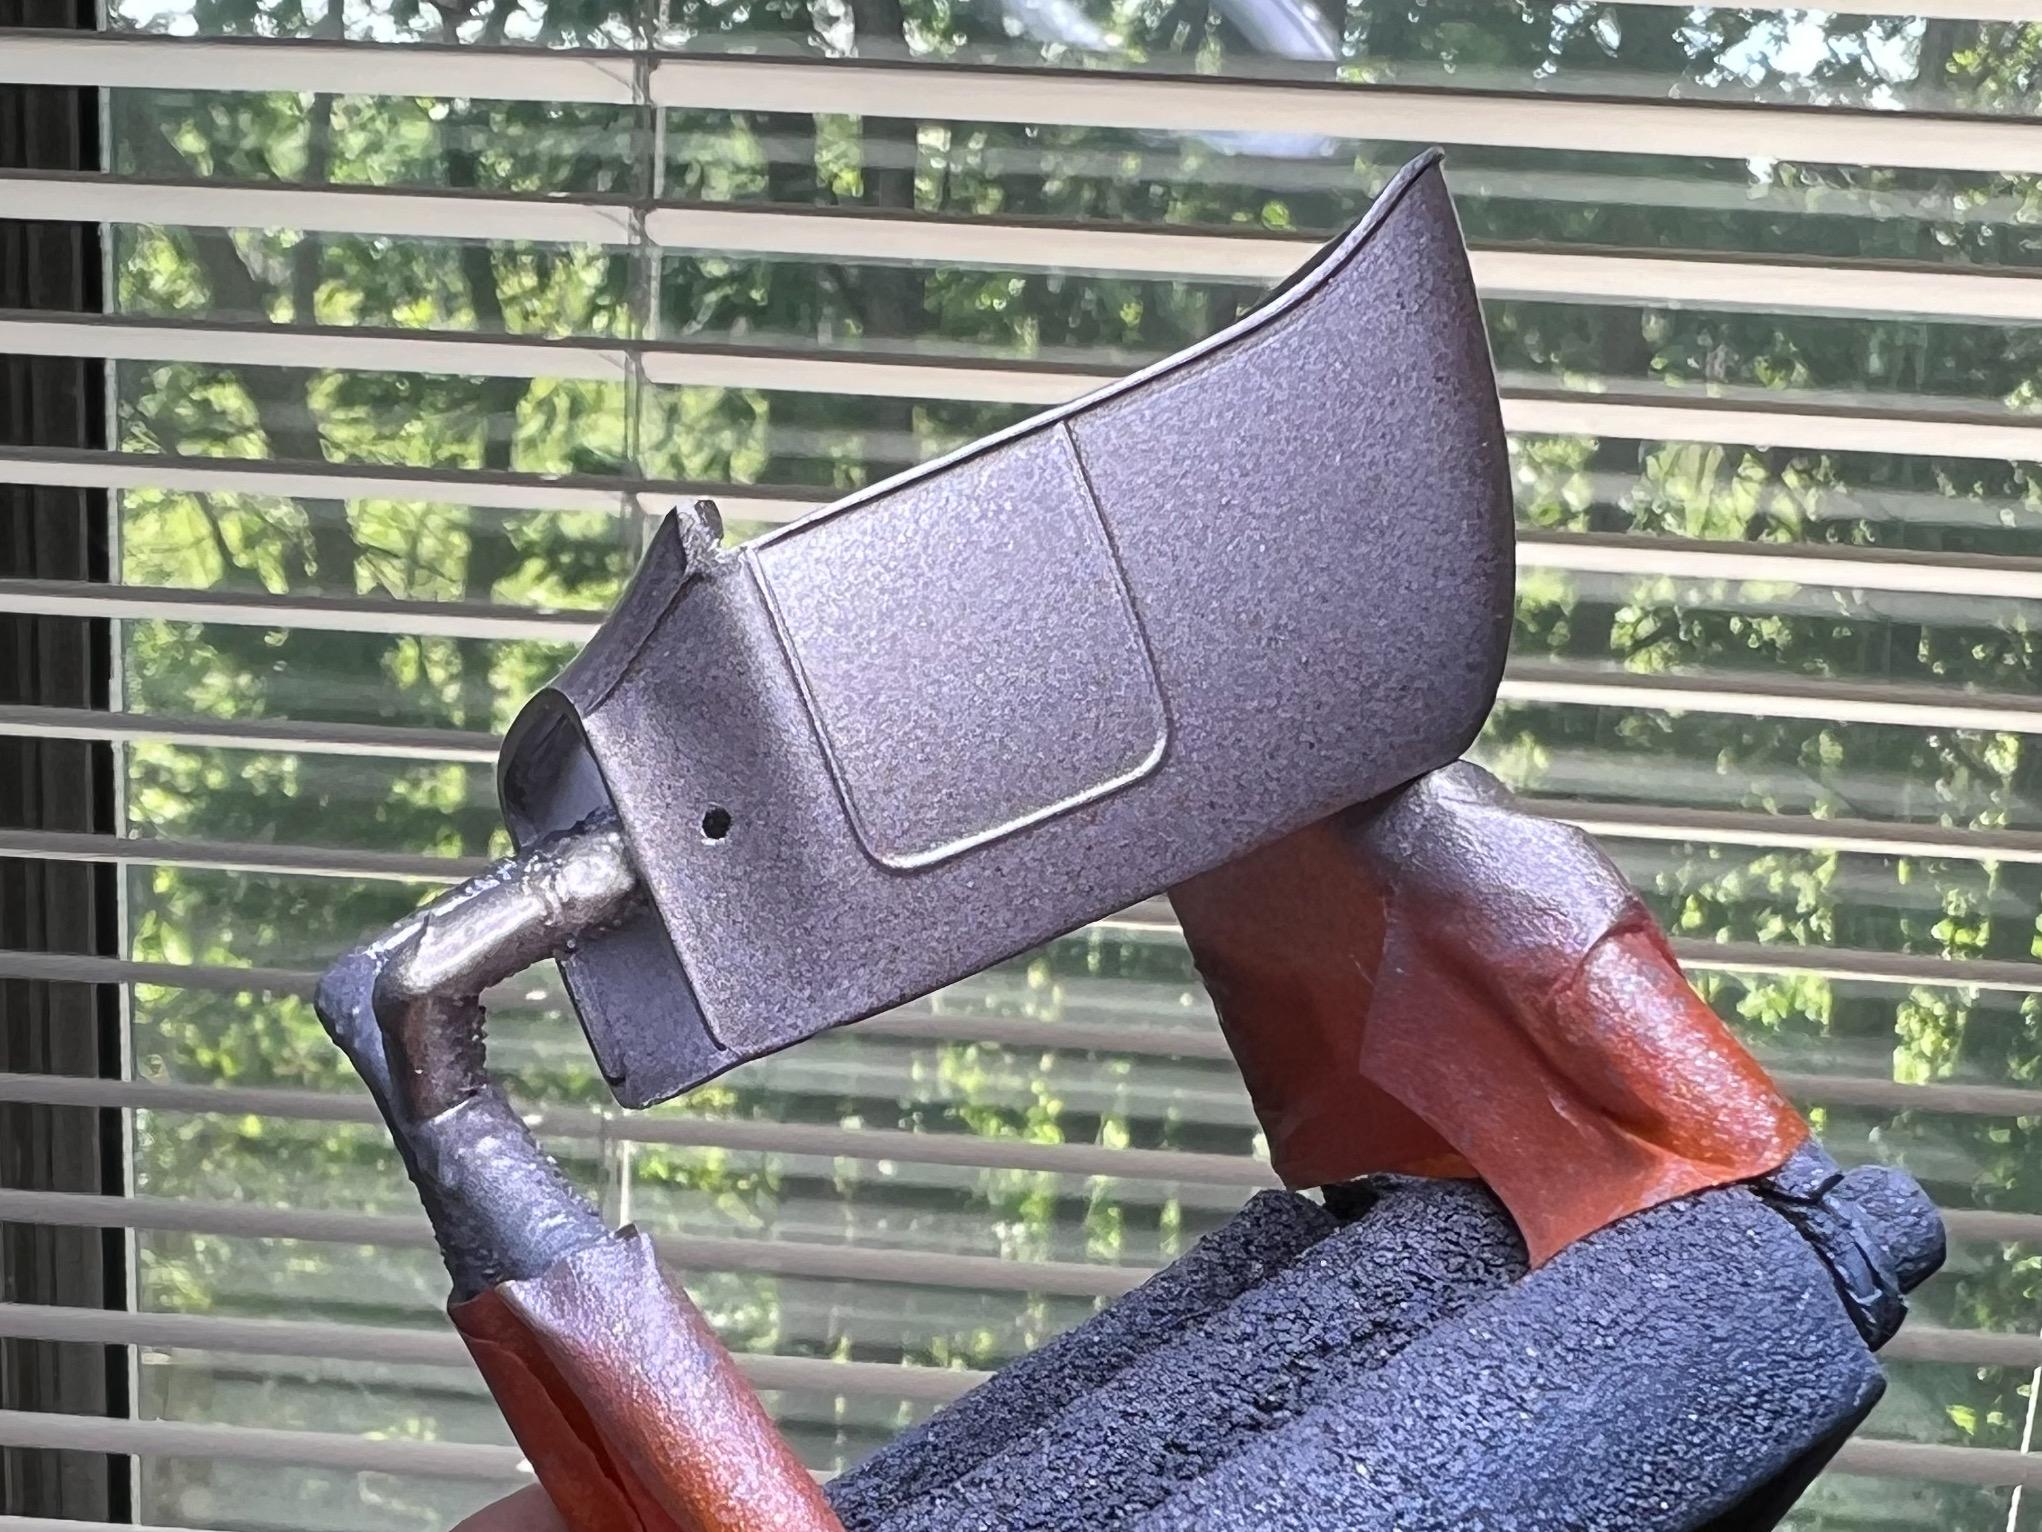
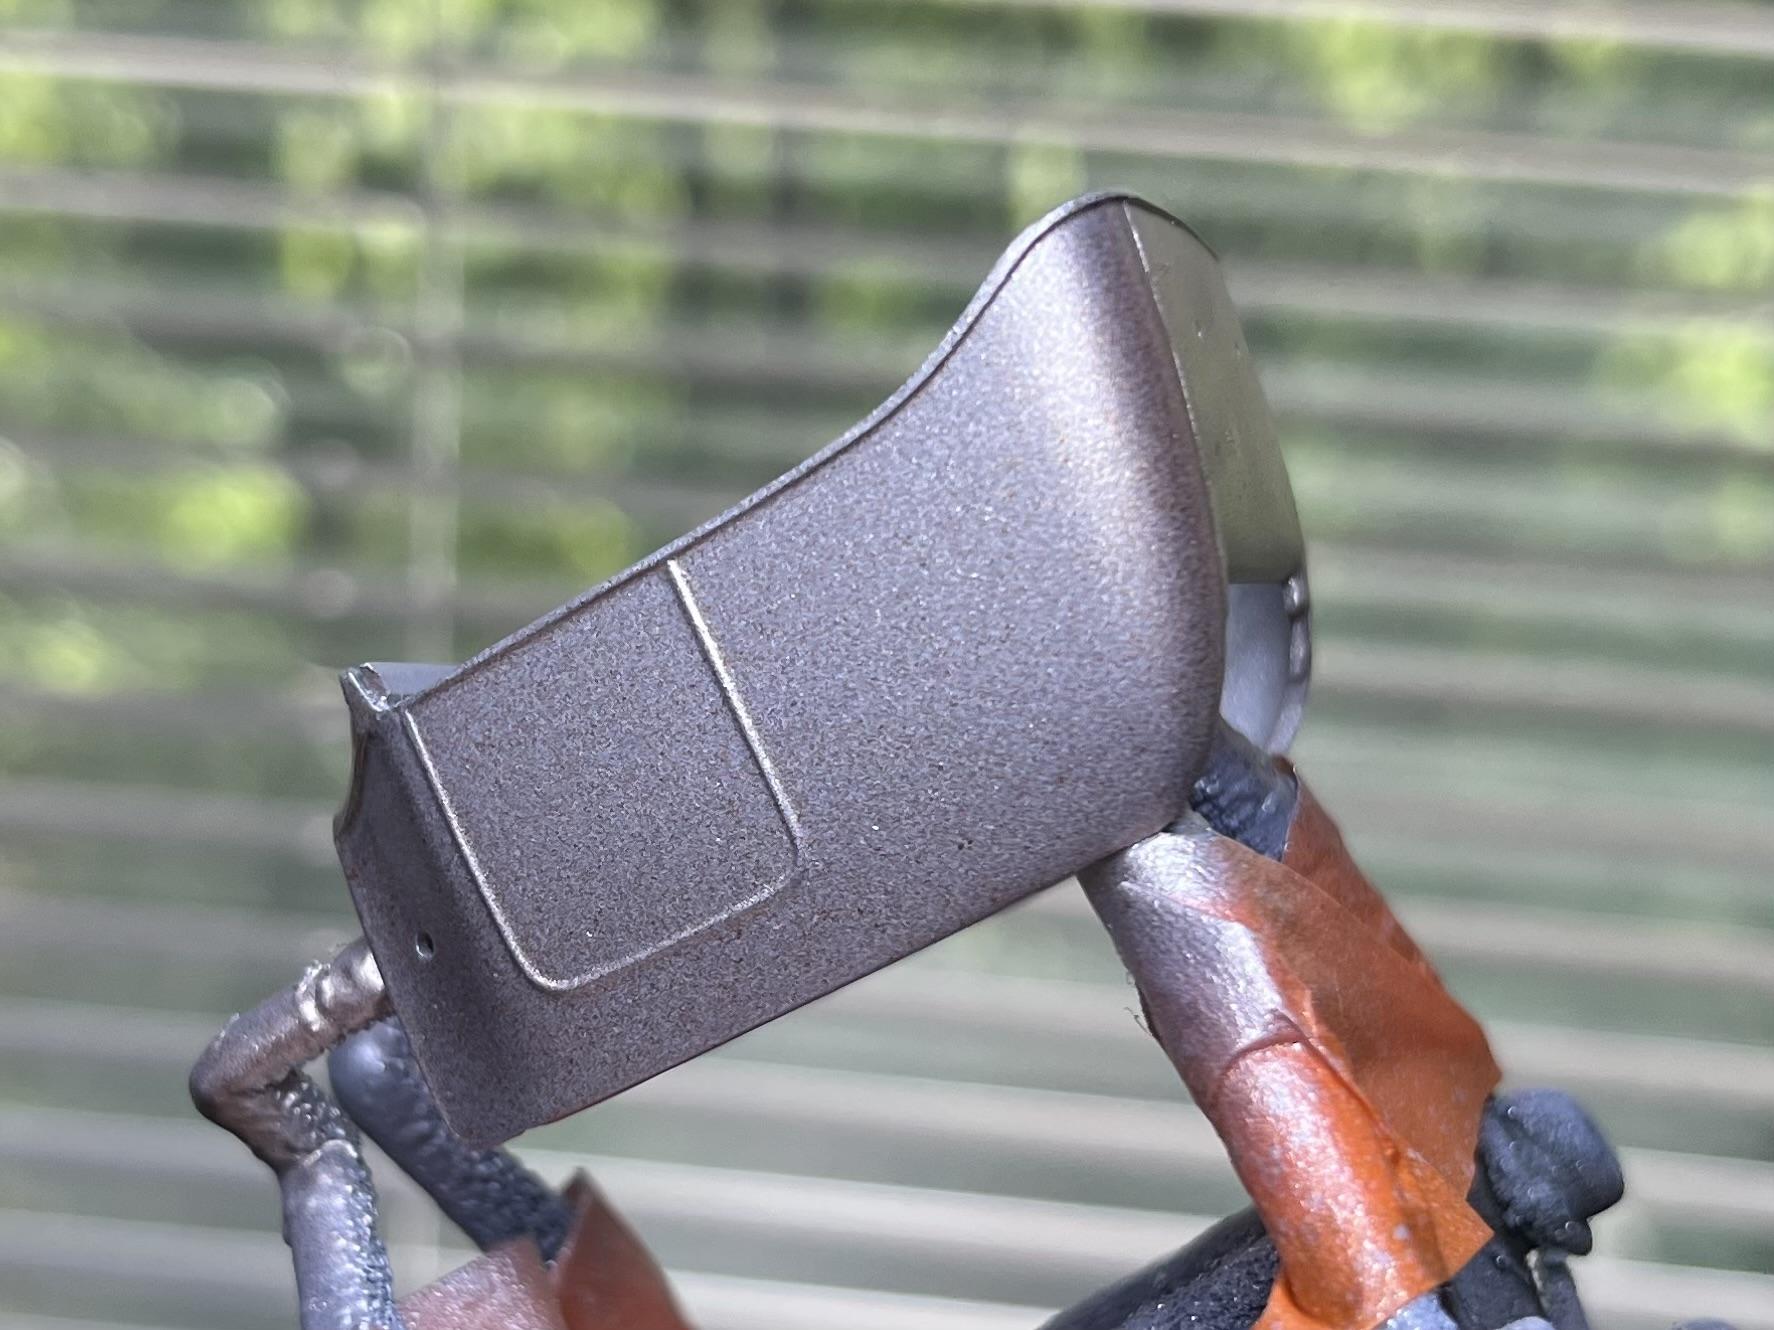
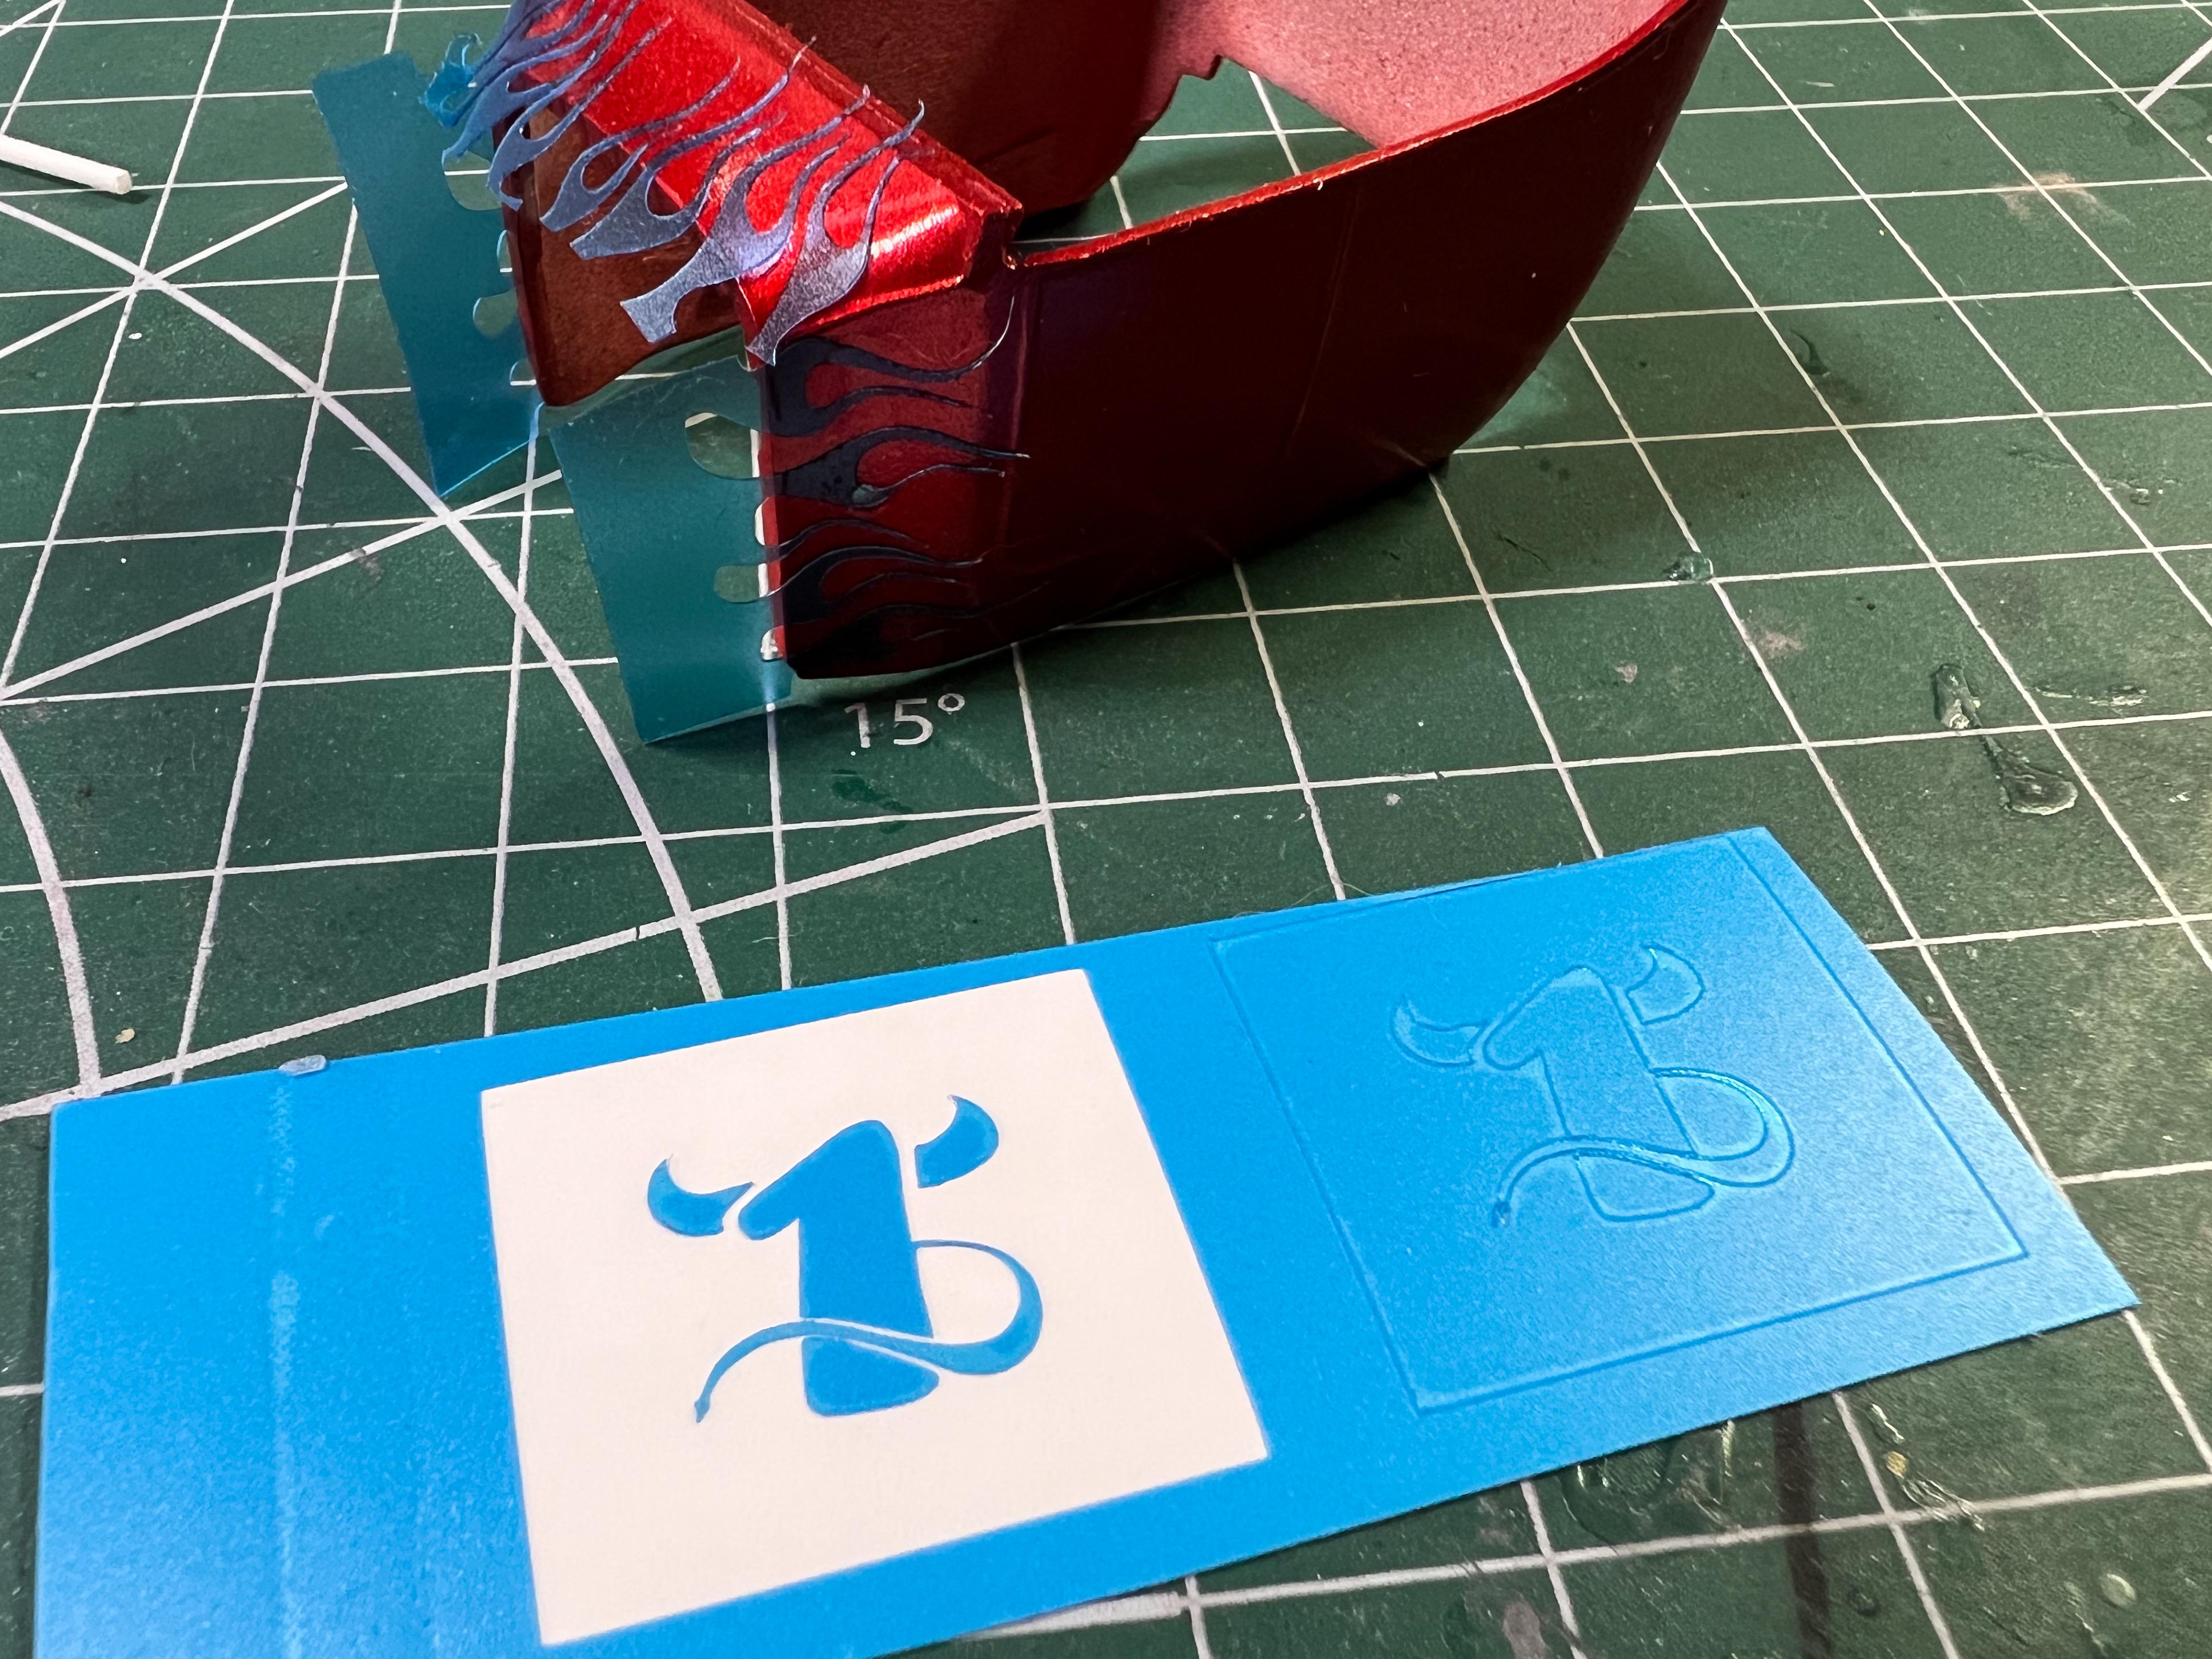
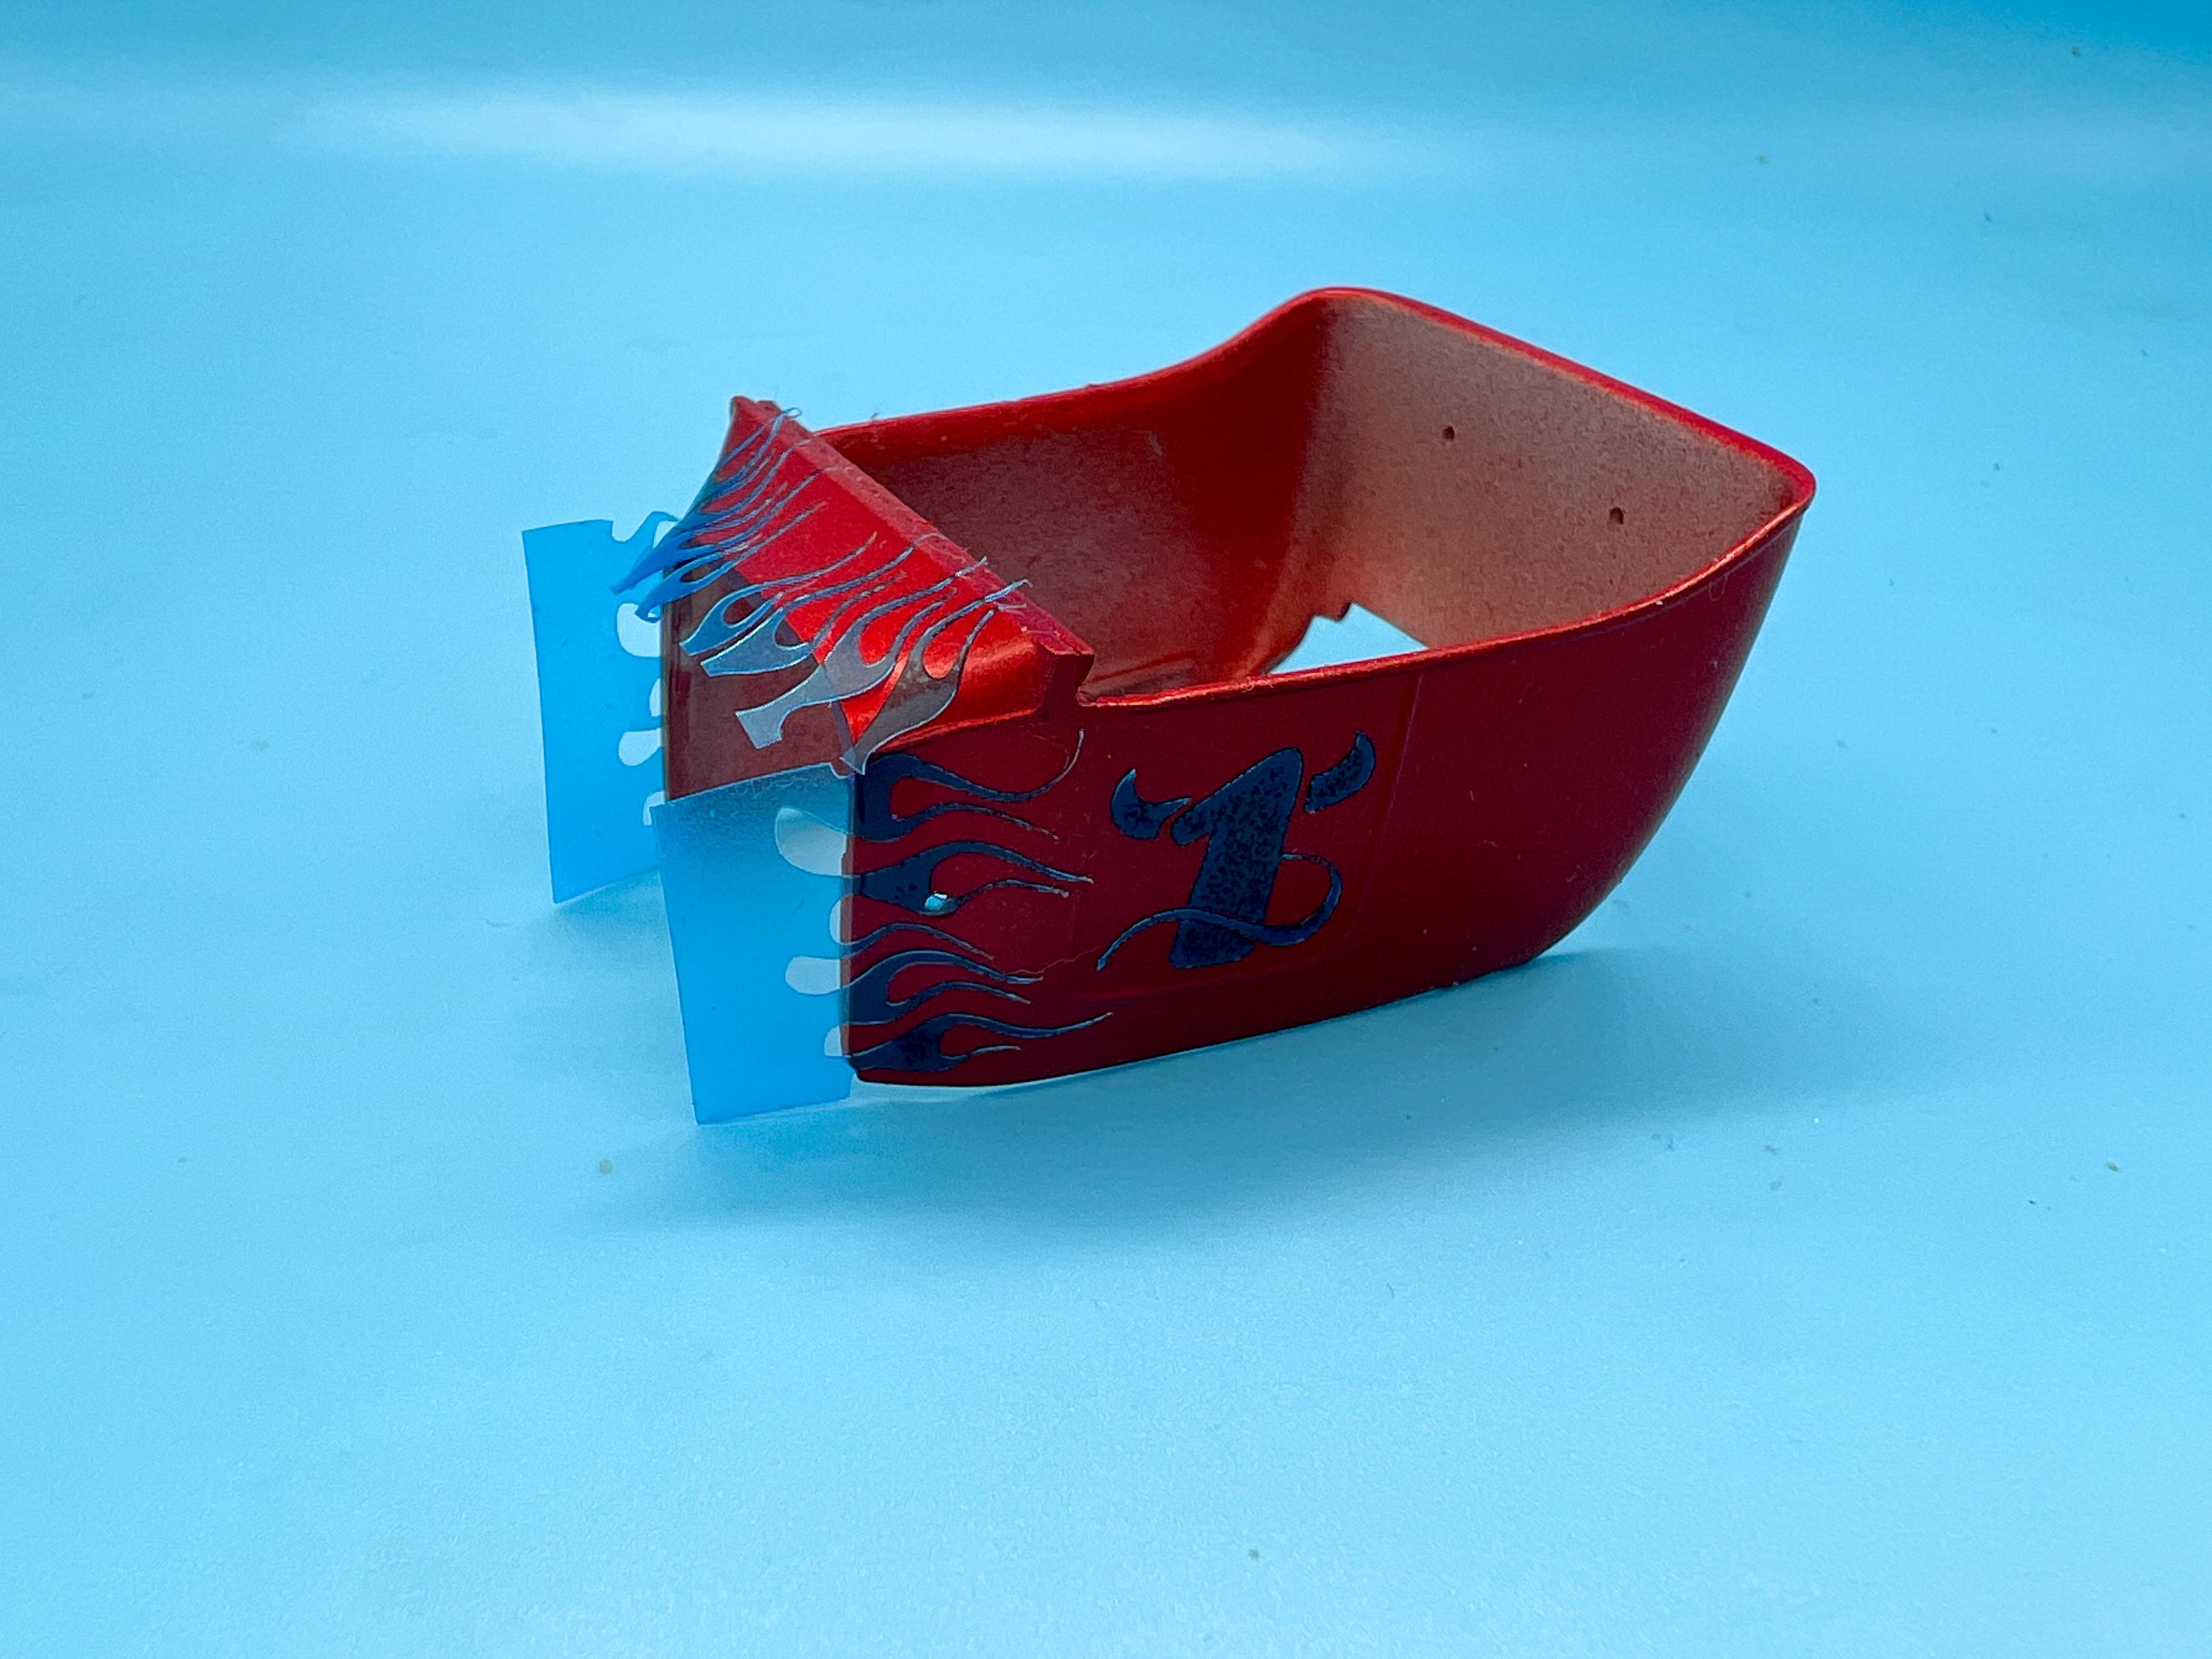
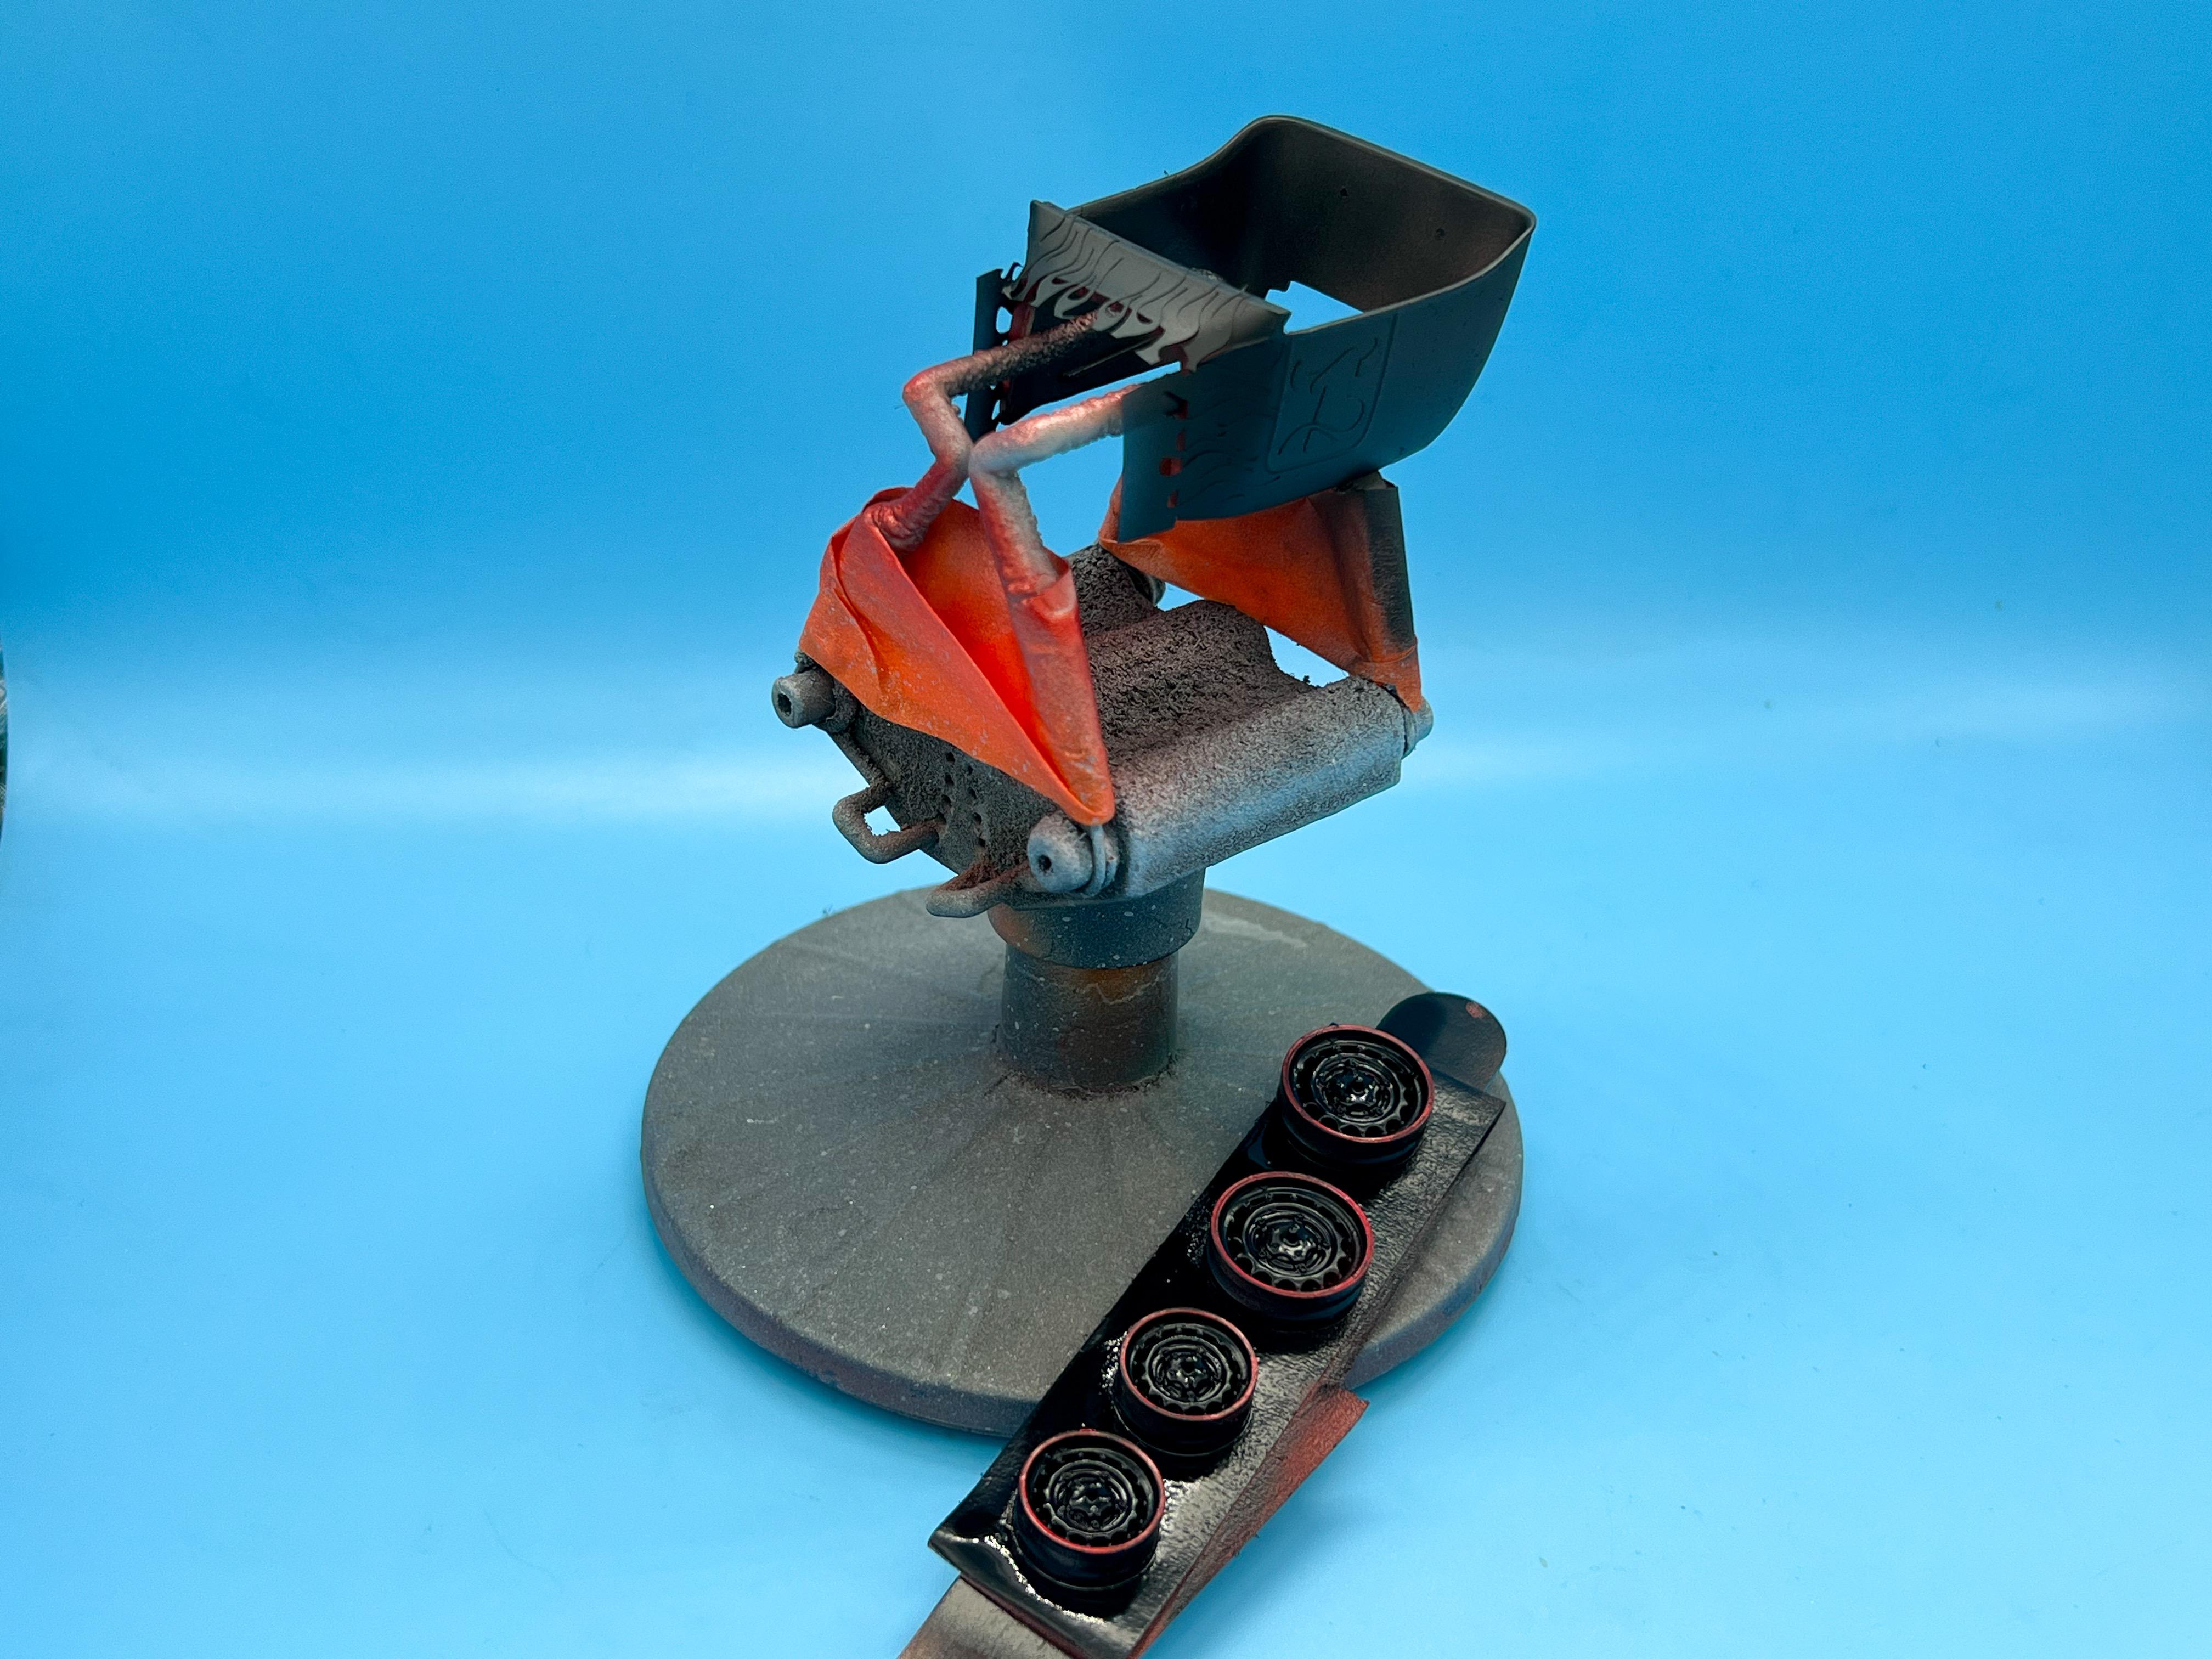
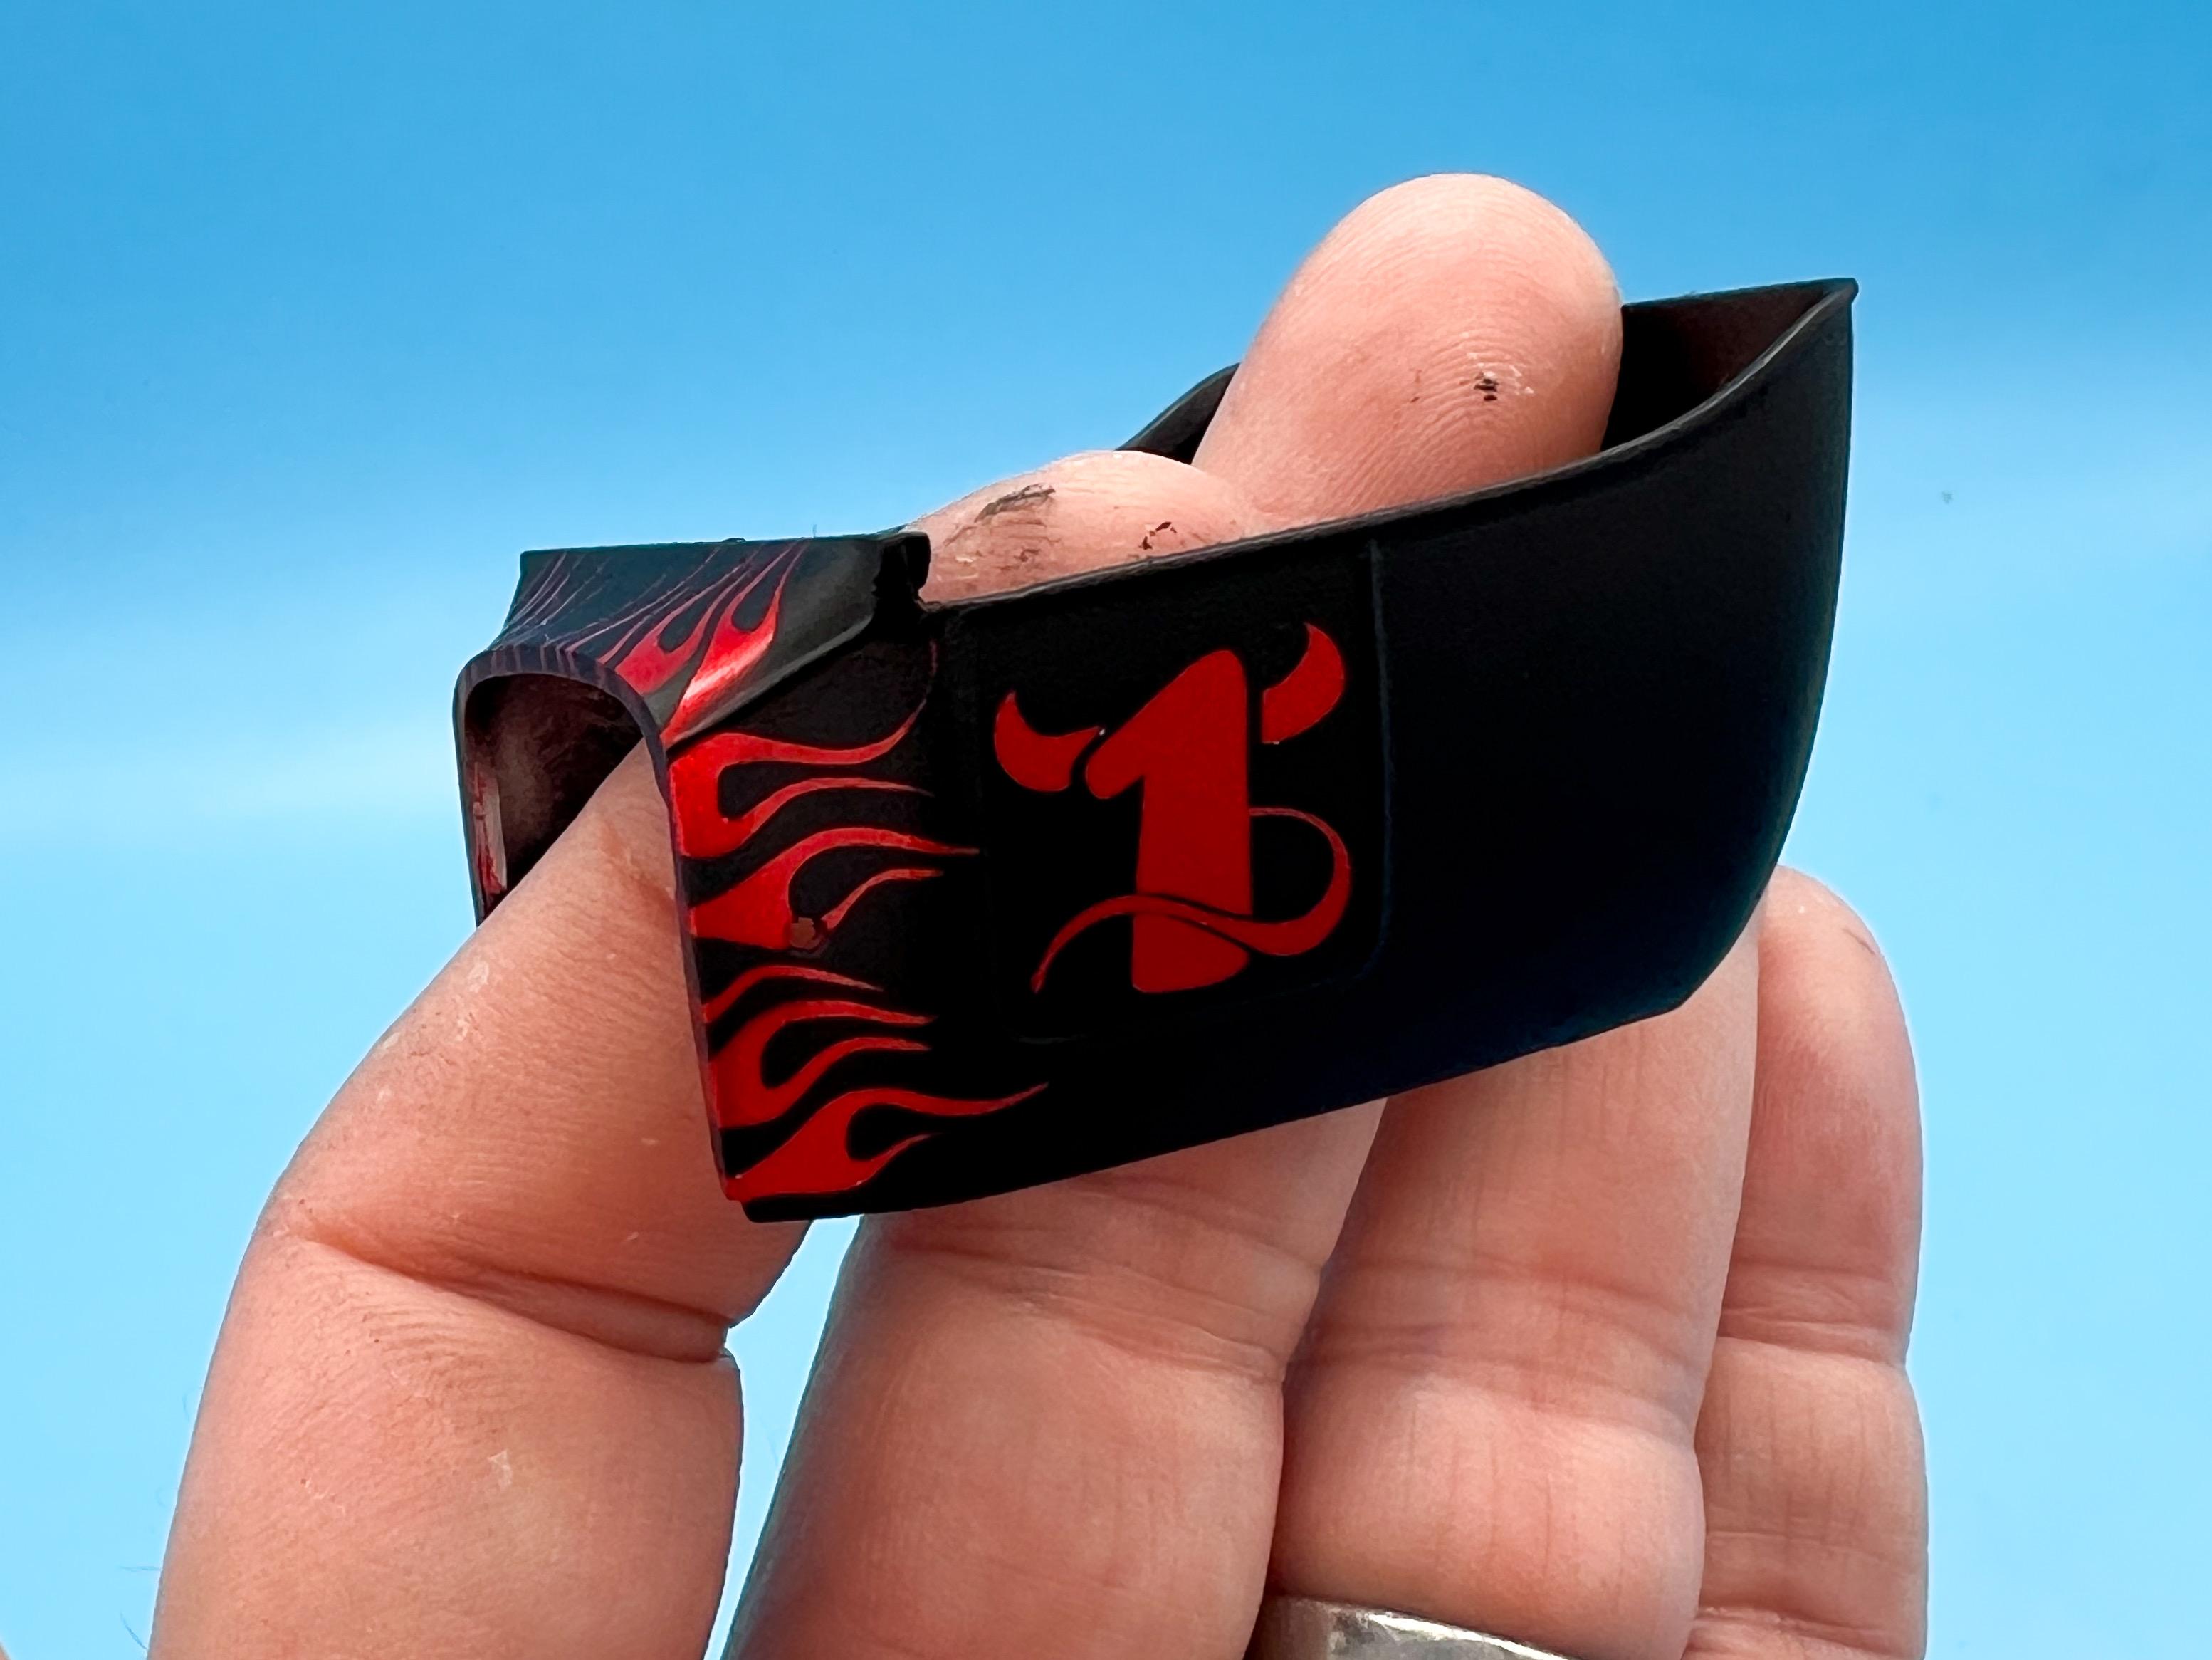
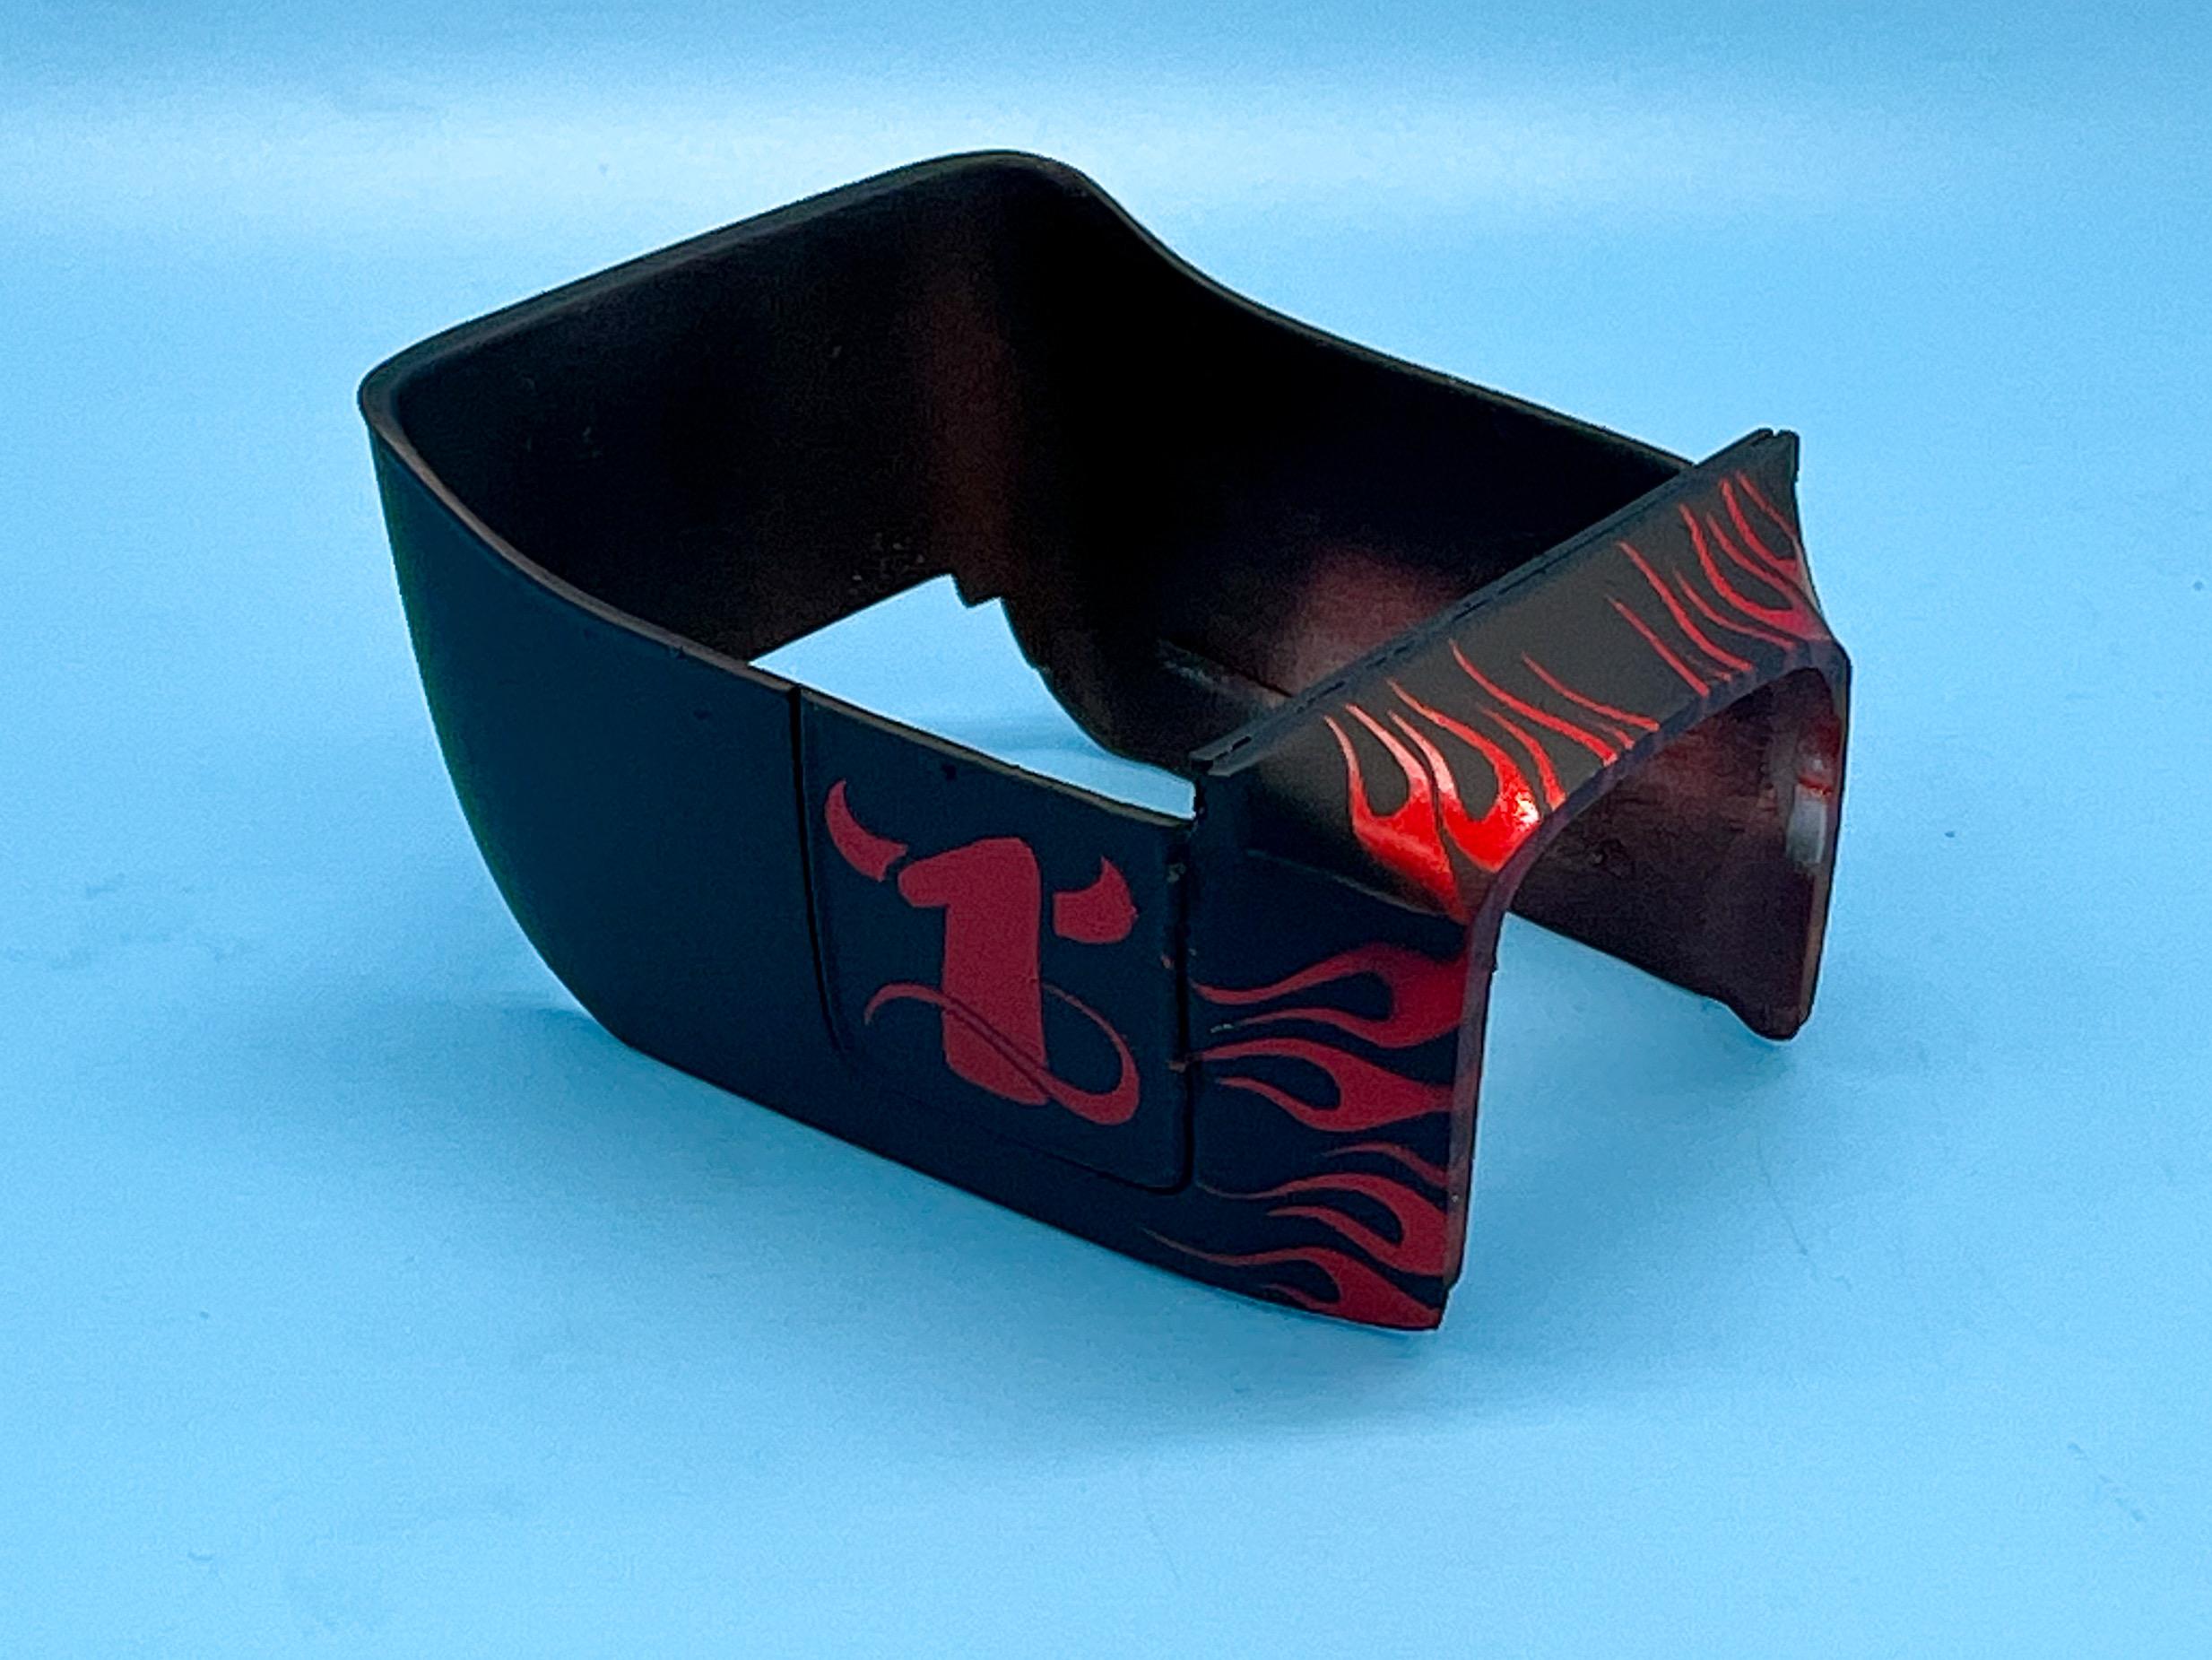
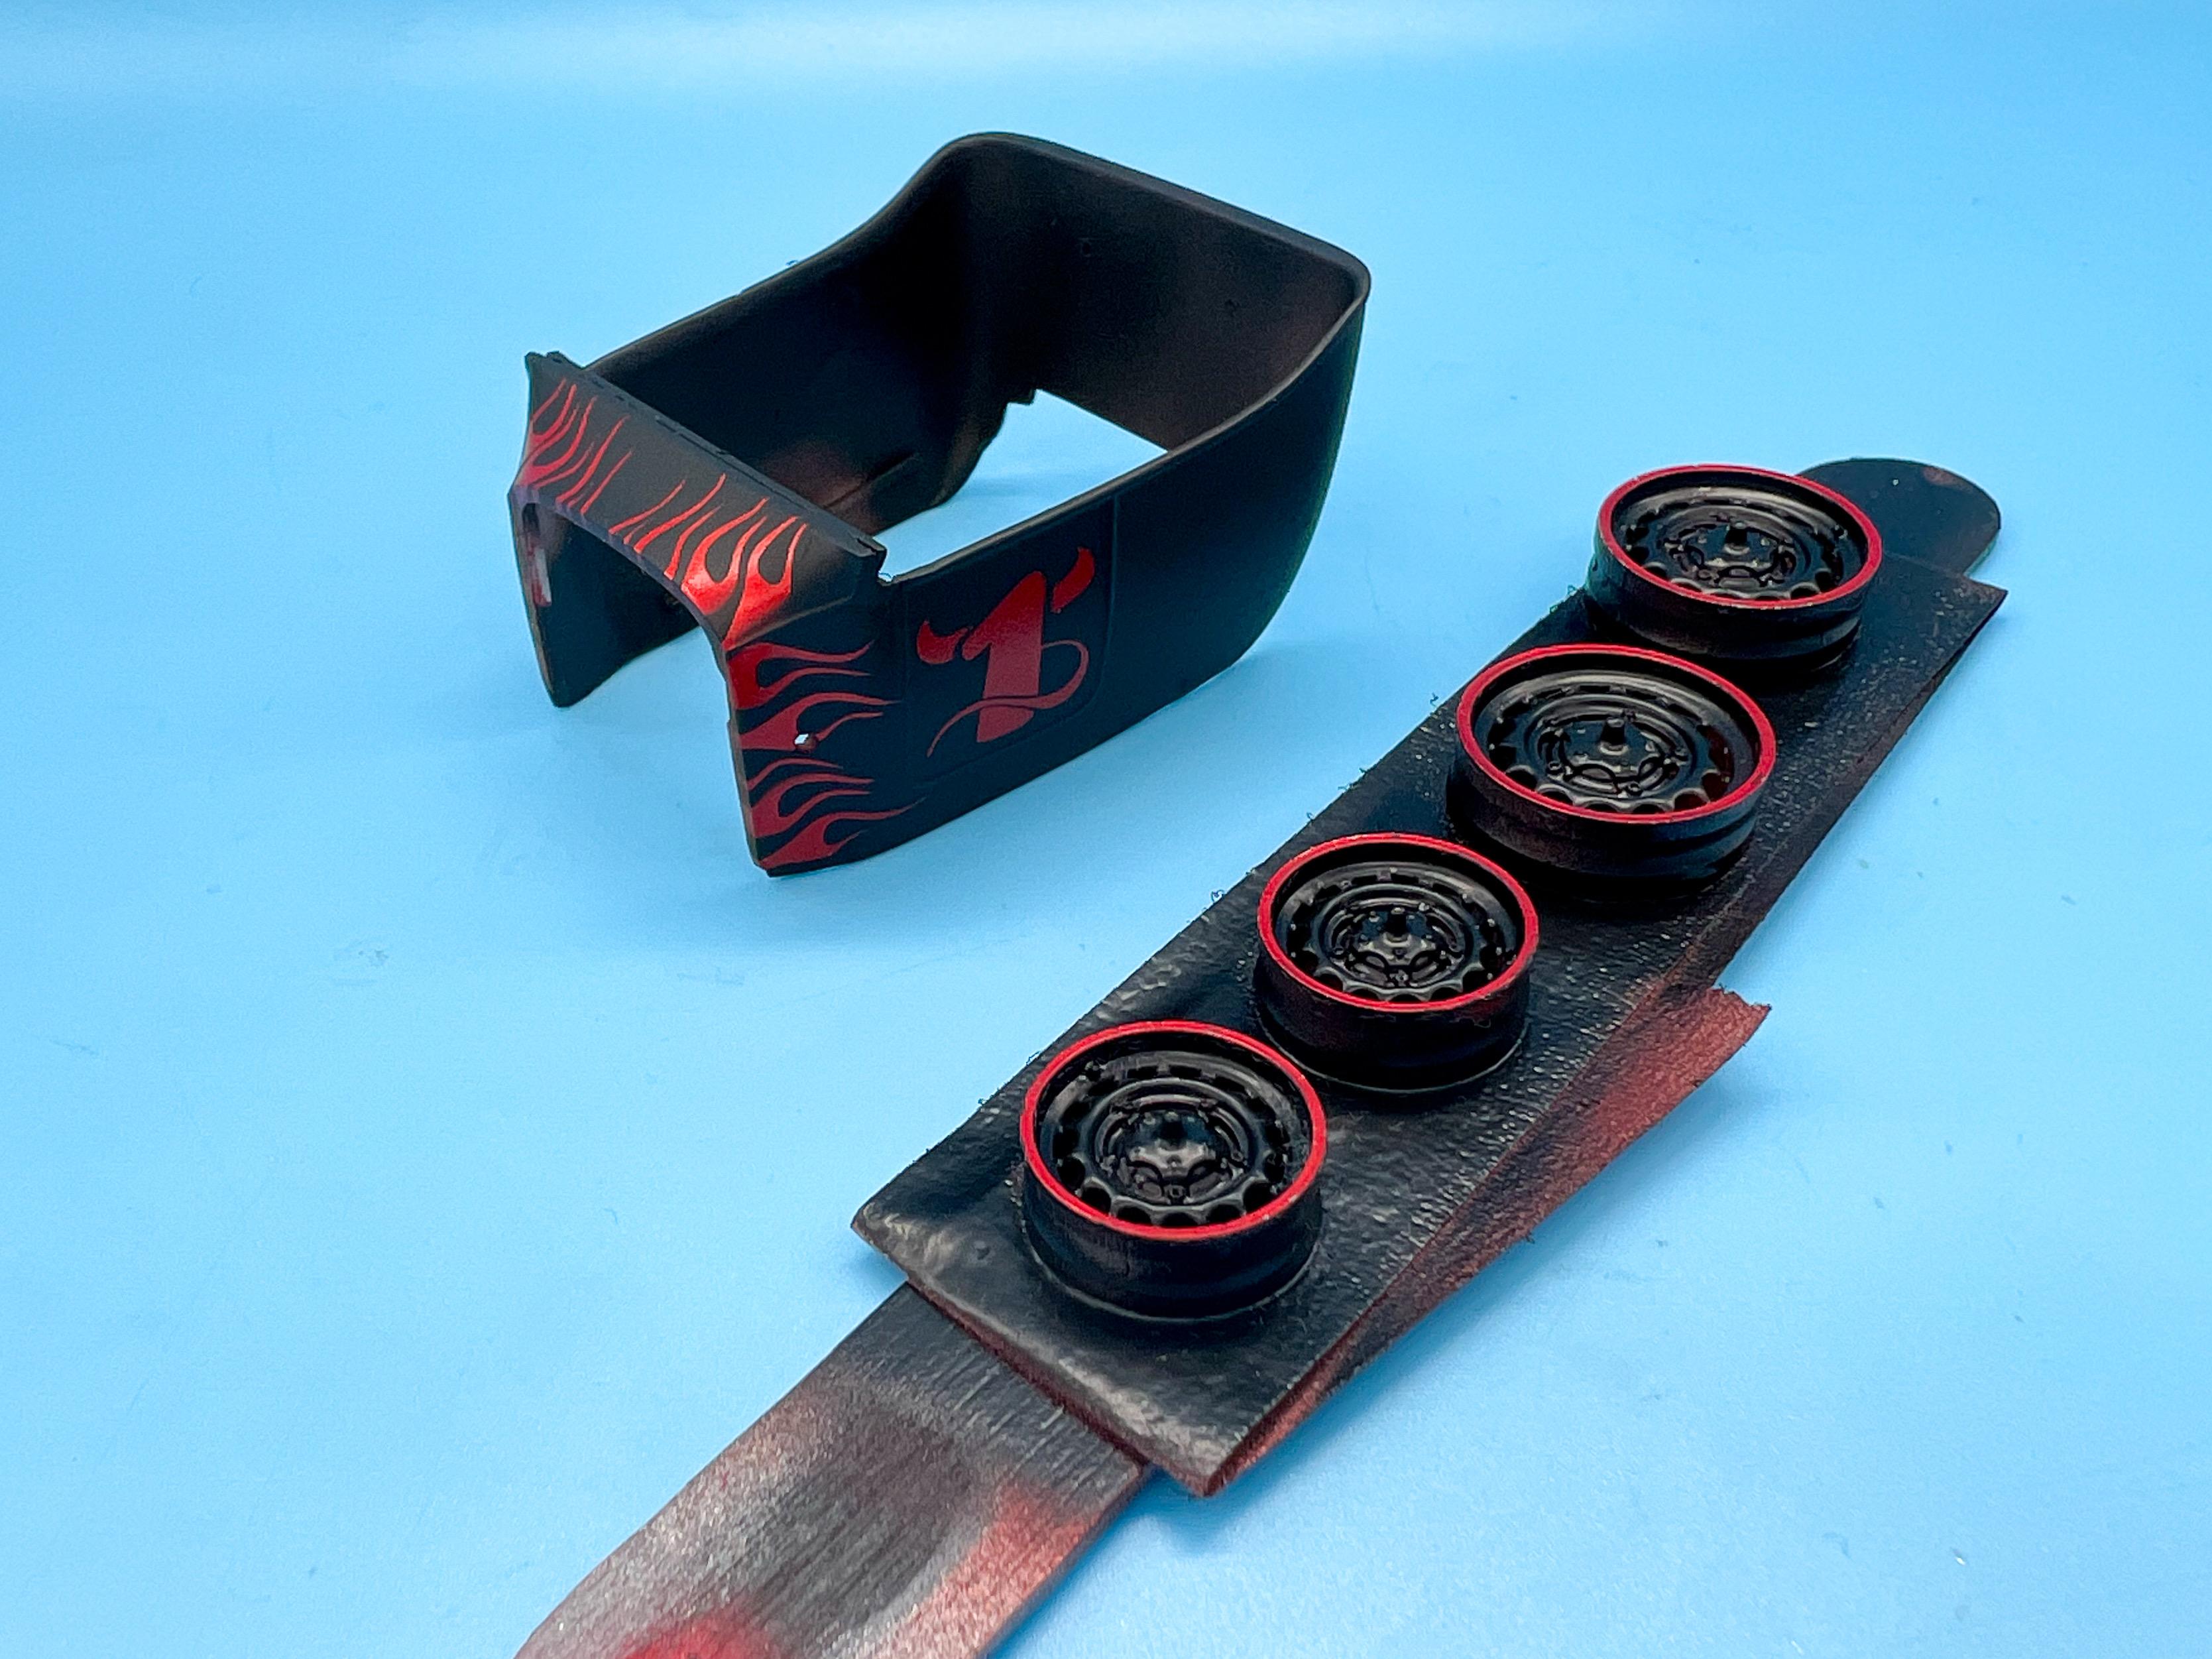
Thanks everyone - I appreciate the nice comments! @Andy Oldenburg, @Calb56, looks like you’re getting your wish re. the paint…kinda anyway… Got the body cleaned up, primed, and into a nice fine-flake silver base (Tamiya aluminum, in this case:) Then, added a coarser mica powder mix of silver flake, with a little gold mixed in: Once that had dried, I had a nice base to start the next steps: Next step…Tamiya clear red: Then I shot a coat of Createx intercoat clear over the body to protect the work I’d already done and designed some flame licks and a graphic, cut them from Oramask and applied them to the body: Next up, my favorite black…Createx Black Sealer: I wanted a red ‘pinstripe’ on the rim of the wheels so I shot those with a nice wet coat of the black to help stop it drying too fast, then wiped the bulk of it off the edges with a q-tip, as shown above. Then, after the black had flashed out on the body…time for some careful demasking…et voila! Tomorrow, once the black has set up a little more I’ll check for any areas that need touch up, and start laying some clear over top. Thanks for looking - more soon, soon as I’ve done more!
-
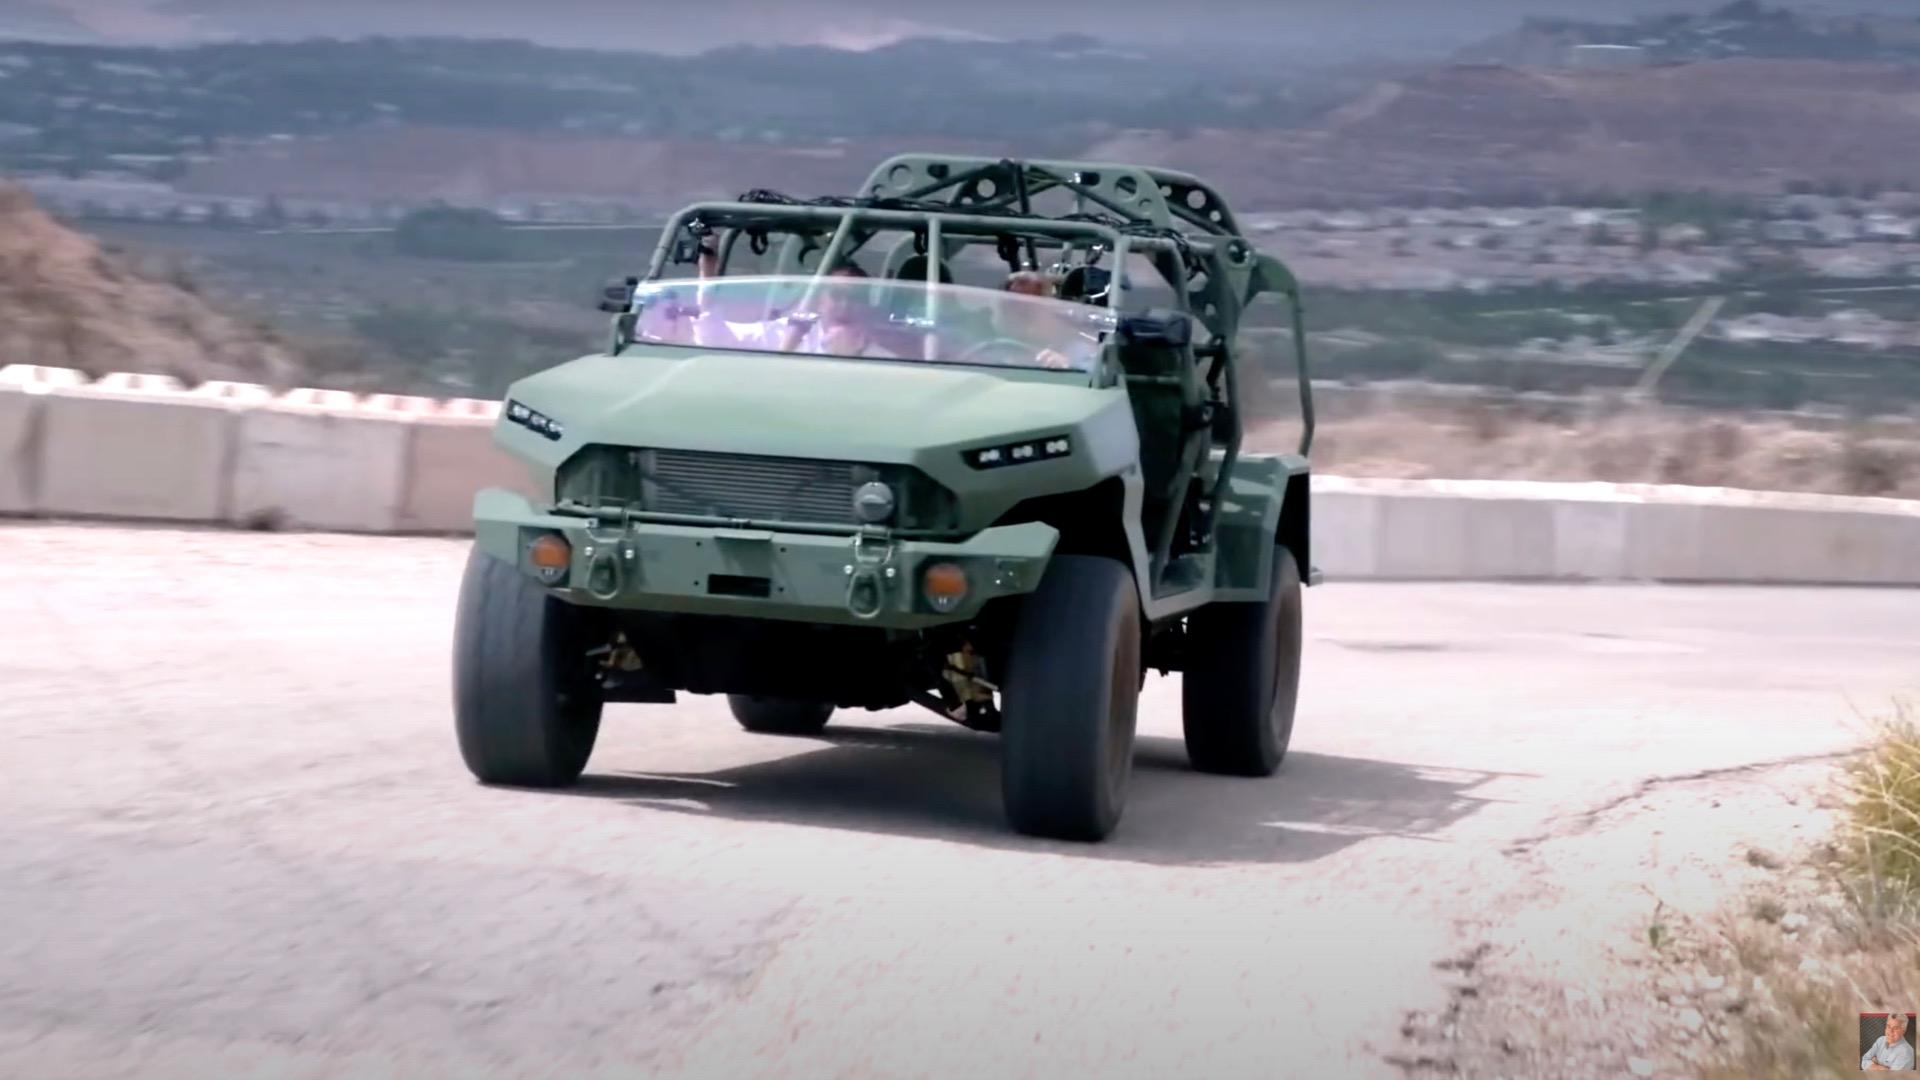
 My brother in law, who is in the military, always laughs when people describe something as ‘military grade’. He says if consumer objects were REALLY military grade…no one would want them ?
 -
Interesting that it's Chevy-based...because the nose sure looks like a late-model Mustang to me
-
So, way back in my life, I worked for a couple of years in NDT (non destructive testing), for one of the world's leaders in the field. I don't want to name the name of the company as my NDA probably still applies, but they're a big company based out of NJ. We did a lot of work on stuff like wind turbine blades, for example, and some work for one of the Formula 1 teams, well known aviation firms etc. What you do with NDT (for those not familiar), is attach sensors (acoustic sensors, in our case) to an object, and send a pulsewave of sound (actually, vibration) through an object - just like striking a bell with a gong. You can tell from the resonance of the signal that comes back into a second sensor whether the object is structurally the same as it was on previous tests by comparing to previous samples taken. Imagine an intact brass bell, versus one with a large crack or split - the 'ring' would be different between the two. Same principal for testing steel, carbon fiber, stone - anything where you need to see if a solid object is still intact where physically inspecting it internally would likely involve ruining it. (Disclaimer: this is VERY dumbed down version of what NDT entails, for those not familiar) Something we would do in the motorsports sphere is test carbon fiber wishbones to check their continued integrity. Testing would be performed on a brand new component, and at intervals of use to monitor how the part's composition was changing, and to help spot potentially problematic changes or failures. These tests need to be performed at the same barometric pressure and temperature each time, and although you can spot PATTERNS between technically 'identical' parts, each part ideally needs to be serial numbered and have it's own set of data. Compiling this data and taking useful readings from it requires an expert eye, some serious computing power...and TIME. On-the-fly data recording and analysis is certainly possible, but I wouldn't count on it for anything where not spotting a failure in progress would be critical. Especially with changeable pressure levels, temperatures etc. Can it spot a critical issue as it's happening? Sure, but by the time the data has been analyzed and an issue has been spotted it may well be too late anyway - that isn't the primary intention of this kind of NDT (at least, the technology I was involved in) Bill undoubtedly knows more about the aviation applications of ultrasonic NDT, and their usefulness for an application like this, but as soon as I saw non destructive testing being mentioned as a 'live' gauge of this sub being safe to use whilst it's in operation that raised an eyebrow for me... Follow up disclaimer: technology moves fast - and it's been 5 years since I last worked in this field....take my comments and opinions as just that - opinions and speculations based my non-expert knowledge of the subject
-
Could always just sell the files so people can print them, themselves. I'd buy it I'm sure! Cults 3d or similar is a good place to sell, although there are plenty of options...
-
What did you see on the road today?
OldNYJim replied to Harry P.'s topic in General Automotive Talk (Trucks and Cars)
A tale well known to model builders everywhere…soon as you restore some old built-up, they reissue it ? -
Thanks fellas! I probably SHOULD have modeled the brake stuff in 3D and printed it - I would’ve been able to get more detail in there and got the scale thicknesses of the parts closer to real life…but it’s mostly hidden under the dash anyway, and I felt like making something ? Just a short continuation of last night’s post…tonight I mocked up the cowl-exit steering box AND the brake setup in their correct spots and did a nervous test-fit to see if my measurements had worked out… SUCCESS! Everything fits, could be built in real life…I’m happy! Need to choose some pedals, but it’s all good in the hood. Couple of shots of this thing nearing fabrication-completion: Need to make a couple of linkages for the front end, mounts for the gas tank, and figure out a brake light - I’m thinking something like the (I guess?) original T lantern style light…just one of them probably, because I like a little asymmetry: I’d guess one of the various T kits probably has these in there already, but it won’t be super hard to scratchbuild if I have to… Thanks for looking - more soon, soon as I’ve done more!
-
Who knows? Some more info in this thread:
-
Ironic that the Escape…didn’t Why’s it sitting at that jaunty angle? Did they get it stuck in a service pit or something?
-
You’re doing an amazing job on this Jim - and thanks for sending those files over…I had guests in town when you sent them so I didn’t get chance to test them out yet, but I’m getting some bench time back again now so I’m excited to see how they work out!
-
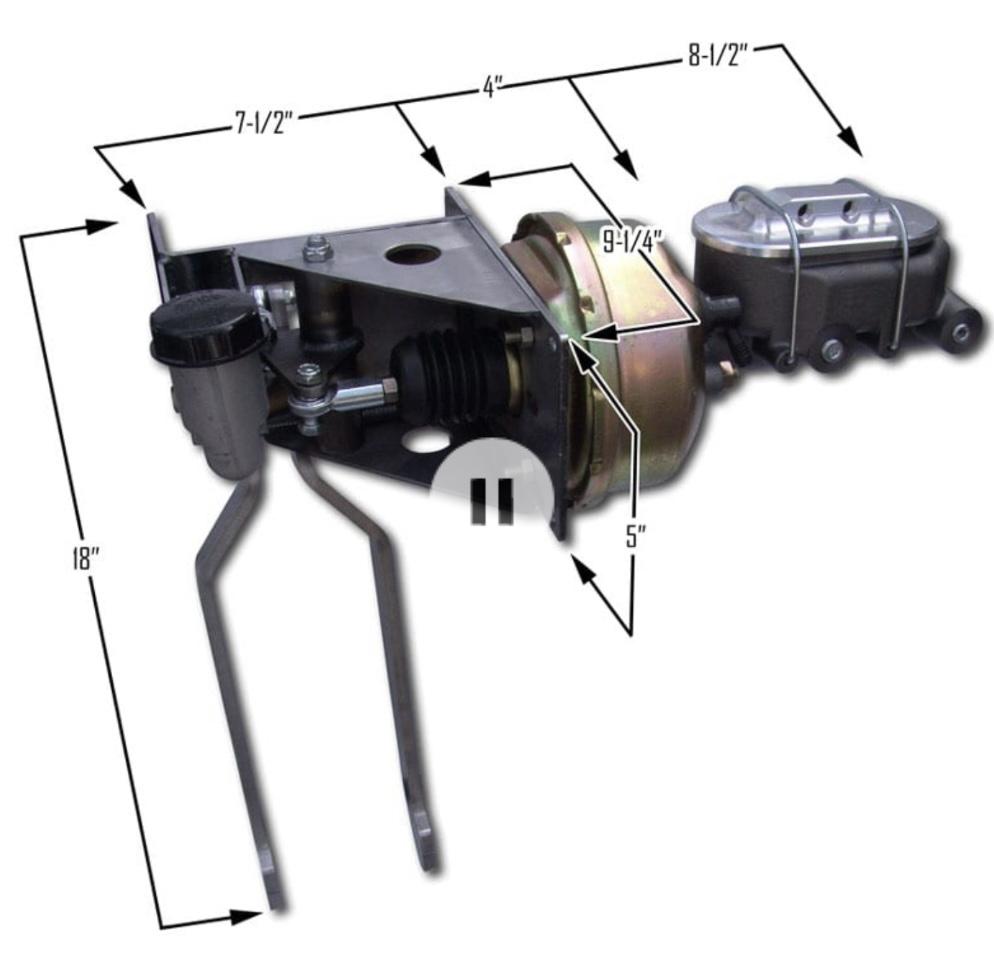
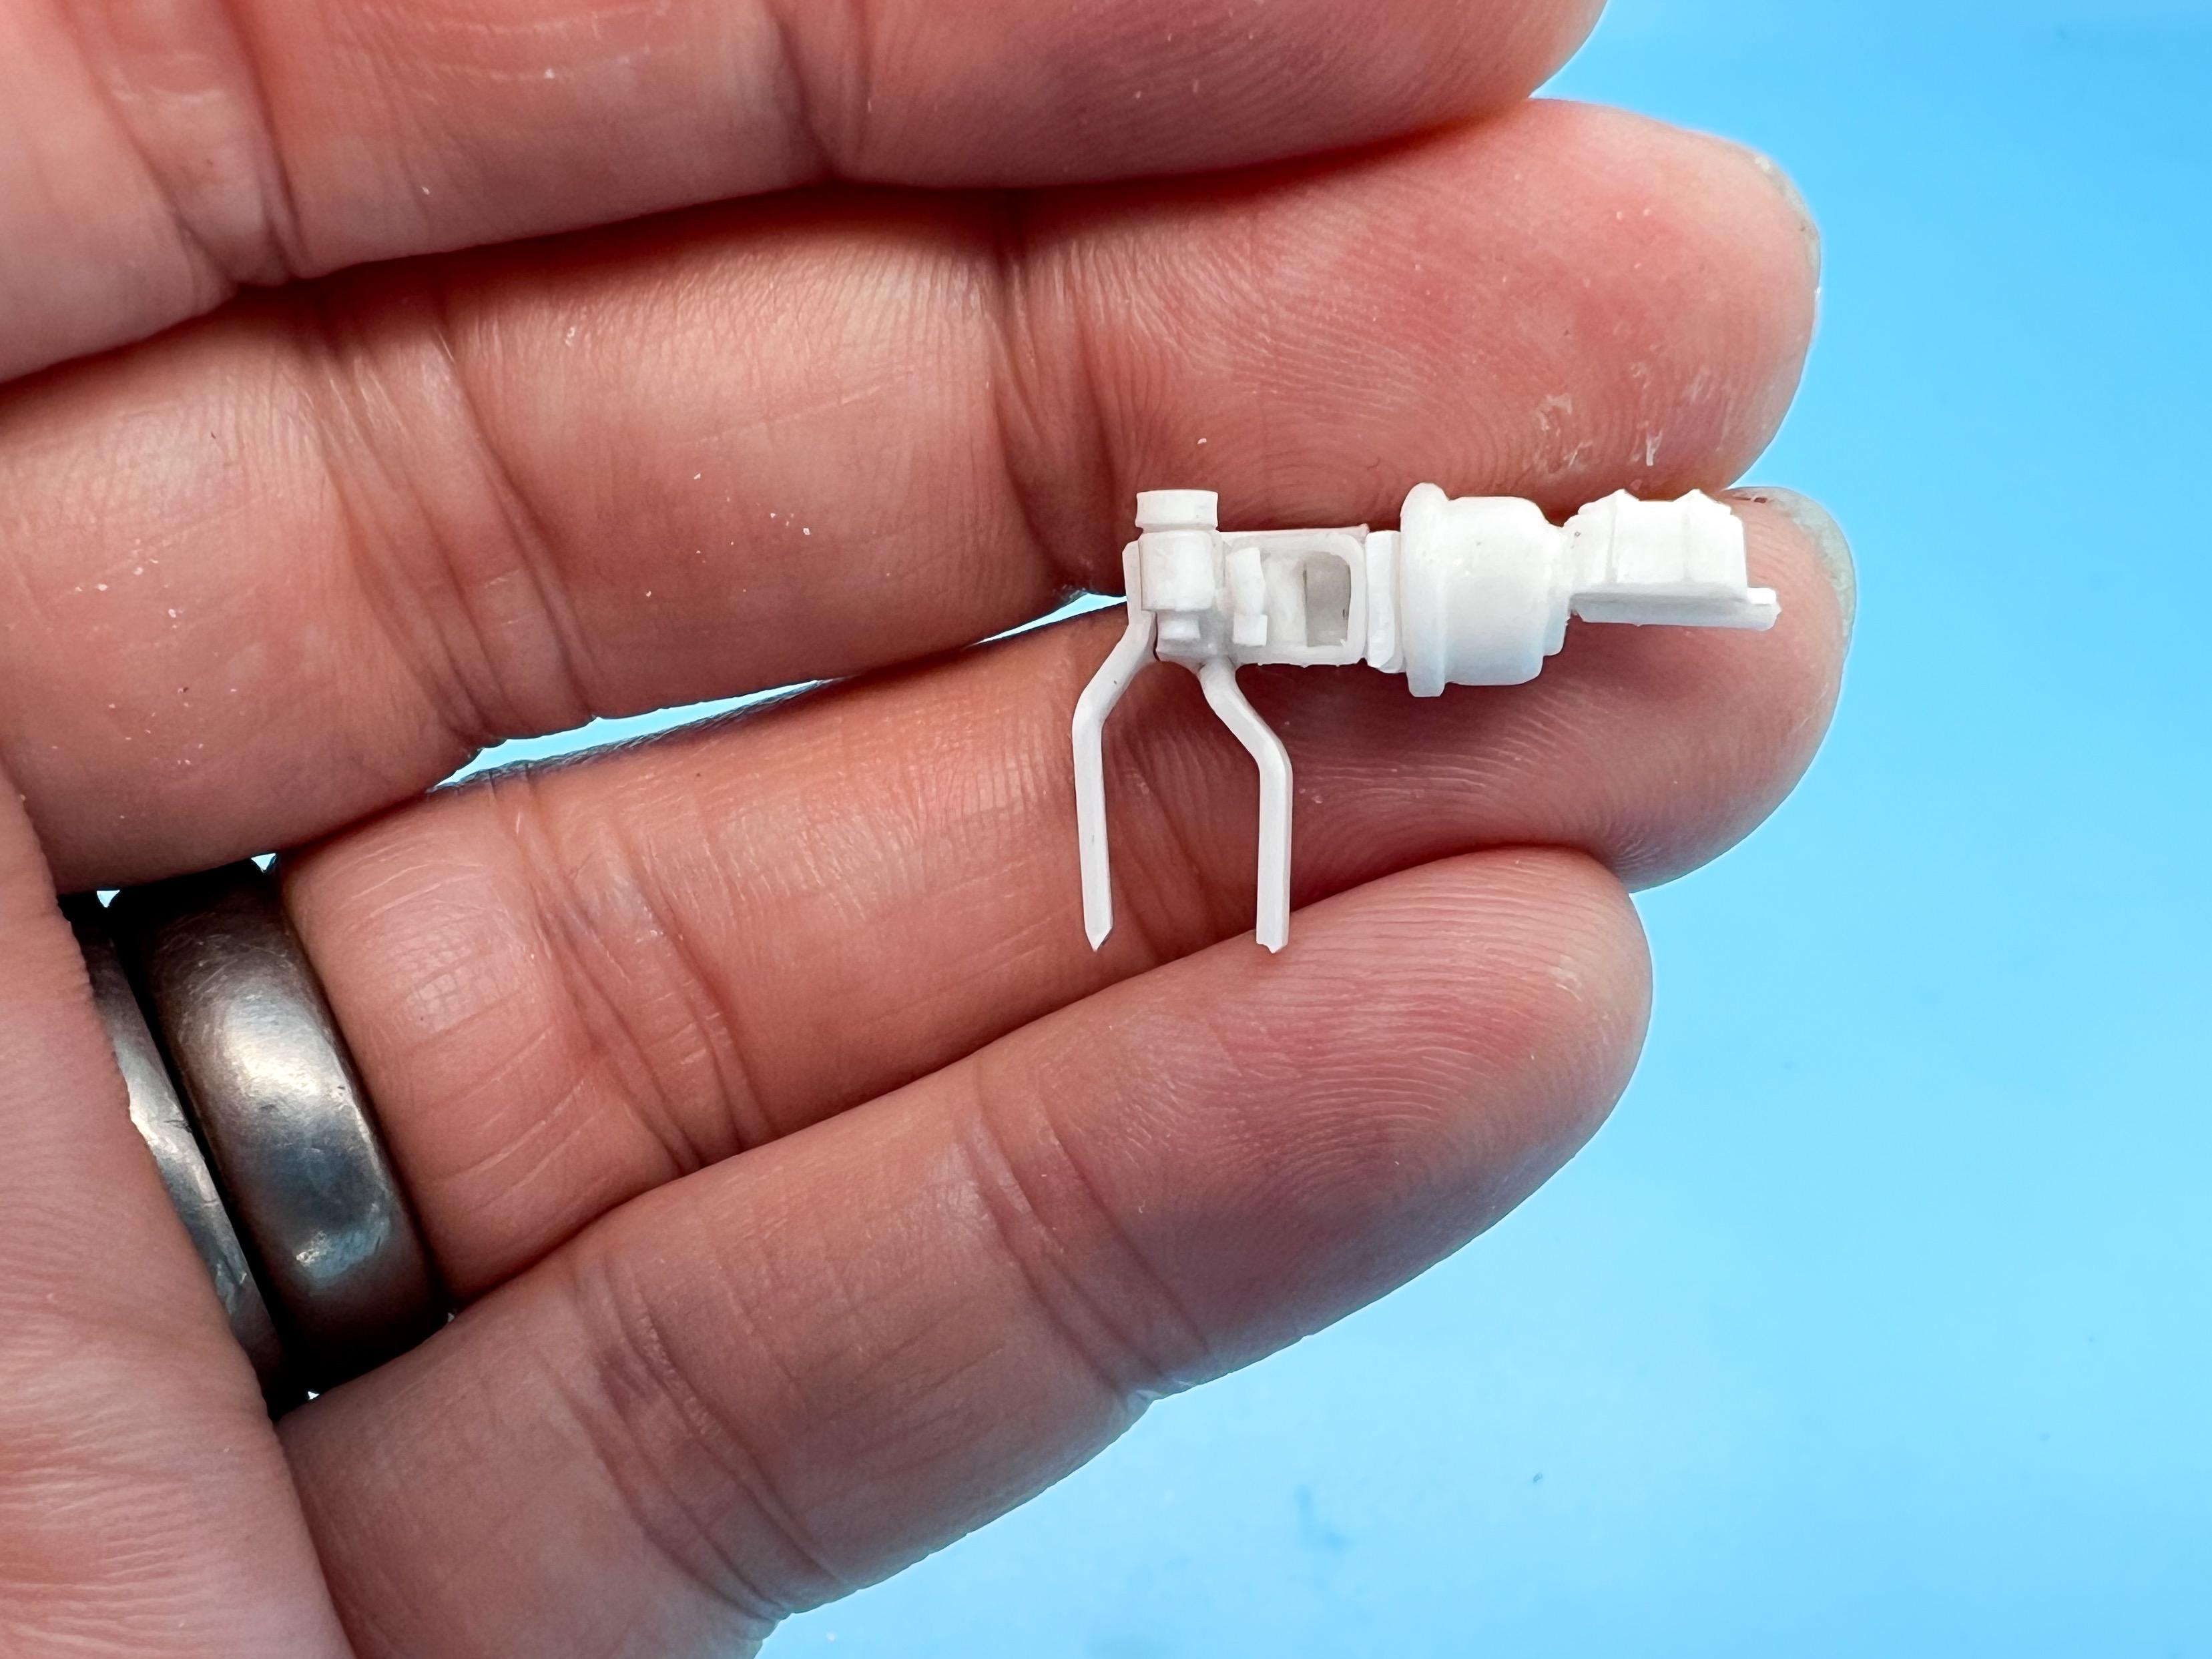
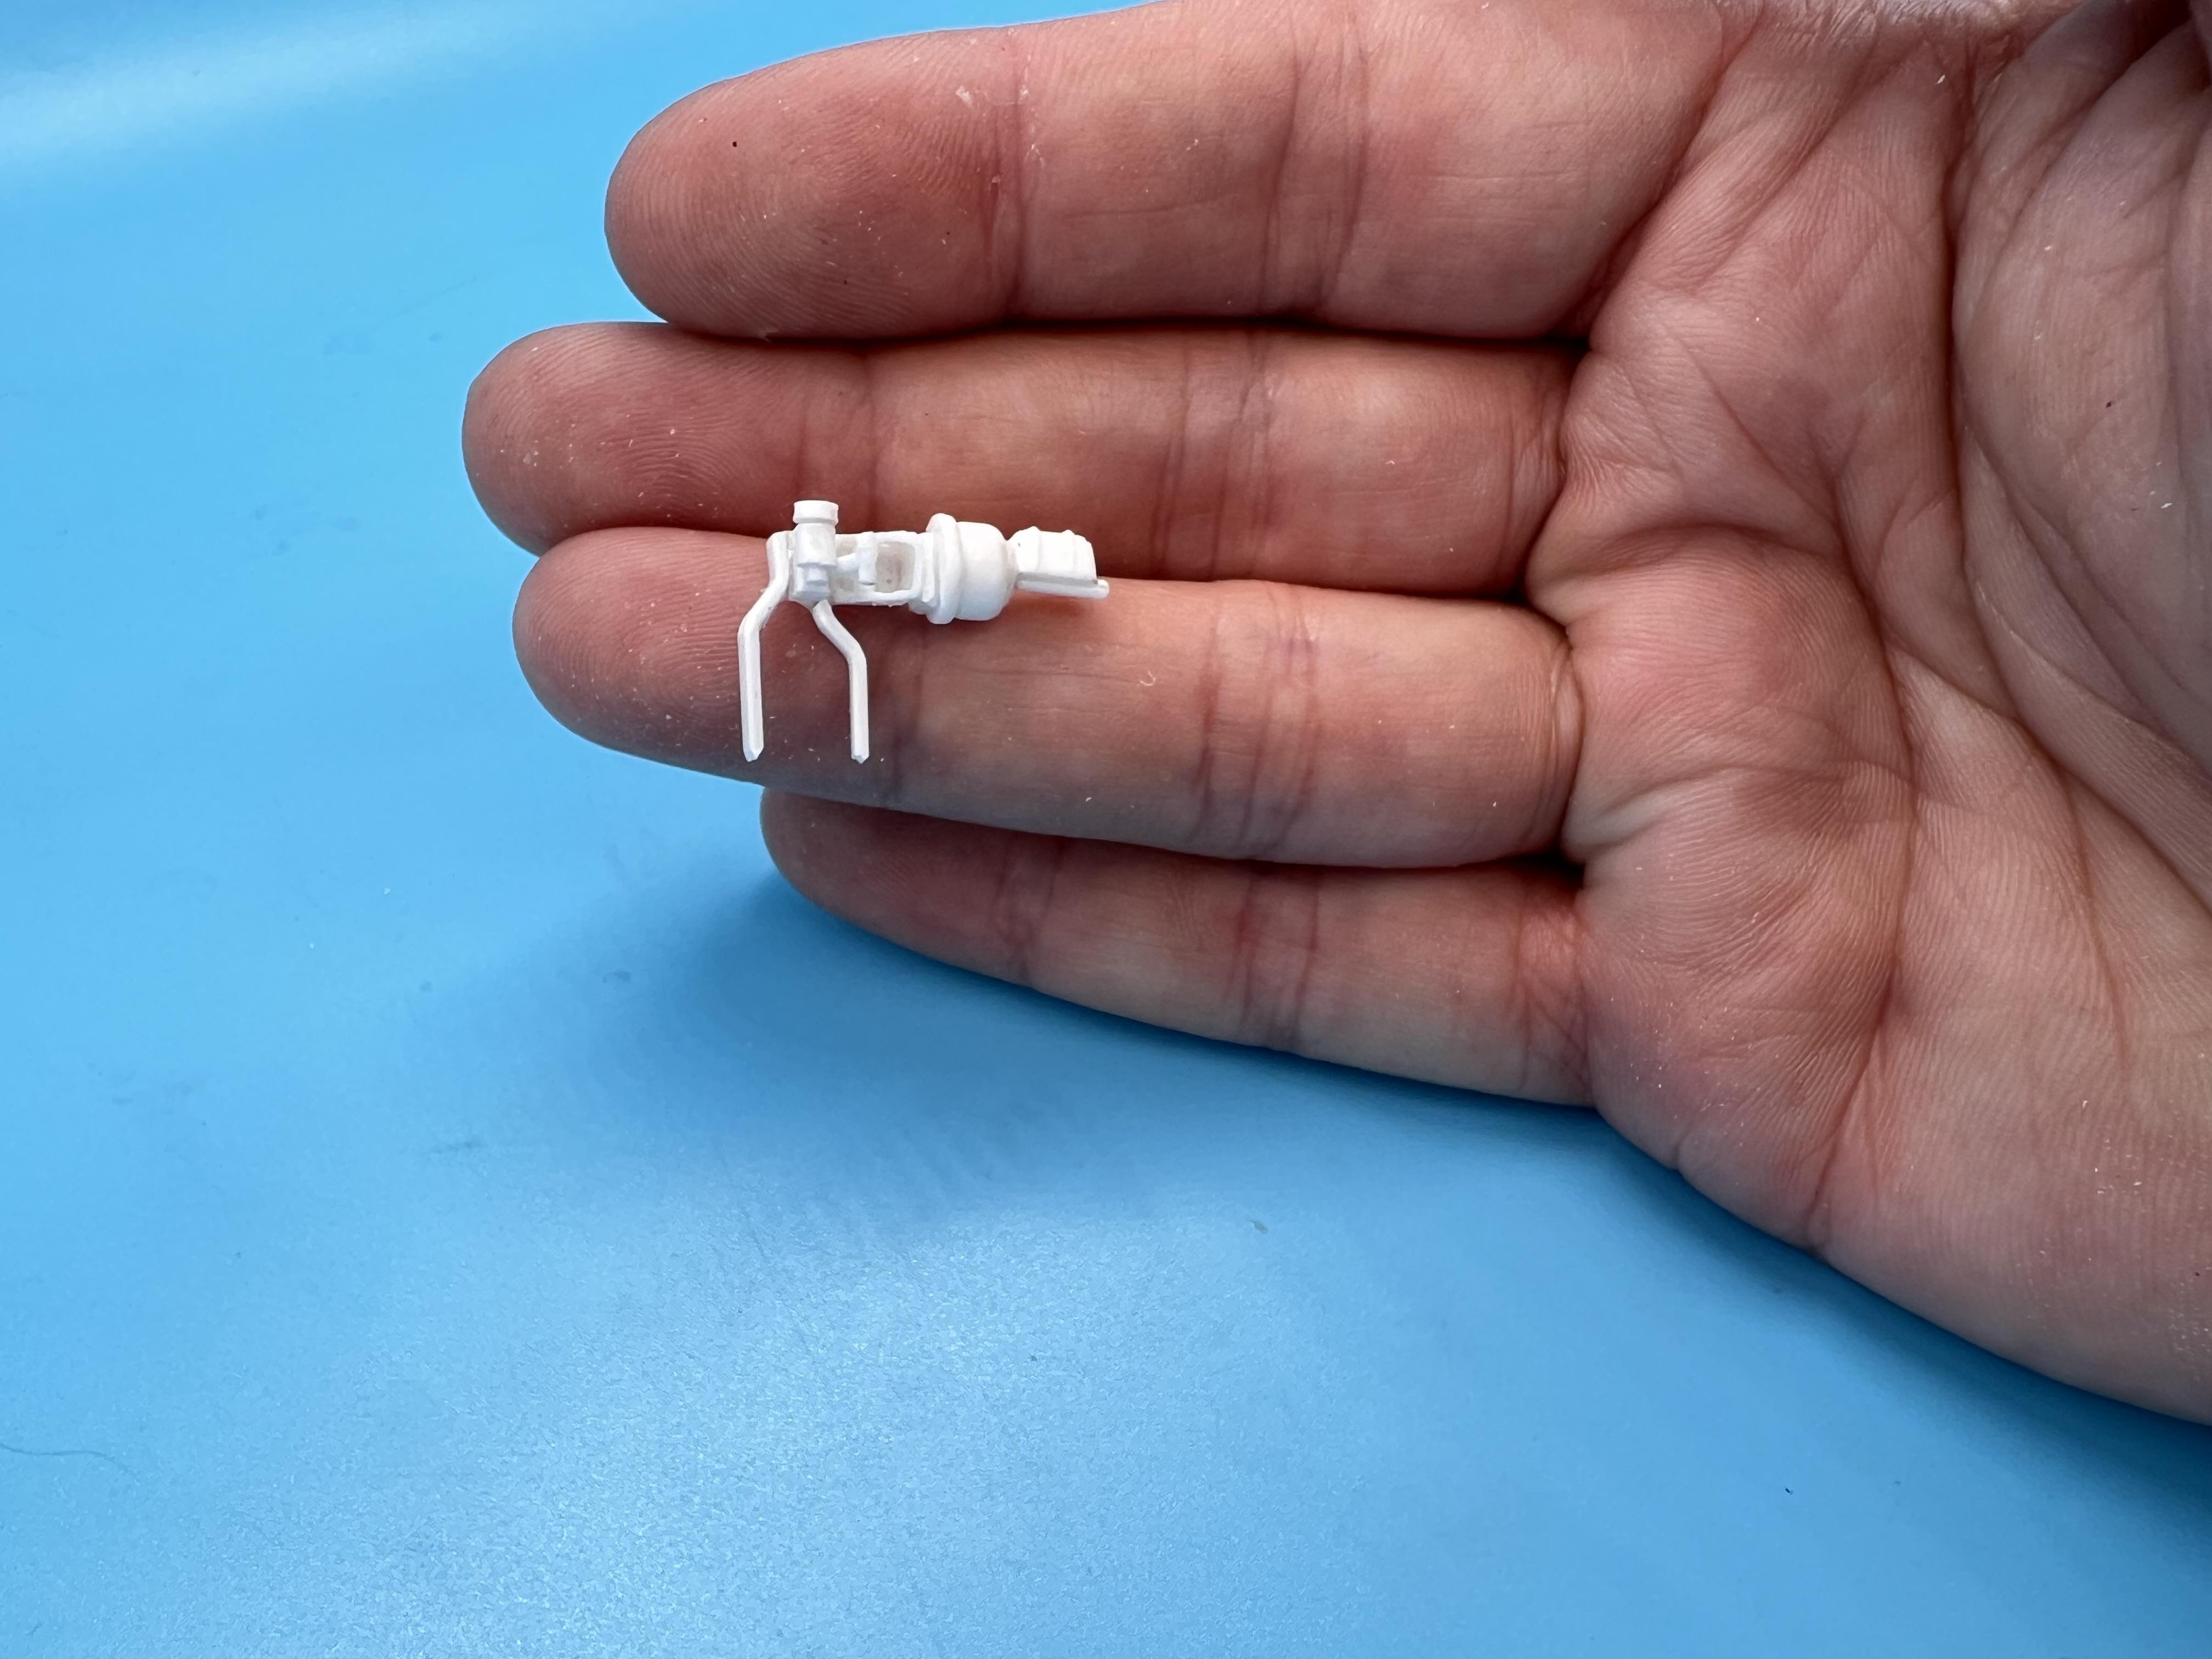
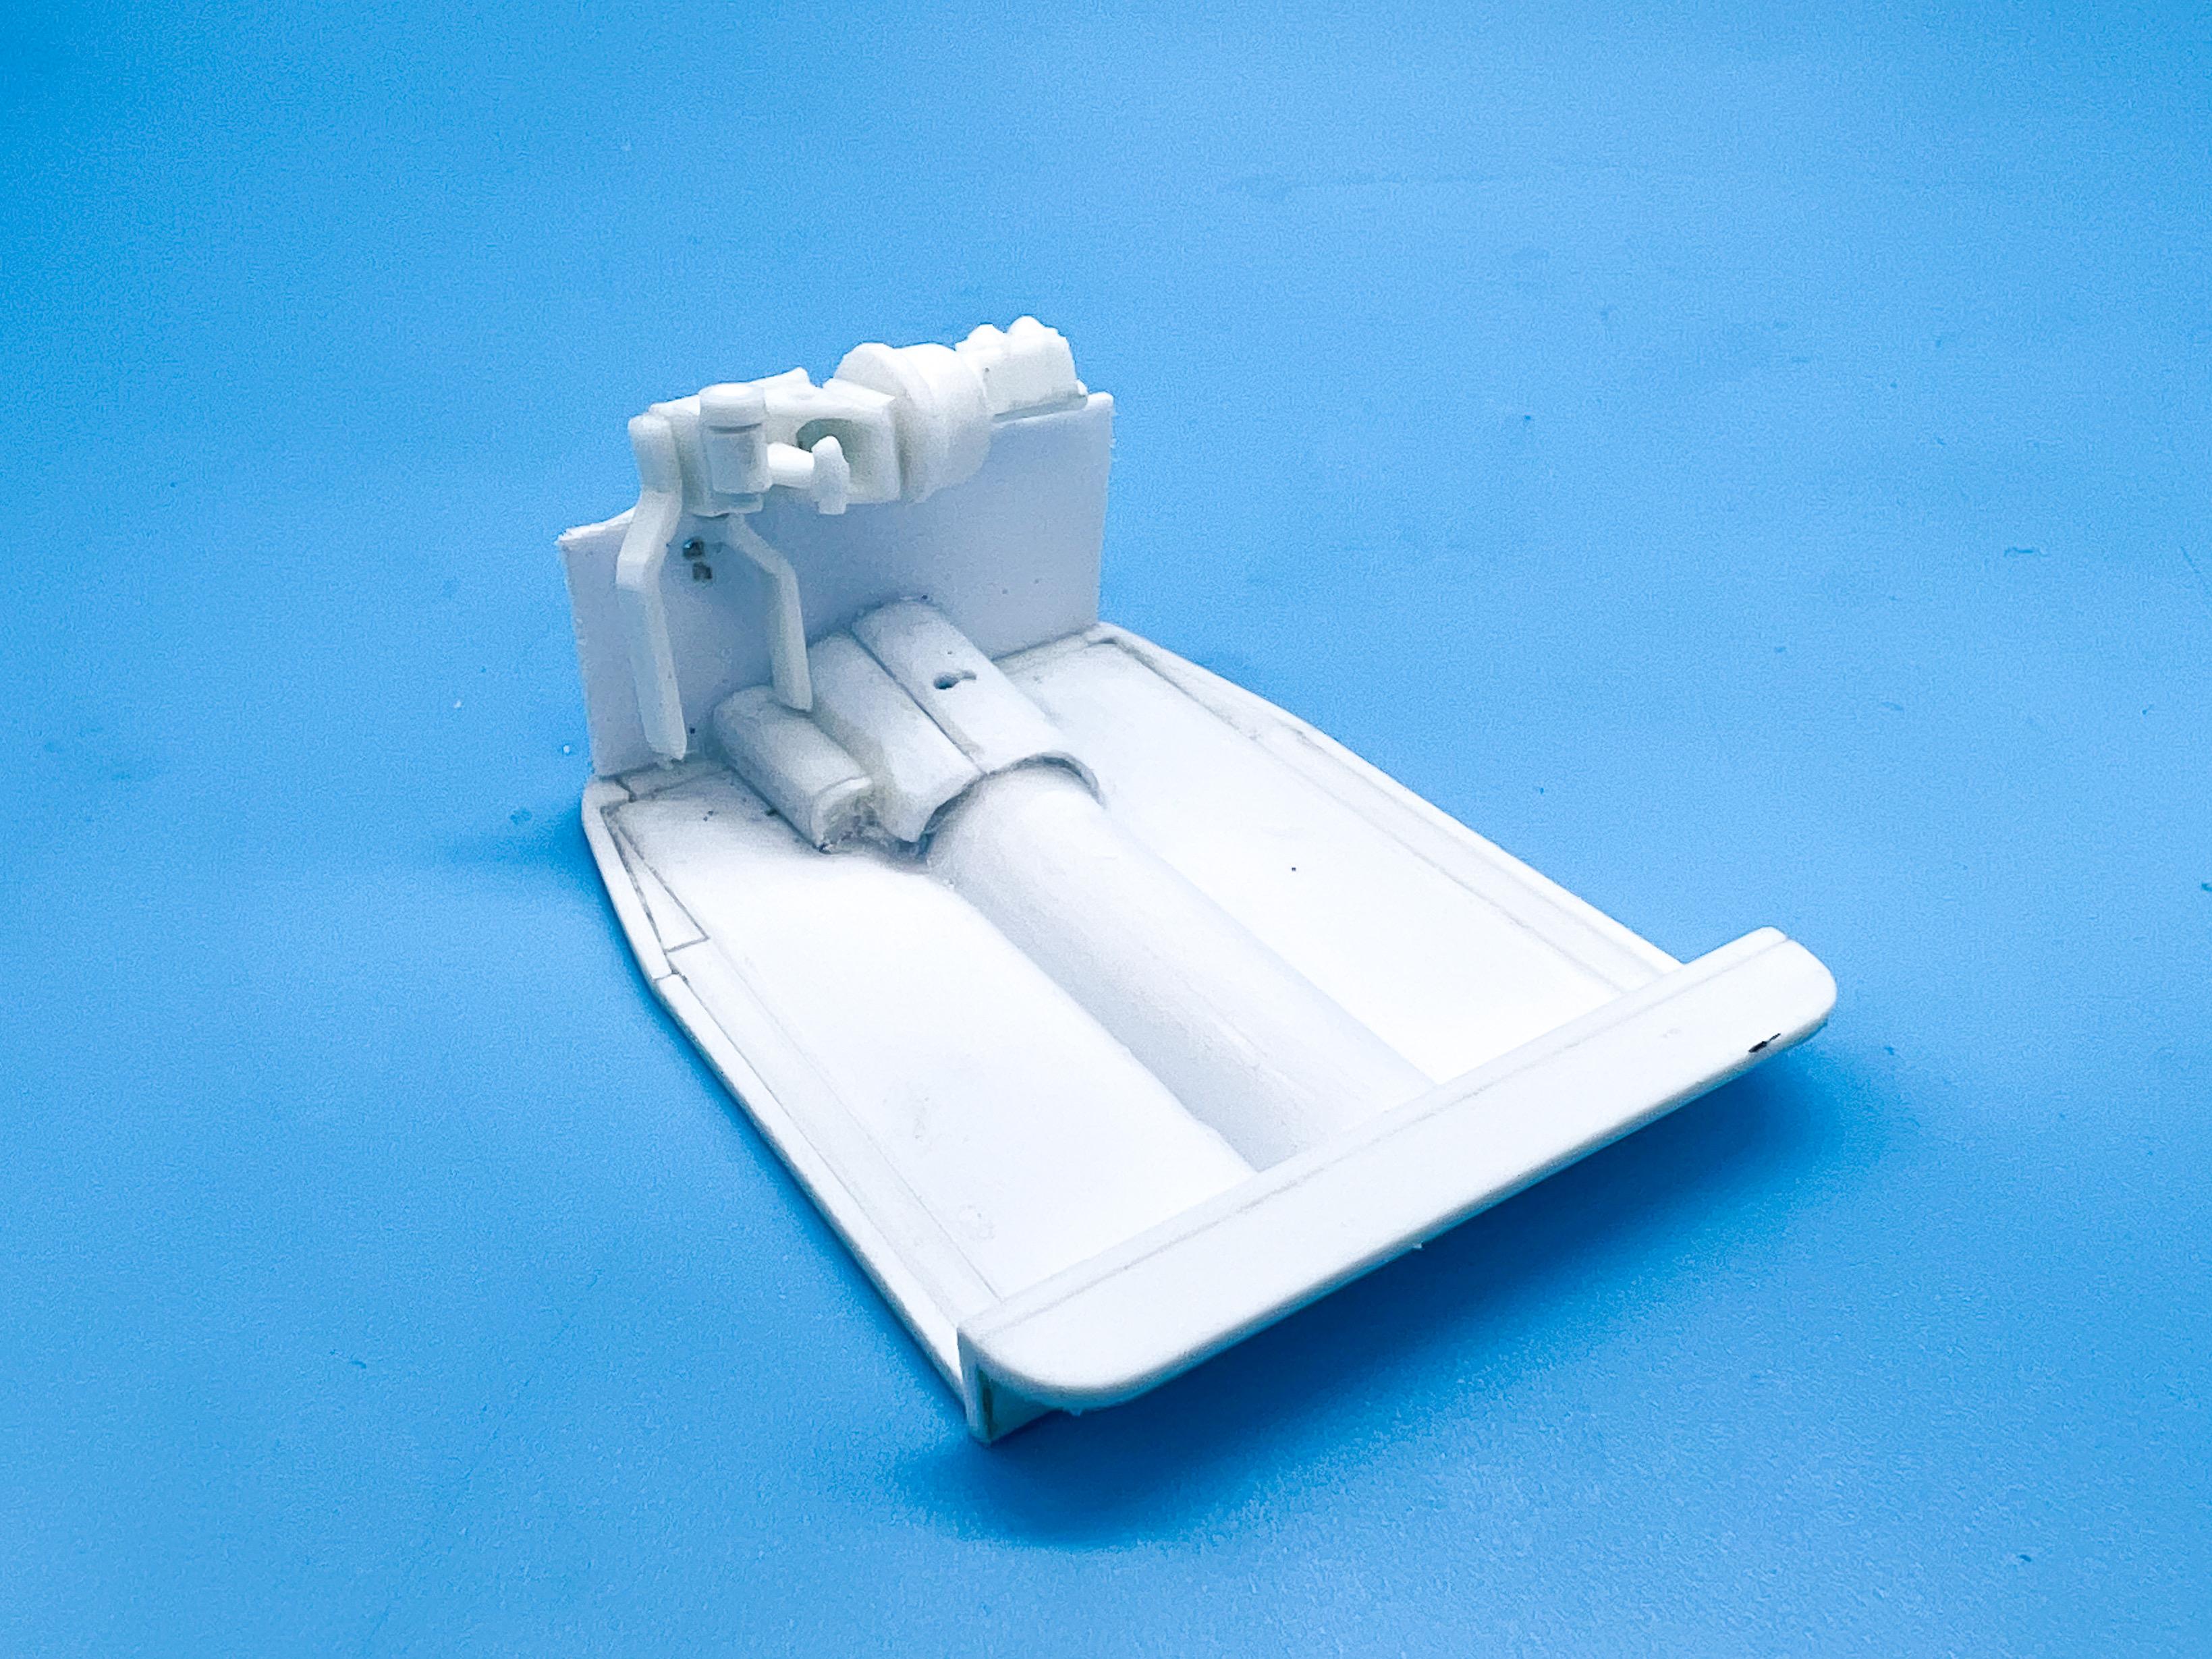
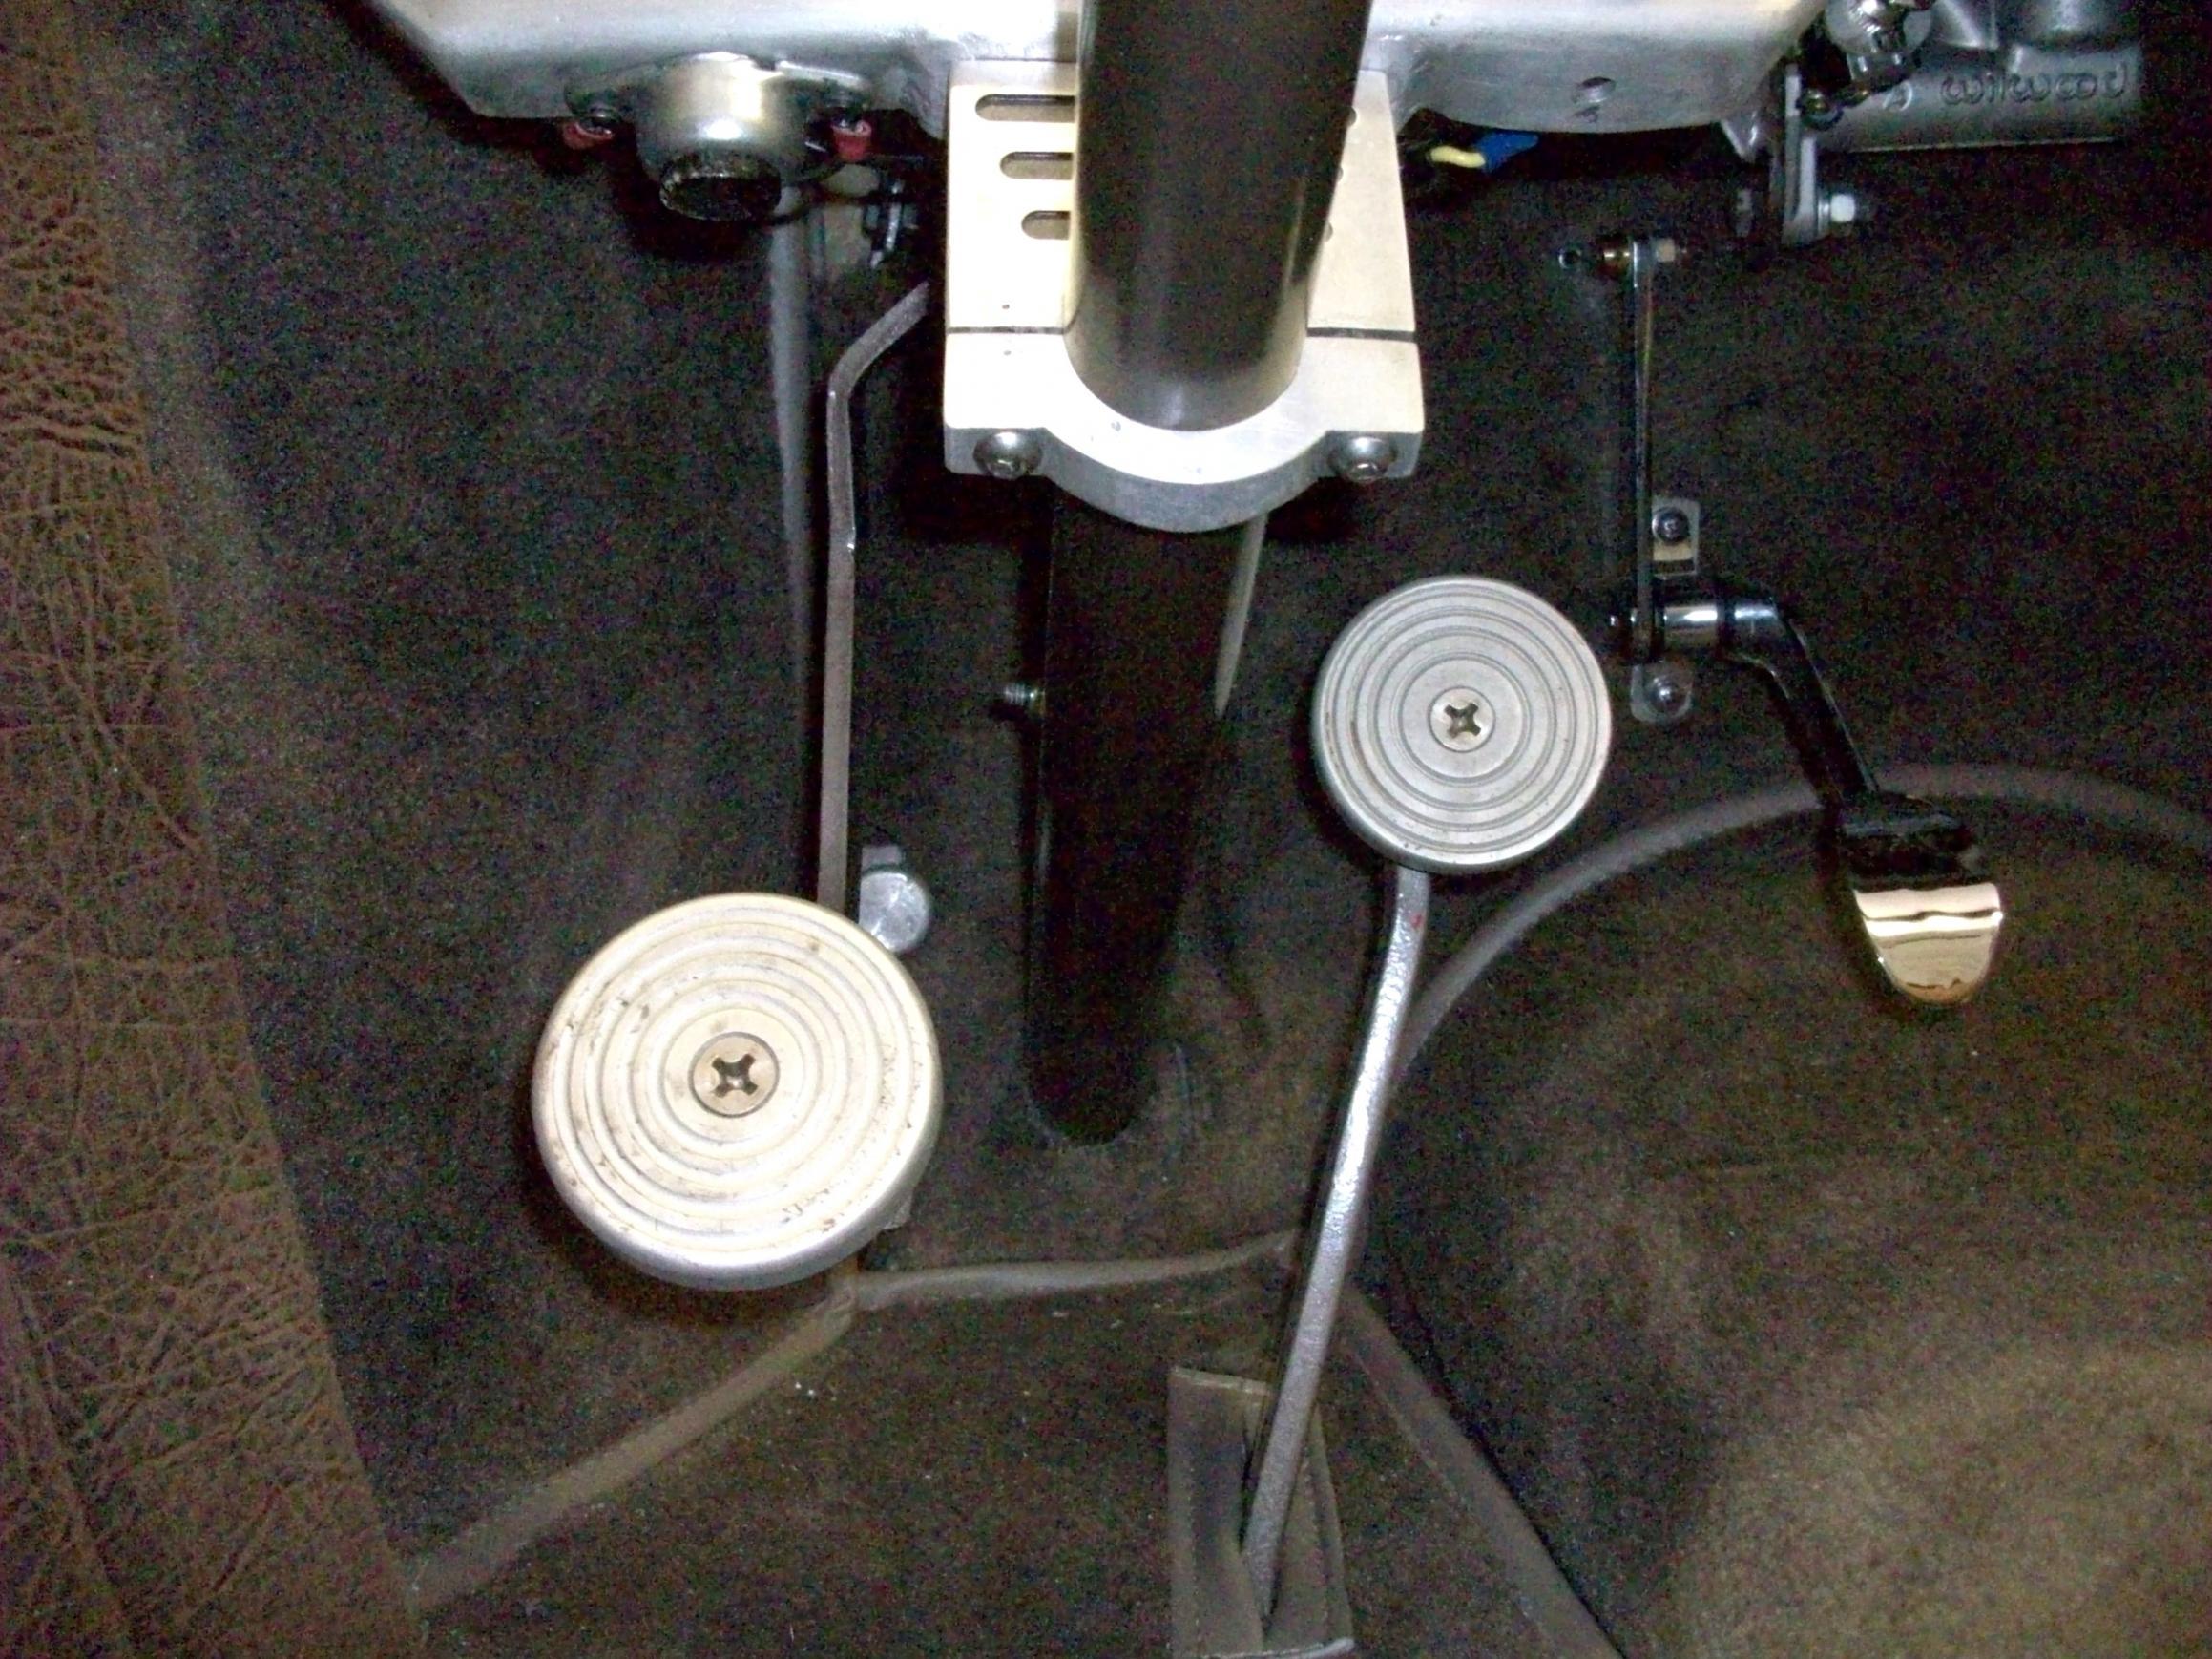
Thanks for the nice comments, everyone. And particularly thanks to Bill for the heads up on those Scotts Hot Rod pedal assemblies…that looked like the perfect solution to hiding some of the brake gubbins under the dash. Helpfully, they even give you a bunch of dimensions, so I spent an hour tonight making a quick mock-up of one to try under the dash to see if it’ll work. The 1:1 part Bill linked to above: My (rough) approximation of the same: And a quick test fit on the interior ‘tub’ that I’ve been messing with: It’s a tight fit, but it fits! I need to mess with the angle of the cranks (or make some better ones) but as a quick test…I’m pleased! It DOES take up the spot that I had saved for the cowl-exit steering box, but there’s space in between the outer and inner firewalls for that to fit (not that you’ll ever see it if I put it there but nice to know it would work for real…) Just a tiny update, but a big part of the puzzle solved. Thanks Bill@Ace-Garageguy!!
-
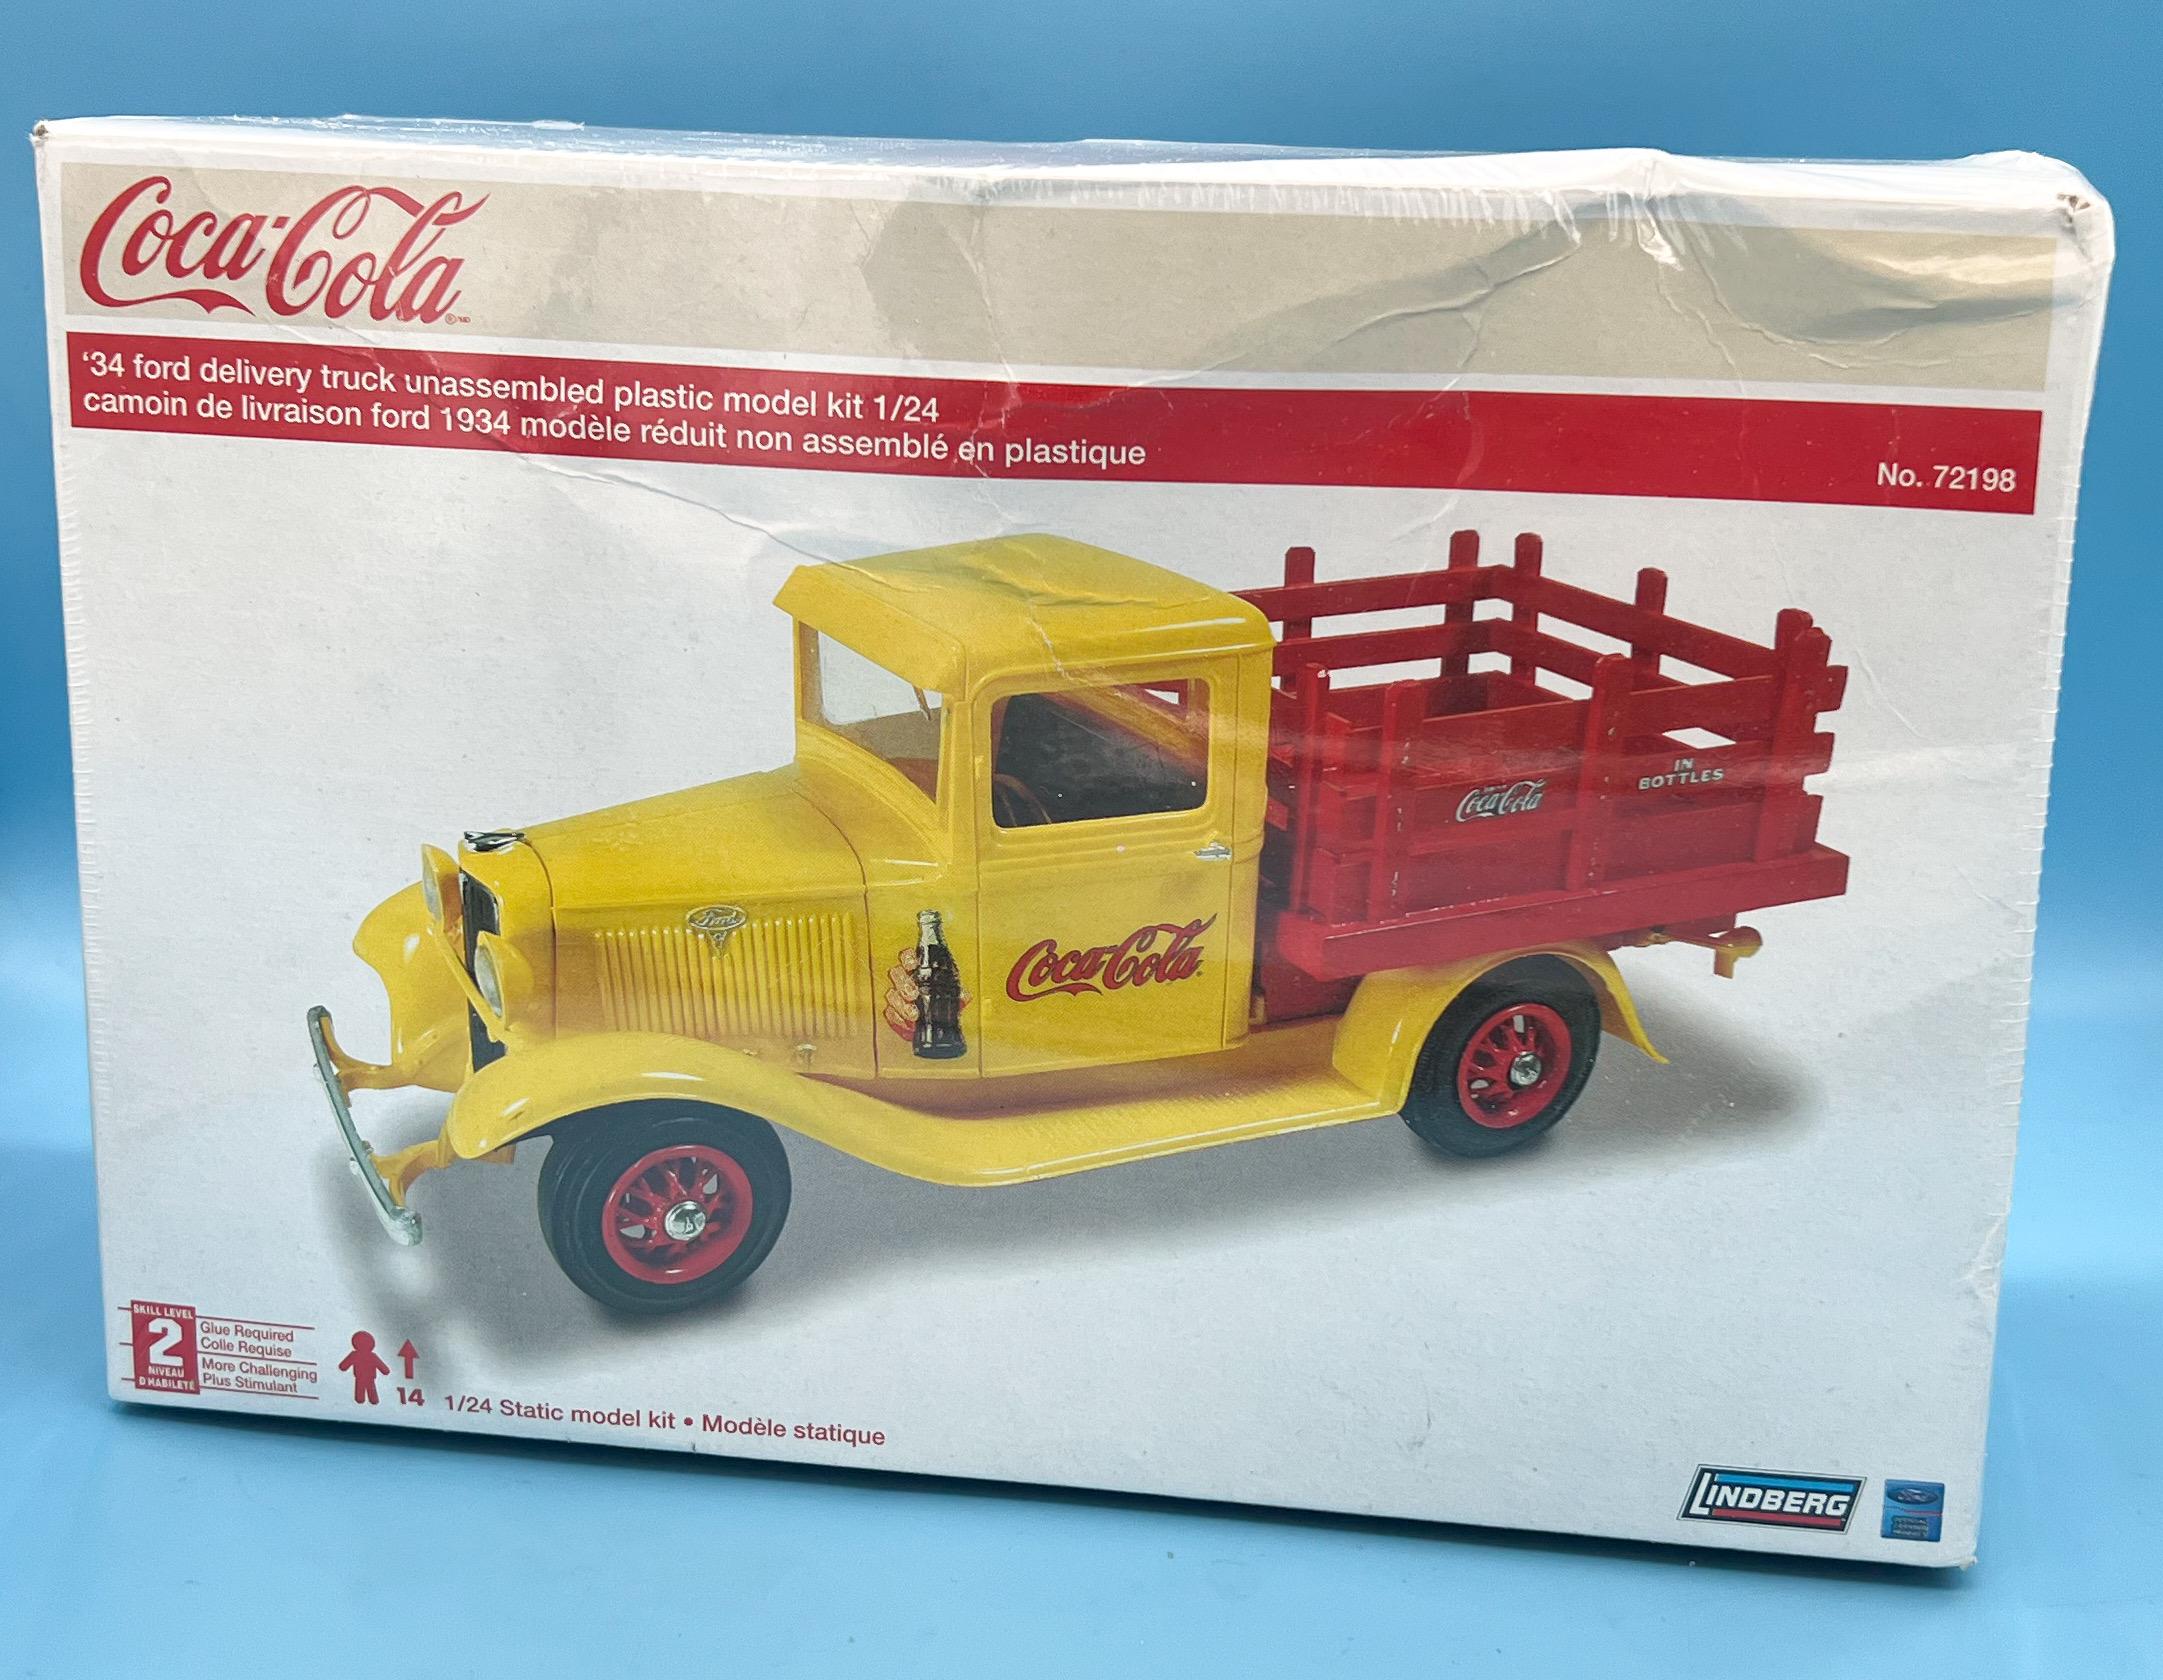
Nice find! ⬆️ I picked up one of these from eBay, just because my stash of 34 Ford trucks was getting low and I didn’t have this particular version: $18 SHIPPED, which seemed like a deal… And these are cheap on Amazon right now…also $18 and change shipped if you have Prime: Be warned tho - that’s exactly how Amazon shipped it to me…just in a clear bag with the standard Amazon label on the back. It made it safe and intact, but I’m surprised they didn’t even throw it in a box…
- 38,884 replies
-
- 2
-

-
- johan
- glue bombs
- (and 1 more)
-
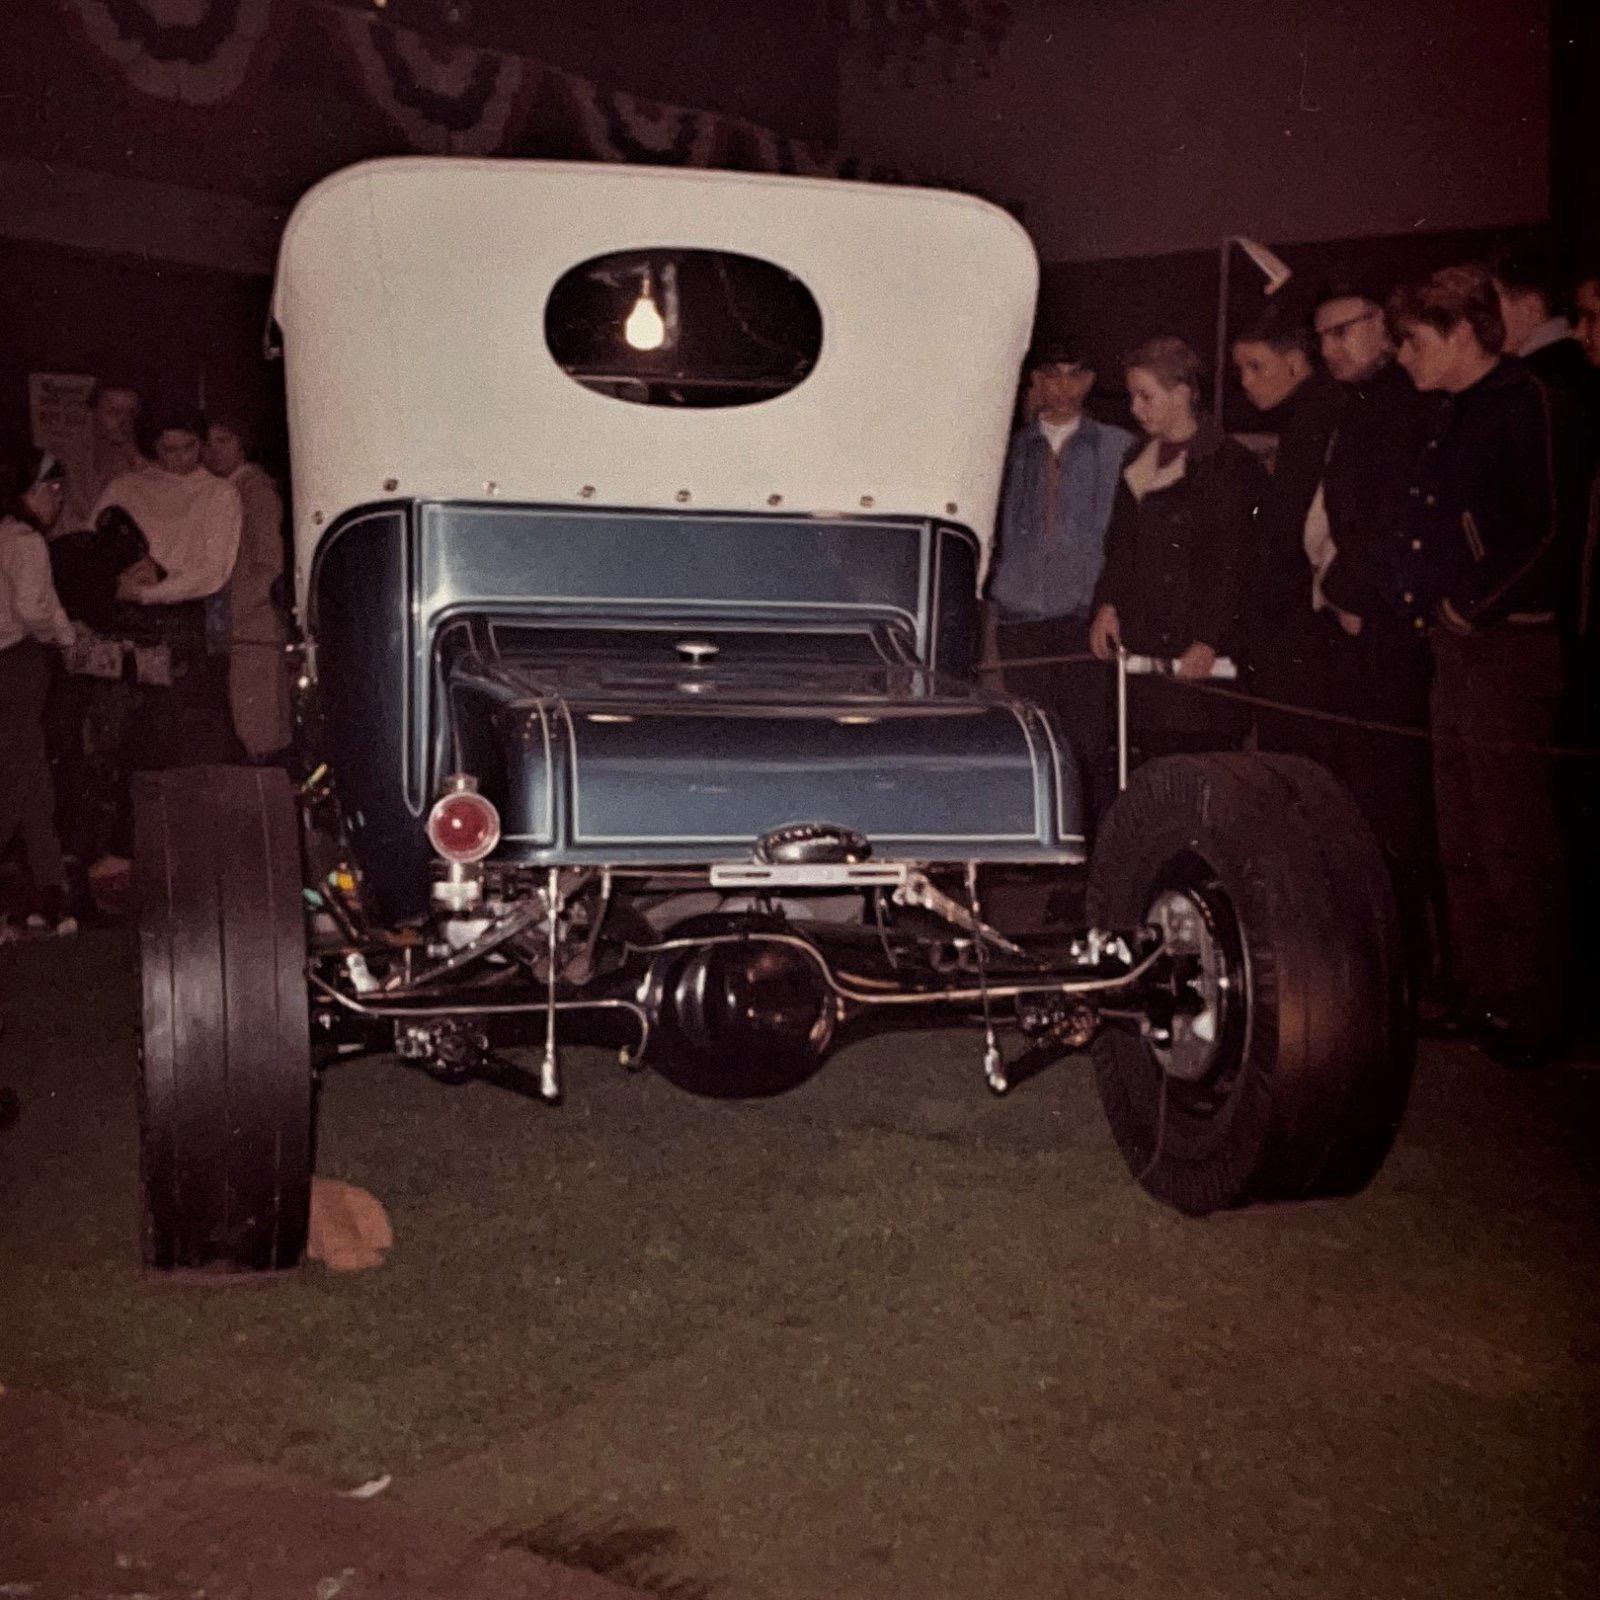
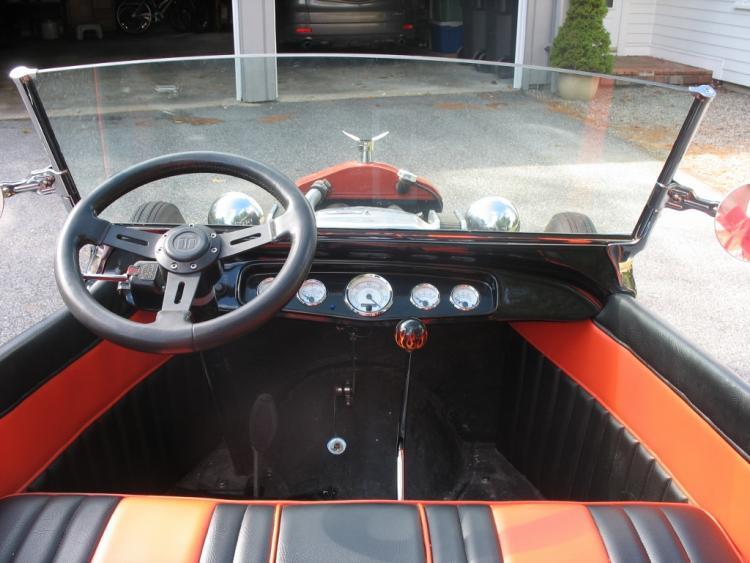
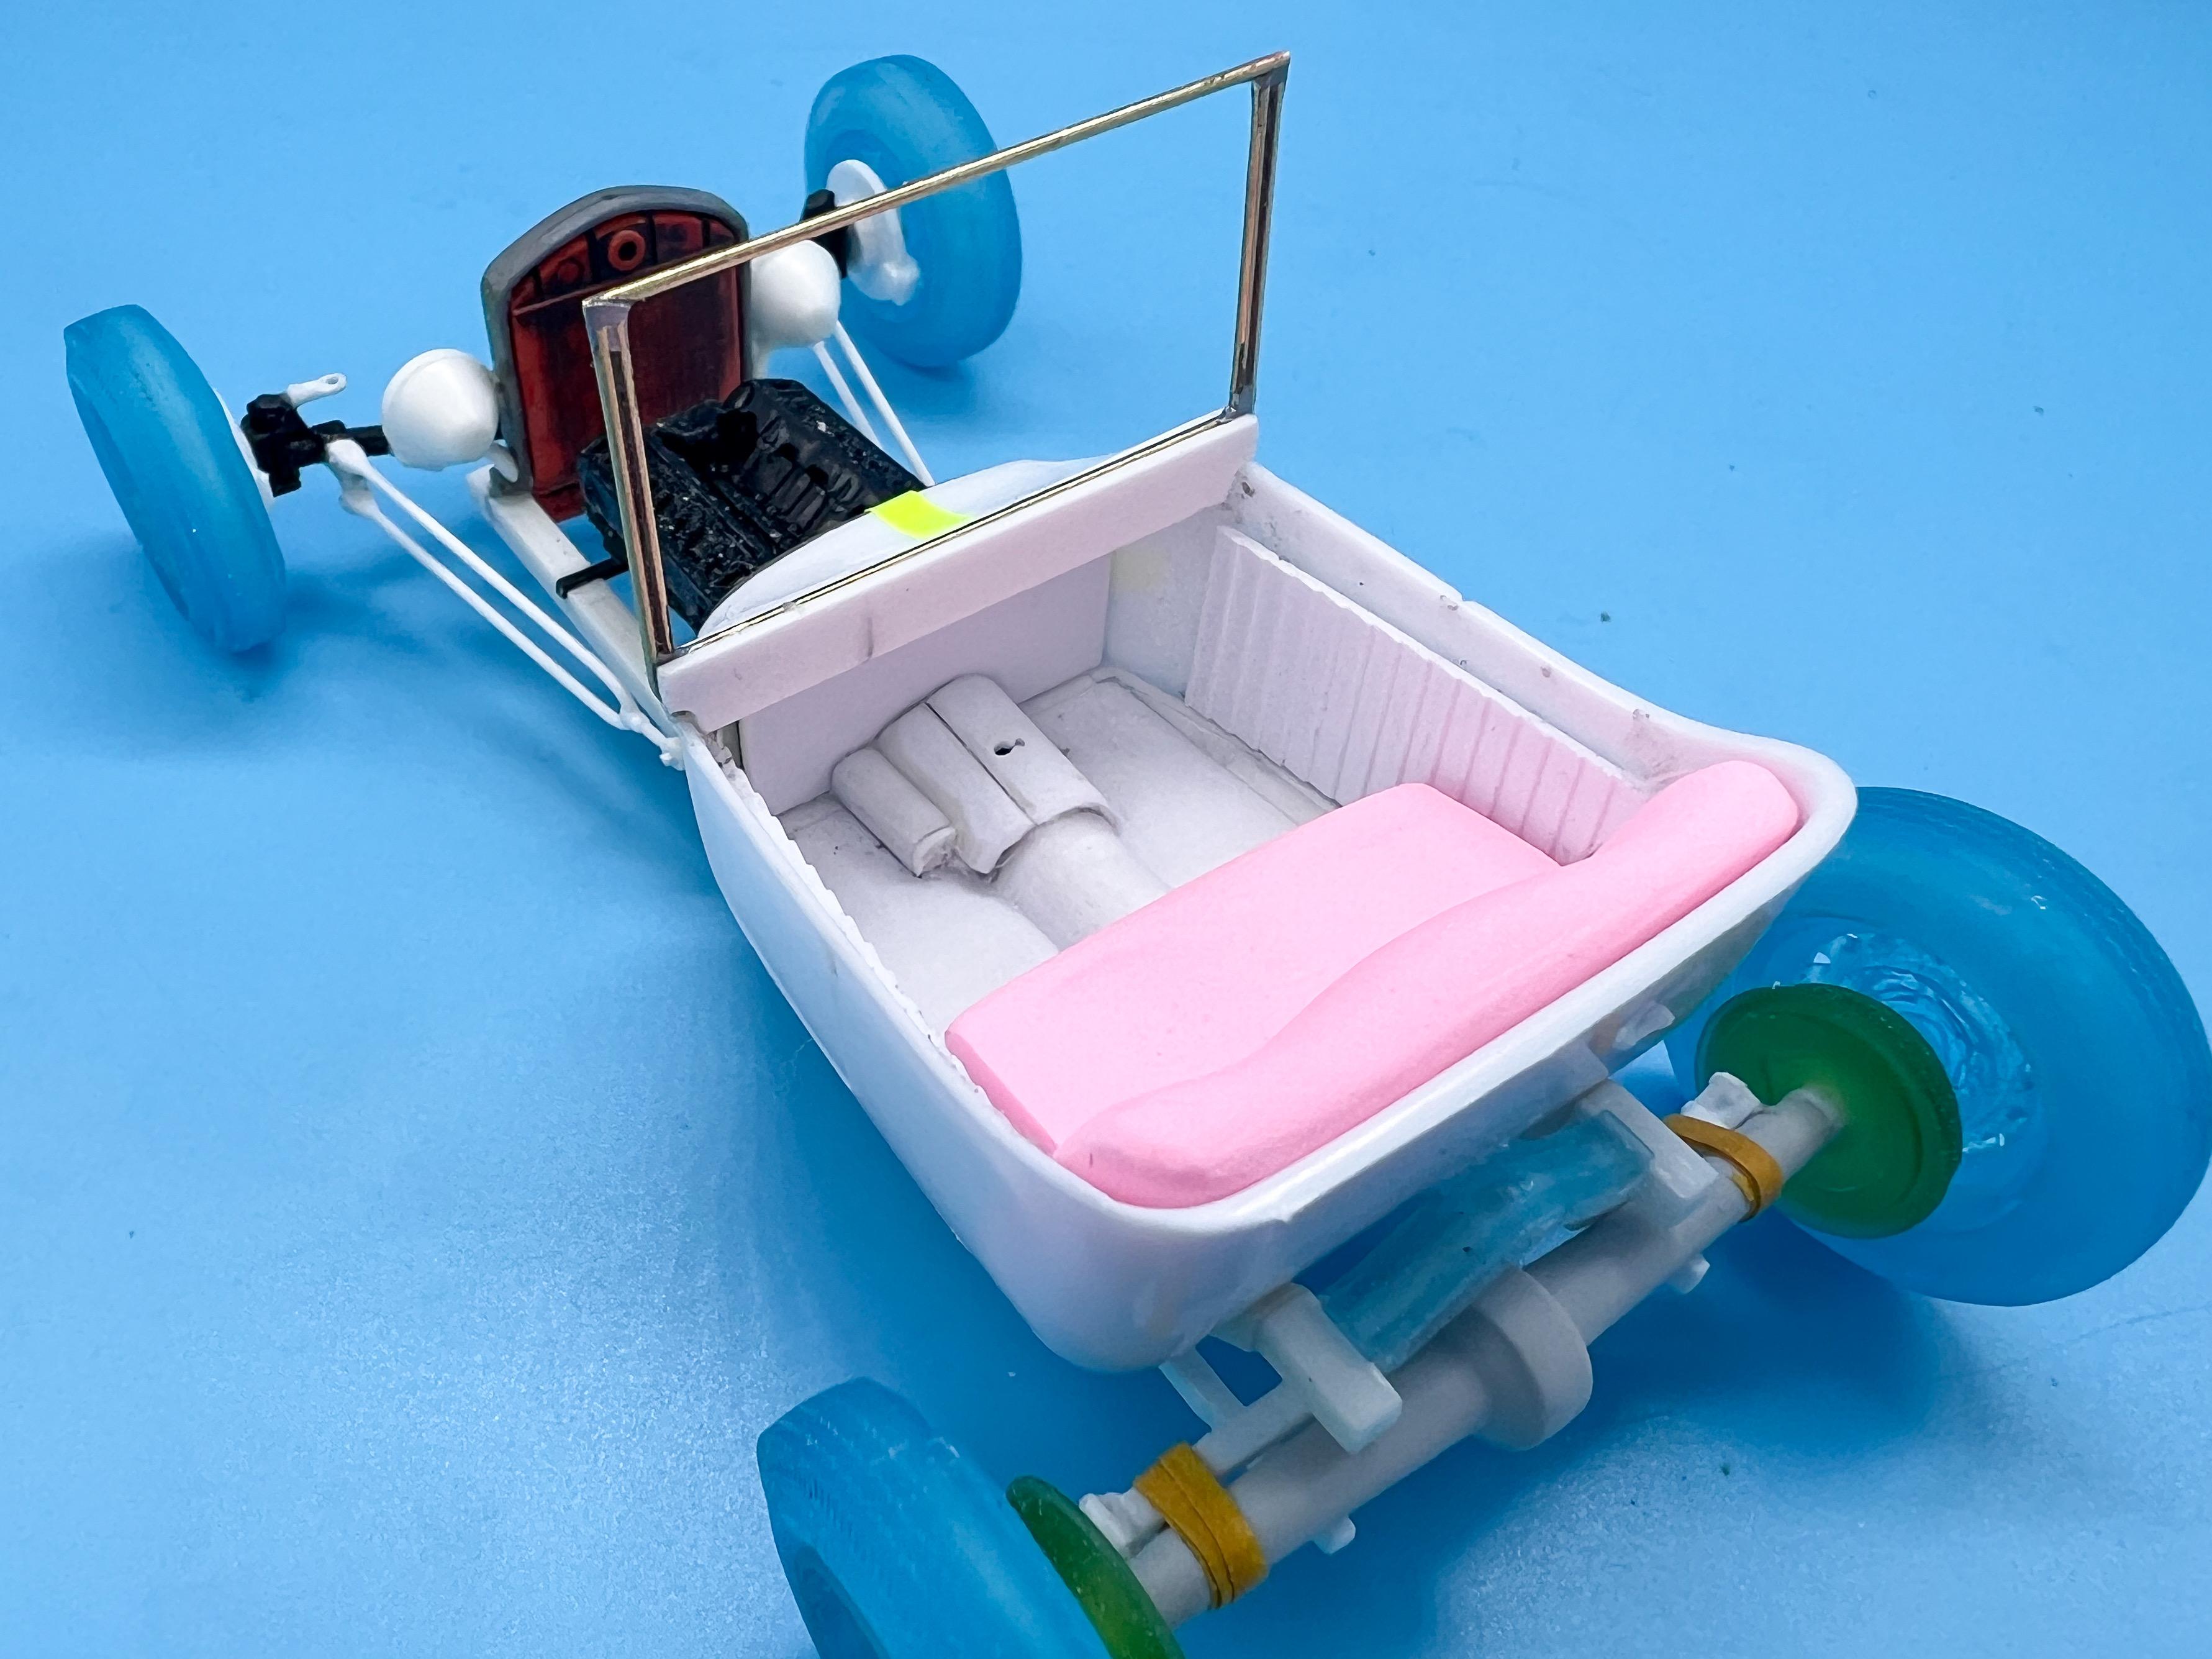
Thanks Bill! I was concerned by the complete lack of space I had available for a gas pedal - or, at least, one mounted in a conventional spot...but then I researched real ones and it seems like that's a challenge they have in REAL T-buckets rather than one I caused all on my own... Mine definitely won't be any WORSE than these examples anyway - maybe having it hang from under the dash rather than be floor mountedwould be a smart way to handle that issue? Definitely will need to get creative with the brake booster...I had a very specific idea of where I wanted the engine to sit, how I wanted the frame to look and the overall stance - but that doesn't leave me a bunch of extra space in the frame. I COULD hide a master cylinder under the dash, but I also wanted a sprint-car style steering box exiting through the cowl, and I can't have both...but these are the fun engineering challenges that we get to wrap our minds around! At least I can hide the battery under the seat Actually, I gotta clean up the excess solder on the back of that windshield still - but the front side doesn't look too bad at least Thank you!
-
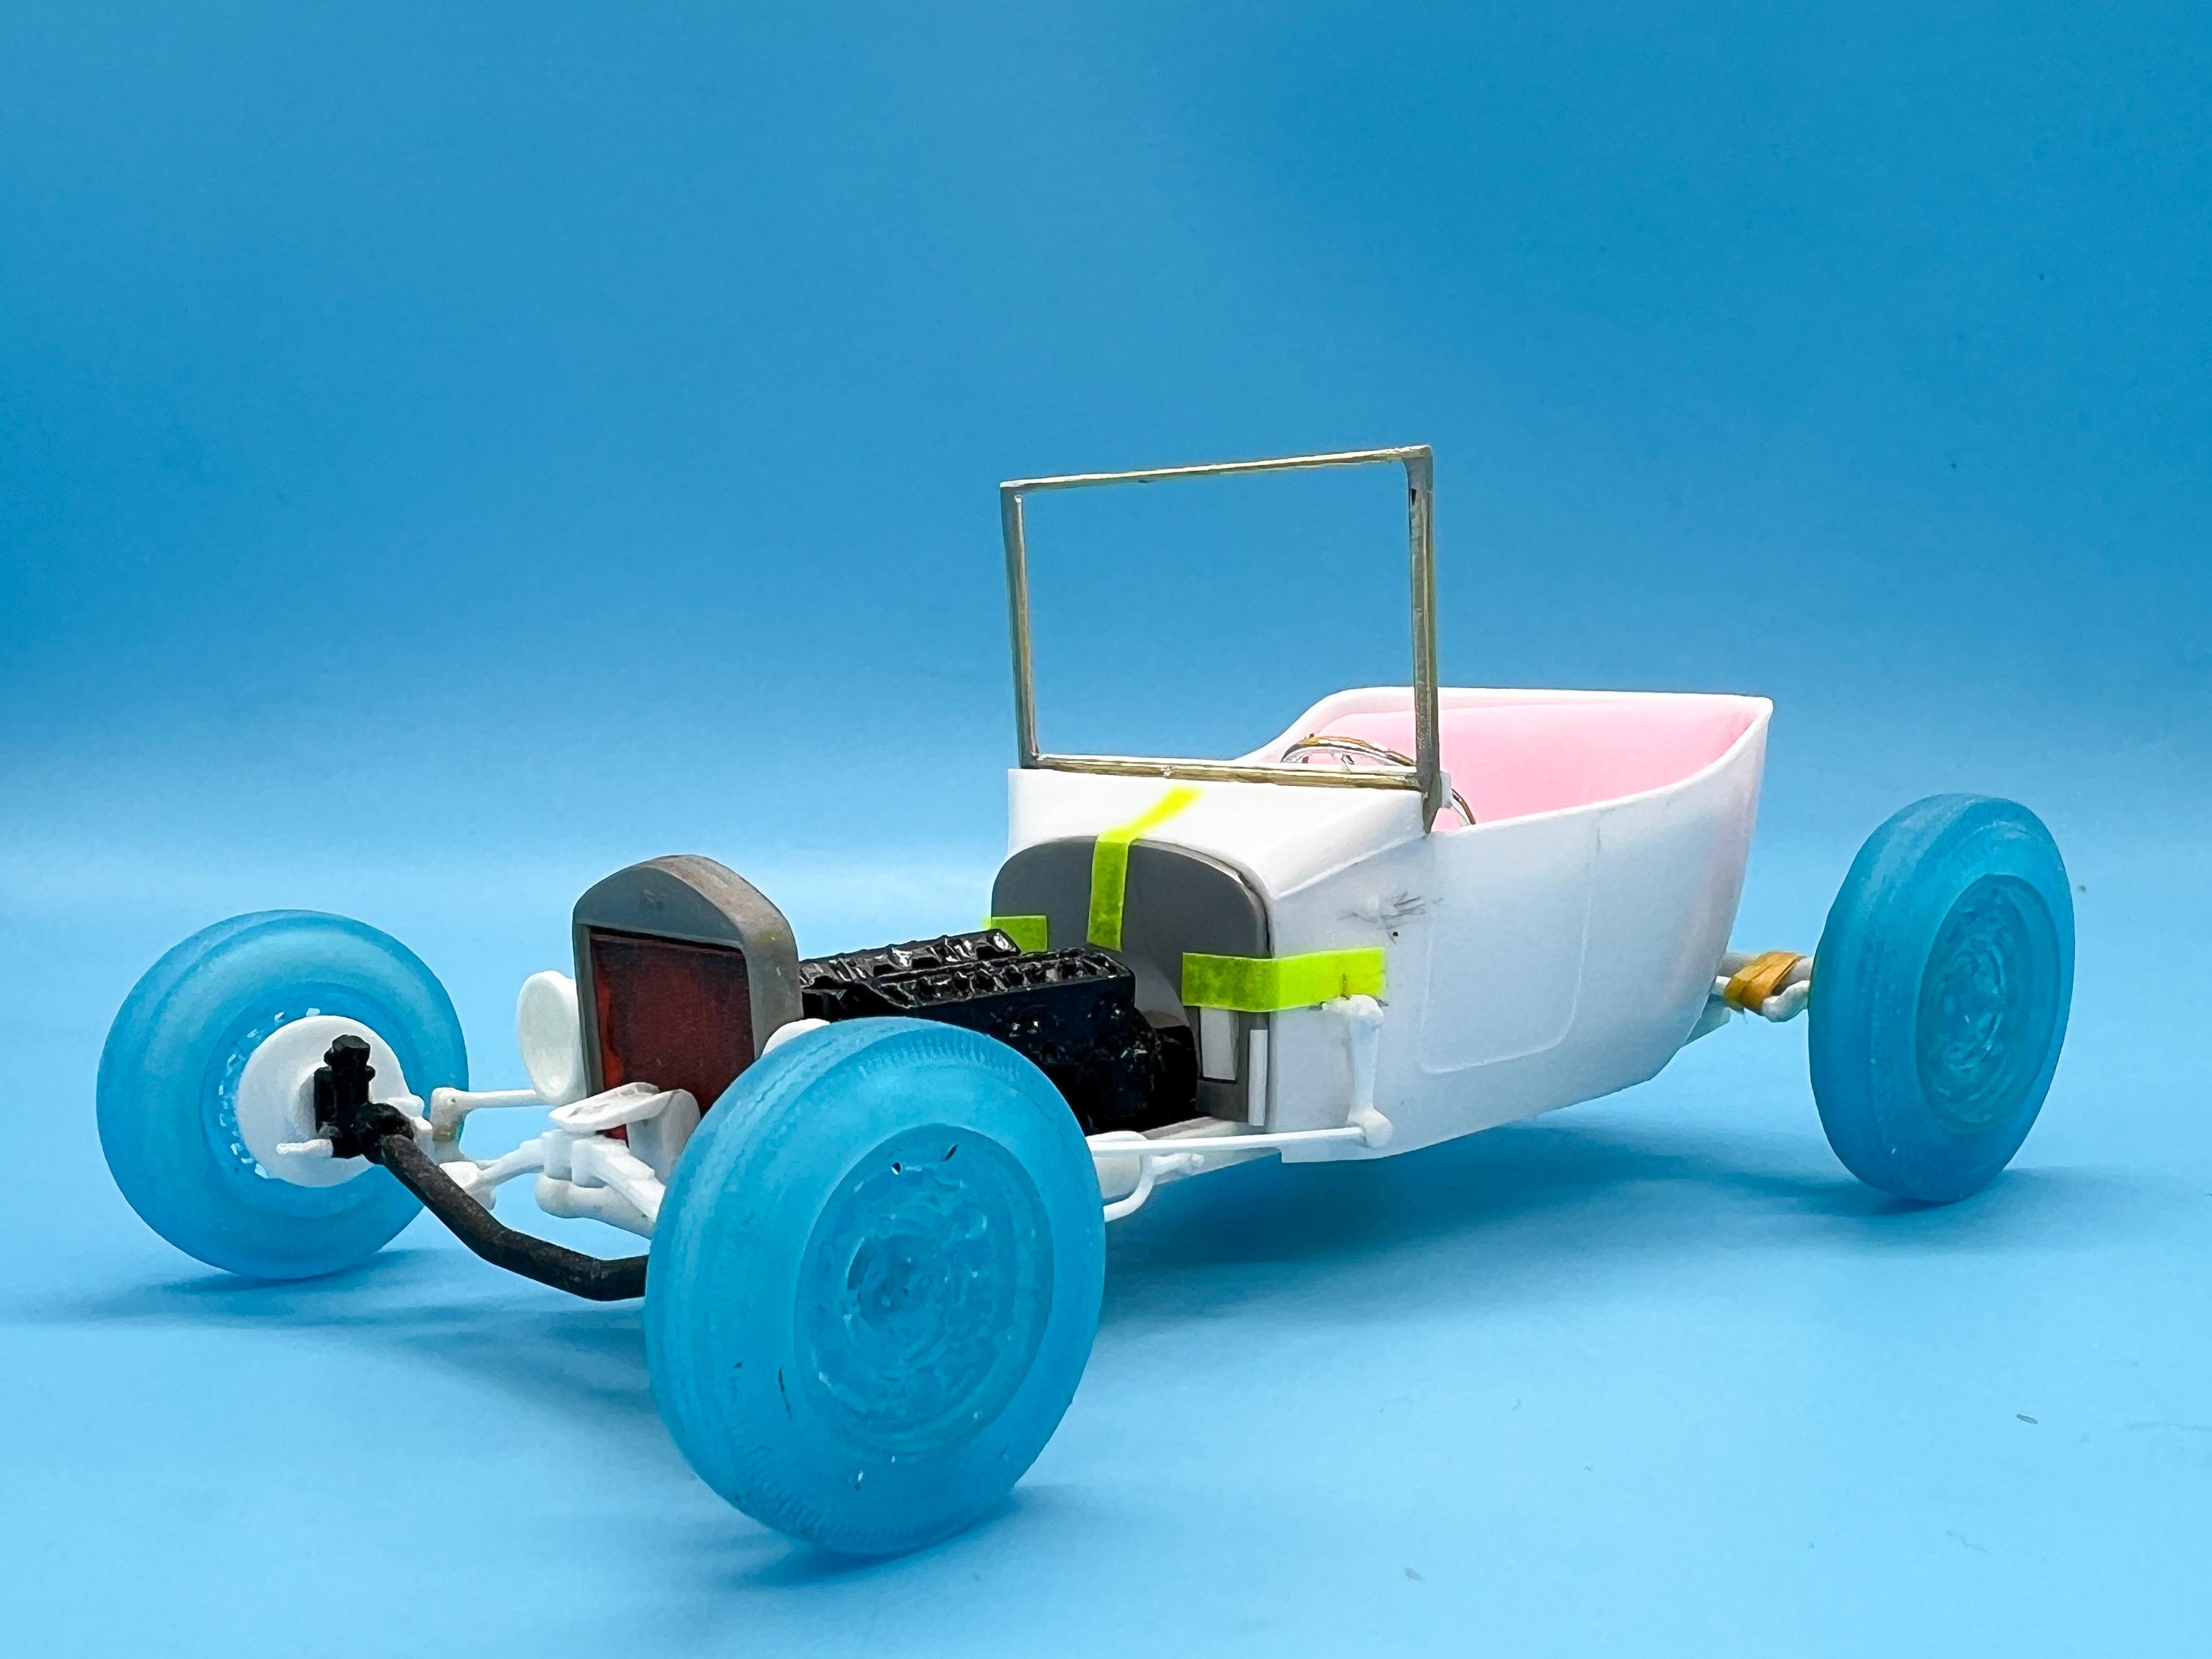
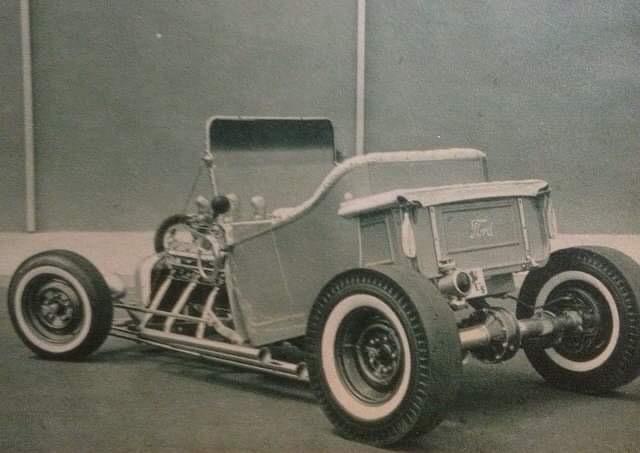
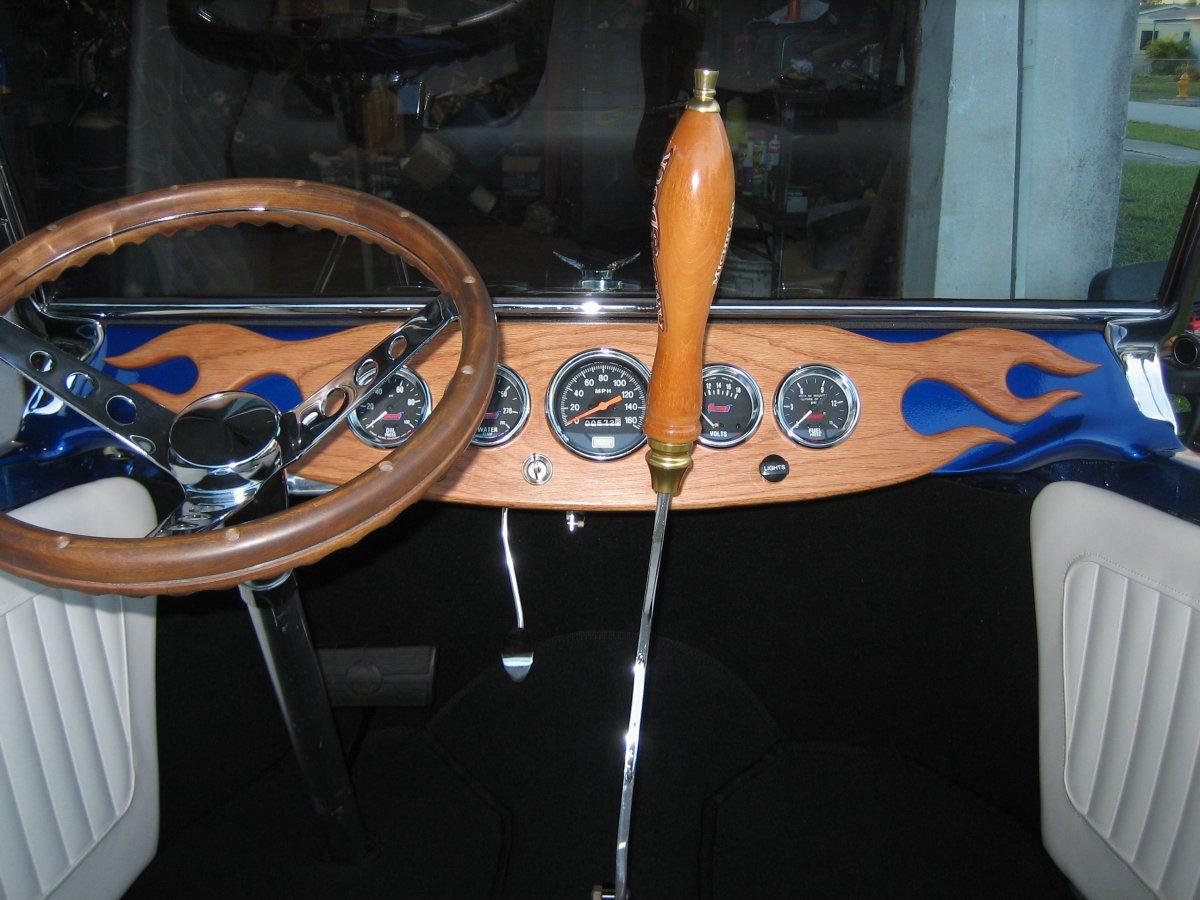
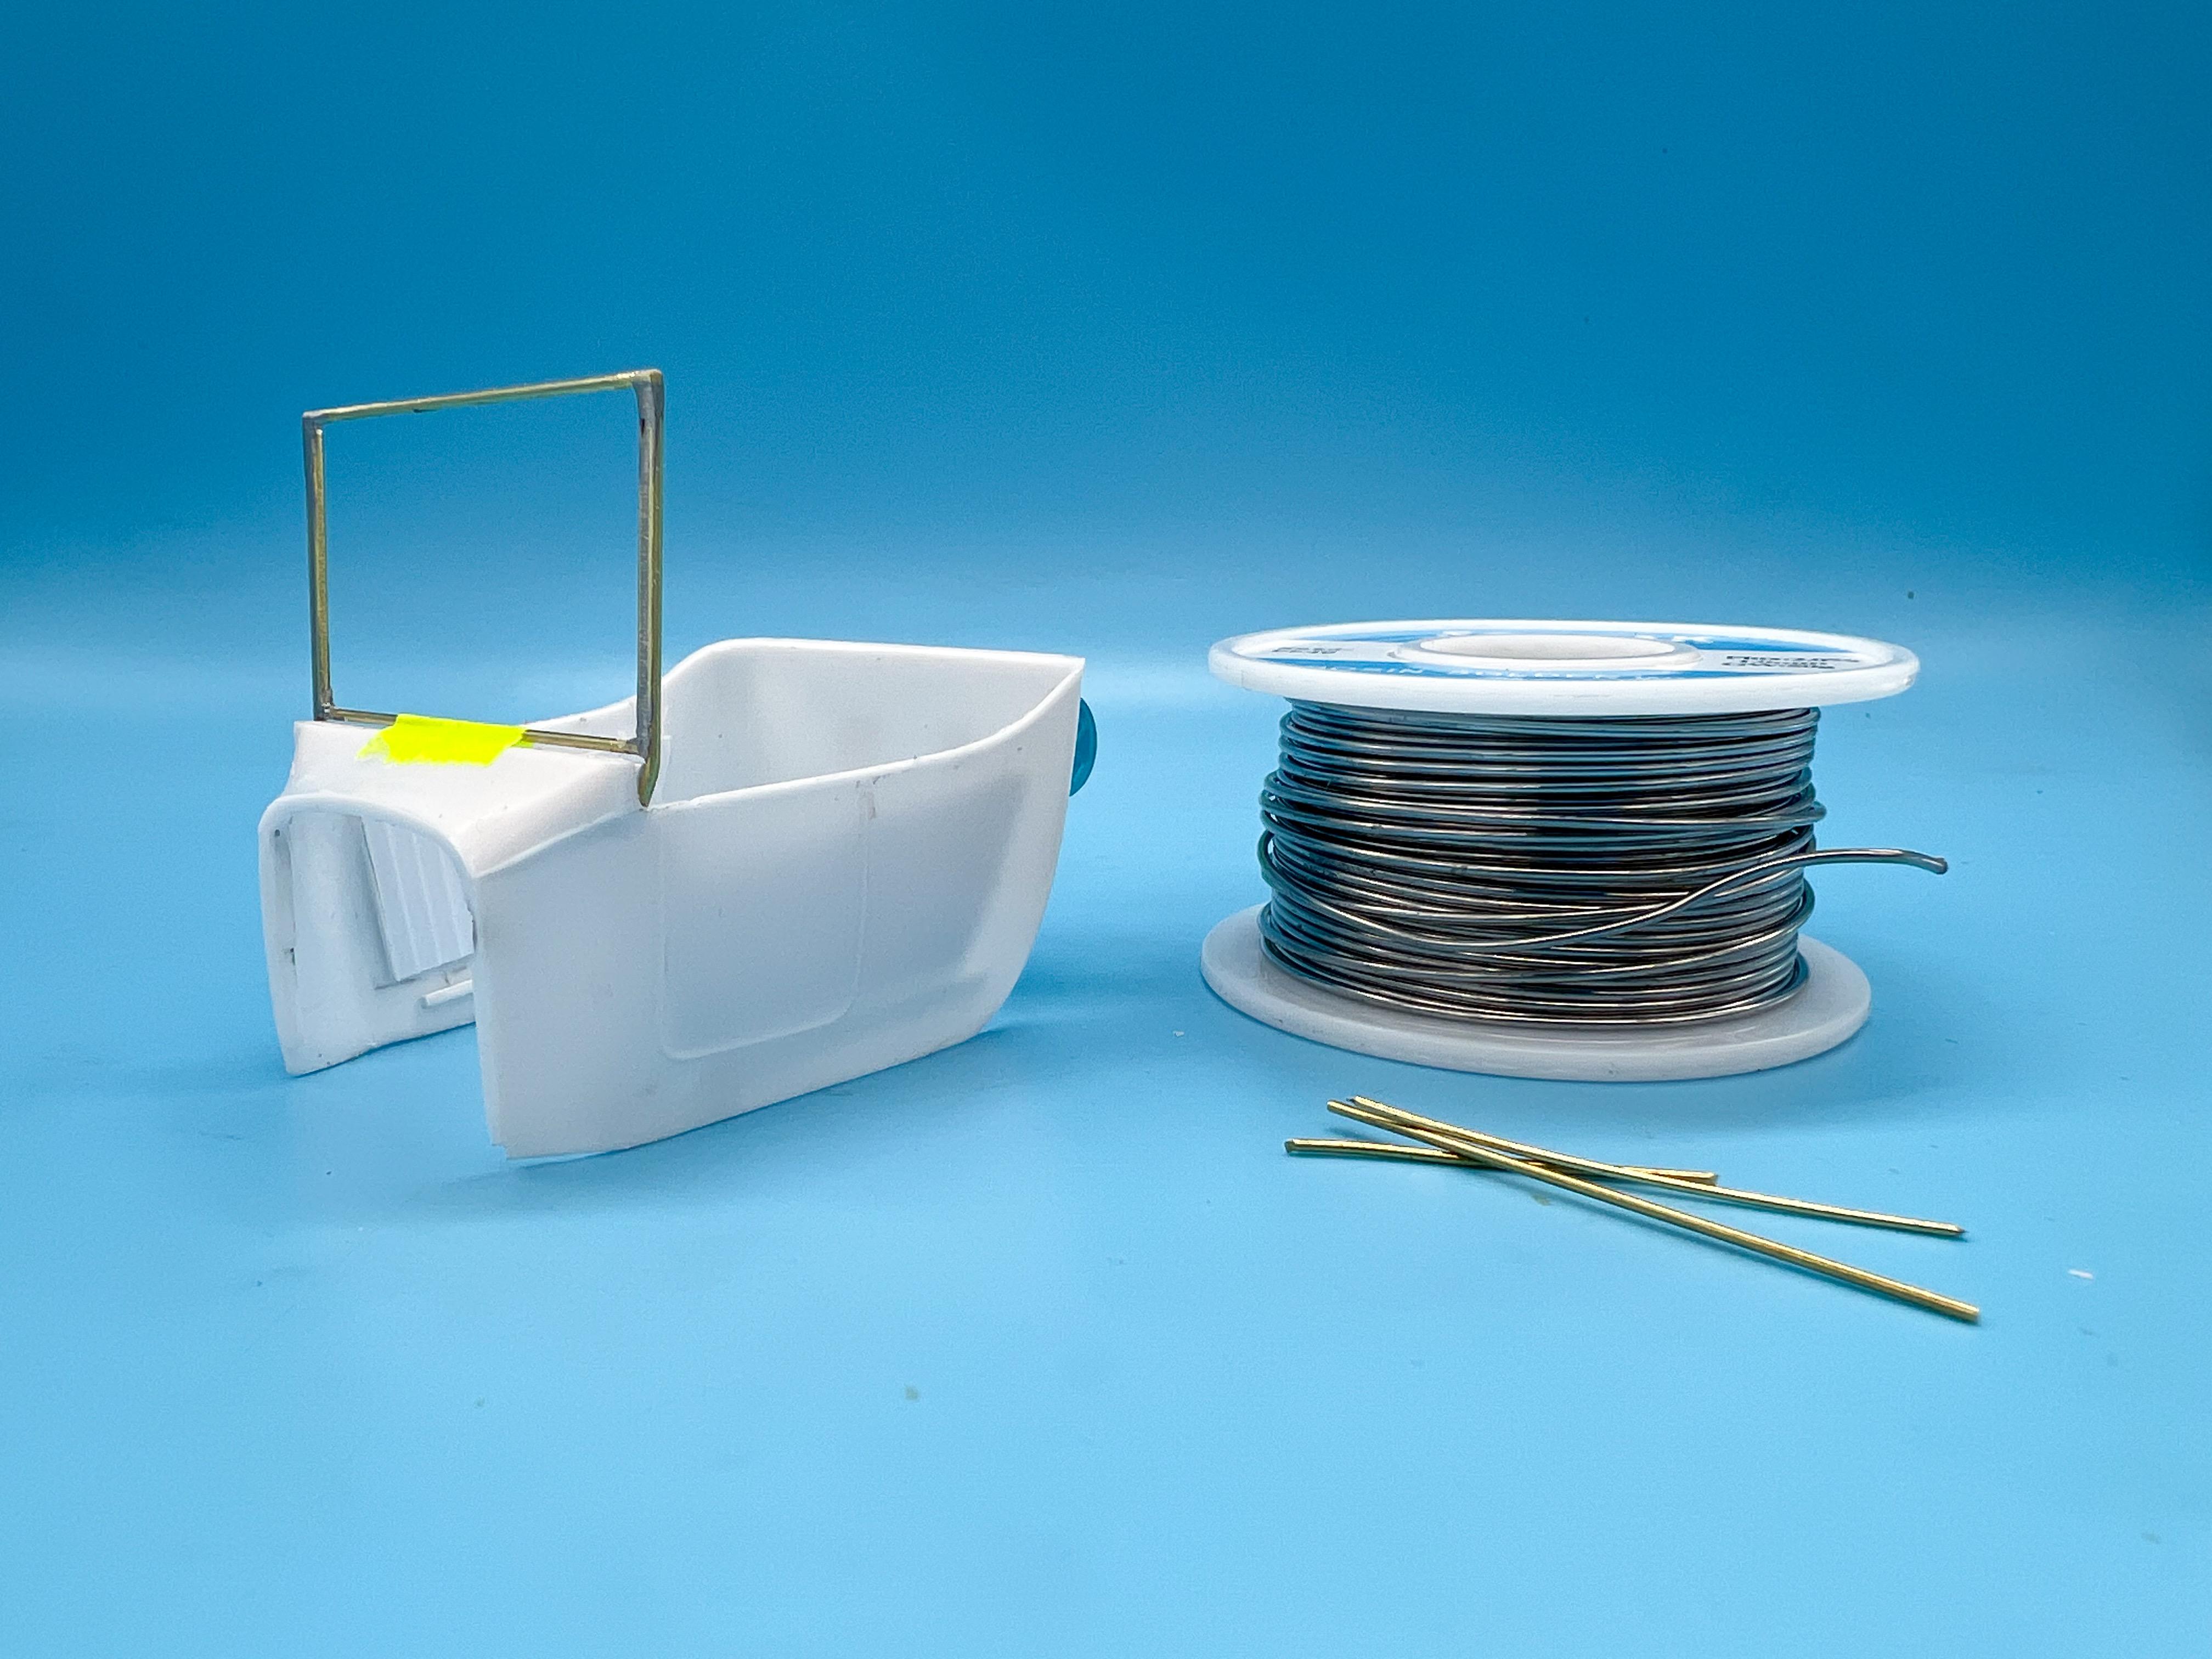
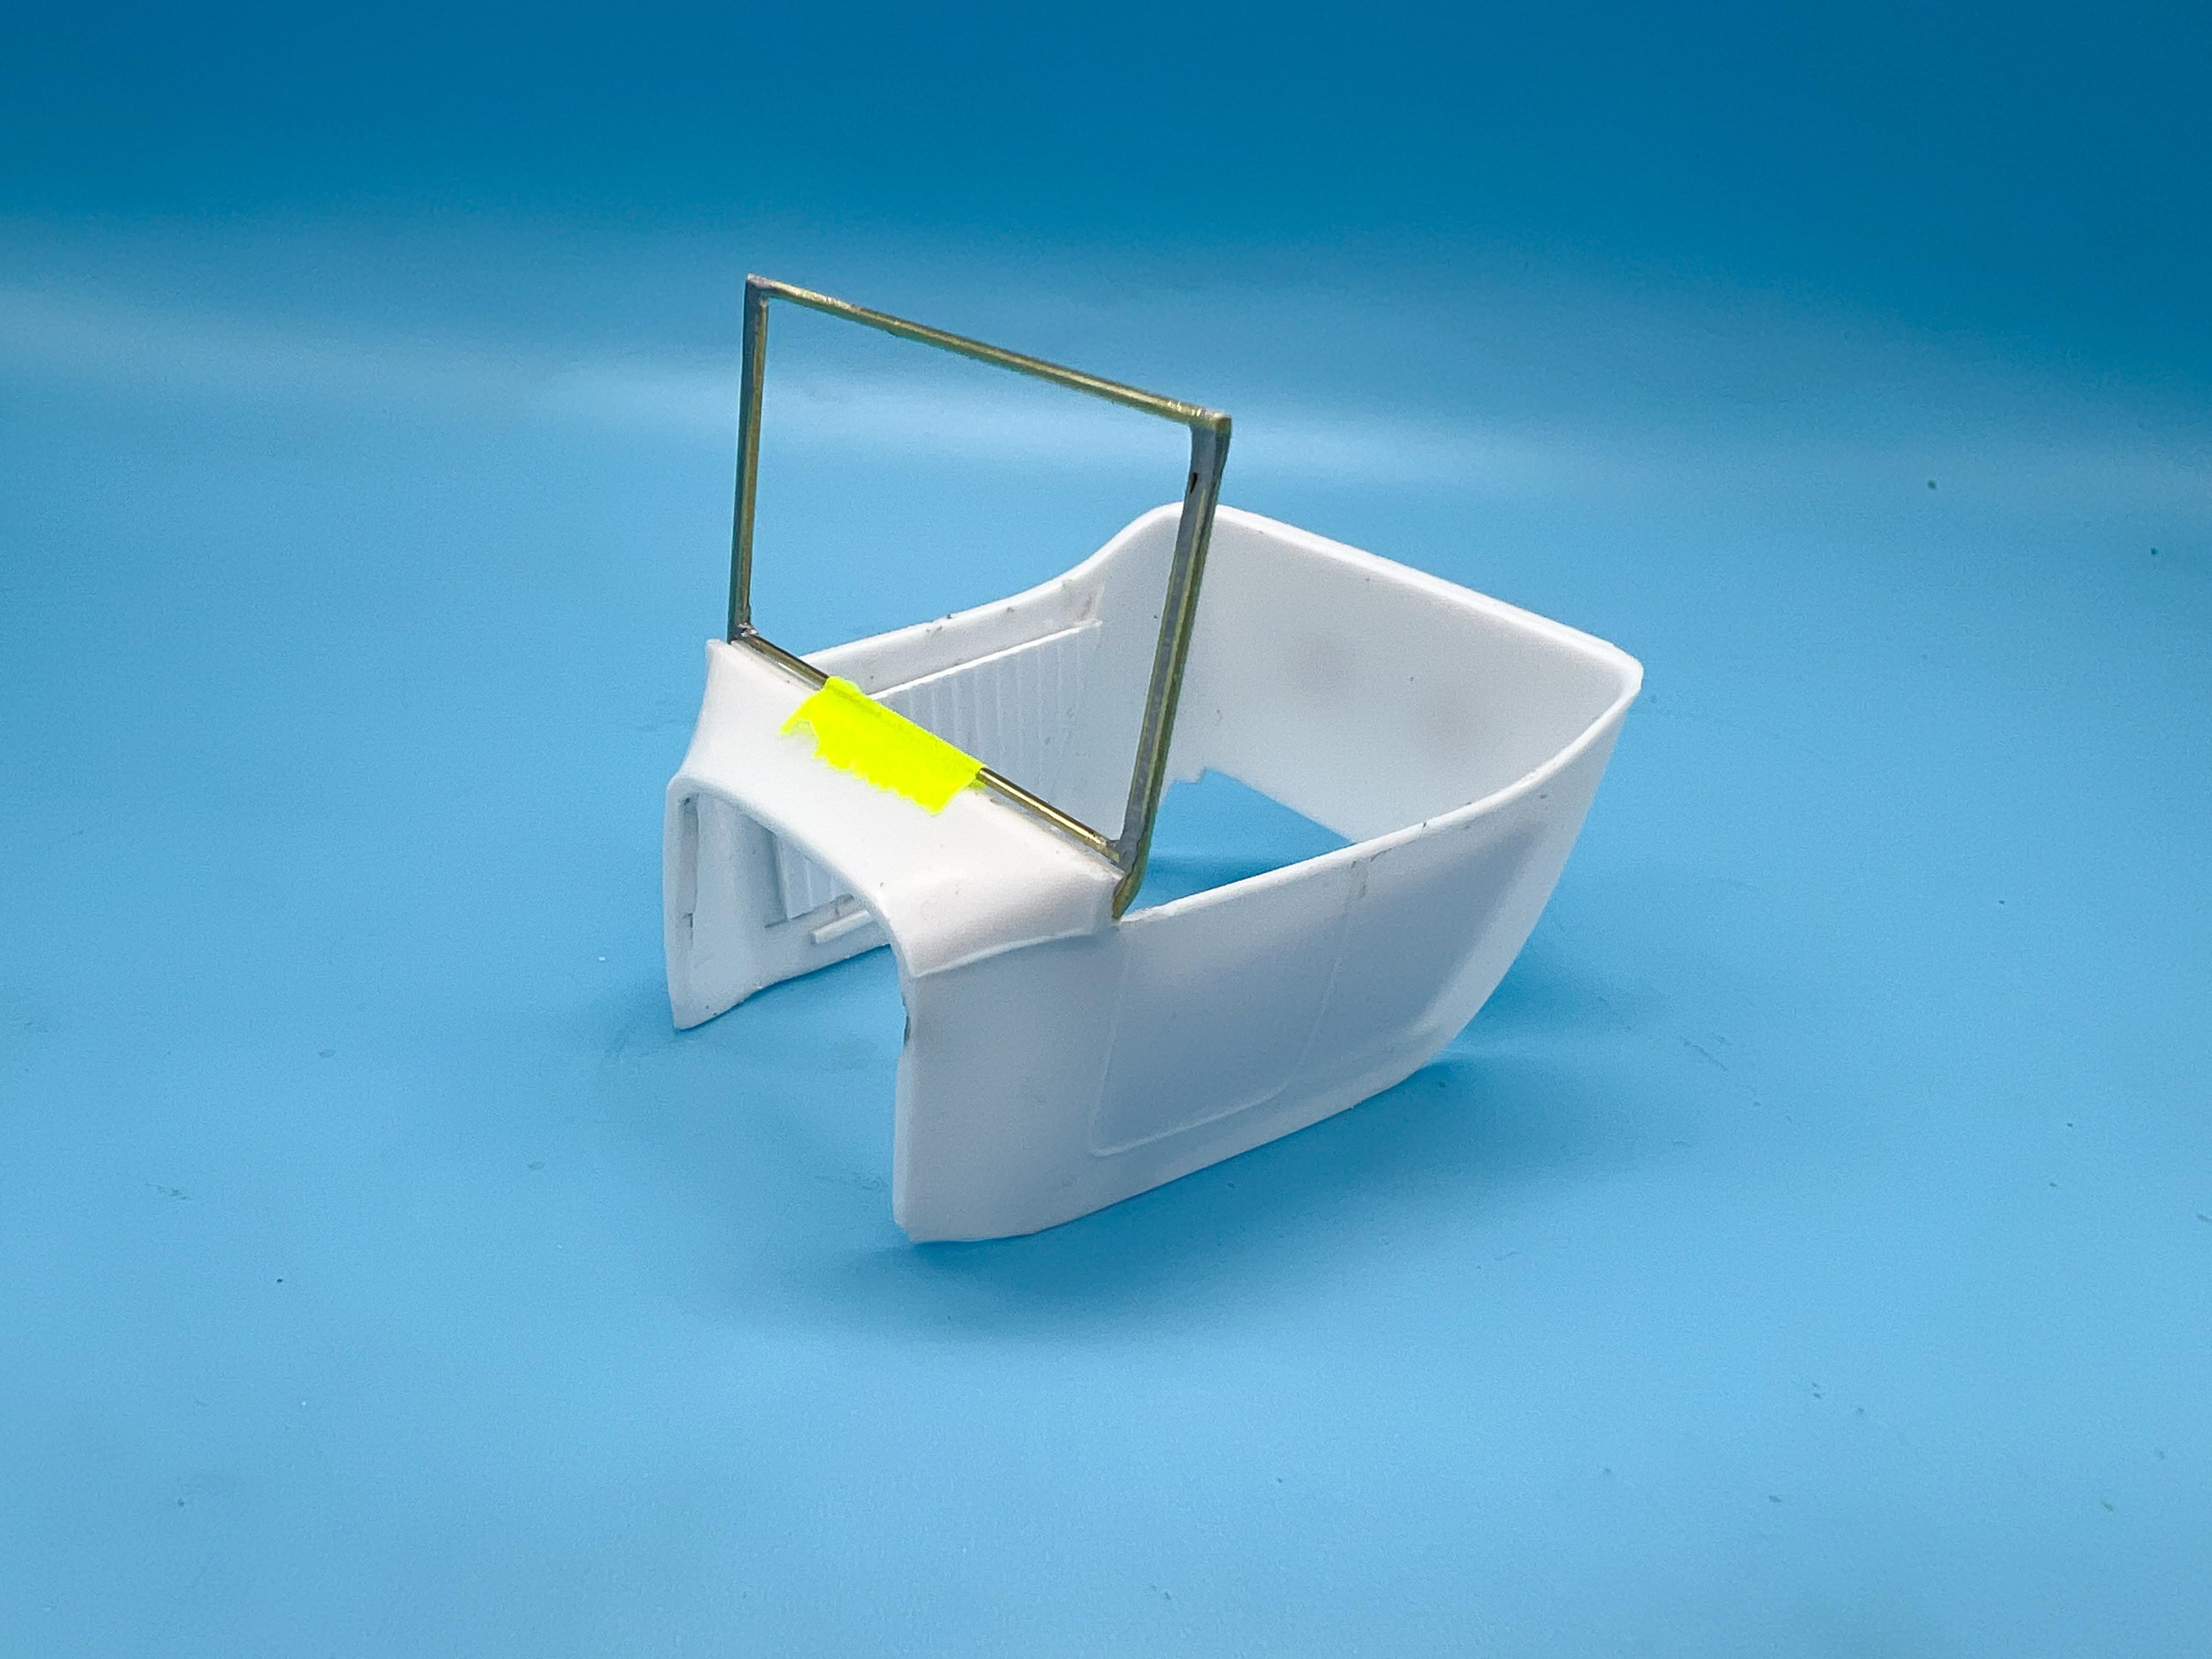
Thanks fellas! I believe so! It’s Oktoberfest somewhere! ? Thank you!! This is the stuff I ordered: https://www.amazon.com/dp/B08JLPNFB4?ref=ppx_pop_mob_ap_share It carves nicely, you can sand it easily, cut it with a saw, drill and tap it, lathe it…it’s super useful! Dusty, and it smells of Bondo pretty strongly, but it was invaluable for making those little seat cushions! Small update, as I’m replying anyway…next thing I needed to do to really get the overall look of this thing locked down was to figure out a frame for the windshield. I wanted something fairly tall, like Roth’s Tweedy Pie for those of you who have seen that, and also not too chunky looking like a lot of the styrene ones are… Some brass rod and soldering later… The frame itself clicks in, with a push fit, to a tab behind the dashboard and then gets sandwiched in place behind the dash, once I finally figure out what I want to make there…I wanted to make sure it was nice and secure in there and I think I’ve got it worked out. Meanwhile, less interesting, but I had to finish up the trans tunnel and floor so that I could figure out pedal and steering rack placement so I got that job done…the trans has an access cover on the driver’s side that I had to box around which ruined the symmetry of the floor, but space is really at a premium in these little T-buckets so this seemed the most sensible option… A little smoothing out and some carpet and it’ll look ok, hopefully…I also made an inner firewall piece to hide where the ‘real’ firewall glues to the body. Just a mini update…more soon, soon as I’ve done more!
-
1964 Pontiac Bonneville Convertible.
OldNYJim replied to StevenGuthmiller's topic in WIP: Model Cars
Did you ever try the trick with using Silly Putty to make a mold and then drip a little resin in there? I’ve done that for small parts like this before and it worked like a charm -
What did you see on the road today?
OldNYJim replied to Harry P.'s topic in General Automotive Talk (Trucks and Cars)
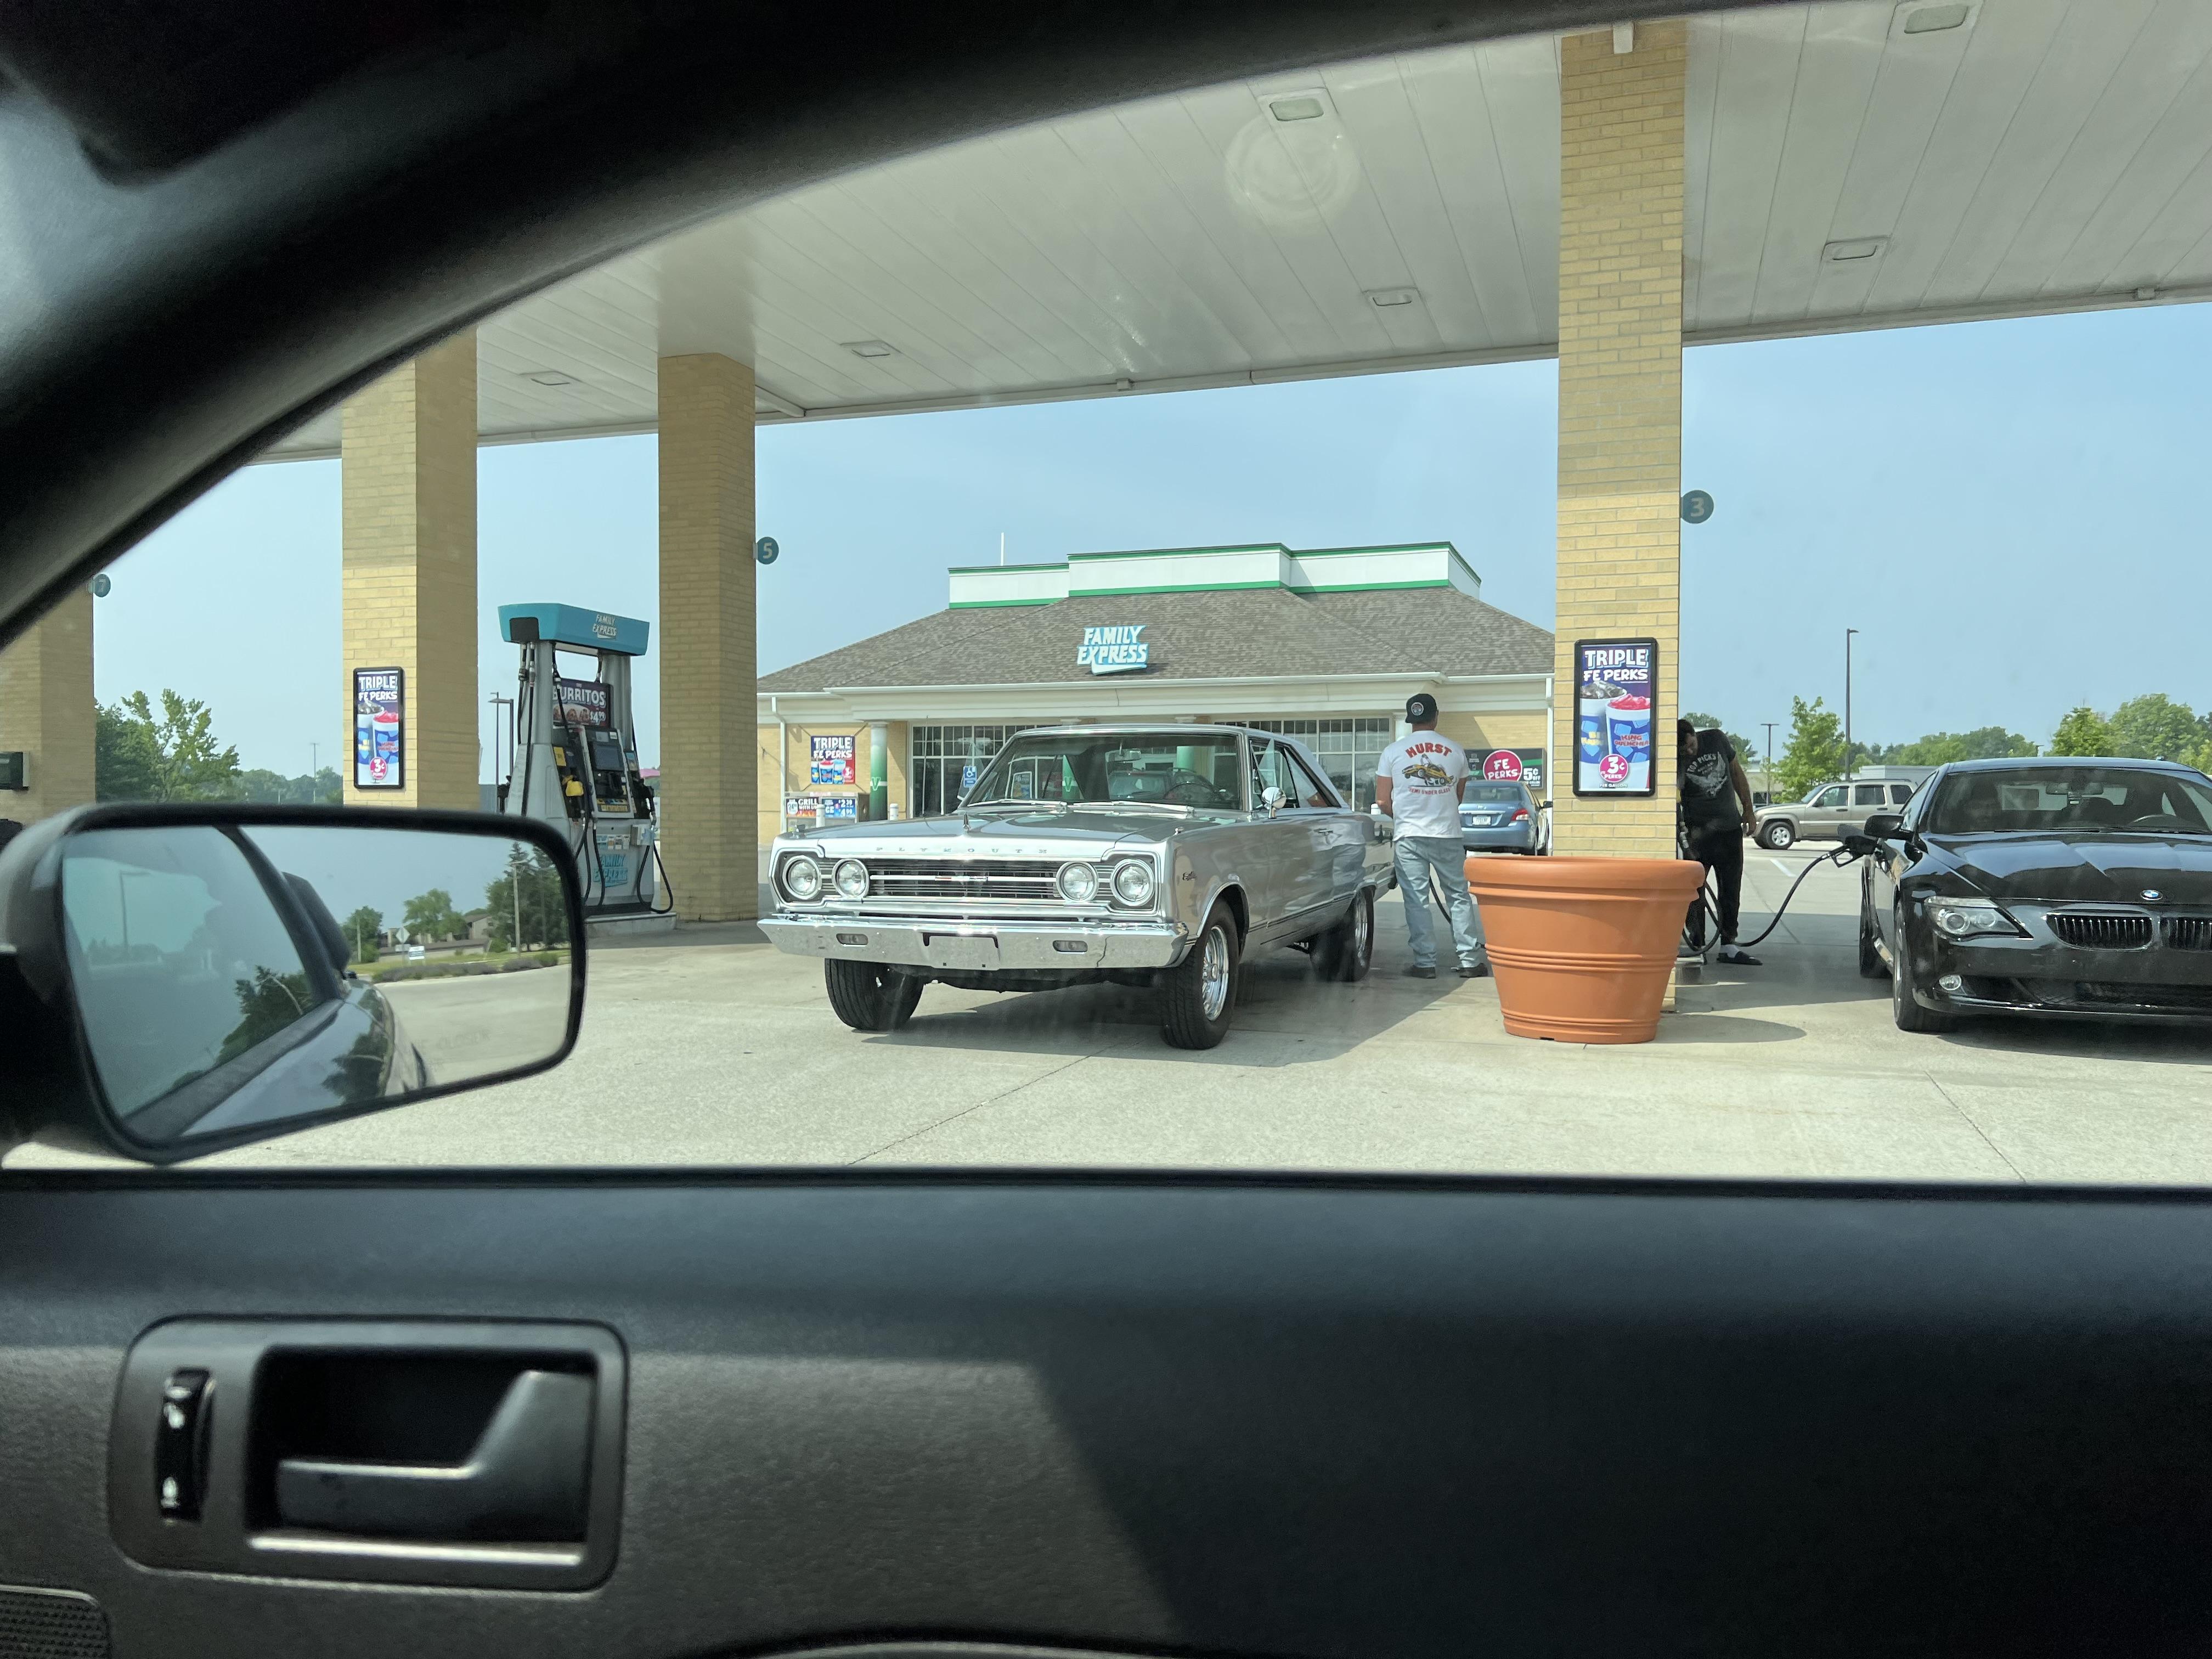
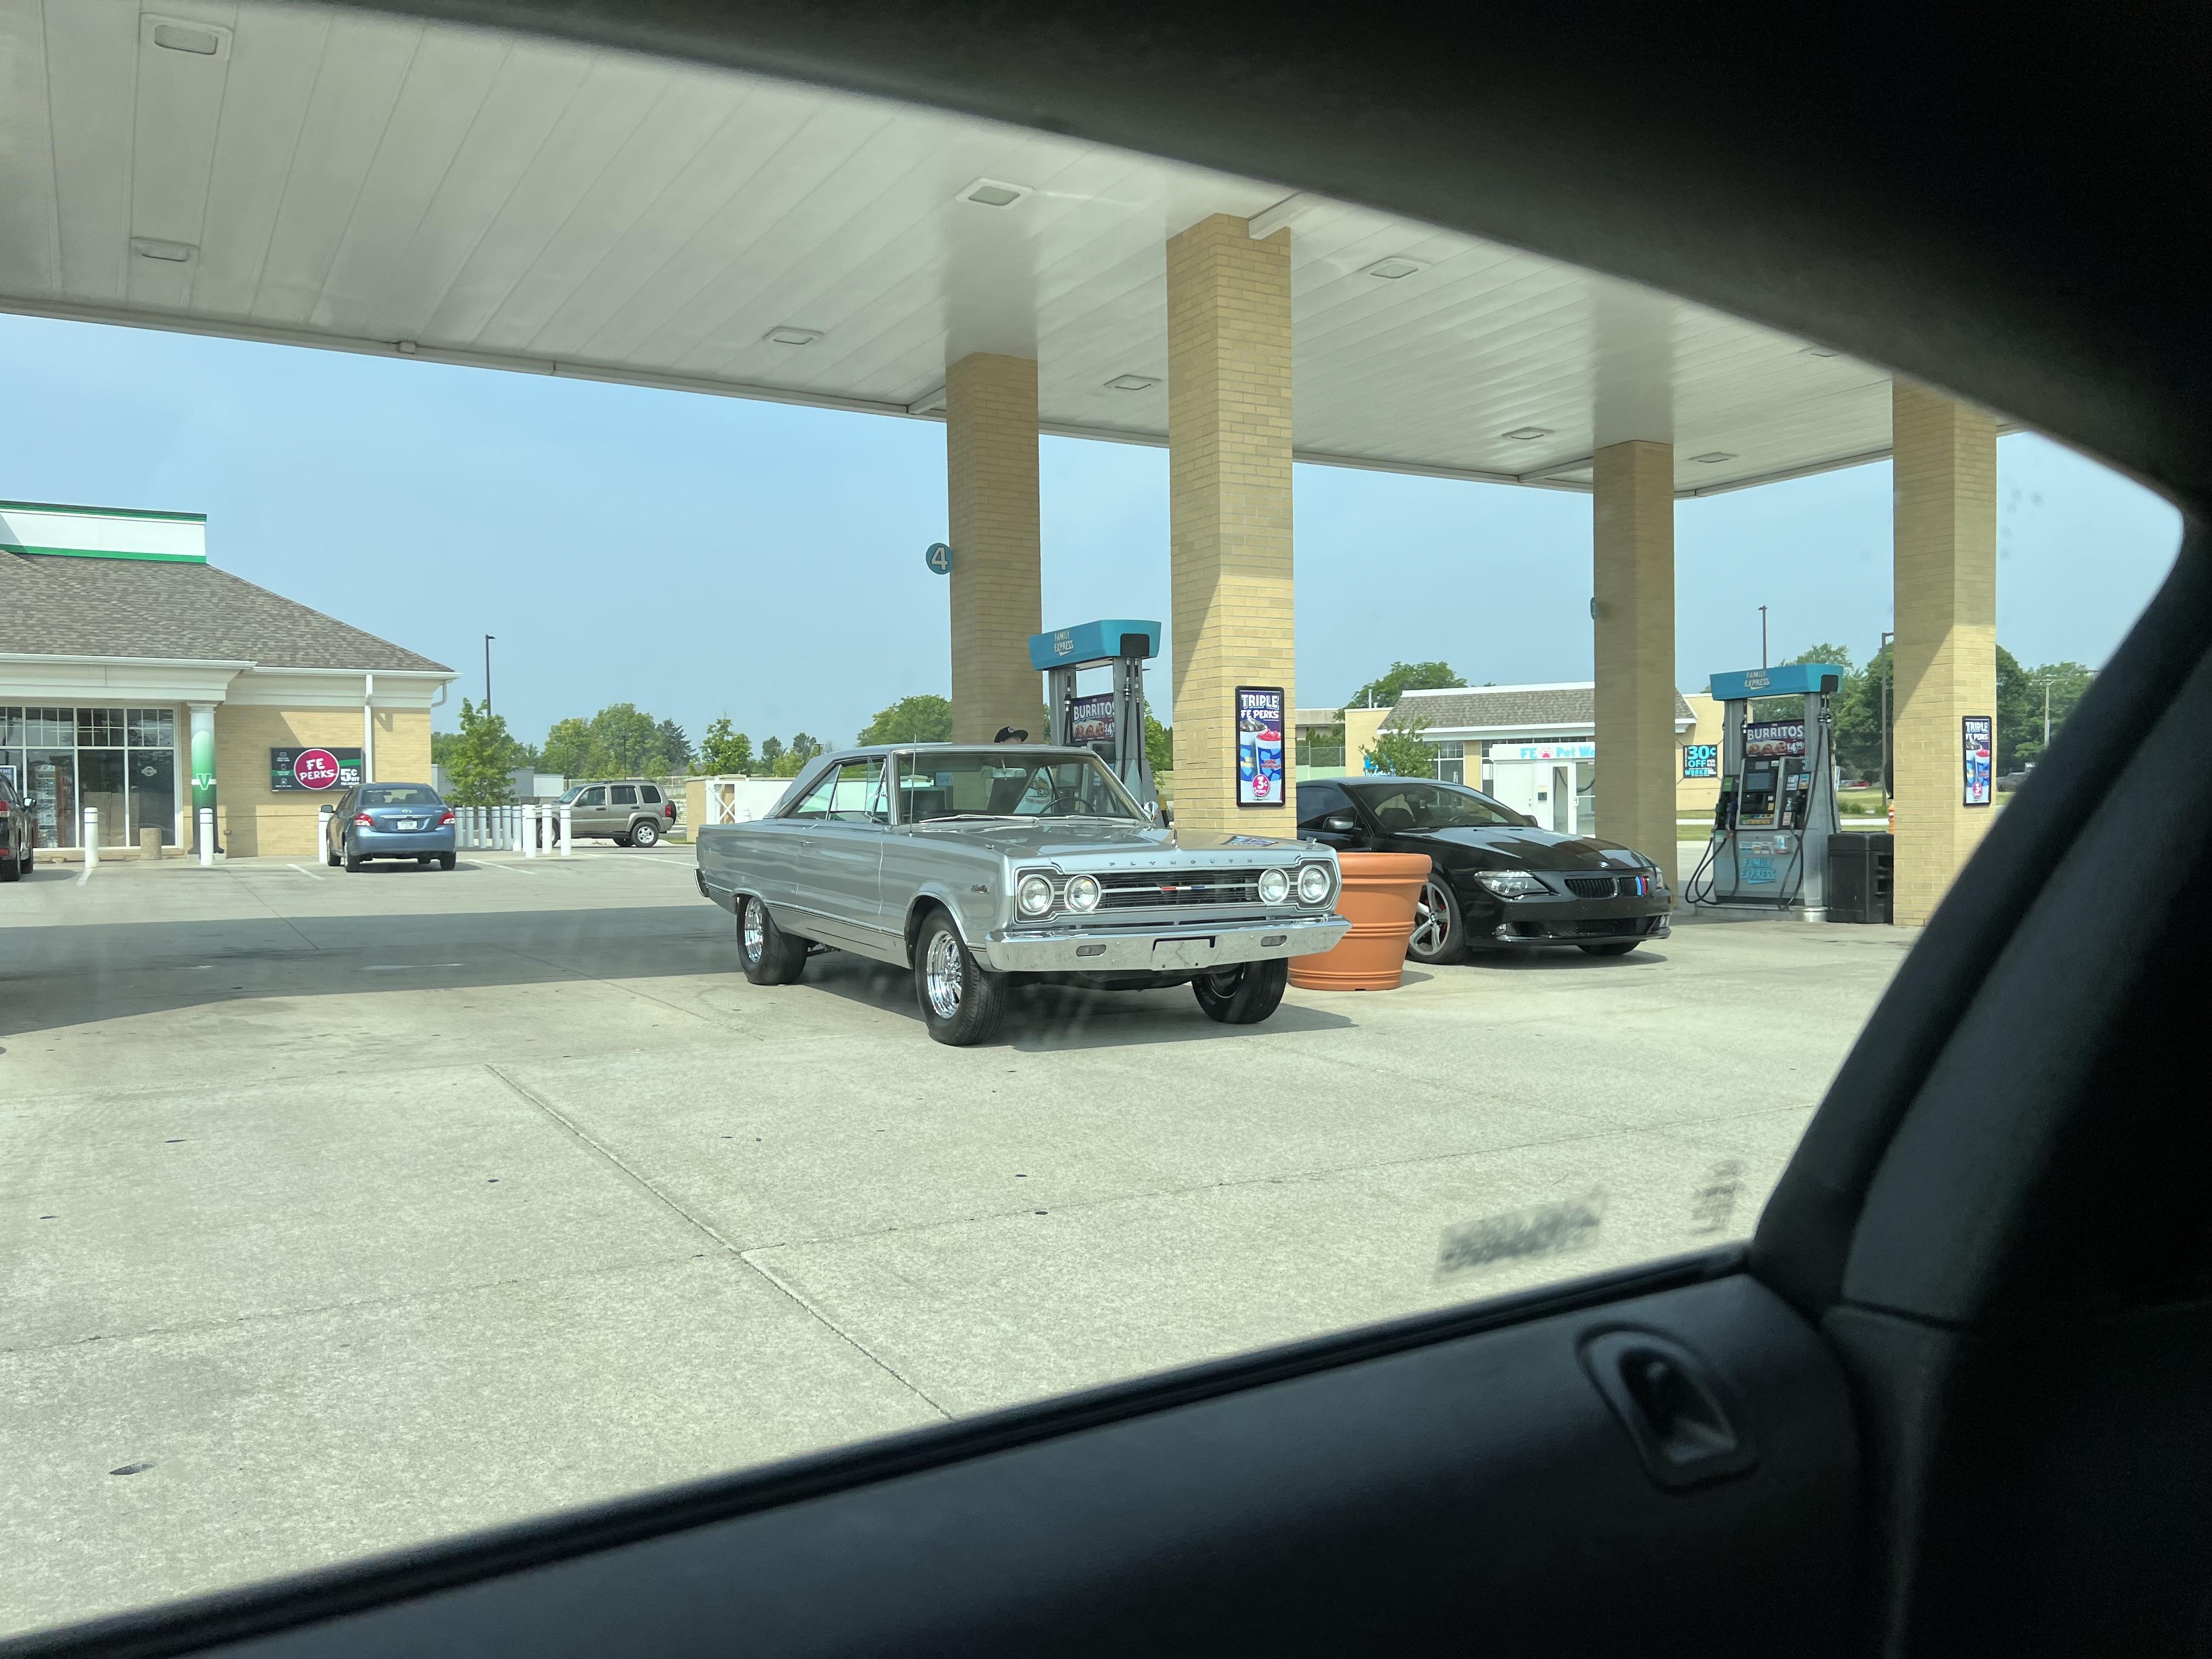
Went for gas this morning, spotted this as I pulled out:
-
Yellow tree from new amt kit
OldNYJim replied to MrMiles's topic in Model Building Questions and Answers
I’ve had some AMT parts like that from new(ish) released kits…no cause for alarm based on my experience… -
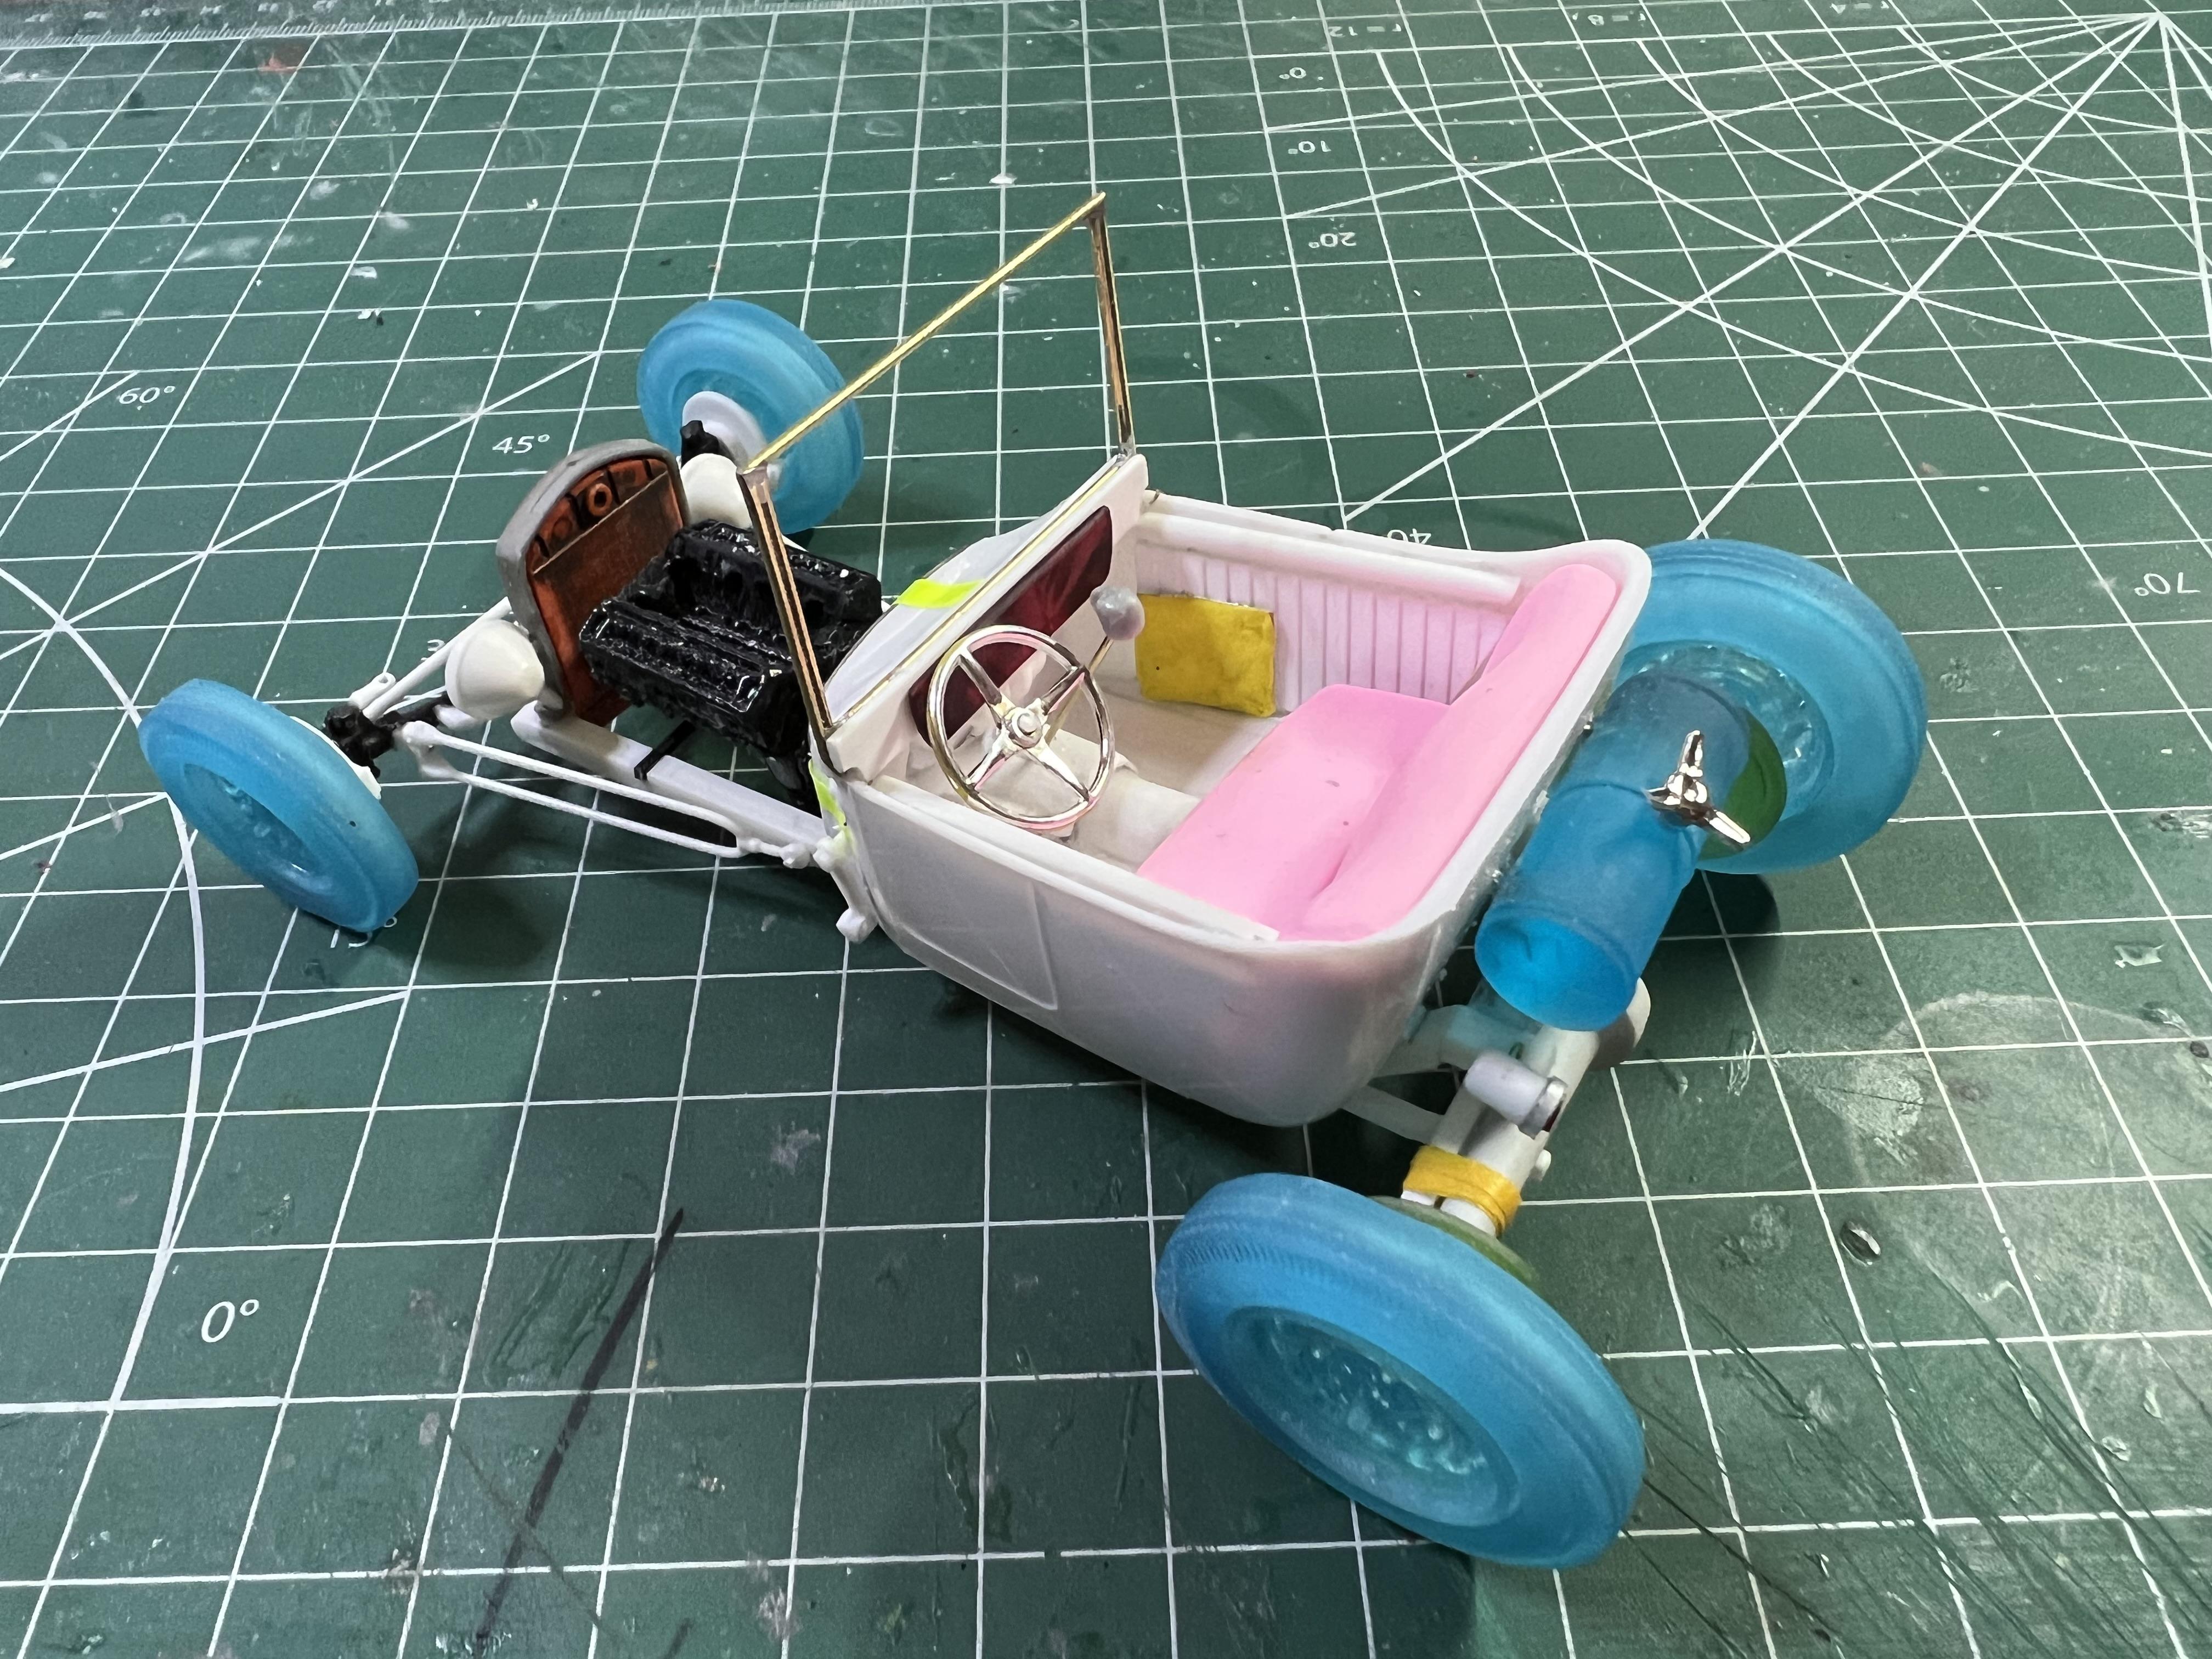
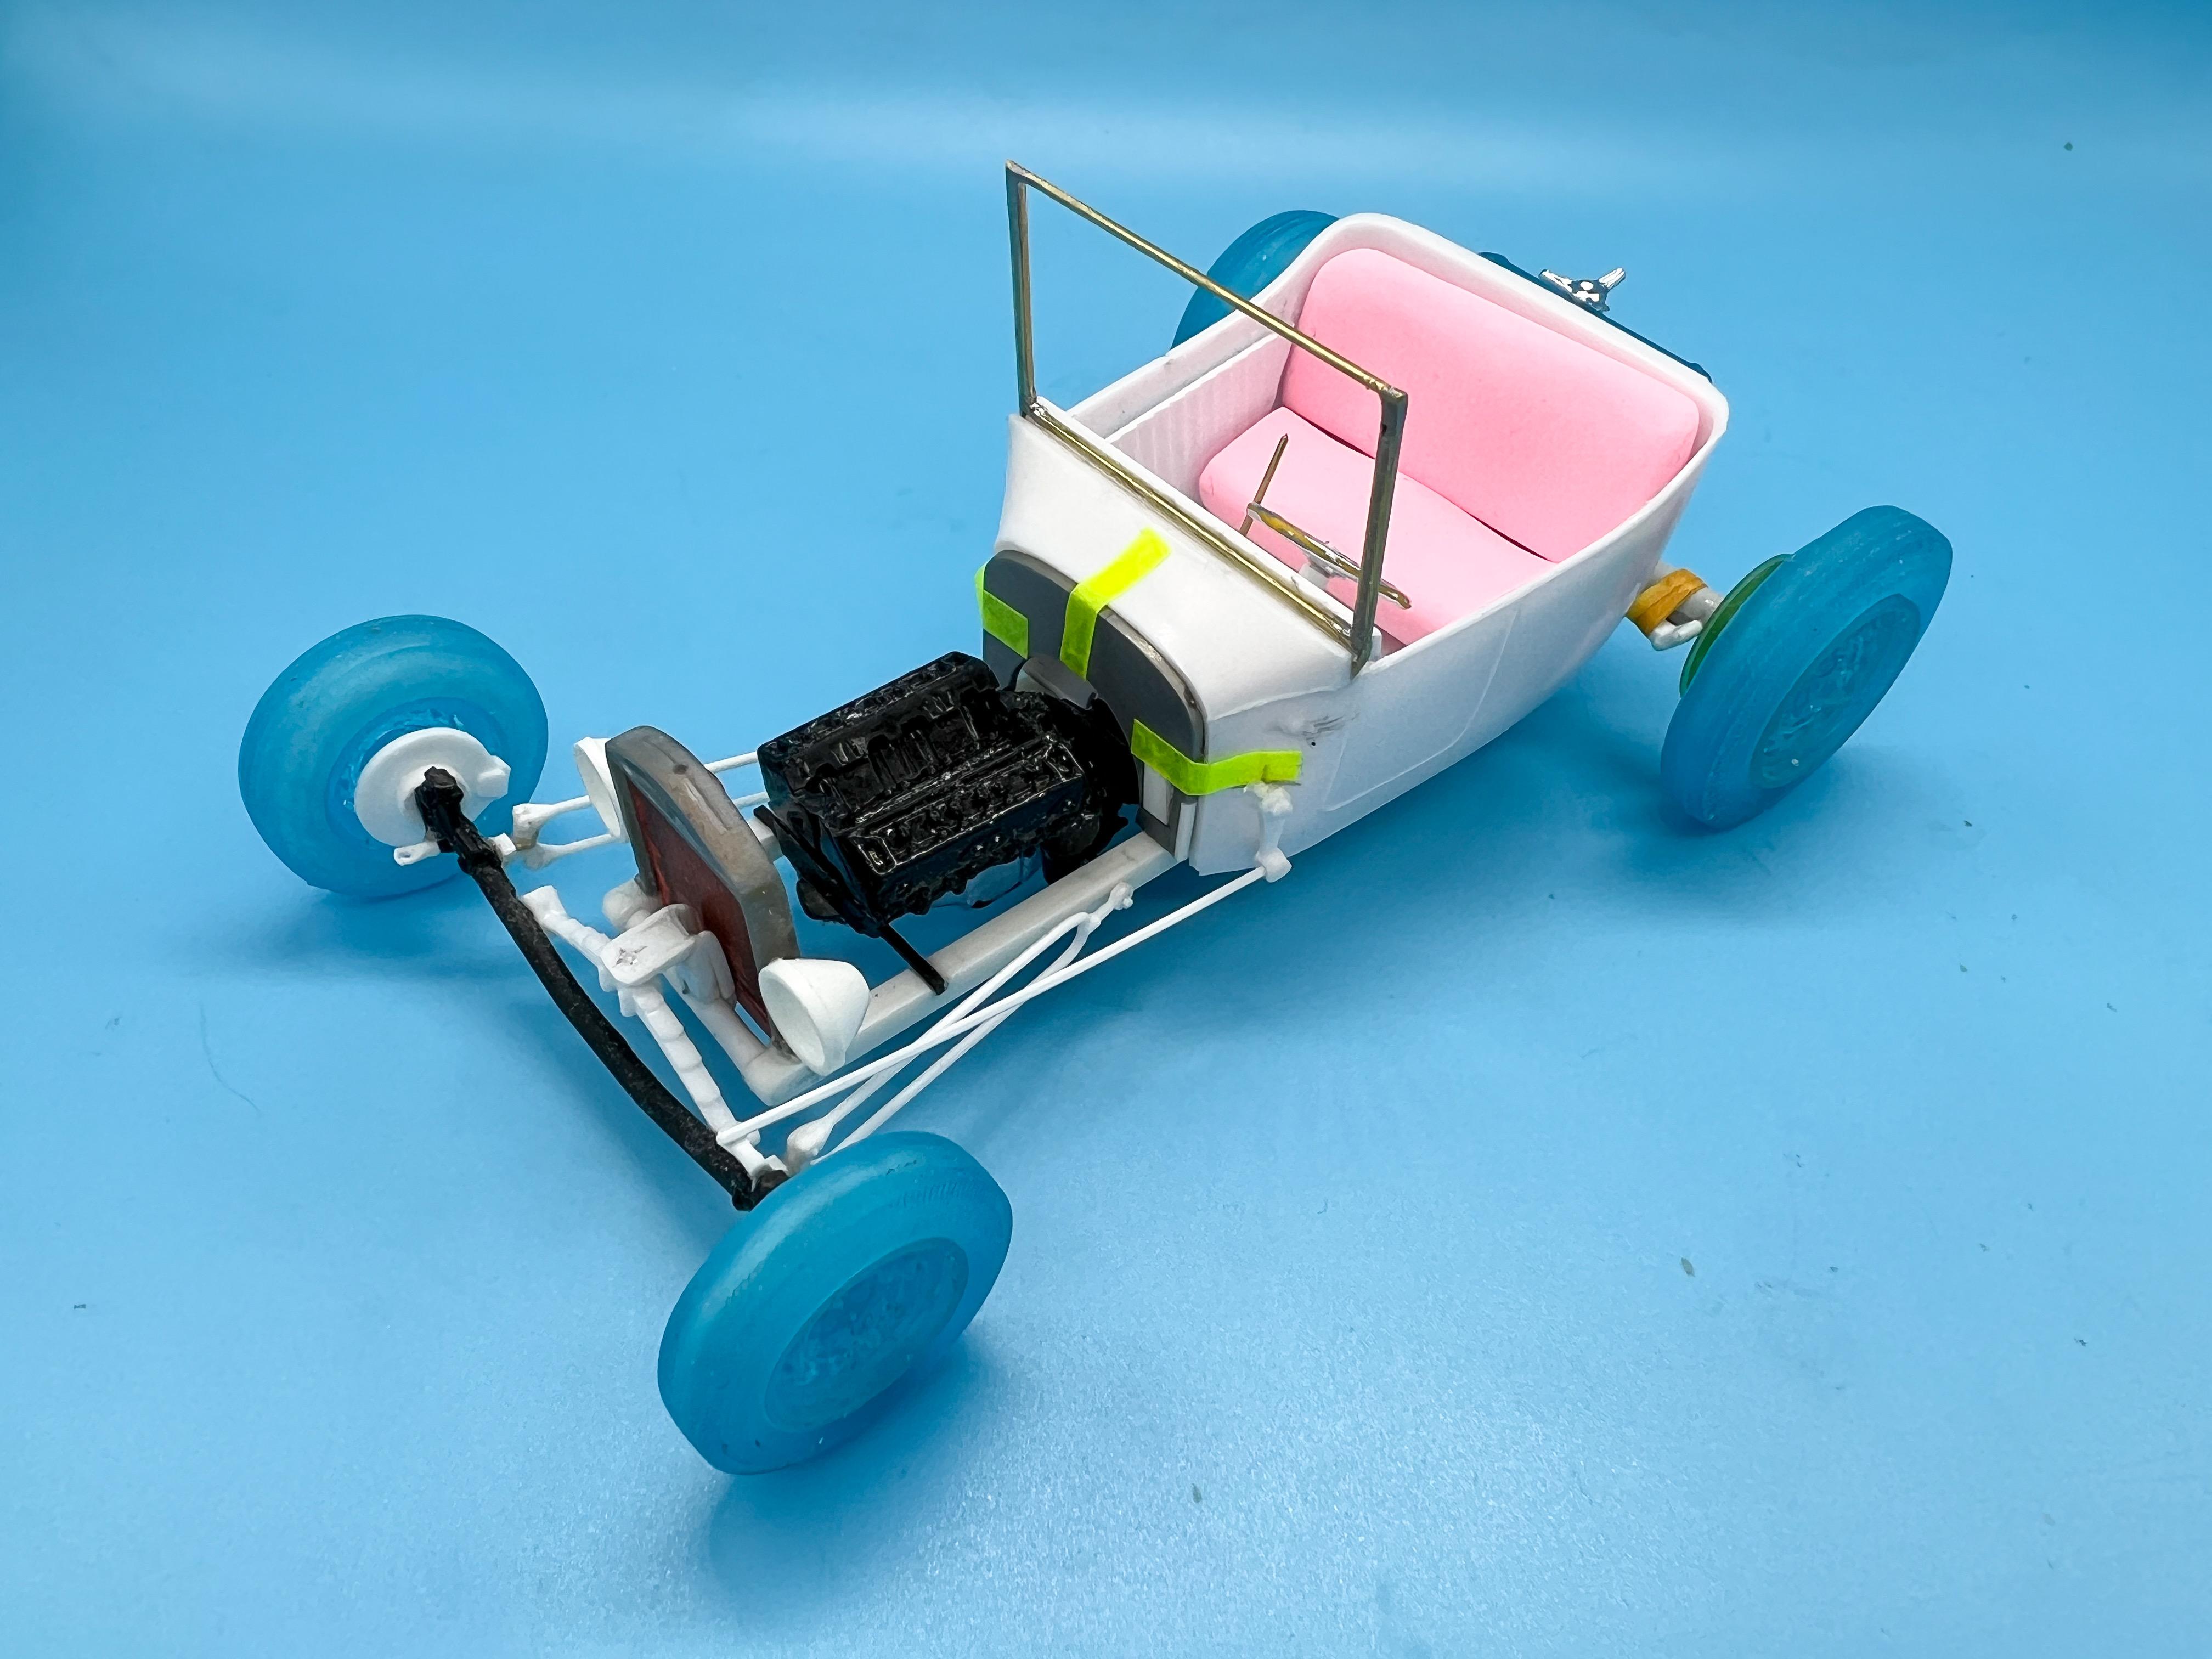
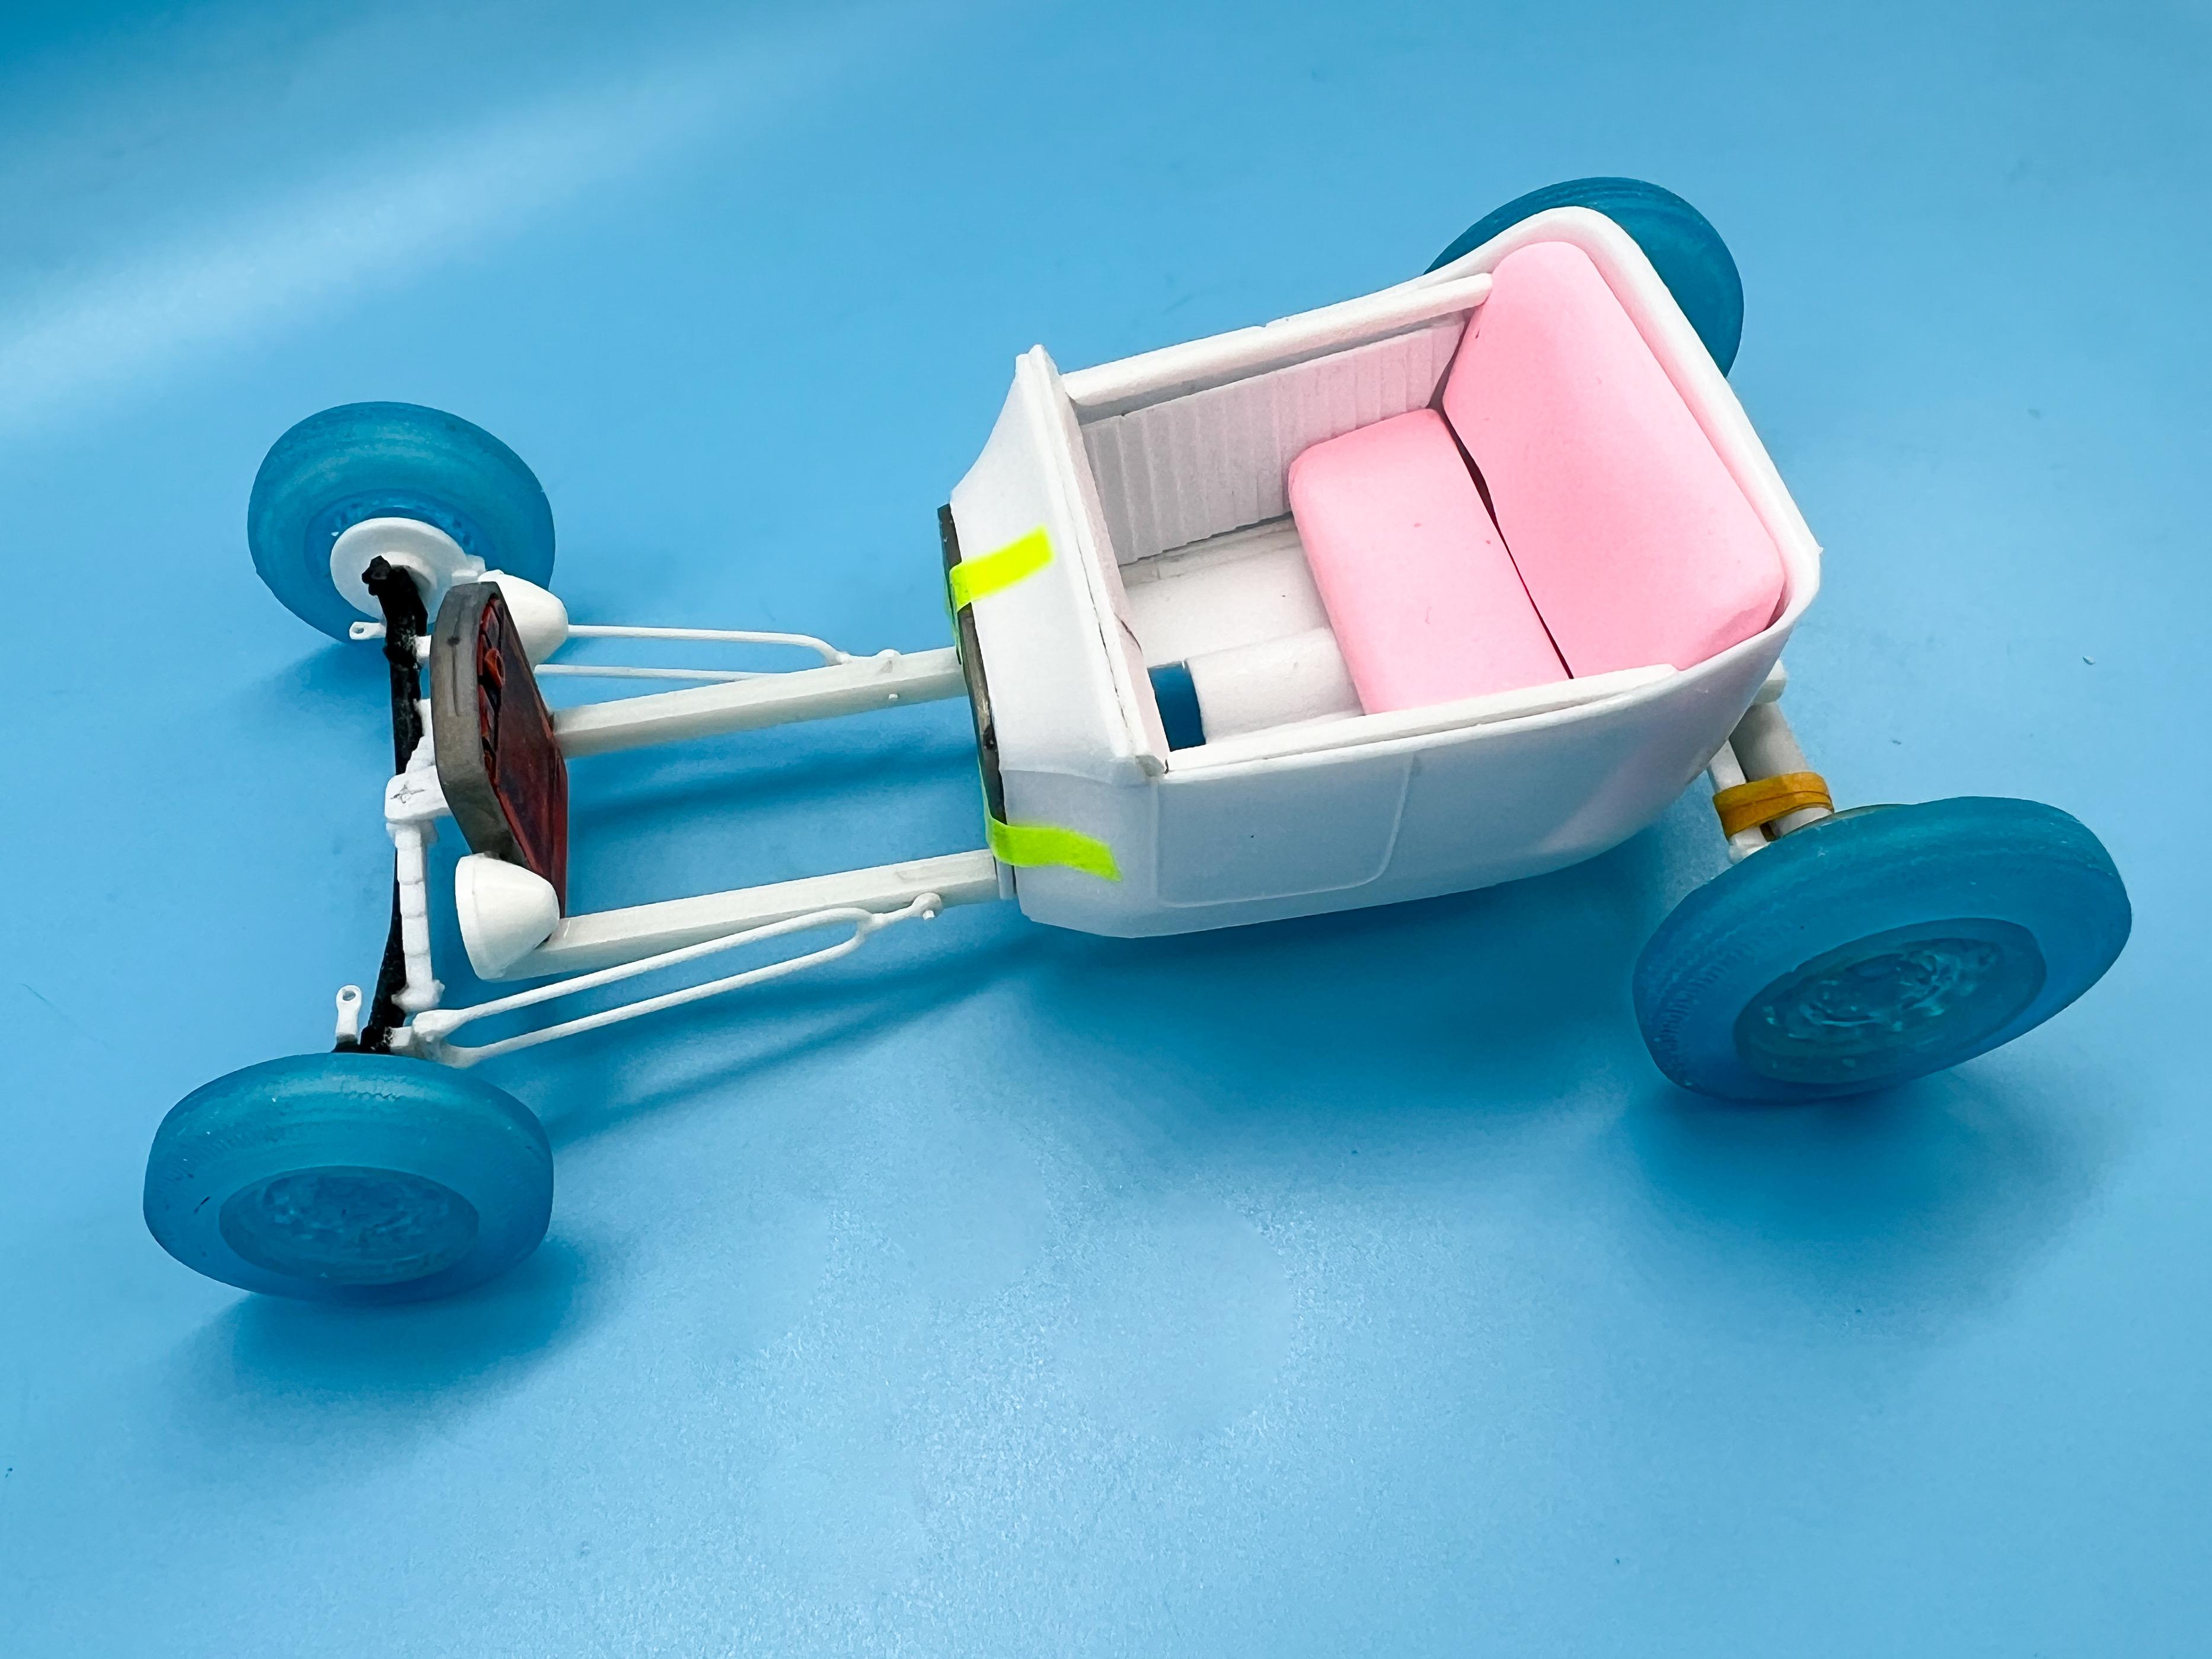
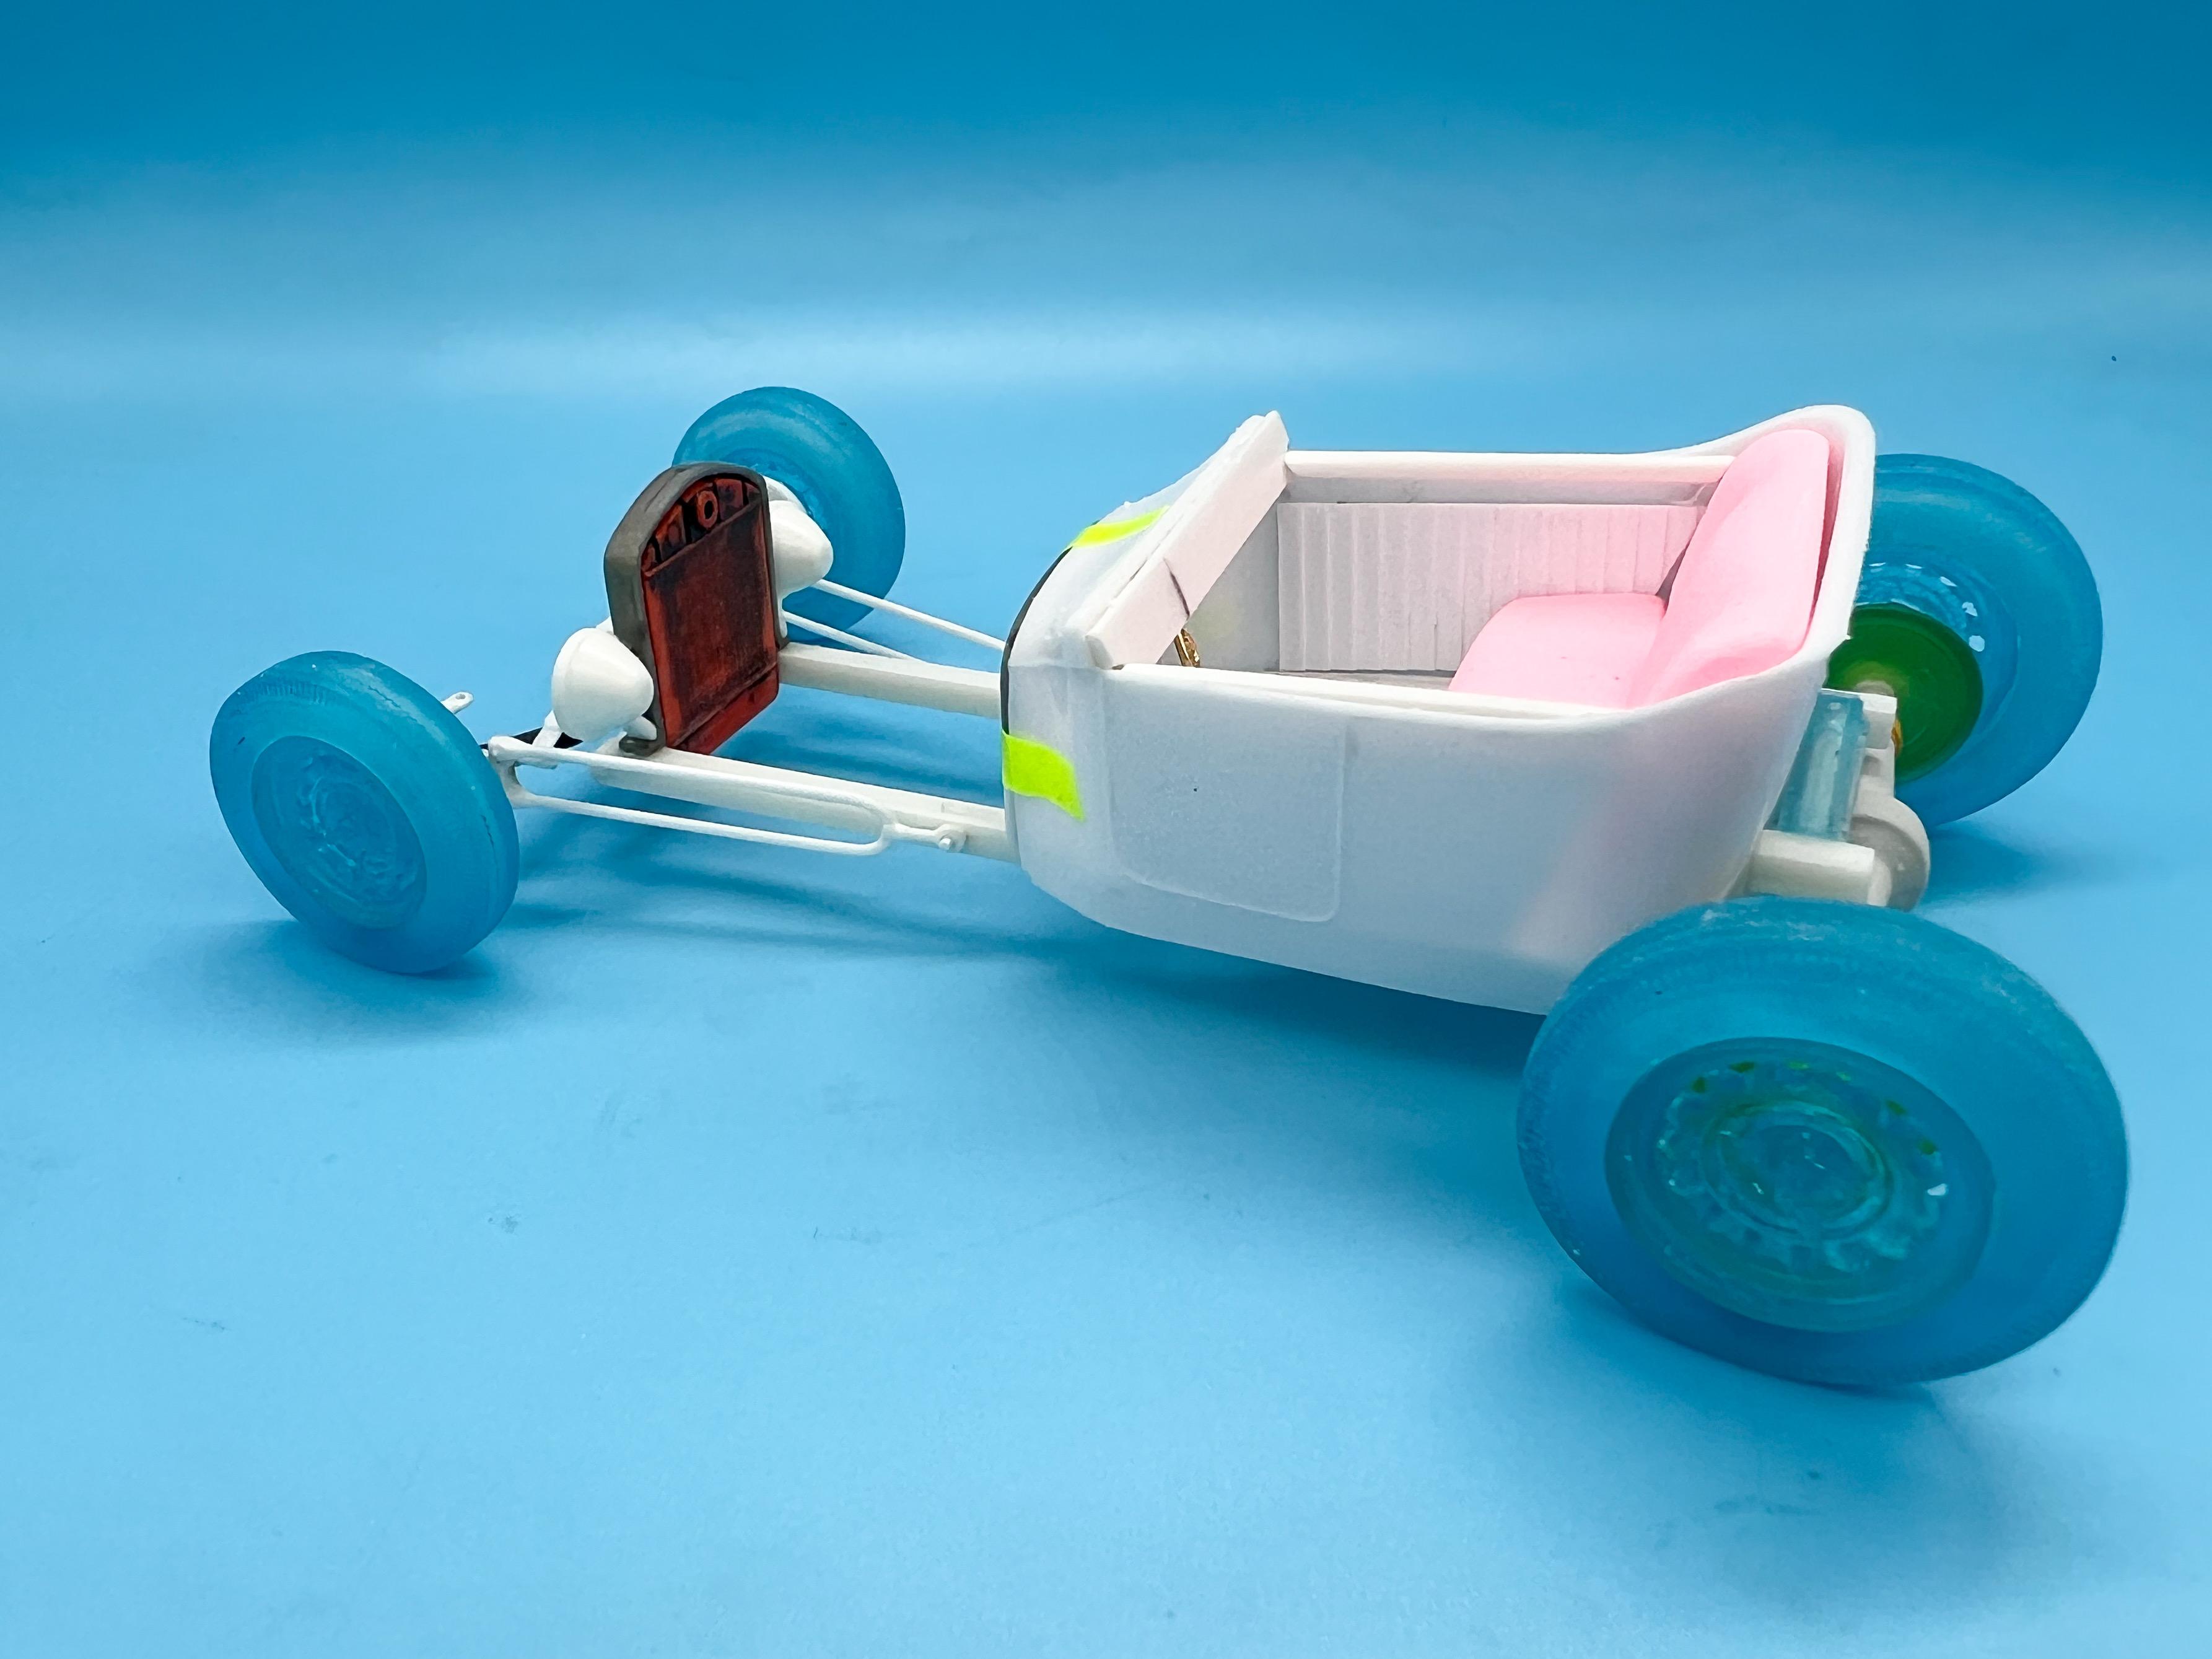
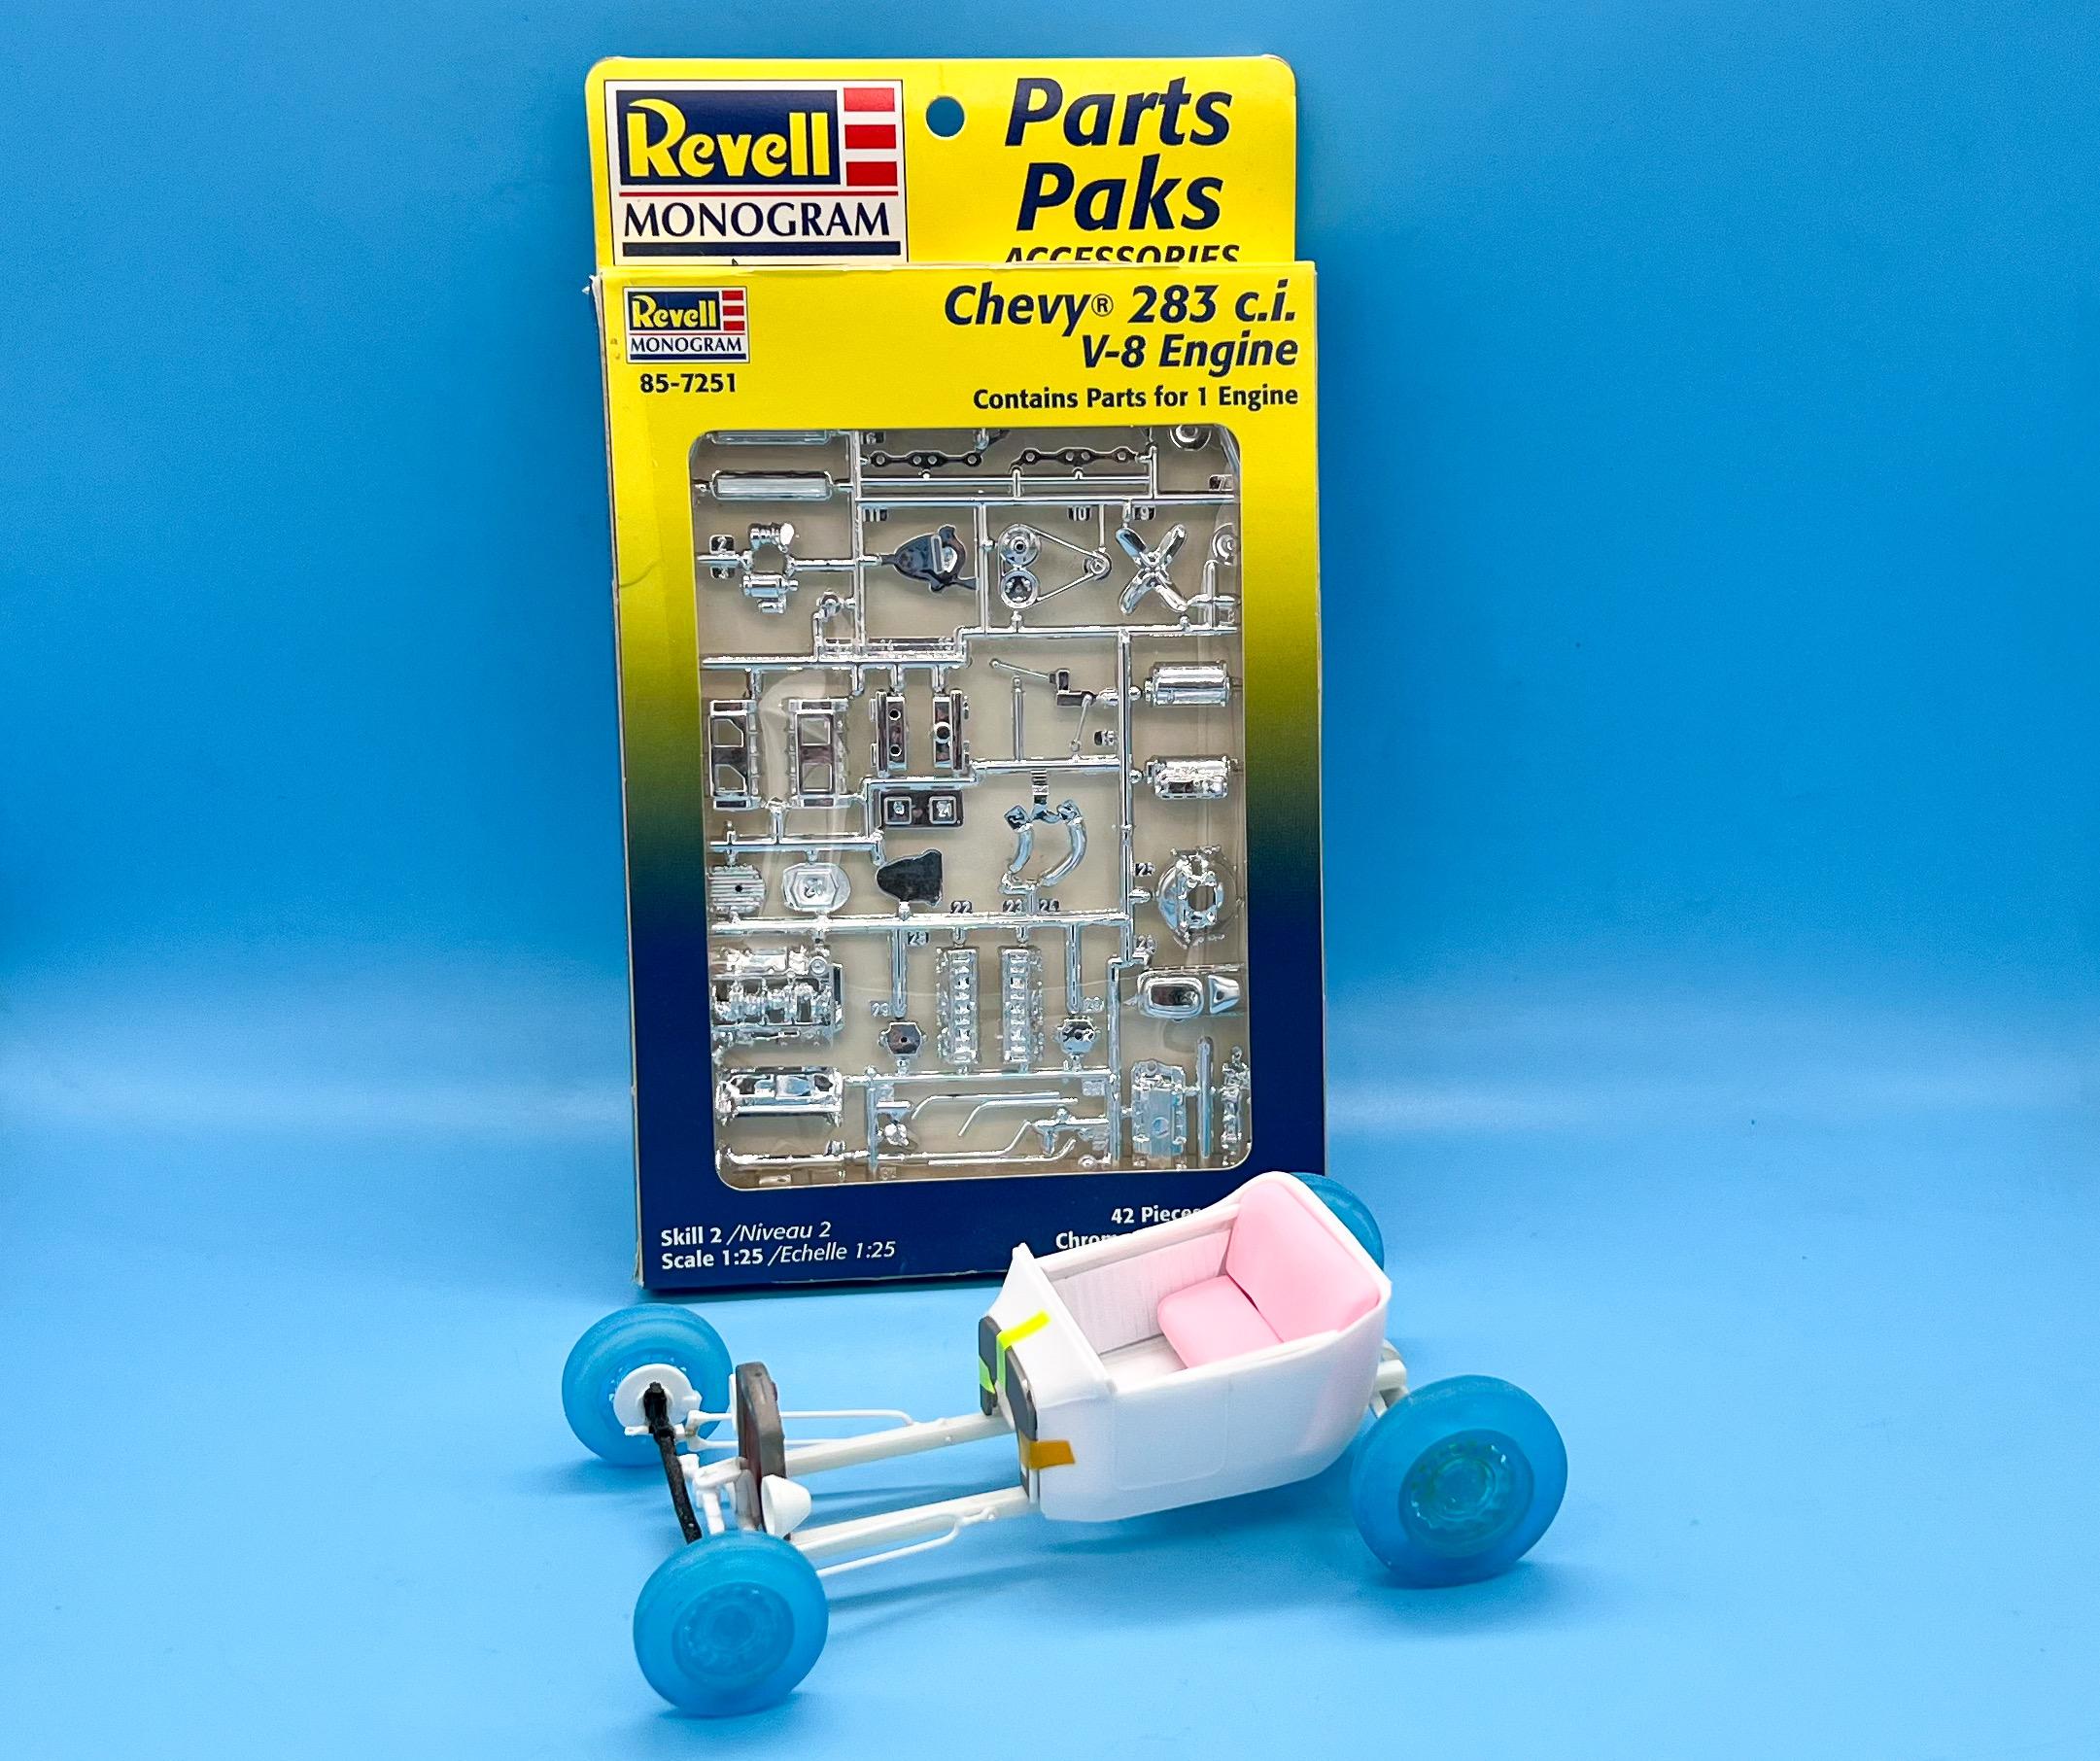
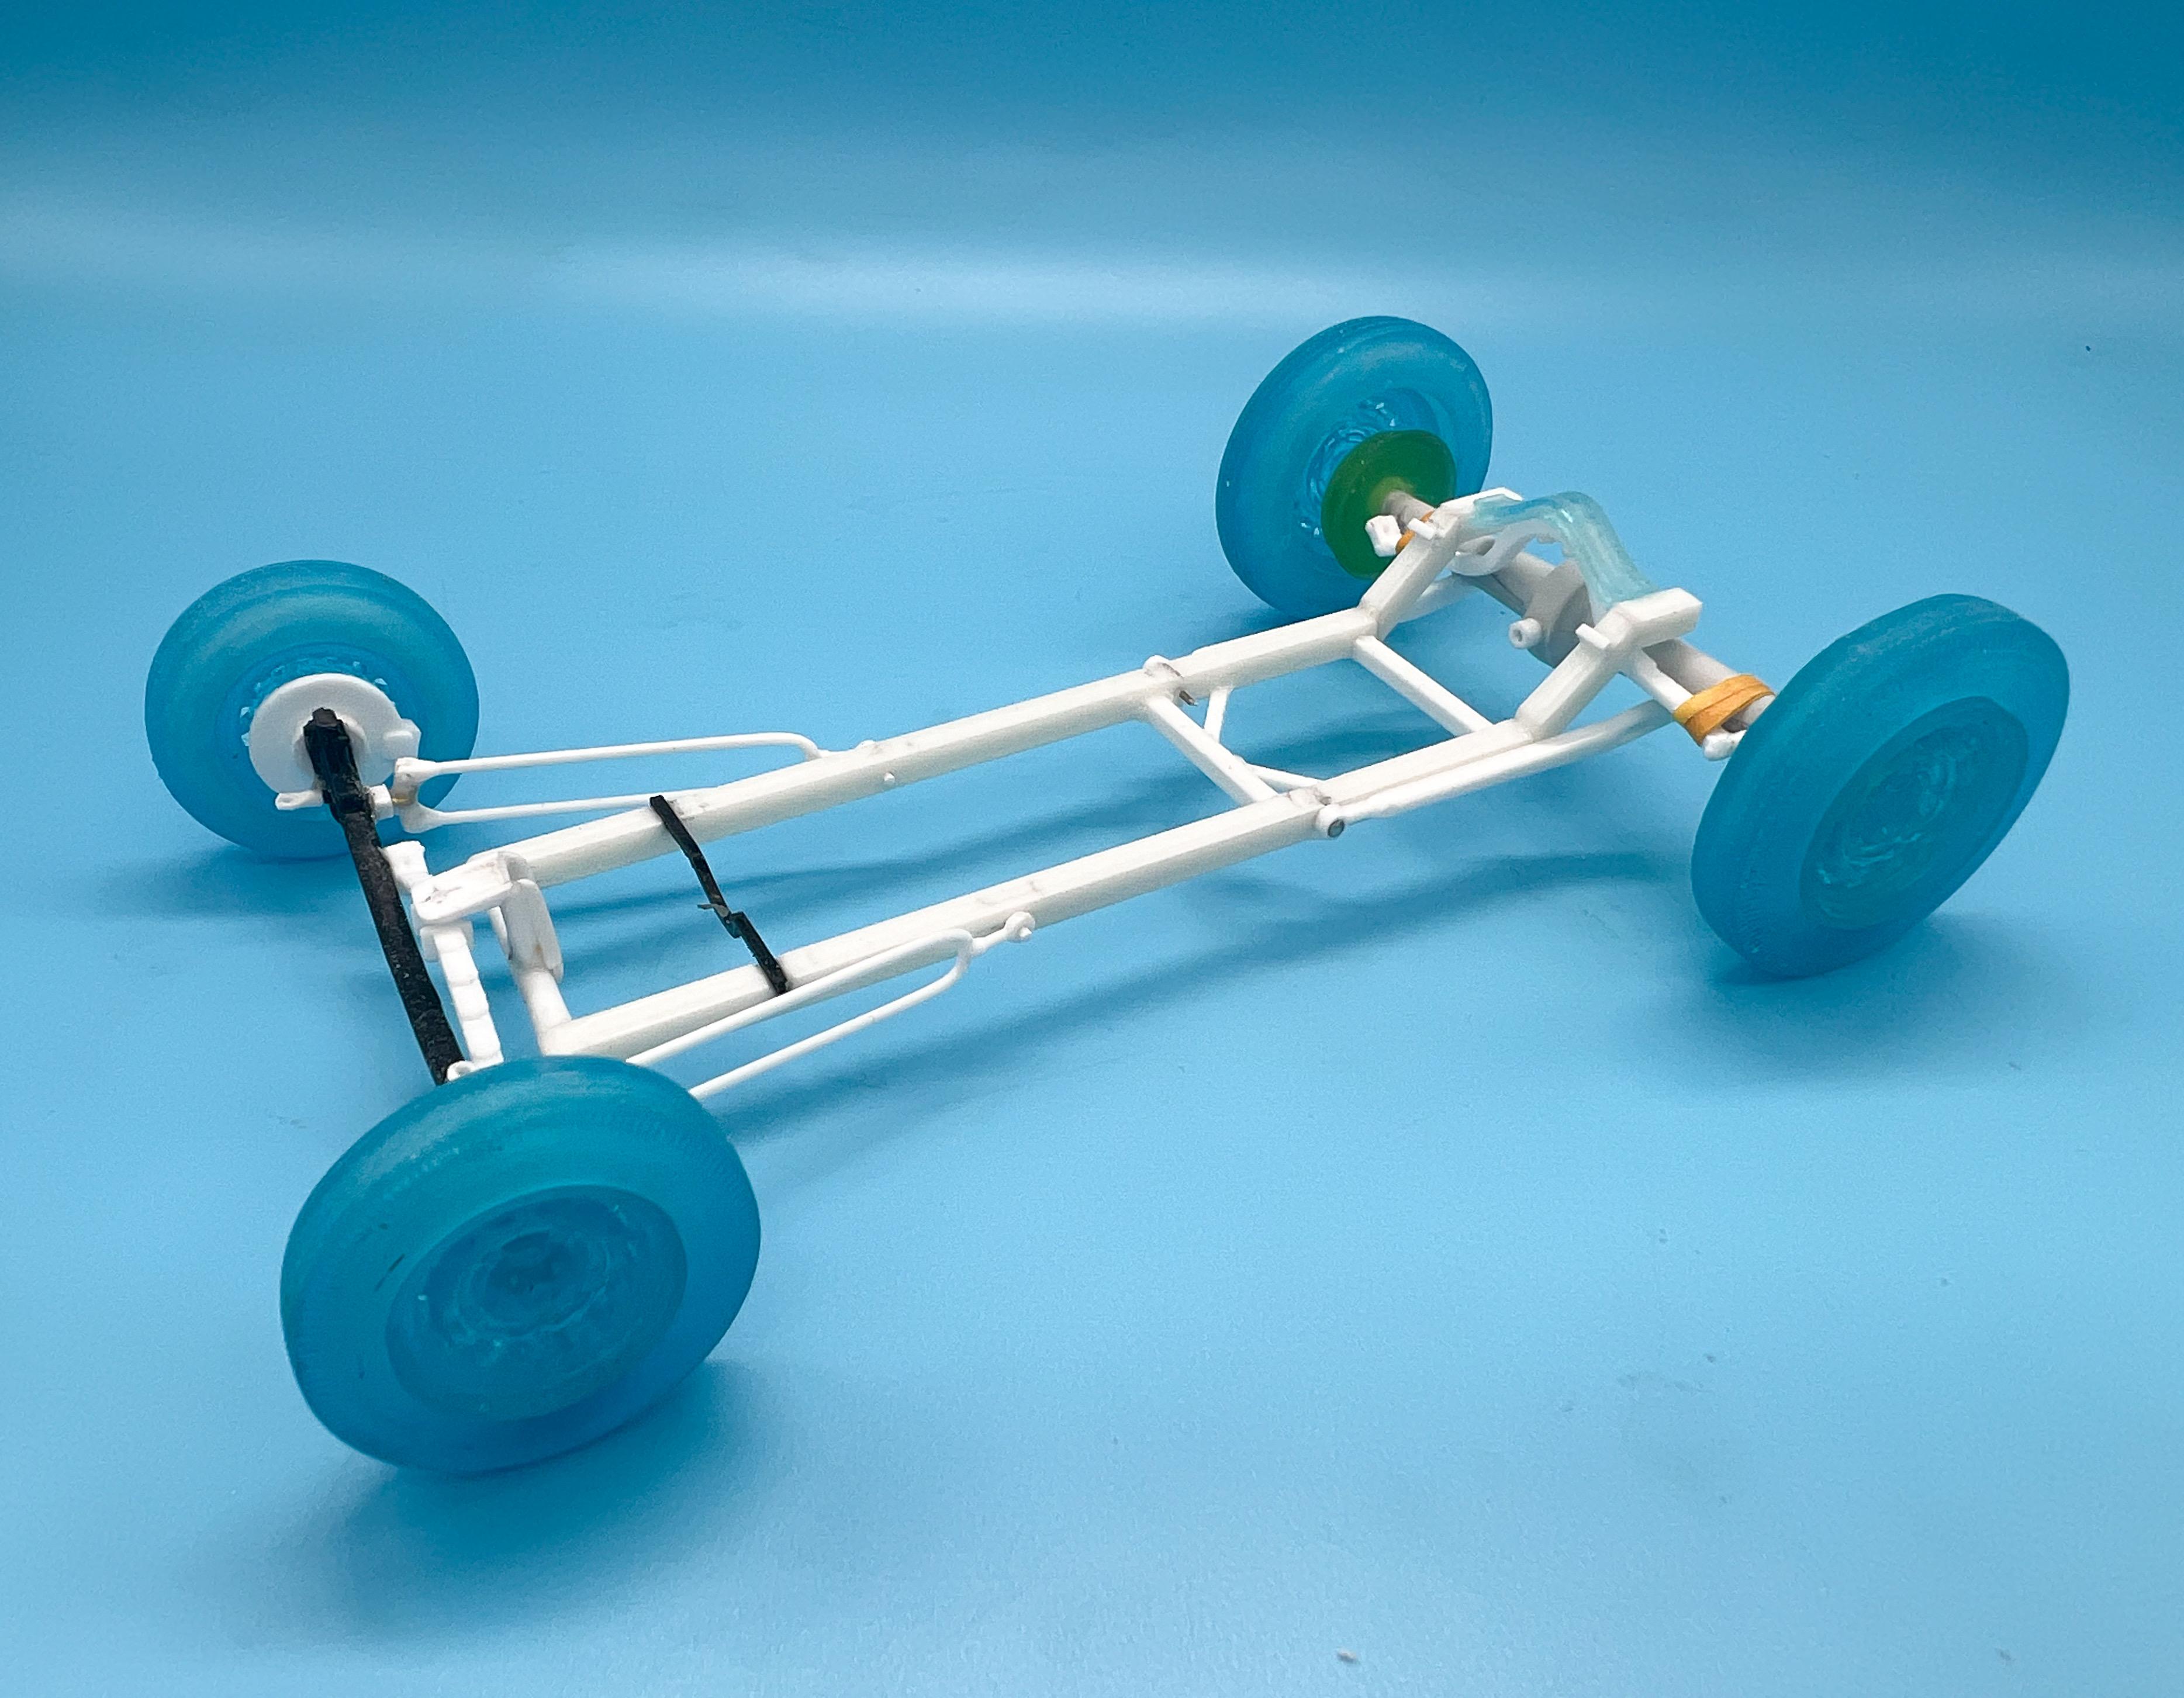
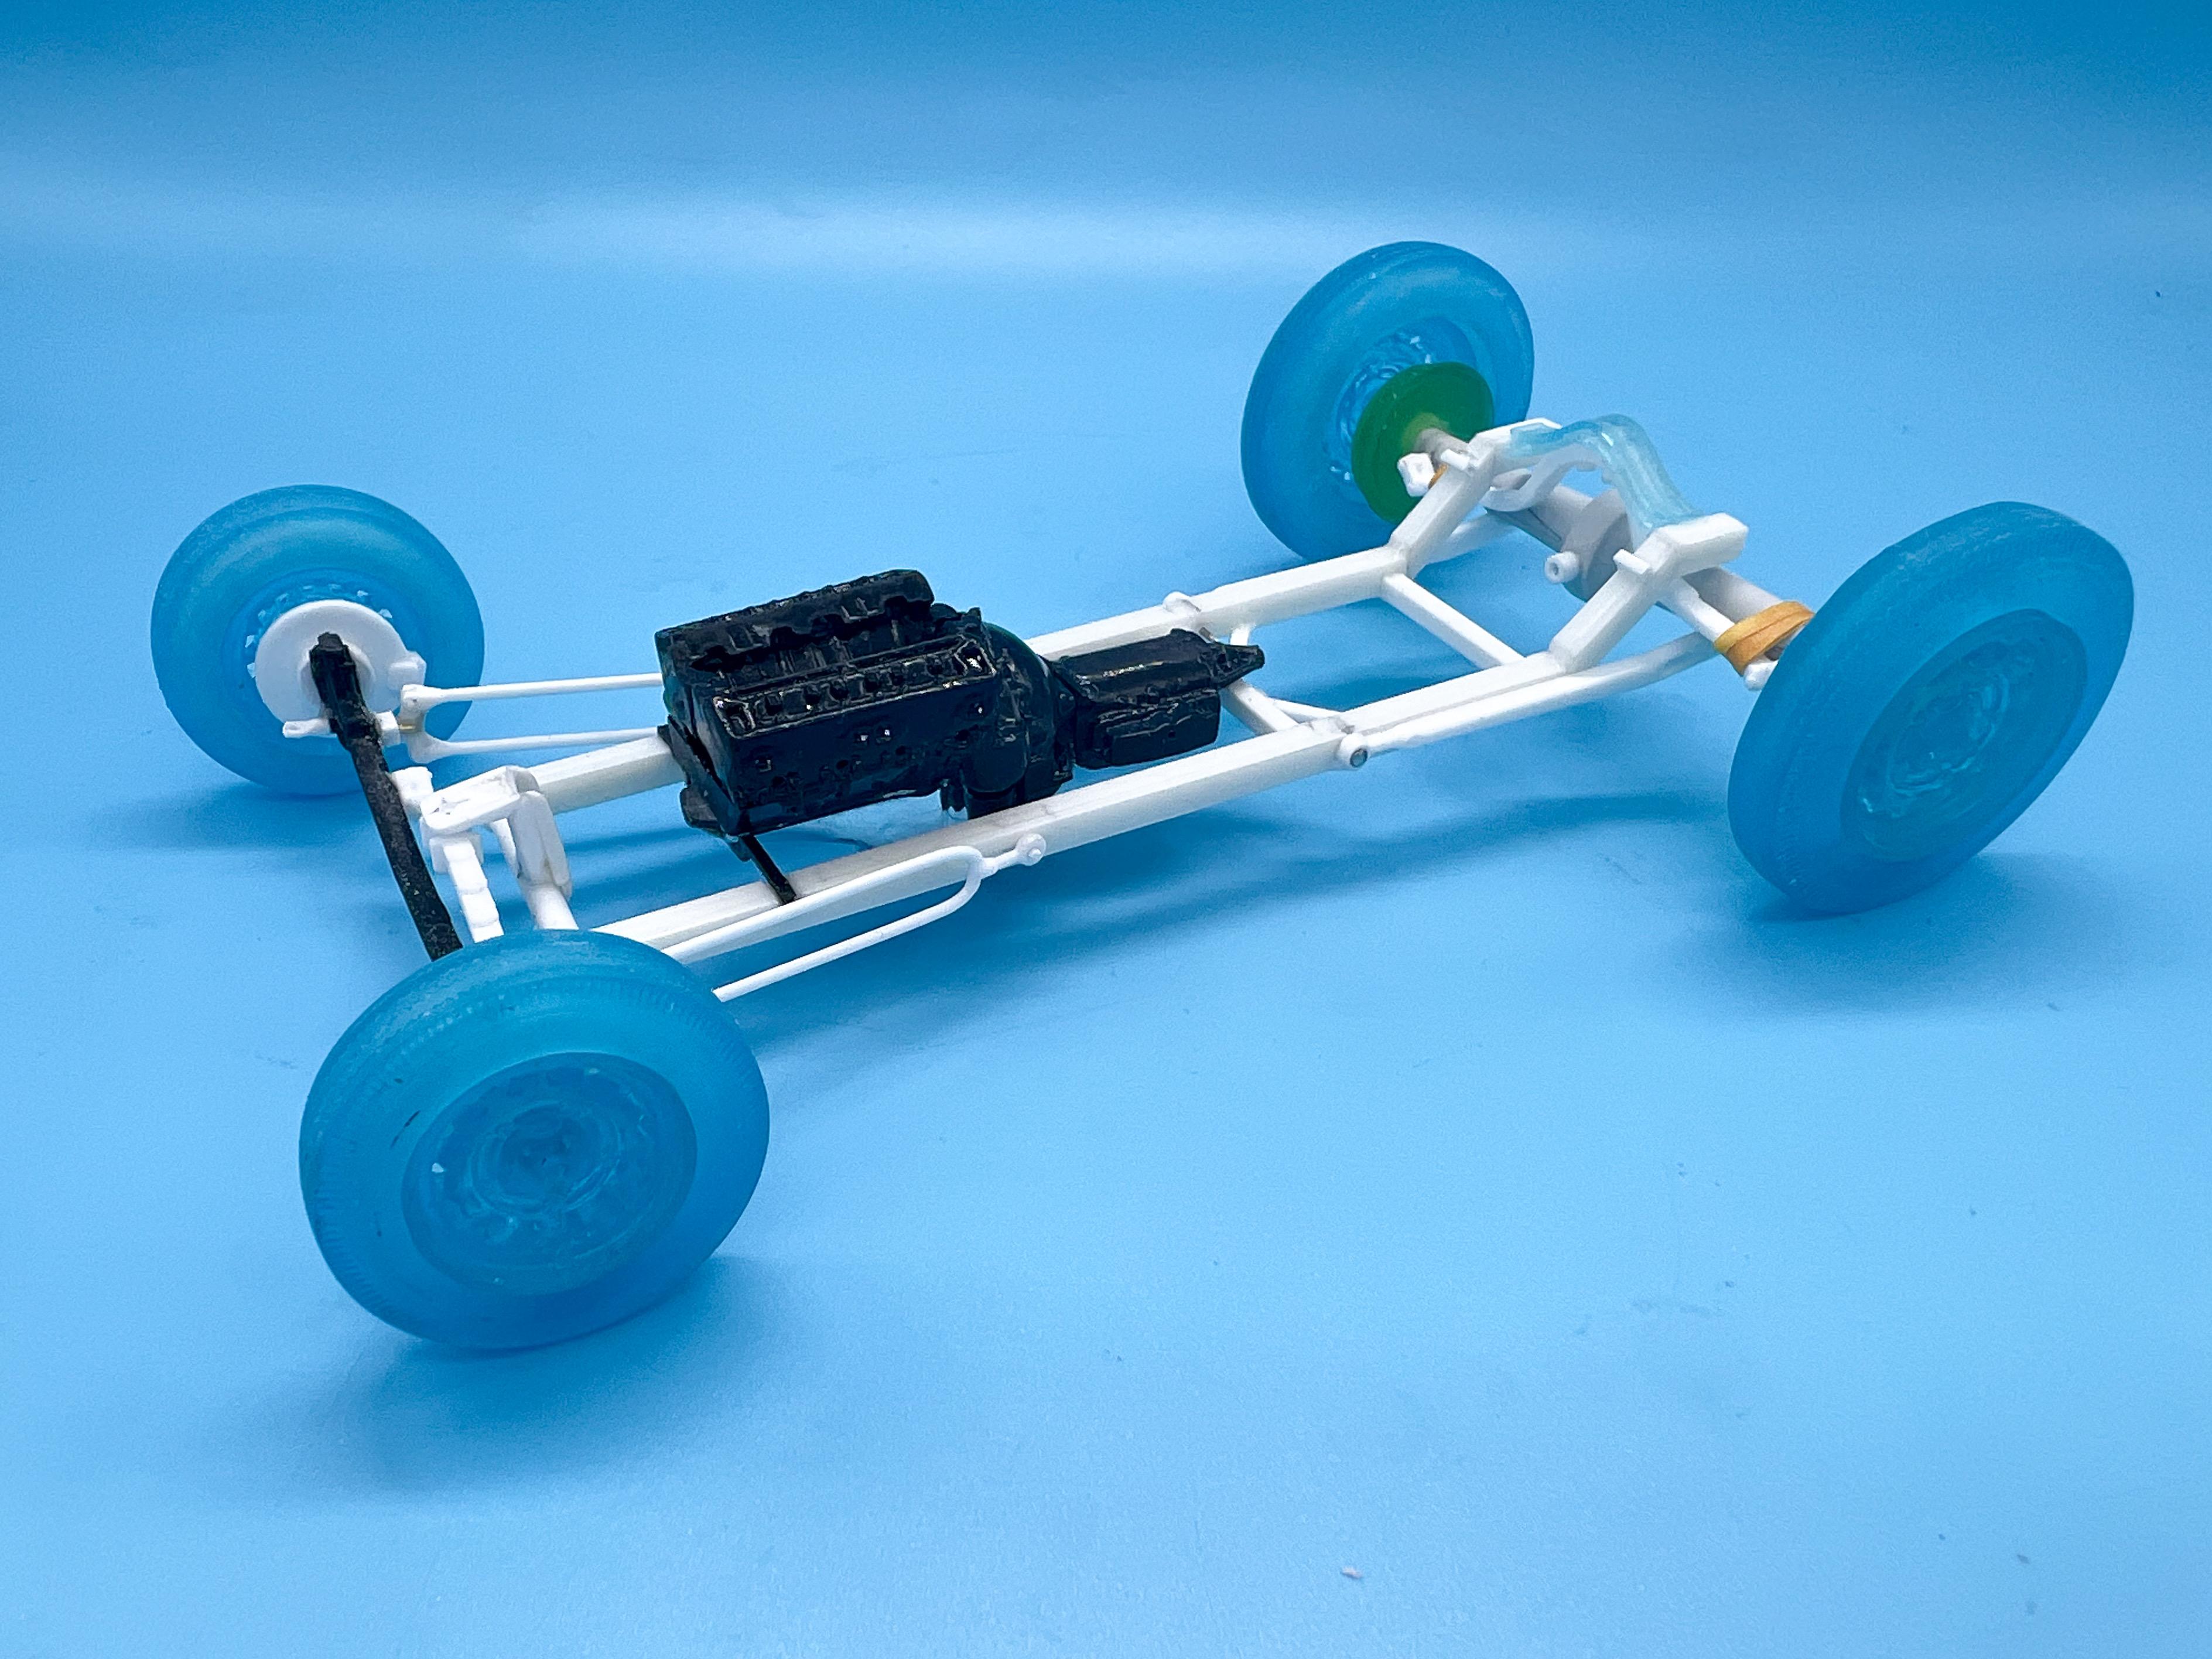
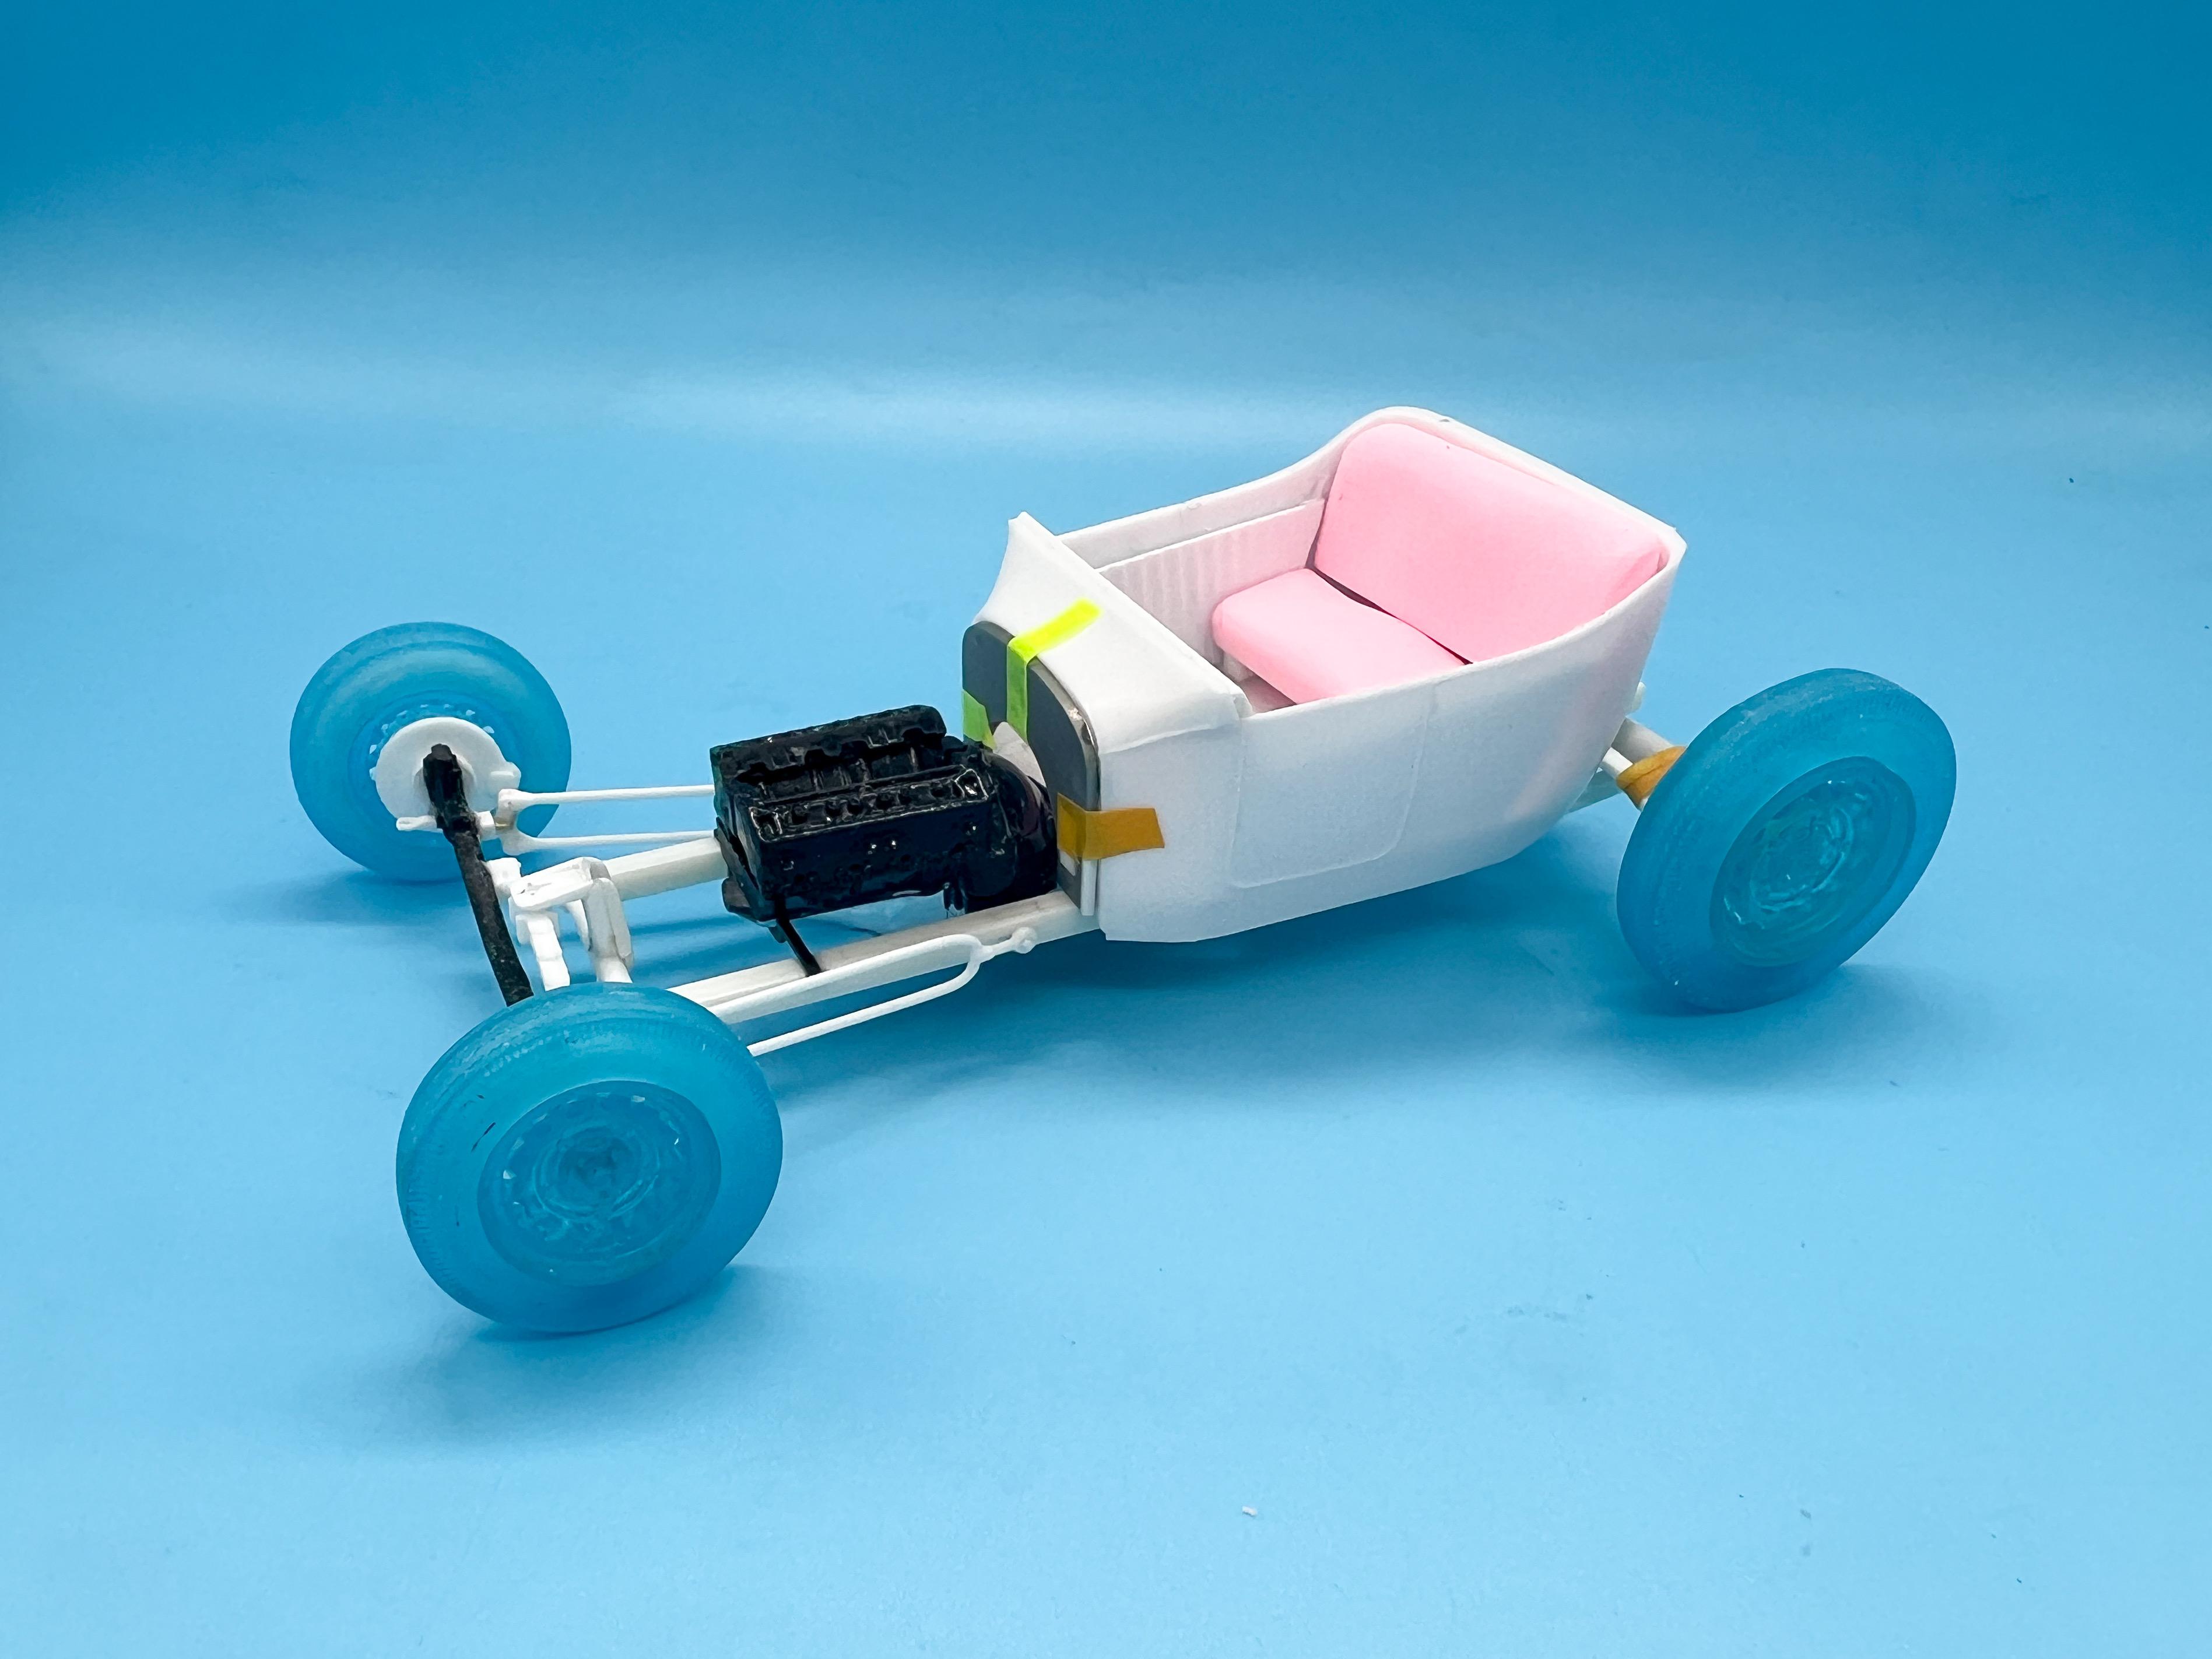
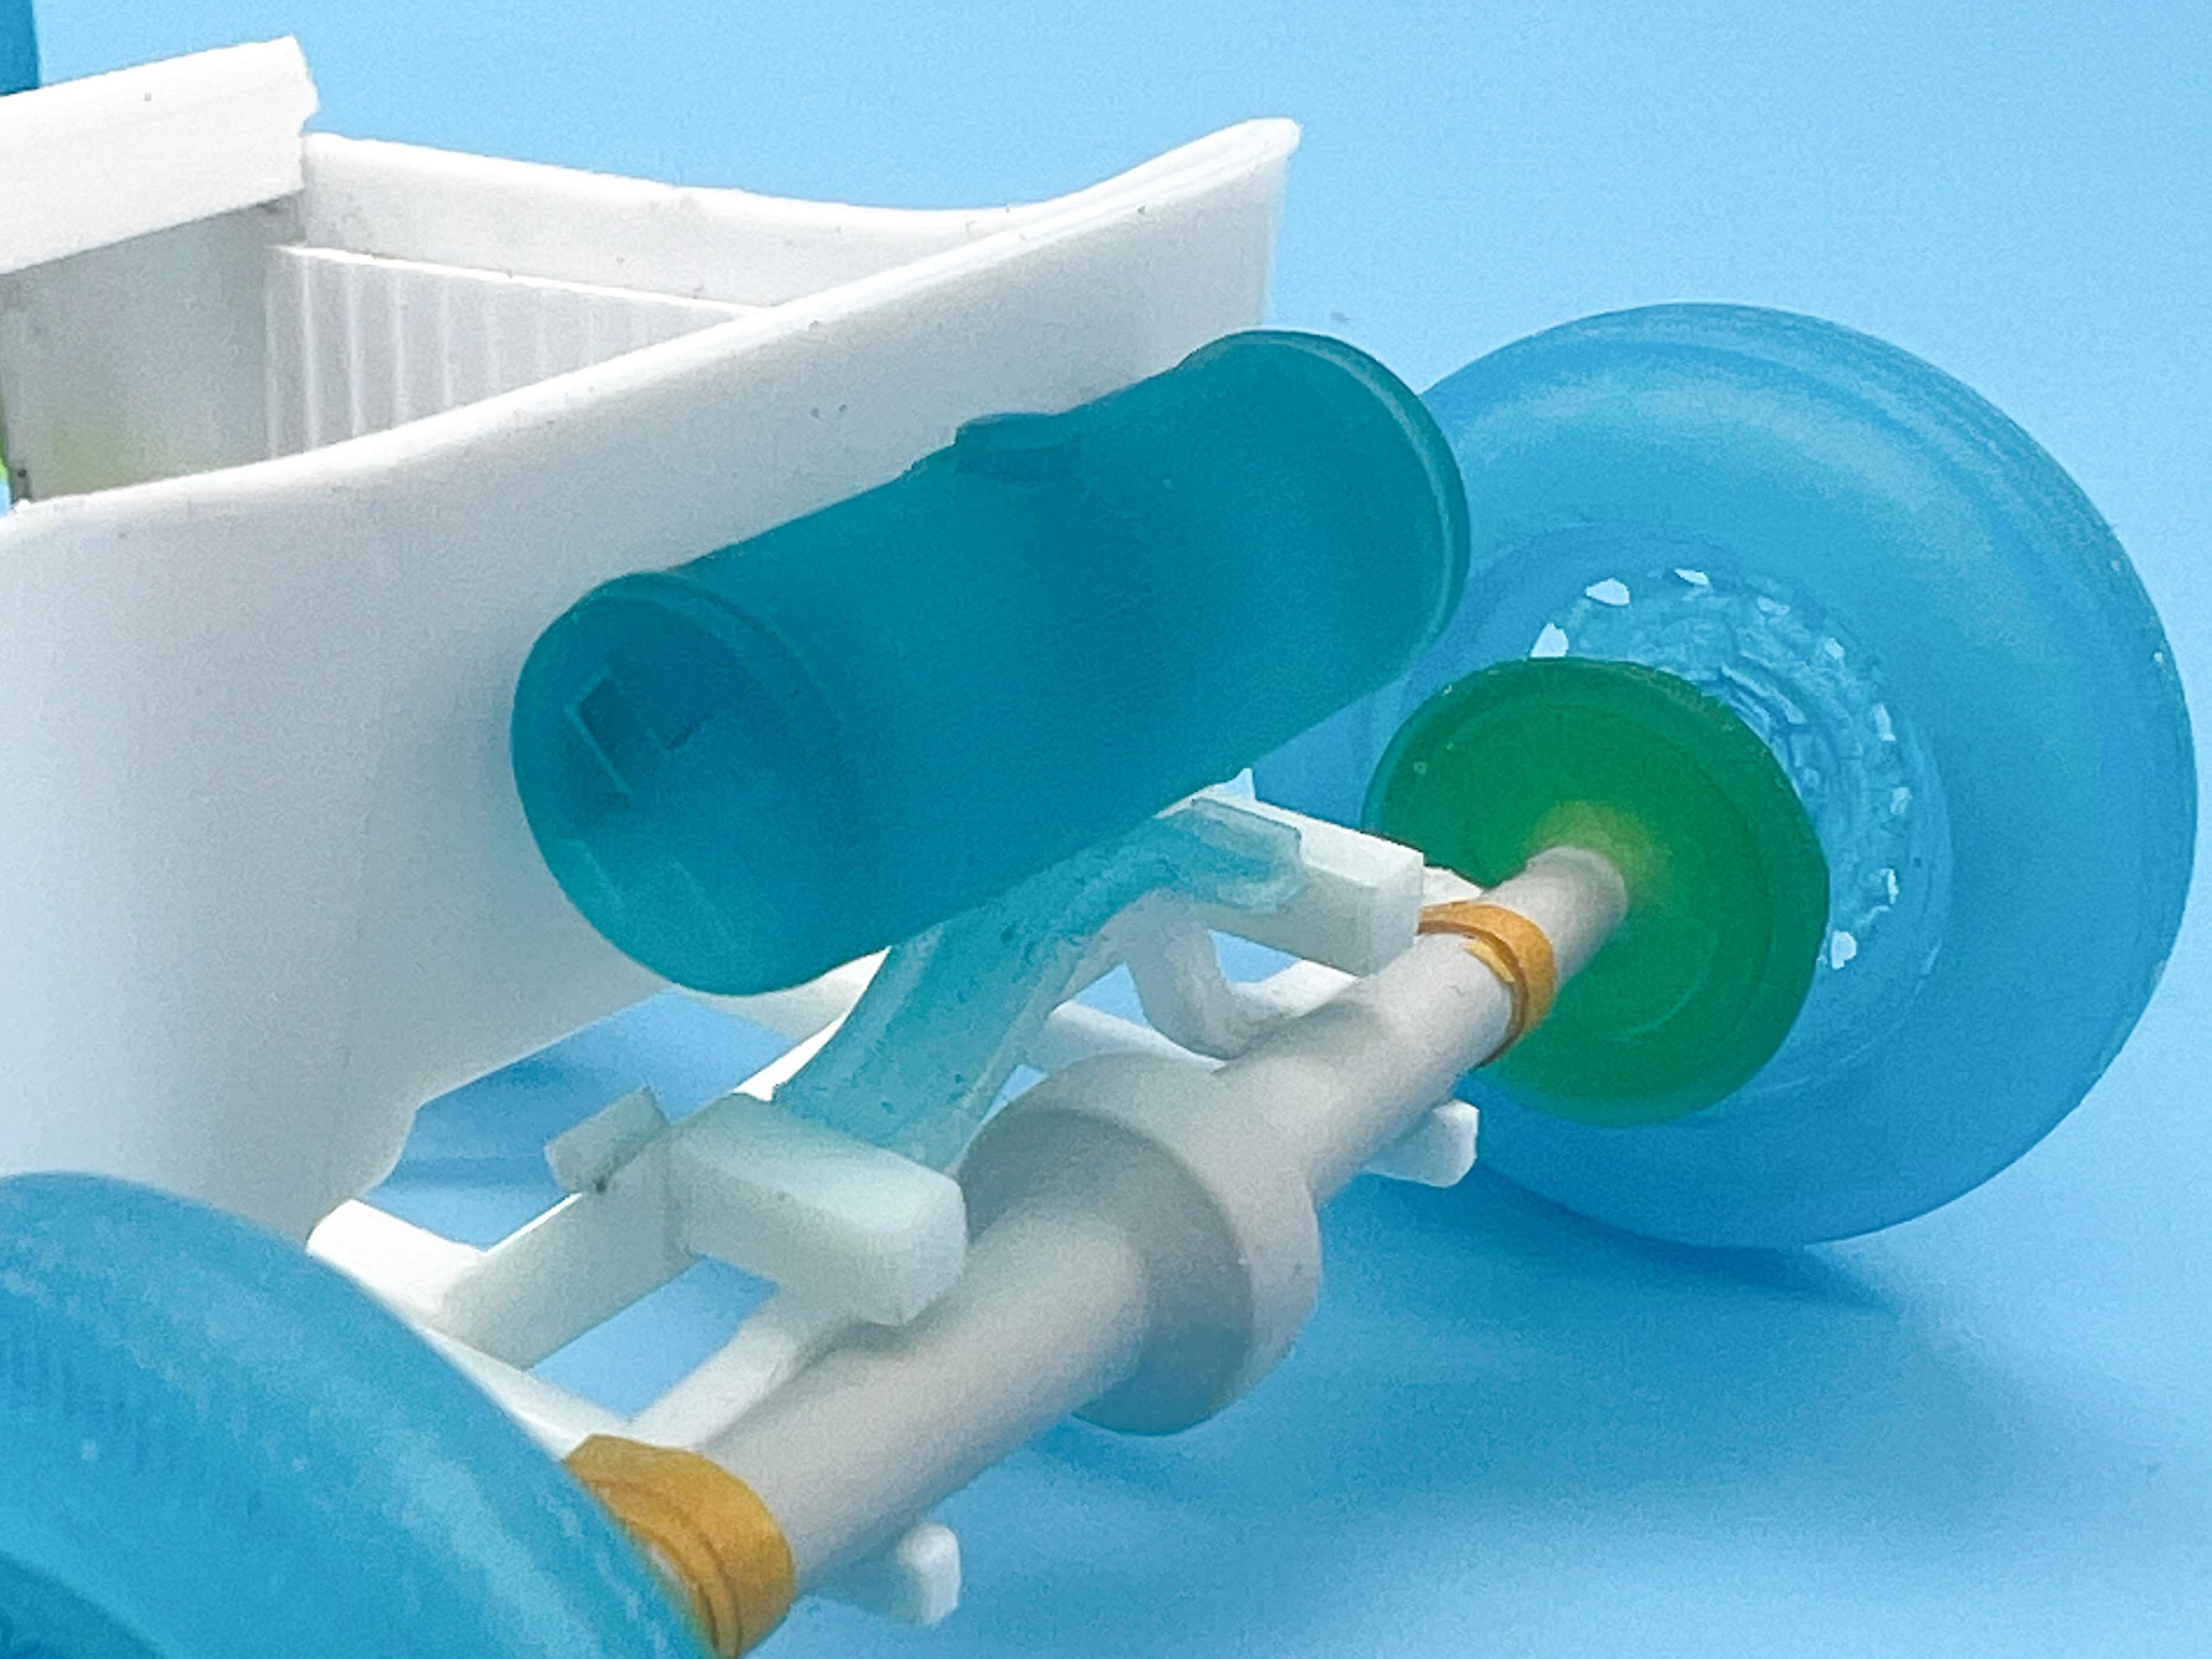
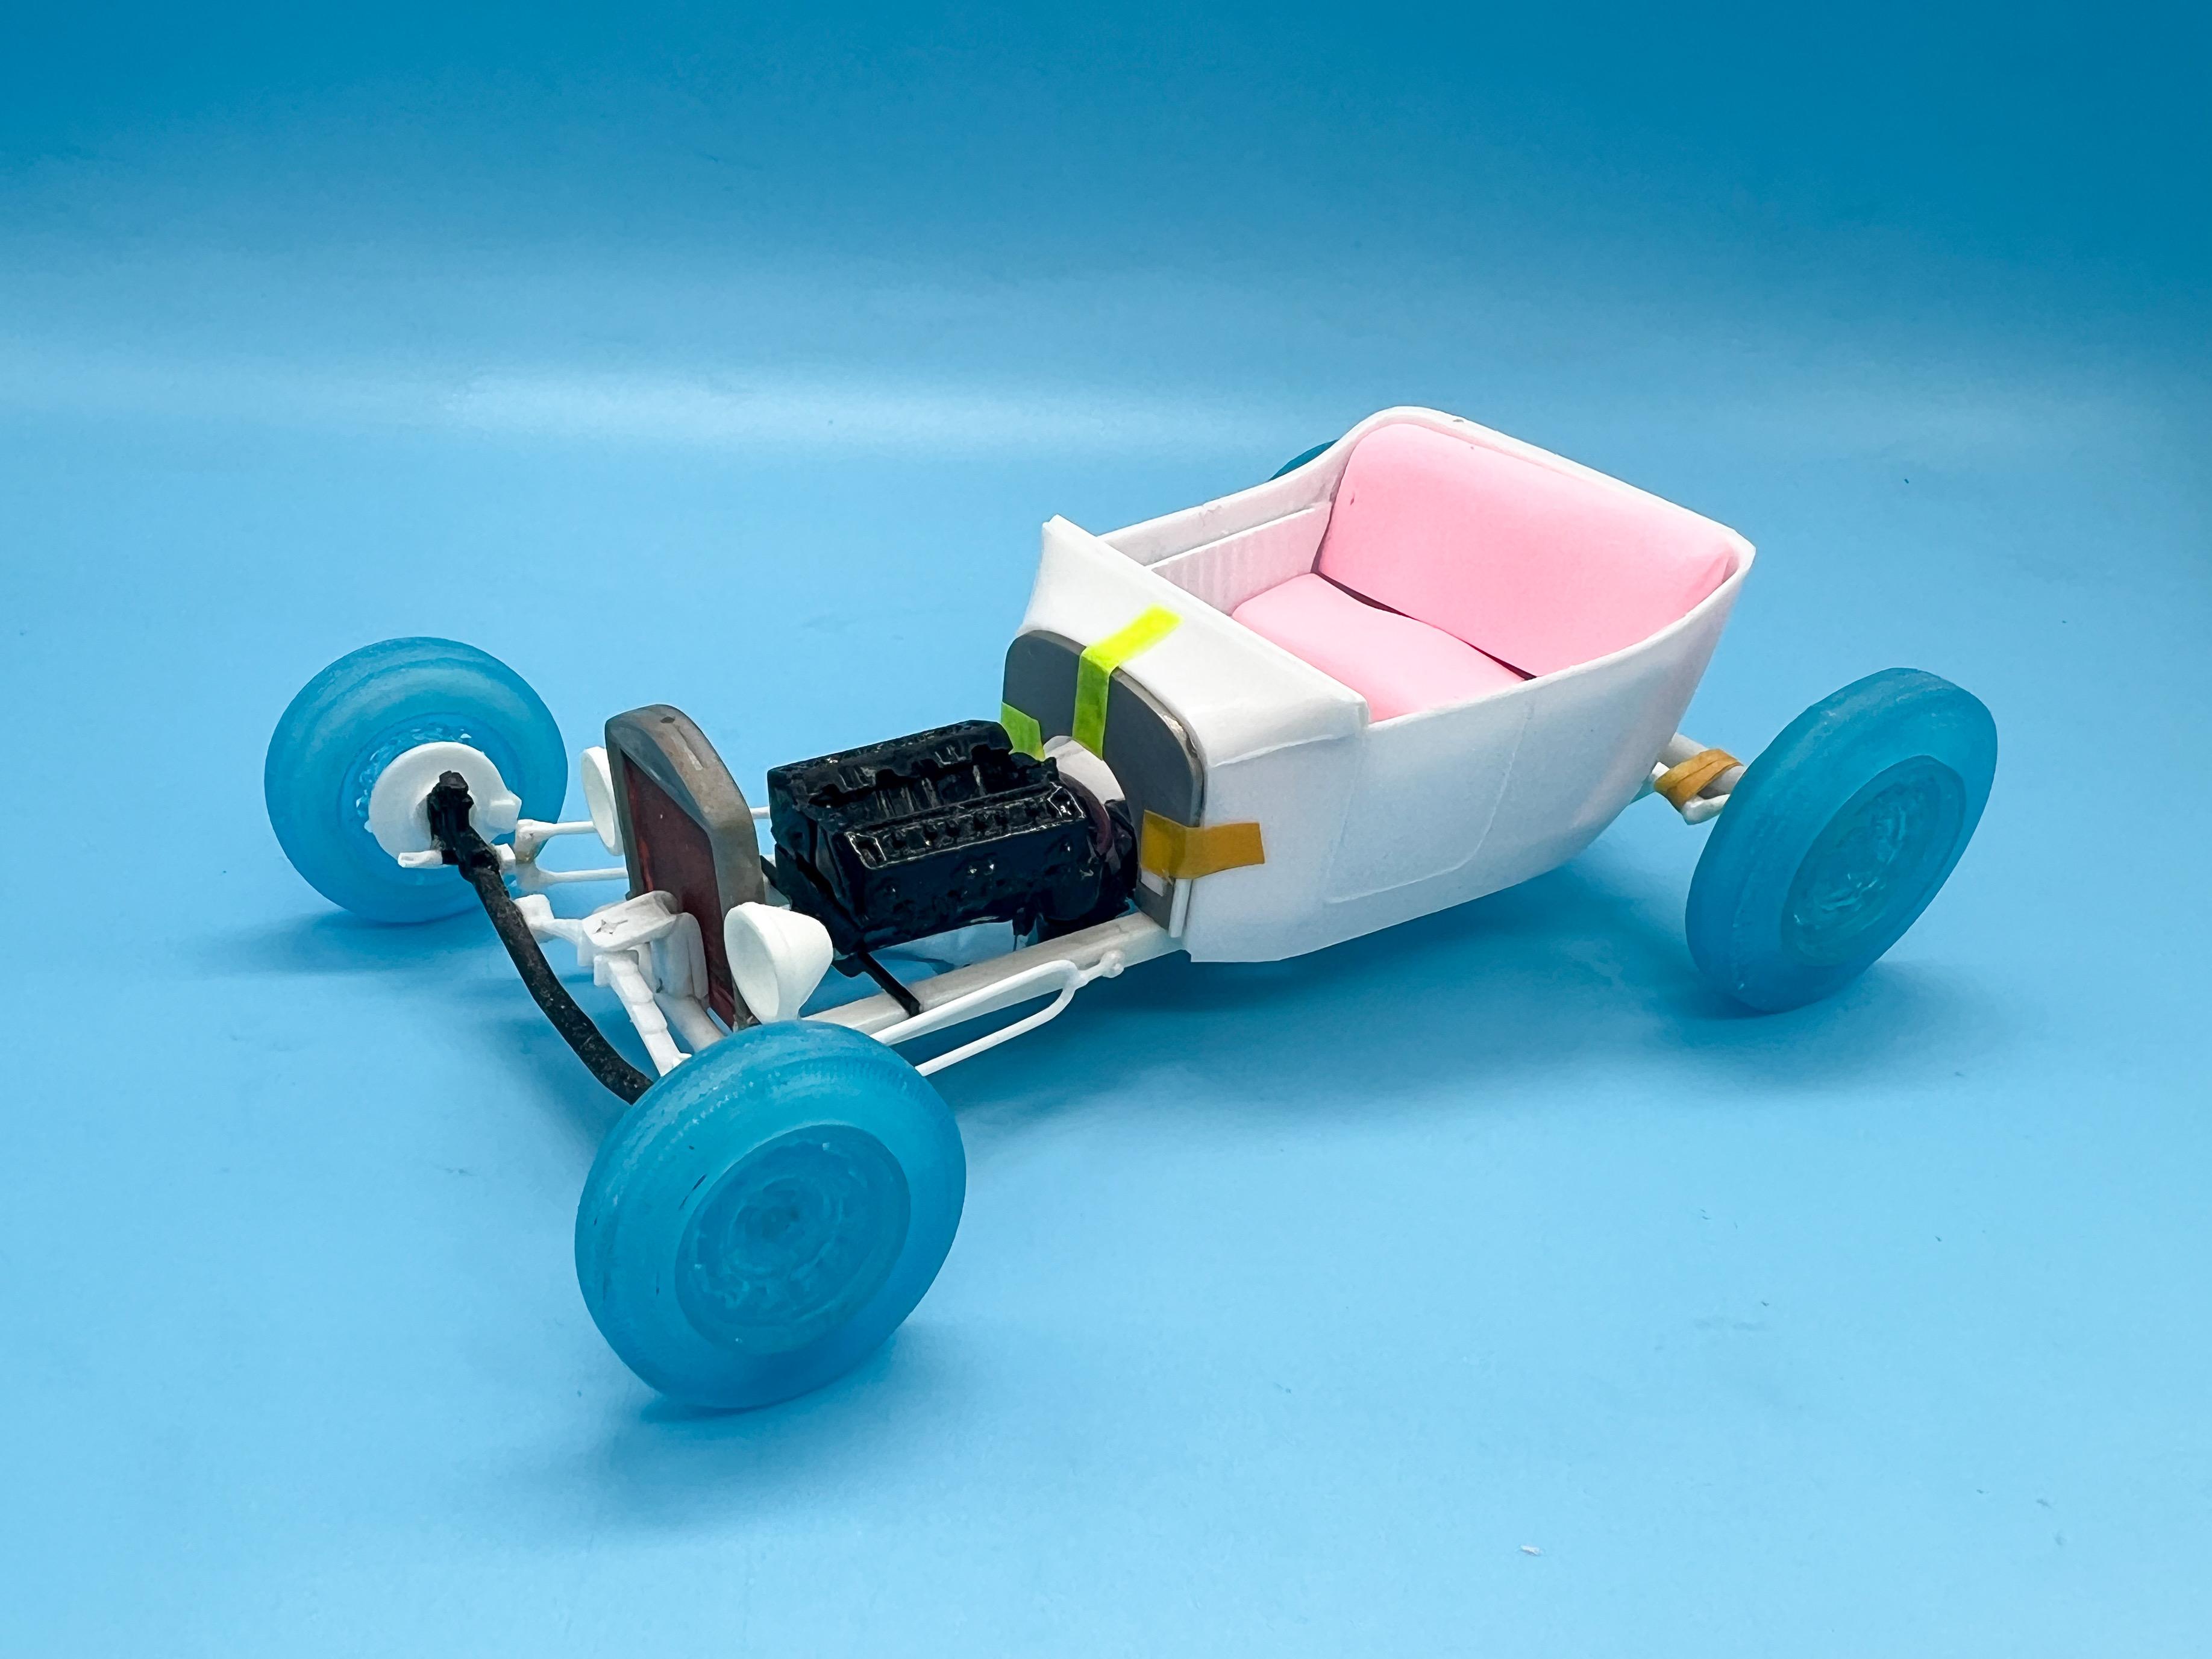
A little more progress this last week… I picked up some off-brand Renshape ‘foam’: I didn’t like the seat options of any of the T kits I had in my stash - I wanted something much simpler, so I carved some nice simple seats like I had in mind: Also started playing with some ‘door’ panels (not that the doors work…) Picked out an engine…an SBC is kinda a cliched obvious choice for one of these, which is exactly why I picked it… That Revell Parks Pak motor is really nicely done, and helpfully includes a motor mount so I notched the frame a little so I could get it in place…and while I was at it I built a little cross member and added some trailing arms to keep the rear end in place: Stripped the chrome on the block and and trans so I could mock the motor up and see how it fits in there…just barely squeezes in the frame ok: Need to make a driveshaft, and figure out where a brake booster can fit in this whole arrangement…mock-up with the body in place: I couldn’t find a gas tank I liked so I designed one in CAD when I had a quiet afternoon at work and printed a test piece this evening: And that’s my progress since the last update… Big things to sort next are the steering, deciding how I want the dash to look, taillights and license plate placement on the back and the tough one…the windshield. Plenty to do still…more soon, soon as I’ve done more!
-
A lot...mostly 2000-2015 models, apparently. This article doesn't specifically mention Mustangs, but mine has the two-part nuts they mention... Some further reading: https://www.caranddriver.com/news/a15339991/swollen-lug-nuts-are-costing-ford-drivers-time-and-money-lawsuit-claims/
-
This thing was such a cool design when it was first released - and it still holds up, I think! I'd drive one! Nice build - thanks for reminding me that one of these is on my to-do list!
-
Grinding Out Model Car Grills for more realistic look
OldNYJim replied to carl63_99's topic in Tips, Tricks, and Tutorials
If you're using the regular 110v version, I've found the battery powered versions are MUCH more controllable, and run at lower RPMs. If you're USING the battery powered version already...disregard my comment ? -
I recently learned about Ford's 2-part lug-nut design that they used on vehicles for over a decade, including mine. Local tire shop told me that I had 'swollen nuts' [their words] and offered to switch them out for $800. What happens is, apparently, over time they swell up and distort to the point where the wrench in your trunk won't work to take them off if you get a flat. Why Ford invented a new type of nut after making perfectly acceptable lug nuts for the best part of 100 years, escapes me, but it's apparently a common issue. $20 and 90 minutes of my own time, problem solved (or at least, remedied for now)...and the tire shop was right, they had definitely deformed. Somewhat related - guy at work has a new Bronco and he got a TSB notification from the local dealer about under-tightened lug nuts from the factory on his vehicle which could result in, unsurprisingly, loose wheels ?