OldNYJim
-
Posts
251 -
Joined
-
Last visited
Content Type
Profiles
Forums
Events
Gallery
Everything posted by OldNYJim
-

Model Car Muse with Doug Whyte
OldNYJim replied to OldNYJim's topic in General Automotive Talk (Trucks and Cars)
I’m REALLY enjoying this video series! I hope they keep going for a long time - this was a great one! -
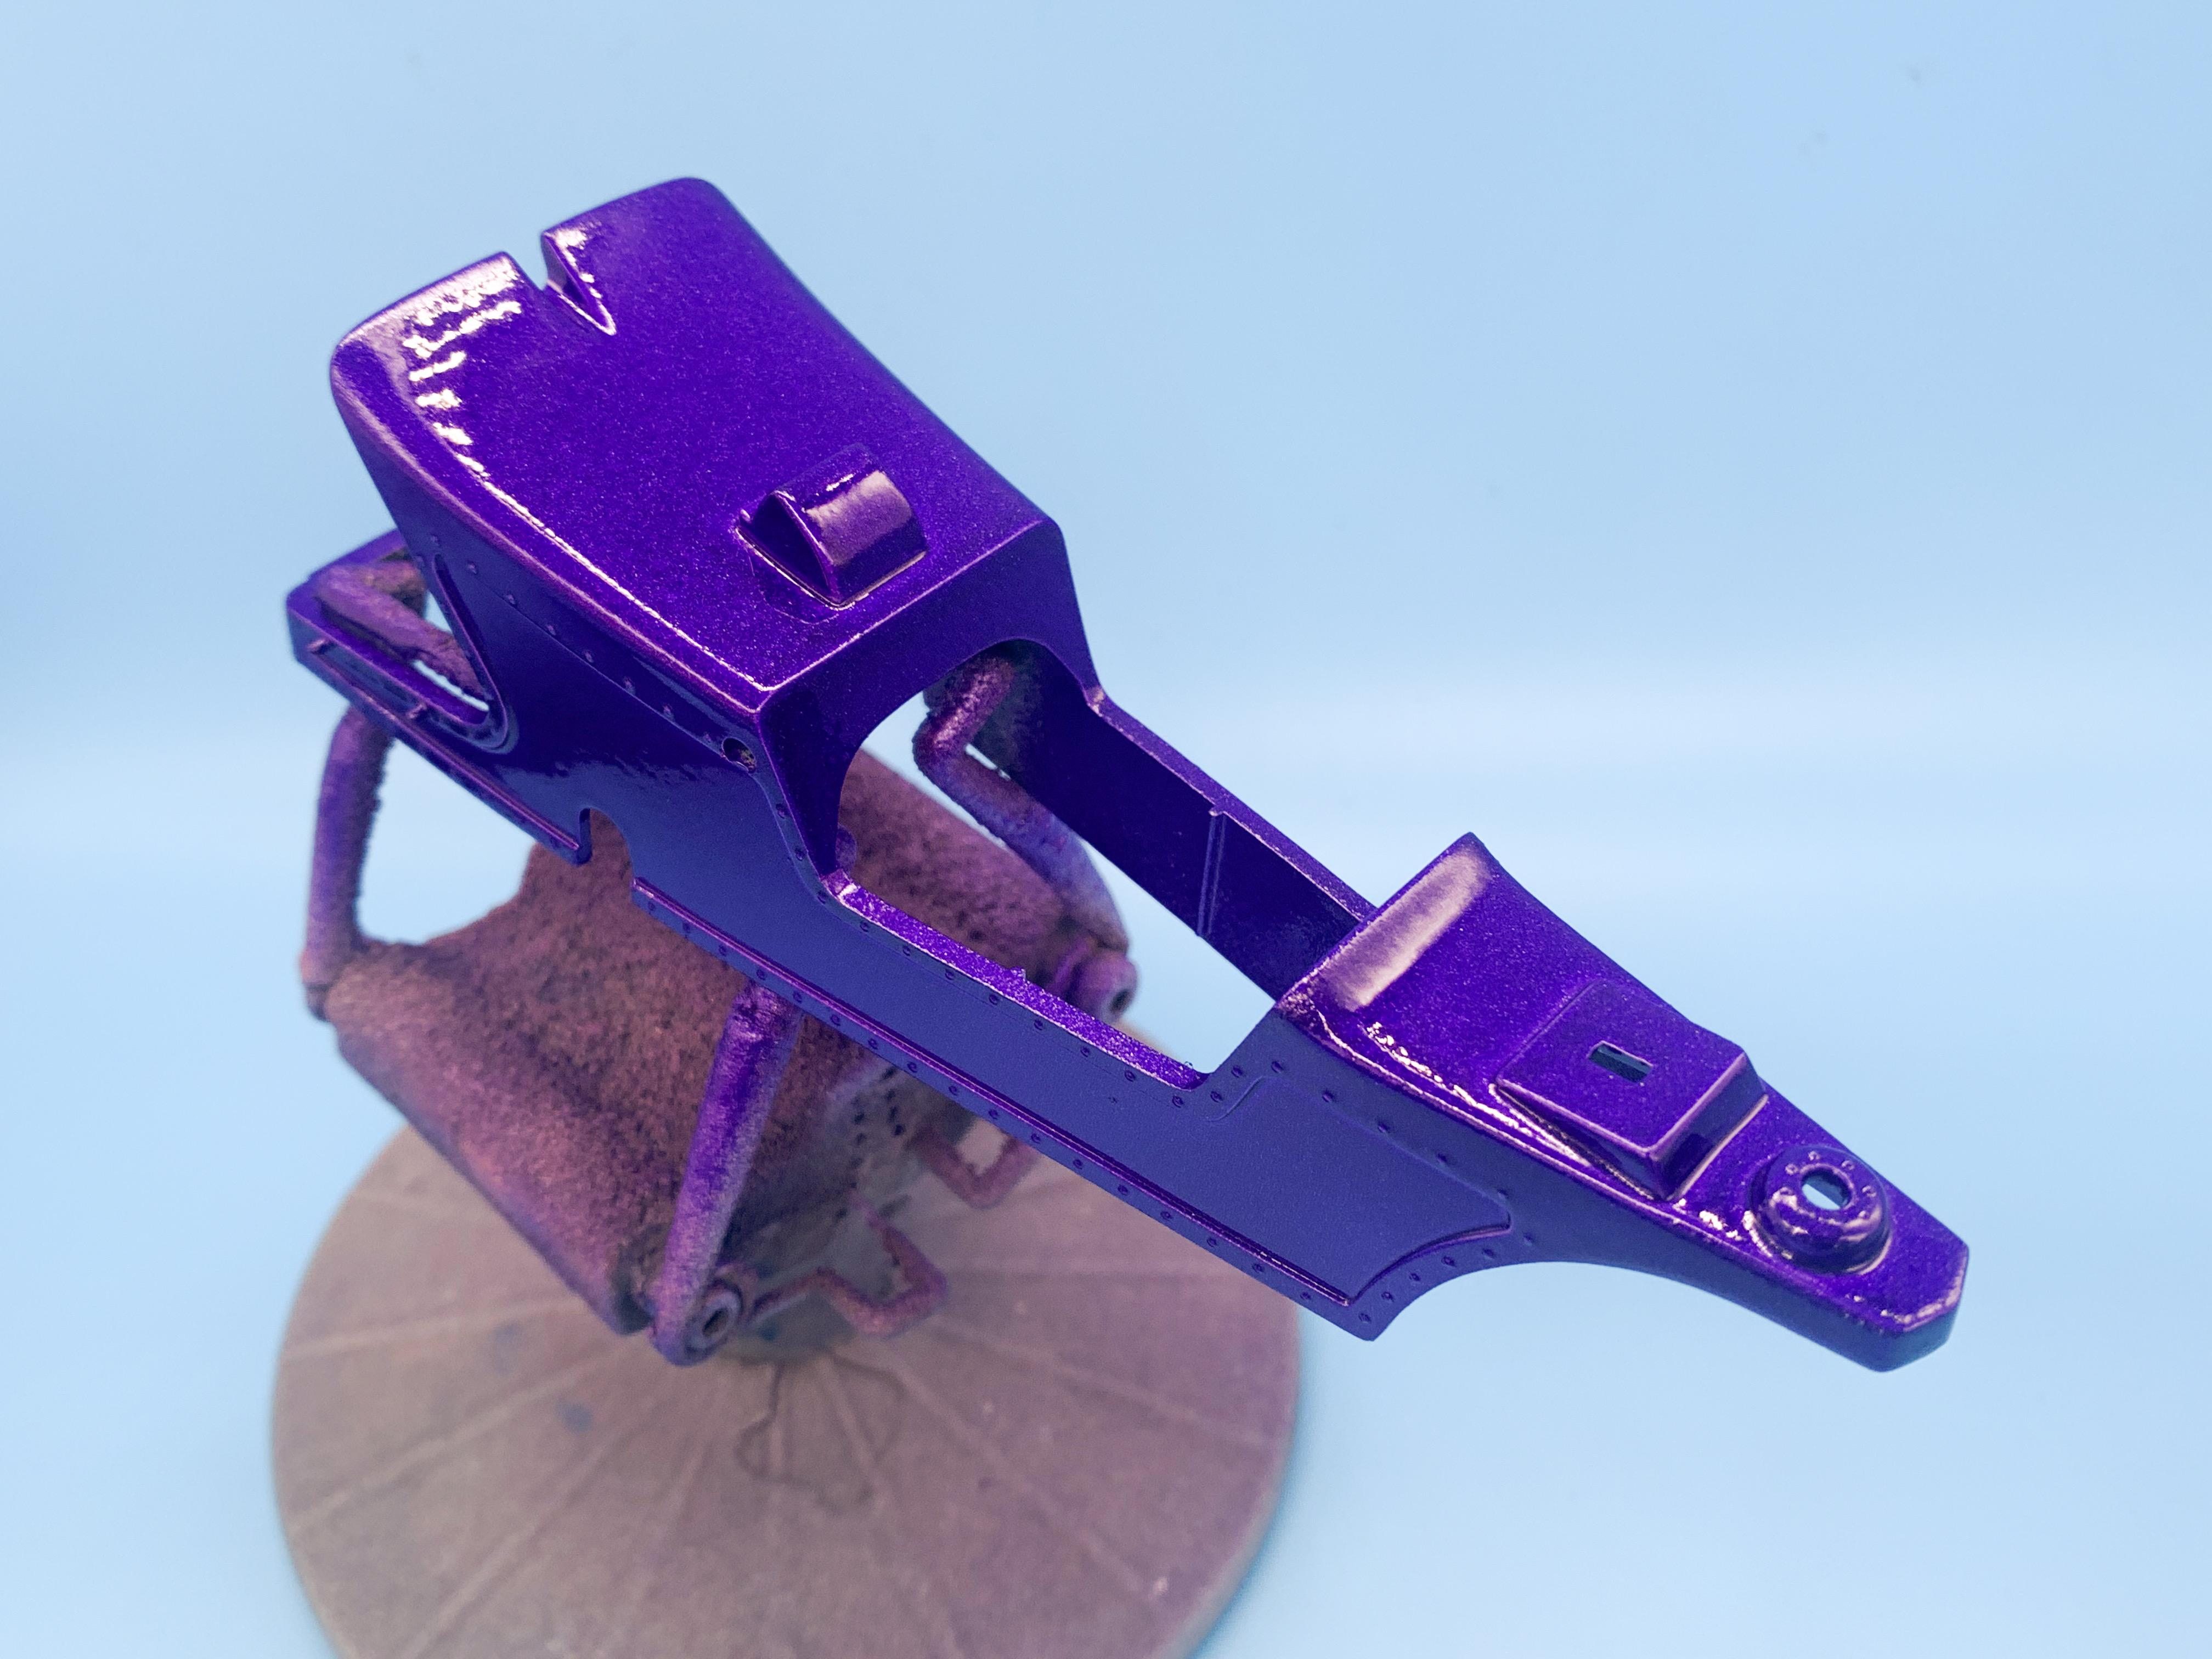
Thanks Dave! It’s one of mine too! Today’s adventures…replacing the kit steering shaft with a machined aluminum one: Machining a Moon-style tank and cap to replace the kit piece (largely because it was easier than trying to fix the visible seam where the two pieces meet on the plastic version: And I looked through my stash for a nice metallic purple to use and found a can of Ford Ultraviolet pearl purple… …so after I’d spent a couple of hours cleaning up all the parts and getting them into primer I shot all the stuff that needs to be purple - pretty color! And that’s all so far today - tacking the graphics on the side will be the next paint project, but in the meantime I can start on the engine…more soon!

-
Their secondary definition is much closer to the mark to me:
-
I’m sure they’re both perfectly functional chairs that work just great for what they were intended for! I would rate my skills closest to the second chair - but it’s nice to have goals to shoot for!
-
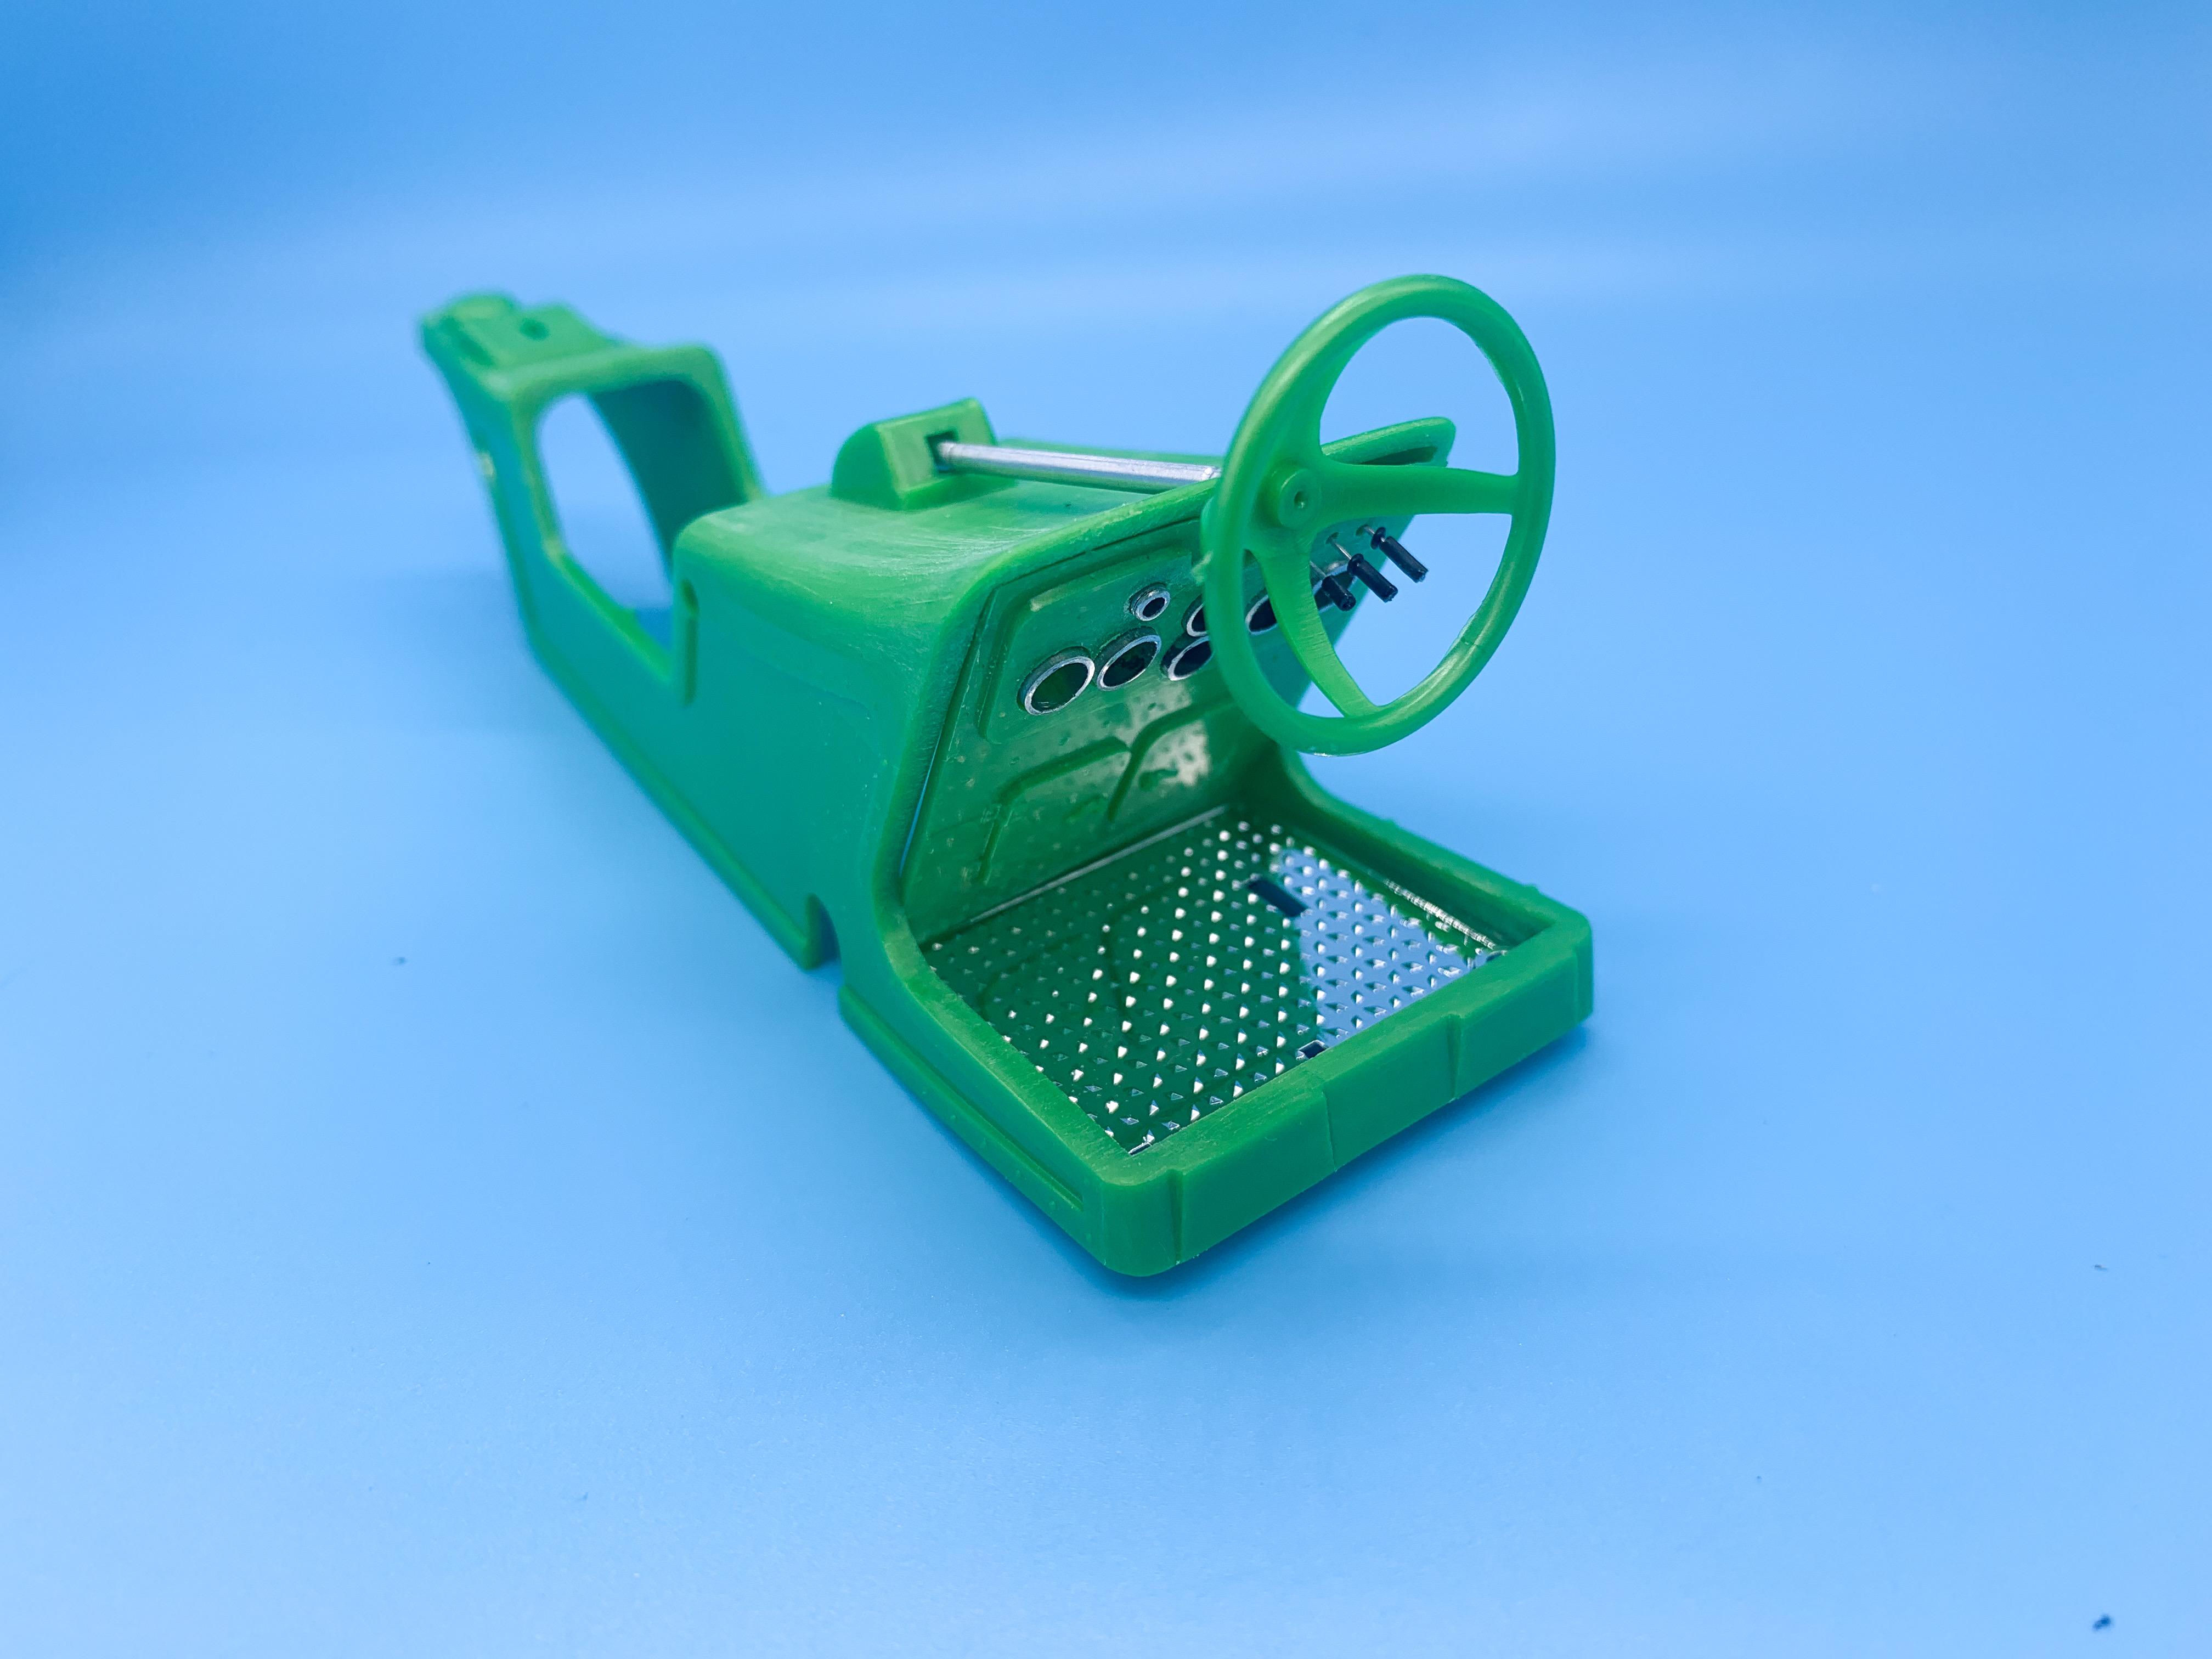
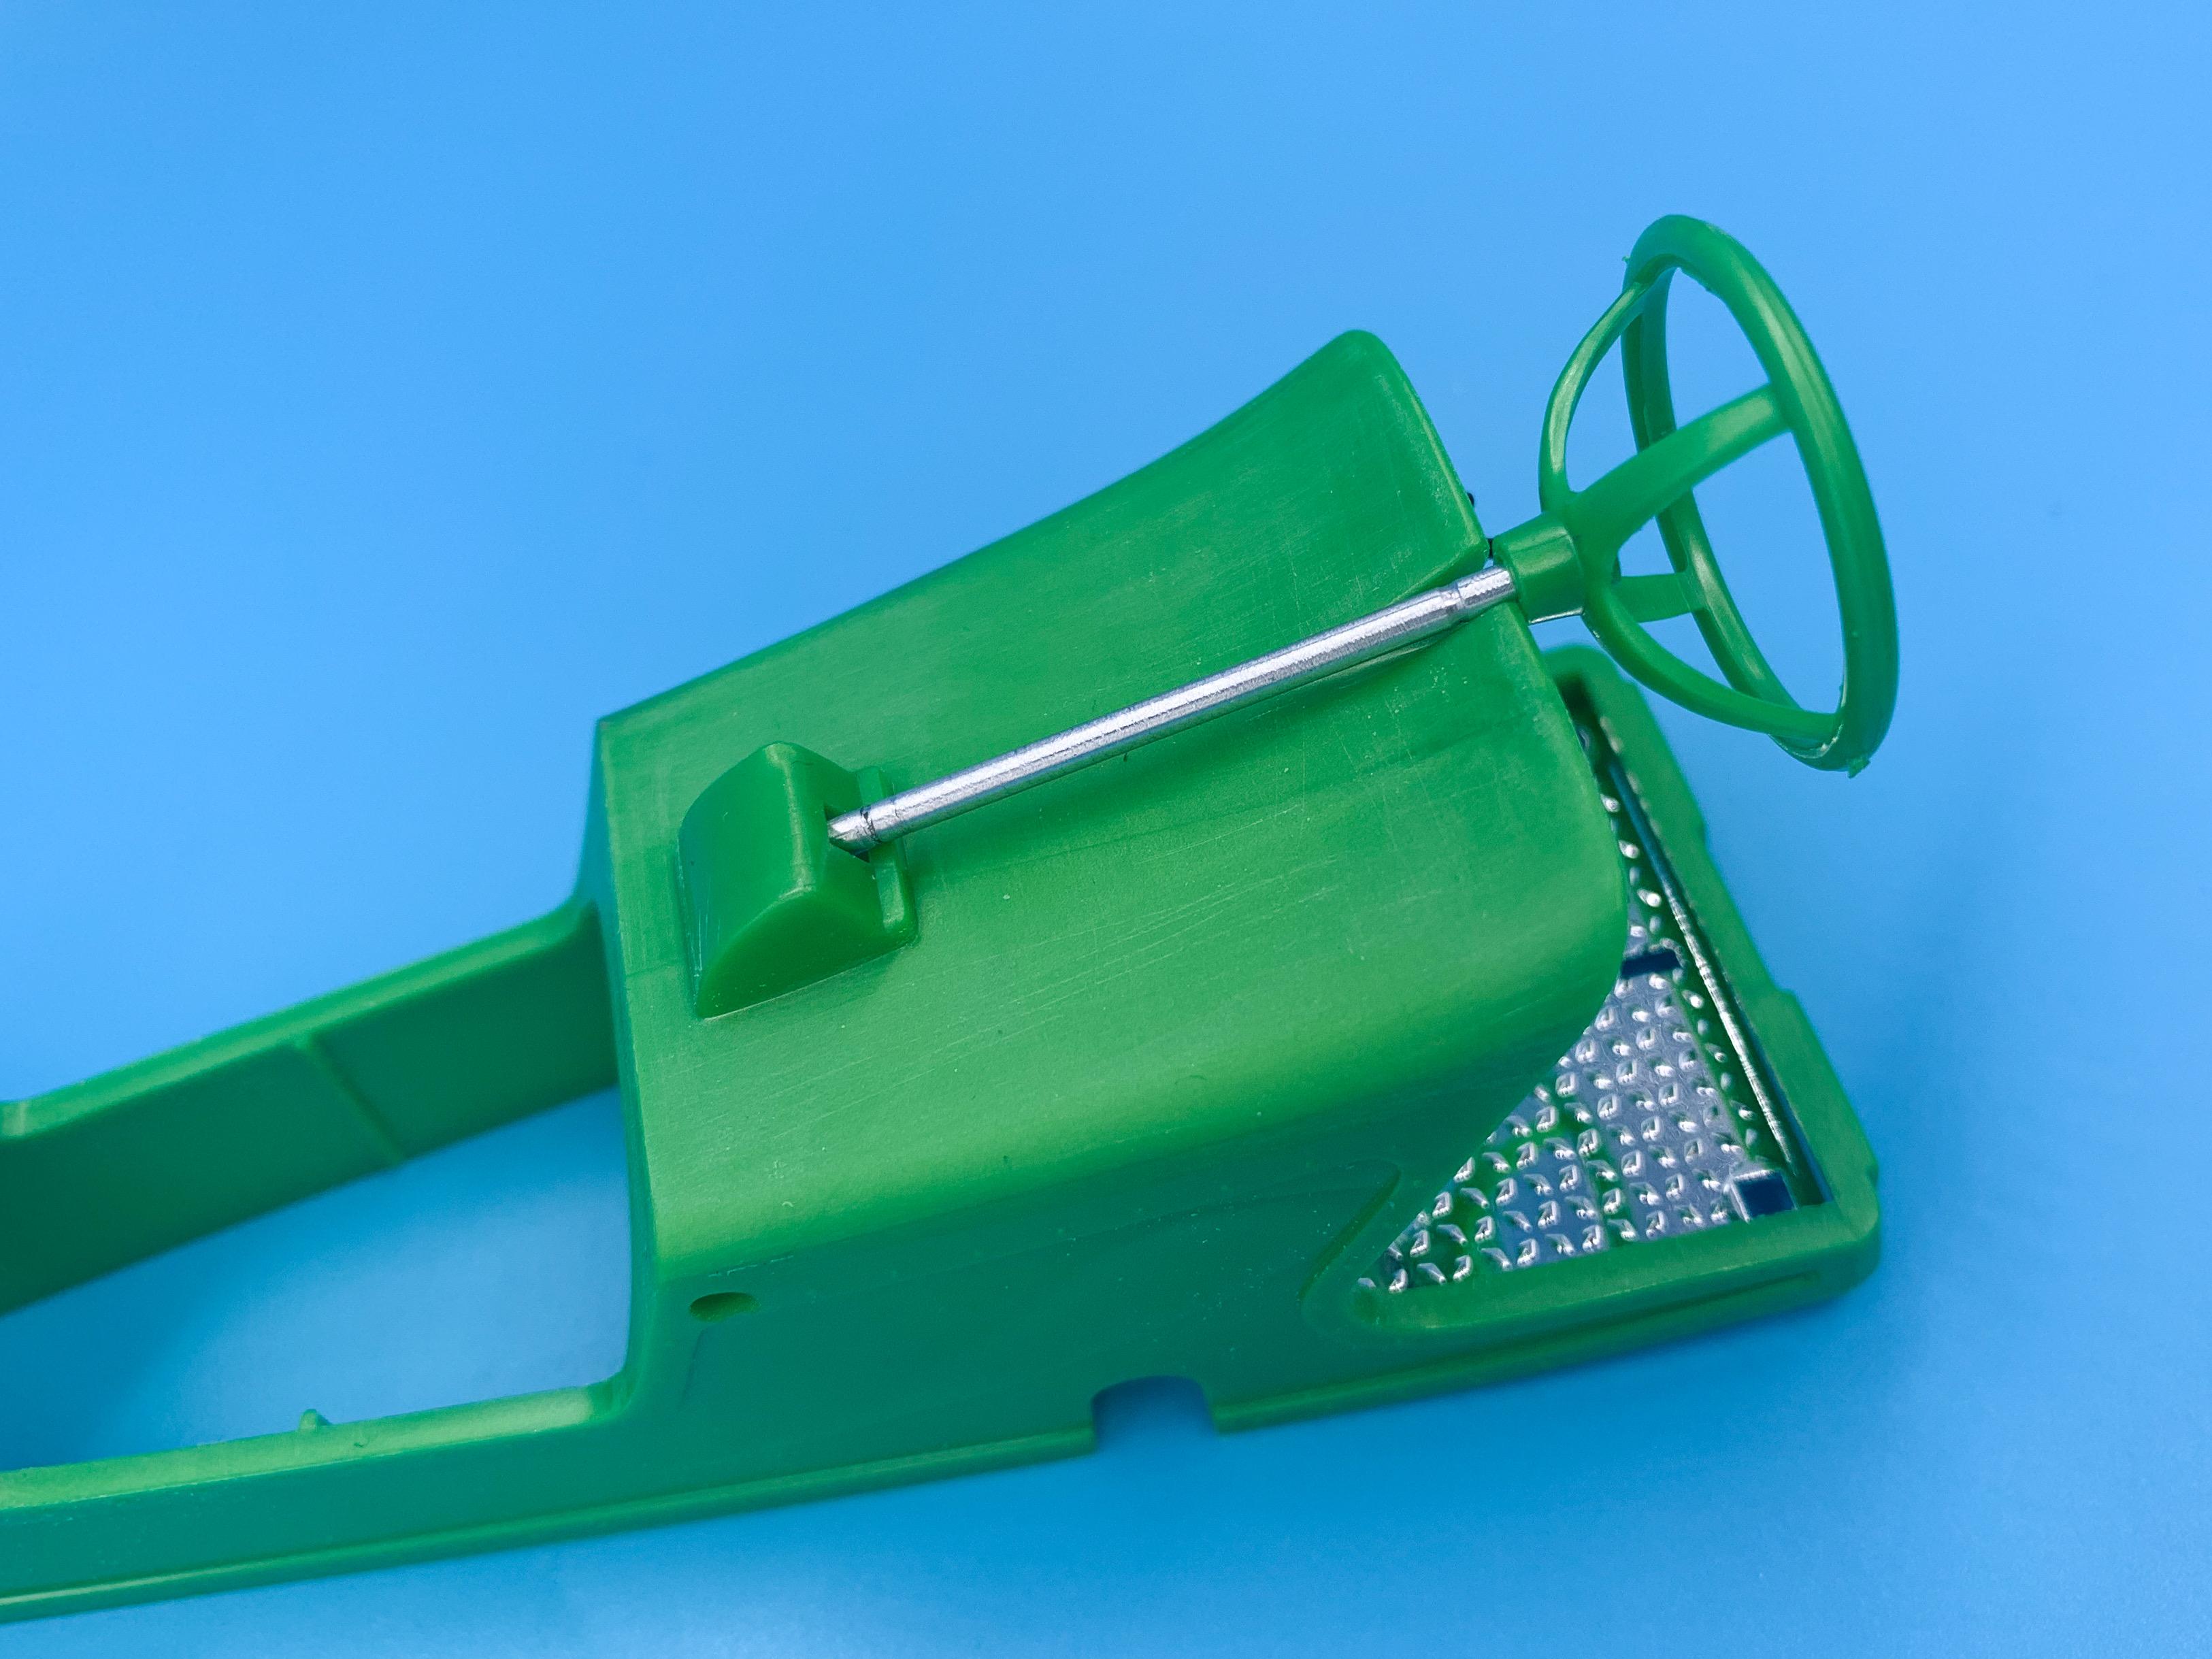
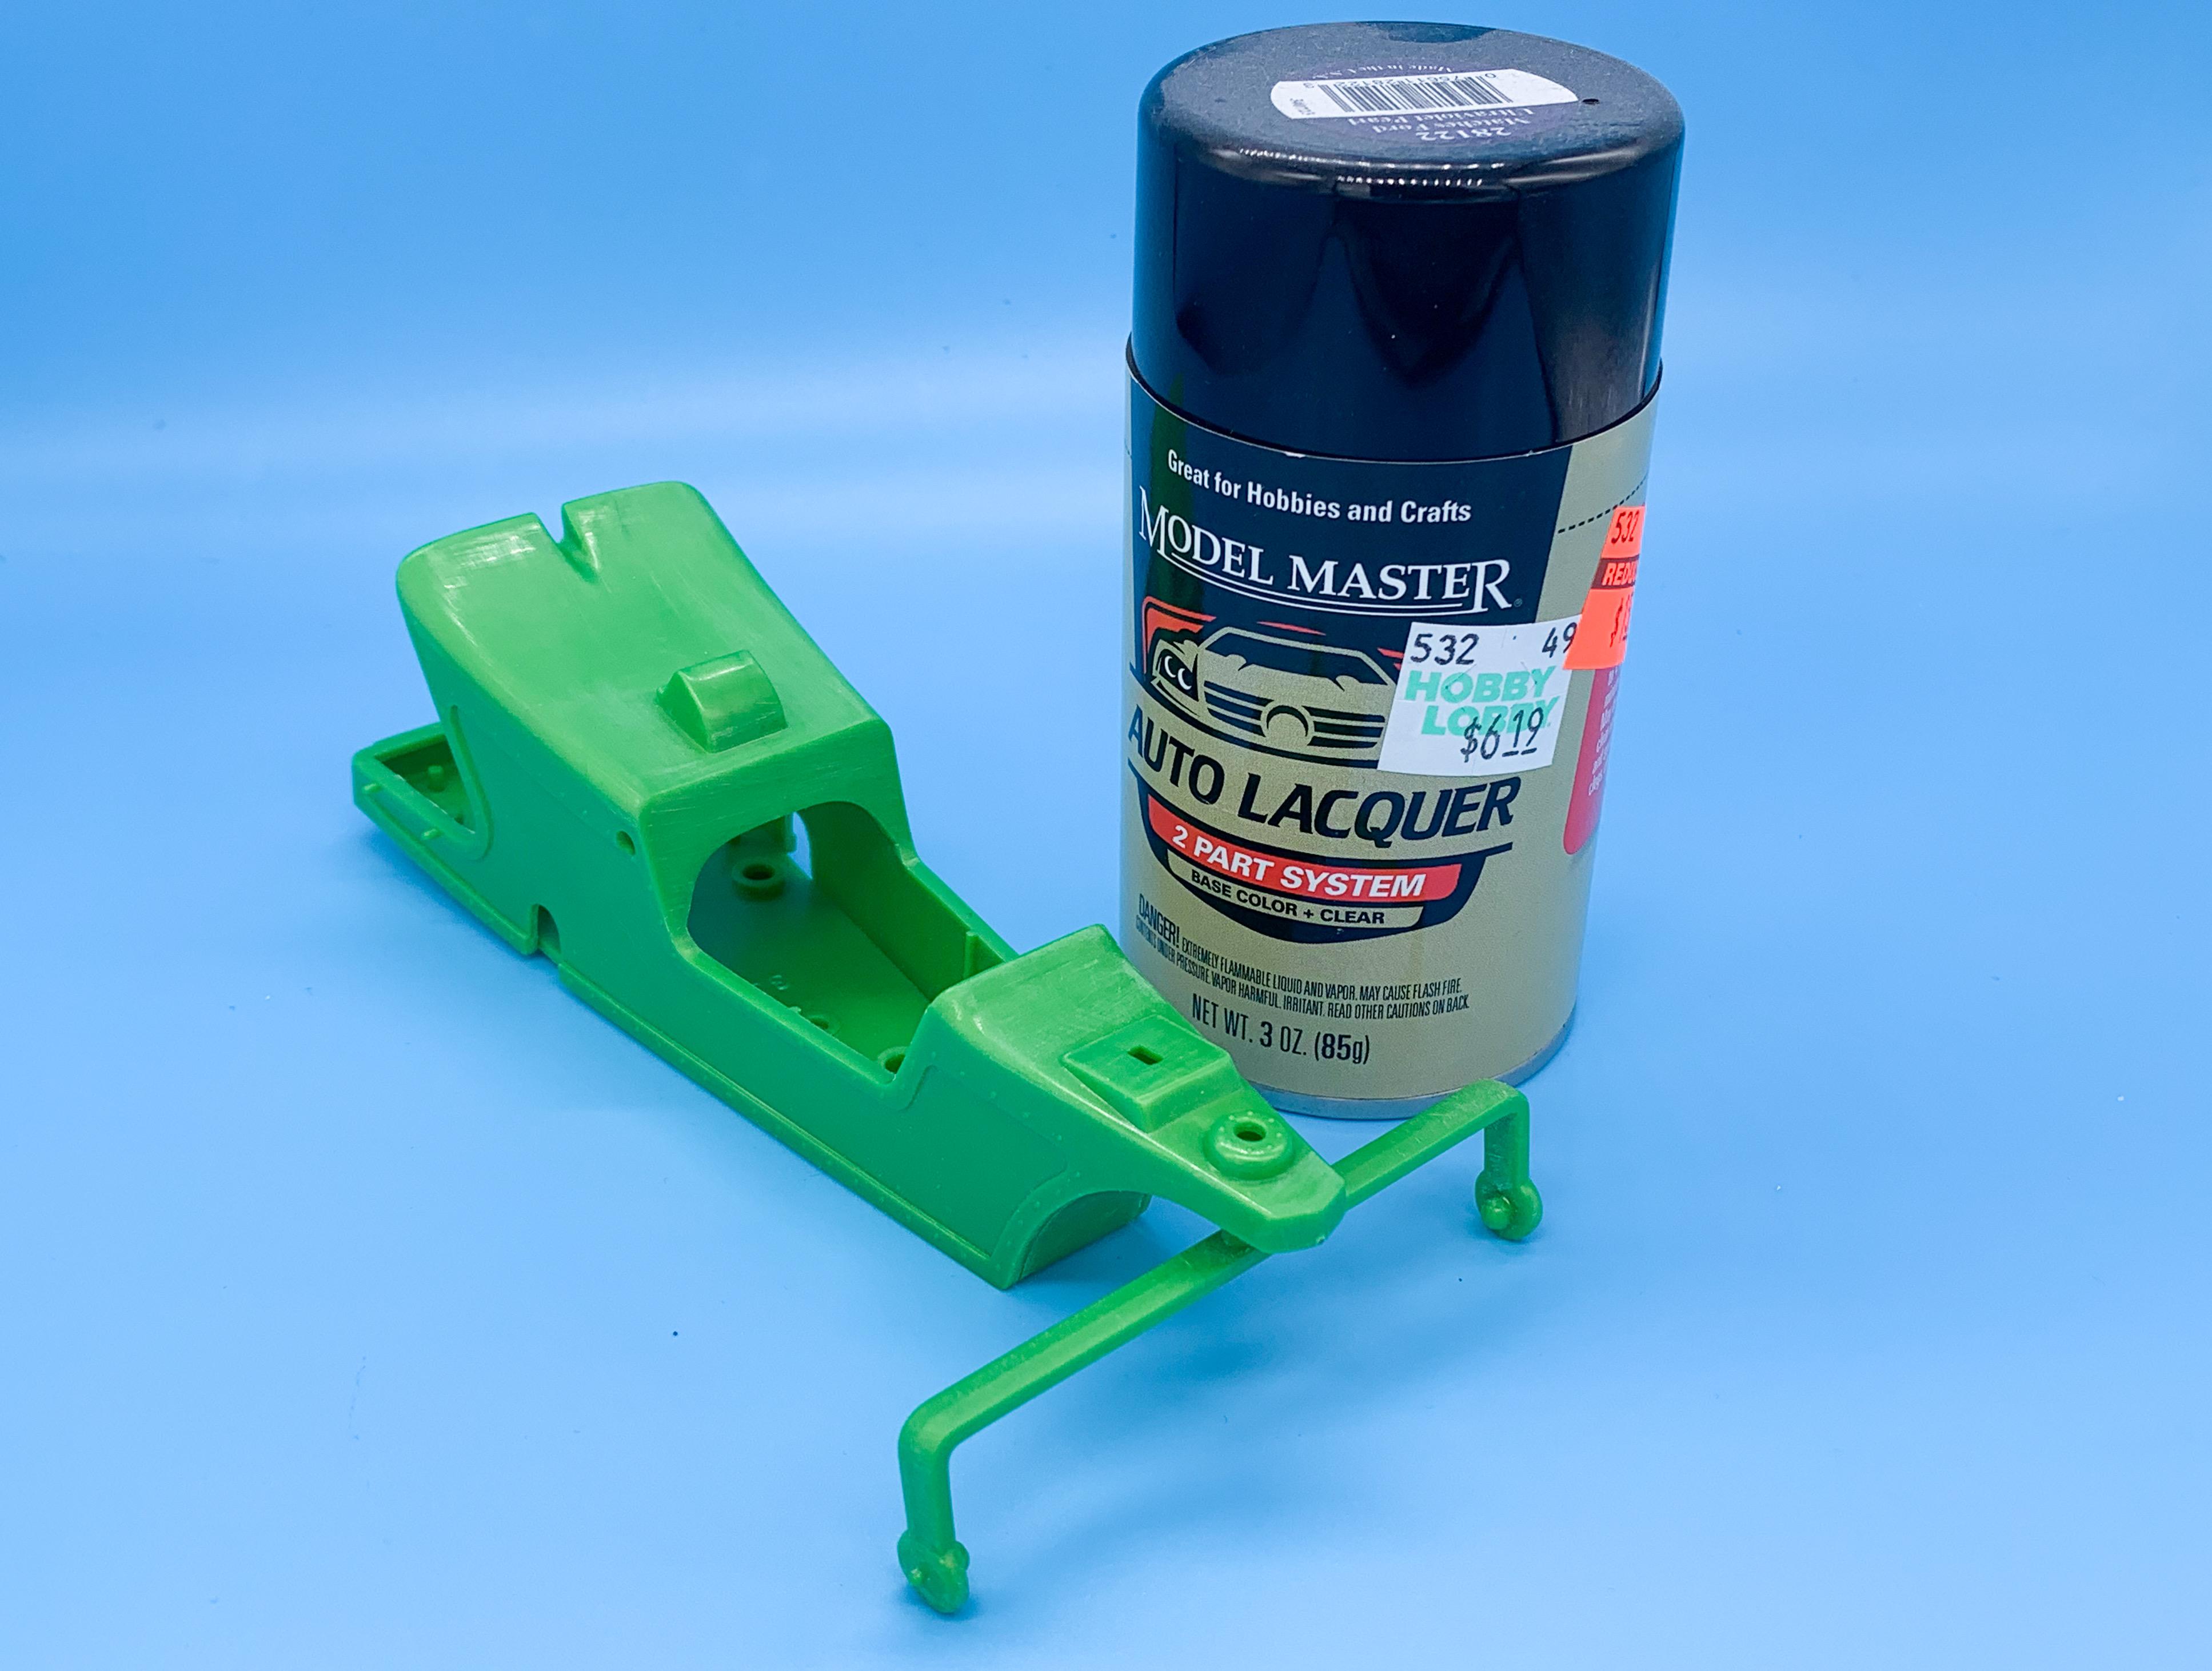
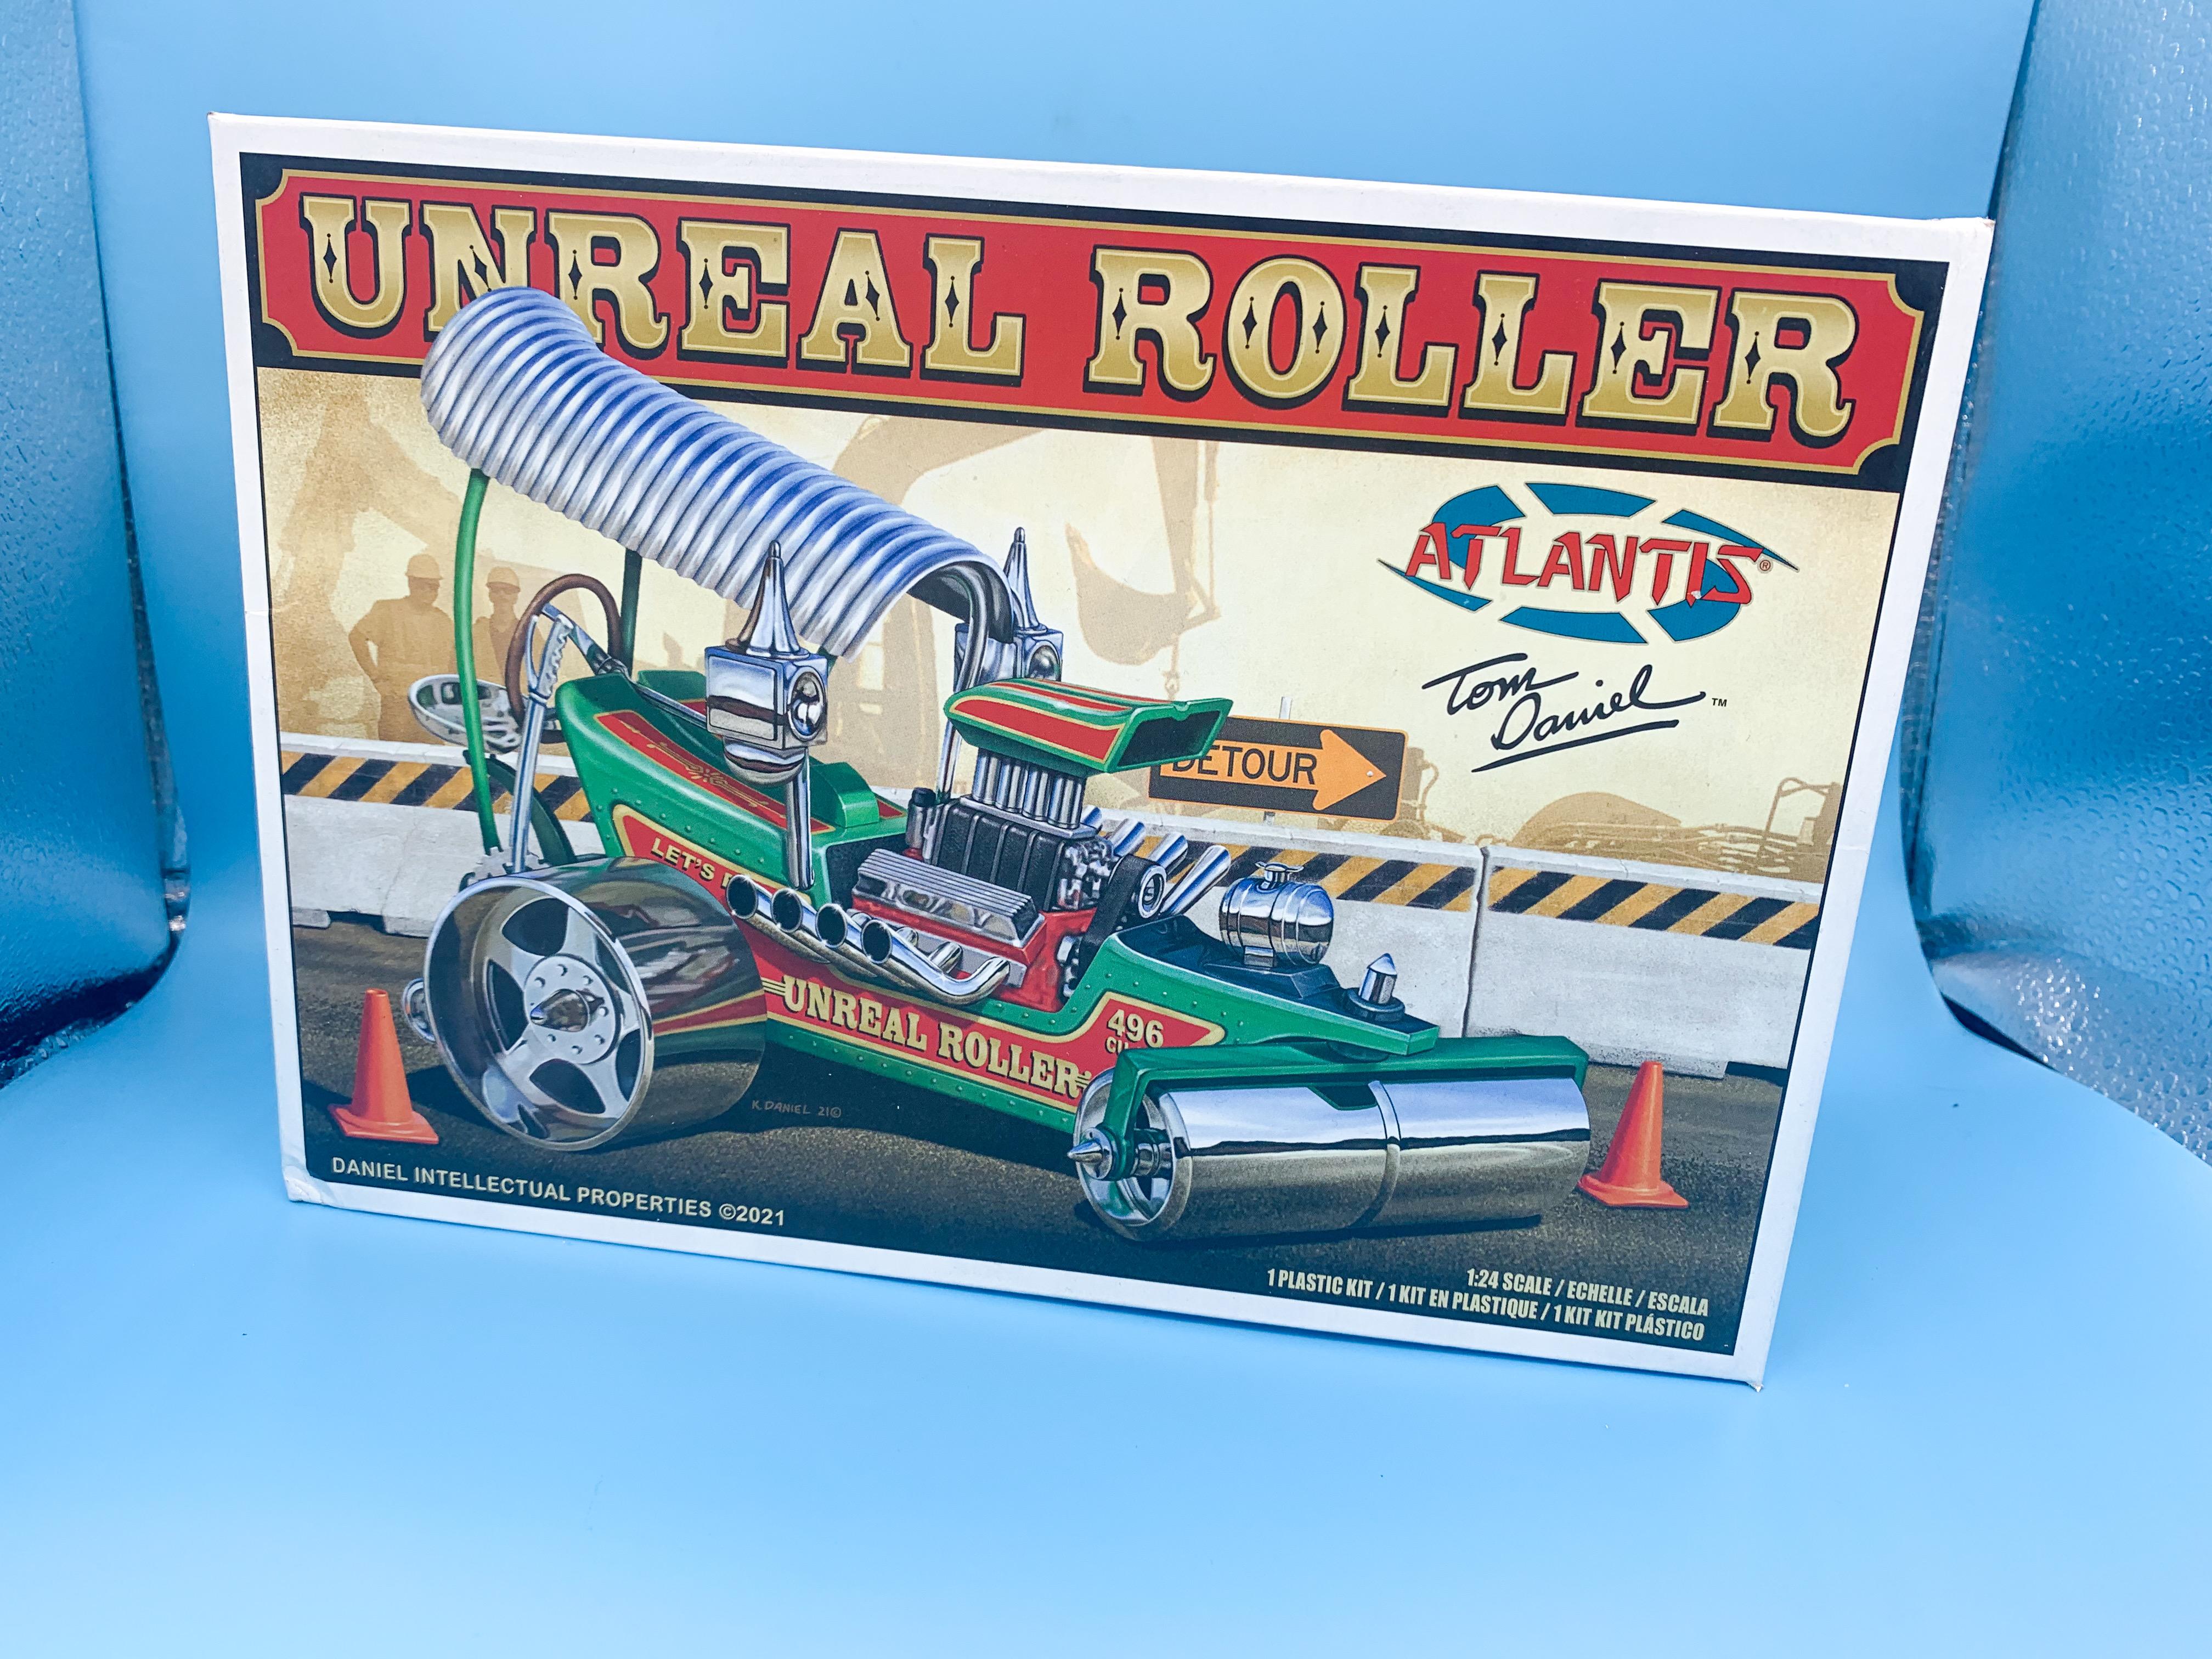
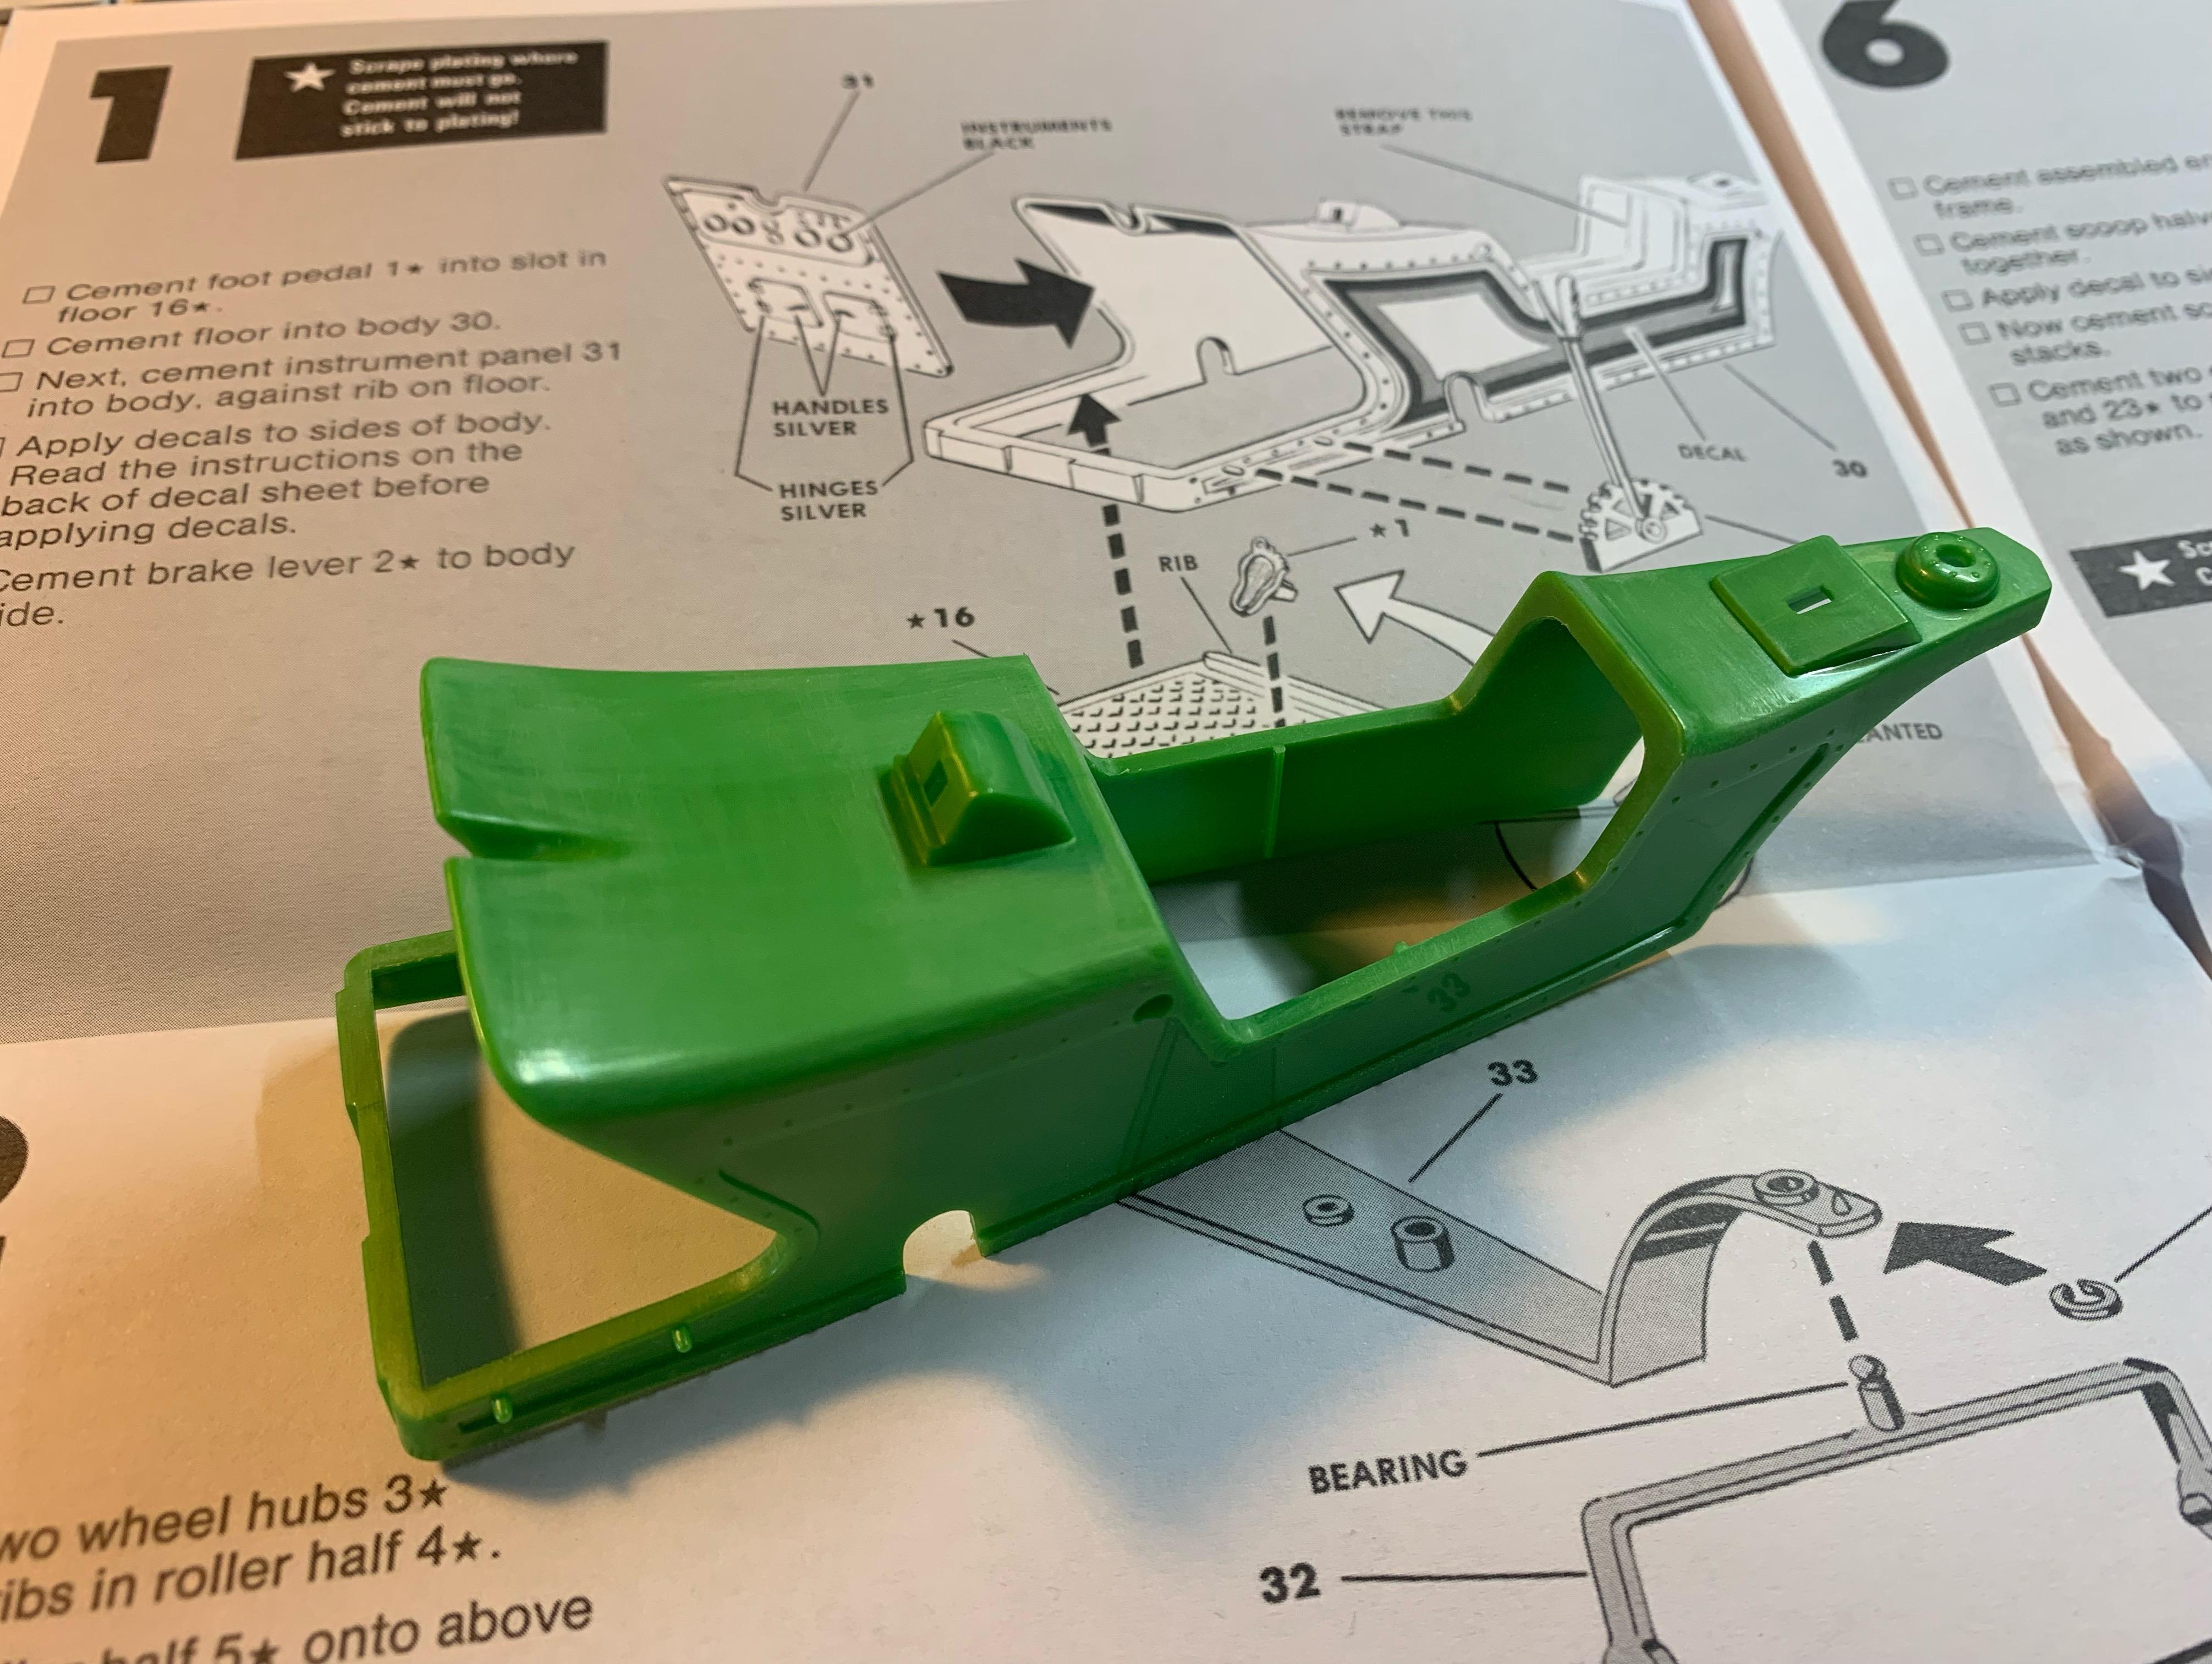
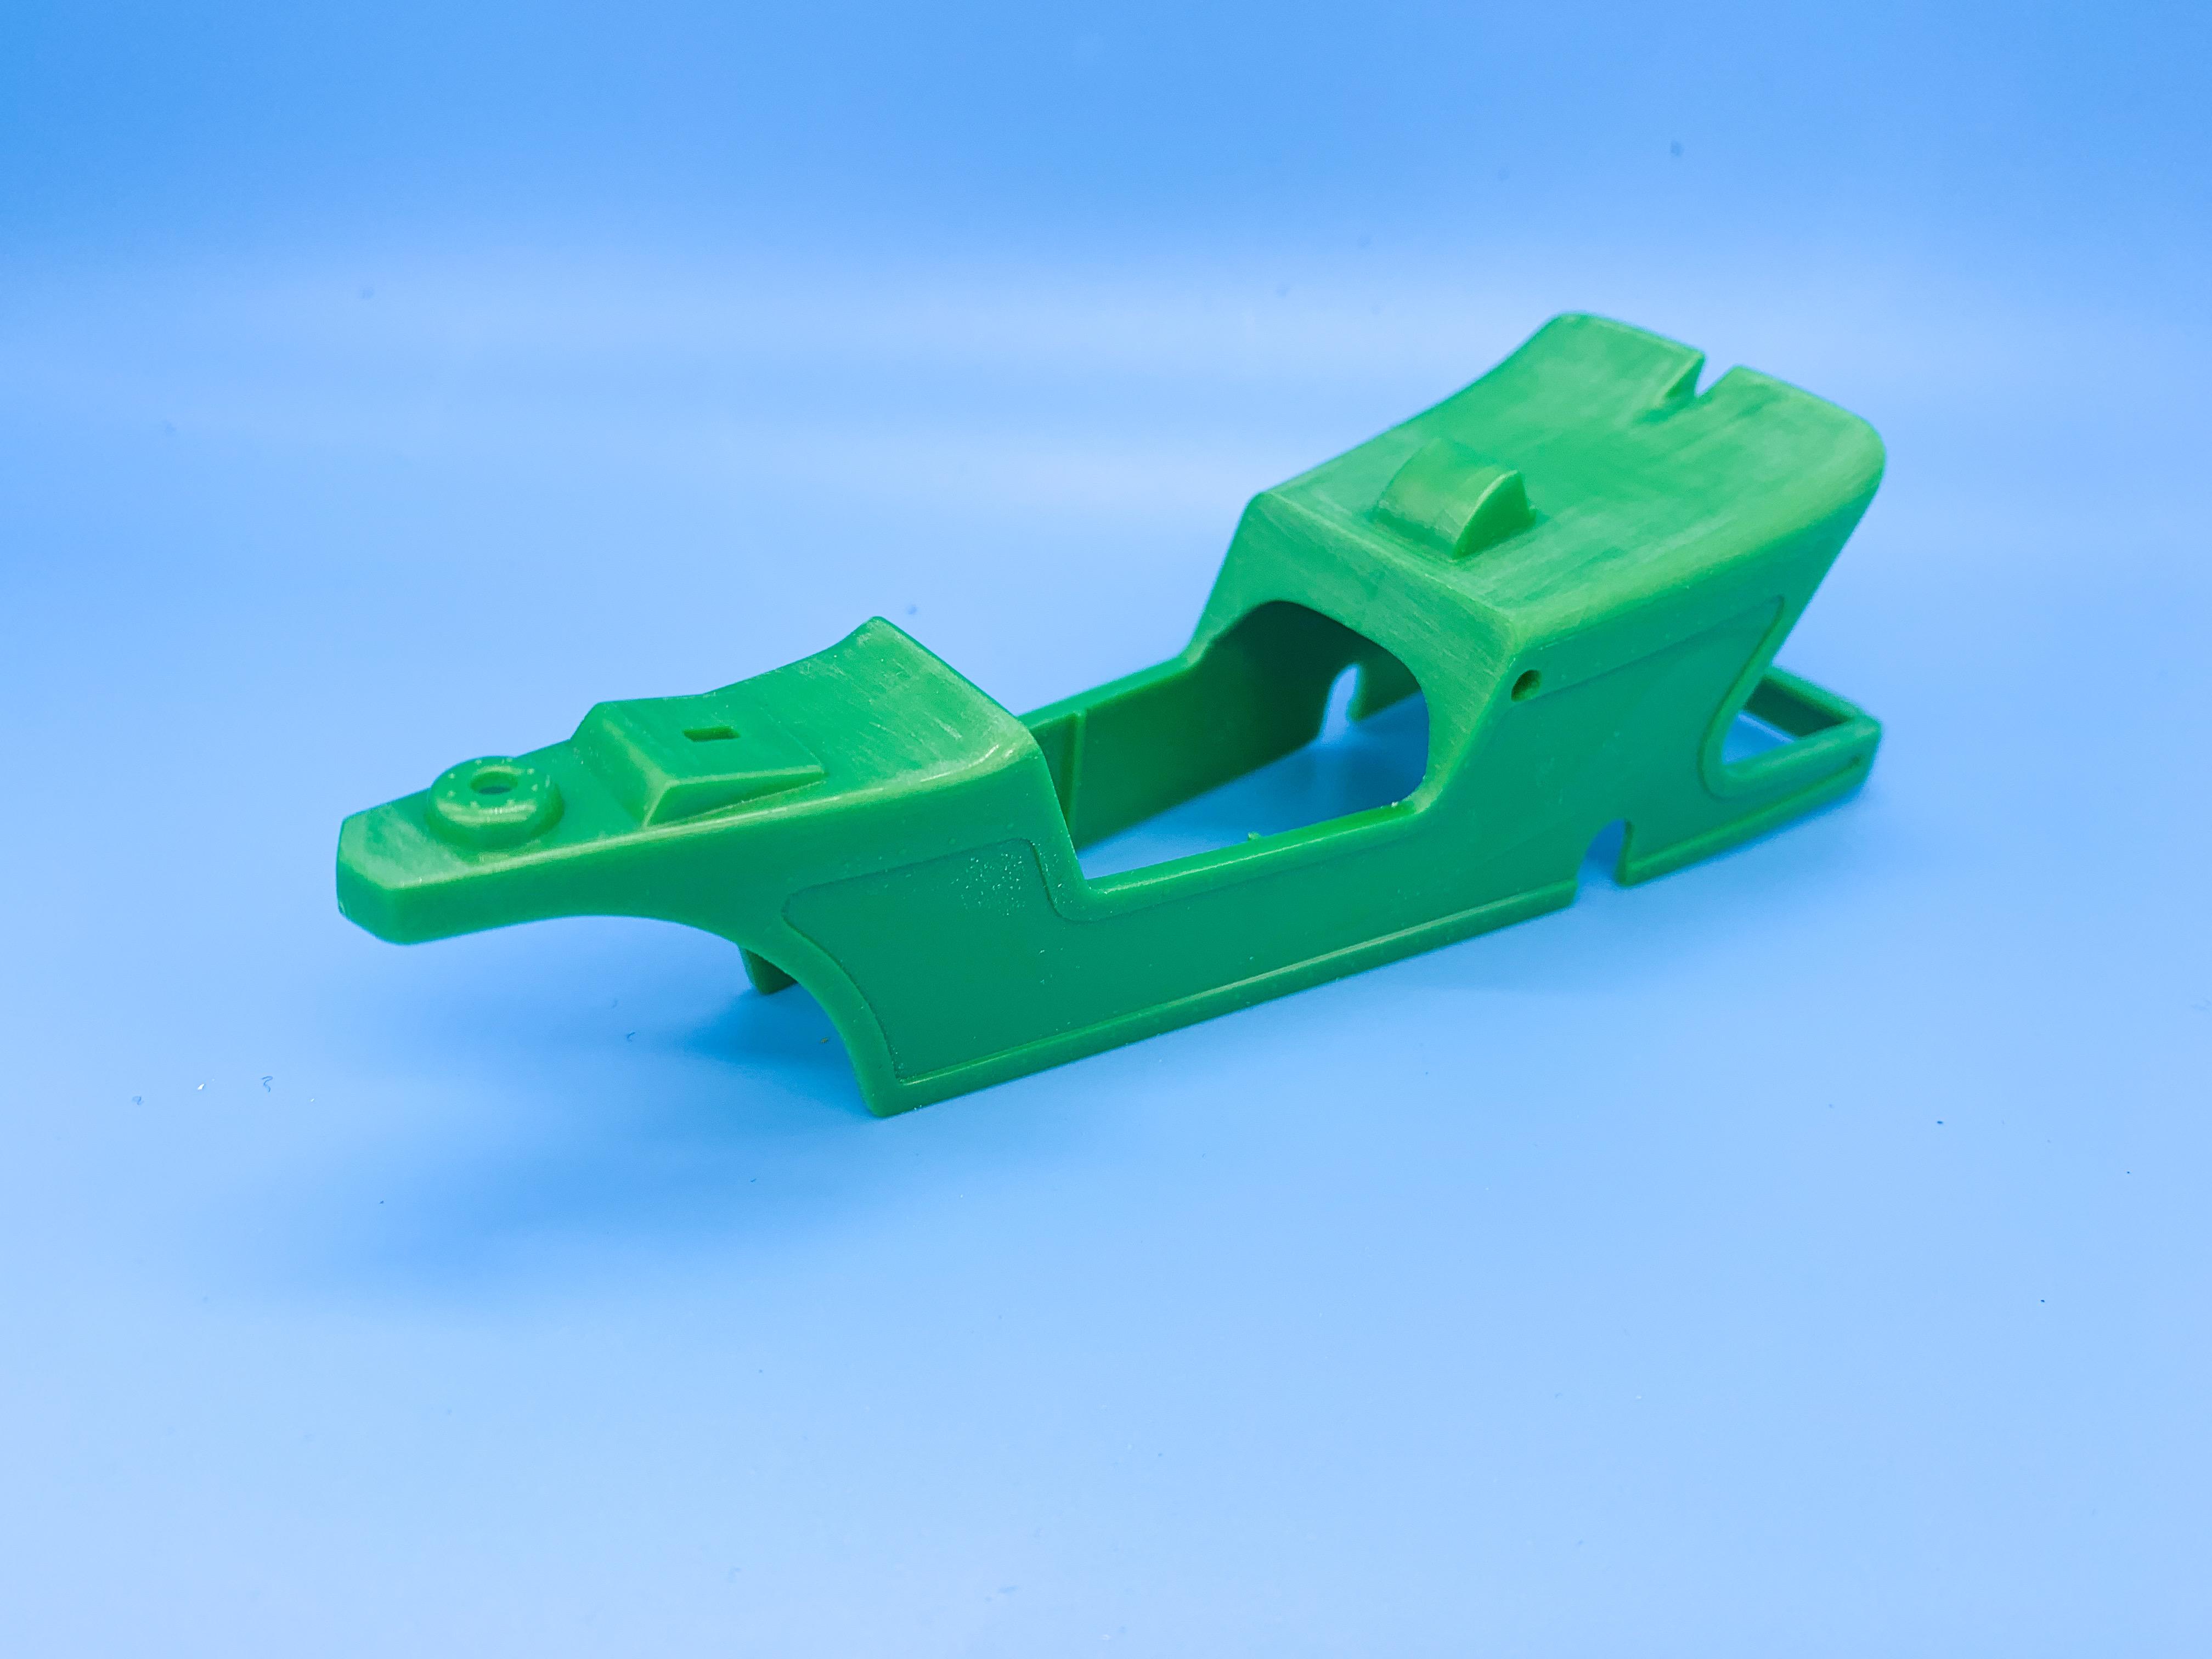
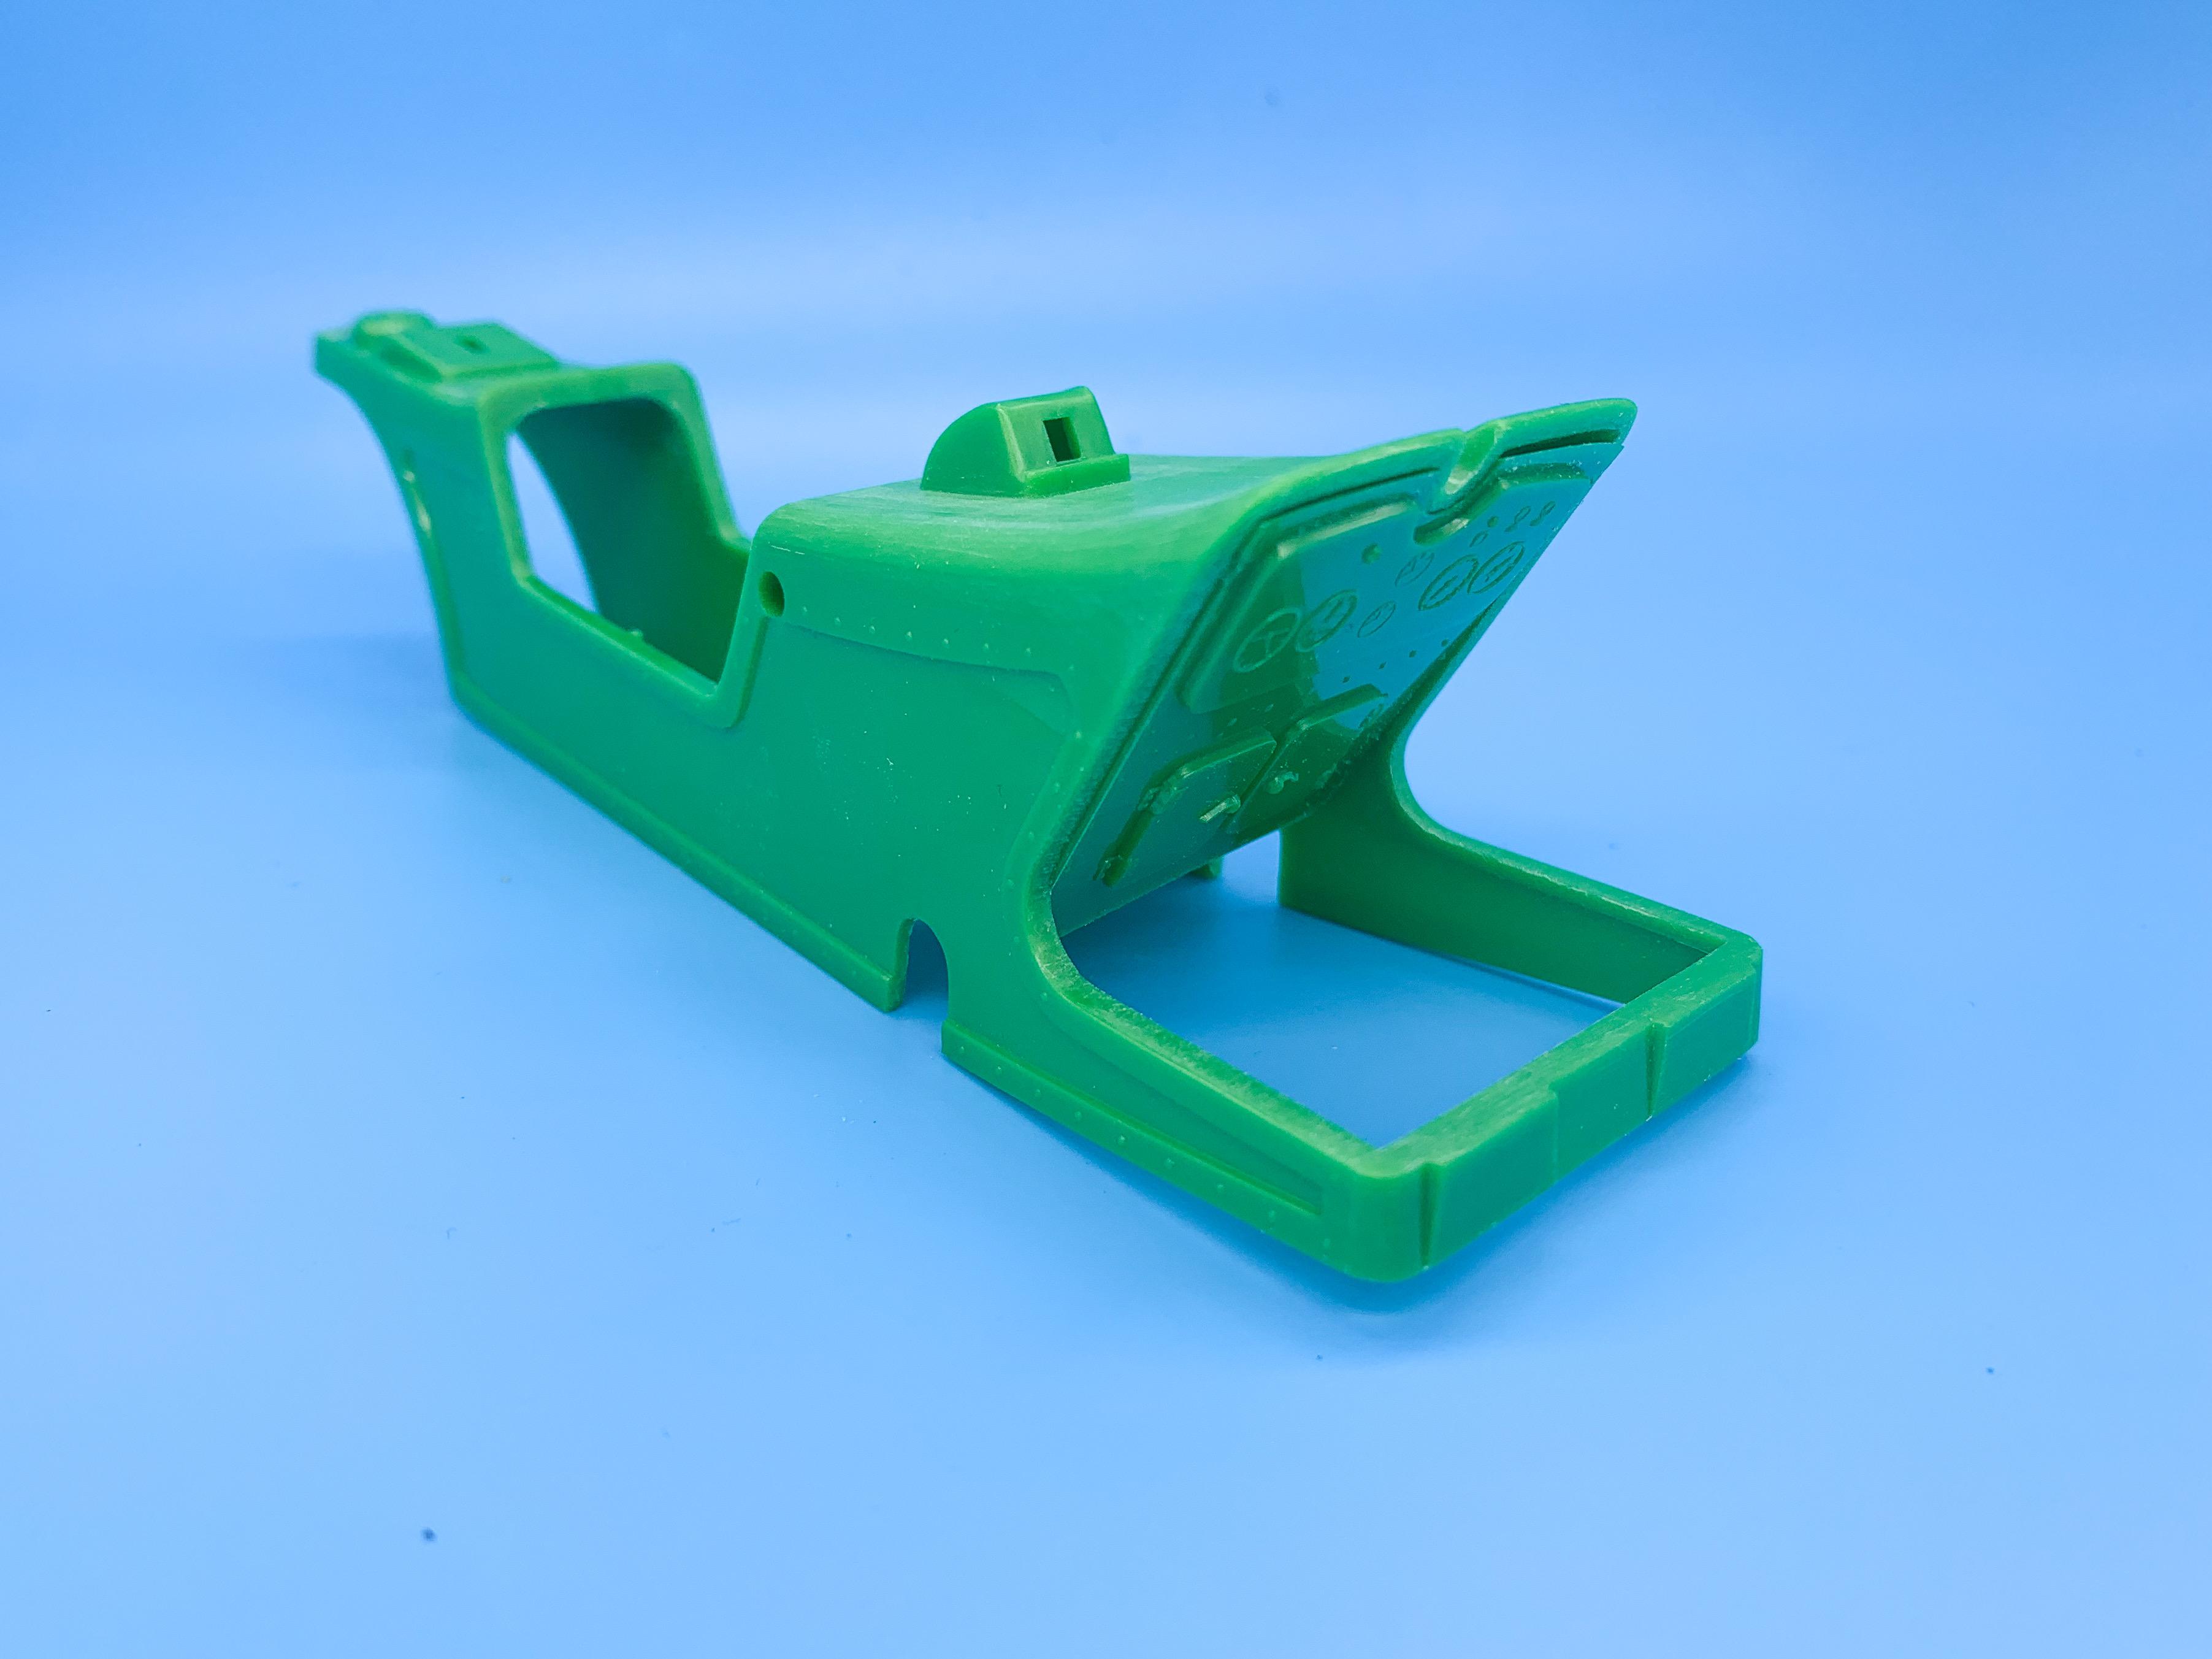
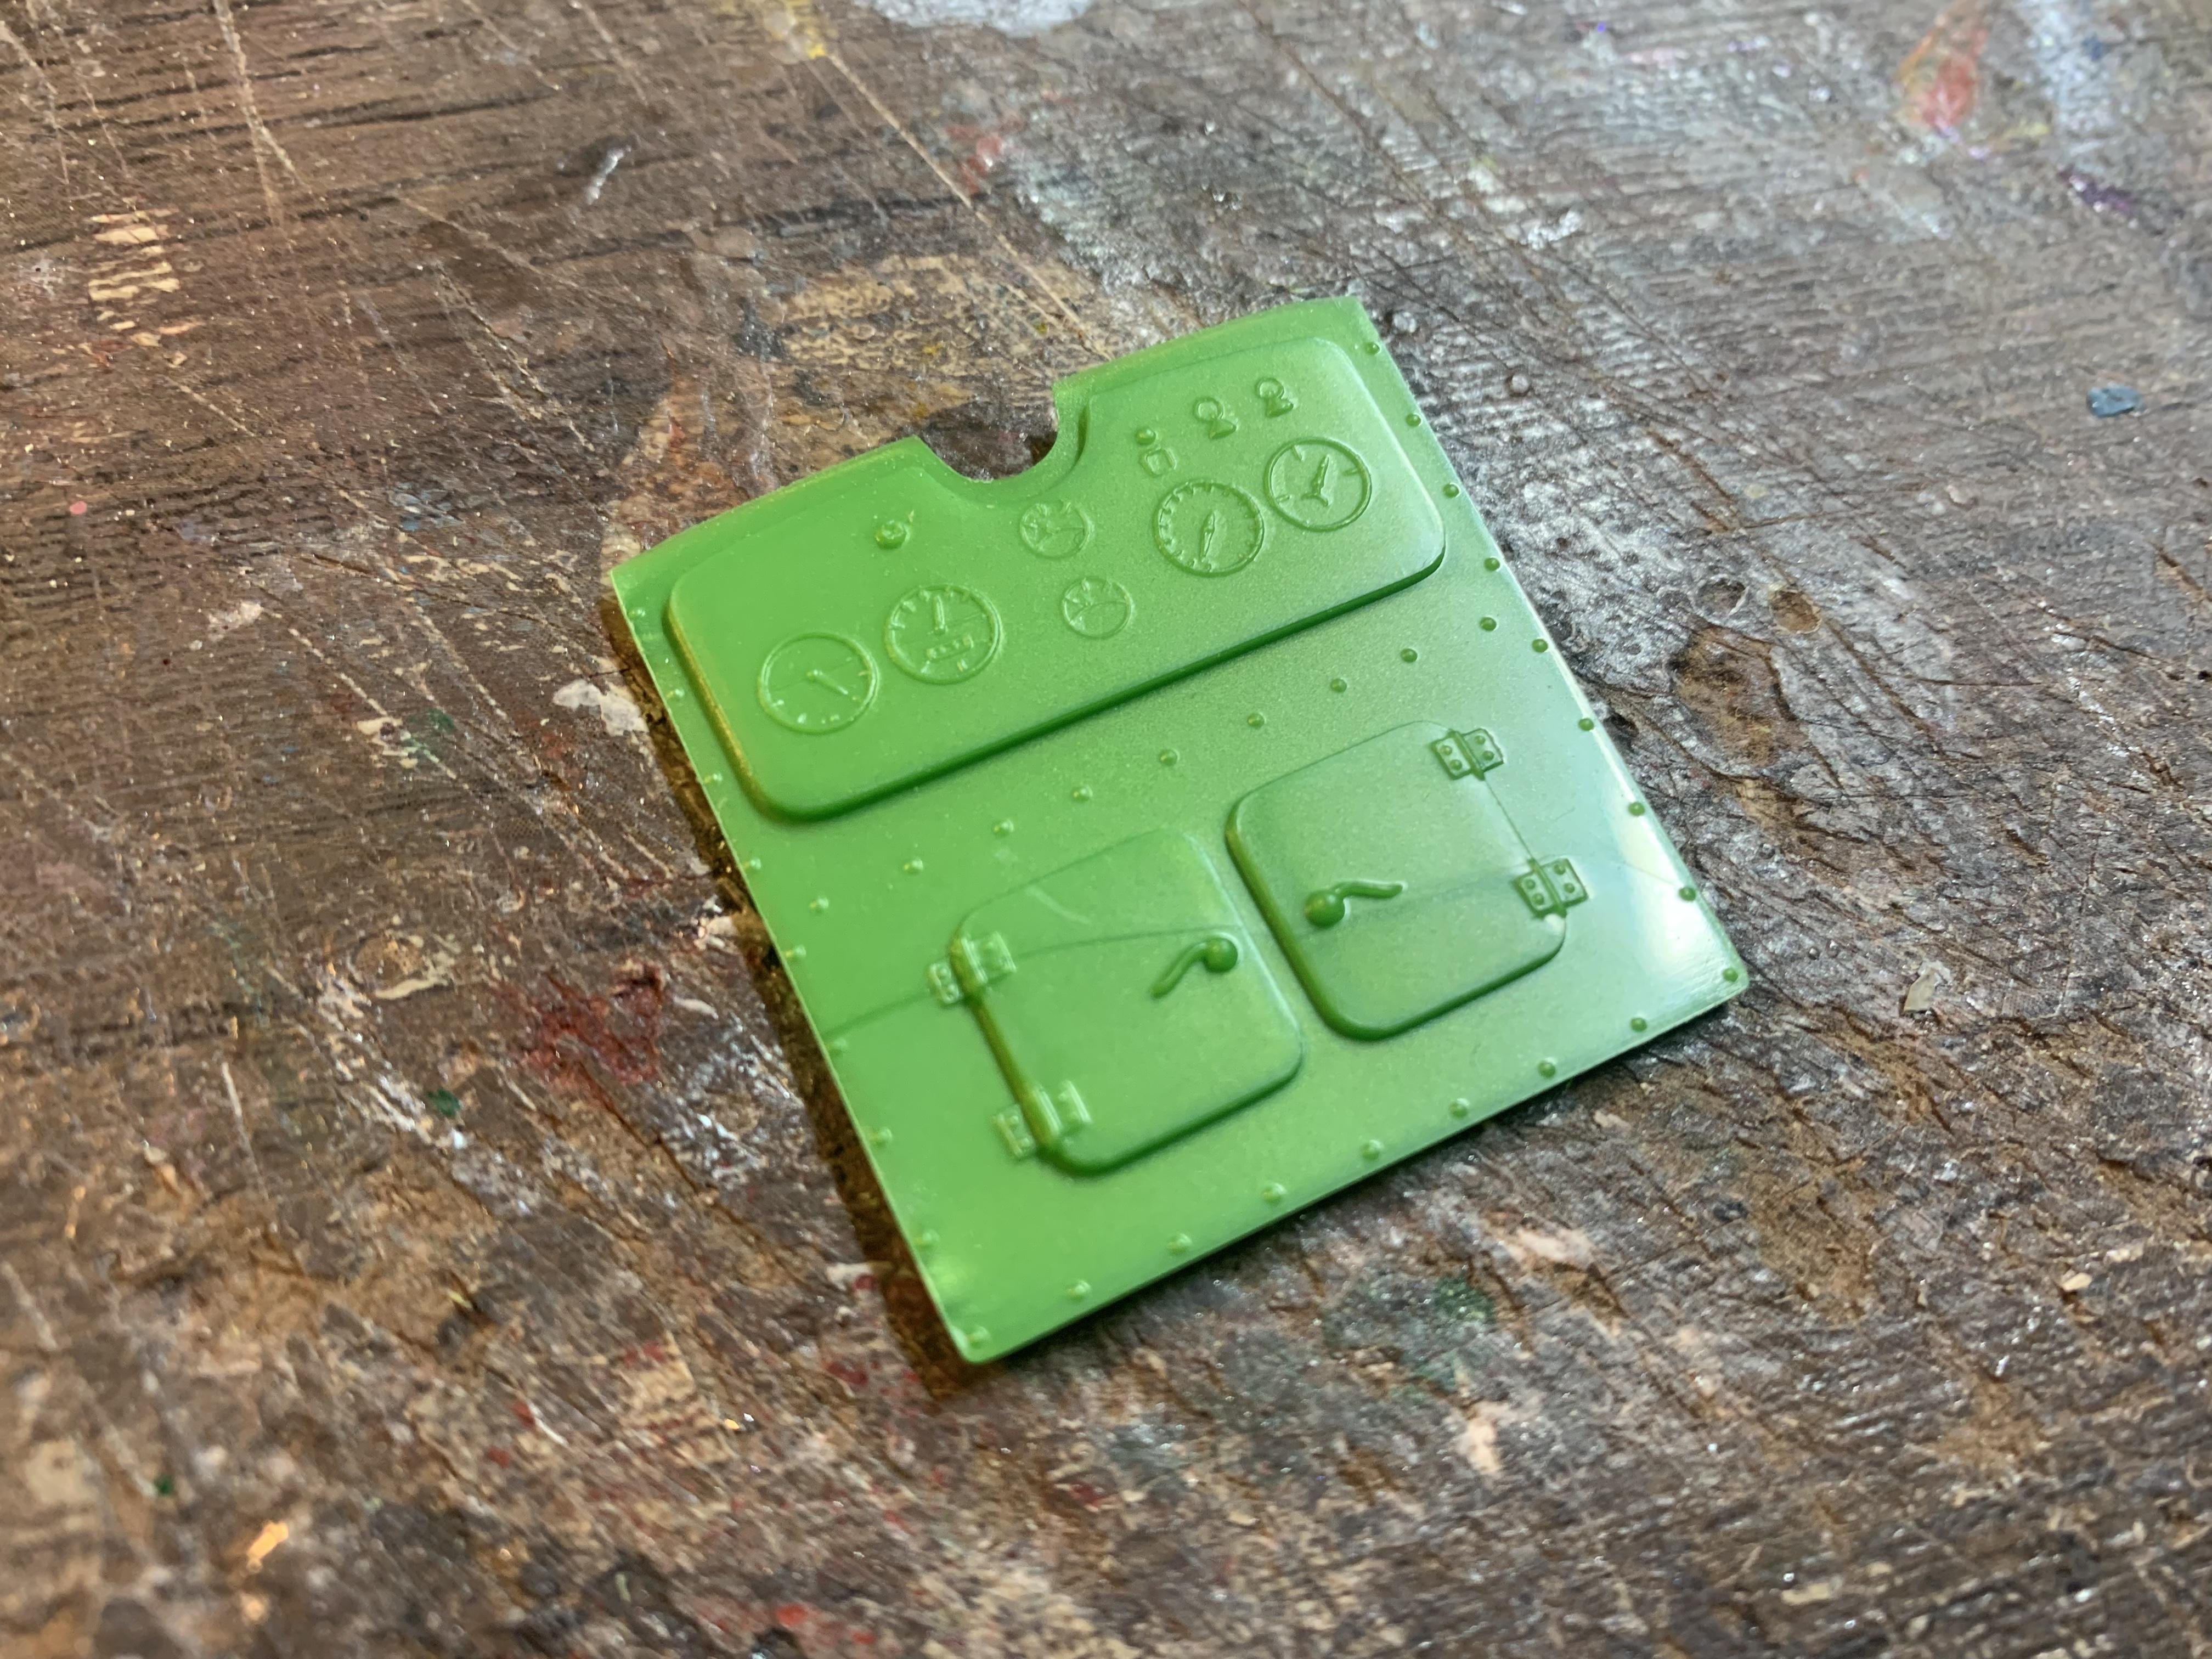
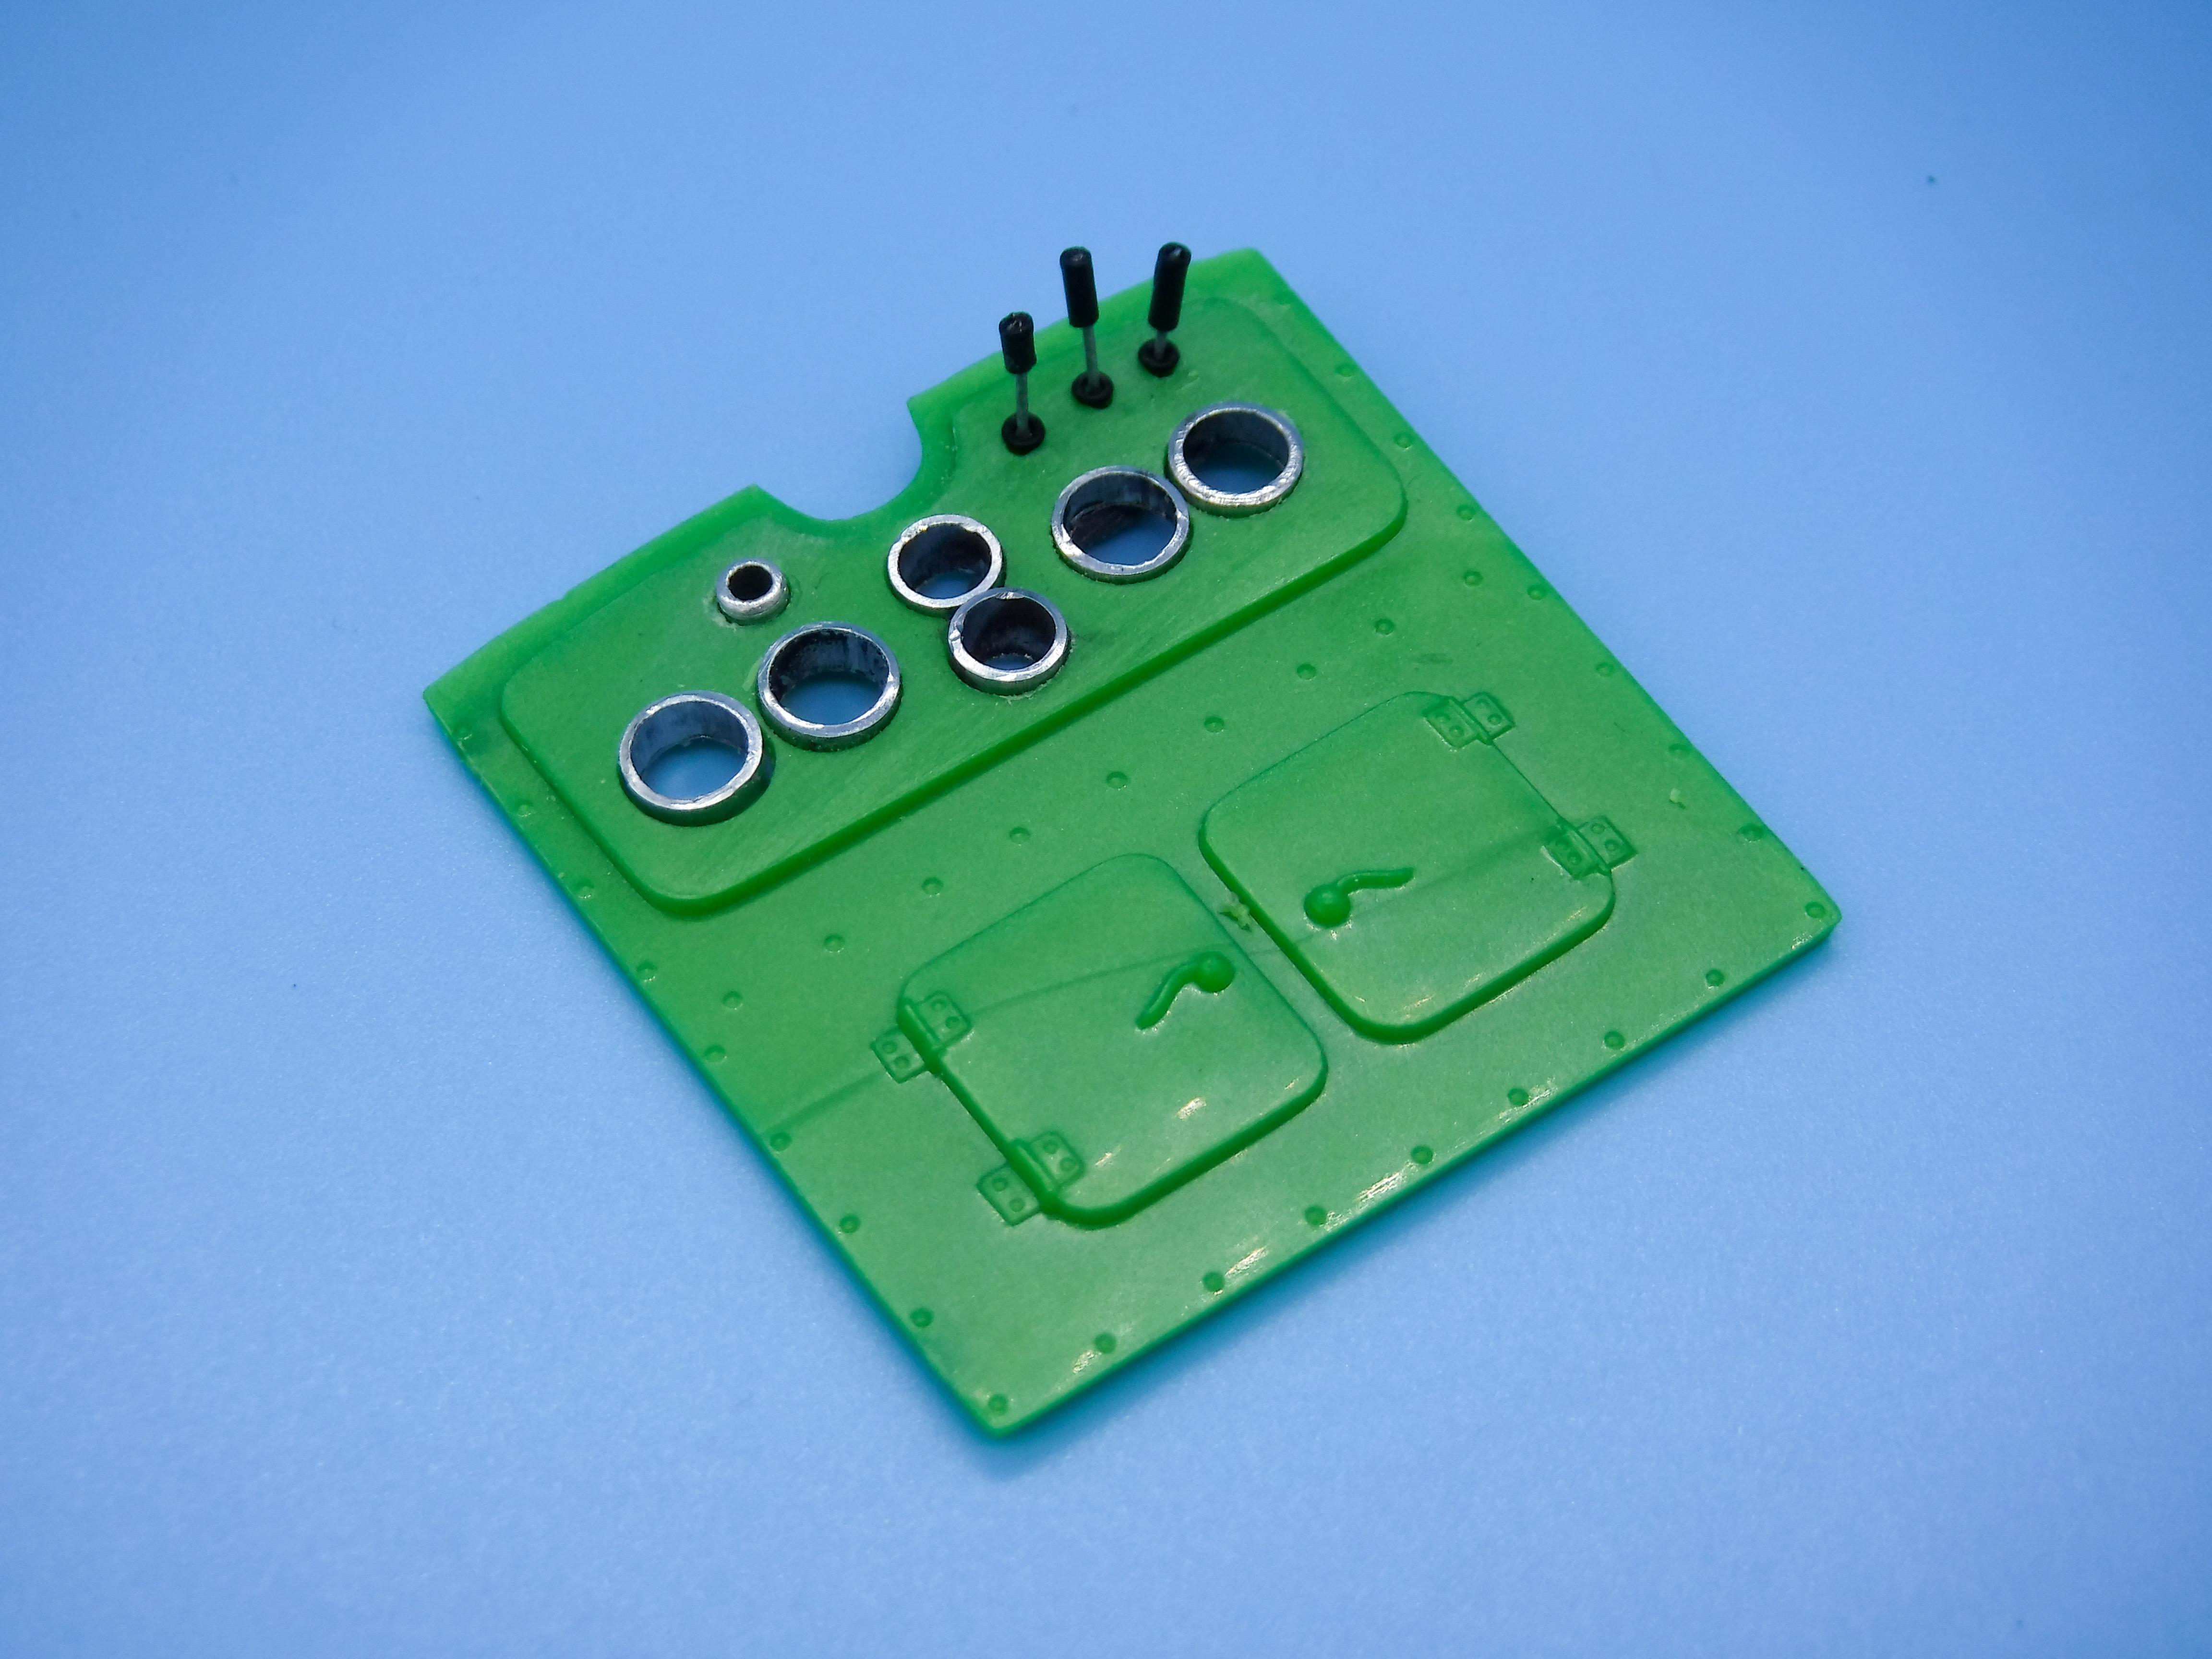
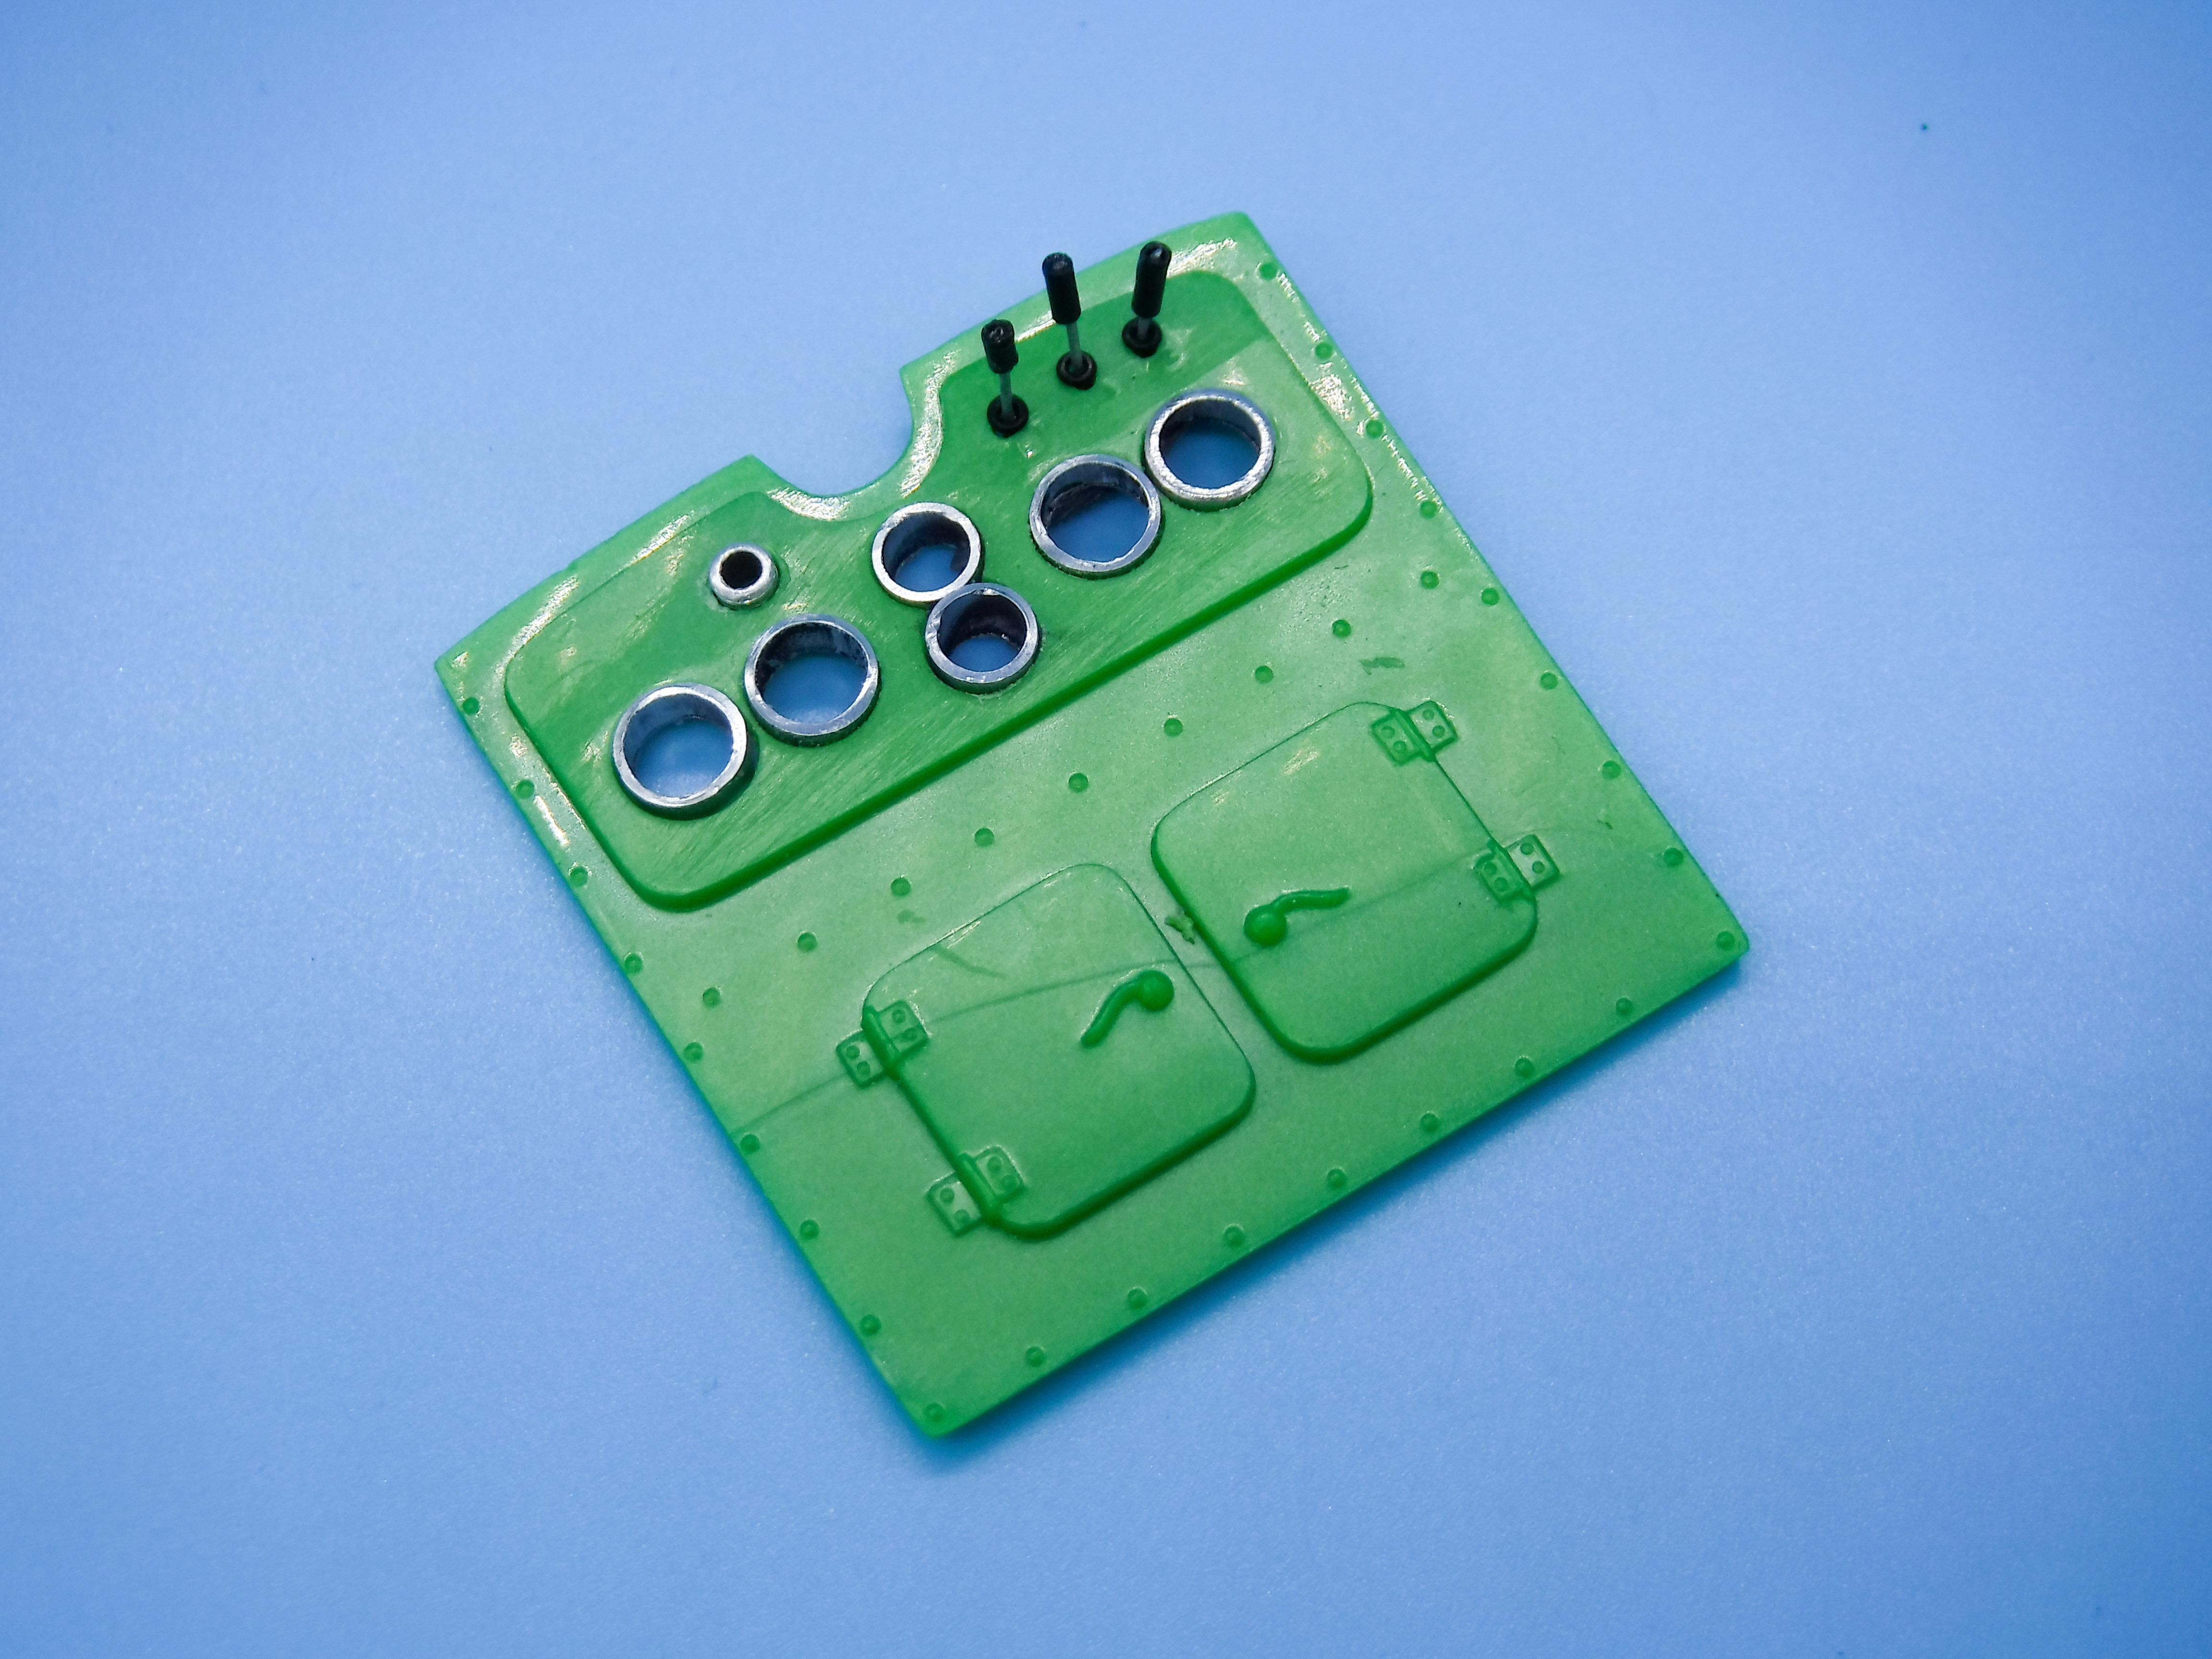
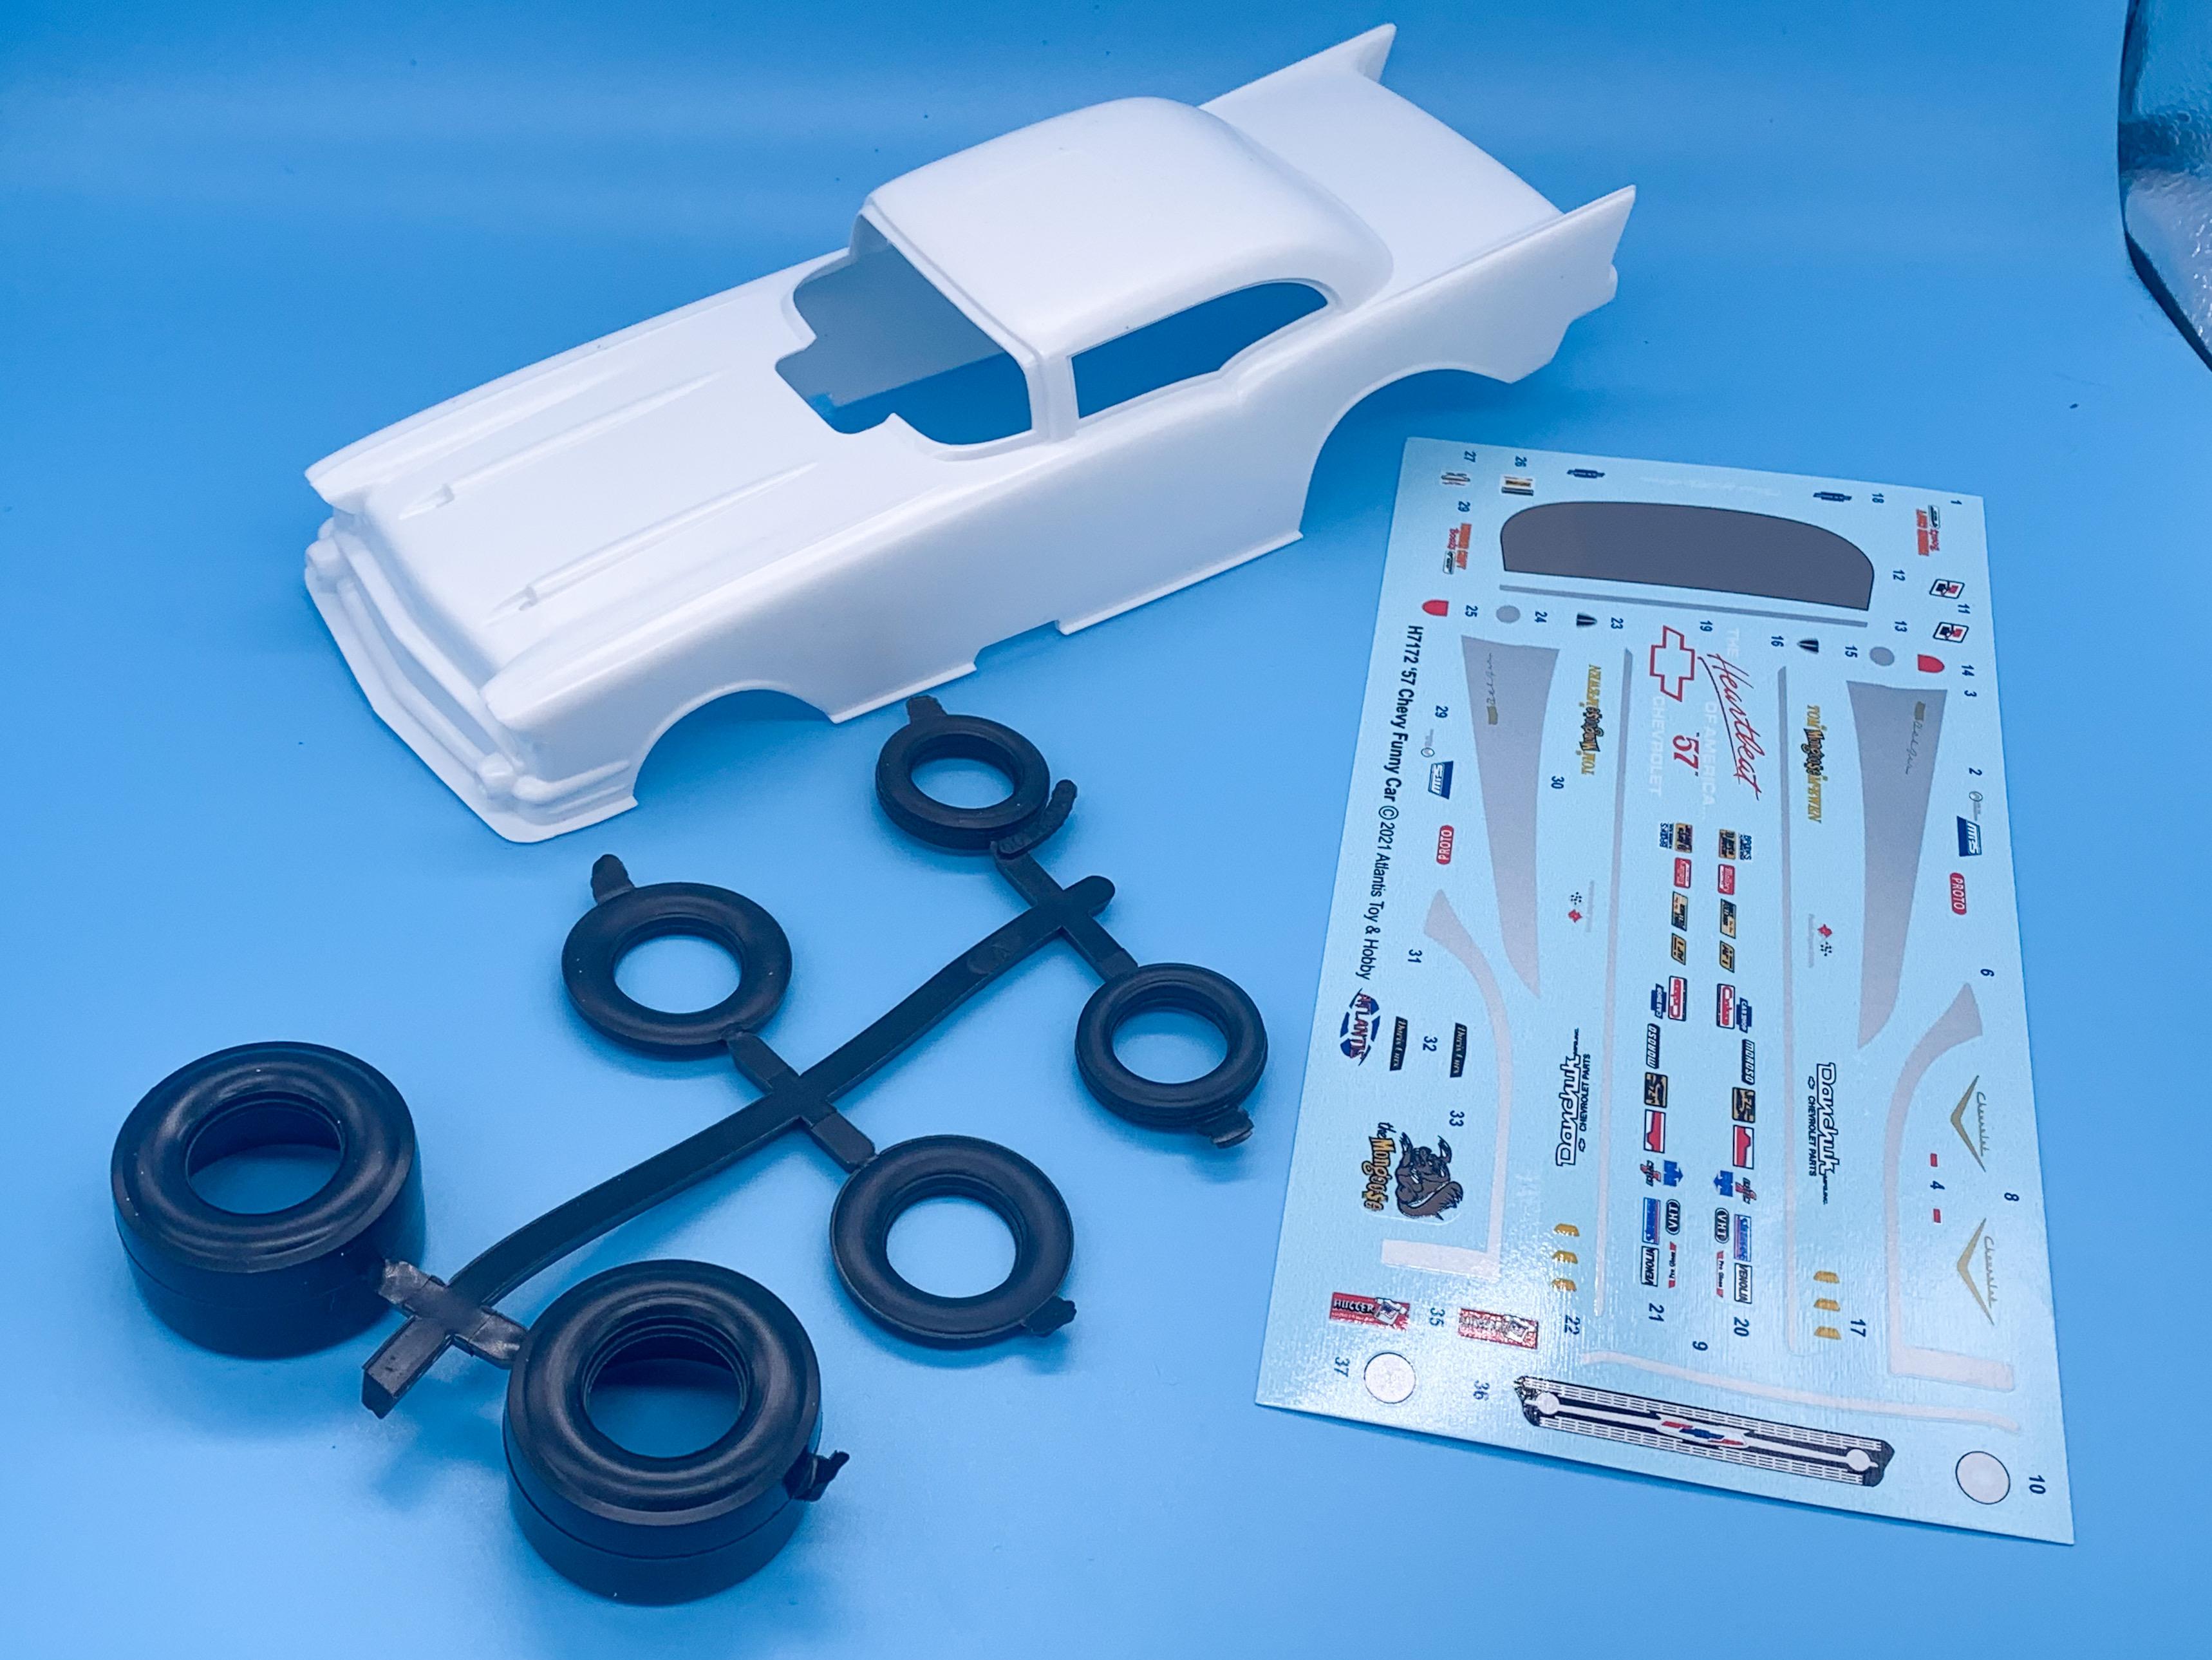
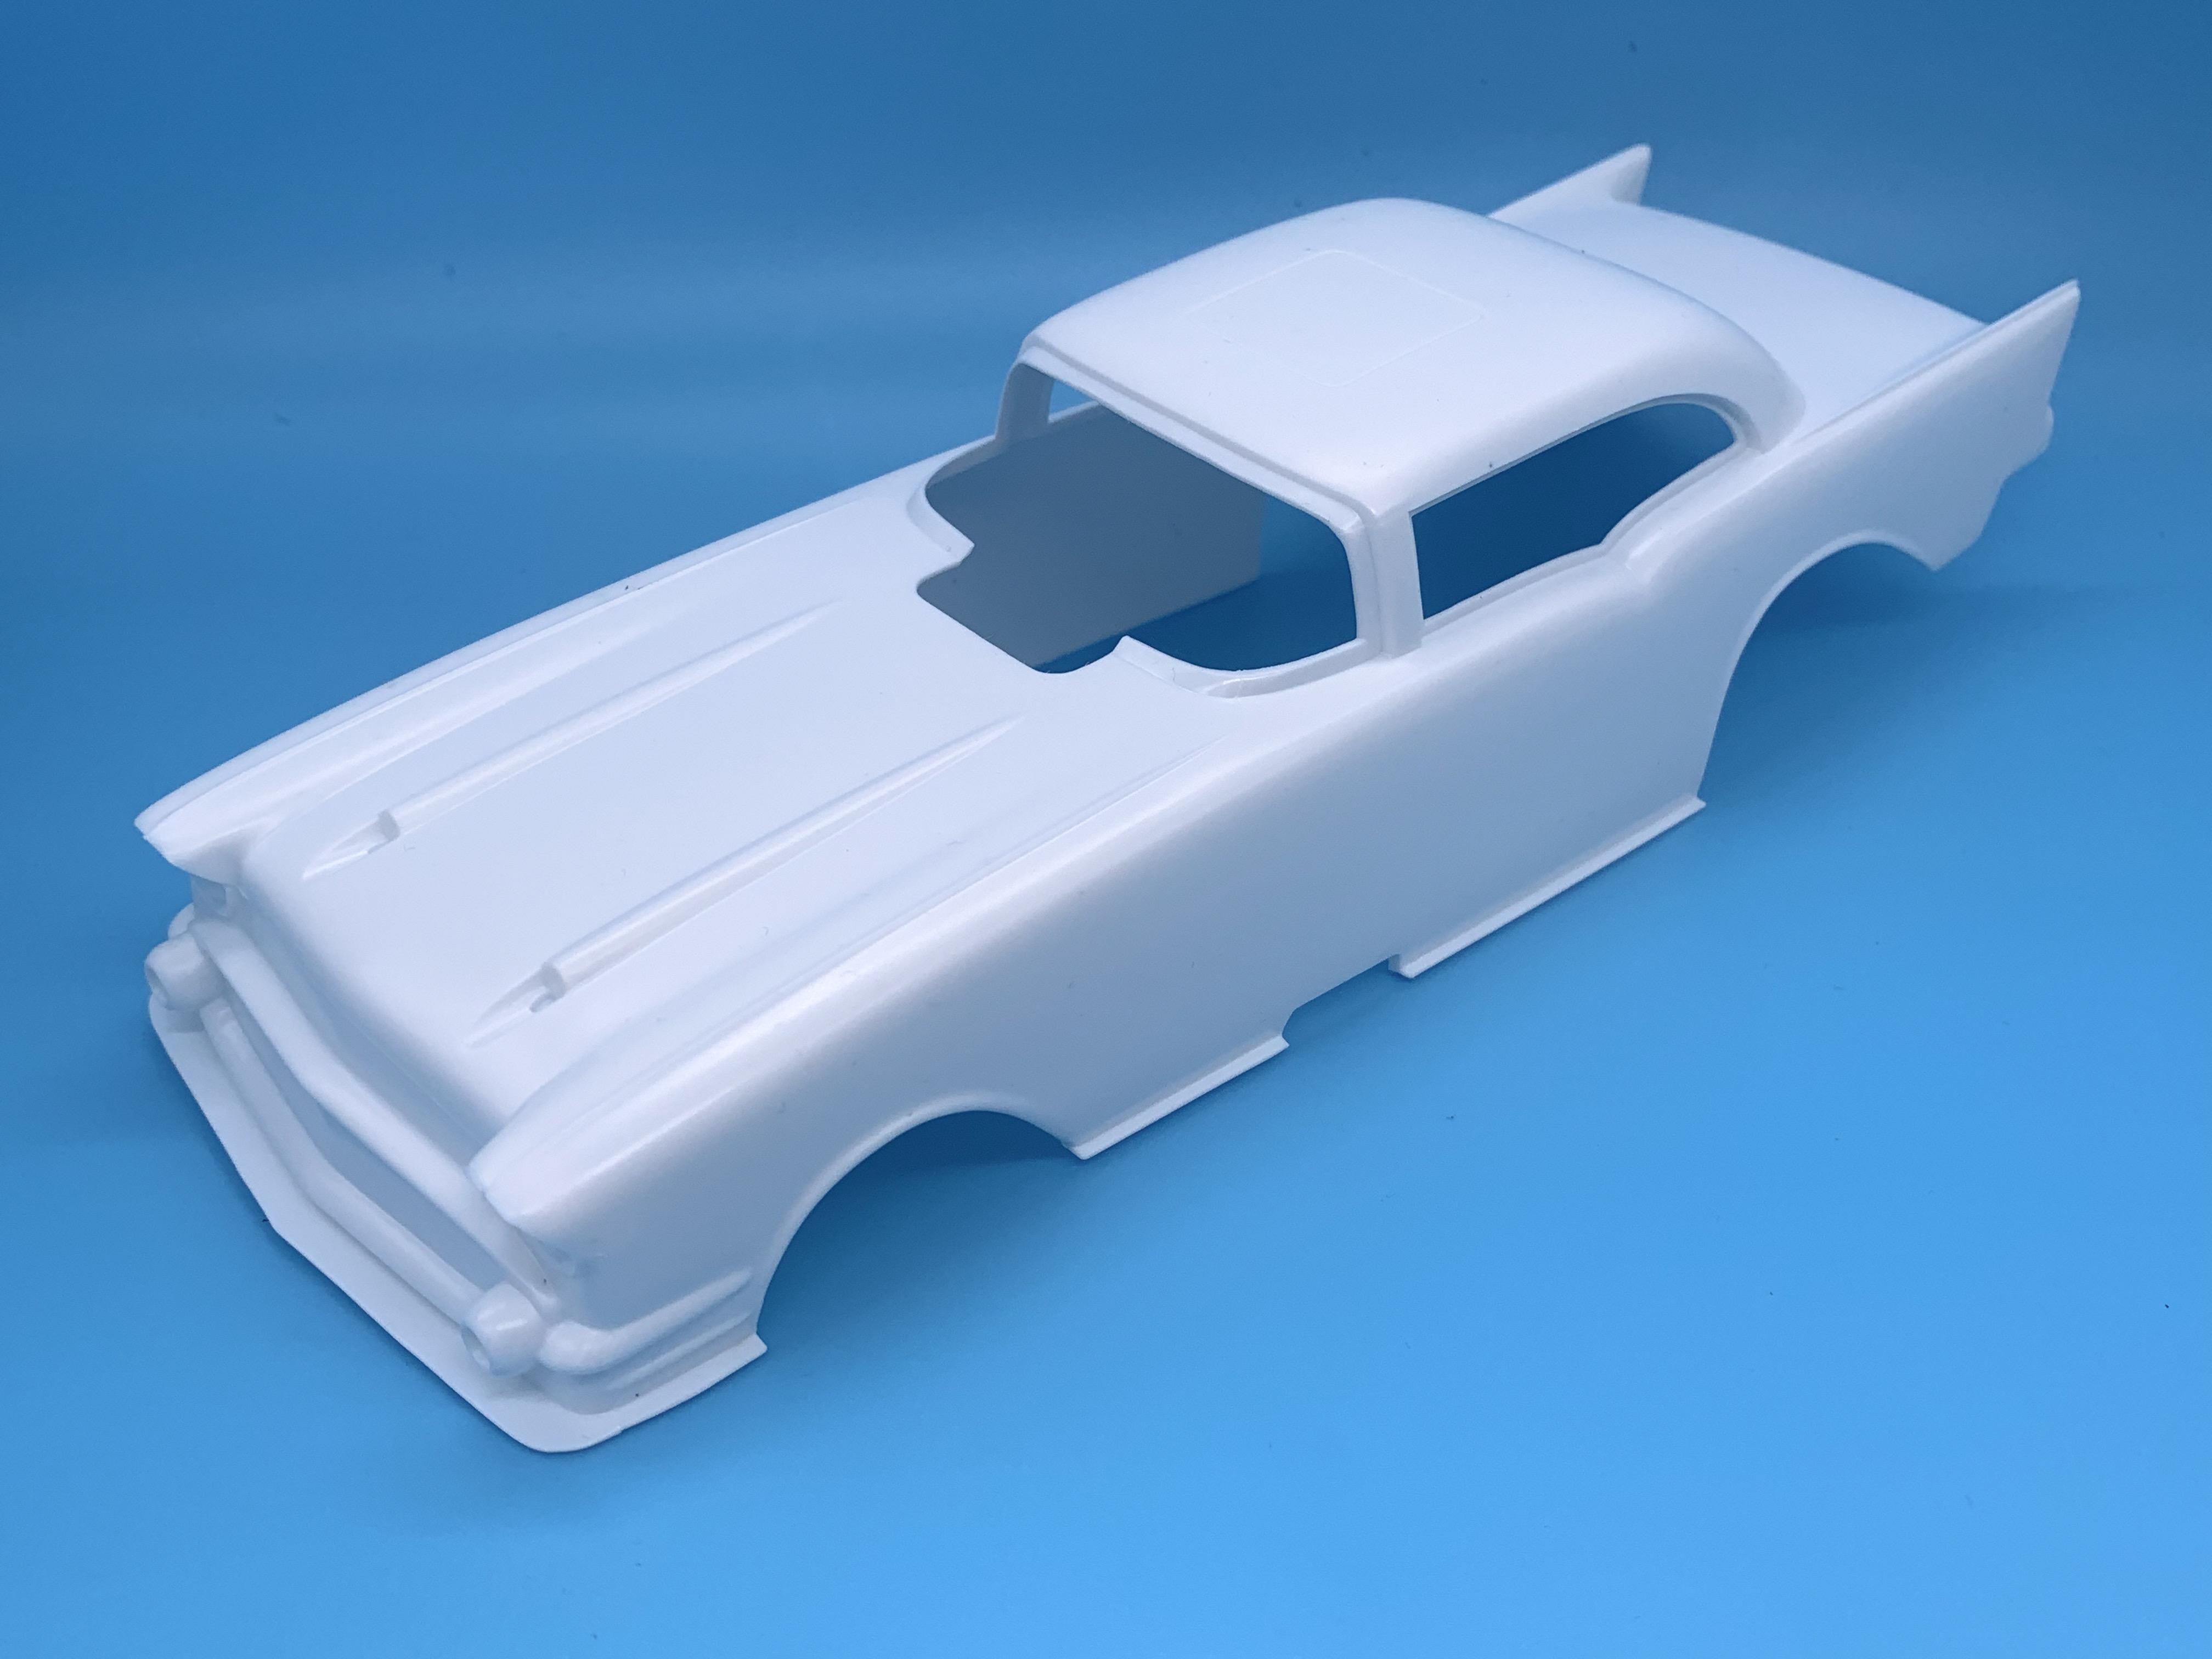
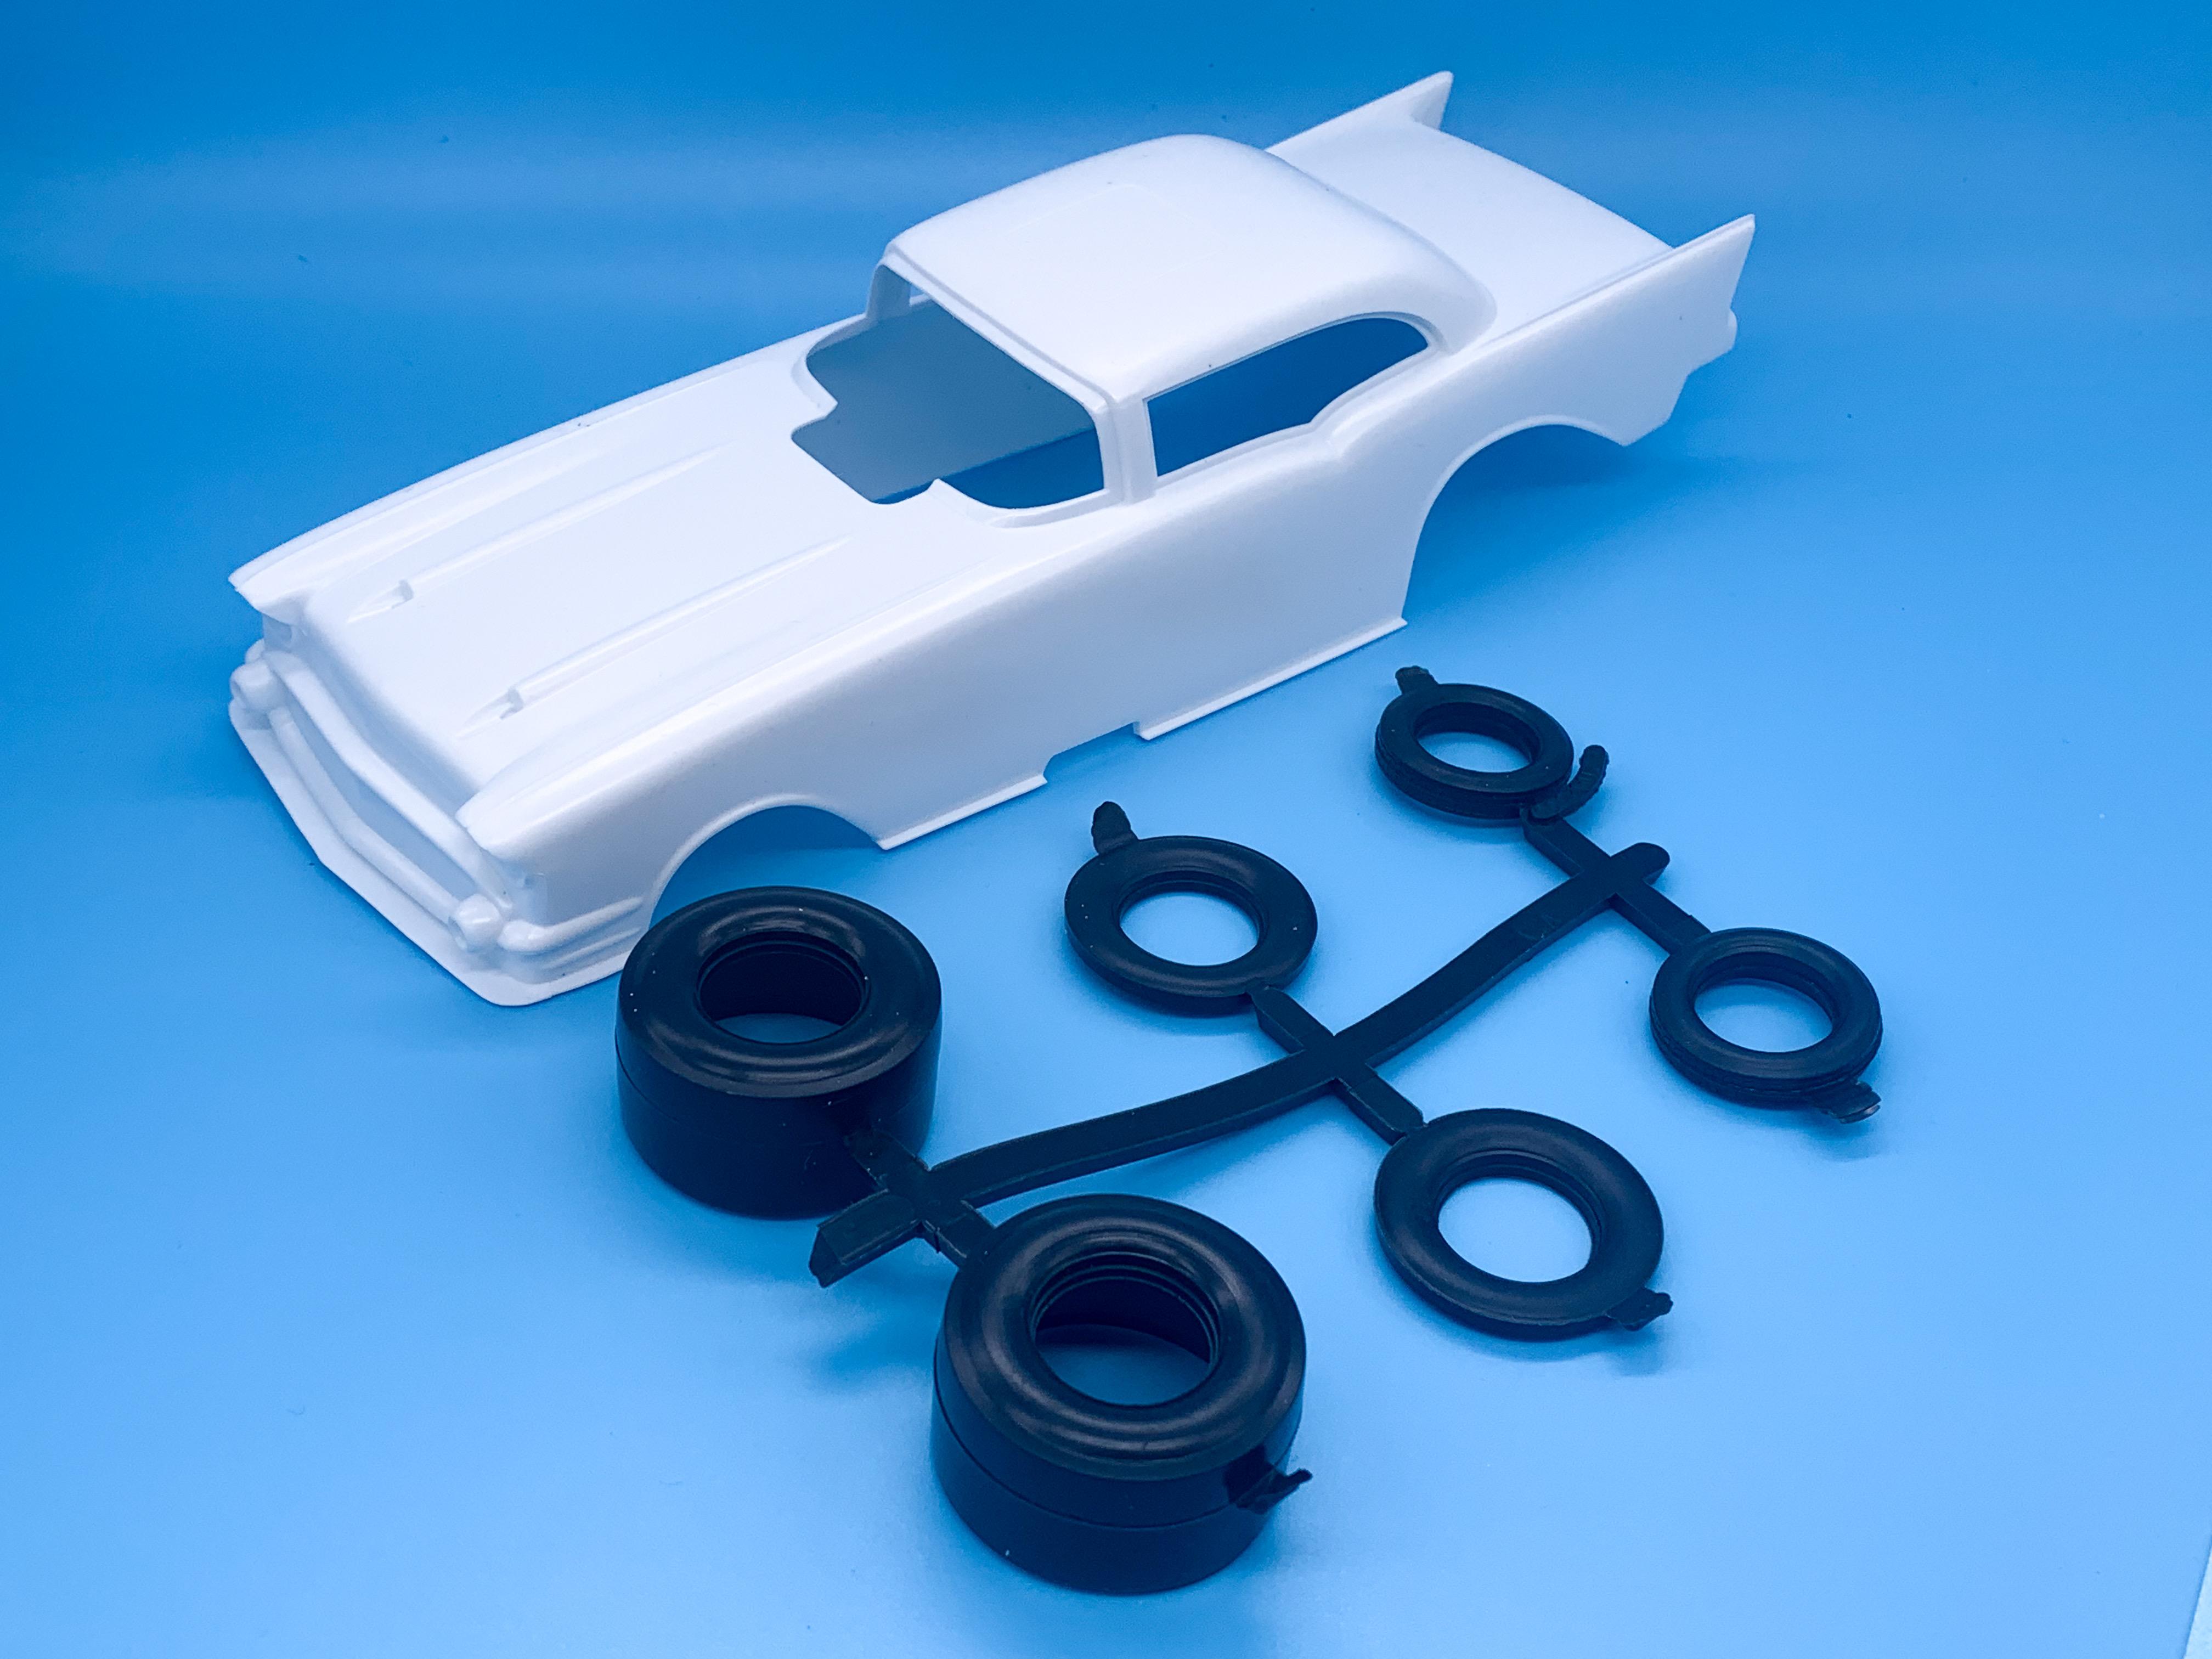
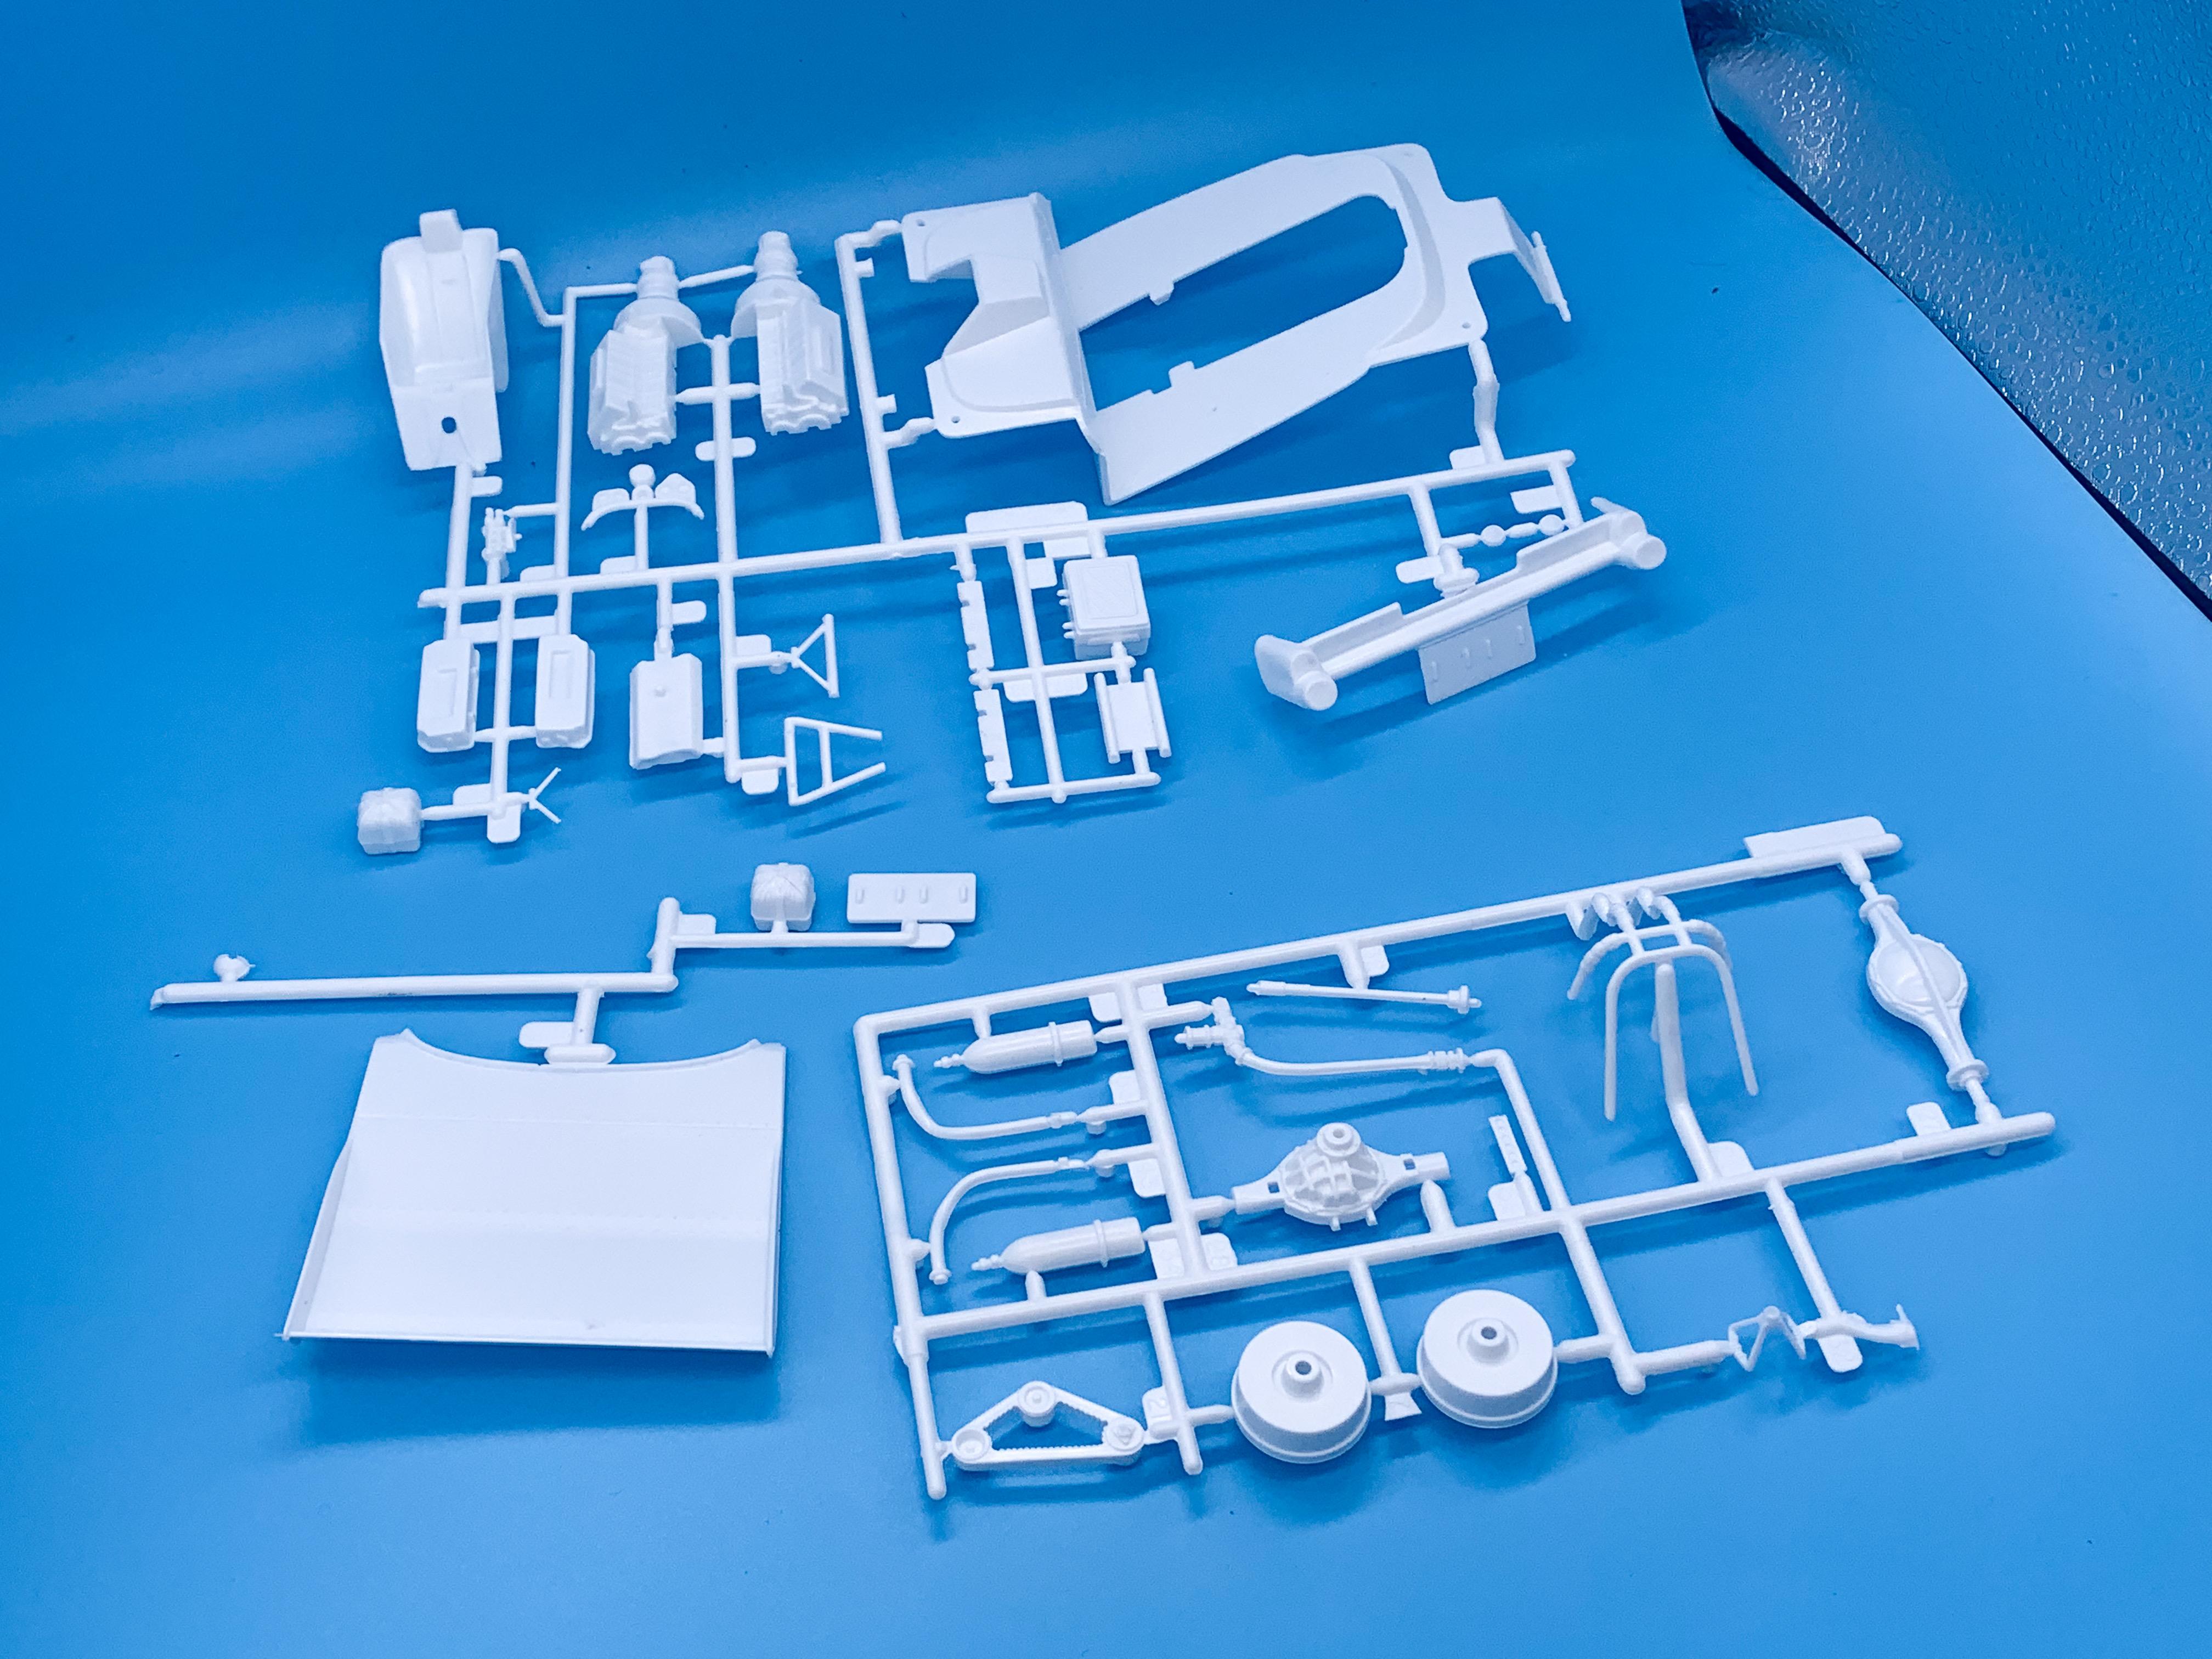
Wasn’t really sure where to post this - but I guess it’s about as ‘other’ as they get, so here we are… Was really glad that Atlantic reissued this one - it’s been on my ‘want’ list for a LONG time. I love the new box art, and I’m sure I’ll end up building a green one, but I really wanted to built a replica of the original box art from ‘71: Something I like about Tom Daniel kits is that you get straight to the getting…first step, paint the body and start making it look like the thing on the box ?: So, first job will be clean up all the purple parts ready for paint: The firewall and dash is ok by 50-year-old standards, but I figured I could improve on those moulded-in gauges and switches a little: I spun up some aluminum trim rings on my lathe (which was tricky - the material is a little too fragile for my Taig really…) and then drilled out those switches ready for replacements…I might make some nice polished aluminum ones actually rather than these wire ones that I have in there right now… Having a blast messing with this thing - it’s so different to what I’ve been building lately, it’s fun to work on something big and beefy and industrial. More soon!
-
Few pics from inside the box, if anyone’s curious:
-
Thanks for bringing this thread back to the top Noel! Speaking to your point, you're exactly right - there isn't a good clear criteria or clearly defined standard on what level one has to reach to be termed a 'craftsman' (at least not in the context that we're talking about here in this thread...). And I wonder too if many craftsman even refer to themselves by that term? Or is that the equivalent of calling oneself 'handsome' - a term better given as a compliment by others than as a label you give yourself? Regardless - your point about different types of build really got me thinking. Is an immaculately put-together out-of-box build as impressive as a full scratchbuild Winfield-esque large-scale wonder? Probably not, put side to side...but I think a true craftsman would approach each project the same way - whether it's cleaning up mold lines on a Tamiya curbside kit or scratch-building 96-spoke wire wheels and lathe-turning the rims. That same desire to complete the task as perfectly as possible is probably still there. I can't answer definitively - I'm just ASPIRING to be a craftsman here
-
What a great story Claude! Enjoyed your thoughts on this subject!
-
Plymouth Salt Flat Slammer
OldNYJim replied to OldNYJim's topic in WIP: Other Racing: Road Racing, Land Speed Racers
That’s REALLY interesting! Thanks for sharing! I’ve done some funky stuff to set up 1:1 oval cars before but didn’t know about the salt-flats tricks! Cool! -
Meijer's has models again.
OldNYJim replied to 2000-cvpi's topic in General Automotive Talk (Trucks and Cars)
I wish these model companies wouldn’t keep it a secret which stores exactly have their product - just tell us which ones have stock! -
Plymouth Salt Flat Slammer
OldNYJim replied to OldNYJim's topic in WIP: Other Racing: Road Racing, Land Speed Racers
Interesting - do you have to (generally) run a softer suspension setup on the salt to add mechanical grip, or am I back to front? Basically, yeah! Actually, I found a good photo of a 1:1 tire stencil and used that in this case, but either way works… I kinda ran out of pieces to add to this, so it’s getting towards being done here - added a resin parachute, a couple of fuel lines, some photoetch screws and dzus fasteners and then used some thinned white glue and some fine white embossing powder to add a little salt. Not going too wild on this one - just wanted a fun quickie project for the shelf! Thanks for watching everyone!
-
Interesting - thanks for the review! Bet it would kitbash nicely with the Revell Model A frames, for those so inclined...
-
It's a ship - shipping a ship oughta be the easiest shipping you'll ever do ?
-
Working Around Red Plastic?
OldNYJim replied to JollySipper's topic in Model Building Questions and Answers
Something maybe-helpful; I have never had ANY trouble with colored plastic showing through when using Createx airbrush colors. White over red, black, blue or anything else - never had an issue. Maybe acrylics are less susceptible to this phenomenon? -
My wife just got a job at Michael's! Had her first shift yesterday...gets 30% discount on most stuff, apparently. Which is cool, because they've got a Revell 32 sedan on the shelf that I couldn't bring myself to buy at their standard prices (especially now that the 40% coupon has mostly gone away)... I told her I want a pic of the model stash in their stockroom - I wanna see if there's any treasures hiding back there!
-
'62 Ford Galaxie 500 Update! 12/23/22 Finally Done! Pic pg. 7
OldNYJim replied to Plowboy's topic in WIP: Model Cars
I really like how this looks in that mock-up - great start! -
Meijer's has models again.
OldNYJim replied to 2000-cvpi's topic in General Automotive Talk (Trucks and Cars)
Oh nice! We're pretty close to South Bend (where Round 2 is based) and have a Meijer really close by... -
Dude, that thing is COOL!!! Never saw that before - I want one!
-
Thank you sir - this was mostly an experiment to see how well the material machined down...I think I'd like to try grinding a custom cutting bit next so I can easily (and consistently) lathe these tires down to the right profile and shape
-
Plymouth Salt Flat Slammer
OldNYJim replied to OldNYJim's topic in WIP: Other Racing: Road Racing, Land Speed Racers
I'm sorry Chris, my bad for being too vague...I've got a Silhouette Portrait vinyl cutter that I use to cut these masks. I lay out the design in either the Silhouette software or, if it's more complex, Adobe Illustrator, and then have the machine cut Oracal masking vinyl to the right size to make the masks. I used that for the tire lettering on this one, plus the door letters and the numbers on the rear quarters. -
I very much doubt they care what I think ??
-
Plymouth Salt Flat Slammer
OldNYJim replied to OldNYJim's topic in WIP: Other Racing: Road Racing, Land Speed Racers
Thanks buddy! I actually have a Silhouette Portrait, but similar kinda deal! Haha, I had the same thought! I had a particular paintjob in mind for this one…but I’d like to do some bare-metal builds now too, after seeing this one come together! Just cut a stencil out of Oracal masking vinyl on my cutter - but I know people sell these online too A little paintwork today… First some (a lot) of salt: Then red: Once the red dried I shot some highlights in a pink color to lighten it up to look kinda chalky and faded like how red paint often looks. Then, after shooting the white bits, shot the shadows for some lettering on the doors: Before re-masking to shoot some gold before adding some numbers and sponsor decals: It’s starting to look like a racecar! Still more paintwork to do, but it’s starting to come together!
-
Plymouth Salt Flat Slammer
OldNYJim replied to OldNYJim's topic in WIP: Other Racing: Road Racing, Land Speed Racers
Thanks buddy! A little more progress this afternoon - laying down a rusty bare-metal base for the rest of the paintjob to follow… First up, Model Master aluminum and some shading with Vallejo gunmetal: Then, adding some rust…first up, burnt umber: Followed by some ‘fresh’ rust highlights: And then some Vallejo rust wash to add some streaks and light surface rust: Tomorrow’s project will be laying down some body color over all that corrosion…more soon!
-
That’s pretty shady of eBay to do…he had some SCATHING feedback on there (including one from me). Surprised that they would do that…
-
Geez, it IS spendy…but I also kinda want one ? Thanks for the review!