OldNYJim
-
Posts
252 -
Joined
-
Last visited
Content Type
Profiles
Forums
Events
Gallery
Everything posted by OldNYJim
-
 Those look GREAT together! Love the outdoor shots!
 -
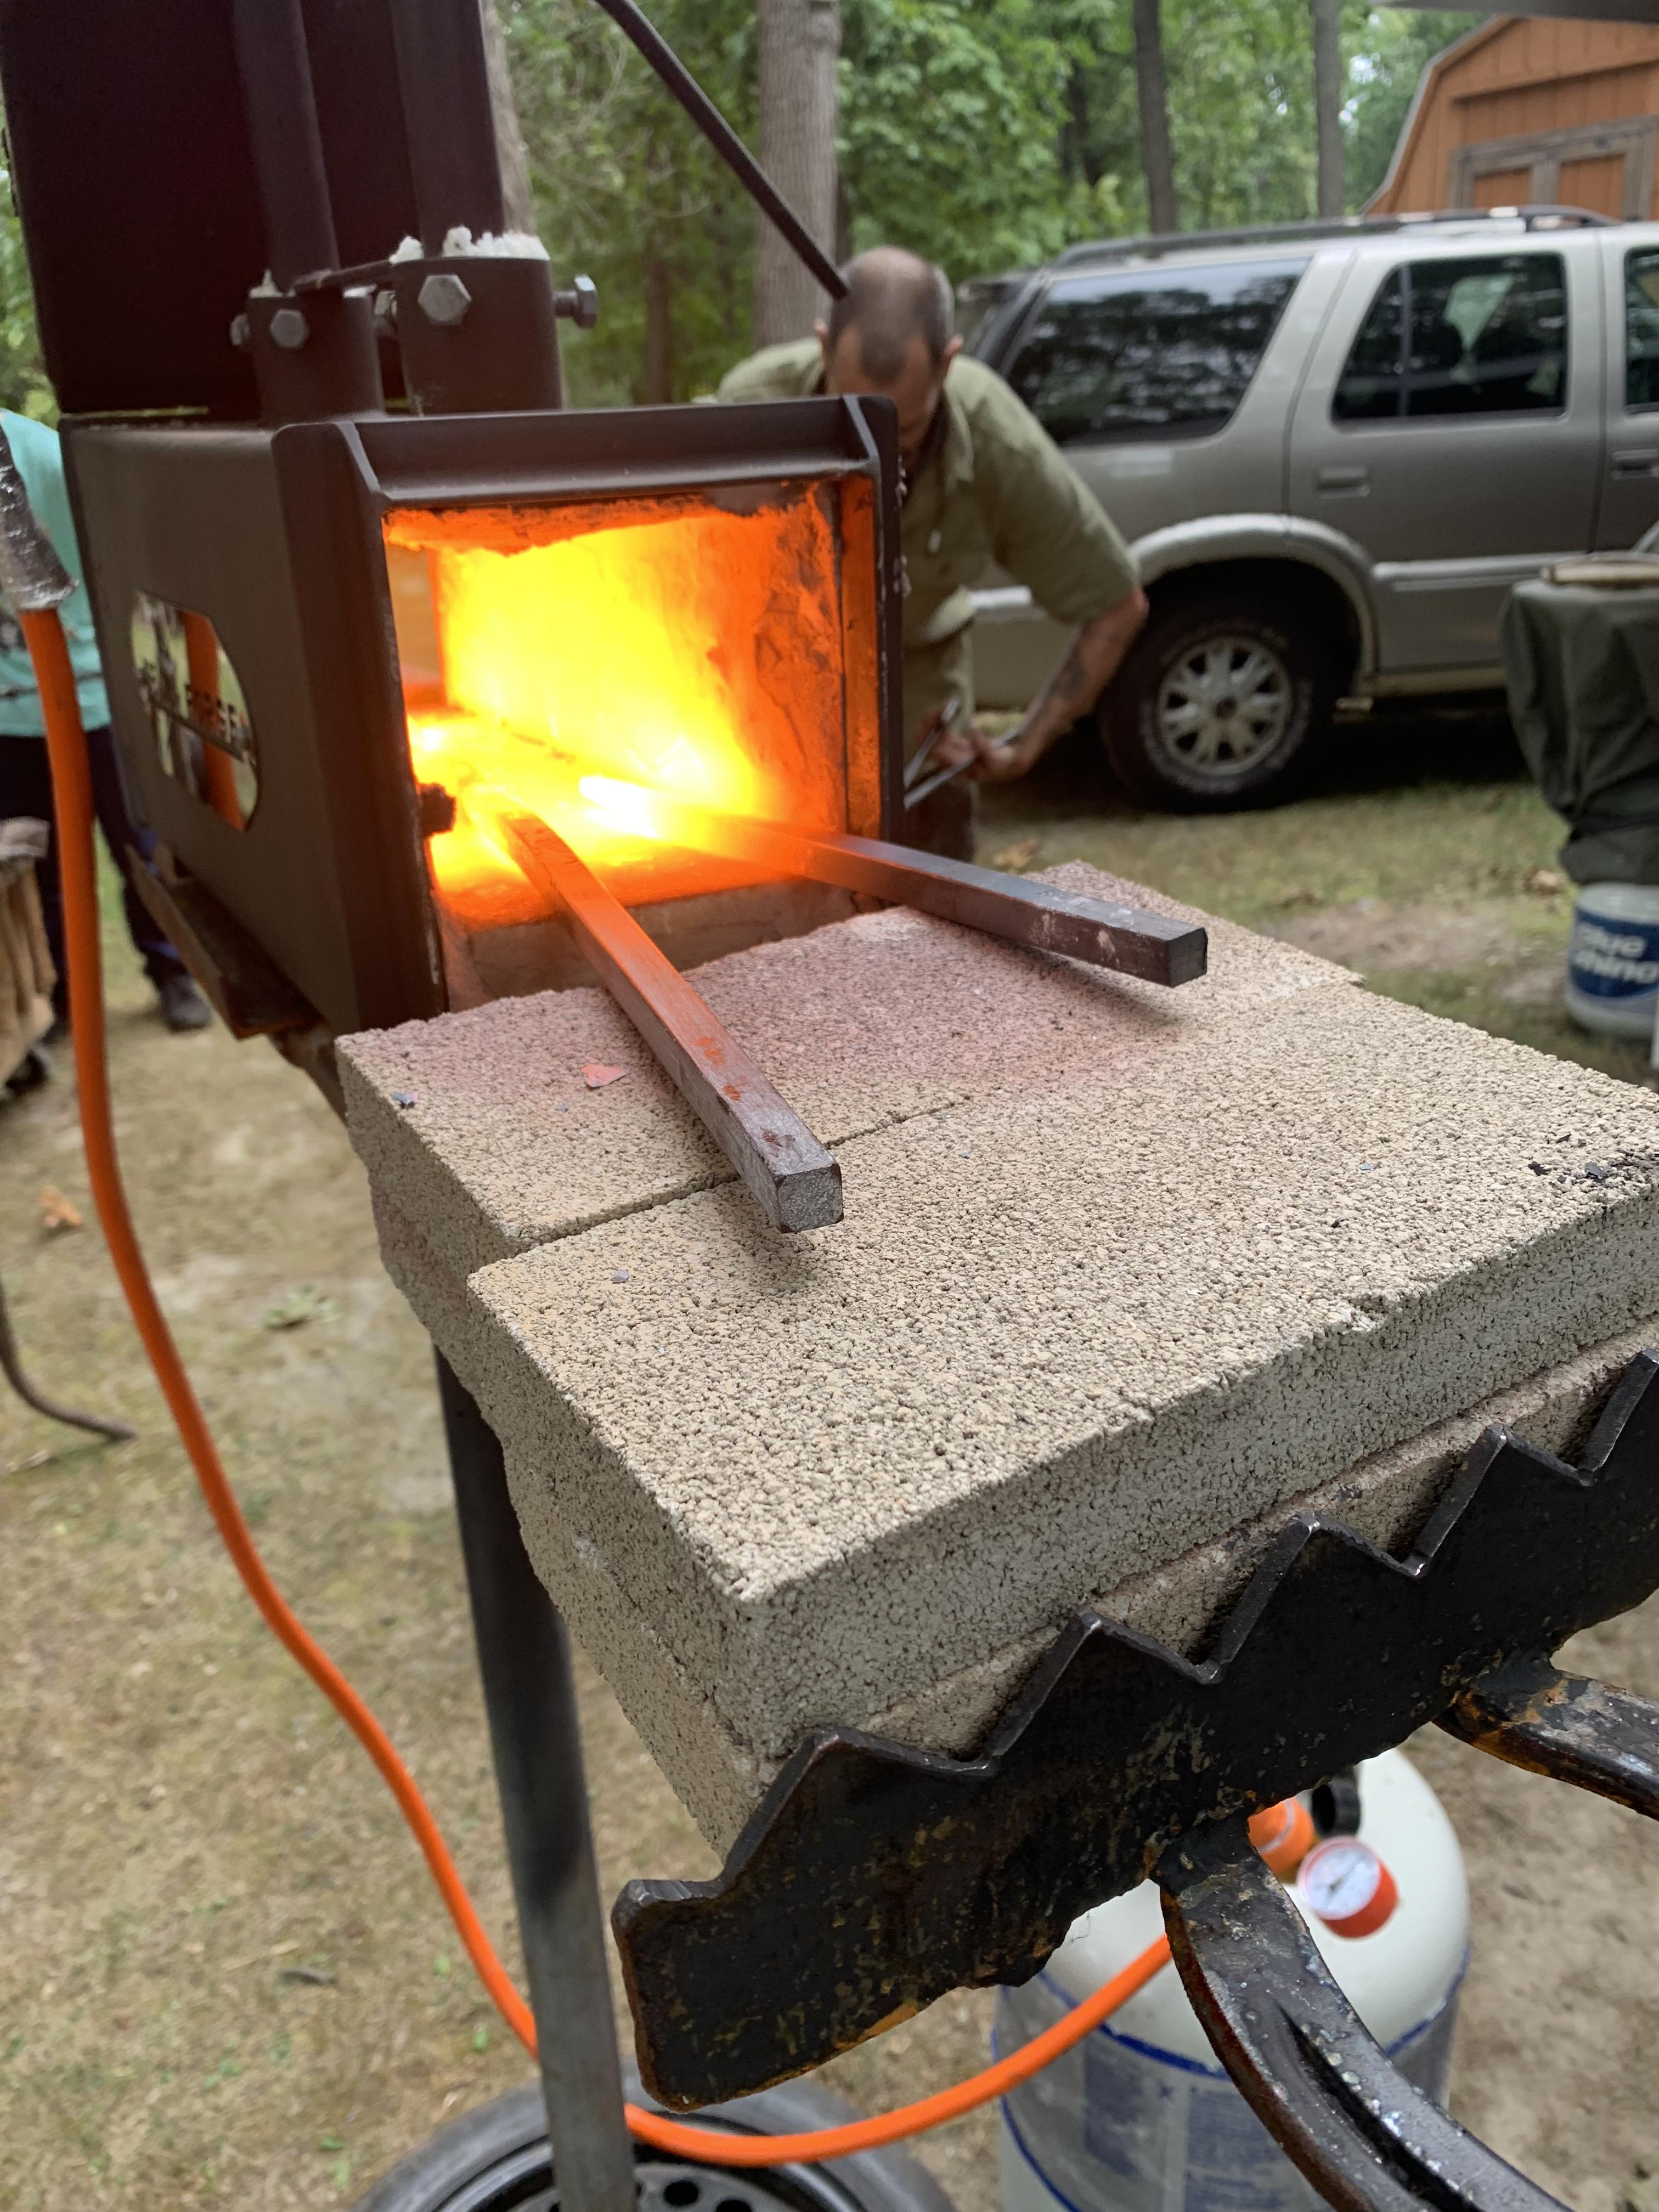
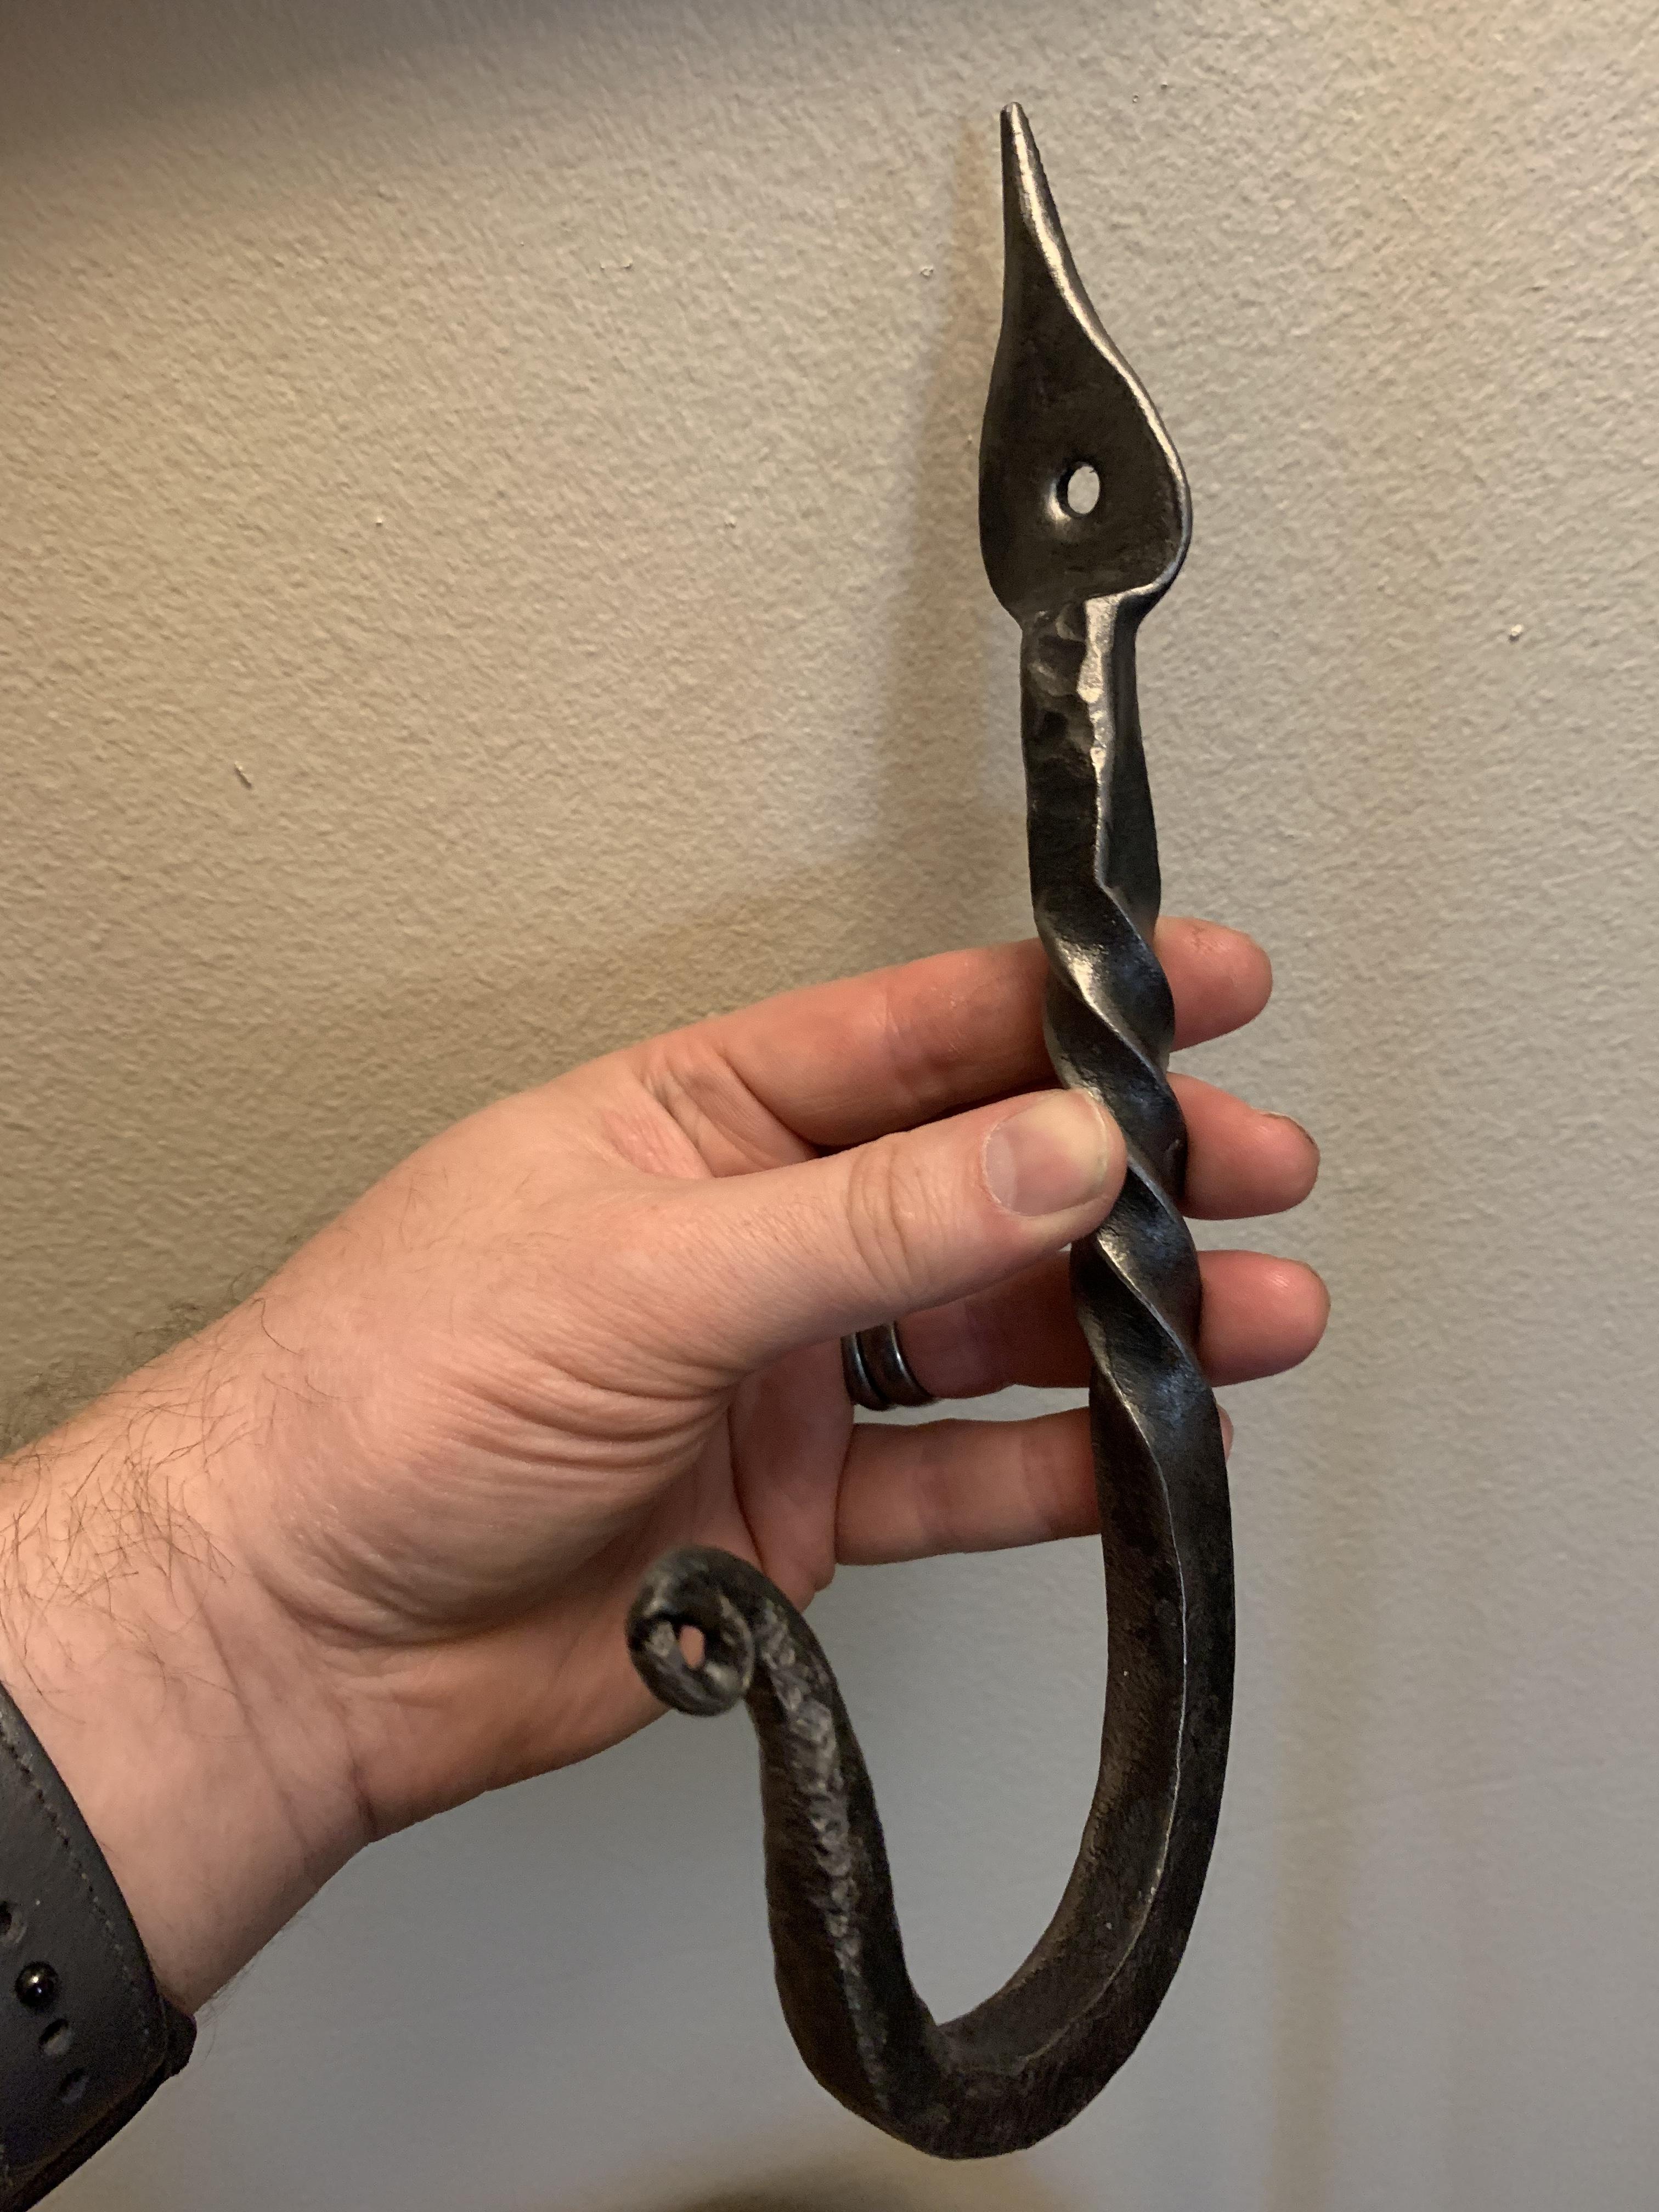
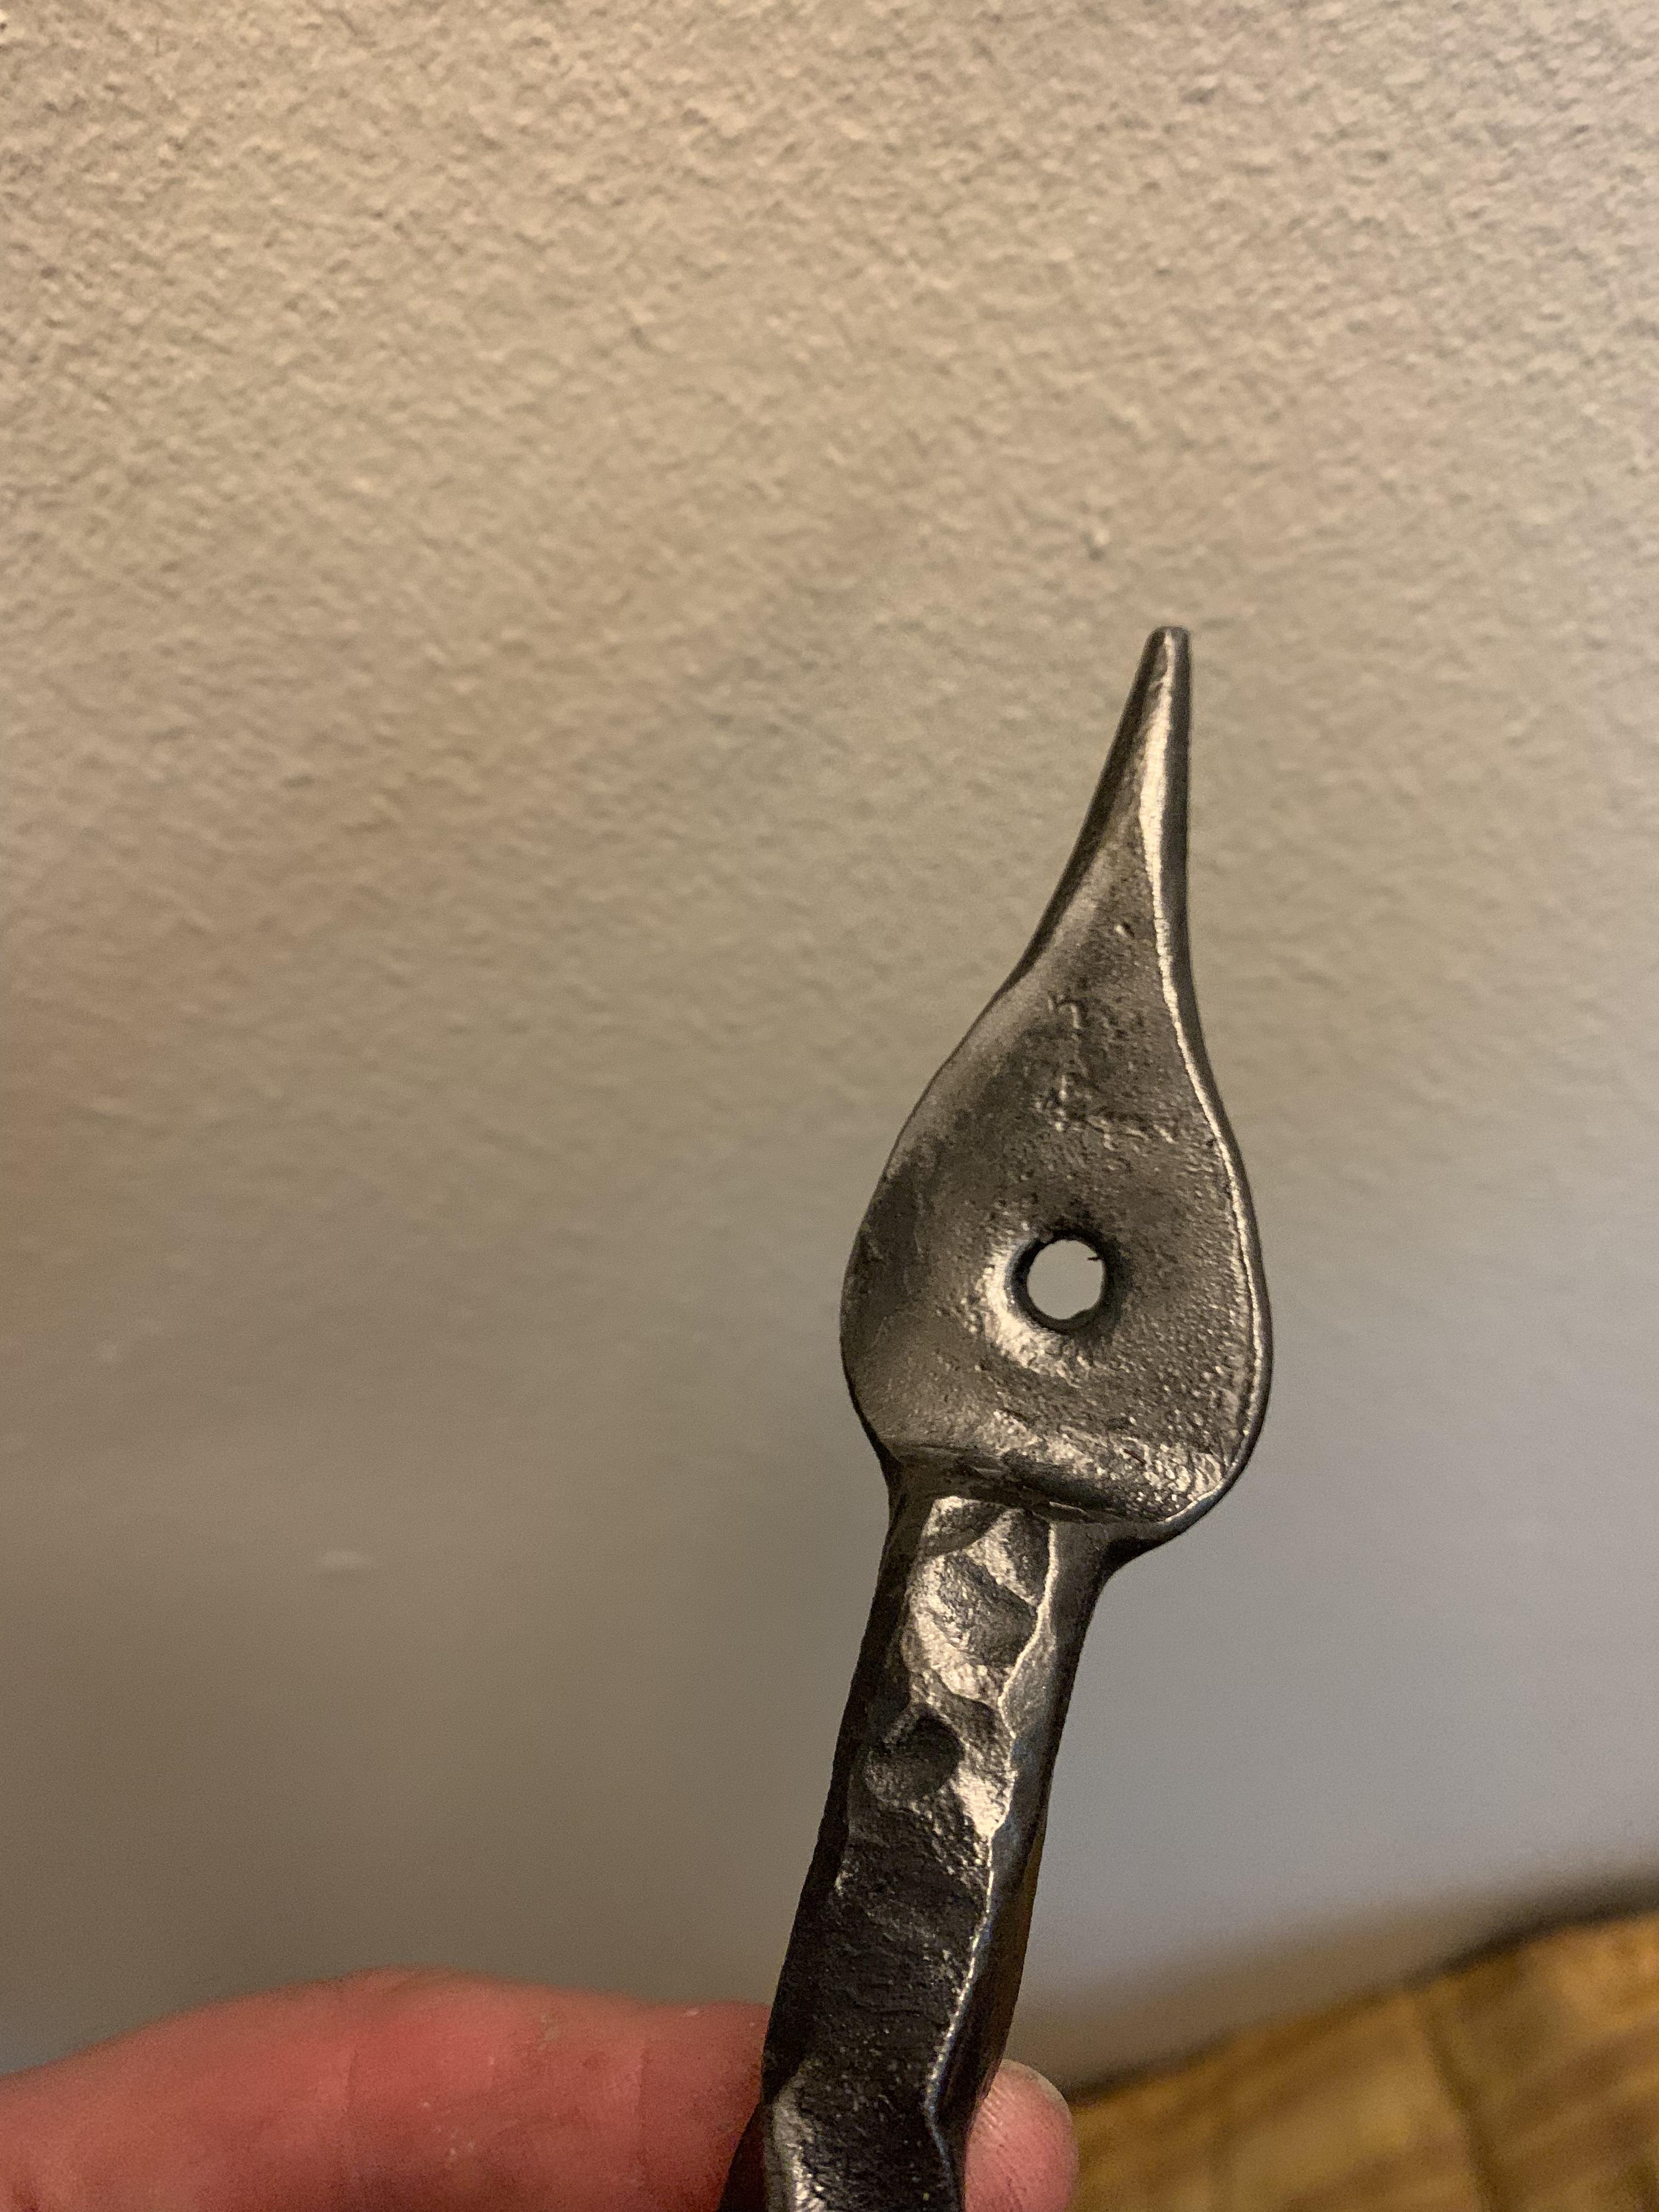
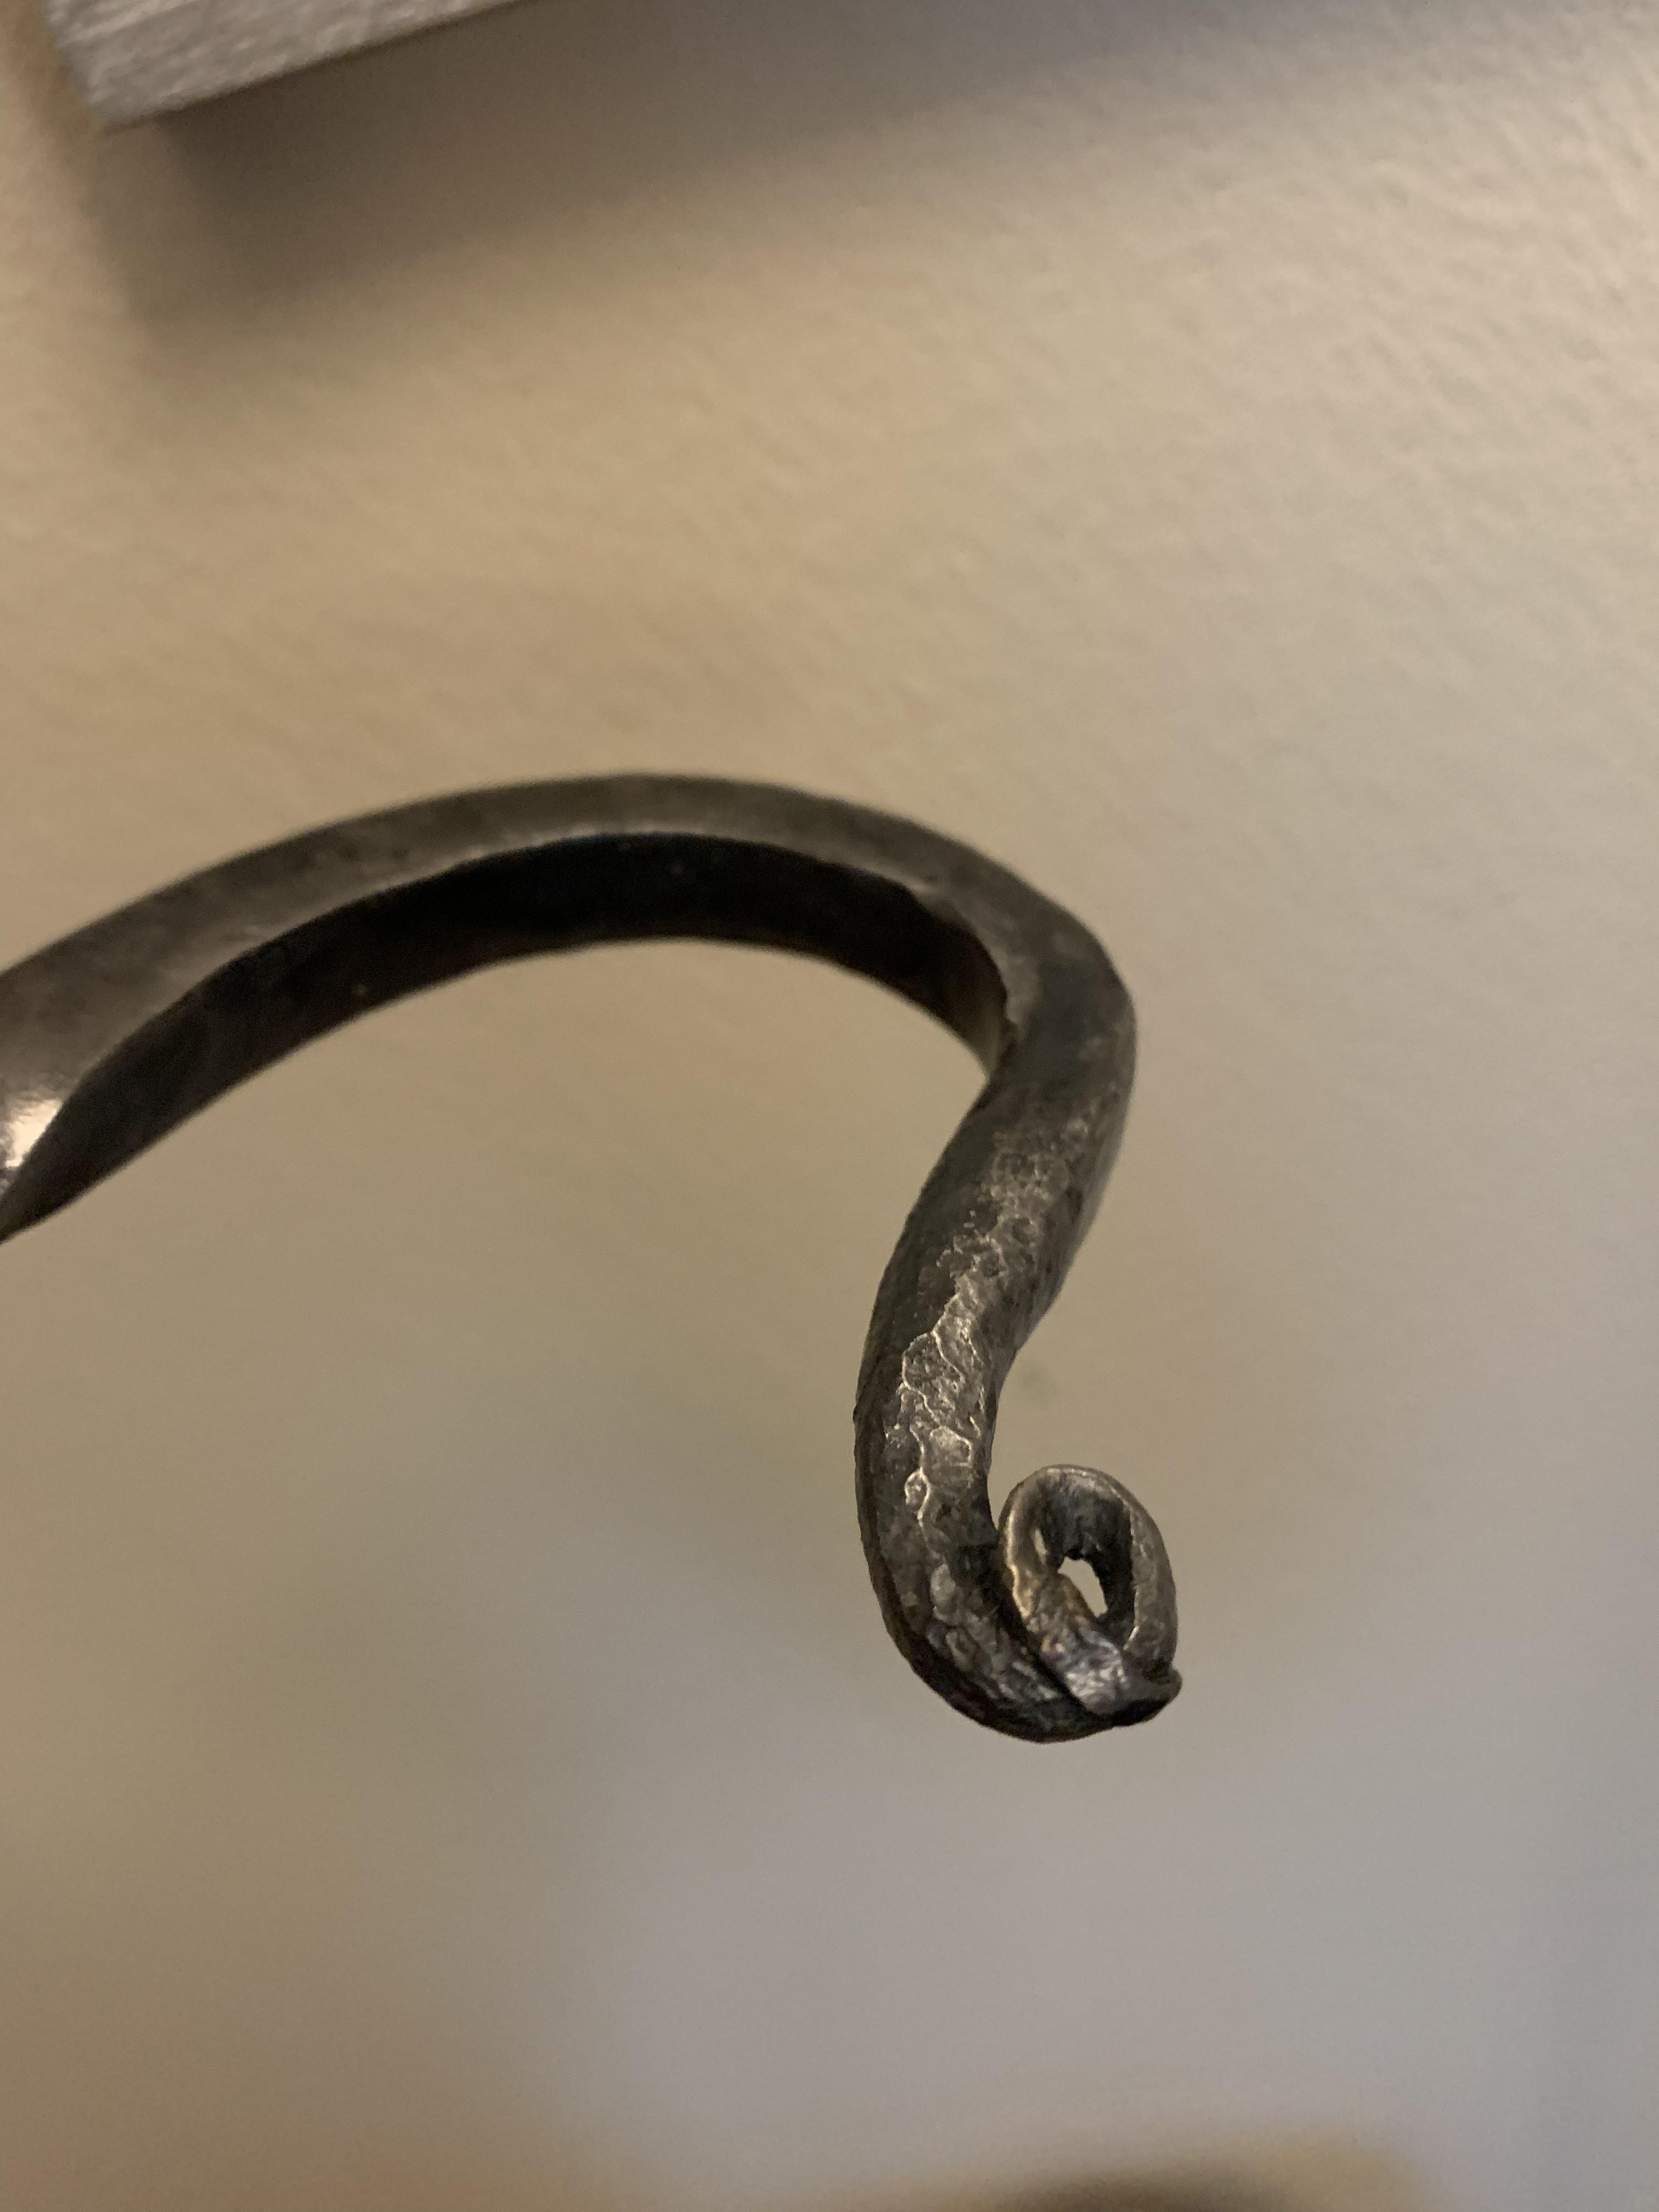
What pleased me today was trying blacksmithing for the first time. I’ve never had any serious desire to try it, but my wife’s uncle is part of a group that meets once a month and he’d been asking me to go. Turned out it was a good fun time! Had a few minutes of “do this” and “don’t do this” and was set loose to go about making whatever we felt like making…I didn’t really have something in mind so I looked through some of the finished pieces they had there and made a fancy over-engineered coat hook: Like all these things, it’s easy to make SOMETHING, but hard to make something GREAT. Was fun though! I’d like to try it again just to do better the things I did badly this time…

-
Be aware I ordered one of these from this seller twelve days ago and it hasn’t even shipped yet. That said, his feedback wasn’t the best so I figured I’d take a shot and see if it ever comes (I’m in no rush for it anyway…) and if not I’ll get a refund. Probably best not to order from him if you’re impatient ?
-
Ha! Just as I posted that I thought “I bet someone will know of other kits that have had foil included”. Only took five minutes ???
- 38,885 replies
-
- 1
-

-
- johan
- glue bombs
- (and 1 more)
-
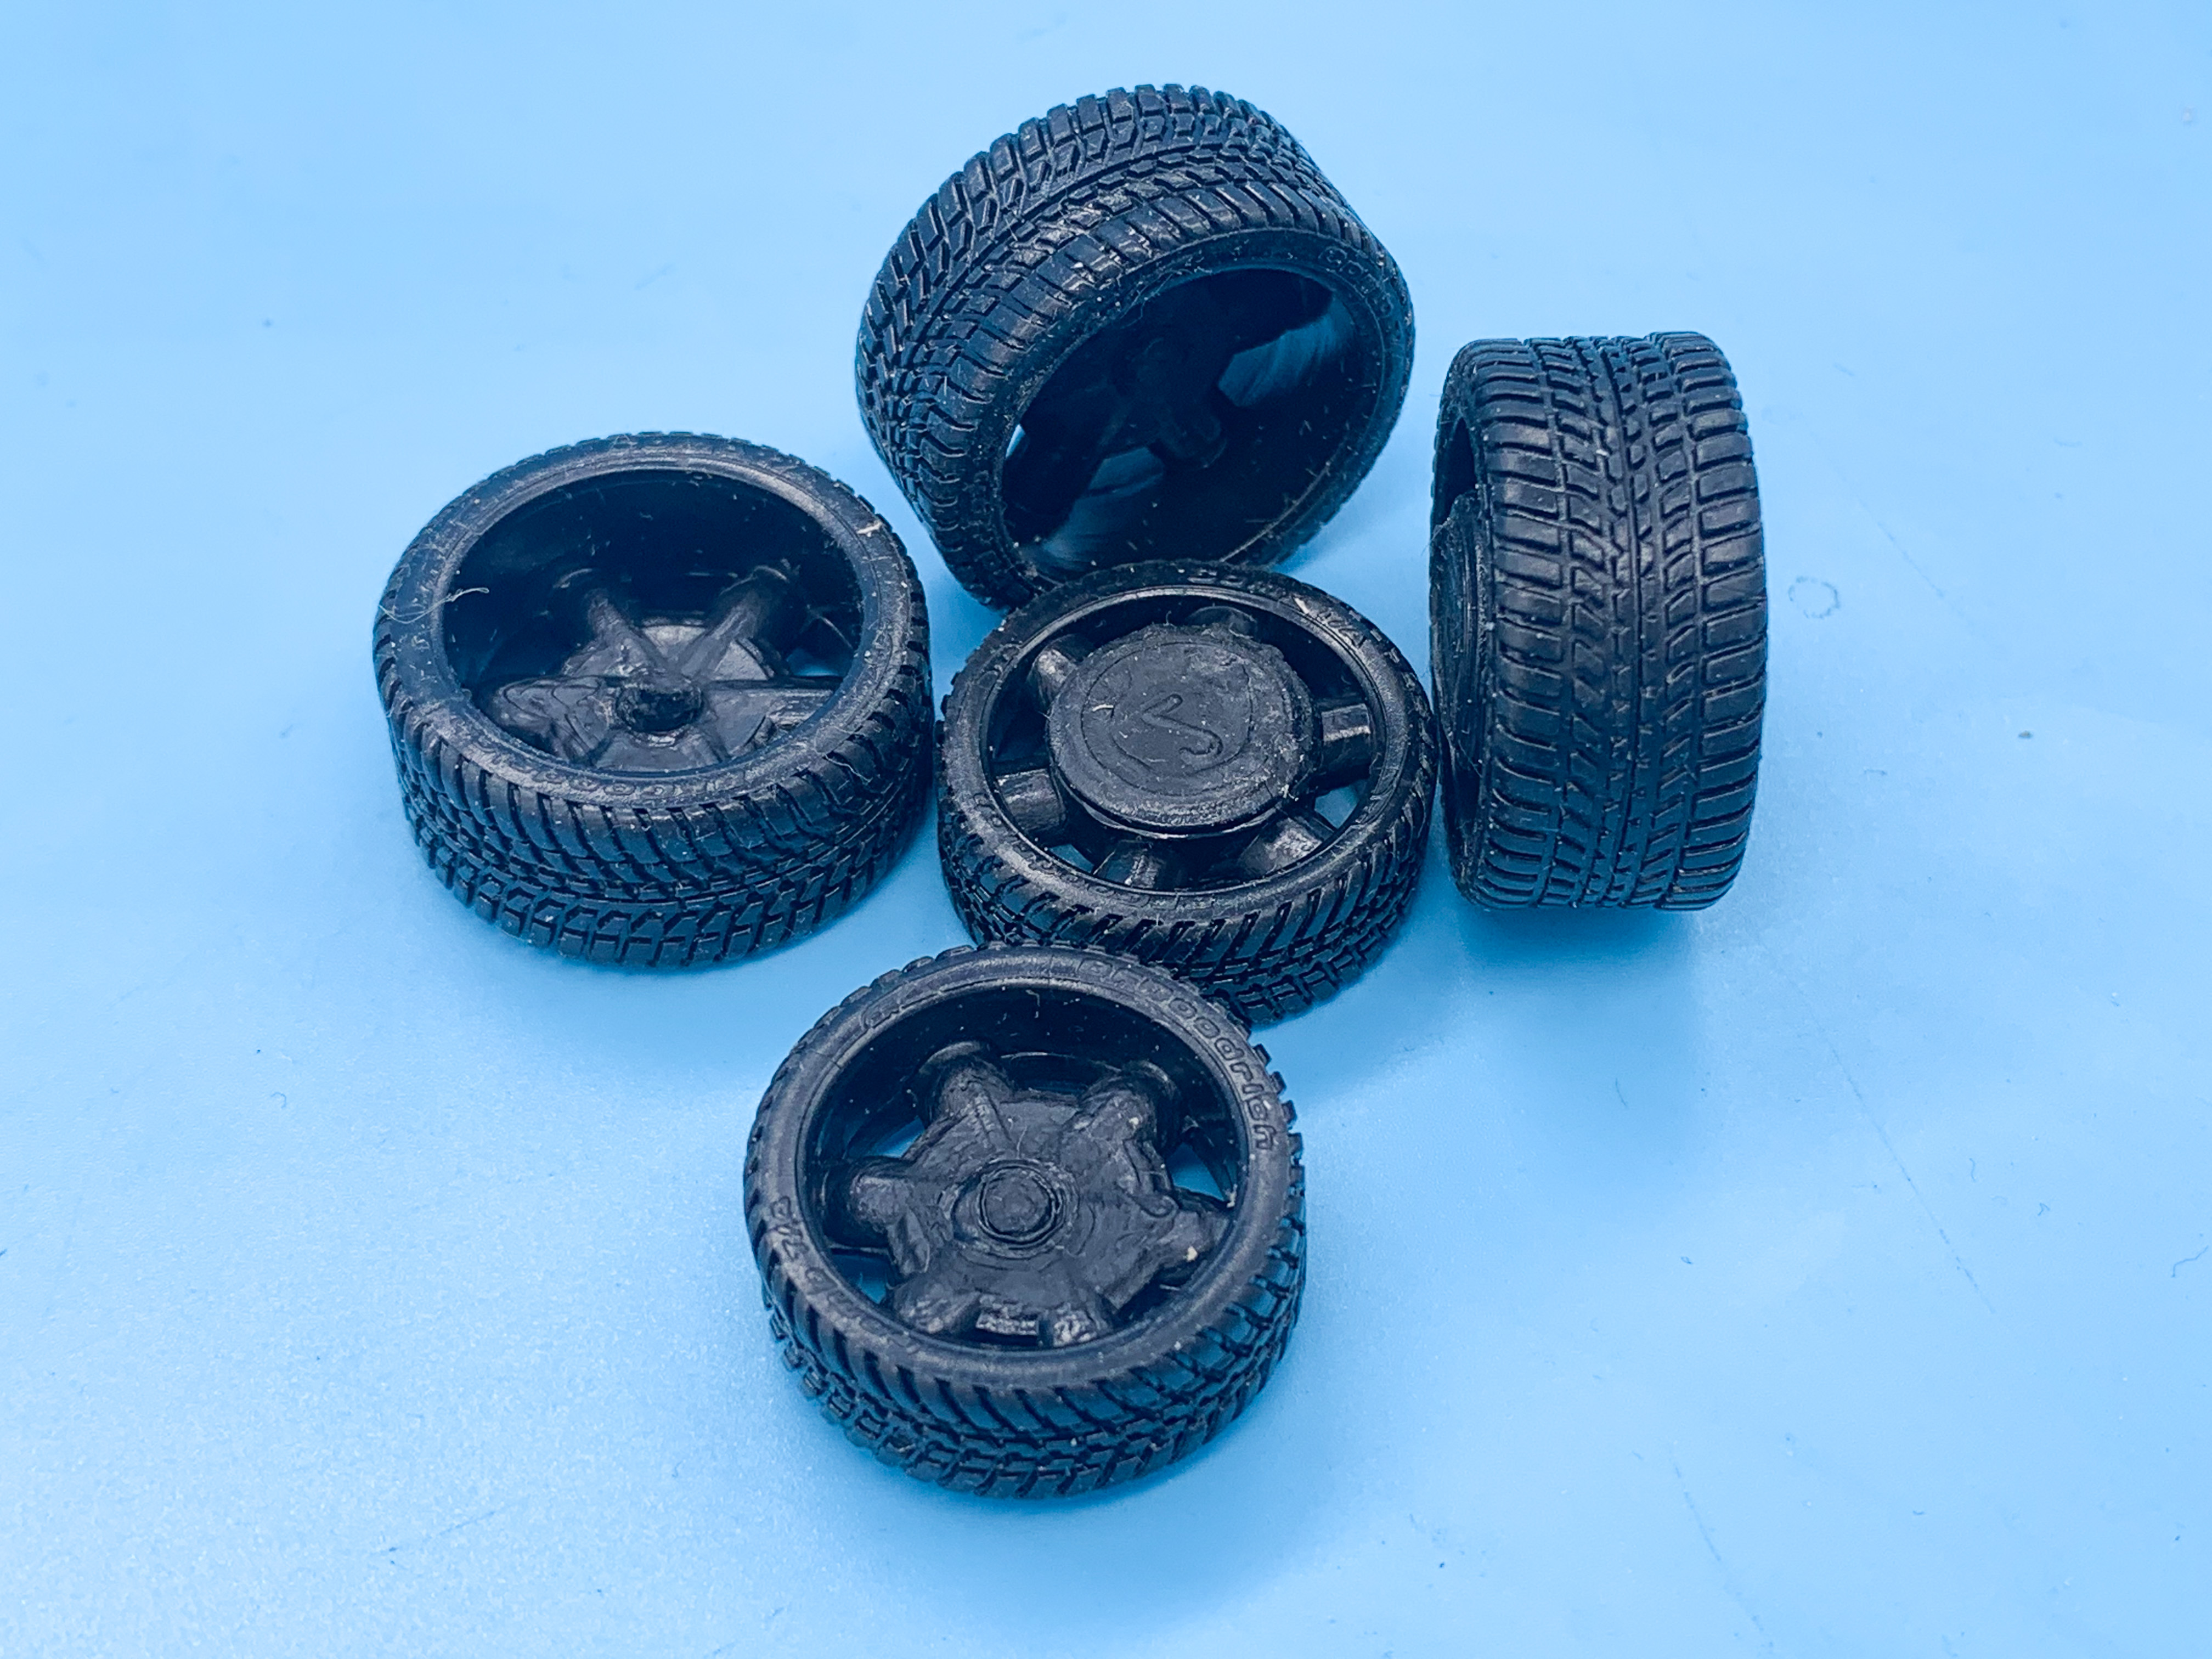
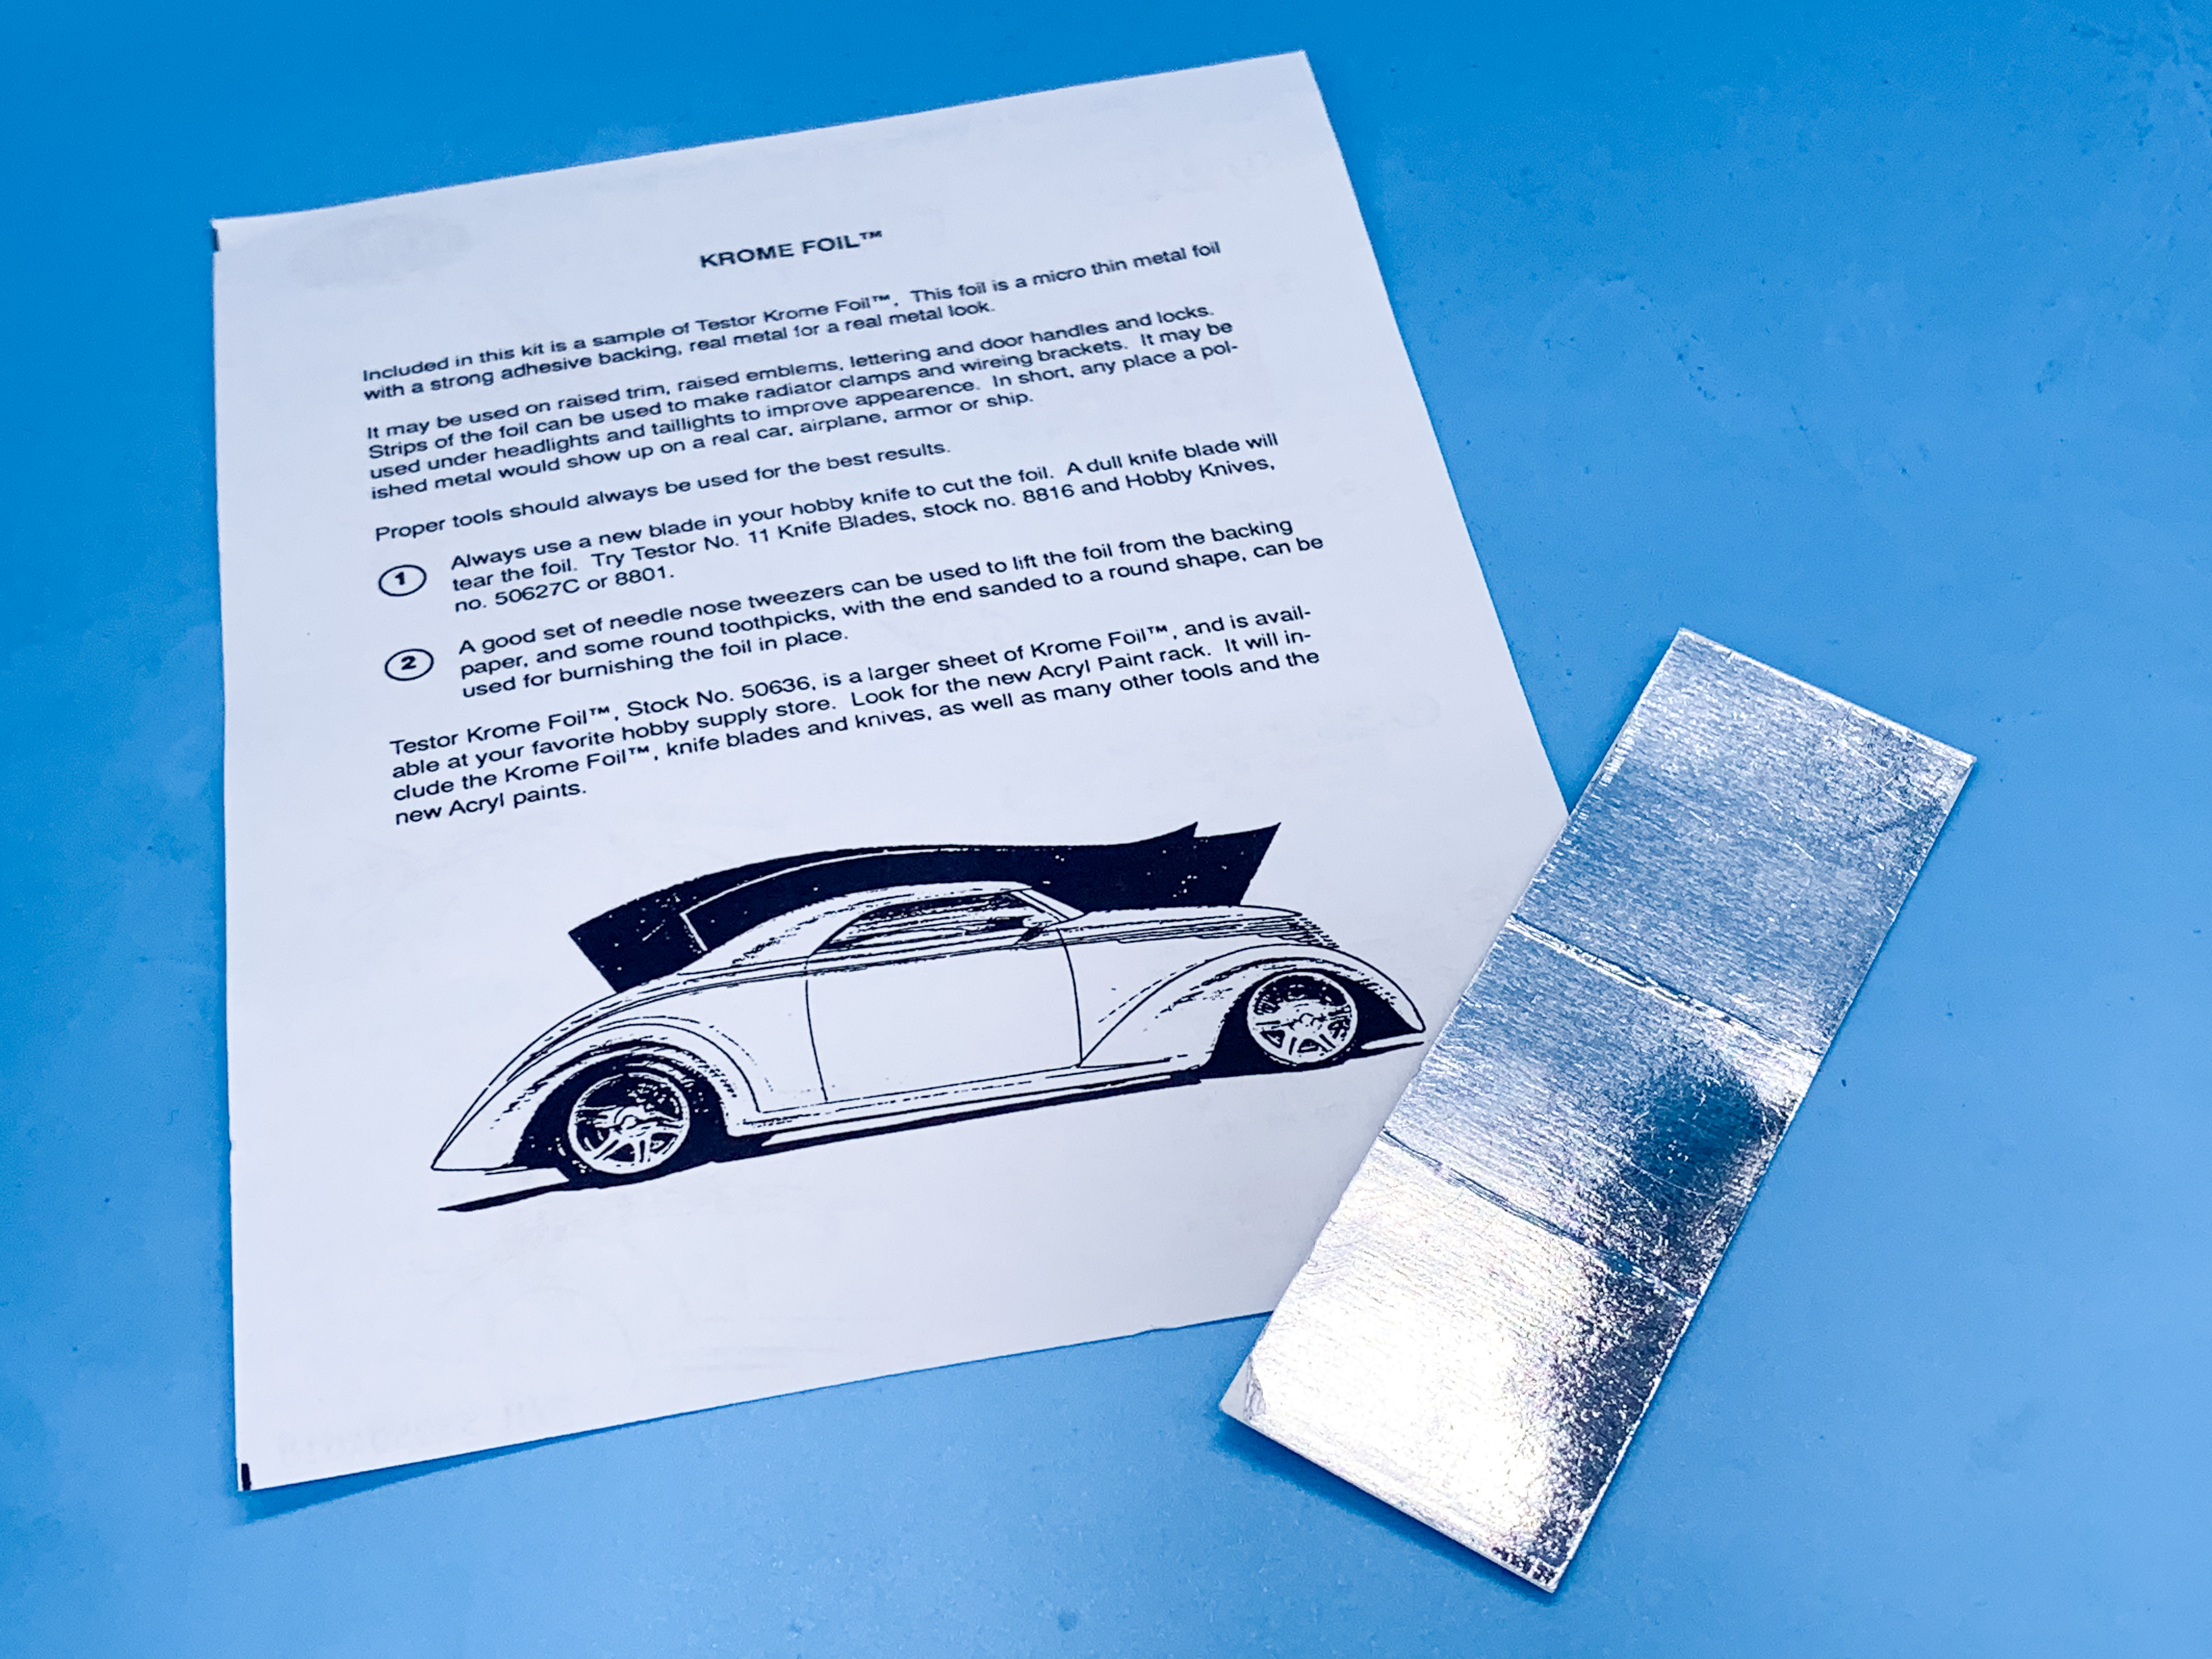
Another score in my effort to collect all the Boyd kits ever - today’s mail call was the Testor’s Smoothster Interestingly, my kit had FIVE tires in the box: …and a sheet of Testor’s “Krome” BMF copy for the shiny bits: Never saw that in a kit before!
-
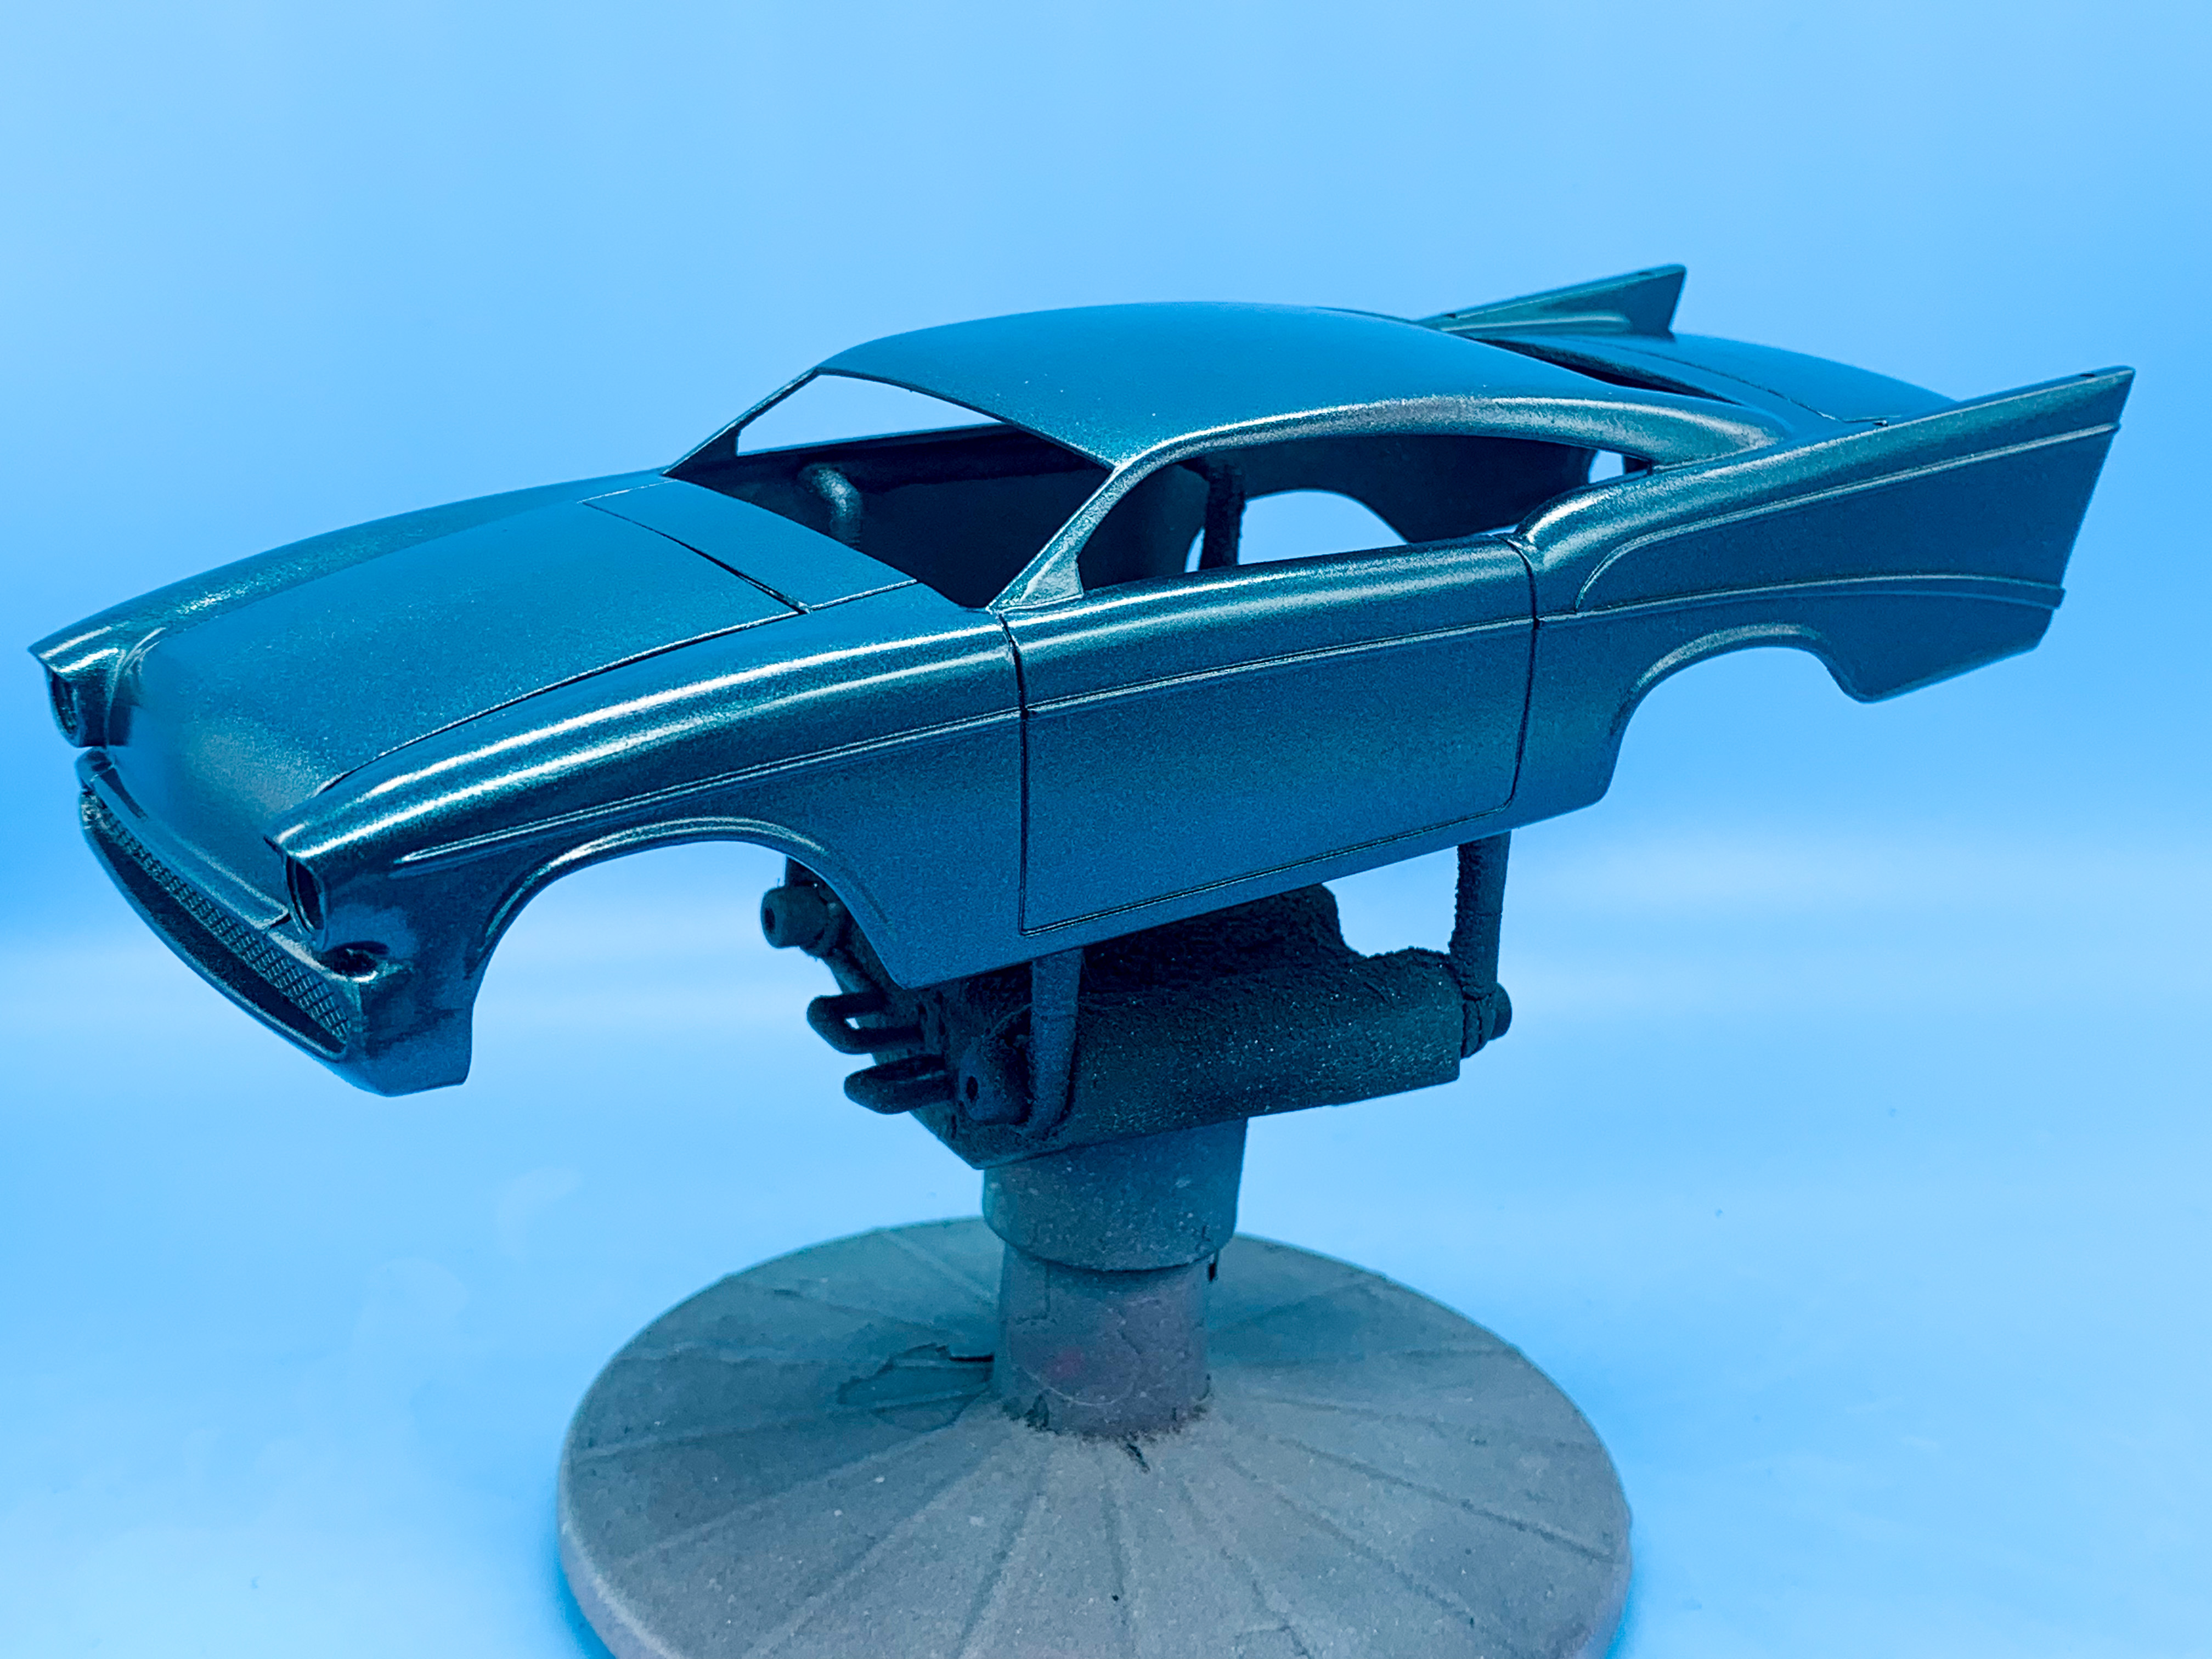
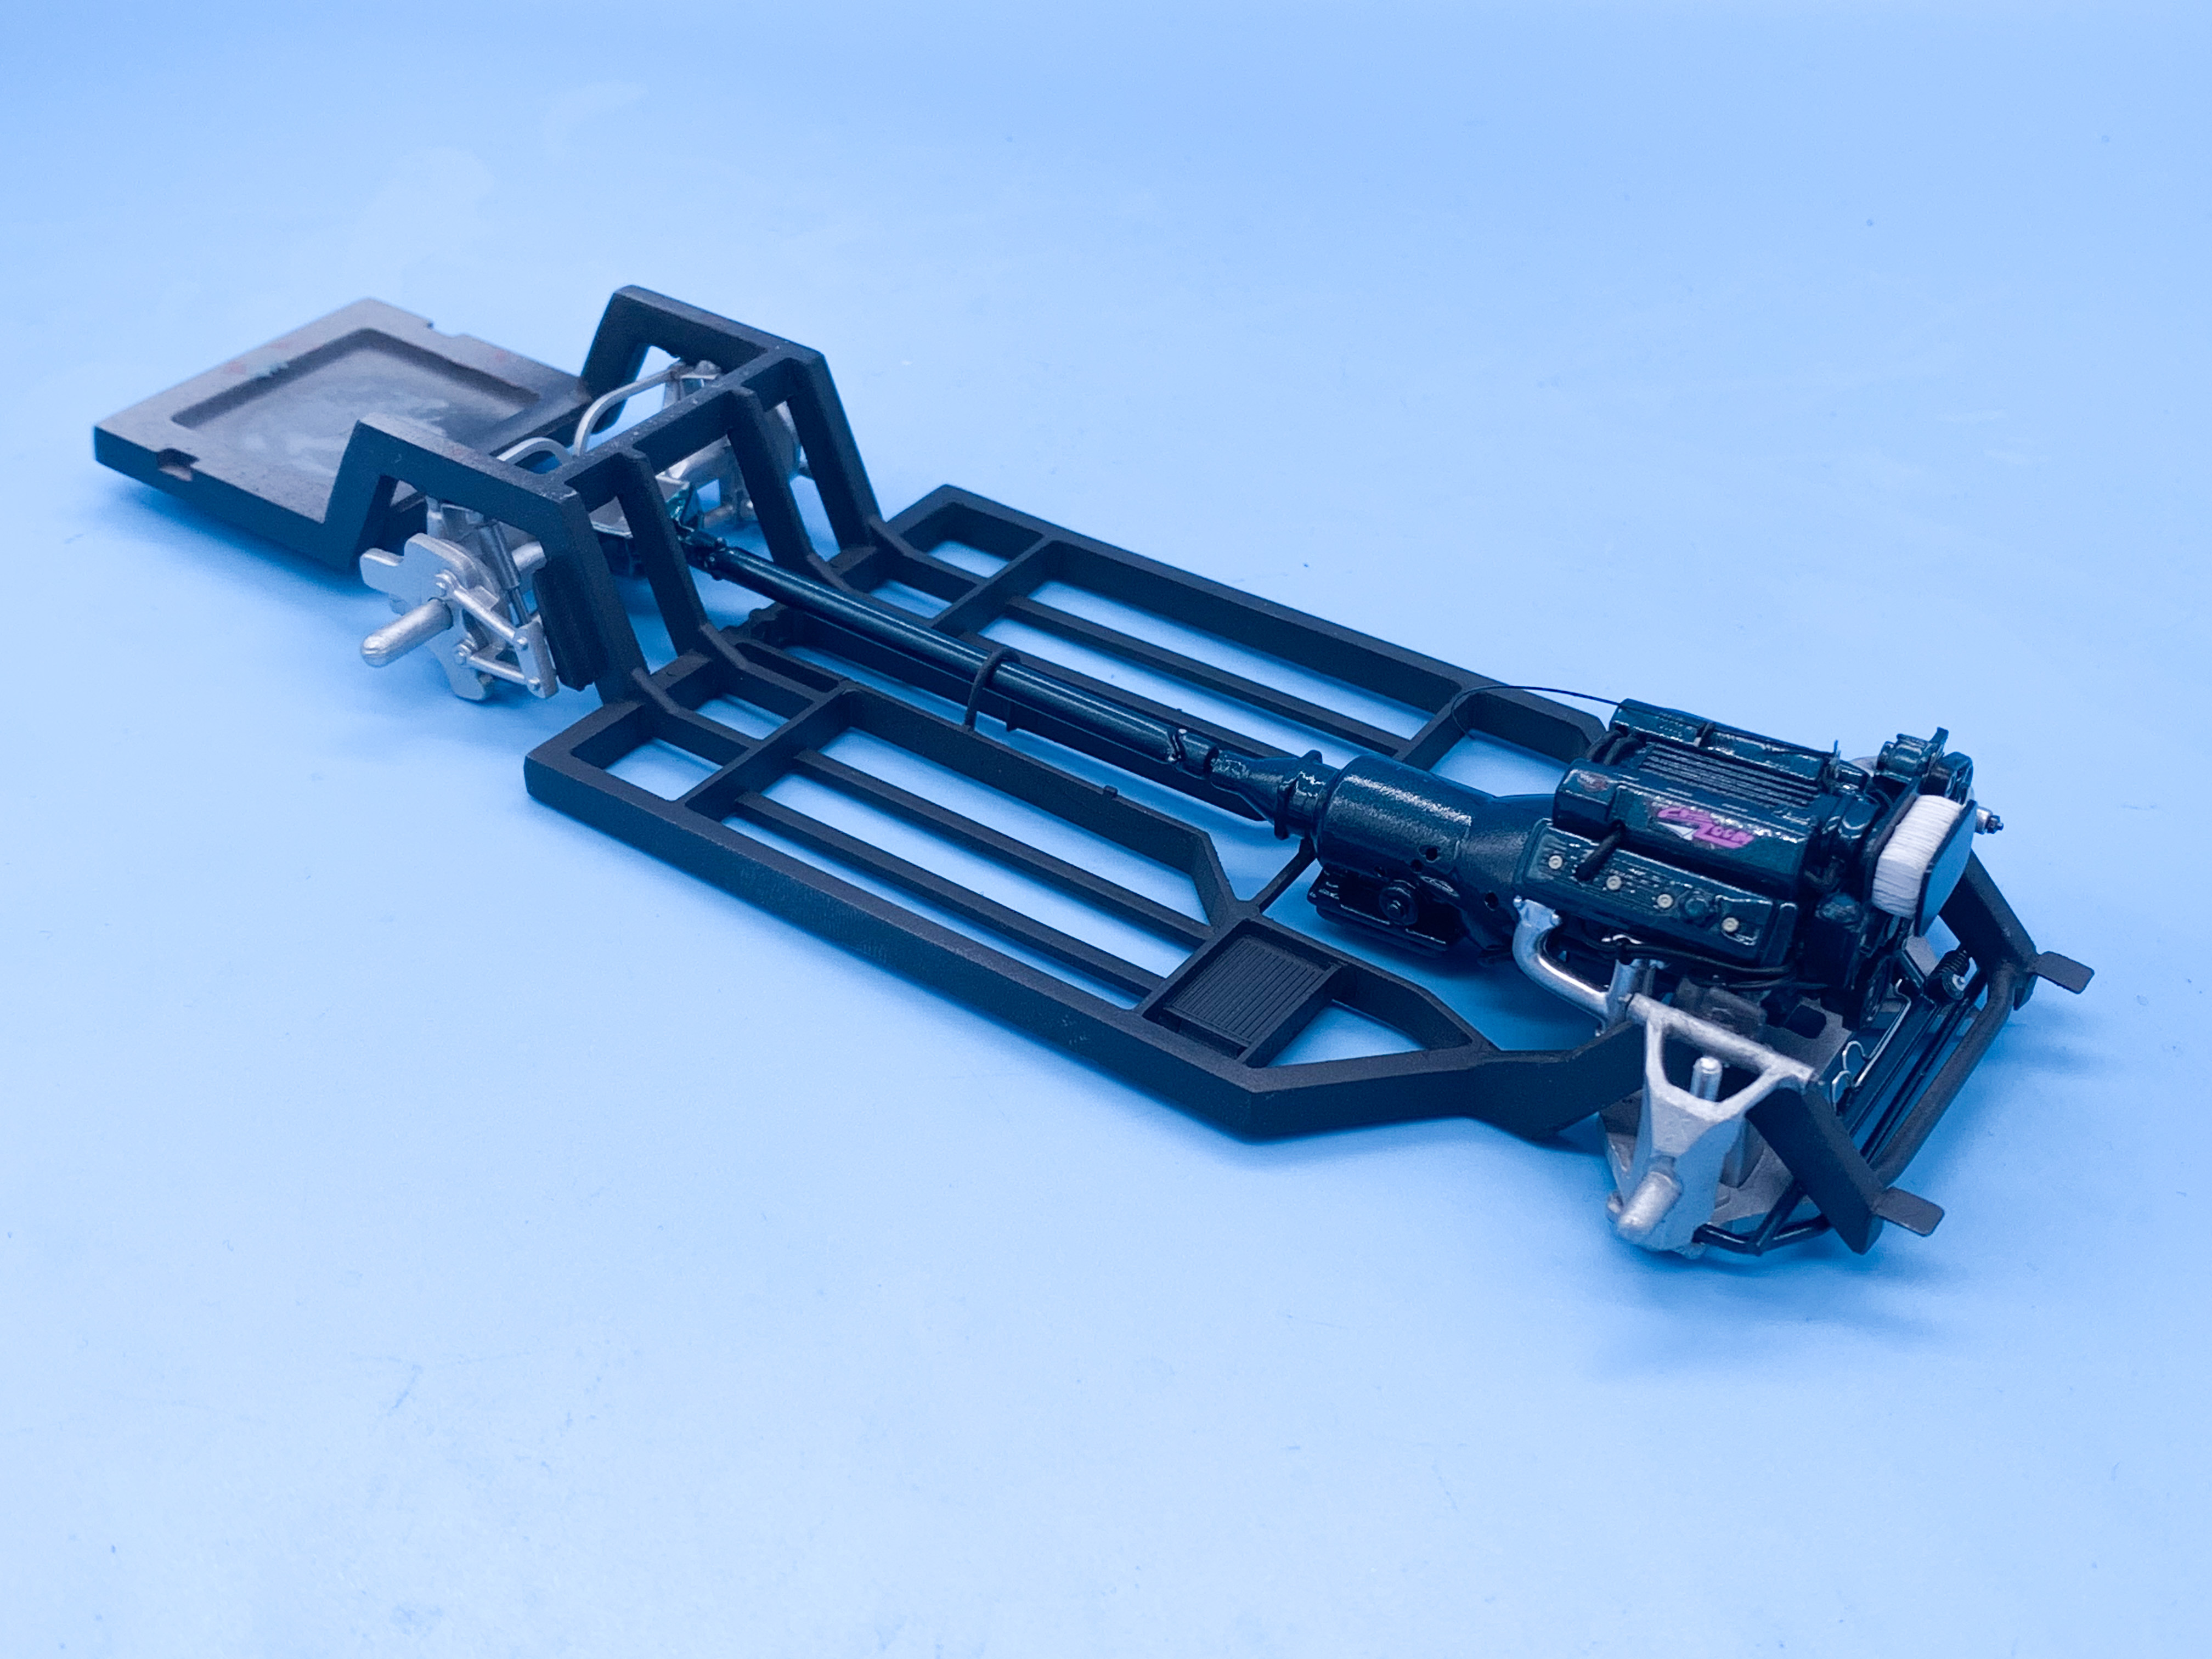
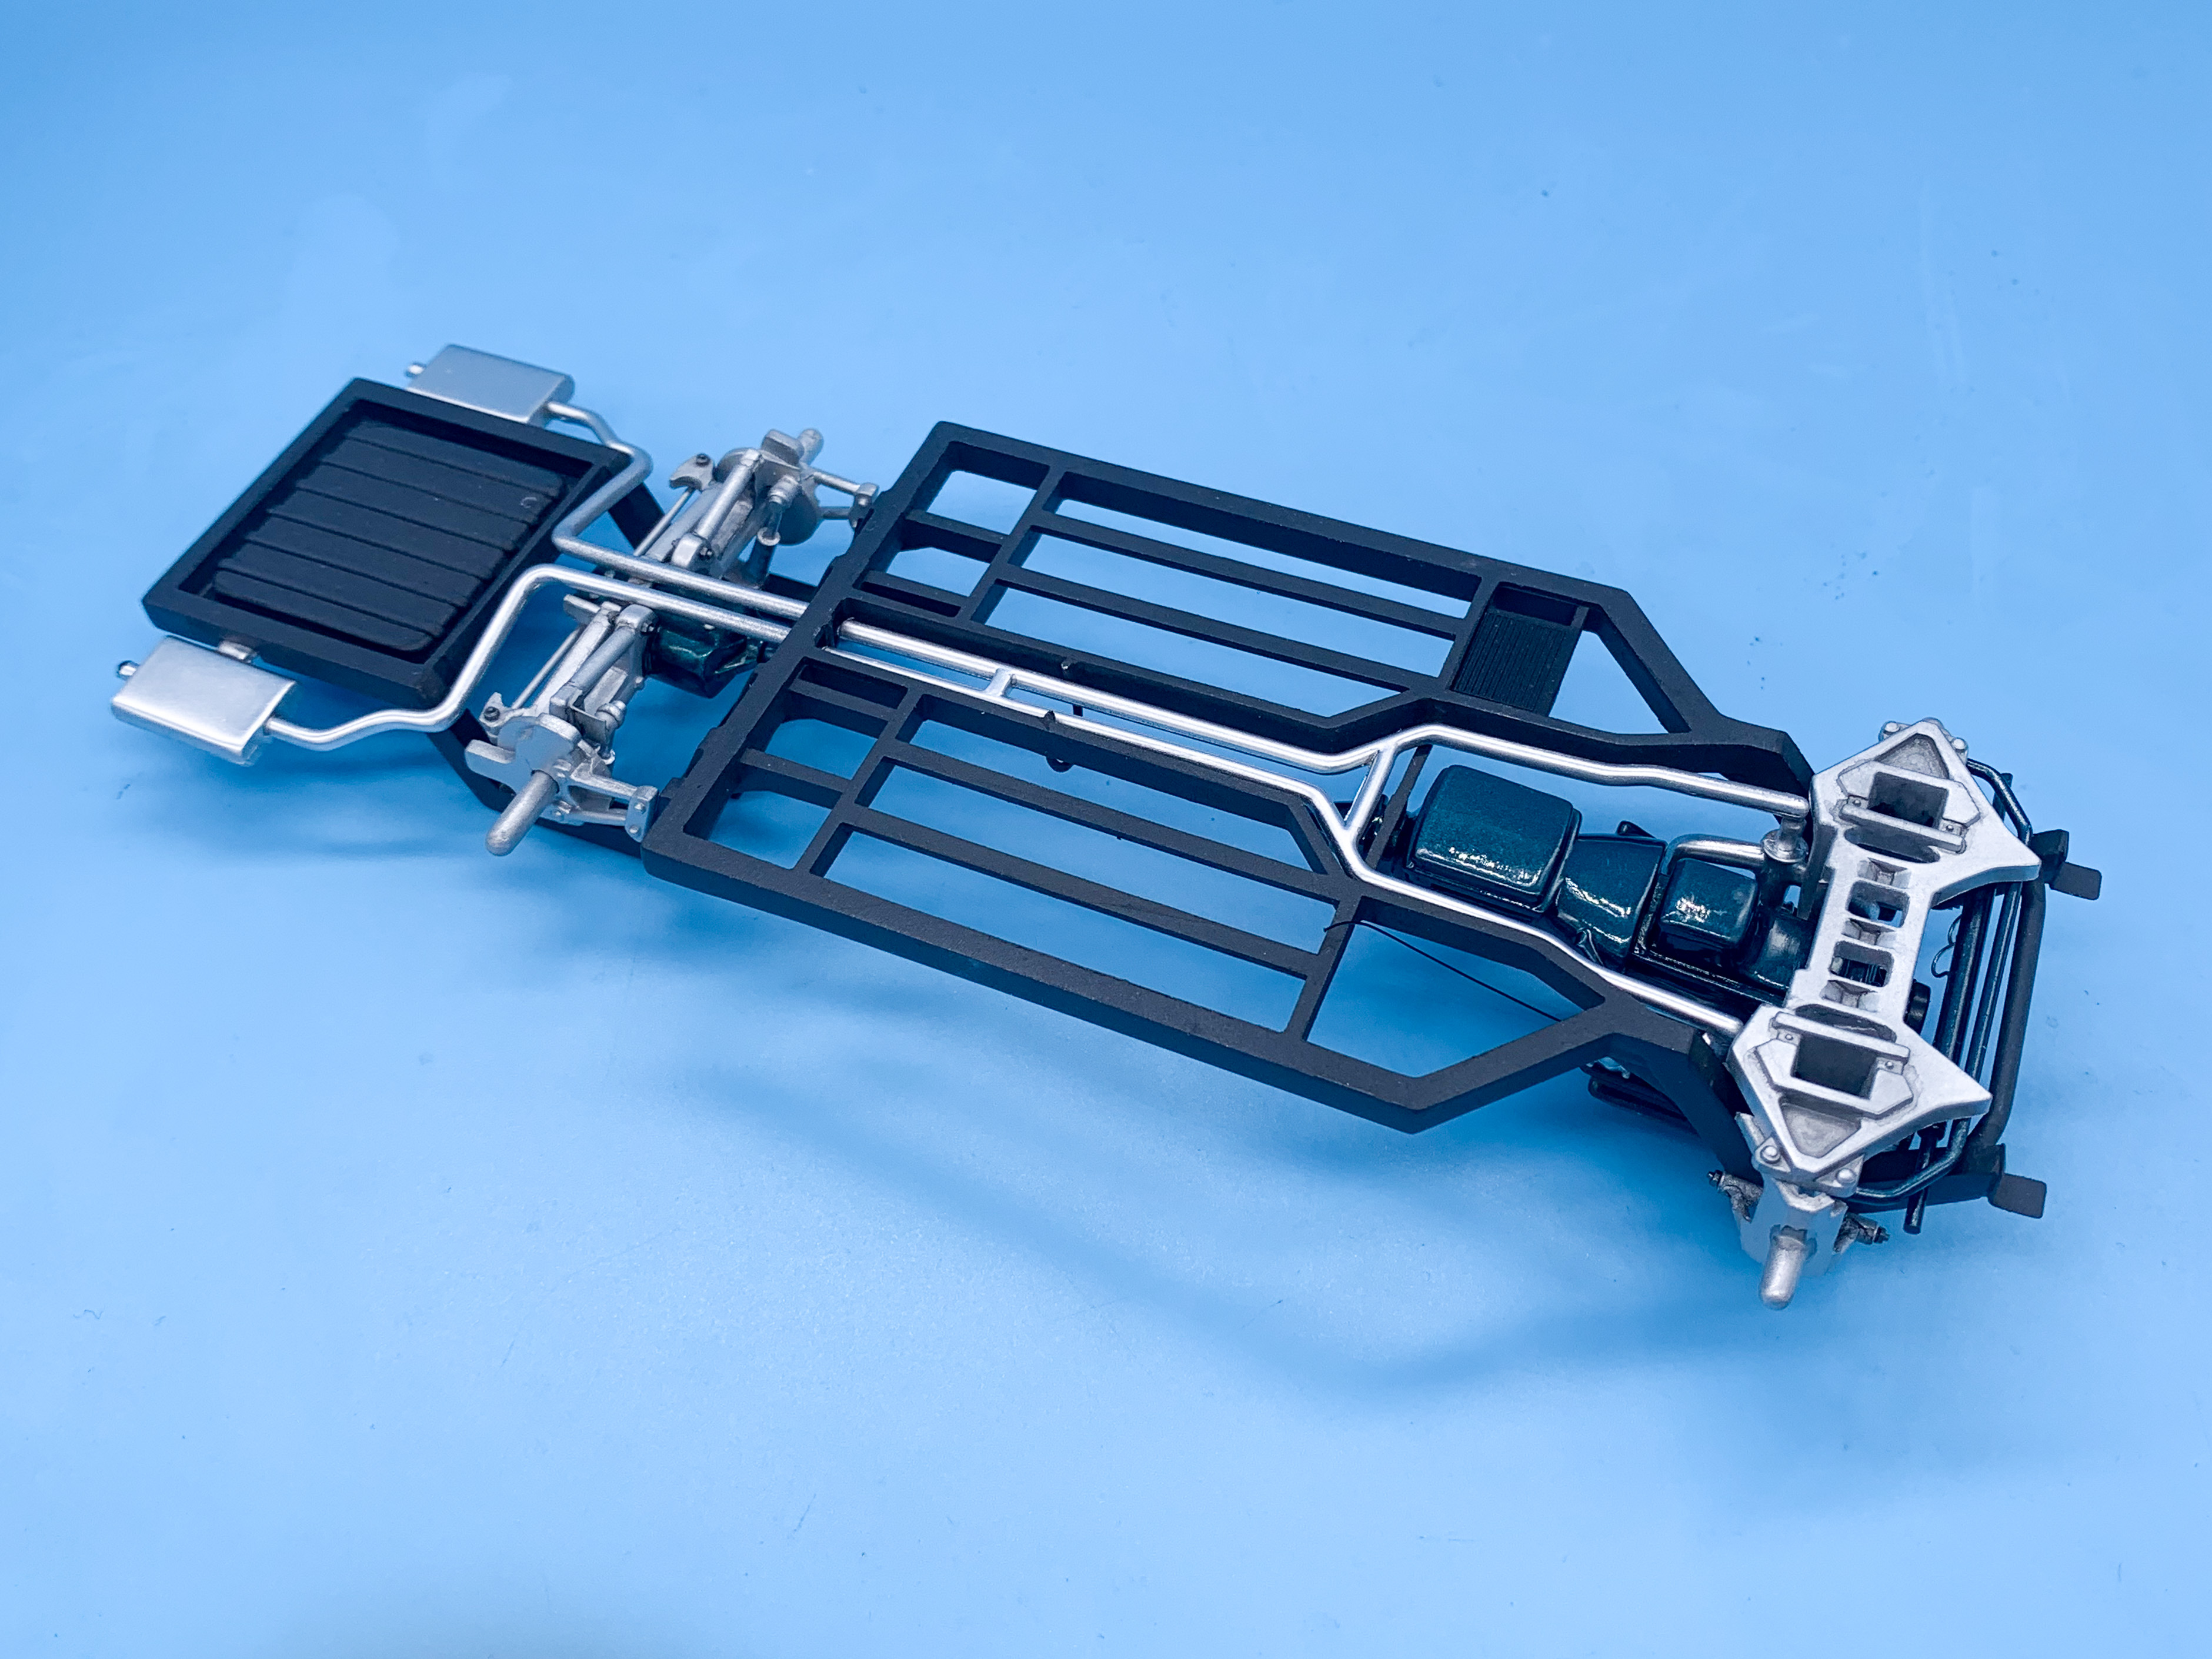
Thanks everybody! Been working through a bunch of little parts so I can actually get somewhere on assembly, and I’m hoping for a nice bright sunny day tomorrow so I can polish the body. In the meantime, got the engine mostly finished off - need to wax those shiny bits where I’ve been handling it a lot to get those perfect again: Excuse the loose throttle linkage - need to thread that through the firewall once there’s a firewall for it to thread through… Got the engine and driveshaft into the frame for good: Painted the exhaust and got that installed too: And then started some assembly on the interior tub - I gave the seats and door gaps a light wash with some gray artists acrylics to add a little depth - need to buff the extra off those tomorrow: More soon!
-
1954 Nomad and Corvair showcars
OldNYJim replied to unclescott58's topic in General Automotive Talk (Trucks and Cars)
Excellent! Thank you sir! I’m going to make an effort to go check it out soon! -
1954 Nomad and Corvair showcars
OldNYJim replied to unclescott58's topic in General Automotive Talk (Trucks and Cars)
How did you like the Studebaker museum @unclescott58? That’s right by me (I go to South Bend semi-regularly for the short track racing) but I haven’t actually checked it out yet. -
I’ve noticed increasingly that if you save an item to your watchlist on eBay you’ll receive a “buyer offered 20% off” type message after a couple of days and you can make an offer on the item too. eBay seems to be promoting sellers to consider doing that… This item was Buy It Now at $15, I got a message saying I could purchase immediately for 10% off or make an offer, so I offered $10 and it got accepted right away! Score!
-
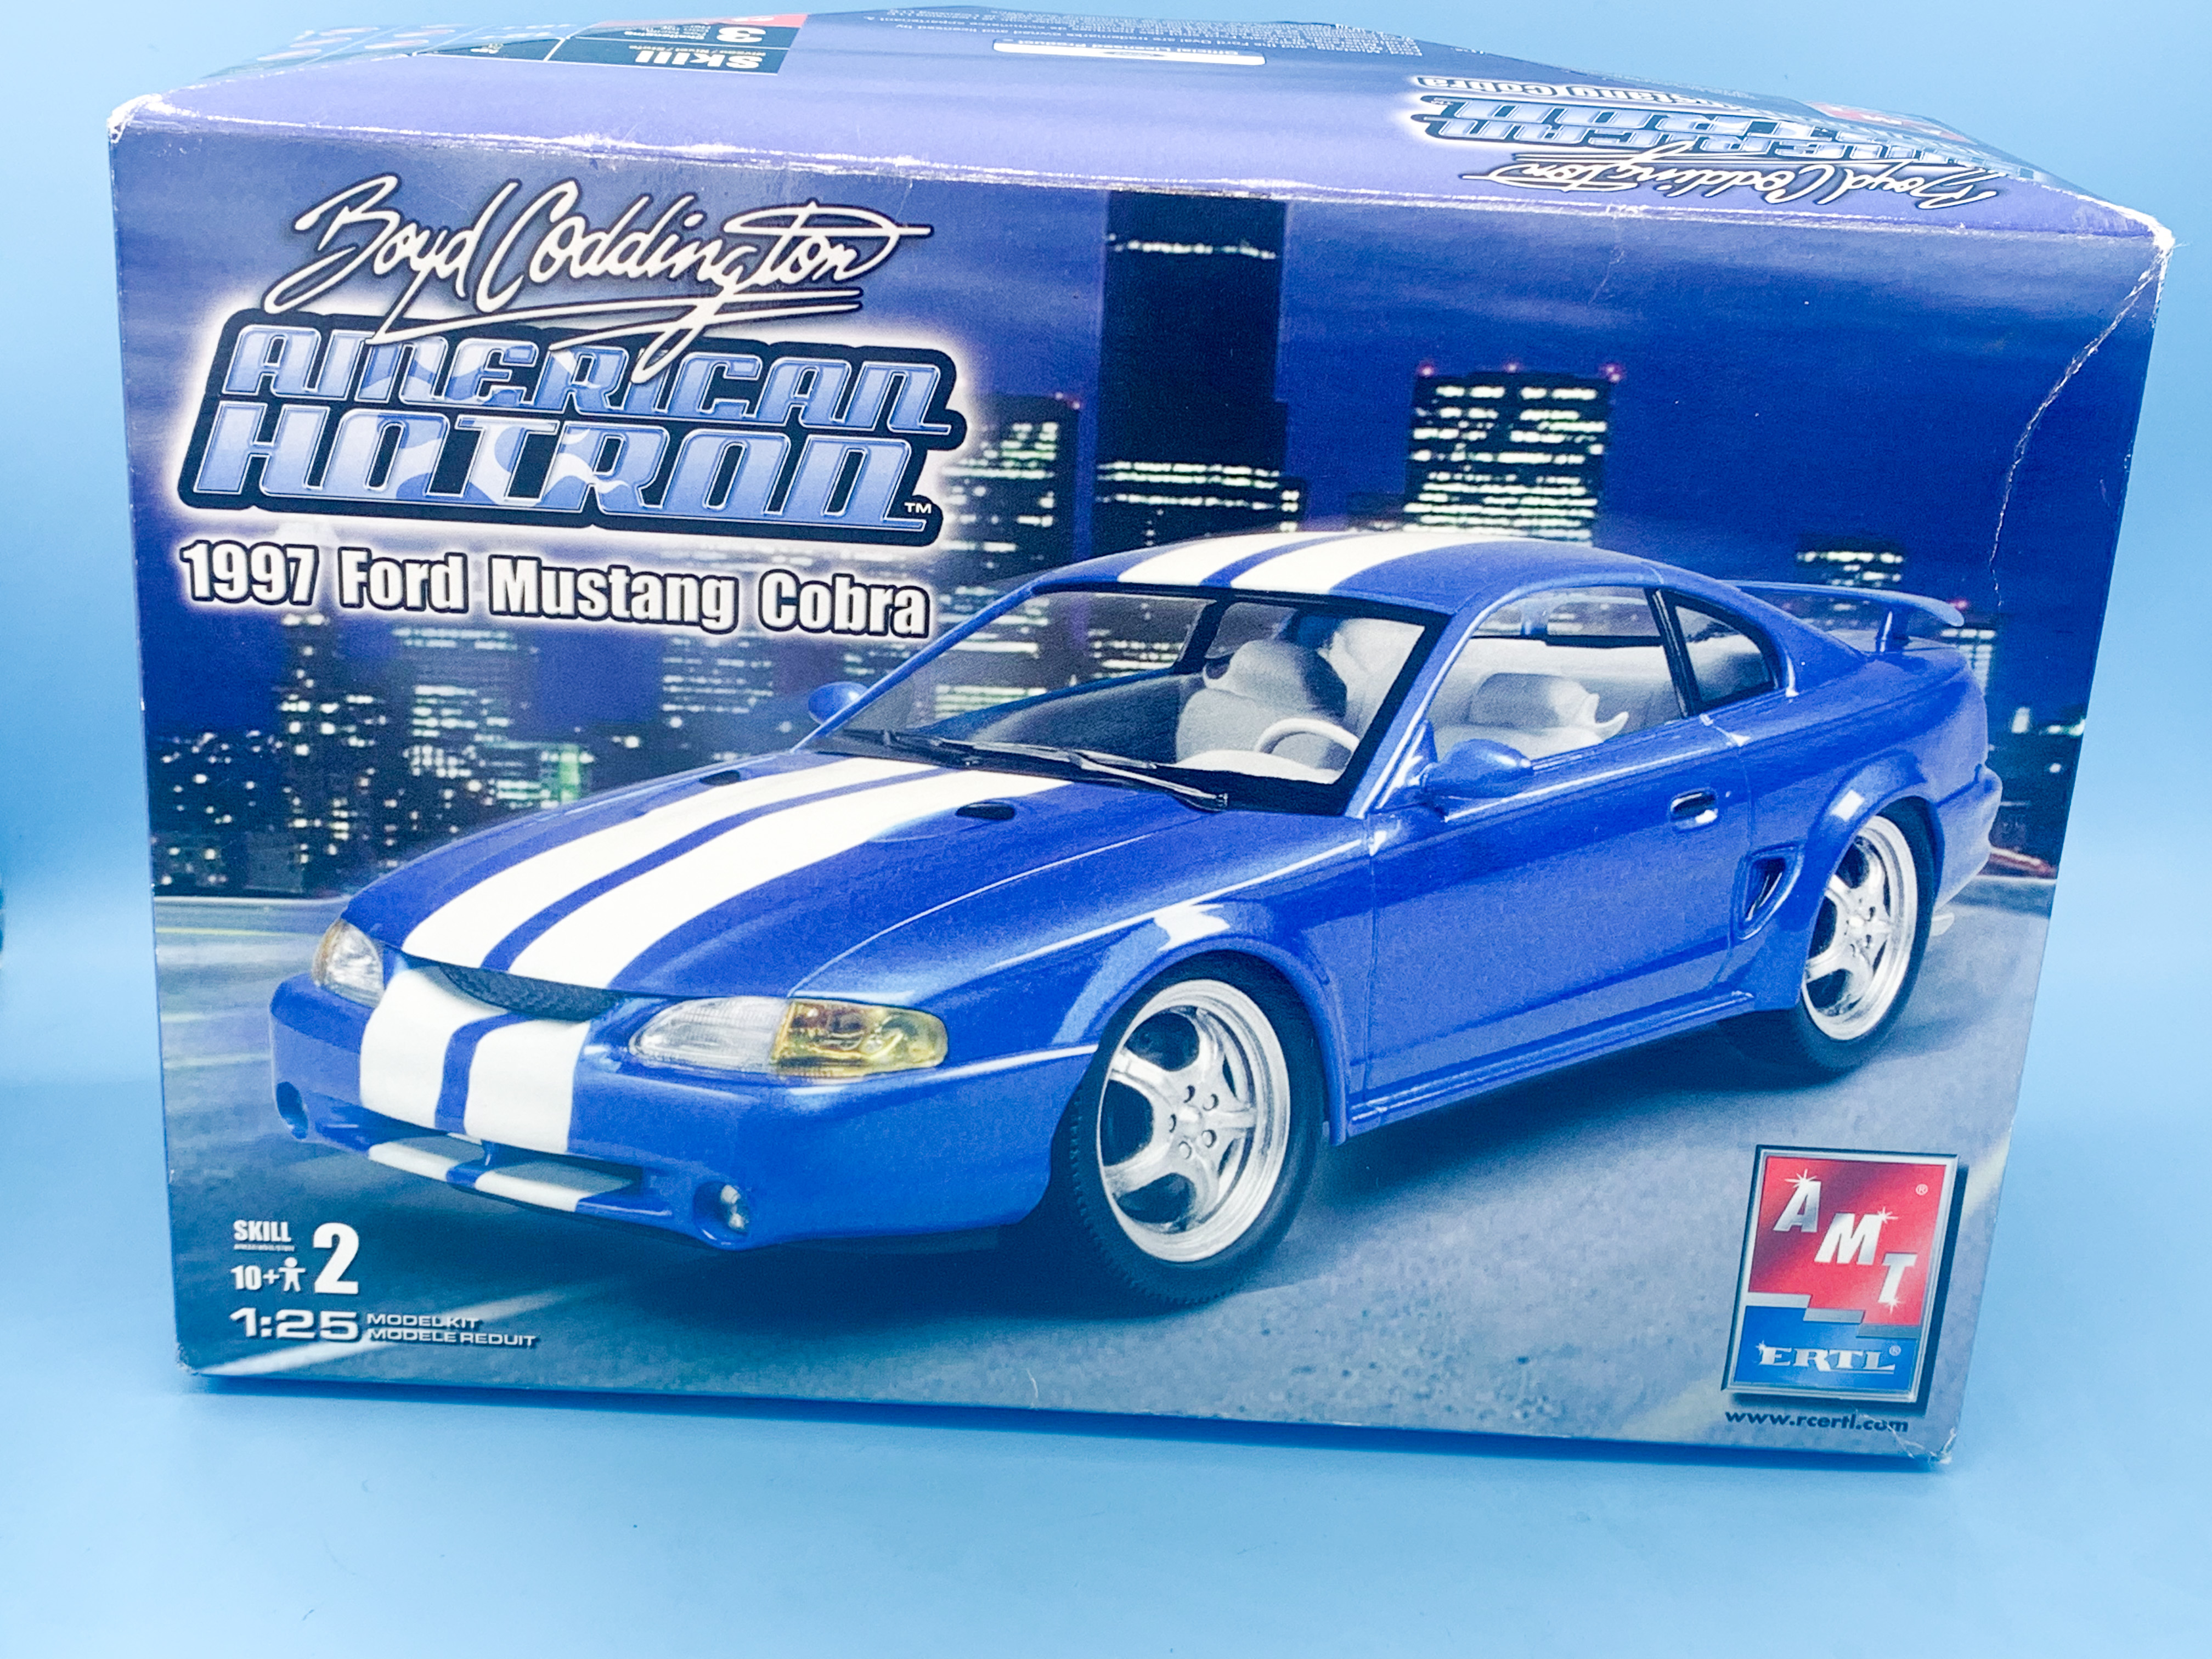
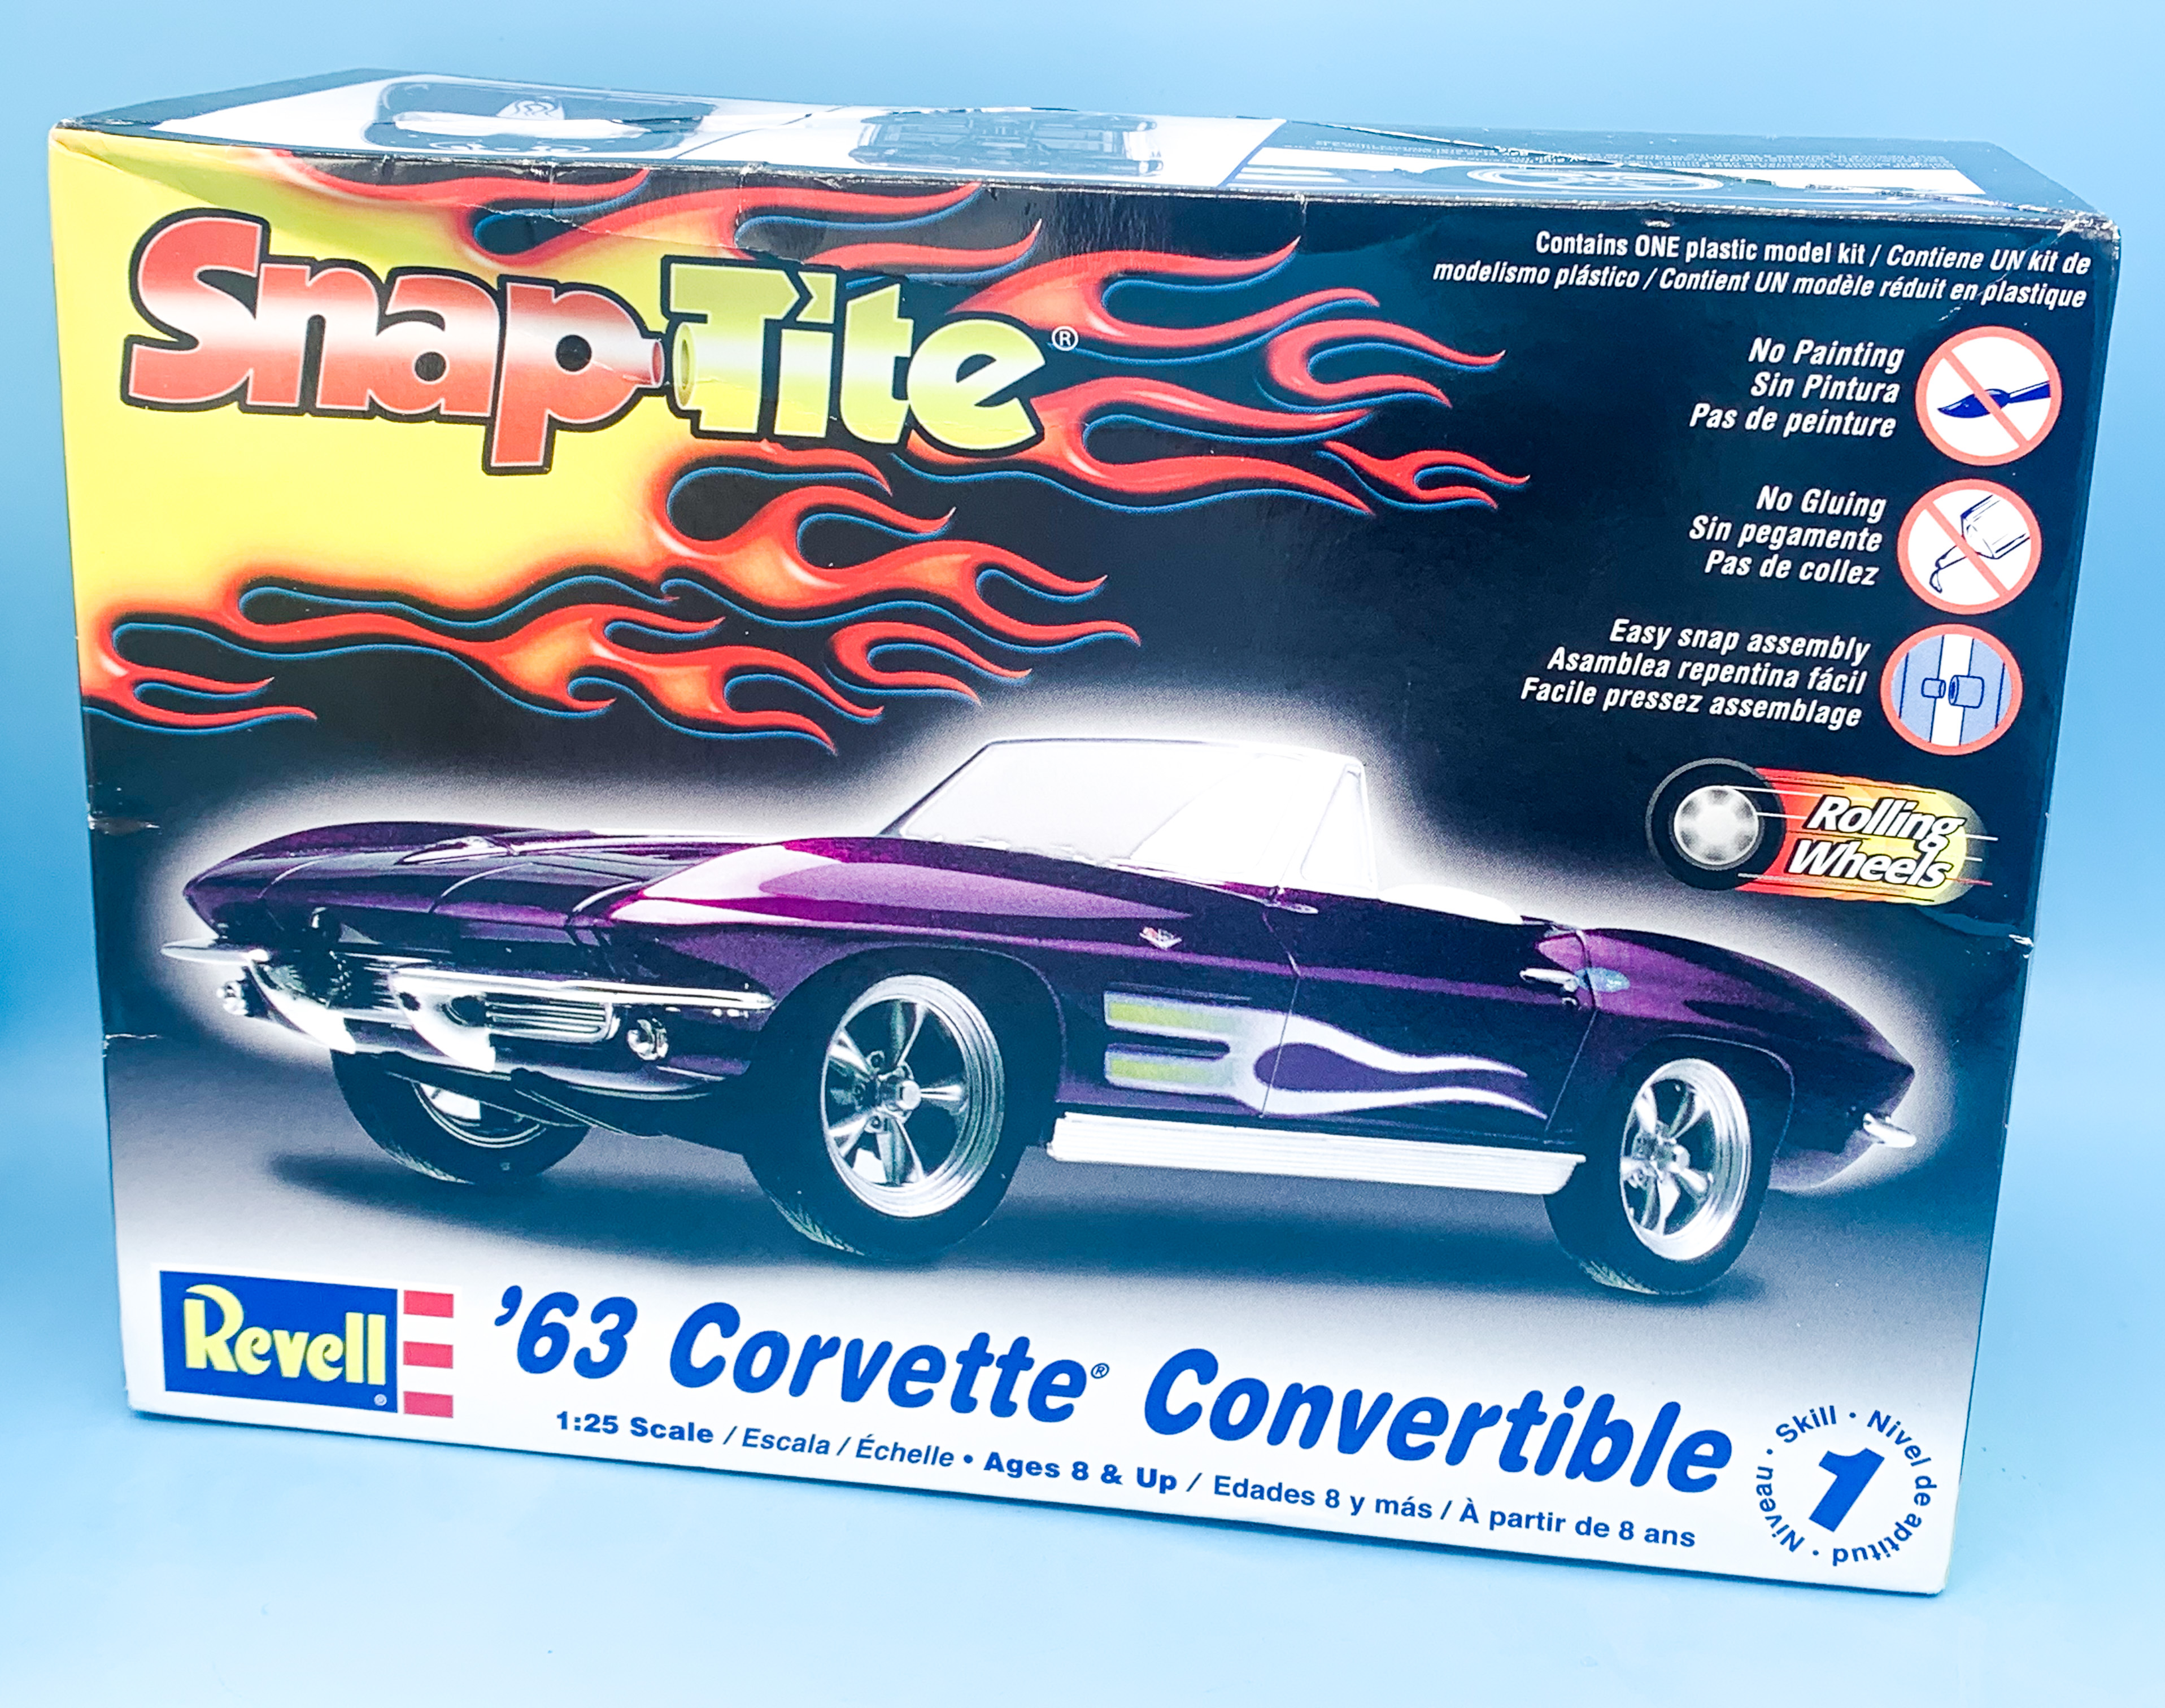
Coupla arrivals today. Another one for my Boyd collection: Not exactly the most obvious choice from AMT for a Boyd themed kit, but I’m collecting the set and didn’t have this one, so here it is ?♂️?. Paid $10 on eBay for it. And a snap kit - I had an idea for a paintjob for one of these Vettes so I picked this up too so I can get said idea out of my head and onto the shelf relatively easily ?
-
Not sure if you're an acrylics kinda guy, but Createx opaque white will cover about anything in one or two coats (and plays nice with almost any clear). Regardless - looking good Alan! Enjoying seeing this come together!
-
The Official EBay Discussion Thread
OldNYJim replied to iamsuperdan's topic in General Automotive Talk (Trucks and Cars)
I get it Bob - doesn’t work for every situation. ?? -
Nailed it dude! Really enjoyed seeing your take on a period custom!
-
Fiat Mfistofele
OldNYJim replied to Kingslug's topic in WIP: Other Racing: Road Racing, Land Speed Racers
Where in NYC? I've been considering one of these kits - good start! -
The Official EBay Discussion Thread
OldNYJim replied to iamsuperdan's topic in General Automotive Talk (Trucks and Cars)
I'm not sure it applies EVERYWHERE - but everywhere I've lived, the USPS will collect parcels from you for free every day, assuming you've got the postage paid somehow (either with stamps, or by printing postage). You just book a collection online, and the next day someone comes to collect from you! Easy! Wish more sellers knew about this -
These are available to those of us in the US via Amazon - about $6 a bottle, shipped... https://www.amazon.com/s?k=tamiya+enamel+paint
-
You’re nailing it Bob! Love that interior especially!
-
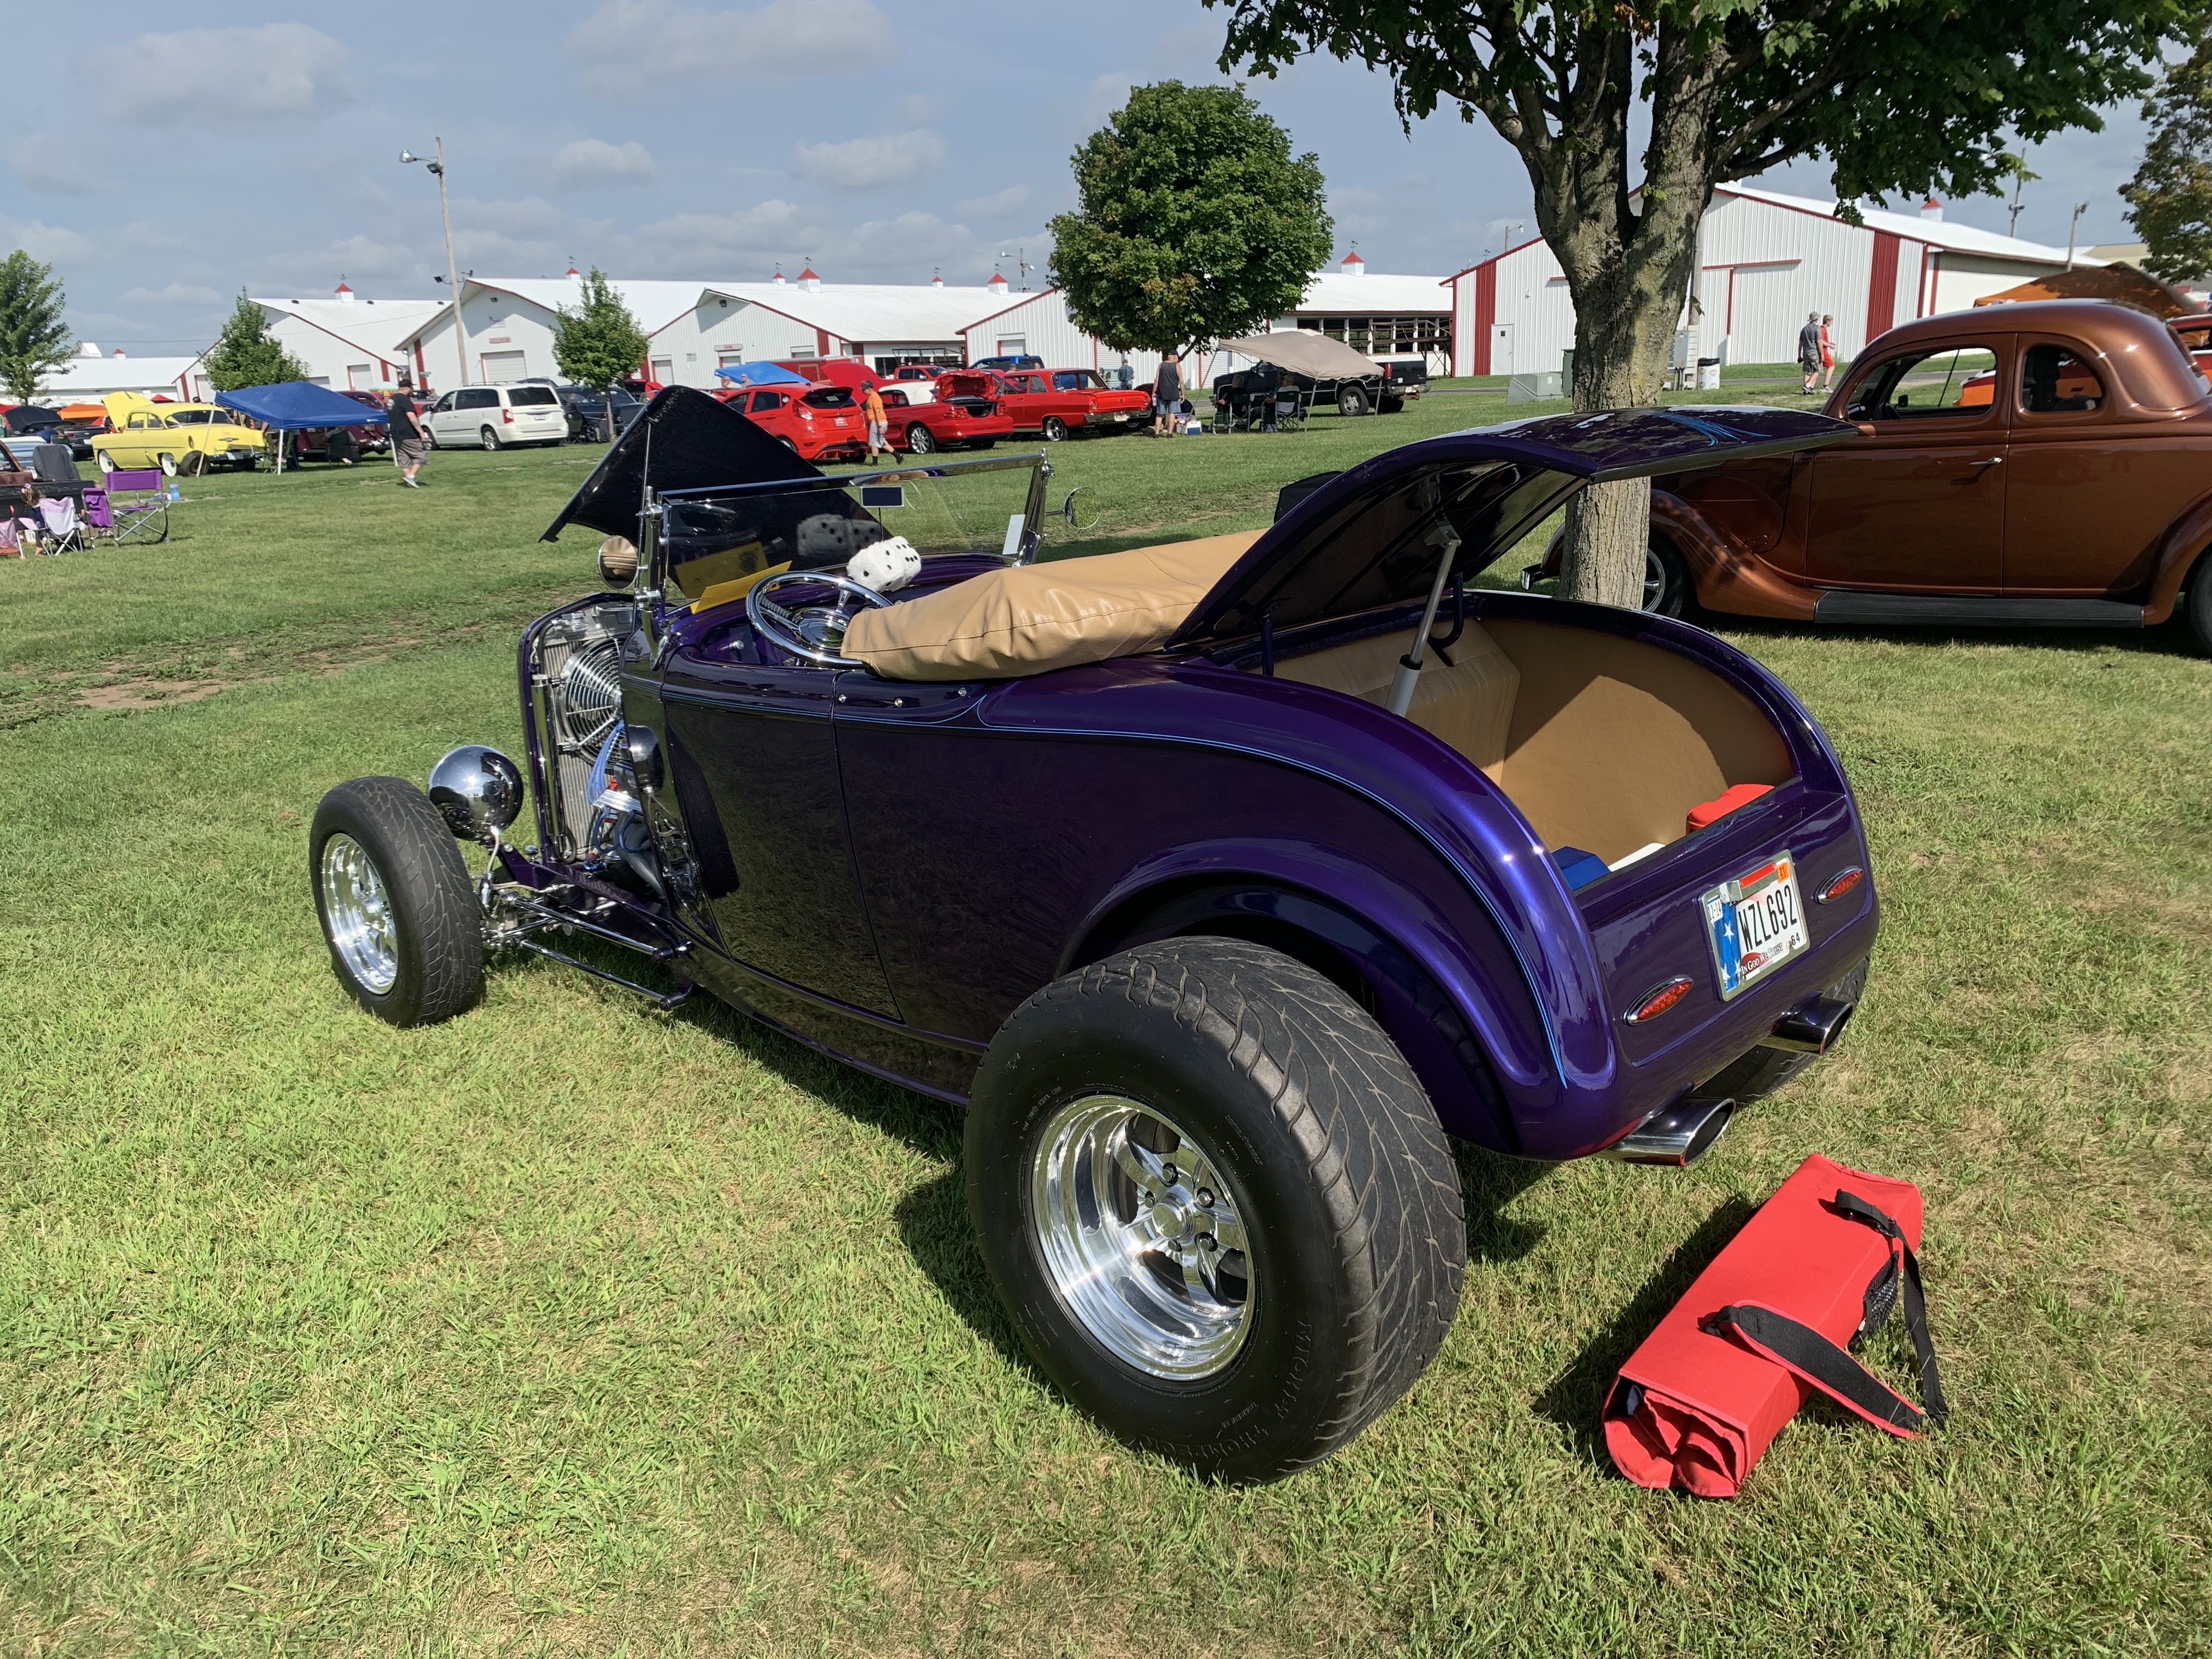
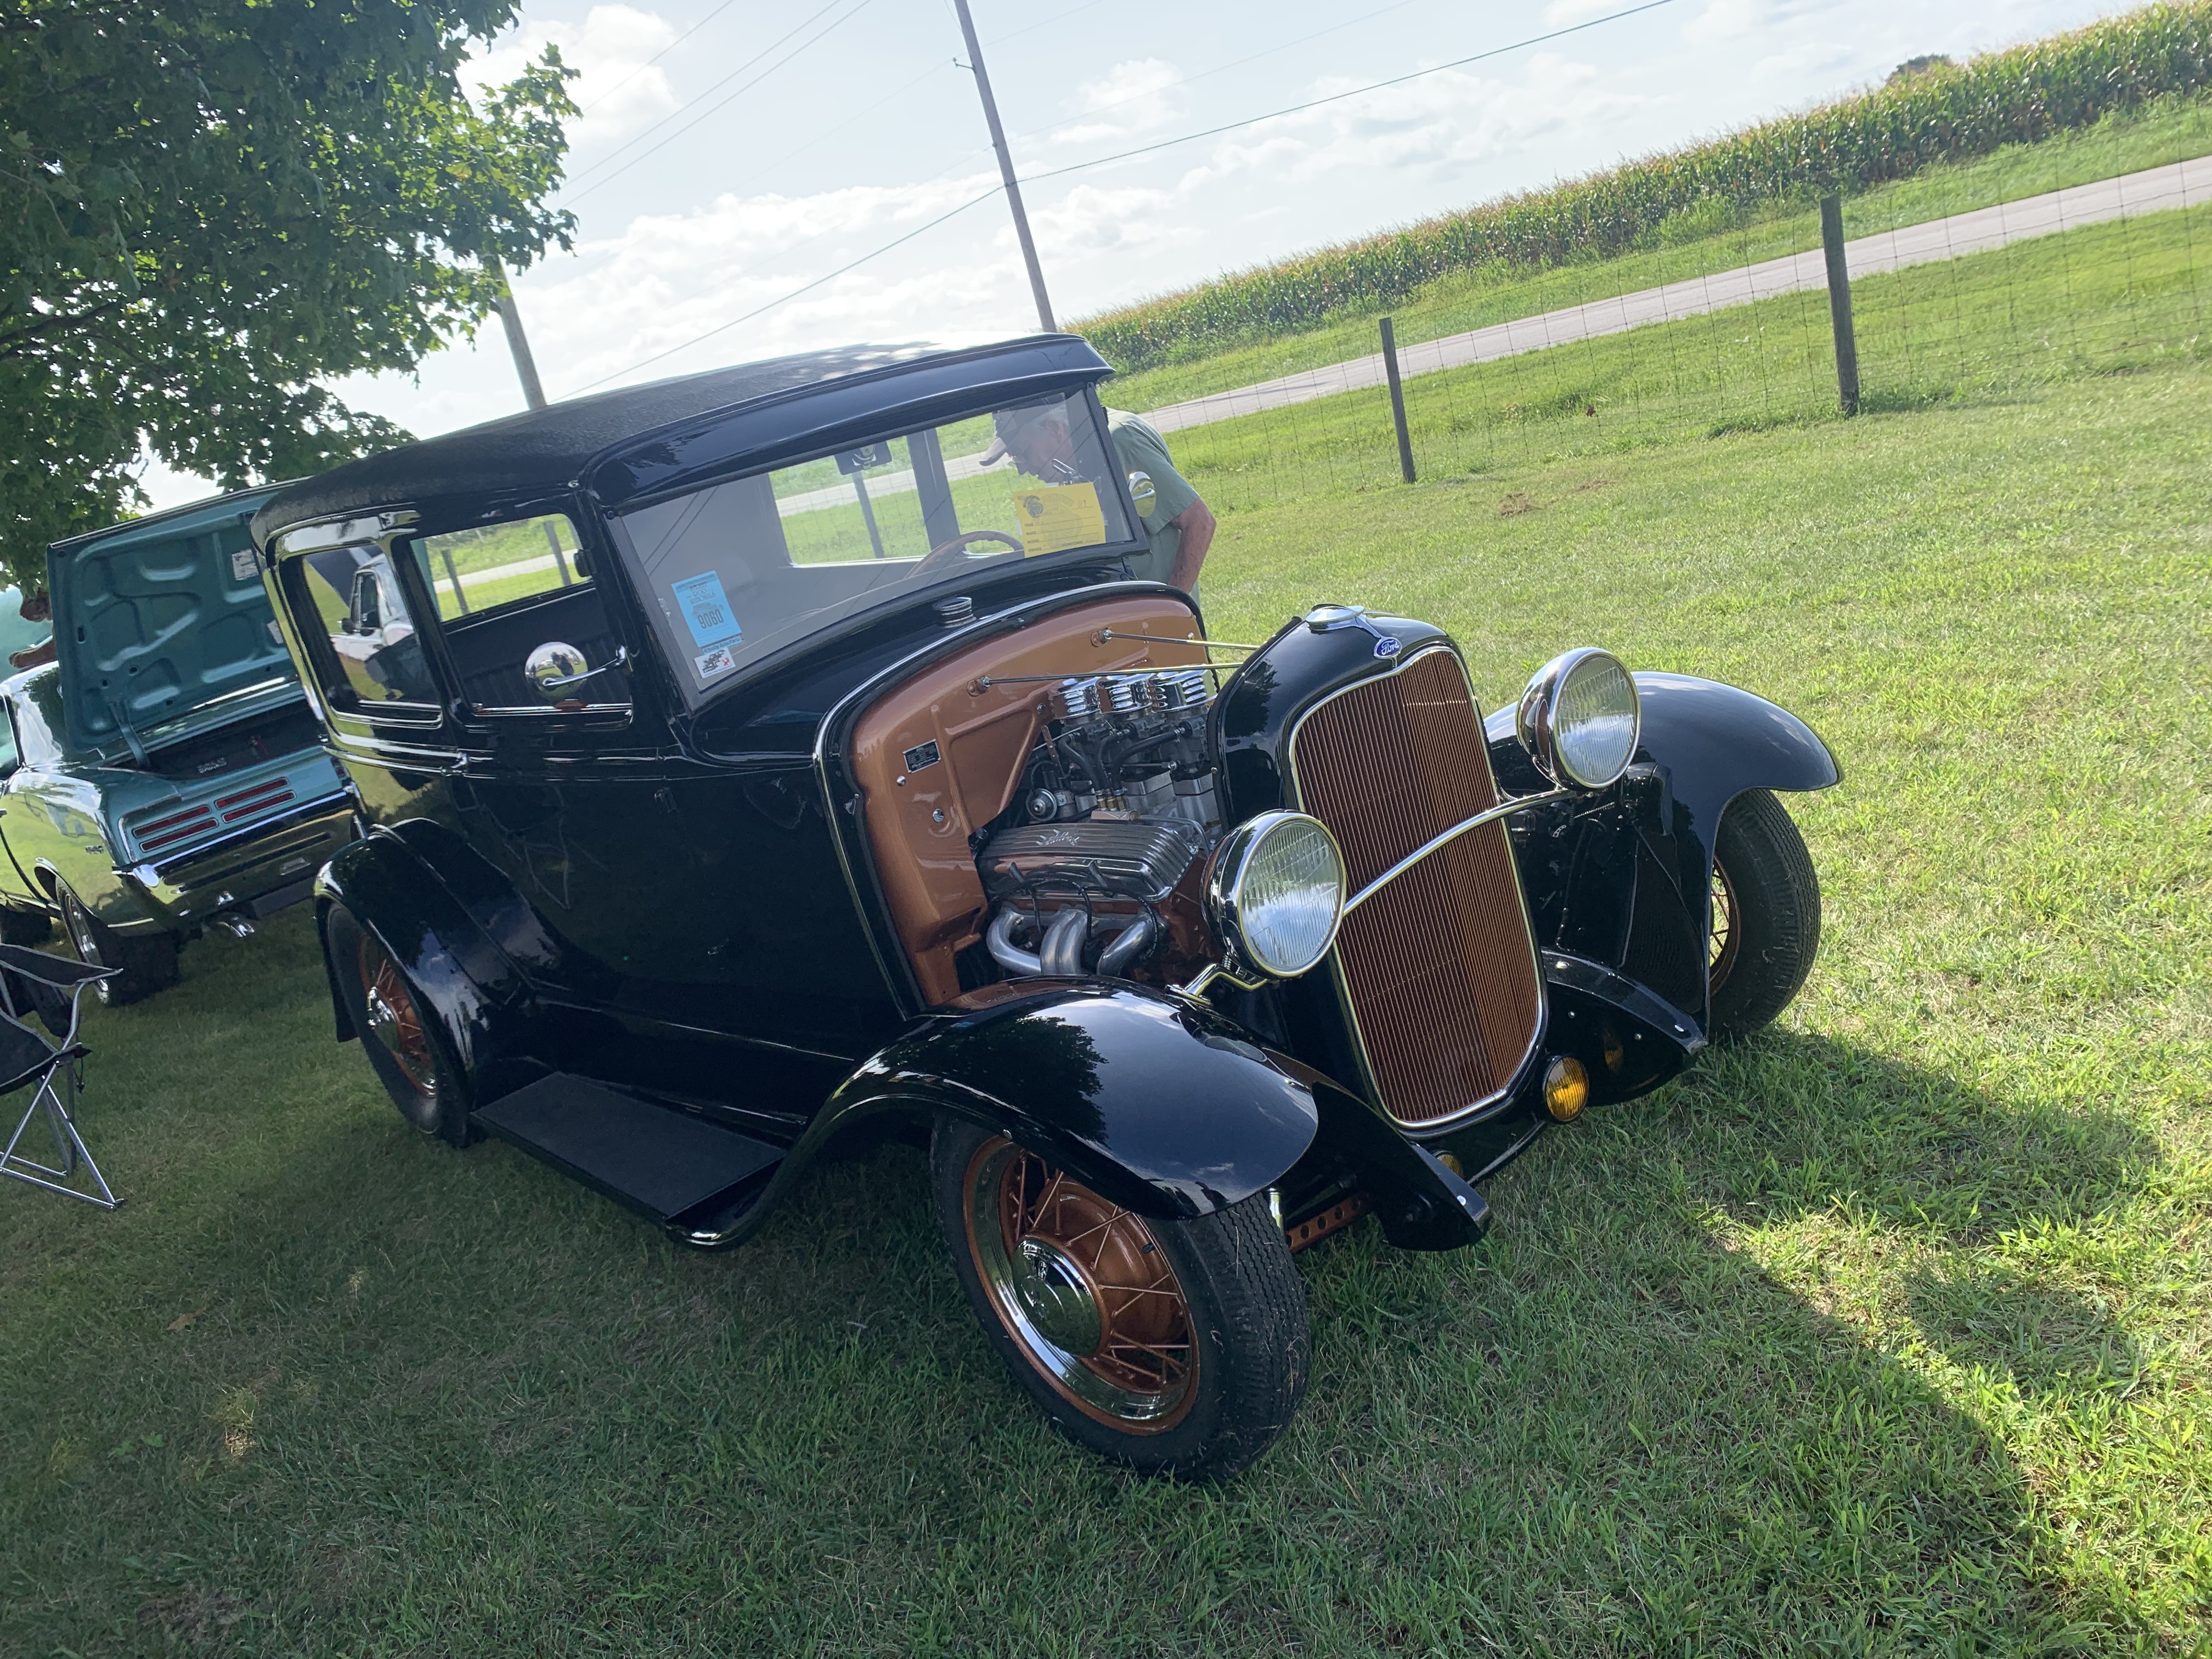
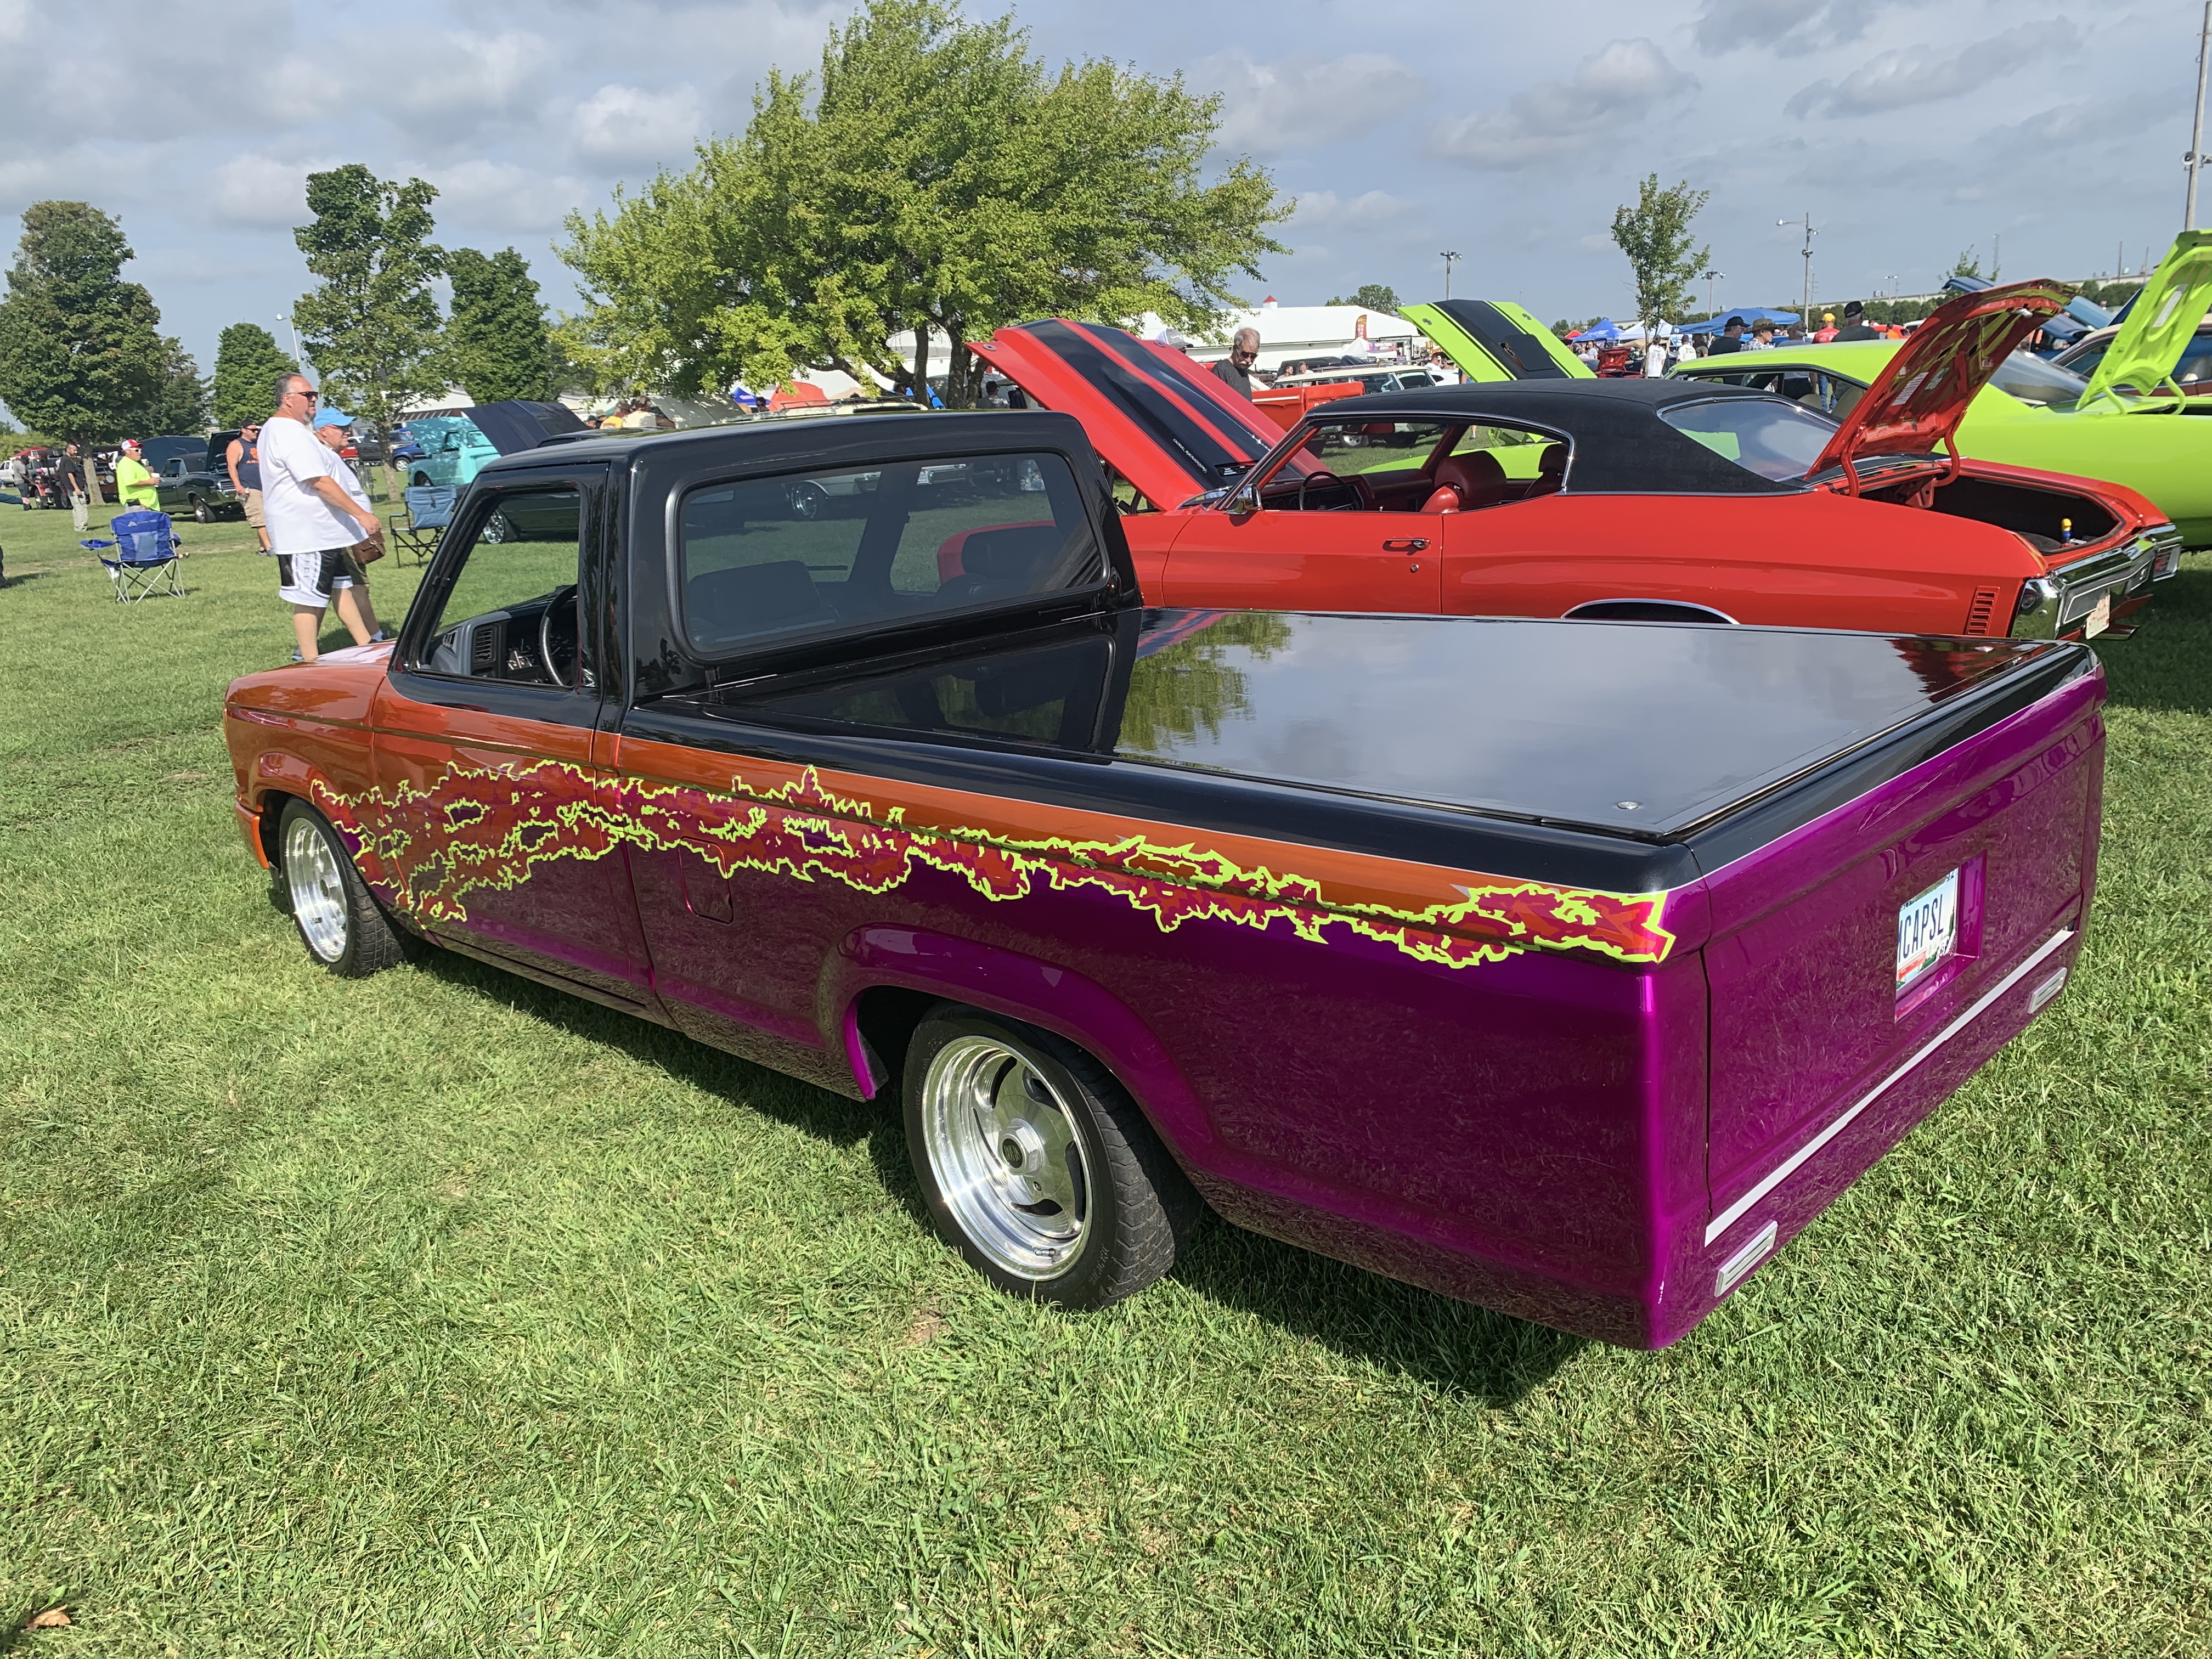
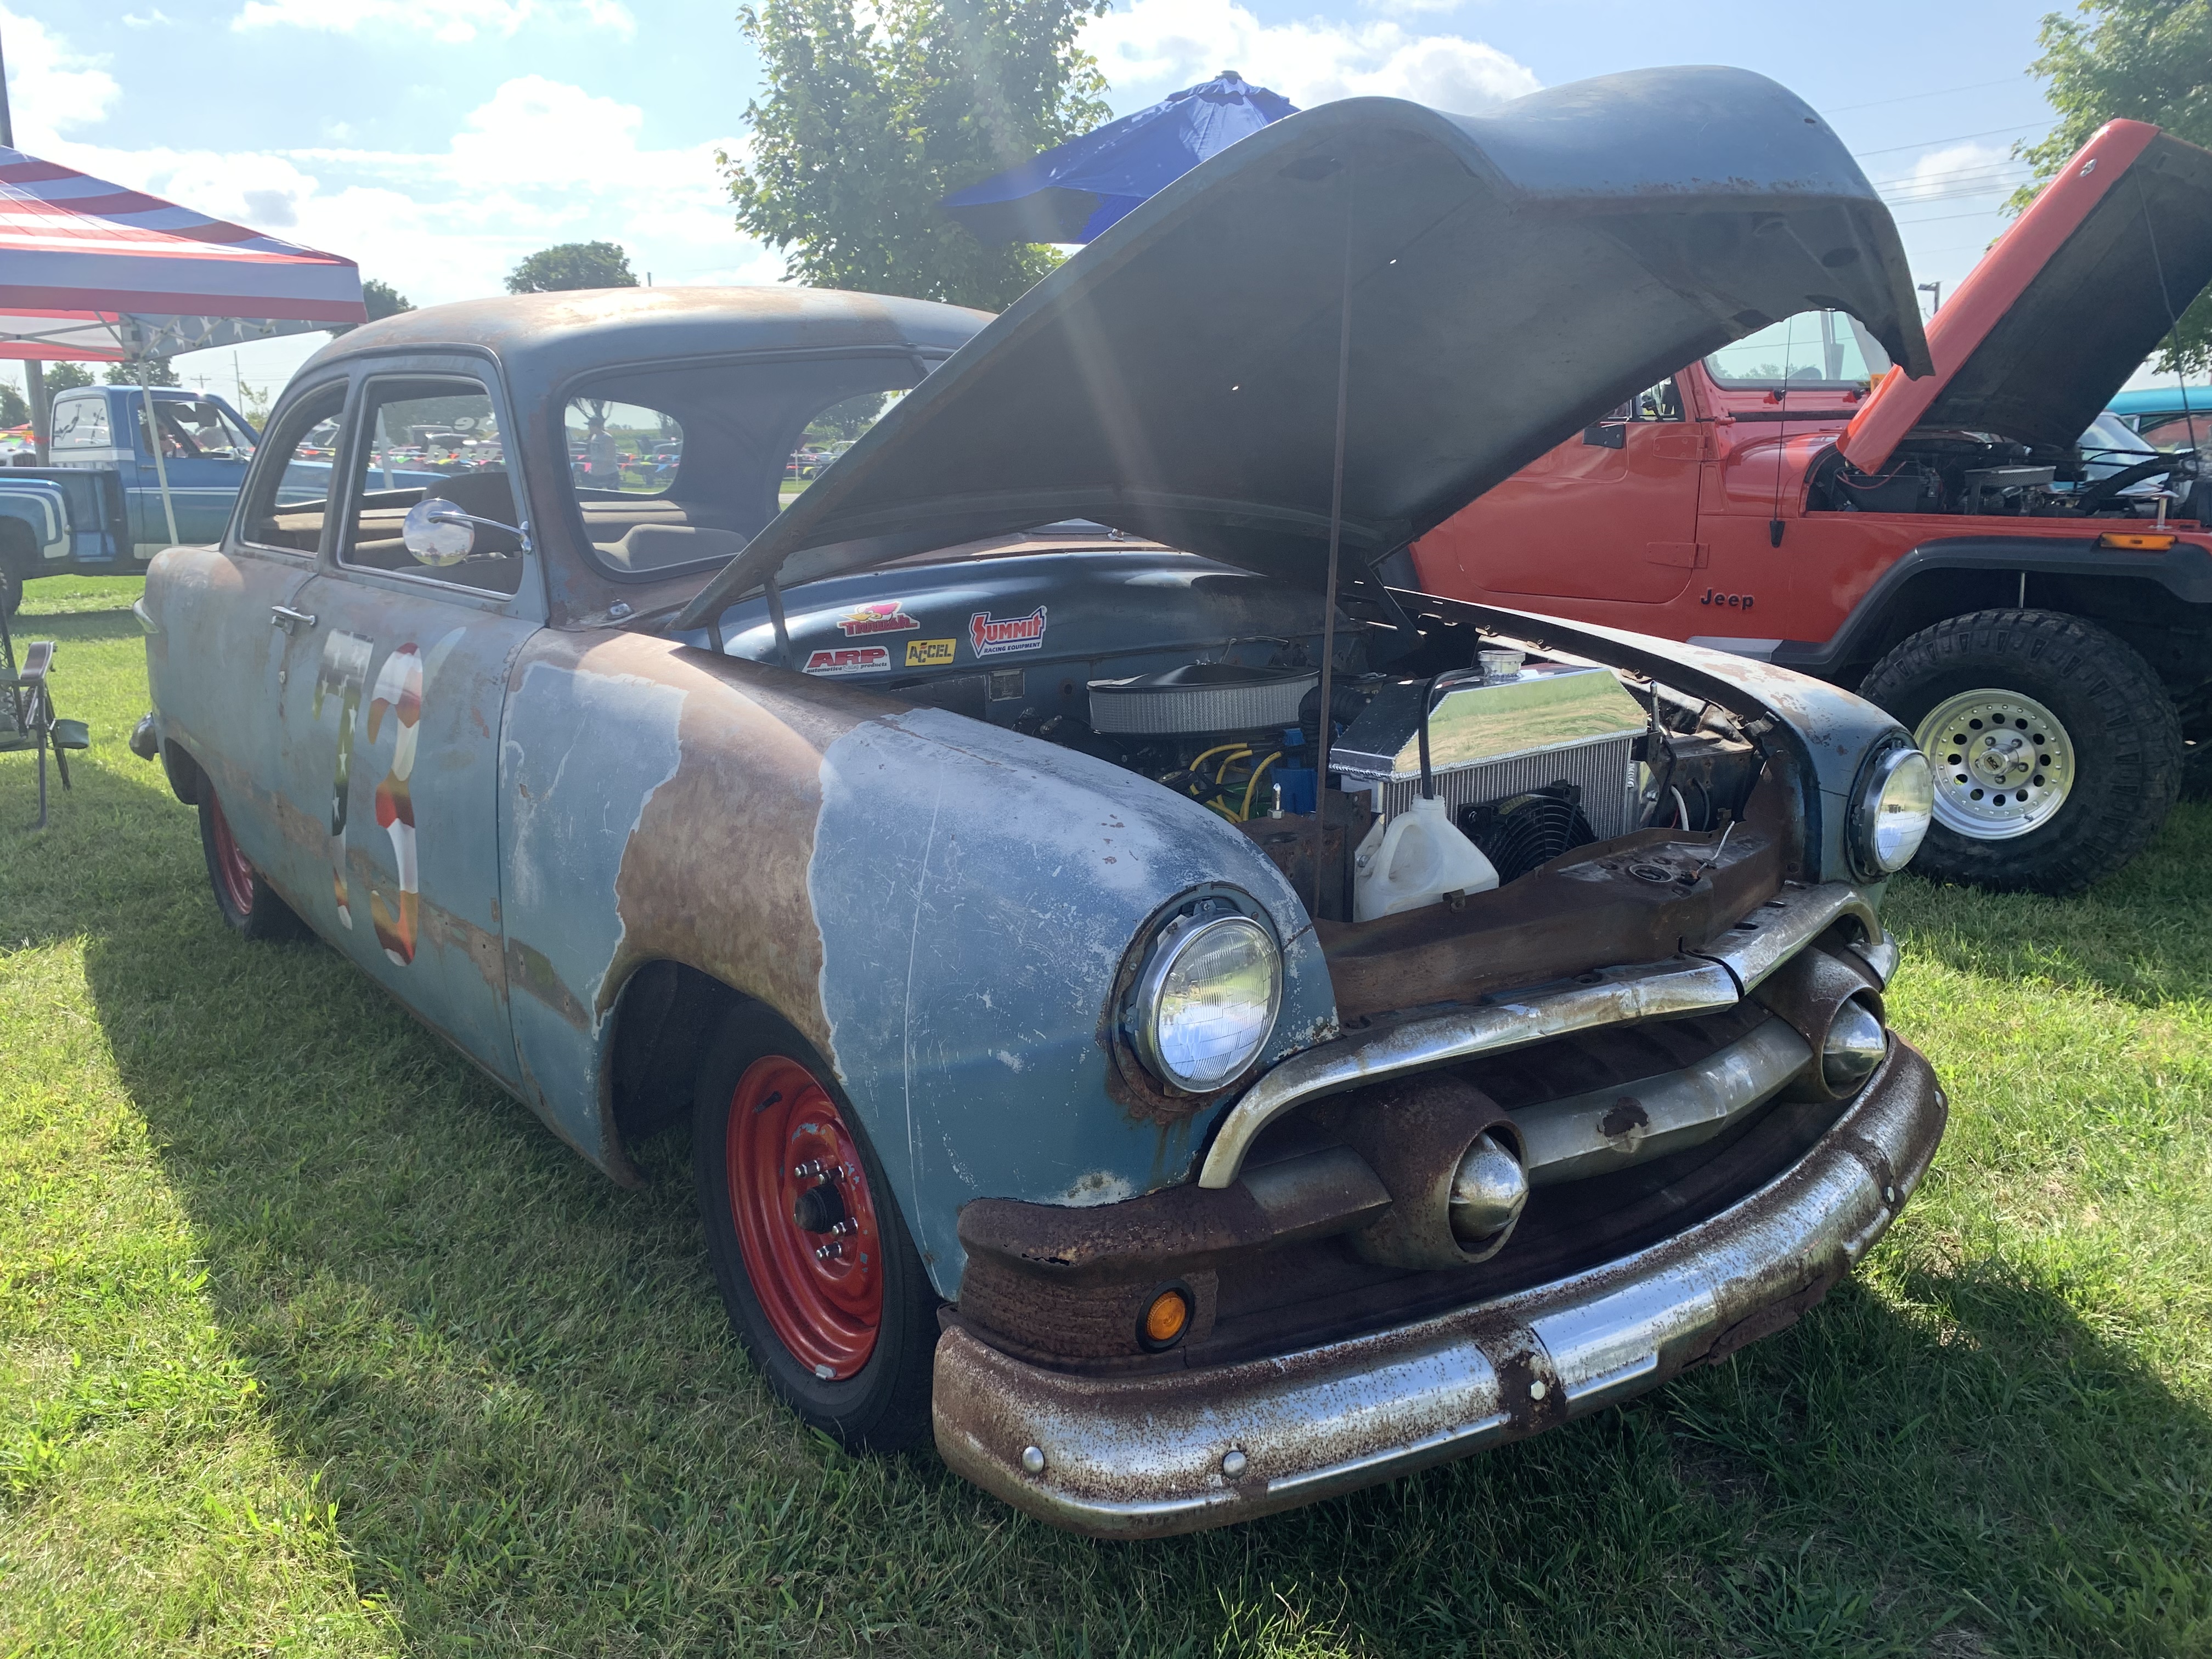
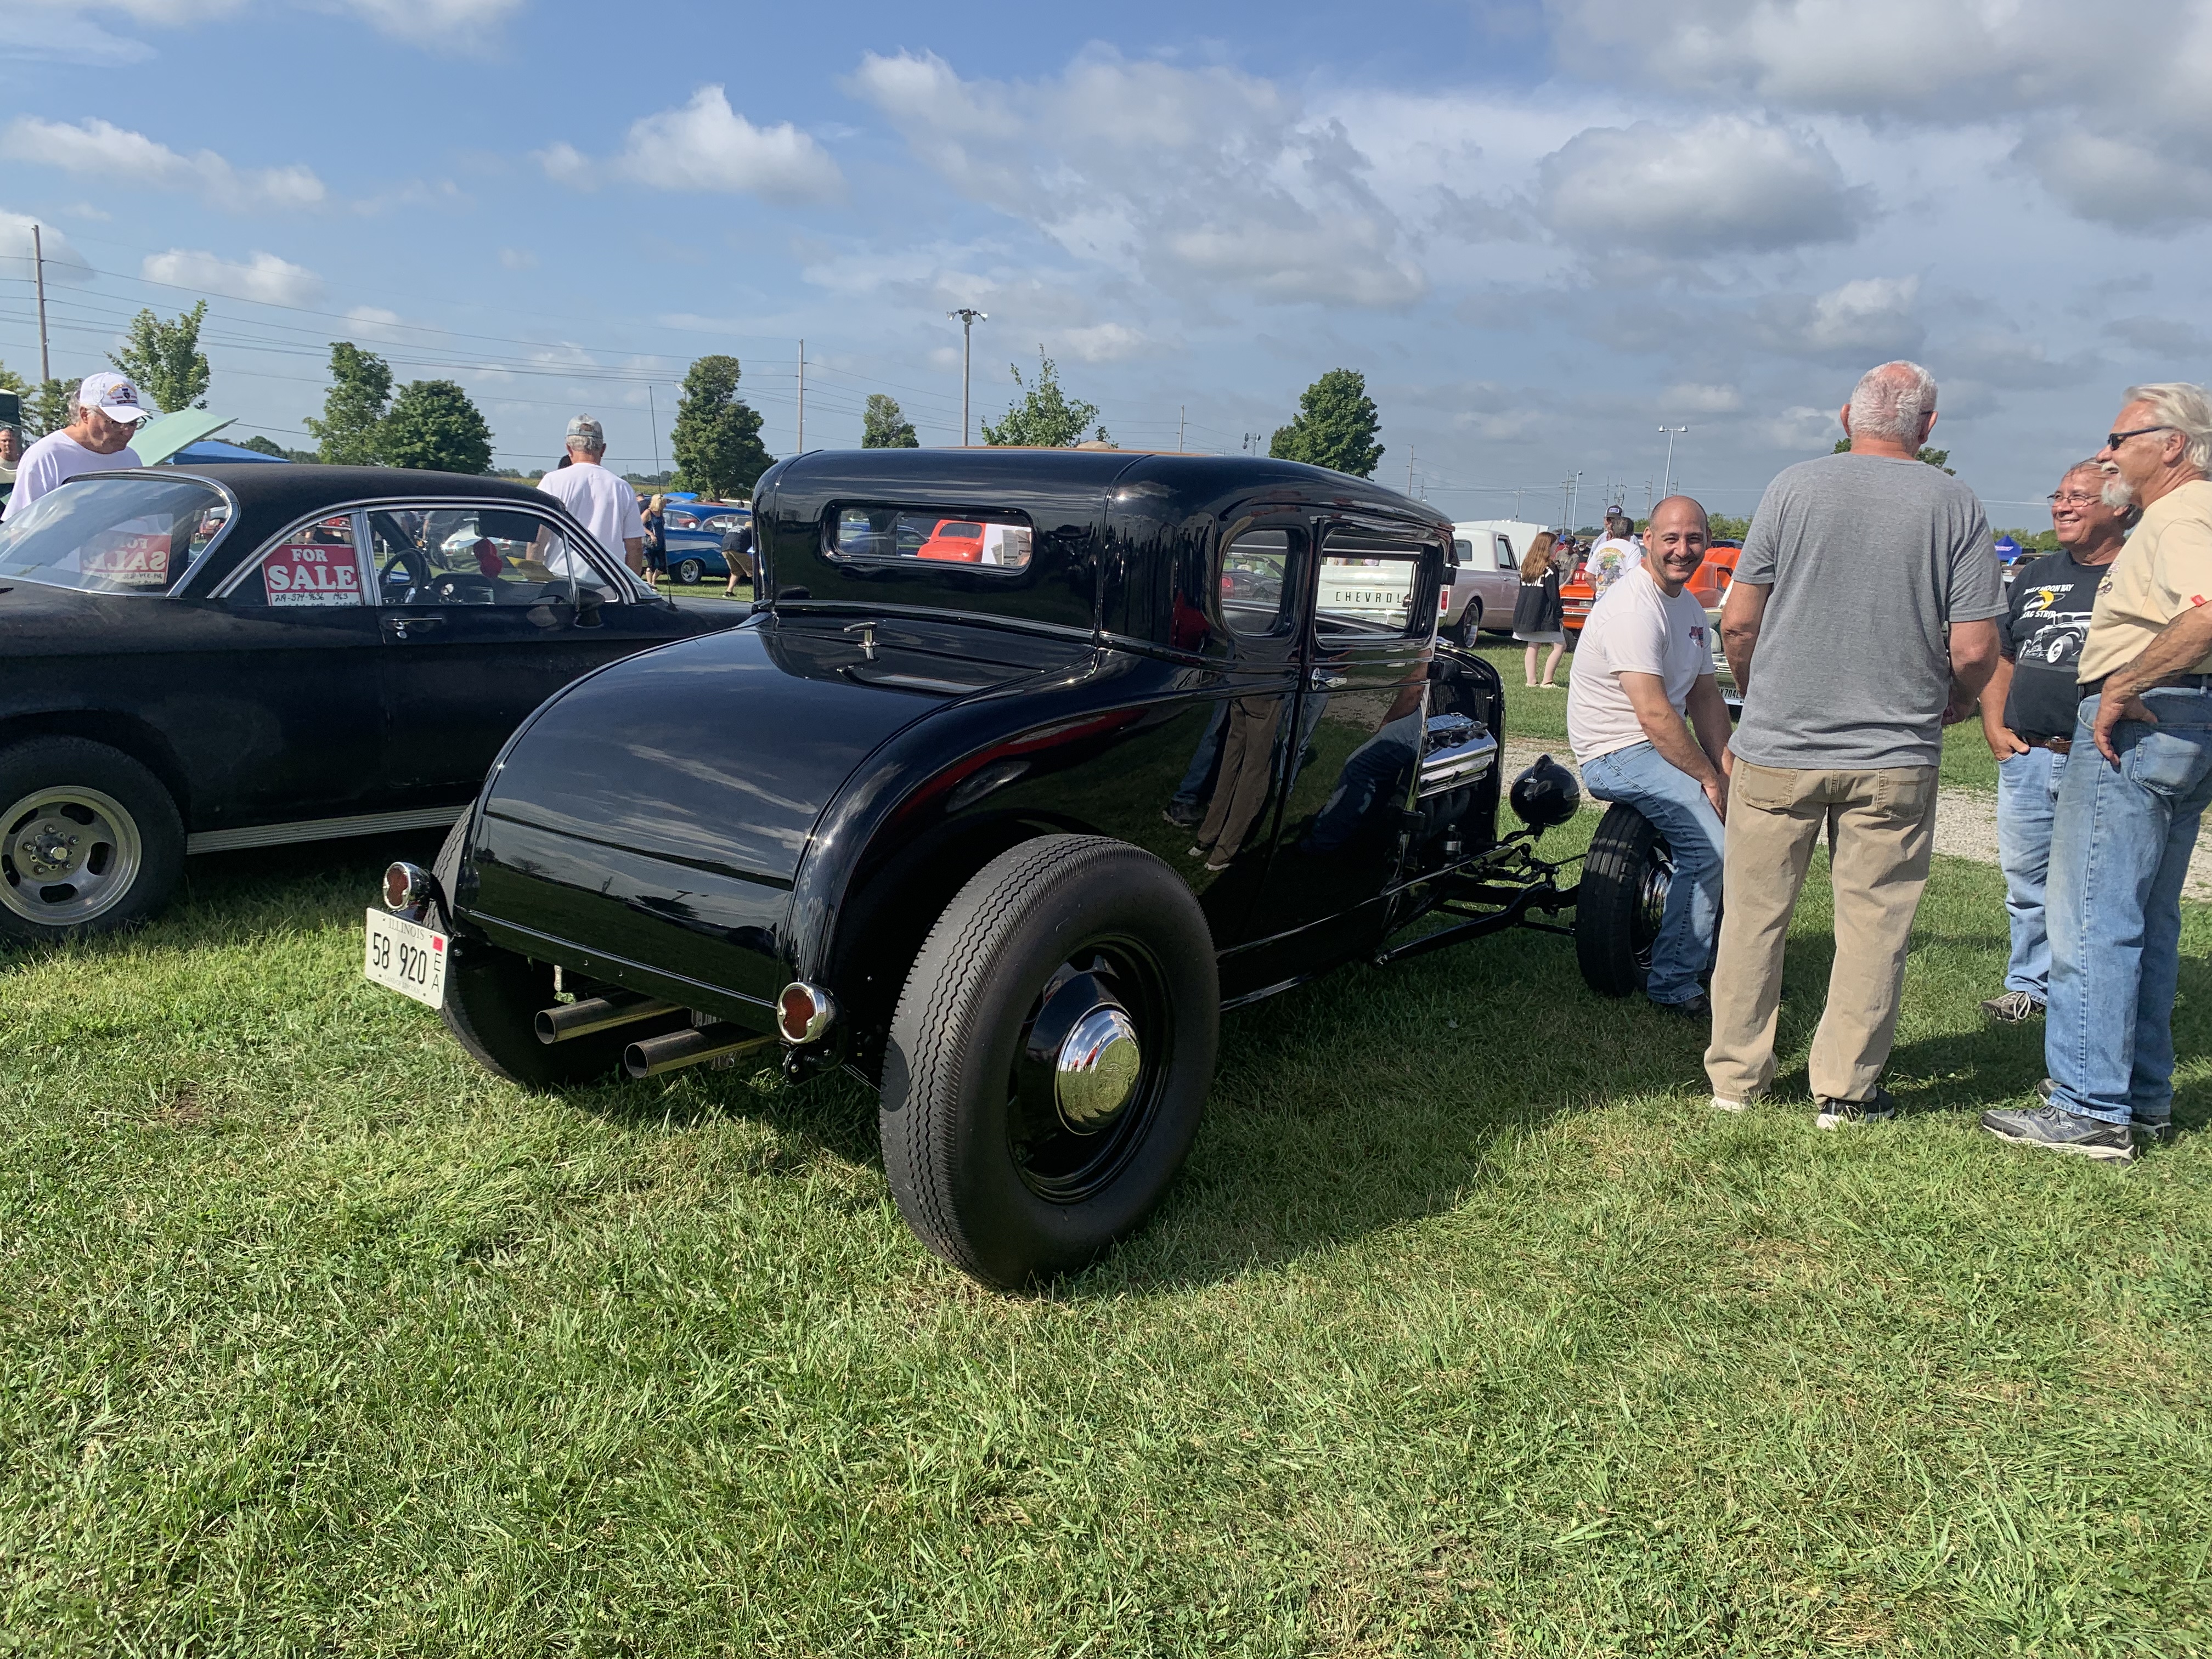
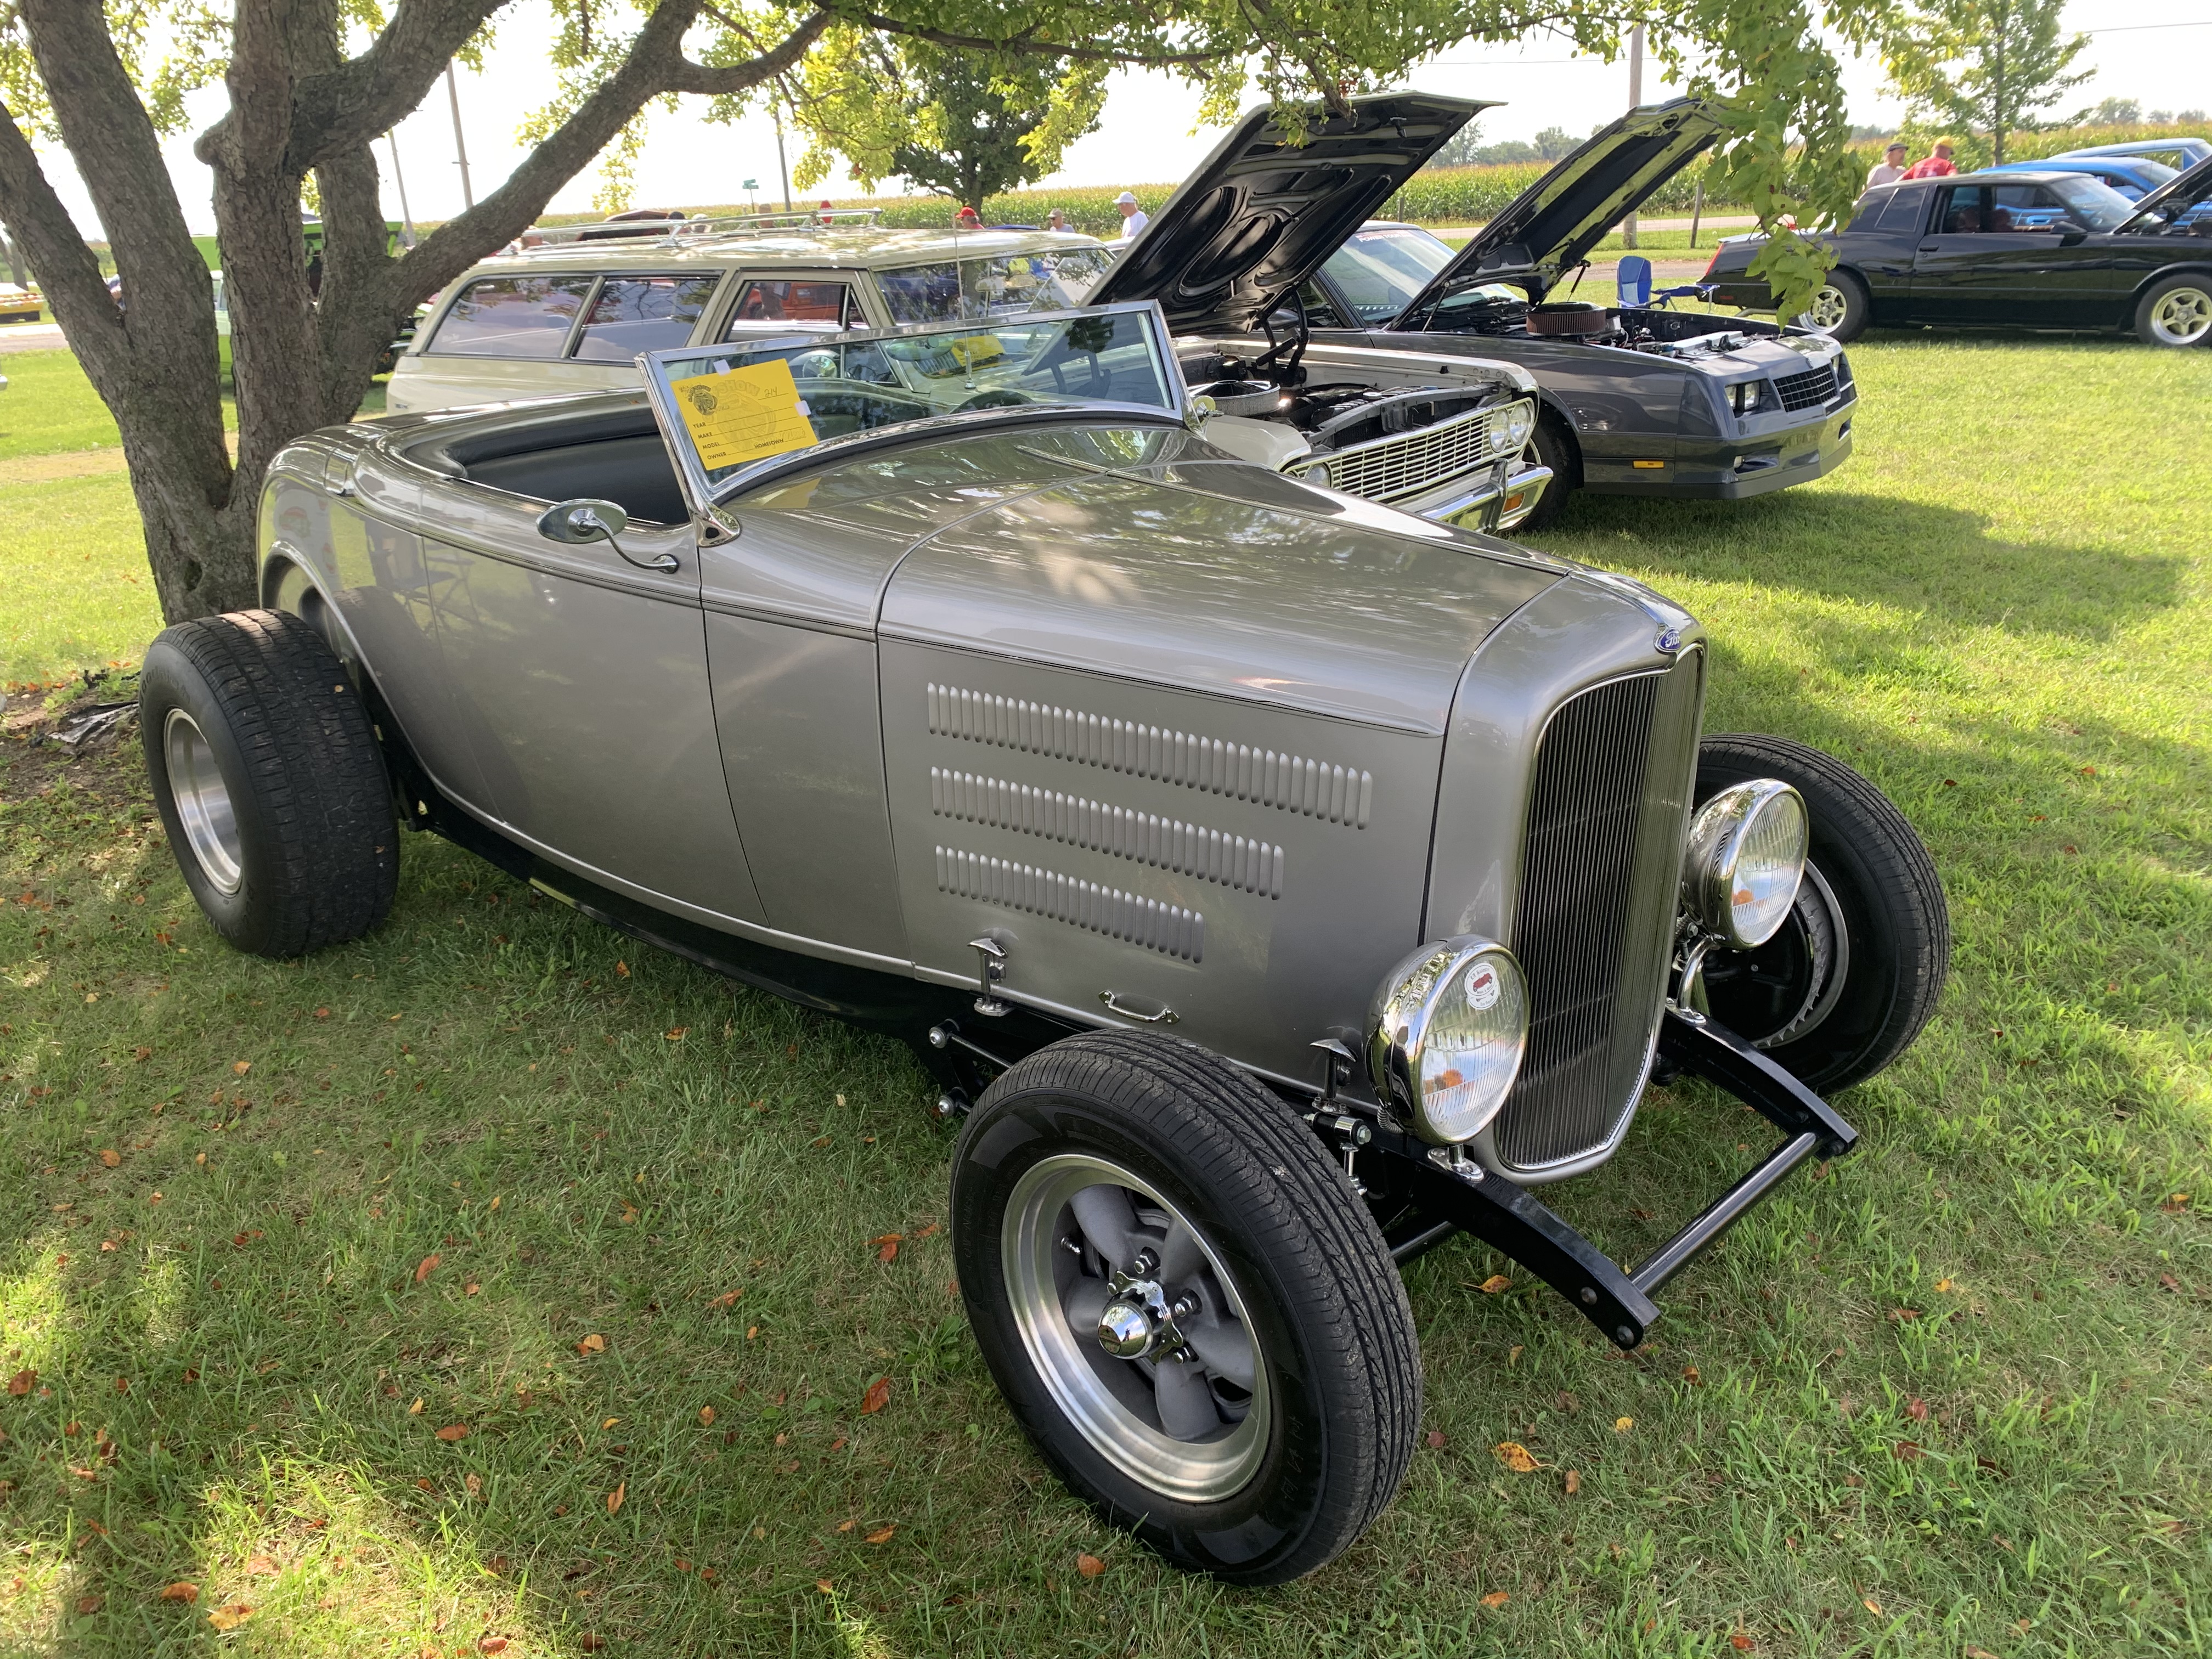
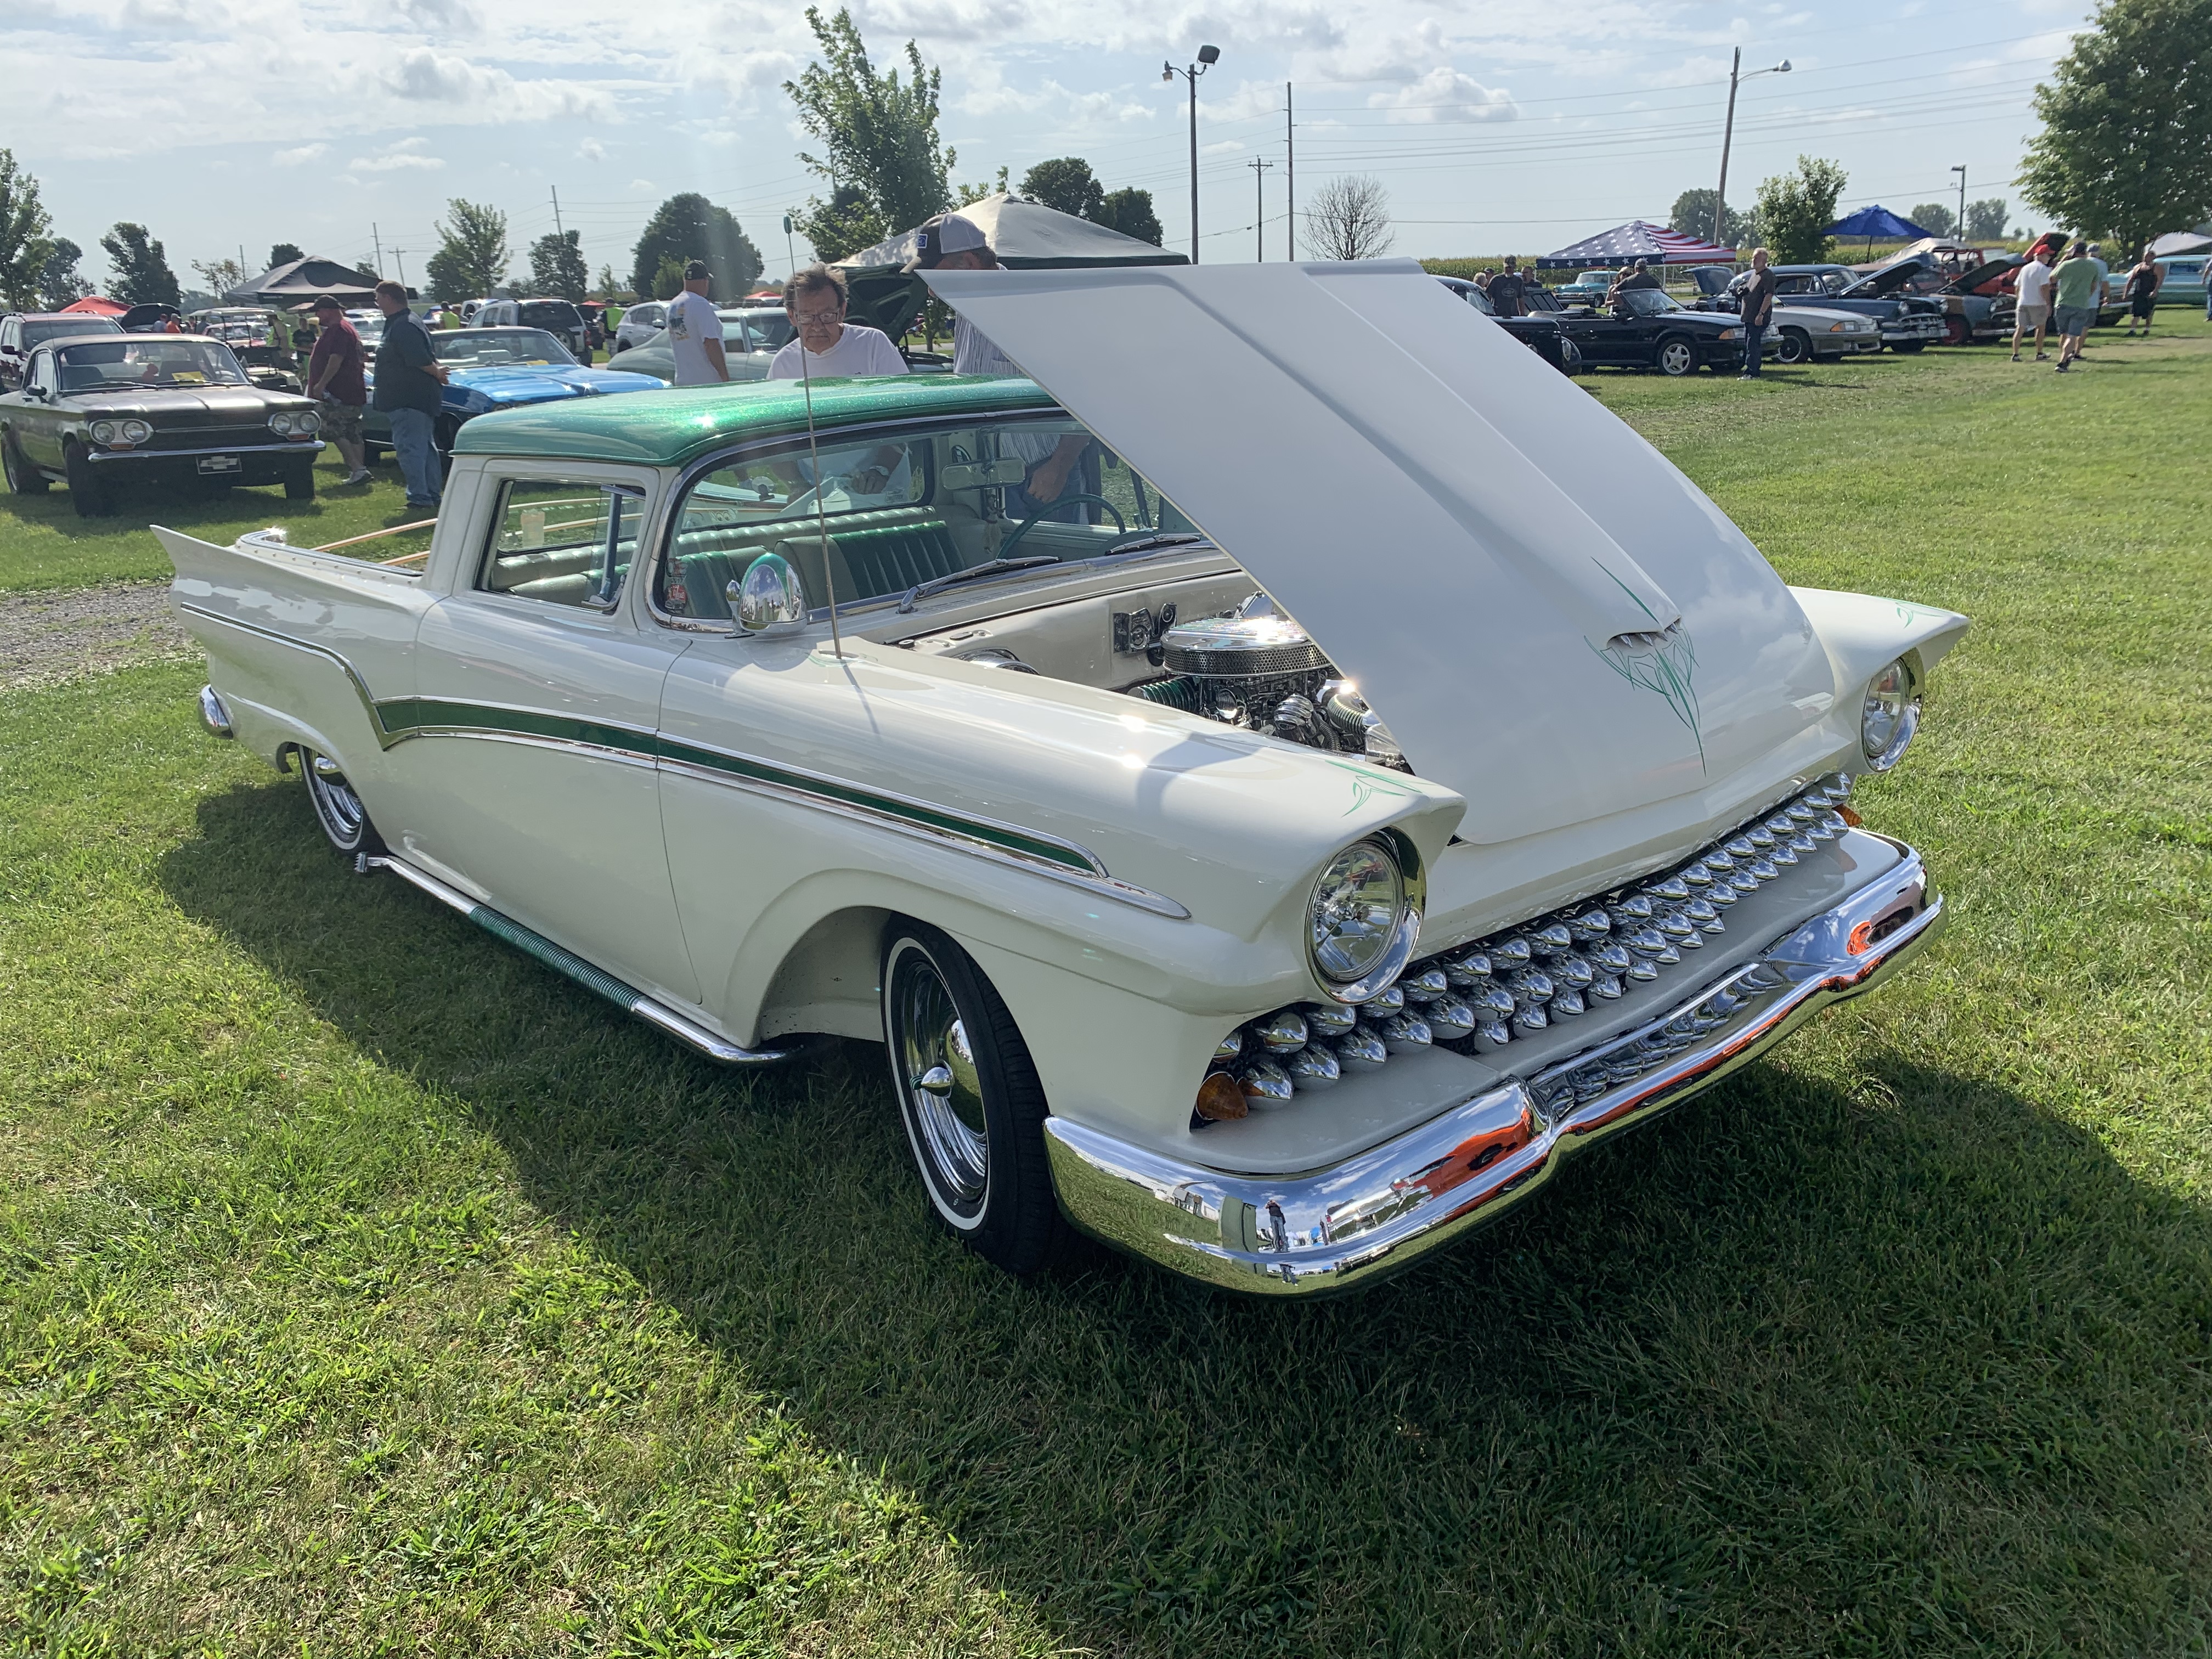
Another big car meet near us this weekend - all kinds of cool stuff there! Hot rods, street rods, a coupla Bugs, hearses, minitrucks and more…a bunch of pics HERE
-
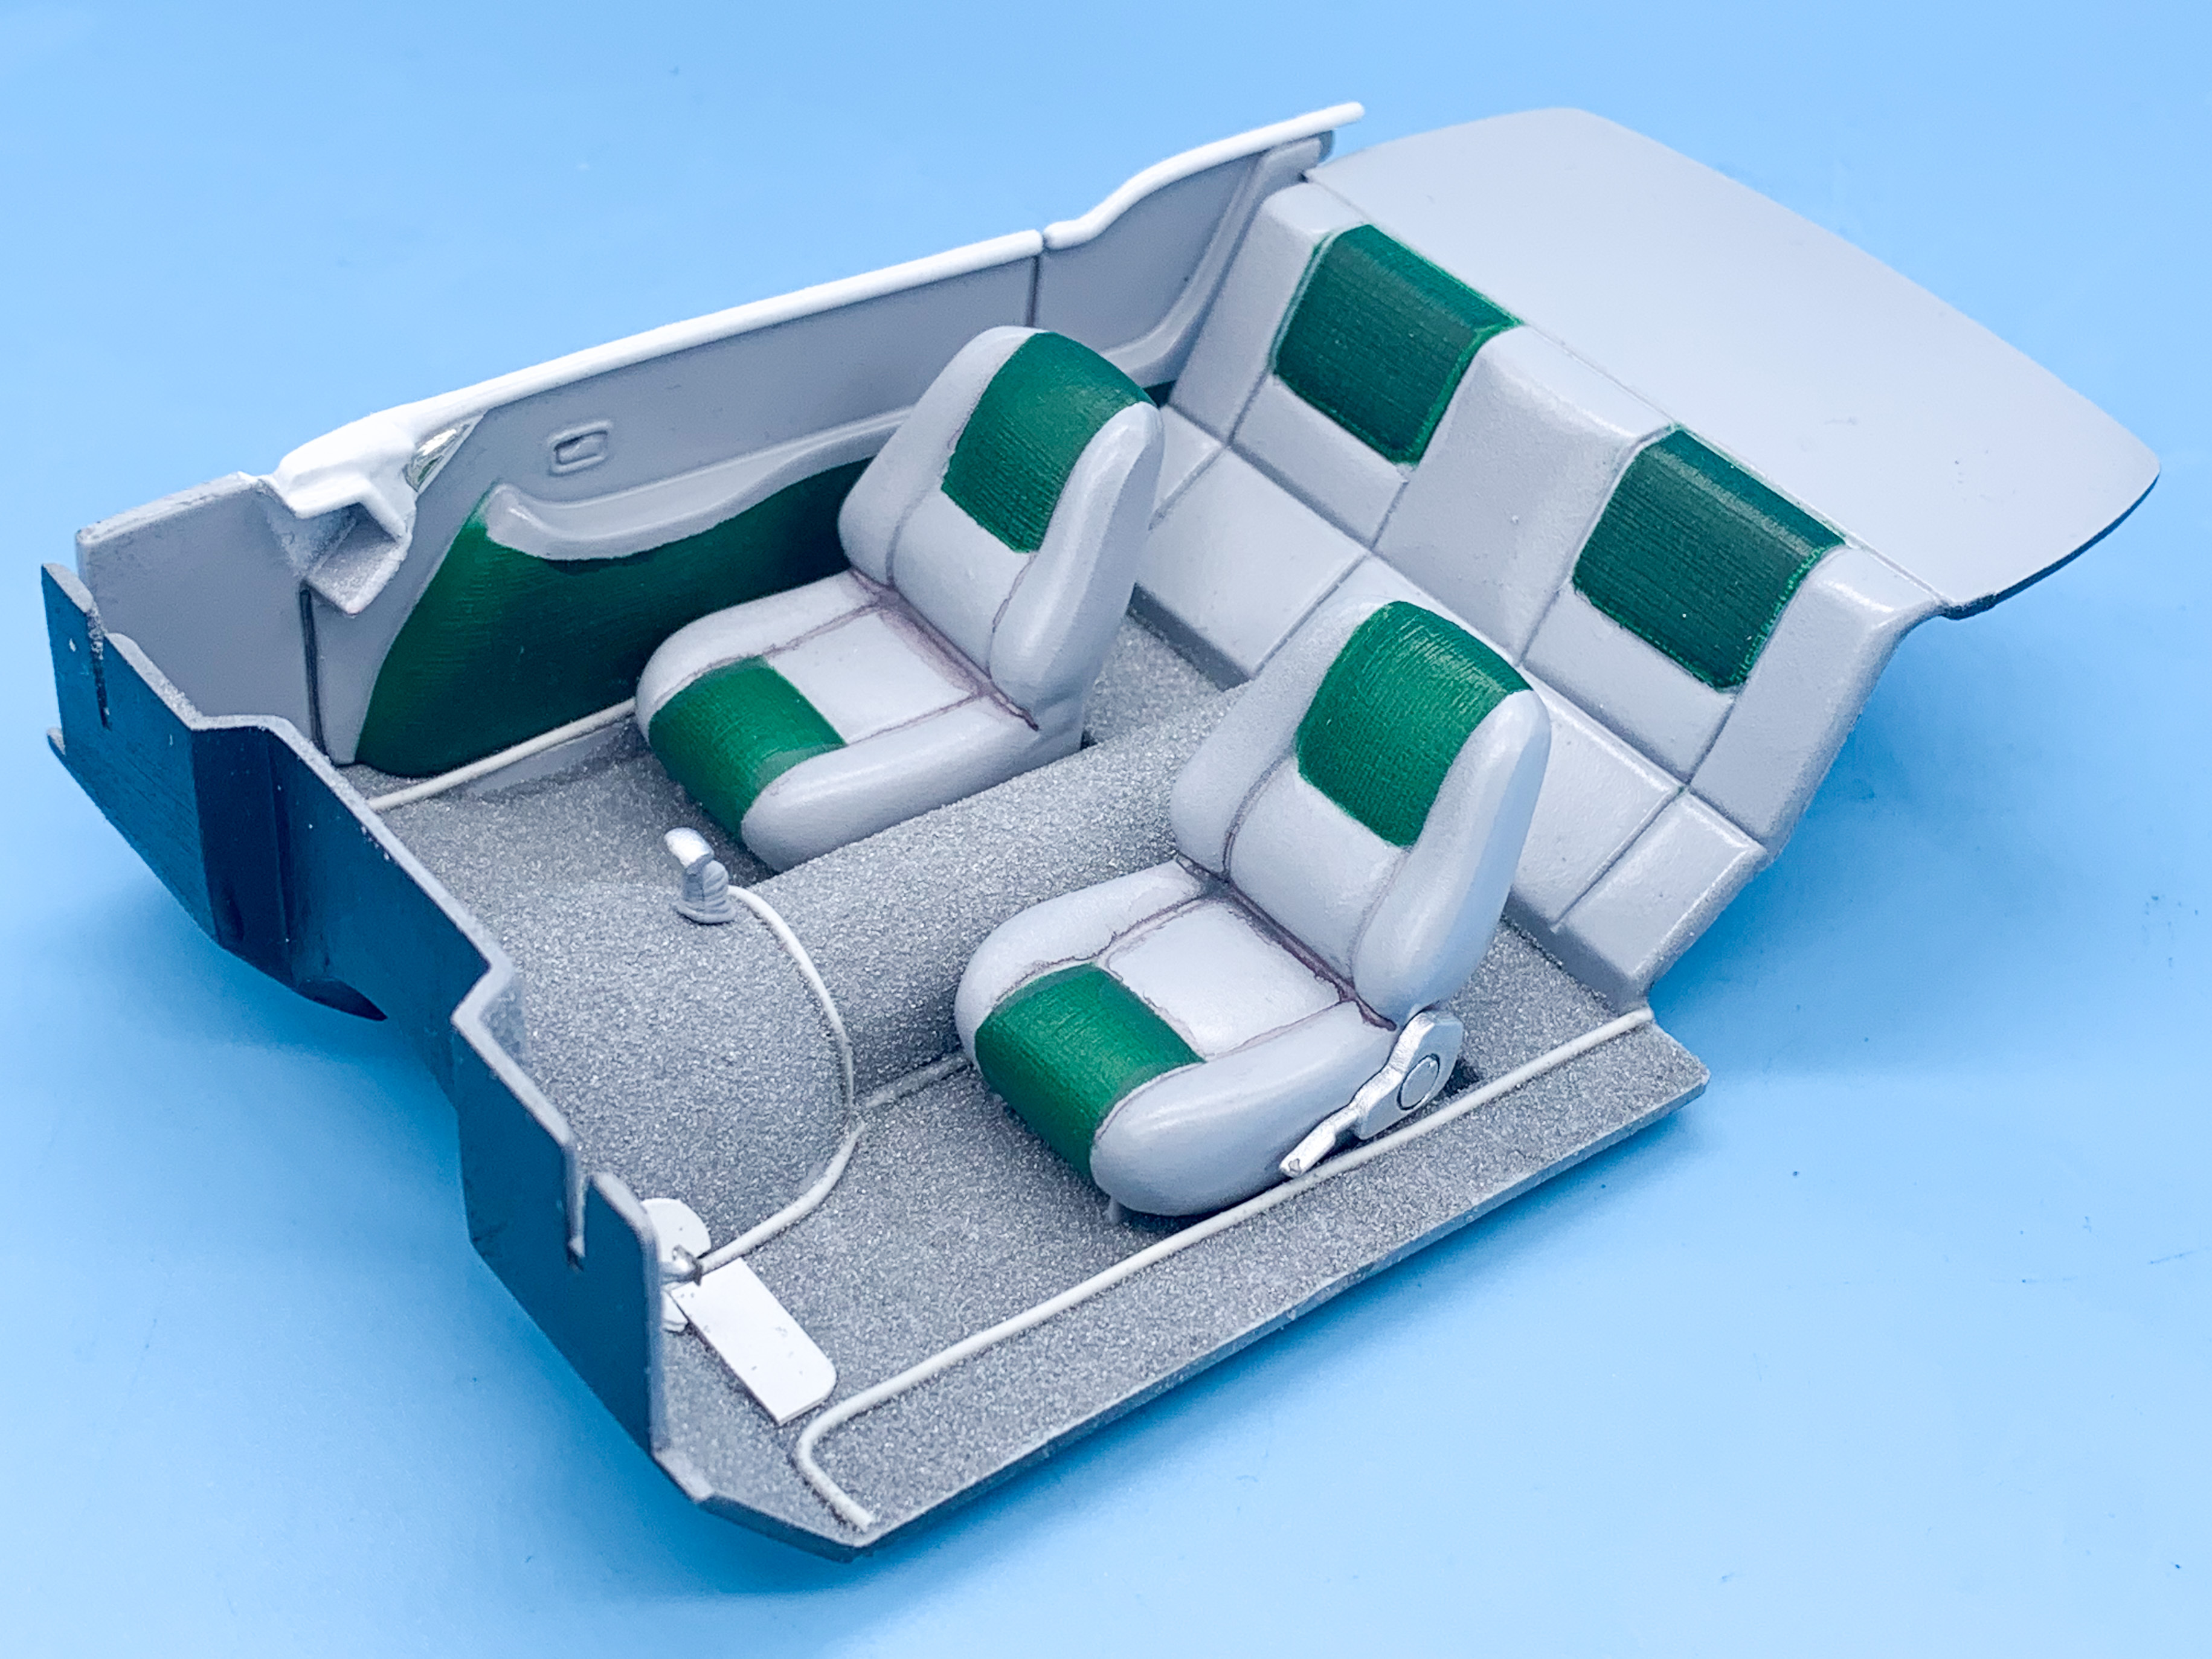
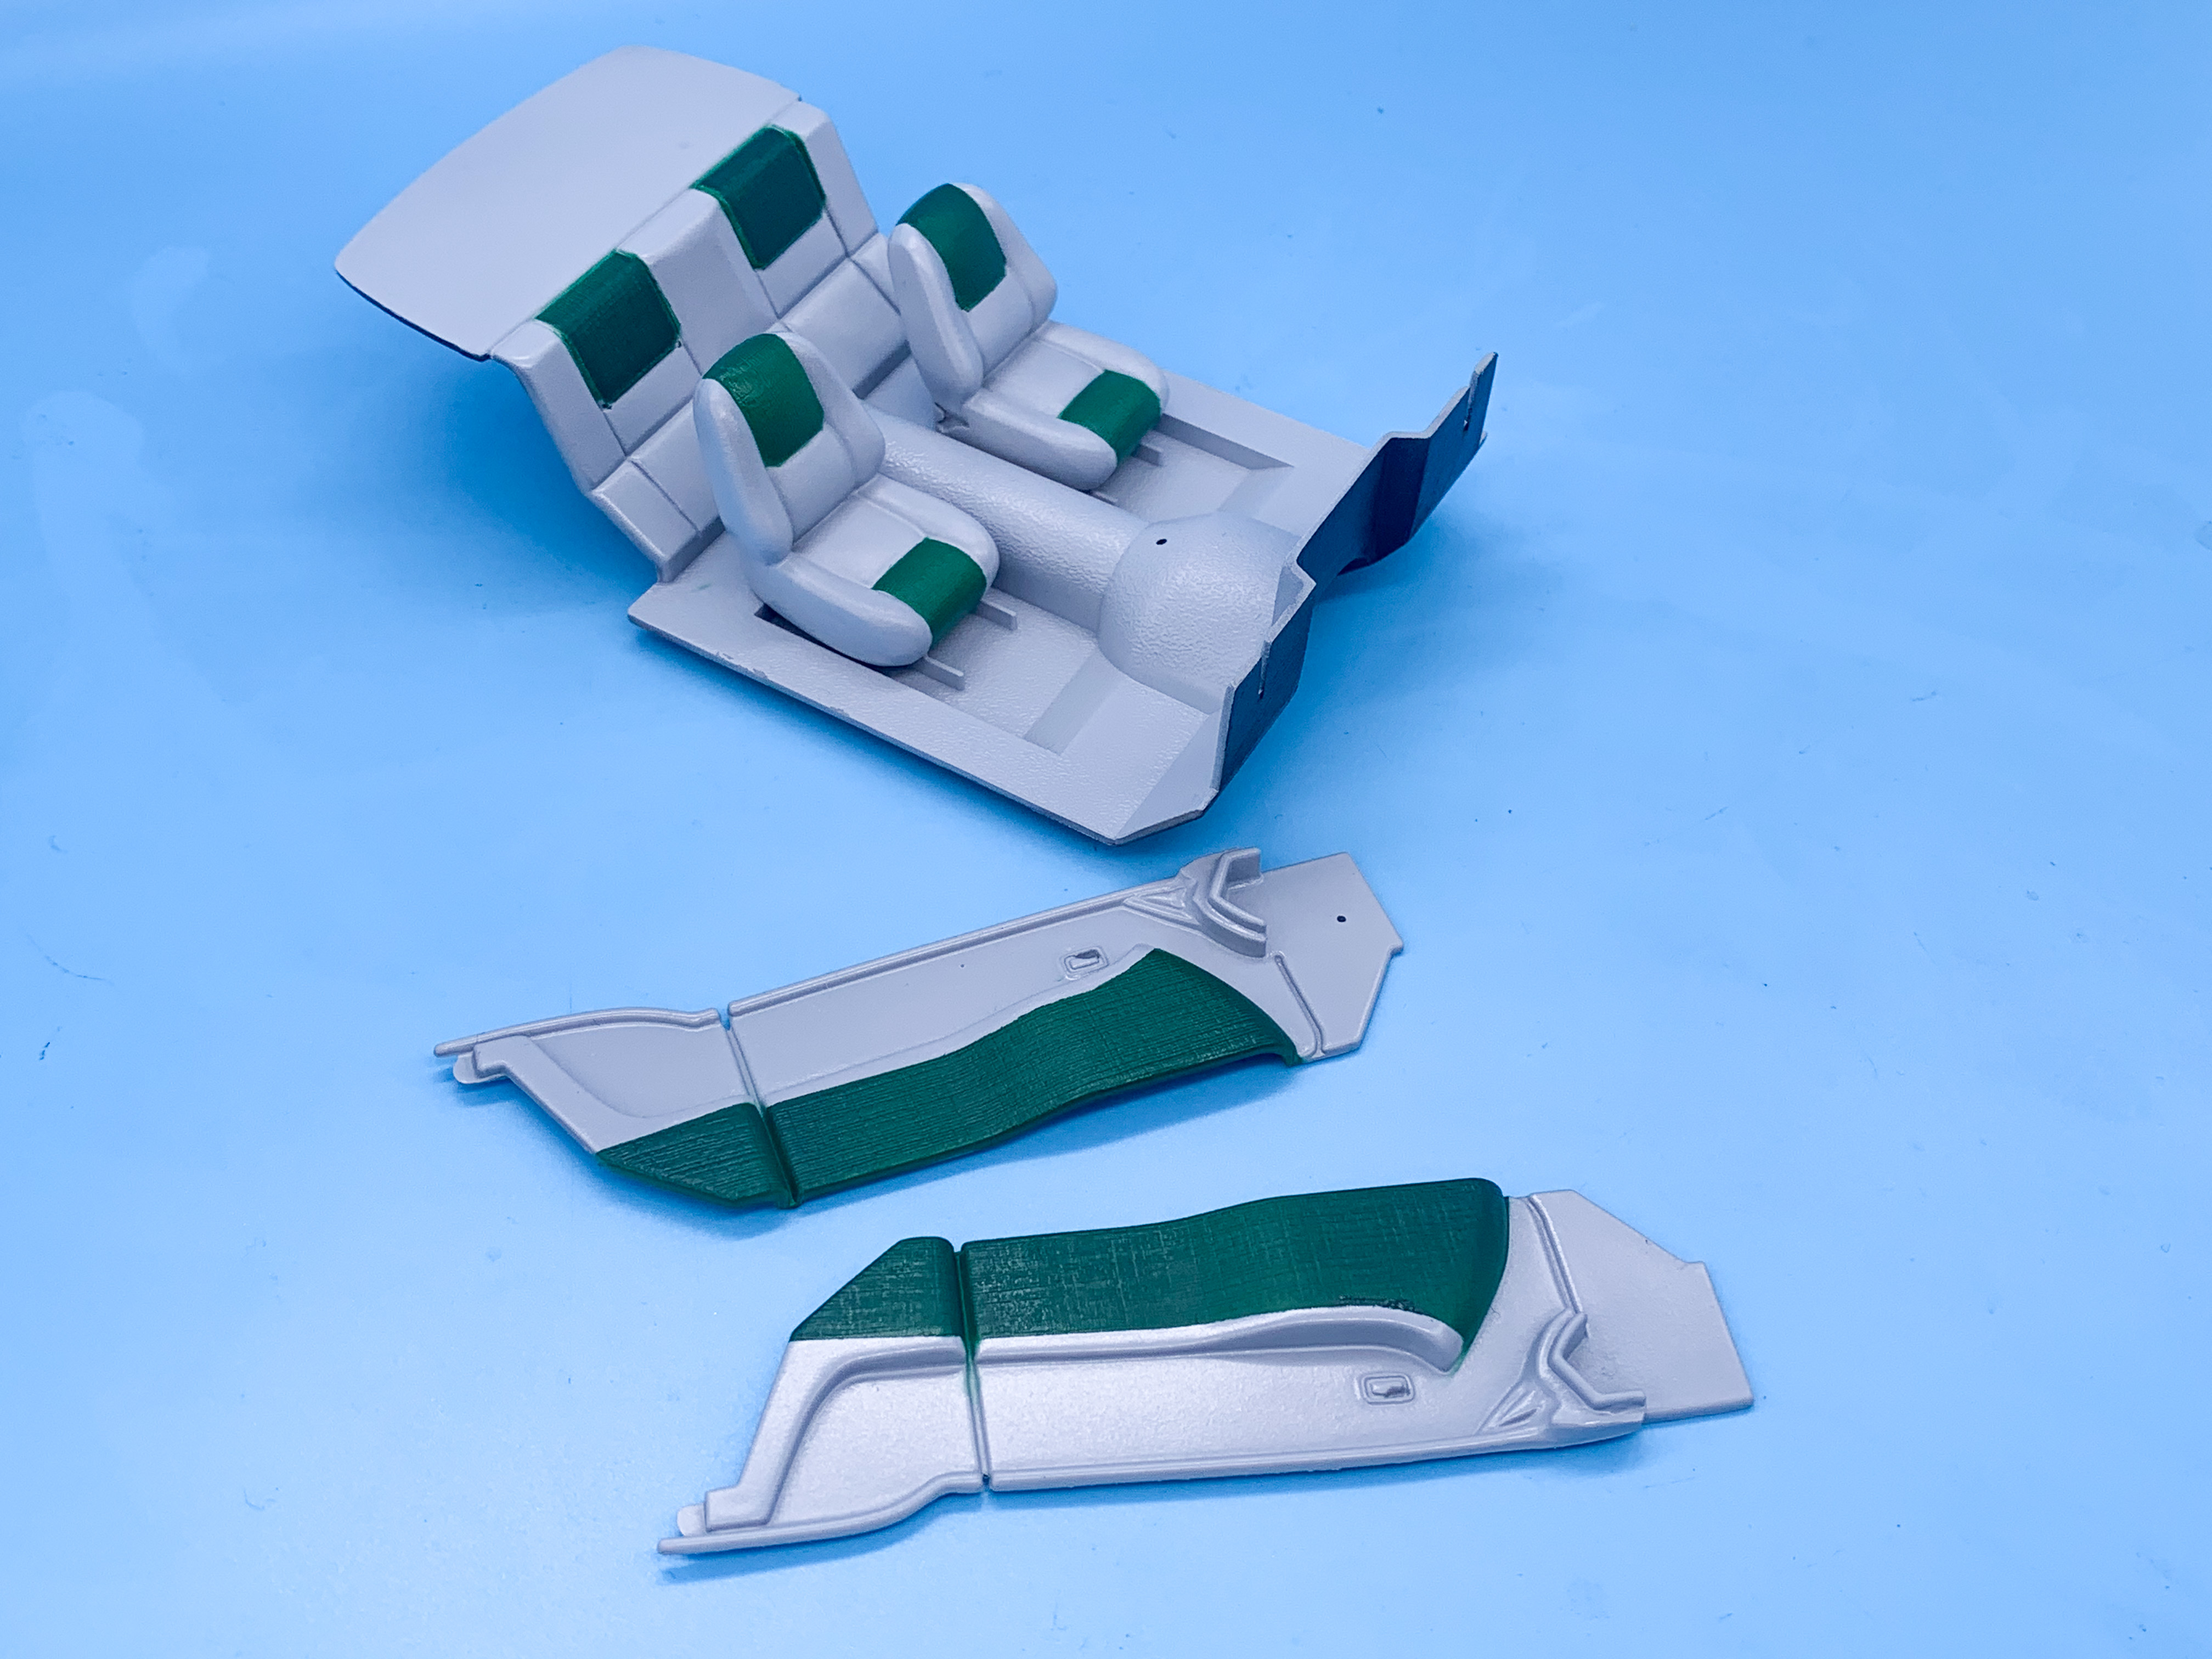
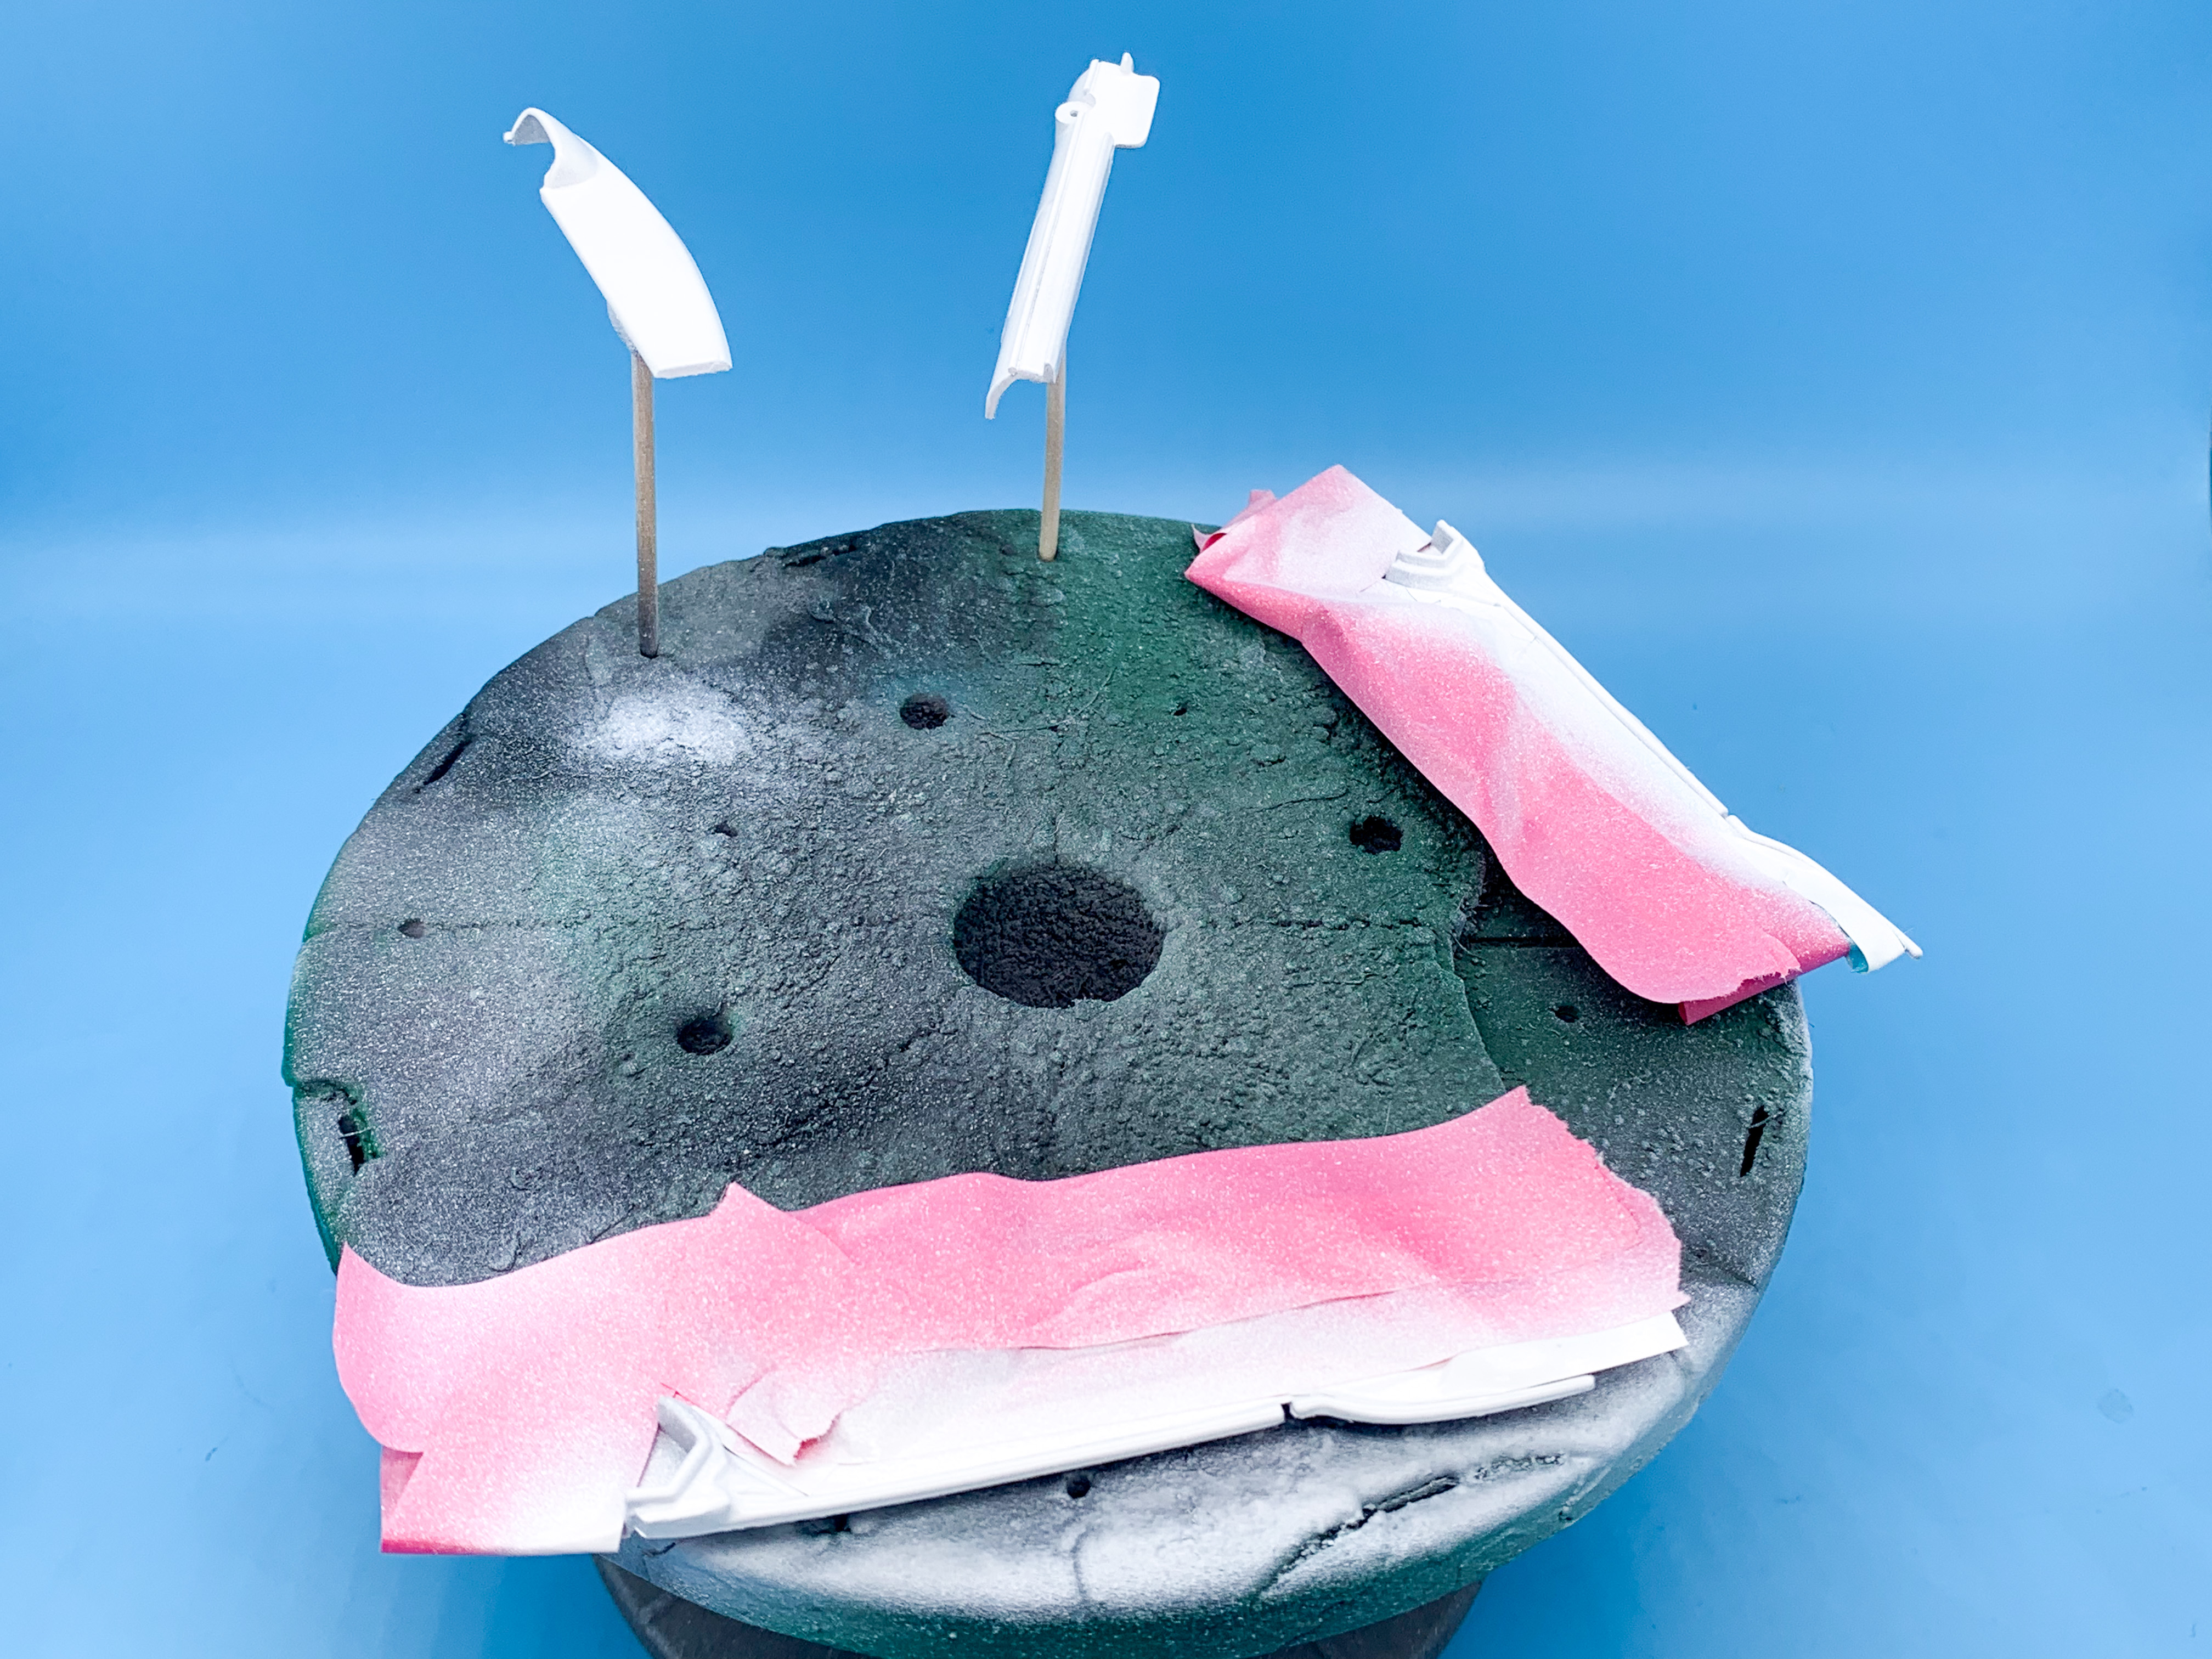
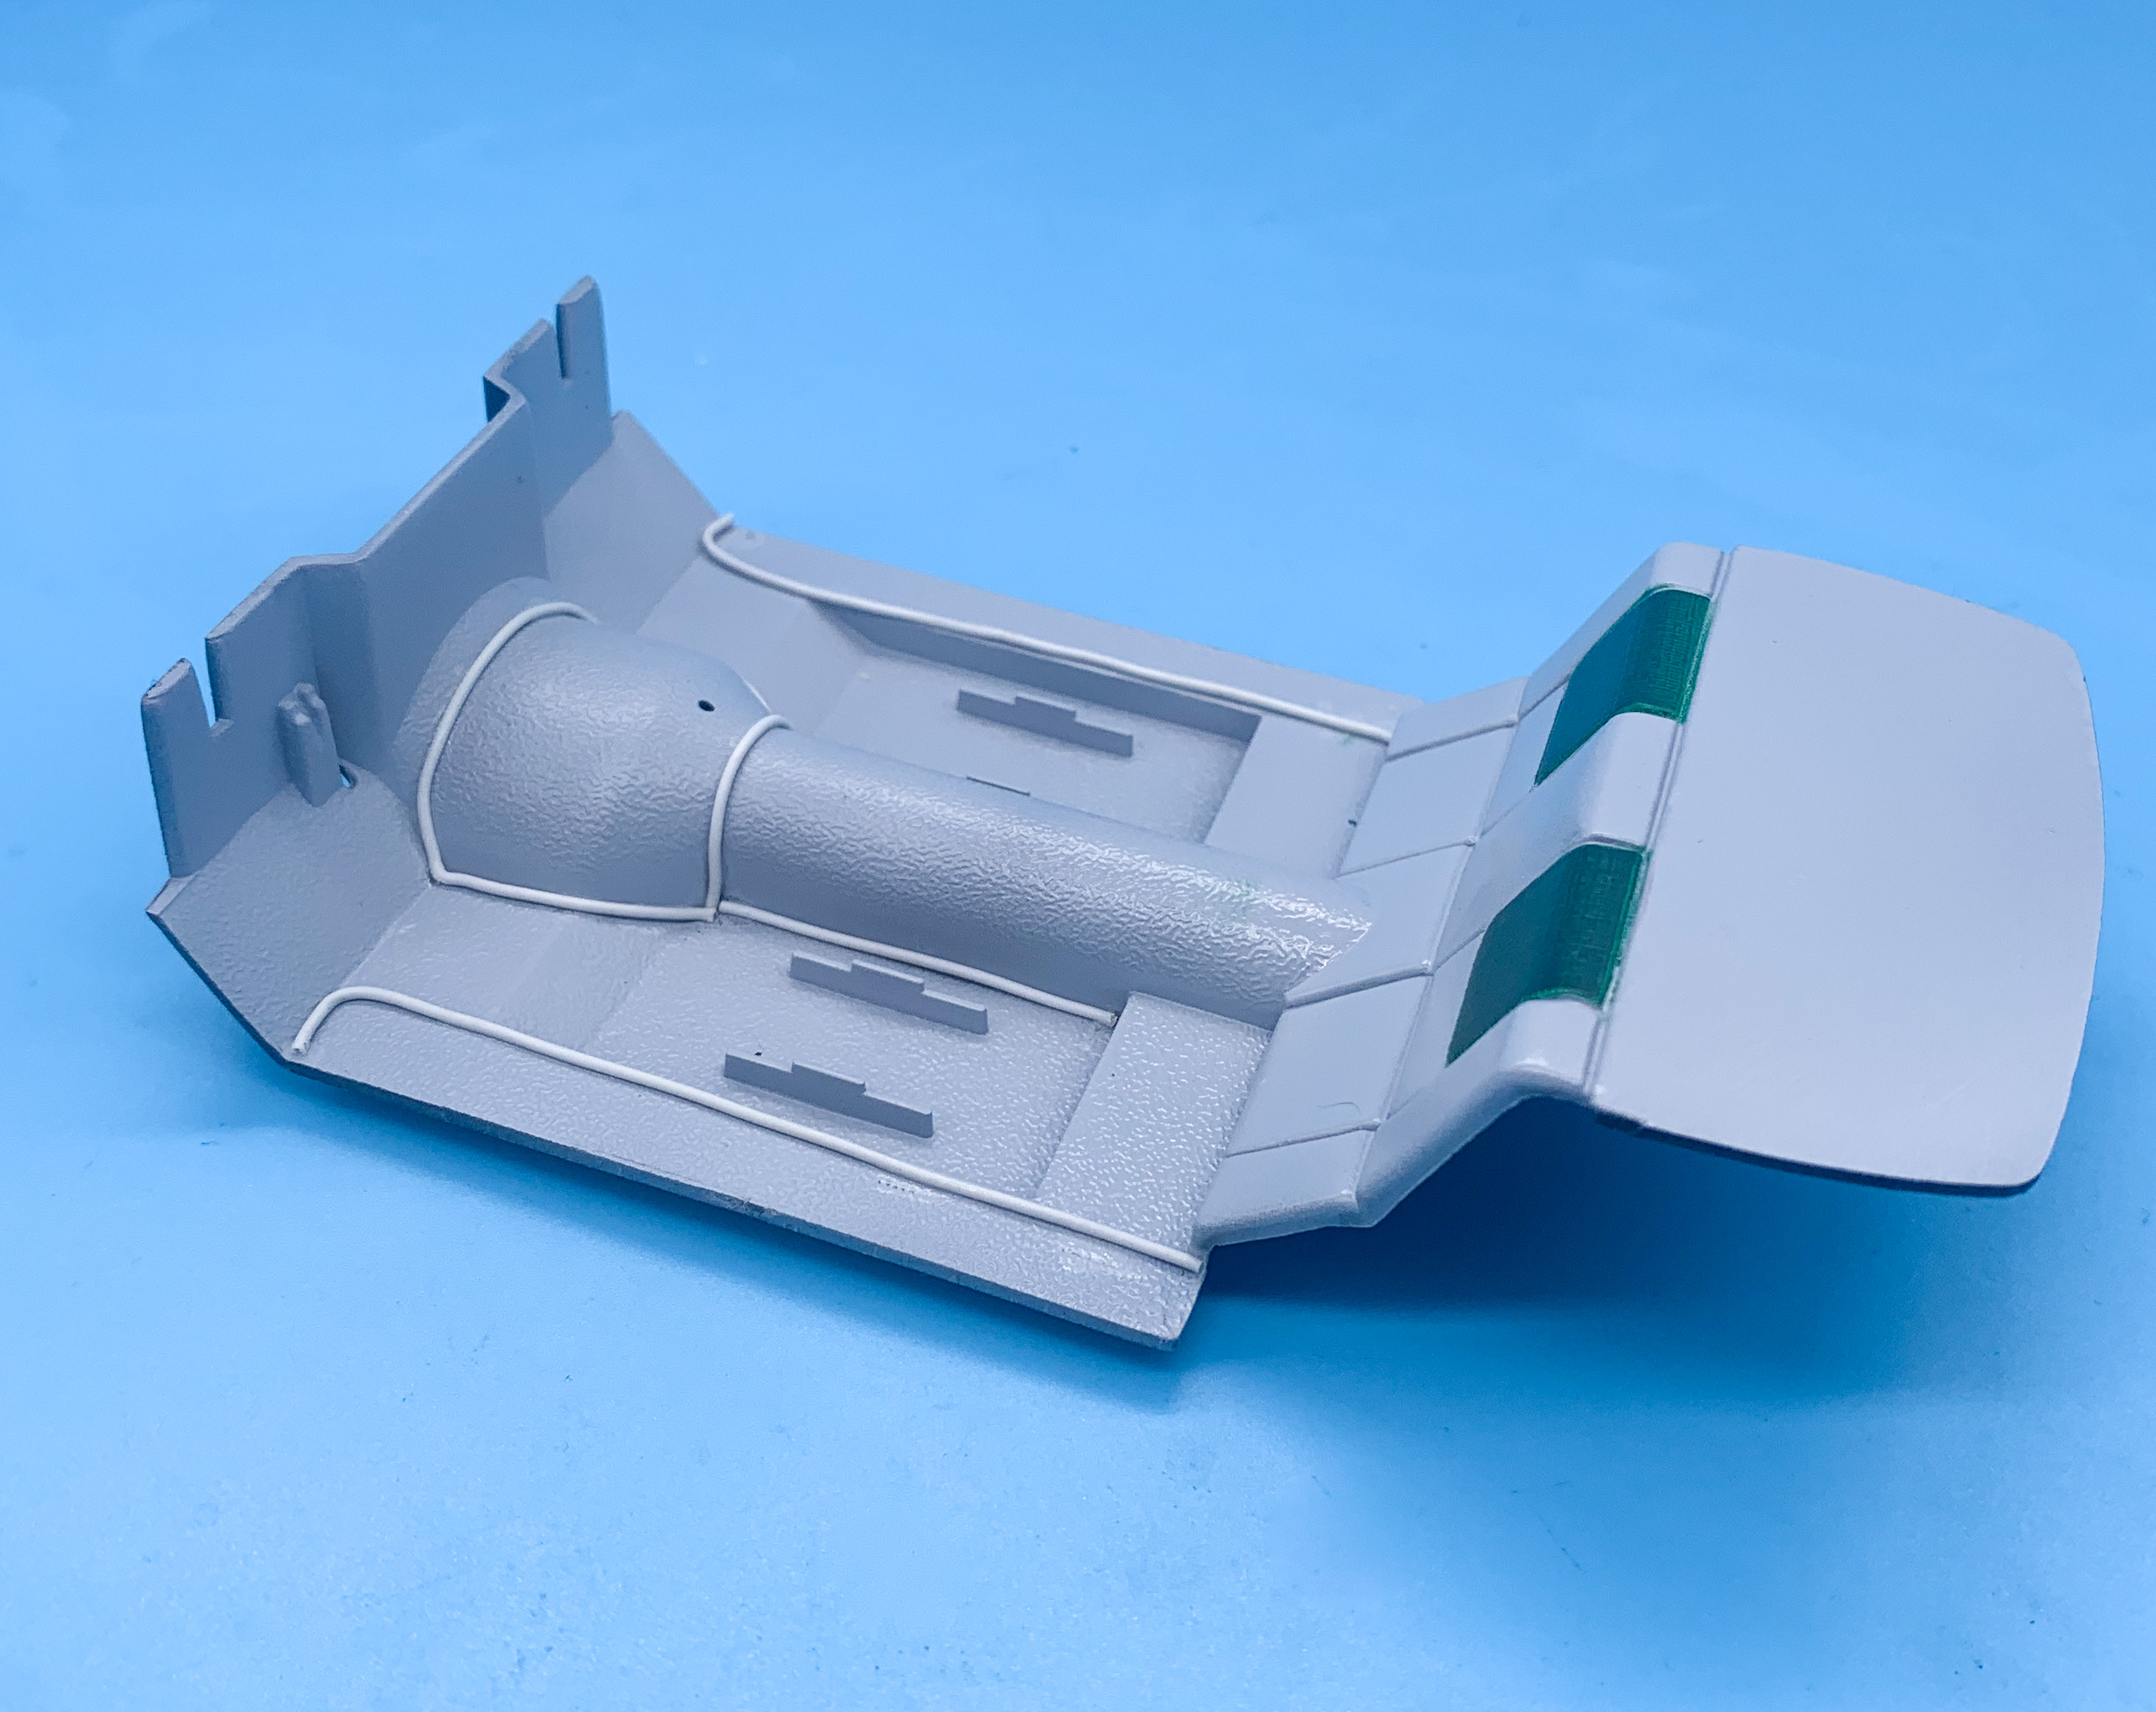
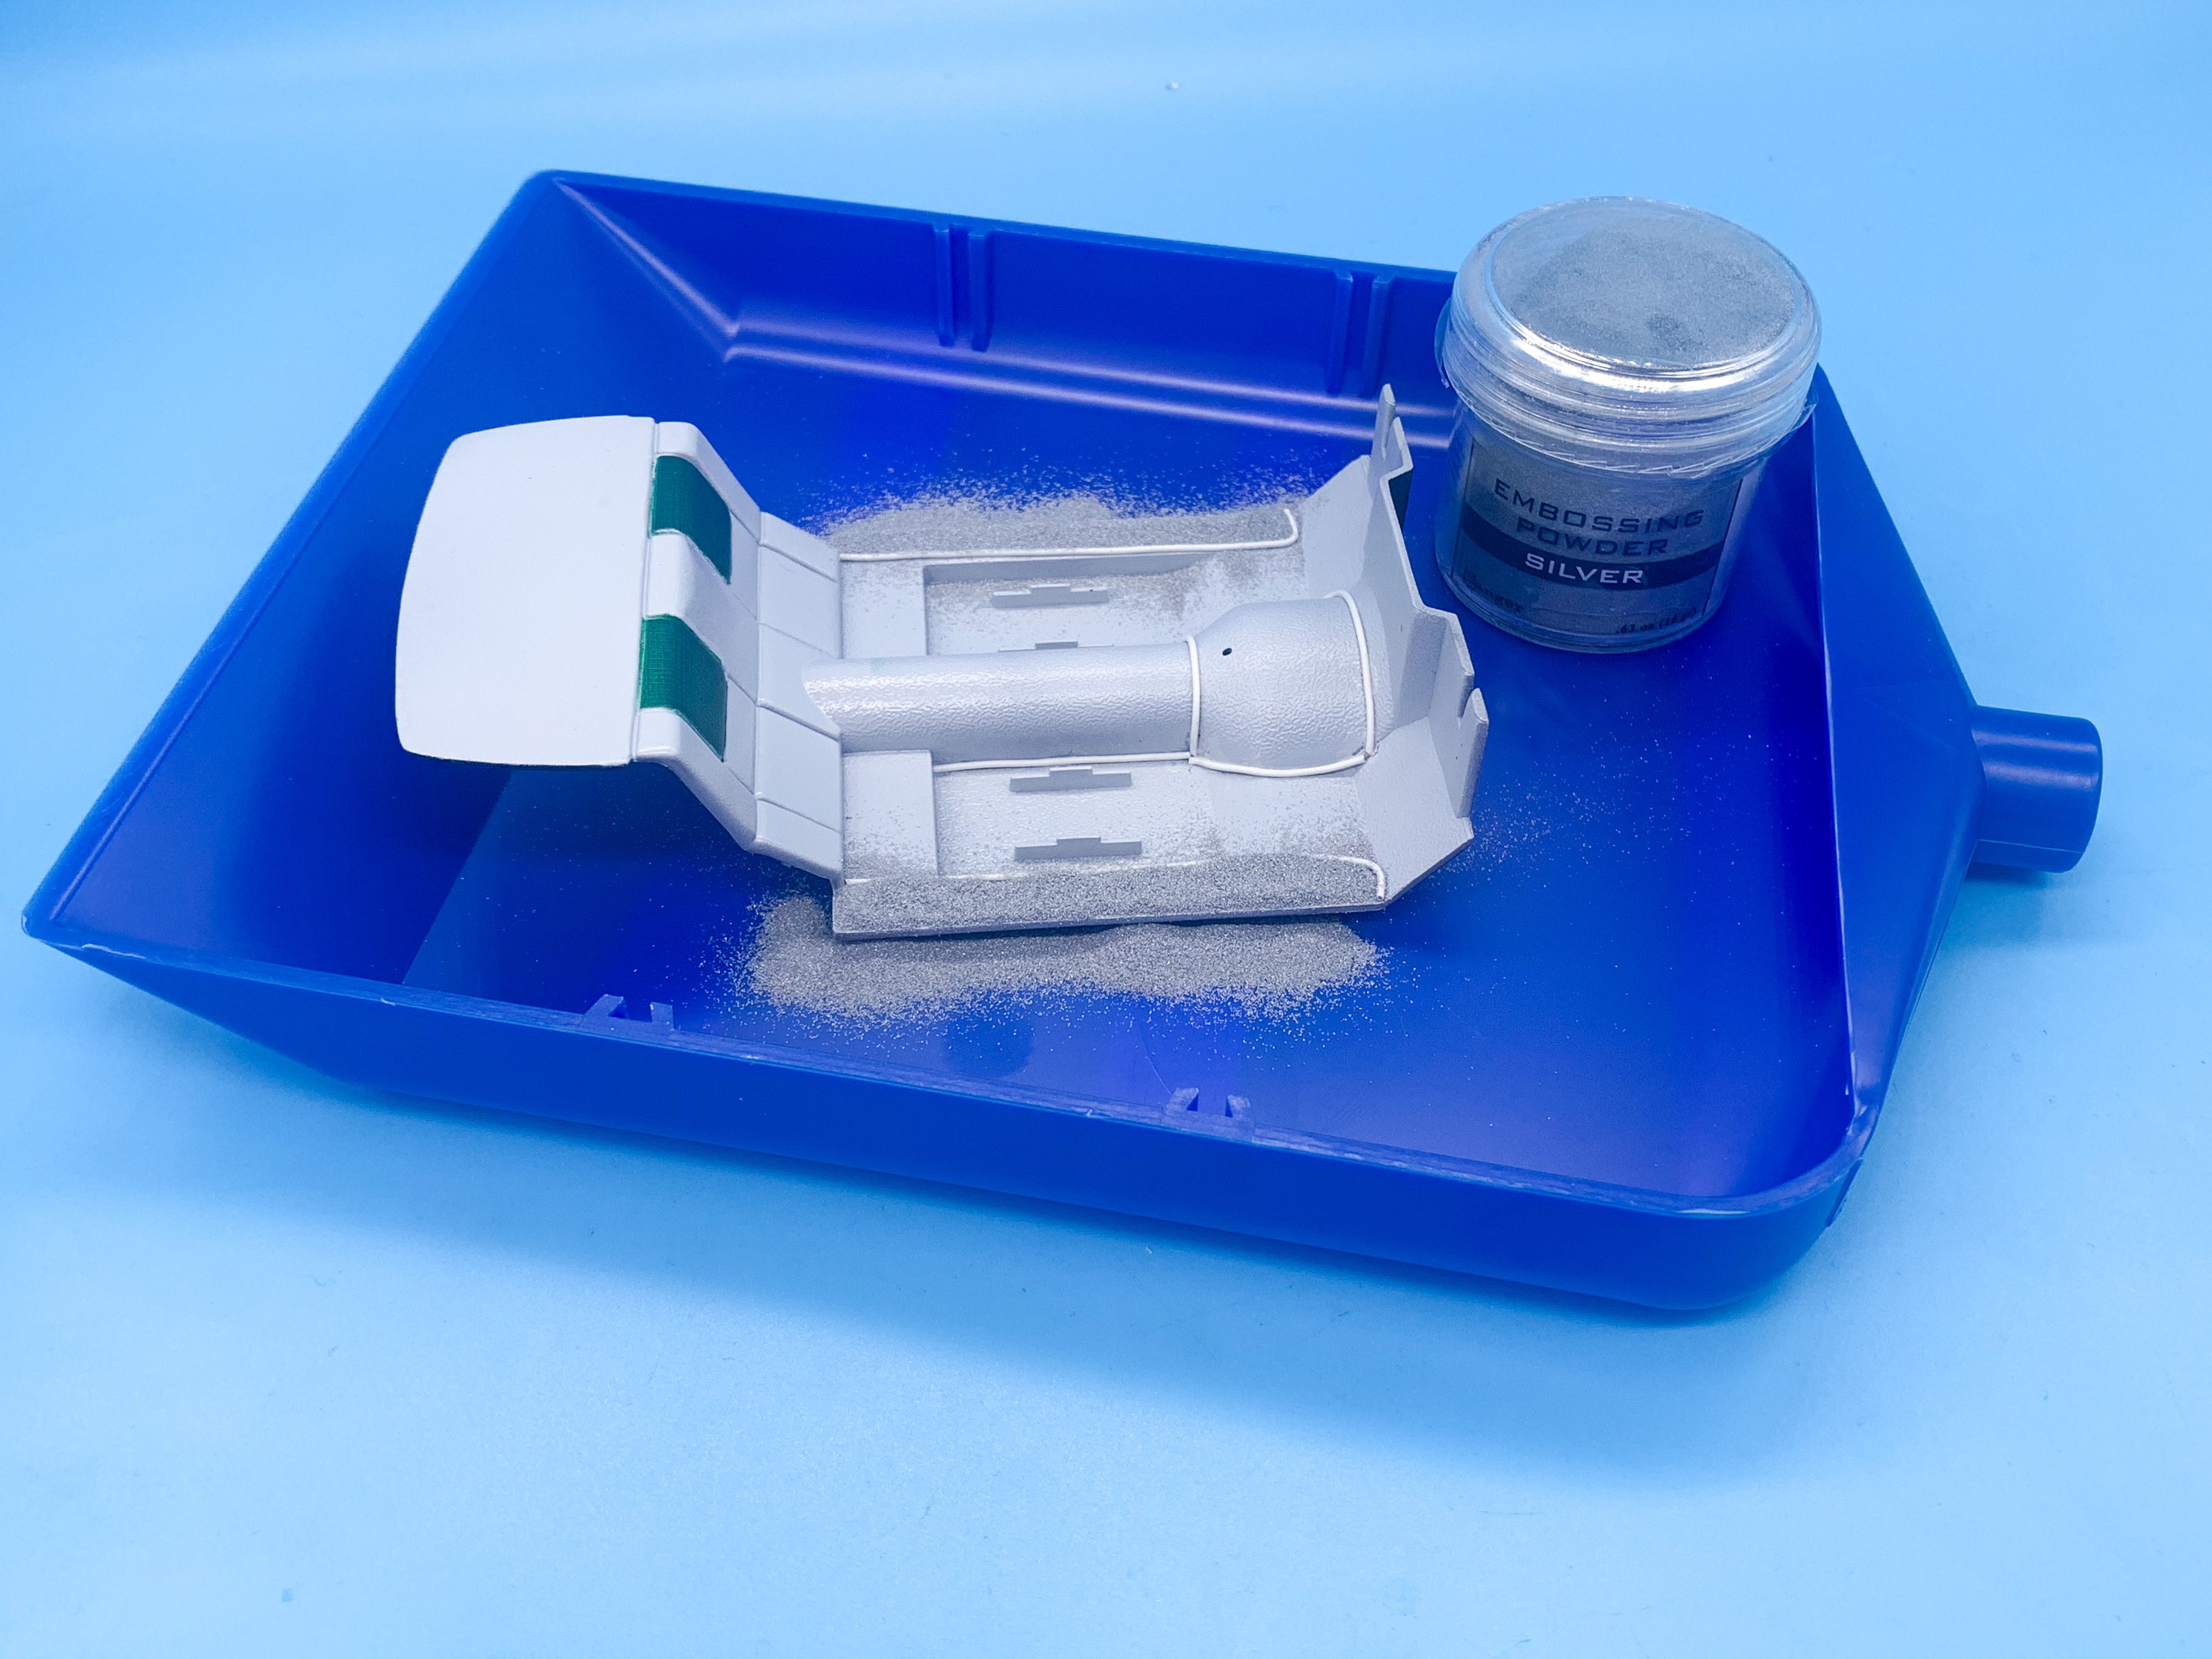
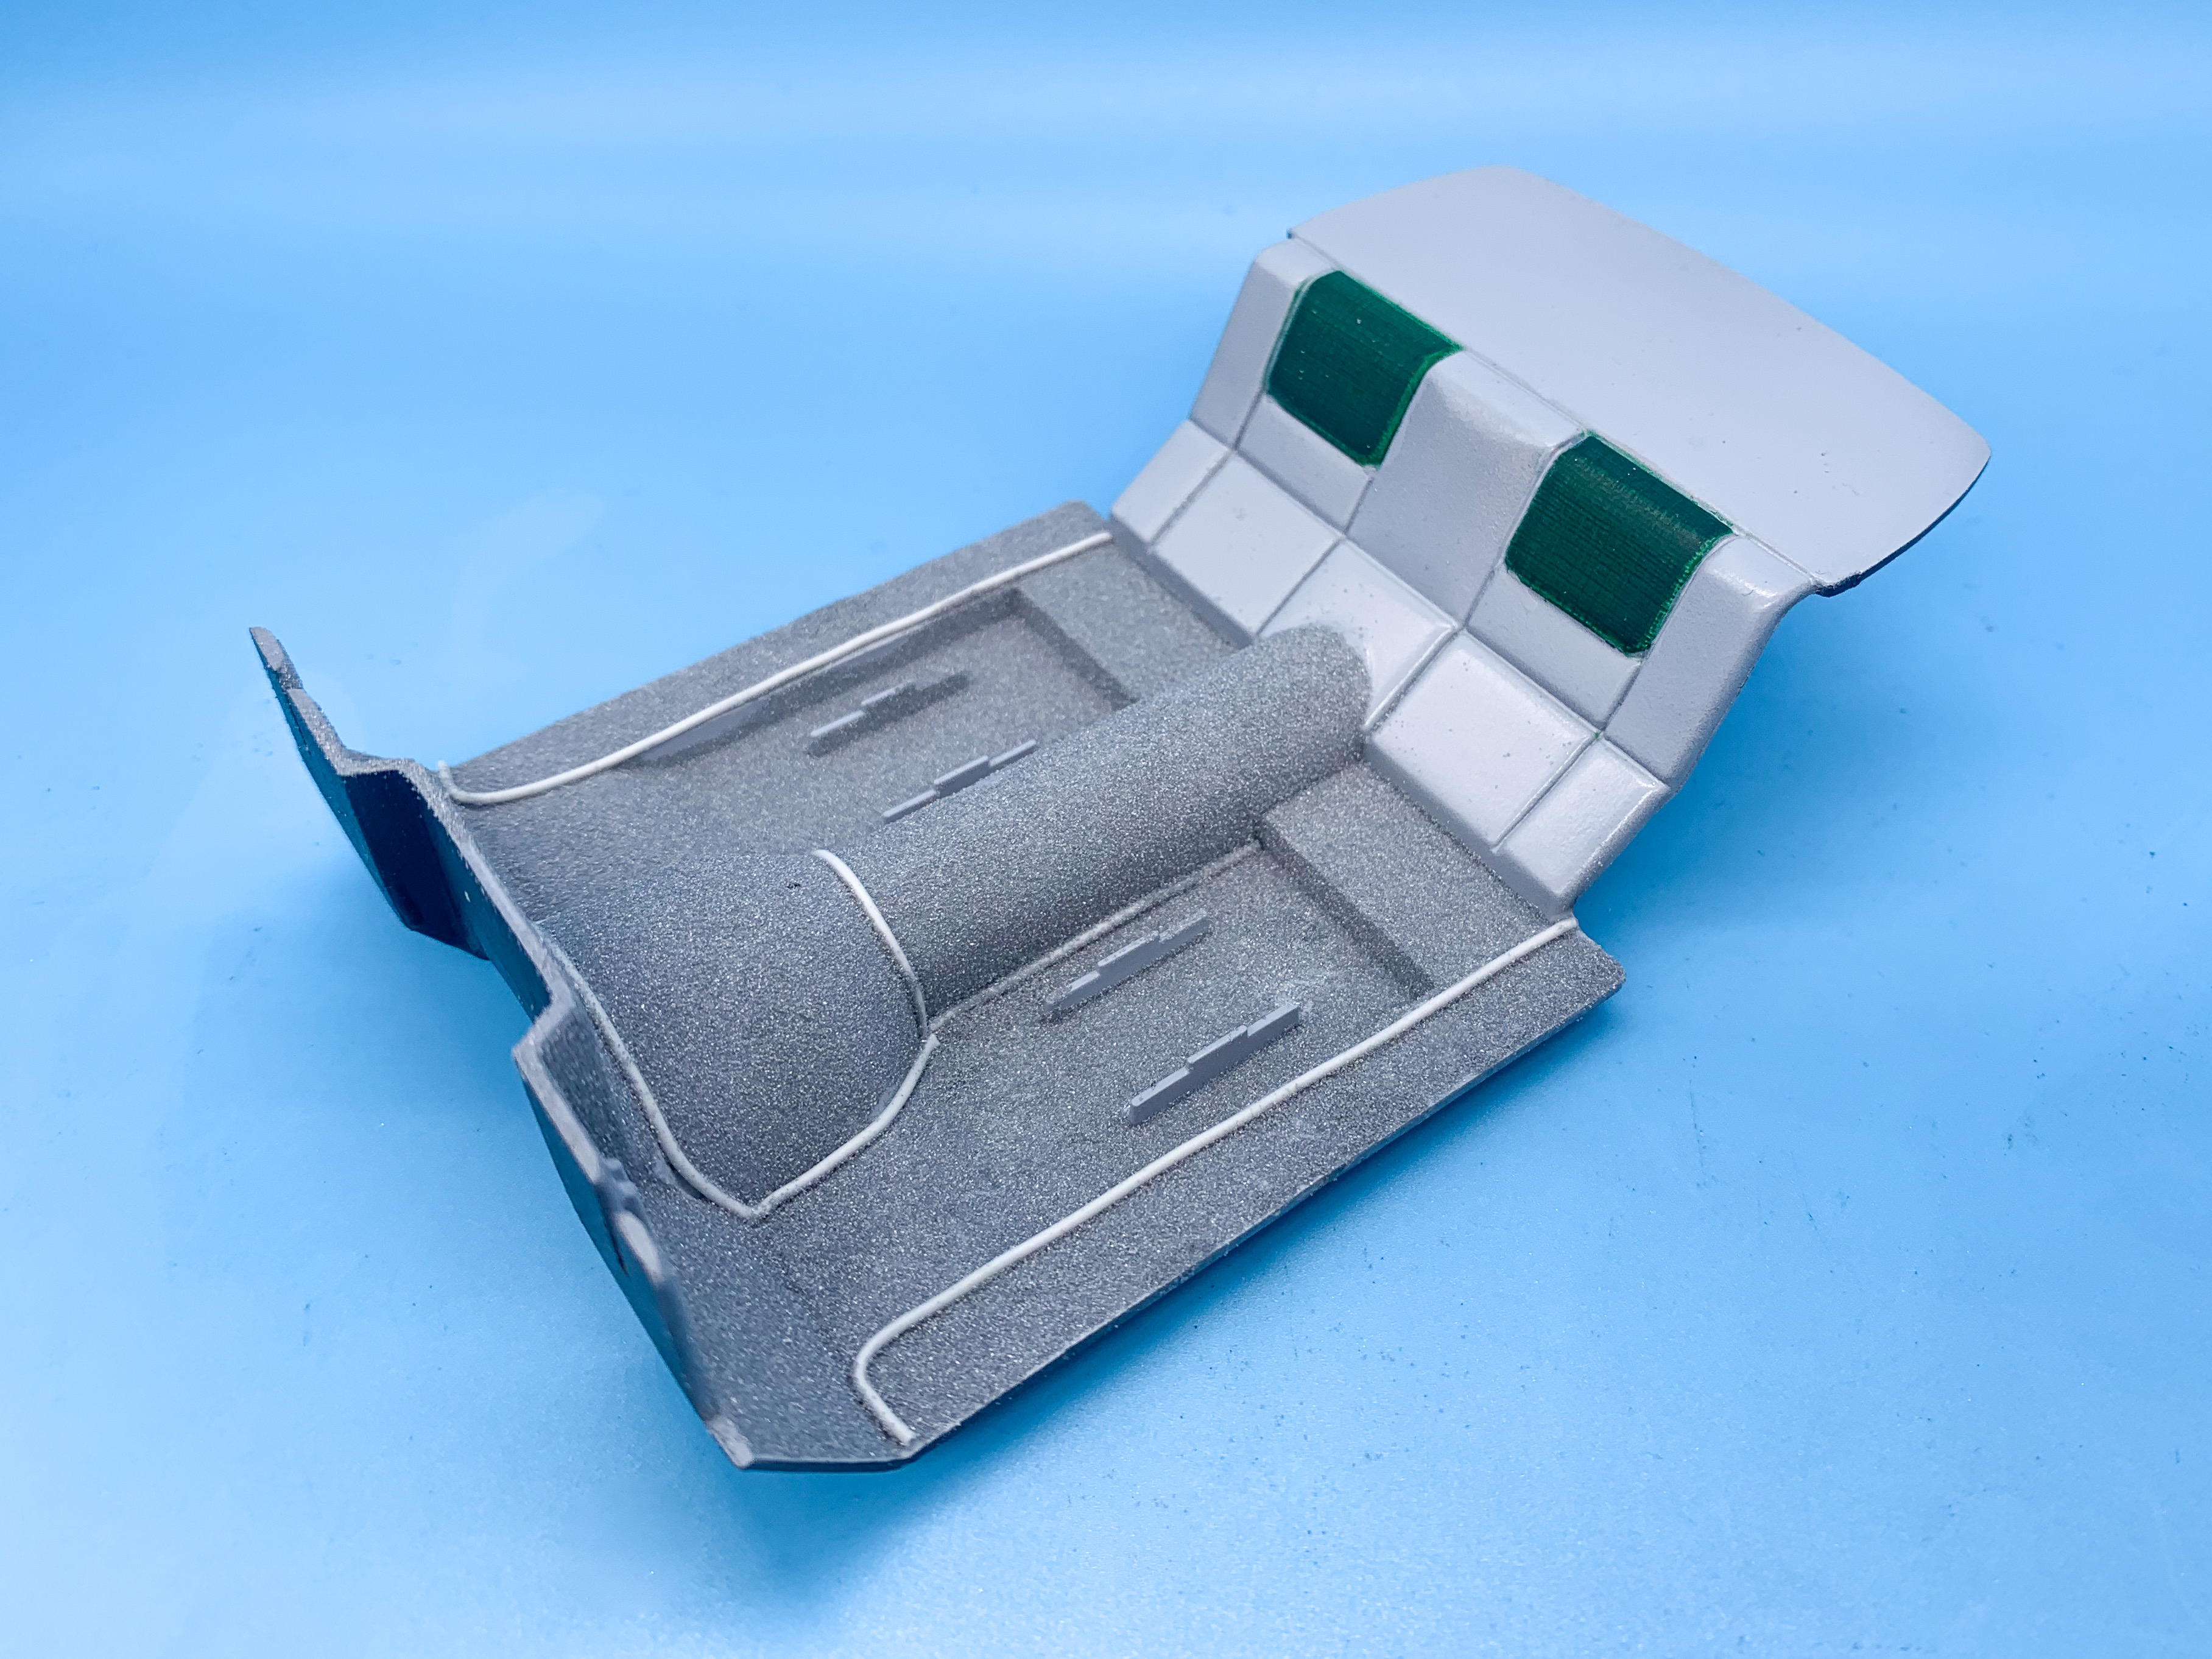
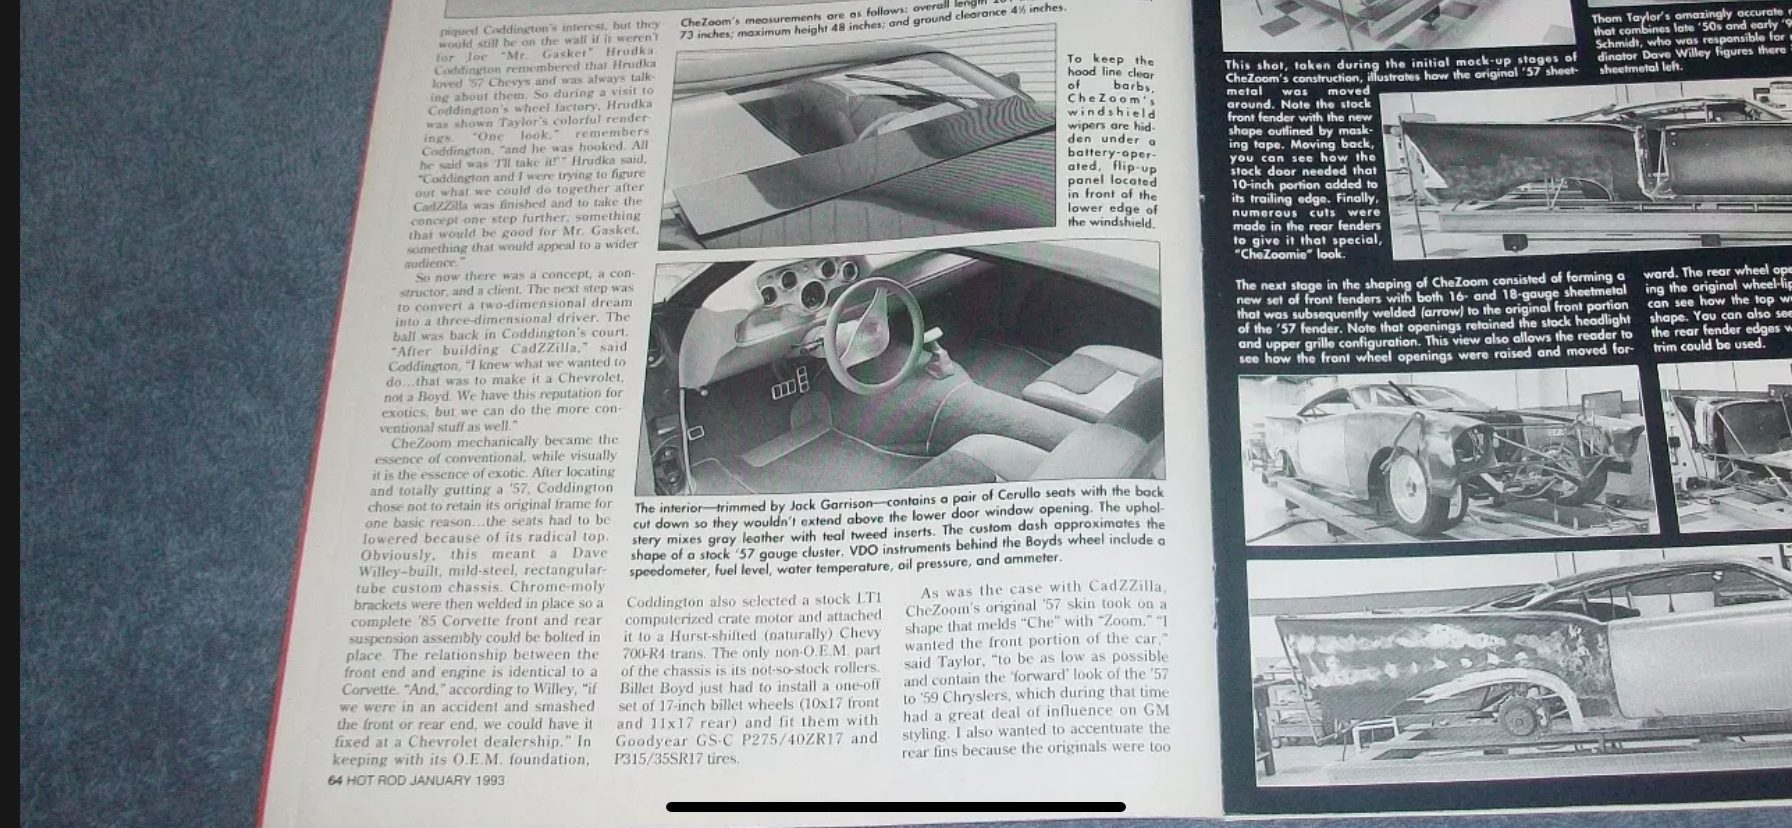
Thanks everyone! It would’ve been Boyd’s birthday today so I spent a couple of hours today working on some little bits… Masked the interior pieces ready for the green cloth inserts that the real car has: Studied the handful of interior photos I’ve got in my reference folder and mixed up some acrylic green to match: Then shot them with matte clear with a couple of drops of translucent black mixed in - tada! The tops of the doors and the dash are white as best I can tell, so I remasked and shot those this afternoon - I went for Createx pure white for these, because it’s a really nice high-pigment opaque white that covers really well: Once that was dry I shot the white with some Rustoleum clear lacquer to make them nice and shiny like the real parts…I’ll give those some more attention and detailing tomorrow… Whilst I’m messing with interior parts, one of my reference shots shows that the carpet has white piping, so I added that in the places where you’ll be able to see it: Then started working through and adding ‘carpet’ itself: Got lucky and found an embossing powder that was a good match for the reference pics I found…it’s technically silver, but its not particularly metallic-looking and it’s close enough for the girls I go with ? A few hours later: Couple of little touch-ups needed but nothing major… Here’s my best reference pic of the interior, for comparison: Still need to make those little pieces under the pedals… Whilst the glue’s drying on the carpet, started some work on the engine…got those distinctive Chezoom logo decals in place: These decals were REALLY fragile - I could see them breaking apart as I applied them, but I got them on there safely…and with that done, started adding some little bits of detail to the engine - added some PE bolts to the valve covers, PE bolts to the pulleys and a little detail to the alternator too whilst I was at it: Plenty still to do - more soon!
-
Got a tracking number today for my Tom McEwan funny car today - so I guess they’ve shipped this week… A guy on eBay had them for $23 DELIVERED, which seemed like a good deal.
-
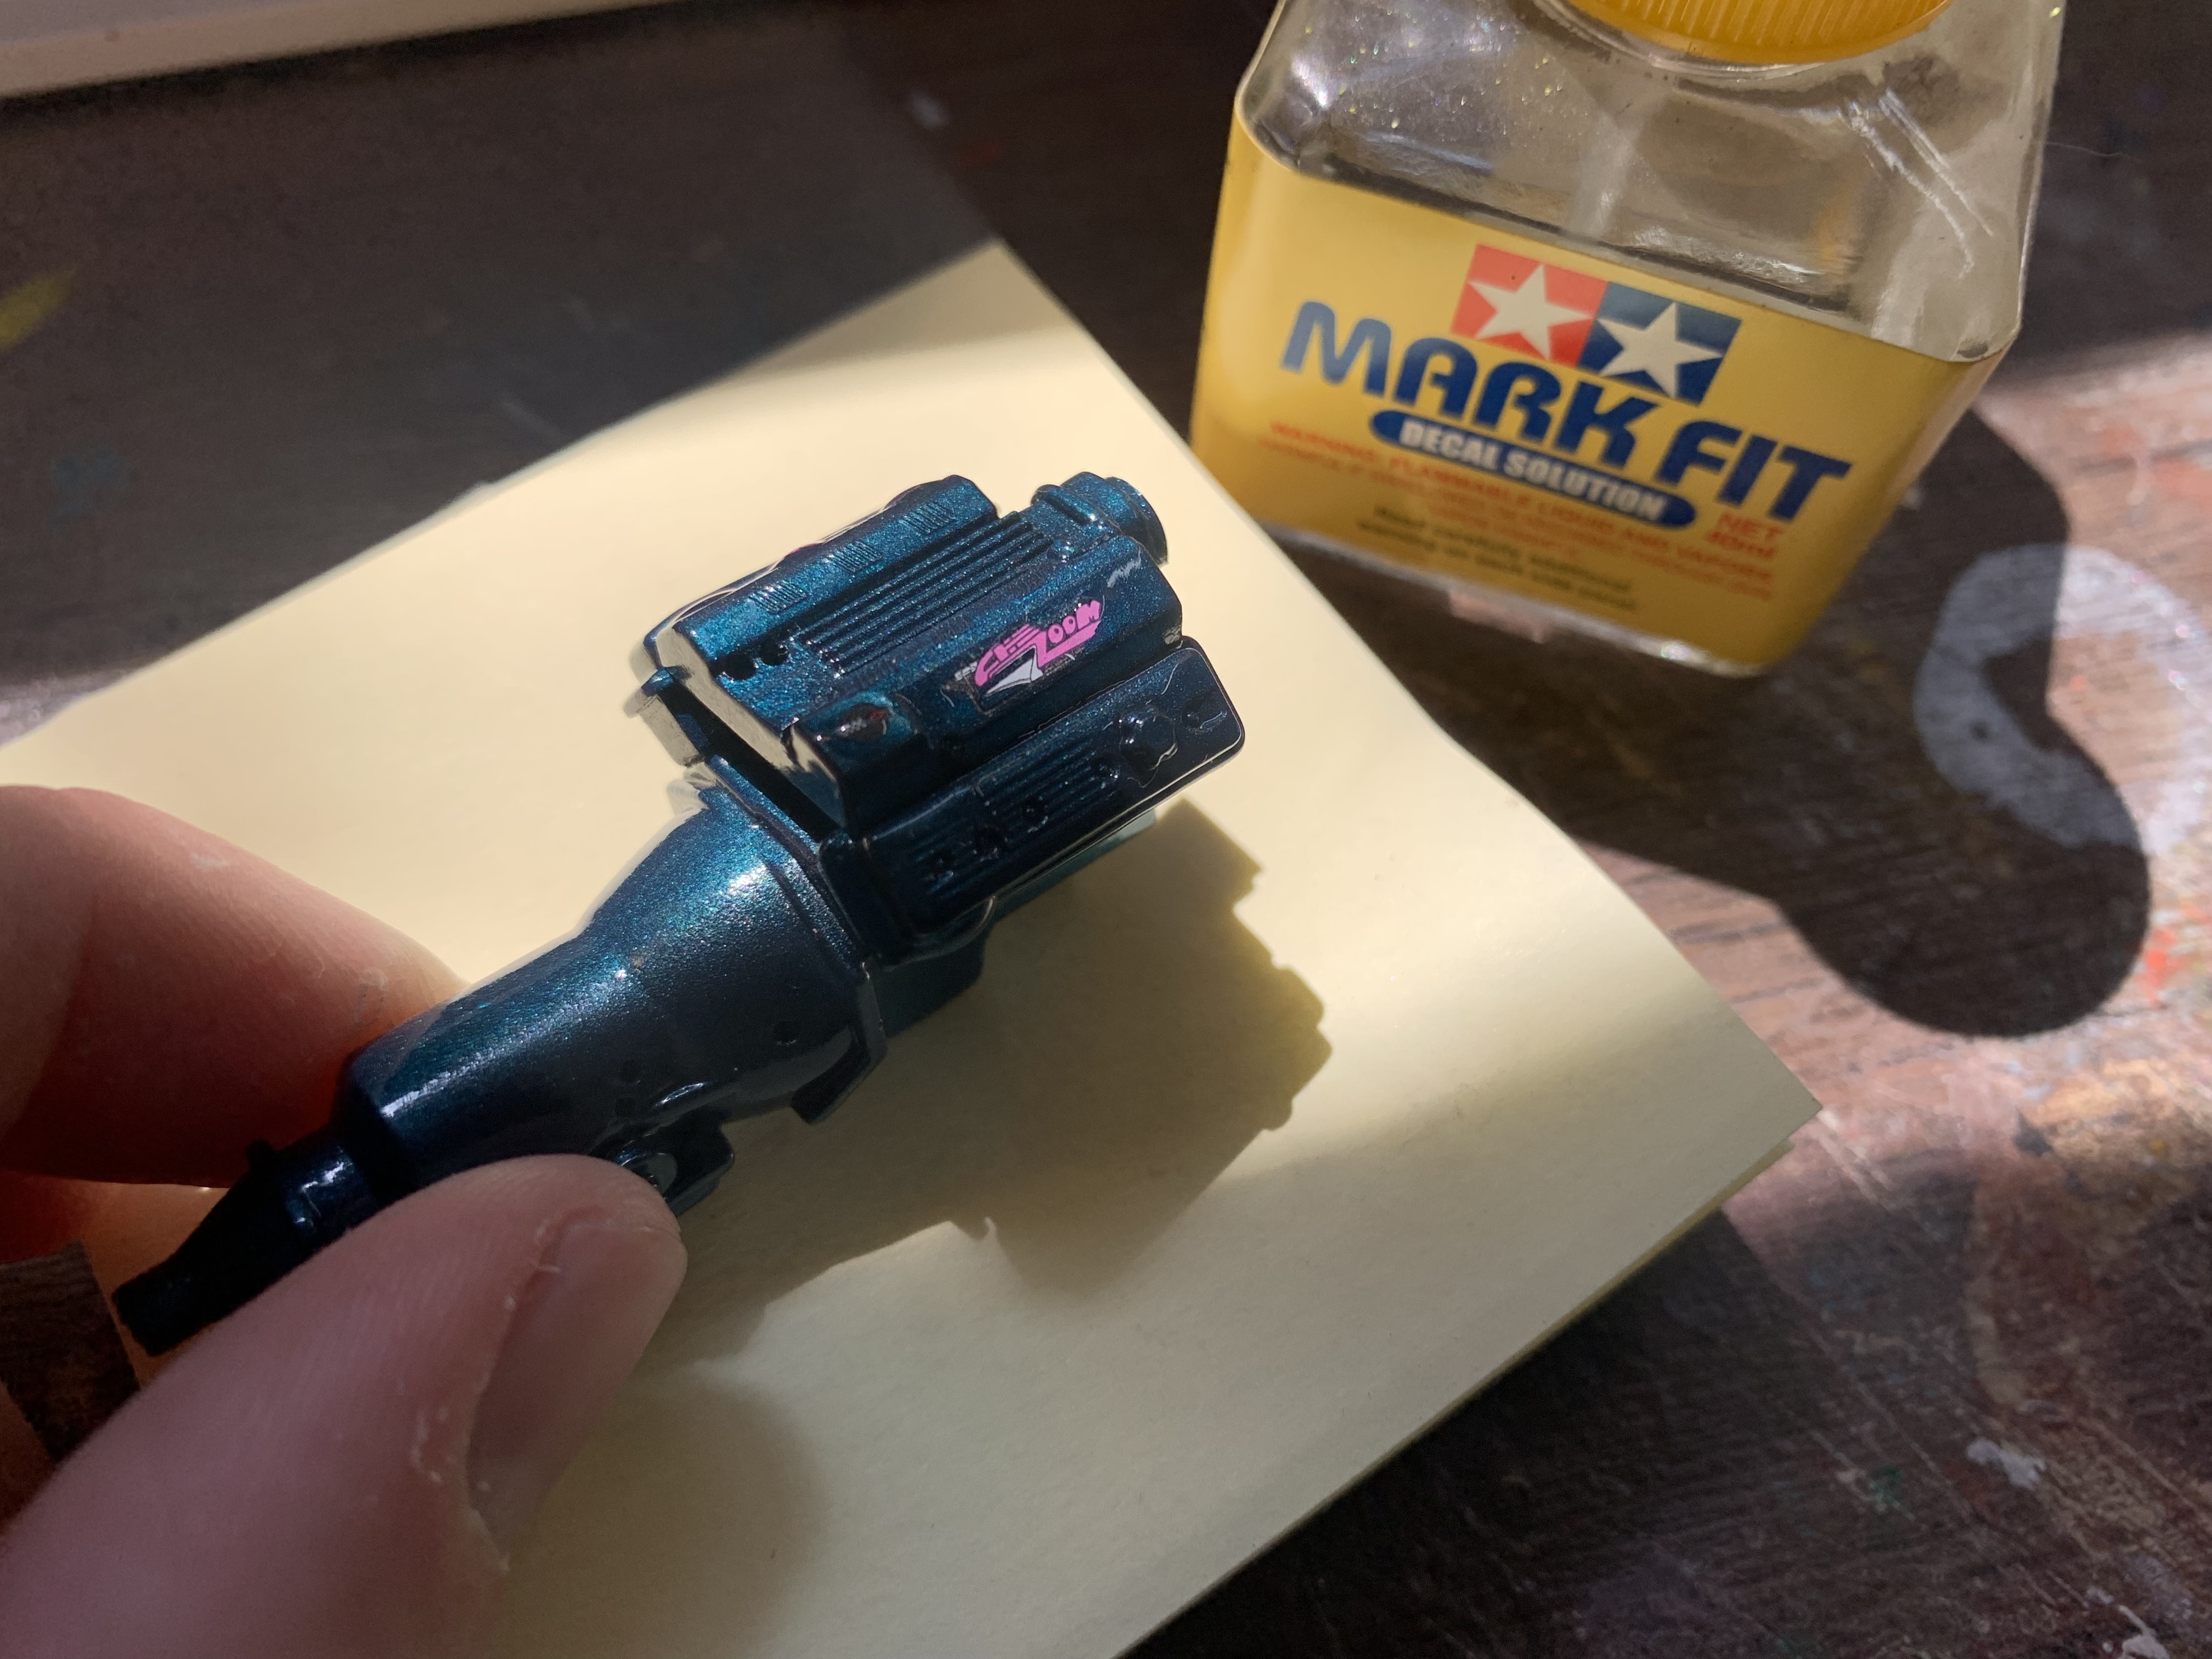
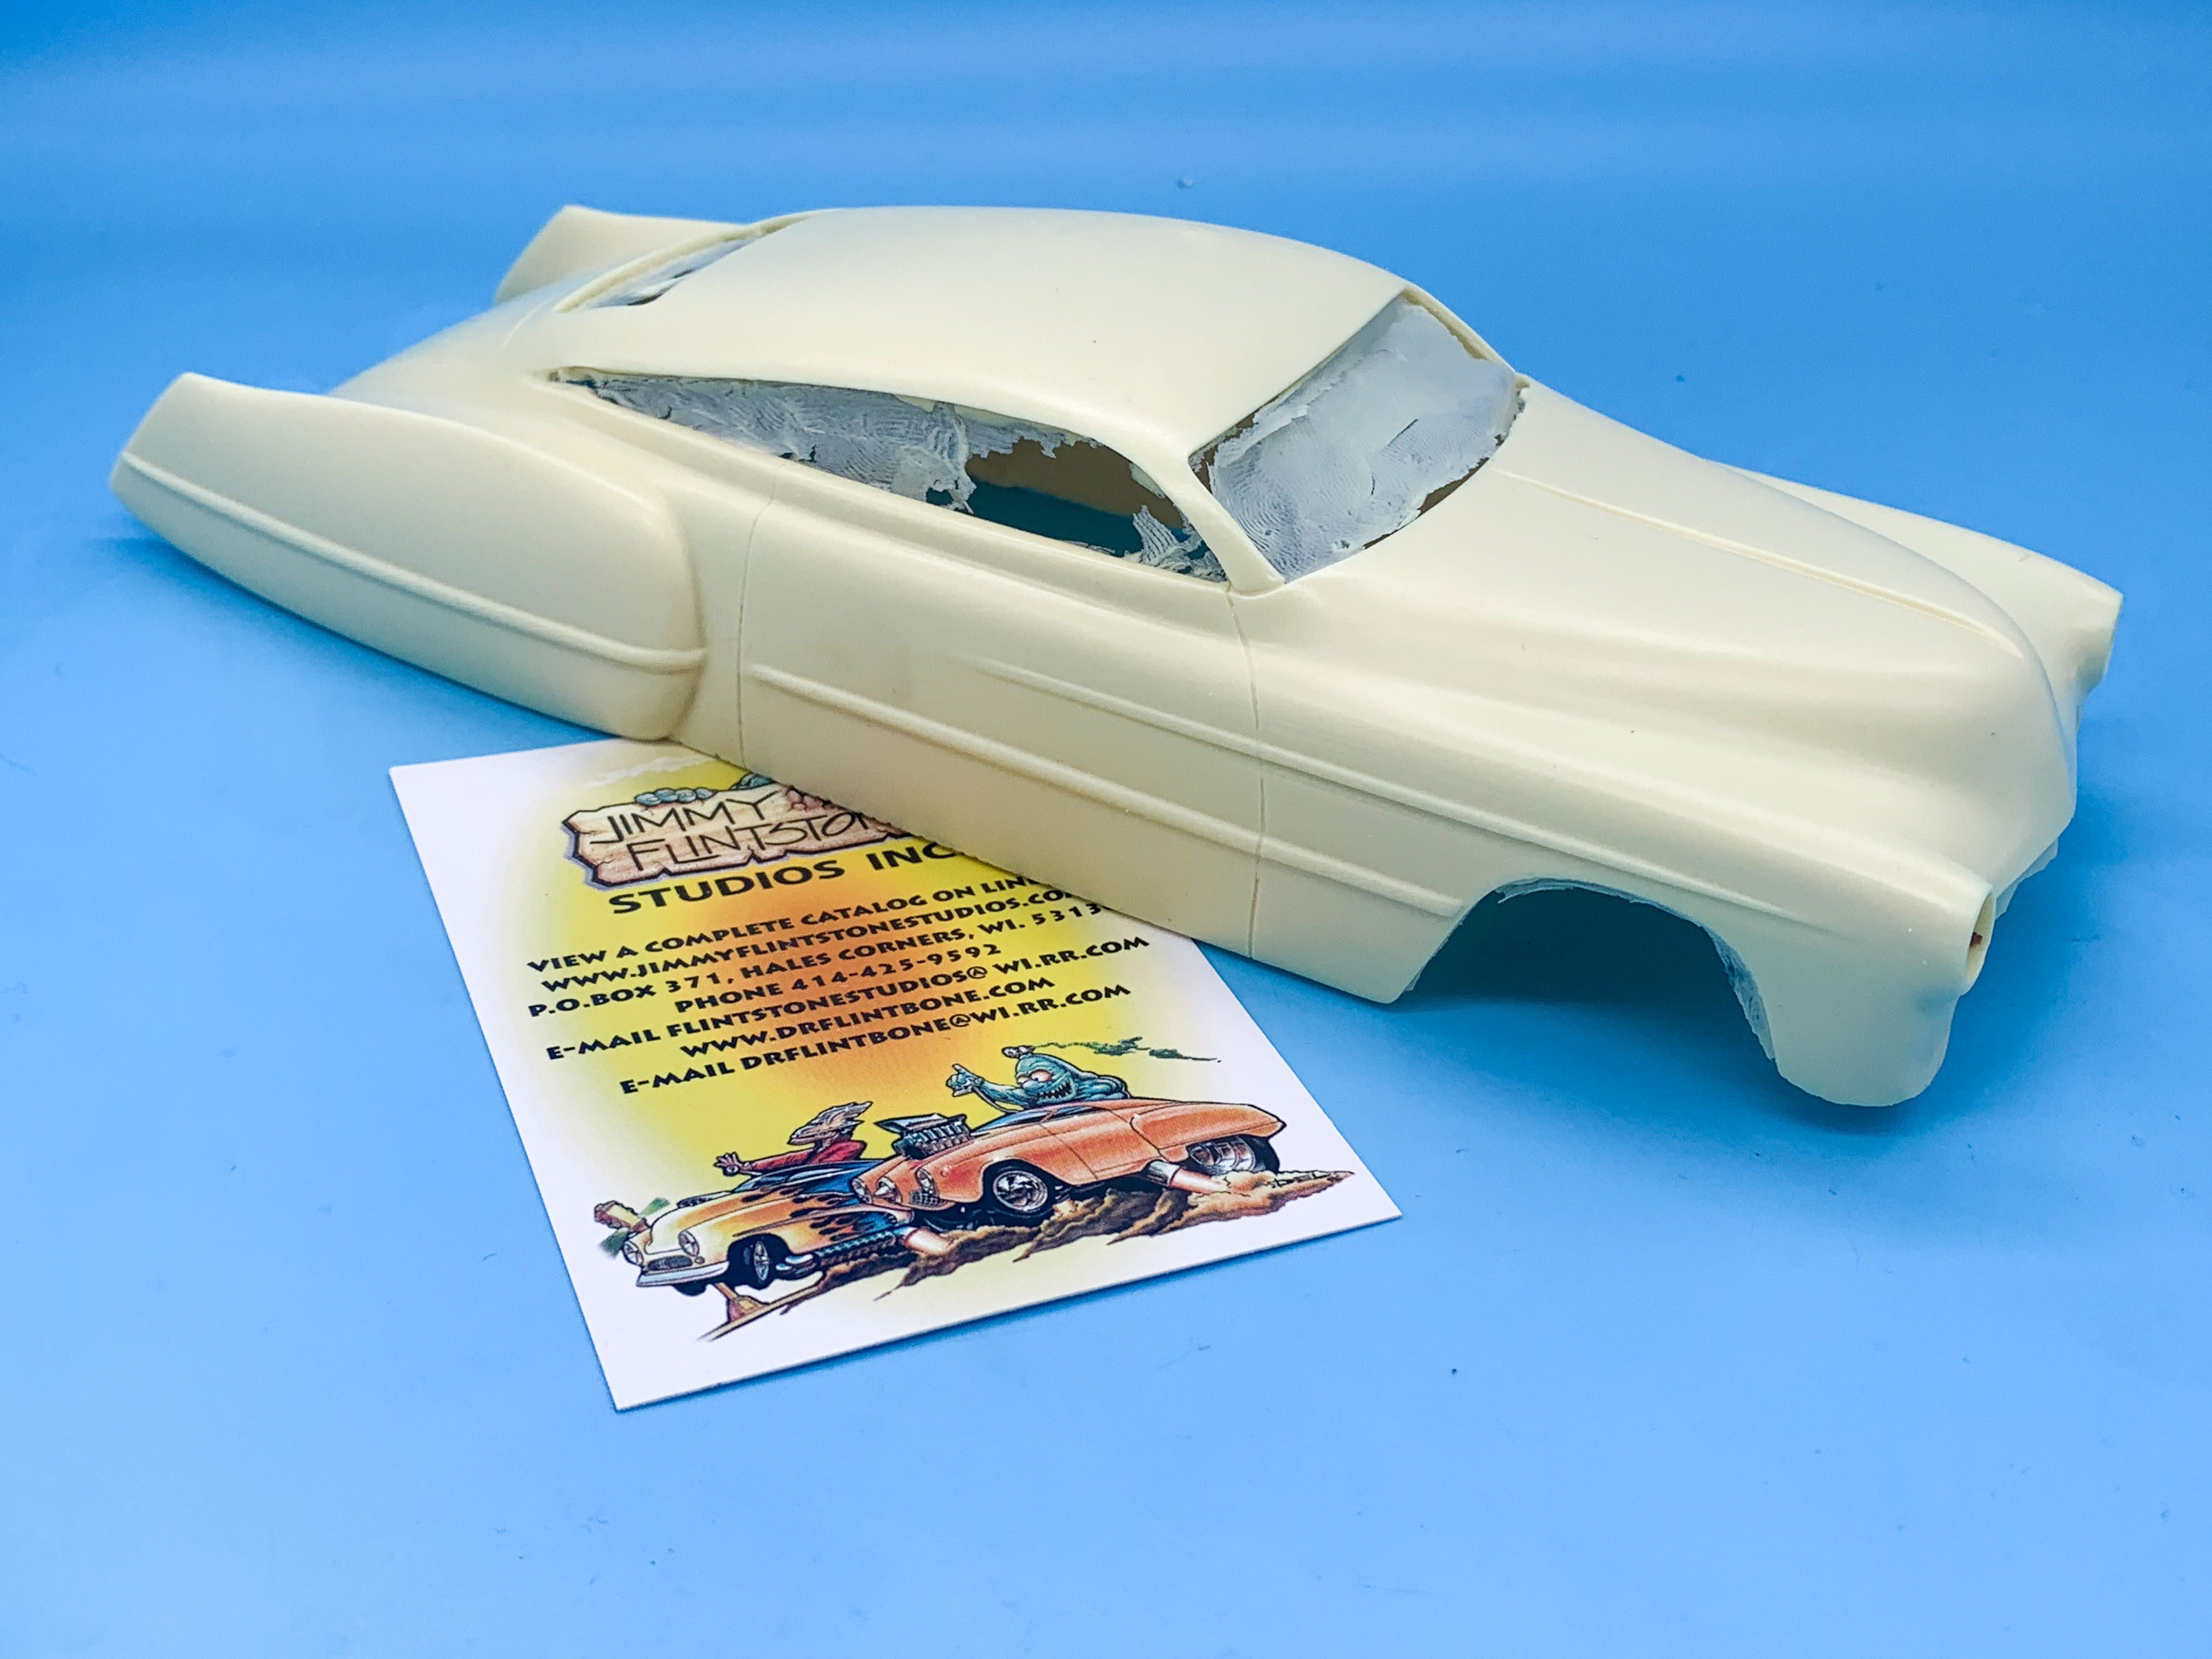
For a future Boyd replica build:
-
Clear over Boyd's Enamel???
OldNYJim replied to Danger's topic in Model Building Questions and Answers
Yeah, I read what you said - but they make (made) Model Master Pearl Purple in acrylic, enamel and lacquer varieties - you didn't mention which version you tried it over ?♂️. Regardless, if it works over the enamel - great! Thanks for posting your findings ? -
Clear over Boyd's Enamel???
OldNYJim replied to Danger's topic in Model Building Questions and Answers
I did read the thread; I didn’t see you mention that the paint you tried it on was enamel, was all. Cool that it works! ?? -
Clear over Boyd's Enamel???
OldNYJim replied to Danger's topic in Model Building Questions and Answers
That stuff works over Testor's enamel? -
Clear over Boyd's Enamel???
OldNYJim replied to Danger's topic in Model Building Questions and Answers
Acrylic clear (Tamiya, for example or Createx) would be fine, as would almost any enamel clear. I would steer away from lacquer clears - they tend not to be compatible with enamels. If it was me, I'd use an enamel gloss clear - it's a nice easy way to get a high gloss clear coat with some depth to it that you can polish on. You'll need to be patient in letting it dry though, unless you have a dehydrator (in which case, bake the finished parts at 95 for 24 hours minimum)