Paul Payne
-
Posts
2,128 -
Joined
-
Last visited
Content Type
Profiles
Forums
Events
Gallery
Everything posted by Paul Payne
-
I seem to recall either Model Cars or Scale Auto having articles on this. Anyone recall what issues these might have been?
-
1946 Dodge Power Wagon
Paul Payne replied to Paul Payne's topic in WIP: Model Trucks: Pickups, Vans, SUVs, Light Commercial
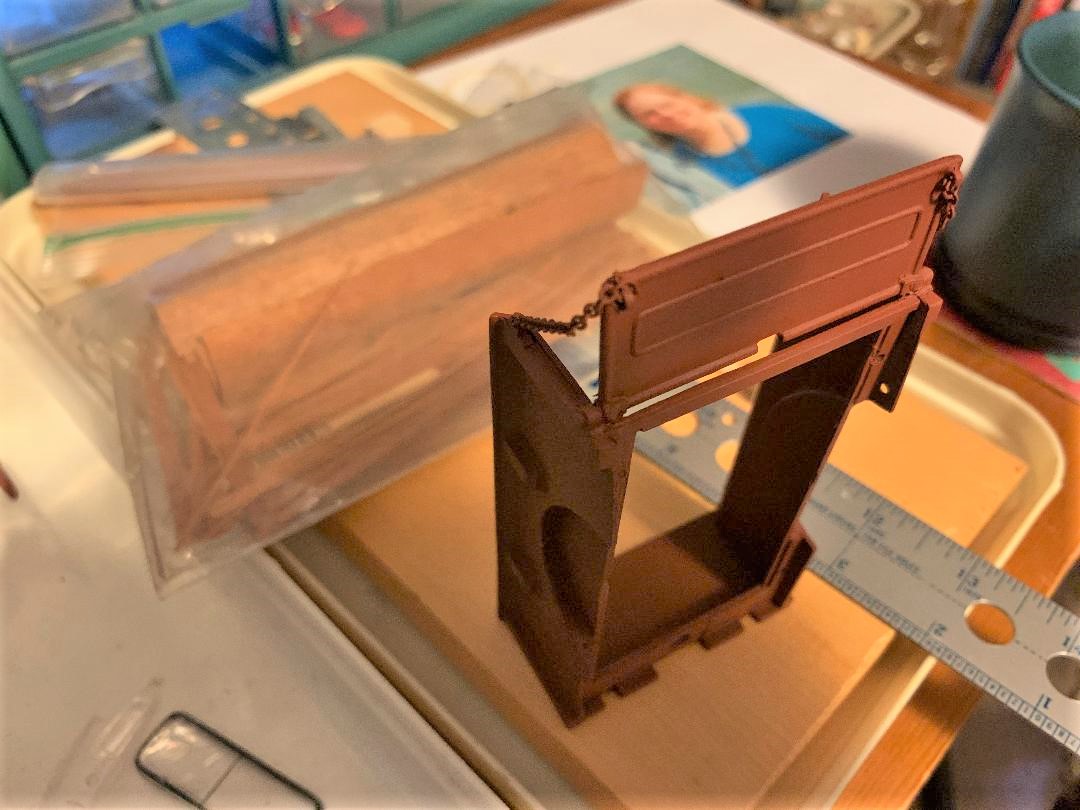
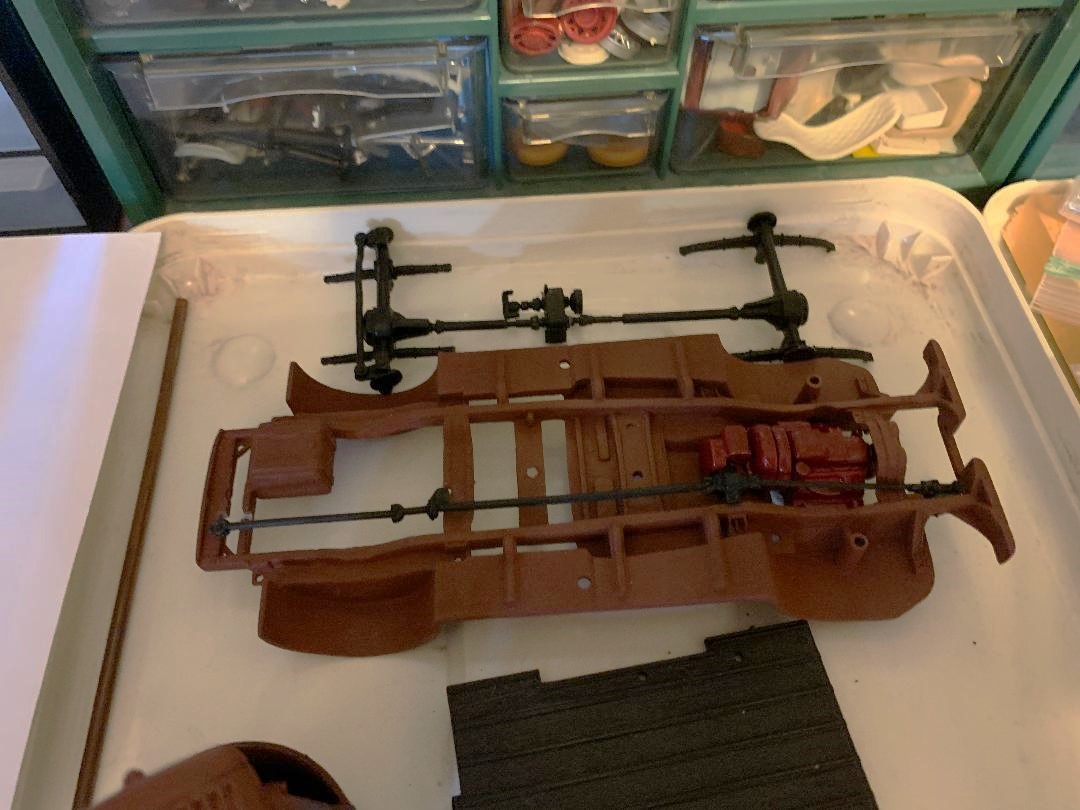
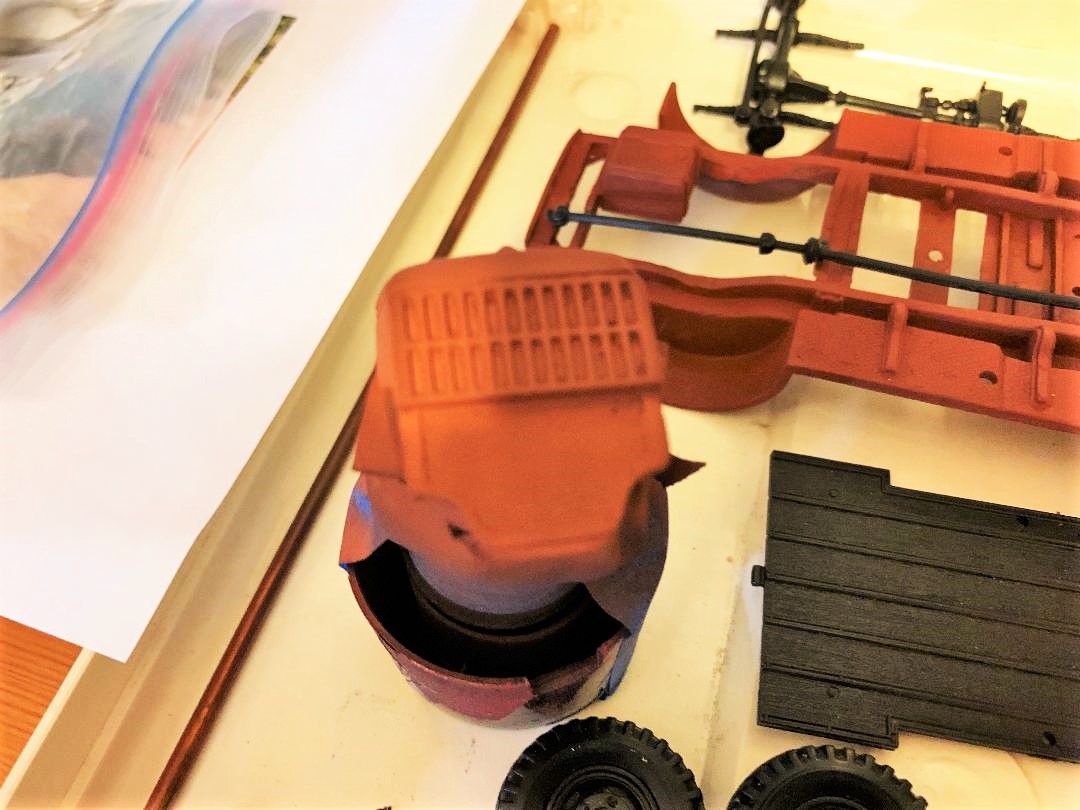
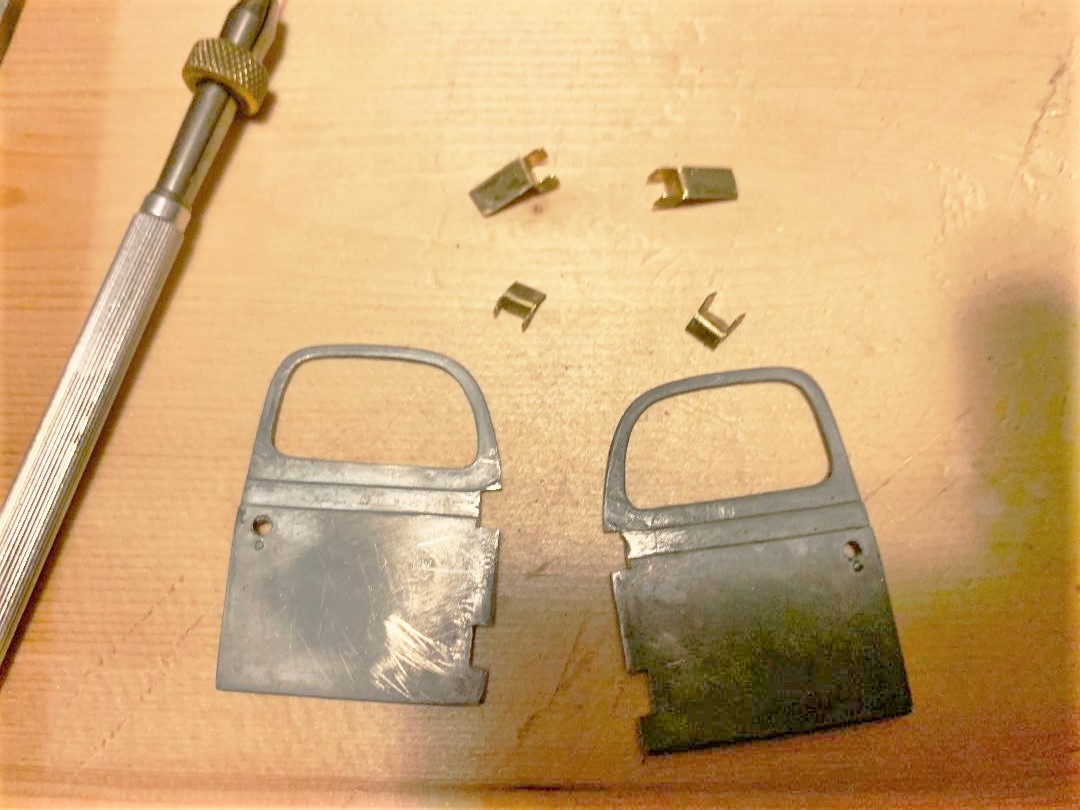
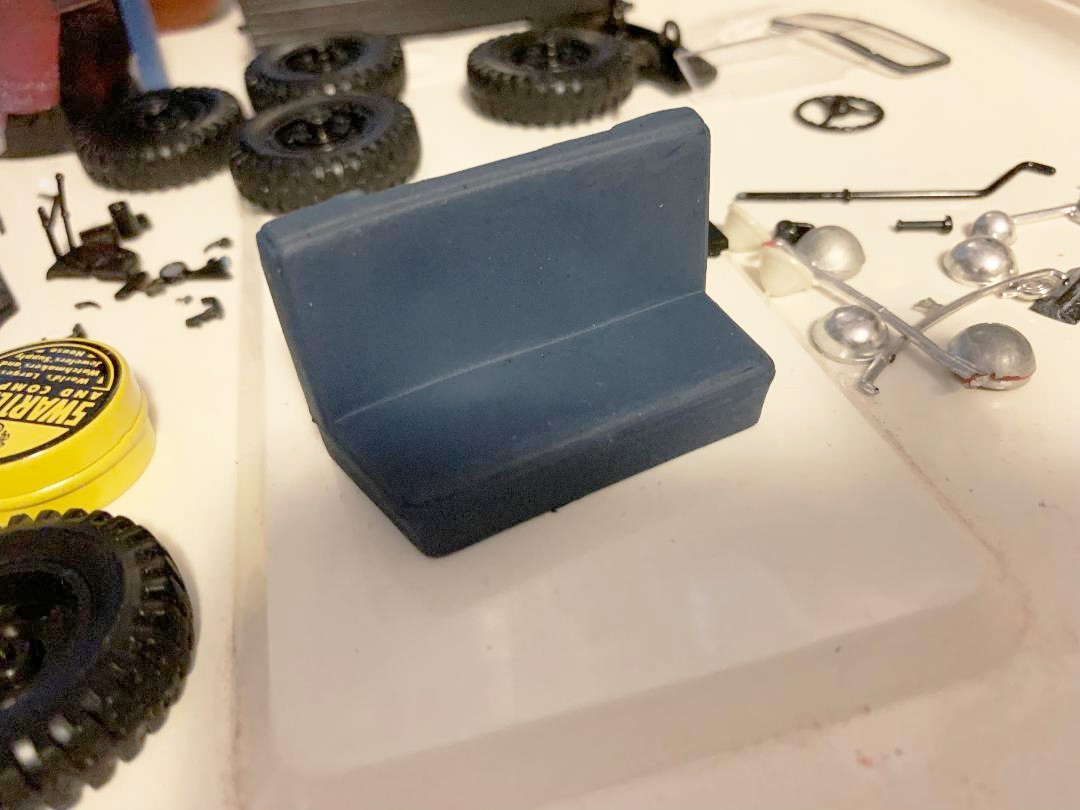
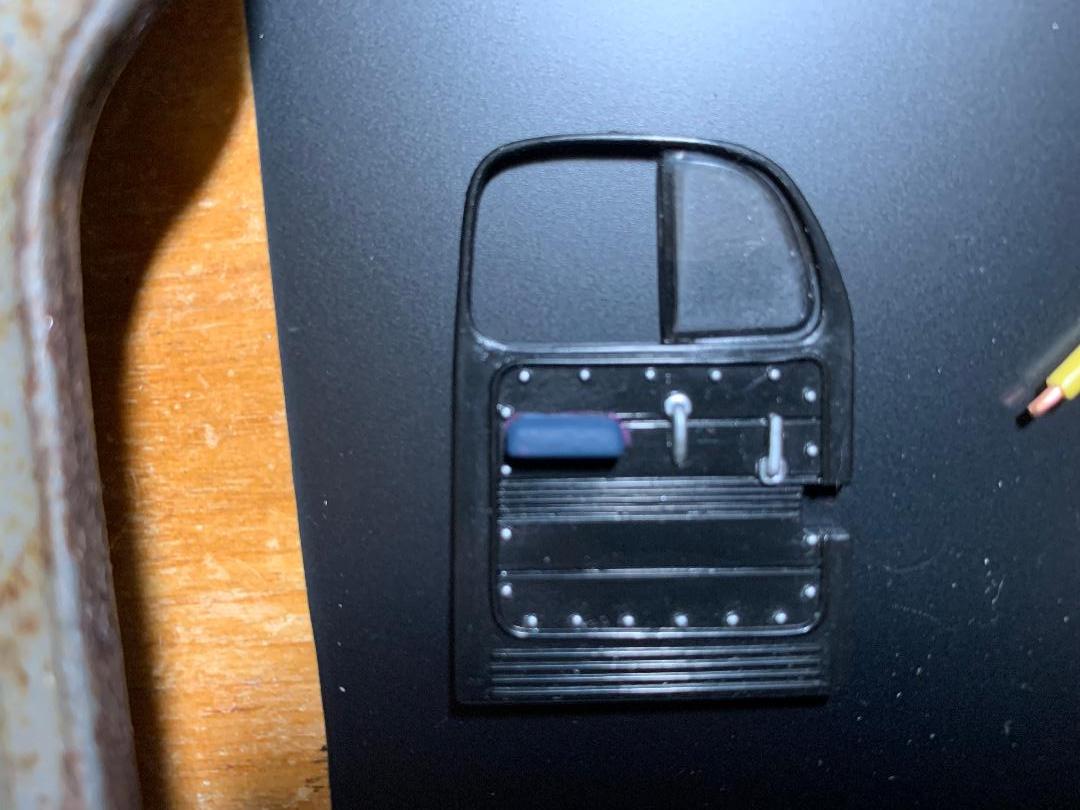
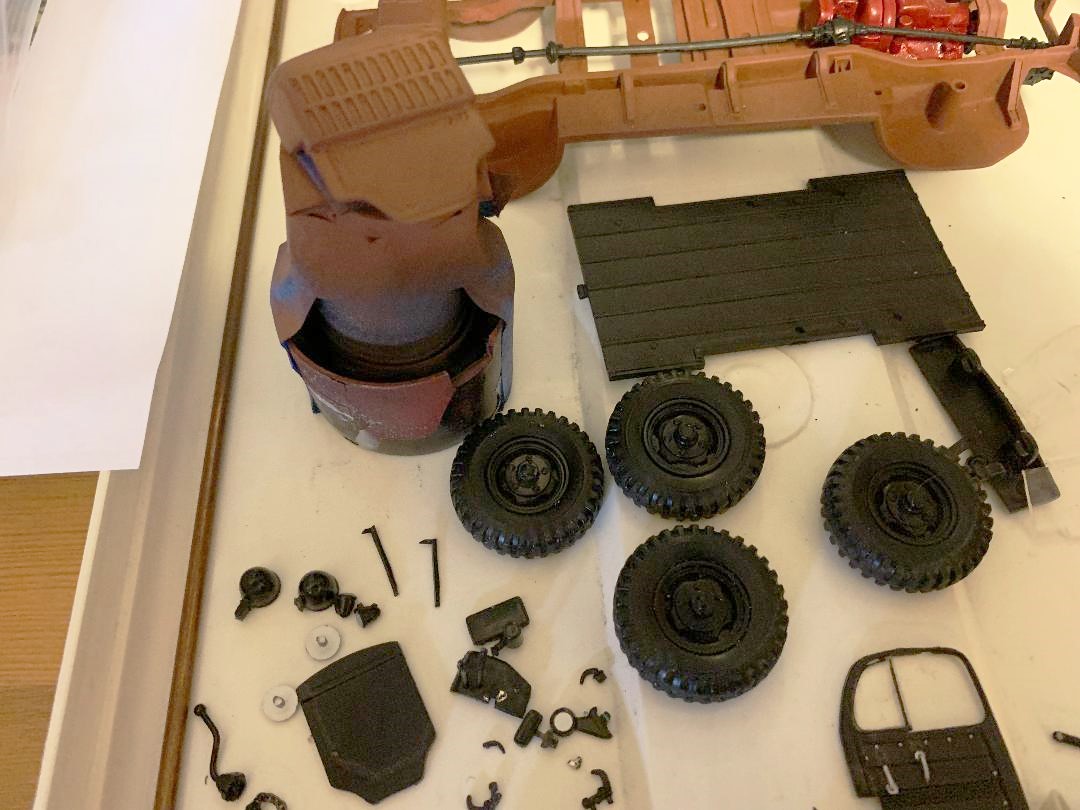
Finally got all the metal parts stripped in acetone- must have also removed some filler because the hood pieces had some ugly short shots on a couple edges- have them puttied in, then sand and primer. Bed, grille/radiator, and chassis/fenders are in red oxide primer which will also be the start of the weathering. The blue will be the final color- in patches- but will be sanded and blended with the rusty places. Went back to my original hinge design- rough cut the last 3 brass channel pieces which will be attached to the cab- the problem with the first hinges was that the ends of the wire coils were too short to secure properly to the inside of the door skins. Cut the hinge slots in the passenger door as well. Got some slate blue craft paint for the seat and driver side arm rest- the arm rest was a weird magenta color- need a second coat to match the seat. I used some heat on the back and under side of the seat to add some denting. Discovered the wheels and brake back plates had enough room to get a razor saw between them so sawed them off- will make weathering the wheels, tires, and power train easier but I don't think the tires can be removed from the wheels without damage to both. Once done, the wheels and tires will be superglued to the axle ends, probably with alignment pins.
-
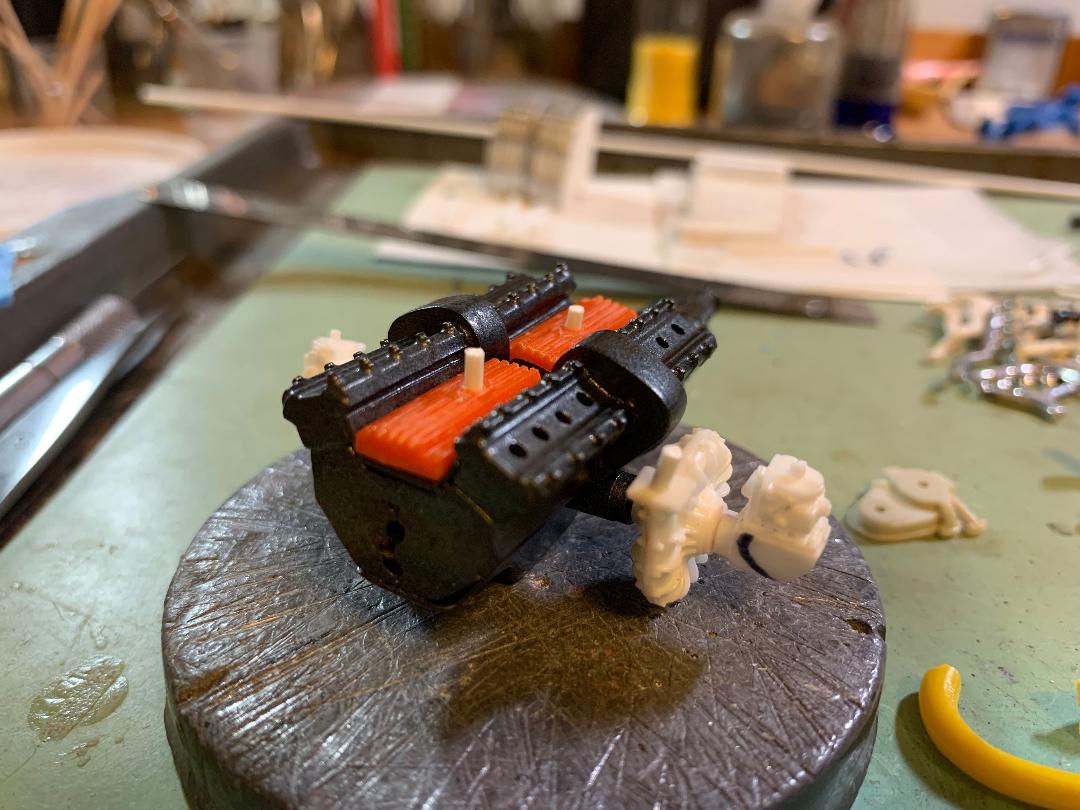
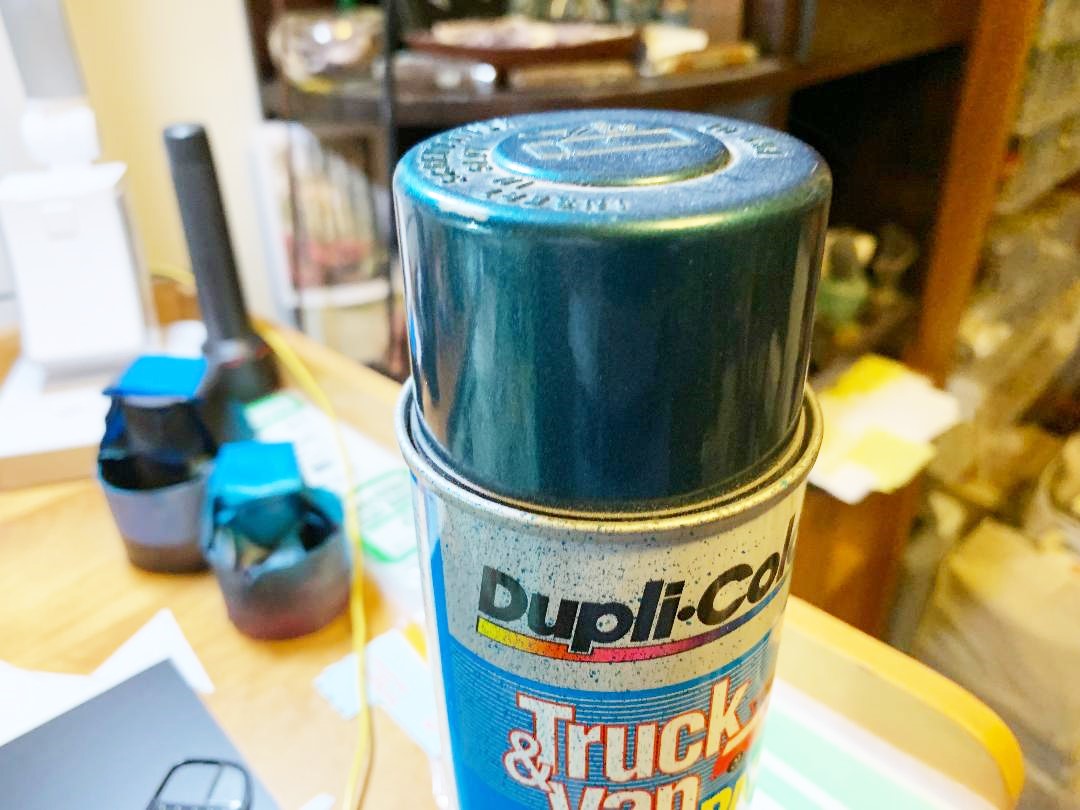
Got some paint on the engine- looks more cohesive- shows up in the photo as black, but is actually dark metallic grey. Red pieces are preliminary intercooler plenums- they will sit on top of the intake runners- the yellow pieces will connect the superchargers to the intercoolers. Also included a pic of the final body color- picked this up at the Hoosier model contest and swap meet last year.
-
I am looking for a source for 1/25th-1/24th scale chain fittings such as hooks, spring hooks, u bolts, and other fittings for towing and pulling, also for mounting to bumpers. Any help appreciated.
-
Thanks much for sharing- lots of model ideas!
-
Modelhaus phantom ‘61 El Camino
Paul Payne replied to Steve H's topic in Model Trucks: Pickups, Vans, SUVs, Light Commercial
OK, with all that power, what do you plan to tow with it?? -
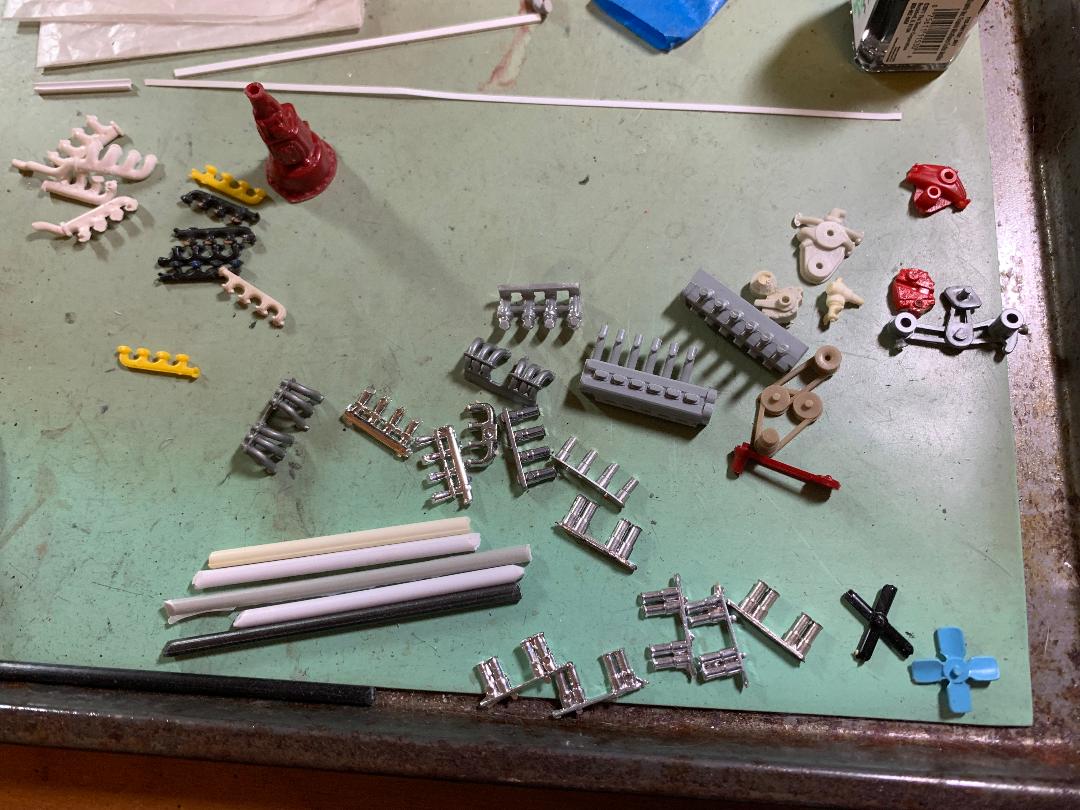
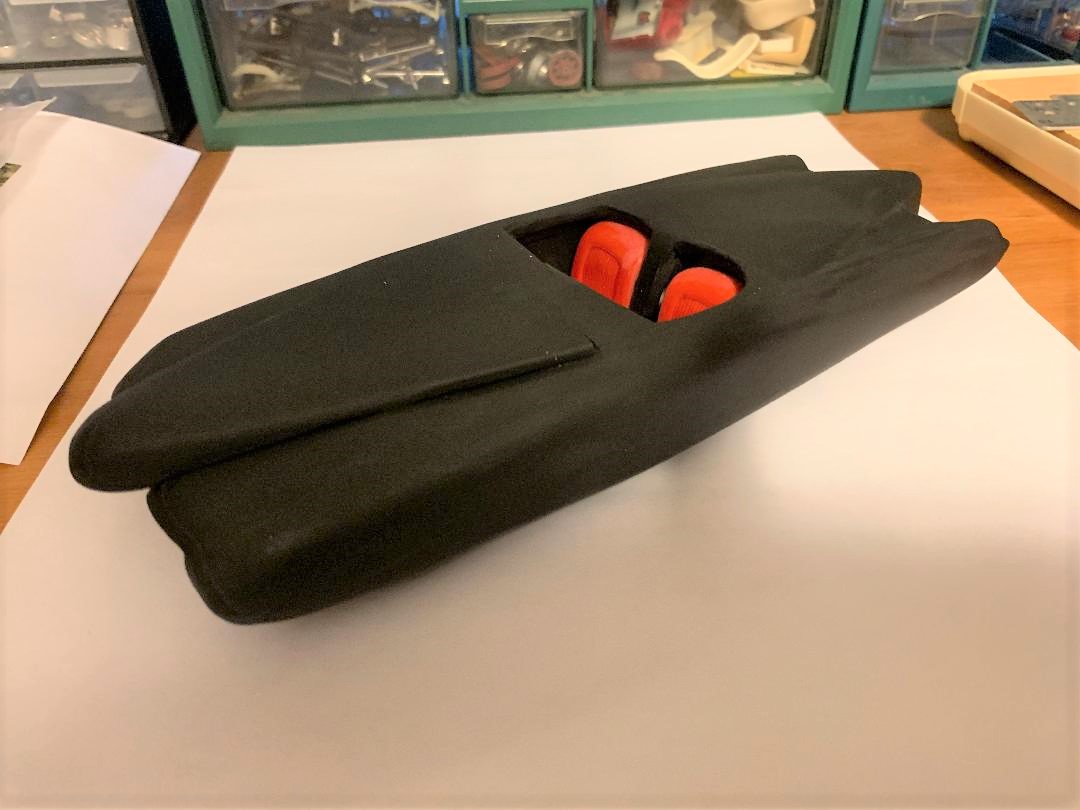
Spex, I tend to gather parts for "possibilities"- most go back in the parts bin. I'm in the process of thinking through the intake manifolding and some of these parts look promising. Whatever I come up with, it probably won't look much like the original parts! I also have to work out the distributor- or distributors- not sure if one or two will be used, and what will fit- we shall see! These (or this) will also be driven by the central gear tower. The transmission is the Muncie rock crusher 4 speed from the Monogram 39 Chevy- should be strong enough to deal with whatever the engine can throw at it. By the way, the name of the car is the new for 1949 Hurricane Typhoon- guaranteed to blow everything else off the road! Since the last pictures of the body in primer, more putty has been applied to improve the symmetry, and the center console is being built up. This will be body color as well as the dash- the final color will be deep metallic teal, leaning more to the blue side. The dash will be attached to the center console- sort of a T shape. The rest of the interior will be a deep slate blue. Stay tuned for more imaginative insanity!
-
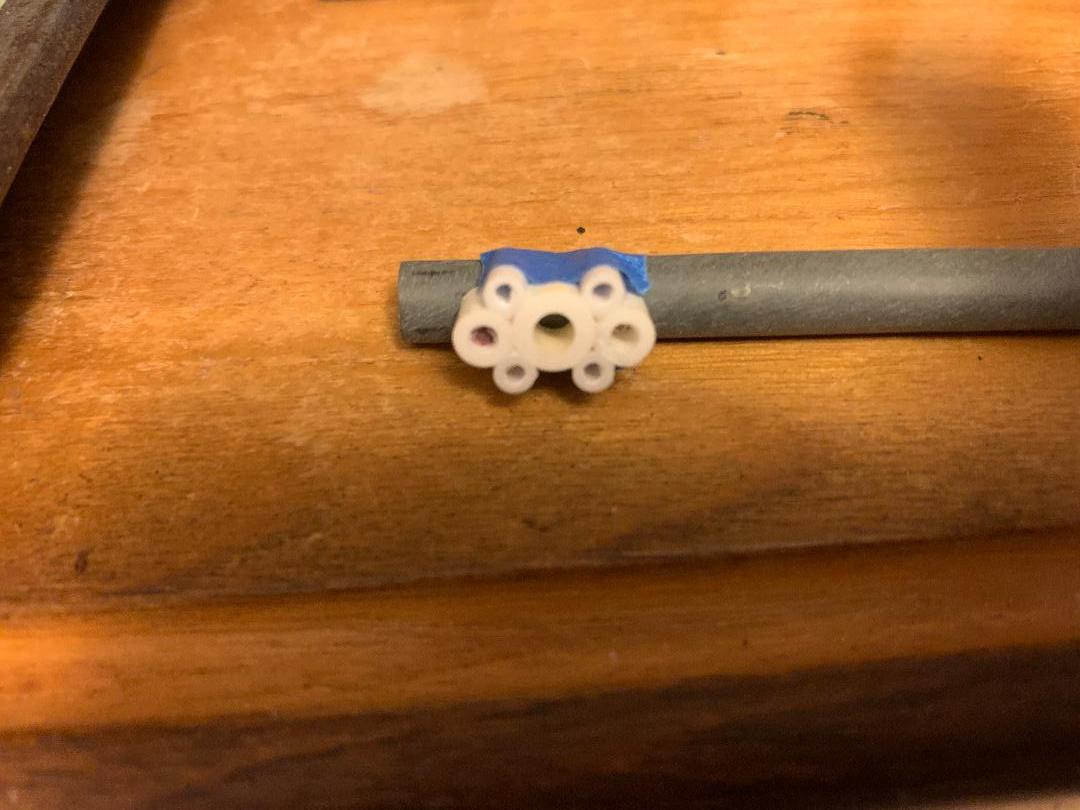
Still doing body work and working on the grille, but decided to tackle the V-16 engine. Alfa Romeo came out with a straight 8 with the cam drives and supercharger drives in the center instead of at one end. Dual centrifugal superchargers were always part of the plan- these are from Replicas and Miniatures. Still gathering parts to fabricate the intake manifolds and exhaust system- will probably bend some hot sprues to get what I need.
-
Of course another option would be a flathead with Ardun heads.
-
Just me again, but the rear could be lowered a bit....
-
Chaz, I like a wider tire side wall rather than the rubber band look, but that's just me. I think a low but level stance would look best. Looking forward to your next update.
-
Just completed a trade with AFX- would trade with him ant time!
-
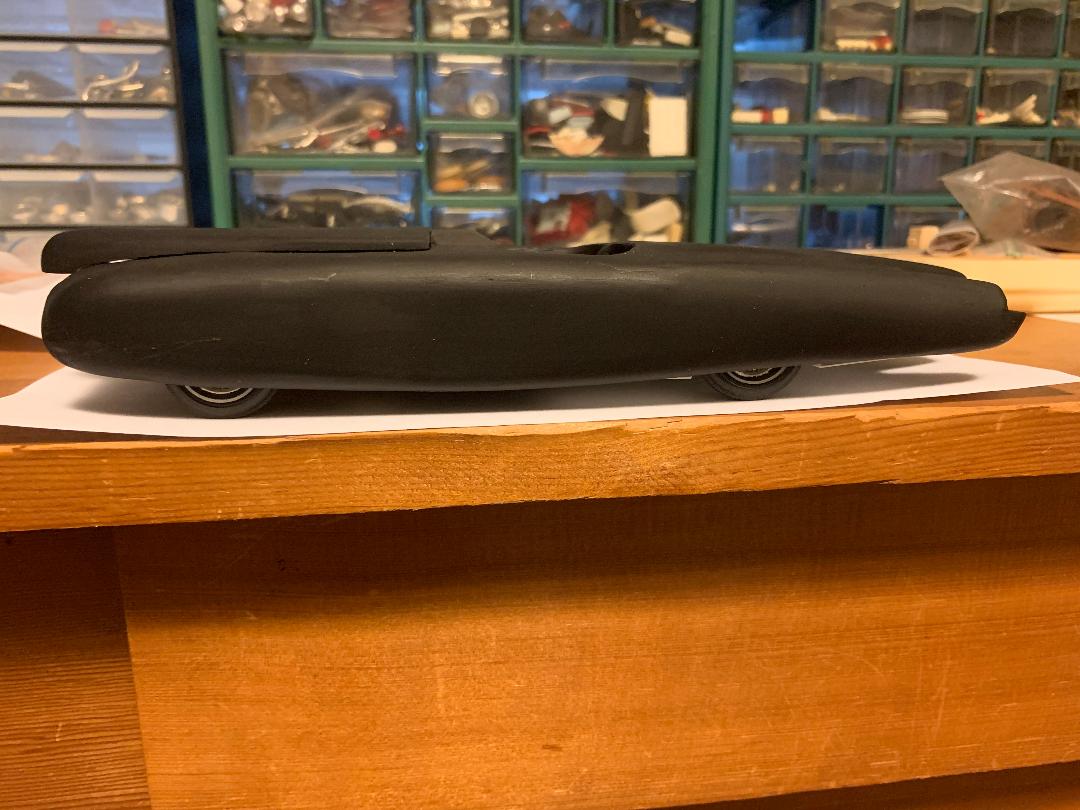
Not dead yet- I have worn out a lot of sanding sticks on this project. Finally decided I needed to throw on another coat of primer to check things out- and it still needs work! Got the belly pan/chassis under it with some wheels- pretty happy with the stance. Still constructing the grille, will start on the divided windshield frame soon, V-16 engine slowly progressing (more putty sanding) and the interior is becoming more definite- mocked up the dash gauge cluster- the steering column will be under the large center gauge. The inner interior panels are from the Revell model A loboy version.
-
airbrushing nail polish
Paul Payne replied to Paul Payne's topic in Model Building Questions and Answers
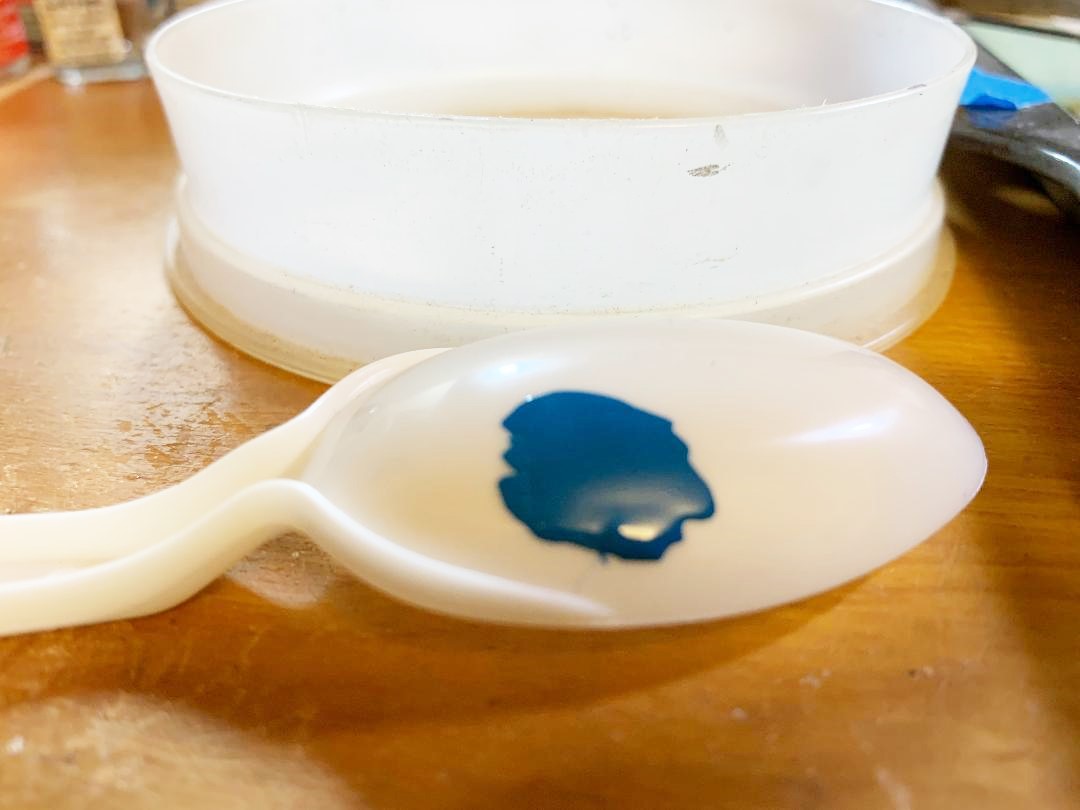
I will be trying combinations on plastic spoons before I use it on a model. -
I was getting more sanding sticks at the beauty supply and came across some had to have nail polish colors. Some years ago Betsy bought me an airbrush but I never got up the courage to use it. So- what do I thin nail polish with? Second, will the same thing clean an airbrush properly ( cleaning the airbrush was why it never got used). Third, what primers can be used under nail polish? I usually use inexpensive rattle can flat black which seems to bring out, to my eyes, little imperfections to correct before final paint. Also, I am partial to deep jewel tones such as maroon and midnight blue and this seems to enrich these colors. Any advise appreciated, and if a topic covering this already exists, please point it out for me!
-
Heavily Chopped & Channeled '32 Ford 3-window
Paul Payne replied to Bernard Kron's topic in WIP: Model Cars
SOOWEEEEET! -
That is one sweet ride! Your tweeks and improvements sound great- please post more pix when things have moved along! Can you tell us a bit more about the engine?
-
Jeffdeoranut, are you out there? I still have the parts you wanted but haven't heard from you. Hope all is well.
-
What a great little hot rod! Followed along and the miracle you performed with a piece of #%$@ is incredible. Your research and the ability to see shapes and curves and then form them took a really good eye!
-
Great work with that renshape.
-
1/24 [Italeri] 1934 Rolls-Royce Phanthom II
Paul Payne replied to Cuba_13's topic in WIP: Model Cars
Nice kit, great scratchbuilt additions. I covet those lights- they could be added to a few projects I have in mind.....................? -
Another great trade with Ace-Garageguy completed! Definitely a top notch trader!
-
VW93 and I just completed a great trade! Will trade with him again without hesitation!
-
Hope you can show a few pics of the process!
-
Monogram 1940 Ford Moonshine progress
Paul Payne replied to SawgrassRaven's topic in WIP: Model Cars
I would leave the weathering alone- if you handle your model carefully, and it's in a diorama case, it shouldn't be disturbed. But don't dust it- you already have!?