Paul Payne
-
Posts
2,128 -
Joined
-
Last visited
Content Type
Profiles
Forums
Events
Gallery
Everything posted by Paul Payne
-
I think a rat rod is a hot rod built with unconventional parts and not much concern for shiny paint. I'll dig out some photos of the one I built.
-
The R&M seats are indeed cool. I was thinking of an upper pad on the back and a pad near the front edge of the seat- seen a lot like that. Start with sheet plastic and add your corrugated material on top of that.
-
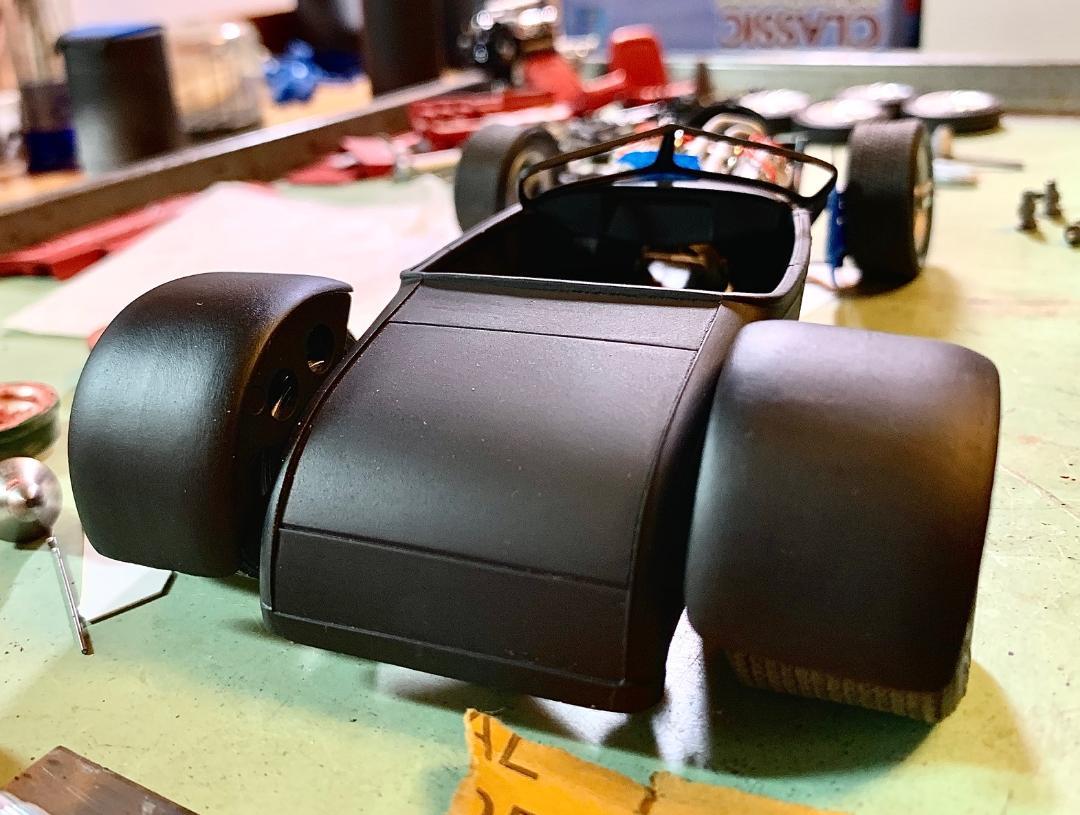
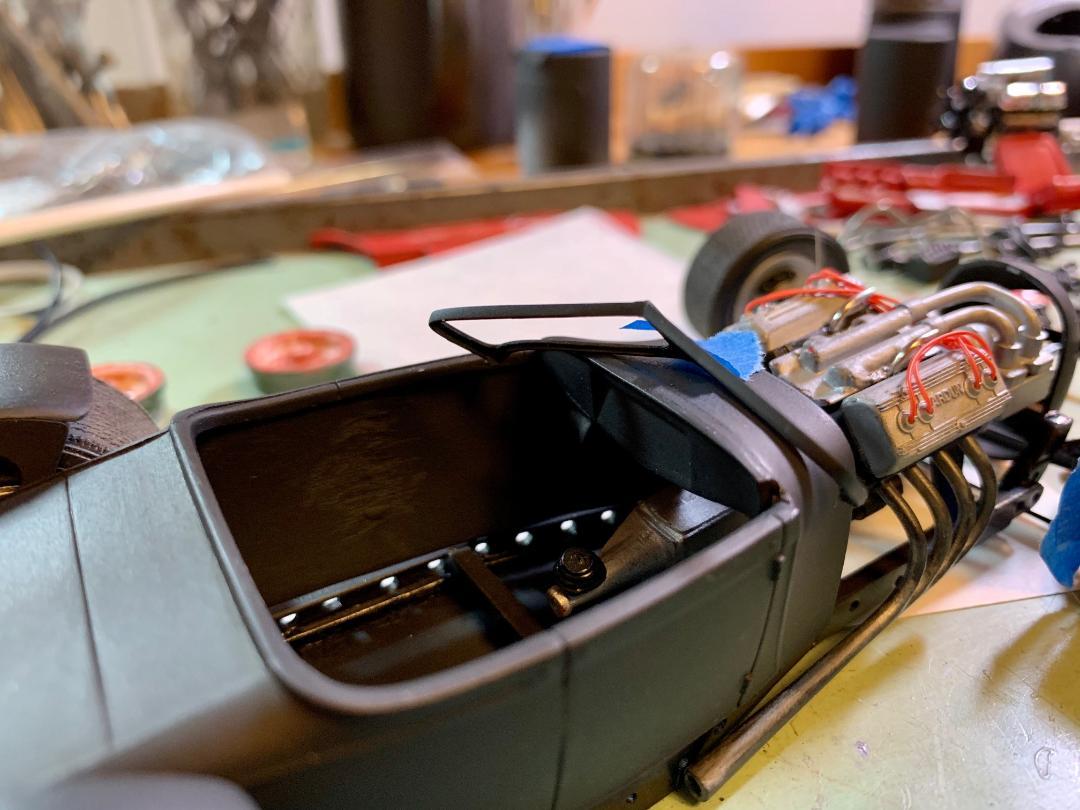
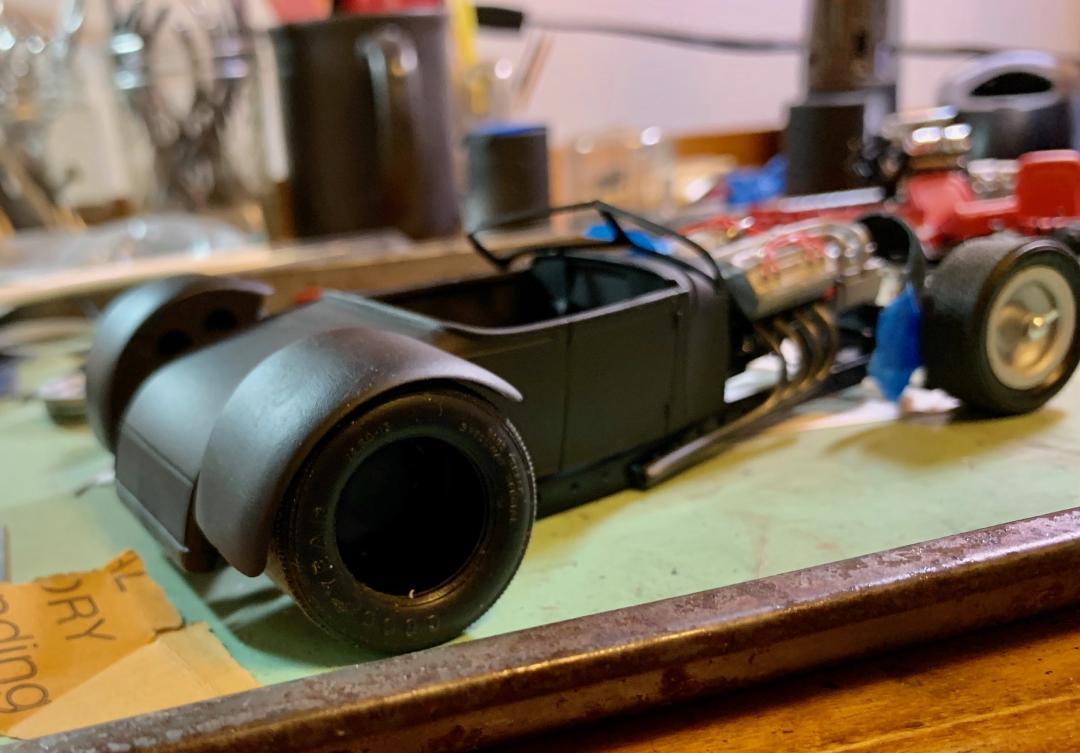
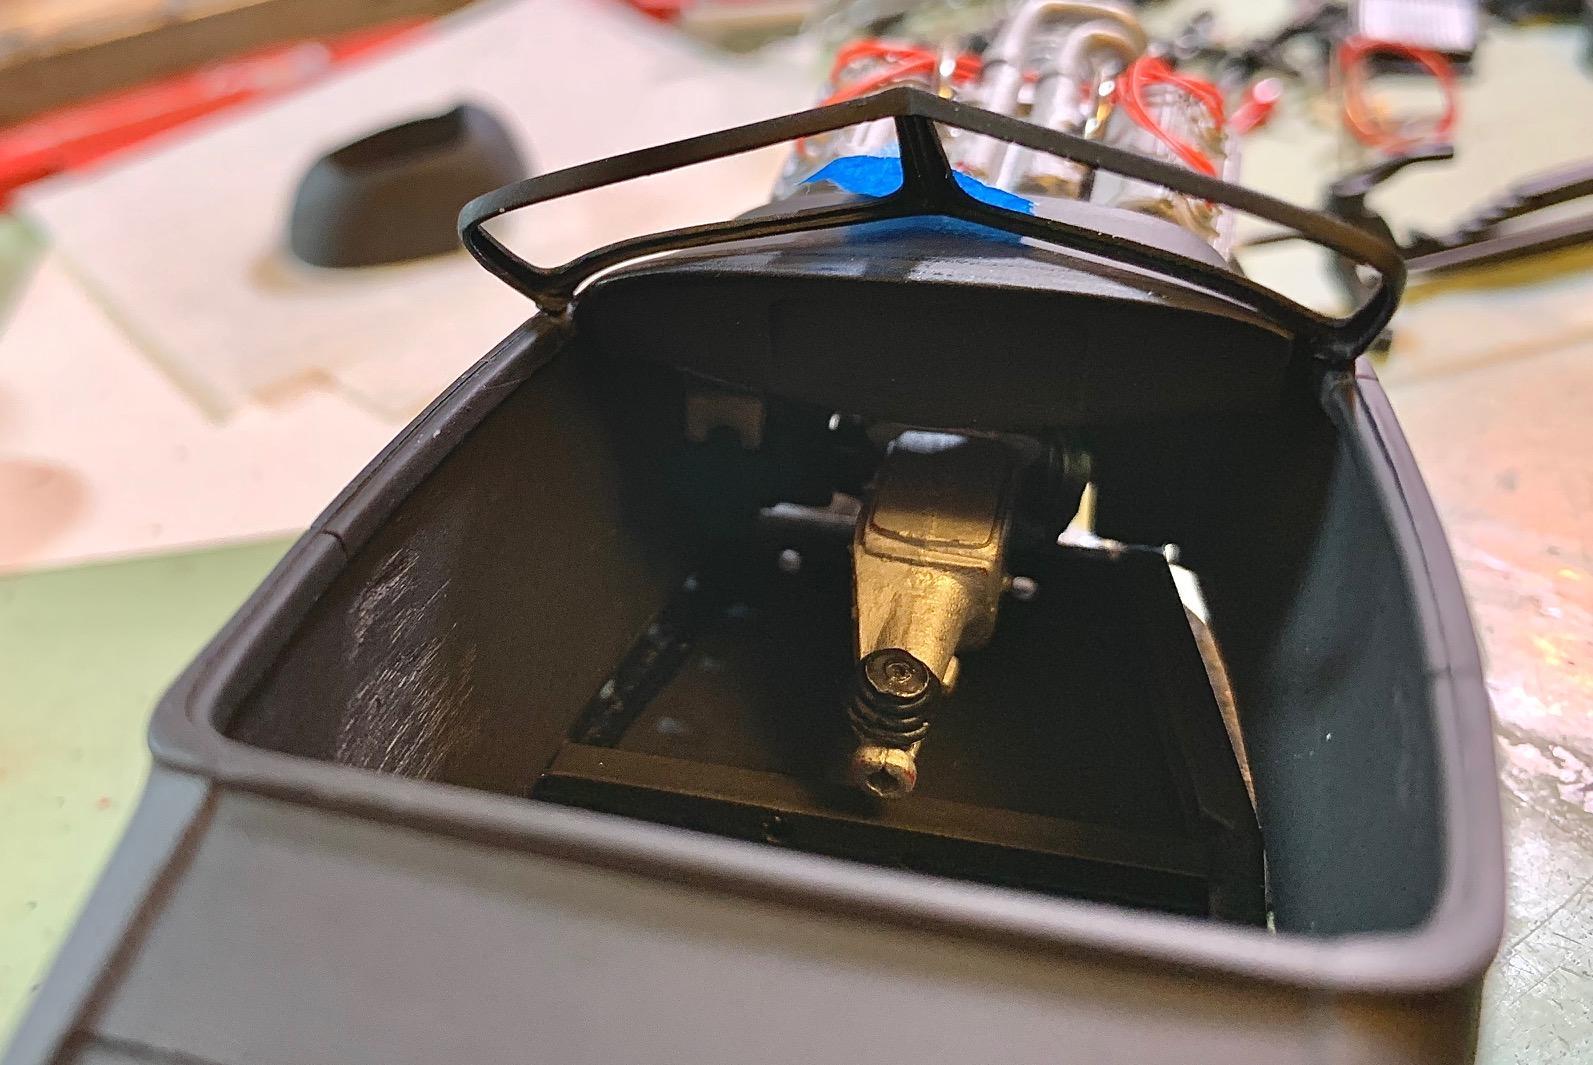
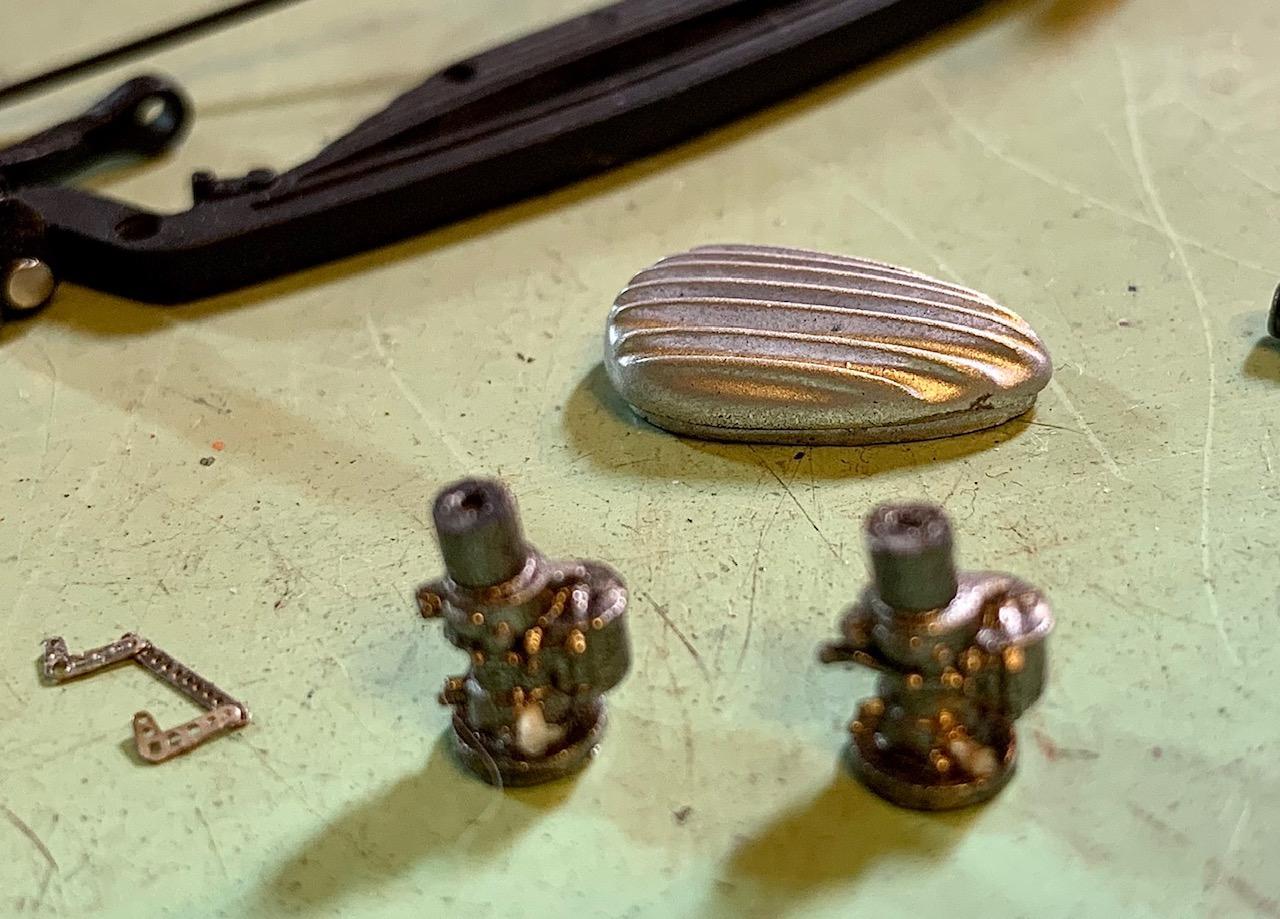
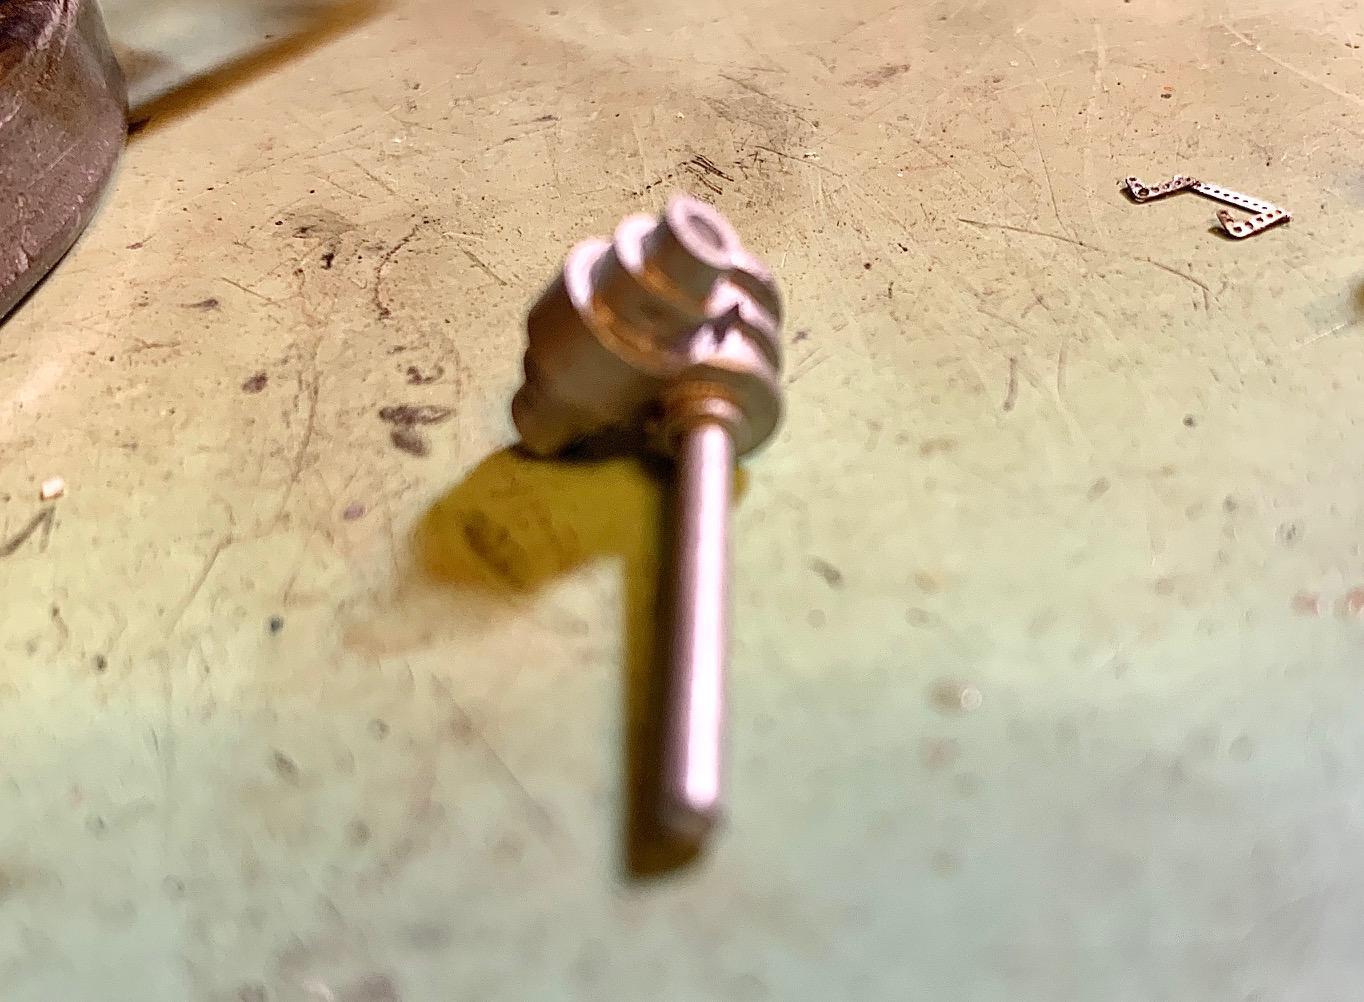
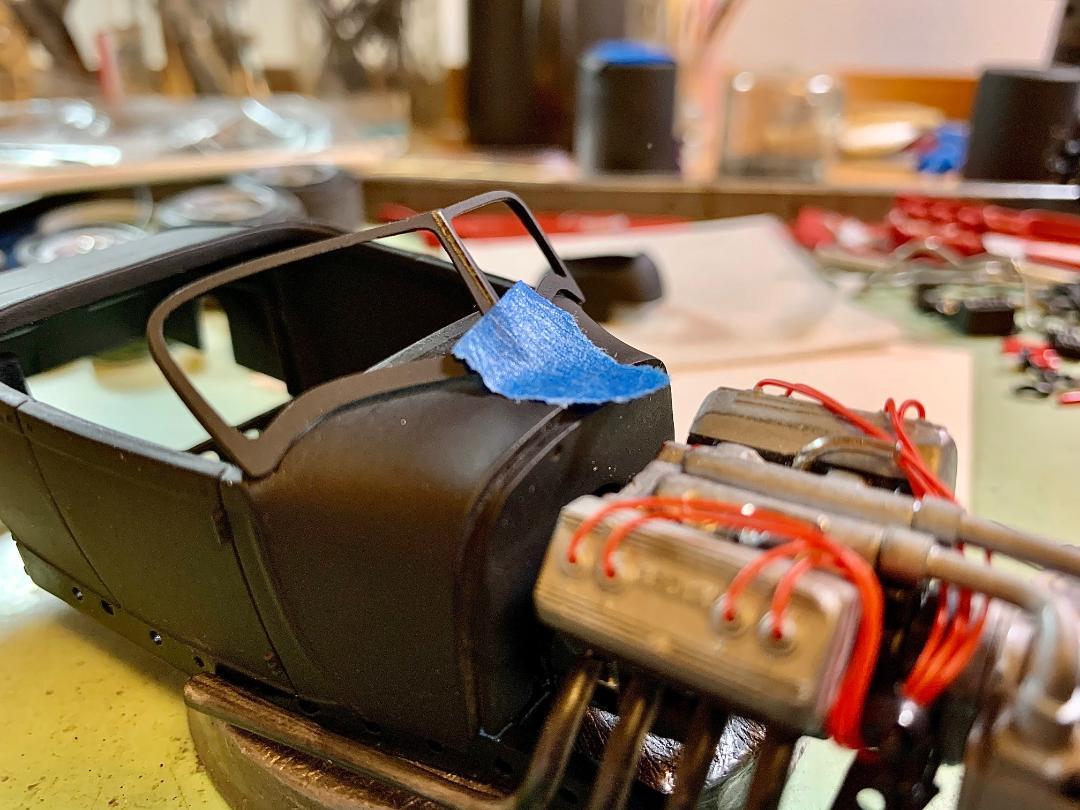
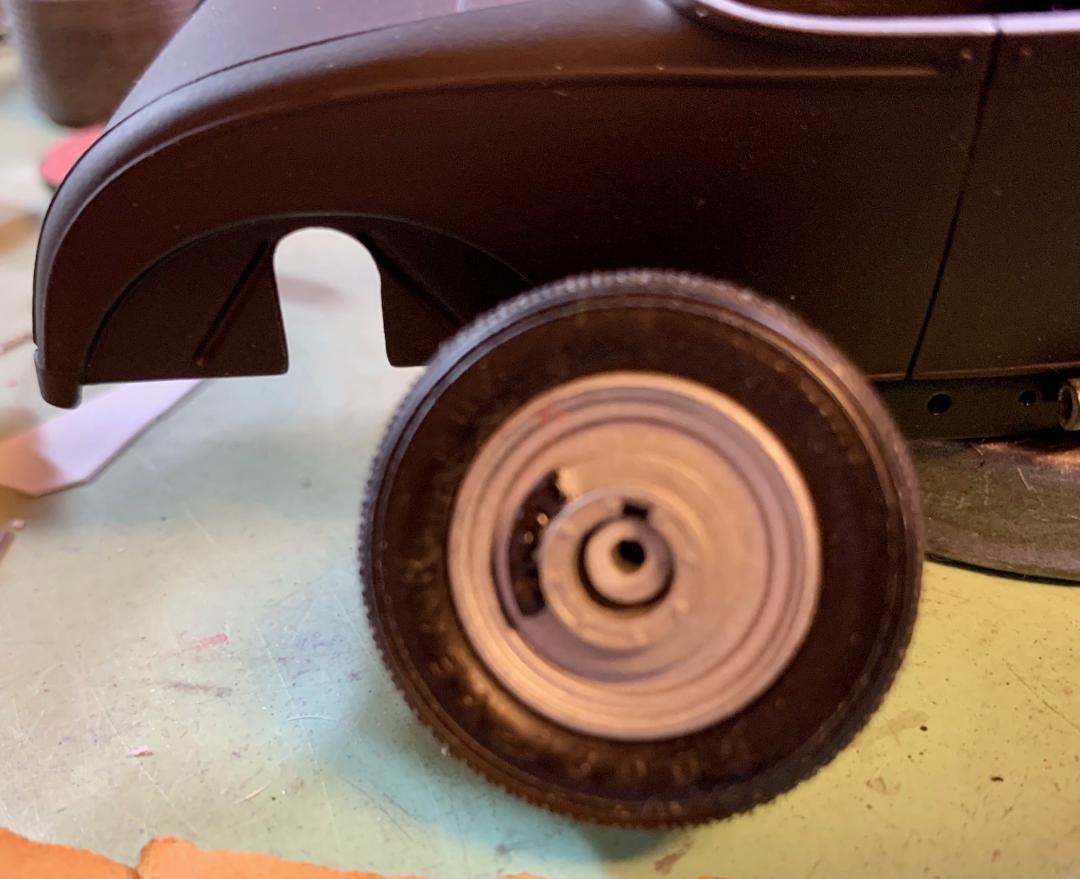
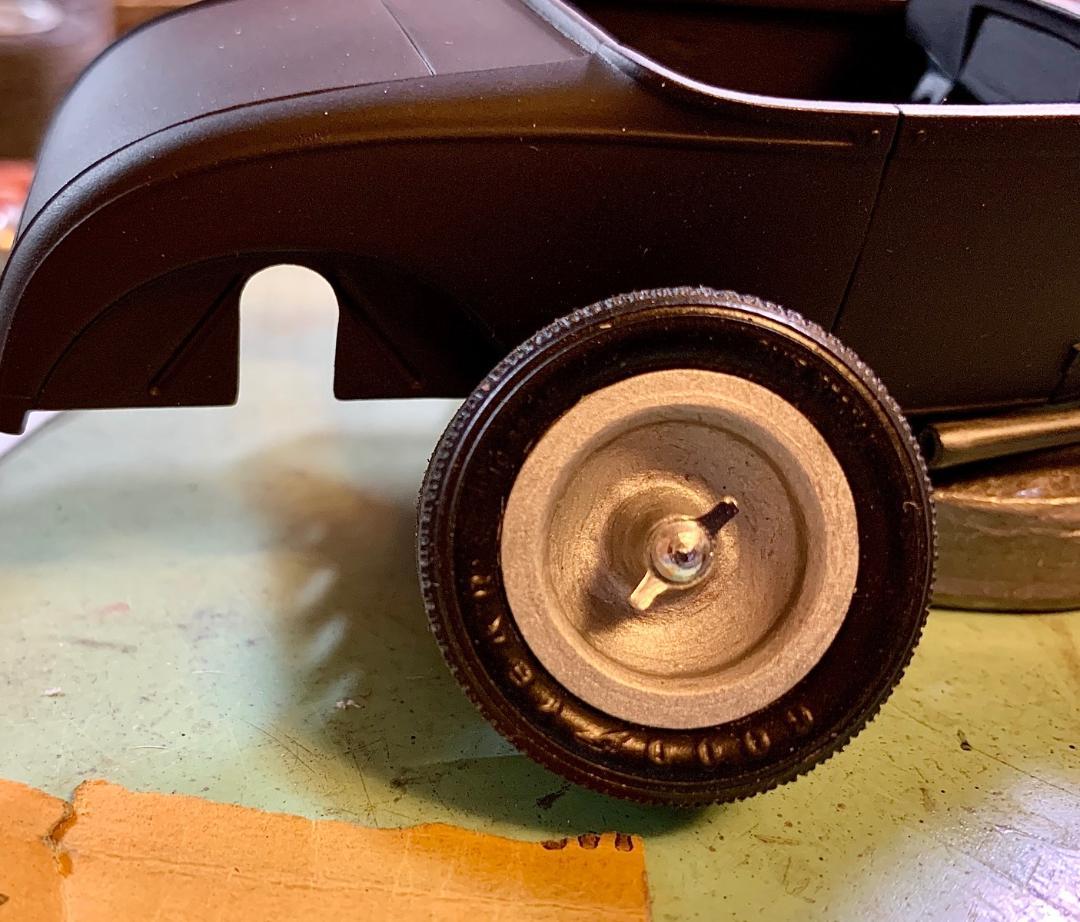
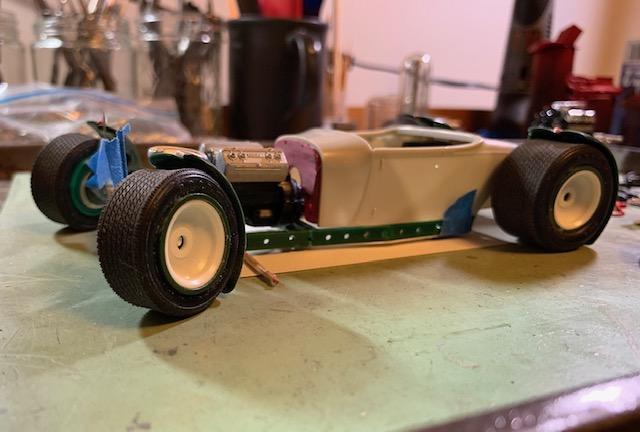
More progress pix- overall set up,cycle fenders ready for shiny paint, Hallock windshield mocked up, engine progress (having problems with the carbs), cowl filled between cowl and dash, front suspension primed, and Gordon-Schroeder steering unit ready for installation. Also pix of the wheel which inspired the wheels I am modifying, one finished and the others puttied up ready for preliminary sanding.

-
Very nice rear suspension and drive train design. BTW, what did you use to cut the curves above rear fenders?
-
If you are going for a leather or Naugahyde interior, spray on your flat black, let it dry, then rub it down a bit for a little sheen. Are you going to add pads to the bomber seats?
-
Whoever chopped that top appears to have raked the windshield back a bit- looks good!
-
Really impressive foil work, especially those thin fender strips. I'm working on a 65 convertible backdated more to a 61 to 63 but- customized with a molded in continental area and a sectioned Deuce grill. Final bit of daring- thinking of opening doors...........
-
Any thoughts on an engine? If the hood is going to be longer, how about a V-12? Maybe a lengthened Y-block ?
-
Really like the detail painting on the suspension and drive train components- looking forward to the final mock up!
-
Well I have been building for 61 years, back when diecasts were Matchbox and Dinky Toys, usually scaled to fit the box. I do own a few bi-scale diecasts of subjects not available in plastic or resin. A favorite is the Burago 1/24th scale Bugatti T57SC. I have though for many years of taking one apart, adding realistic wheels and tires, dash, door hinges, etc., using Gerald Wingrove's model as a guide. There should be no divide between a kit built model and a disassembled built model extensively modified, corrected, and made unique. It isn't about what you start with, it's the end result, and the learning experience that goes with it. This post may just be the inspiration to start. As an aside, Burago's plastic seems to be more like vinyl than styrene- any comments on working with this, such as paint, adhesives, putty, sanding, etc.? Thanks again for this thread.
-
Pegaso being a Spanish car, is that the hood ornament in the background?!?!? Seriously, any thoughts yet on a starting point?
-
Great build- loved the WIP thread!
-
Bill, just discovered this post and I love it! I also have The Birth of Hotrodding and it is my go to guide for all things hot rodding in the golden age. You mentioned fuel injection for an Ardun- I think some of the streamliners ran this set up. I just located a picture in The American Hot Rod by Dean Batchelor of the Reed Bothers belly tanker with a fuel injected Ardun. This was 1954, near the end of the era you are modeling. Really hope to see this car finished!
-
Great looking rod- be nice to have a full size one!
-
NEW REVELL '29/ OLD AMT '29 mashup, Nov.8, buggy spring mods
Paul Payne replied to Ace-Garageguy's topic in WIP: Model Cars
Ace, are you going to have poseable steering? Just another gotcha factor, and I'm eager to see how you might approach it- pittman arm and drag link? -
Chopped AMT Deuce 5-window: Progress, July 13
Paul Payne replied to Ace-Garageguy's topic in WIP: Model Cars
This is a great project! I love the wide whites and moon discs. I too am into reworking older parts and kits- salvaging what to others might look like junk. Of course, early hot rodders did get many of their parts from junk yards, so you are carrying on this tradition in a smaller scale! -
Group 29 - the thread for everyone's '29 Ford Roadster builds
Paul Payne replied to Phildaupho's topic in Model Cars
Chris, nice to see the starting point Henry gave us! -
Group 29 - the thread for everyone's '29 Ford Roadster builds
Paul Payne replied to Phildaupho's topic in Model Cars
Well, this one has an AMT body but the chassis is Revell- a Deuce frame, for an A-V8. I'm negotiating for the new Revell kit, which really looks promising. I'm also starting a track nose with a flat head with a front mounted blower.
-
'29 Ford Highboy Roadster in As-Found Patina
Paul Payne replied to Bernard Kron's topic in Model Cars
Bernard, you've done it again! I can't seem to find the right barn...... -
Guys, thanks for the info. I realized that sitting in my adhesives container is a tube of "general purpose adhesive", probably similar to Duco cement (am I dating myself?) If this doesn't eat styrene or resin, i might try this.
-
Guys, I really like boats displayed being towed. Must be the Yankee in me (Gloucester, Mass). I have a stash of cedar cigar wrapper I will eventually use for the hull and deck of the AMT 3 in 1 (my first model in 1959). For the fin version in your photo, perhaps a junk Chrysler from the fifties would be a good start for those wild contours.
-
Guys, thanks for the help- my only negative about epoxy is that it tends to be harder than the surrounding material. Not over sanding the joined parts can be a challenge.
-
I'm working on some wheels which combine resin and styrene. I am adding a section which must be centered and then blended in. Superglue would be very secure but also not forgiving if repositioning is required. Any ideas?
-
Really great looking model- wonderful details- gauges look great- where did you get them?
-
Tom, old school customizers would look for parts that were close to the shape they wanted, then reworked them- easier and faster than starting from scratch- look at the nose of Isky's Cucaracha- two grills cut and welded together.