Paul Payne
-
Posts
2,128 -
Joined
-
Last visited
Content Type
Profiles
Forums
Events
Gallery
Everything posted by Paul Payne
-
I have dreamed about the out of the way hobby shop or hobby area in a department store. Usually slightly shabby or neglected. Only car models- some are built and on display. Most kits are of cars which have never been made 1 to 1: usually exotically bodied Bugattis or other foreign cars. Sometimes there are multi build kits with the incredible 60's box art, but again, nothing that has ever been produced. Wishful thinking in dreamland............
-
That looks really good- I assume it is 1/25th or 1/24th scale? Shouldn't be hard to fit a chassis and engine, as well as the interior.
-
Keyser, looks like you are from a Welsh village- addressing envelopes must be time consuming with the possibility of running out of room. When I first wanted to tackle this, I looked a strainers and other mesh, but decided that they would not offer the depth I wanted. I think the rendering is a Harley Earl design study, not sure it is quite as early as 39- maybe mid 40's? The Buick Y job is on my list as well- maybe Moebius would tackle this one- or perhaps a 3D printed one?
-
Please go to work in progress- egg crate grille and the car behind it- to see pictures of progress on this project. Thanks everyone for looking.
-
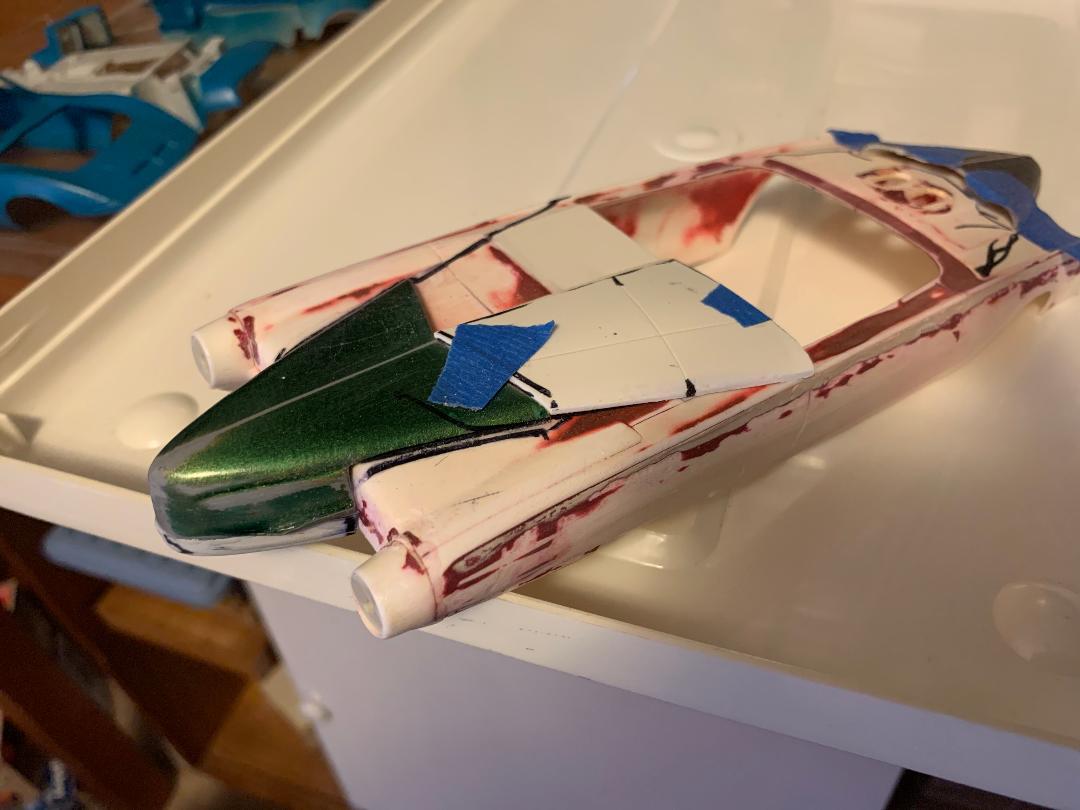
A little progress- removed the windshield frame and cut and fit part of an airplane wing to extend the boat tail to the passenger compartment. This wing section almost exactly matches the contour of the 40 Ford hood. So far one side fitted, then used this piece to outline the shape on another wing. Added a center shim support for both halves- not glued in since this may become an extension of a passenger compartment divider/center console.

-
While kruzing the internet, I found some inspirational photos of real car projects- these builders are doing in real steel what I am attempting in plastic! One thing which I plan to really re-work is the passenger compartment surround. he existing windshield frame will go and a divided screen will be constructed.
-
Just like a hot rod, a garage diorama is never really done- always something to tinker with.
-
'41 Chev Custom
Paul Payne replied to Brianl's topic in Model Trucks: Pickups, Vans, SUVs, Light Commercial
Ditto for the paint job, also the wood inlays! How about a trailer hitch to tow a matching speed boat or cruiser? -
1964-66 Shelby Daytona Coupe
Paul Payne replied to Venom's topic in Model Building Questions and Answers
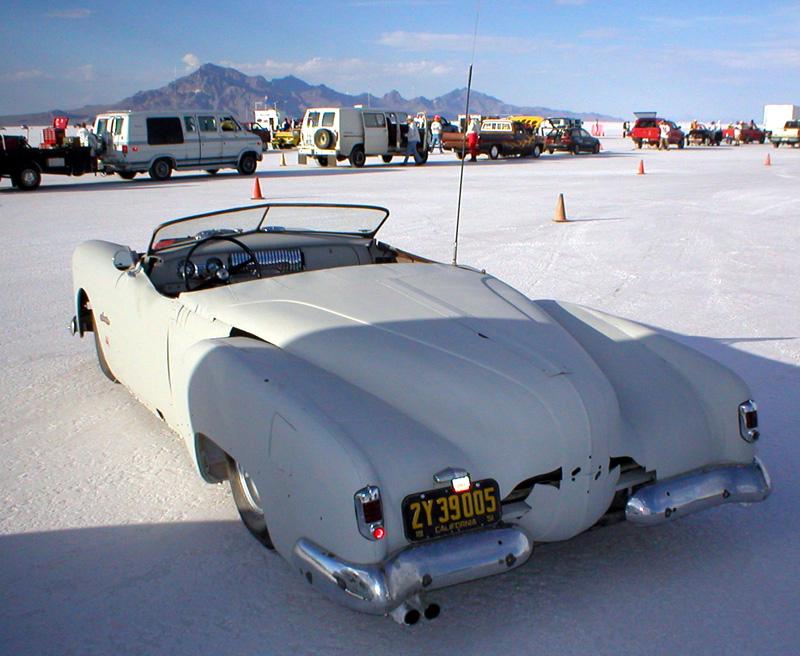
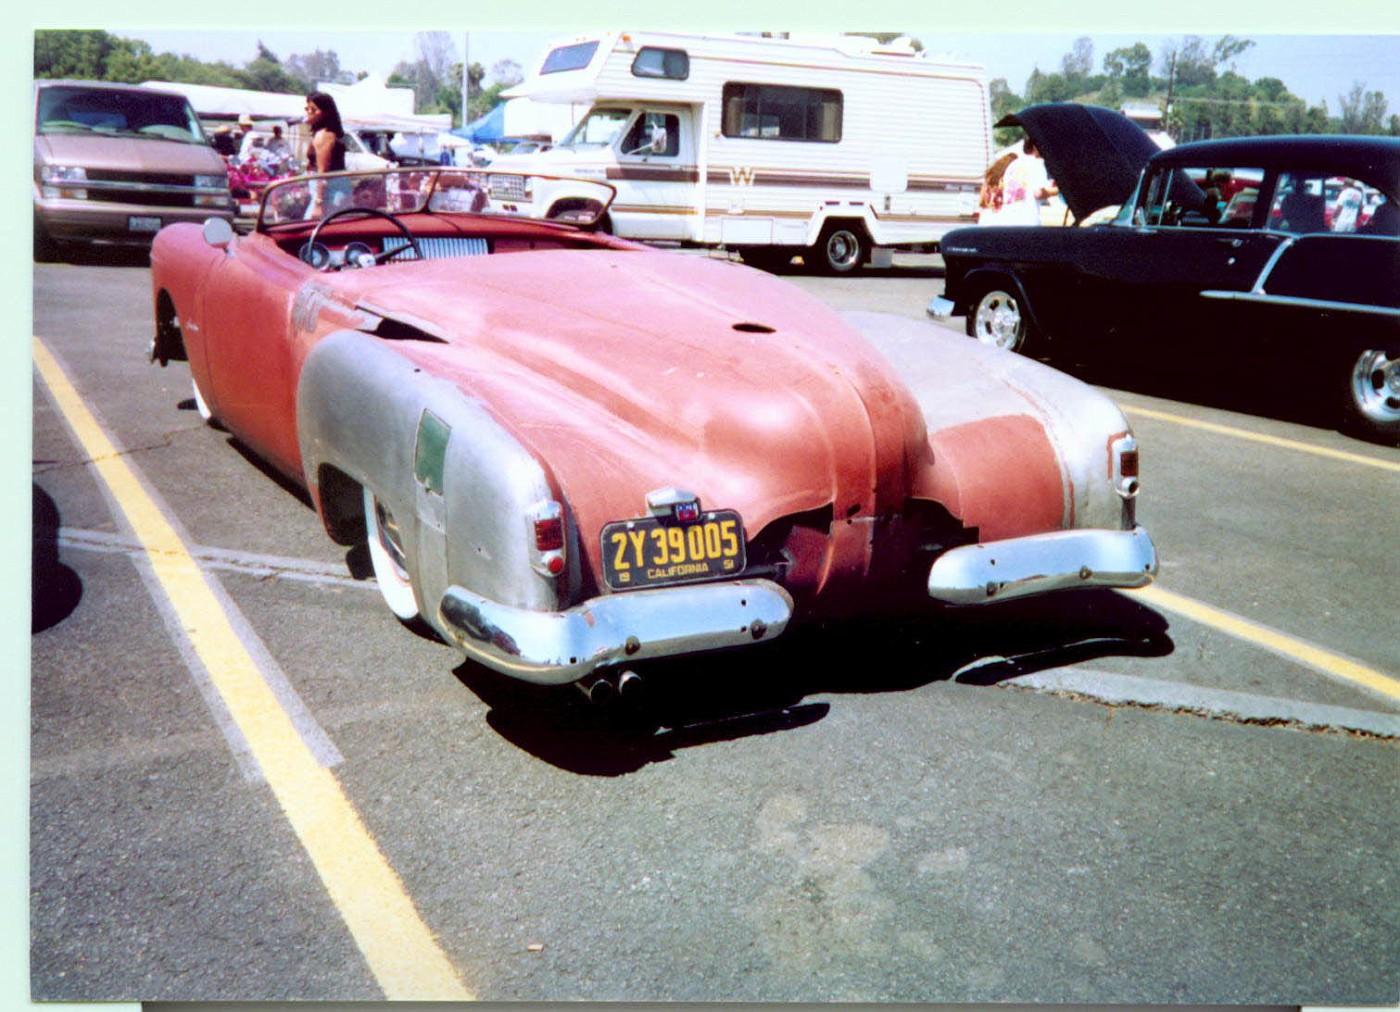
I snagged these pix off the internet some years ago. This has to be one of the greatest barn finds of all time.
-
Nice job- clean and sleek. Interior looks great.
-
My favorite T-birds, both beautifully done, and a great story as well. You have done your friend proud.
-
Nice restoration.
-
Great little truck! Good colors, and I too cannot decide which wheels I like better. I like your background too!
-
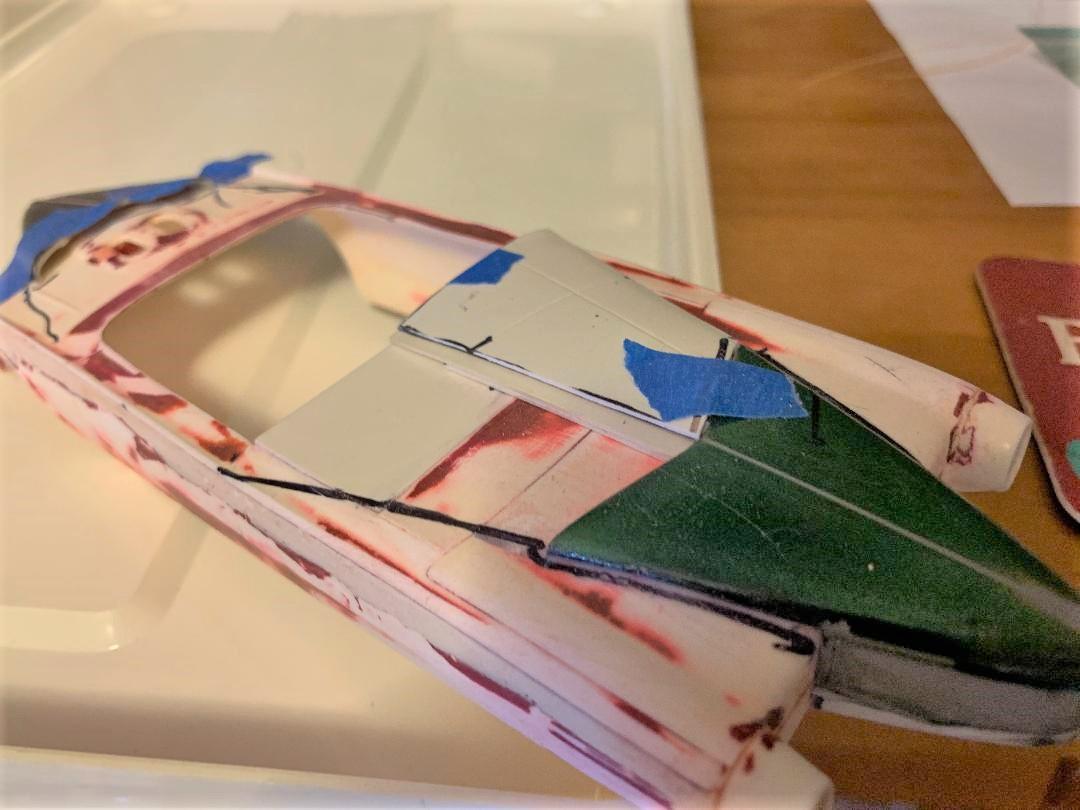
Progress- fitted and glued the top and bottom halves of the boat tail. Airplane wing sections will continue the contour to the passenger compartment. More soon.
-
Unless I missed it, I didn't see what the front tires are- I am guessing the old Monogram solid rubbers turned down.
-
Kurtis Offy Midget #1
Paul Payne replied to RancheroSteve's topic in WIP: Other Racing: Road Racing, Land Speed Racers
I think you ought to leave the body off and display it as is! Then build a second one with the body! What are you favorite metallic finishes and how do you apply them? Thanks for sharing the great pix. -
So glad you shared some build photos and your thoughts on what you were going for and how you accomplished it. I am sure many of us would like a bit more info on the metal finishes you used- are they your own mixes?
-
Great weathering- Check the air in the tires, pull the dip stick, and drive it to the shop!
-
'41 Chev Custom
Paul Payne replied to Brianl's topic in WIP: Model Trucks: Pickups, Vans, SUVs, Light Commercial
Fantastic build- well thought out and executed! Paint is awesome! What was the inspiration for the bed top design? Looks really art deco! -
The EXCLUSIVELY '32 Roadster/Cabriolet ONLY thread. Show us what you got!!!
Paul Payne replied to mrm's topic in Model Cars
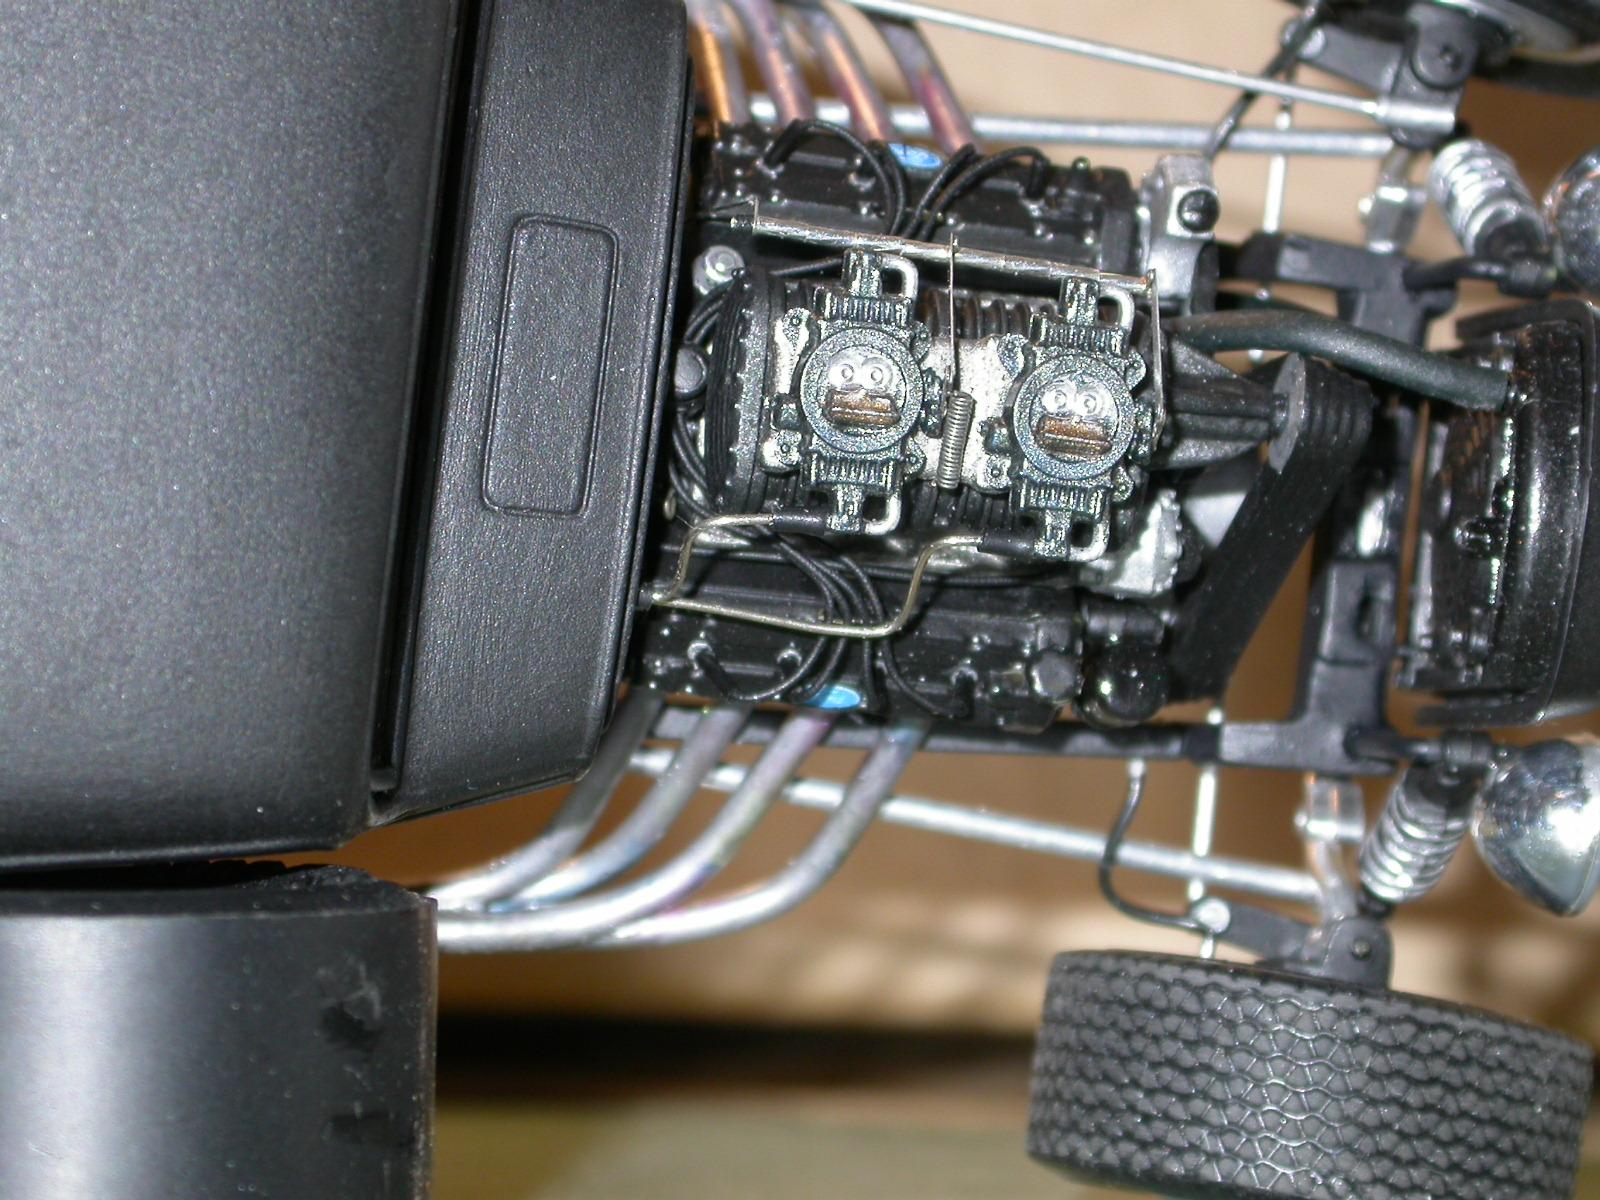
Earl, that is an Offy I got from Etzel's Speed Classics. I was inspired by Lou Senter's Offy powered T tracknose roadster. -
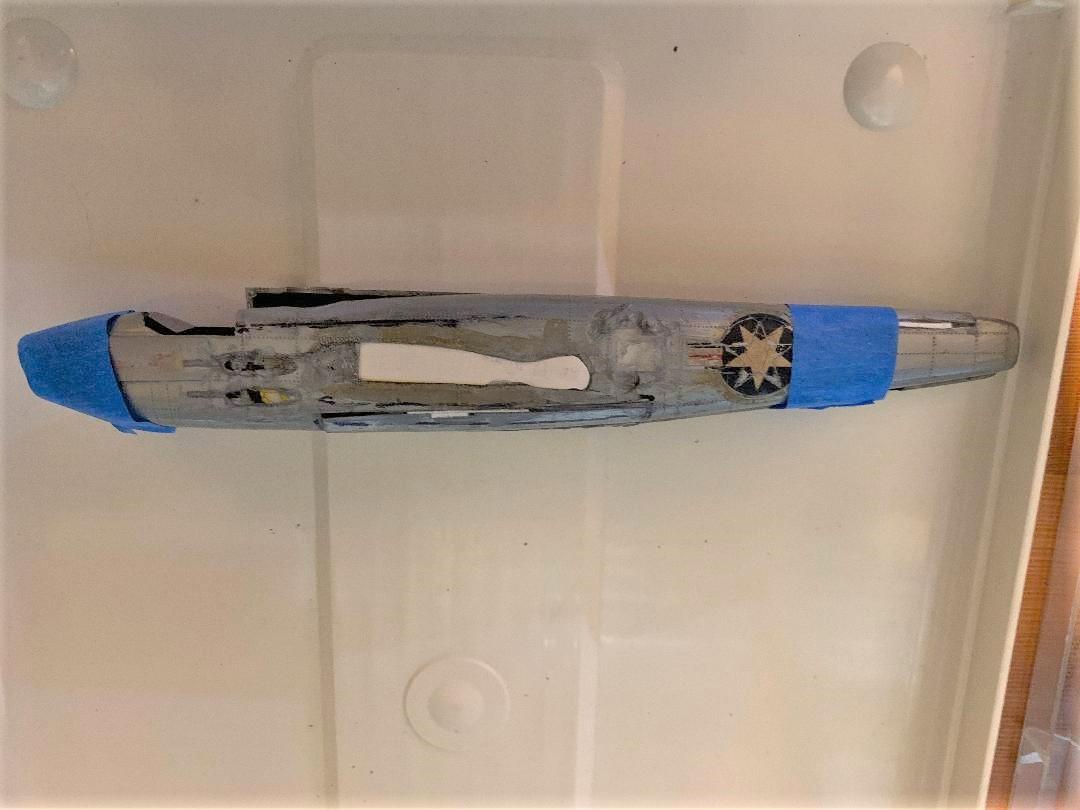
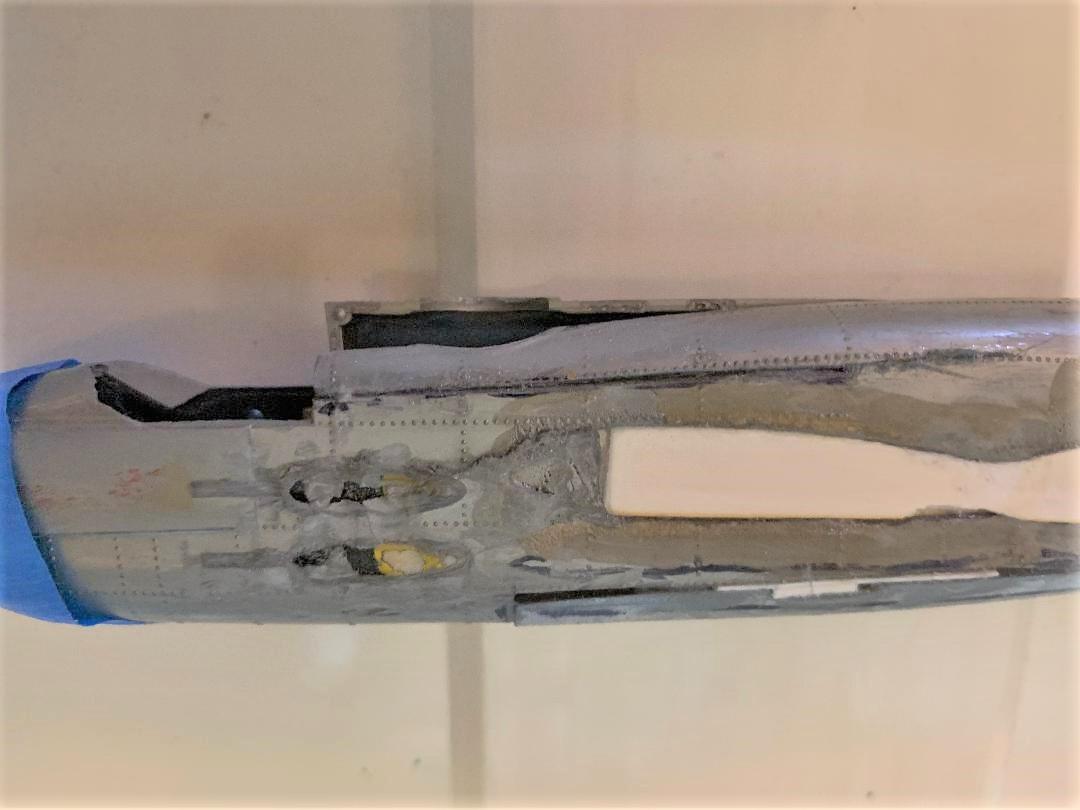
Almost forgot- I modified the bottom contour of one half of the fuselage for better lines. The half on top has a pie cut section removed, which will be duplicated on the bottom half. You can really see the difference. I had also grafted in patch pieces from a donor fuselage, again to smooth nd refine the shape. Still need to add filler slivers in some gaps. I want to get these pieces as close to final shape as possible before grafting them onto the body, to reduce the chance of things coming apart from stresses. Another opinion poll! What shape for the wheel arches, or perhaps none or only minimal ones? If the wheels won't show, I will change out the wheels for different ones- however I do like the wires but perhaps only a portion peeking out?
-
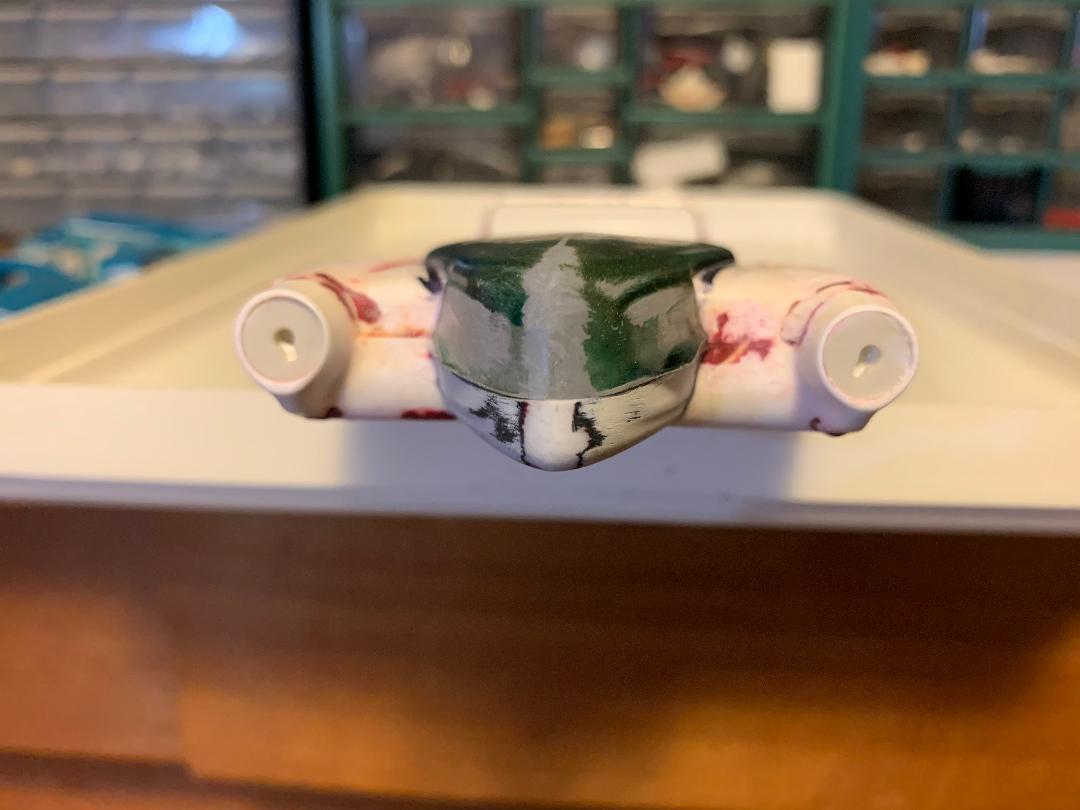
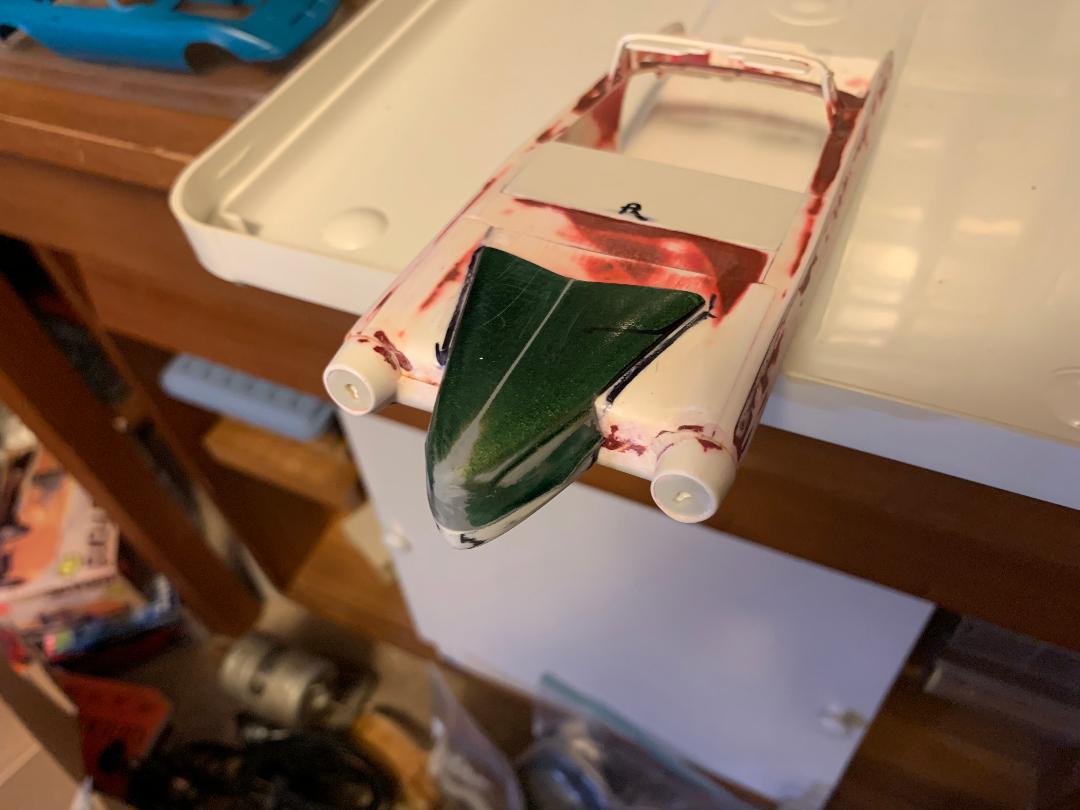
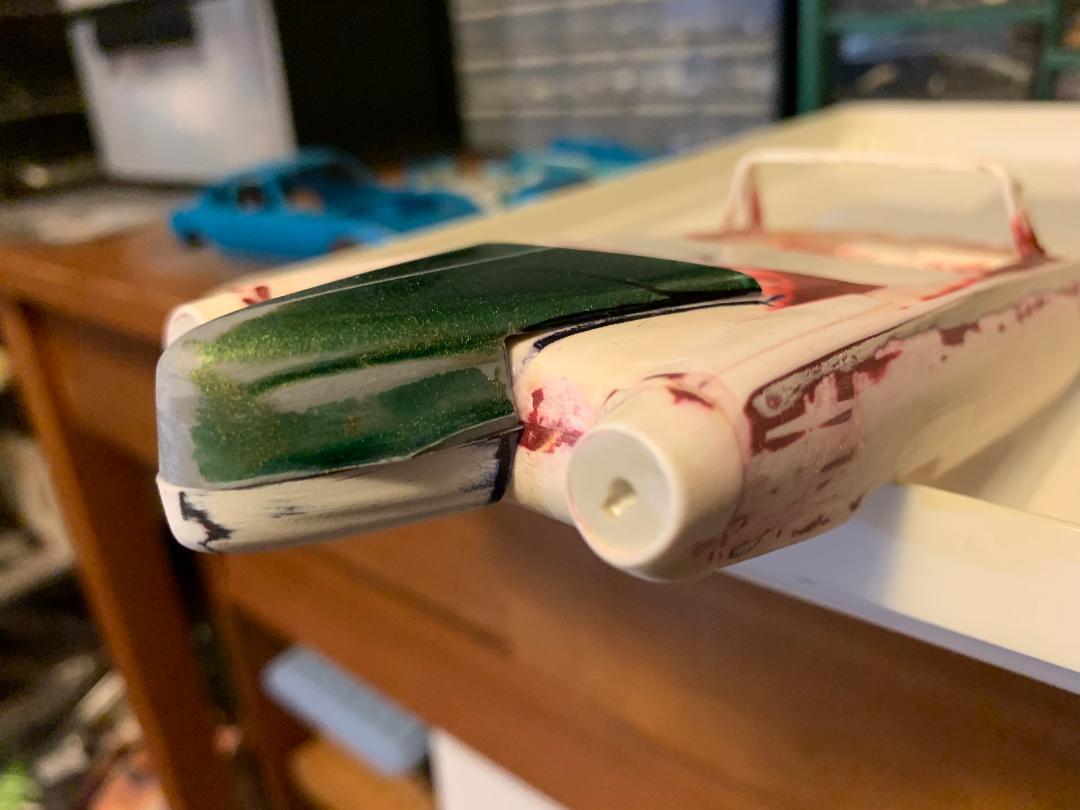
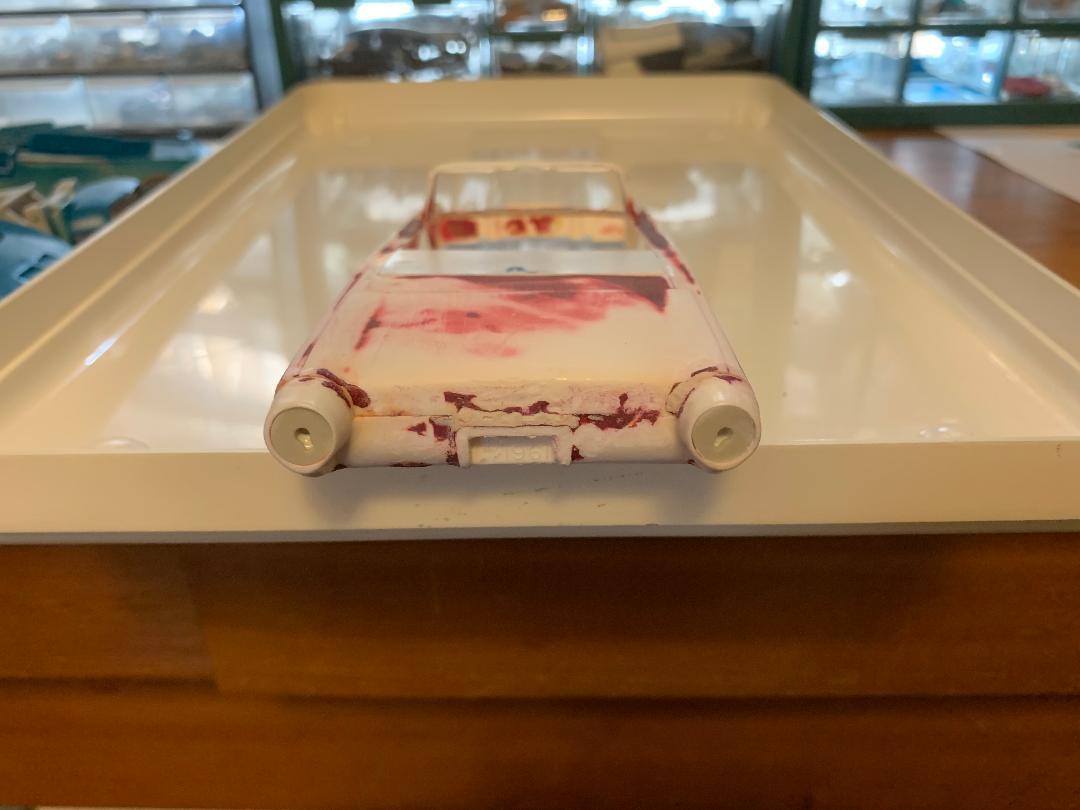
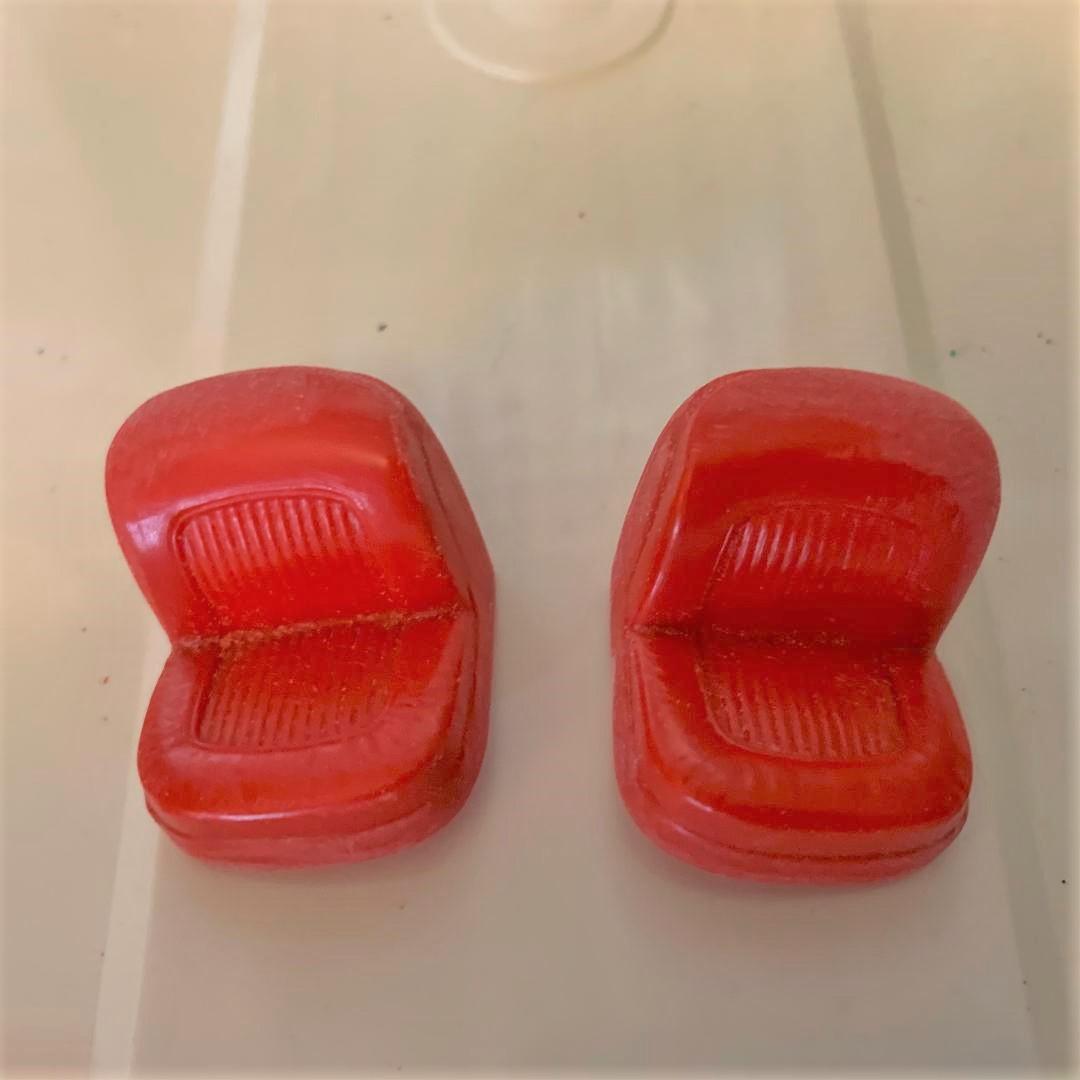
A little progress- the styline tail light openings were very deep. I filled them with plastic so I would have solid material to rework this area- no firm ideas yet, possibly similar to the Buick Y-job. I also decided to use the Corvette bucket seats, so I cut them apart and sanded them , refining the shape of the top of the backs since they were definitely left hand and right hand, not evident before separation. I wanted very cushy seats for this ride, and I like the detailing of the little creases and wrinkles in the upholstery. They will get new sides and backs- pix when that is done. I added some more to the grille as well. Here it is against the center profile piece. A lot of repetitive work to be done before the shaping begins. After all, the grille was the reason this project started in the first place!
-
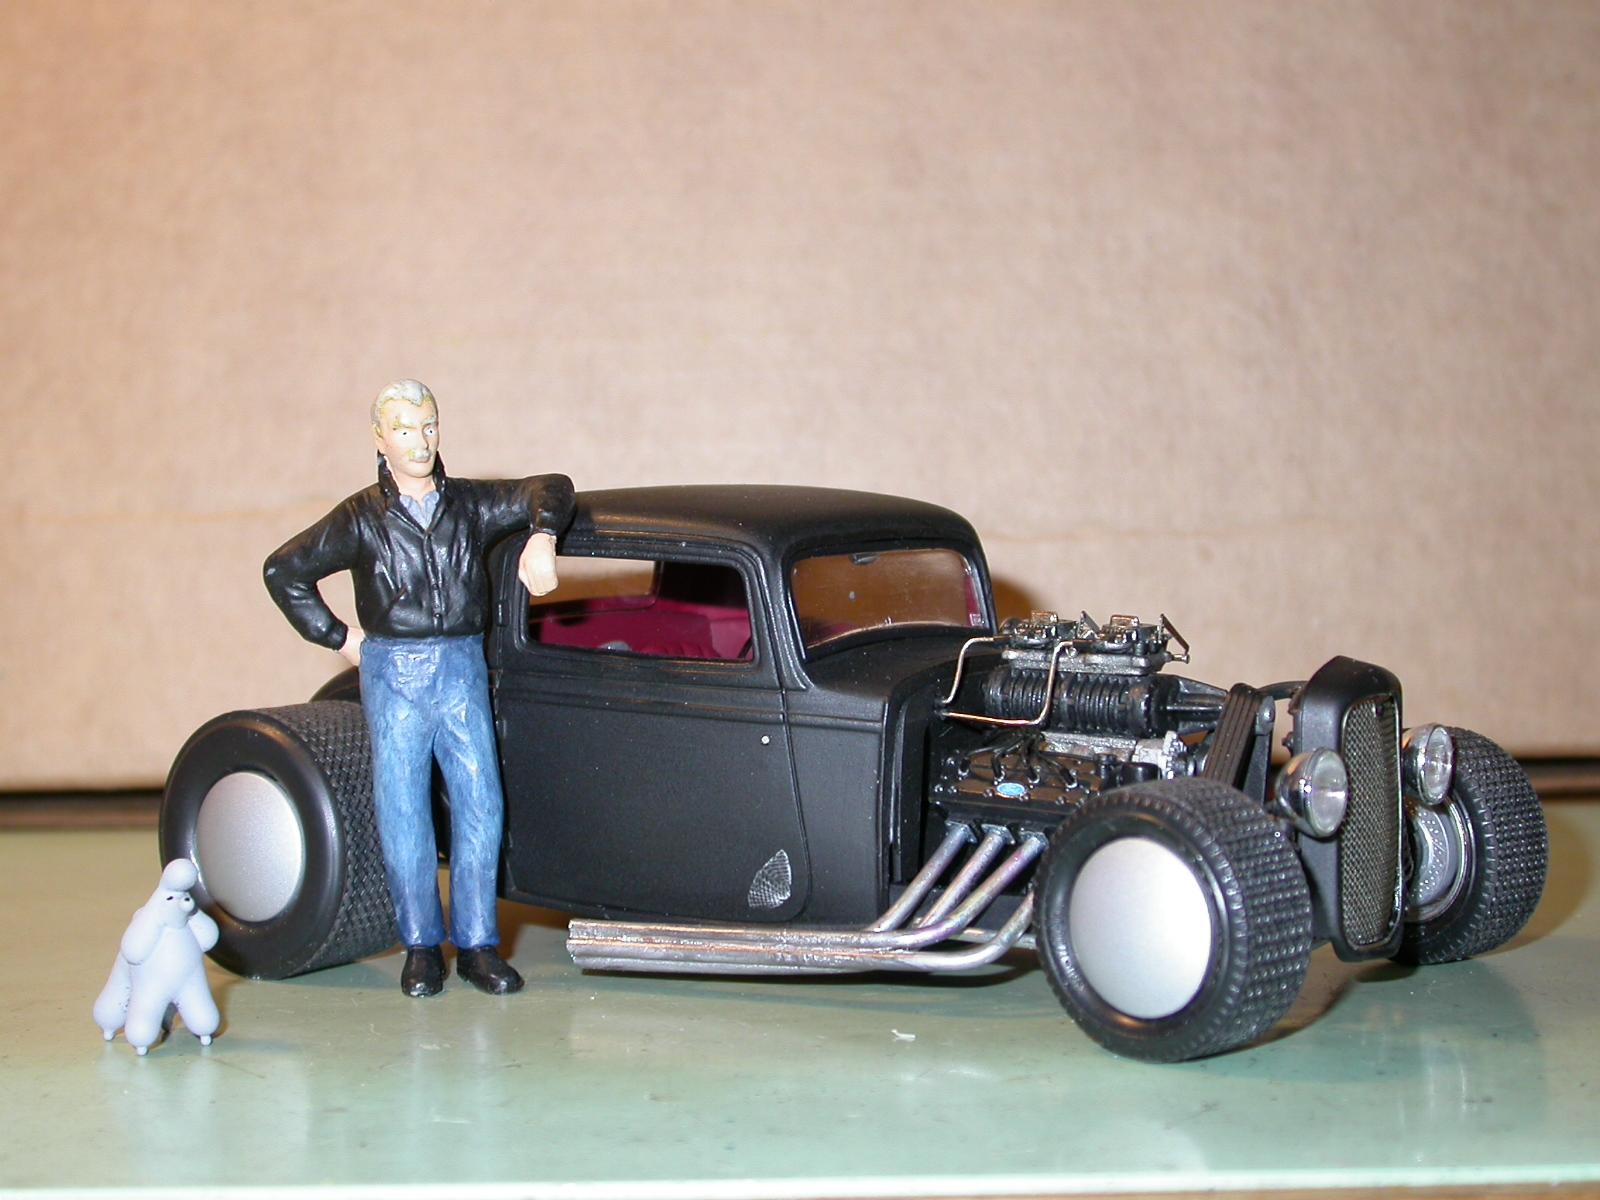
Here's some of mine. The Monogram sport coupe was purchased built. I had to rebuild a hairpin radius rod, otherwise as built who knows how long ago?
-
The EXCLUSIVELY '32 Roadster/Cabriolet ONLY thread. Show us what you got!!!
Paul Payne replied to mrm's topic in Model Cars
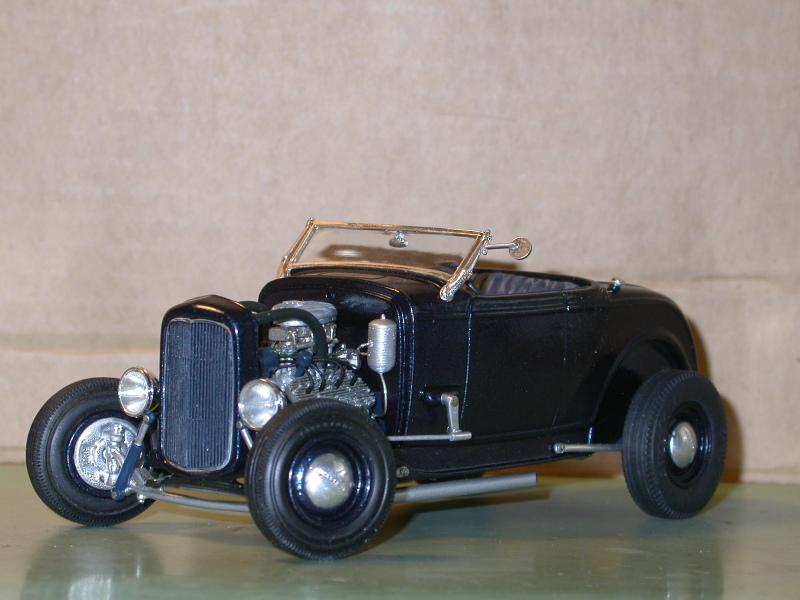
Here are some of mine:
-
Tim, masterpiece! Drive it away!