David G.
-
Posts
11,325 -
Joined
-
Last visited
Content Type
Profiles
Forums
Events
Gallery
Everything posted by David G.
-
 Looks like a fun project, you're off to a good start. David G.
 -
1950 Chevy
David G. replied to Tommy Isbister's topic in Model Trucks: Pickups, Vans, SUVs, Light Commercial
Excellent work on the weathering! David G. -
The paintwork looks great! The clear coat should punch it up nicely. David G.
-
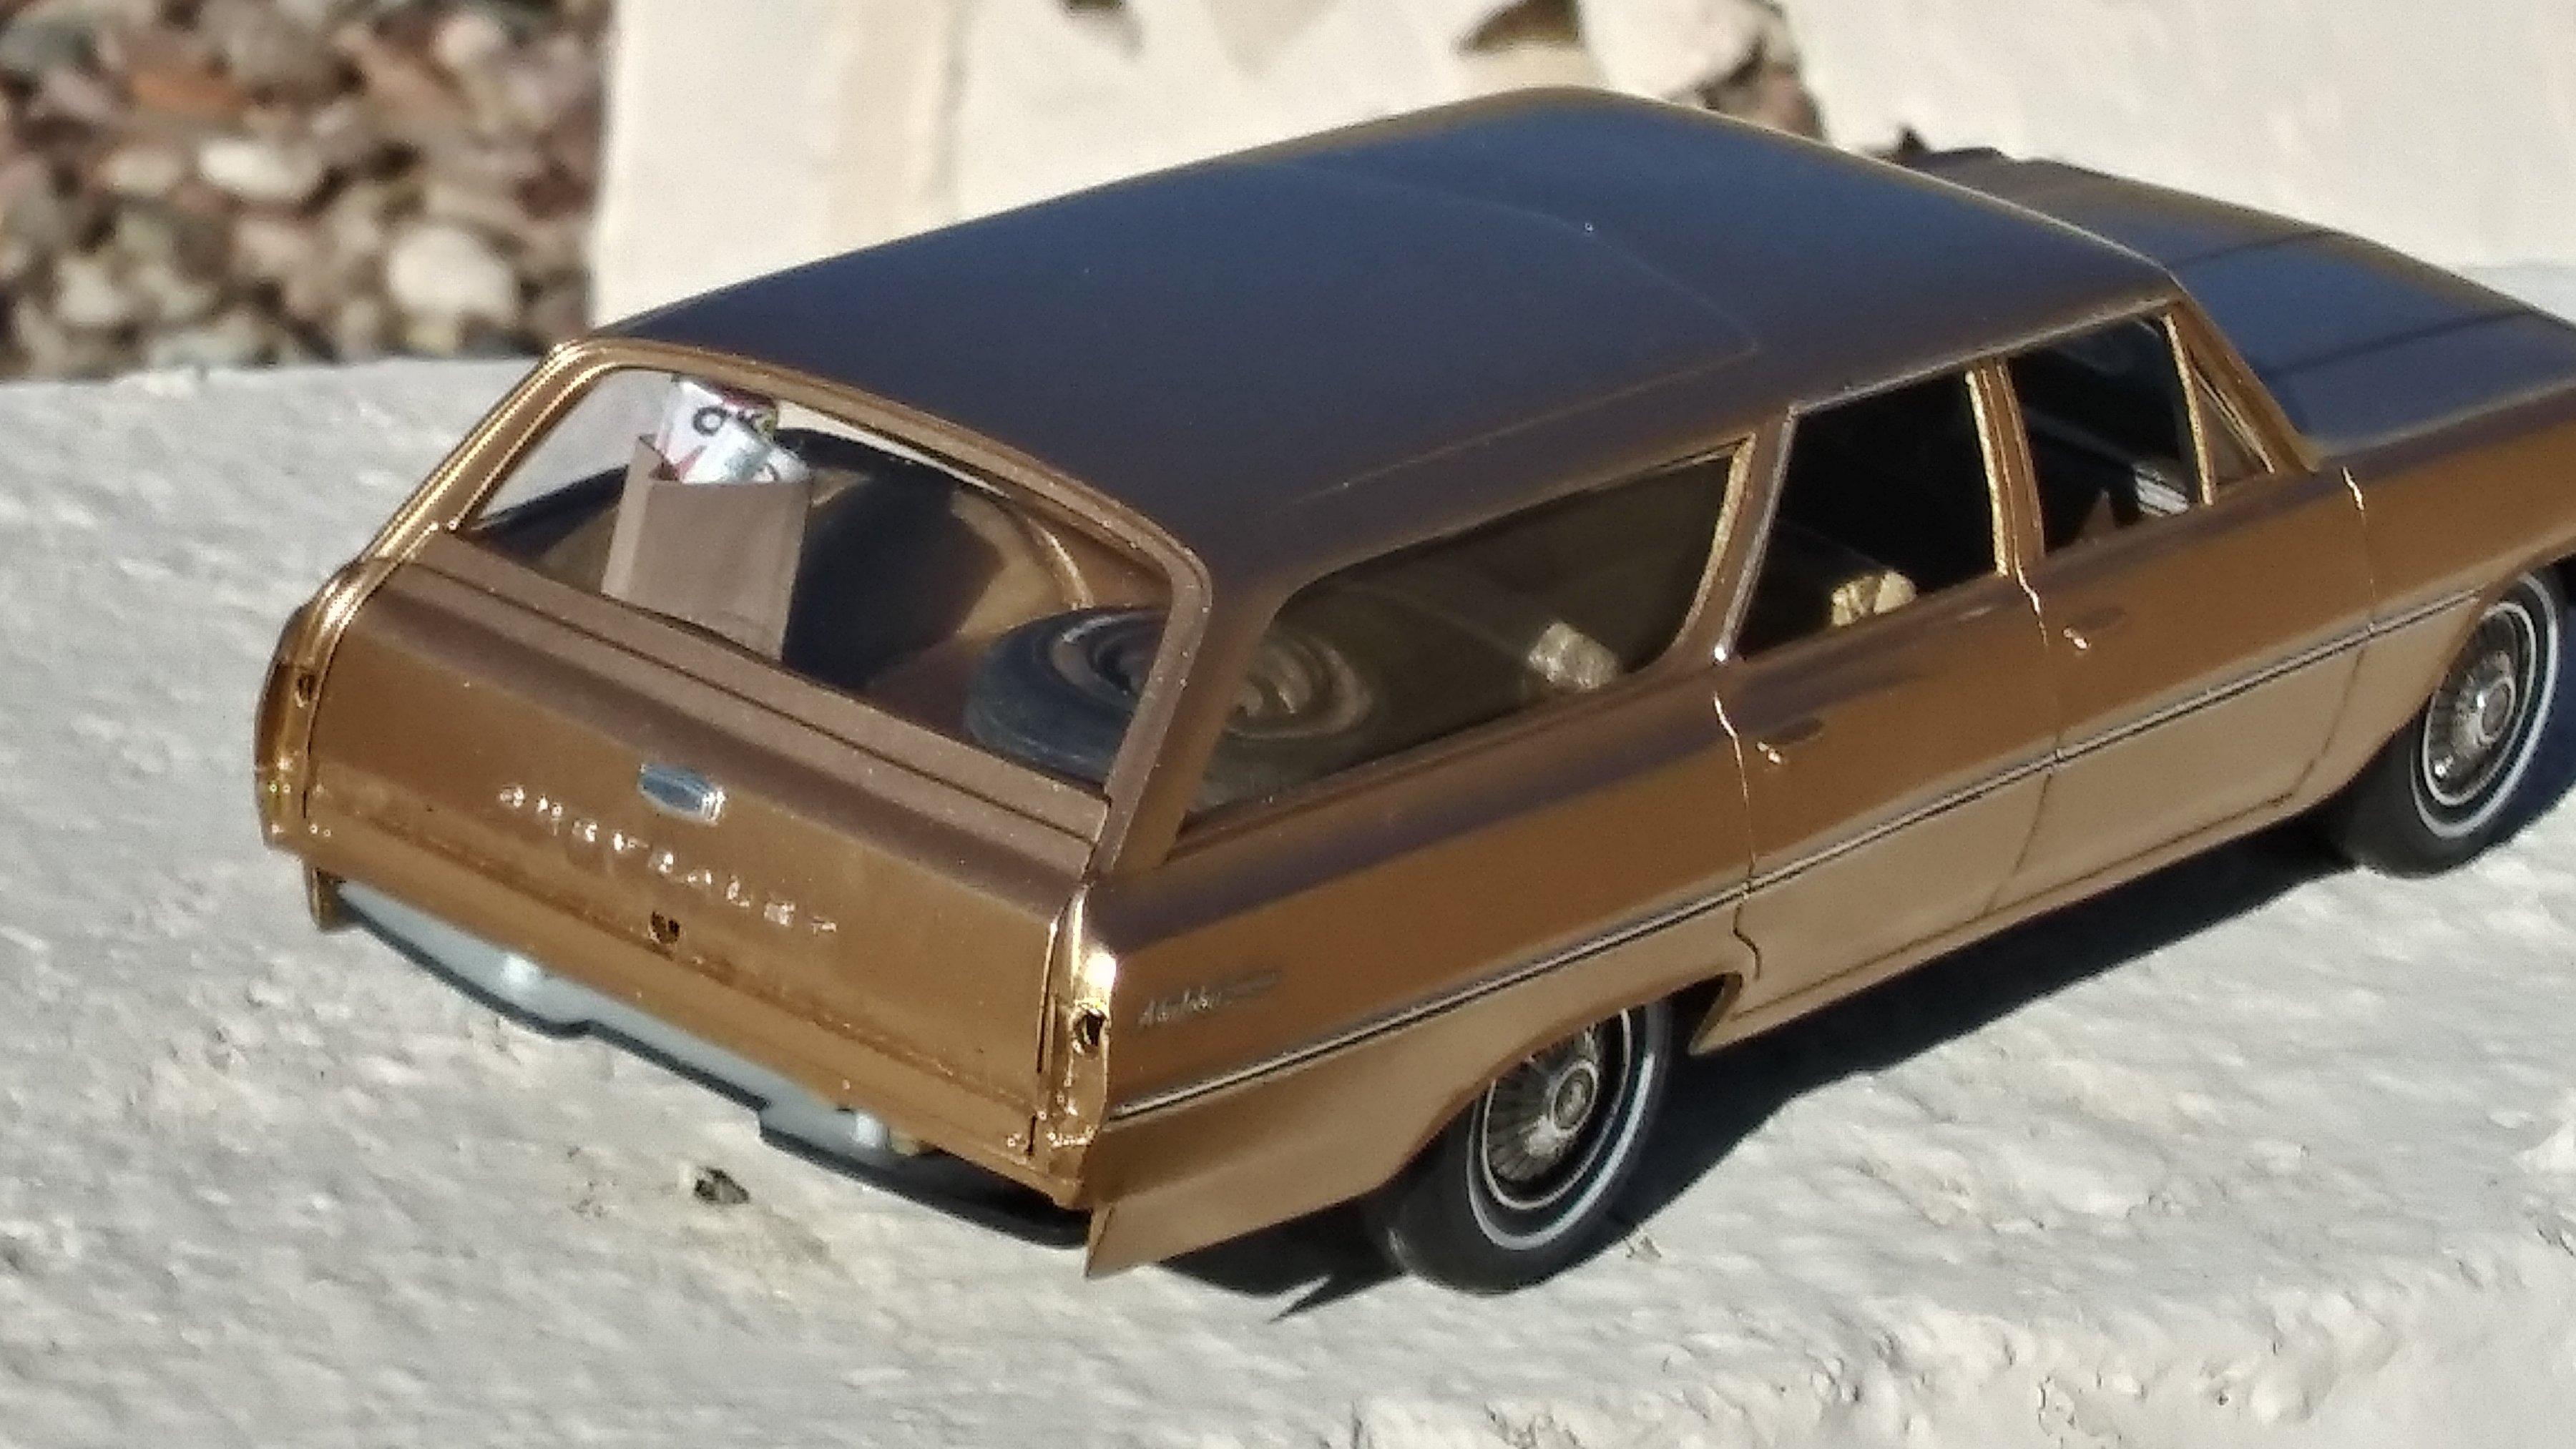
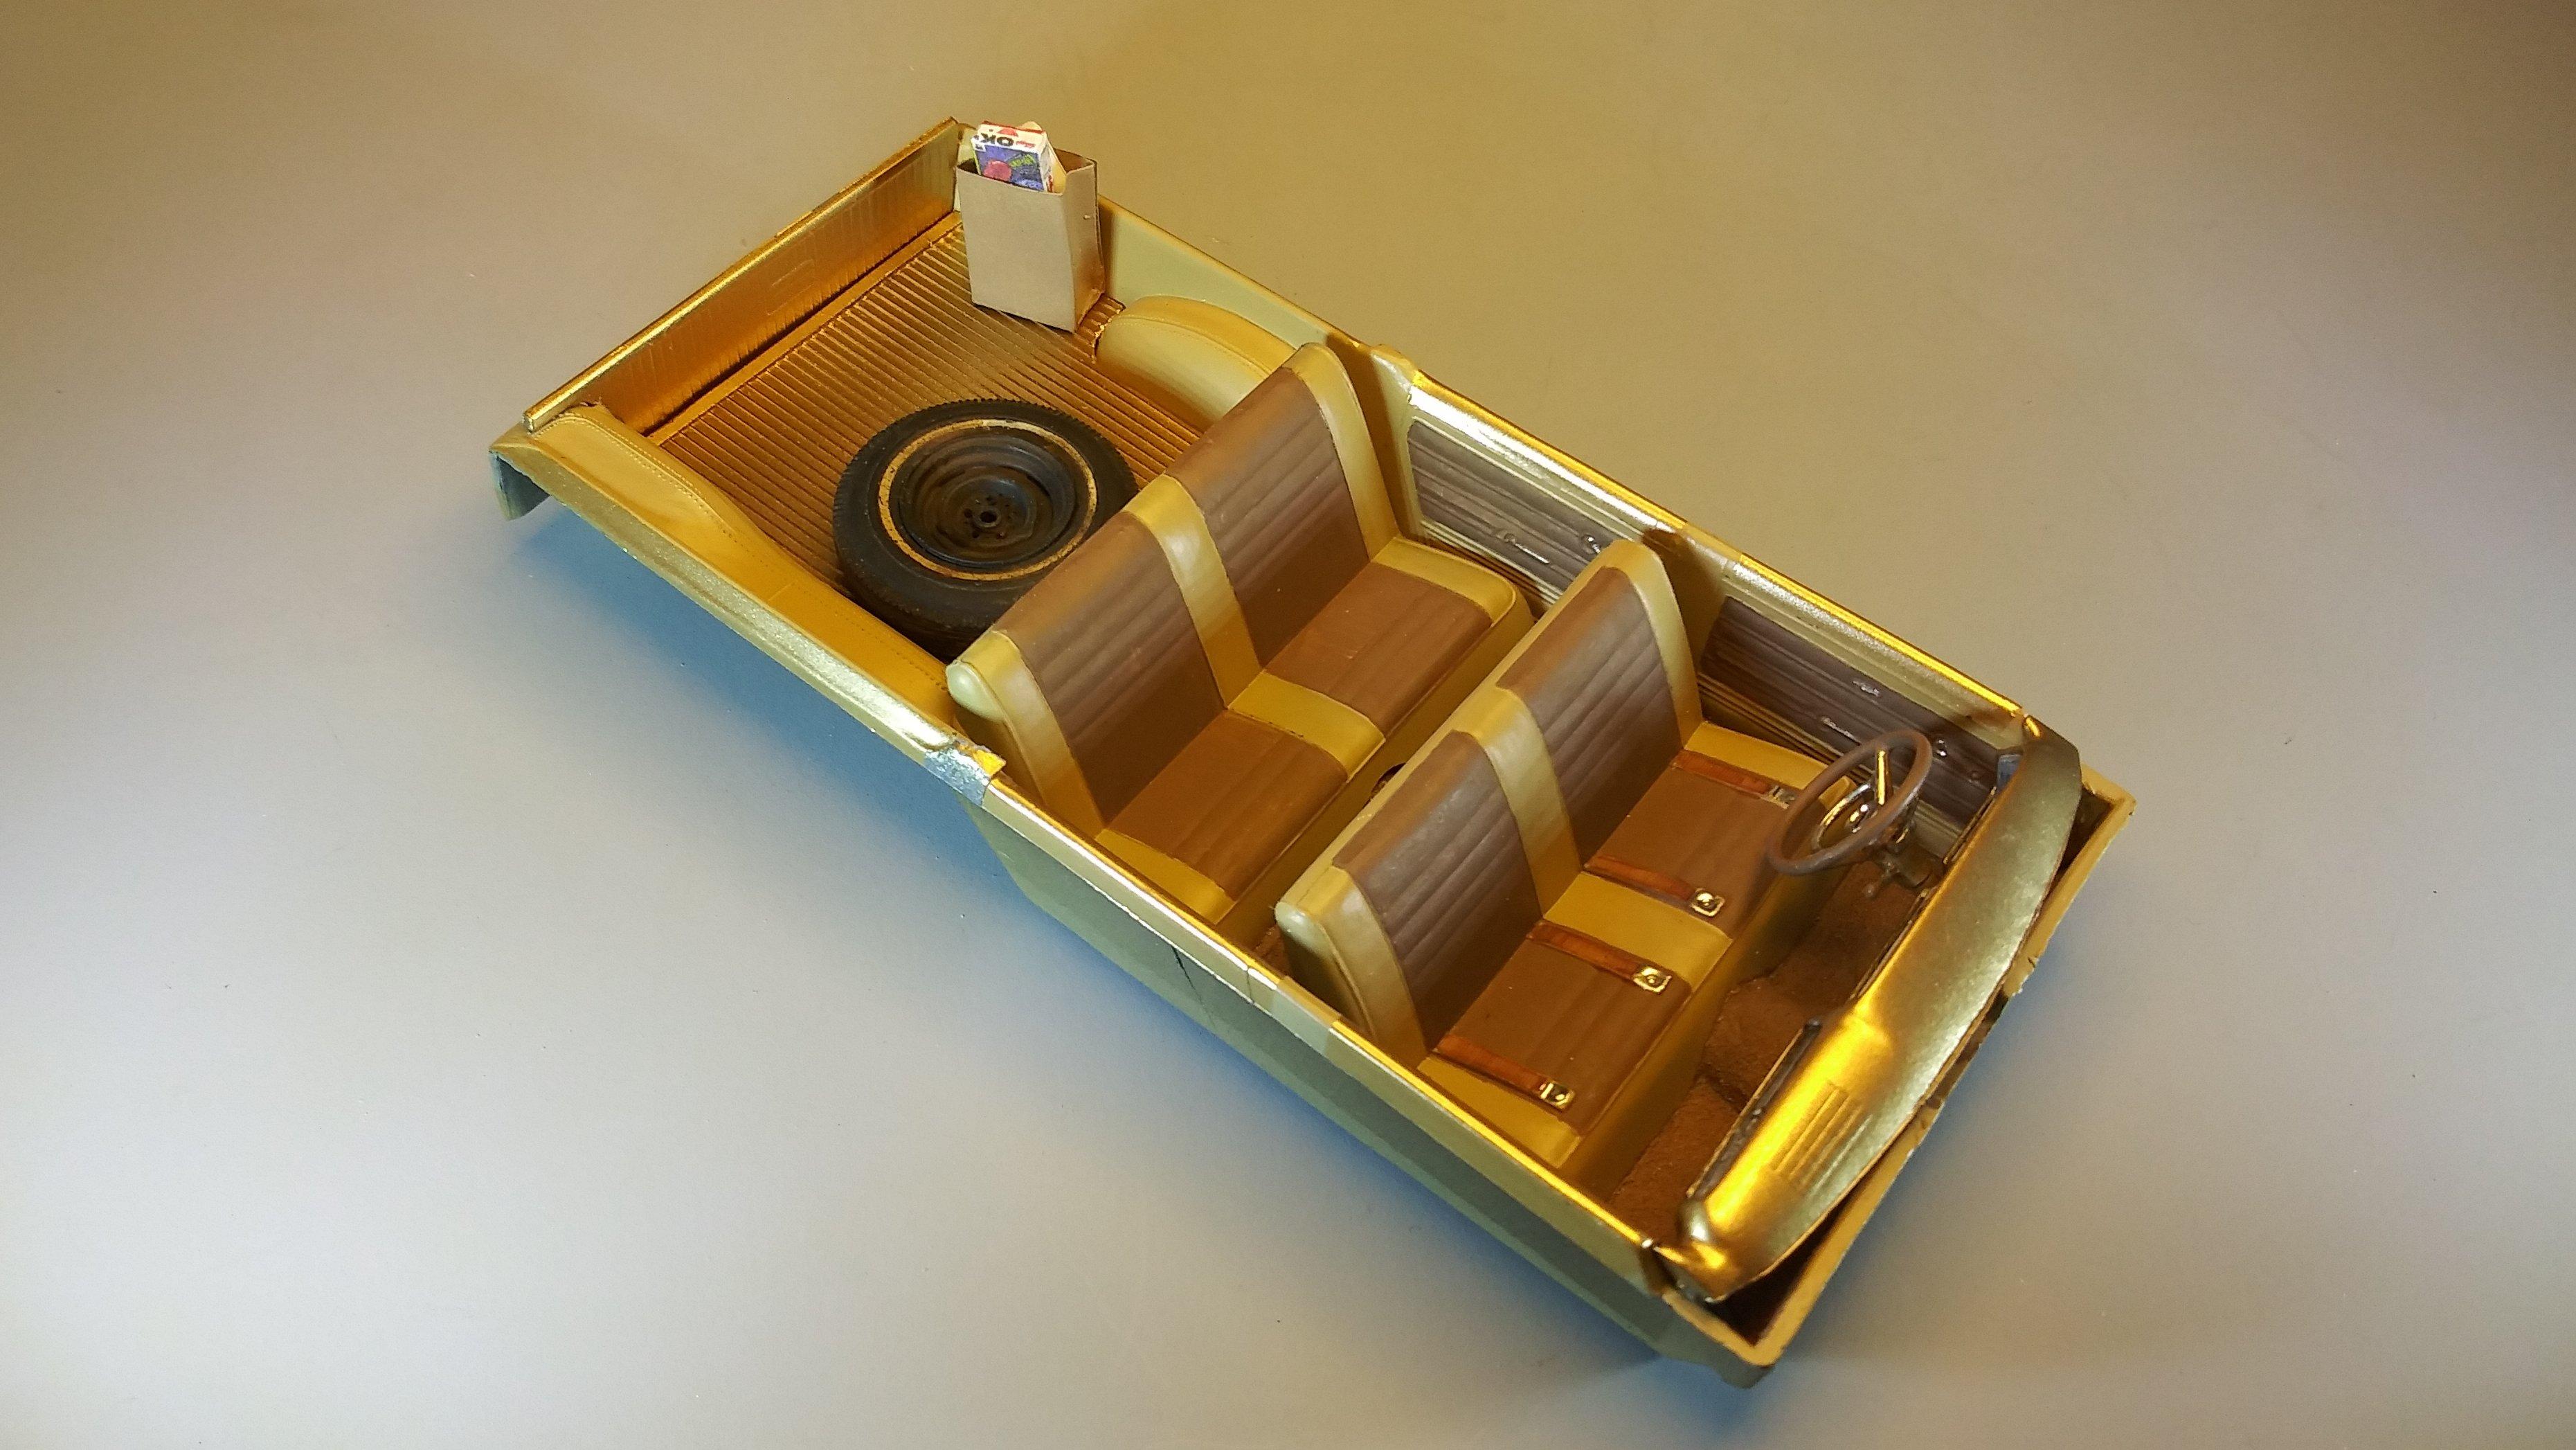
Thanks Ricky. Yeah, that wasn't meant to be the final placement of the grocery bag, just the most visible one for photo purposes. Besides, I've seen worse. I've been thinking about cutting the bottom of the bag down a little bit, but if it ends up on the floor in the back seat, I may want that extra height. Hmmm. Thank you Michel. I have several more bags but the hard work is in coming up with the groceries to fill them. Thank you Scott, I'm glad you like it. On the transmission matter, I addressed that in a post on October 12. I decided that once the car is in the display case, the steering column would be more visible than the transmission and with the brake pedal cast into the floor as it was, removing that and adding a new three pedal set wouldn't add that much to the appearance of the interior. I had even considered swapping out the manual gearbox for an auto I wasn't sure if I should use a TH 350 or 400, or even if either of those would be correct. But thank you for taking the time to point that out. Those are obviously things that do matter to me and I may have been a little disappointed had I not thought to address that. By the way, any thoughts on the grocery bag proportions? Again, thanks to everyone for the feedback. I now have some new thoughts to consider. David G.

-
Excellent street rod, looks great from every angle. David G.
-
Paint looks great! I also like the heat scorching on the exhaust. David G.
-
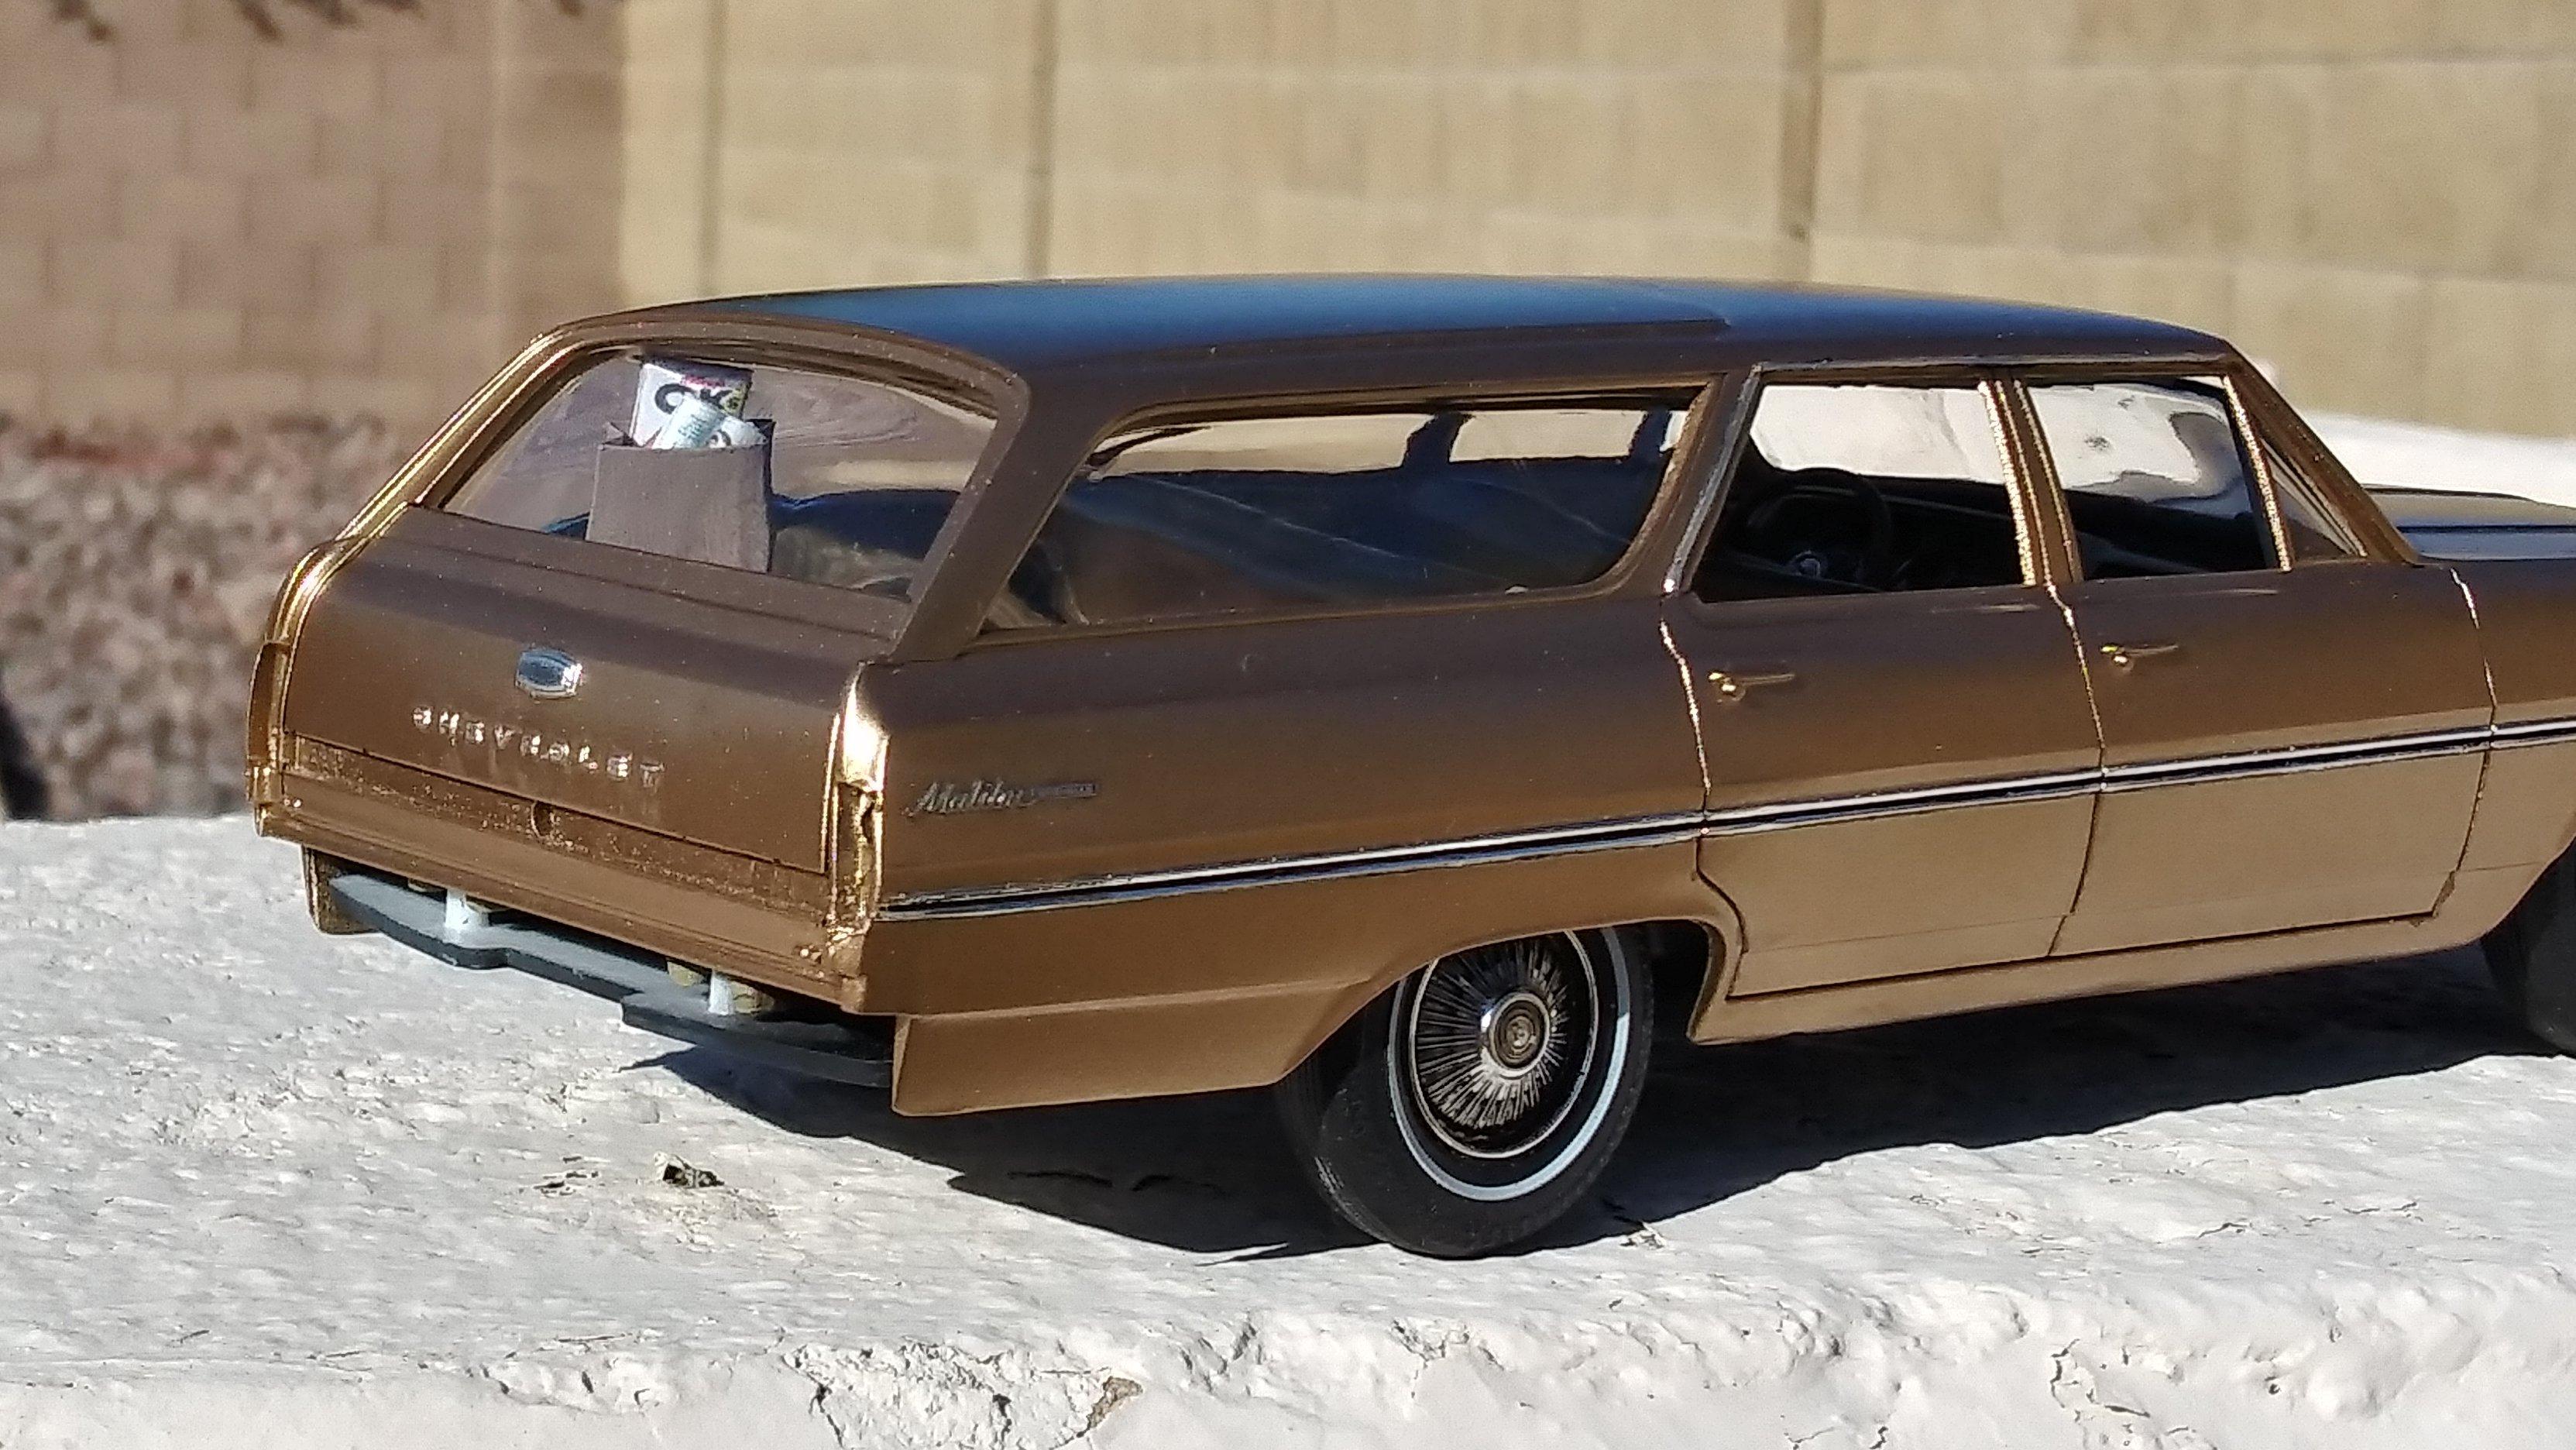
Thanks Sam. I'm beginning to reconsider the grocery bag. Thanks Ricky. I wish I had some luggage. If I did, it would have been my first choice. If and when you do start in on that wagon, be sure to post some photos. I'd love to see one of these in full race kit. I'm trying to make a decision on the grocery bag. I feel that it looks too tall and a bit too big in the back of the wagon. So now I'm calling upon the wisdom of the crowd (that's you guys) to help me decide if I should use it or not. In some ways, it still doesn't quite look right to my eye but the more I see it, the less I dislike it. Please let me know what you think. Thanks in advance for your feedback. David G.
-
A fortunate acquisition! I'll be following along on this one. Best of luck! David G.
-
Great looking Chrysler! Is that the AMT kit? I think the name "Merkur" was part of the problem. Maybe Mercury should have dusted off the "Bobcat" model name and used it. The probably would have sold more Mercury Bobcats than Merkur Scorpios. David G.
-
All your work with the decals looks fantastic! I admire your patience. I'm looking forward to seeing more. David G.
-
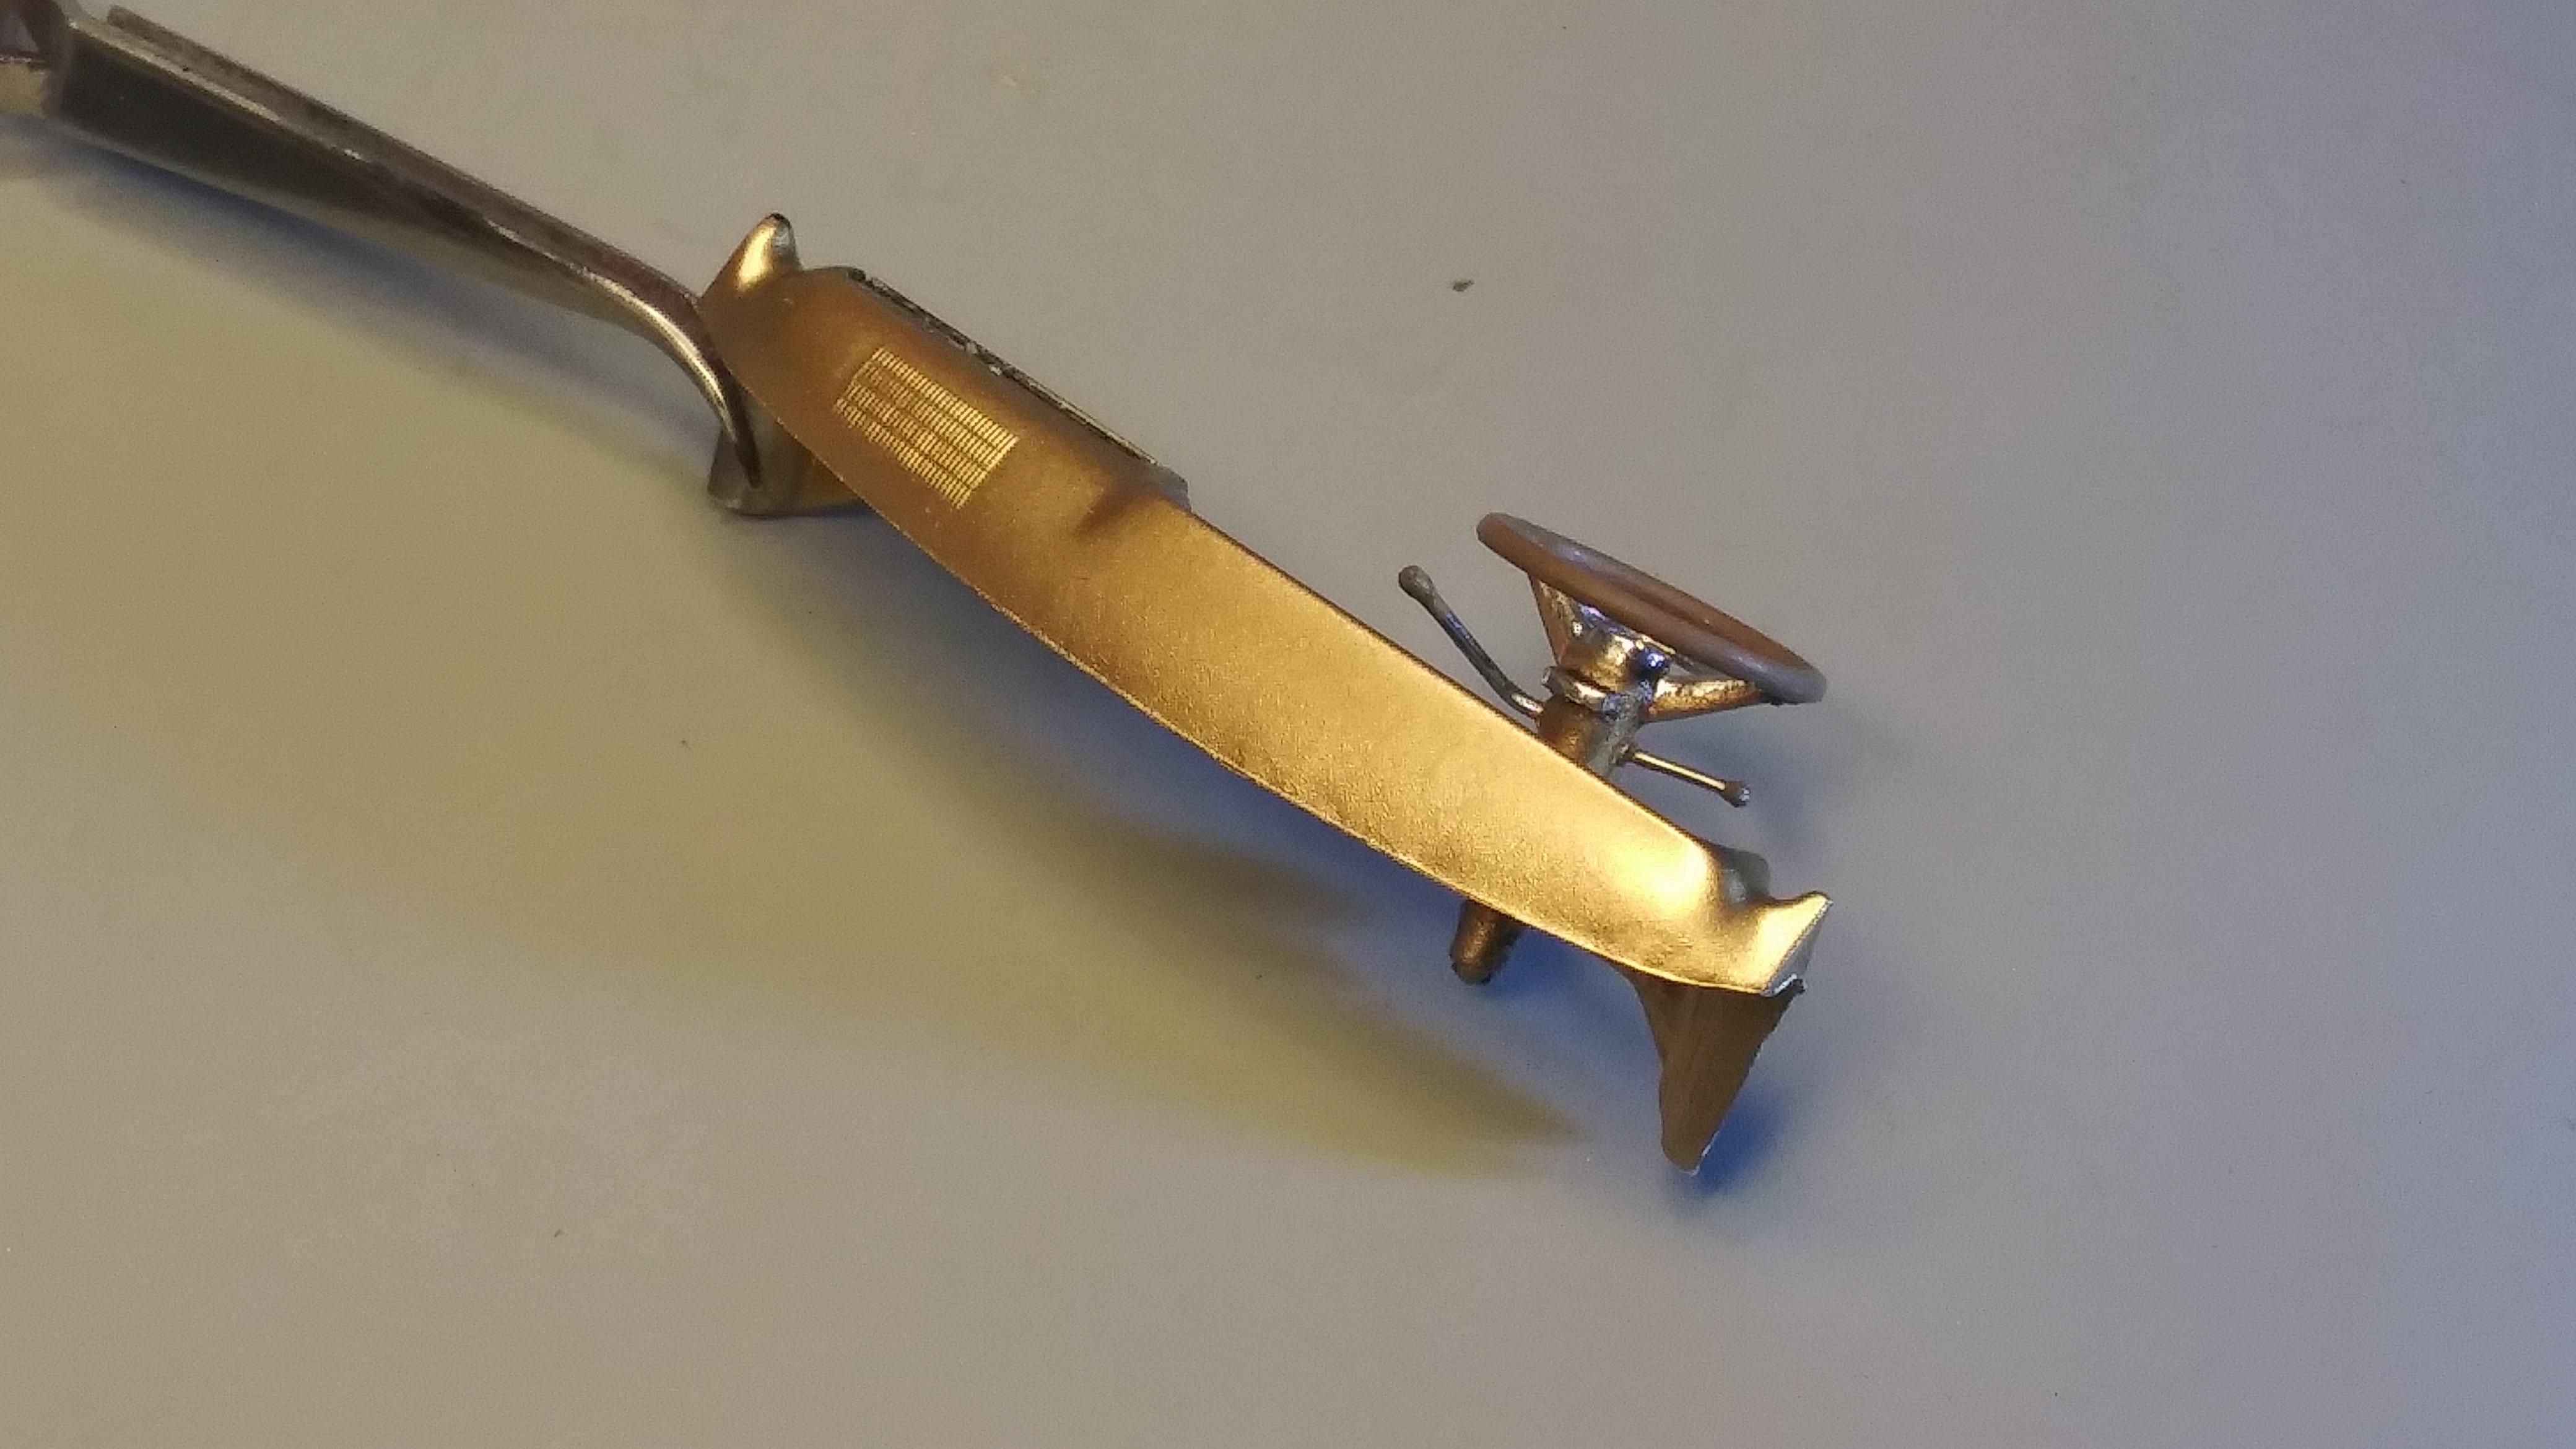
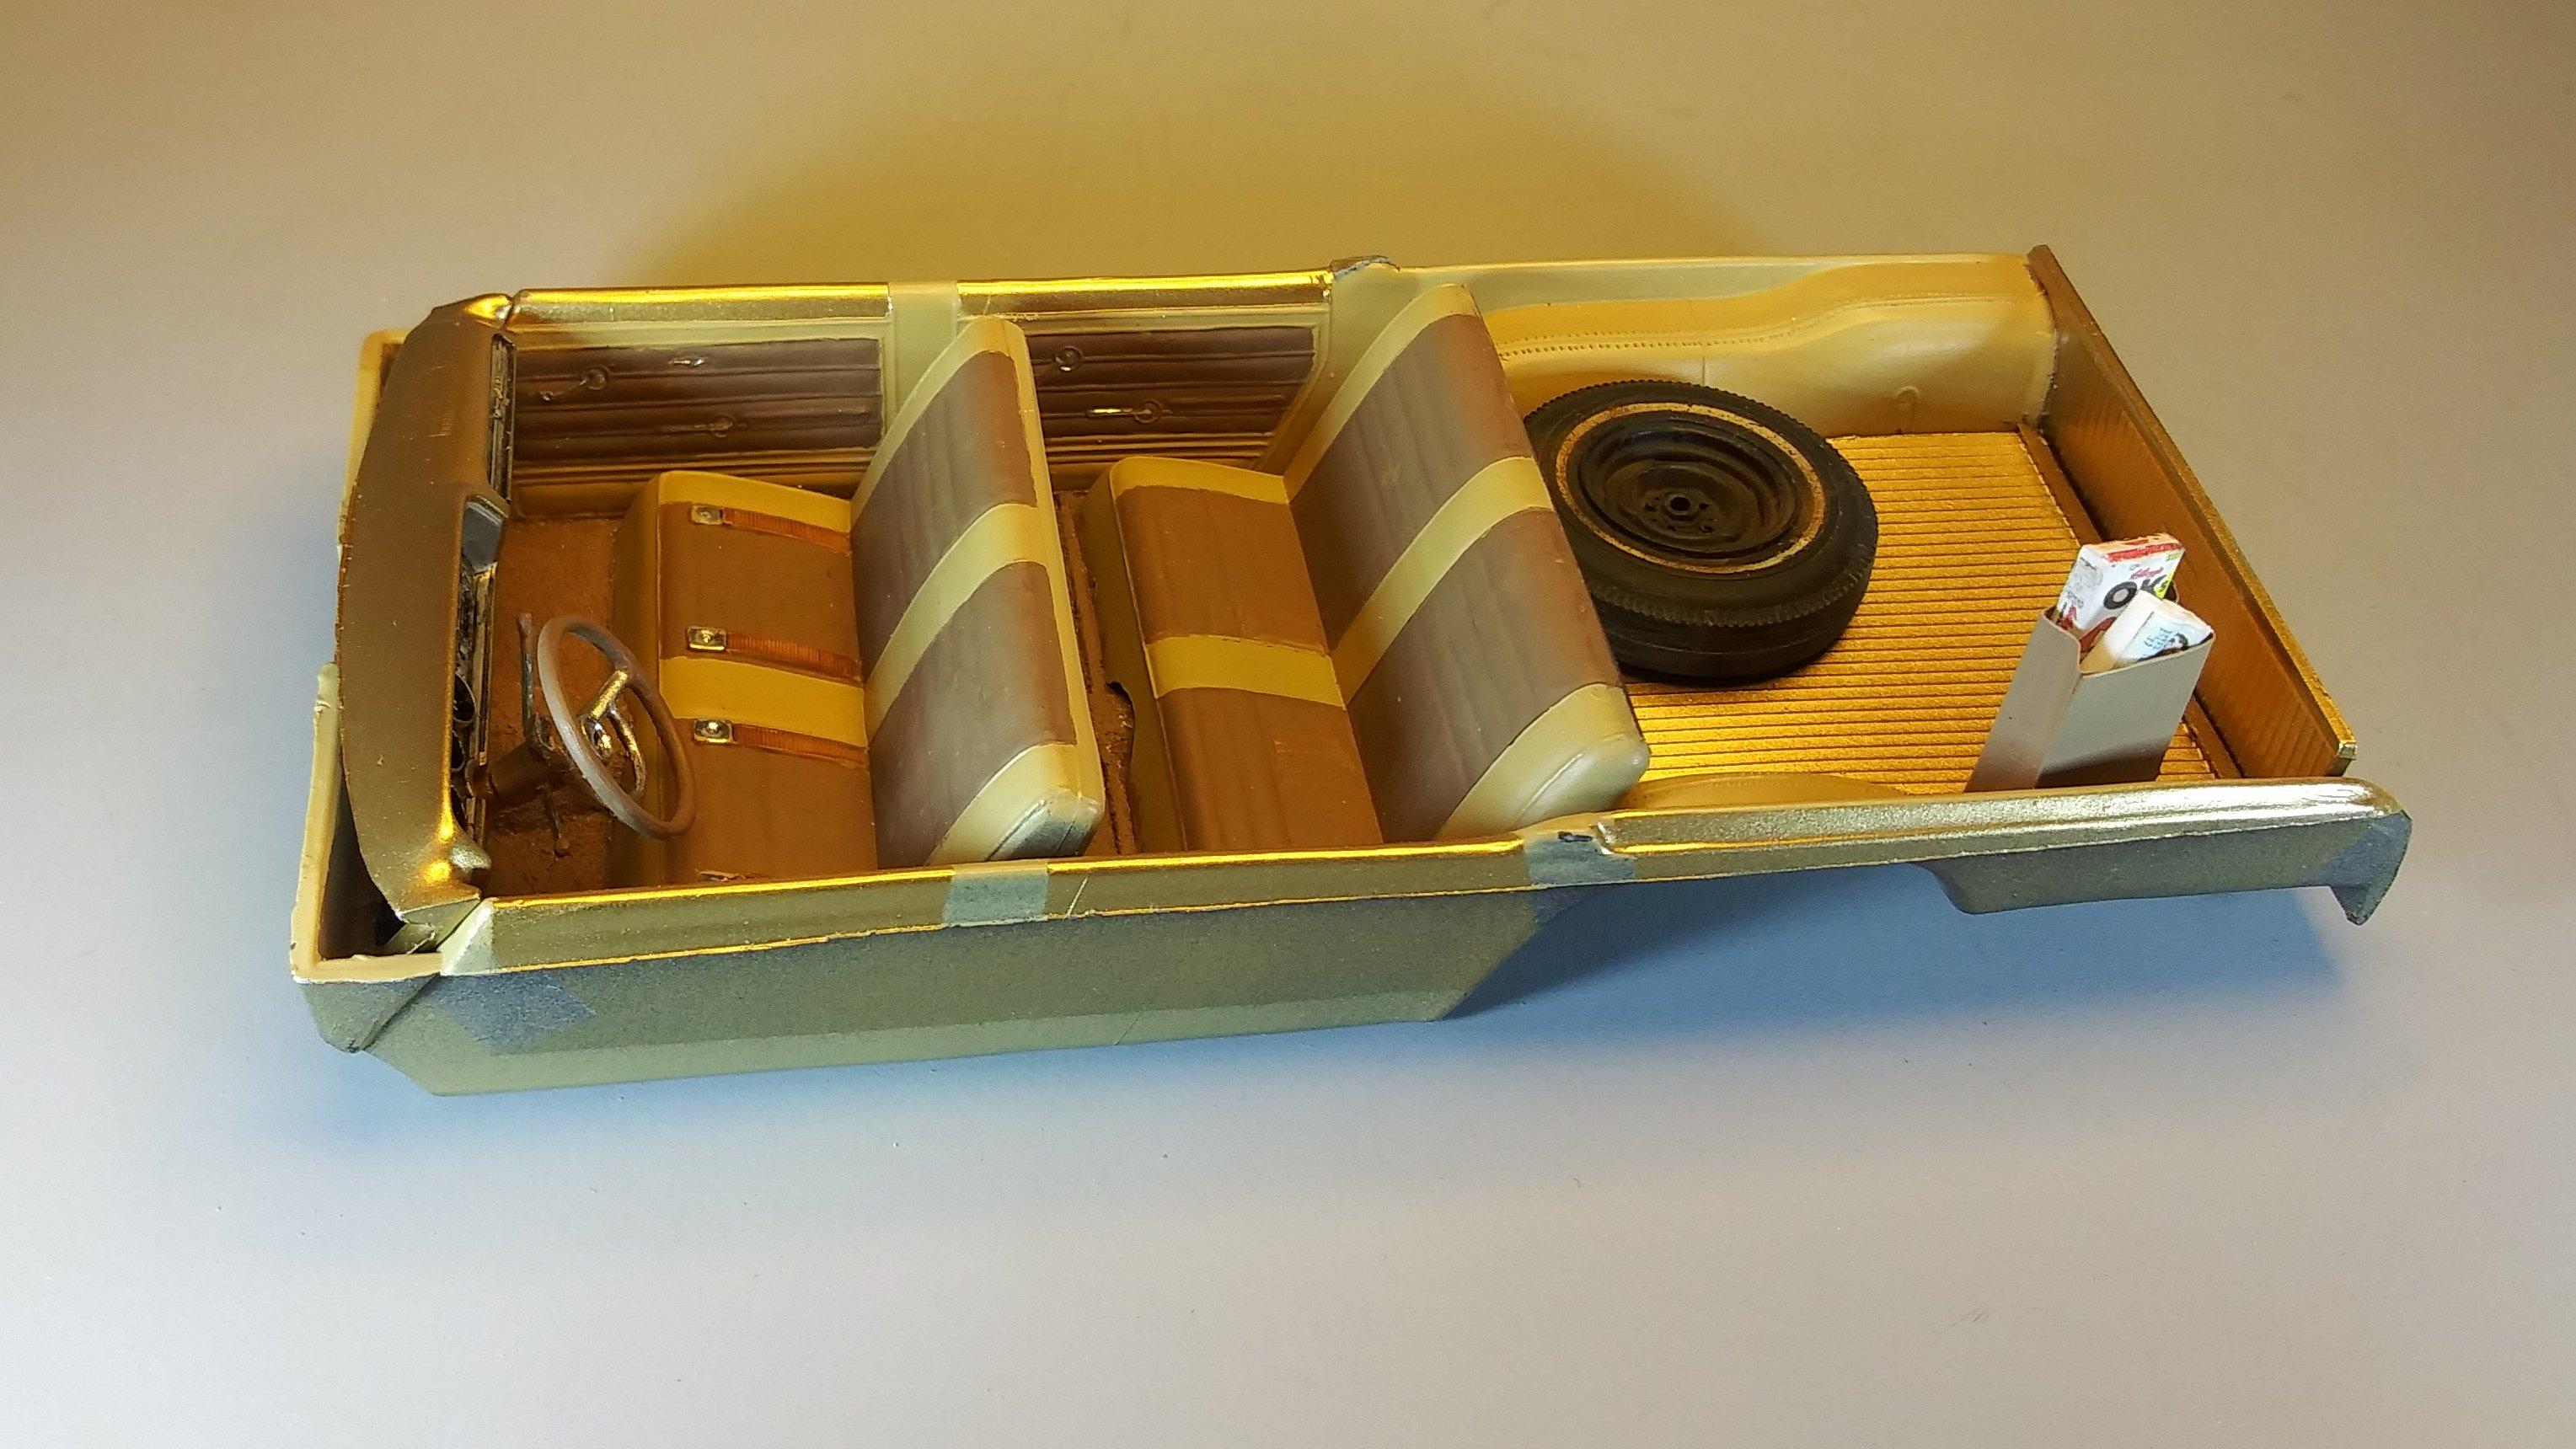
Thanks Guys, I appreciate the feedback. Ok, I went through that effort of making some grocery bags and groceries for my "grocery getter" and it turns out that they didn't seem to scale properly. With the car assembled,they look flippin' huge in the cargo area. I think that the deck I added contributed to the situation by lifting the floor a couple of scale inches. Ah, well, I have a couple of other ideas in mind. At least the wheel came out just as I wanted it to. As always, thanks for taking the time to look and please feel free to leave a comment. David G.
-
77 GMC - White Trash Wrecker
David G. replied to Gerald Haney's topic in Model Trucks: Pickups, Vans, SUVs, Light Commercial
Love the detailing and weathering! He won't get much traction for plowing with tires like that, though! David G. -
Nice fusion, sweet paintwork. Well done! David G.
-
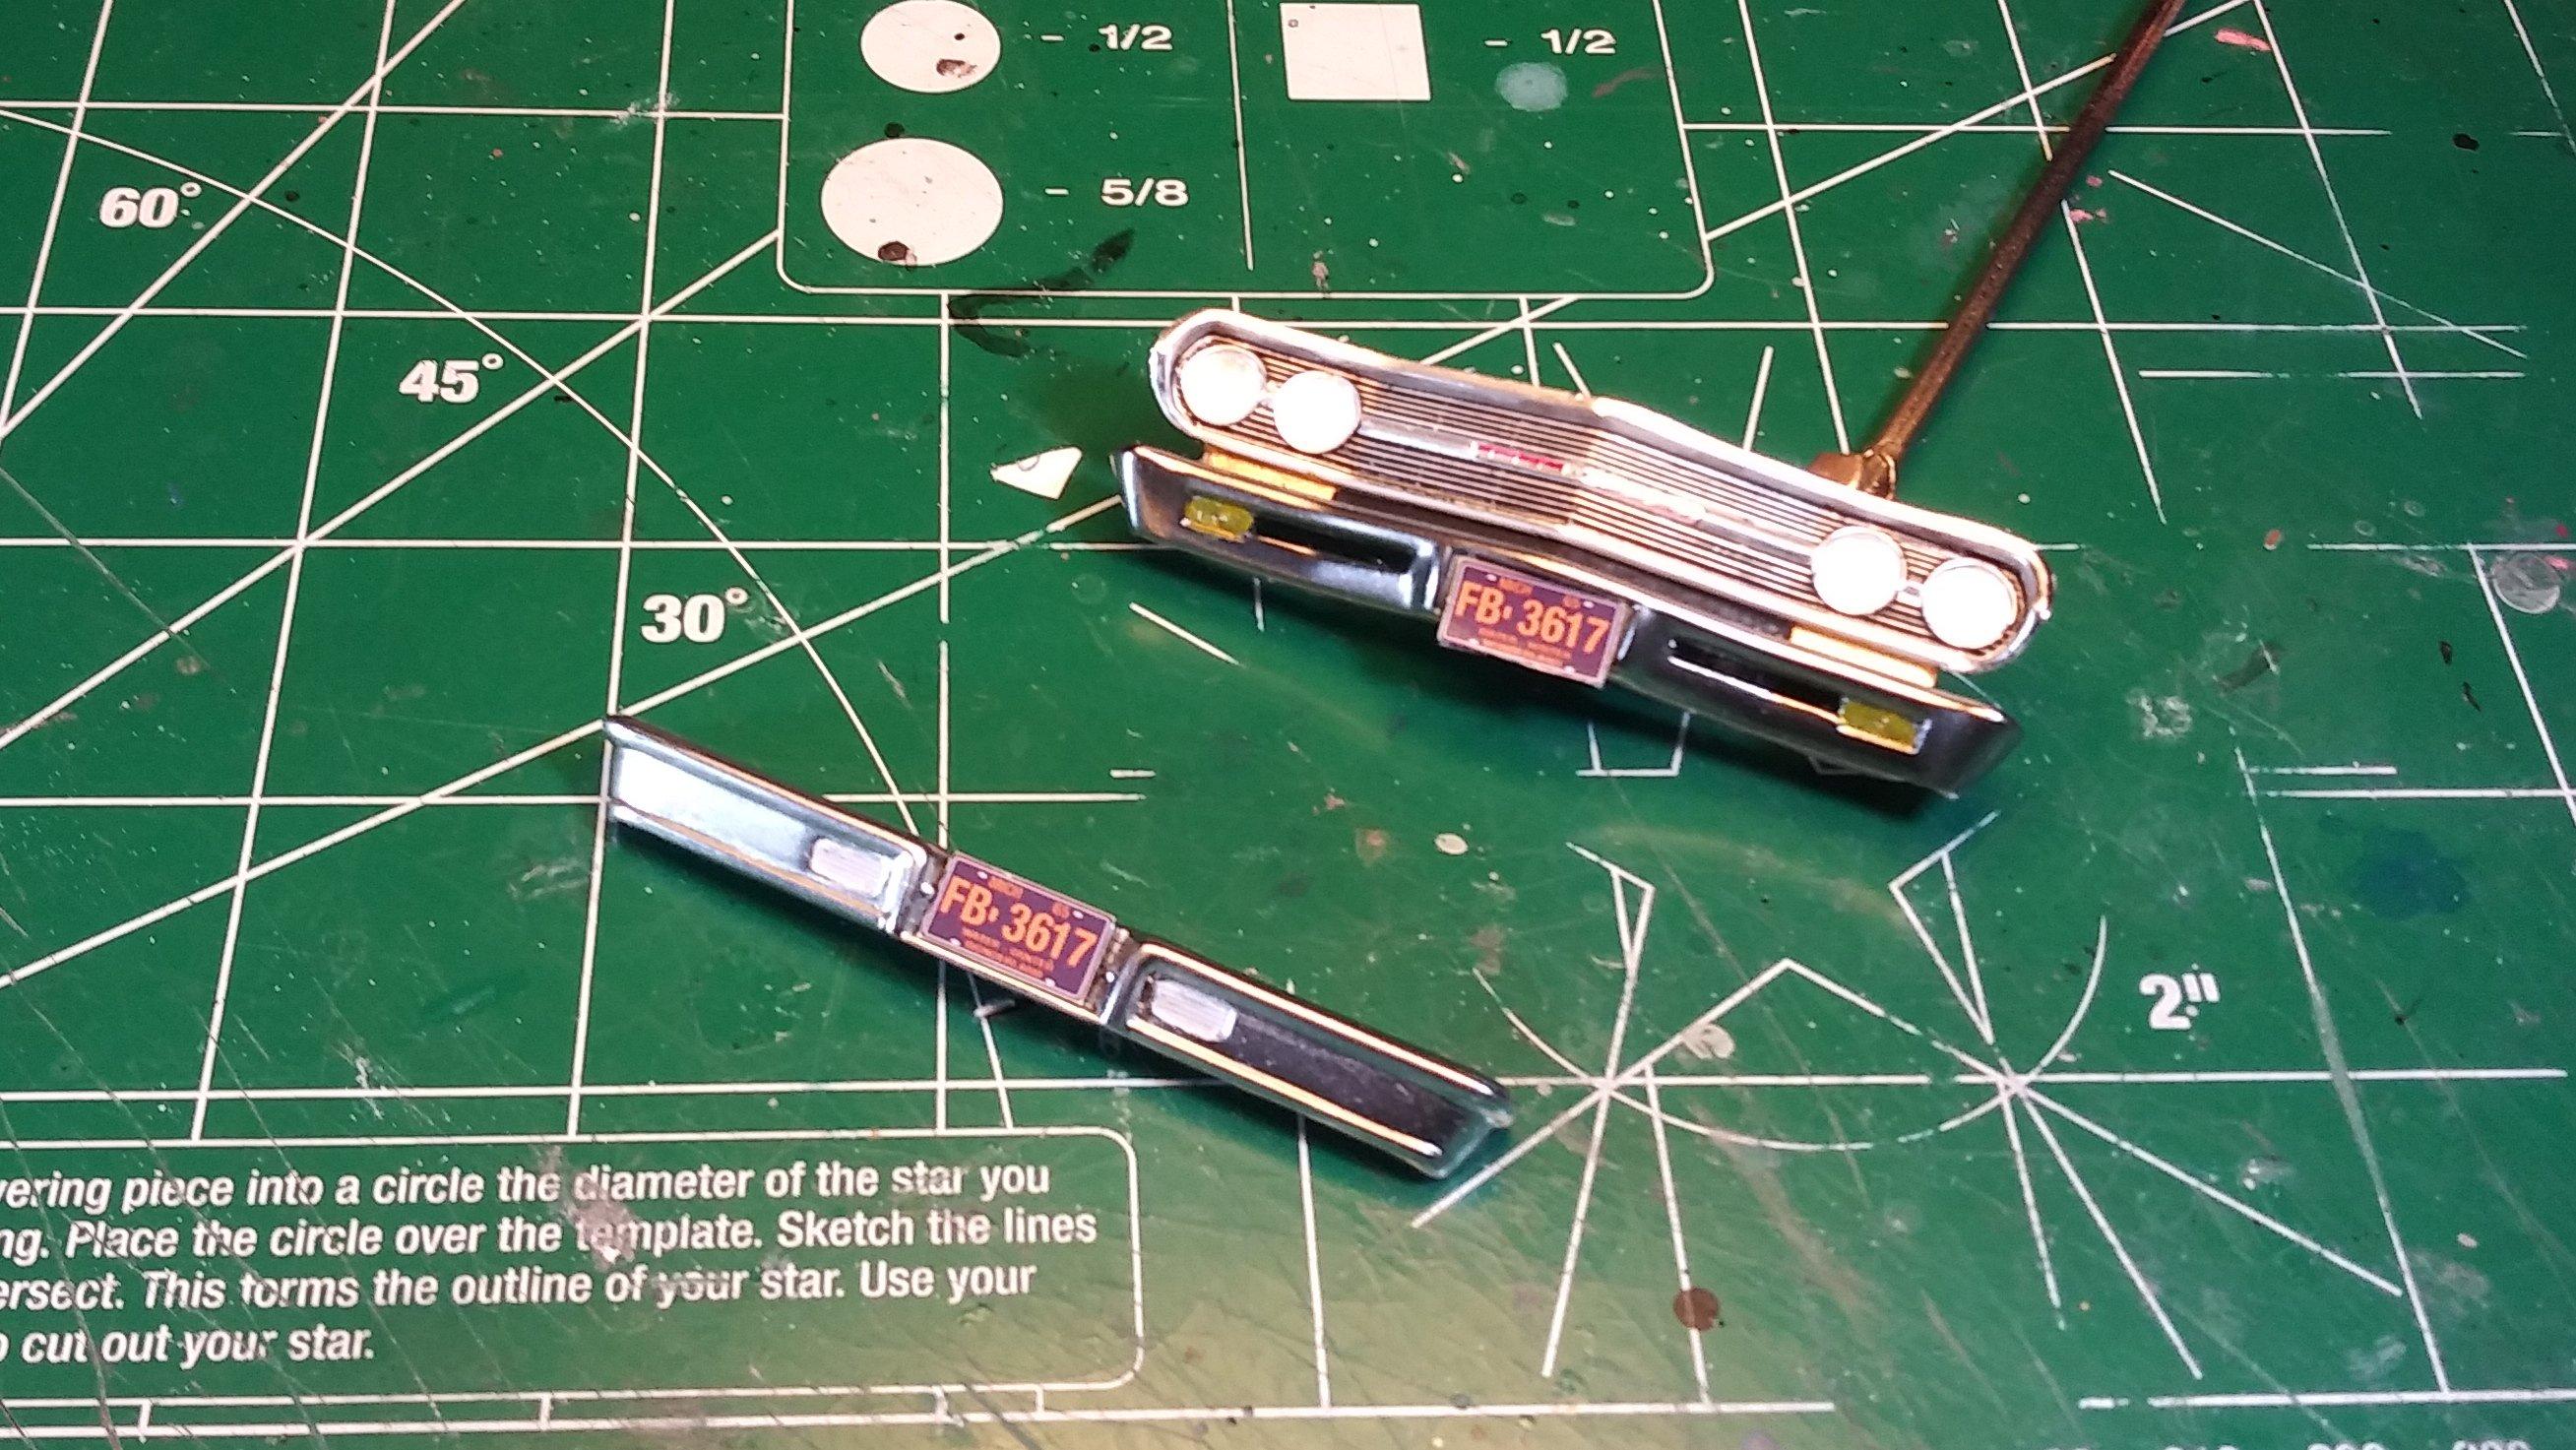
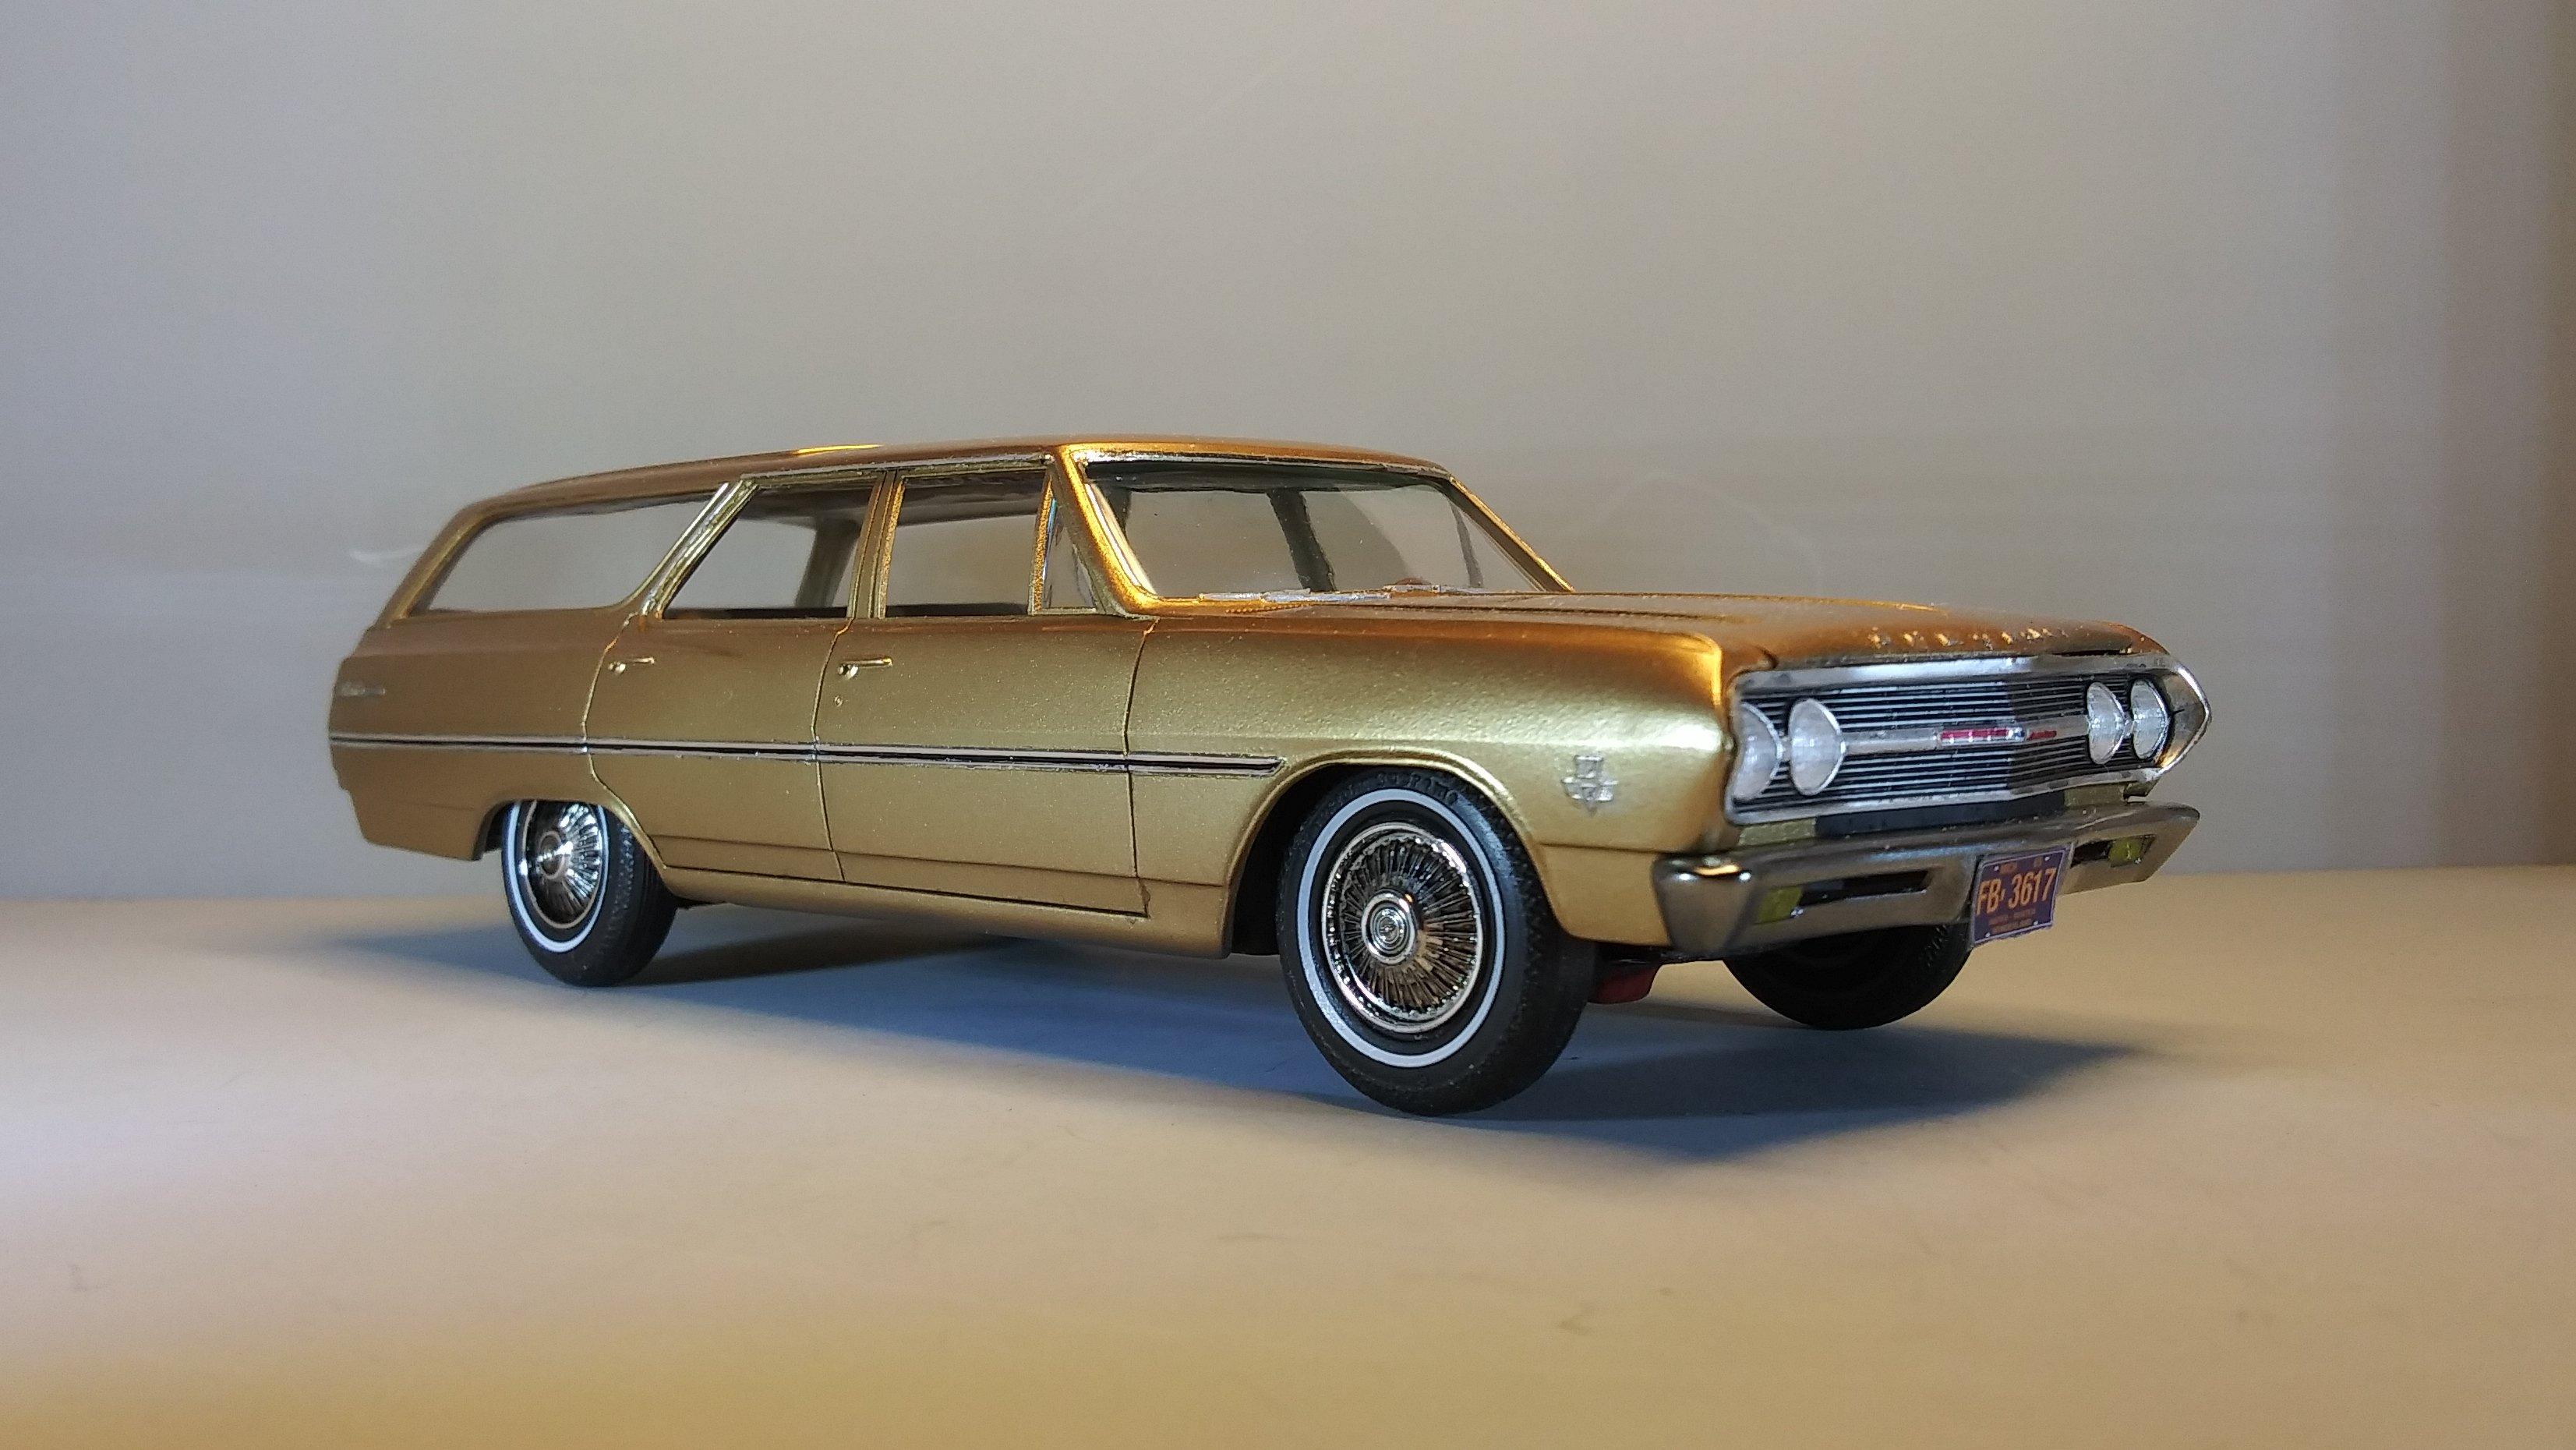
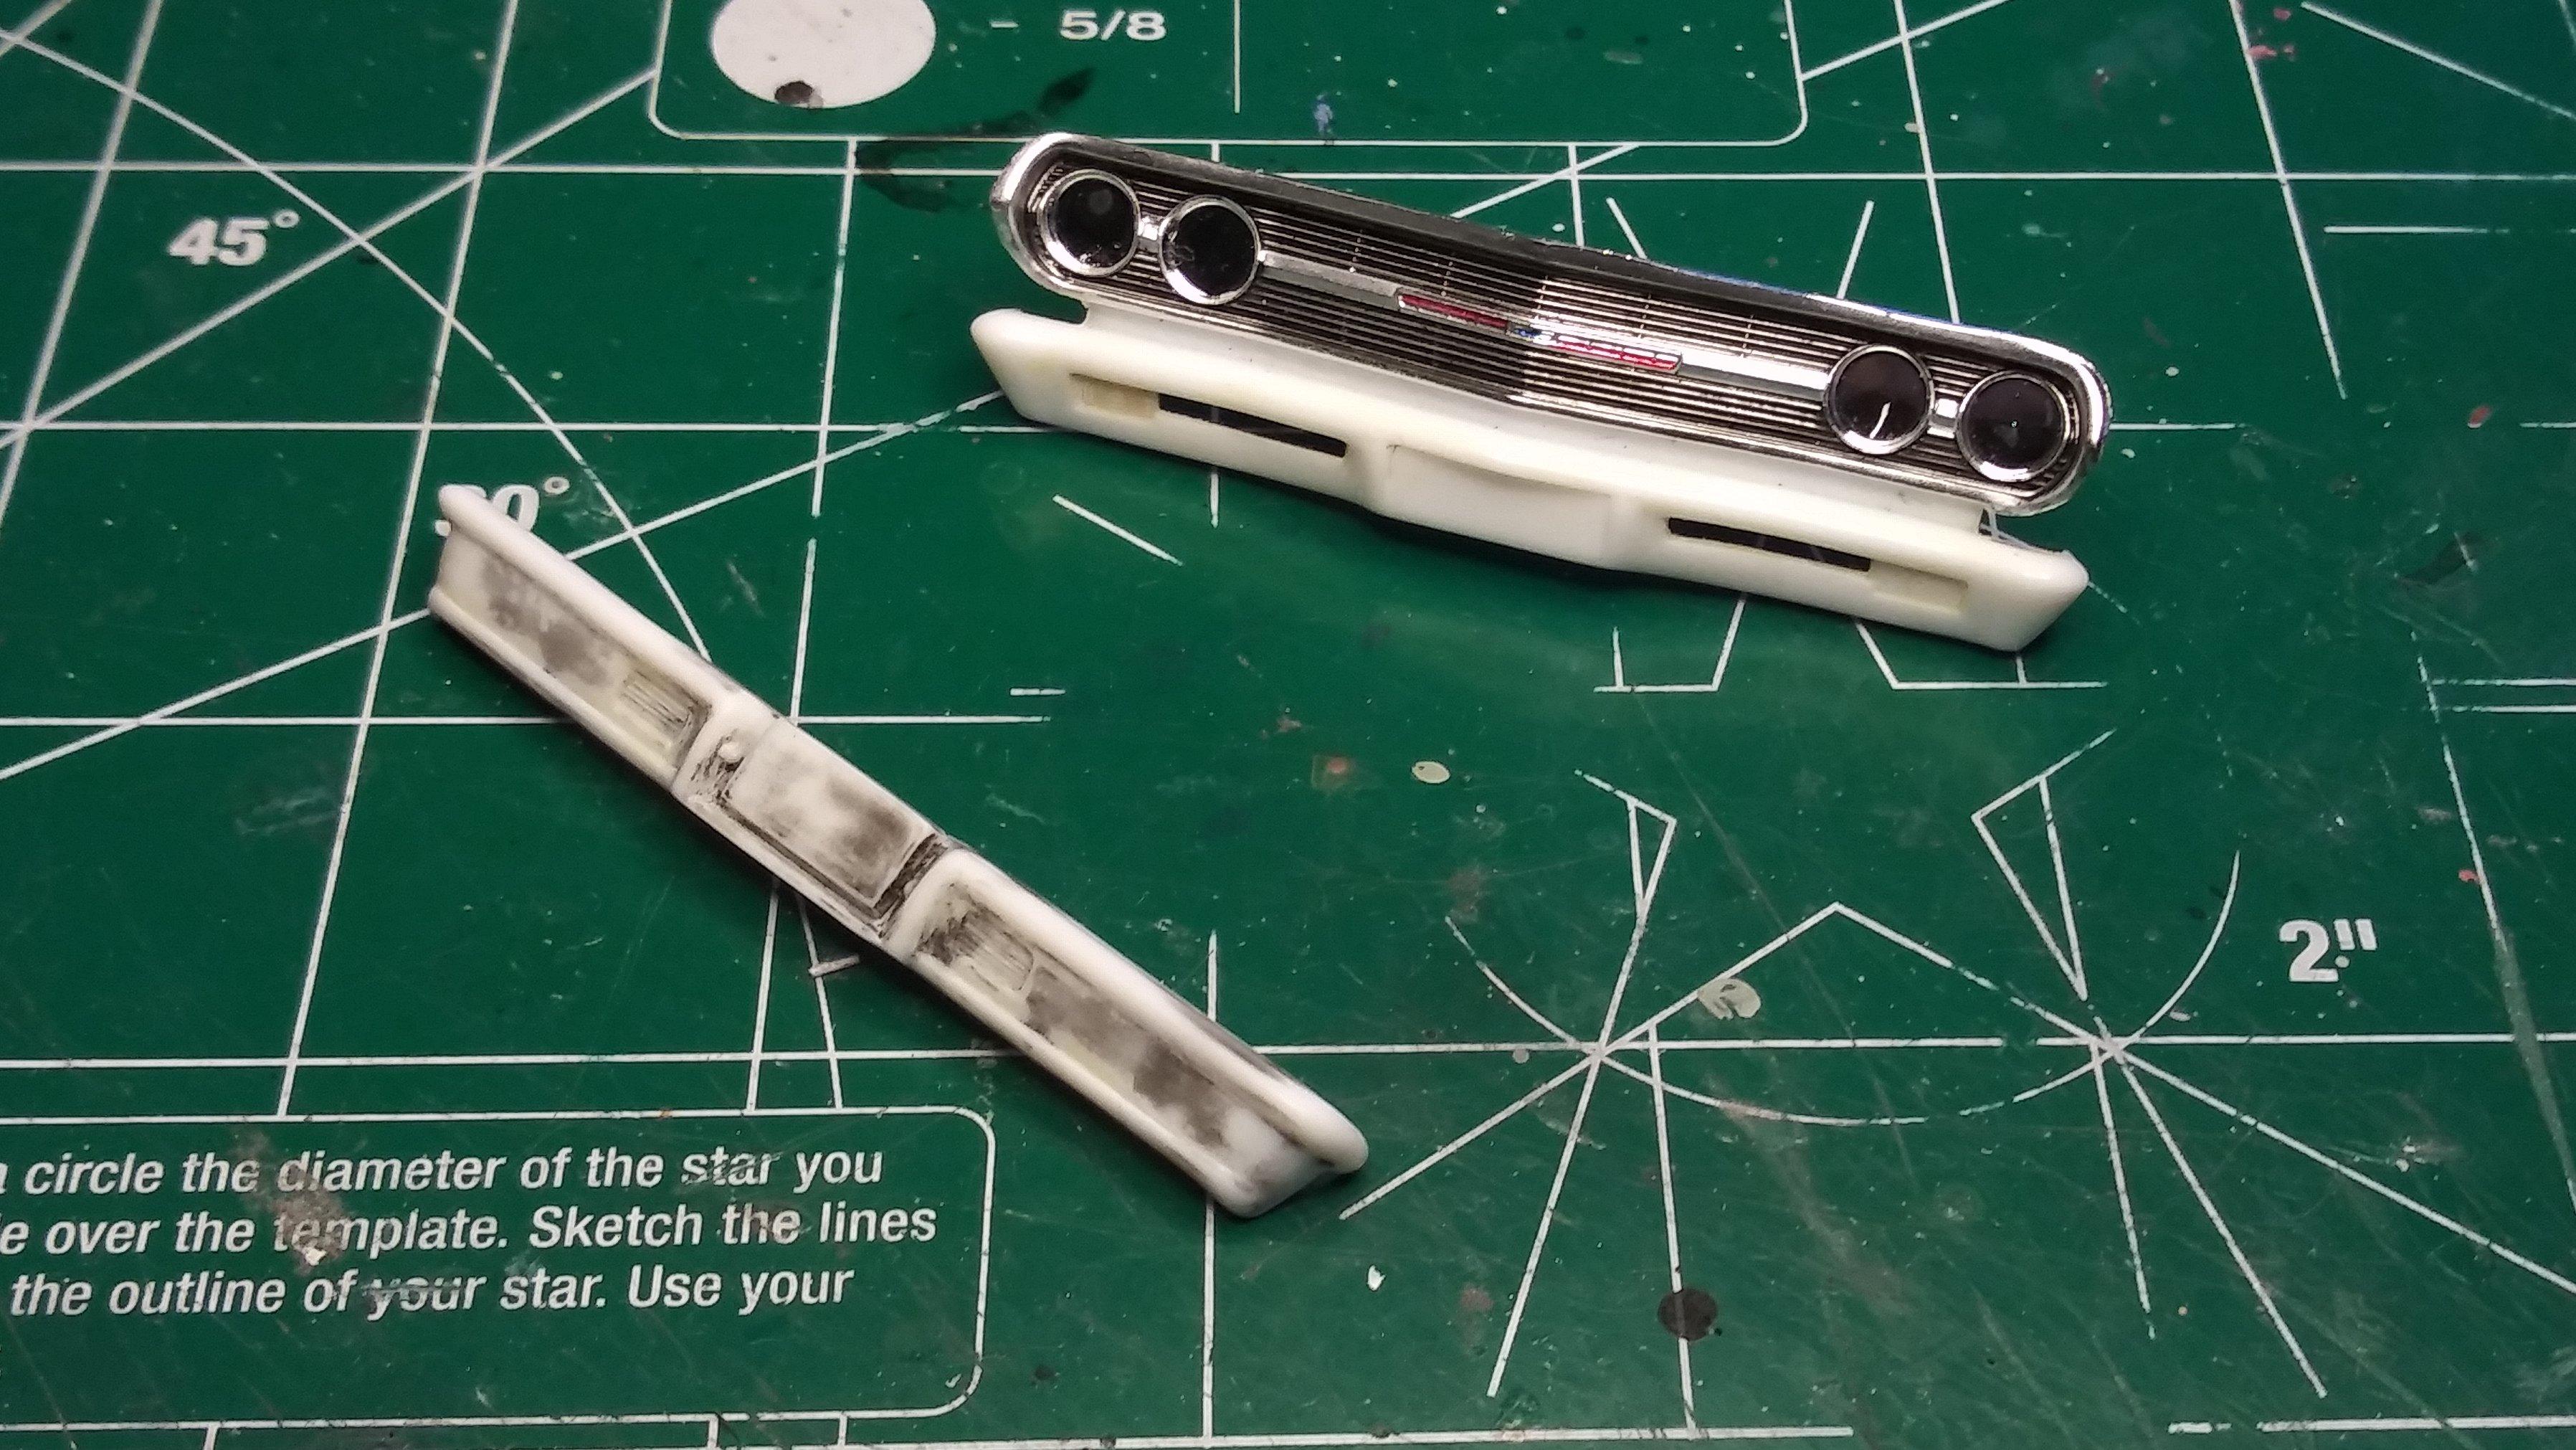
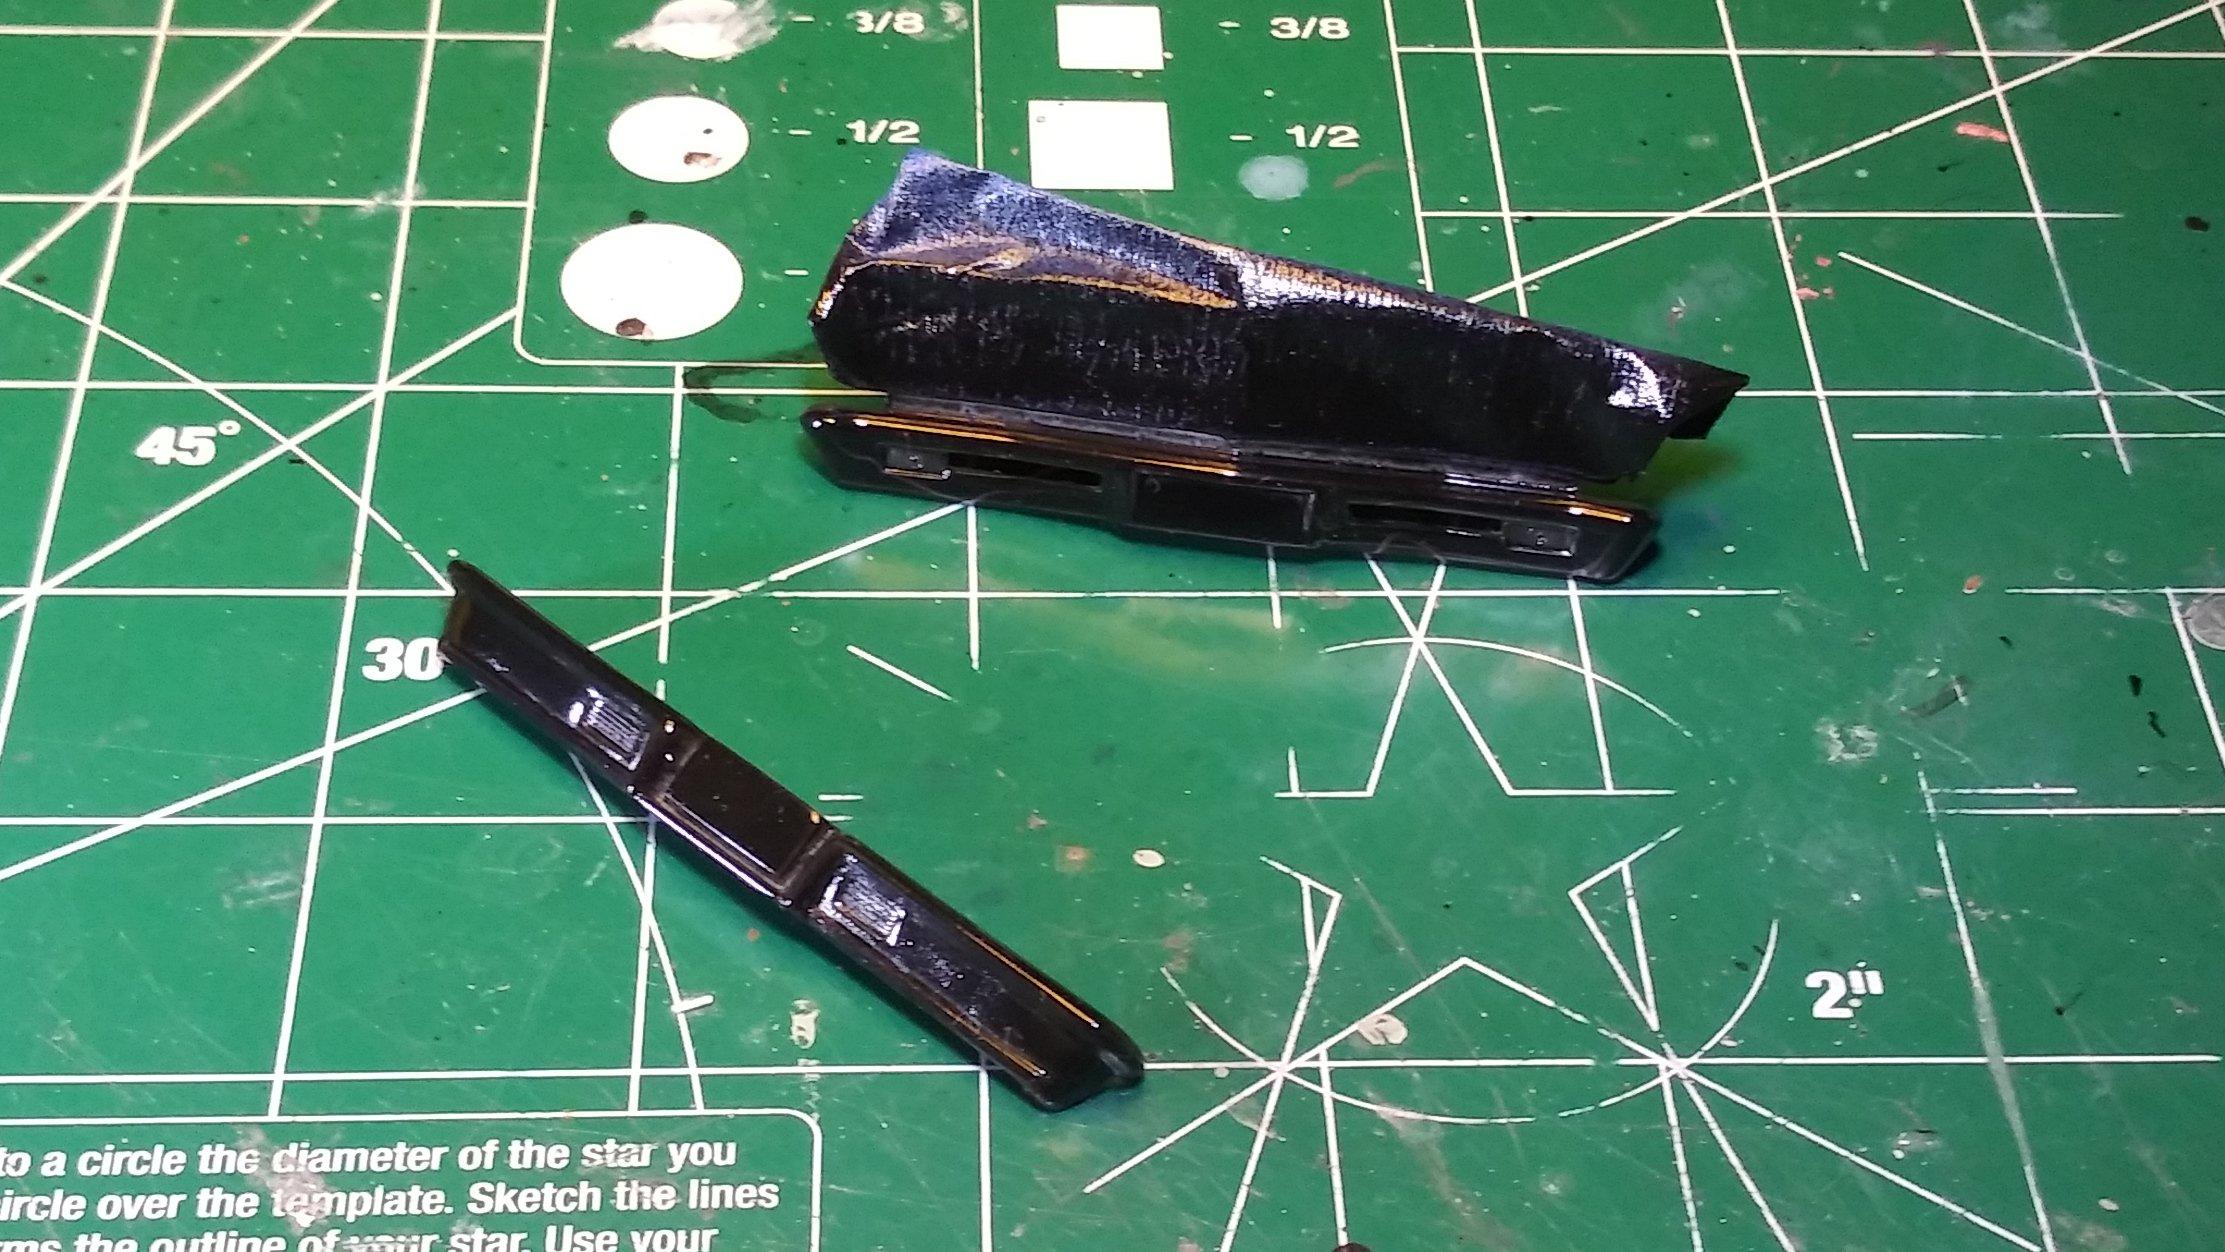
Here's another update! I tried spraying a little dull coat on the bumpers to flatten out the plastic looking chrome sheen. The dull coat didn't lay down well and I ended up having to strip the bumper I dusted off the air brush and sprayed the Alclad black enamel base coat. Then finished with Alclad Chrome. This one's nearly complete. Next step is to polish the body, do a little more detail painting and add some items of interest to the cargo area. As always, thanks for taking the time to look and please feel free to leave a comment. David G.
-
Excellent work so far, I admire your patience! I would like very much to build a ship model like this someday but for now, I'll just enjoy following along as you build yours. David G.
-
You're off to a great start! I think stripping the old plating is an excellent call. You should be able to greatly improve the kit's final appearance with some good detail painting. David G.
-
Nicely Done! David G.
-
Wow Darren, I'm sorry to learn of the loss of all your hobby stuff. All those wonderful projects are just gone? If so, what a heart-breaker. You're off to a great start on this Bug though. David G.
-
Pontiac Catalina 4d sedan 1962, Taxi from Finland
David G. replied to Reuhkapelti2's topic in Model Cars
Excellent conversion, very well done! David G. -
Impressive paintwork! An overall solid looking build. David G.
-
Beautifully done! David G.
-
Wow! Hard to believe it's the same car. Are you the one who did the original "custom" job on it? David G.
-
Rat Rod Rollback
David G. replied to 1320wayne's topic in WIP: Model Trucks: Pickups, Vans, SUVs, Light Commercial
That is beyond cool! I'm very impressed by your styrene engineering work for the bed mechanism. David G. -
You're right, the interior and engine bay look great. The paint looks good too, excellent color choice. I'd be proud to put it in my display case. It was well worth the effort. David G.
-
GASSER -"Explosion" - 58´Chevy Impala 1/25 AMT
David G. replied to Fairfax's topic in WIP: Drag Racing Models
Absolutely spectacular! It's like a Barn-find Rat-Gasser. The weathering is very convincing, I can almost smell the dirt, oil and rusty metal. Your photography is superb as well. David G.