David G.
-
Posts
11,324 -
Joined
-
Last visited
Content Type
Profiles
Forums
Events
Gallery
Everything posted by David G.
-
Looks good, I like the color. David G.
-
Wow! Impressive in both quality and quantity. Well done Sir! David G.
-
Fabulous work! Without question this is the best General Lee I've seen built. David G.
-
Those are five great looking builds! David G.
-
My condolences. May you find some peace and comfort in the days ahead. David G.
-
An excellent looking set to say the least! I especially like the Pontiac. David G.
-
Nice color choice! And welcome aboard. David G.
-
Very cool! I like that you were able to make the roof panel on the Suburban removable to view the interior details. David G.
-
Excellent work on the added touches and details. Did you happen to snap a pic before you started? It would be interesting to see the "Before and After" comparison. David G.
-
Unusual subject, probably the only one. Nicely done! David G.
-
Wow! That's a lot to accomplish in one year and each one looks fantastic. David G.
-
Nicely done! The color looks spot-on. David G.
-
That. Is. Awesome! Thanks for making that Stef. It's just too cool! David G.
-
Looks like you're off to a good start. David G.
-
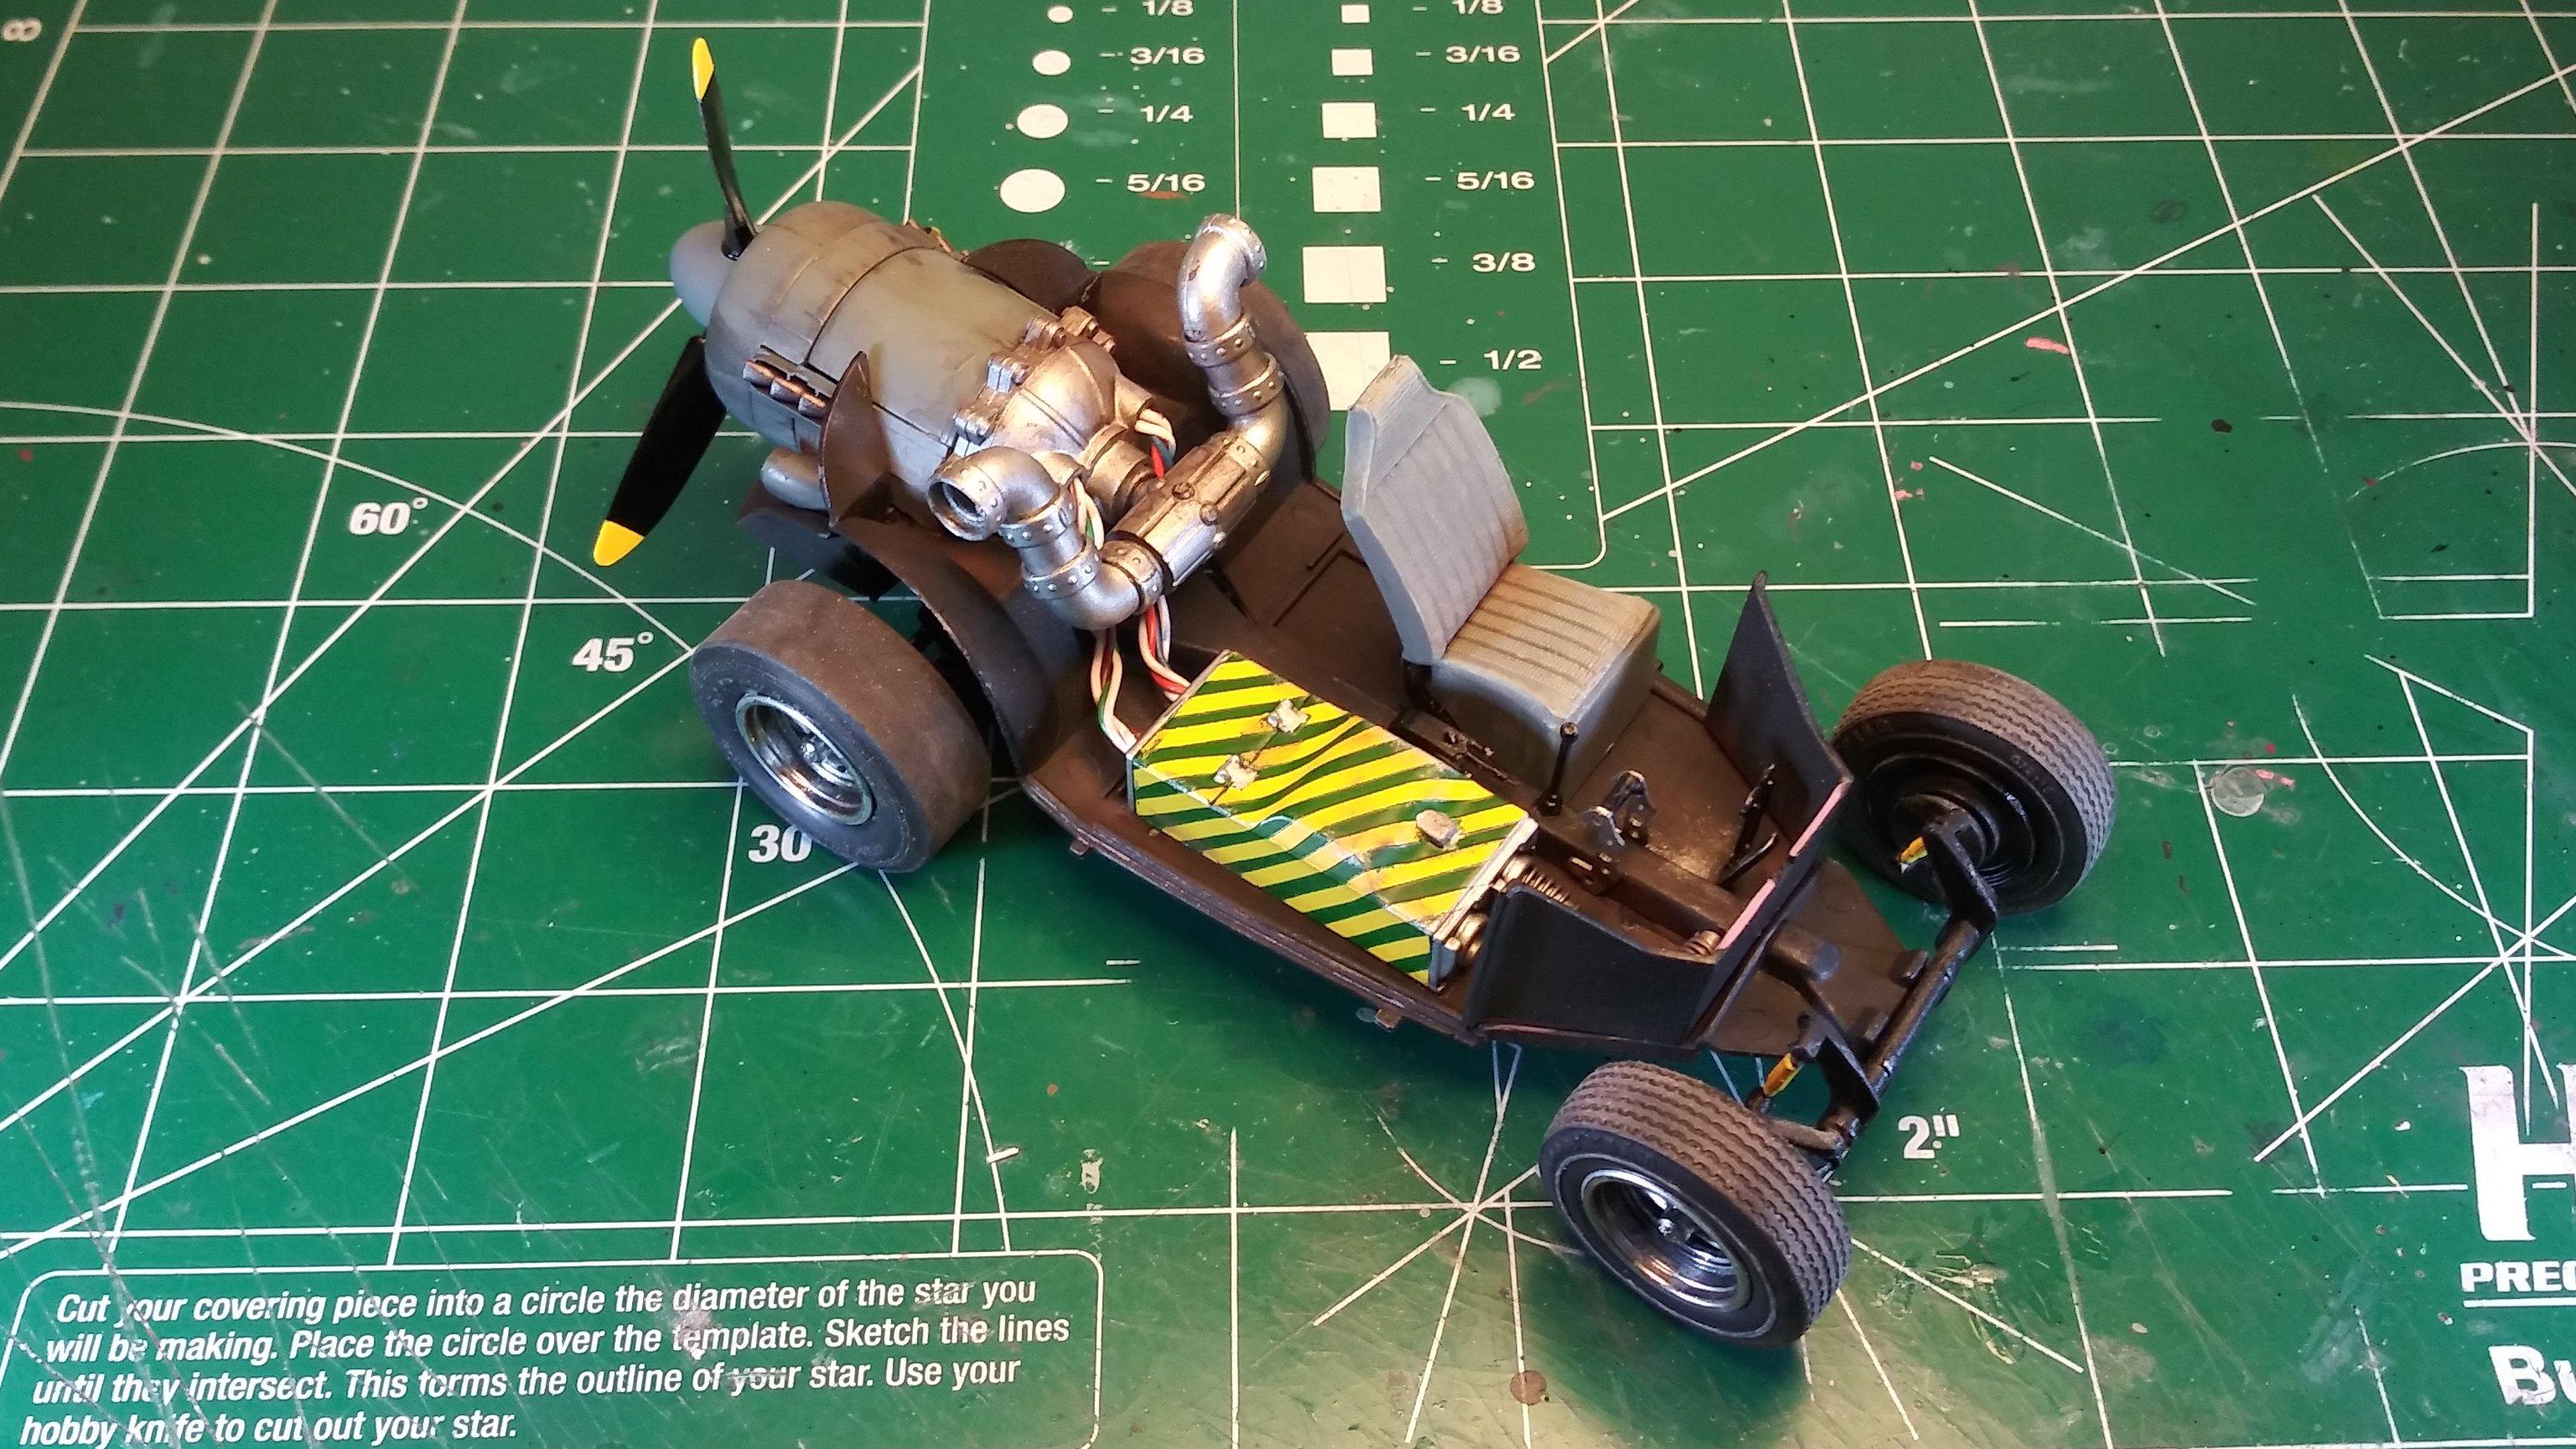
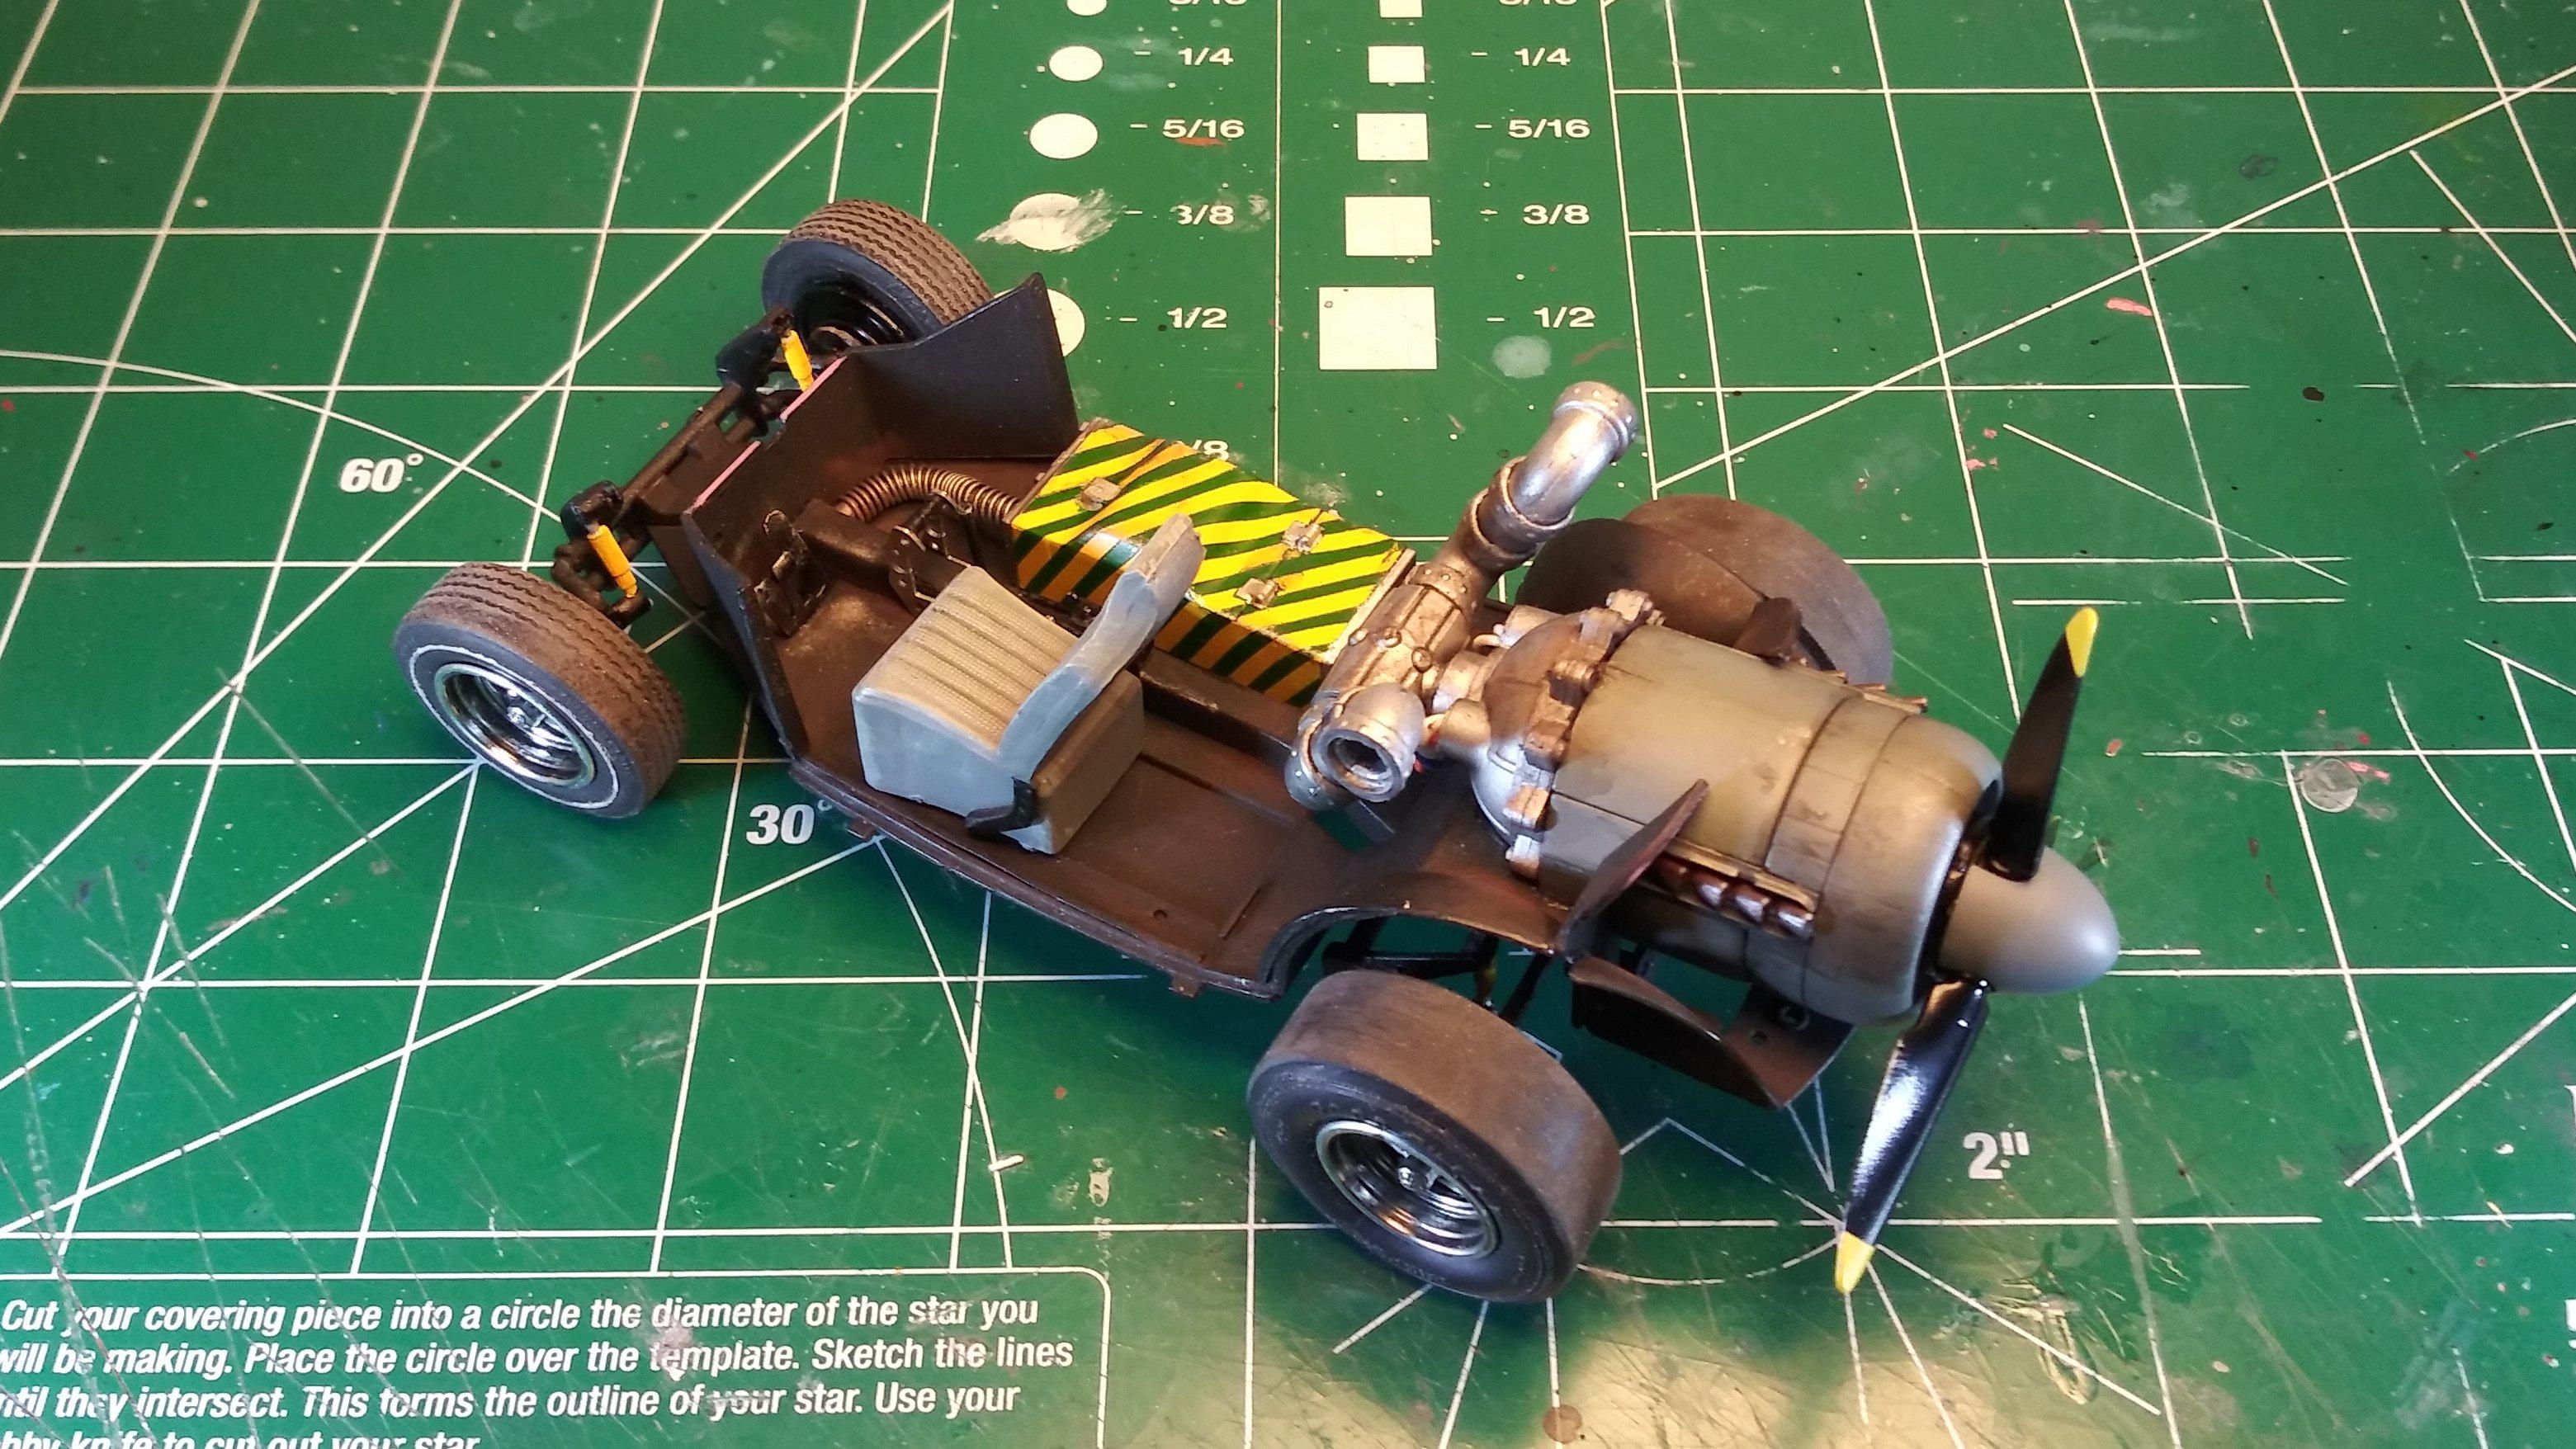
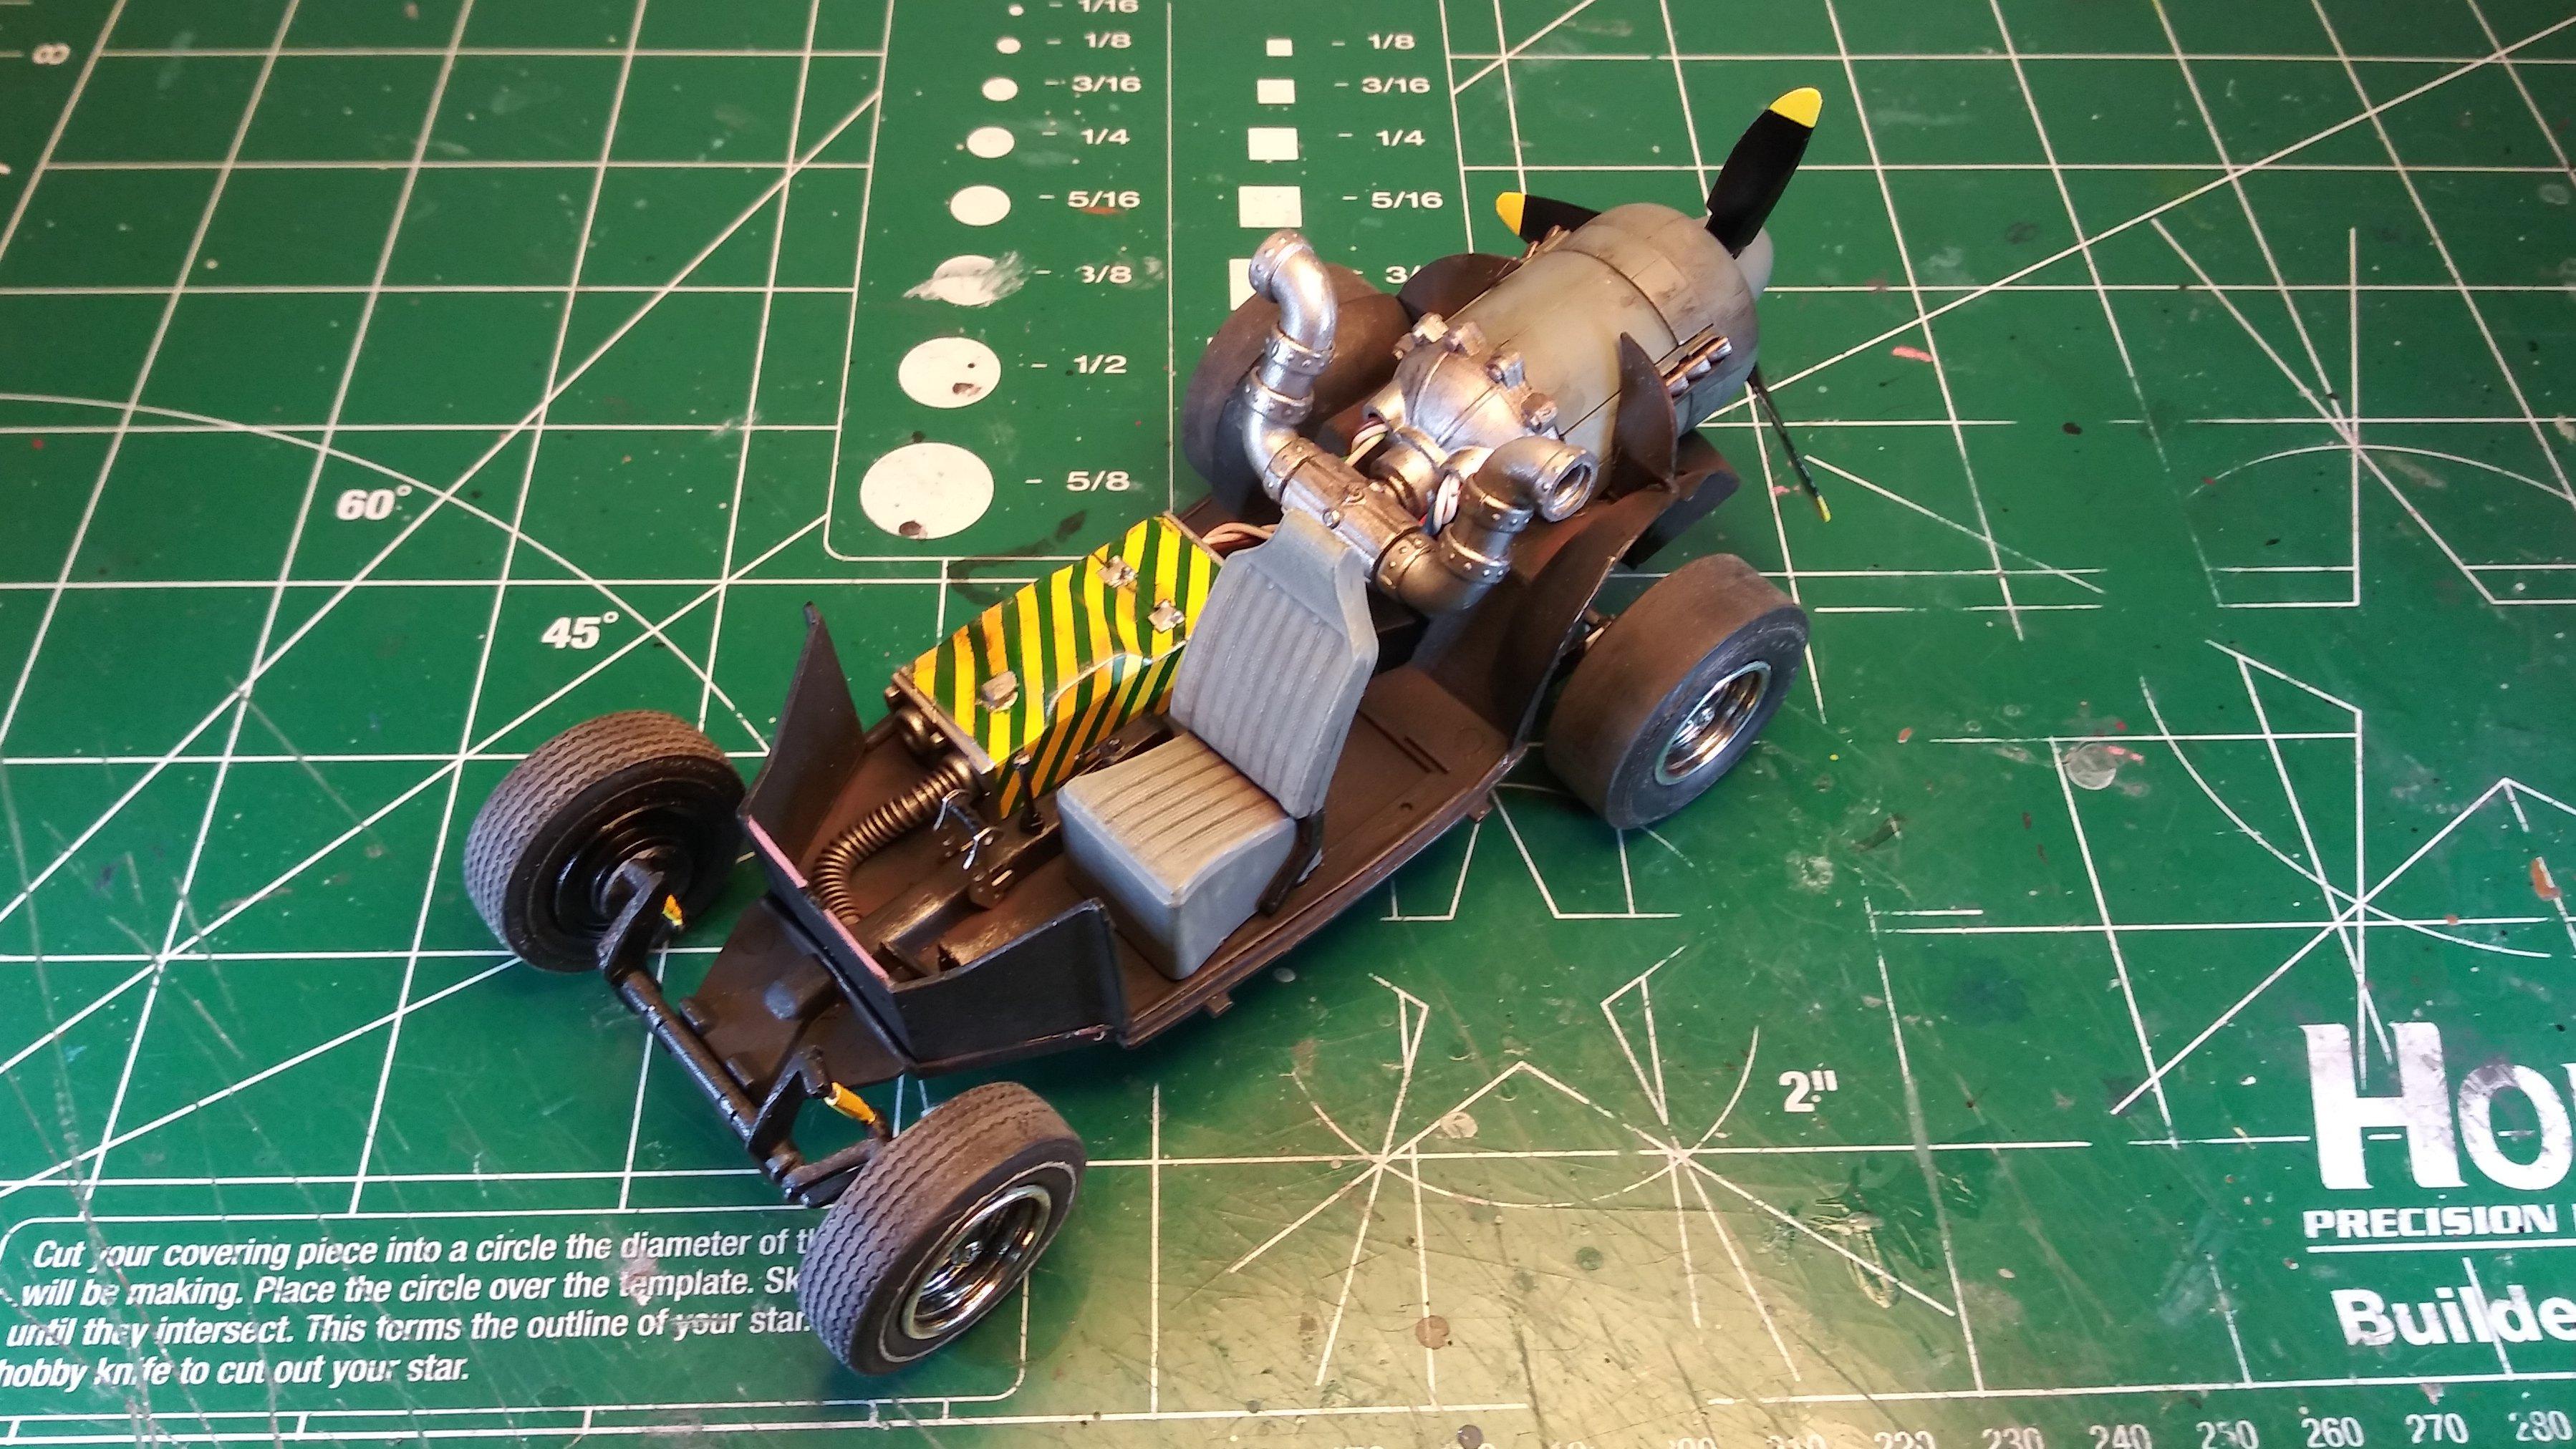
Thank you all for sticking with me on this project. Finding the will to work on it is a bit easier when I know that there are people who are interested in what I'm doing. Dann and Claude, thank you for your encouragement. David and Rusty, I'm pleasantly surprised by your suggestions regarding the interior. My original intent was just to throw some clutter in there to have something more to look at than a seat and steering wheel. I didn't worry too much about it since I figured that most of it would be covered by the body anyway. Now I'm thinking of ways to modify my plans for the body to reveal more of the interior that was originally intended to be little more than a suggestion. That's why I enjoy builds like this one. They tend to be stories that write themselves as one goes along. I do want to keep the scoops as they are. There's a kind of schlocky seventies custom look about them that I like. Also they kind of fit in with the whole aircraft theme I'm working toward, at least in my mind. My first thought, in keeping with the aircraft theme, was a sort of cockpit canopy. I quickly realized that that was way more work than I wanted to put into this pile of spare parts. And honestly, a bit on the overkill side. The next idea was a rat rod style slat top but that doesn't fit too well with the direction I want to go. That lead me to a VW factory sun roof. It would be a fairly easy modification, have a justifiable explanation and wouldn't detract from the theme of the build. That thought also lead me to a Herbie style cloth top but there again... More work than I want to do, and would probably reveal more of the interior than I want, causing me to feel the need to add more refined detail. So, here's the final version of the lightly weathered, detail painted, chassis portion of the Karma Bug interior. As always, thanks for the support and suggestions. David G.

-
This is without question the best General Lee build I've seen. And having been a member of this forum since 2009, I've seen a lot of General Lee builds. So many in fact, that I almost didn't stop to look at yours. I'm glad I did though. David G.
-
Coming along nicely. I especially like the PE grille-work. David G.
-
That's a great set for a year's work! I especially like the Gassers. I'm hoping to build one this year, David G.
-
Five very nice builds, well done! David G.
-
Very well done! David G.
-
You have a nice variety there, each very well done. David G.
-
Wow! To say that what you've done is merely an improvement would be insulting. I think that this has actually crossed over into being more mod than kit! David G.
-
That's a really nice pair of Corvettes Bill. David G.
-
Wow! That's a lot of work for one year and each one looks great. David G.
-
All three look great! You do have a talent for vinyl tops. David G.