David G.
-
Posts
11,314 -
Joined
-
Last visited
Content Type
Profiles
Forums
Events
Gallery
Everything posted by David G.
-
Nice rescue! David G.
-
Nicely done! David G.
-
 Excellent "one season" weathering. David G.
 -
Nicely done. David G.
-
Thanks Matija, I think it turned out pretty good, but it can always be better. David G.
-
Thanks Harry, I'll keep that in mind. David G.
-
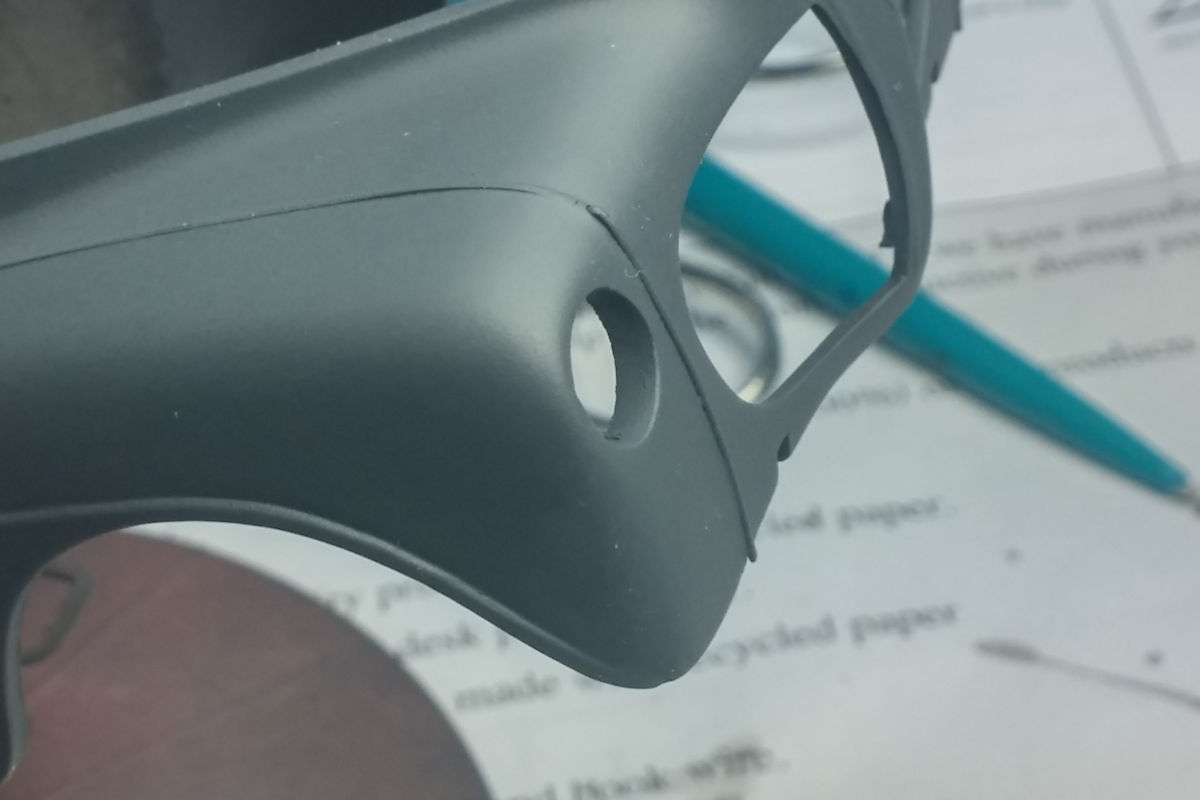
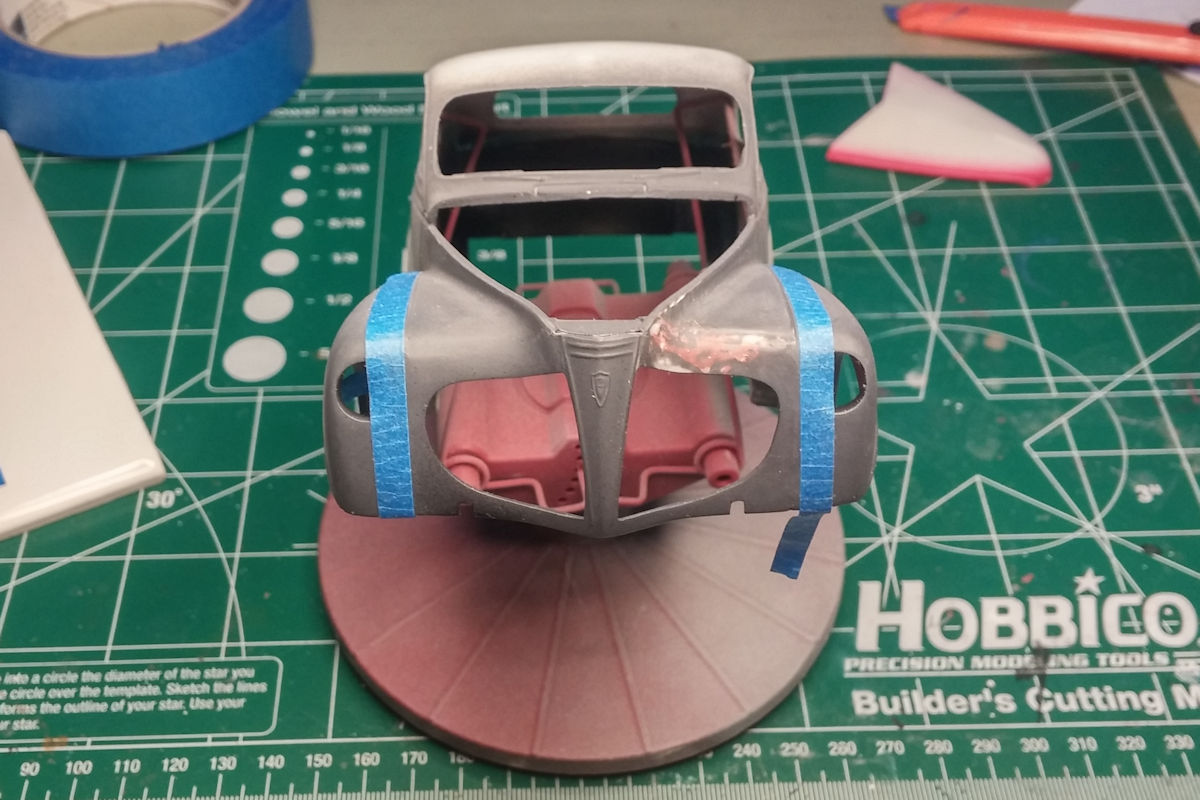
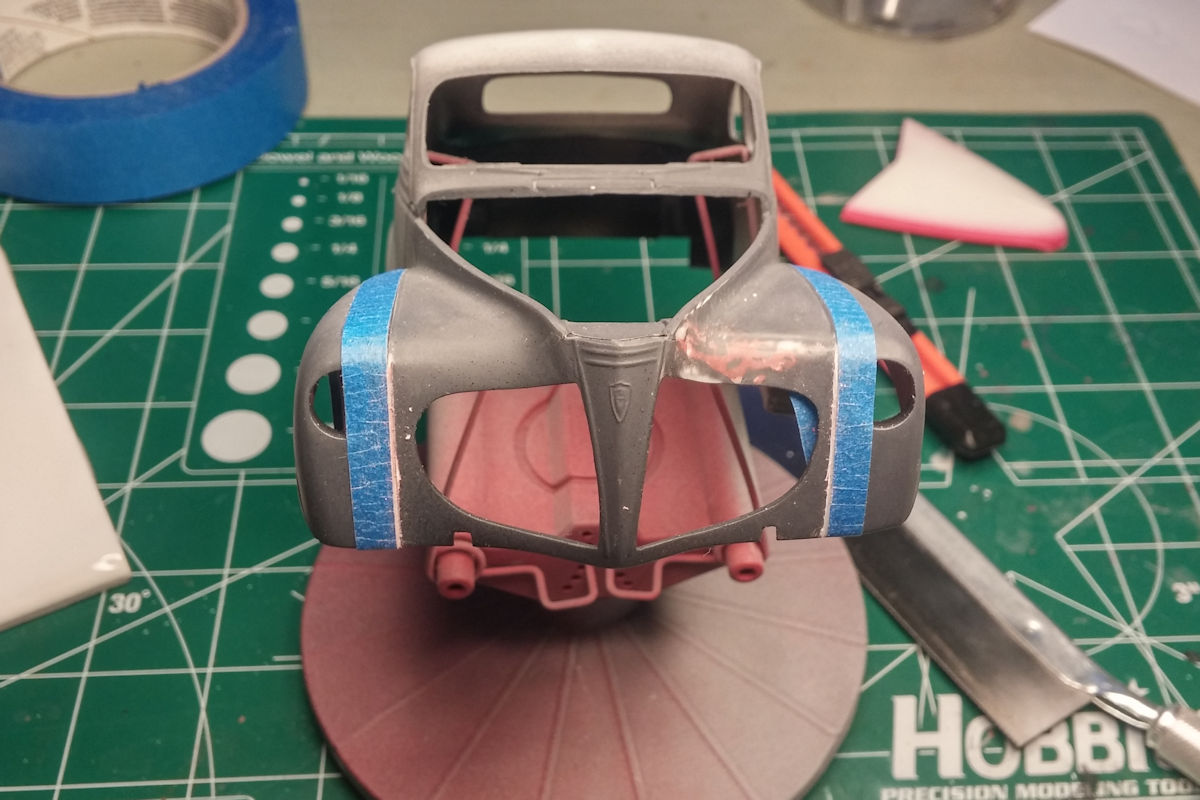
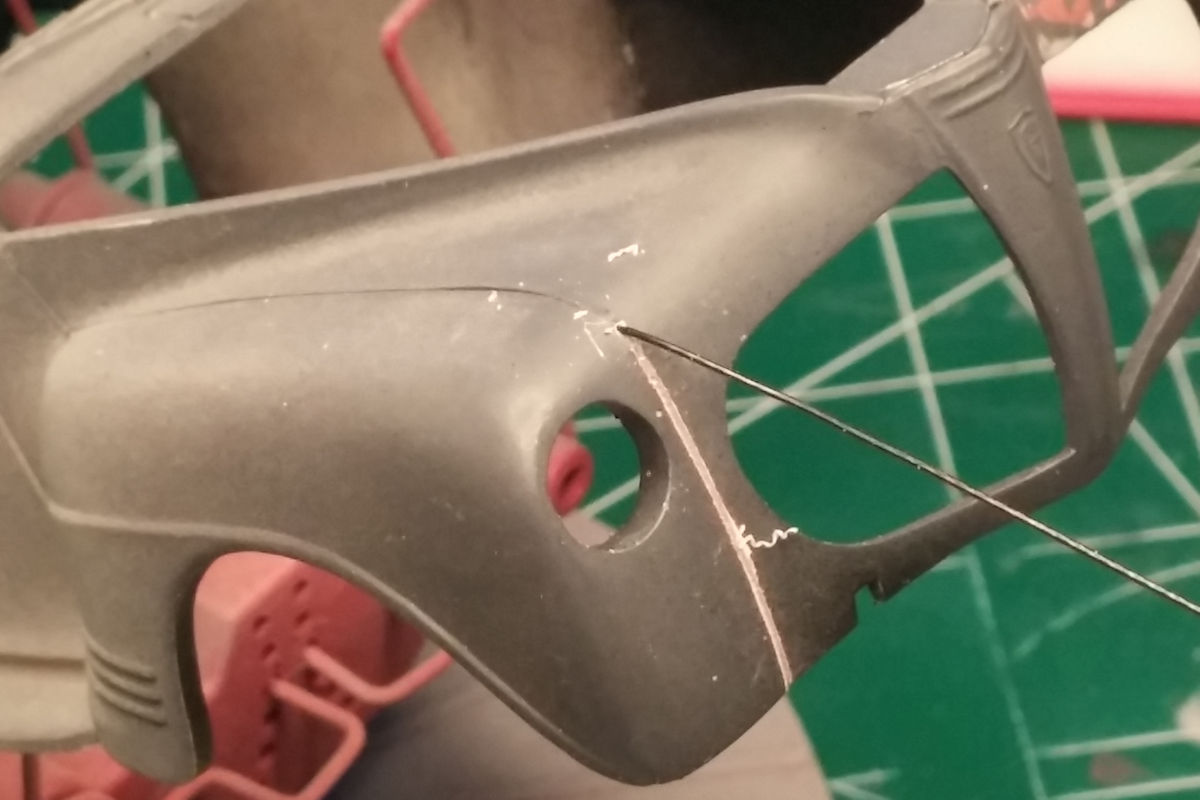
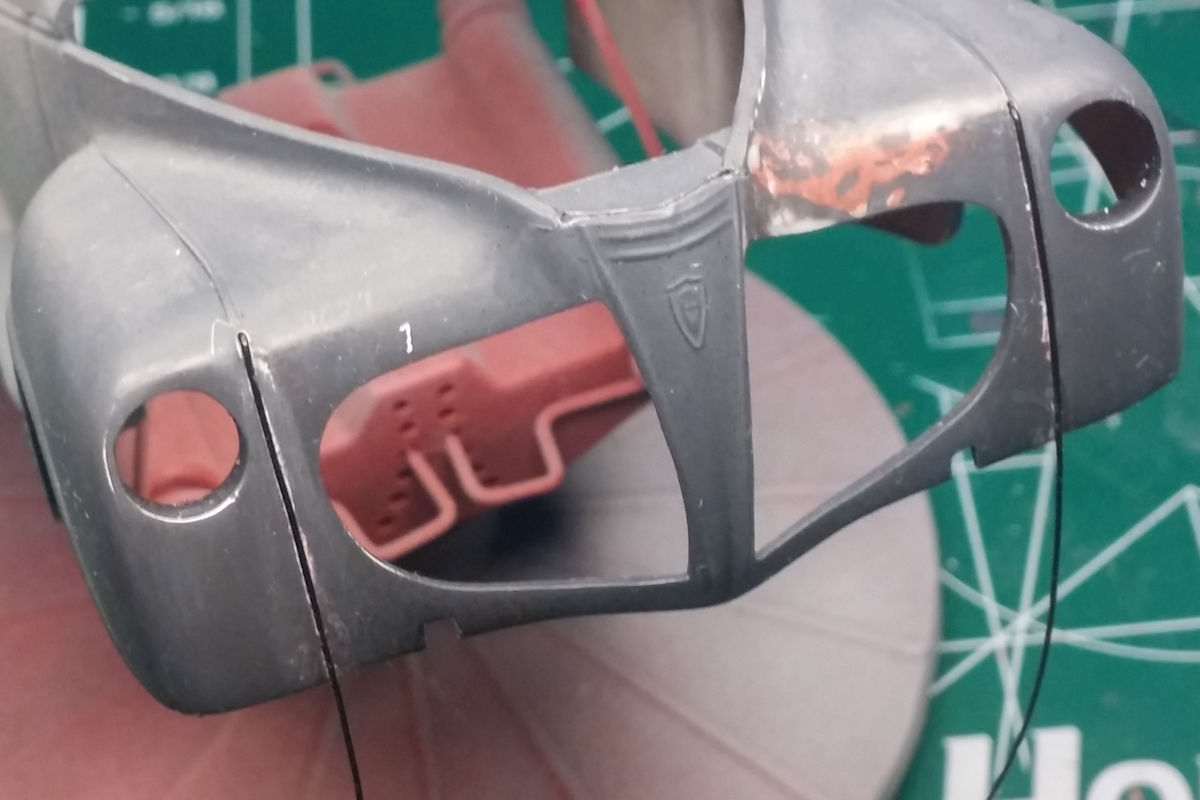
I have a few more photos ready, so here they are... OK, time to "shoot the elephant". Replacing the fender welts is the one part of this project that I'm least looking forward to and want most to finish. The masking tape is a guide to help me keep my lines straight. Using the razor saw I cut a couple of shallow kerfs where the fender welts will go. After finding some .018 vinyl coated stainless steel bead wire I drilled anchor holes using a #77 drill bit. Here the wire is glued into the grooves using CA. Not bad, it looks like I have some blending to do. Thanks for looking and, as always, please feel free to comment. David G.

-
You're off to a good start. David G.
-
Another good idea John. I'll put that one in my queue in case I ever need to do something like this again. David G.
-
Congratulations on some well deserved recognition. David G.
-
Glad to see that this one is still going. David G.
-
69 nova revell > barnfind > fully detailed engine bay
David G. replied to crazyrichard's topic in WIP: Model Cars
It just keeps getting better! David G. -
I used wire on mine. I'll see if I can get some photos posted tomorrow. David G.
-
Kitbashed Ford Pumper Re-posted Photos
David G. replied to Flynlo's topic in Model Trucks: Big Rigs and Heavy Equipment
Excellent work! David G. -
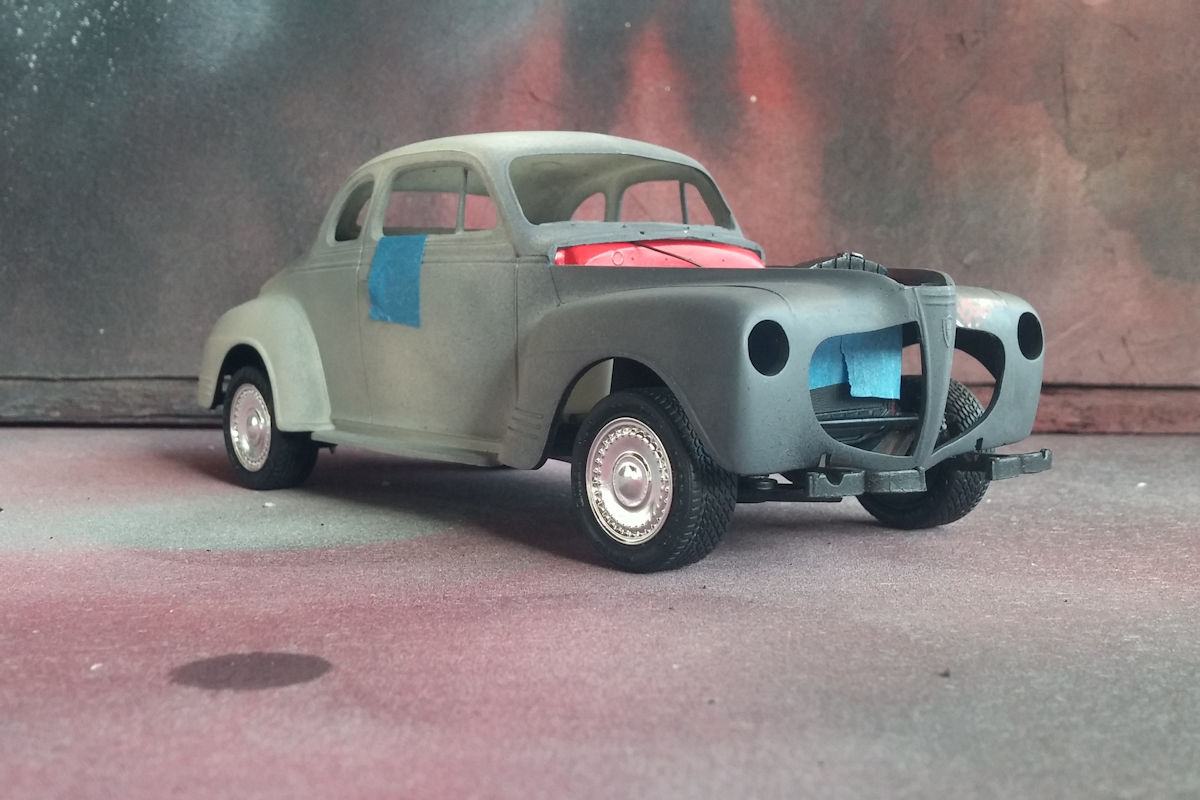
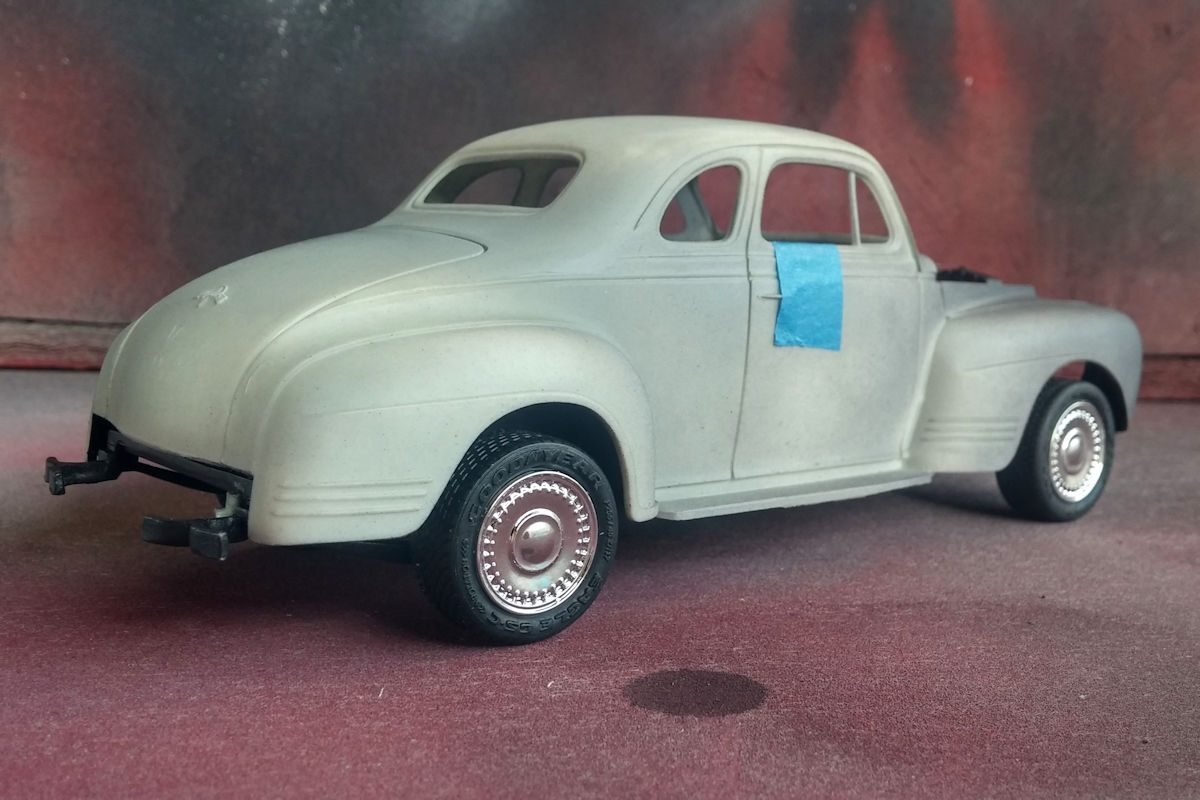
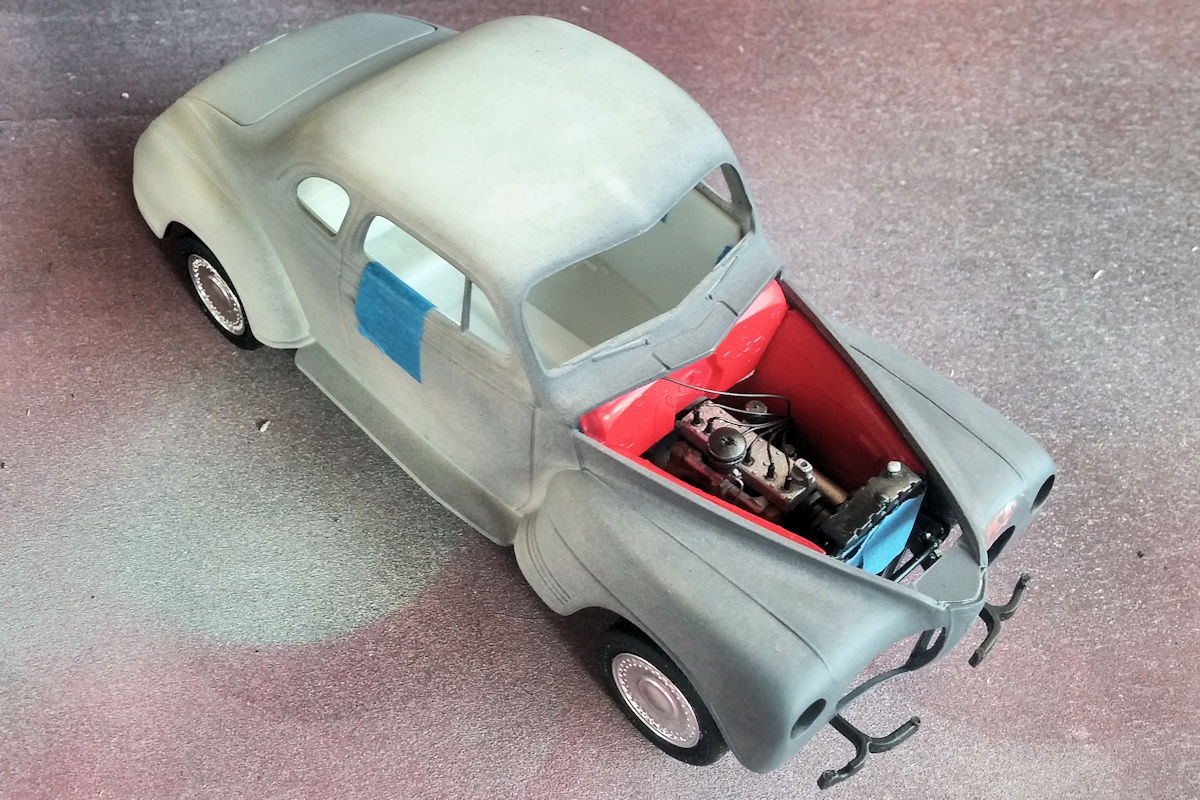
Time to throw a few more photos at you. OK, these are not the wheels I plan to use, these are the custom hot rod wheels. I plan to use the stock rims with bias ply tires which are a bit taller and will fill the wheel wells a little more. Also, the body is not sitting all the way down on the chassis. The slots in the front apron should be down over bumper brackets. This would drop the body two to three millimeters- at least in the front. Given those points, I think I'm mostly happy with the stance. The kit has metal wire axles which I plan on doing away with, mounting the wheels directly with styrene pins. This will afford me an opportunity to make more adjustments. I just like this shot. The red on the inner fender wells is too bright, but more on that later. Oh, I still need to make a six-volt battery! Thanks for looking and feel free to comment. David G.
-
Nice one Mtija, you should dust it off. BTW, what did you use to replace the fender welts? David G.
-
T-65UEM Xwing
David G. replied to su27rules's topic in WIP: All The Rest: Motorcycles, Aviation, Military, Sci-Fi, Figures
Nice detail work. David G. -
Renwal '66 Stutz - Virgil Exner design updated with before pic 4/4
David G. replied to realgone58's topic in Model Cars
That's just cool! Nice save. David G. -
Thank you Matija, I'm glad you like it. What is your project? David G.
-
VW T1 Panel Van
David G. replied to Prince Ital Mike's topic in Model Trucks: Pickups, Vans, SUVs, Light Commercial
Nicely done, good paint and foil work. Very solid looking. David G. -
1968 Shelby Green Hornet-----Update! 8/4/18
David G. replied to MrObsessive's topic in WIP: Model Cars
You continue to amaze me sir! Excellent work so far. David G. -
Looks fantastic! Well done. David G.
-
Peterbilt 359
David G. replied to Ken Gilkeson's topic in Model Trucks: Big Rigs and Heavy Equipment
Wow, that thing just glows! Very nice. David G. -
One of my favorite cars, wish I had a real one. Very nicely done. David G.
-
Very well done, looks great! David G.