David G.
-
Posts
11,326 -
Joined
-
Last visited
Content Type
Profiles
Forums
Events
Gallery
Everything posted by David G.
-
Thank you! I should have more updates soon. David G.
-
Nice, simple and clean, looks great! David G.
-
Nicely done! David G.
-
Excellent progress on this Greg! I really like the wat that the gas cap turned out. David G.
-

A different approach to the AMT 41 Plymouth coupe.
David G. replied to Alan Barton's topic in WIP: Model Cars
The mods you've made so far look great! David G. -
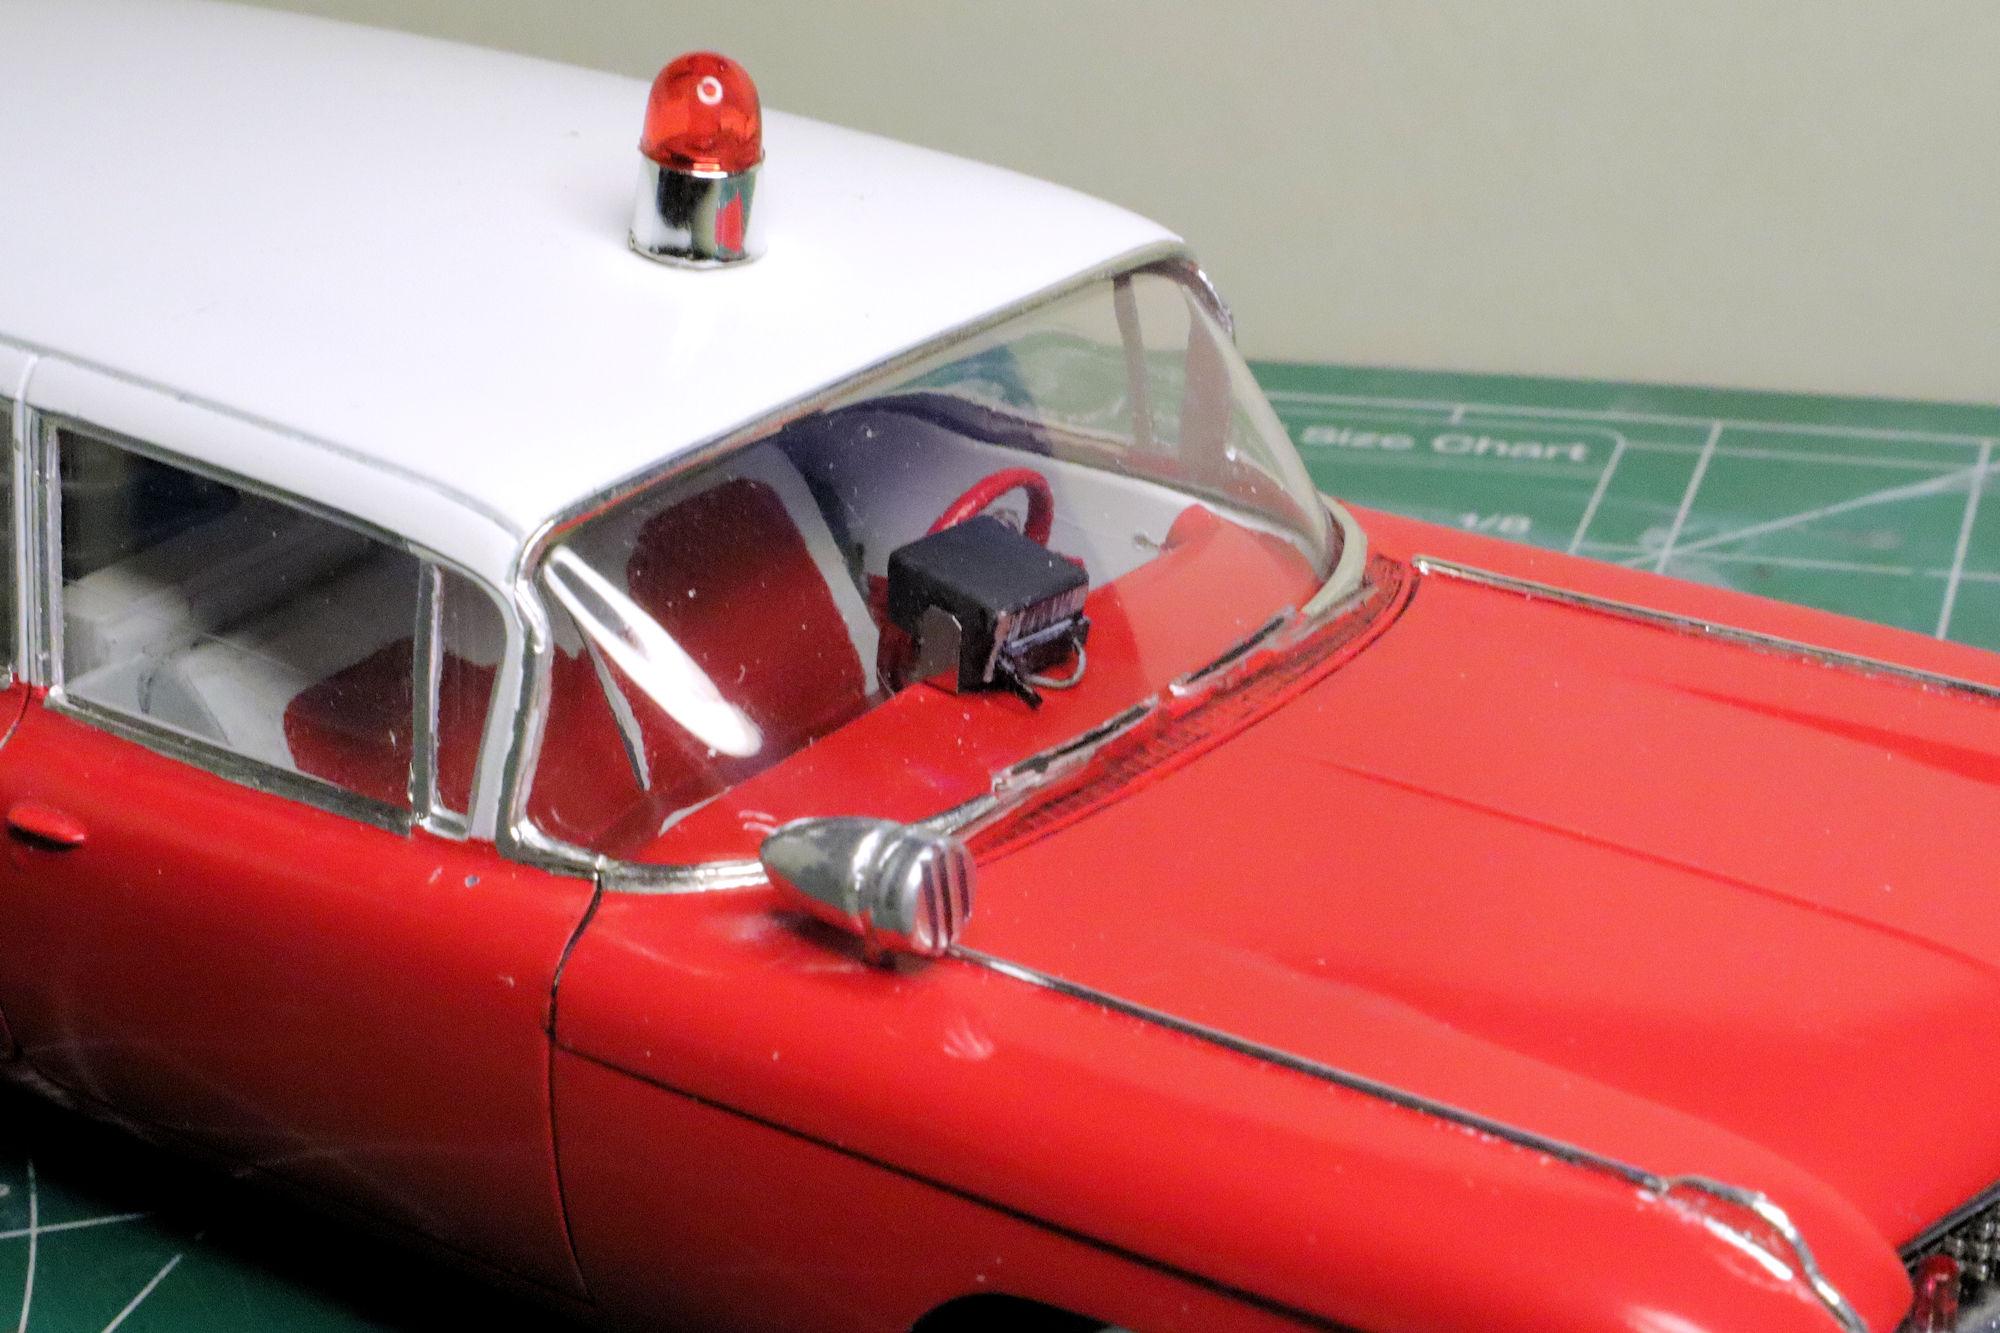
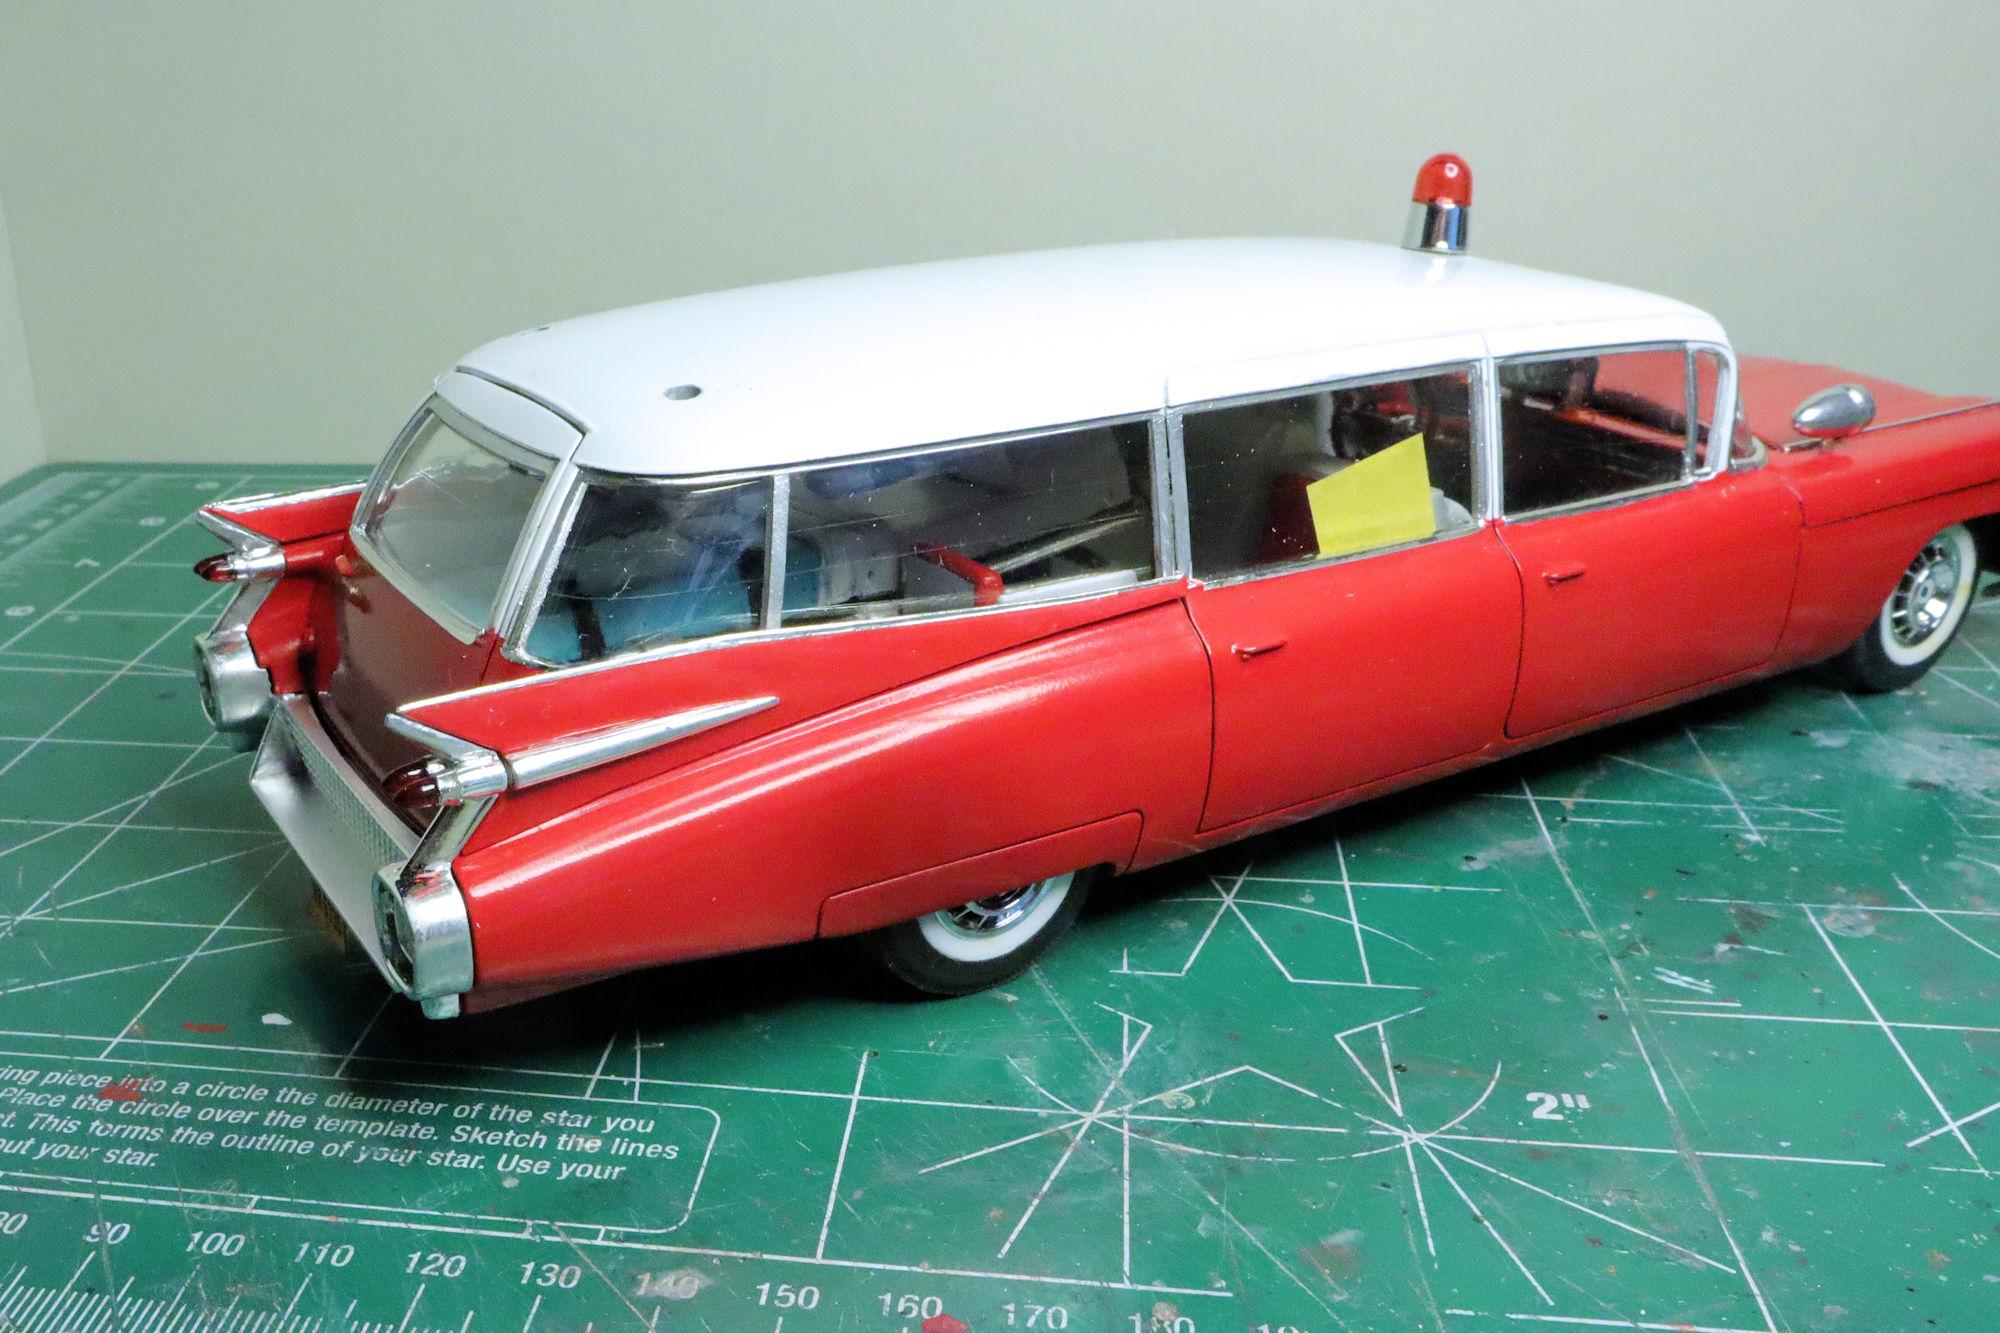
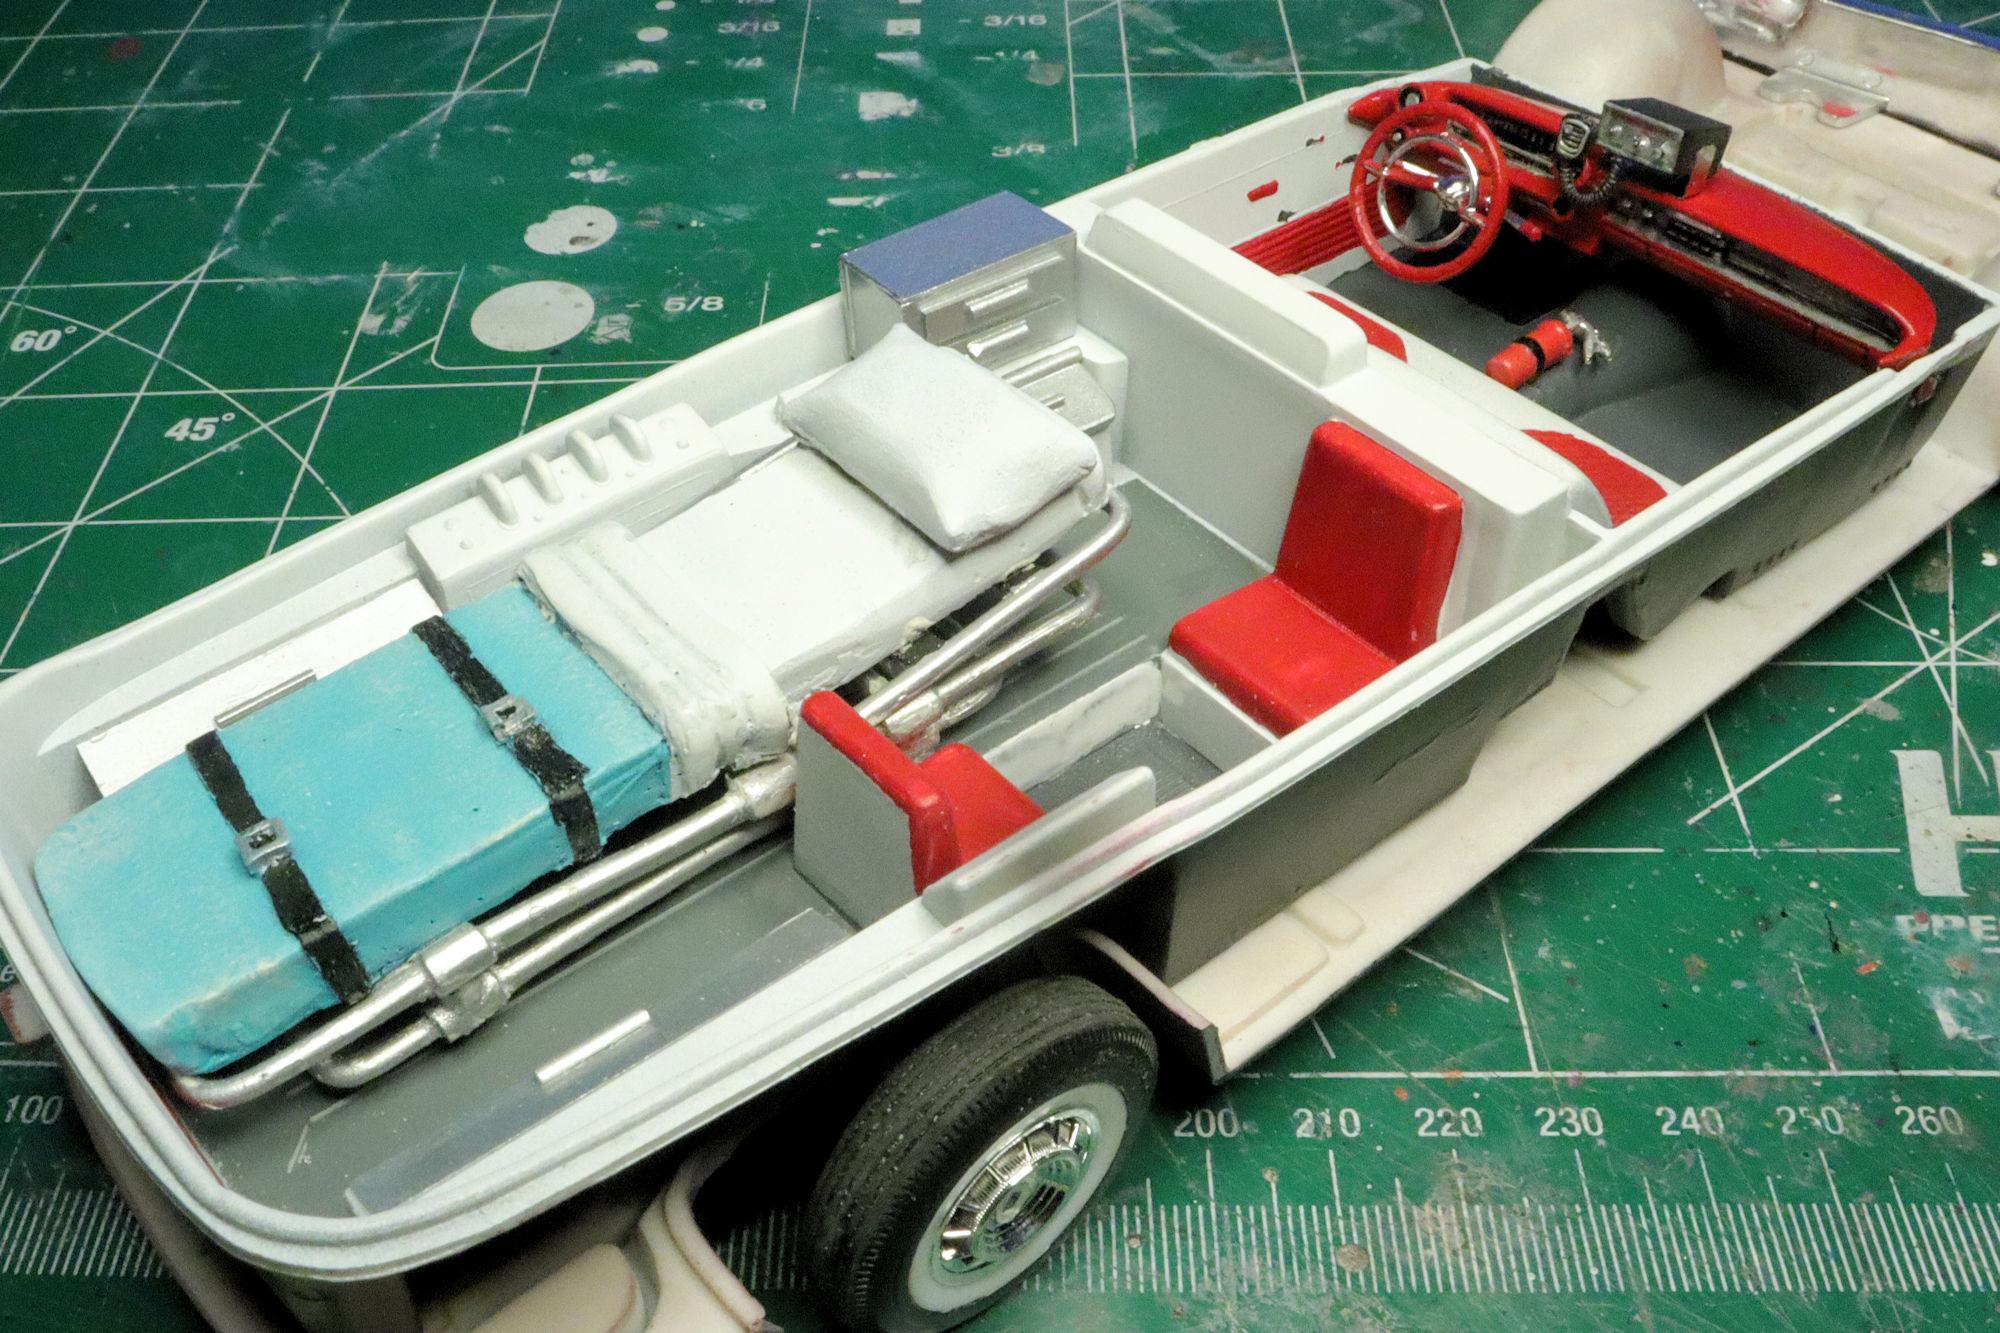
Hello Everybody! As I get closer to wrapping up this build, the work seems to go more quickly and slow down at the same time. Is that even possible? ? The interior is pretty much complete. I've added a radio and mic mounted to the dash on a bracket that I fabbed from some leftover PE sprue. In the back, the gurney has been permanently installed. It's not the best model of a gurney available but it's the one I had at the time. Most of the rear area will be obscured with window decals from the actual AMT ambulance kit. The fire extinguisher is new too. I also made certain that the radio would clear the windshield after assembly. The tail fins are now permanently in place. I'm not exceedingly happy with their fit but there they are. Hopefully I'll get more done over the coming weekend. Until then, thanks for taking the time to look and please feel free to comment if one is so inclined. David G.

-
Thank you Randy. I truly appreciate your interest and your kind comment. David G.
-
A great idea gluing the rear pan to the body, I wish I'd thought of that. Excellent progress on this. David G.
-
Wow! I know I keep saying it but it's true: Museum Quality! It's going to be a shame to cover all that work with a body. Which is also quite the work of art on its own. David G.
-
A different approach to the AMT 41 Plymouth coupe.
David G. replied to Alan Barton's topic in WIP: Model Cars
Those are some pretty radical mods so far. It should look pretty cool when it's all done. David G. -
1937 Chevy convertible: 1/32, old Pyro model, BOX STOCK???
David G. replied to ismaelg's topic in WIP: Model Cars
What a cool project Ismael! If anyone can beat this kit into shape it's you. I can't wait to see what you come up with. David G. -
Thank you Jim! David G.
-
Good call on the engine swap! David G.
-
Link-Belt HC-218 Truck Crane
David G. replied to redneckrigger's topic in WIP: Model Trucks: Big Rigs and Heavy Equipment
It's nice to have you back on the boards Tom! I'm really glad to see build back on the deck. David G. -
1:16 Gunze Sangyo 1937 Rolls-Royce Phantom III Sports Saloon
David G. replied to Anglia105E's topic in WIP: Model Cars
That double hinge setup is a clever bit of engineering. It will be quite an interesting feature in the finished build. David G. -
Thanks Jim, I'm glad to know that. No worries. David G.
-
Nice recovery on the suspension issue Greg! David G.
-
Completed Surf Shark/ 1959 Cadillac Ambulance Mashup
David G. replied to Karl LaFong's topic in Model Cars
Nice work! I have a similar project going, it's always fun to see what someone else does with the same kit. David G. -
Fabulous work on the conversion! It looks like it came out of the box that way. David G.
-
Wow, that chassis looks great Greg! David G.
-
That looks really close to me! Excellent work so Greg! David G.
-
Knowing your skill and imagination, I can hardly wait to see what you come up with Chuck. David G.
-
The paint and wheels look great! David G.
-
Jim, I apologize if I upset or offended you. That was not my intent. My comment was intended to relate some of the experiences we shared in wrangling this kit into some form of an acceptable representation of what it was supposed to be. I continue to be impressed by the quality of work you're putting into this build and I would like to continue following this thread. I could do so without any further comment if you wish. David G.
-
1:16 Gunze Sangyo 1937 Rolls-Royce Phantom III Sports Saloon
David G. replied to Anglia105E's topic in WIP: Model Cars
Indeed the tool kit did turn out quite well and the interior colors are looking very sharp. David G.