-
Posts
2,108 -
Joined
-
Last visited
Content Type
Profiles
Forums
Events
Gallery
Everything posted by Cool Hand
-
Engine rough mounted in the frame. Decided to go with a front plate, as its much easier than trying fit up to the side of the block and clearance the headers. And im still futzing around with the headers, they always cause me problems with this type of build. One more modification and hopefully they will be sorted and I can move onto the suspension
- 21 replies
-
- streetmachine
- ddacollectibles
-
(and 2 more)
Tagged with:
-
Rough engine mock up to help figure out the location and how it will mounted into the frame.
- 21 replies
-
- streetmachine
- ddacollectibles
-
(and 2 more)
Tagged with:
-
33 days until Summernats. Scratch built basic chassis frame complete. No doubt some alterations will be needed as other components are fitted.
- 21 replies
-
- 3
-

-
- streetmachine
- ddacollectibles
-
(and 2 more)
Tagged with:
-
- 39,207 replies
-
- 5
-

-
- johan
- glue bombs
-
(and 1 more)
Tagged with:
-
Now the build will start to become more interesting and challenging. Basic chassis frame design layout.
- 21 replies
-
- 1
-

-
- streetmachine
- ddacollectibles
-
(and 2 more)
Tagged with:
-
Its taken me about 20 years to learn that taking the time to properly prepare before paint does make a big difference. Its time consuming and boring but the end result always makes it worth the effort. And its a never ending learning process which kinda keeps it interesting, especially when trying to keep up with modern materials and techniques. Appreciate the kind words and encouragement.
- 21 replies
-
- streetmachine
- ddacollectibles
-
(and 2 more)
Tagged with:
-
35 days until Summernats. Another boring update. Applied Mr Primer Surfacer 1000. One step closer to applying the colour coat.
- 21 replies
-
- 3
-

-
- streetmachine
- ddacollectibles
-
(and 2 more)
Tagged with:
-
Nice one Michael, good to see you got it finished. Thats a lotta engine, good thing it has the meaty wides on the rear. The Aoshima Enkei dish wheels were a wise selection for Hakosuka. Well done.
-
36 days until Summernats. Made some good progress with the body prep. Nothing overly impressive to look out, just the usual scribing and block sanding. And some modifications. Opened the lower section of the nose cone. Filled in the wiper and side mirror mounting holes. Filled the gas cap and spoiler mounting holes, removed number plate mount and filled the holes. Opened the side gill vents and thinned the b pillar as I wont be installing the door glass. And filled in the bonnet/hood hinge notches and removed the engine bay insert screw posts. Just needs a final wet sand with 1500 and 2500 Infini sanding sponge, then I will apply a good coat of Mr Primer Surfacer 1000.
- 21 replies
-
- 3
-

-
- streetmachine
- ddacollectibles
-
(and 2 more)
Tagged with:
-
Yeah mate my work bench is always organized and tidy. Hey Steve. Appreciate the kind words. If all goes well and I can stick to the plan and stay motivated it should be a cool and typical Aussie Summerats style car.
- 21 replies
-
- streetmachine
- ddacollectibles
-
(and 2 more)
Tagged with:
-
Appreciate the comments fellas 37 days until Summernats, guess I should start getting serious and get stuck into it. Being that time is short I will be using 2 bodies, one for mock ups and test fitting, the other I will start preparing for paint. Ive tried this type of build a few times, only been successful once making it through to completion. But I plan to use the deadline for this build as motivation to get it done.
- 21 replies
-
- 5
-

-
- streetmachine
- ddacollectibles
-
(and 2 more)
Tagged with:
-

1972 chrysler vh valiant charger new south wales highway patrol car
Cool Hand replied to michelle's topic in Model Cars
Good one Michelle. Shouldnt be long and DDA will release a plastic kit. They have the pre painted pink light up plastic version available for pre order. So I am going to assume a full plastic kit will follow that release sometime during Q1 next year. -
Wheel mock up. Stance will be adjusted once the chassis is sorted out.
- 21 replies
-
- 3
-

-
- streetmachine
- ddacollectibles
-
(and 2 more)
Tagged with:
-
Cheers Stu, back into it full time in a week or 2 🤞 Thanks Michael, should get a bit more interesting soon.
- 21 replies
-
- streetmachine
- ddacollectibles
-
(and 2 more)
Tagged with:
-
3D printed the wheels, 20' Holden Walkinshaw with custom lips. Hope to process and do some mock ups soon.
- 21 replies
-
- 4
-

-
- streetmachine
- ddacollectibles
-
(and 2 more)
Tagged with:
-
Got bored with models car for a bit, so changed over to my other hobby printing and painting miniatures. But slowly starting to gain interest to work on the cars again. Printed and painted some new wheels for the LX Torana hatch.
- 770 replies
-
- 3
-

-
- stalled builds
- quick builds
-
(and 2 more)
Tagged with:
-

'64 ElCamino
Cool Hand replied to Can-Con's topic in Model Trucks: Pickups, Vans, SUVs, Light Commercial
Clean conversion Steve, looks great done in your signature style. -
Well that time of year again, try build something for Summernats. Street Machine/Burnout car. Thought id do a separate thread for this build outside of my Lead City Customs mega thread, as its going to be a bit more full on than the usual curbsides I build. Just some box art and oob mock ups for now. Stock wheels are just for mock ups, I have other wheels planned which I need to 3D print. Yeah well going to be fun trying to fit a 572.
- 21 replies
-
- 8
-

-
- streetmachine
- ddacollectibles
-
(and 2 more)
Tagged with:
-

62nd All Japan Model & Hobby Show (2025)
Cool Hand replied to niteowl7710's topic in Car Kit News & Reviews
Very interesting how Aoshima has gone all in on the snap kits, the 1/32 series is massive and the 1/24 series continues to rapidly expand. I guess the JDM are the main sales of those kits. Can understand why they are popular being quick easy builds with no paint required. Aoshima and Hasegawa seem to be leading the way for the future of the hobby Havent seen any other pictures. So I had to a do a screen shot from a Japanese lady Youtube vid. Aoshima doing another new LBWK Lambo kit. LB-Silhouette Works, Lamborghini Aventador GT Evo Ver.1 -
Turned out great Stu, well done mate. You will have to build another one and do it up with the plans you had in mind.
-
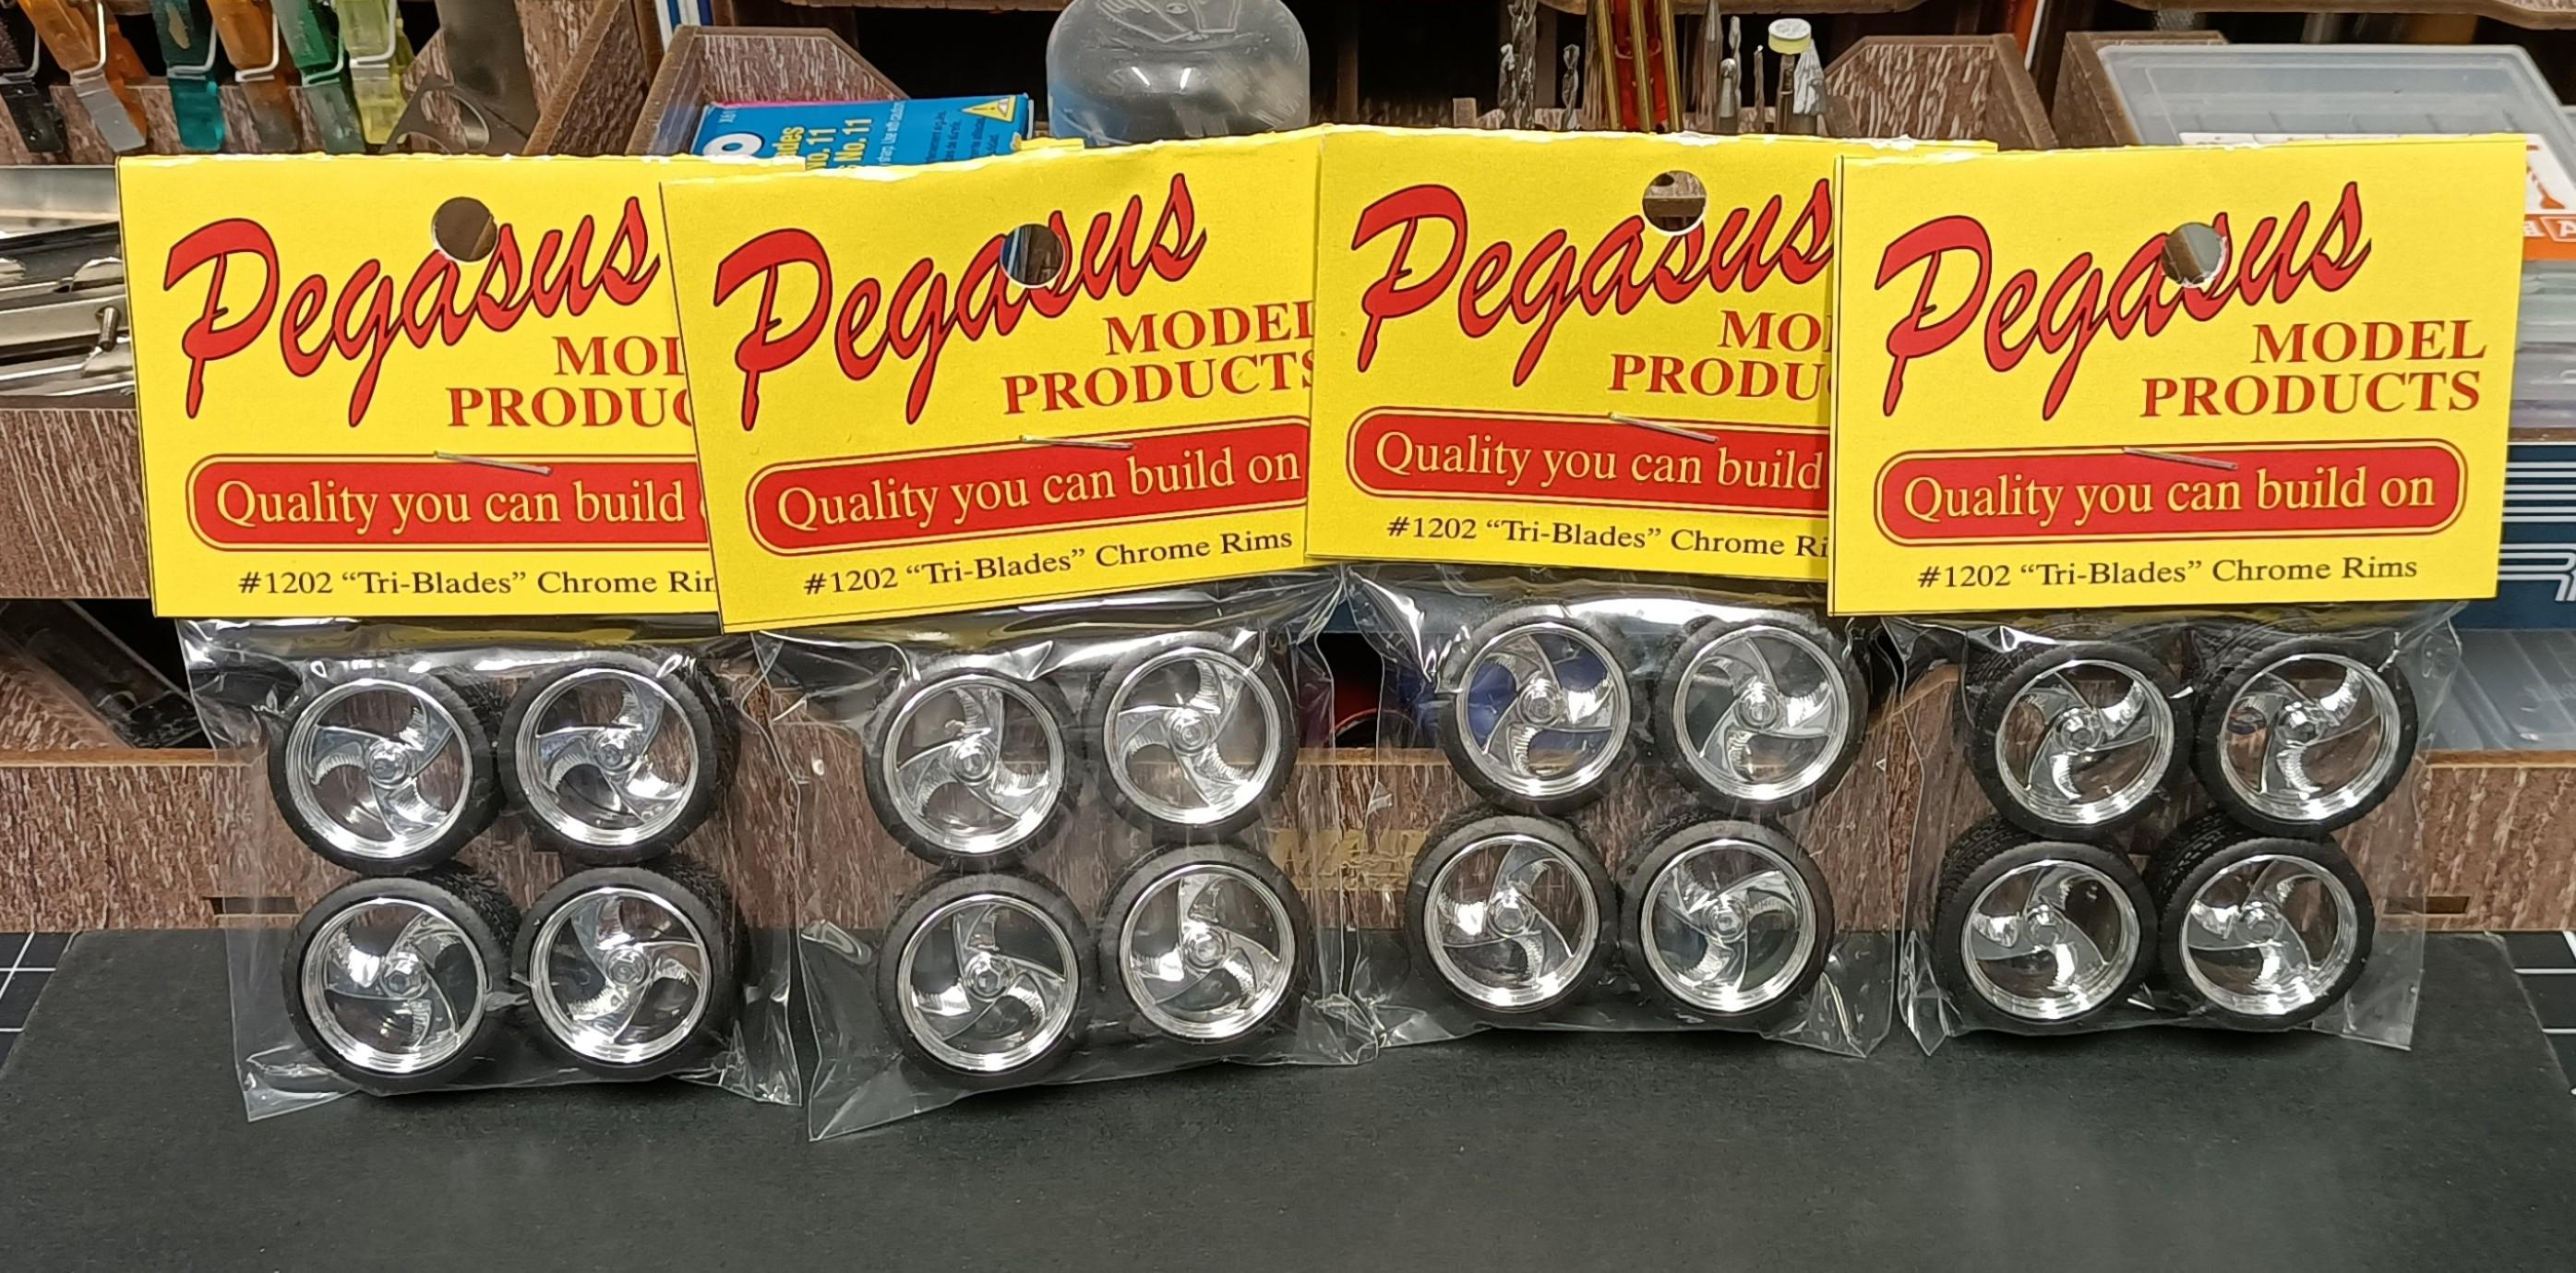
I wanted these specific Pegasus wheels and the only place I could find multiple sets was out of the US from Mark Twain Hobby Centre on ebay.
- 39,207 replies
-
- 4
-

-
- johan
- glue bombs
-
(and 1 more)
Tagged with:


.png.013fa9dd43375531e1189c60e38cfc2d.png)
.png.82fef2a9dd13cca4aced592471f5b73d.png)
