Rockford
-
Posts
1,944 -
Joined
-
Last visited
Content Type
Profiles
Forums
Events
Gallery
Everything posted by Rockford
-

Peterbilt 352
Rockford replied to Rockford's topic in WIP: Model Trucks: Big Rigs and Heavy Equipment
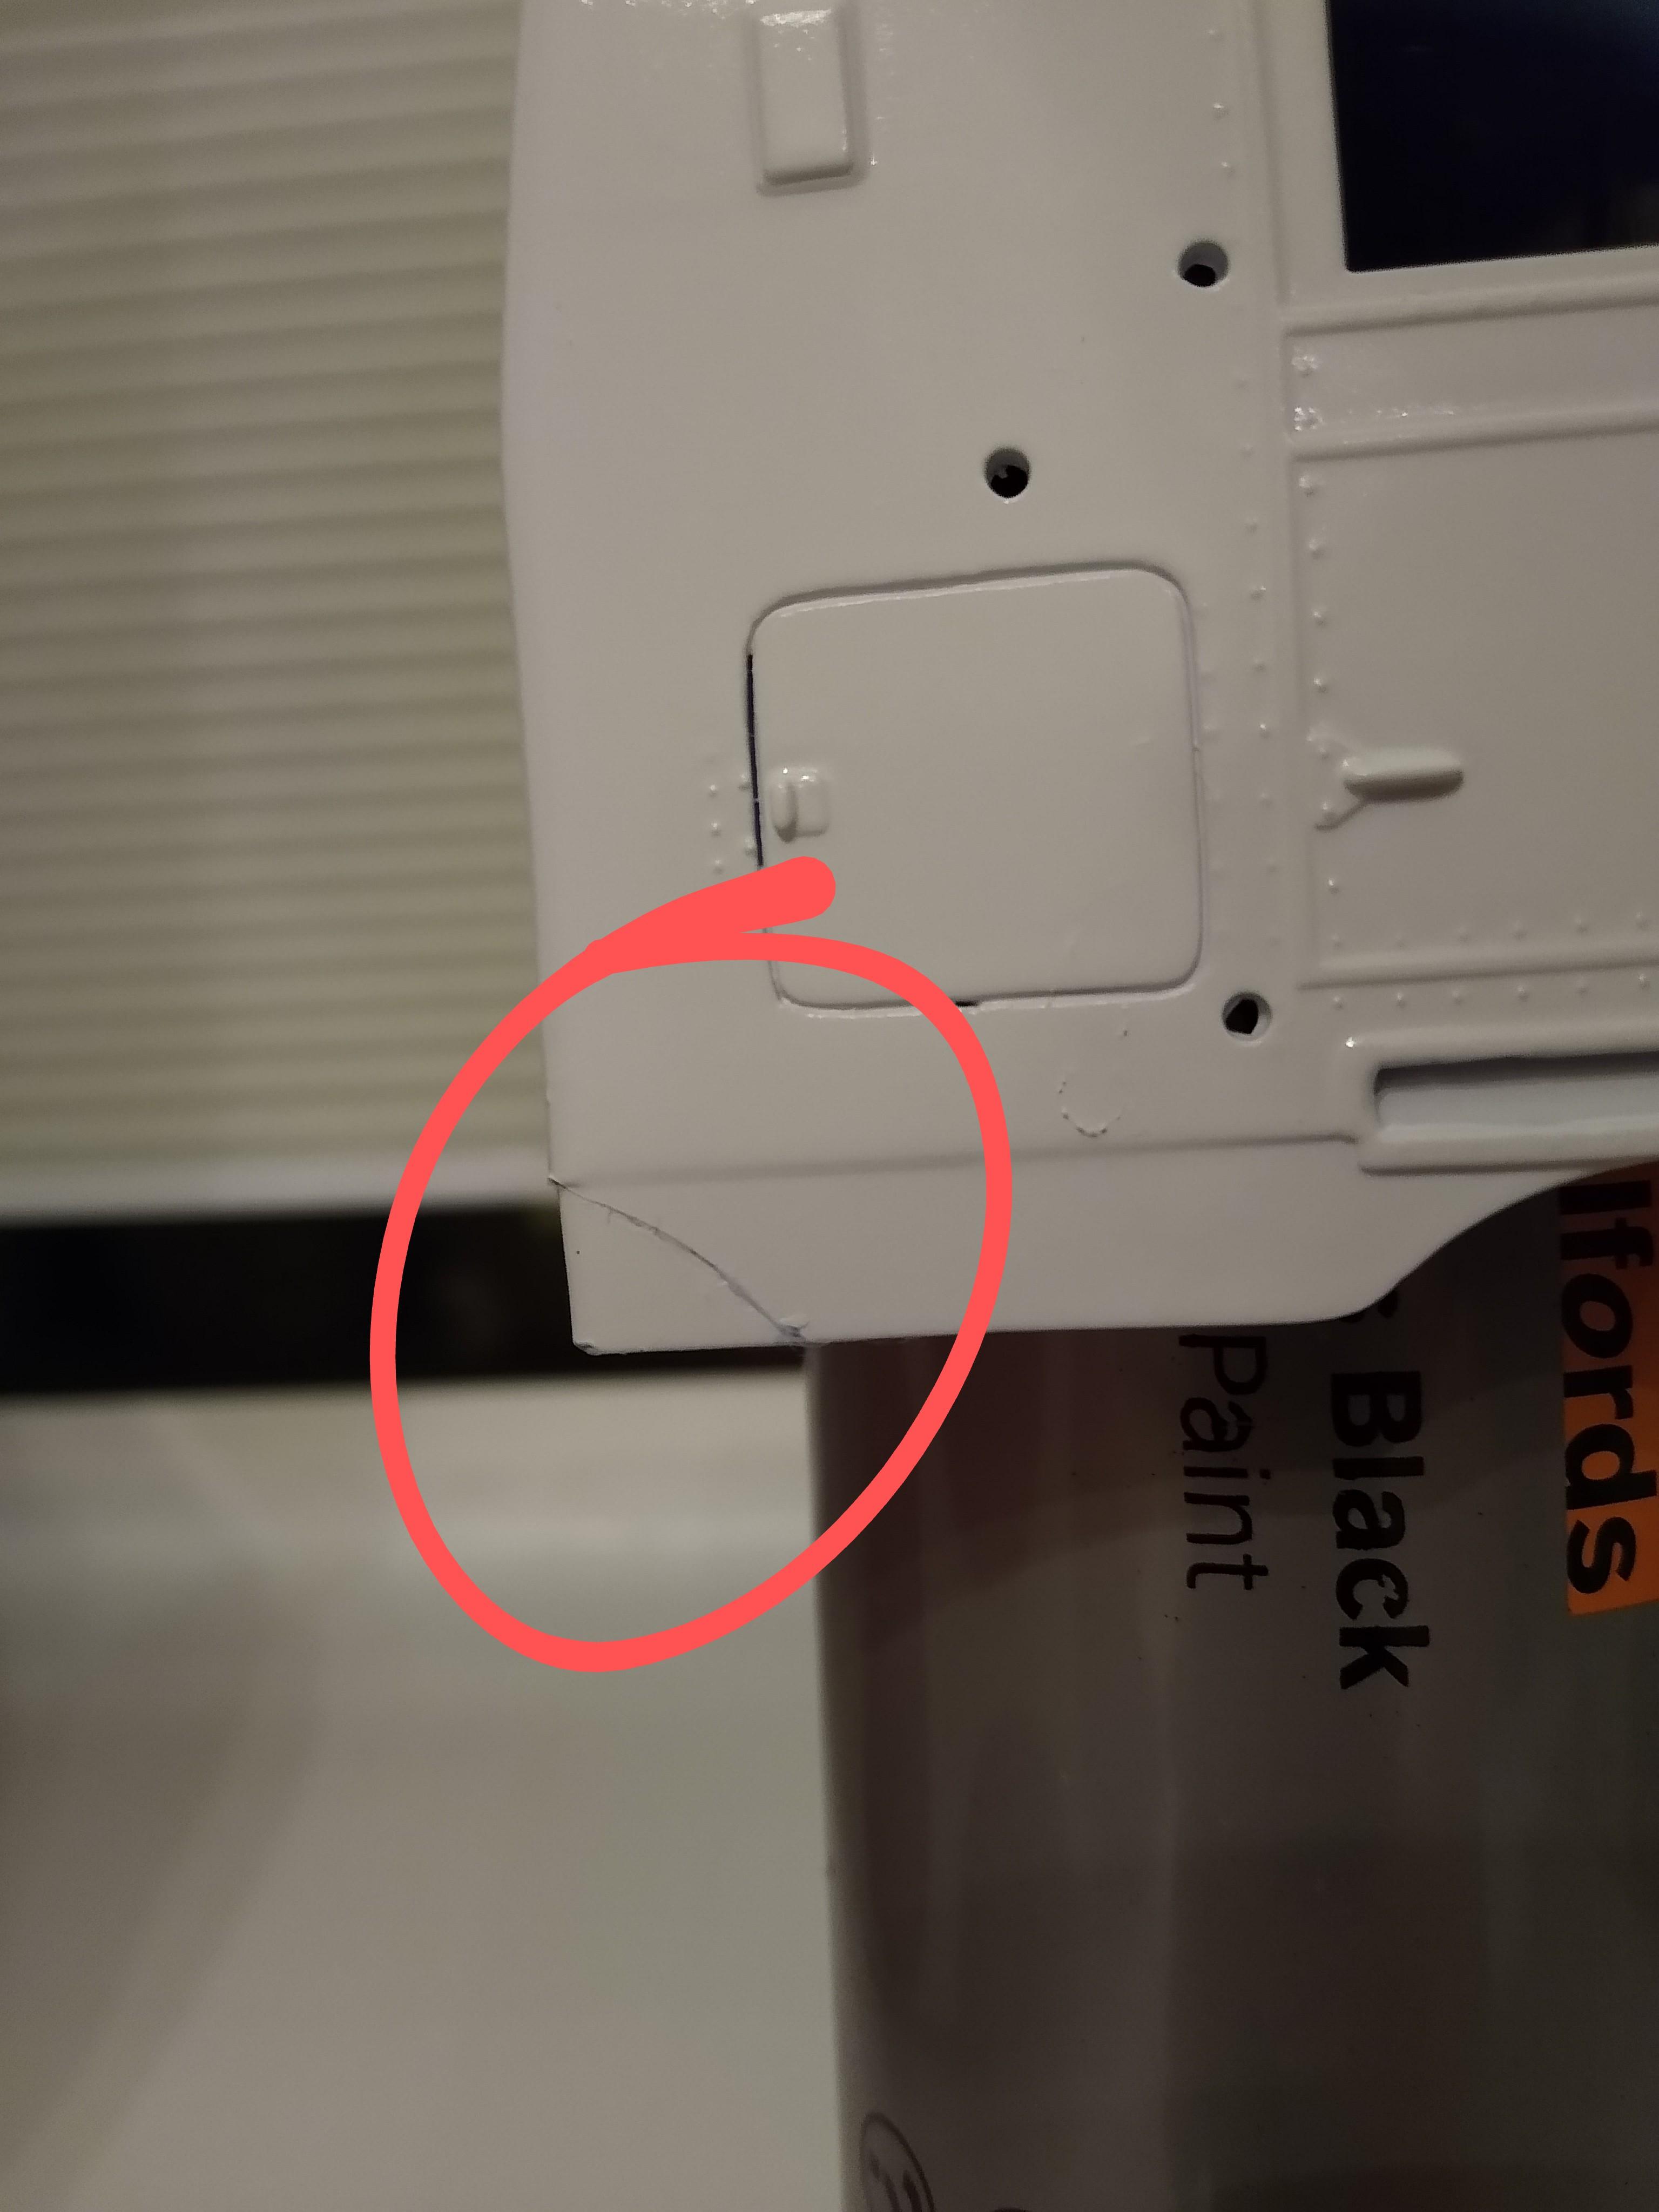
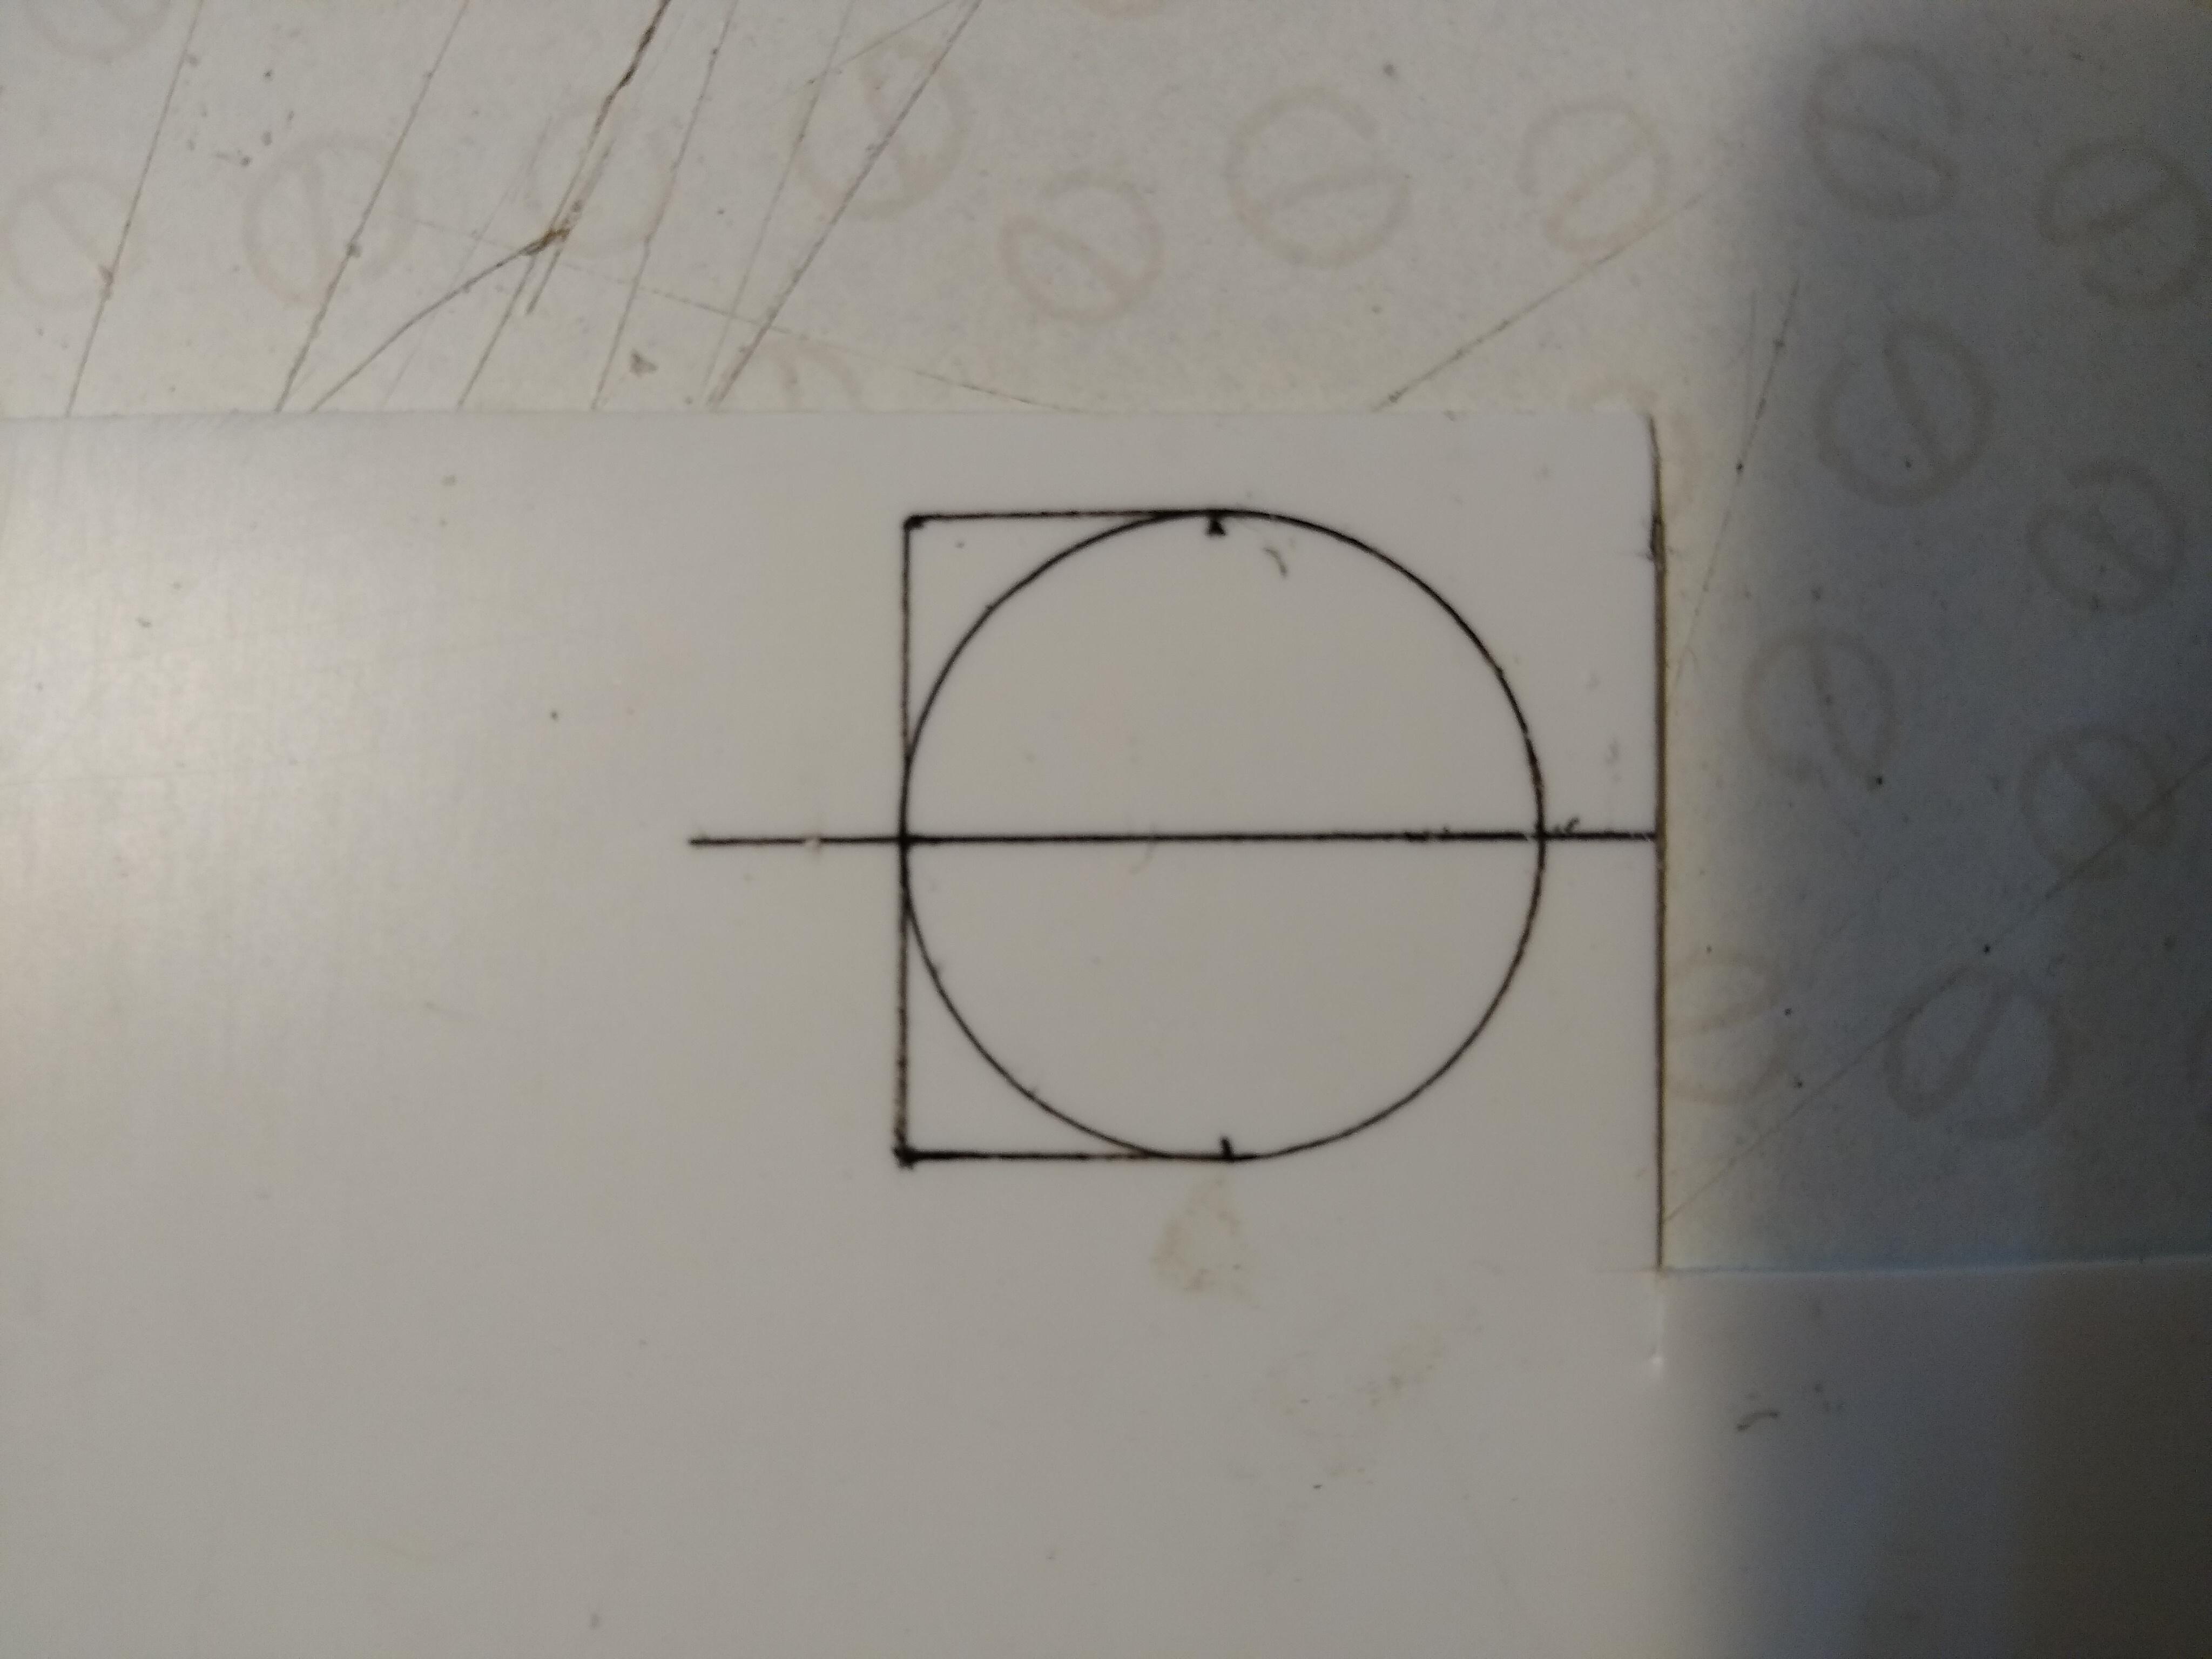
I can't believe what's happened to the cab of the 352 since I painted it. The paint was hard enough to handle the cab with no issues. I stood it on a shelf and next to it was some of that non-slip matting you can get. This was just touching the cab it seems. When I picked it back up today there were little pieces of the mat embedded in the paint! I rubbed it off with a cloth but it's left a sort of "burn" in the places where it touched the cab( ringed in the photo). I'll see if I can polish them out in a few days. I'm so annoyed. First of all I drop it and now this! Spent the afternoon doing little bits, painting the inside of the cab and the doghouse, washing the grille, colouring the wheel studs etc... Couldn't resist a quick mock-up, even though I said I wouldn't.
-
Peterbilt 352
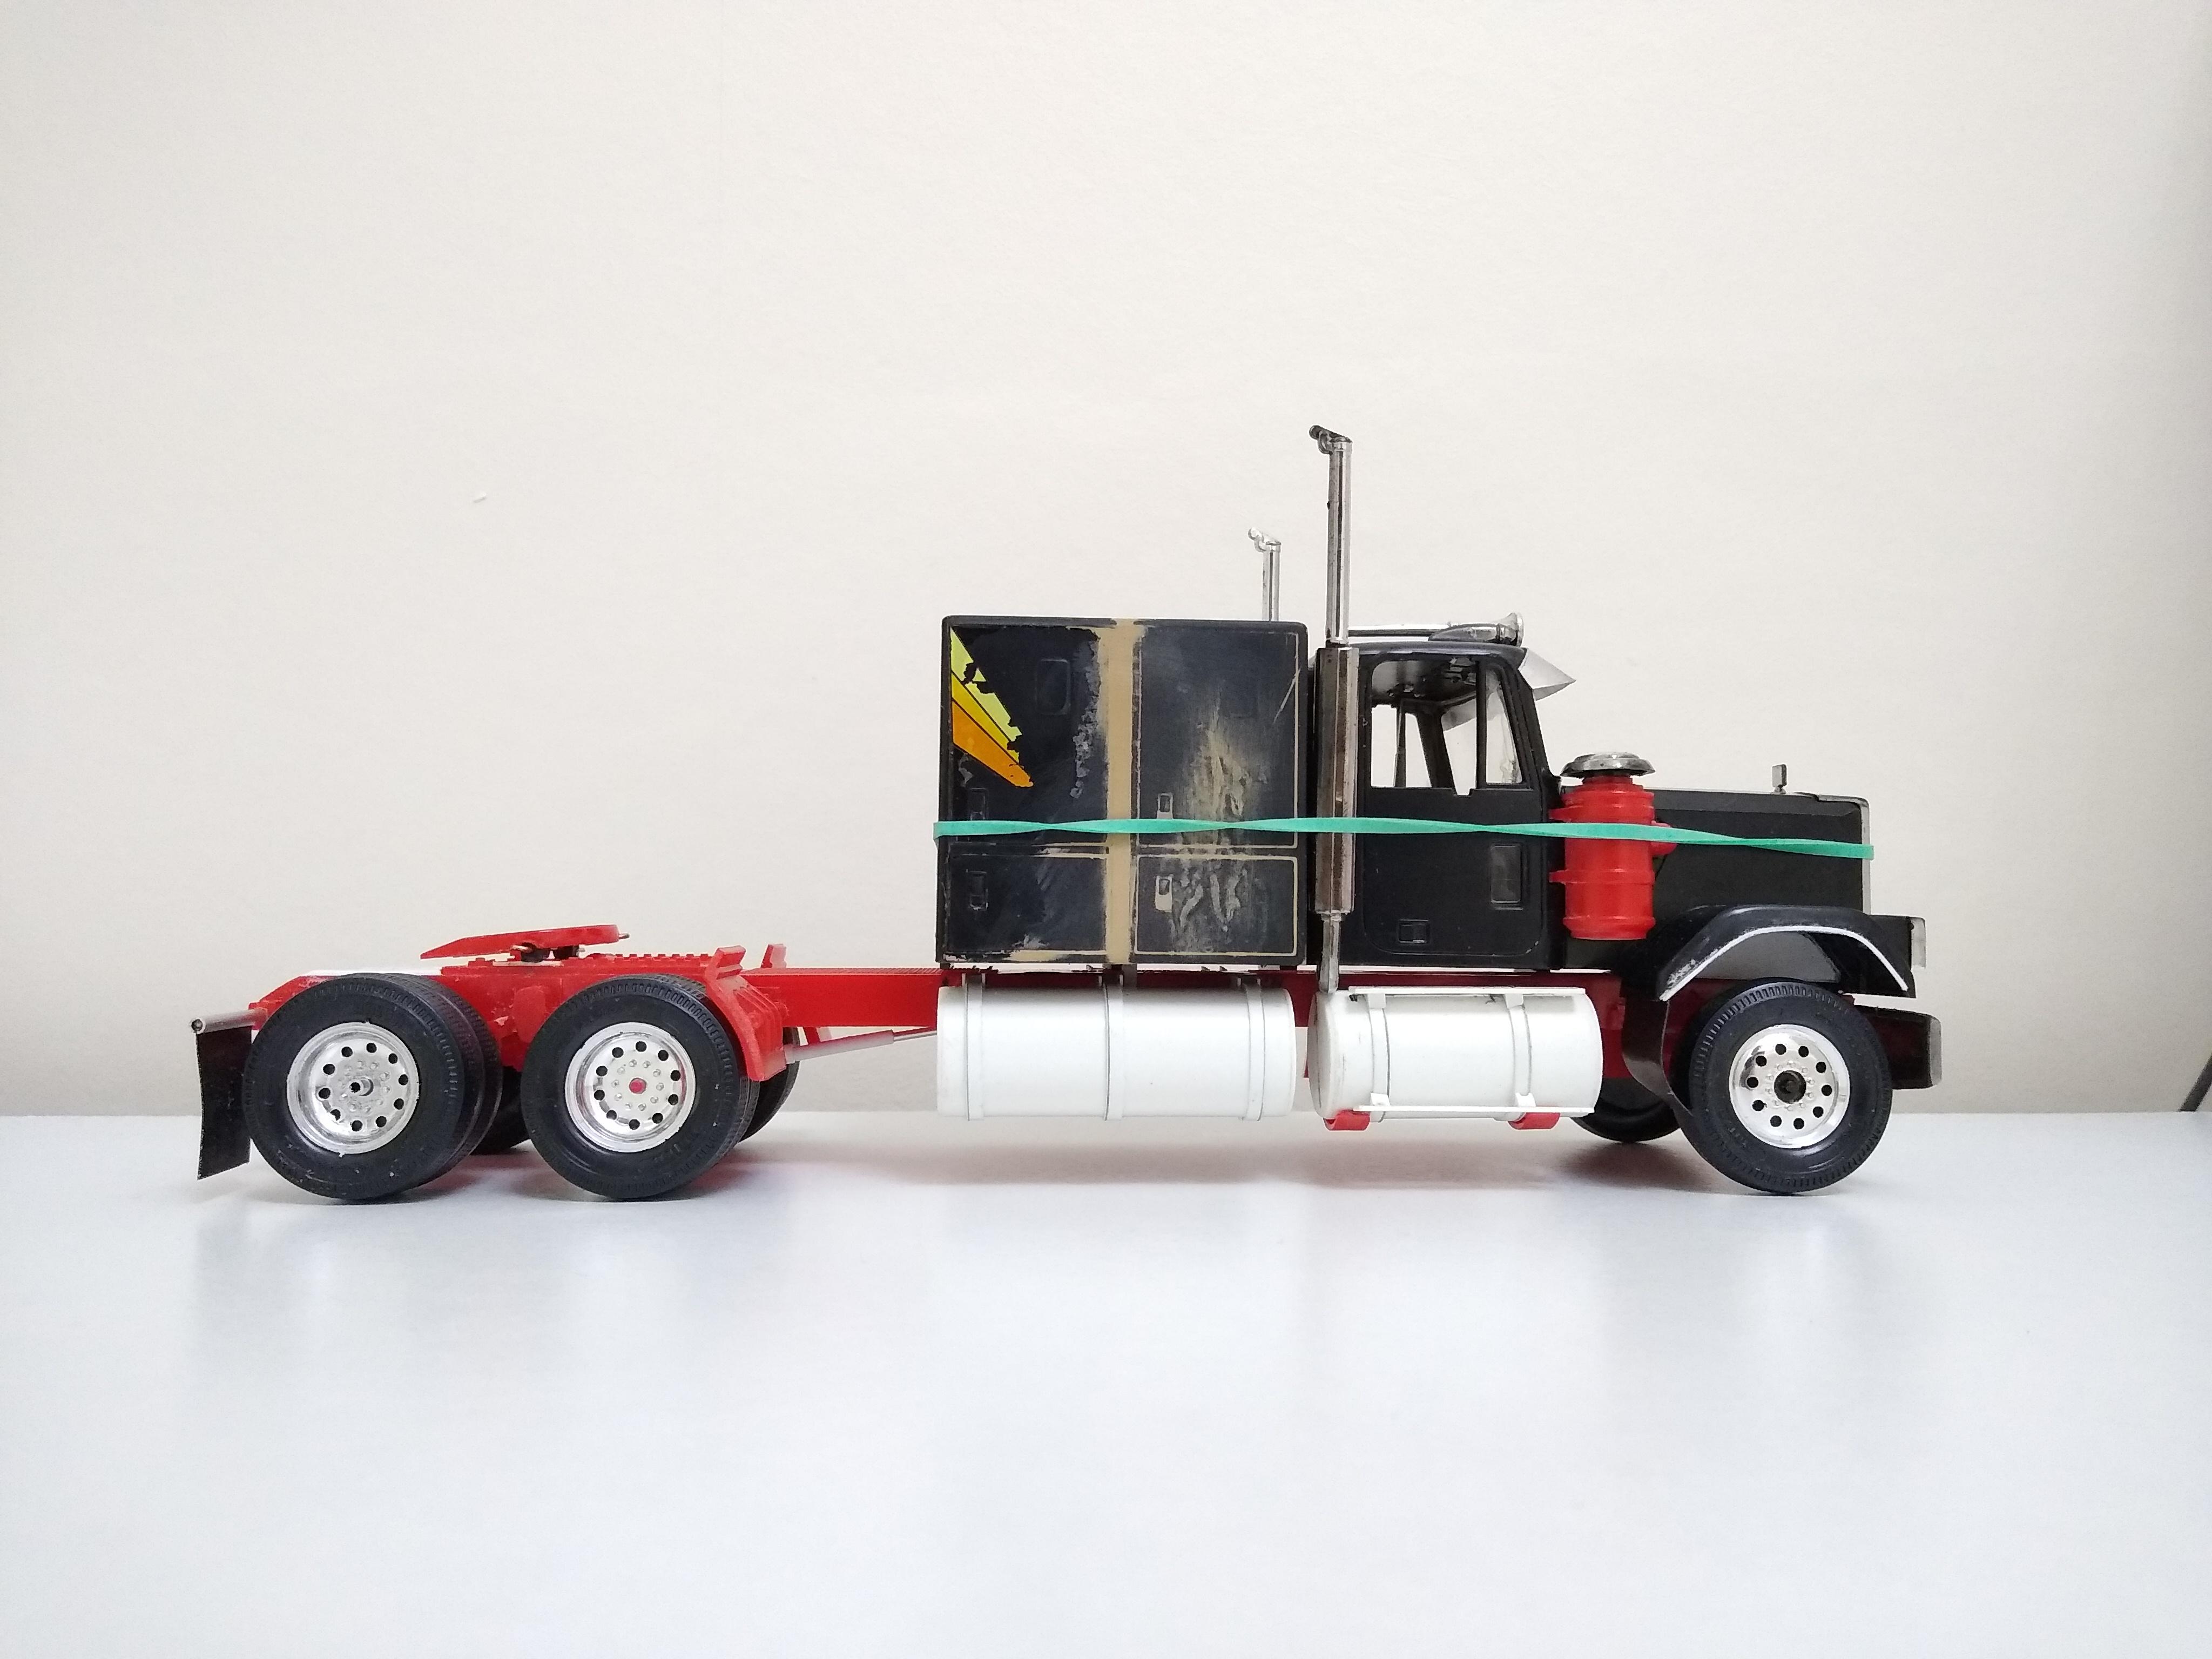
Rockford replied to Rockford's topic in WIP: Model Trucks: Big Rigs and Heavy Equipment
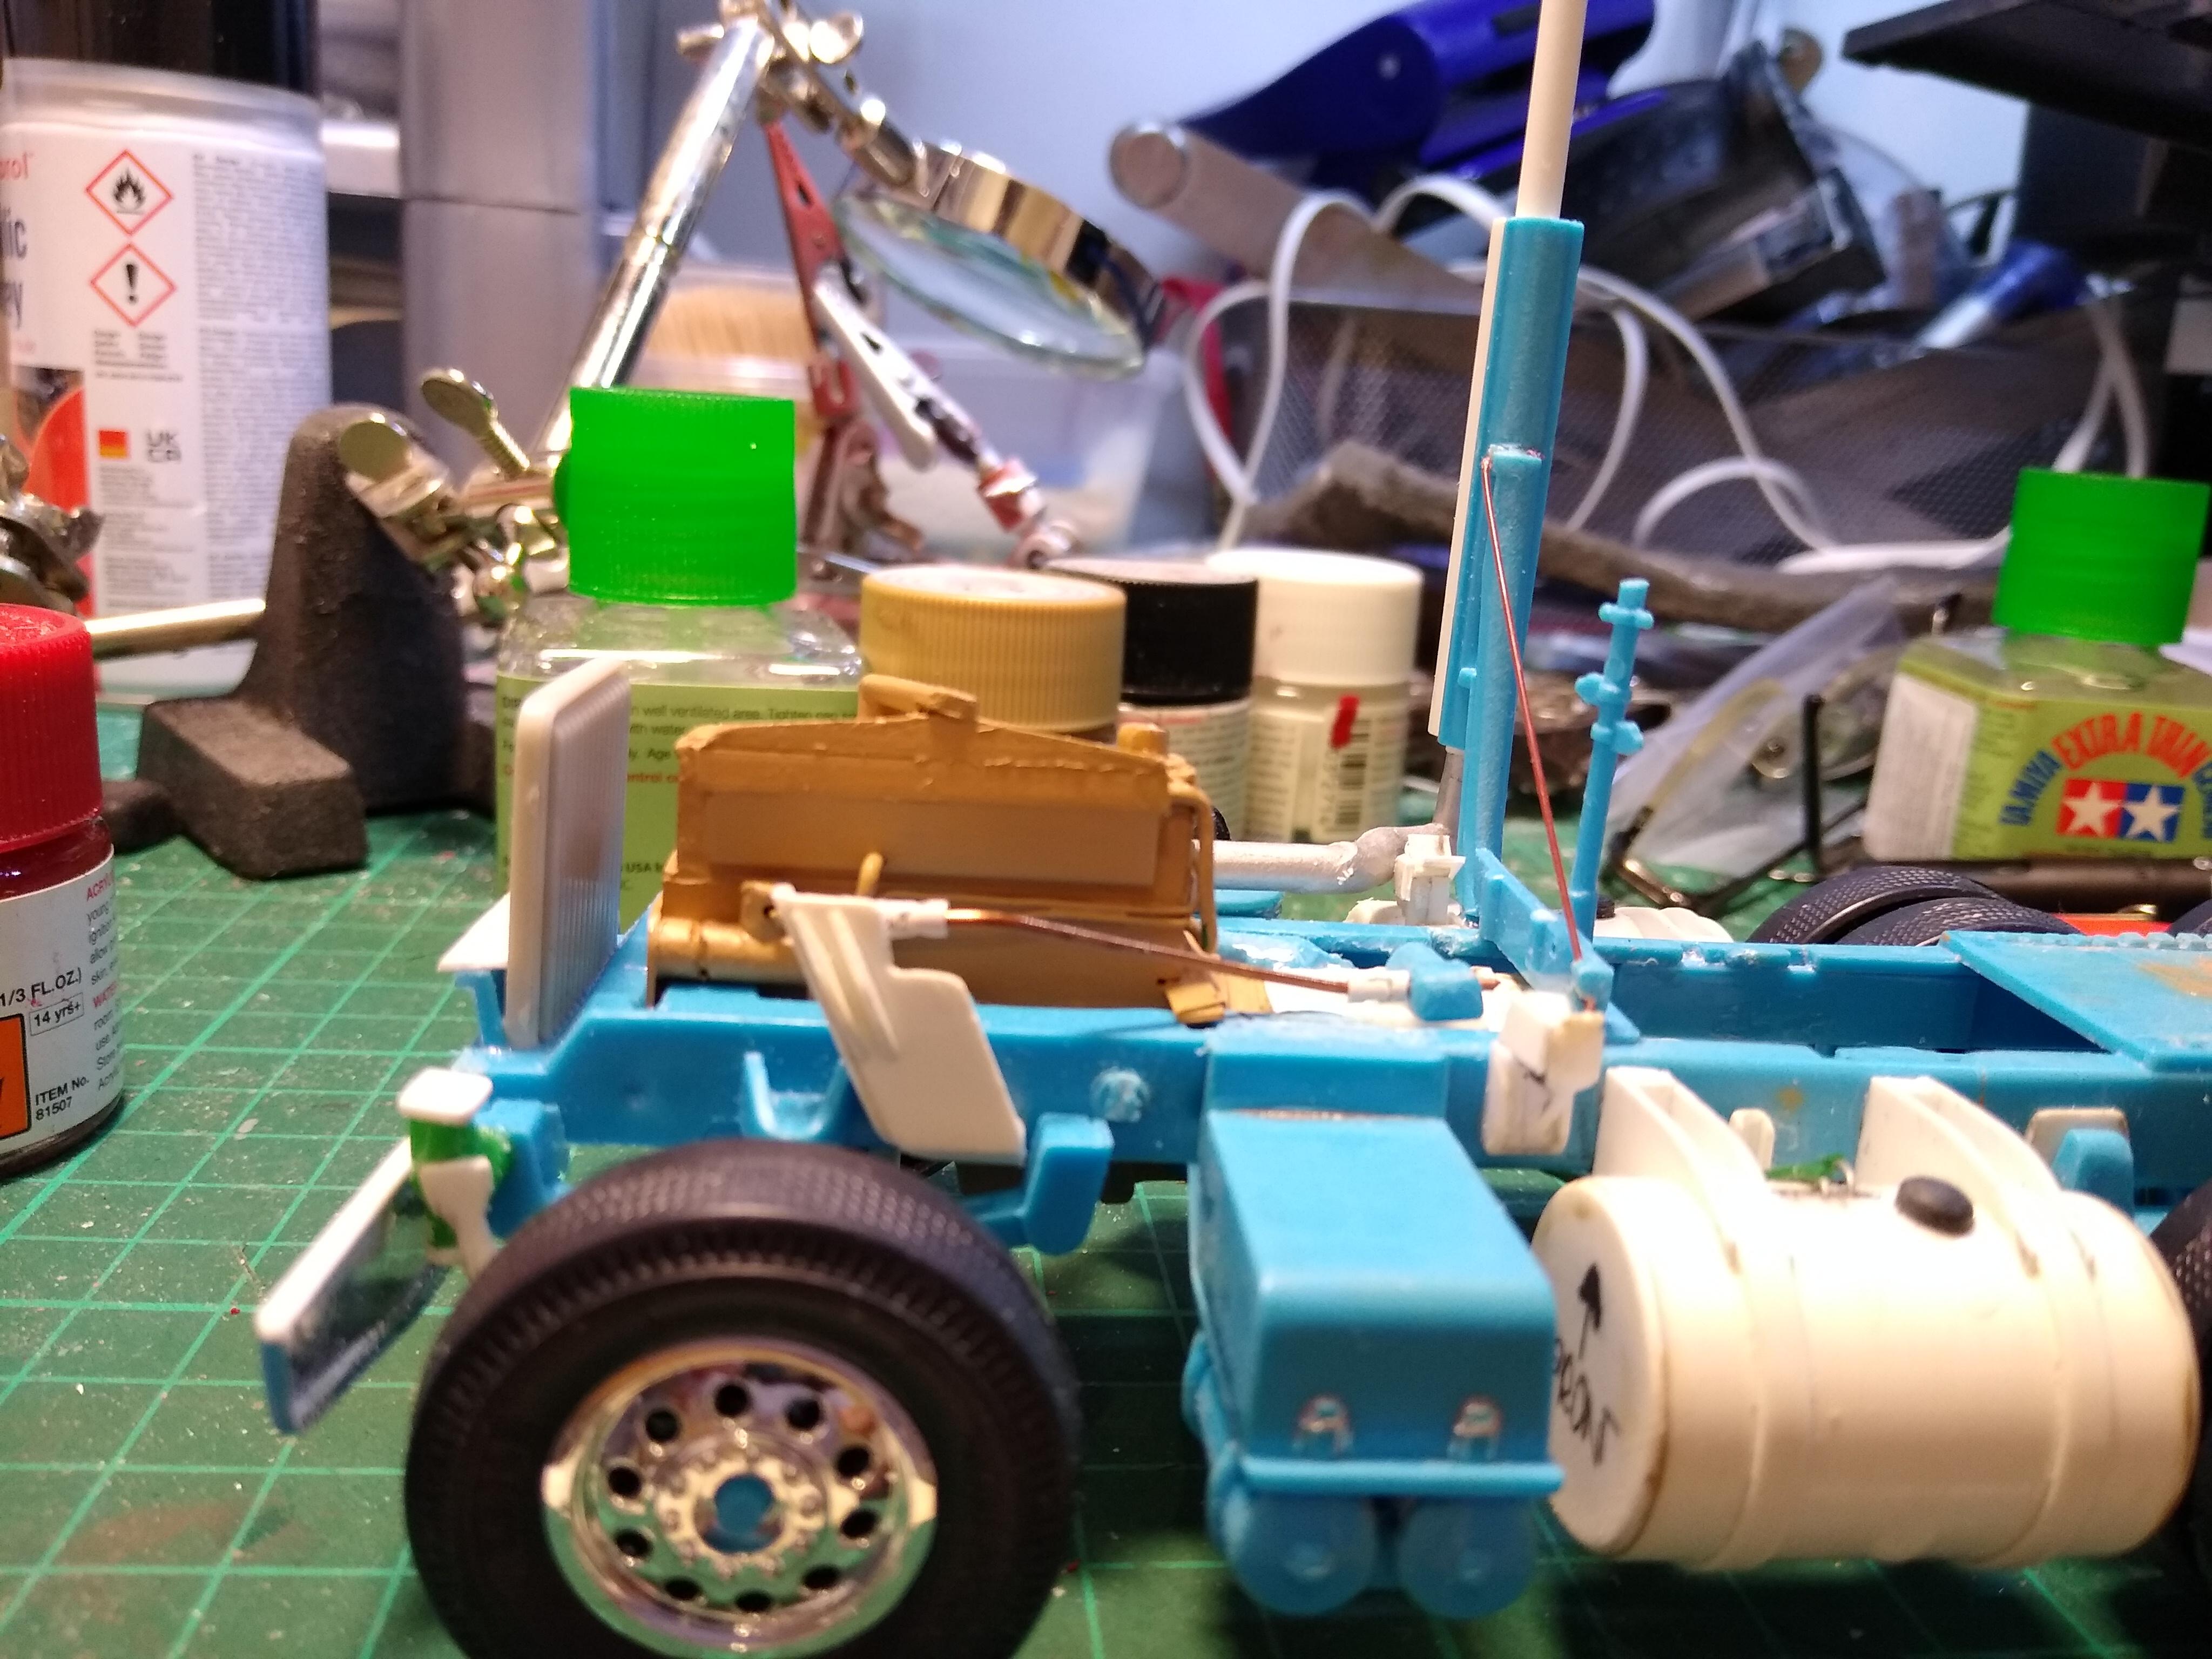
I think paint is the scariest part of any build for me. The weather has been bright but really cold for the time of year, down to 3C of a night. In the sun it's great of a day but as my "paint shop" doesn't get the sun it's been too cold to paint. Anyway, this weekend it's warmed up so I moved the car out of the way, set up a table and got to work. Chassis turned out great except for corner of the battery box that decided to play a contact sport with something before I noticed. Then I noticed I hadn't painted the front bumper I made but by that time I'd run out of primer. The cab has turned out ok. The joint between the two halves isn't invisible but it's not like the Grand Canyon. I think the casting thickness tapers toward the rear and I made the inner faces level. Oh well. At least I didn't drop it OH YES I DID! Broke the corner of the lower apron off on the passenger side. I'm not filling and sanding anymore on this job. It got glued back on and a dribble of Tamiya white. I'm resisting the urge to fidget with it and try mock ups because the paint is dry but still at that jelly like stage where it's still got a lot of gassing out to do. Couldn't resist dropping the engine in though. So, other than everything that went wrong, it went alright. ? I think.
-
Peterbilt 352
Rockford replied to Rockford's topic in WIP: Model Trucks: Big Rigs and Heavy Equipment
Good to know I've helped someone. Thanks mate! -
Peterbilt 352
Rockford replied to Rockford's topic in WIP: Model Trucks: Big Rigs and Heavy Equipment
Just to confirm to myself that this isn't stalling, I'm trying to finalize a few things before I start painting. Glued the AC box to the roof and ran a small strip of plastic card from the unit down the back of the cab to depict the conduit that takes the pipework down into the doghouse.
-
White Freightliner day cab SD
Rockford replied to leafsprings's topic in WIP: Model Trucks: Big Rigs and Heavy Equipment
That's a great looking job you're doing there. I would feel the headlight move would be too much for me, I'd be terrified of ruining the cab altogether. -
BJ and the Bear
Rockford replied to Dutzie's topic in WIP: Model Trucks: Big Rigs and Heavy Equipment
That red chassis really pops! Paint job on the cab looks great. The decals make it easier. Salem paint scheme is fantastic looking. Are they the AMT kit wheels? -
Peterbilt 352
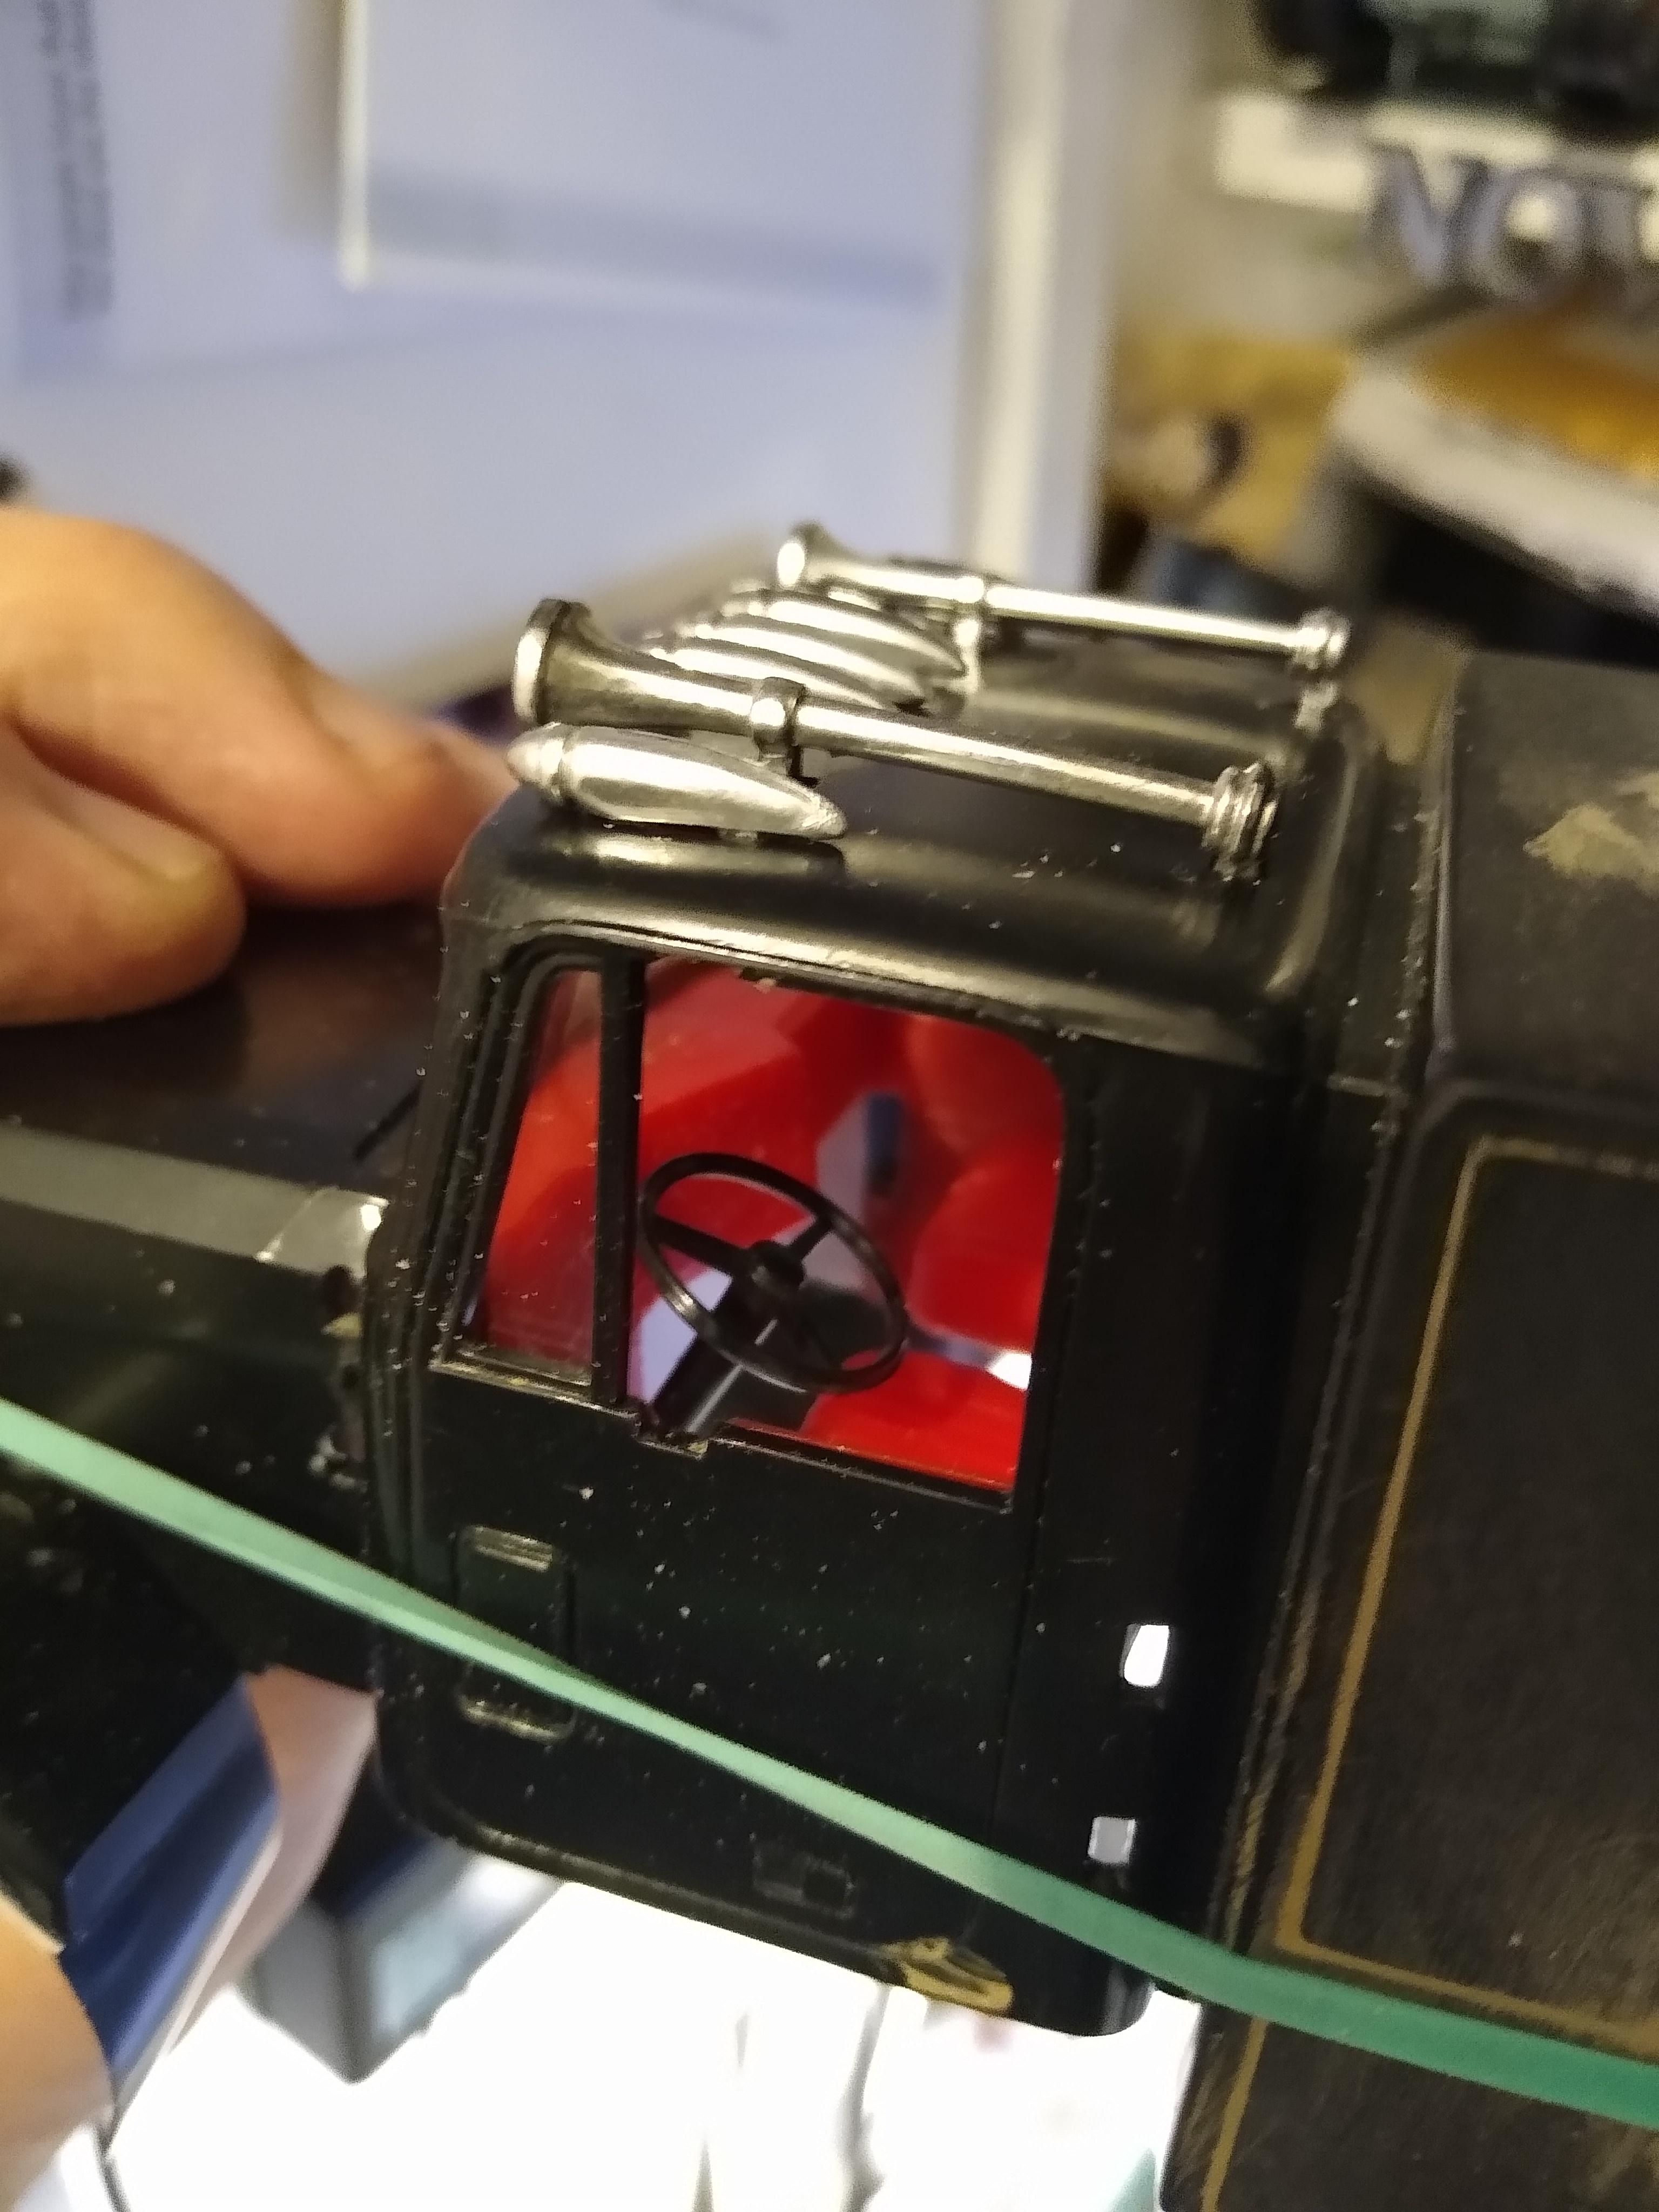
Rockford replied to Rockford's topic in WIP: Model Trucks: Big Rigs and Heavy Equipment
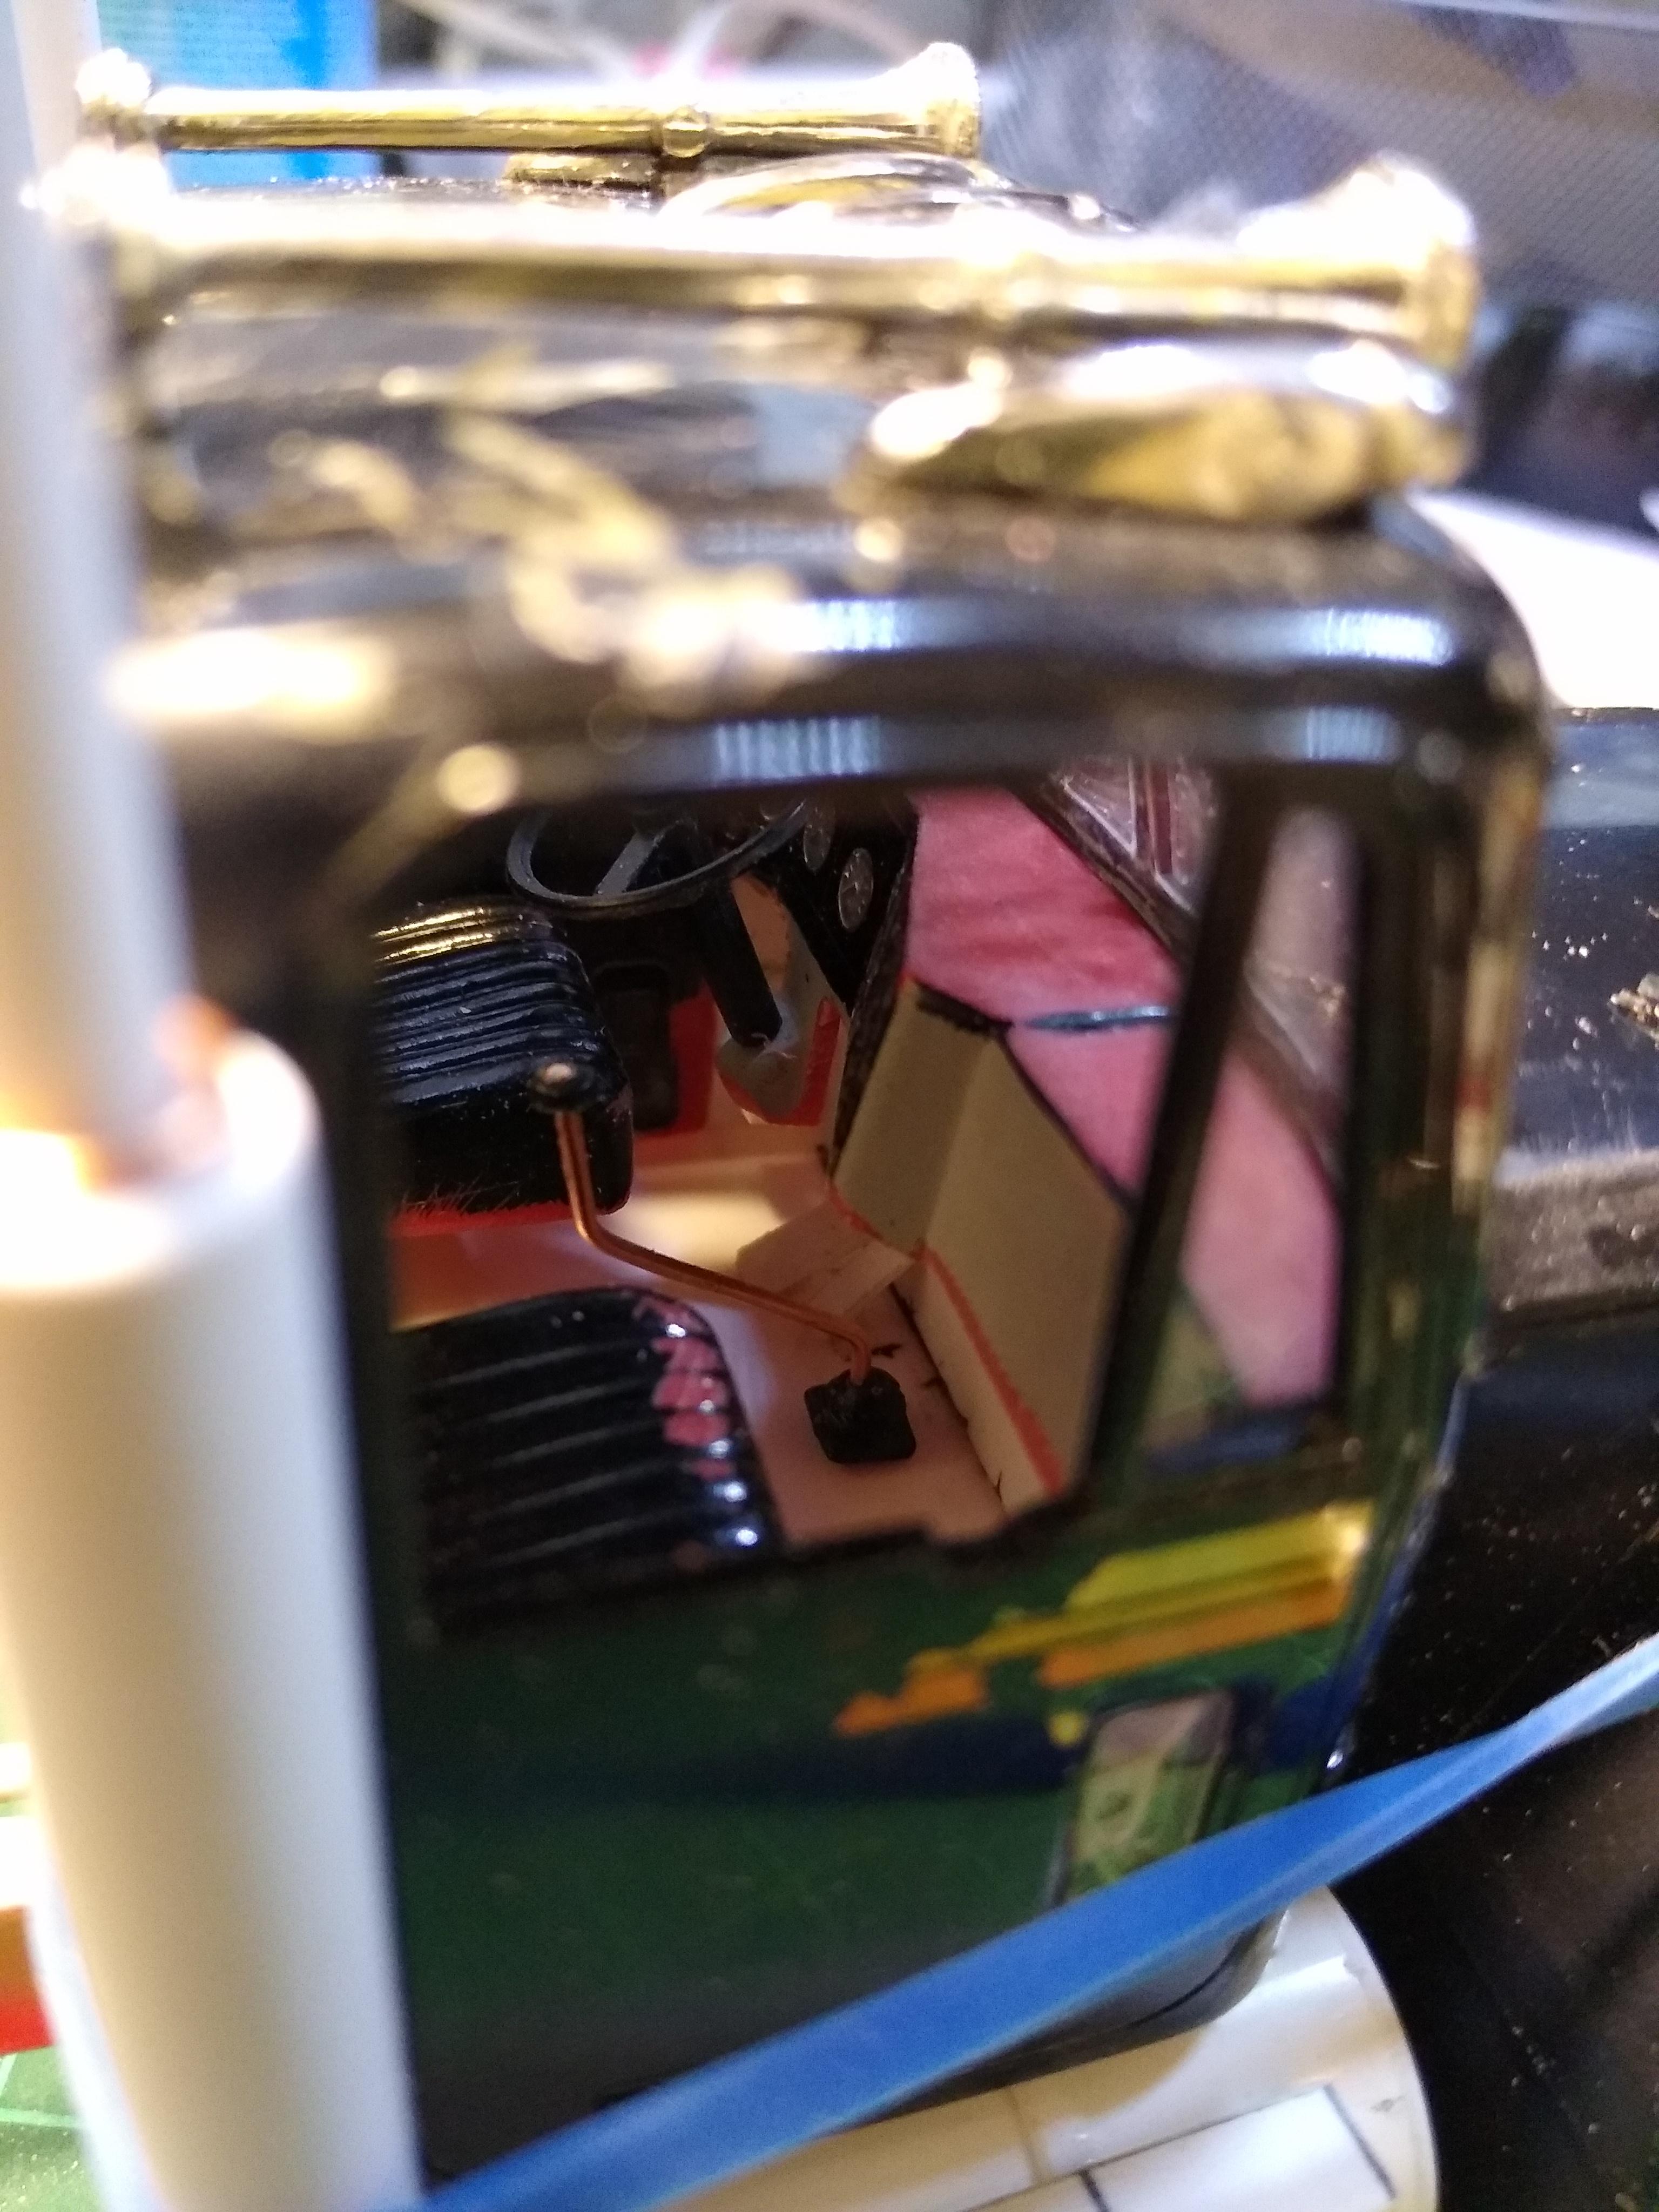
I know I've got one and a bit pillows on the bunk and he'd probably sleep the other way around so he doesn't bang his head on the intake tube but it can't be seen through the tiny windows. -
Peterbilt 352
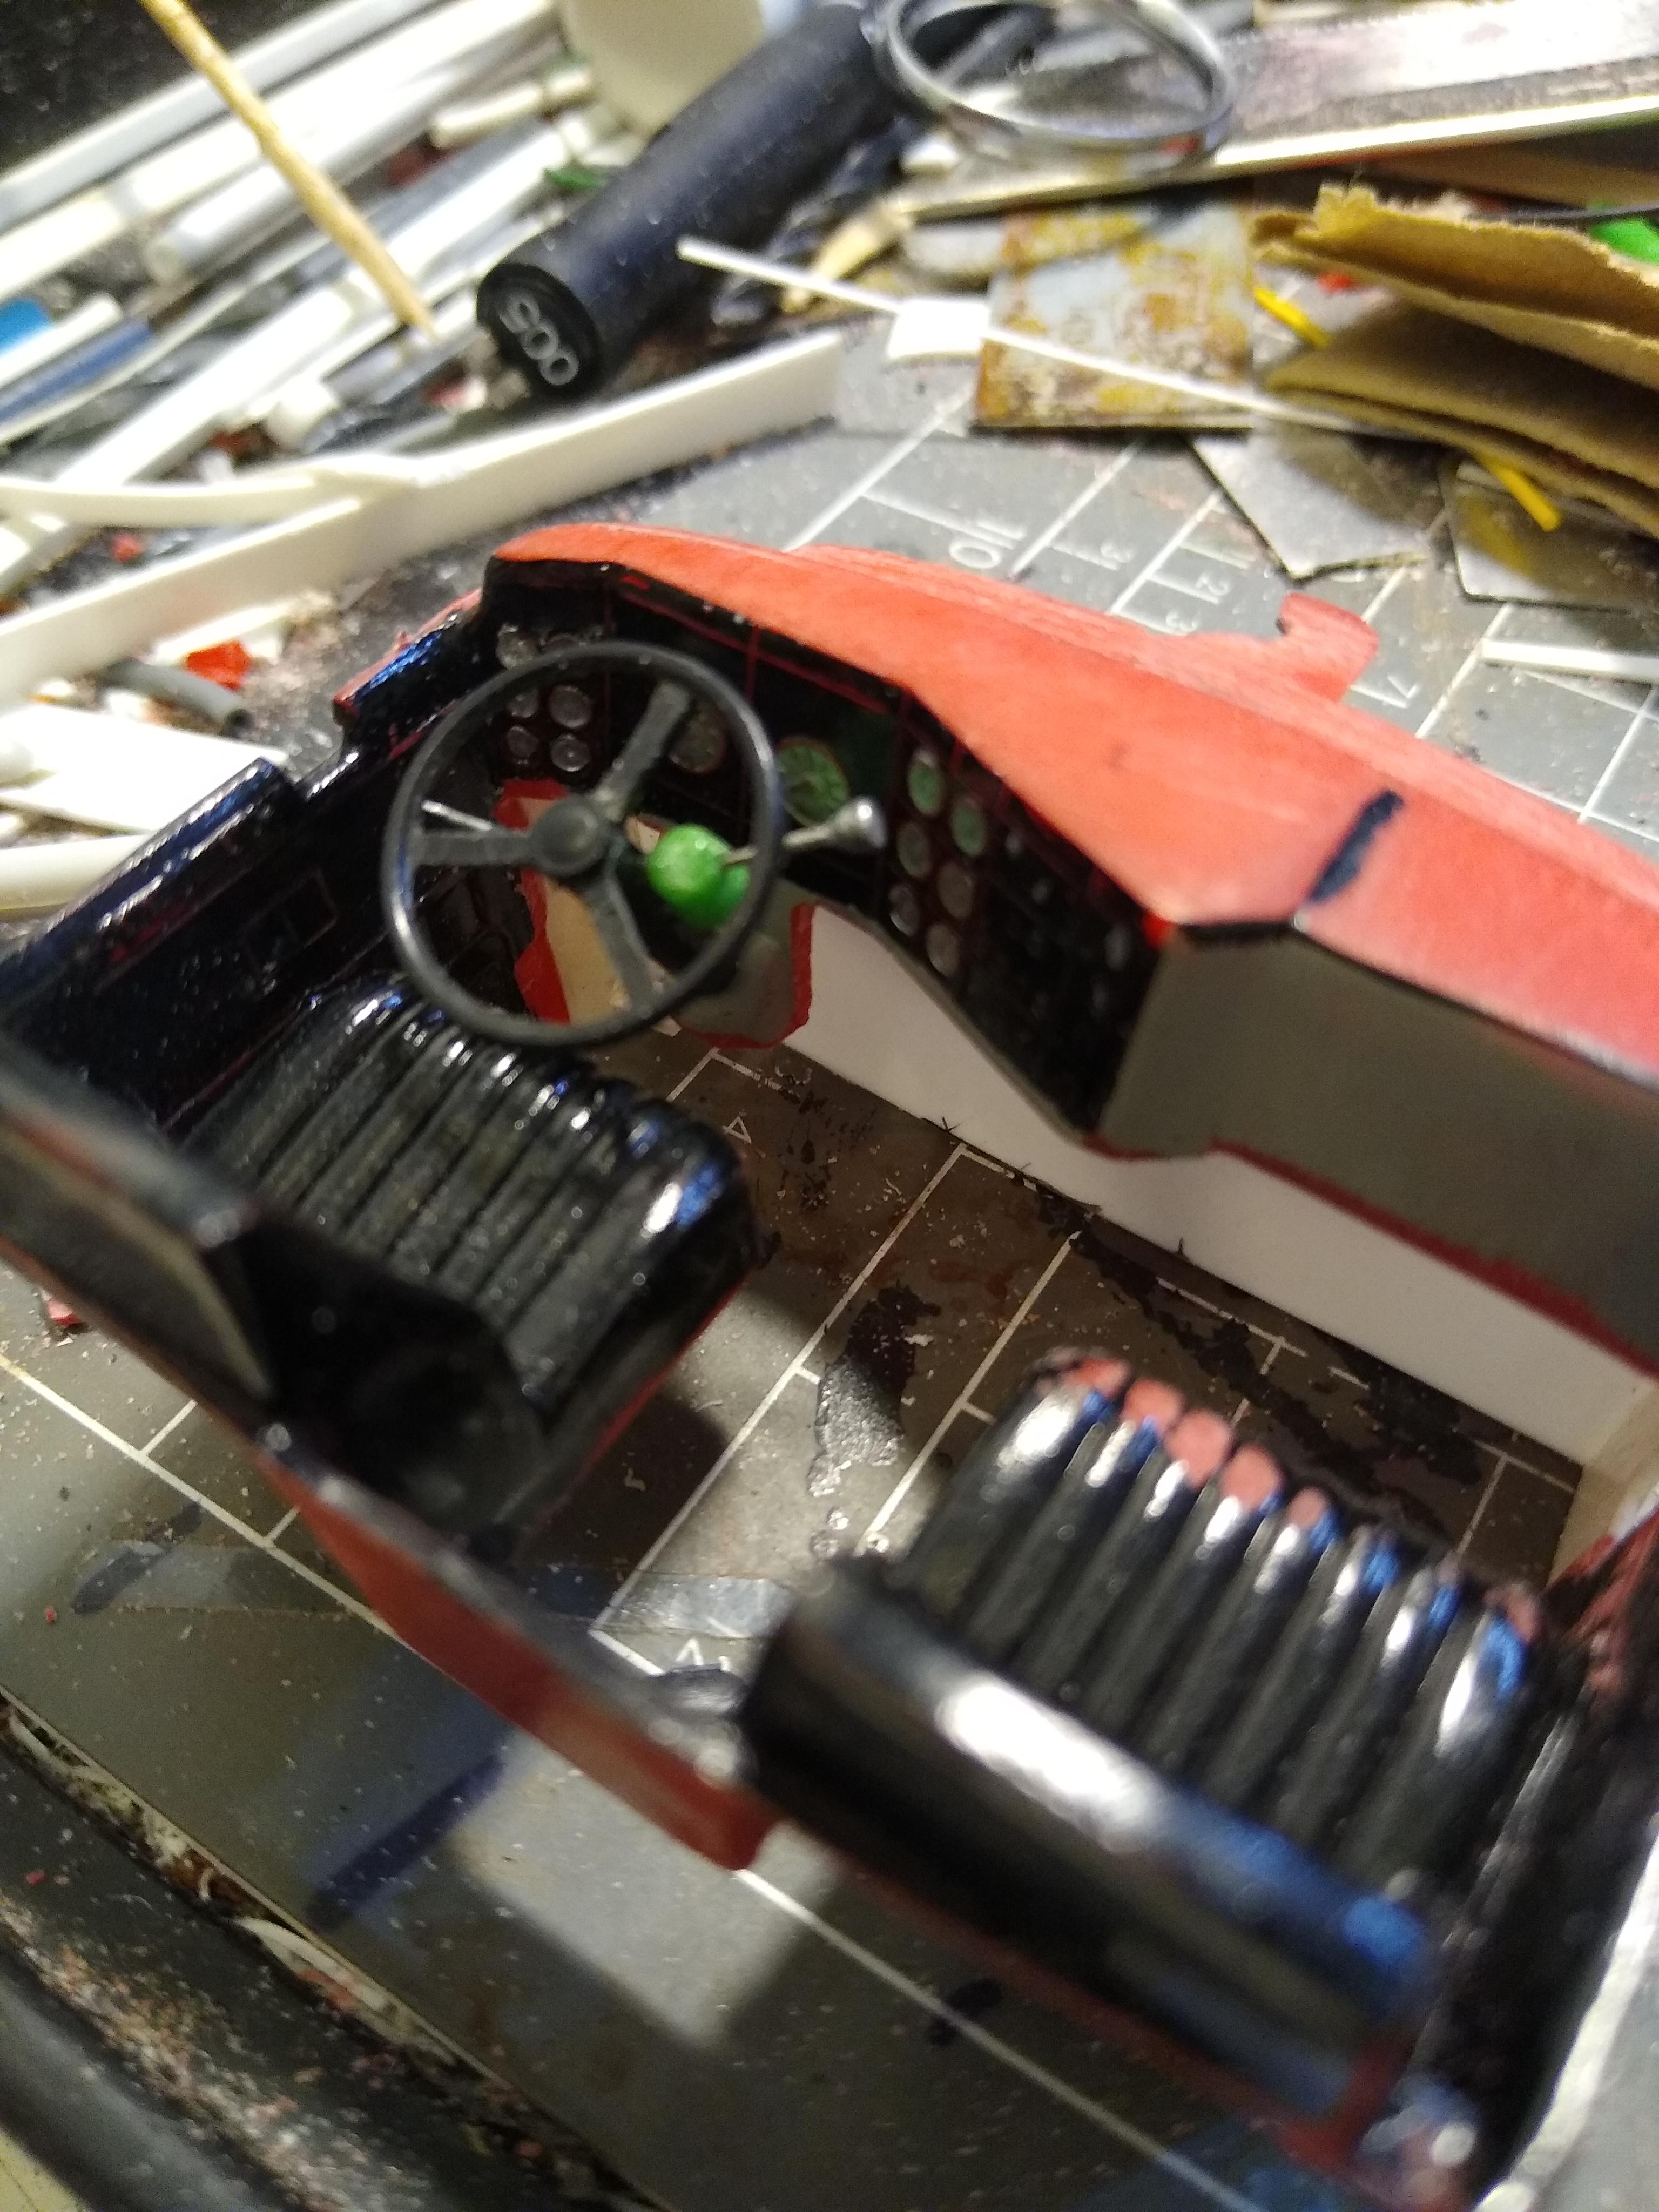
Rockford replied to Rockford's topic in WIP: Model Trucks: Big Rigs and Heavy Equipment
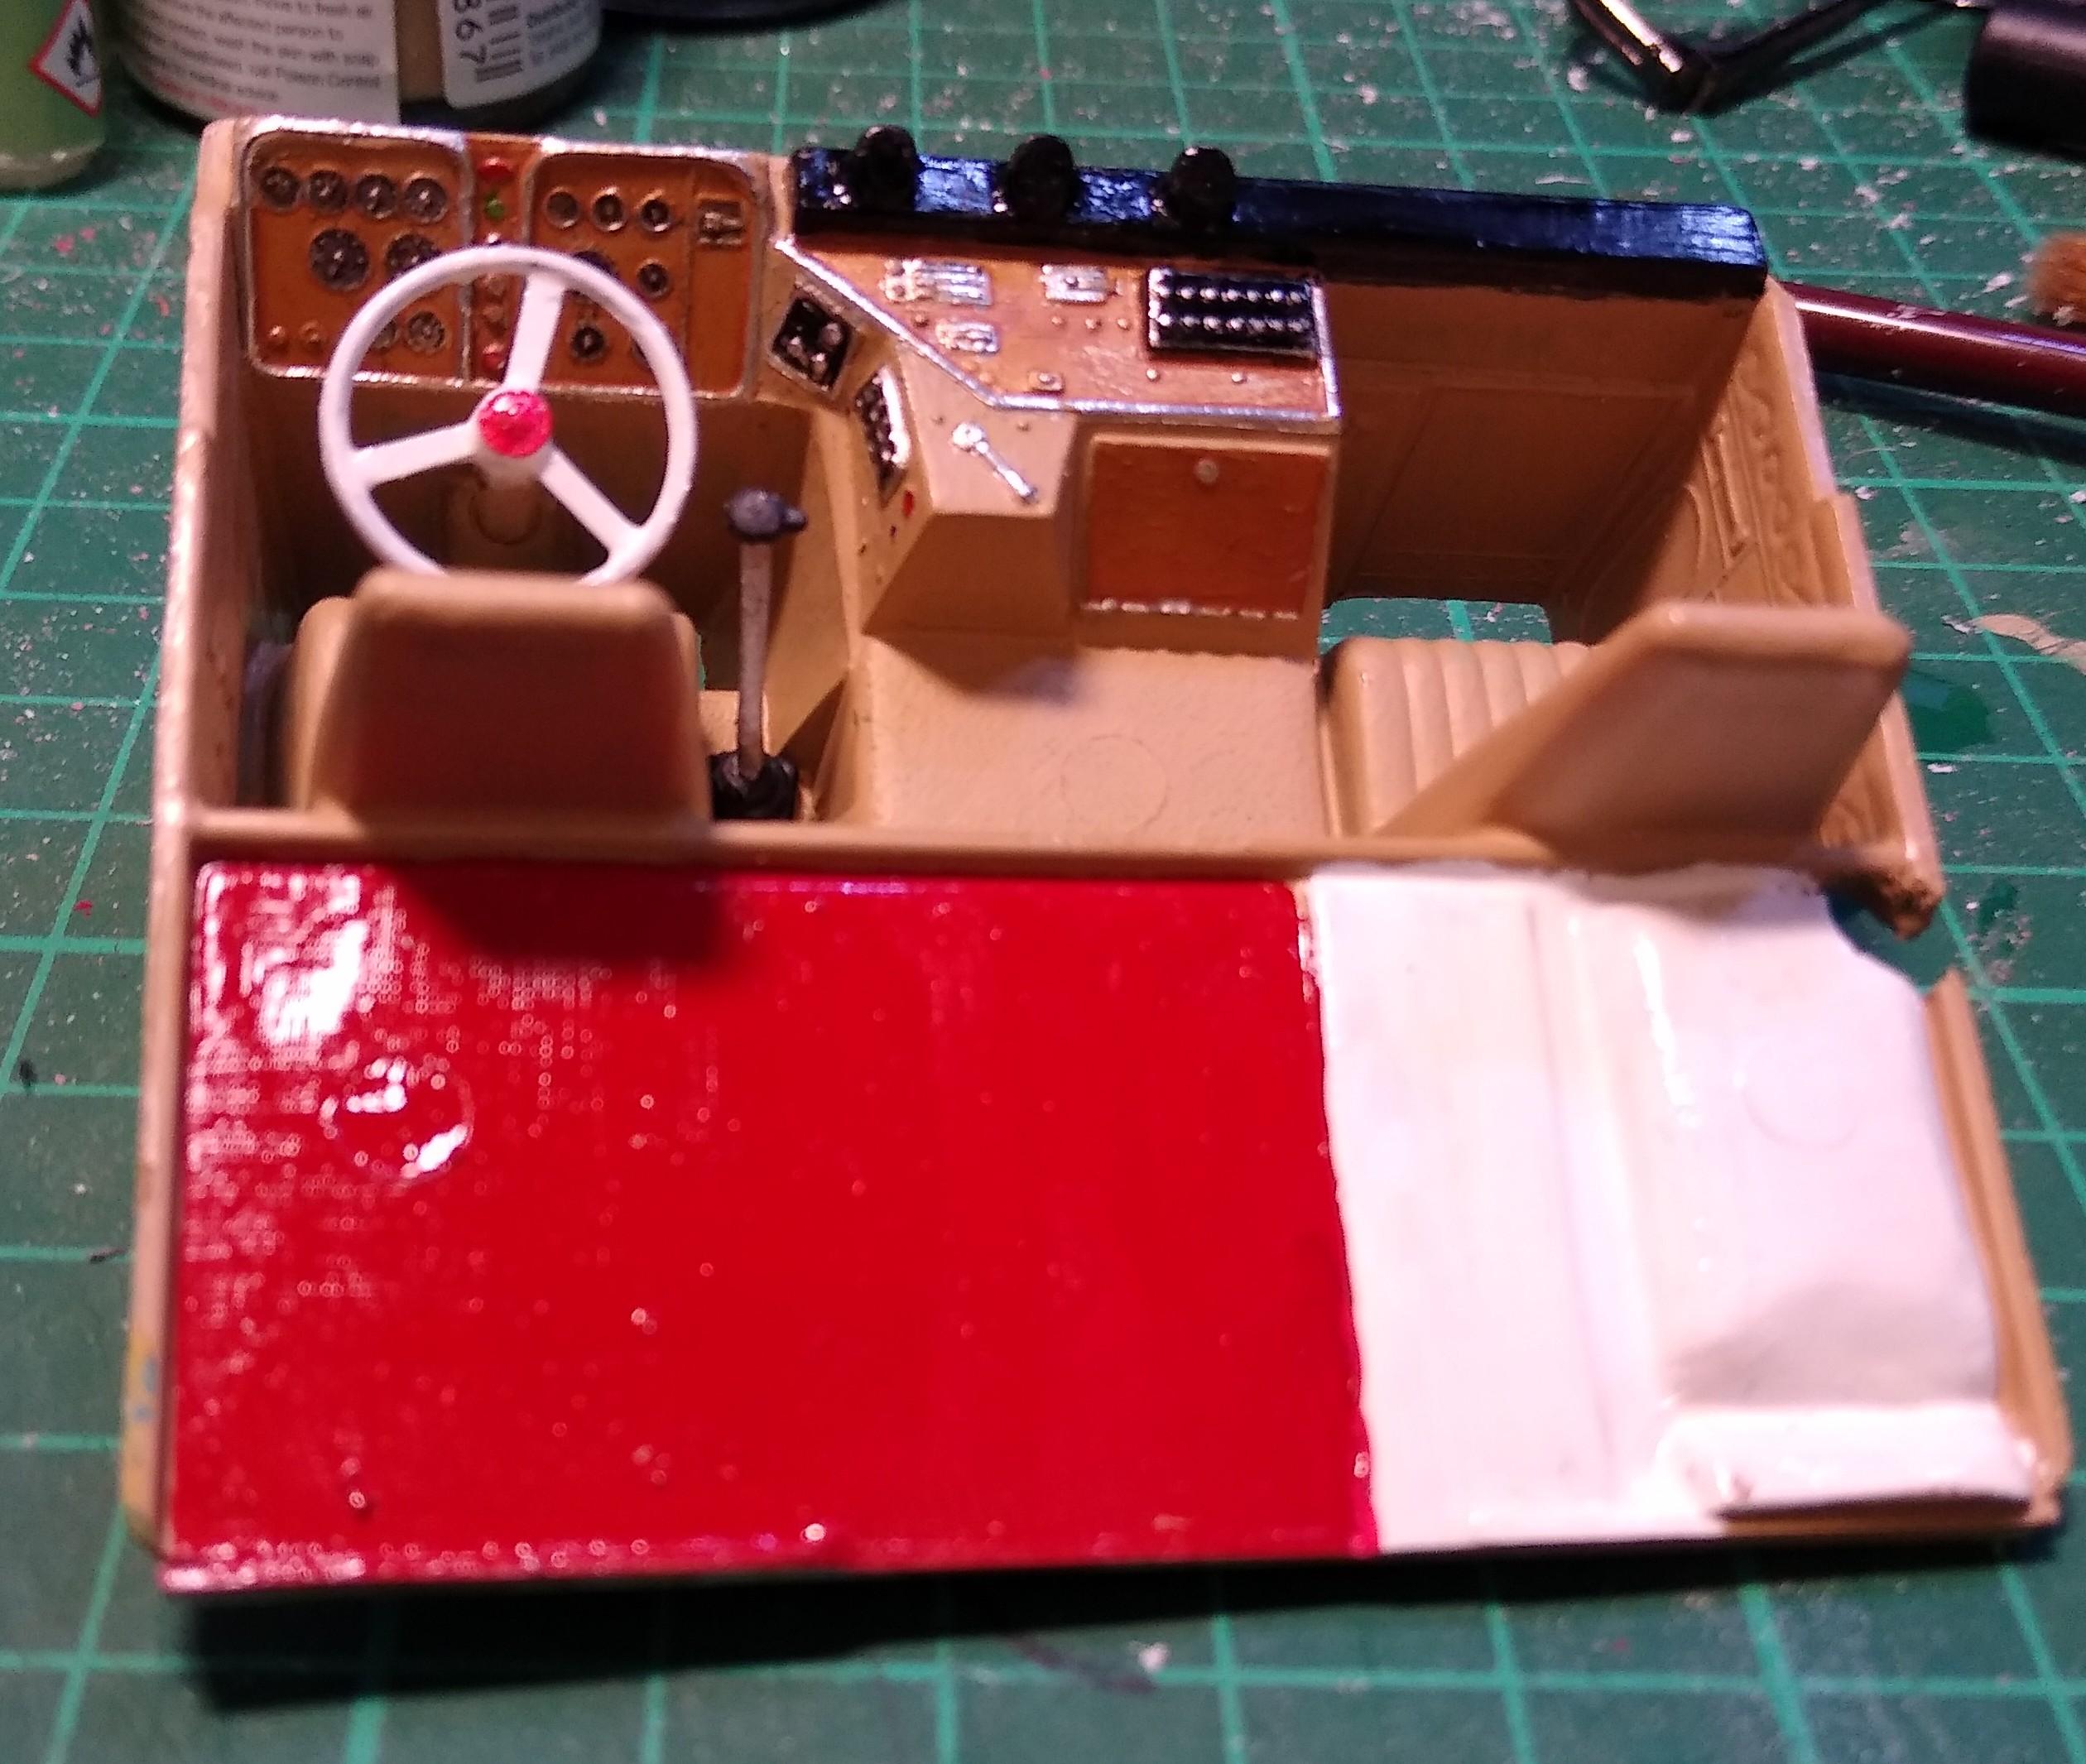
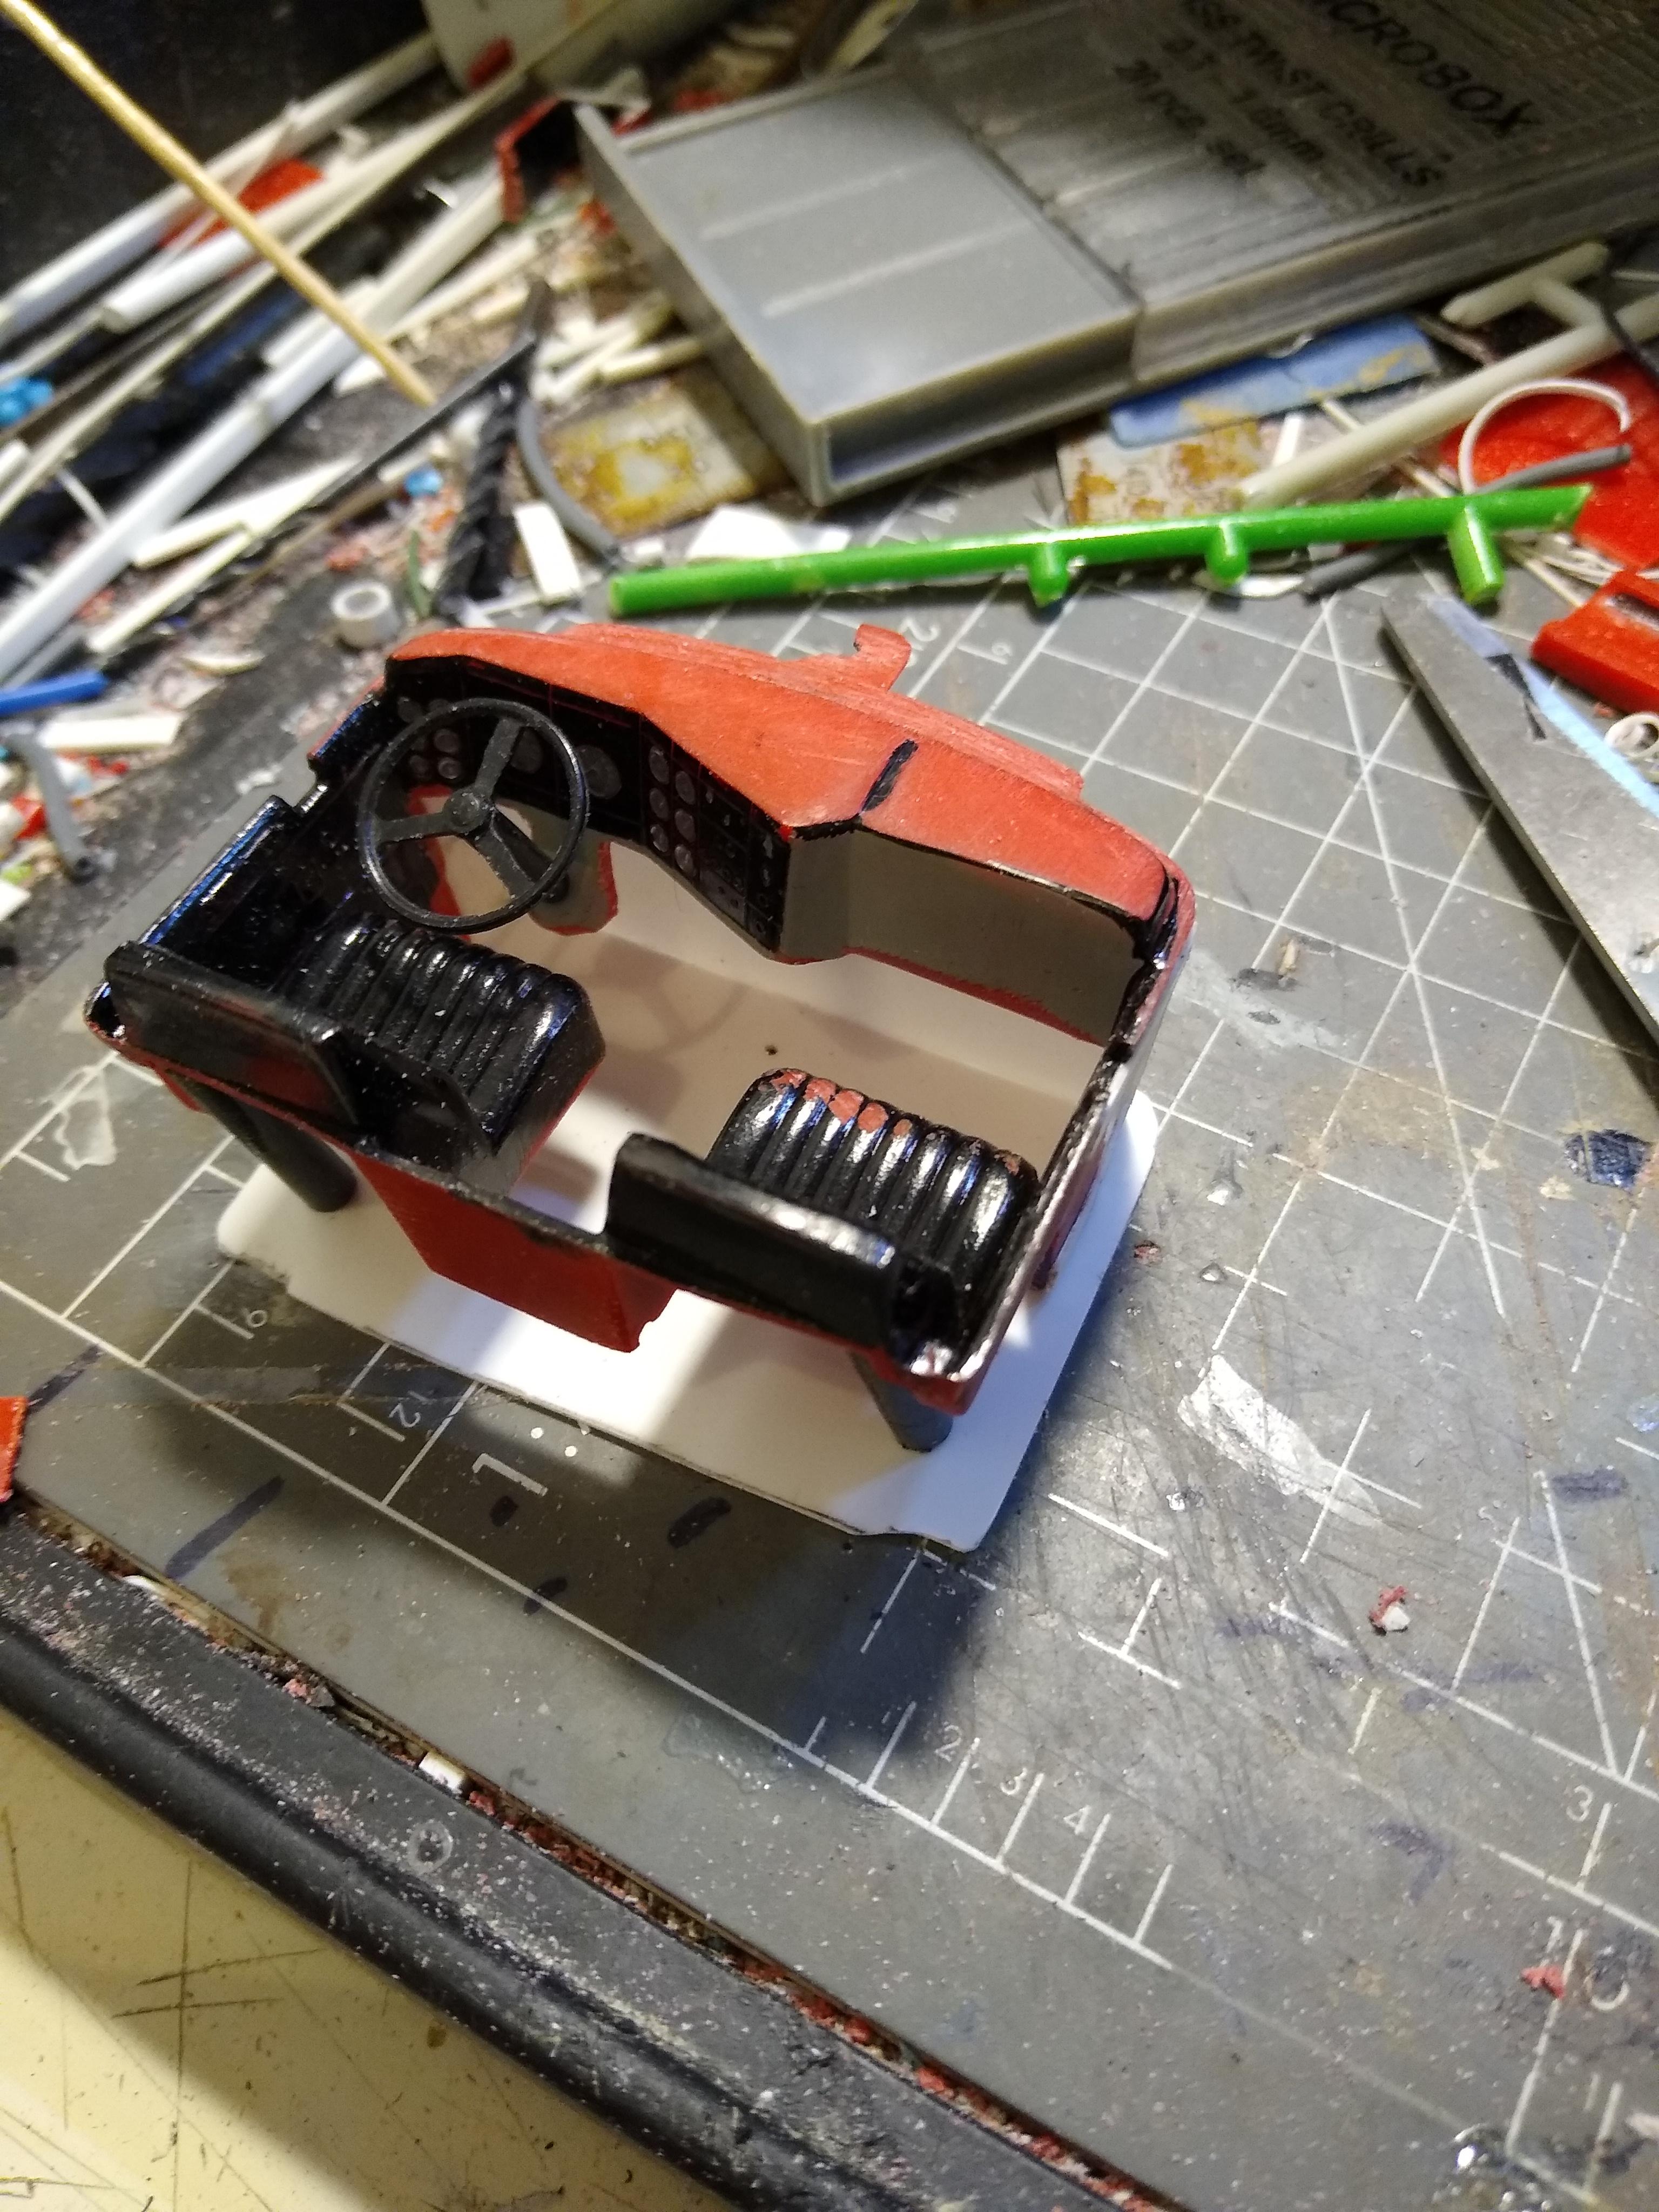
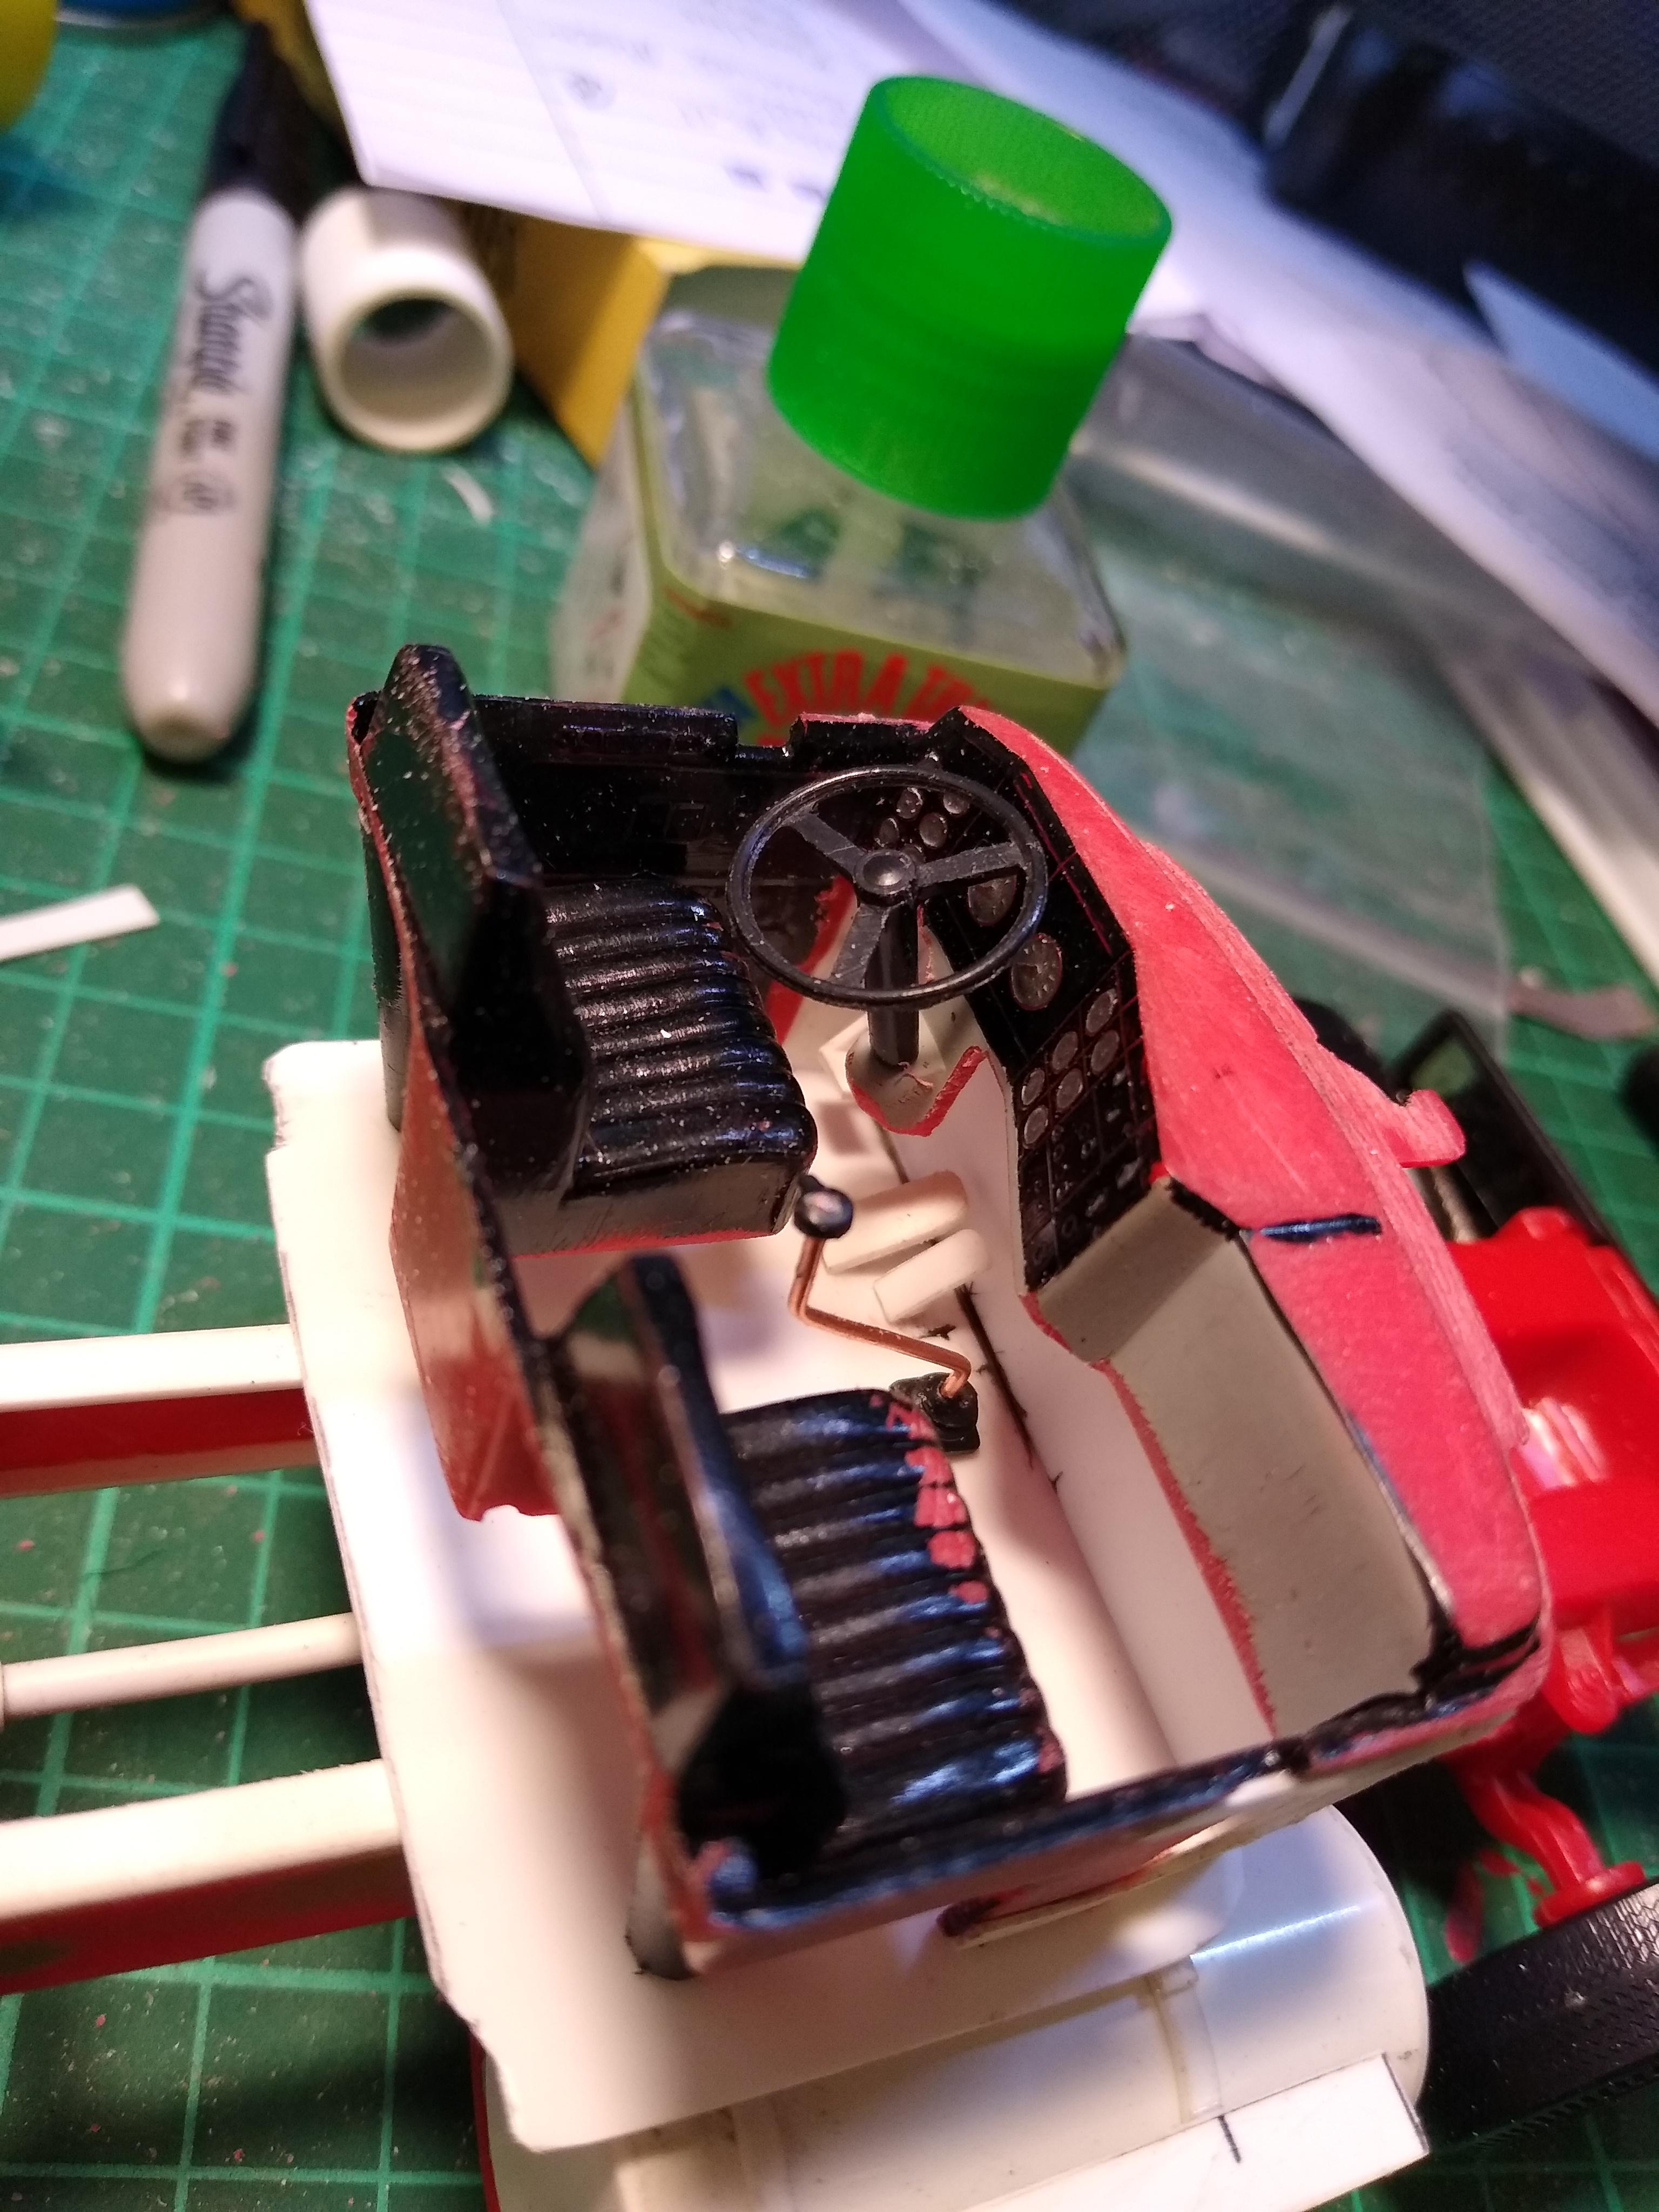
The miserable, wet weather is starting to pass now here in Liverpool so thoughts have turned to painting the Peterbilt. First I thought I'd do the interior and get my Cummins painted. I know it should really be white but I only ever worked on Cummins that were buff coloured so they look right to me that colour. Let's just pretend that the original white engine was having an in-frame after a million miles and they found a crack in one of the top lands for the wet liner on cylinder three so a replacement engine was sourced. Anyway, it looks ok to me, it'll only be seen through the gaps under the cab so does the job. Painted the interior, used BMF on the clusters then washed in dark brown to mimic the faux wood veneer. Didn't want to do too much because you can't see much once it's in place, but again, good enough.
-
Detroit Diesel engine project
Rockford replied to Oldmopars's topic in WIP: Model Trucks: Big Rigs and Heavy Equipment
That's really impressive, you must be so pleased with the result. Thanks for the information too, your modelling has taken on a new dimension, nothing is impossible! -
Detroit Diesel engine project
Rockford replied to Oldmopars's topic in WIP: Model Trucks: Big Rigs and Heavy Equipment
It looks amazing, looks like the future for modelling too! Out of interest, would you be able to put a cost to the engine once printed, disregarding the printer cost. Is there a cost for the software? Could a person draw something up on the software and send the file to someone for printing, or would that be impractical? I'm sorry about all the questions, they just kept coming as I was typing! Feel free to say "Dunno". -
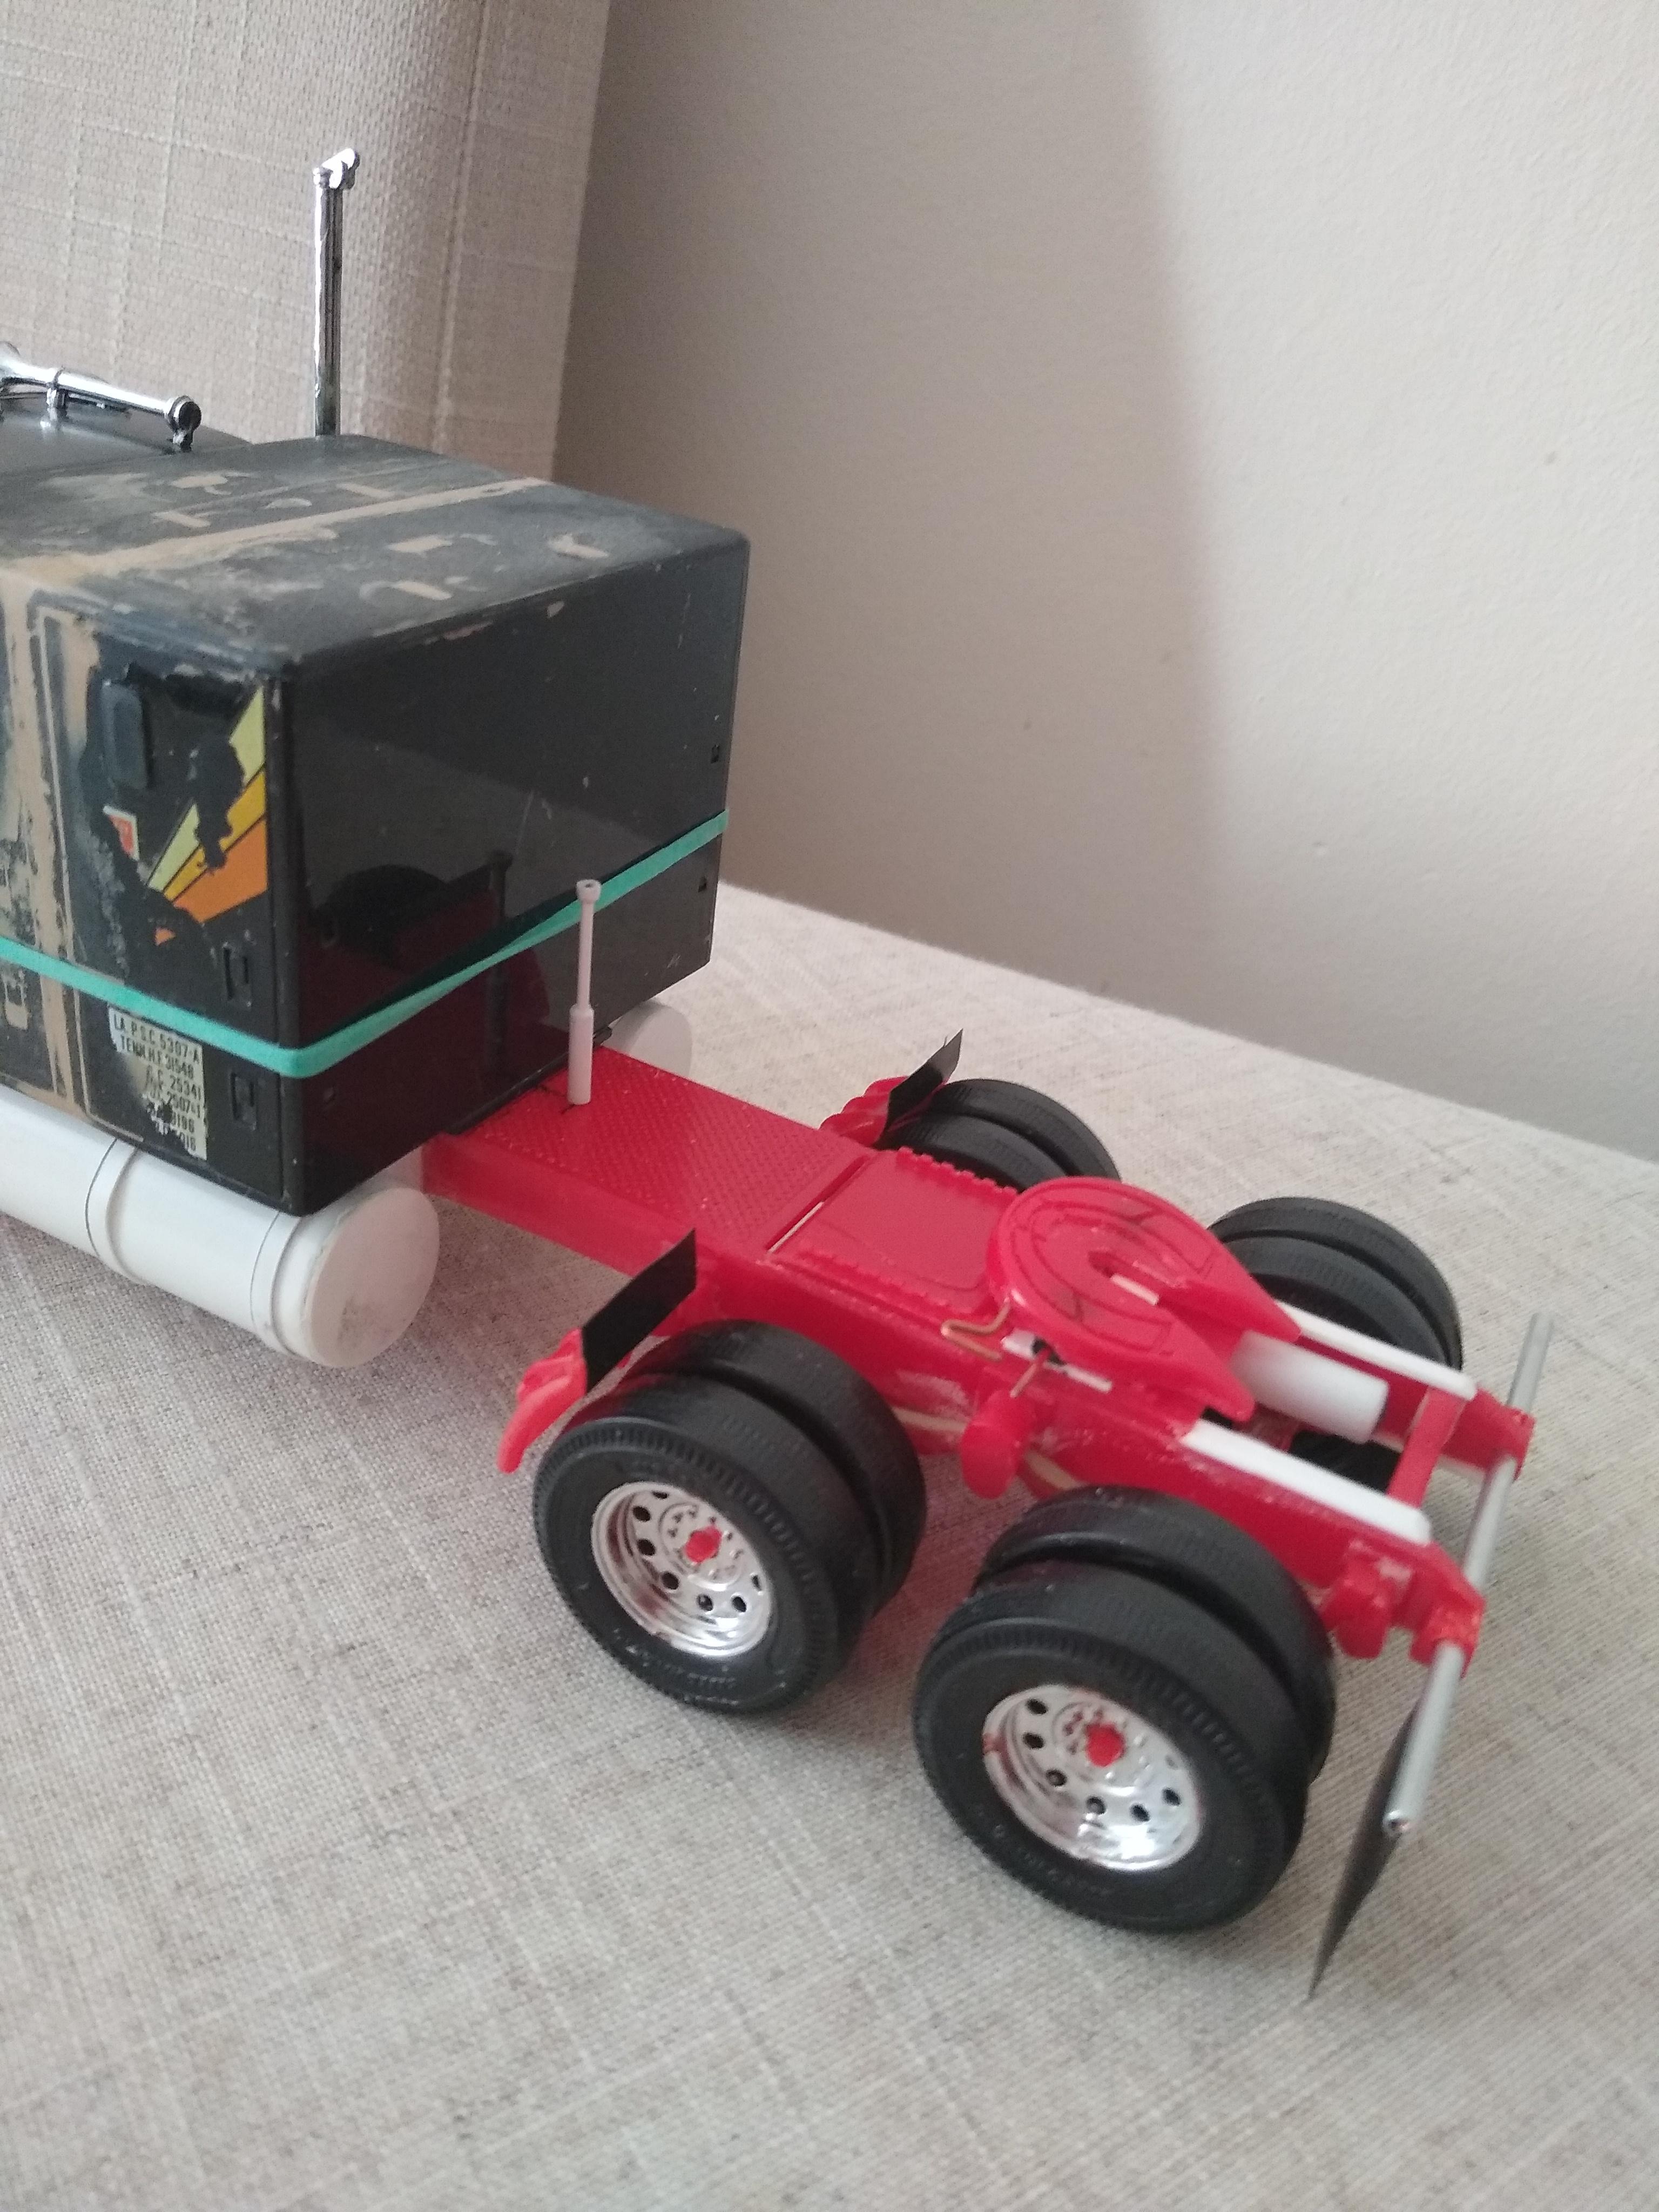
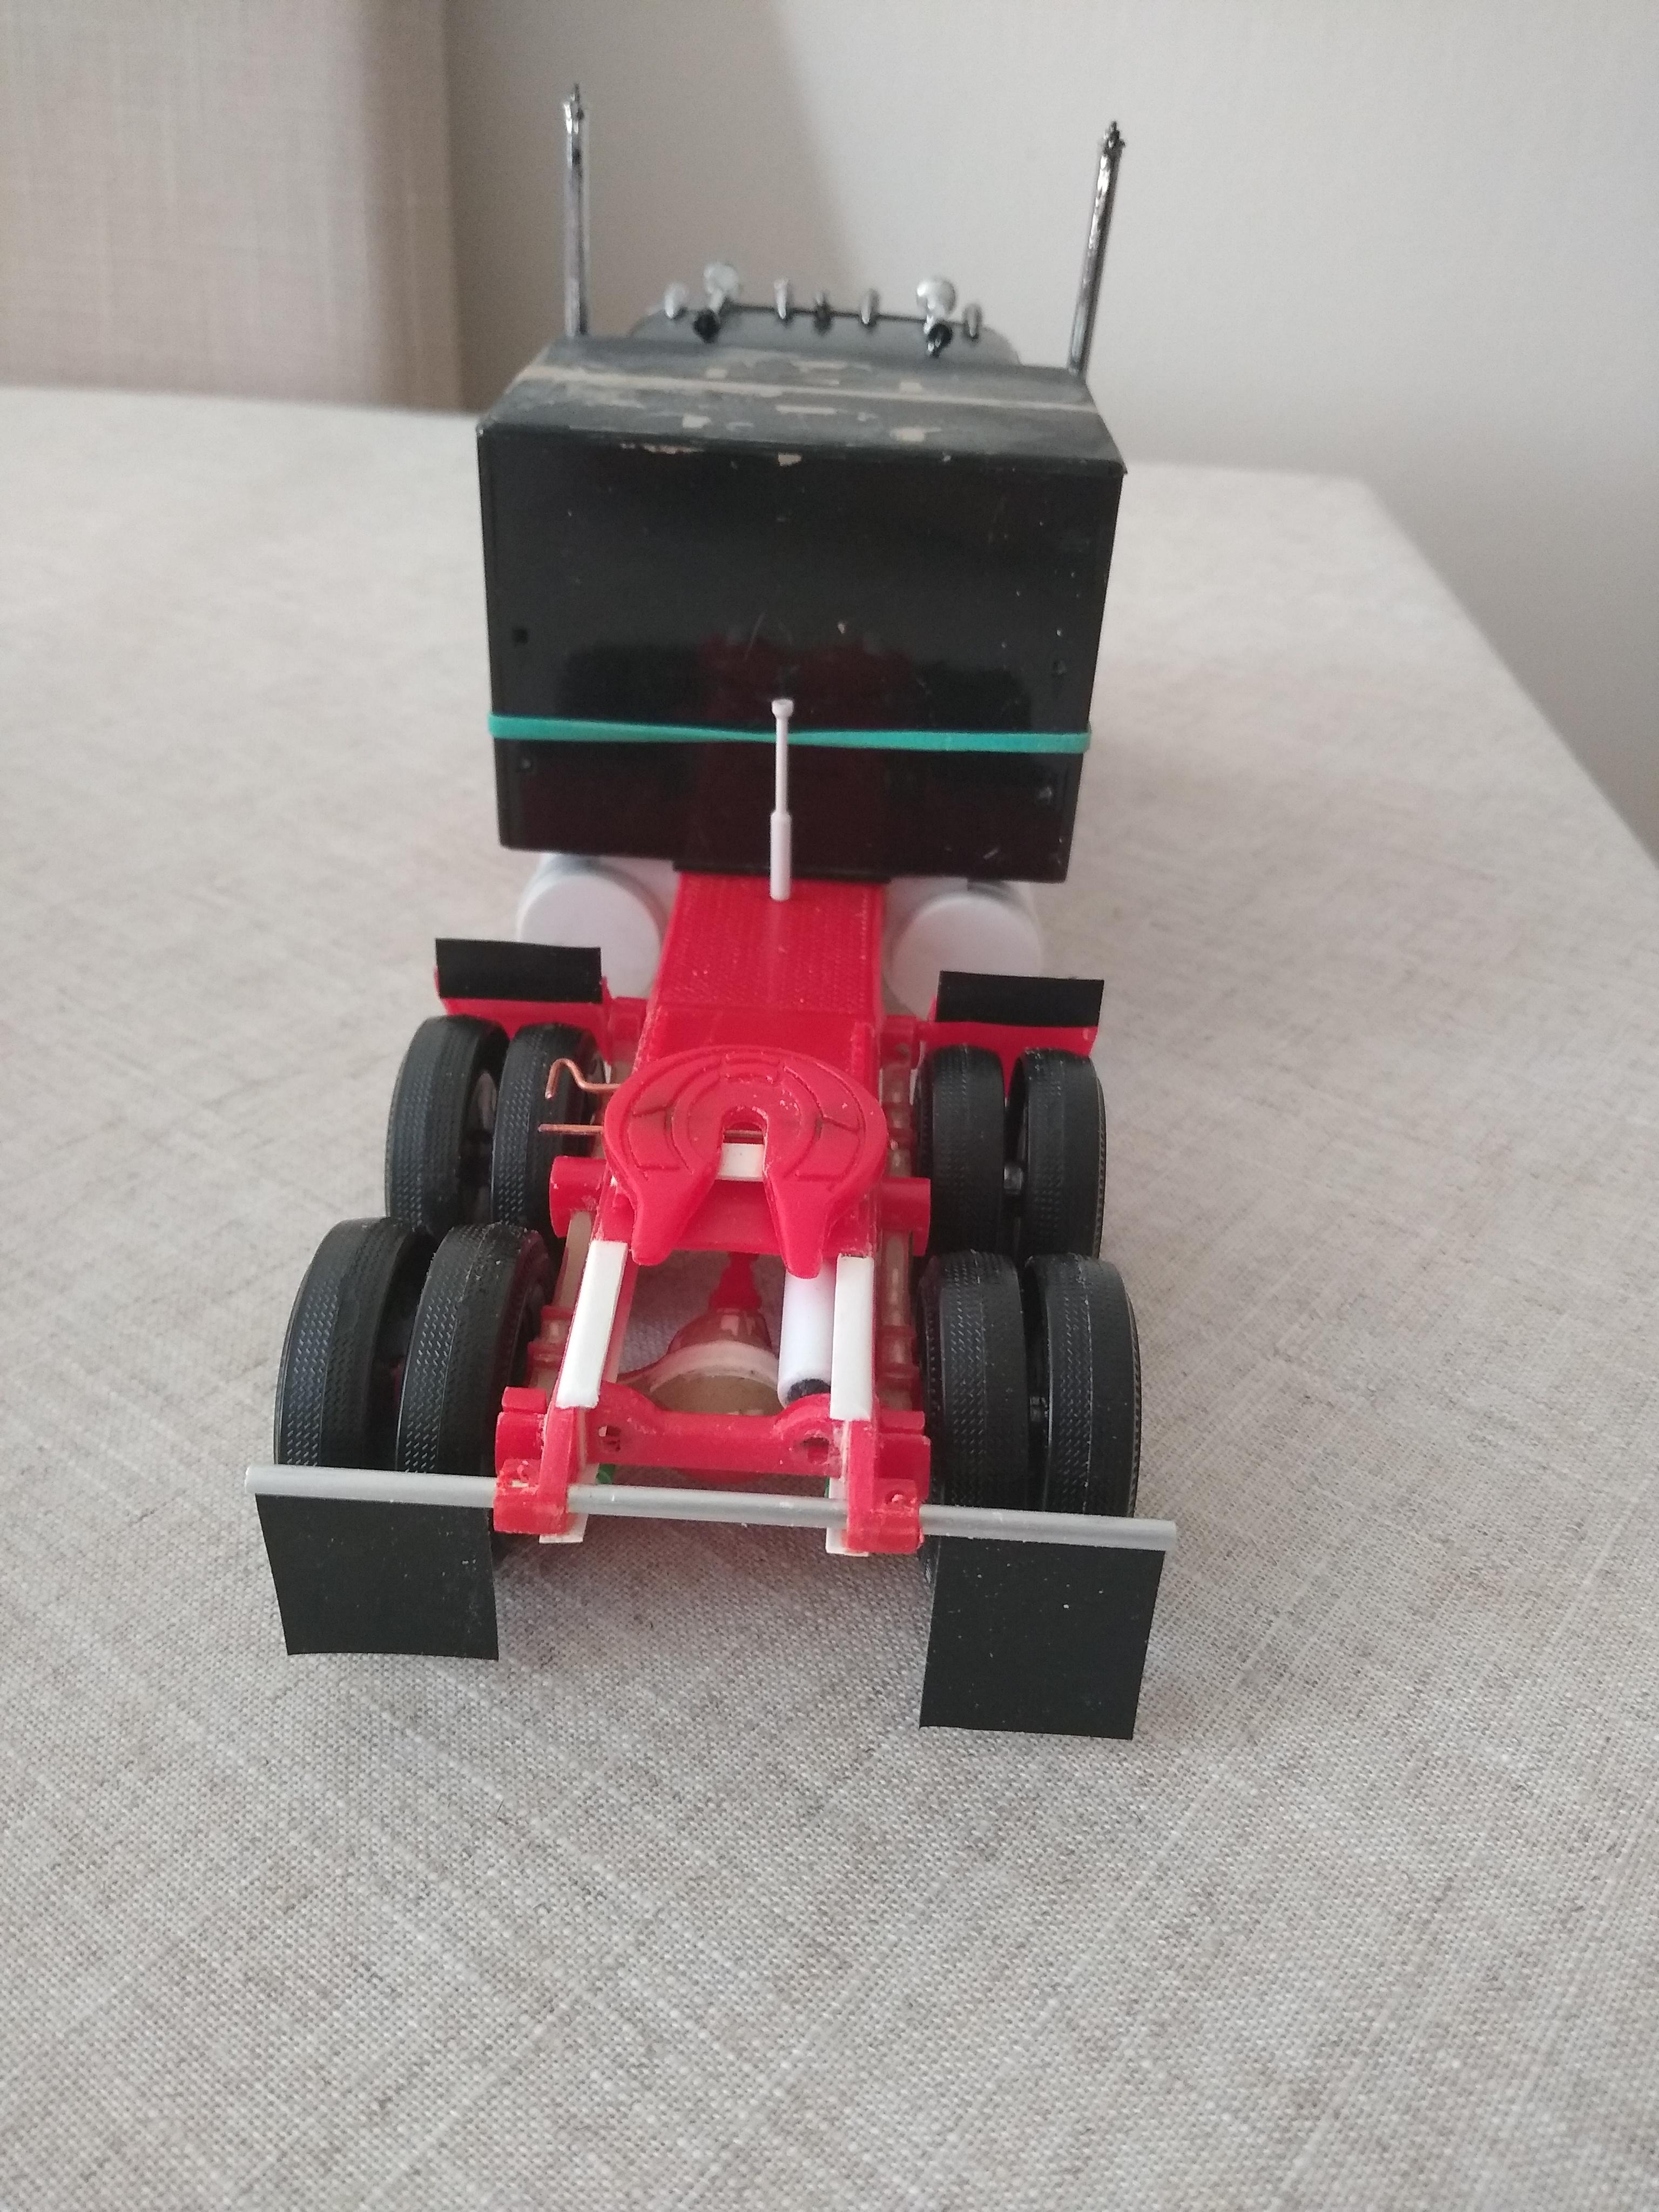
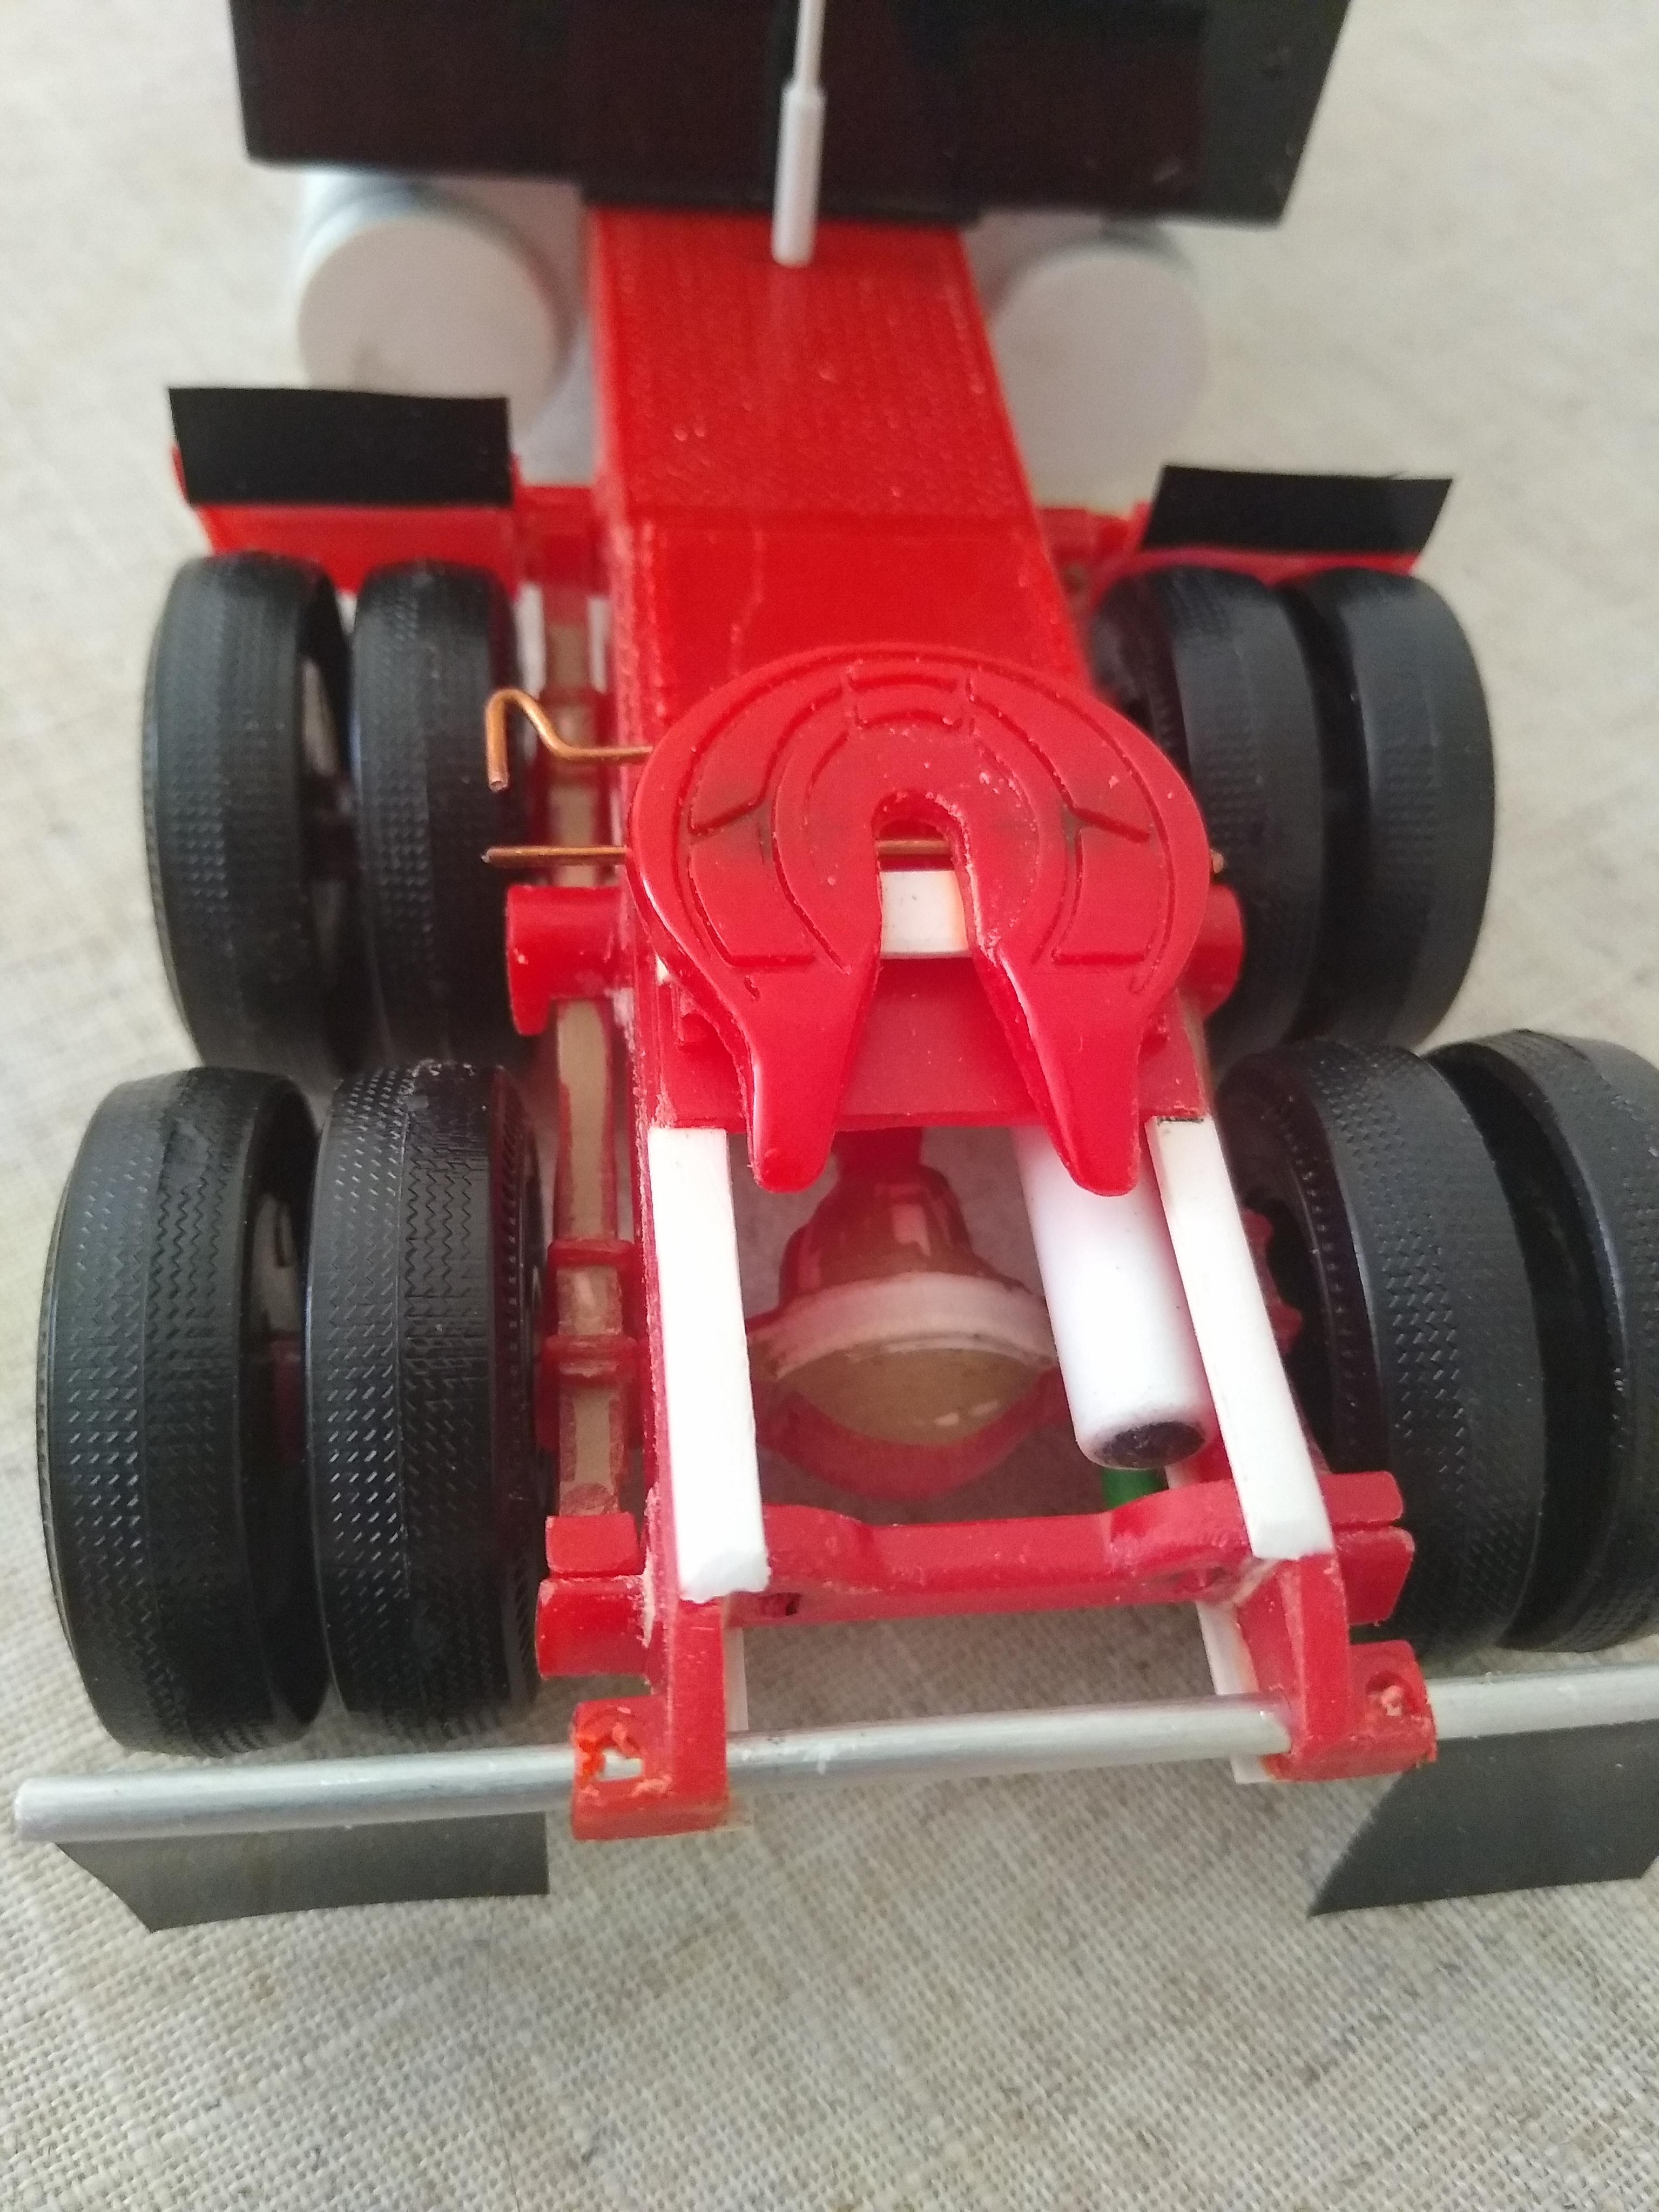
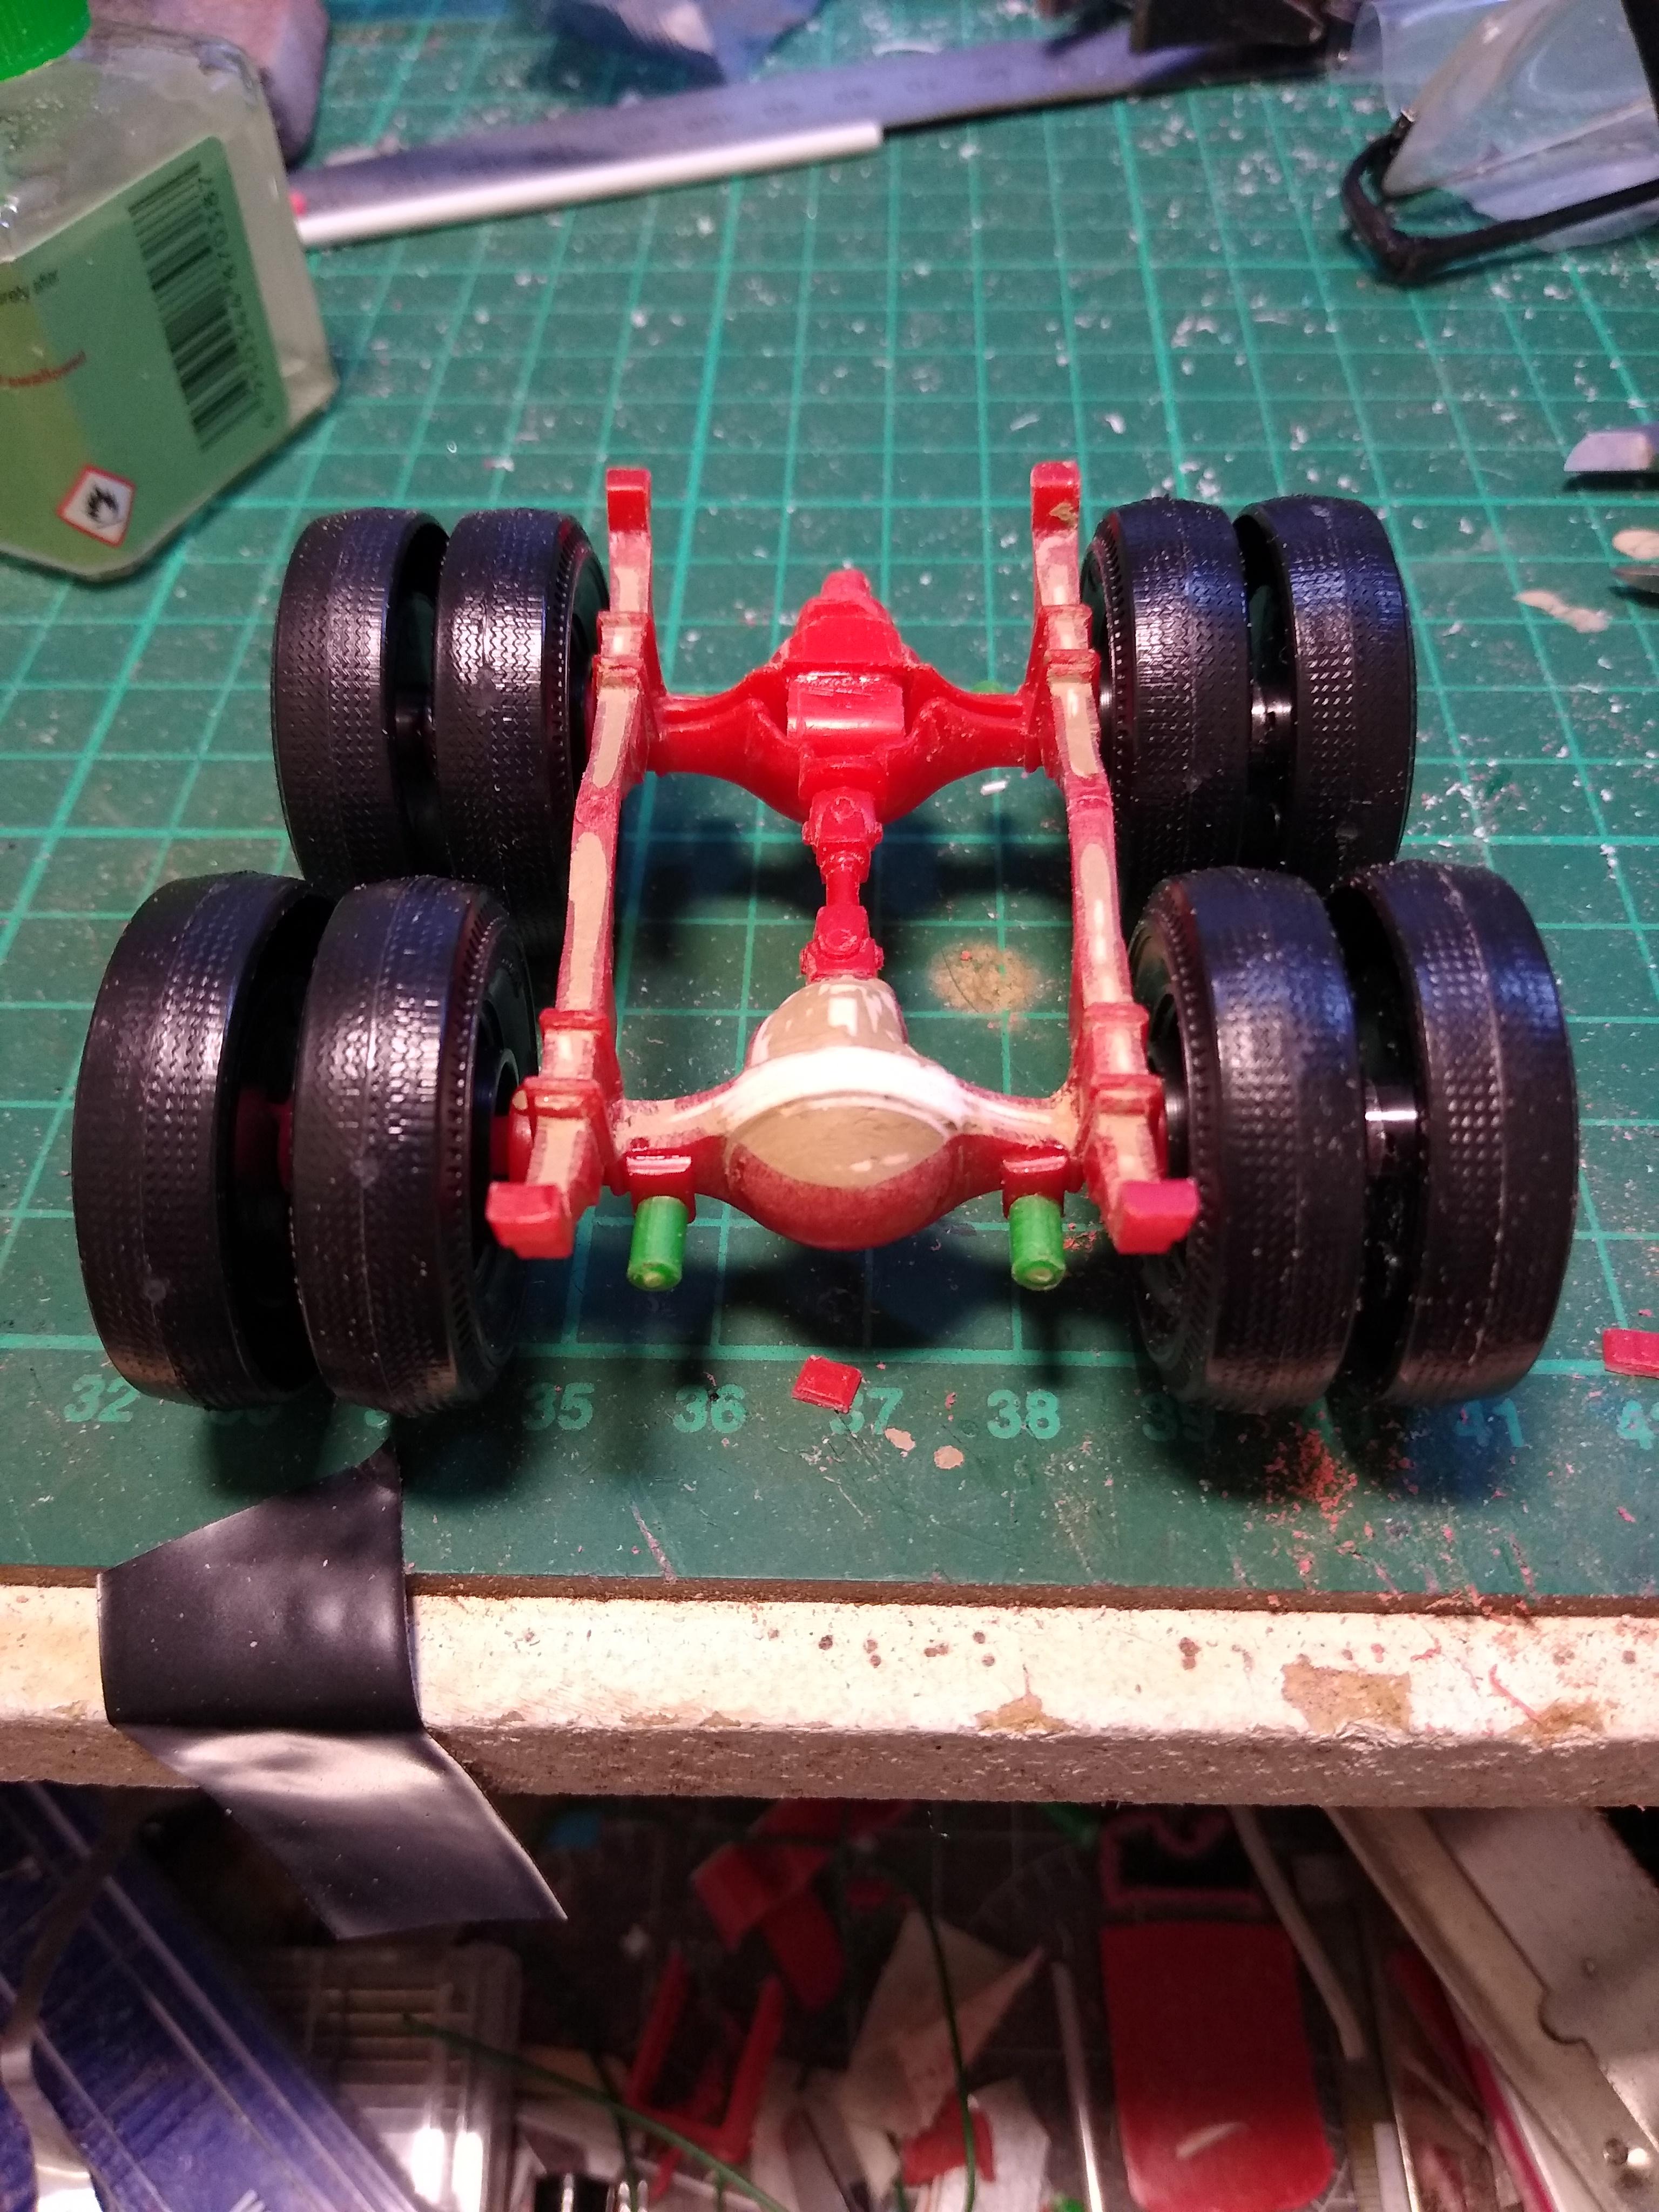
2× Chevy Bison
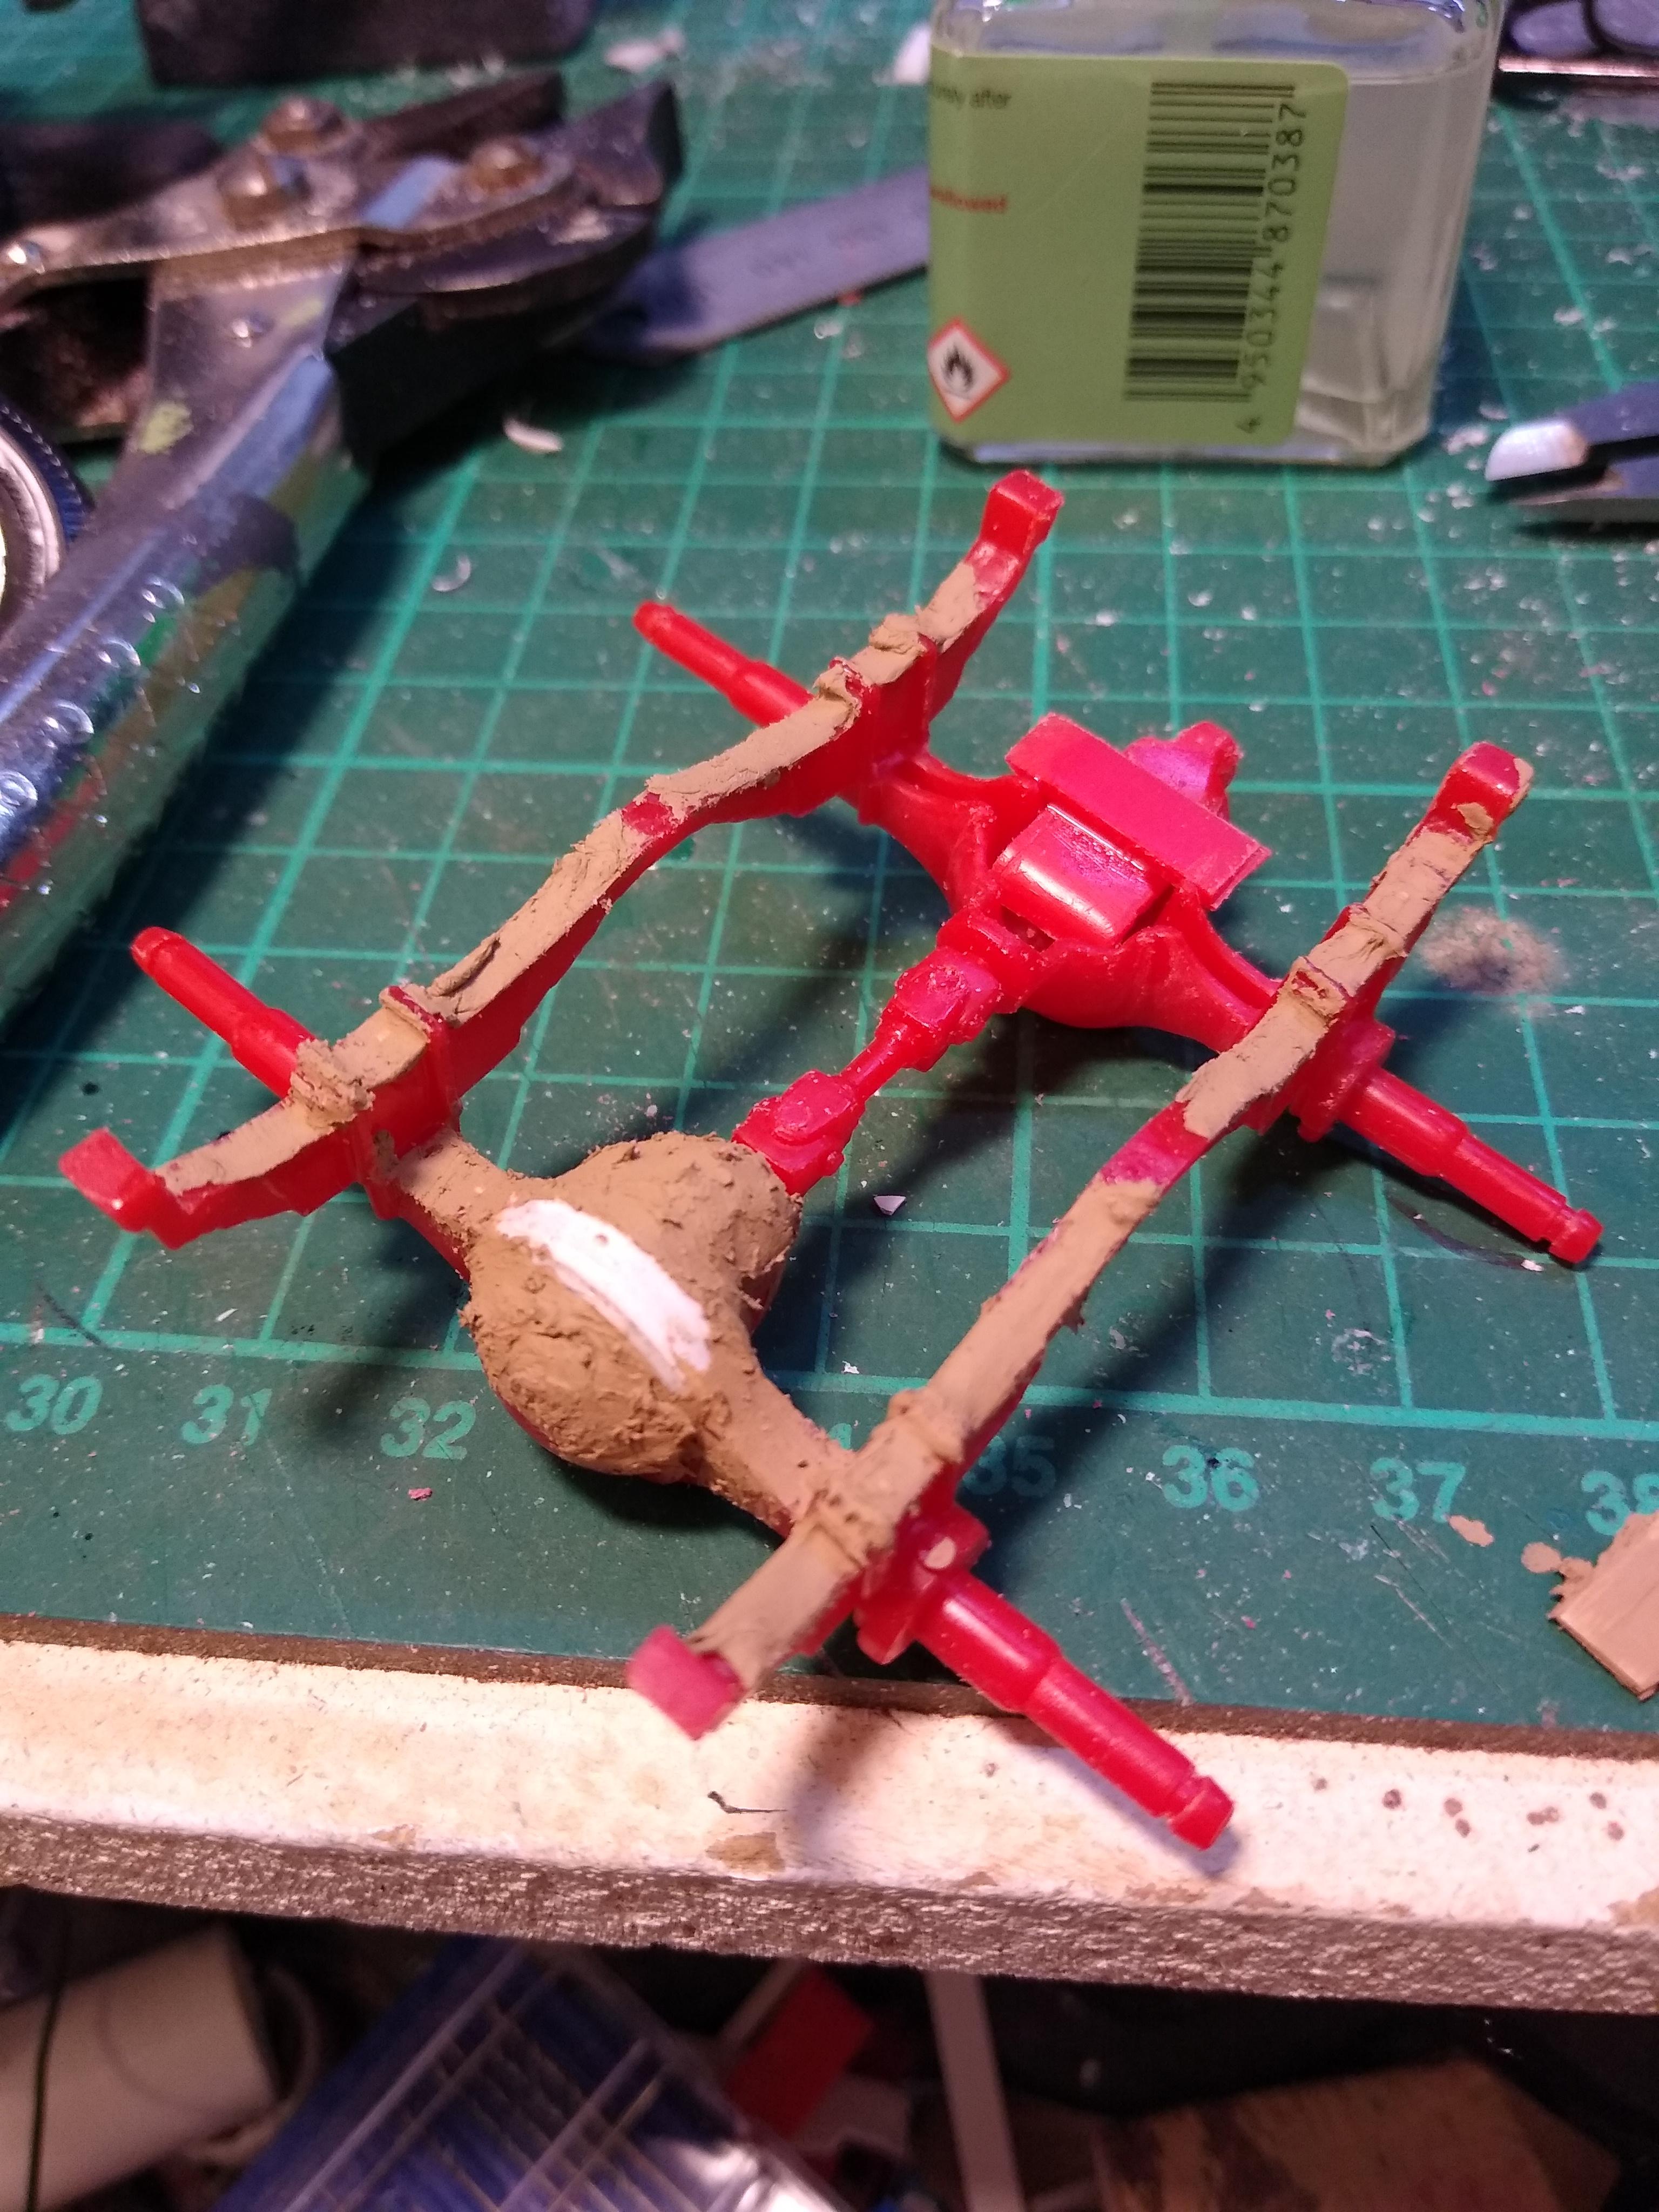
Rockford replied to Rockford's topic in WIP: Model Trucks: Big Rigs and Heavy Equipment
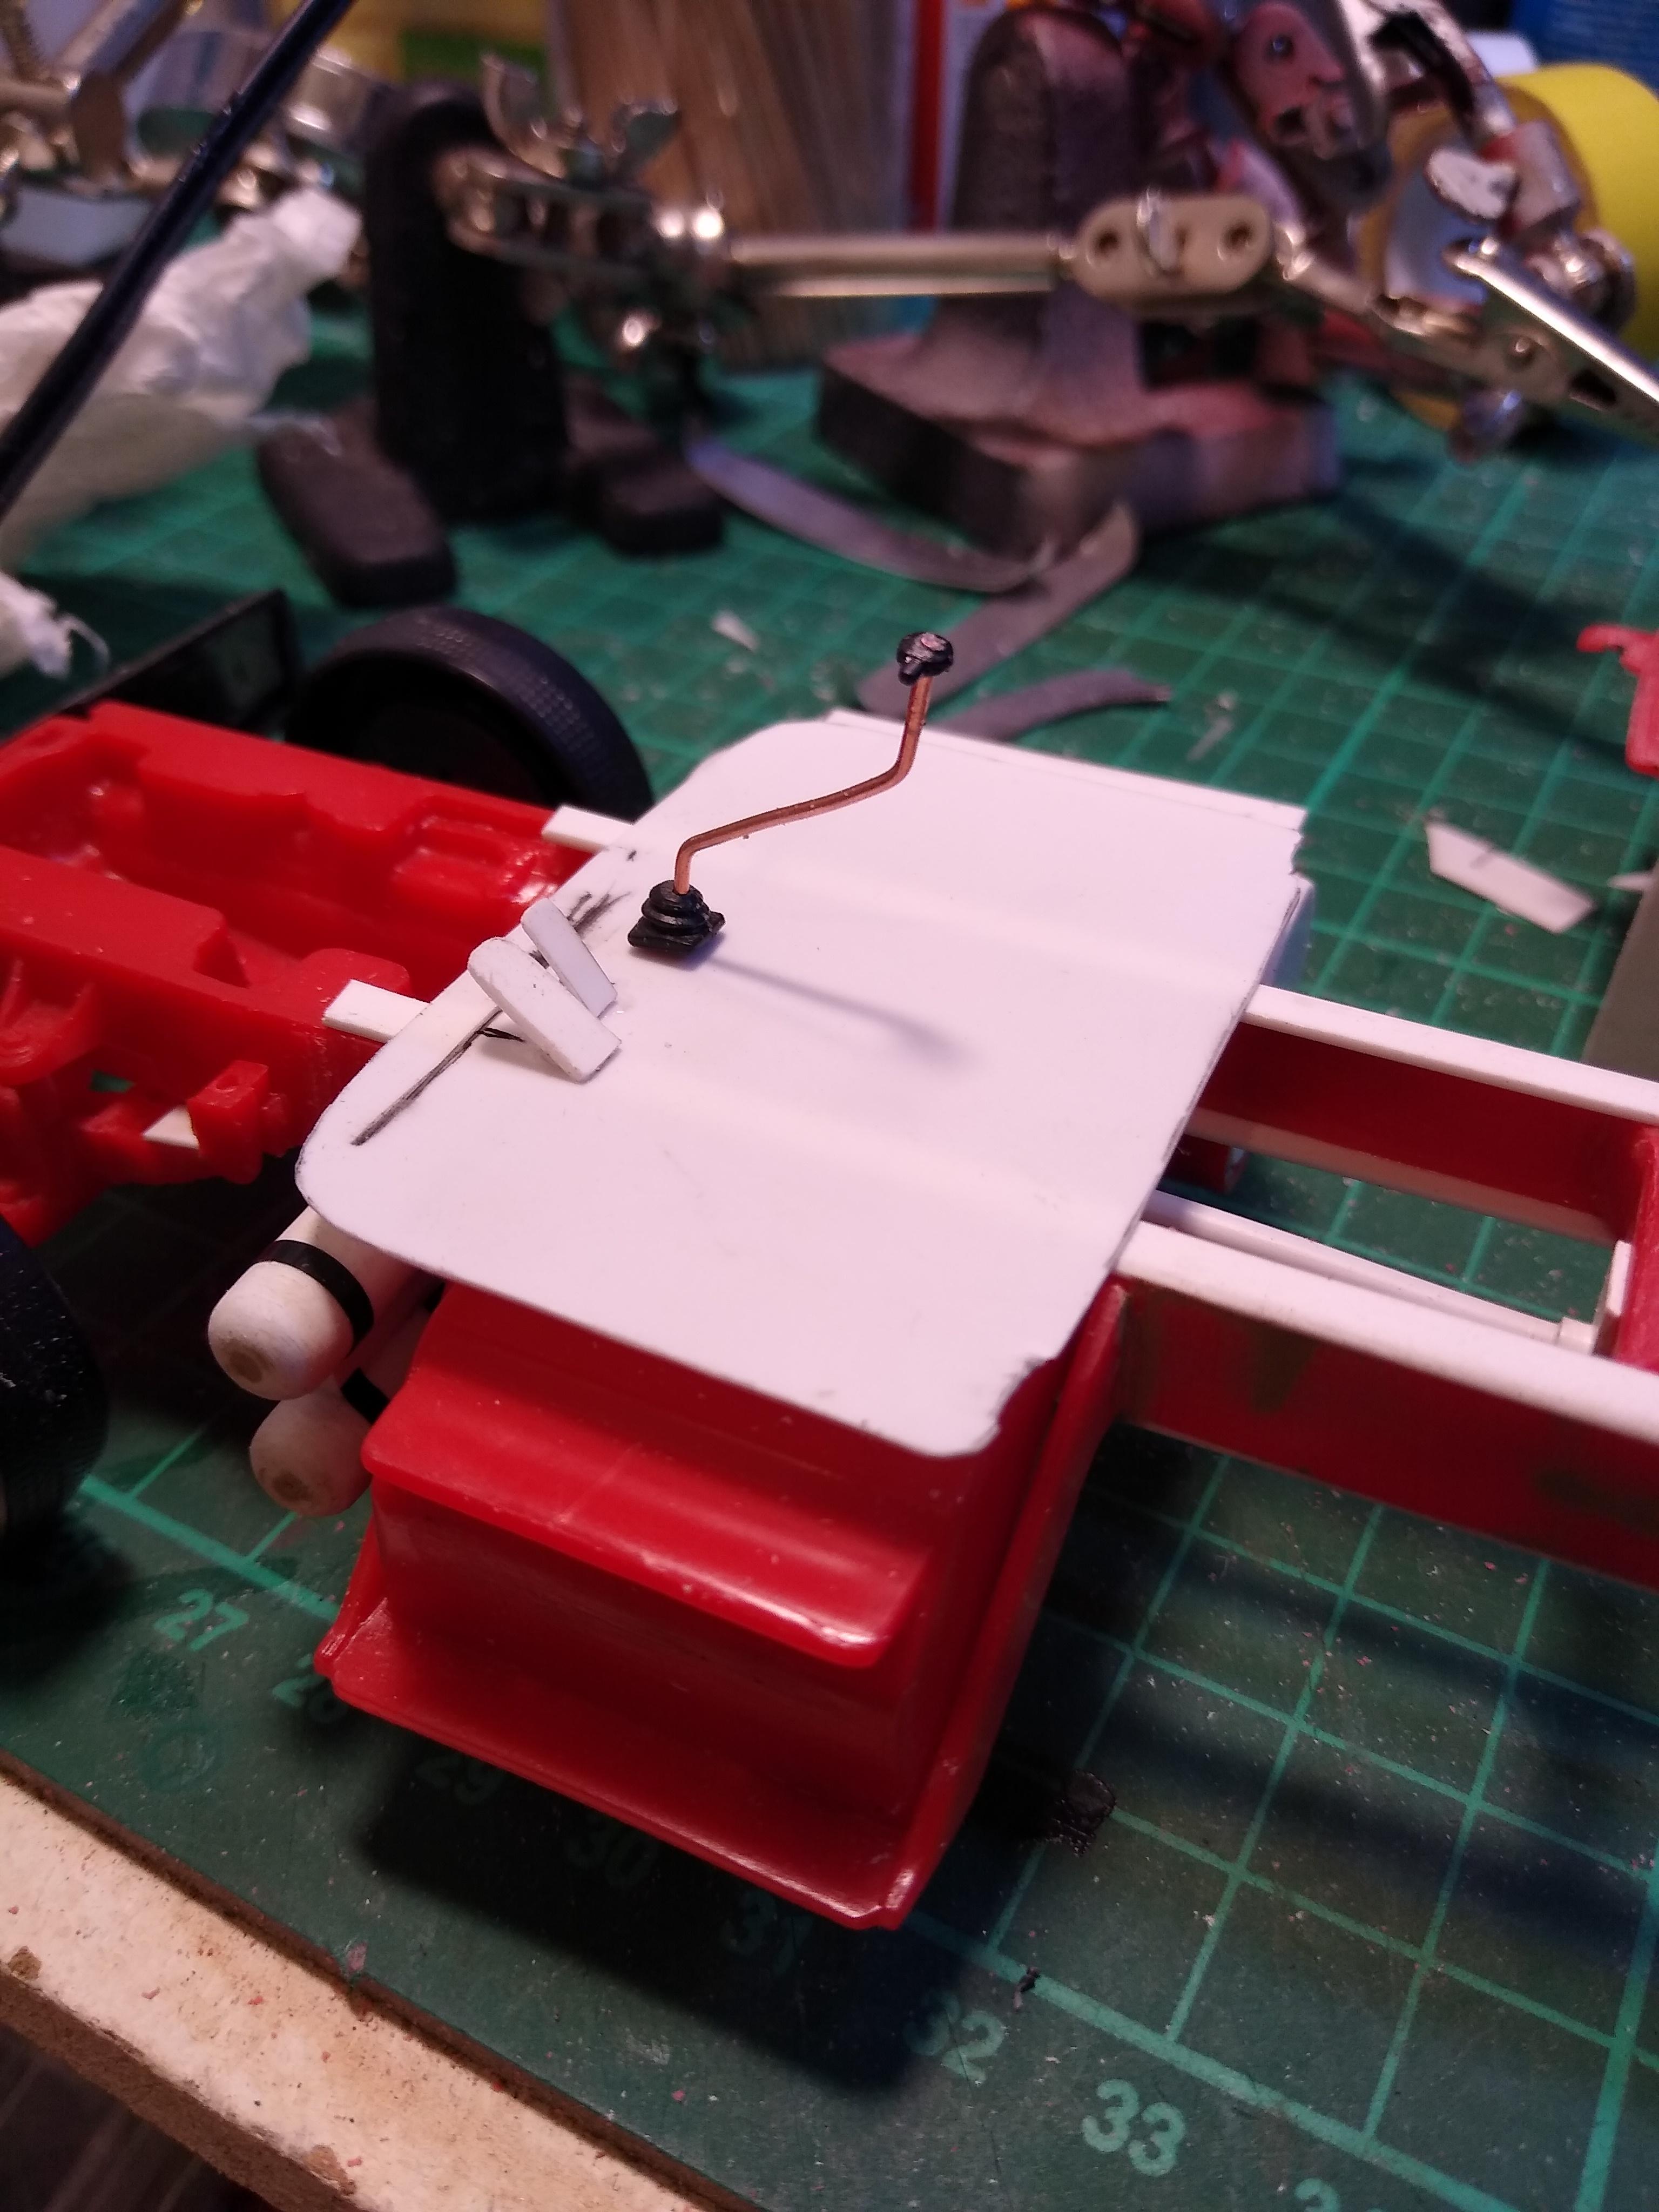
Rubbed the putty down on the rear axles, quite pleased with it. Added some rudimentary brake chambers. Used some spring steel wire and hollow tube to knock up a pogo stick, drilled the deck plate and looks ok to me. Also removed the hard plastic quarter fender flaps and made new ones out of electrical tape.
-
2× Chevy Bison
Rockford replied to Rockford's topic in WIP: Model Trucks: Big Rigs and Heavy Equipment
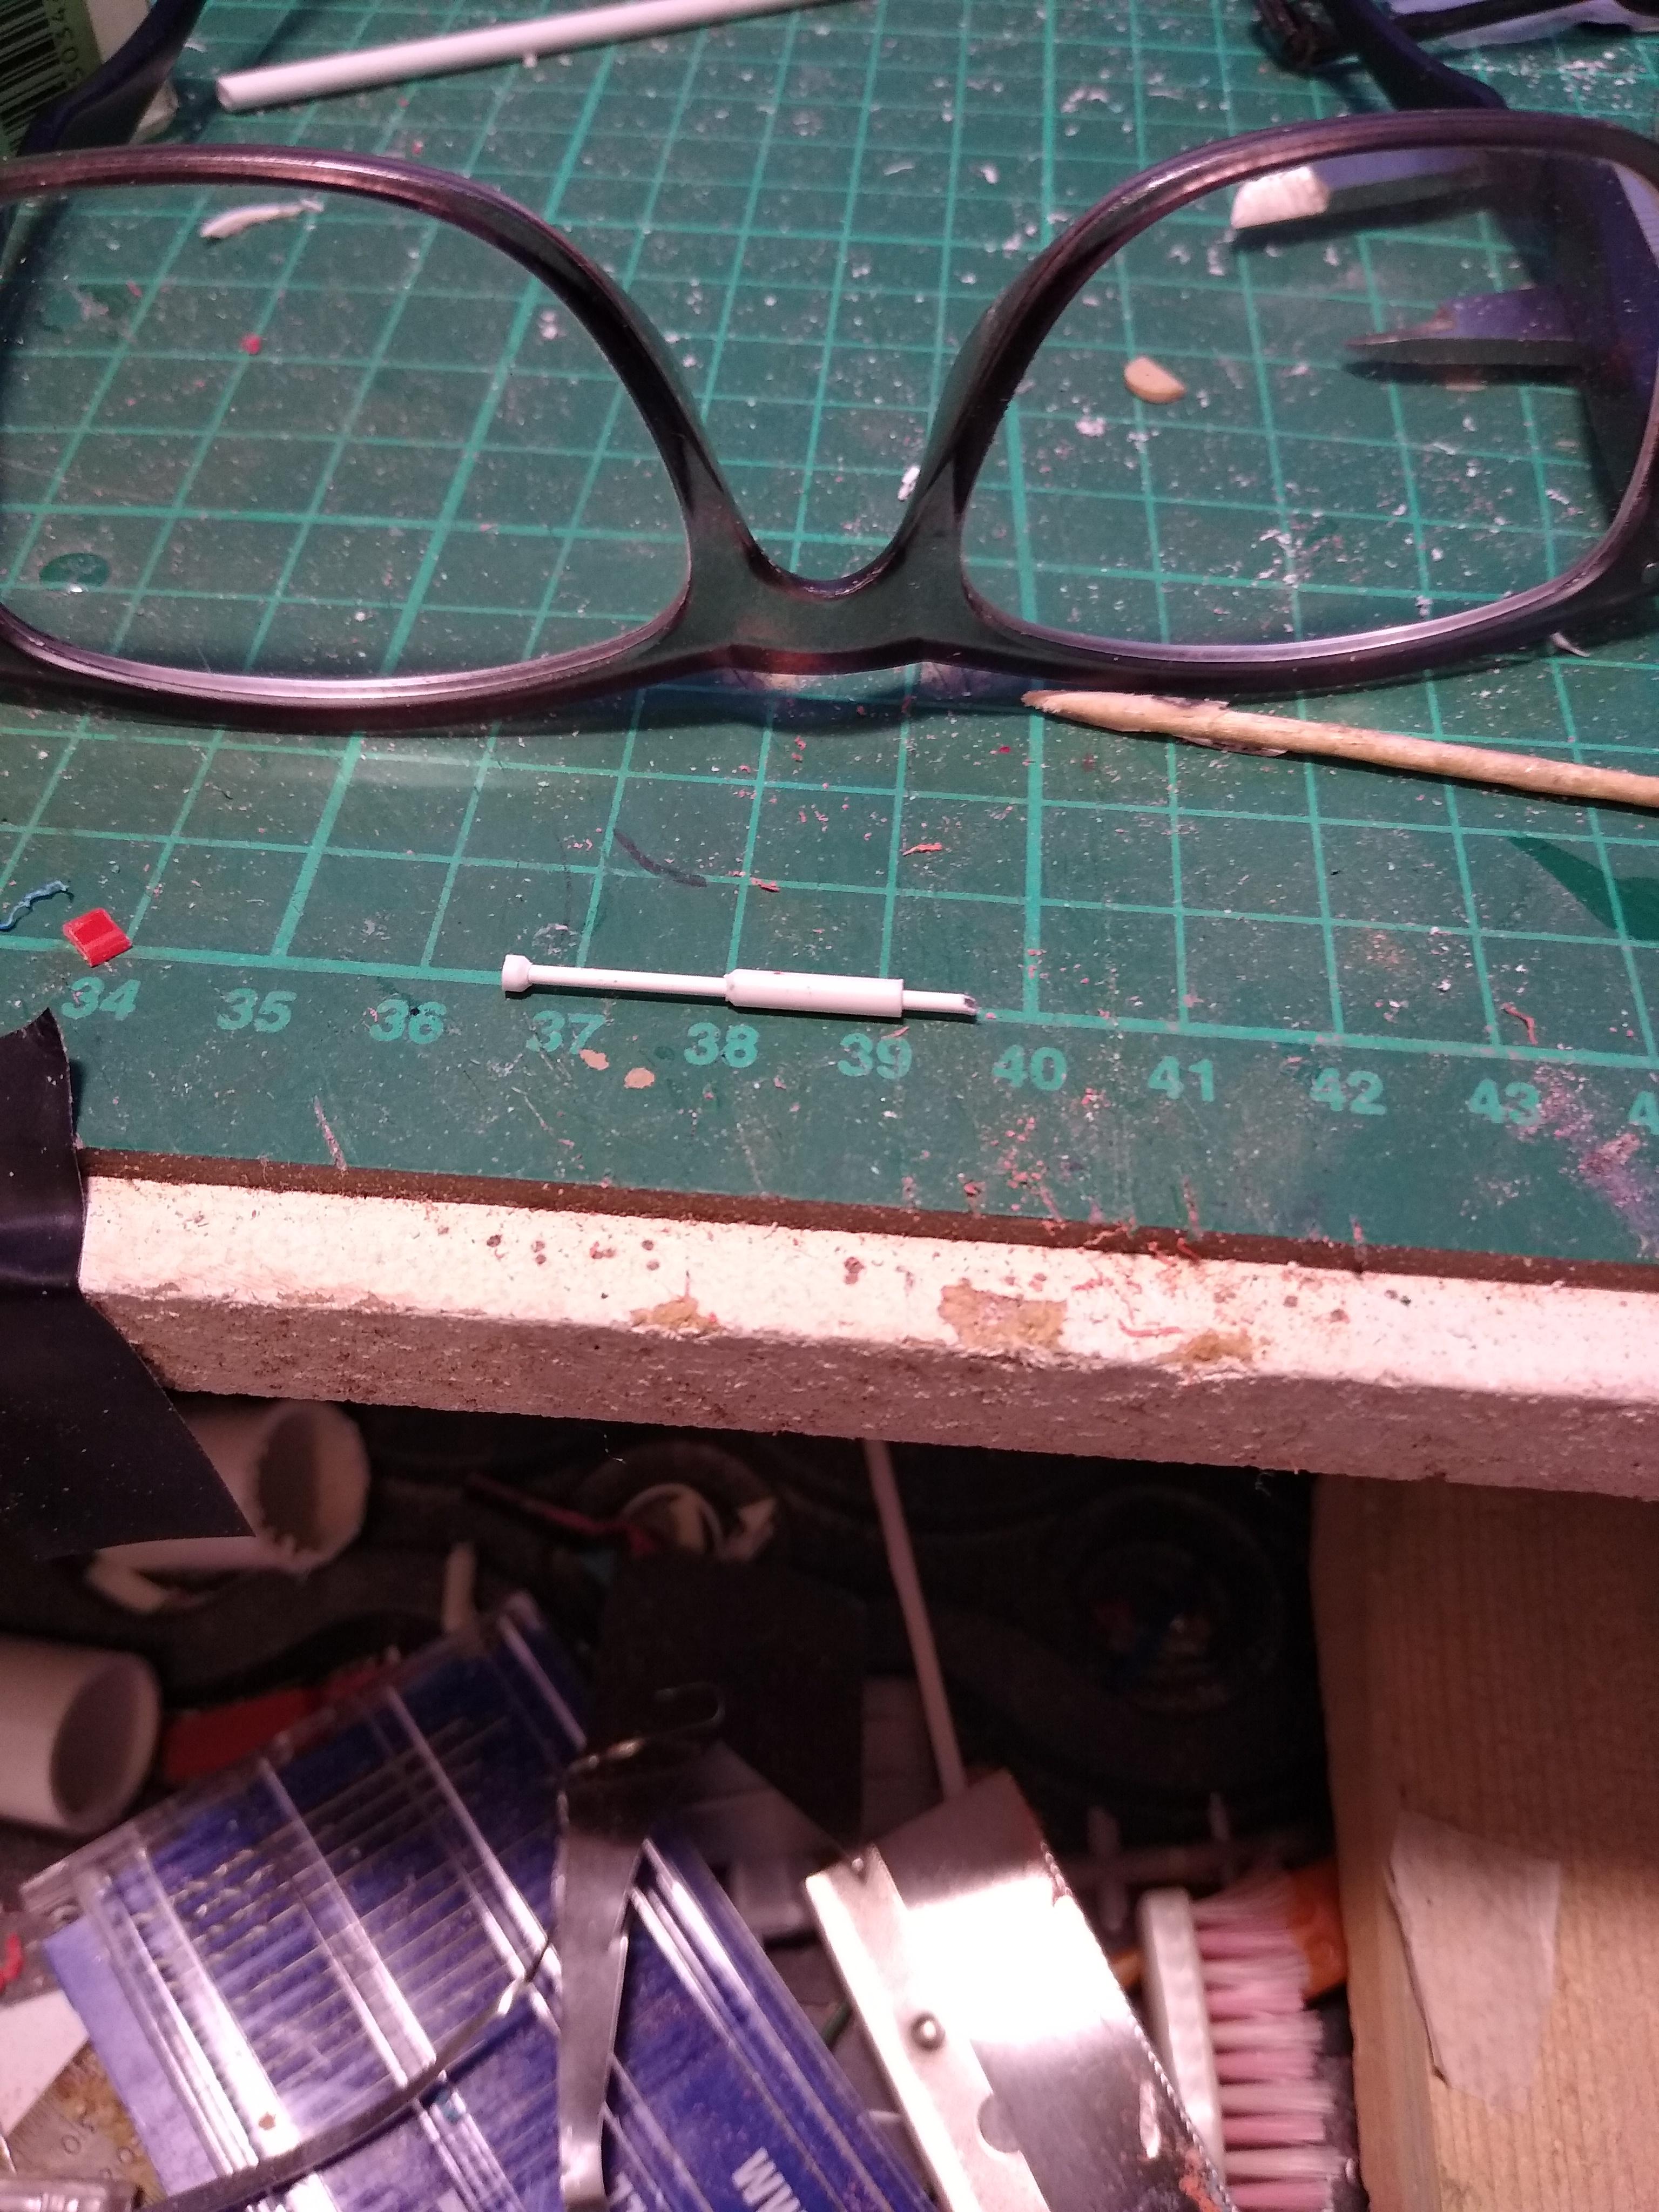
Just to prove to myself that these haven't stalled I thought I'd post what little I've been able to get done in the last few weeks. Made a trailer brake valve and lever from some sprue and a straight pin out of the wife's sewing box. Also an indicator stalk. Also did the usual filling-in job on the rear leaf springs and the one diff that's visible. Obviously I haven't rubbed it down yet.
-
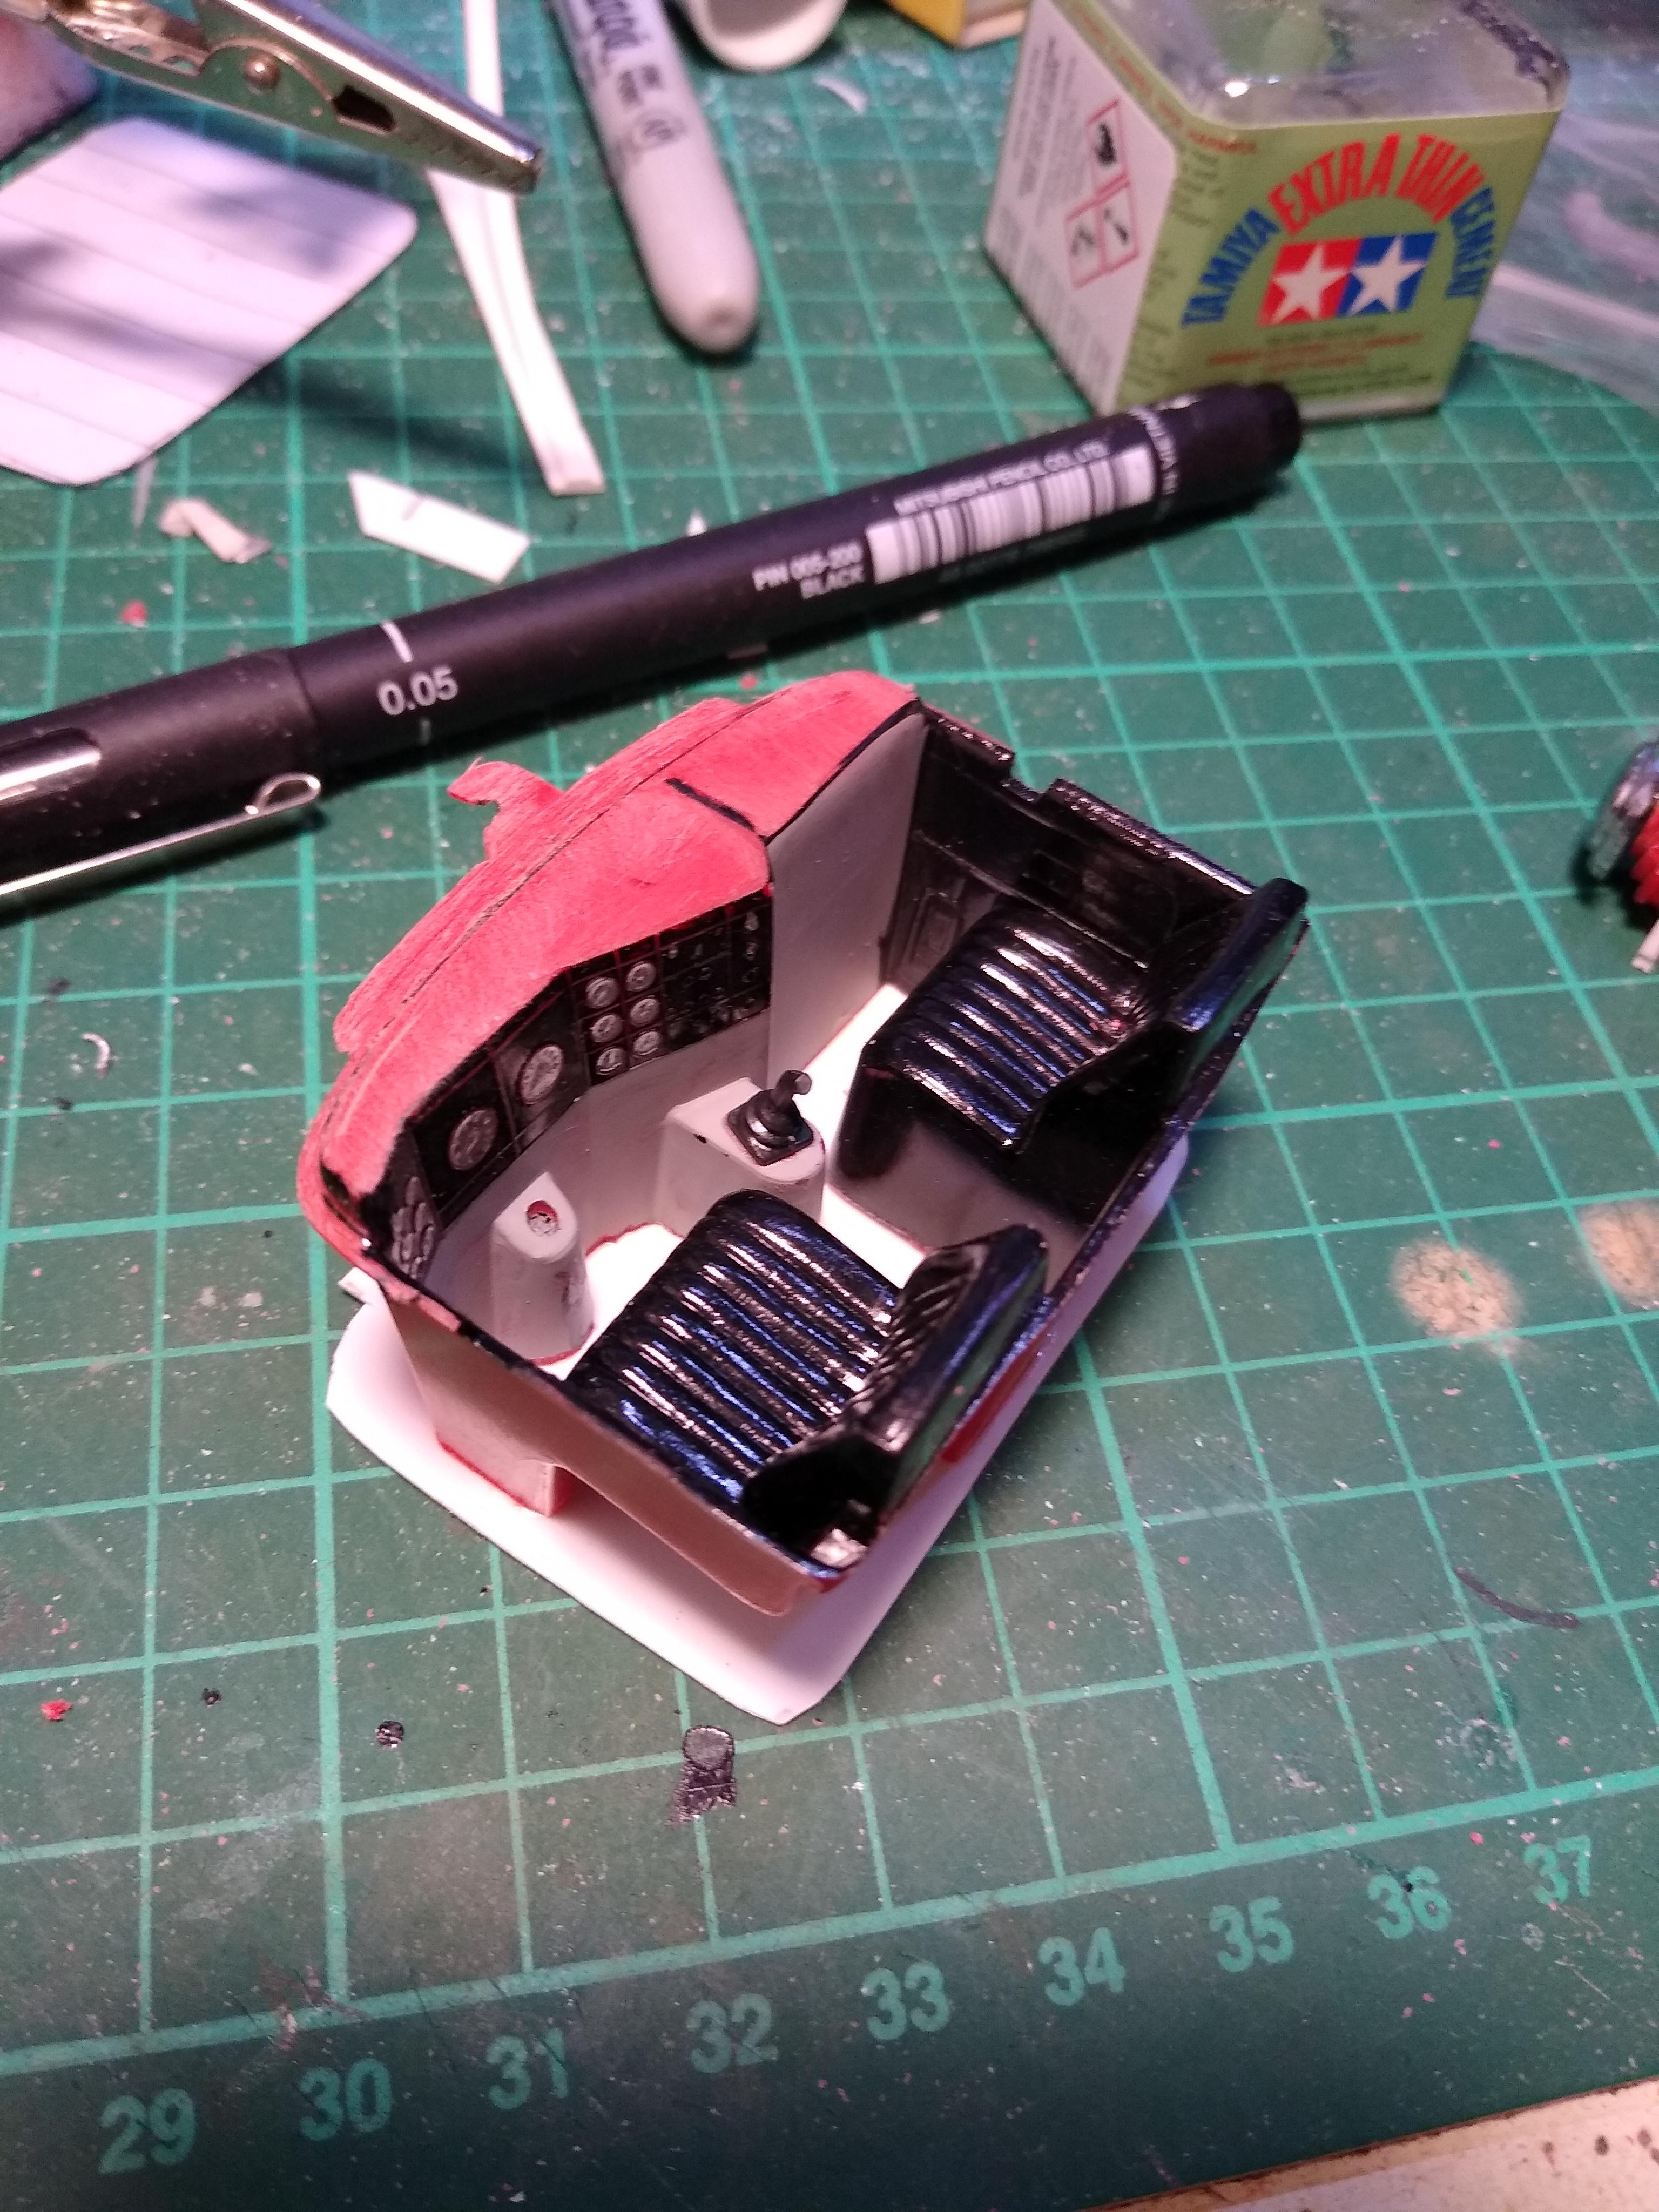
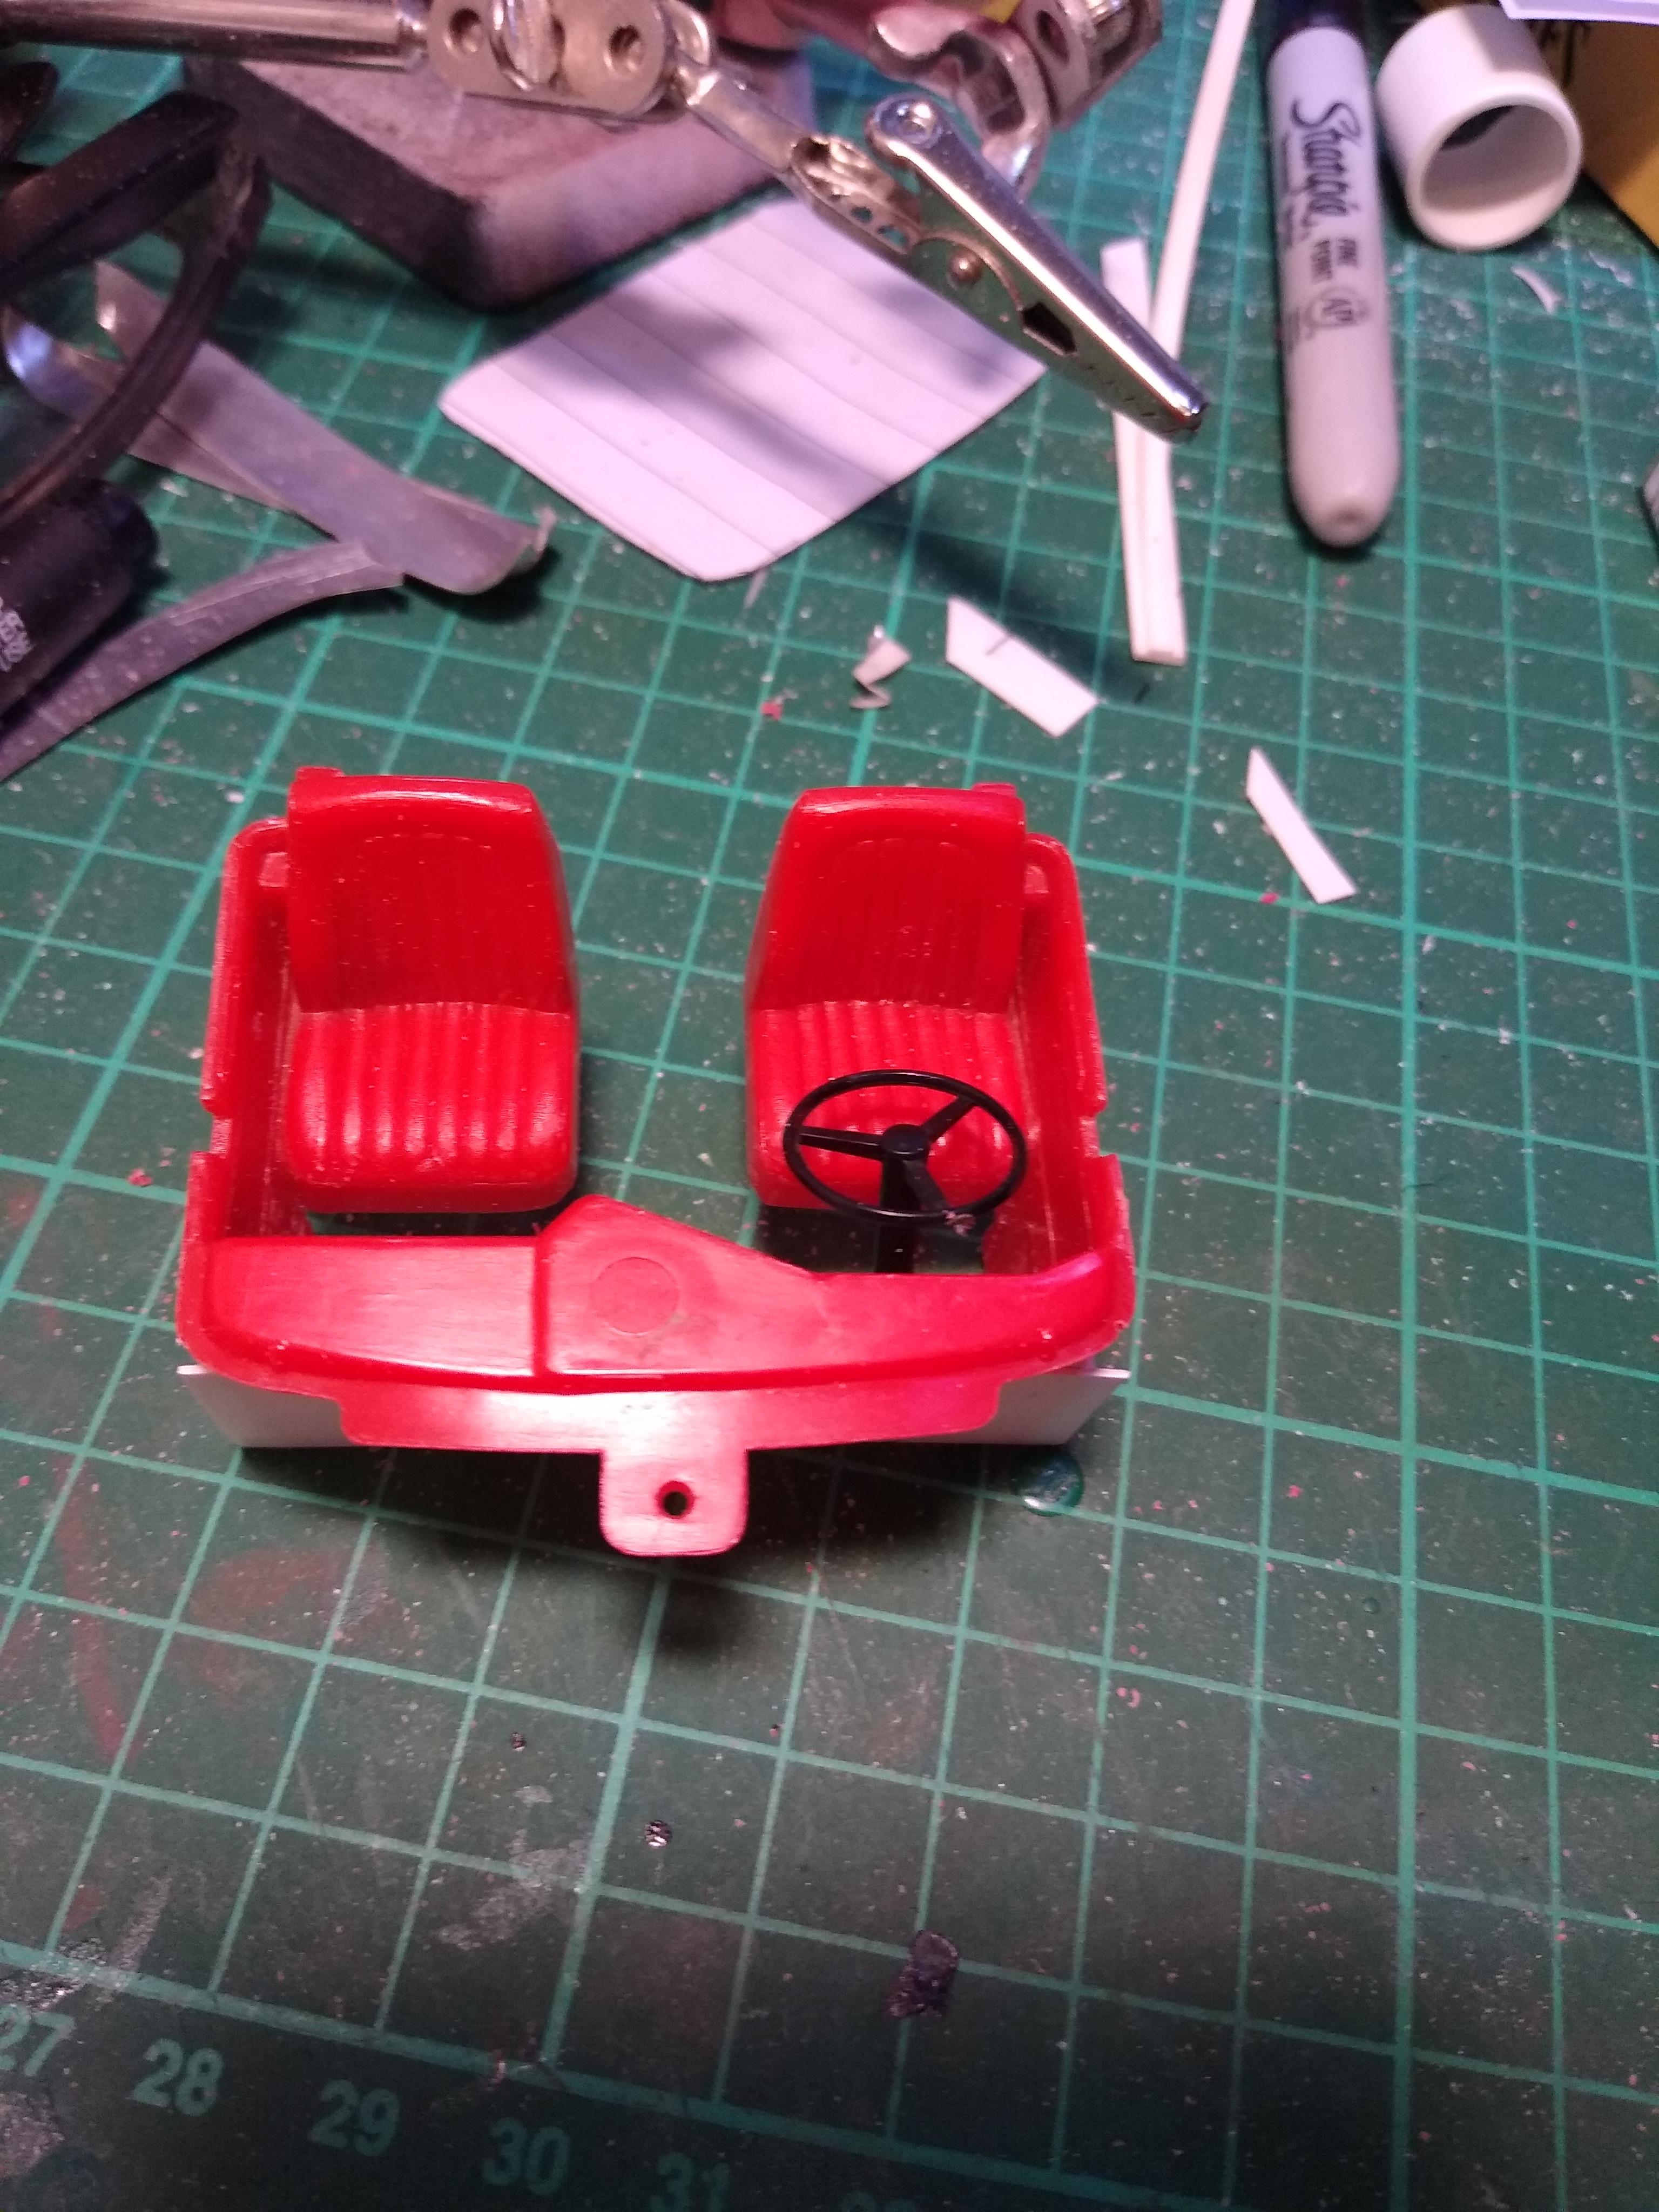
2× Chevy Bison
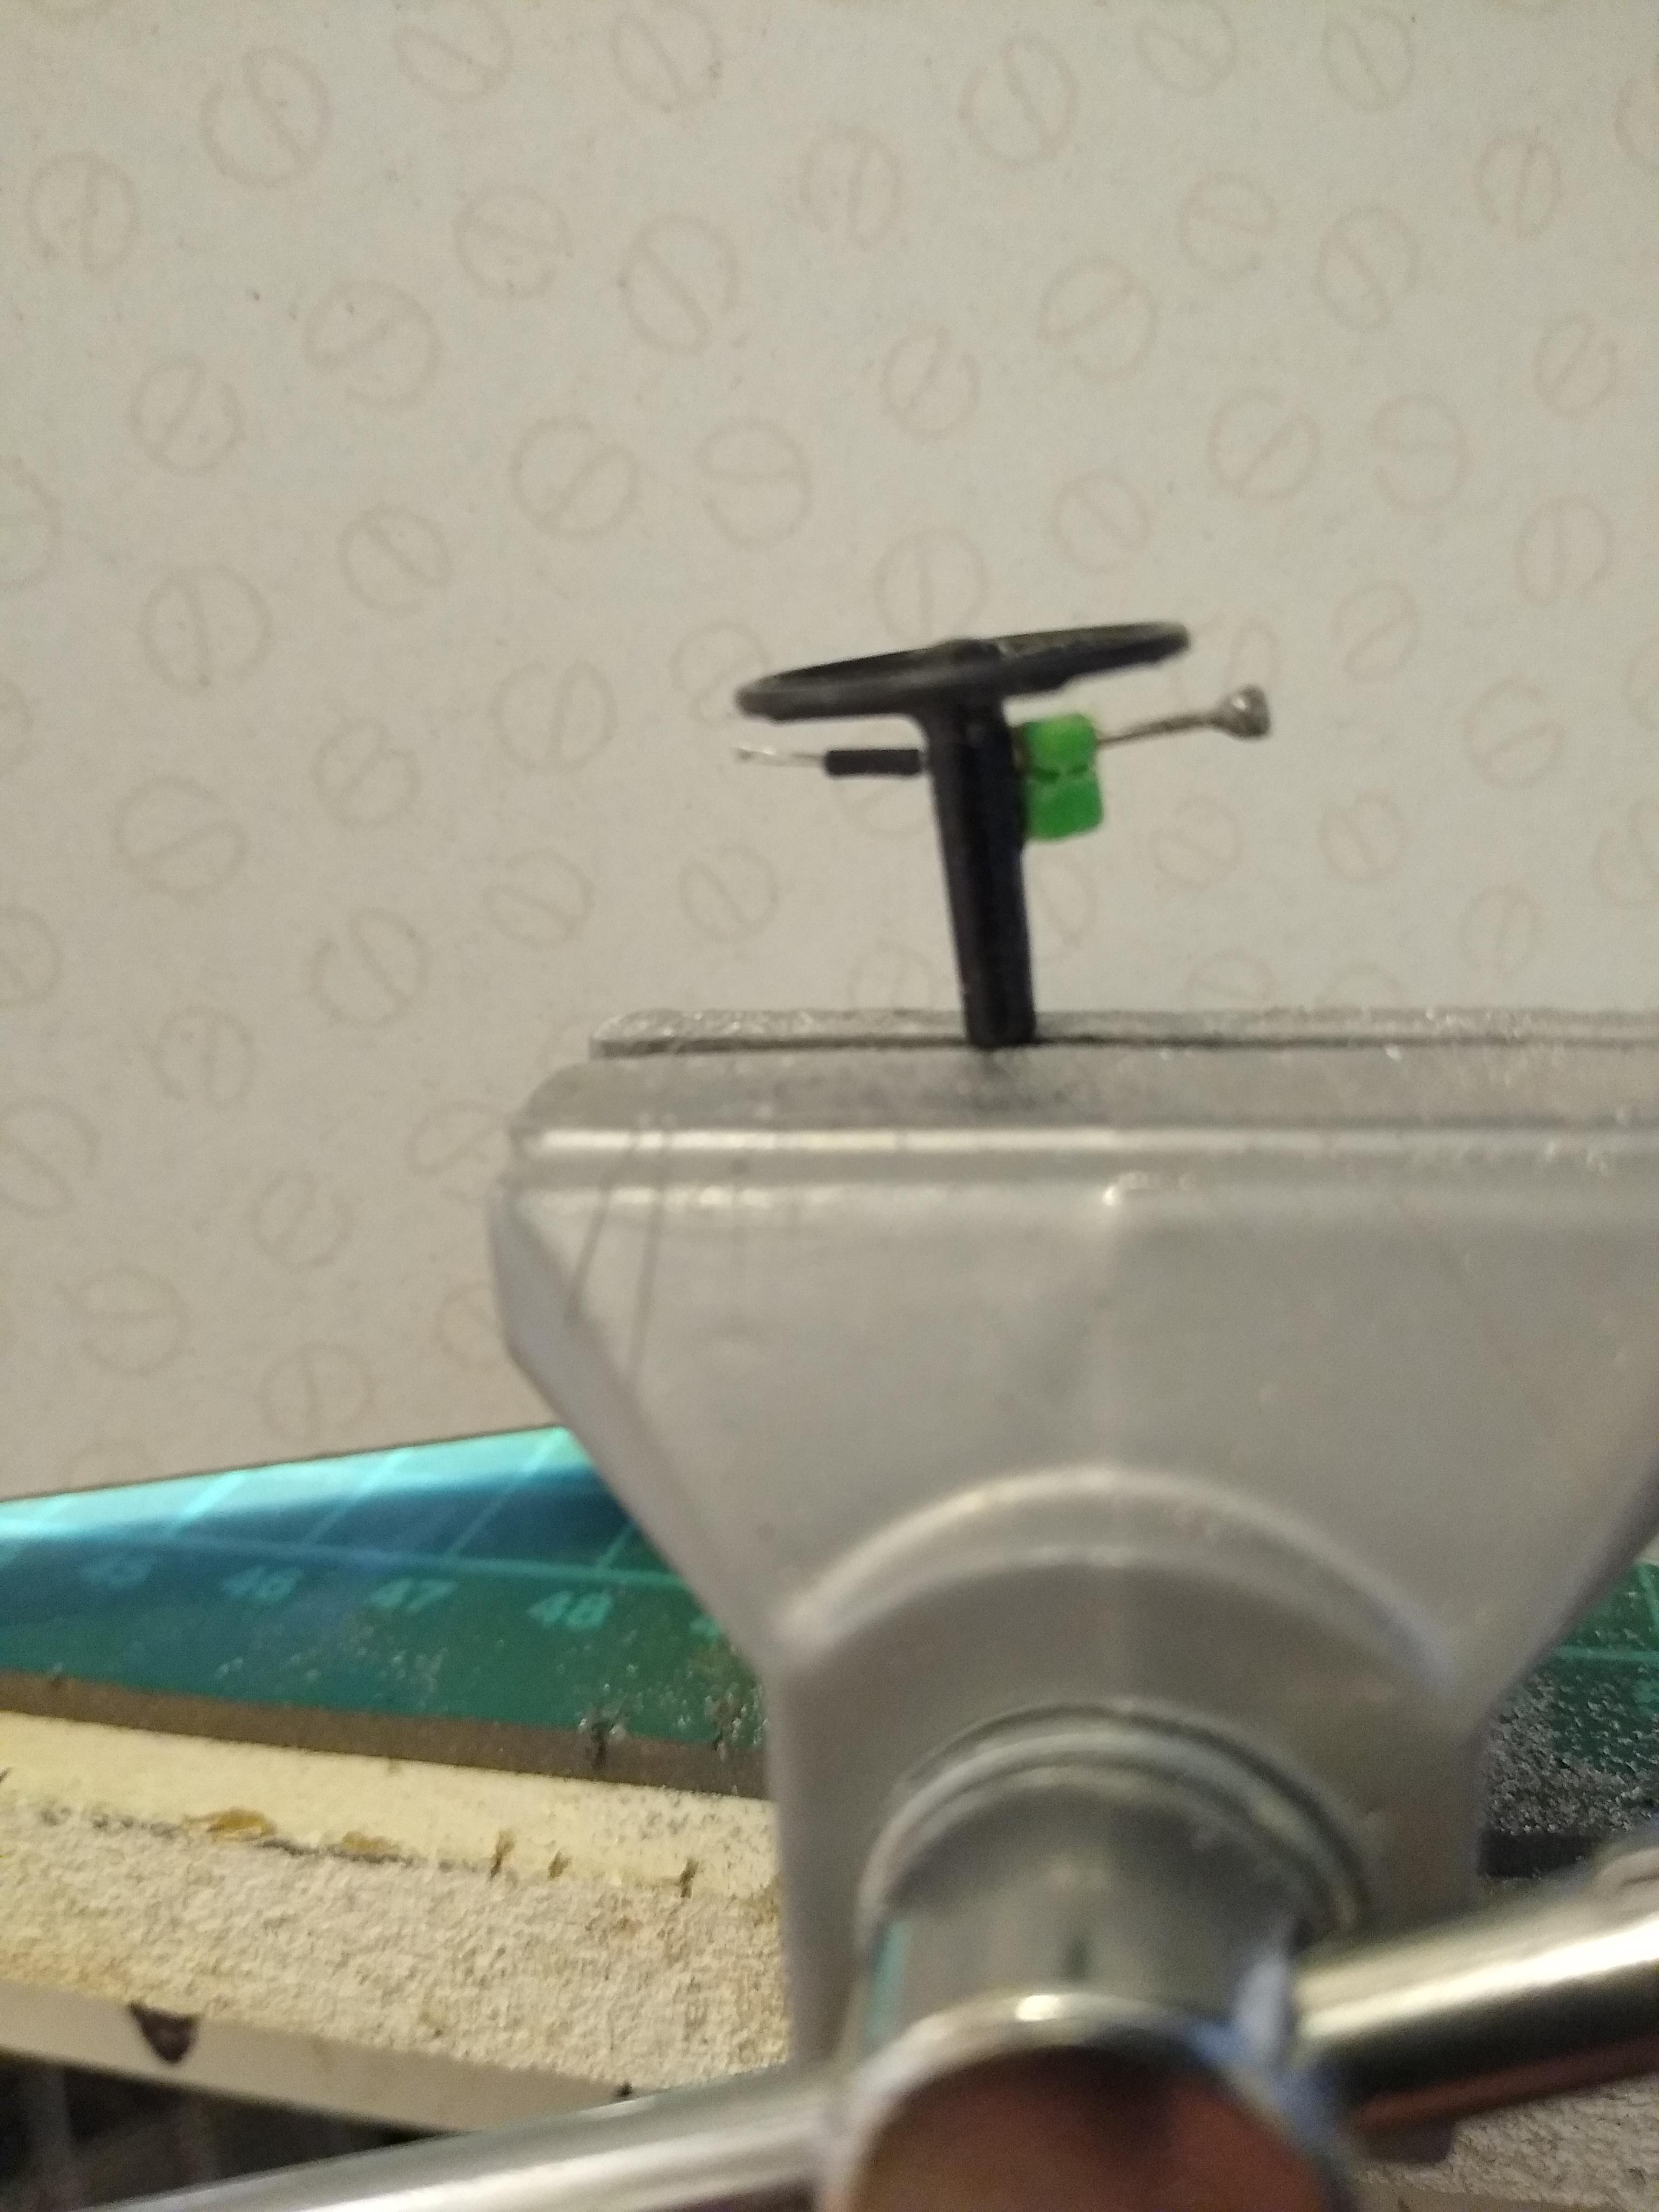
Rockford replied to Rockford's topic in WIP: Model Trucks: Big Rigs and Heavy Equipment
Reworked the daycab interior this afternoon. Cut the floor away and the dash. Built a new firewall and flat floor. Cut the shift lever up and added the gaiter and the knob to a new one made from 0.9mm copper wire. As this interior will be more visible than the double sleeper I added clutch, brake and throttle pedals too.
-
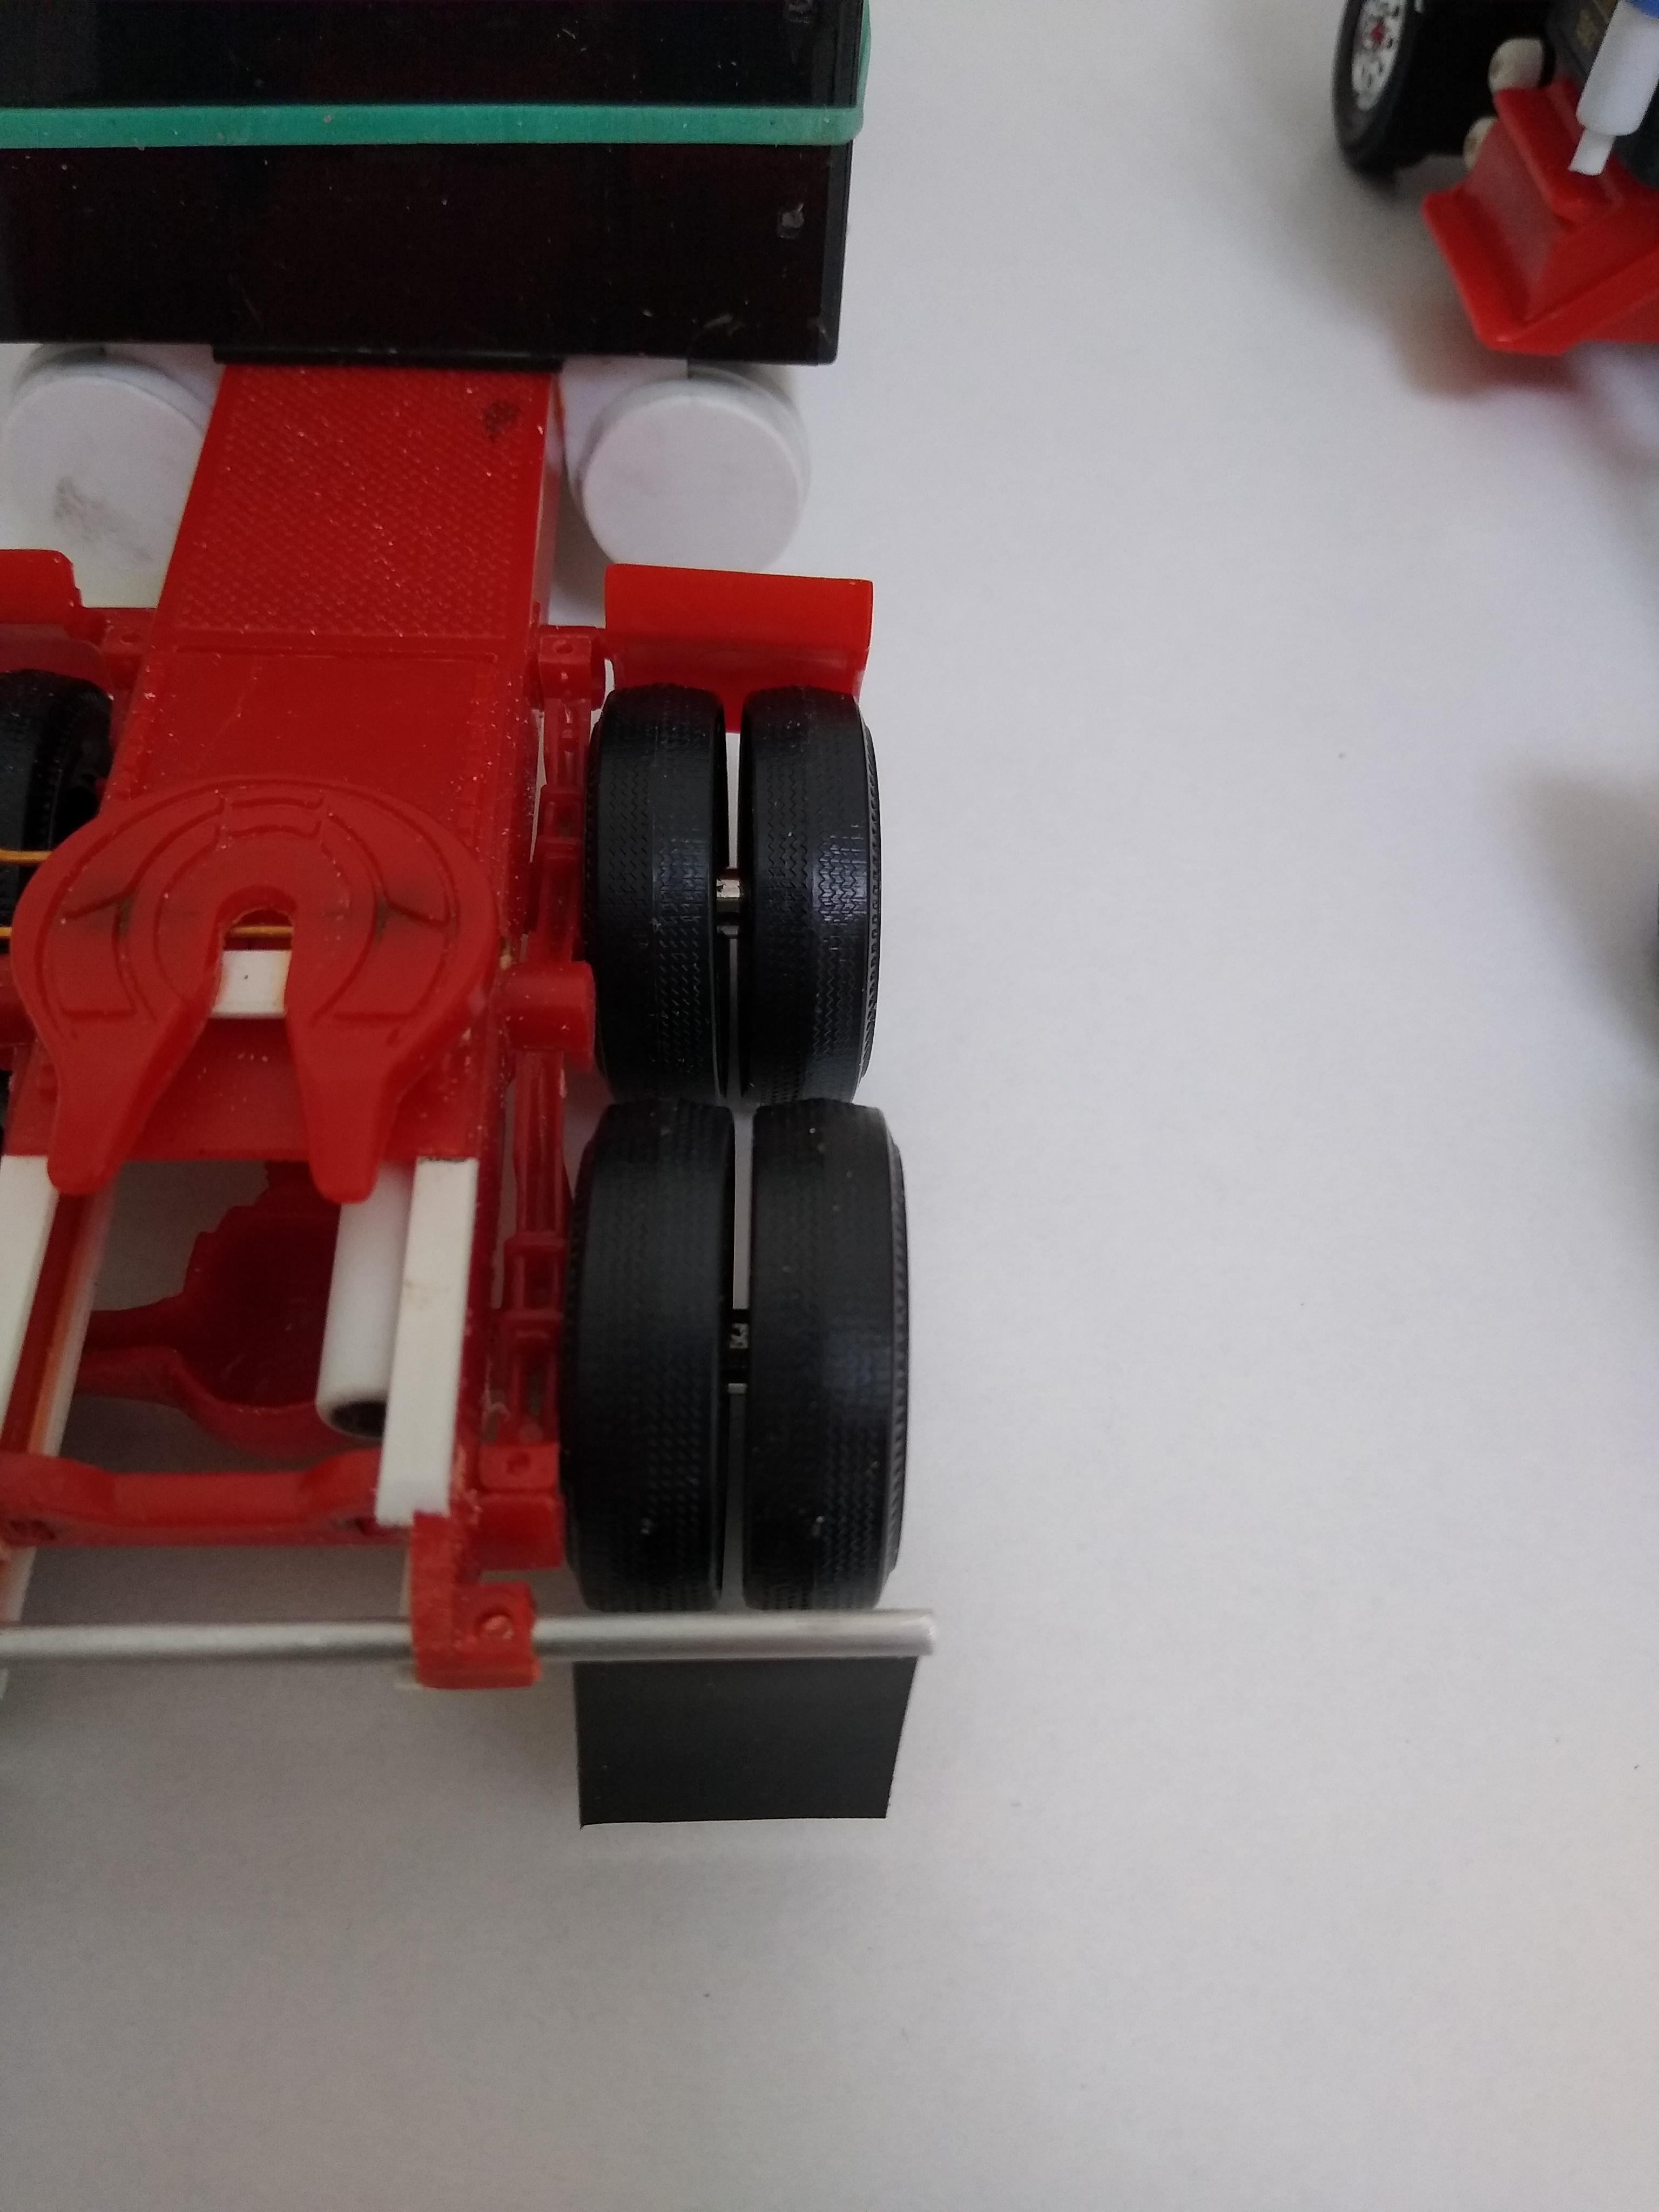
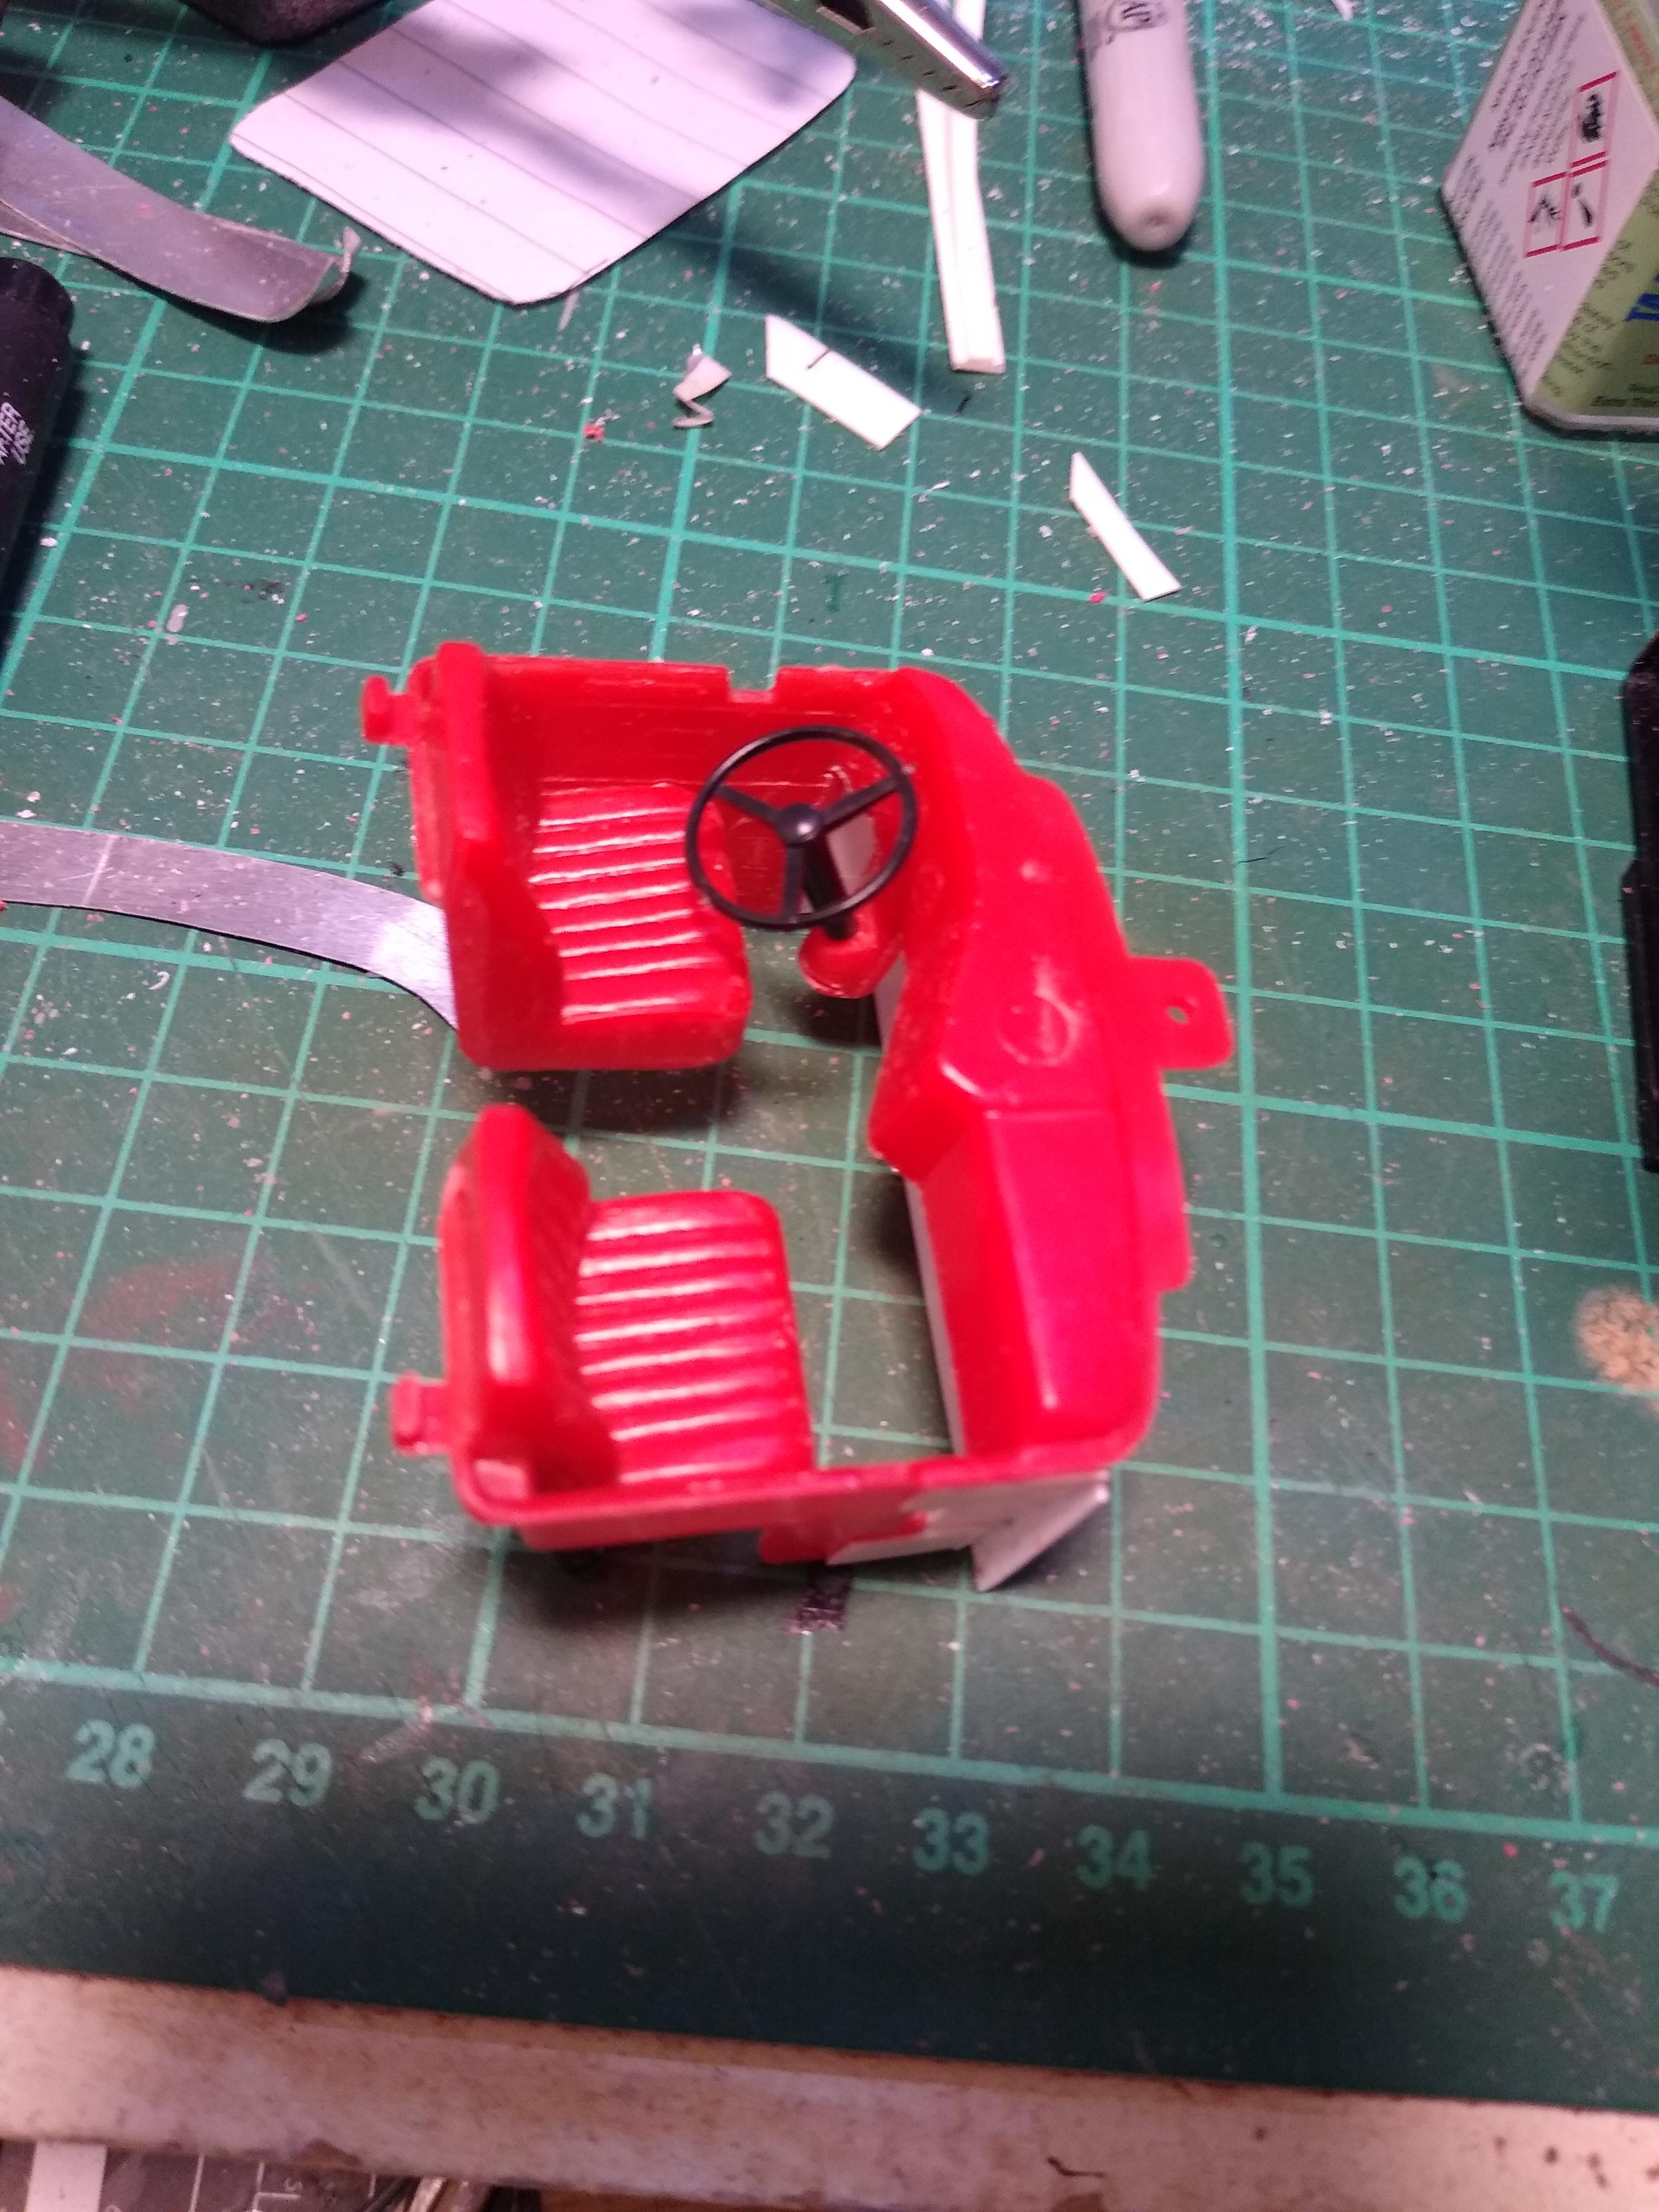
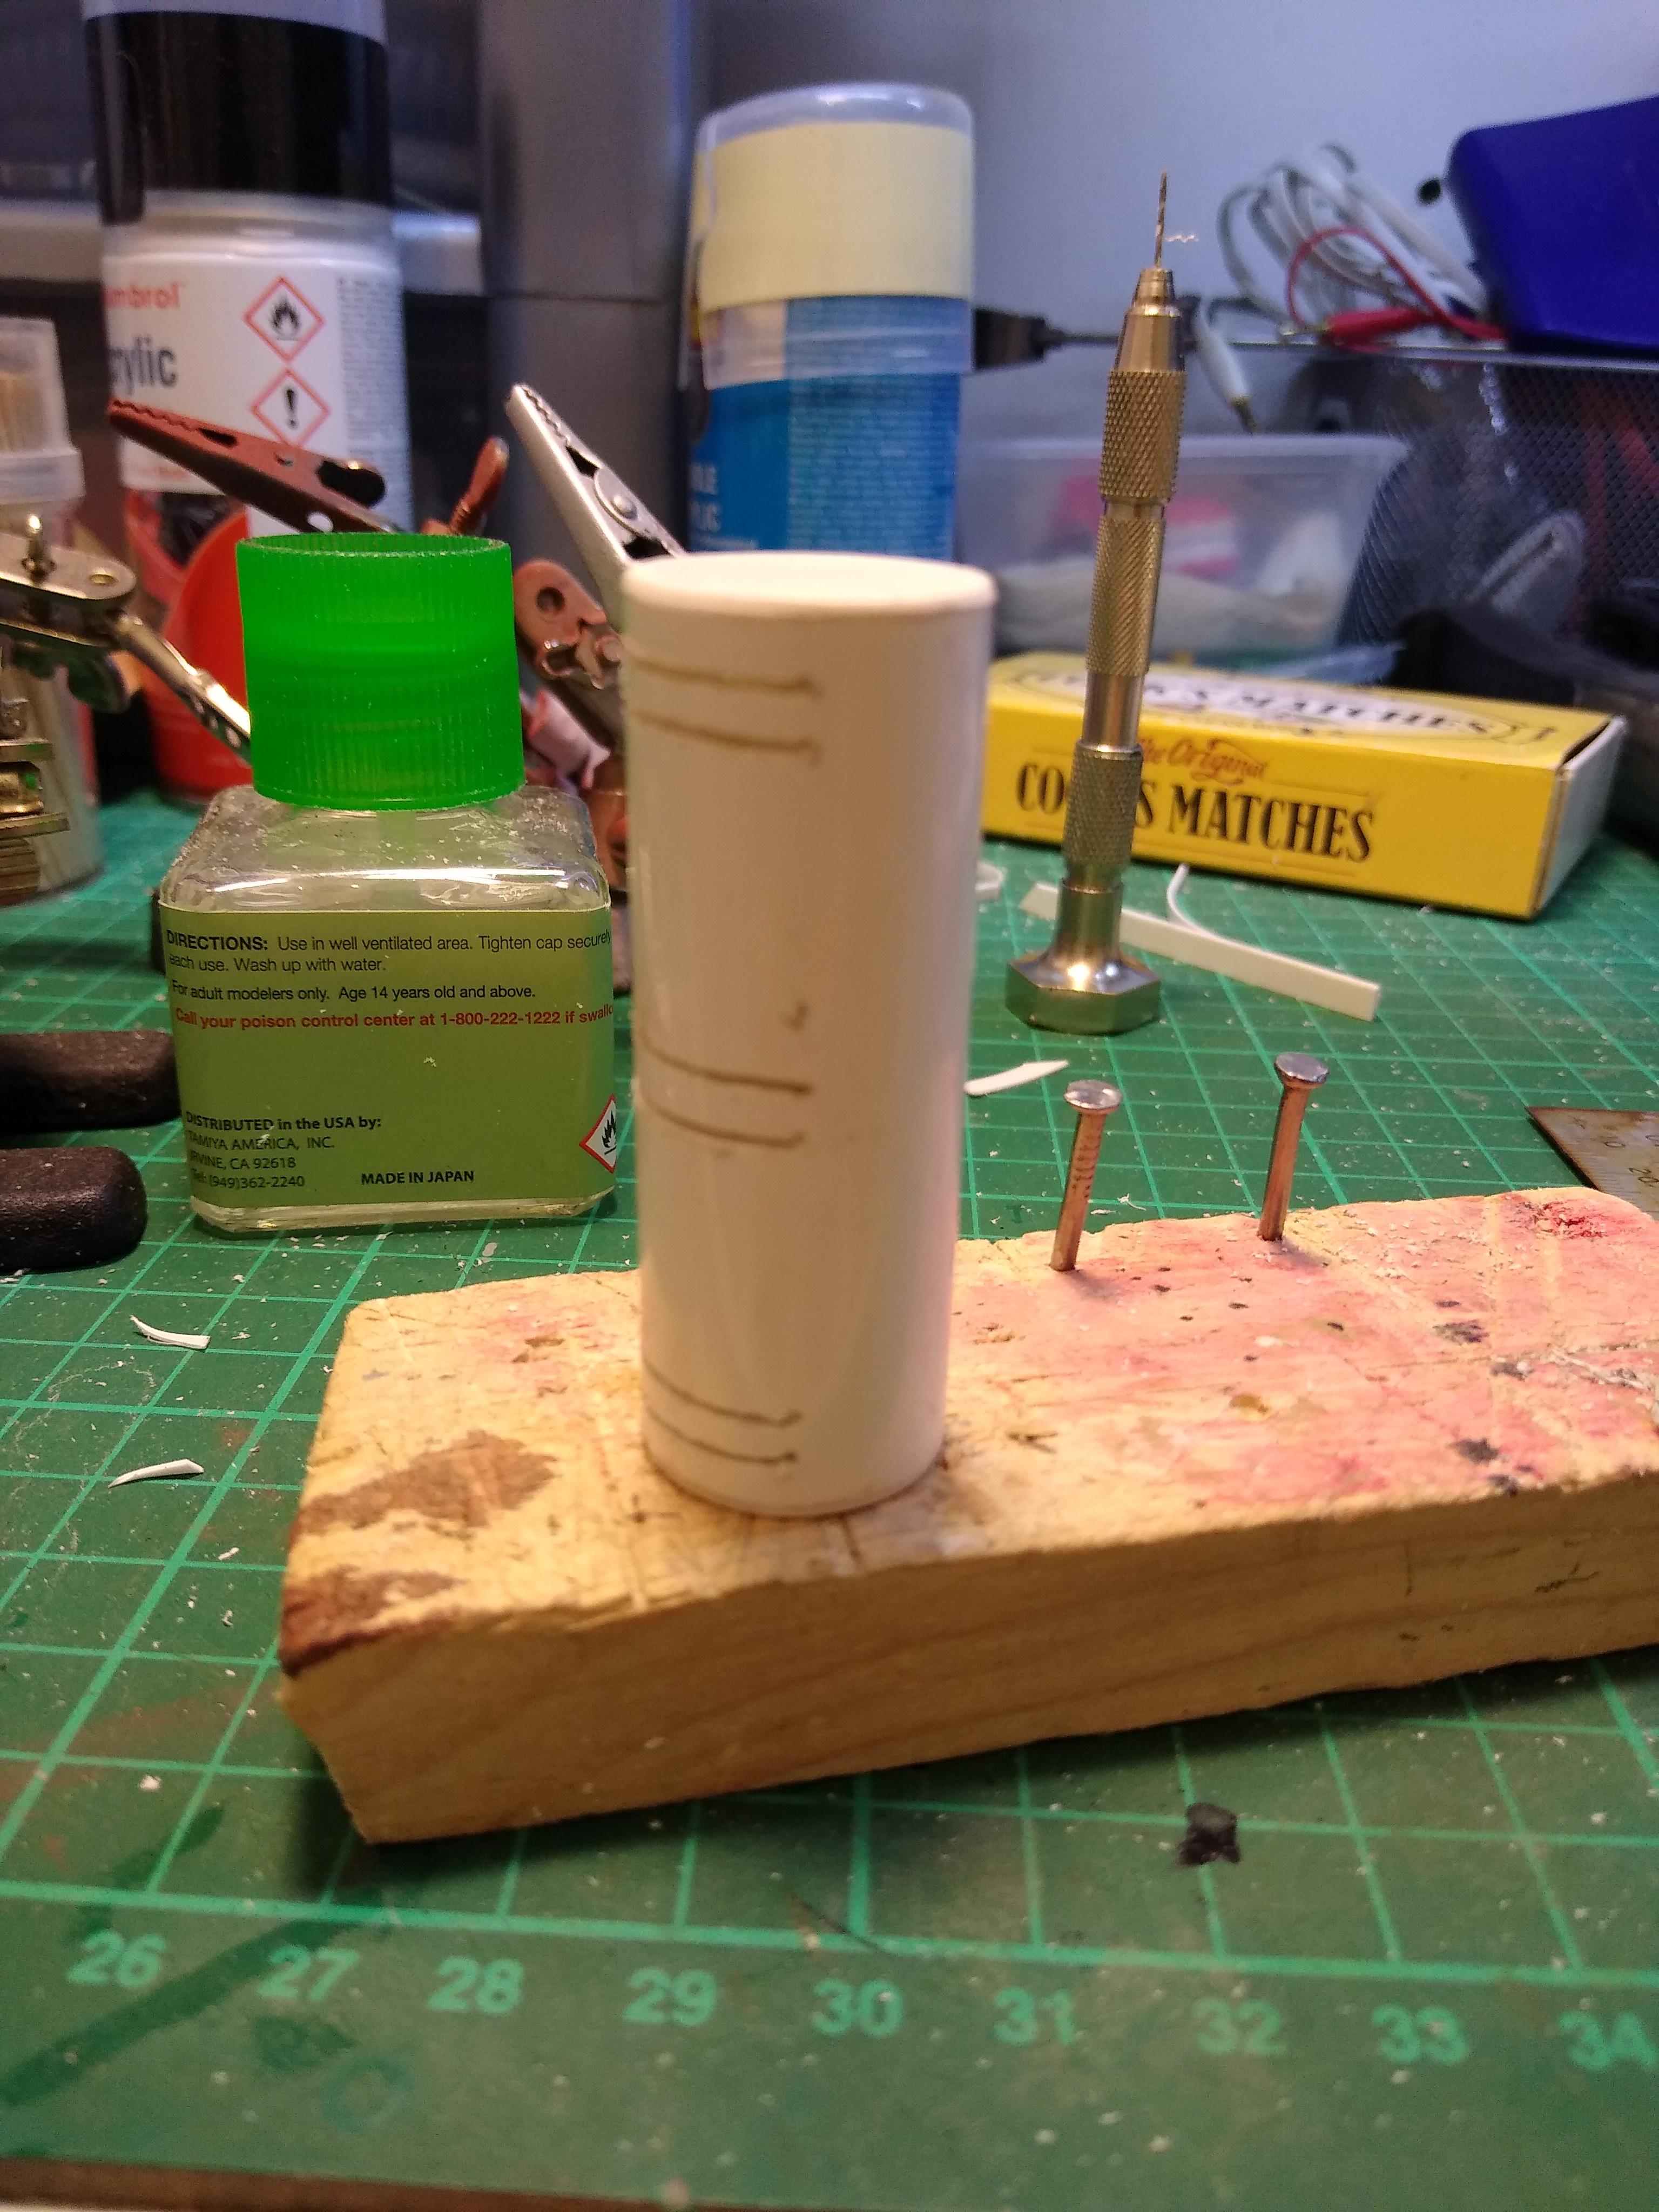
2× Chevy Bison
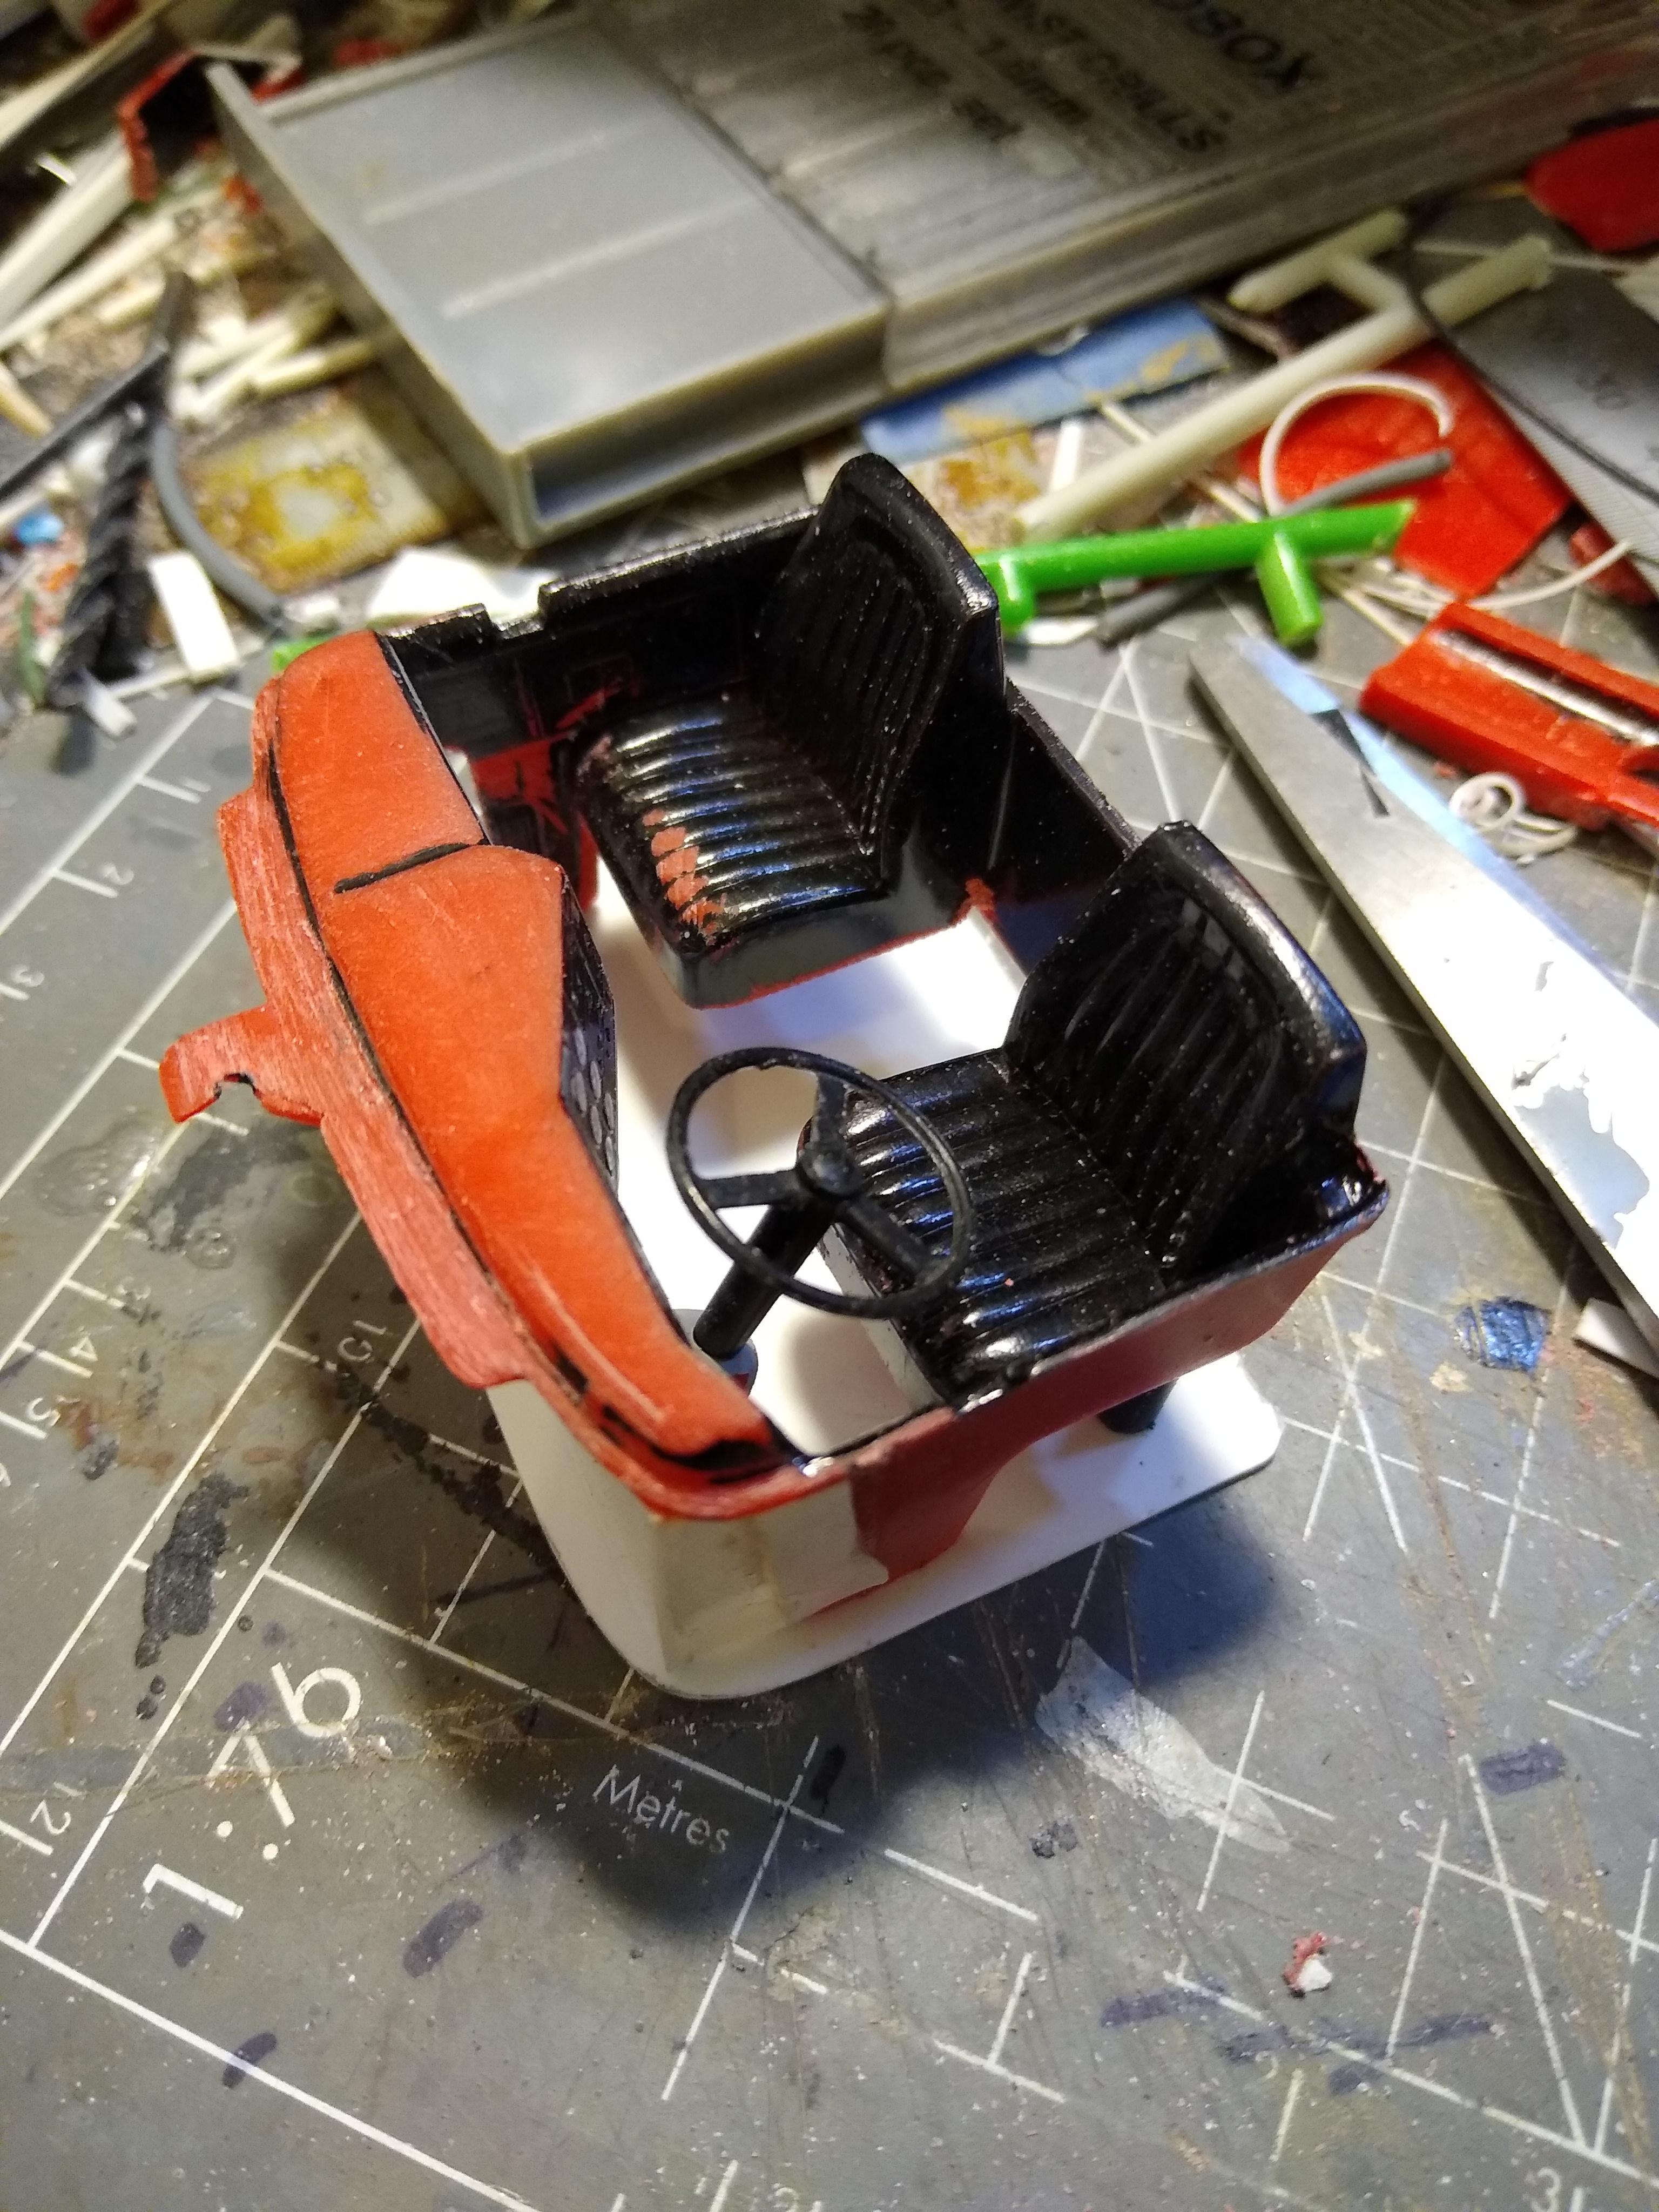
Rockford replied to Rockford's topic in WIP: Model Trucks: Big Rigs and Heavy Equipment
One of the biggest failings of these kits is the wheels and tyres. The aftermarket is out for me due to cost and the AMT tyres are just too small and the wheels no better. Whatever I do it's a compromise. One thing I decided that I could do is alter the appearance of the duals. Usually when you look down on them you see the skinny, toylike boss at the centre when really you should be seeing a wheel dish. I cut 6mm lengths of 20mm conduit and glued them to each outer wheel then quickly coloured them black. Not perfect but better. The interiors are dire too but you really can't see them in the likes of a Pete 352 so I haven't really bothered so far. These Bisons have big windows so I thought I'd do a little enhancing on the tub. I cut a few mm off the base so that I can add a proper, flat cab floor. But then I started thinking what else I could do. I hate the way the dash goes all the way to the floor and that stupid boss that the shift lever sits on. So I cut the "firewall" across at the bottom edge of the dash leaving the mount for the steering wheel. Then I cut the seat bases off too so the seats float on the door panels. Cut the back out too to make a walkway through to the sleeper. Then added a new firewall under the dash so it looks like the dash is floating too. Looks a lot better, and will look a lot more realistic when I add a full, flat floor. I'm pleased with the result. I didn't get that far with the daycab, just cut the base off and made a floor panel so I'll have to revisit that. Used various diameters of plastic tube to make stacks for the daycab. Made brackets out of copper wire and drilled the cab. The stacks are not fixed into the mufflers yet so I can adjust them.
-
2× Chevy Bison
Rockford replied to Rockford's topic in WIP: Model Trucks: Big Rigs and Heavy Equipment
The kit fuel tanks are pretty poor and were all the wrong sizes for these trucks anyway. The passenger side front needed to be shorter and on the double sleeper I wanted them to run the entire length of the sleeper. I took some 20mm electrical conduit and cut my sizes, then cut six slots in the rear. I then cut plastic card profiles which slotted into the cuts and the exposed part resembles a tank bracket. This way I get some adjustability and strength in the mounting. I also fabbed some tank straps that just slide over the tank and are held in place by the brackets. I also added cab steps to the front tanks. Spent a while making a visor out of aluminium sheet. About 4 had to go in the bin because it's just such a complex shape with two curves in opposite axes. I ended up roughing it up and then filing and trimming as I offered it up to the cab. Still needs trimming at the front edge I think, but getting there.
-
I love the Drom idea! It would be great to see one done. Used to be quite popular with the big van lines.
-
Freightliner Cabover Mountaineer
Rockford replied to lwwoodss's topic in WIP: Model Trucks: Big Rigs and Heavy Equipment
That looks really life-like! I've never seen that AWD system before. Does the rear axle act as a transfer box? I'm assuming that the drive goes from the transmission to the rear diff then back out of the front of the diff into the front axle, the two driveshafts running alongside each other? -
BRBO 2022. GMC Astro Cabover
Rockford replied to doorsovdoon's topic in WIP: Model Trucks: Big Rigs and Heavy Equipment
That interior looks bob-on! I love the white steering wheel. If I wrote the rules all trucks would have white steering wheels!! -
2× Chevy Bison
Rockford replied to Rockford's topic in WIP: Model Trucks: Big Rigs and Heavy Equipment
Moved the front fenders forward about 16th of an inch, which centers the wheel in the well much better. Fabbed some inner fenders as on the real thing. Surprising how these little things make a difference. Had to try and do something with the awful Luberfiner or just delete it altogether. The mounting is just pathetic and the unit is poorly executed overall. I added some securing straps and shaped backing pieces that imitate the four mounting points to the cab. Looks ok. Added the two small airtanks in front of the battery box and mudflaps to the front axle.
-
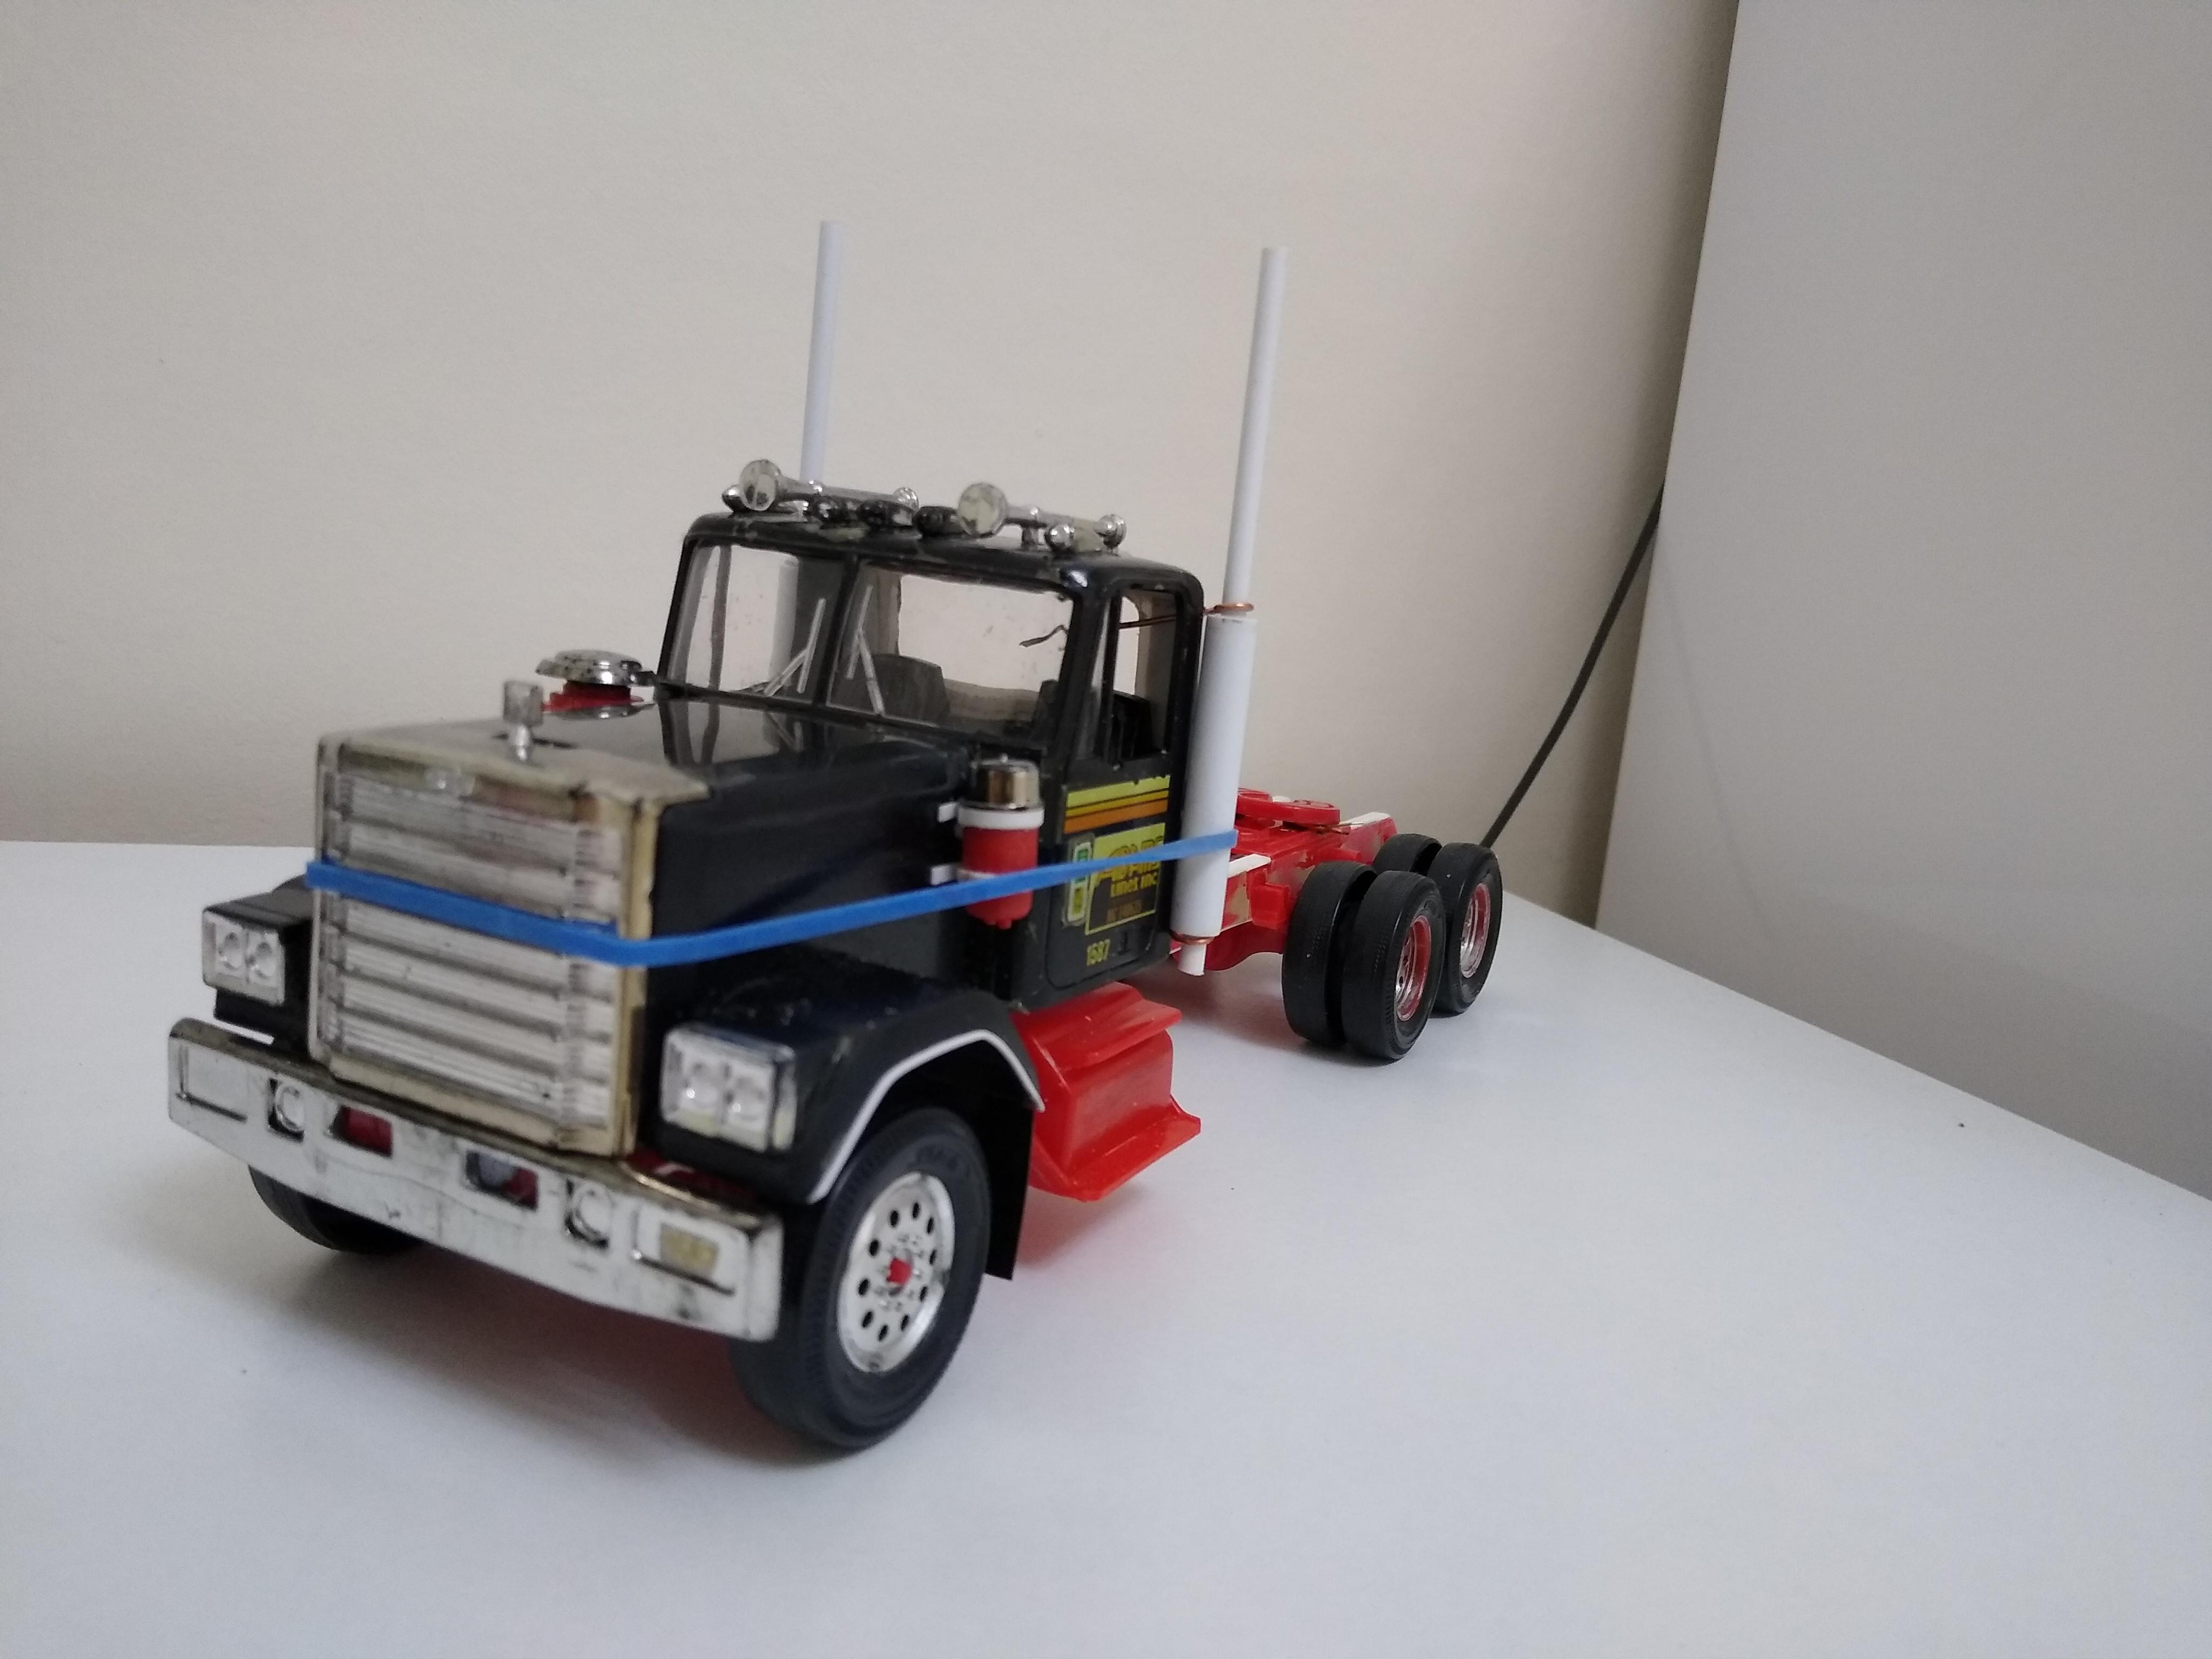
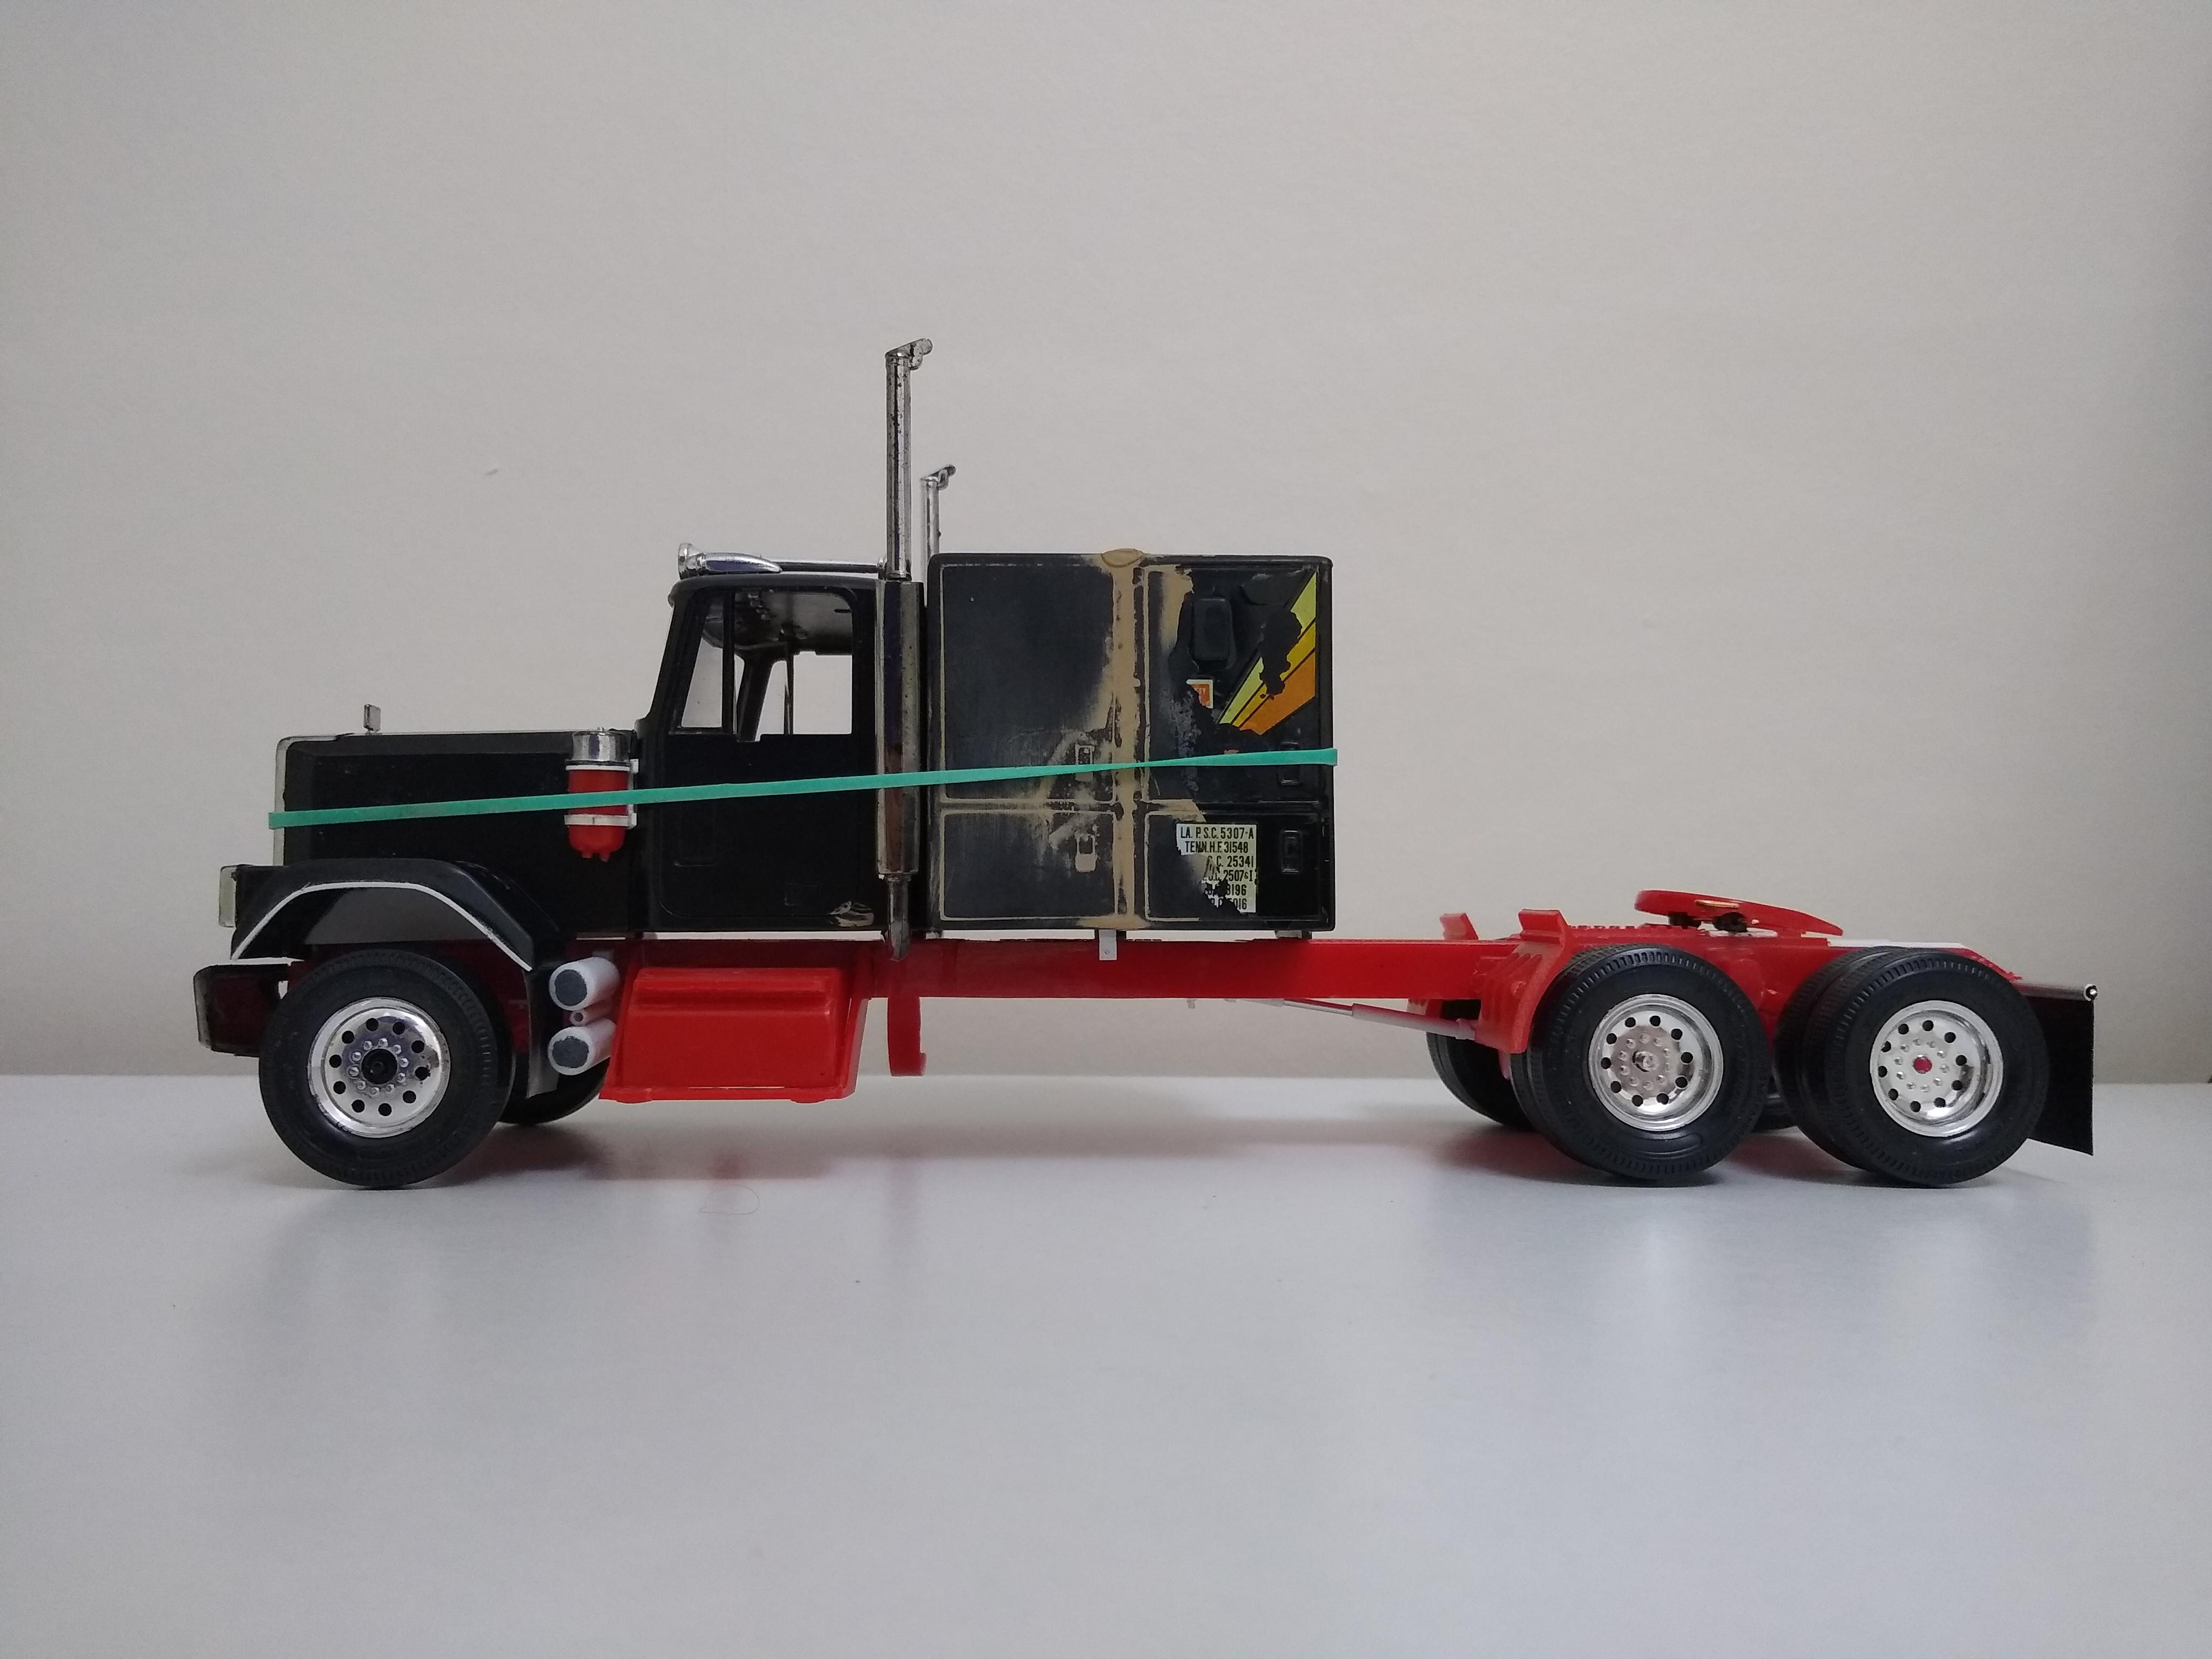
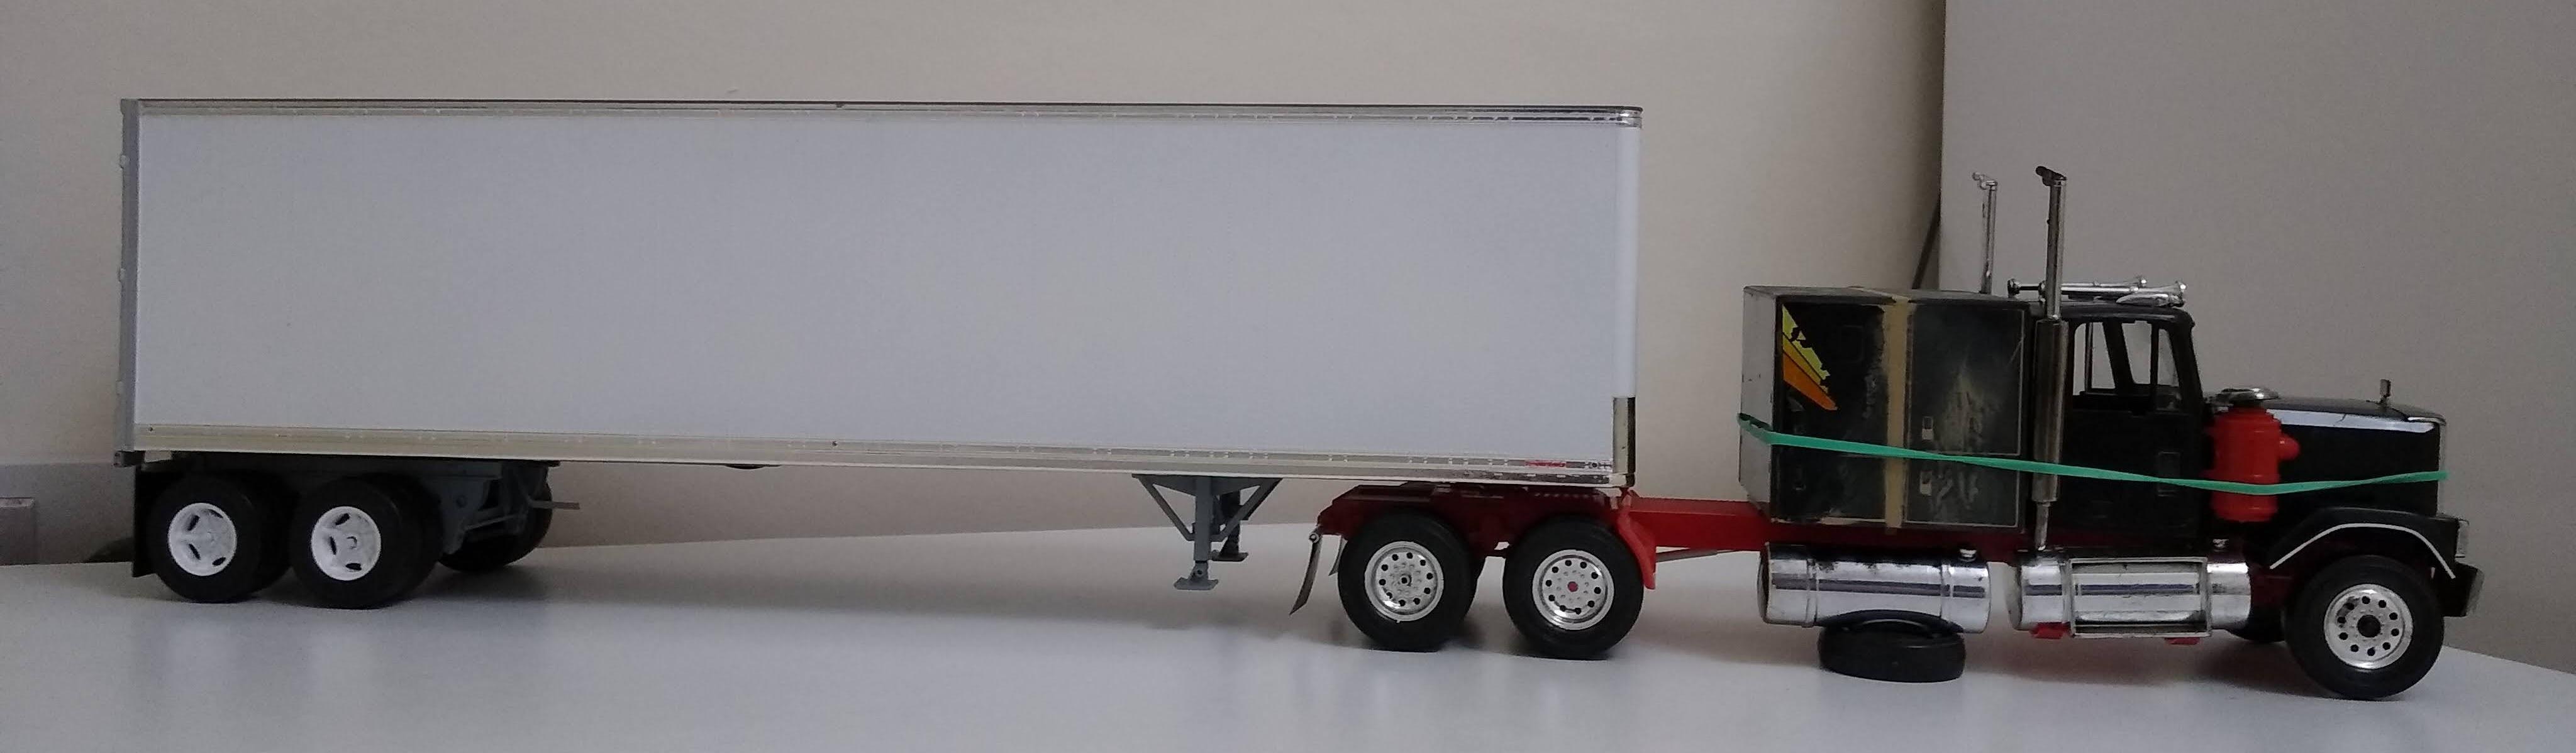
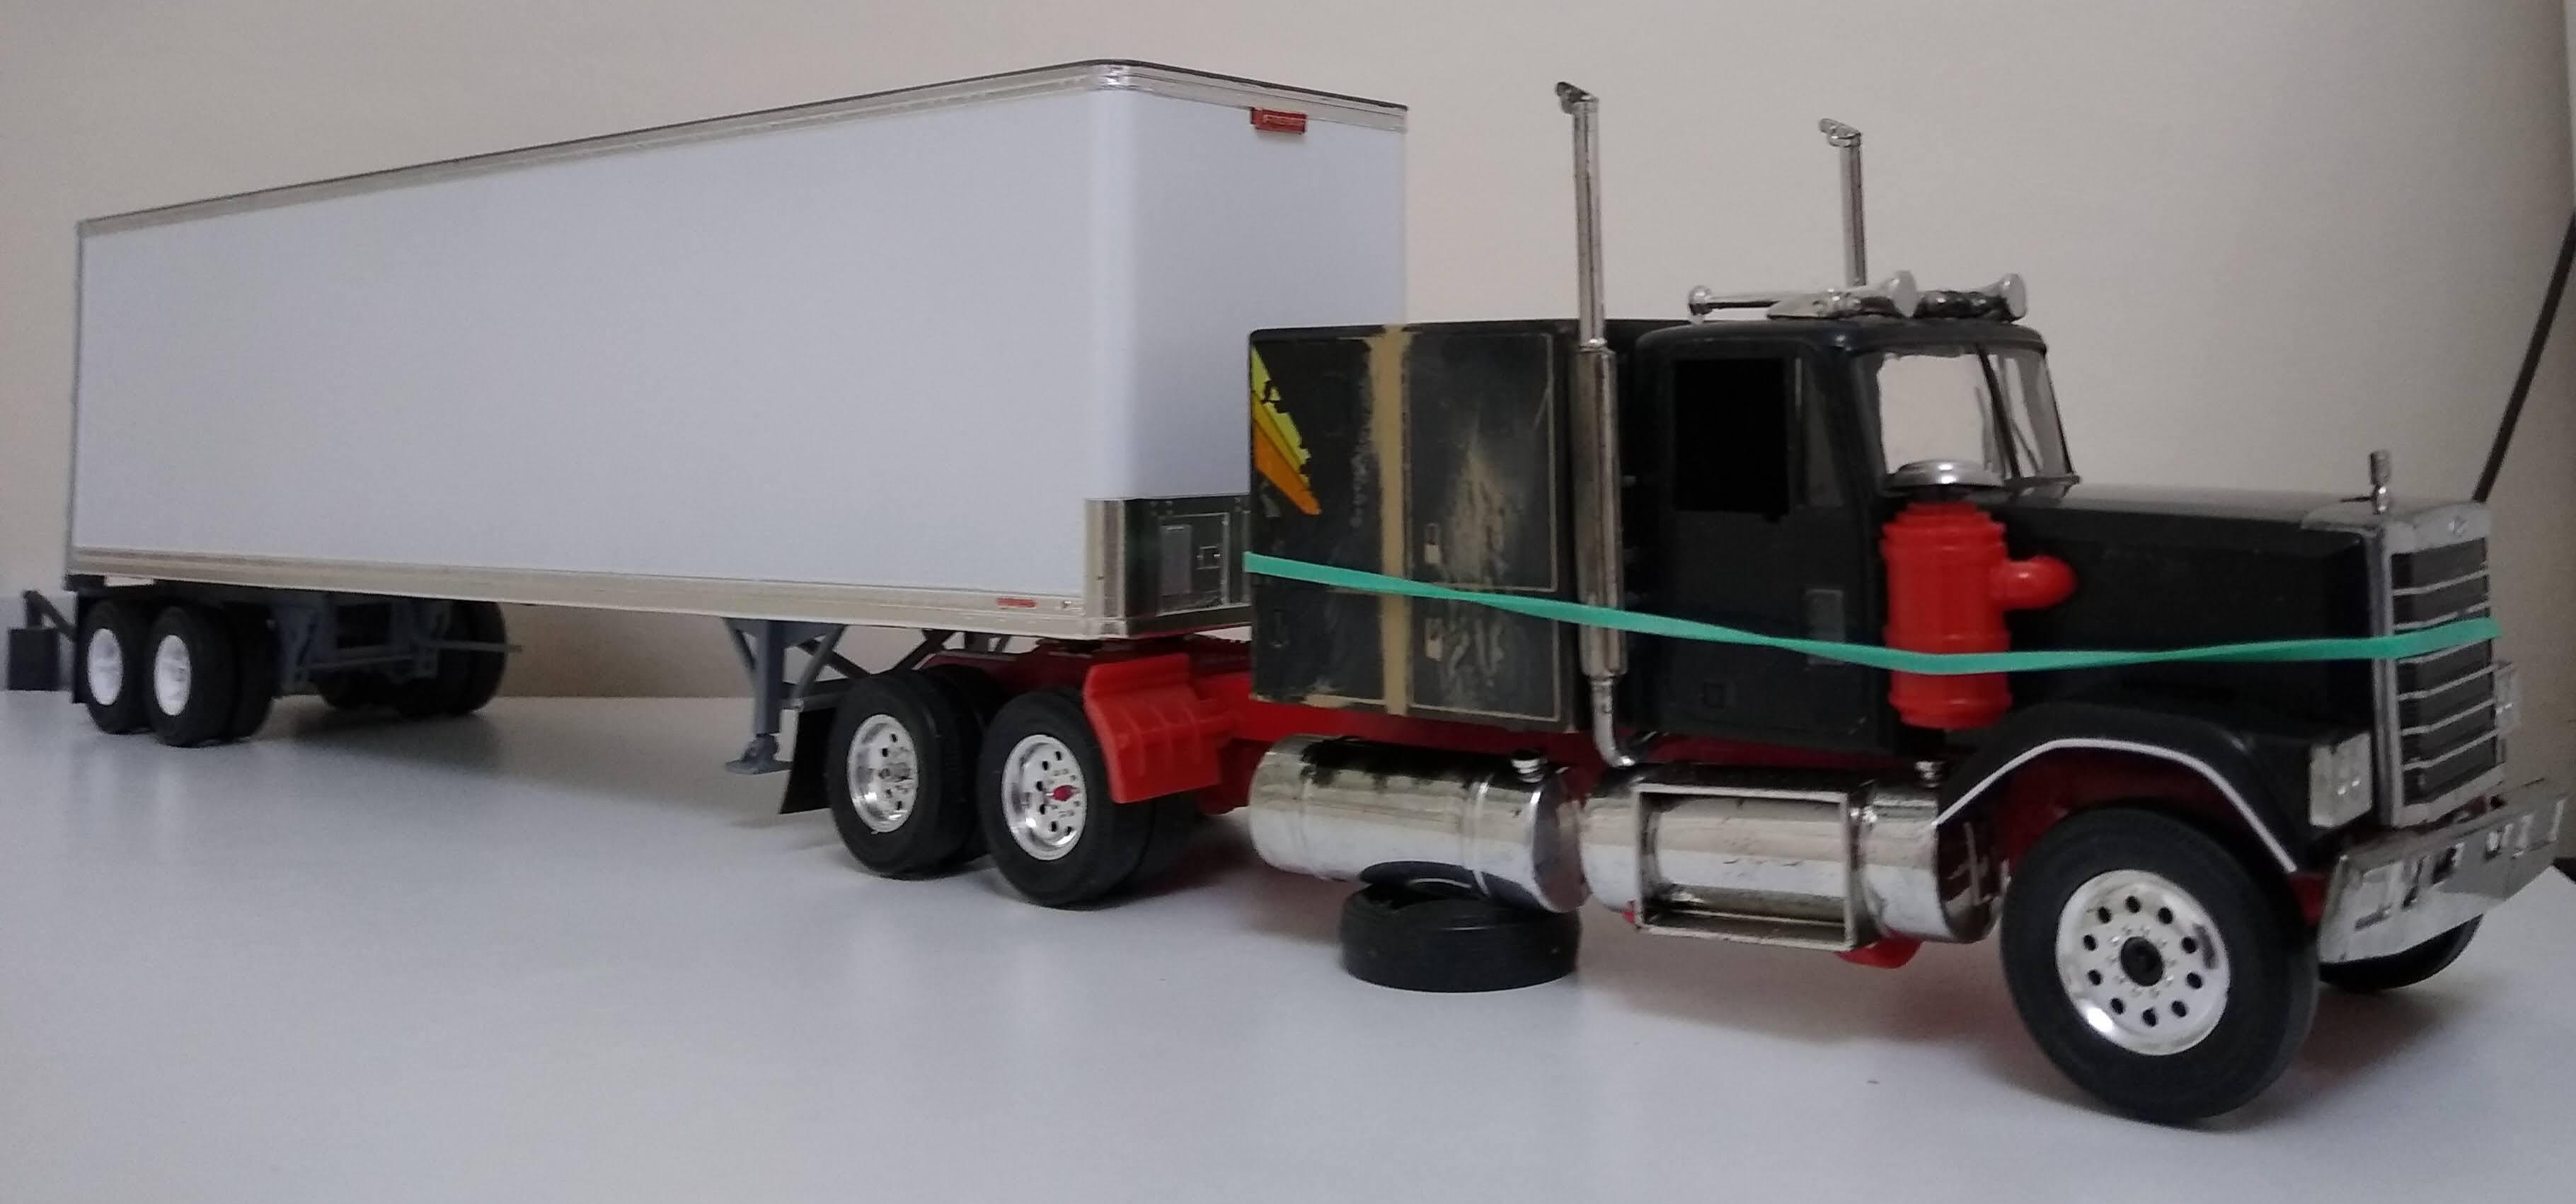
2× Chevy Bison
Rockford replied to Rockford's topic in WIP: Model Trucks: Big Rigs and Heavy Equipment
Russell, good research there mate! I suppose you have to work out when to stop. I was confined to barracks today so I did a bit on the double sleeper. Did my usual mods to the quarter fenders, mudflaps, chassis flanges and fifth wheel. Added the trim strip to the front fender lips, relocated the battery box and made another driveshaft with a centre bearing. Did a quick mock-up with the fuel tanks propped up in place, and I'm pleased with the stance and proportions because I only stretched the chassis by about 15mm. It actually reminds me of Sonny Pruitt's W900 in Movin' on, which is one of my all time favourites.
-
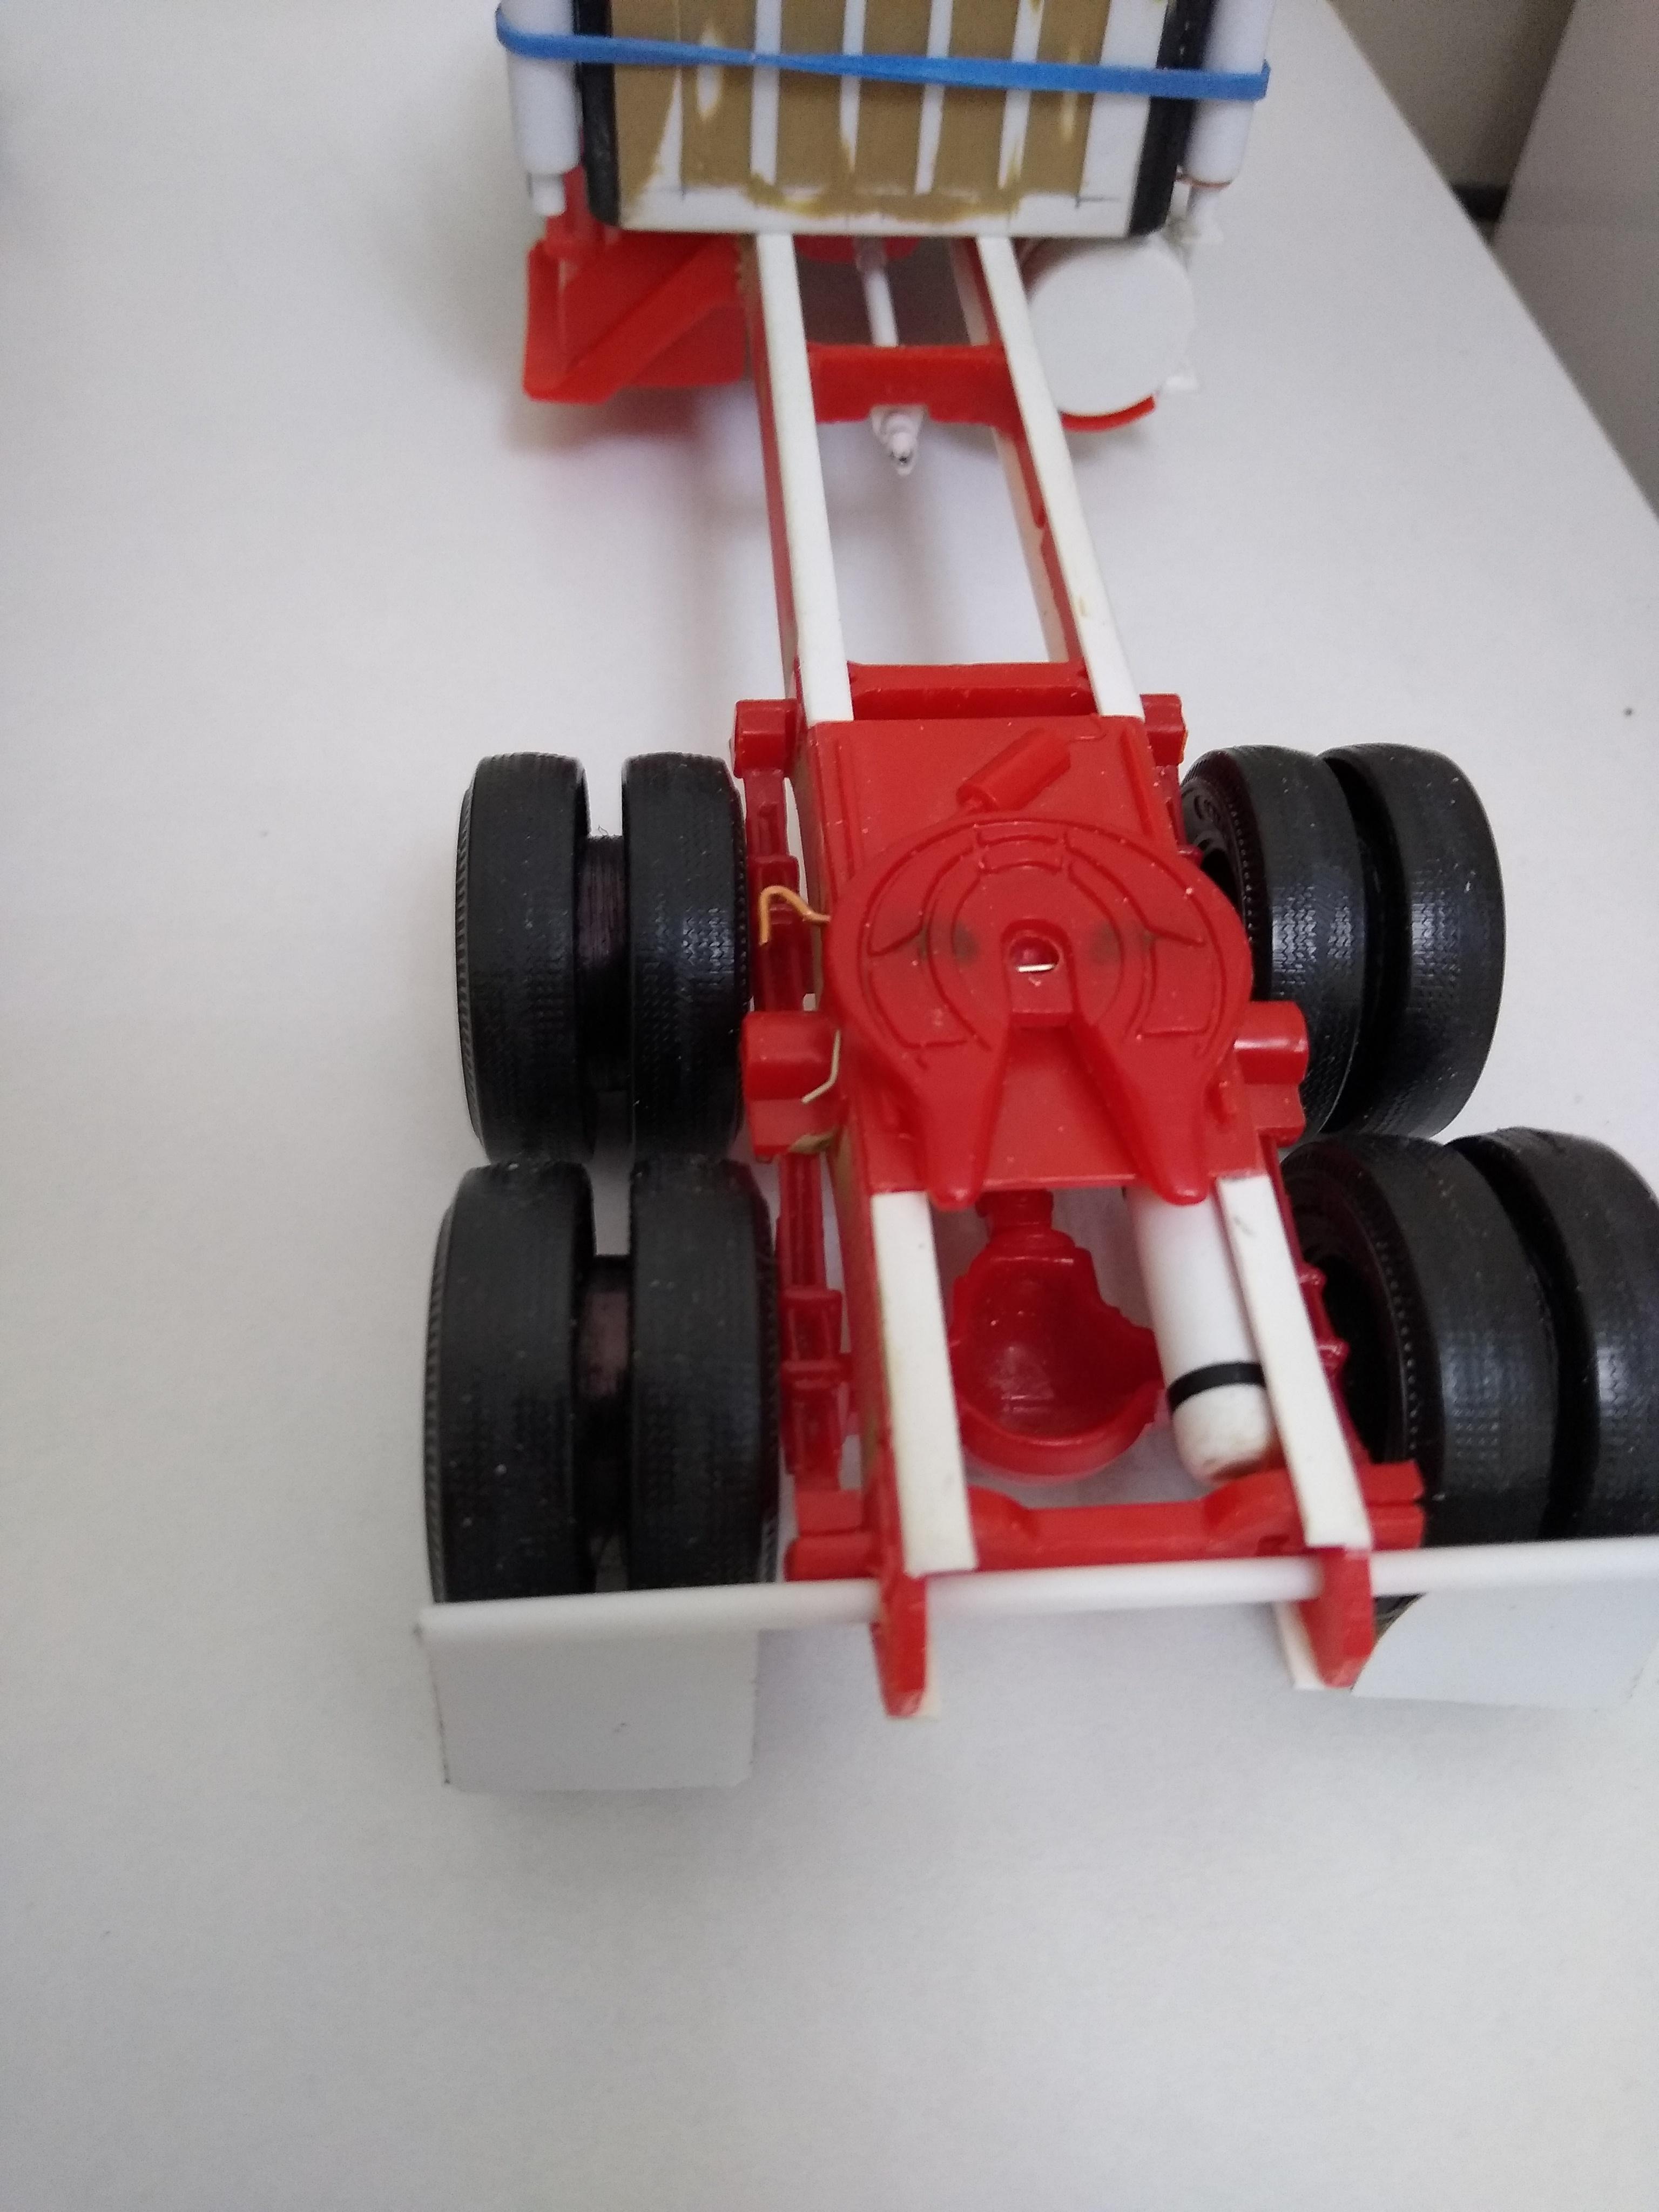
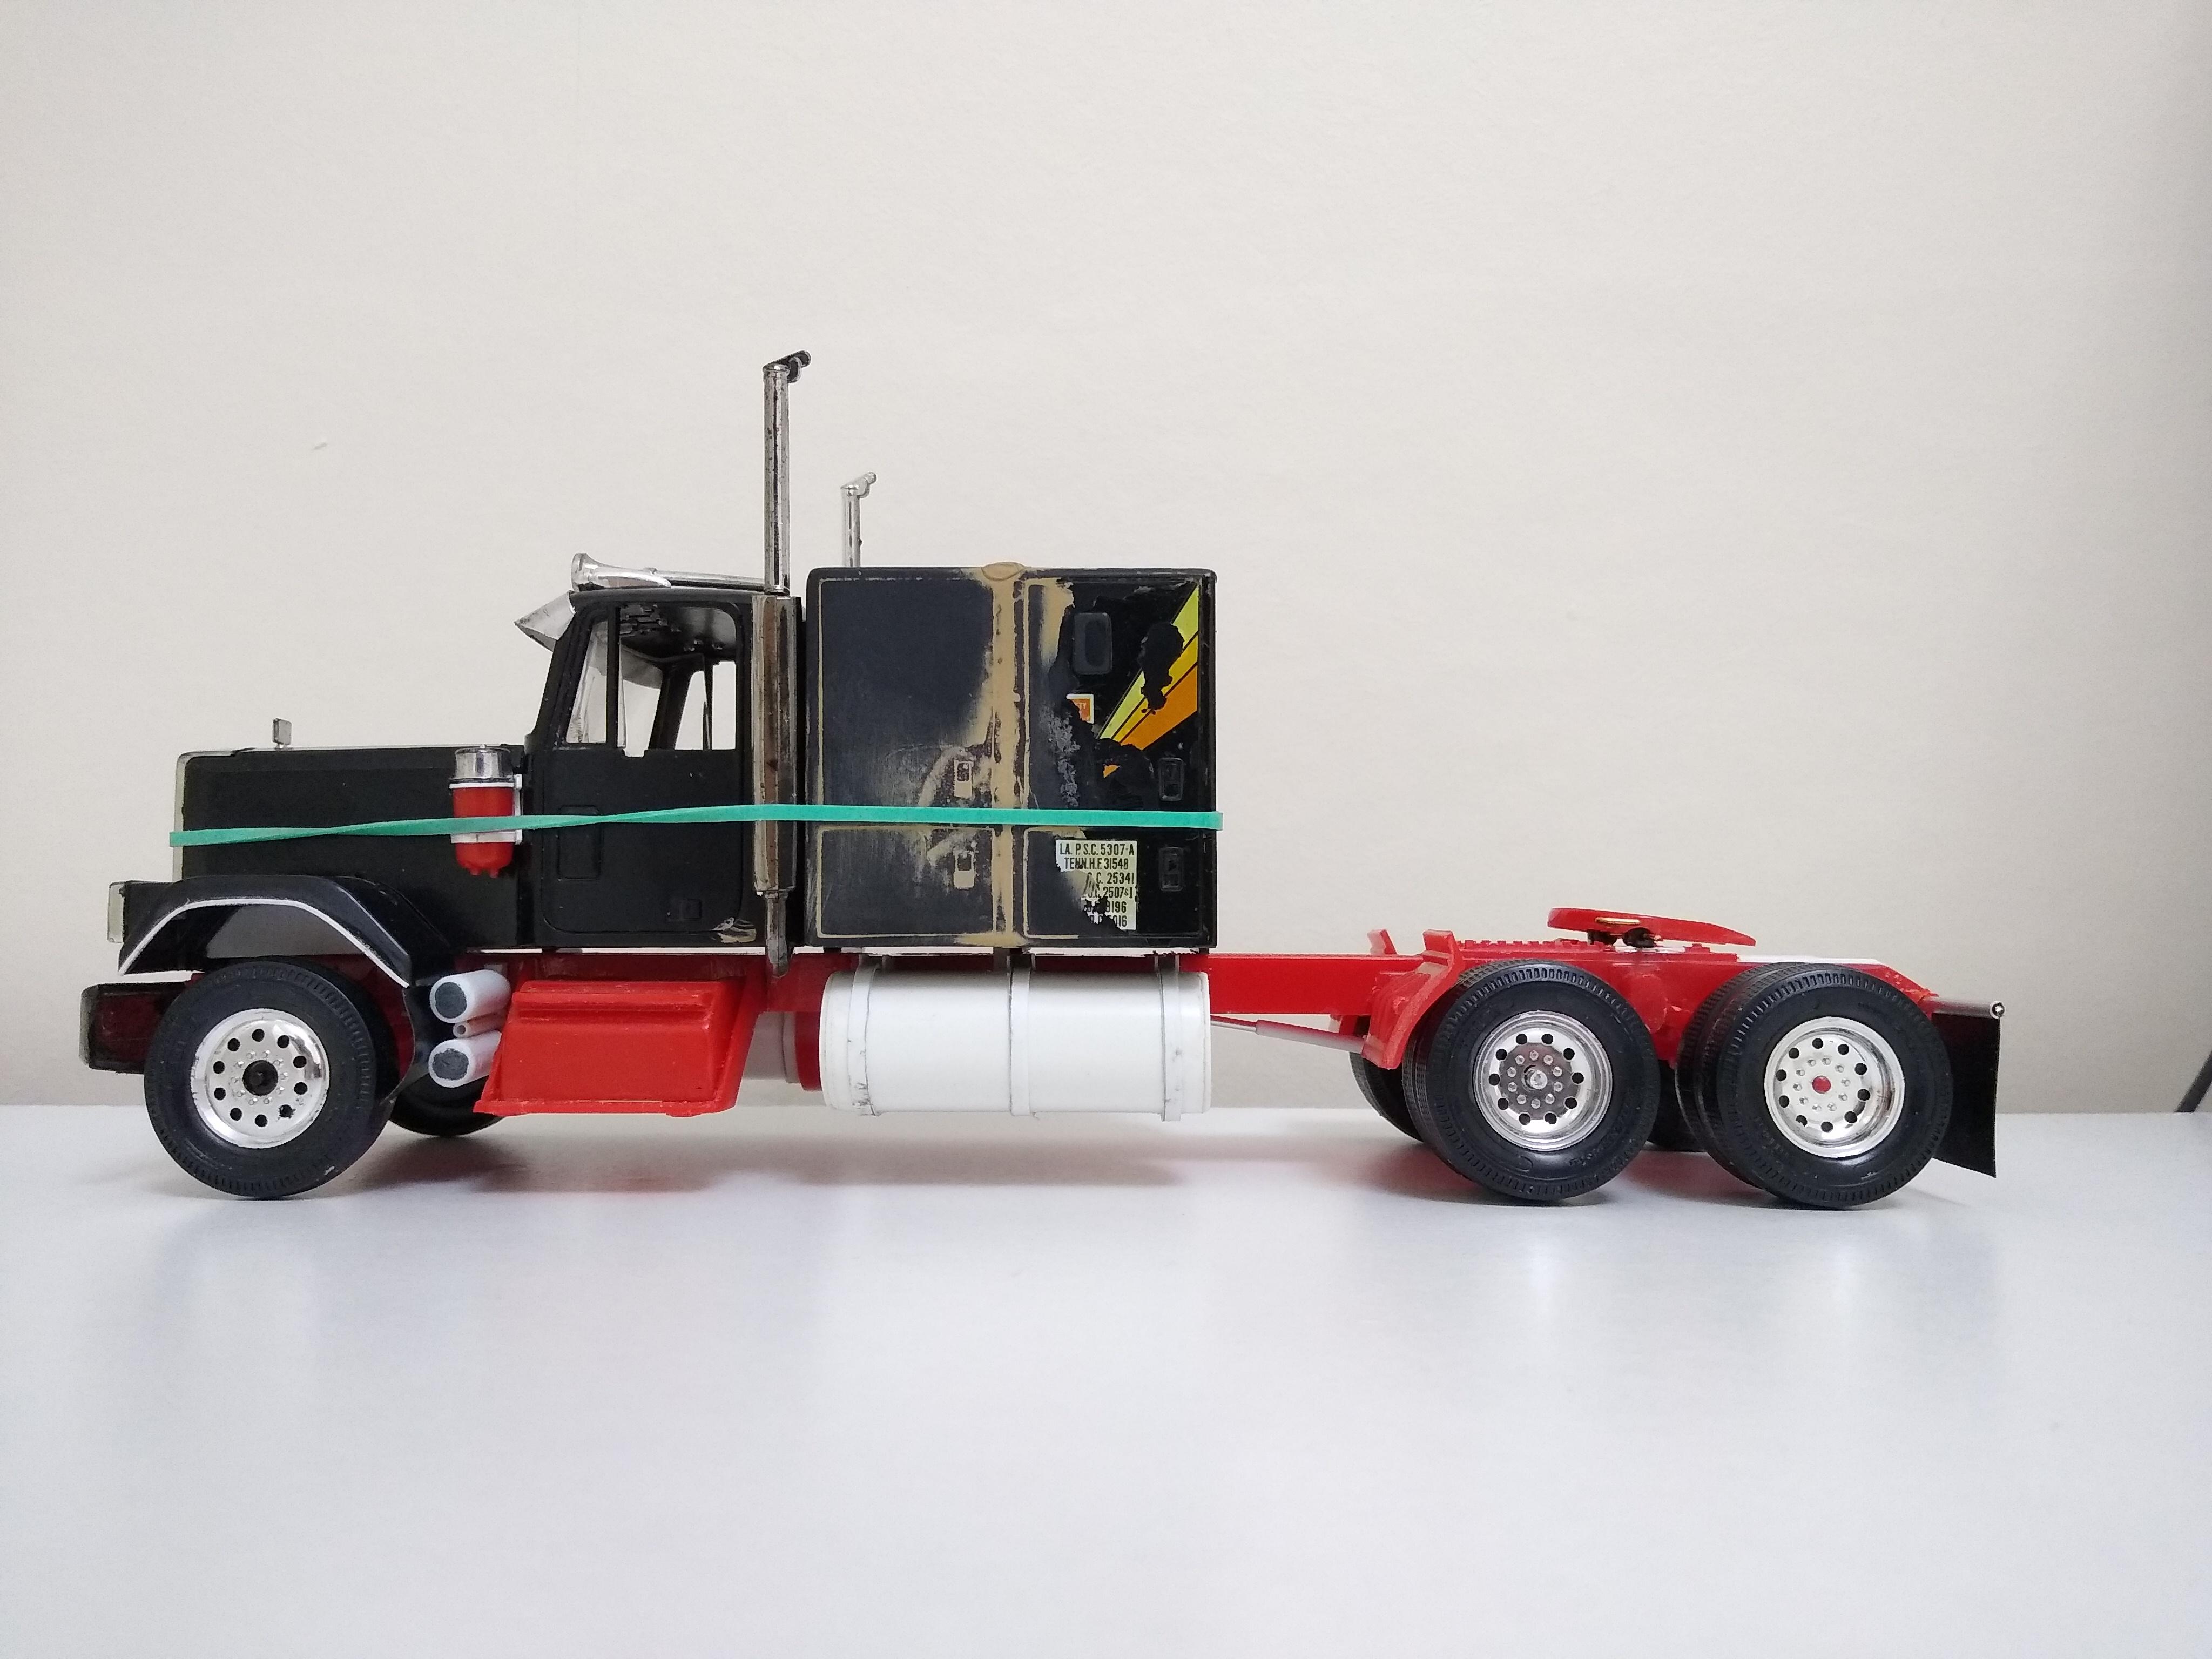
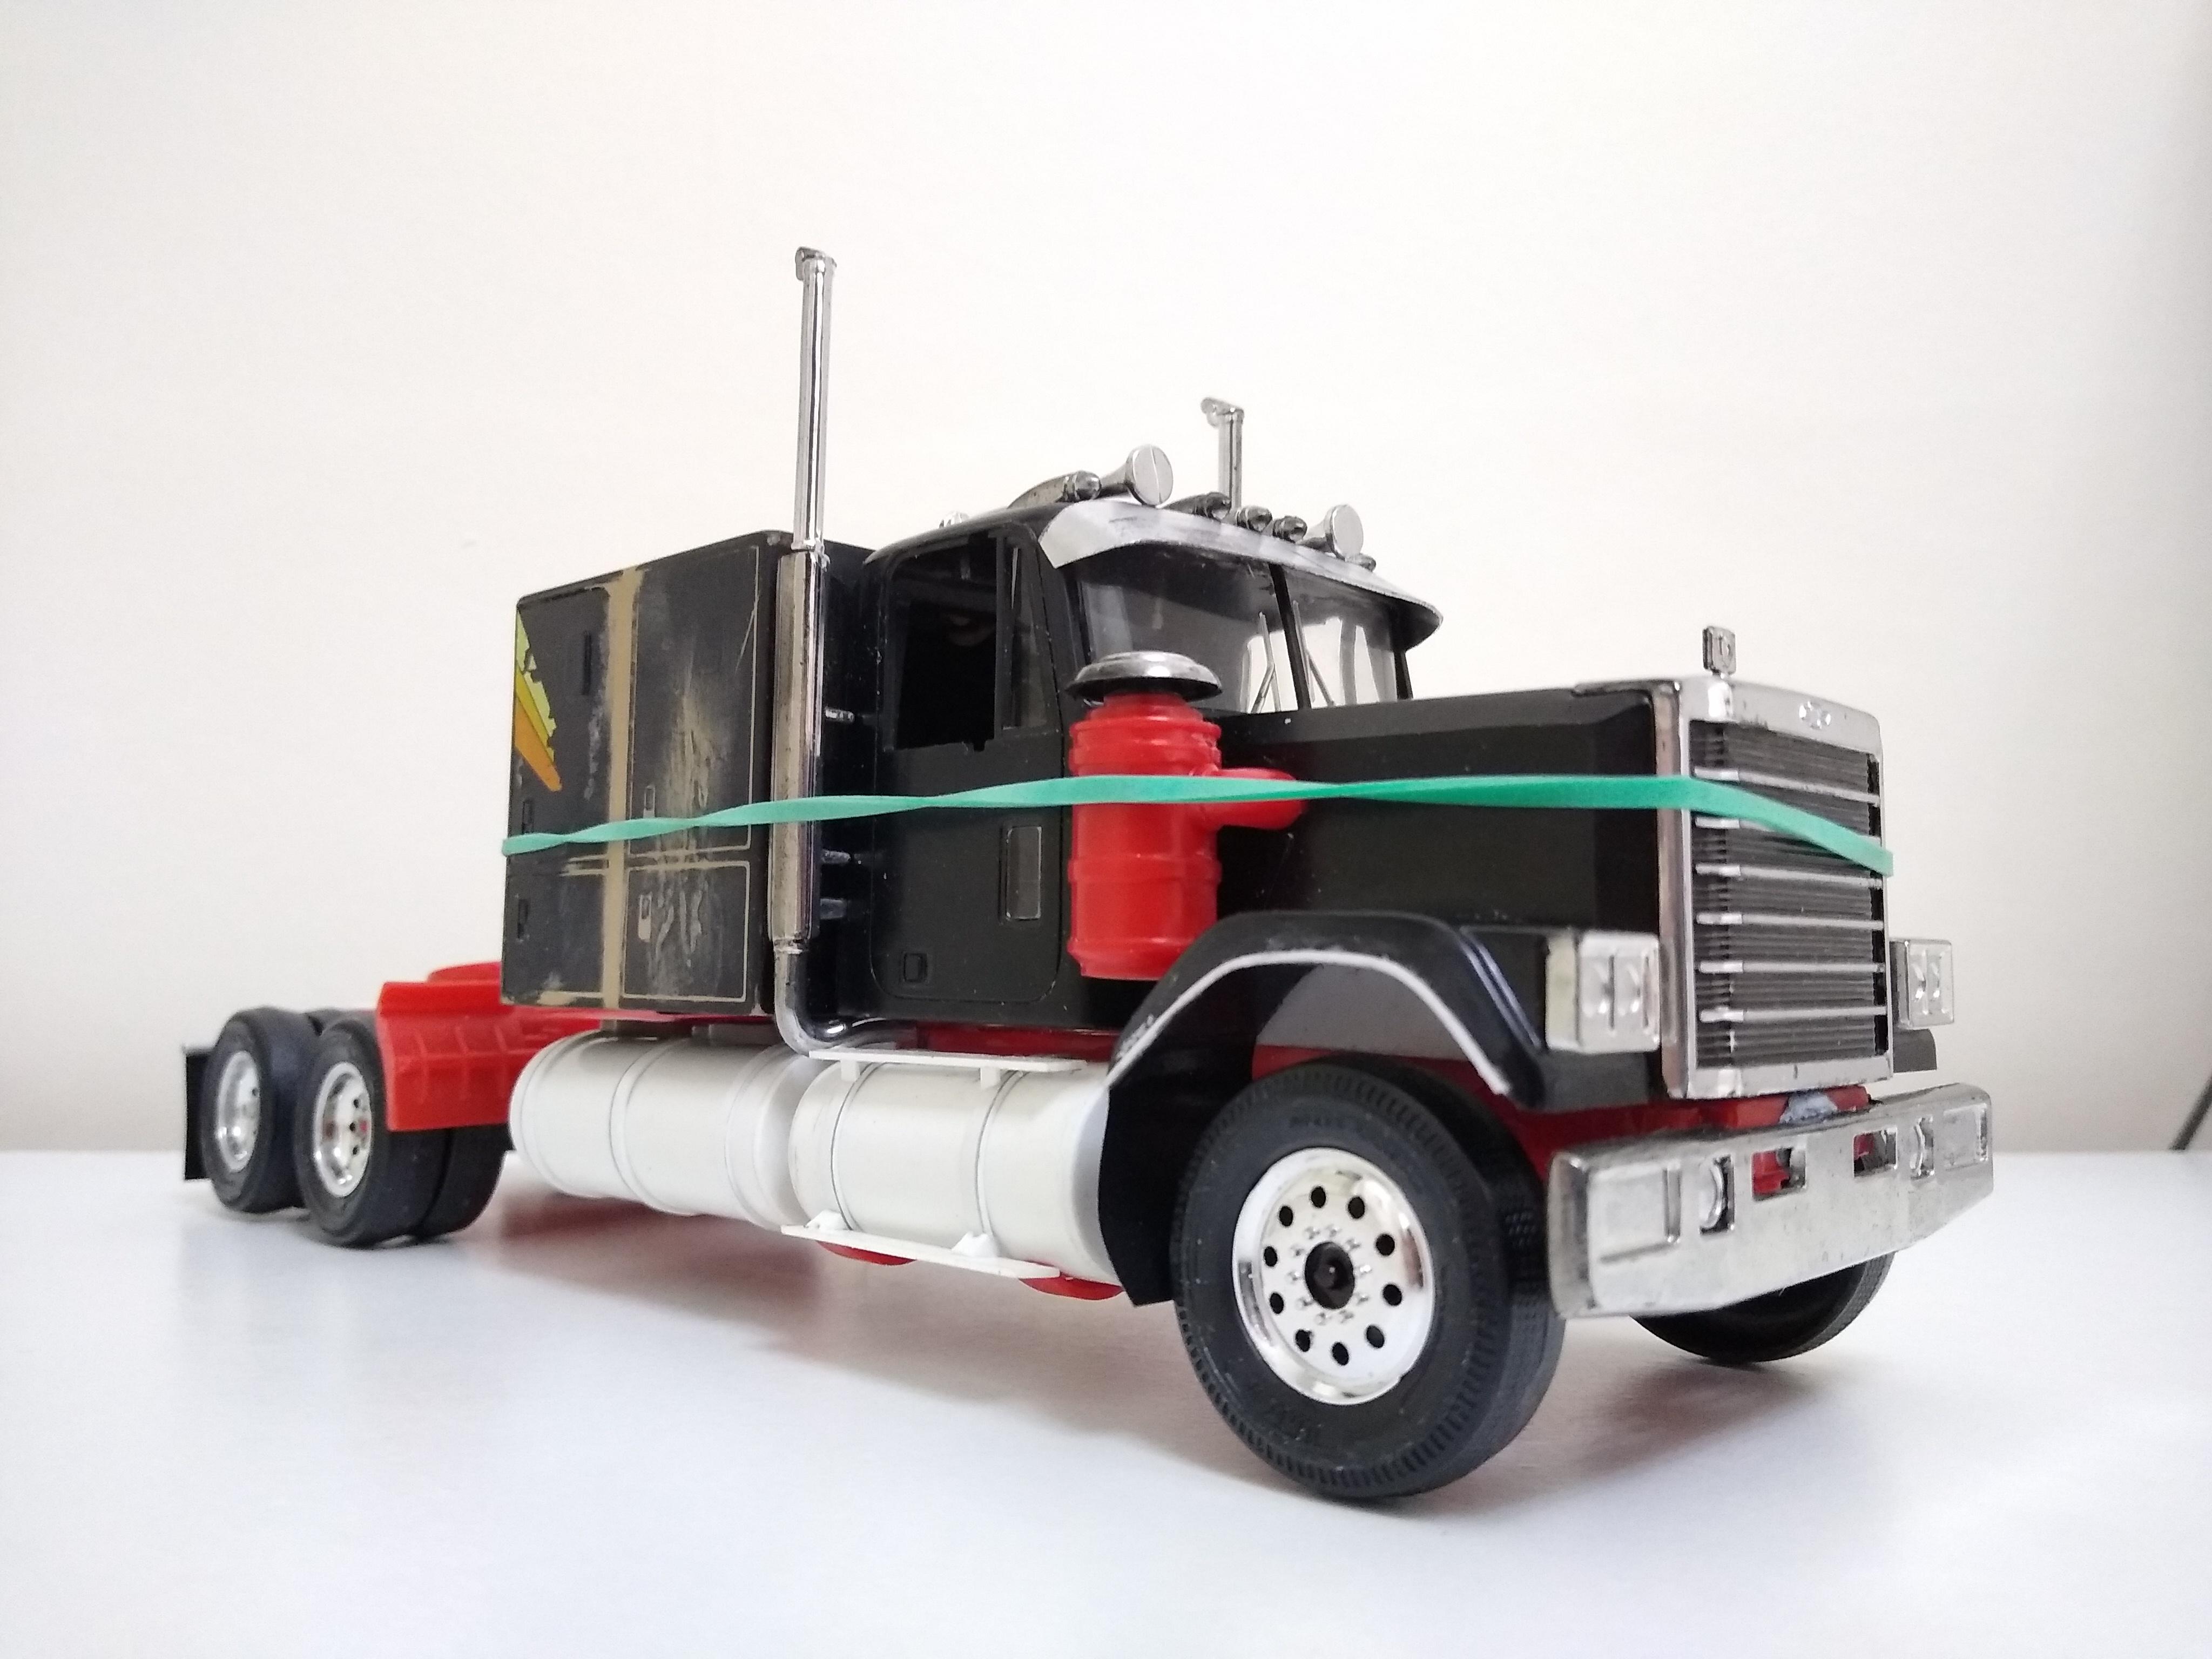
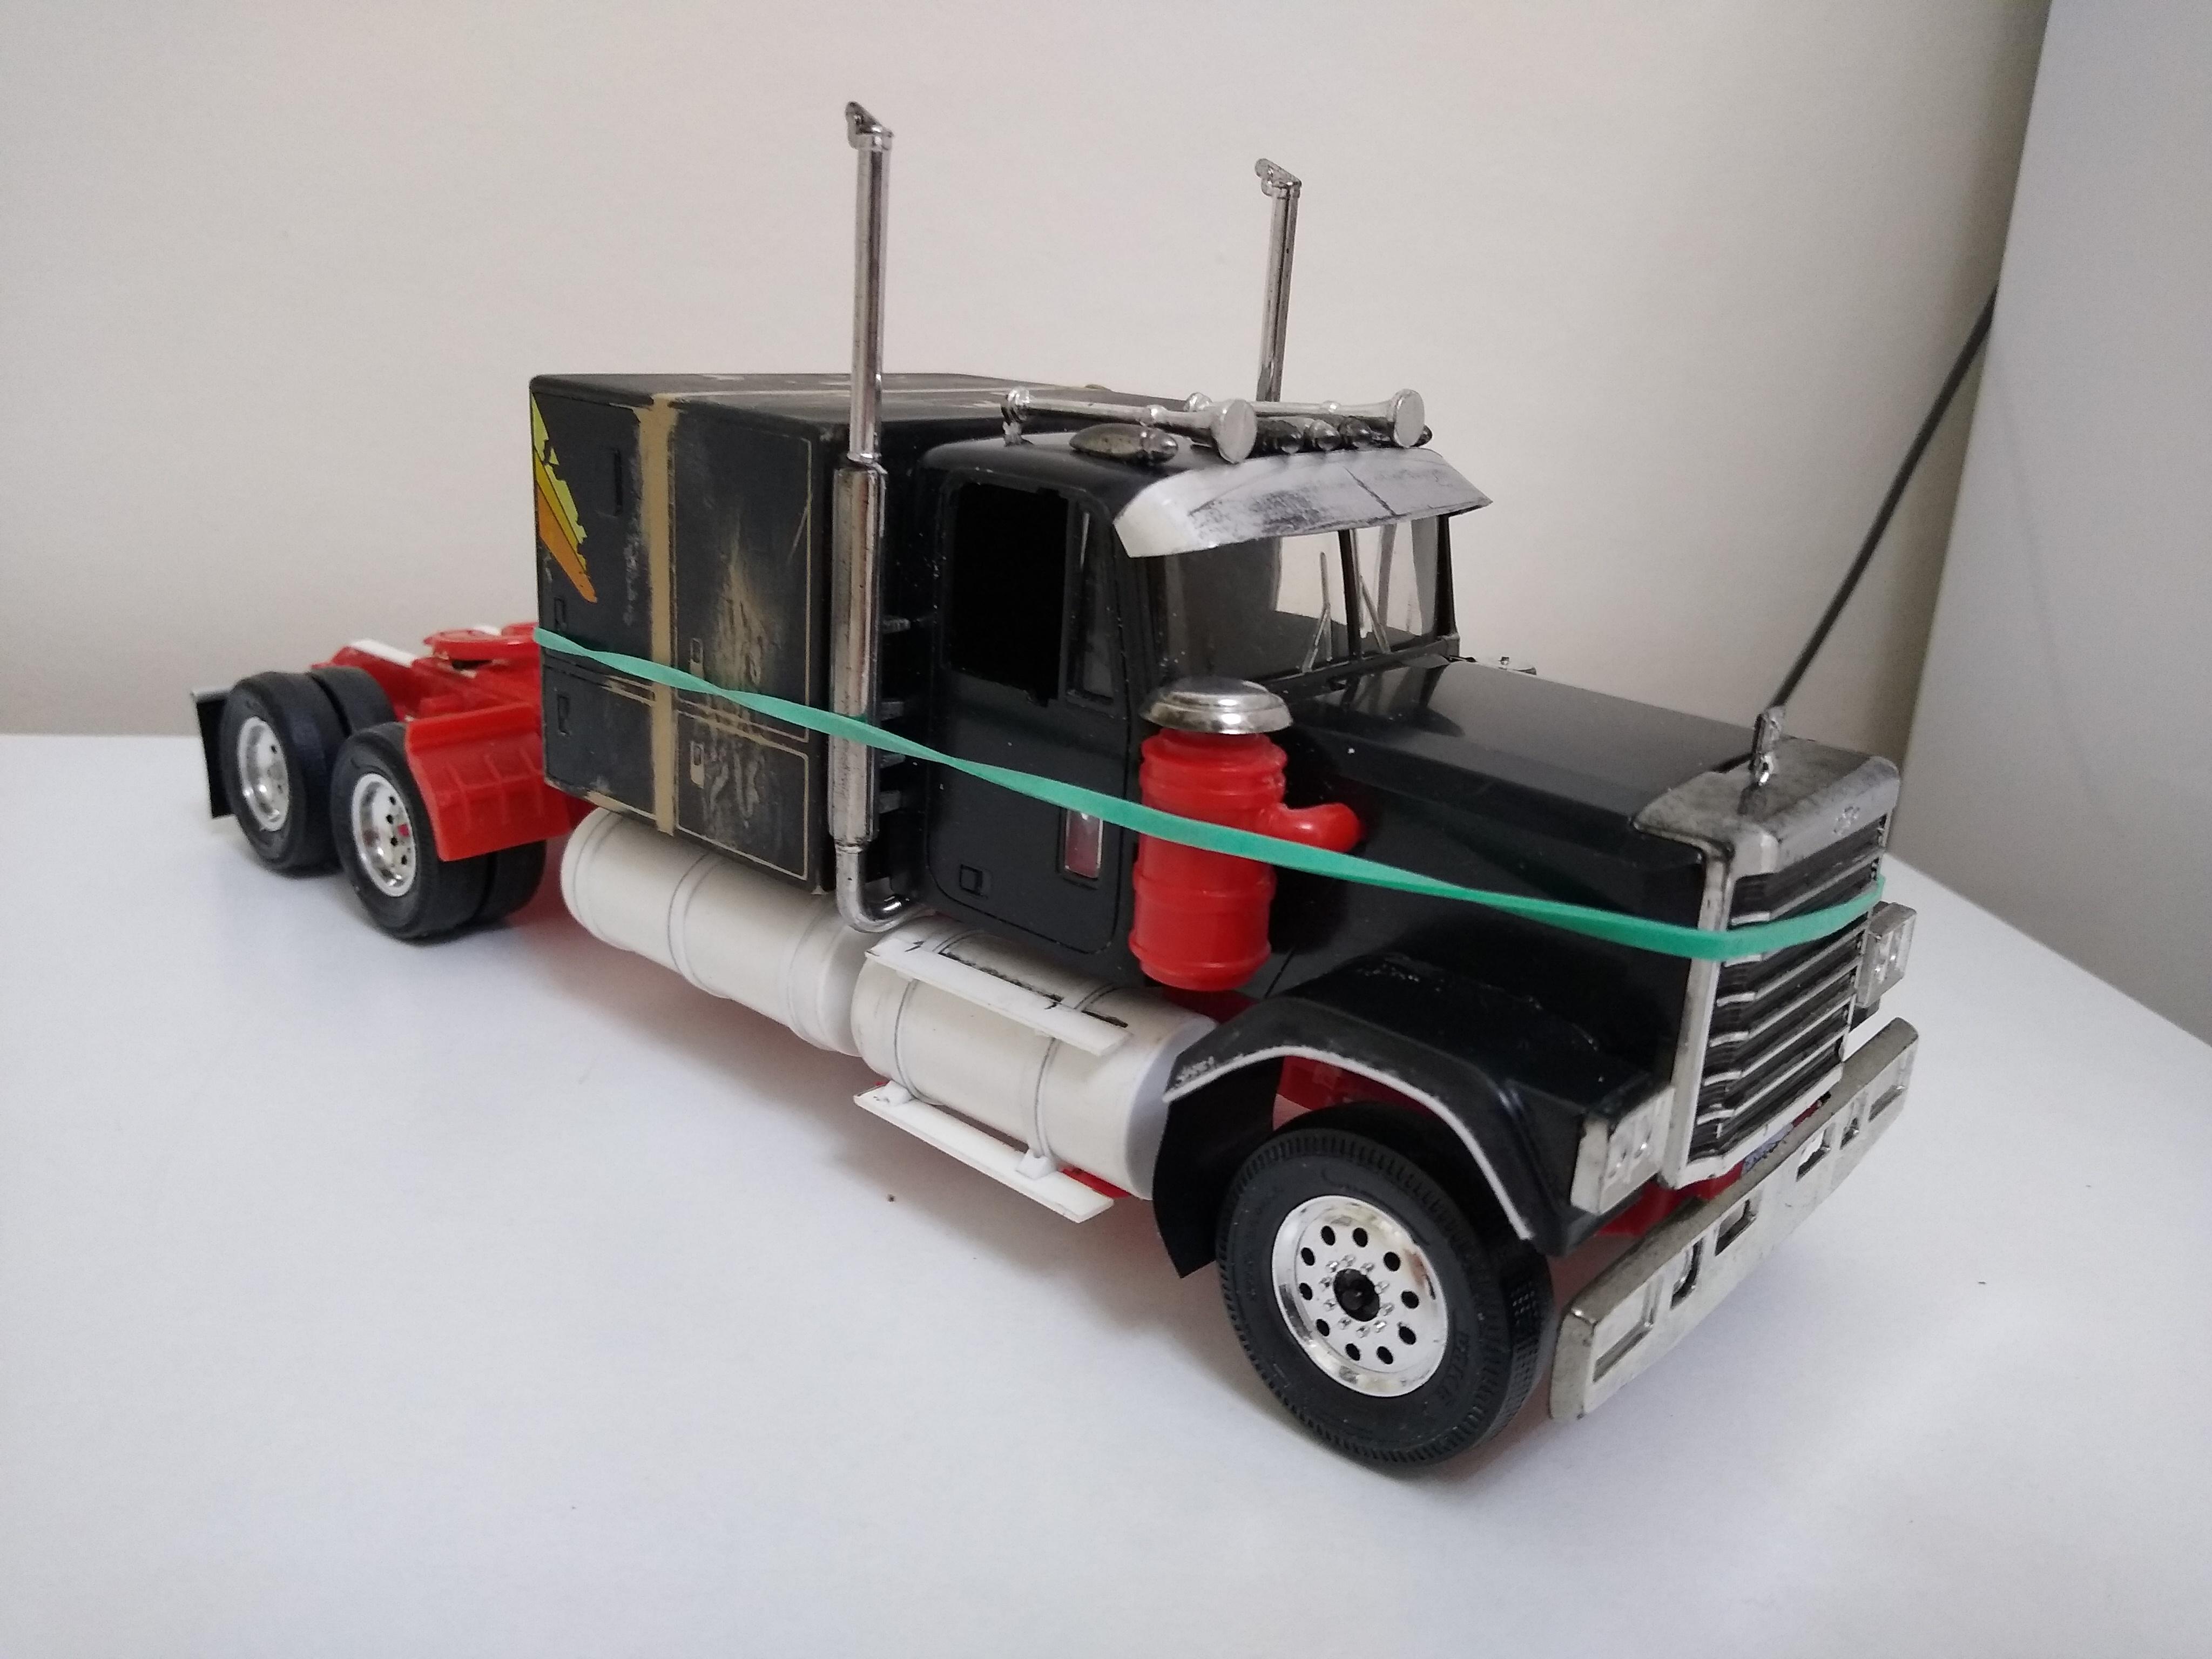
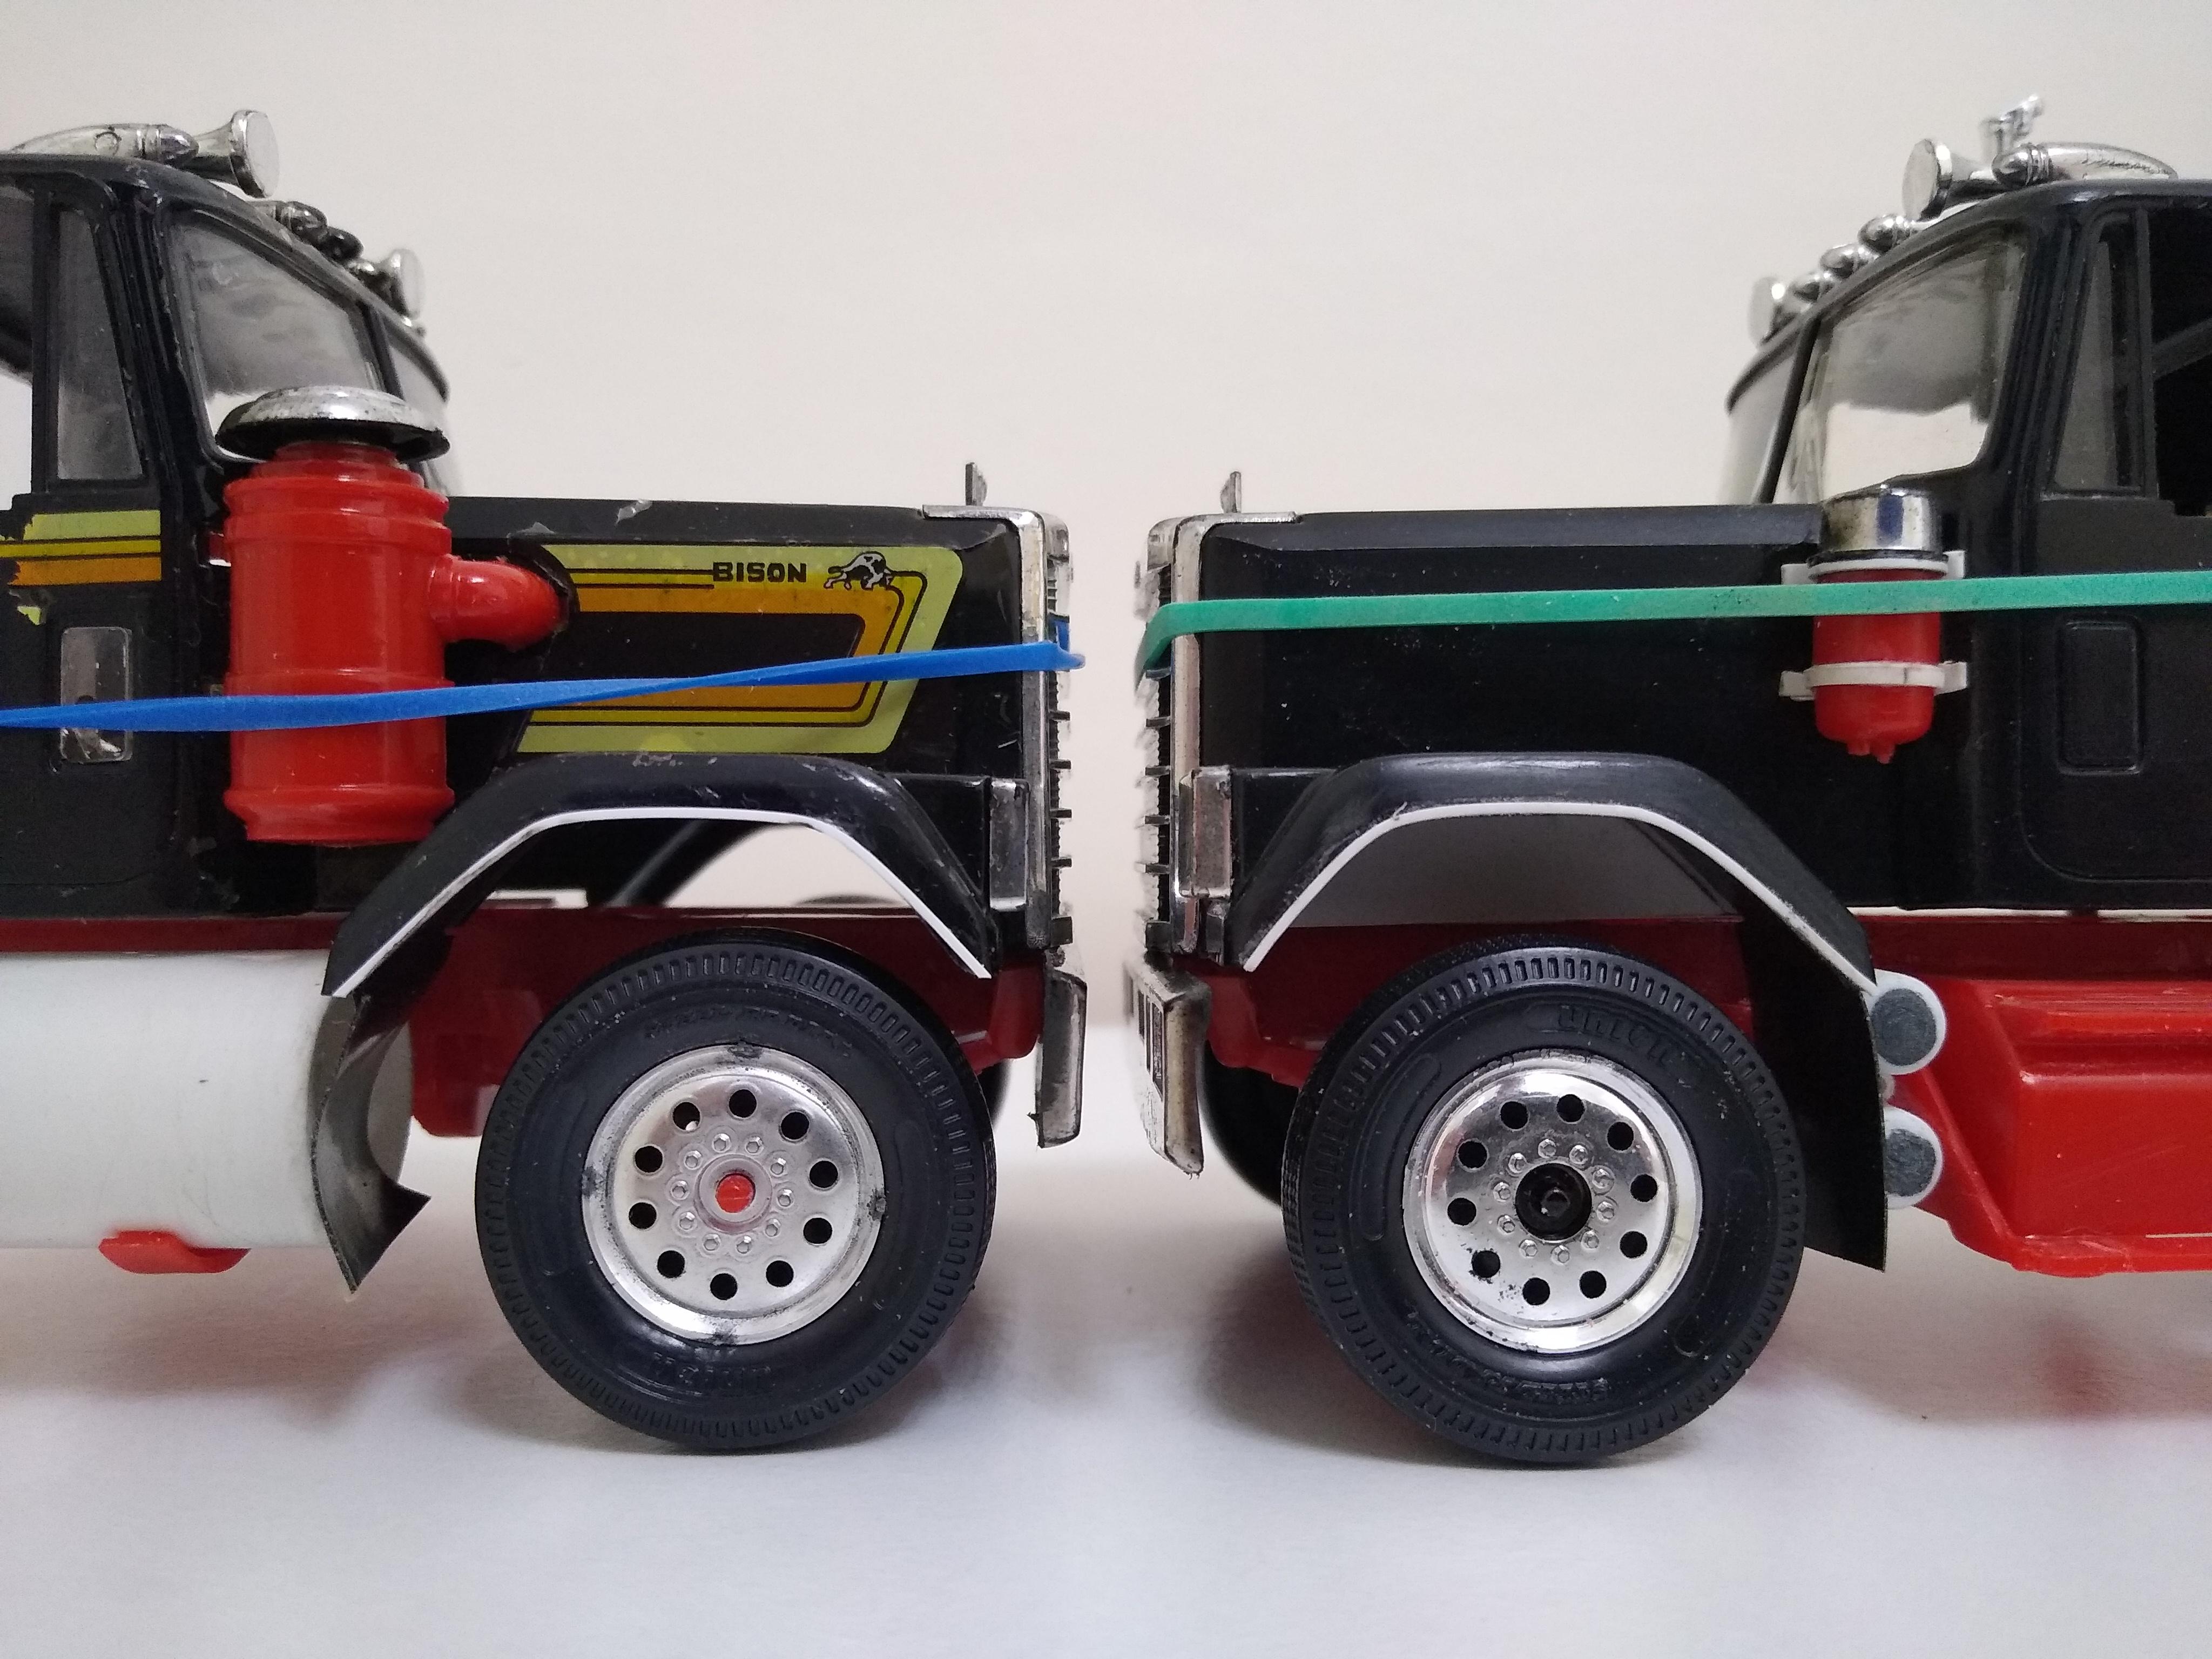
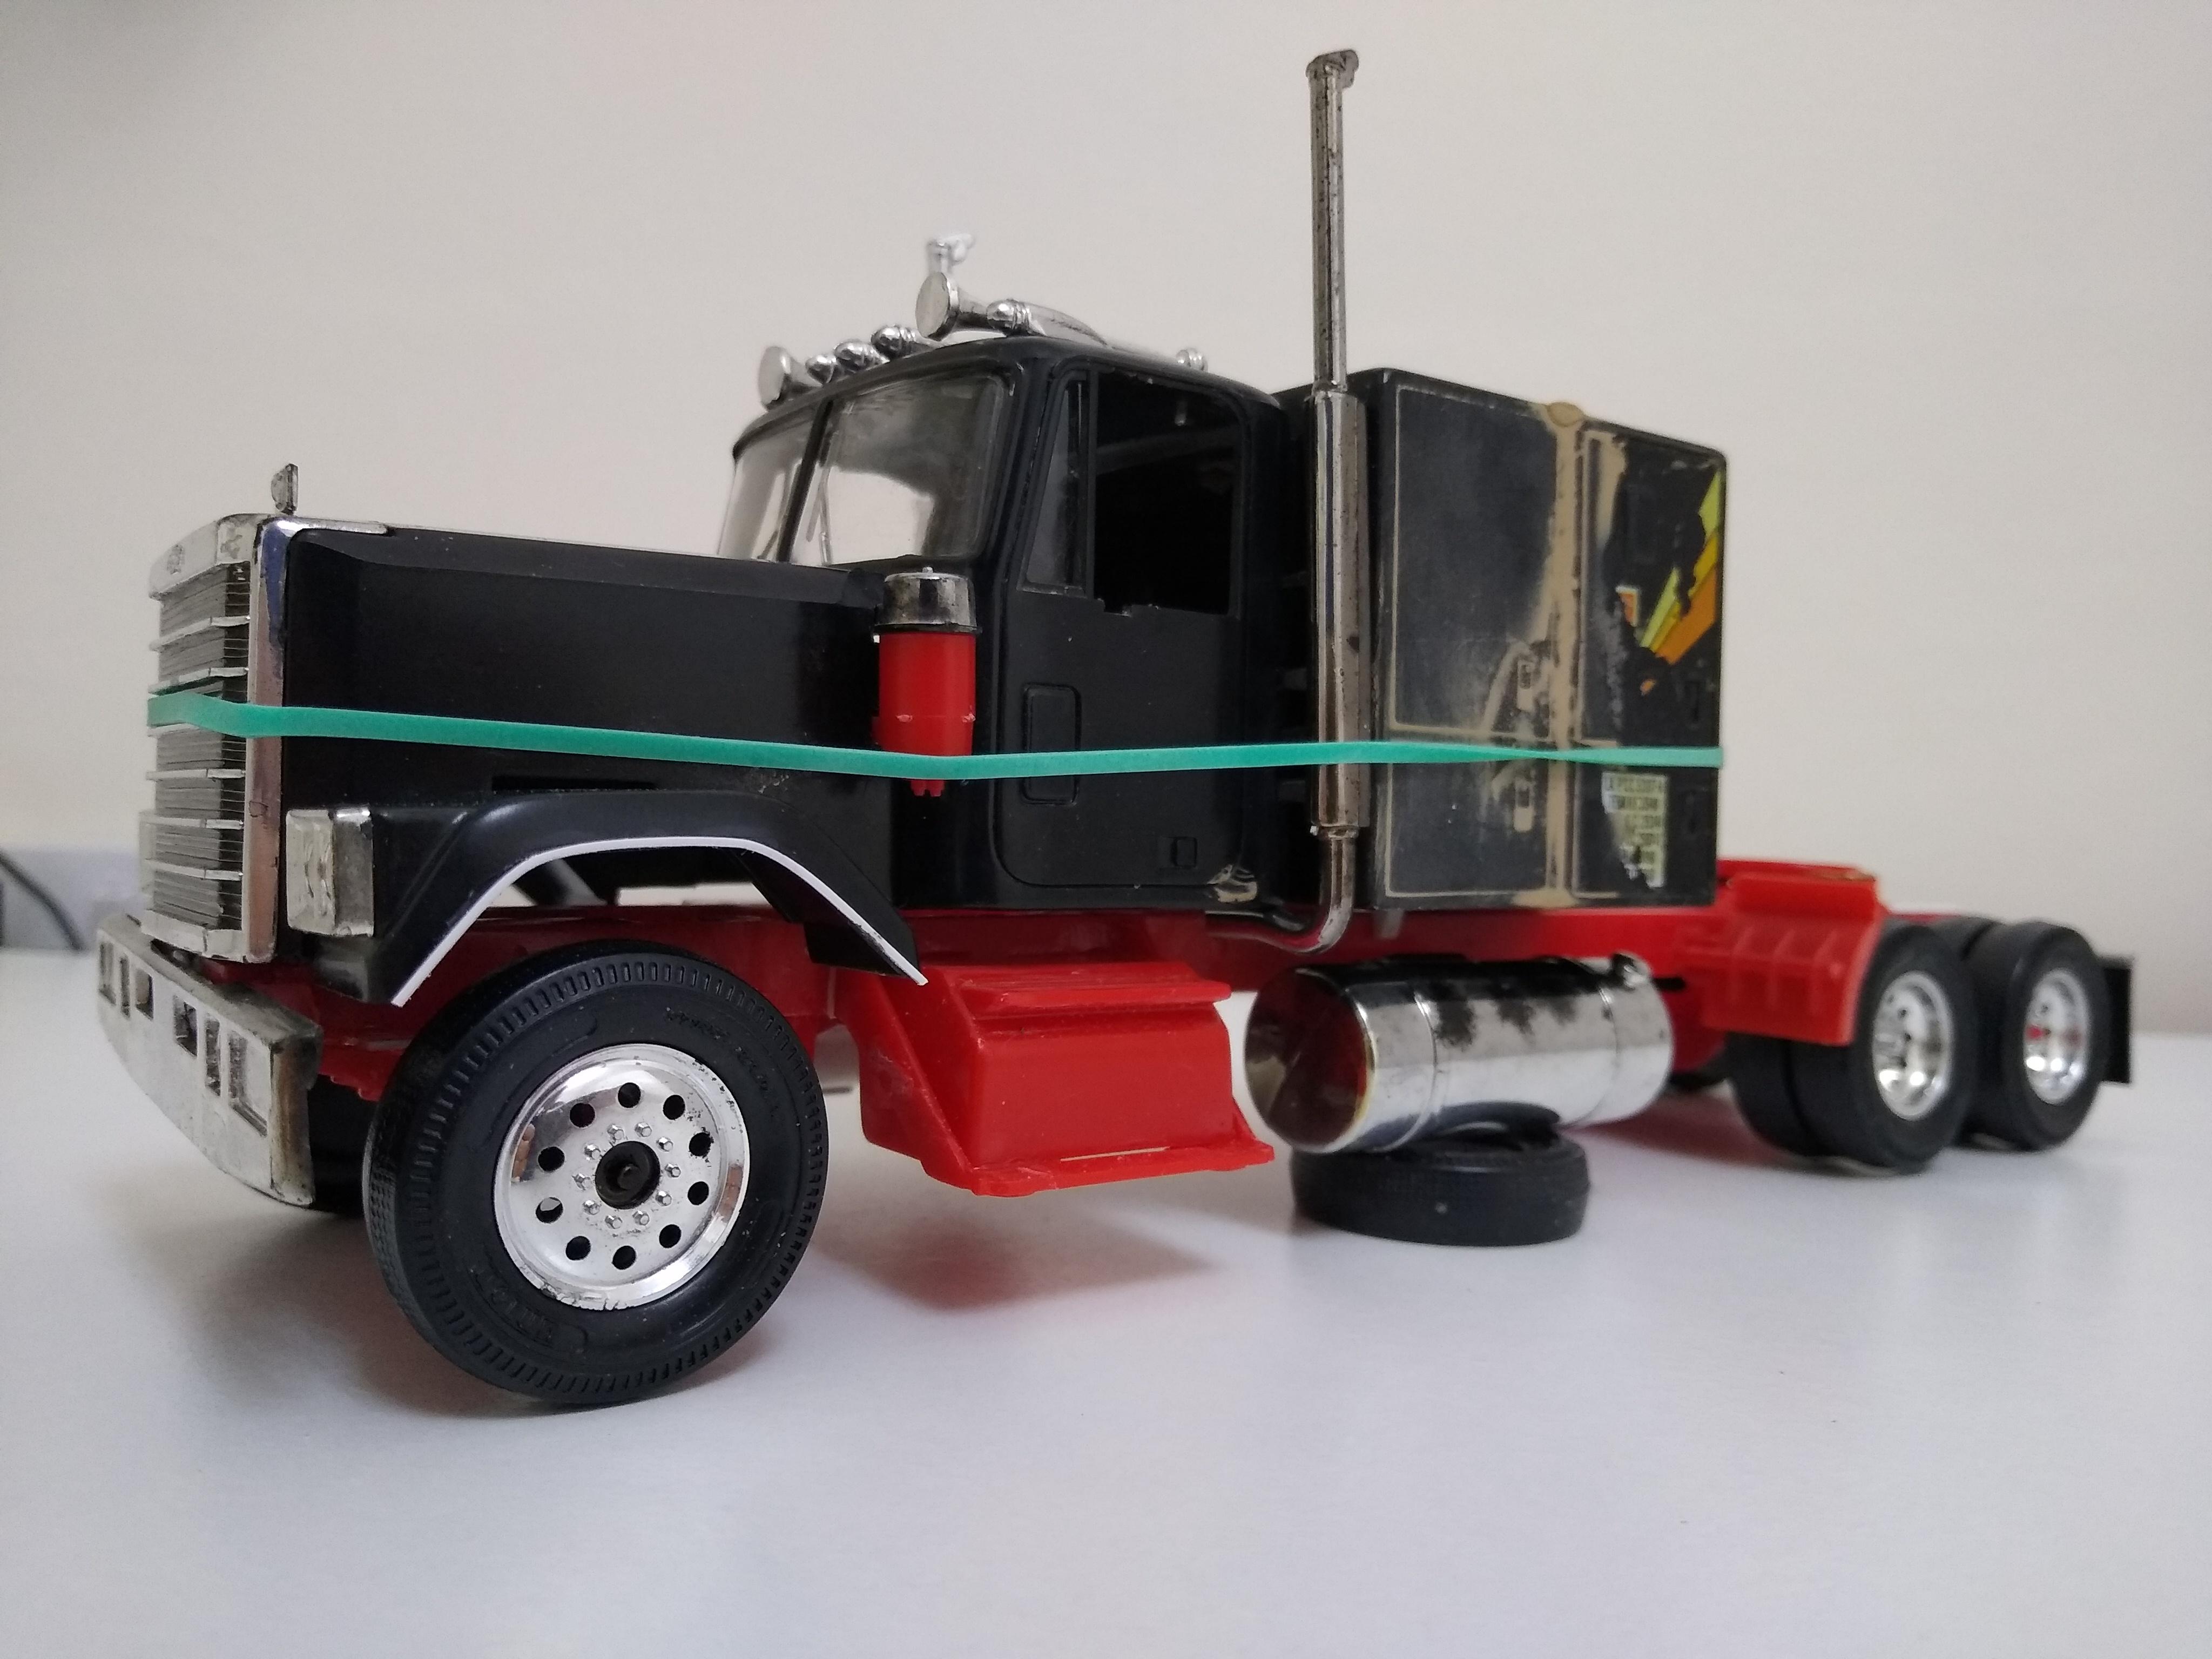
2× Chevy Bison
Rockford replied to Rockford's topic in WIP: Model Trucks: Big Rigs and Heavy Equipment
Here's the extended chassis for the double sleeper version. Straight enough to pass inspection. I am going to have to move the fenders forward and the battery box back because it just doesn't look right to me, although I know they used to build them like that with the extra step assembly behind. The green rubber band isn't permanent.
-
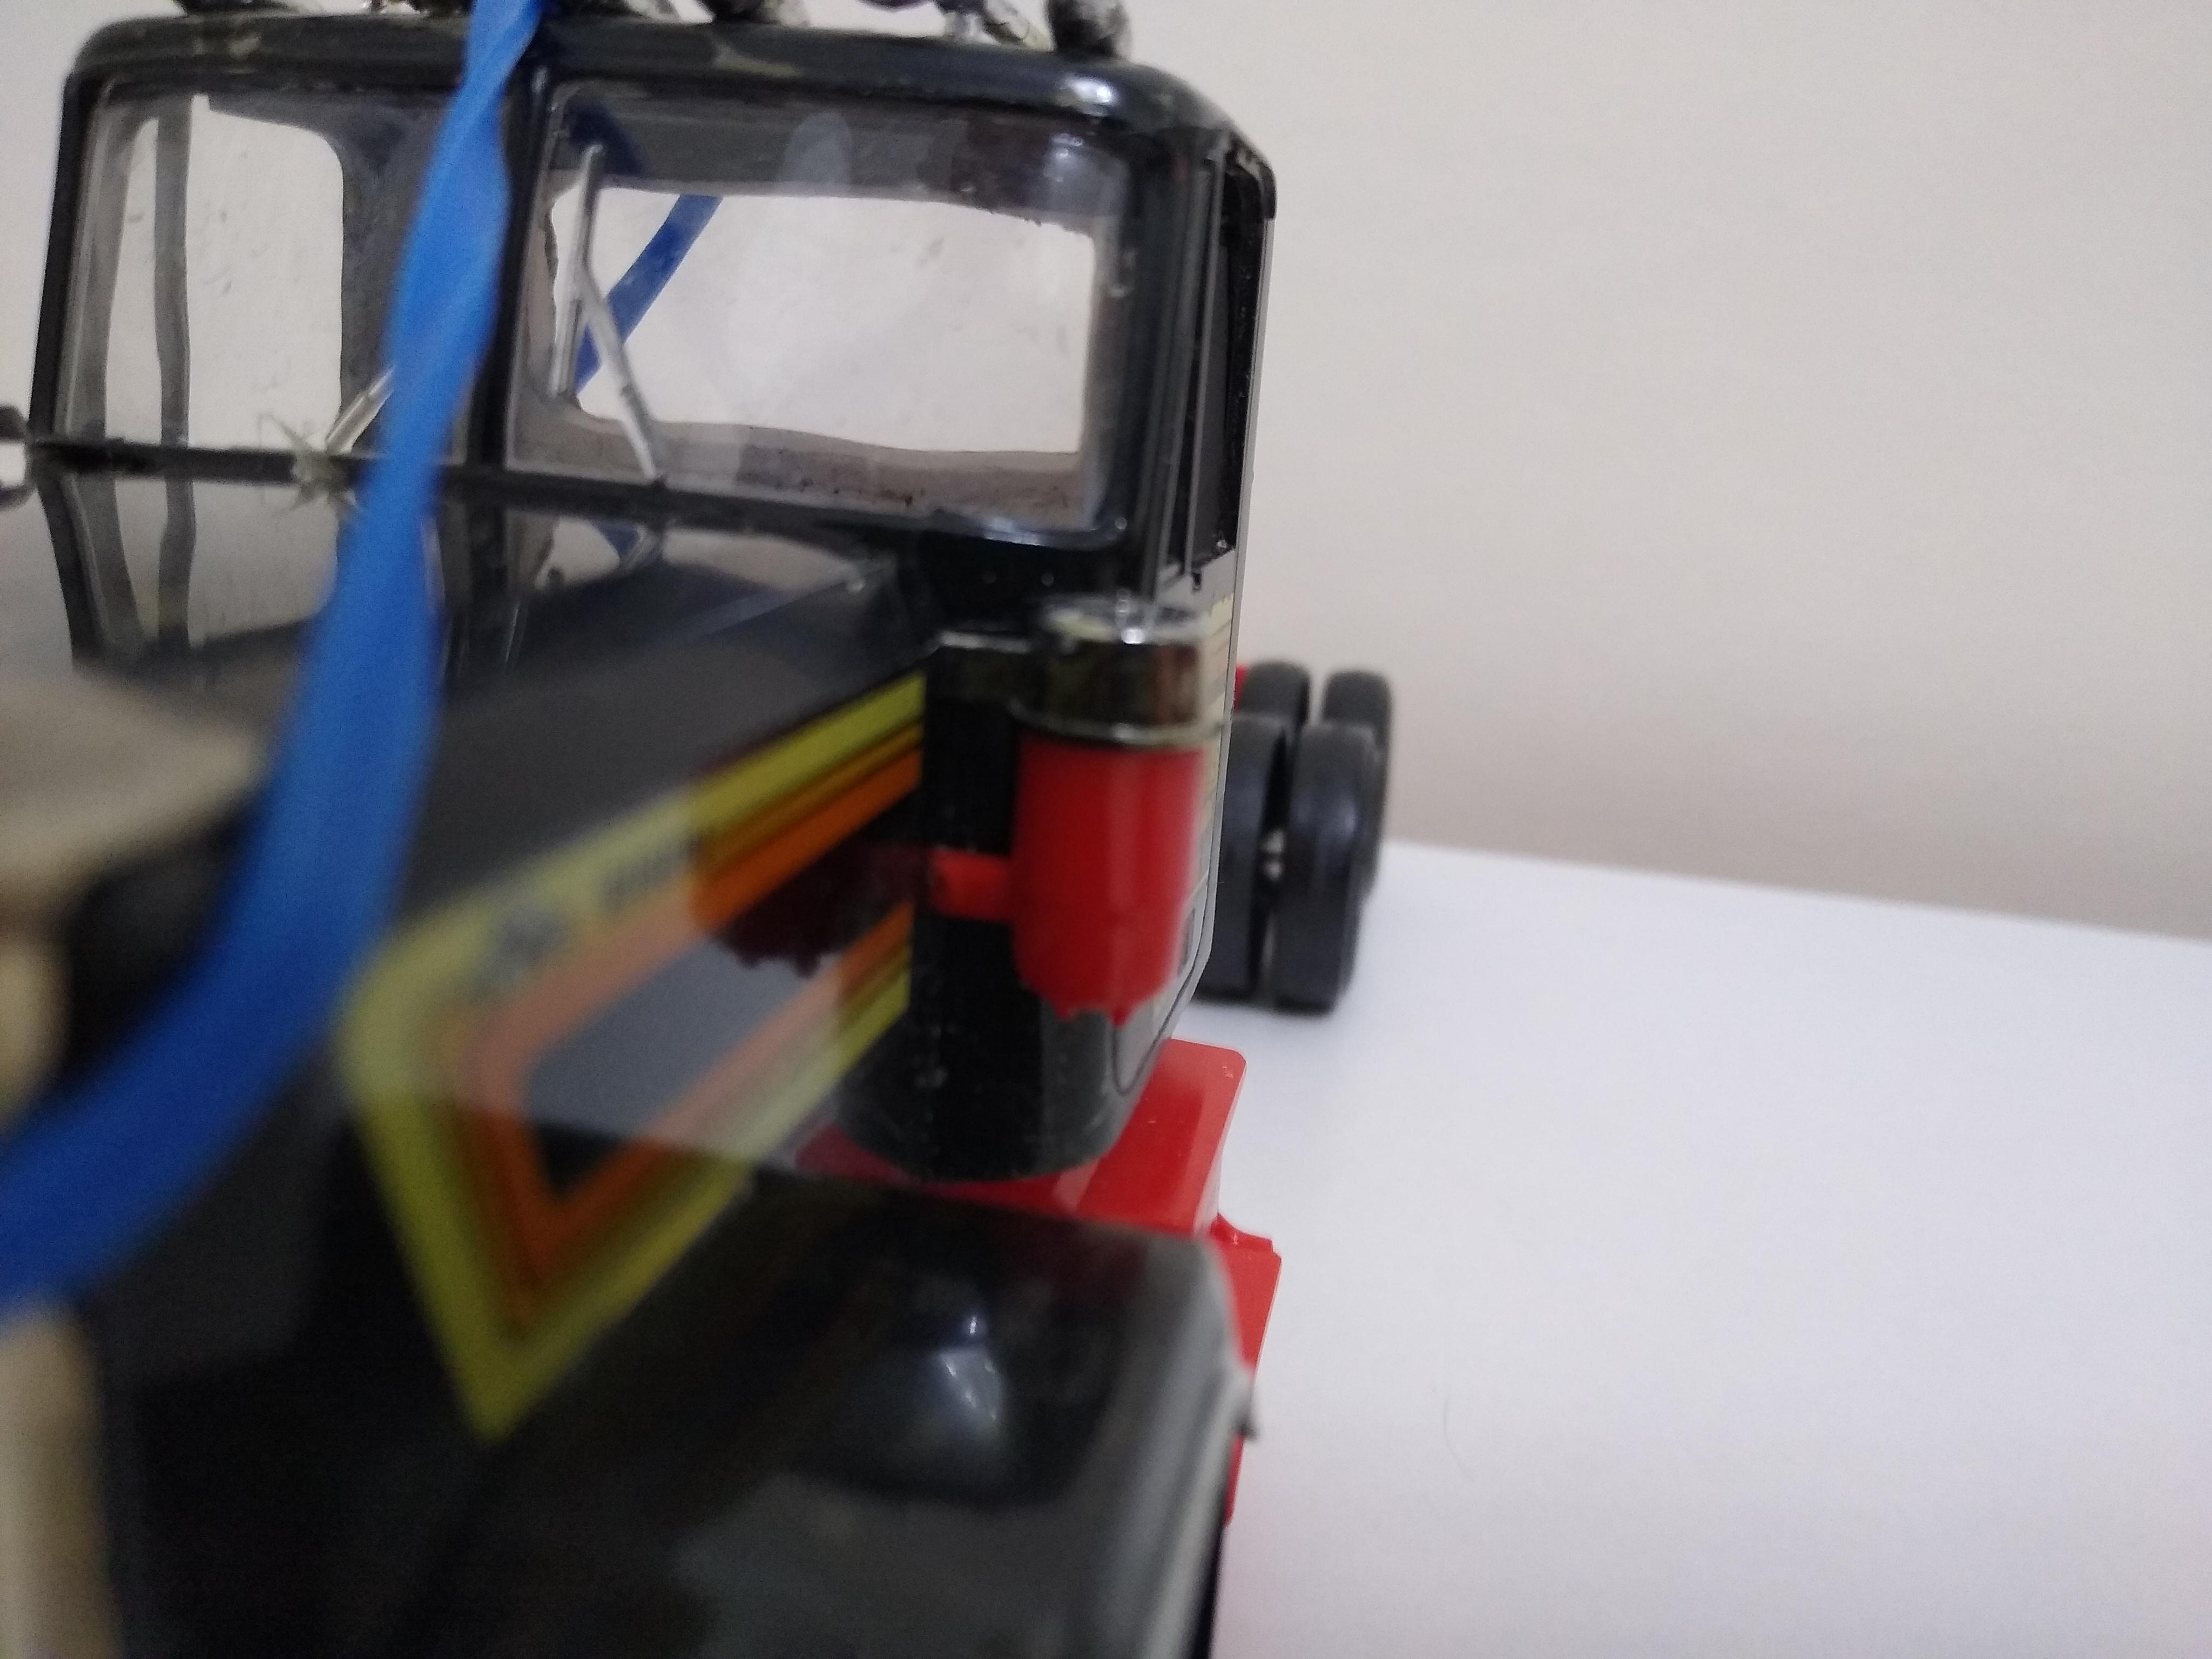
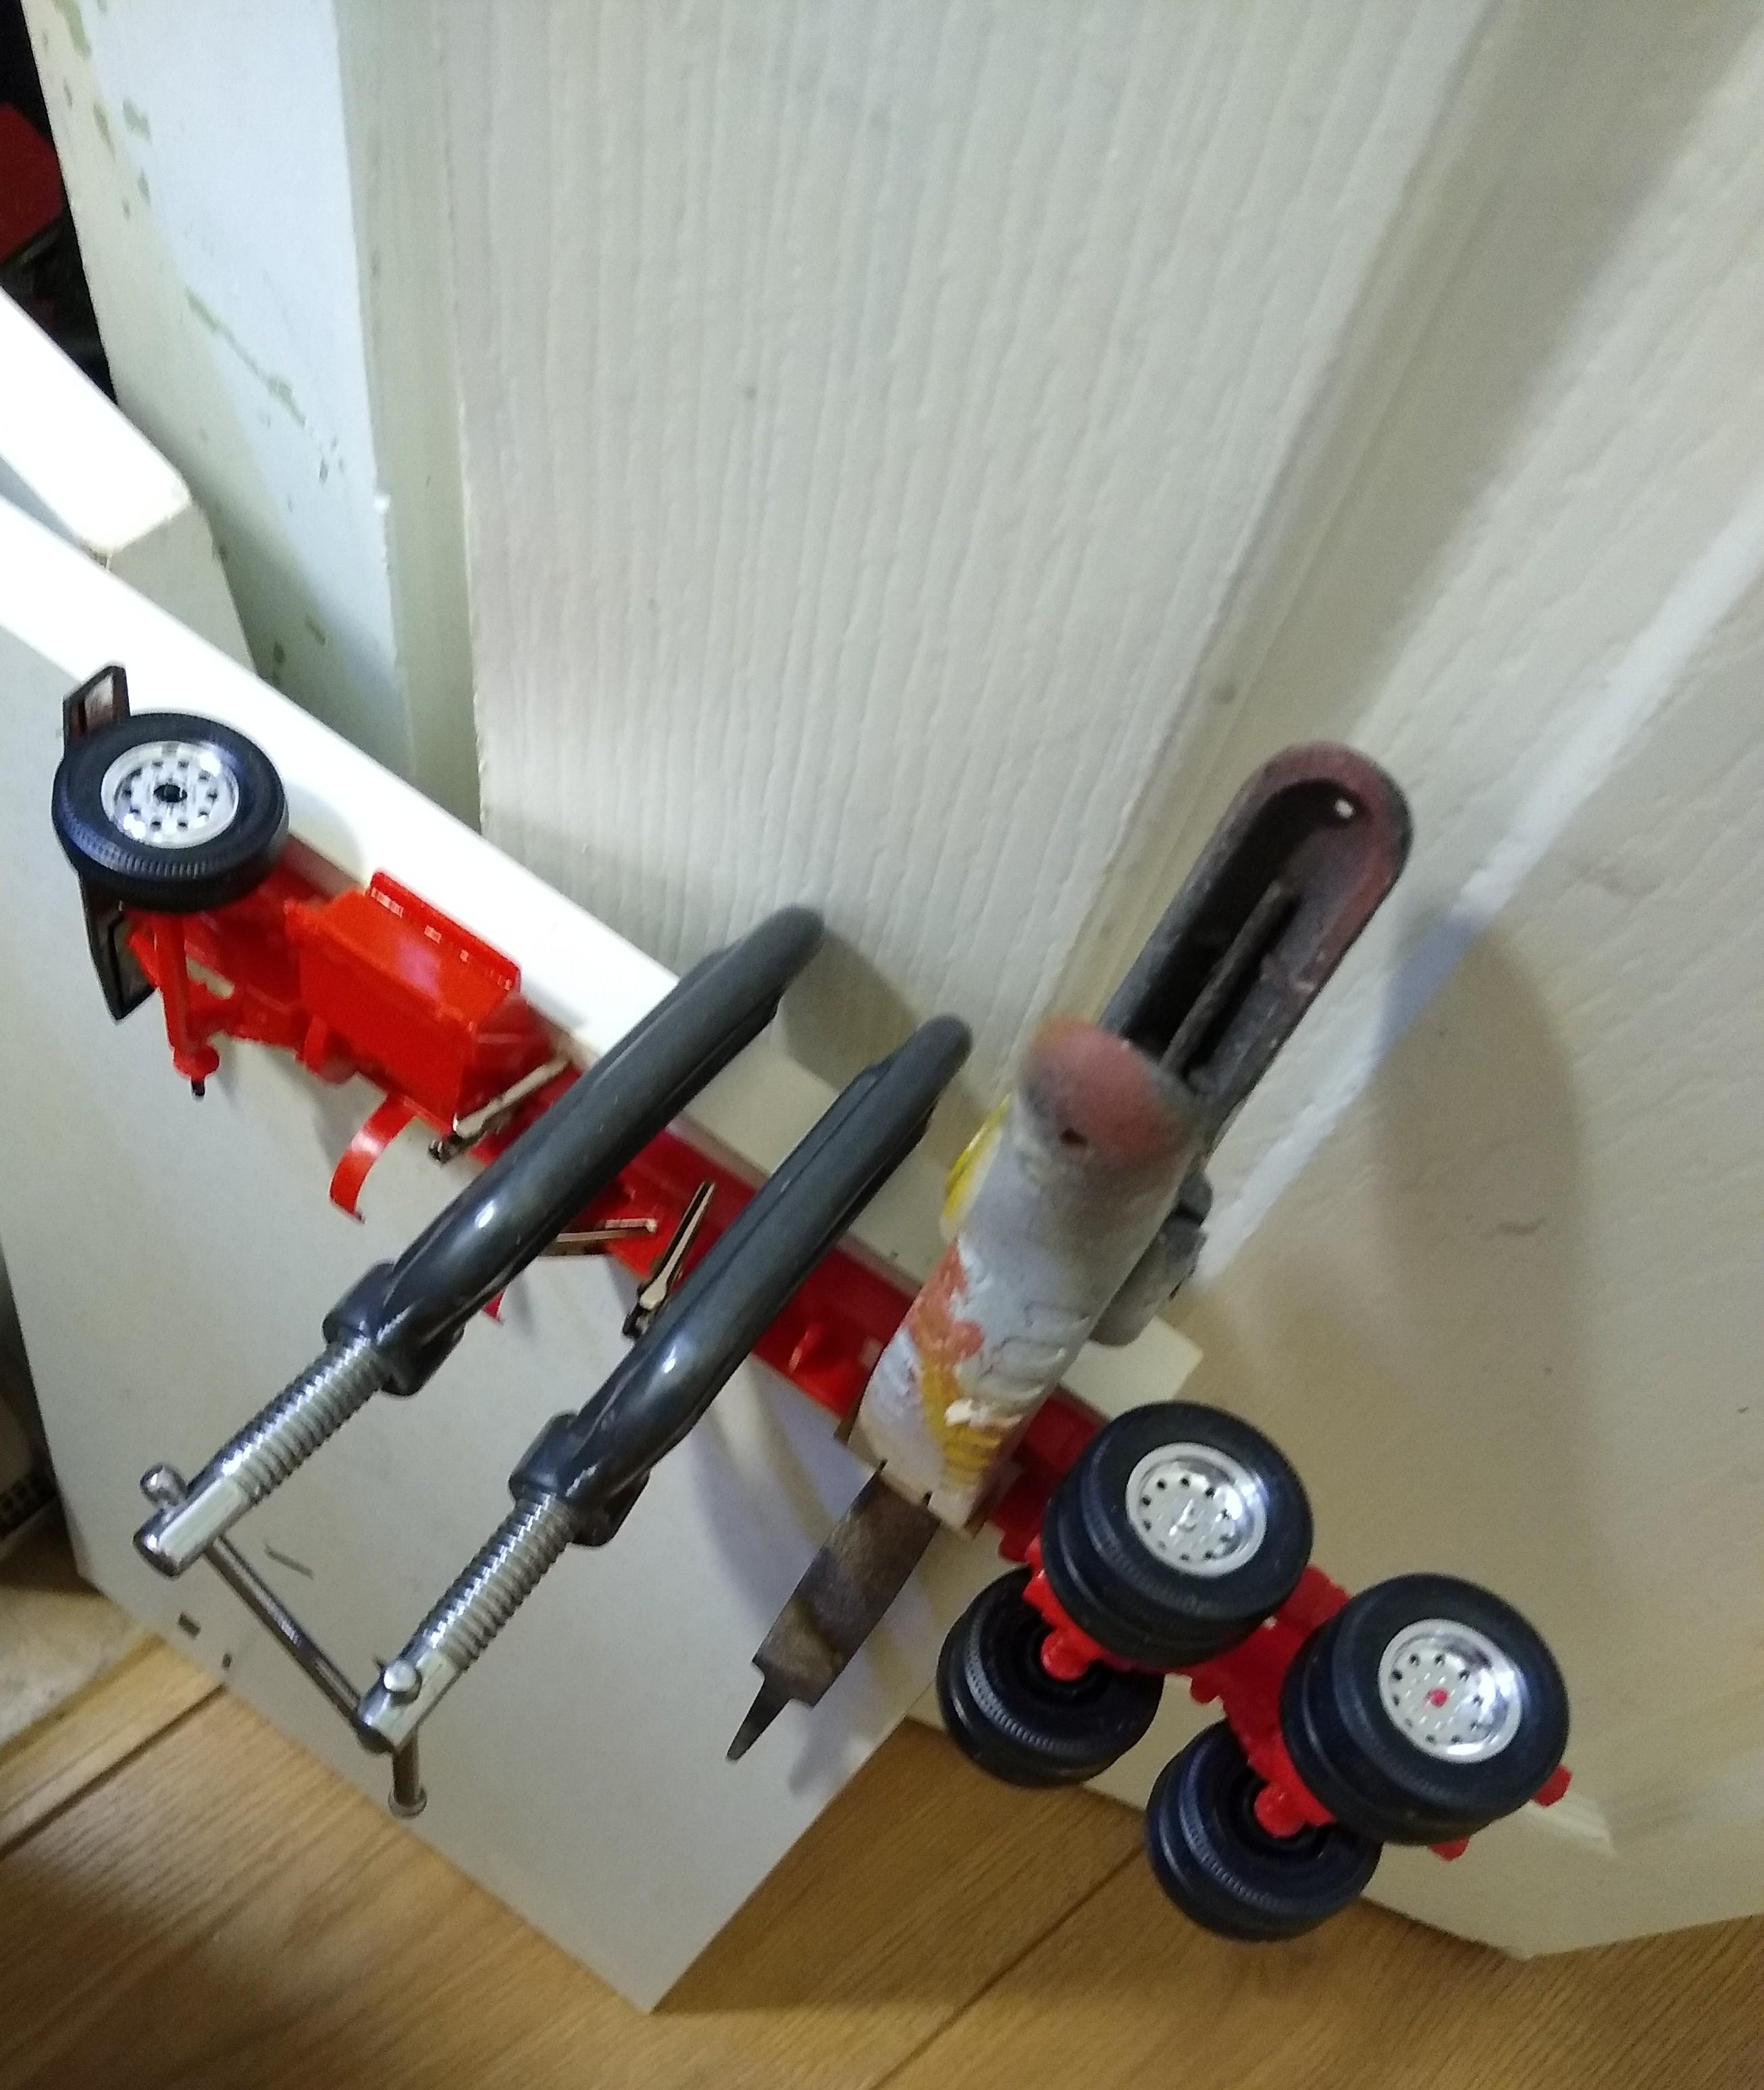
2× Chevy Bison
Rockford replied to Rockford's topic in WIP: Model Trucks: Big Rigs and Heavy Equipment
Not a lot of work this week. Stretched the chassis for the double sleeper by grafting the back end of a T600 KW onto the front of the Chevy chassis. Here you can see it clamped down to try and get it straight. Never works. Wanted the chrome strip across the bottom lip of the fender. Stuck electrician's tape to the bottom lip. Then laid 0.5mm square strip across the top. Ran liquid cement into the top section, then when it had set pulled the two ends down and did the same again. The tape holds the shape while it sets. Once it's set remove the tape and trim the strip. Just needs a rub down to take the sharp edges off. You can also see the airtanks I made and mounted in front of the battery box.
-
Lol! It's infectious!
-
You're right, the grille pieces are a little heavy. I suppose you could thin them down a bit but I'd worry about destroying the grille and the headlights. I suppose there's always a compromise. At the time the Revell was the only kit available over here in GB. I know there are other versions knocking around now but I still think the Revell is a pretty good representation overall. Captures the contours well if some of the moulding could do with a bit of improvement. I've got those photos of the real thing on my phone and every time I look at them I'm still taken aback by how gorgeous that shape was. I include the Gen2 Camaro in that too. My mate had a '79 Camaro and it looked like it had landed from outer space, it was so different to the jelly mold garbage of today. Sorry, I digress.
-
That would be a nice project, it was a lovely truck. GM certainly picked well when they offered to supply vehicles for that show.