Brutalform
-
Posts
2,829 -
Joined
-
Last visited
Content Type
Profiles
Forums
Events
Gallery
Everything posted by Brutalform
-
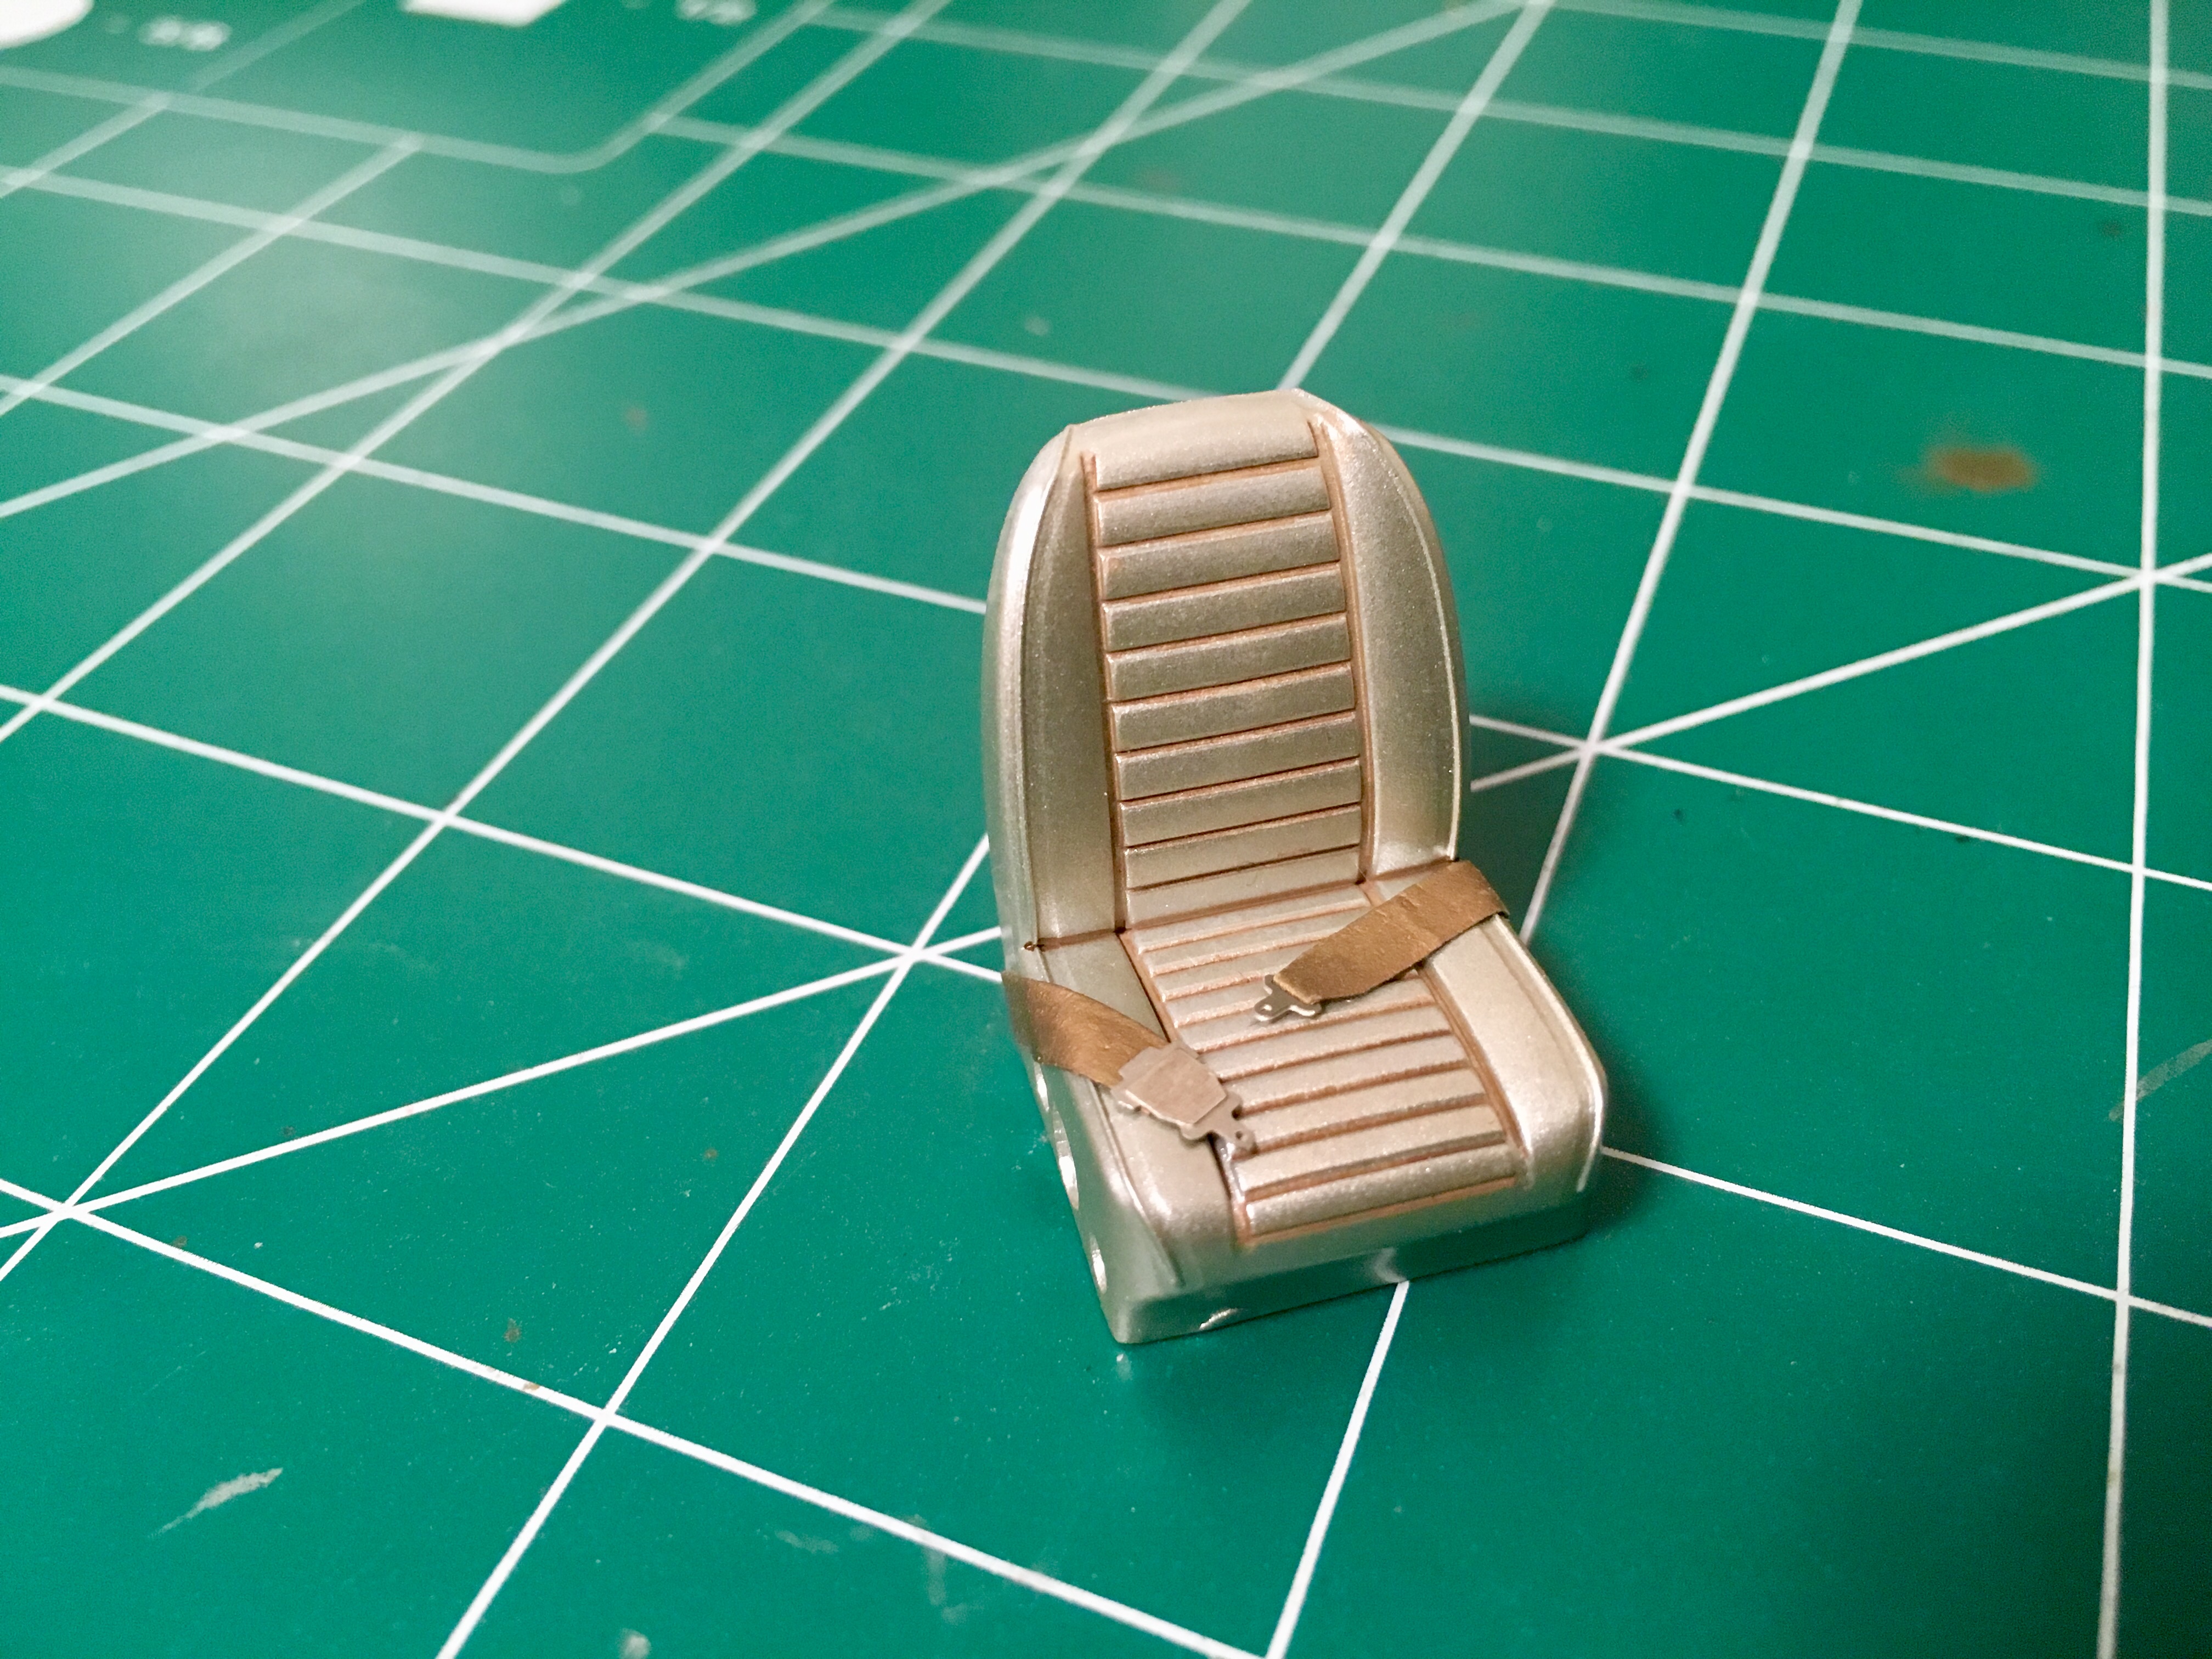
Added a belt and the dull cote definitely looks better on the floor.

-
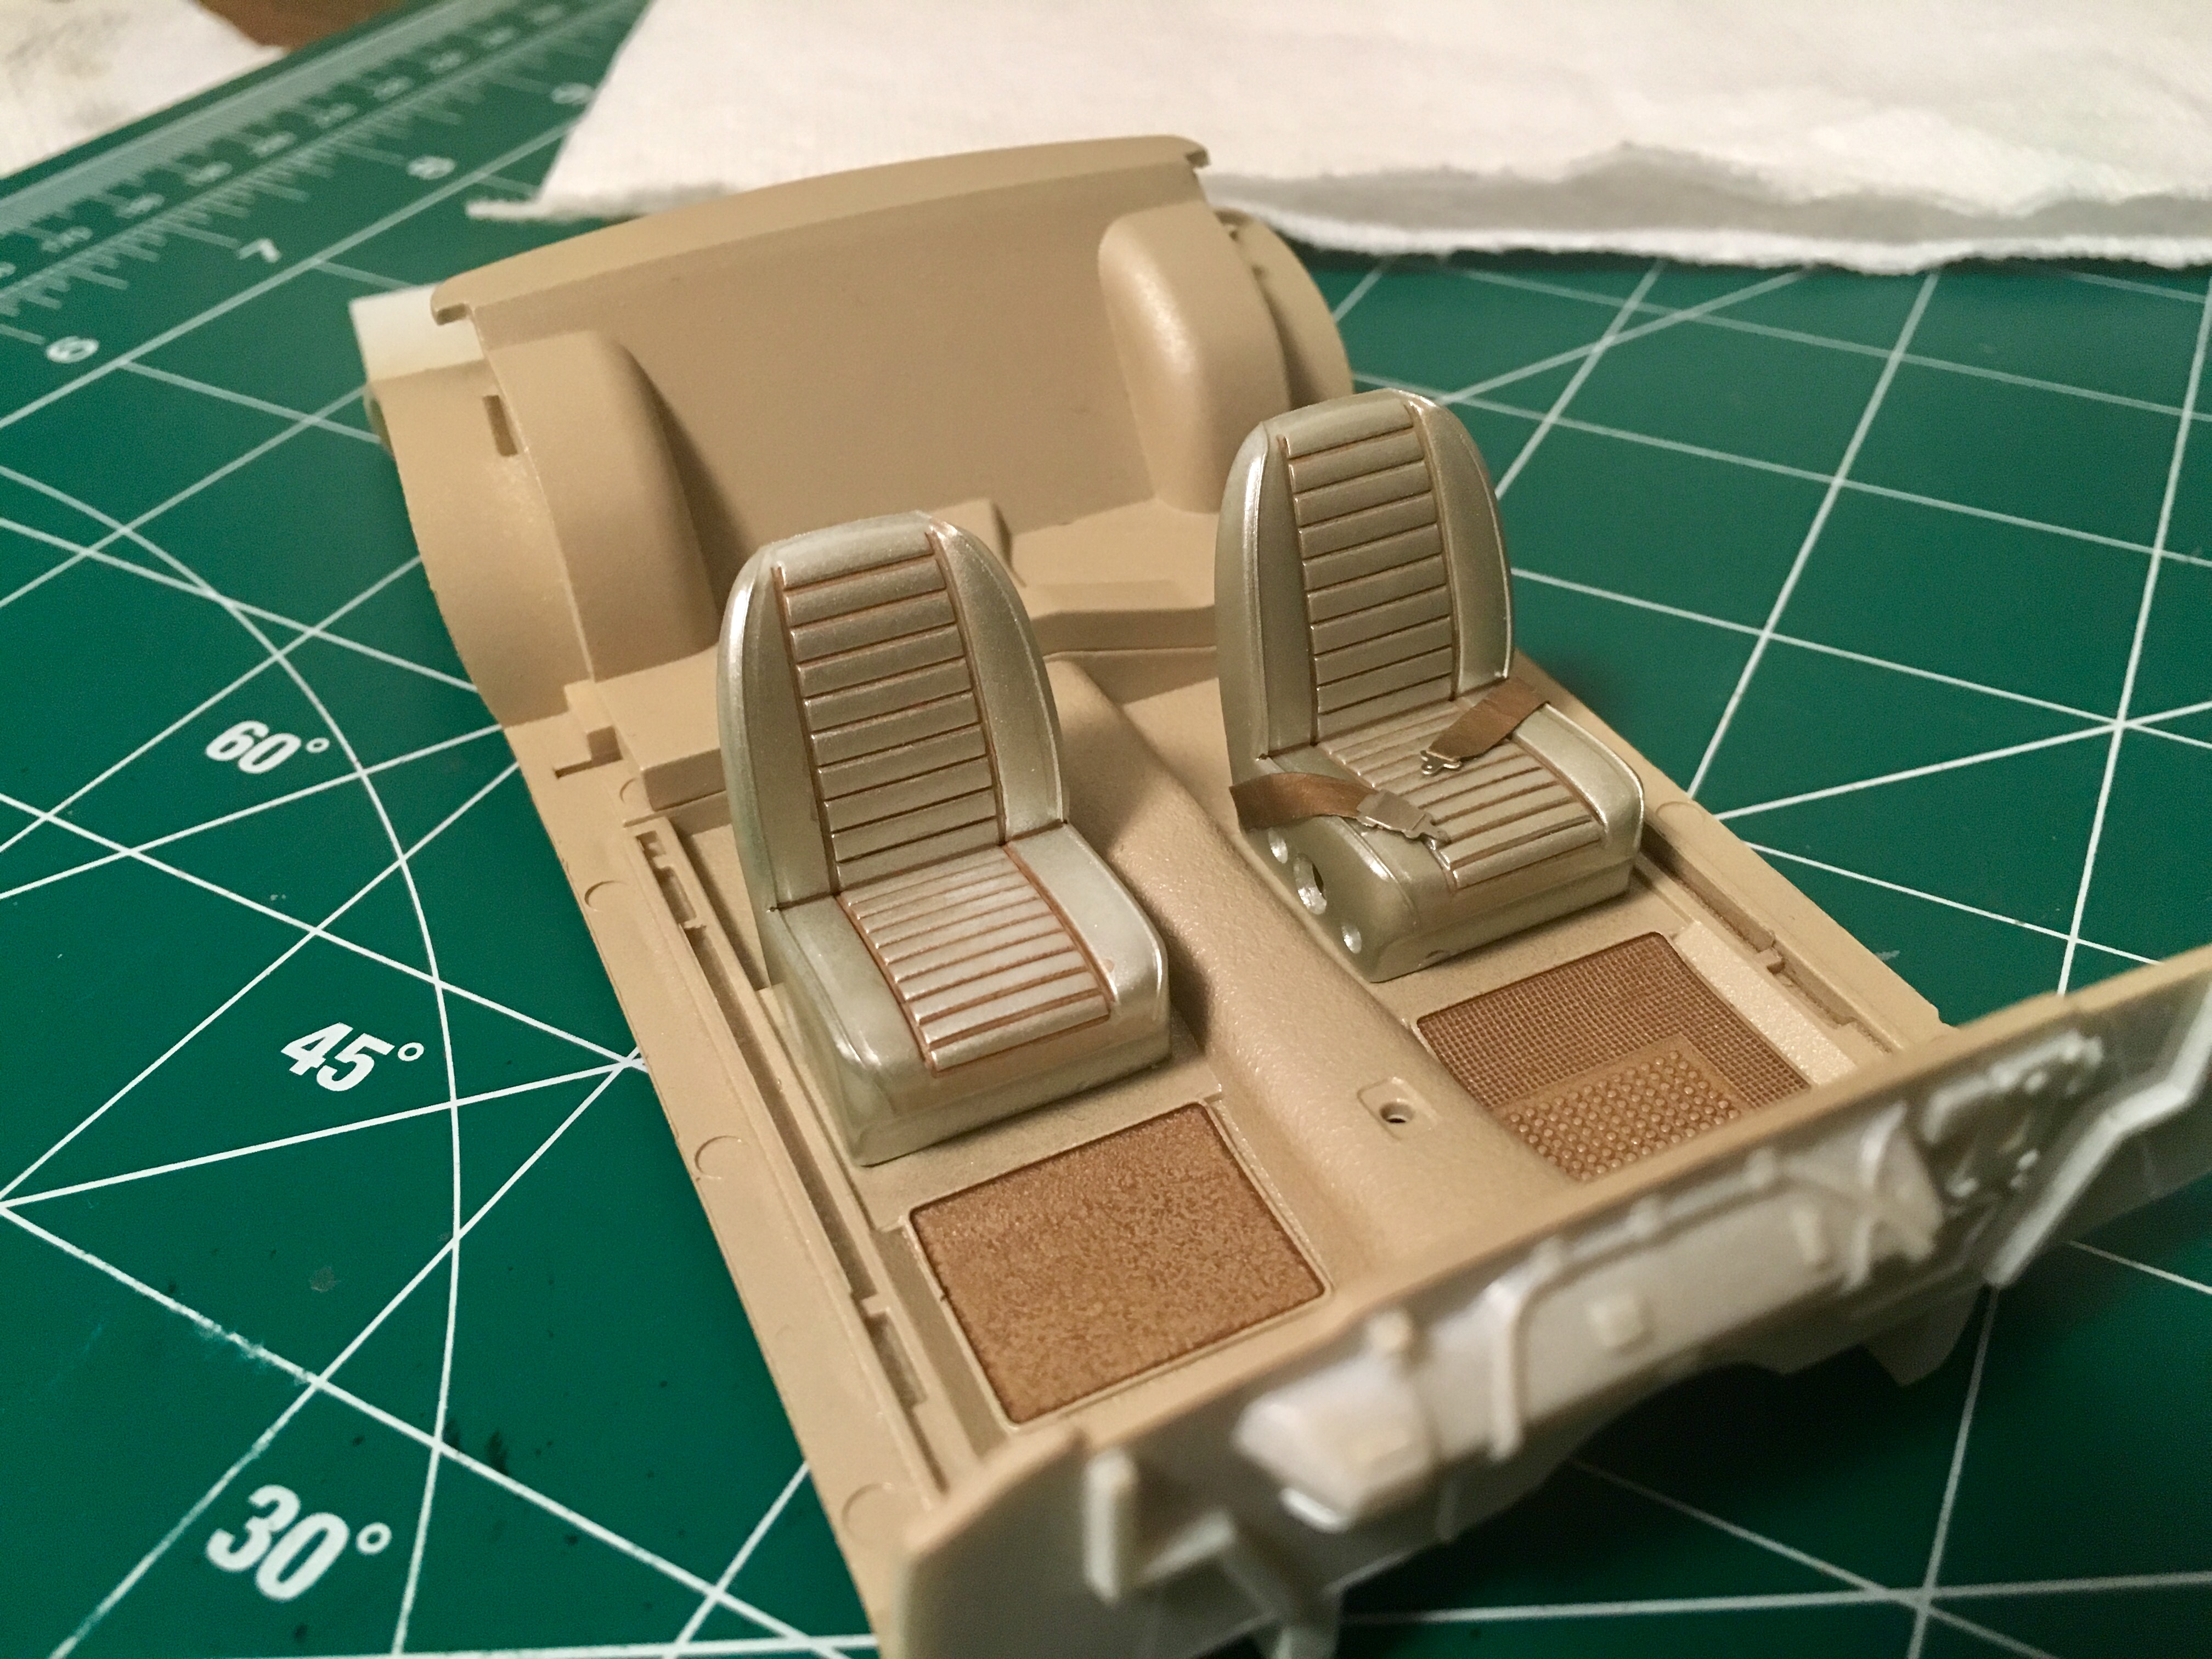
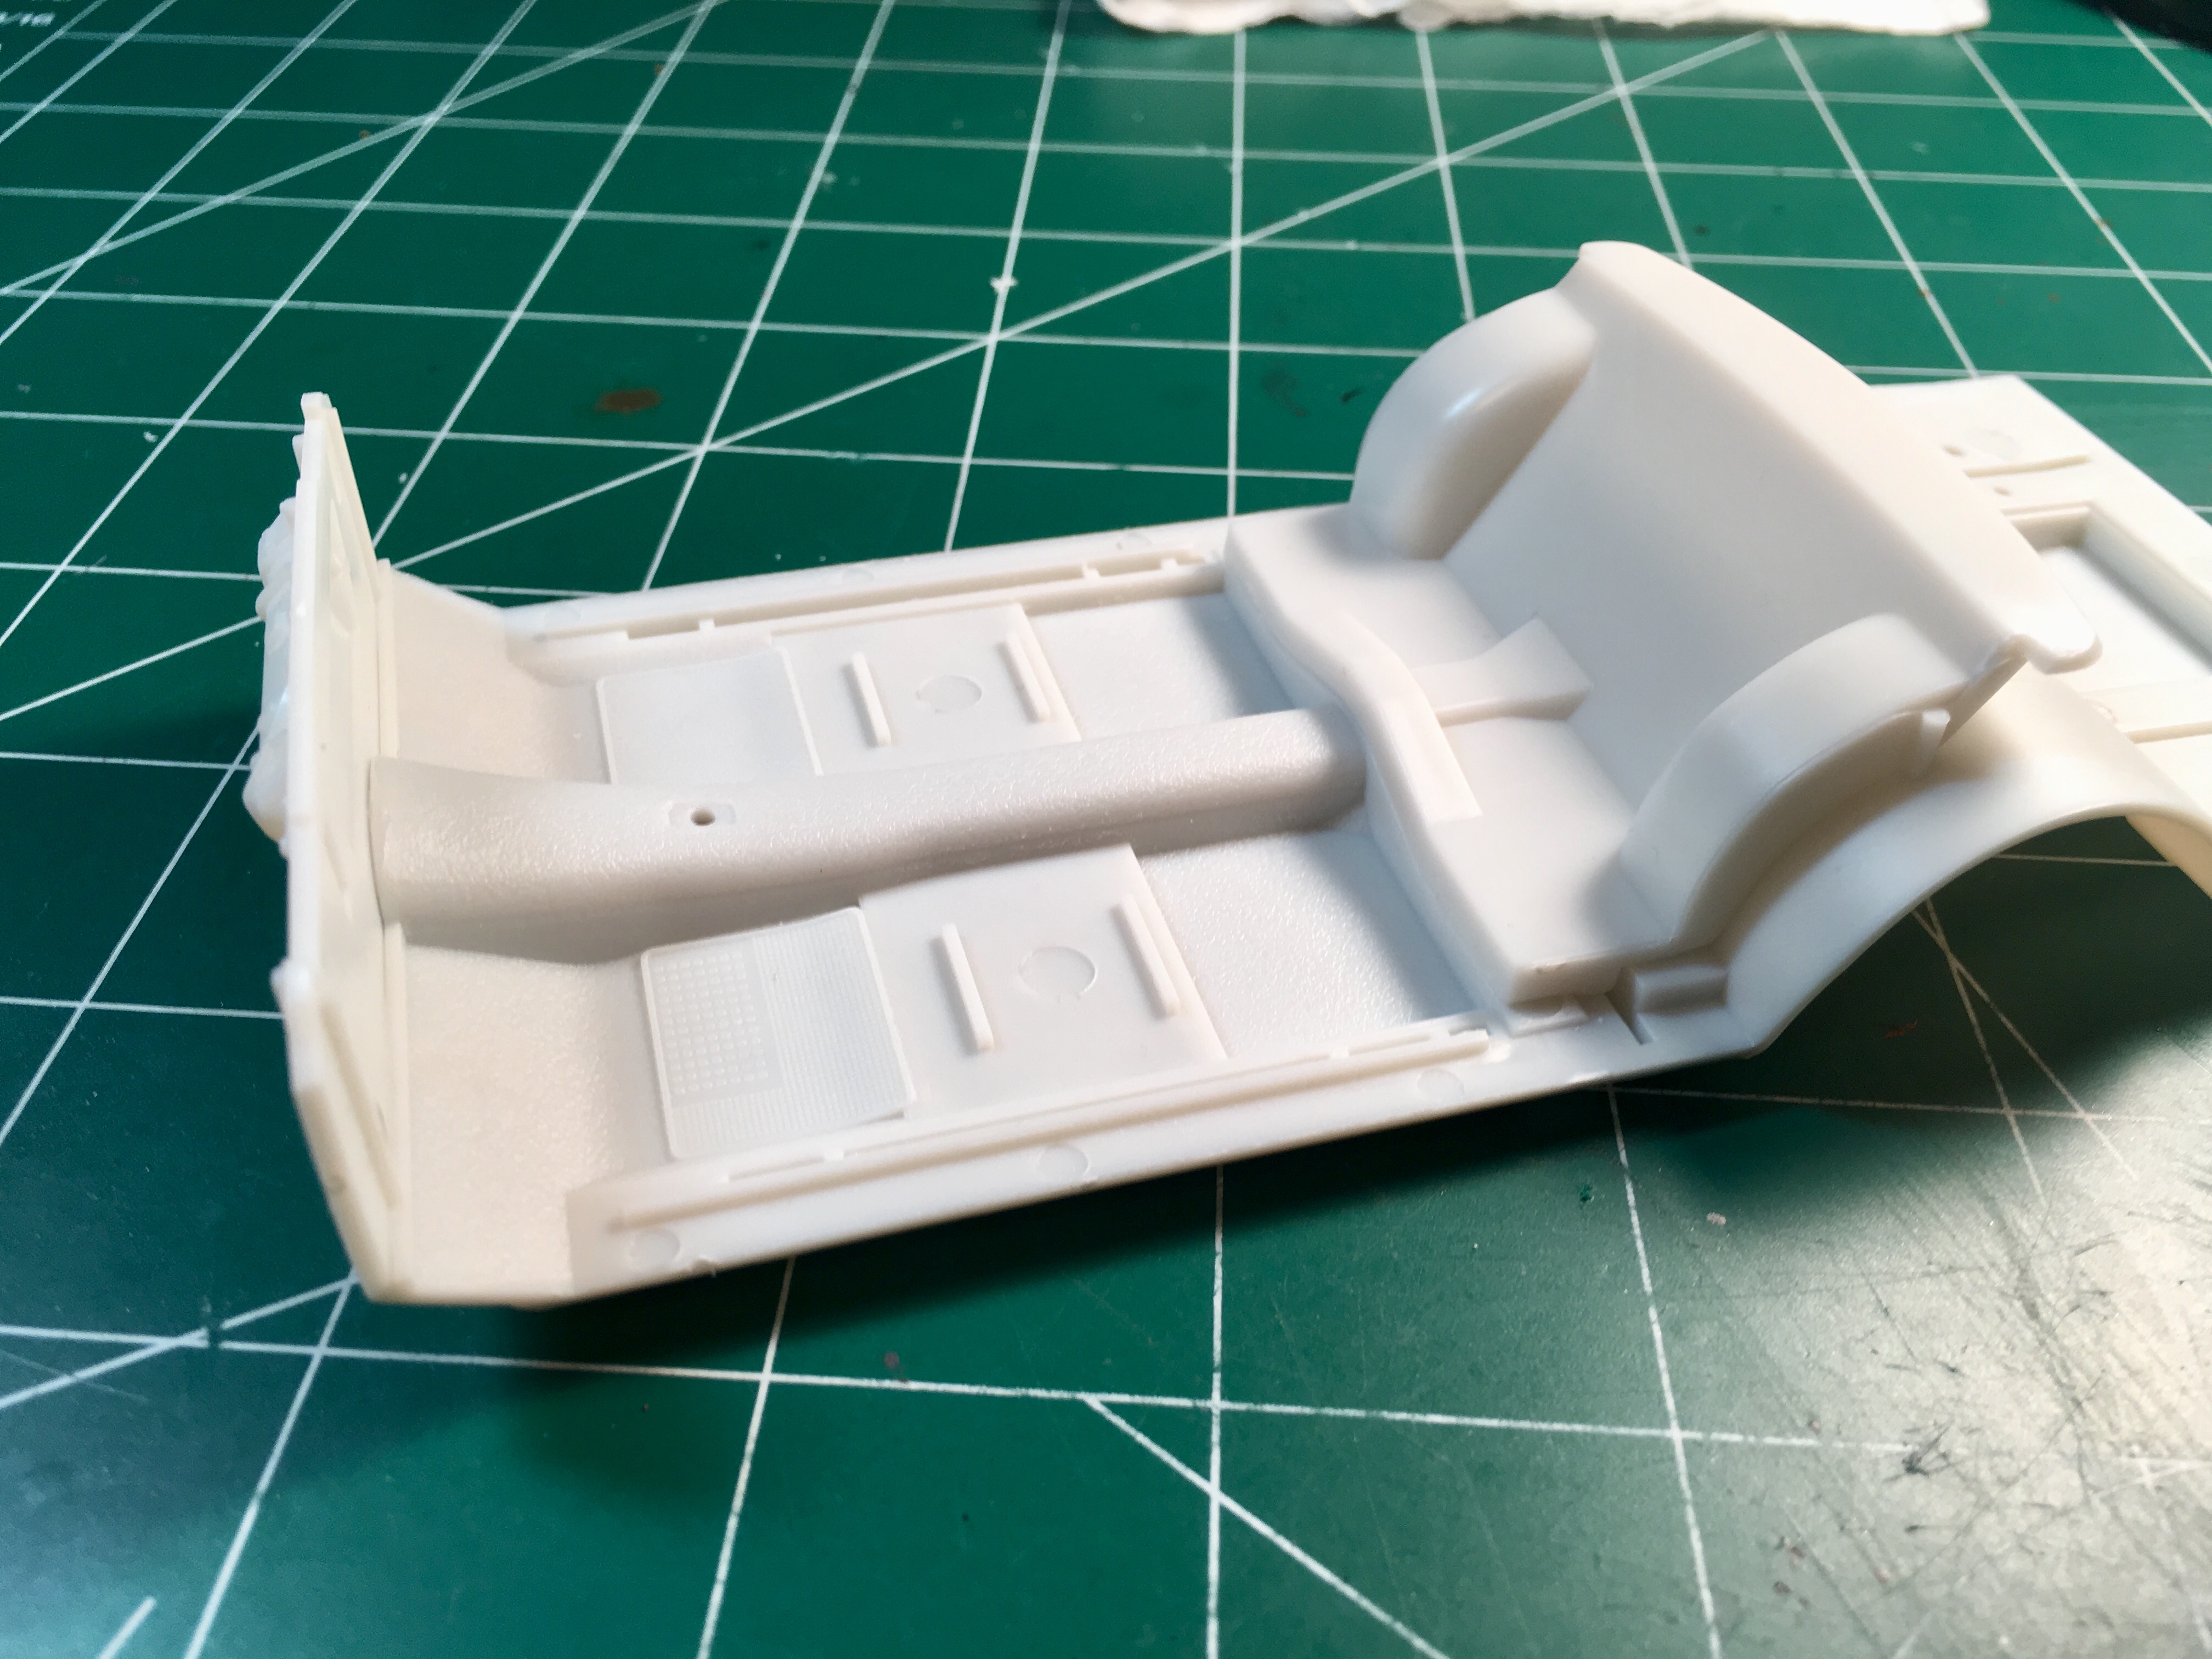
Mocked up the interior just to see how the colors look. I plan on adding a lap seatbelt, and adding some dull cote to the floor so it’s not too shiny.
-
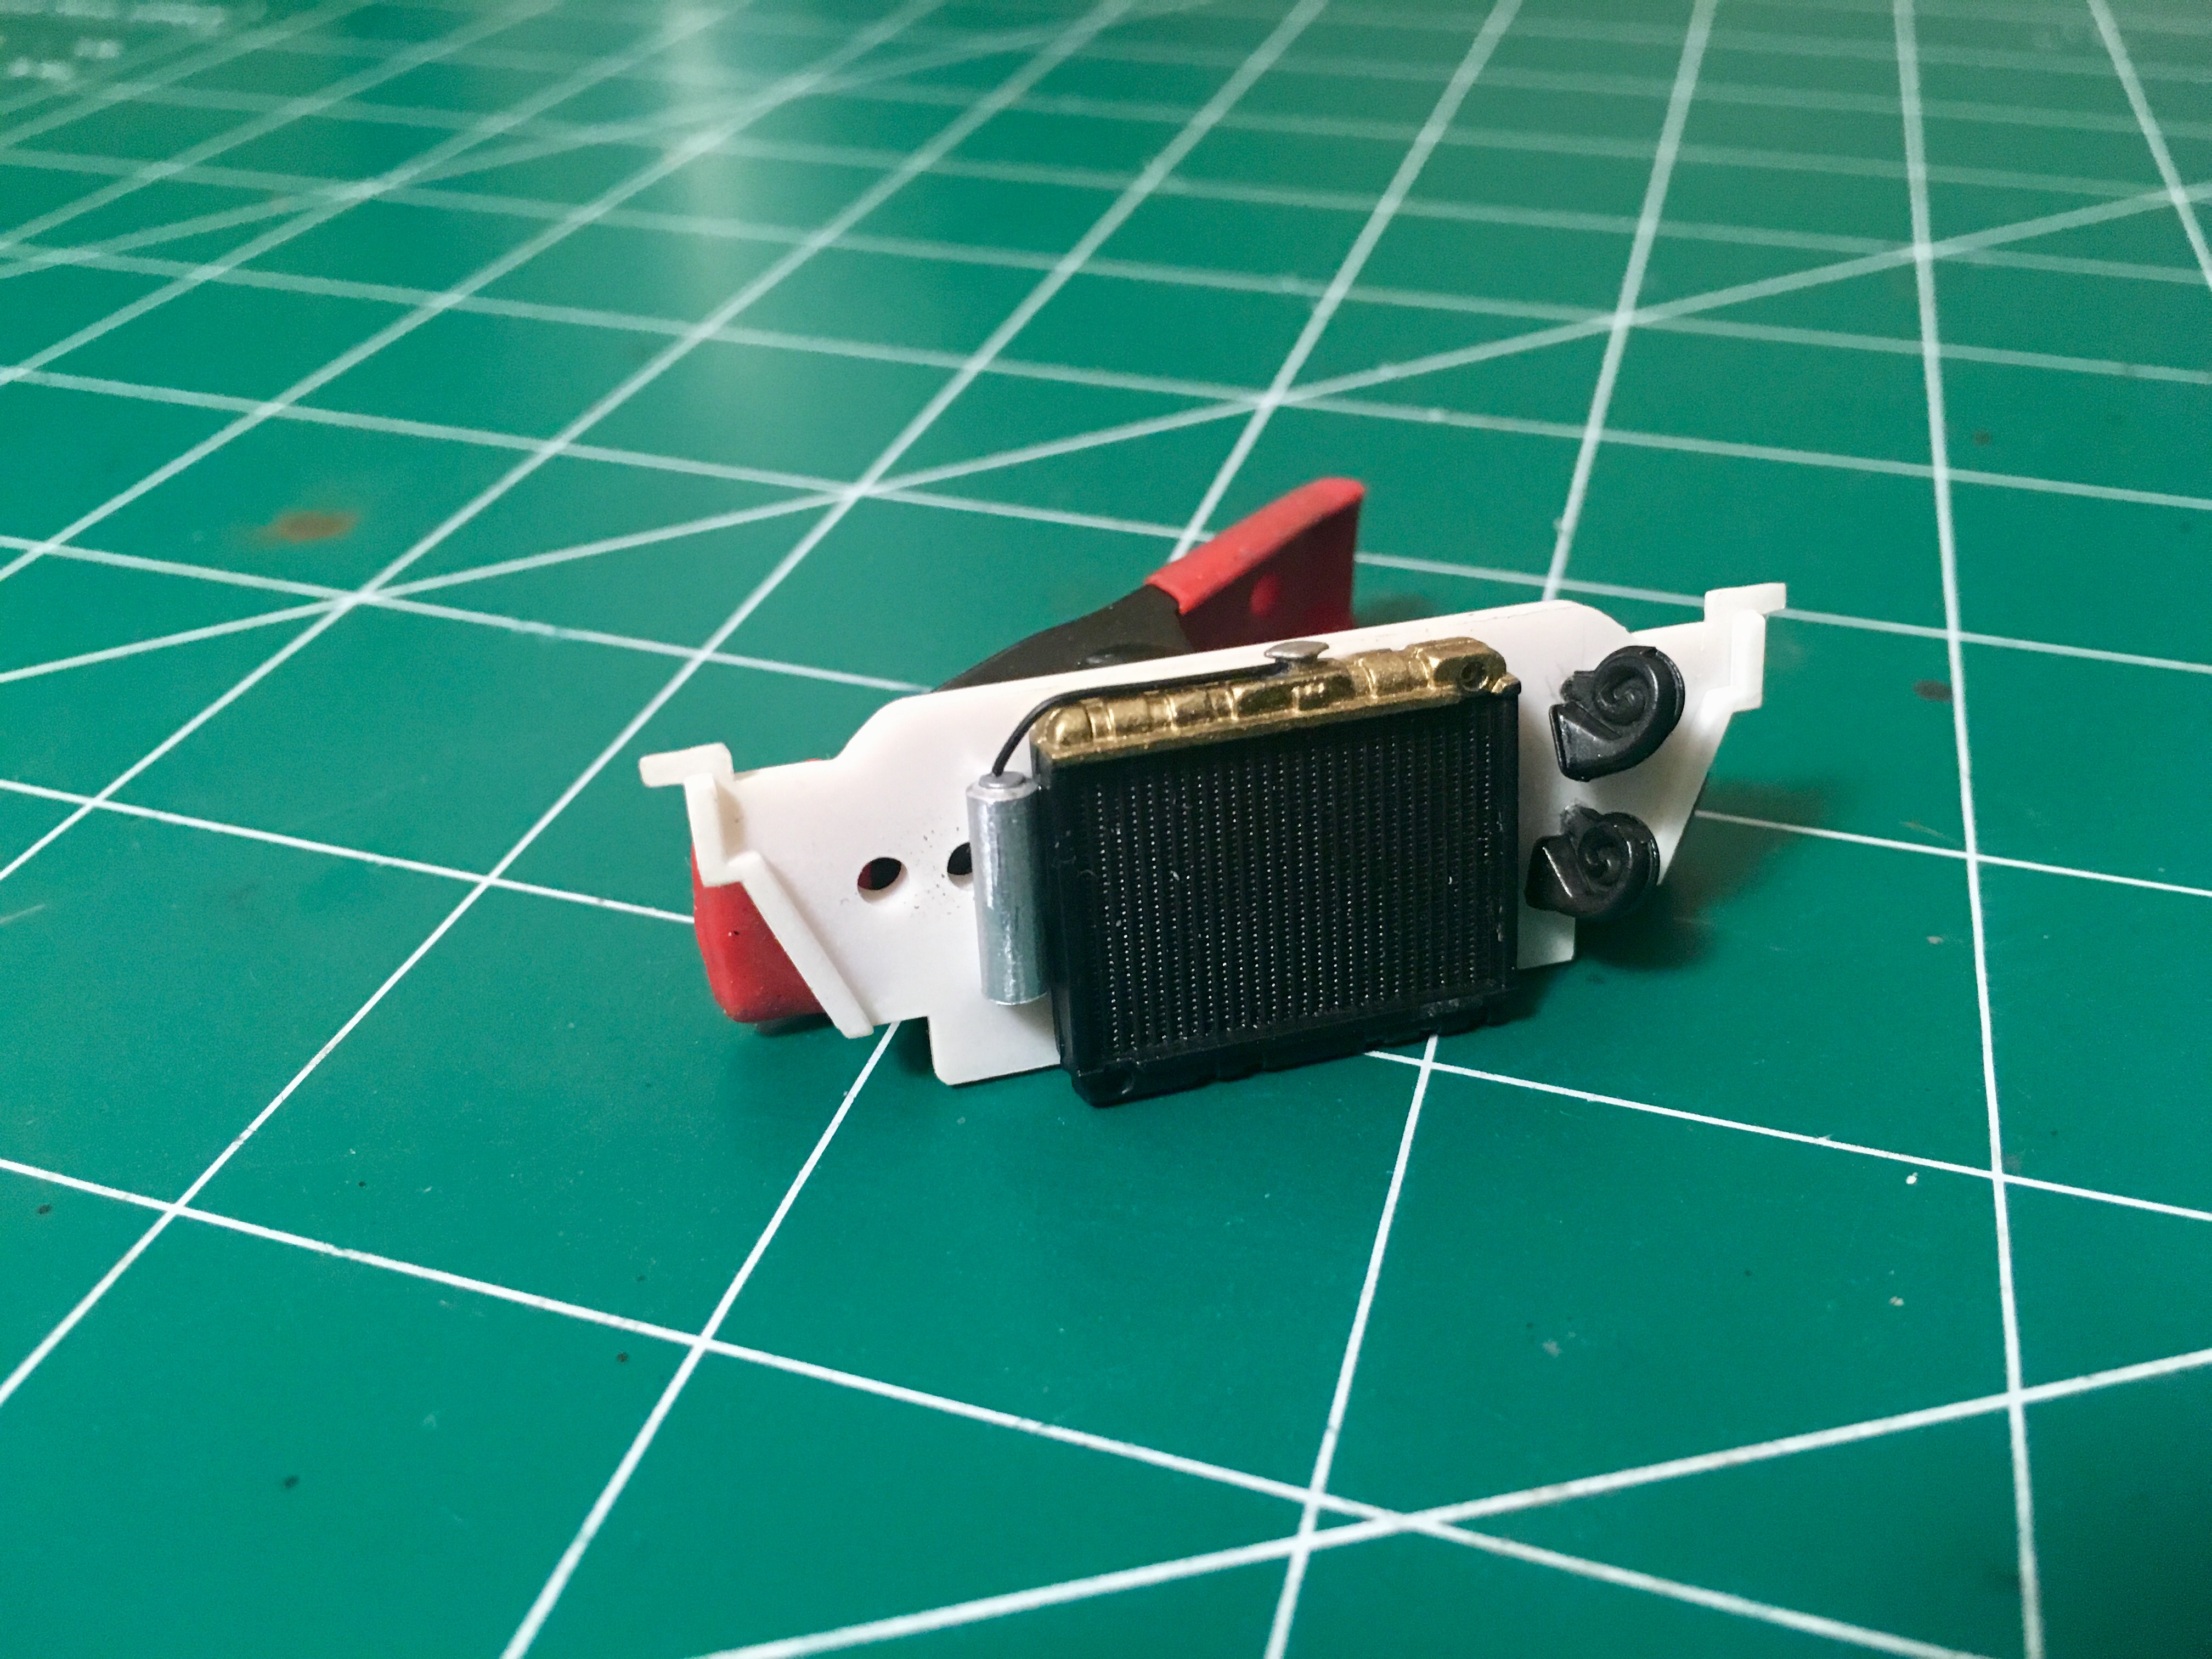
And made a little over flow can for the radiator.
-
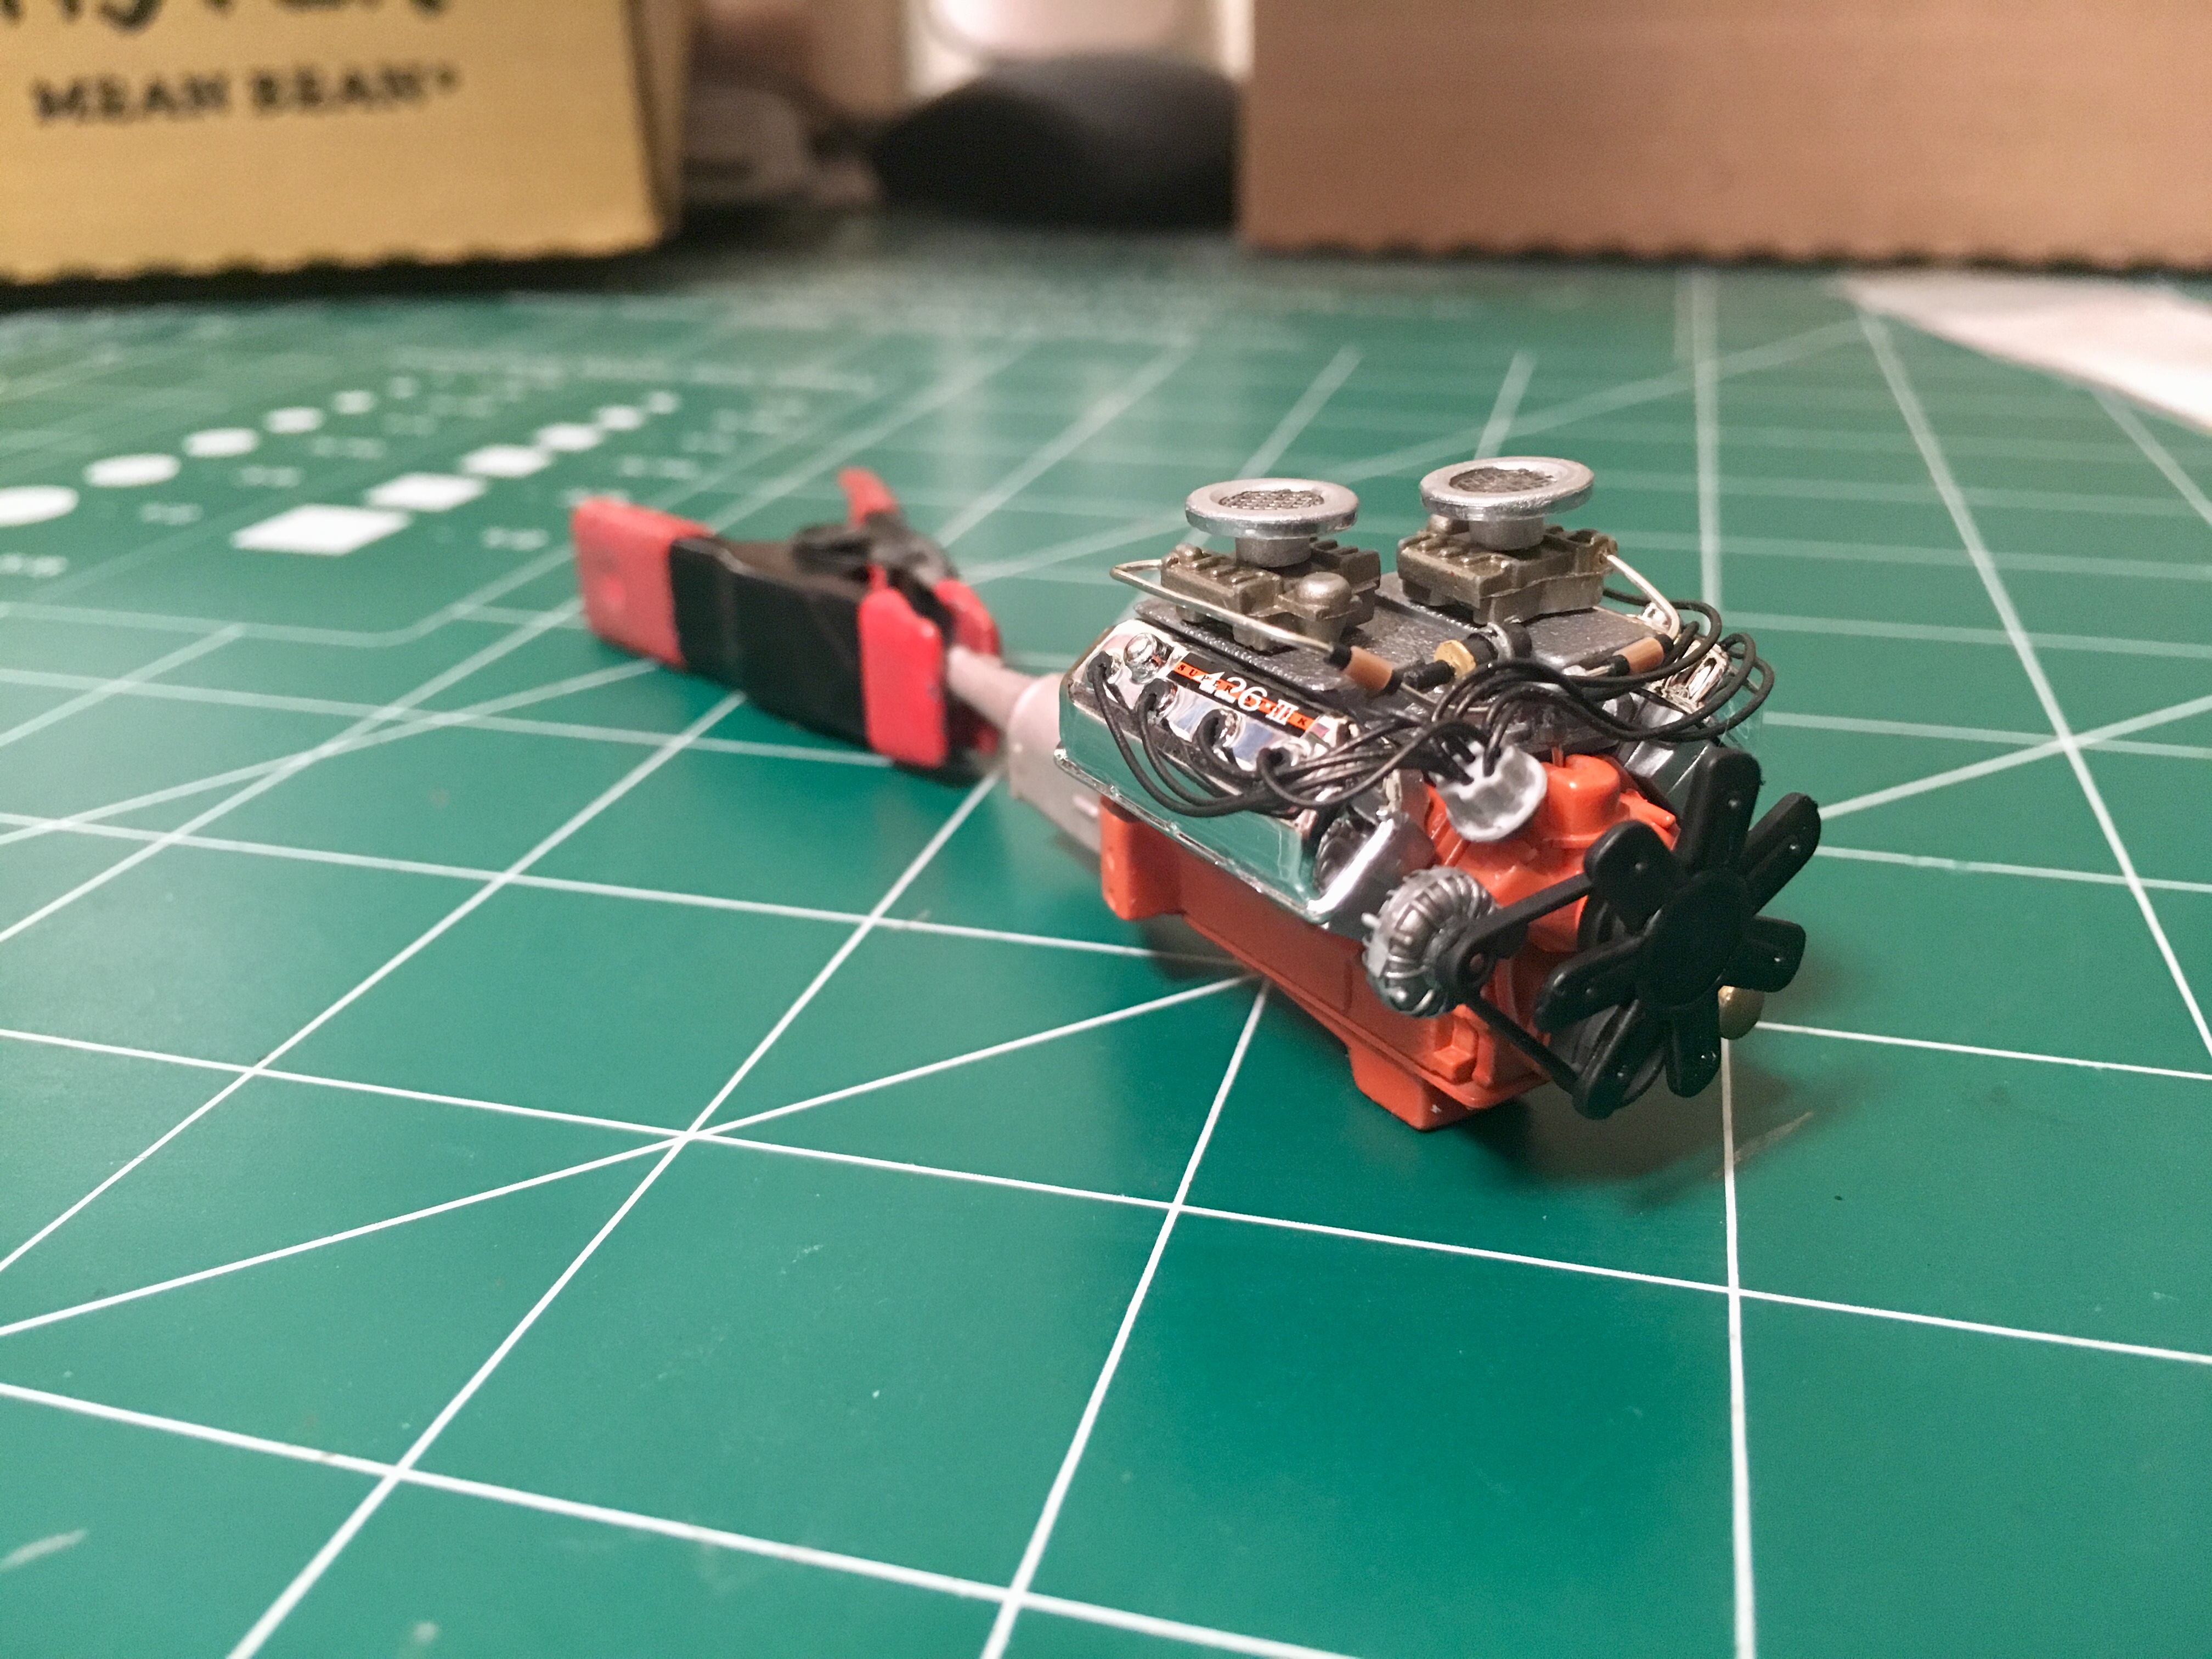
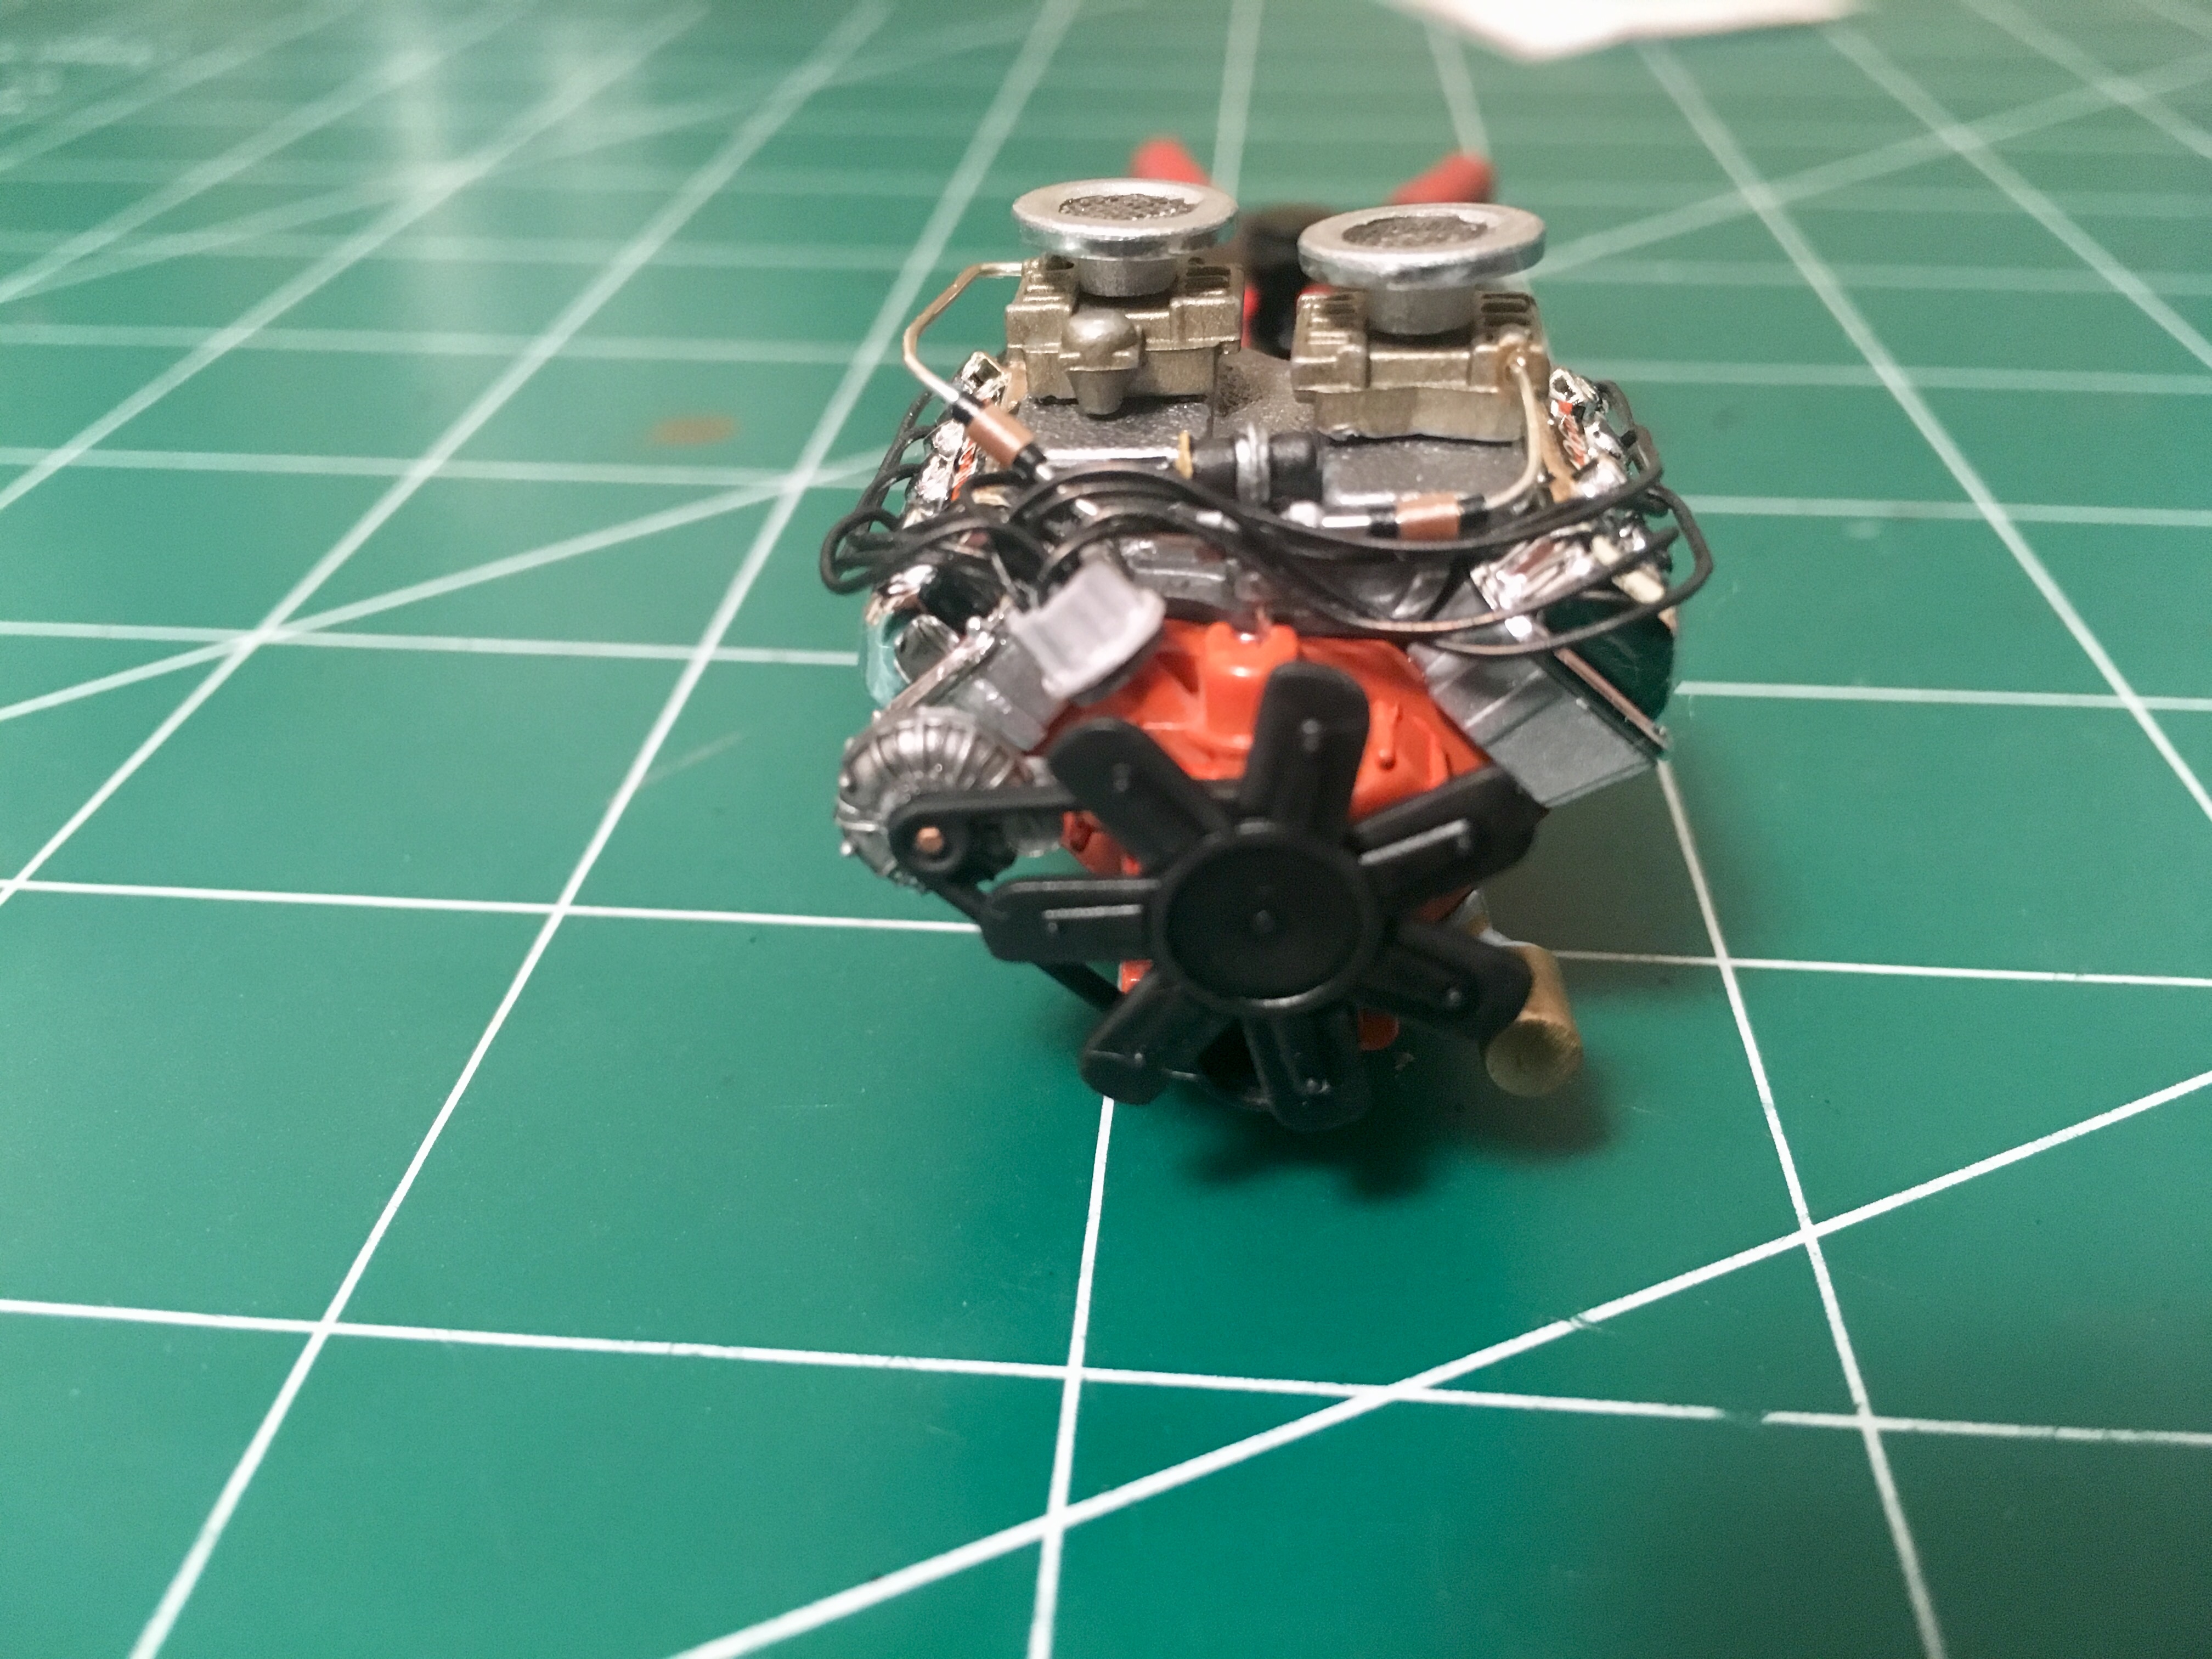
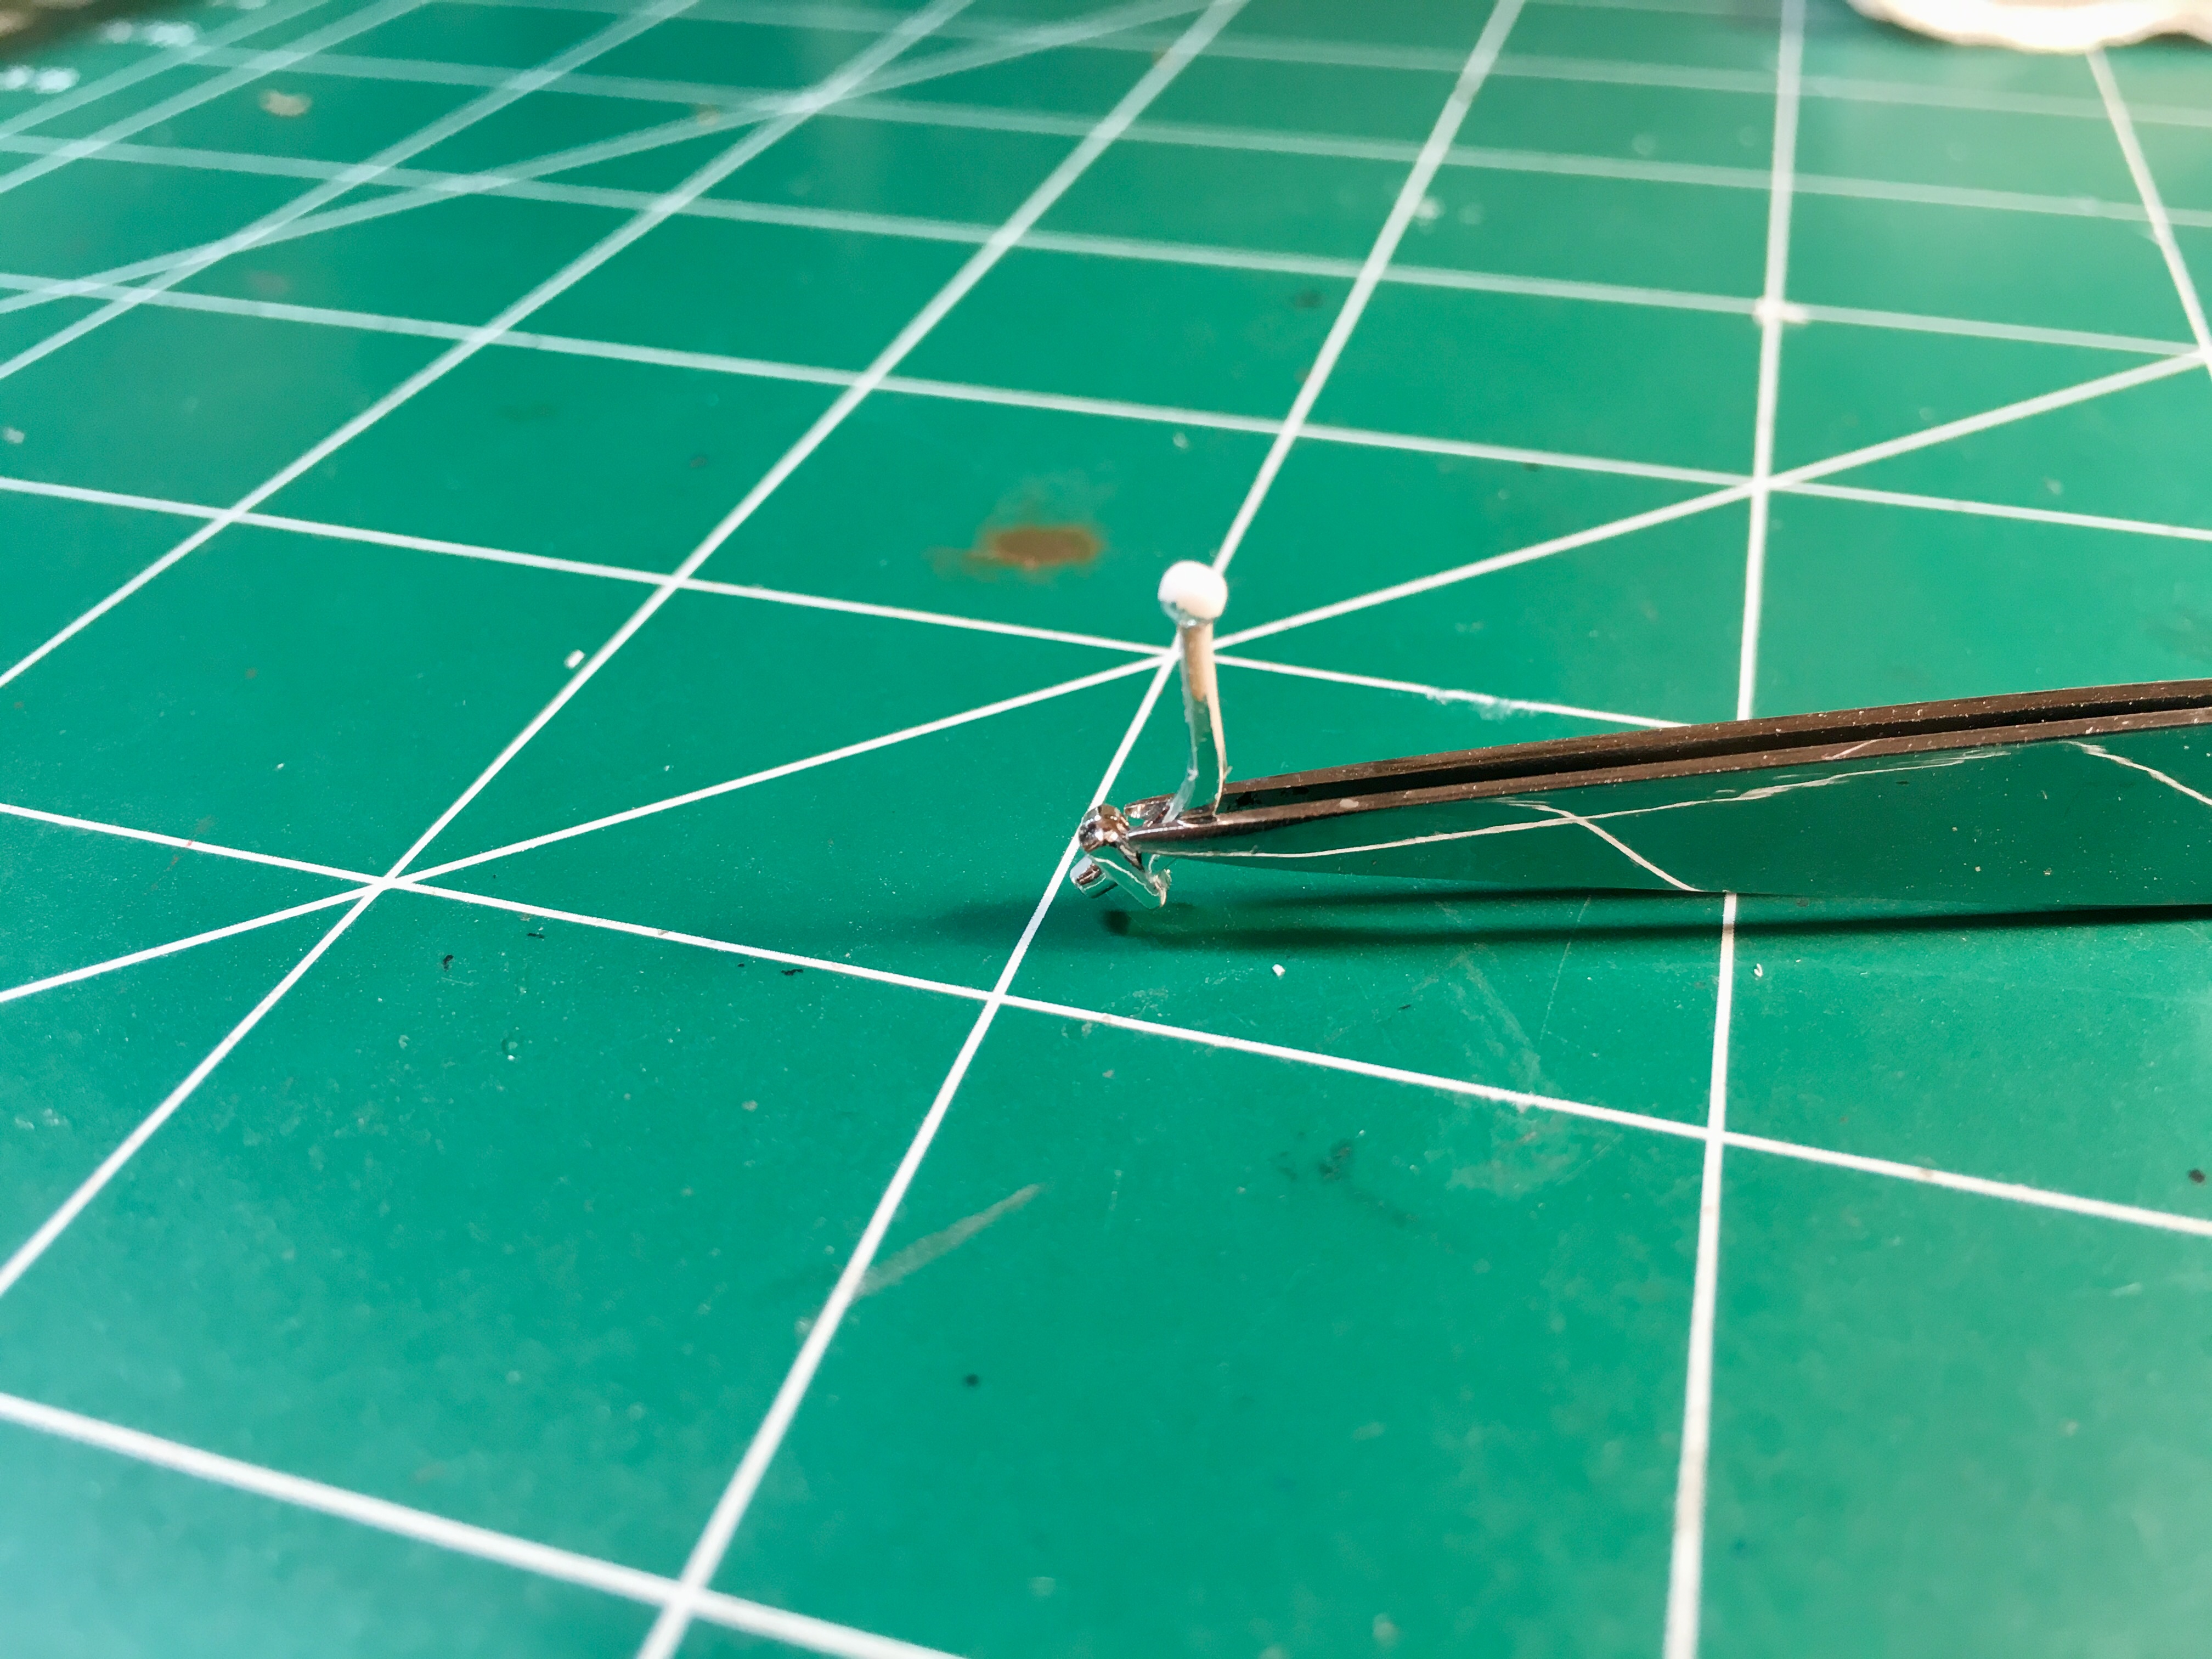
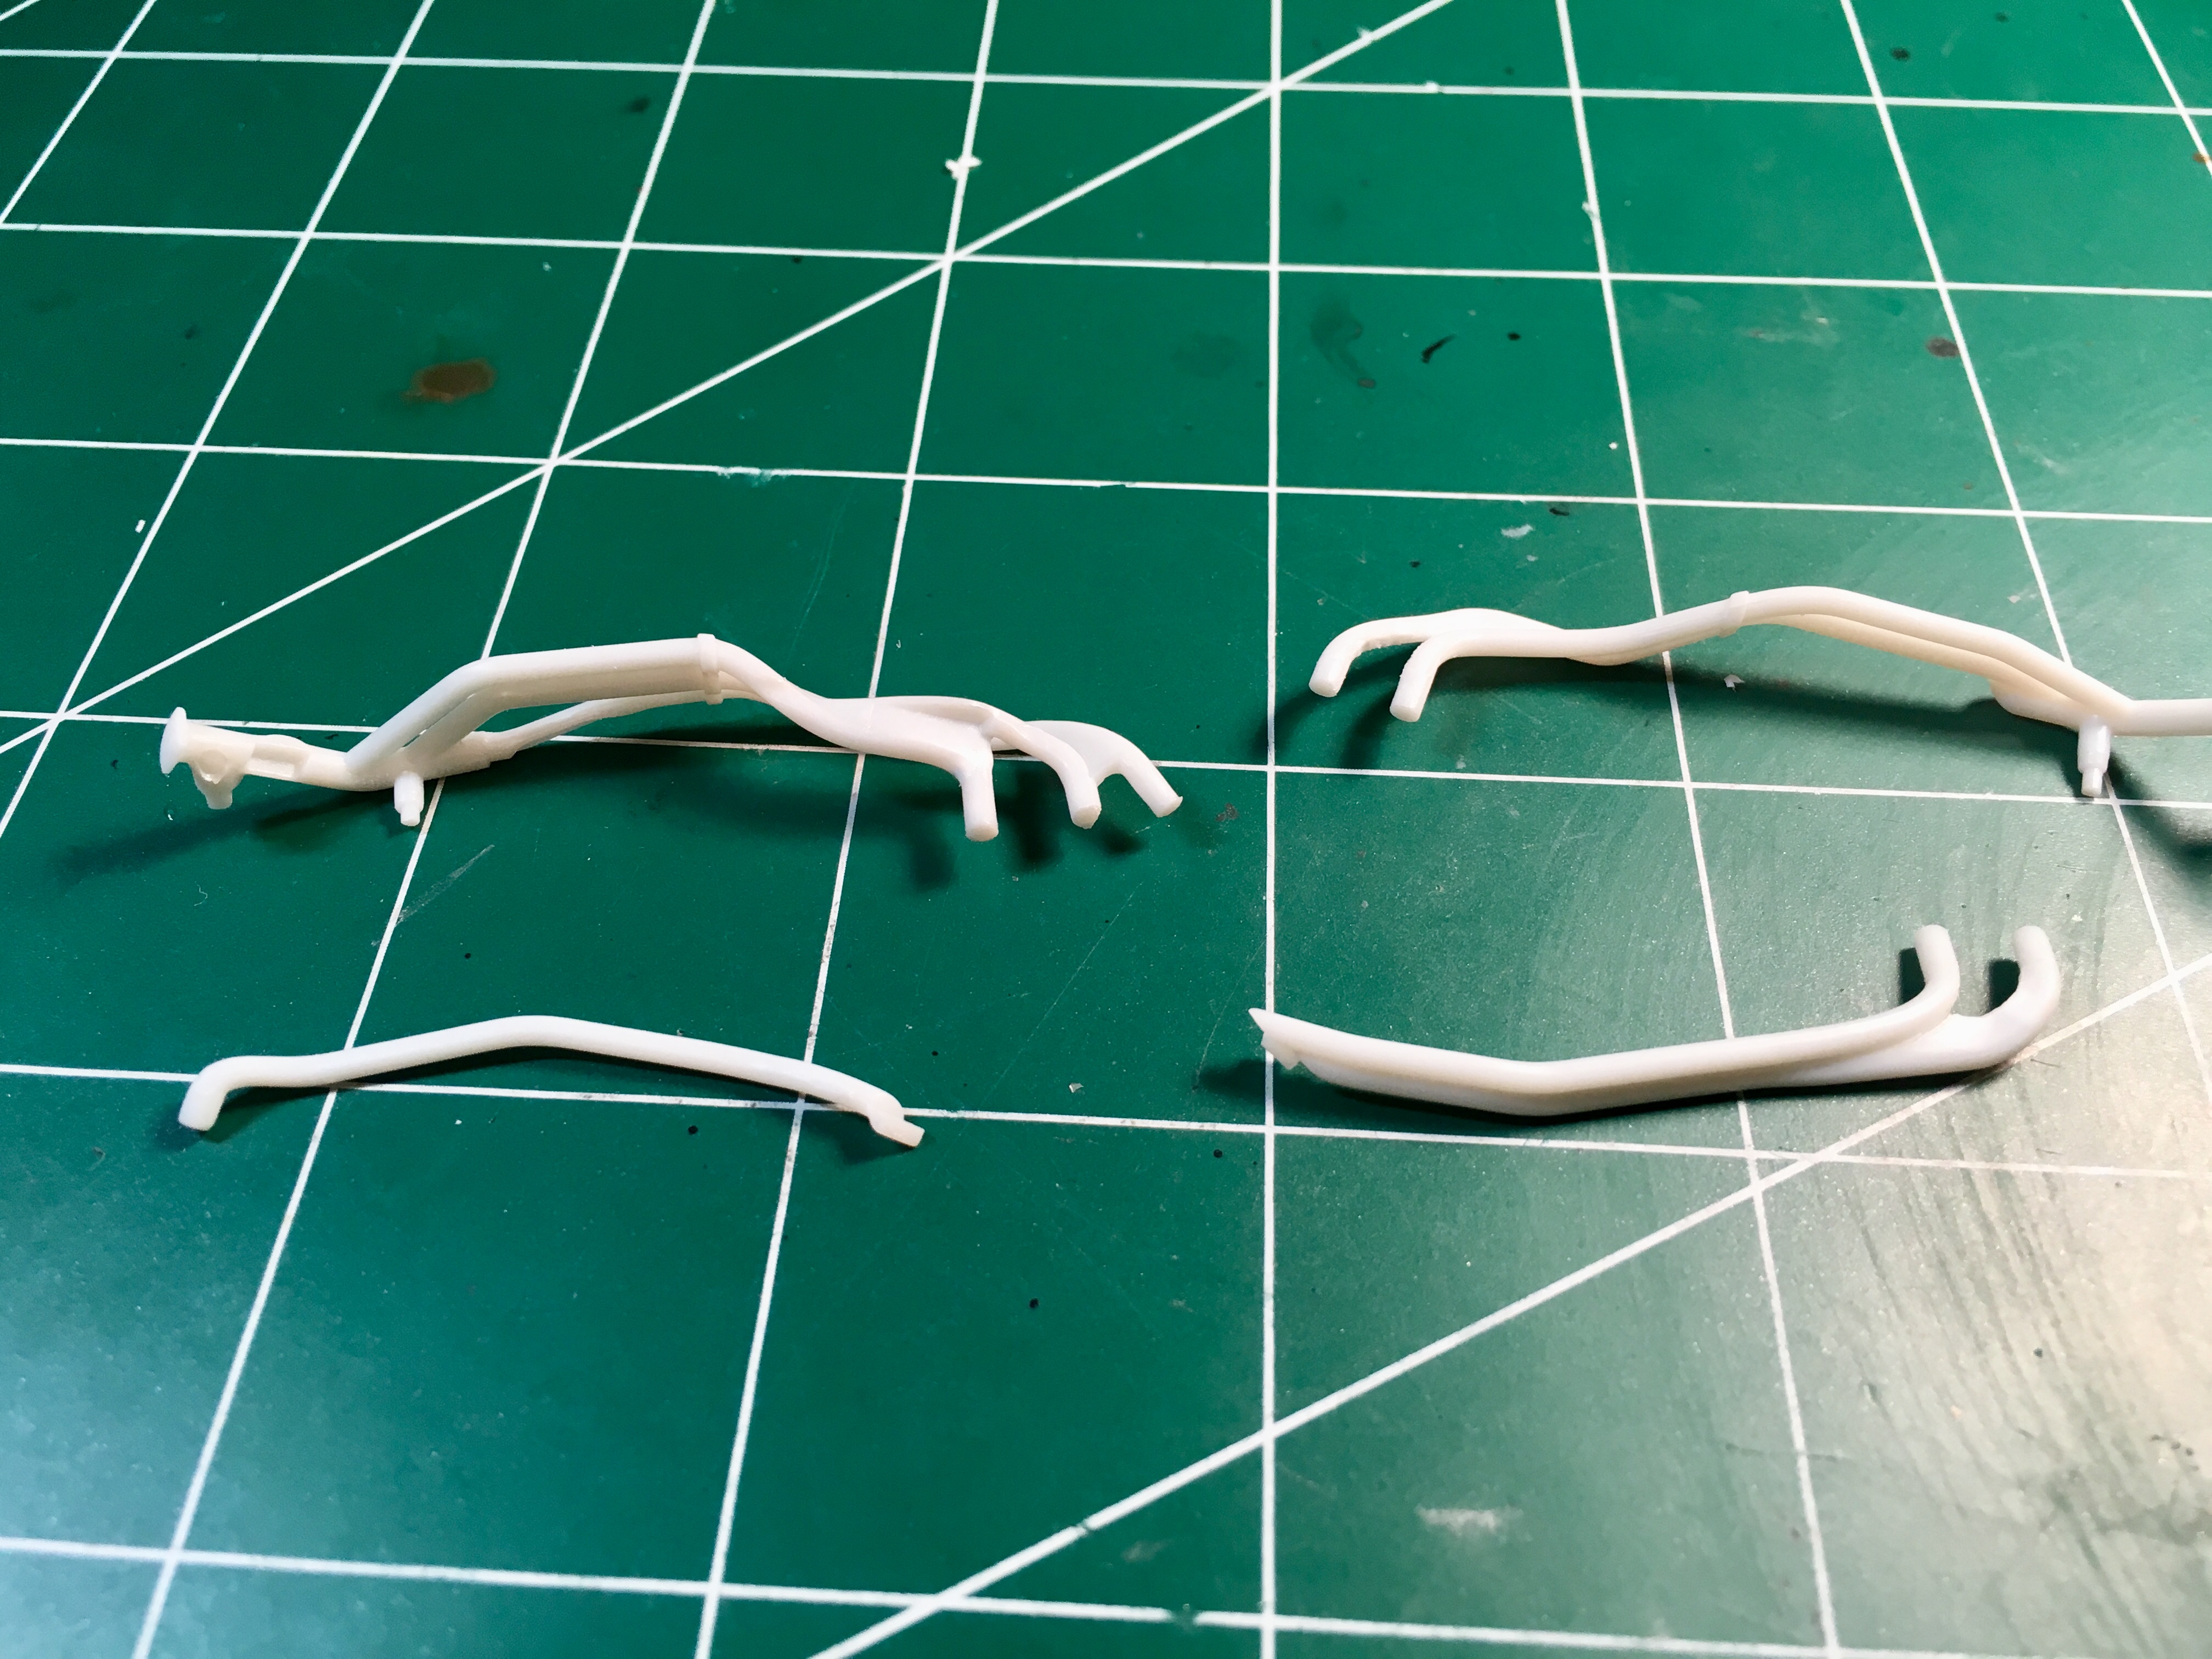
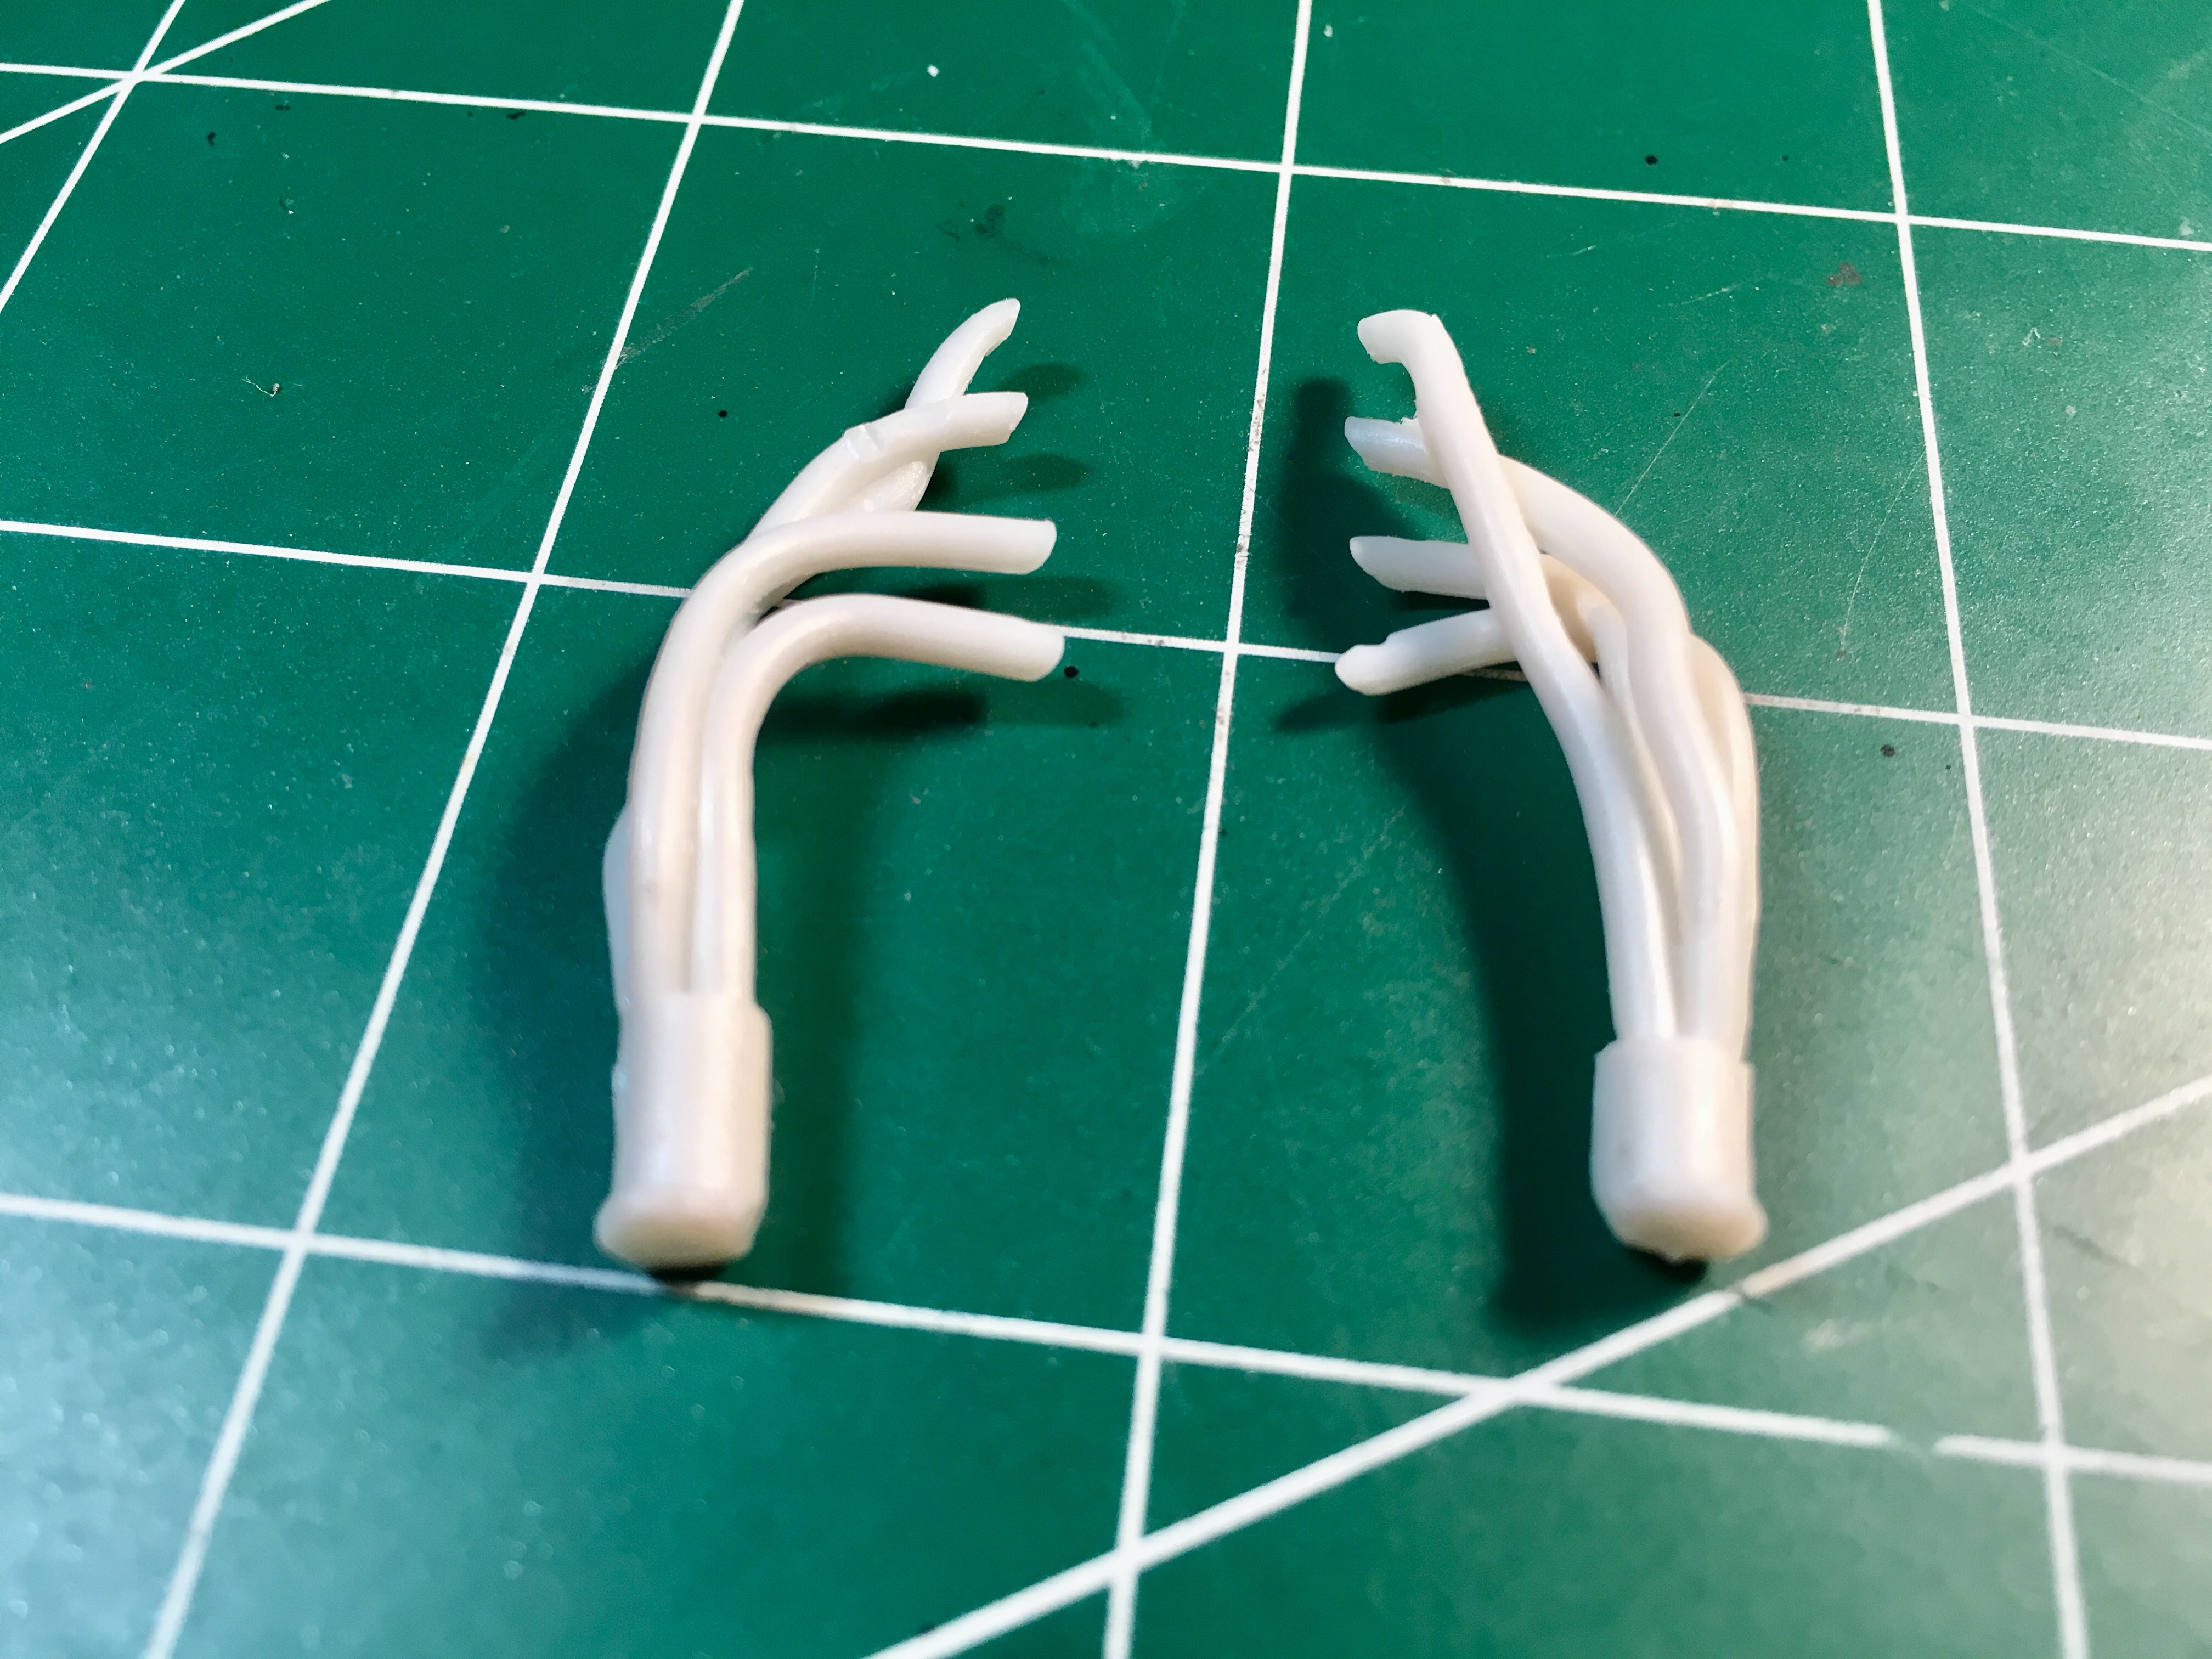
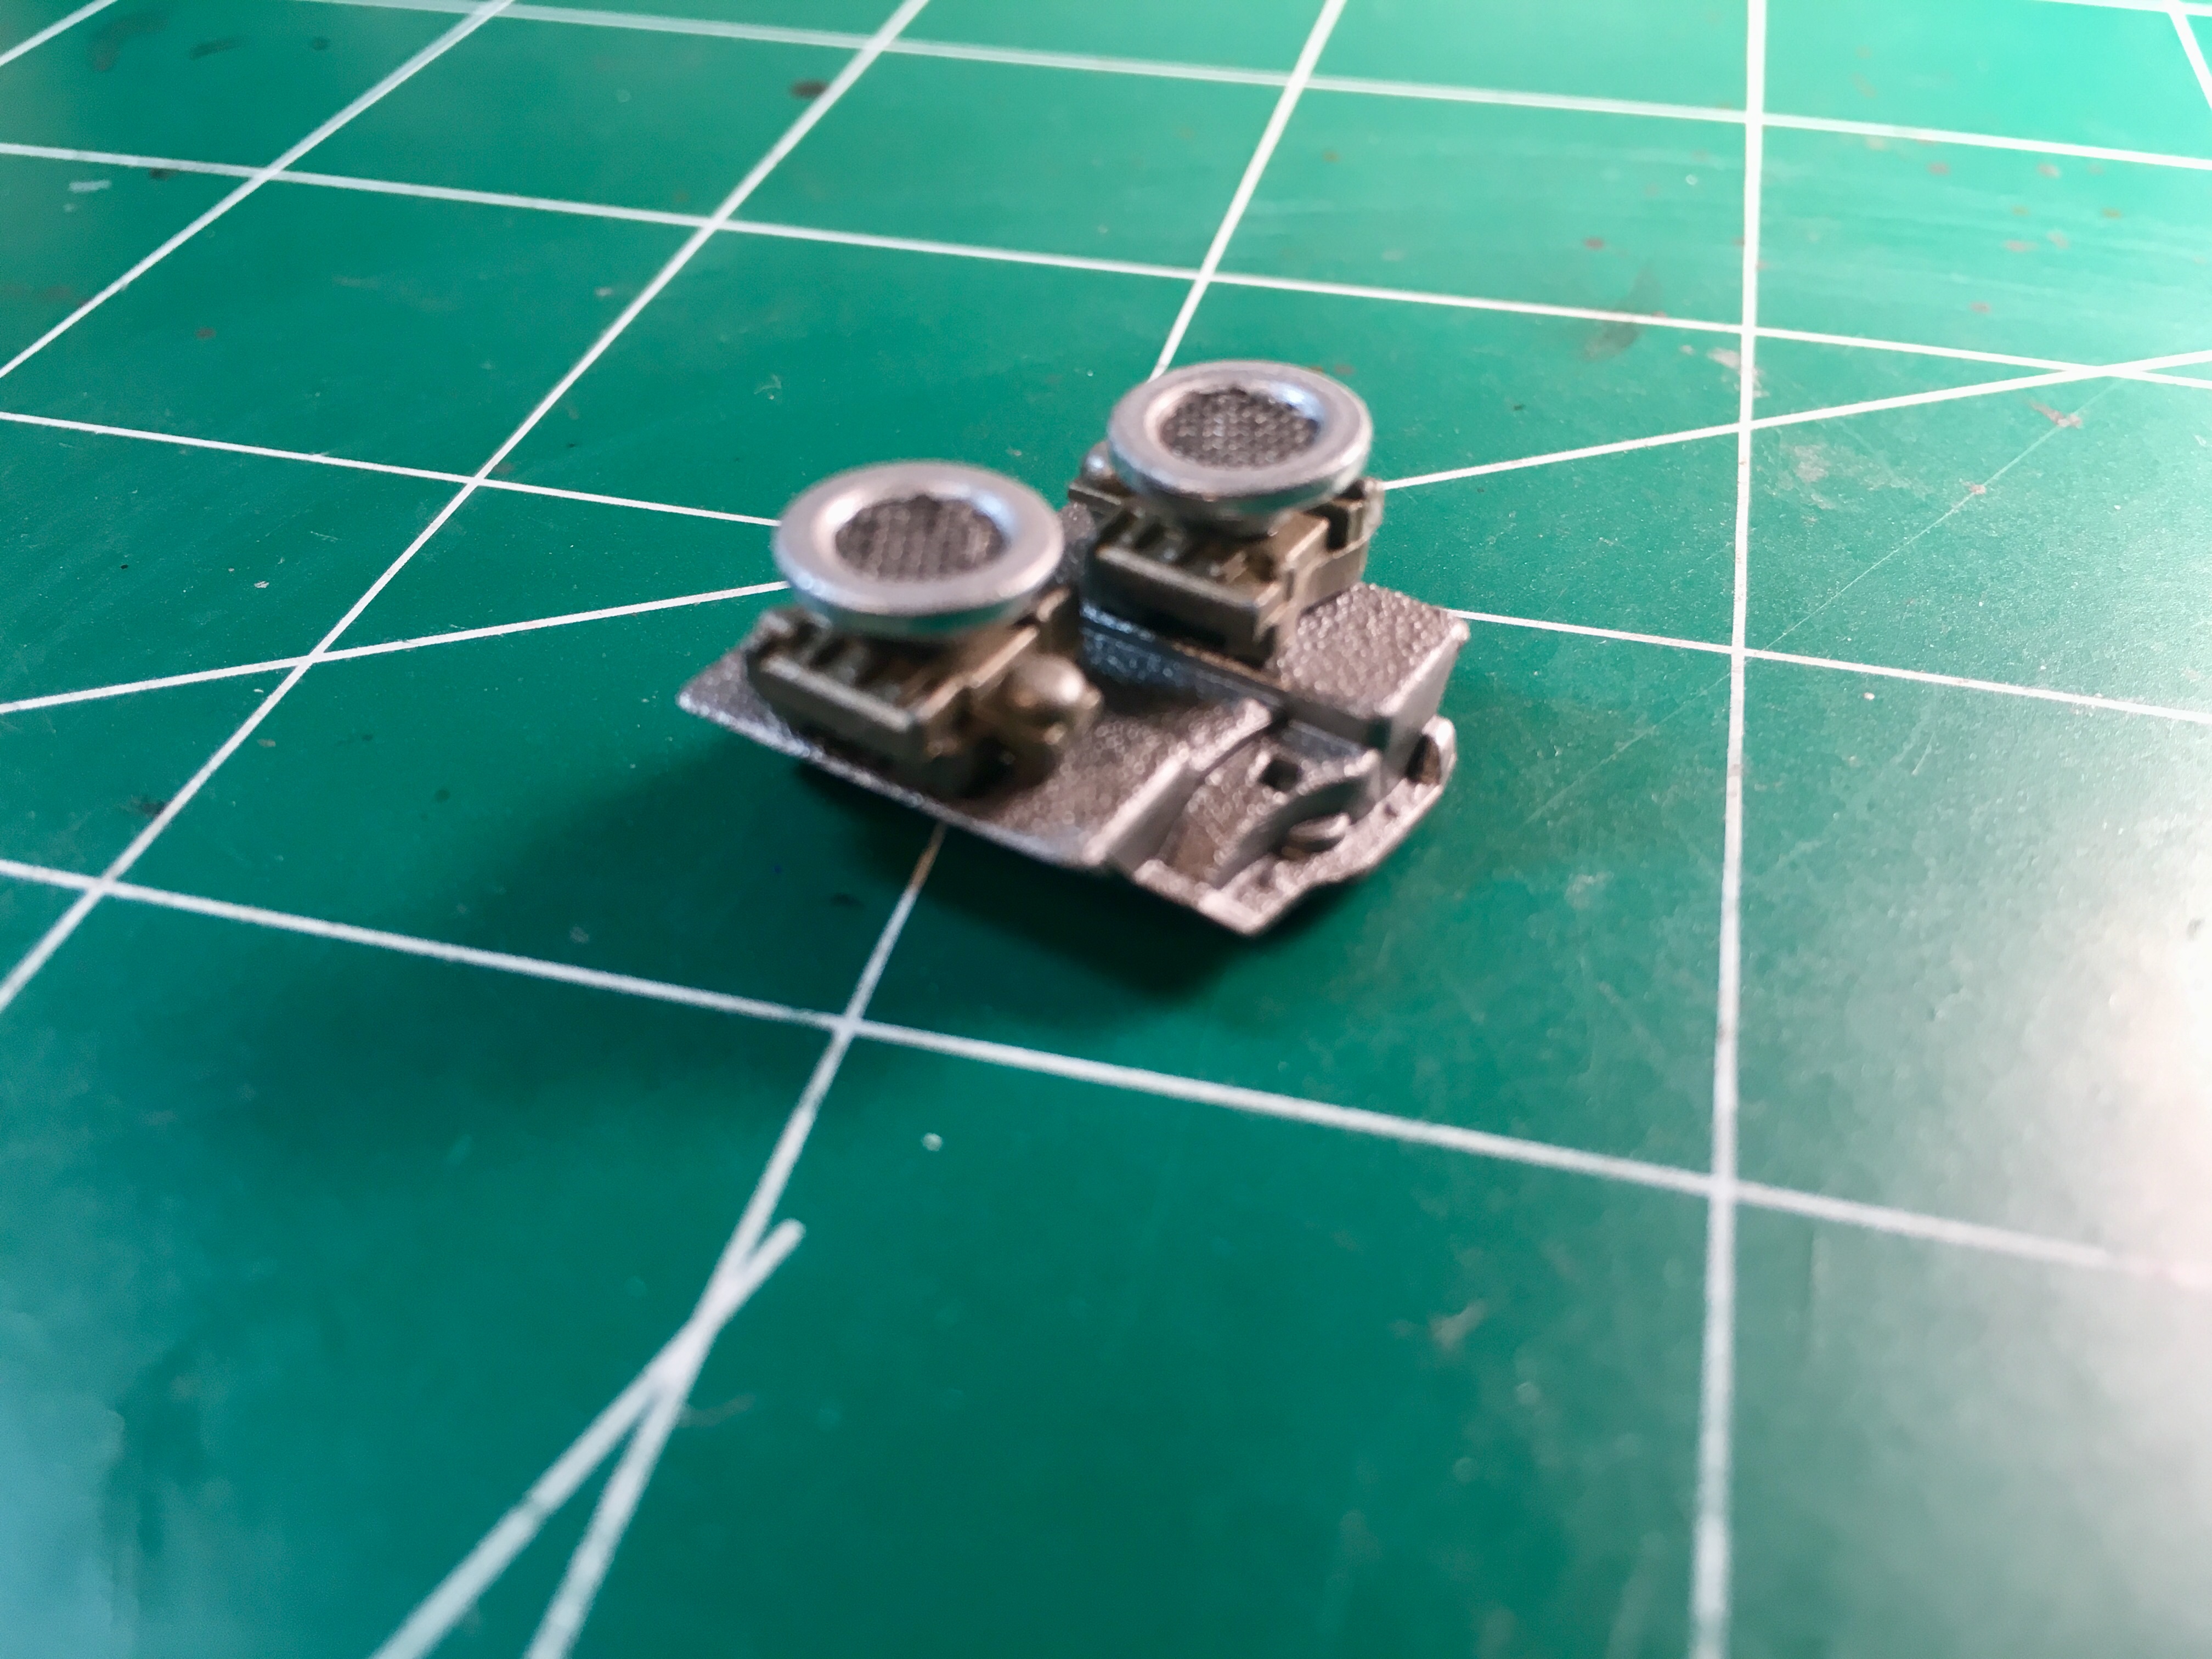
Got the Hemi put together, and added some wires and fuel lines and filters.
-
Wow, can’t wait to see this completed. That color really makes that interior glow. There is certainly a lot of work going into all those pieces. Isn’t there a large center hub for the steering wheel? Does the kit have it, or did you have to fab one up?
-
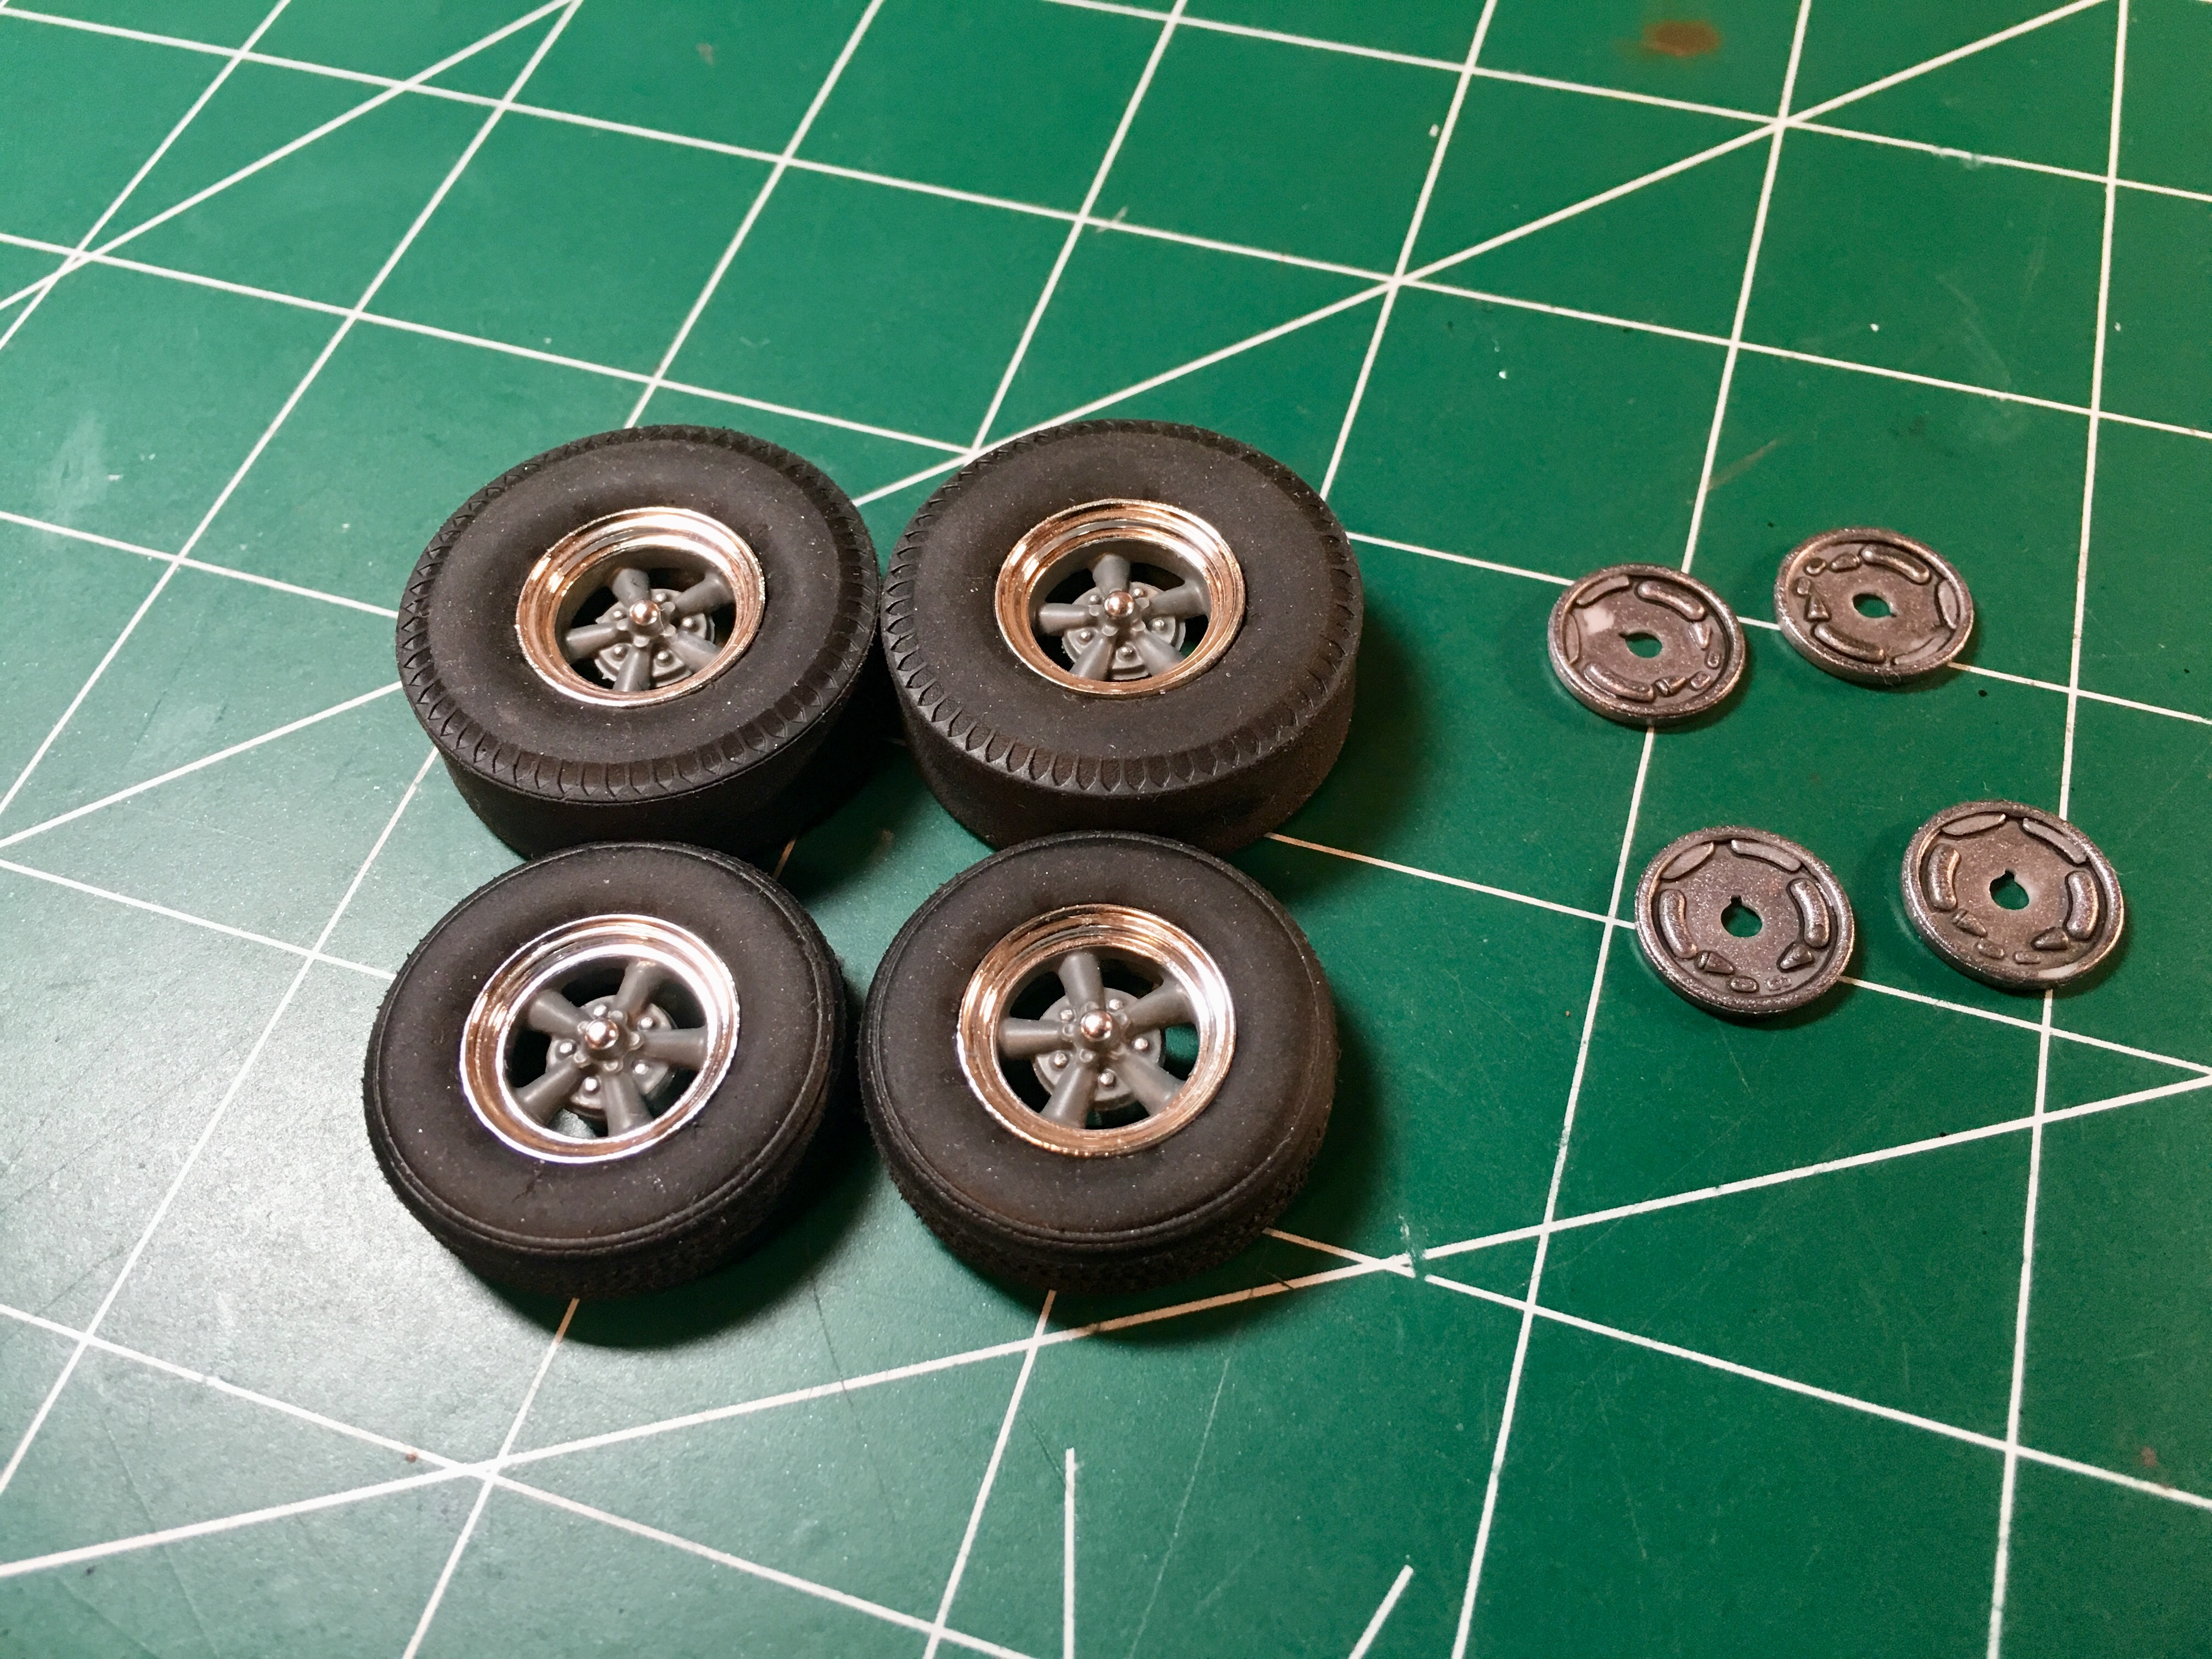
The wheels and tires....
-
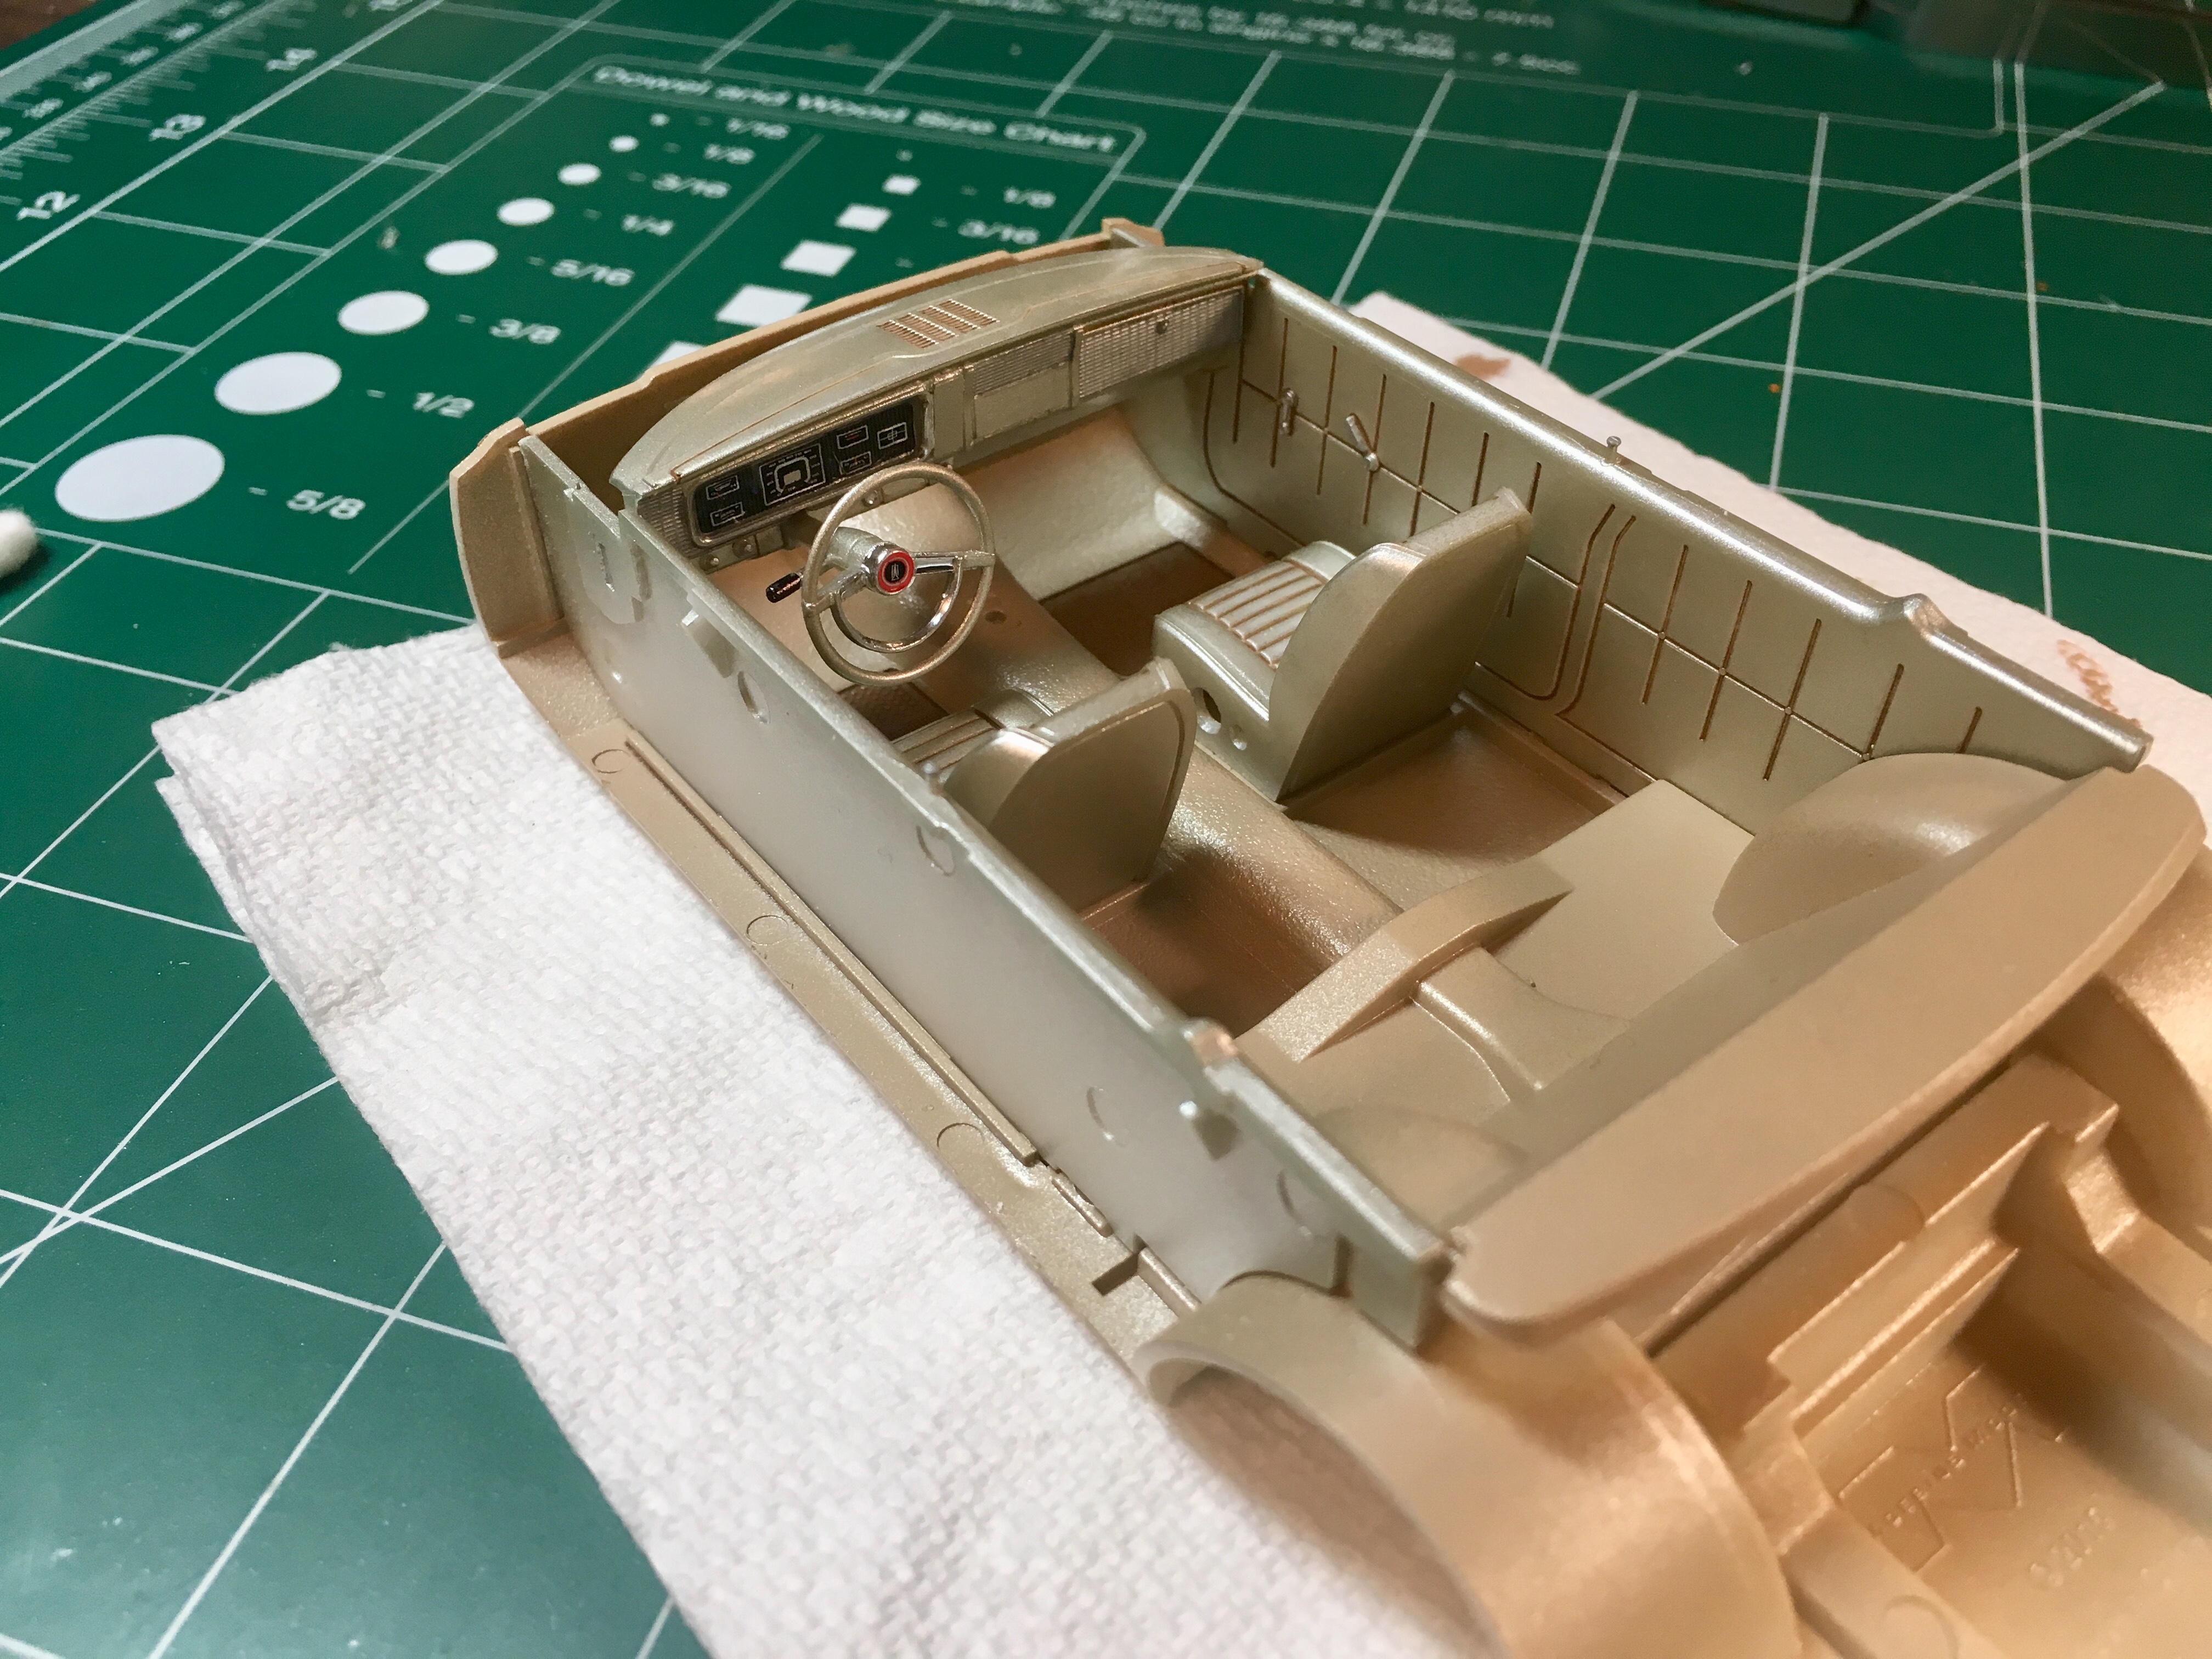
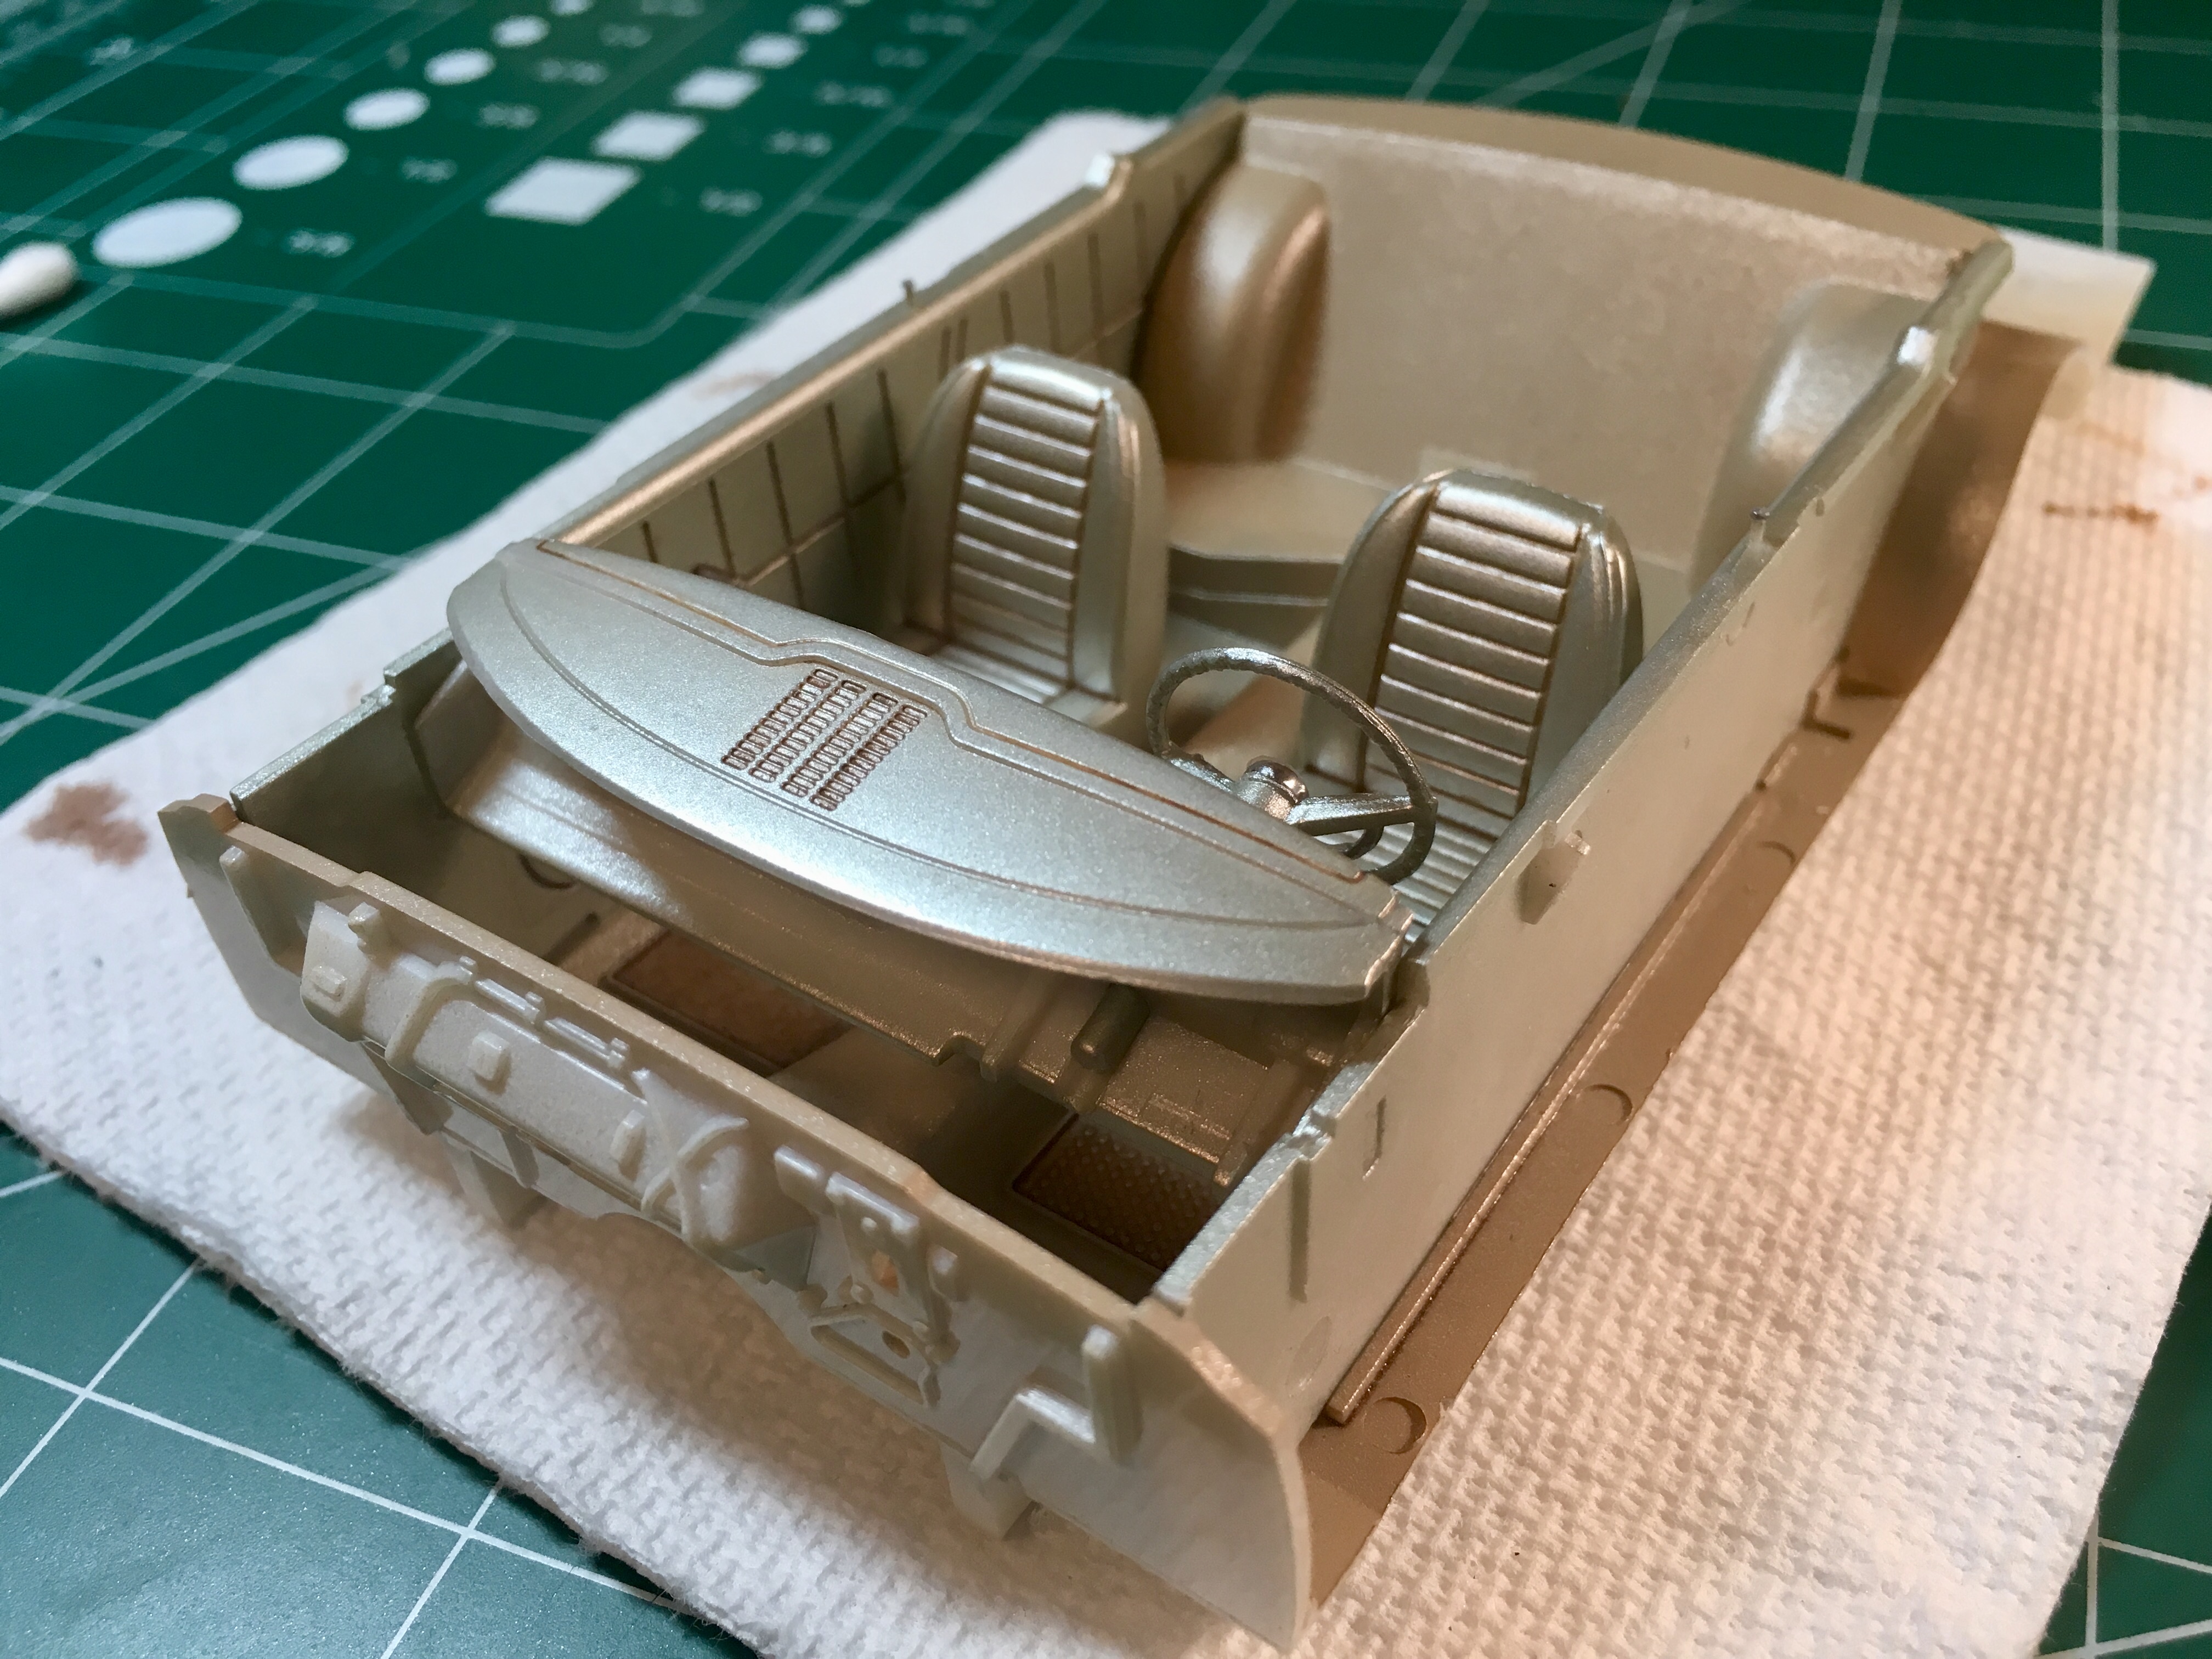
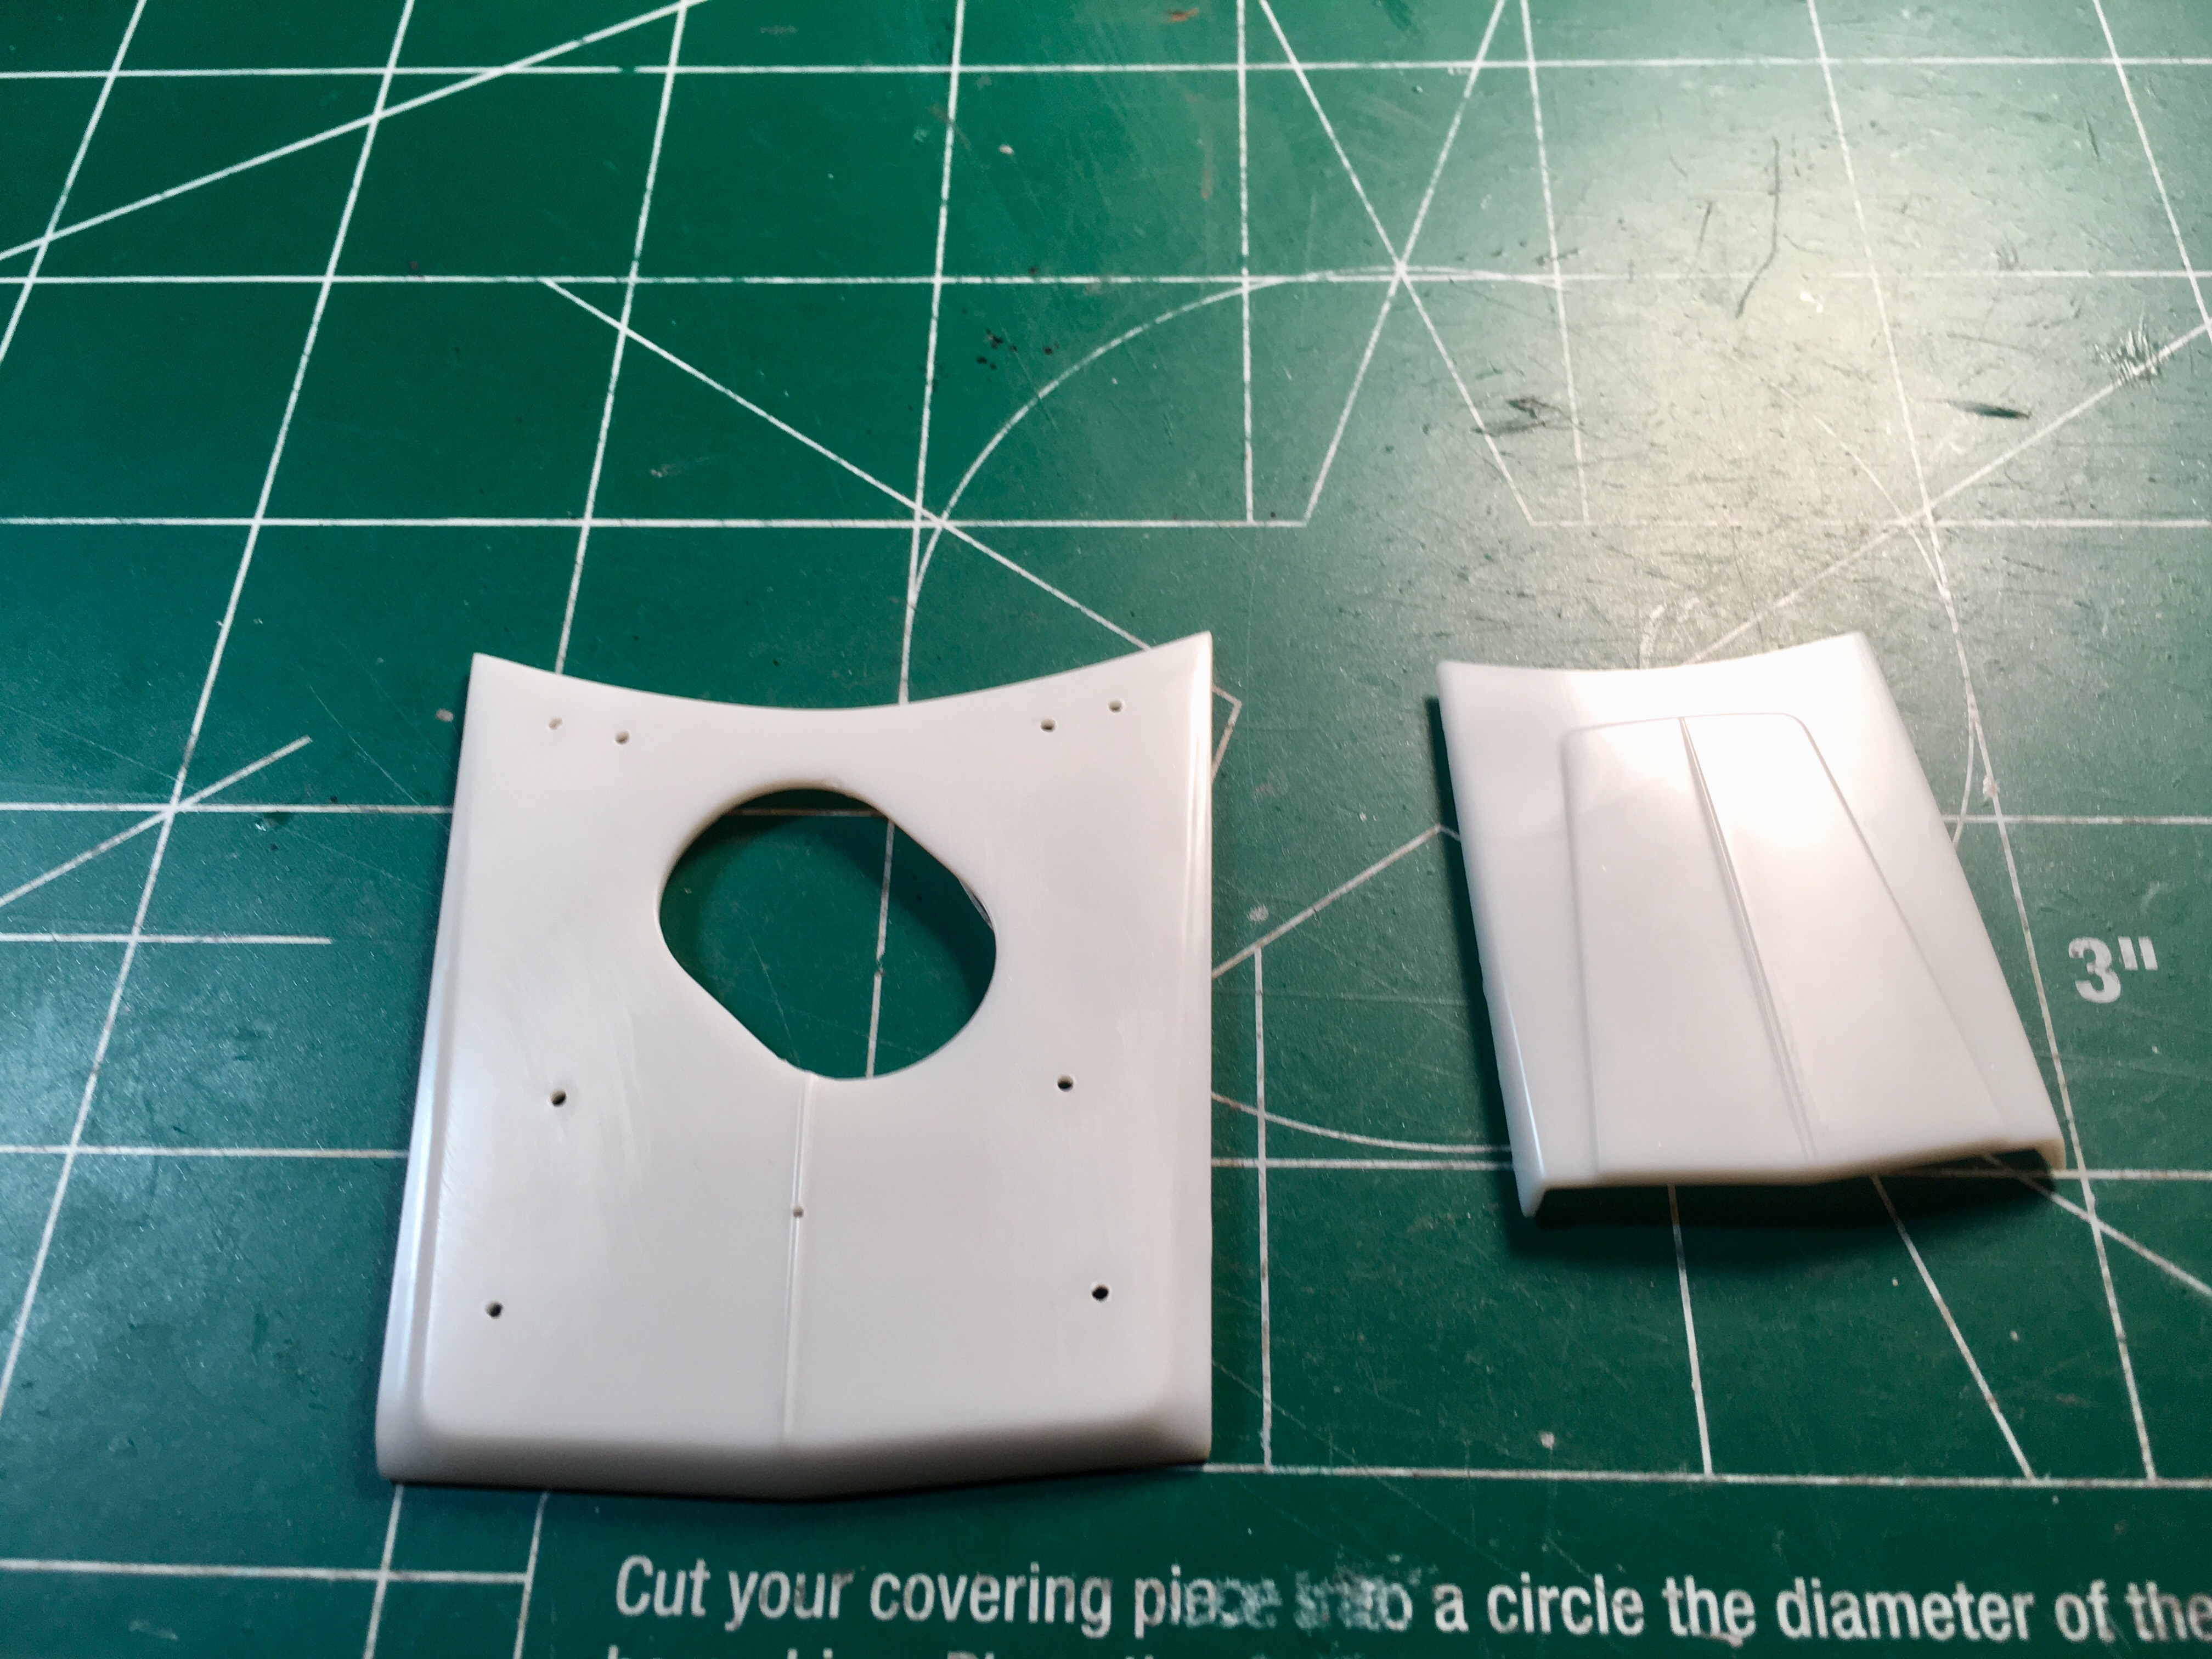
I also made a heater and radio delete plates for the dash. The four speed shifter knob was ridiculously too large. It would be the size of a softball on the 1:1 car, so I added a smaller knob.
-
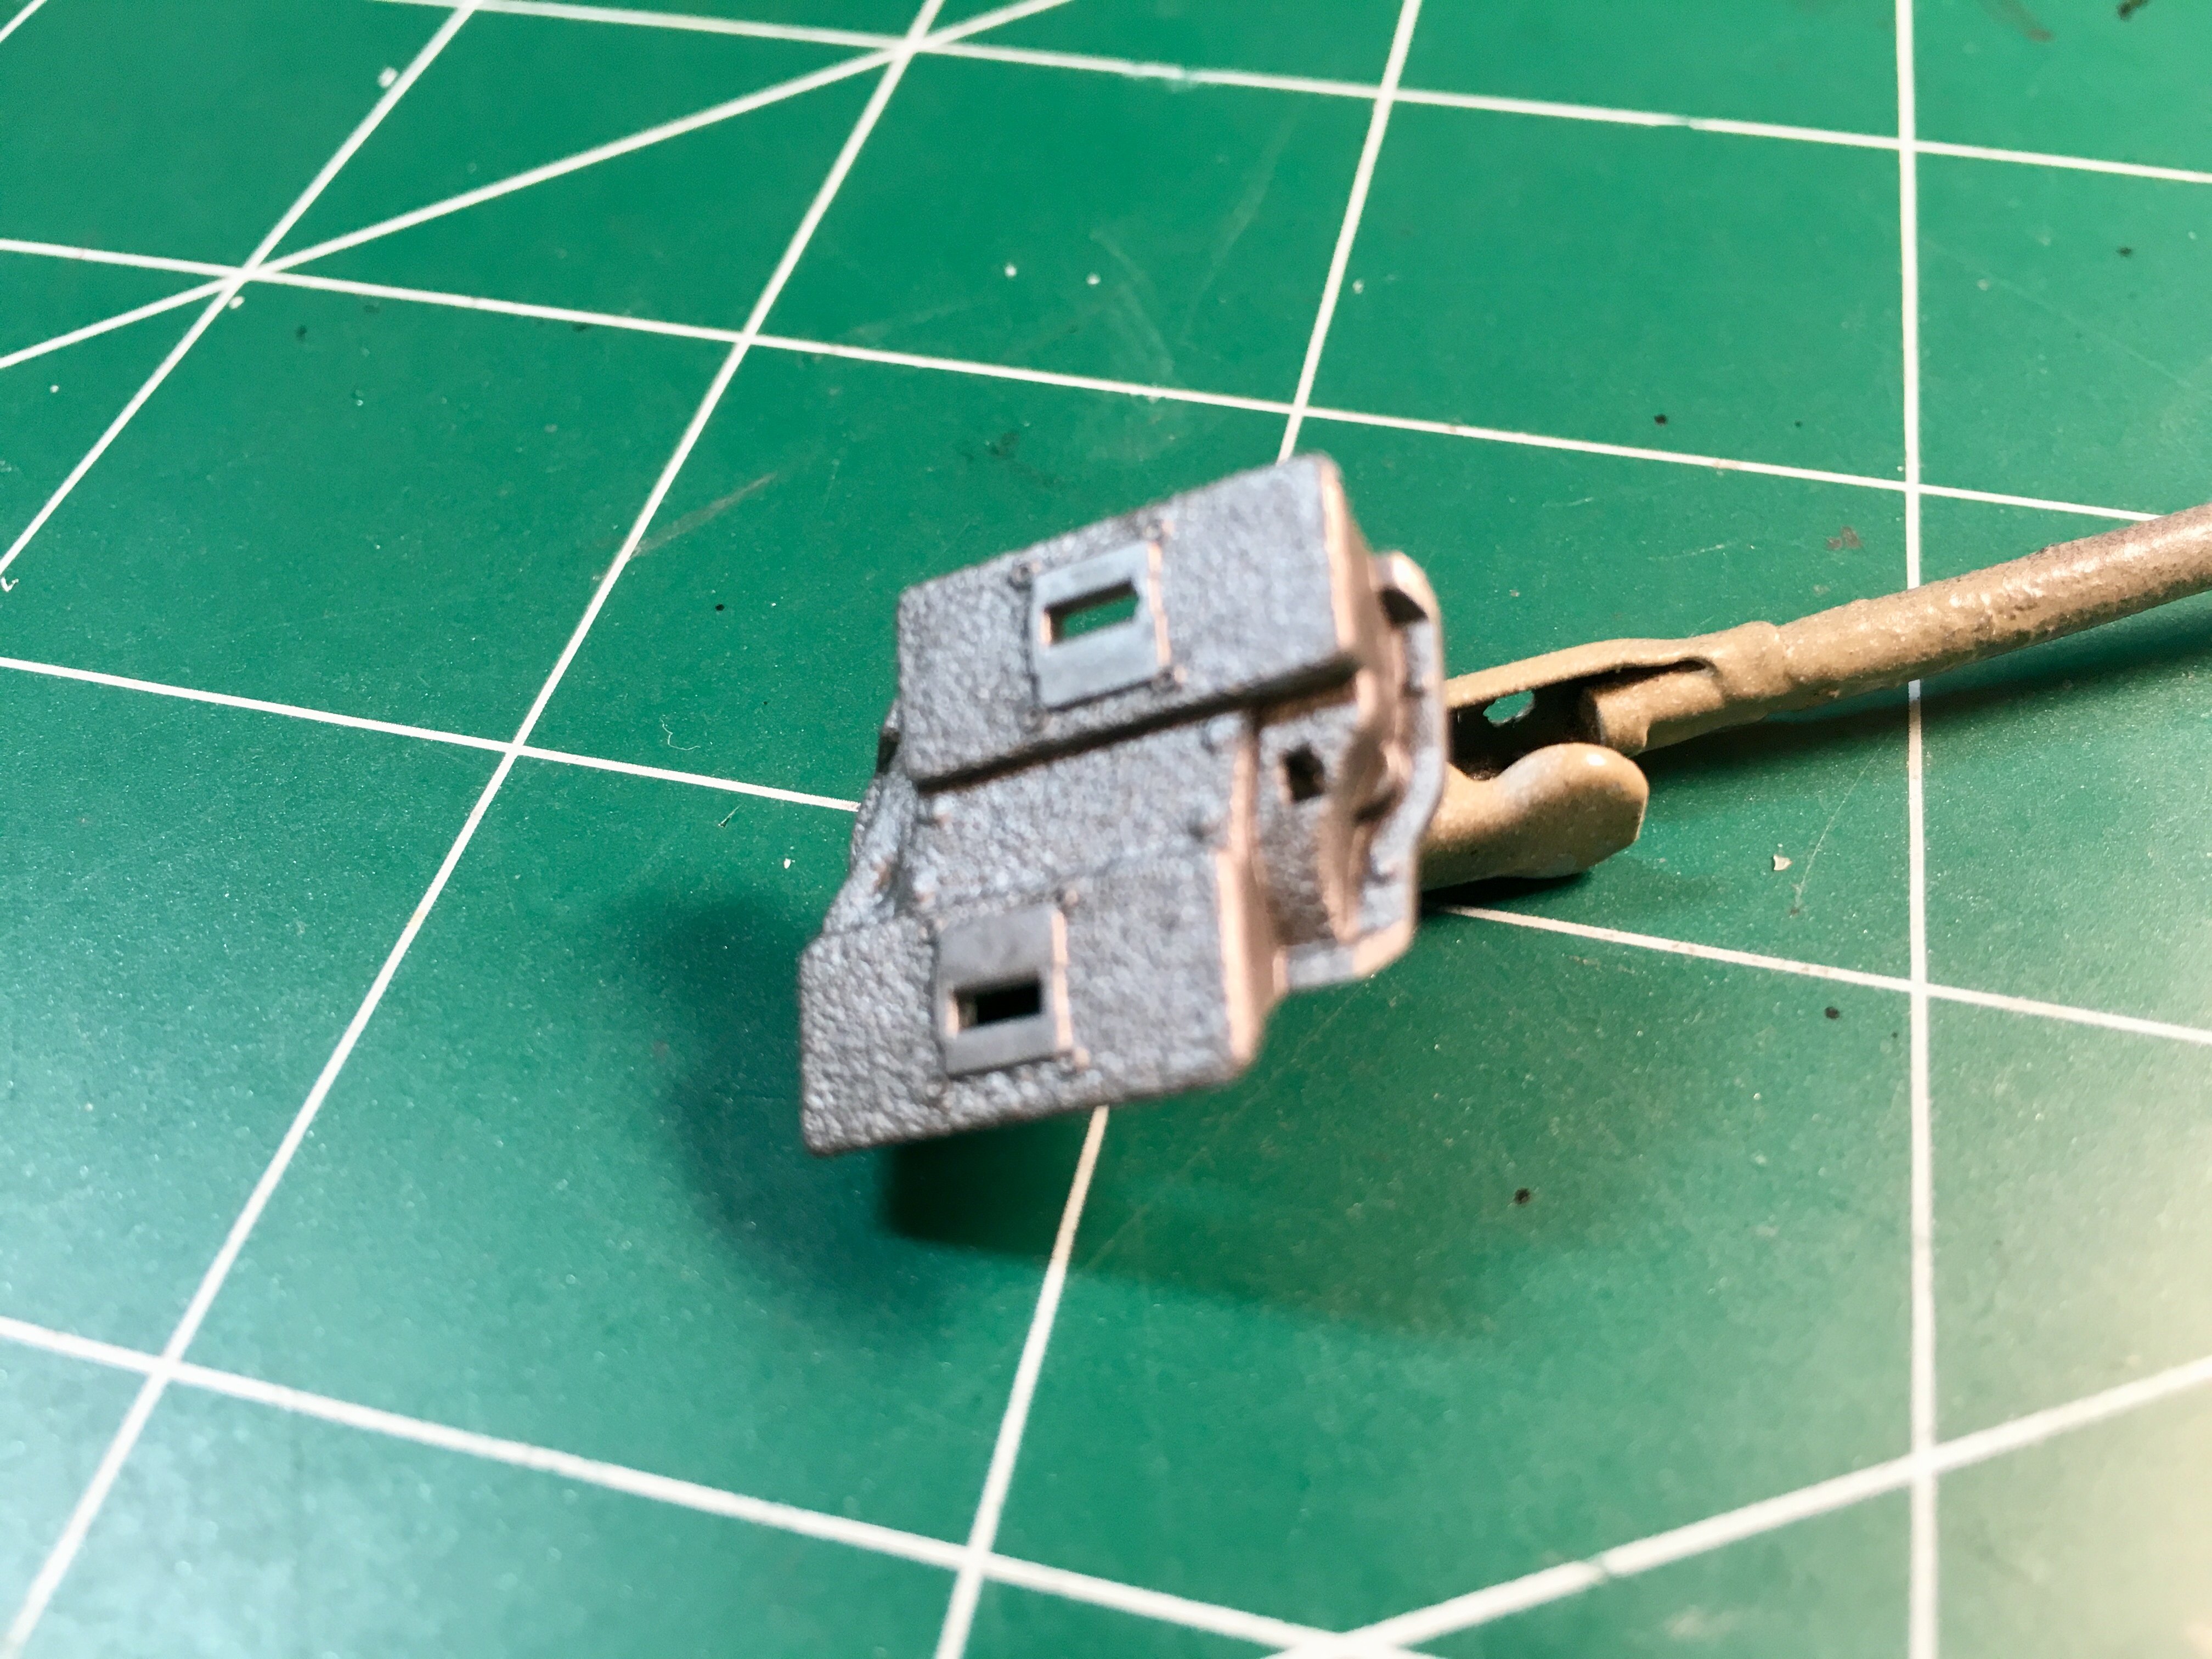
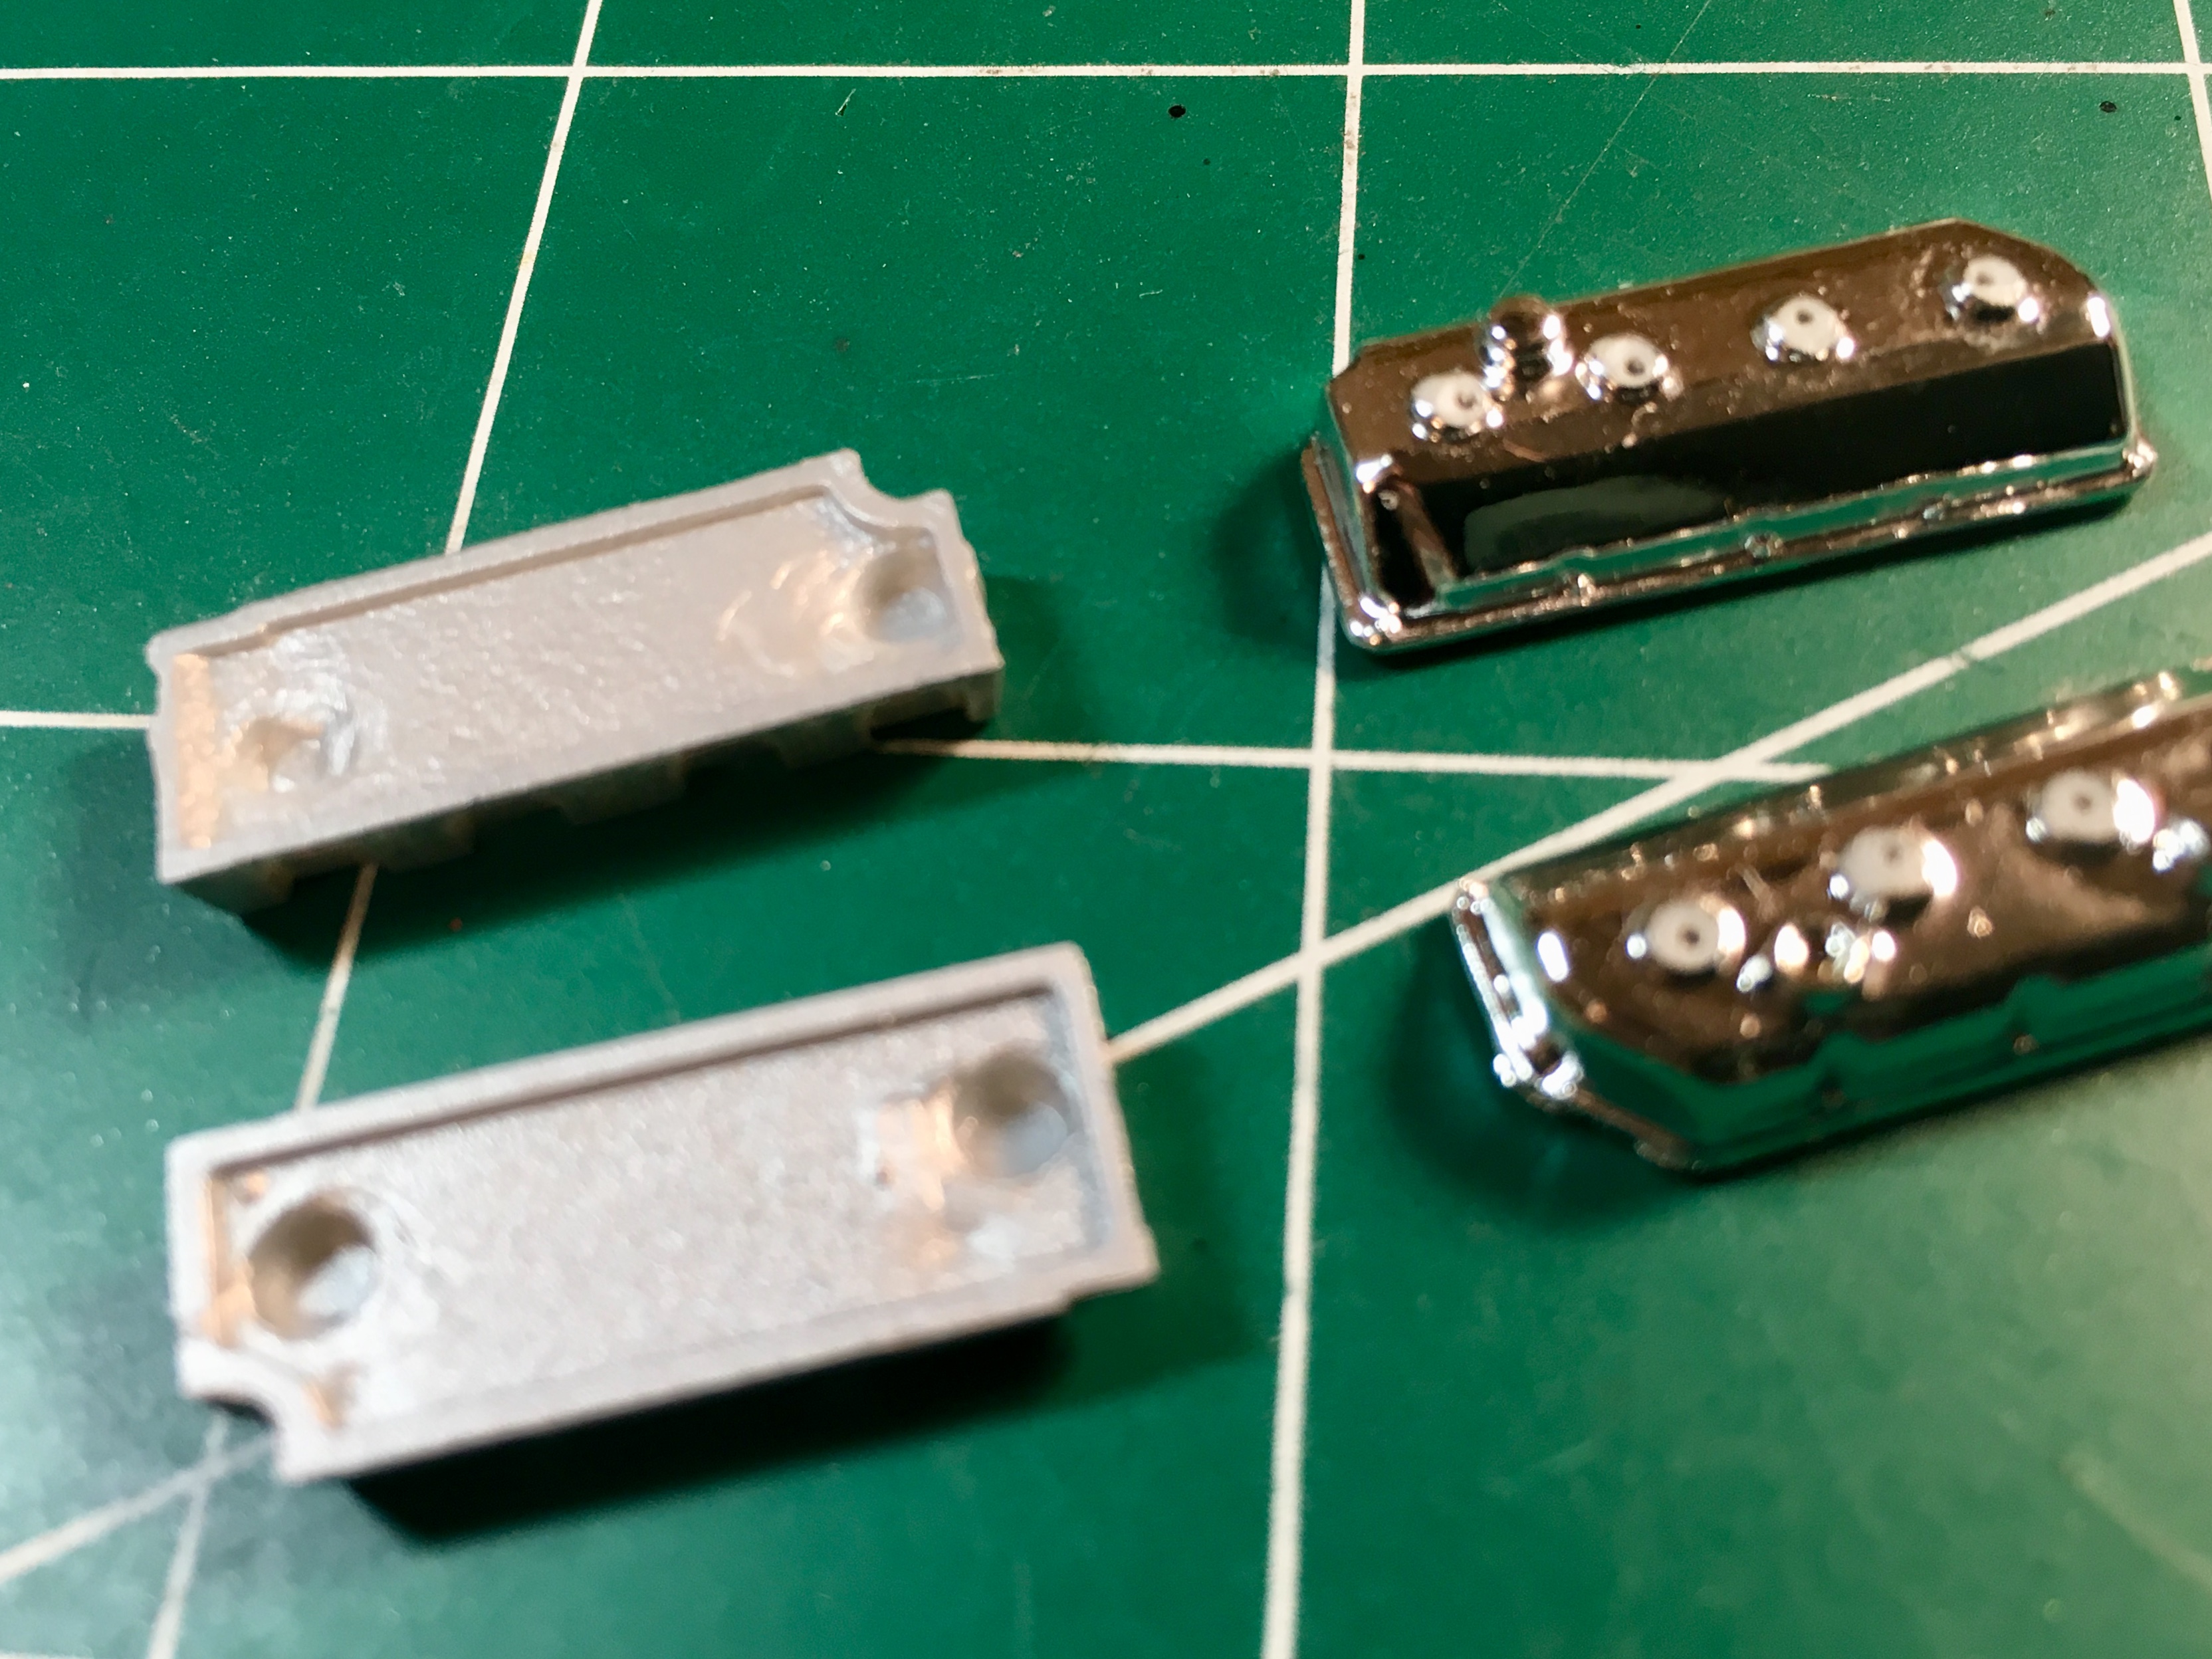
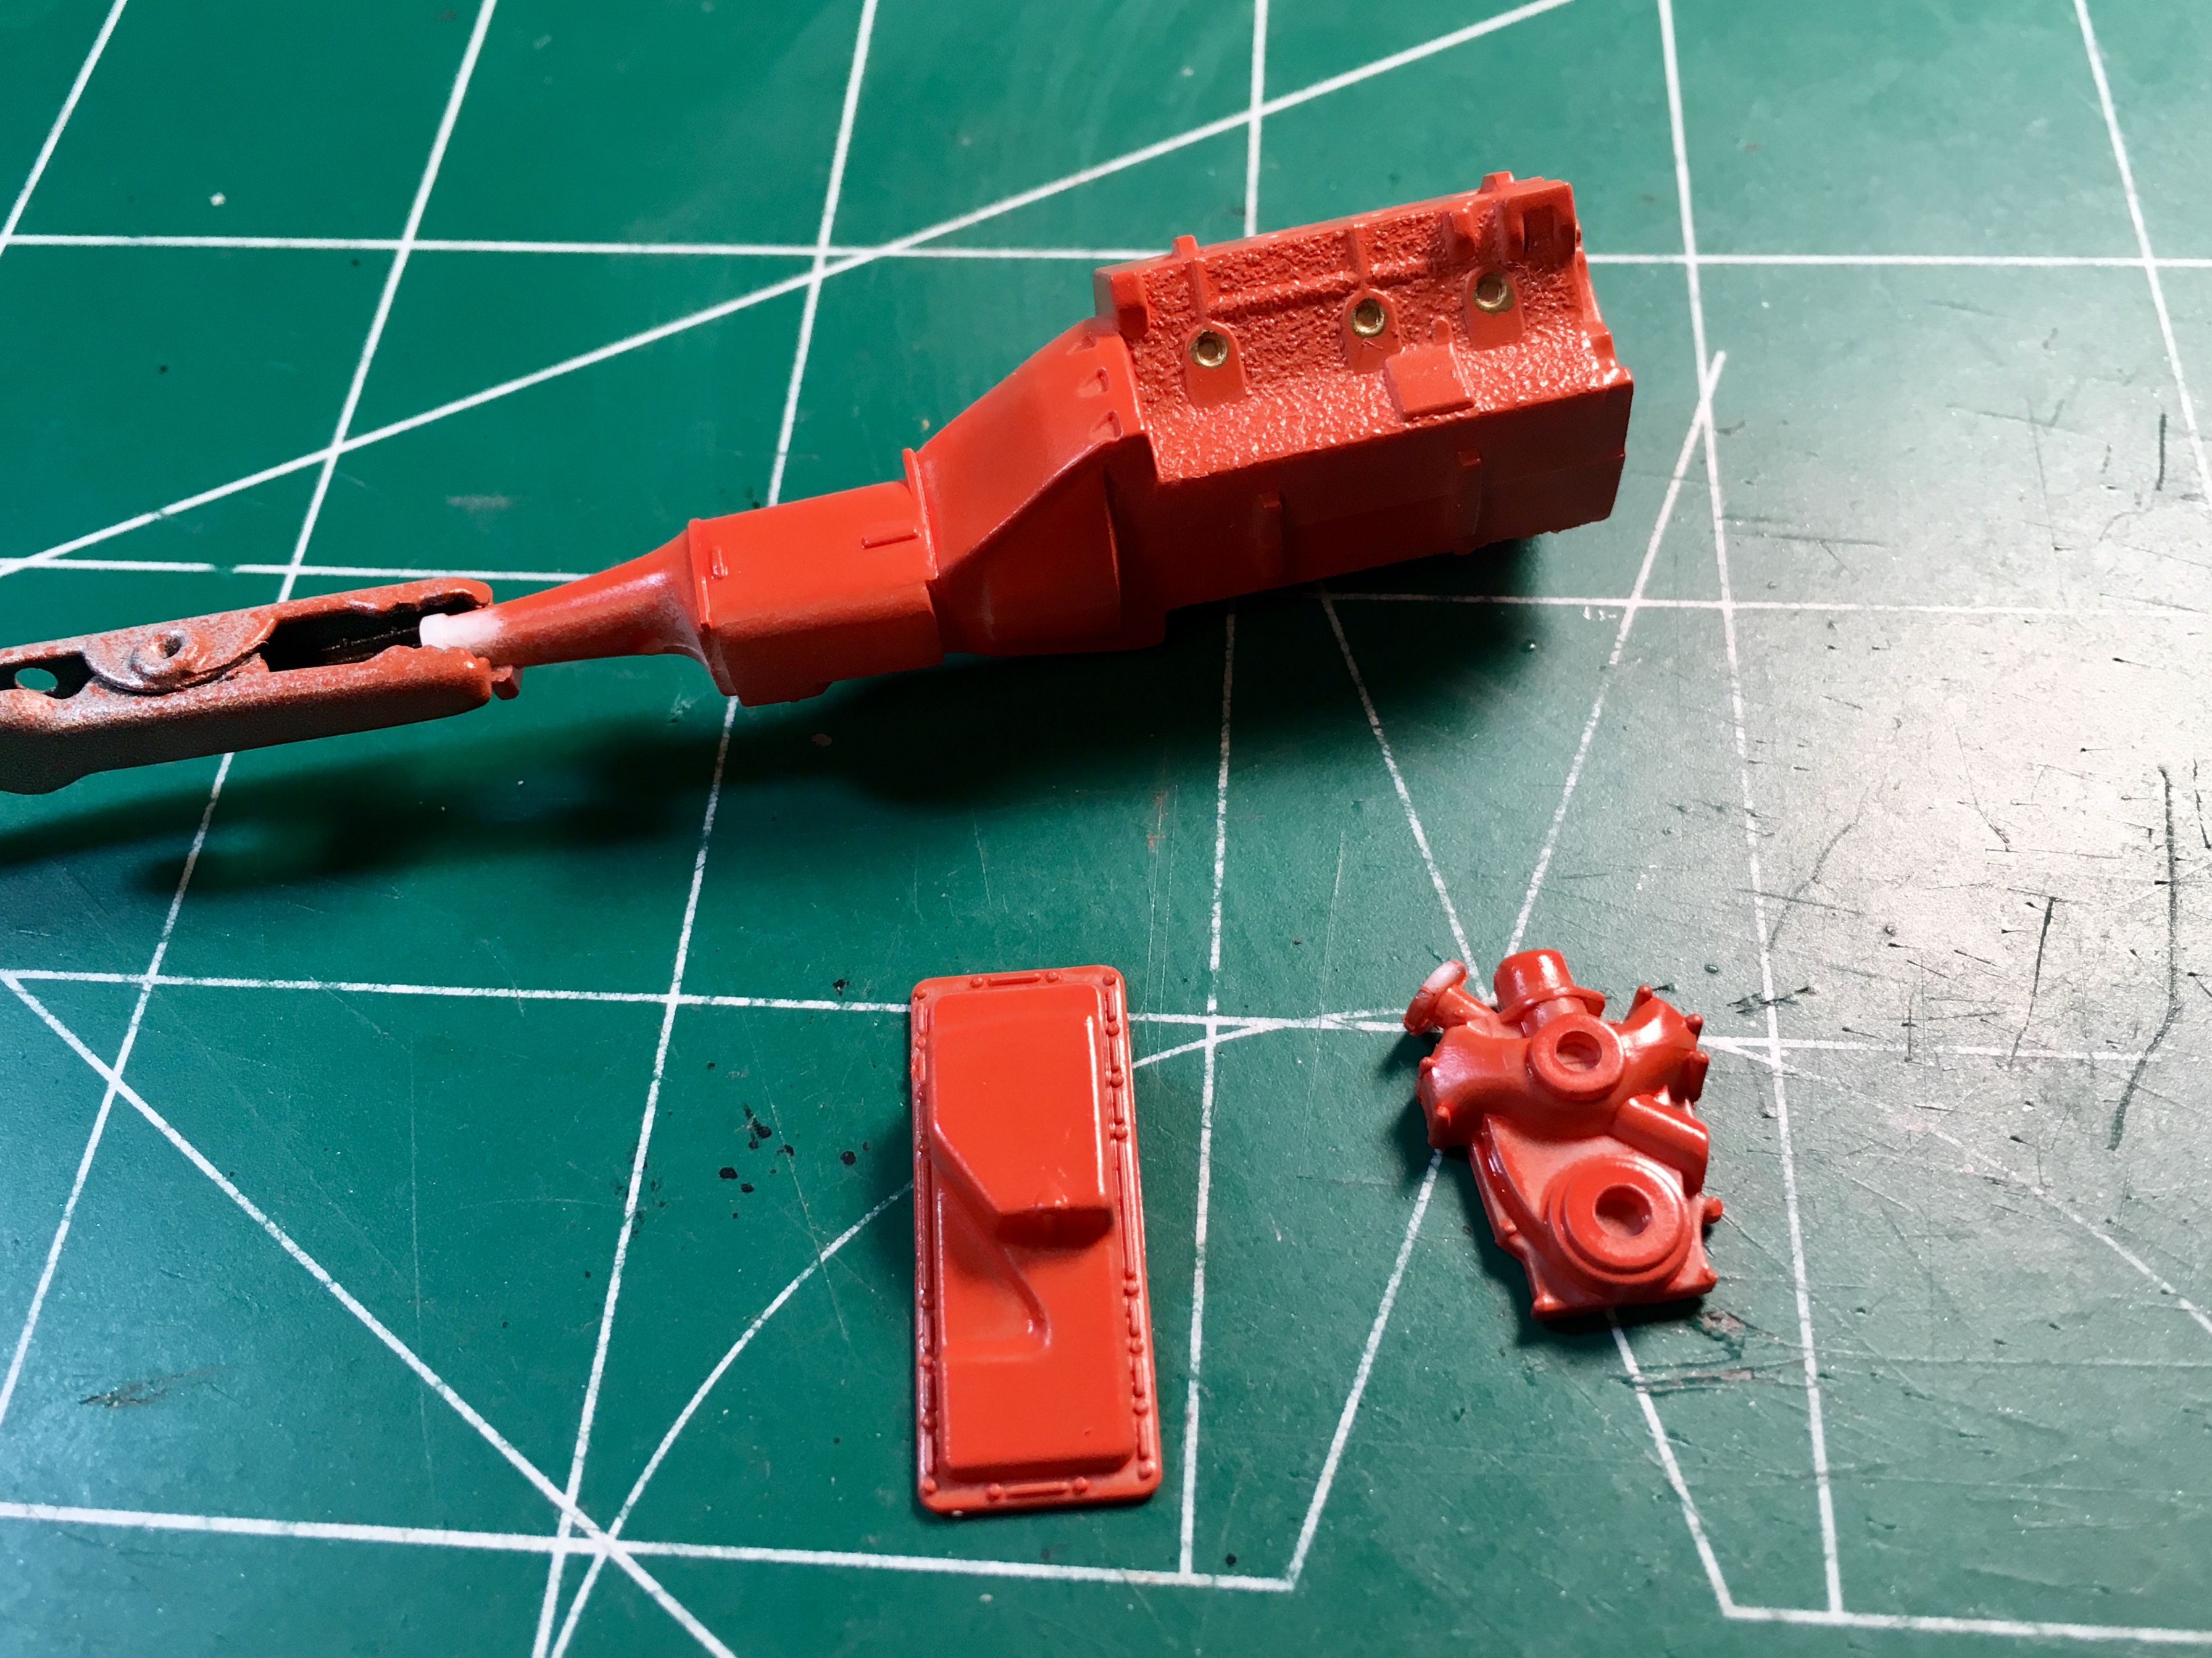
Decided to have the magnesium intake manifold, and aluminum cylinder heads. I thought the Hemi came out decent with Tamiya Orange, as long as gray primer is under it. Im not very knowledgeable with Mopars, so maybe someone can chime in about the headers to use. Which set would you find on this kind of car?
-
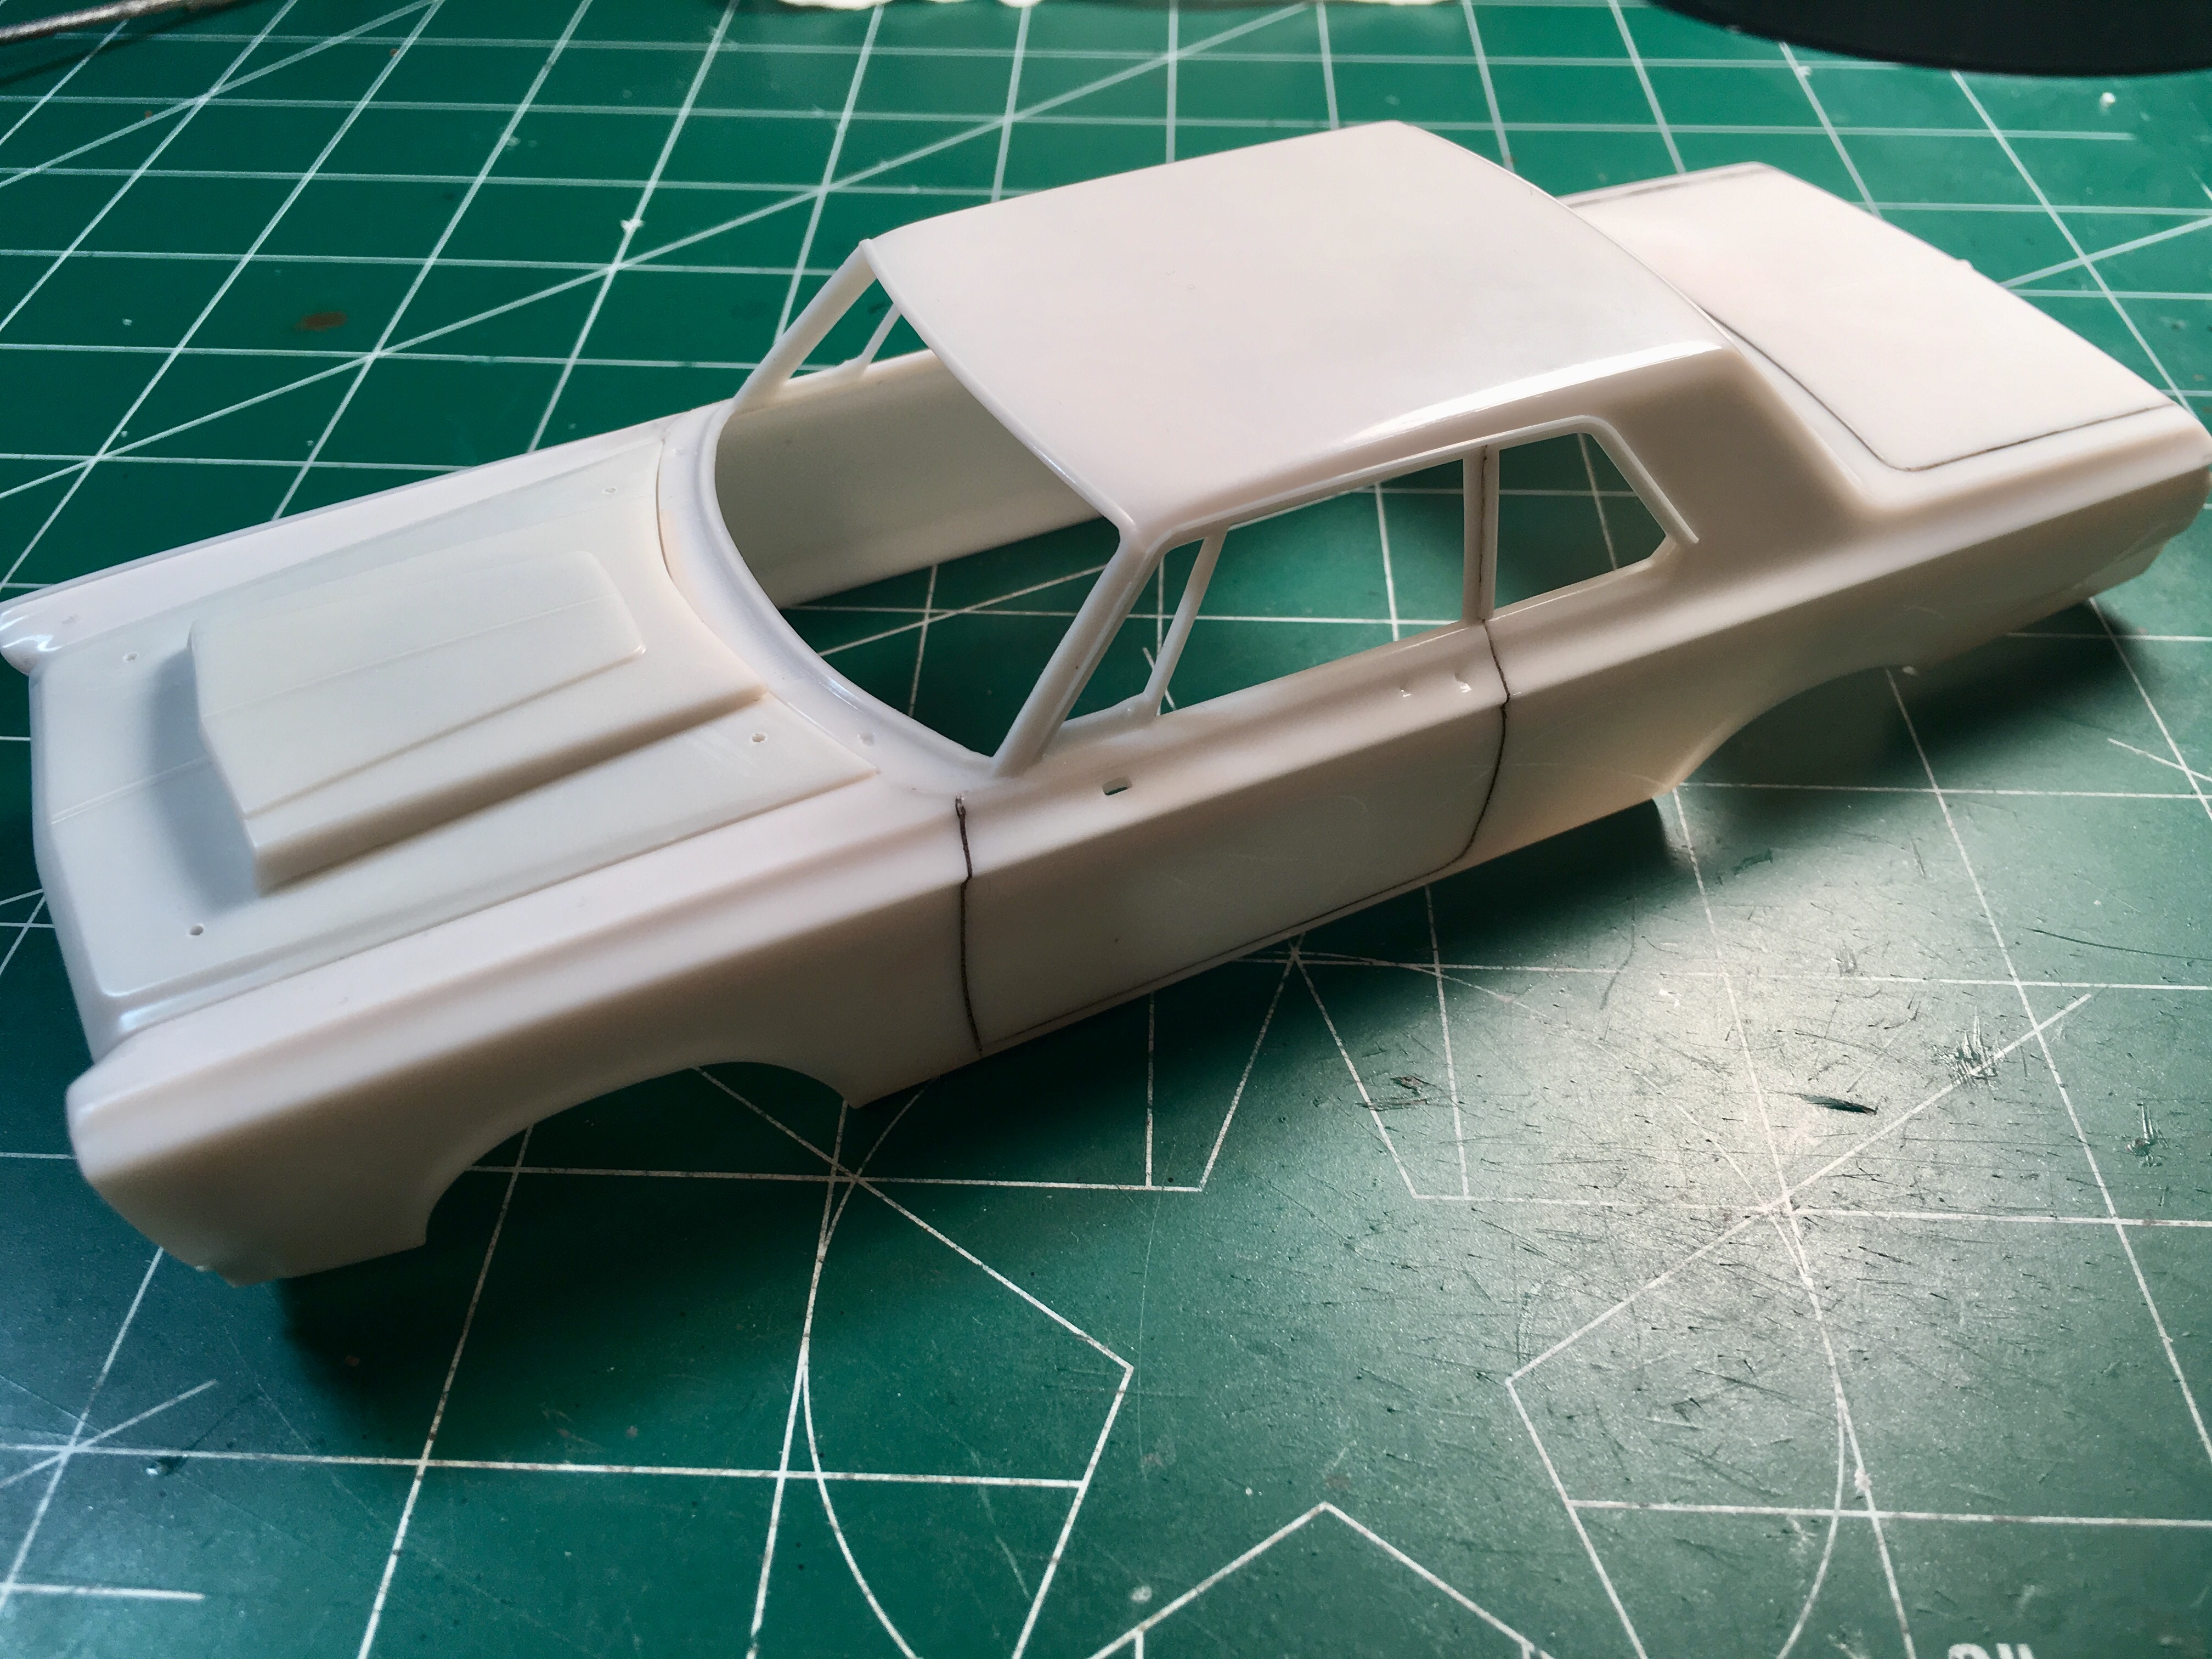
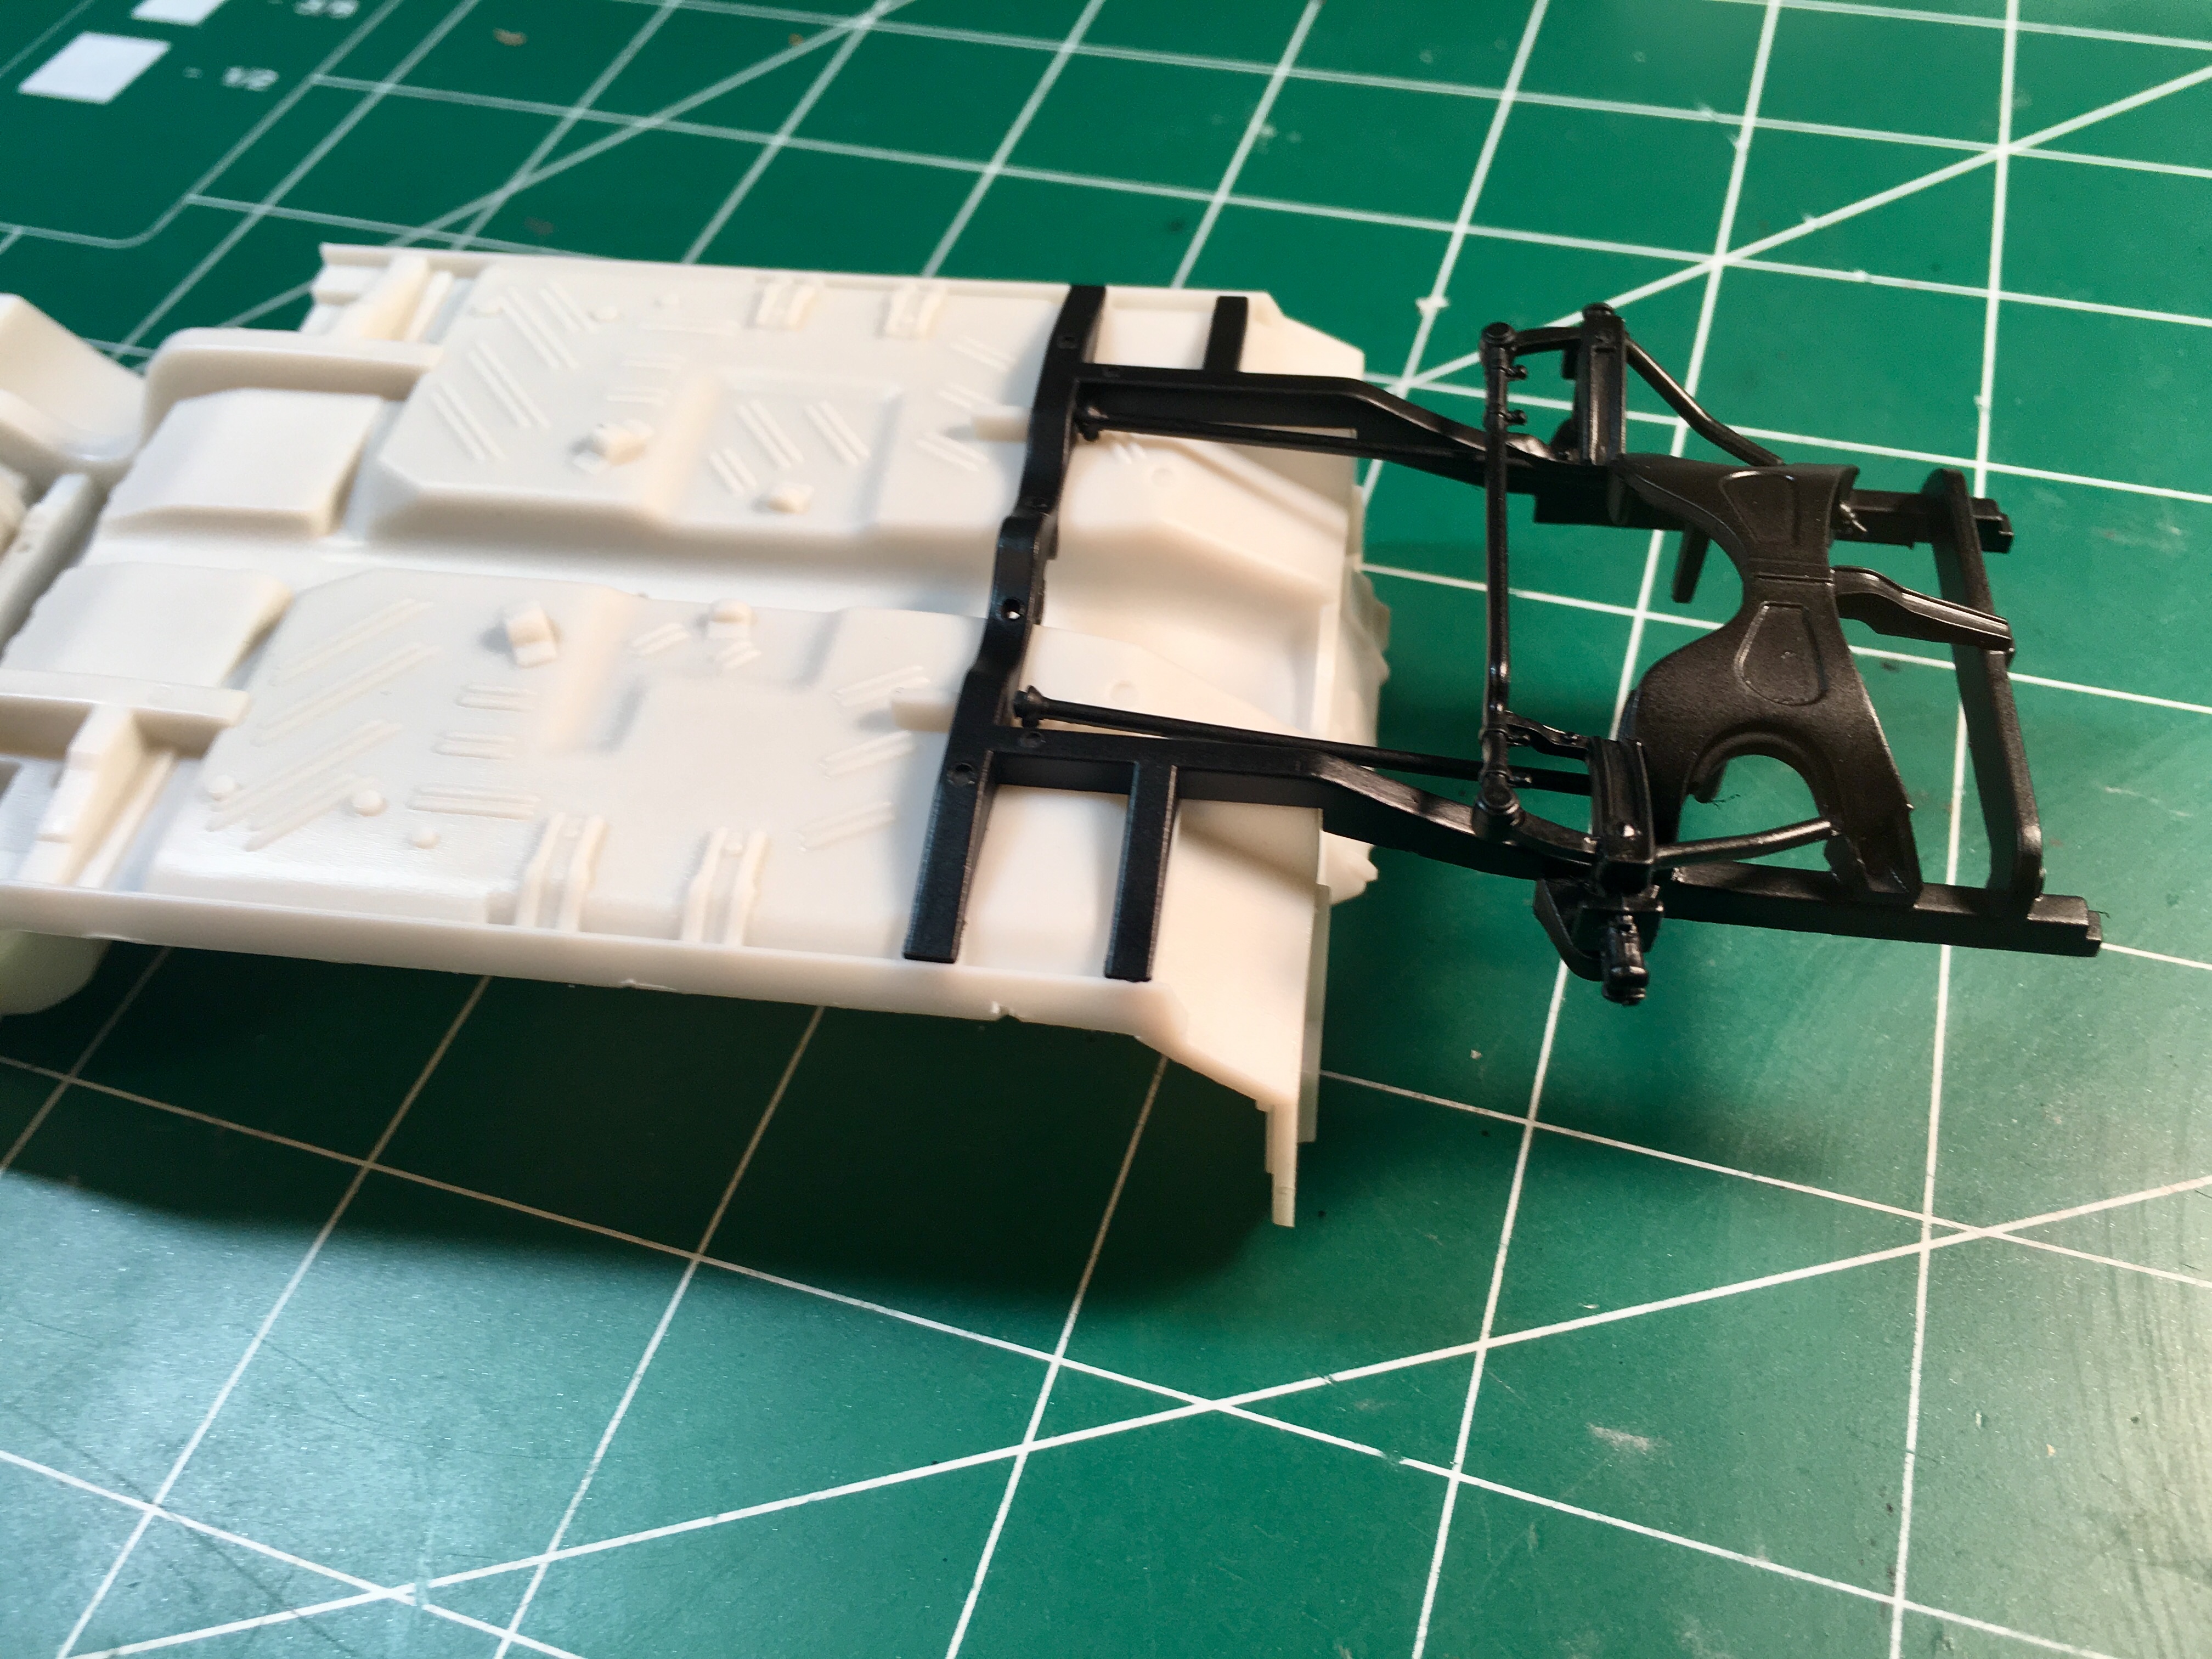
Time to start the 65 Plymouth drag car. I’m not interested in building the Leal car, but just a “plain Jane” factory racer. The exterior will be Racing White, and Champagne Gold for the interior. Started to work on the car last night. This is where I’m at now.
-

The Butch Leal 1965 Plymouth - Red or Orange ?
Brutalform replied to gtx6970's topic in WIP: Drag Racing Models
Maybe try Tamiya Bright Red?? -
how many models have you built?
Brutalform replied to l88 chevelle's topic in General Automotive Talk (Trucks and Cars)
The most honest answer I could give is.. less than 100, but more than 50. Im counting 50 completed kits right now in my room, so I figure another 15 or so, that I no longer have would be a good estimate. -
You might be able to find the Arnie The Farmer Beswick kit out there, if you don’t feel like waiting. Pretty much the same kit with different decals. That one is getting harder to find now, but there are some for sale out there.
-
I think I’m done with Duplicolor
Brutalform replied to Brutalform's topic in Model Building Questions and Answers
Thanks for the advice Charles. It’s been sitting for a few days now, as I’m working on like 7 other cars. I might knock the primer down, and get some color on it tomorrow. -
I think I’m done with Duplicolor
Brutalform replied to Brutalform's topic in Model Building Questions and Answers
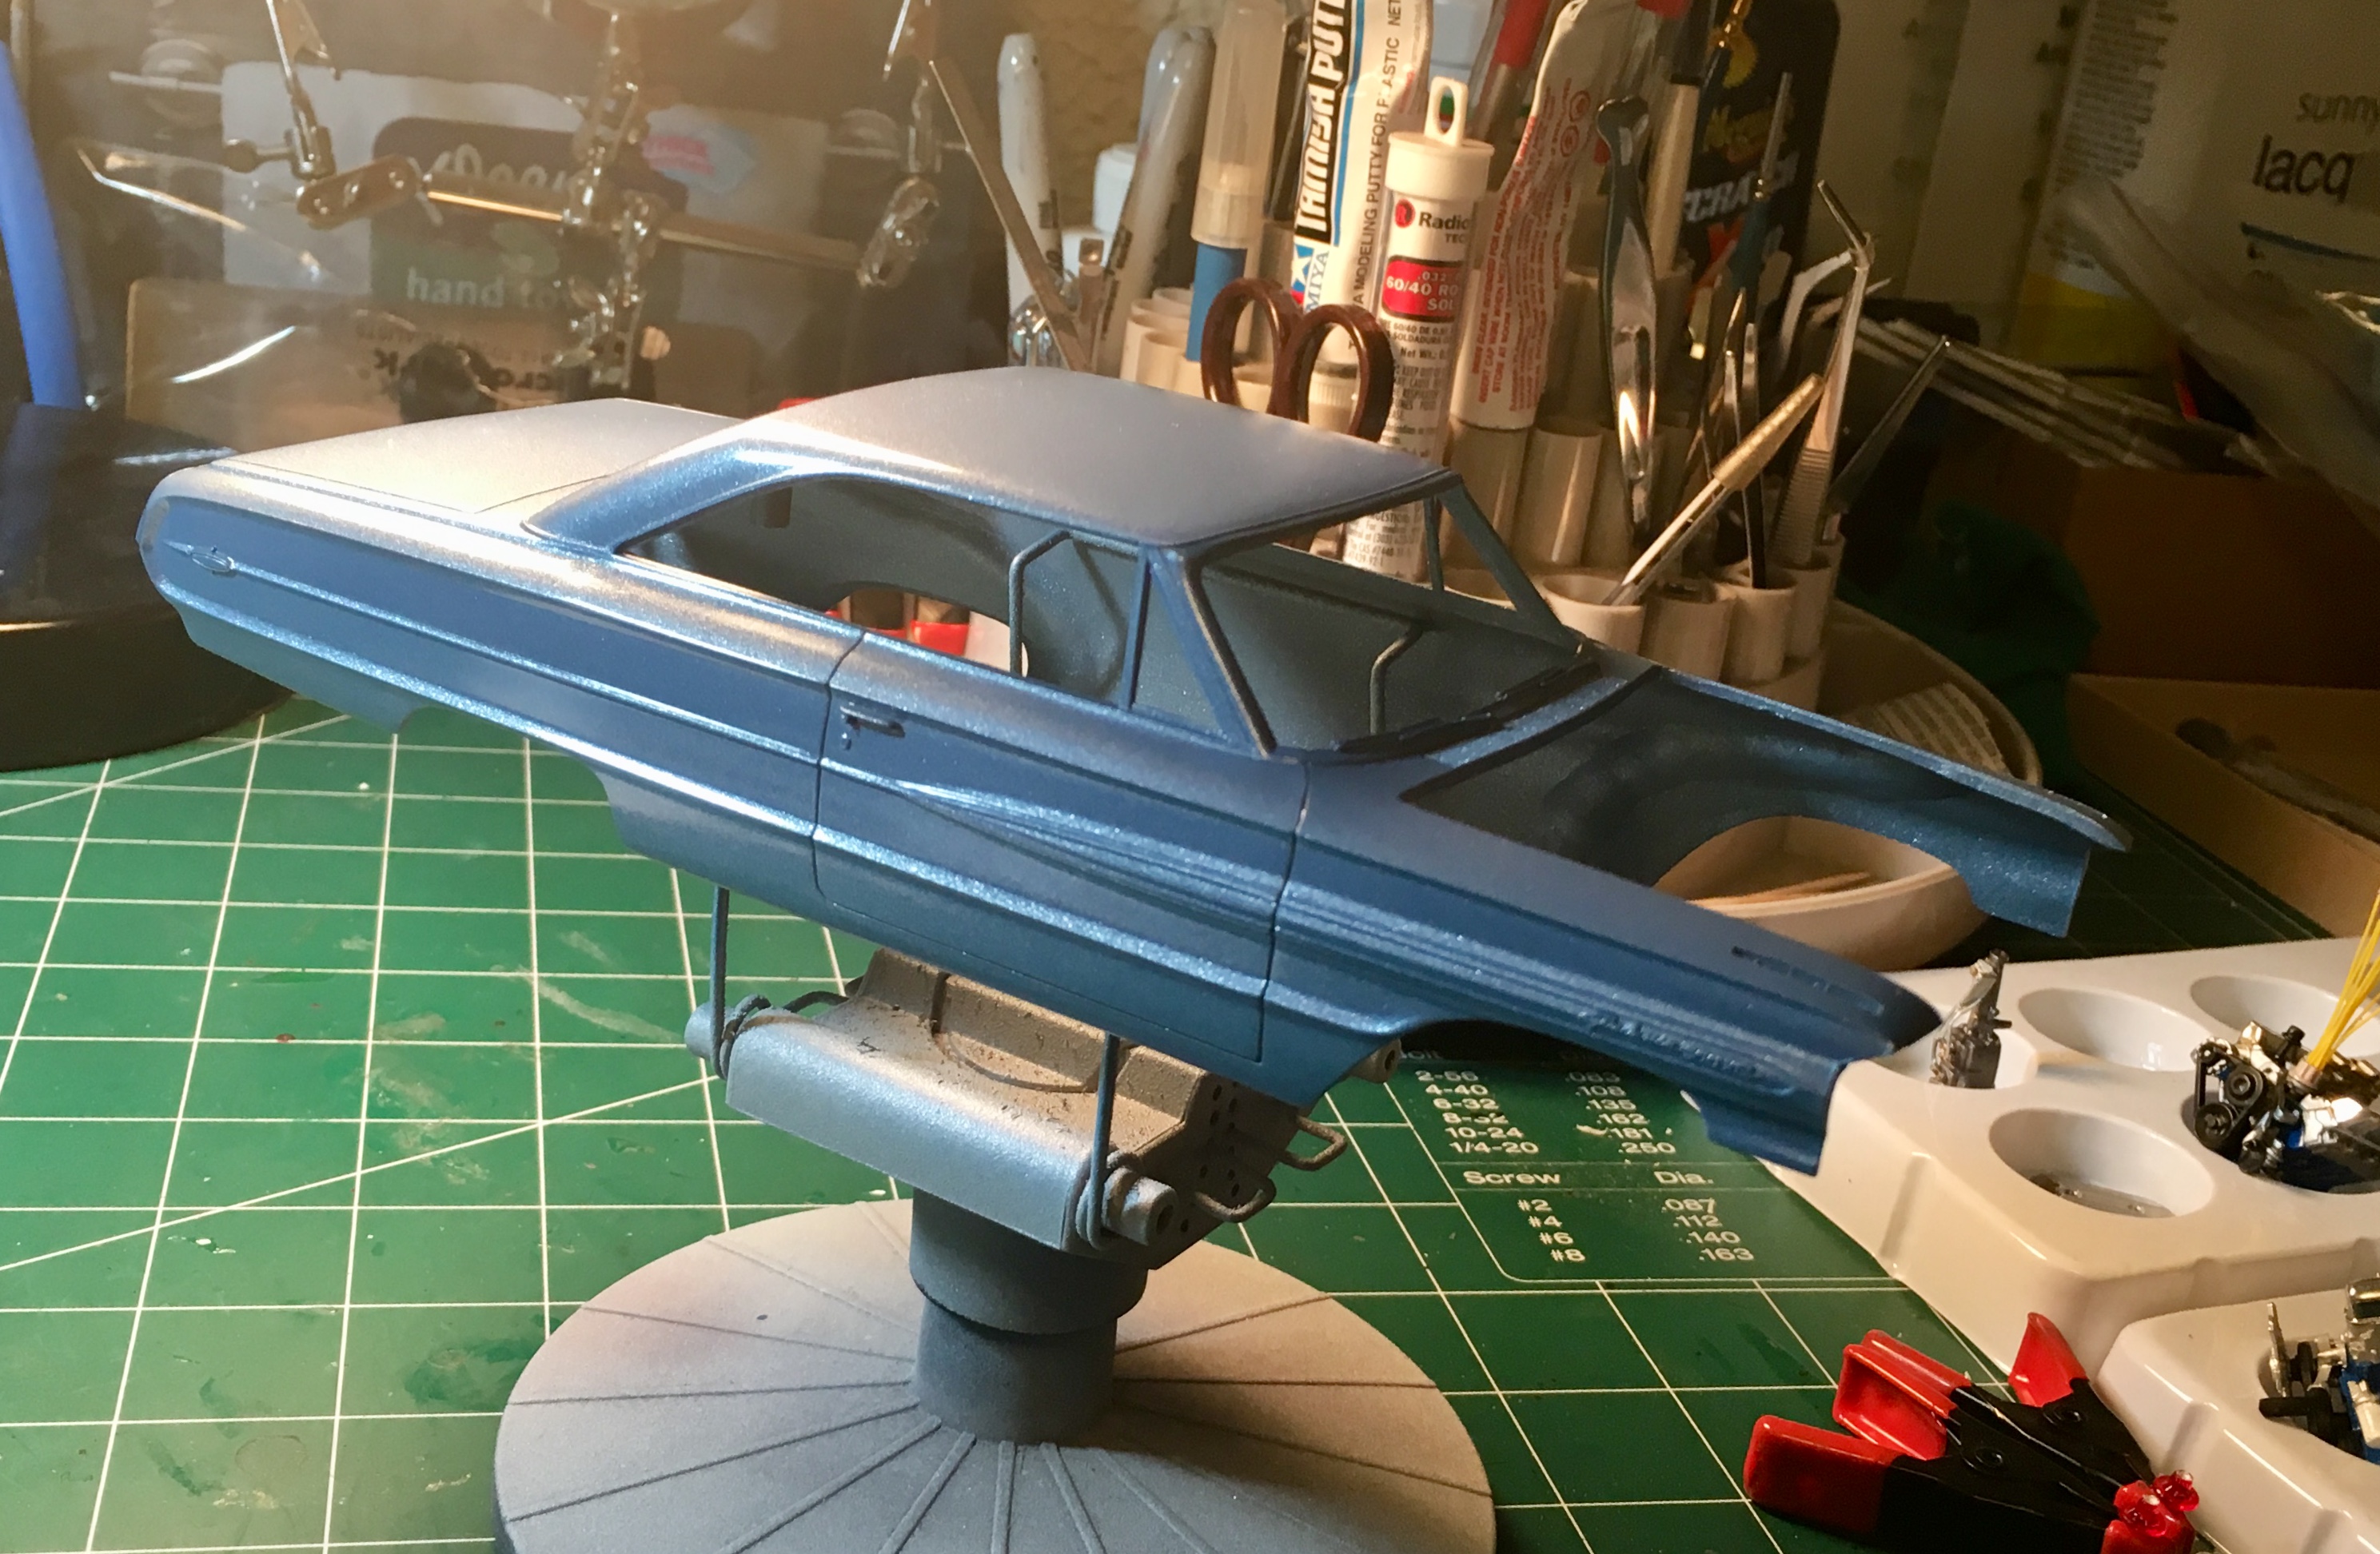
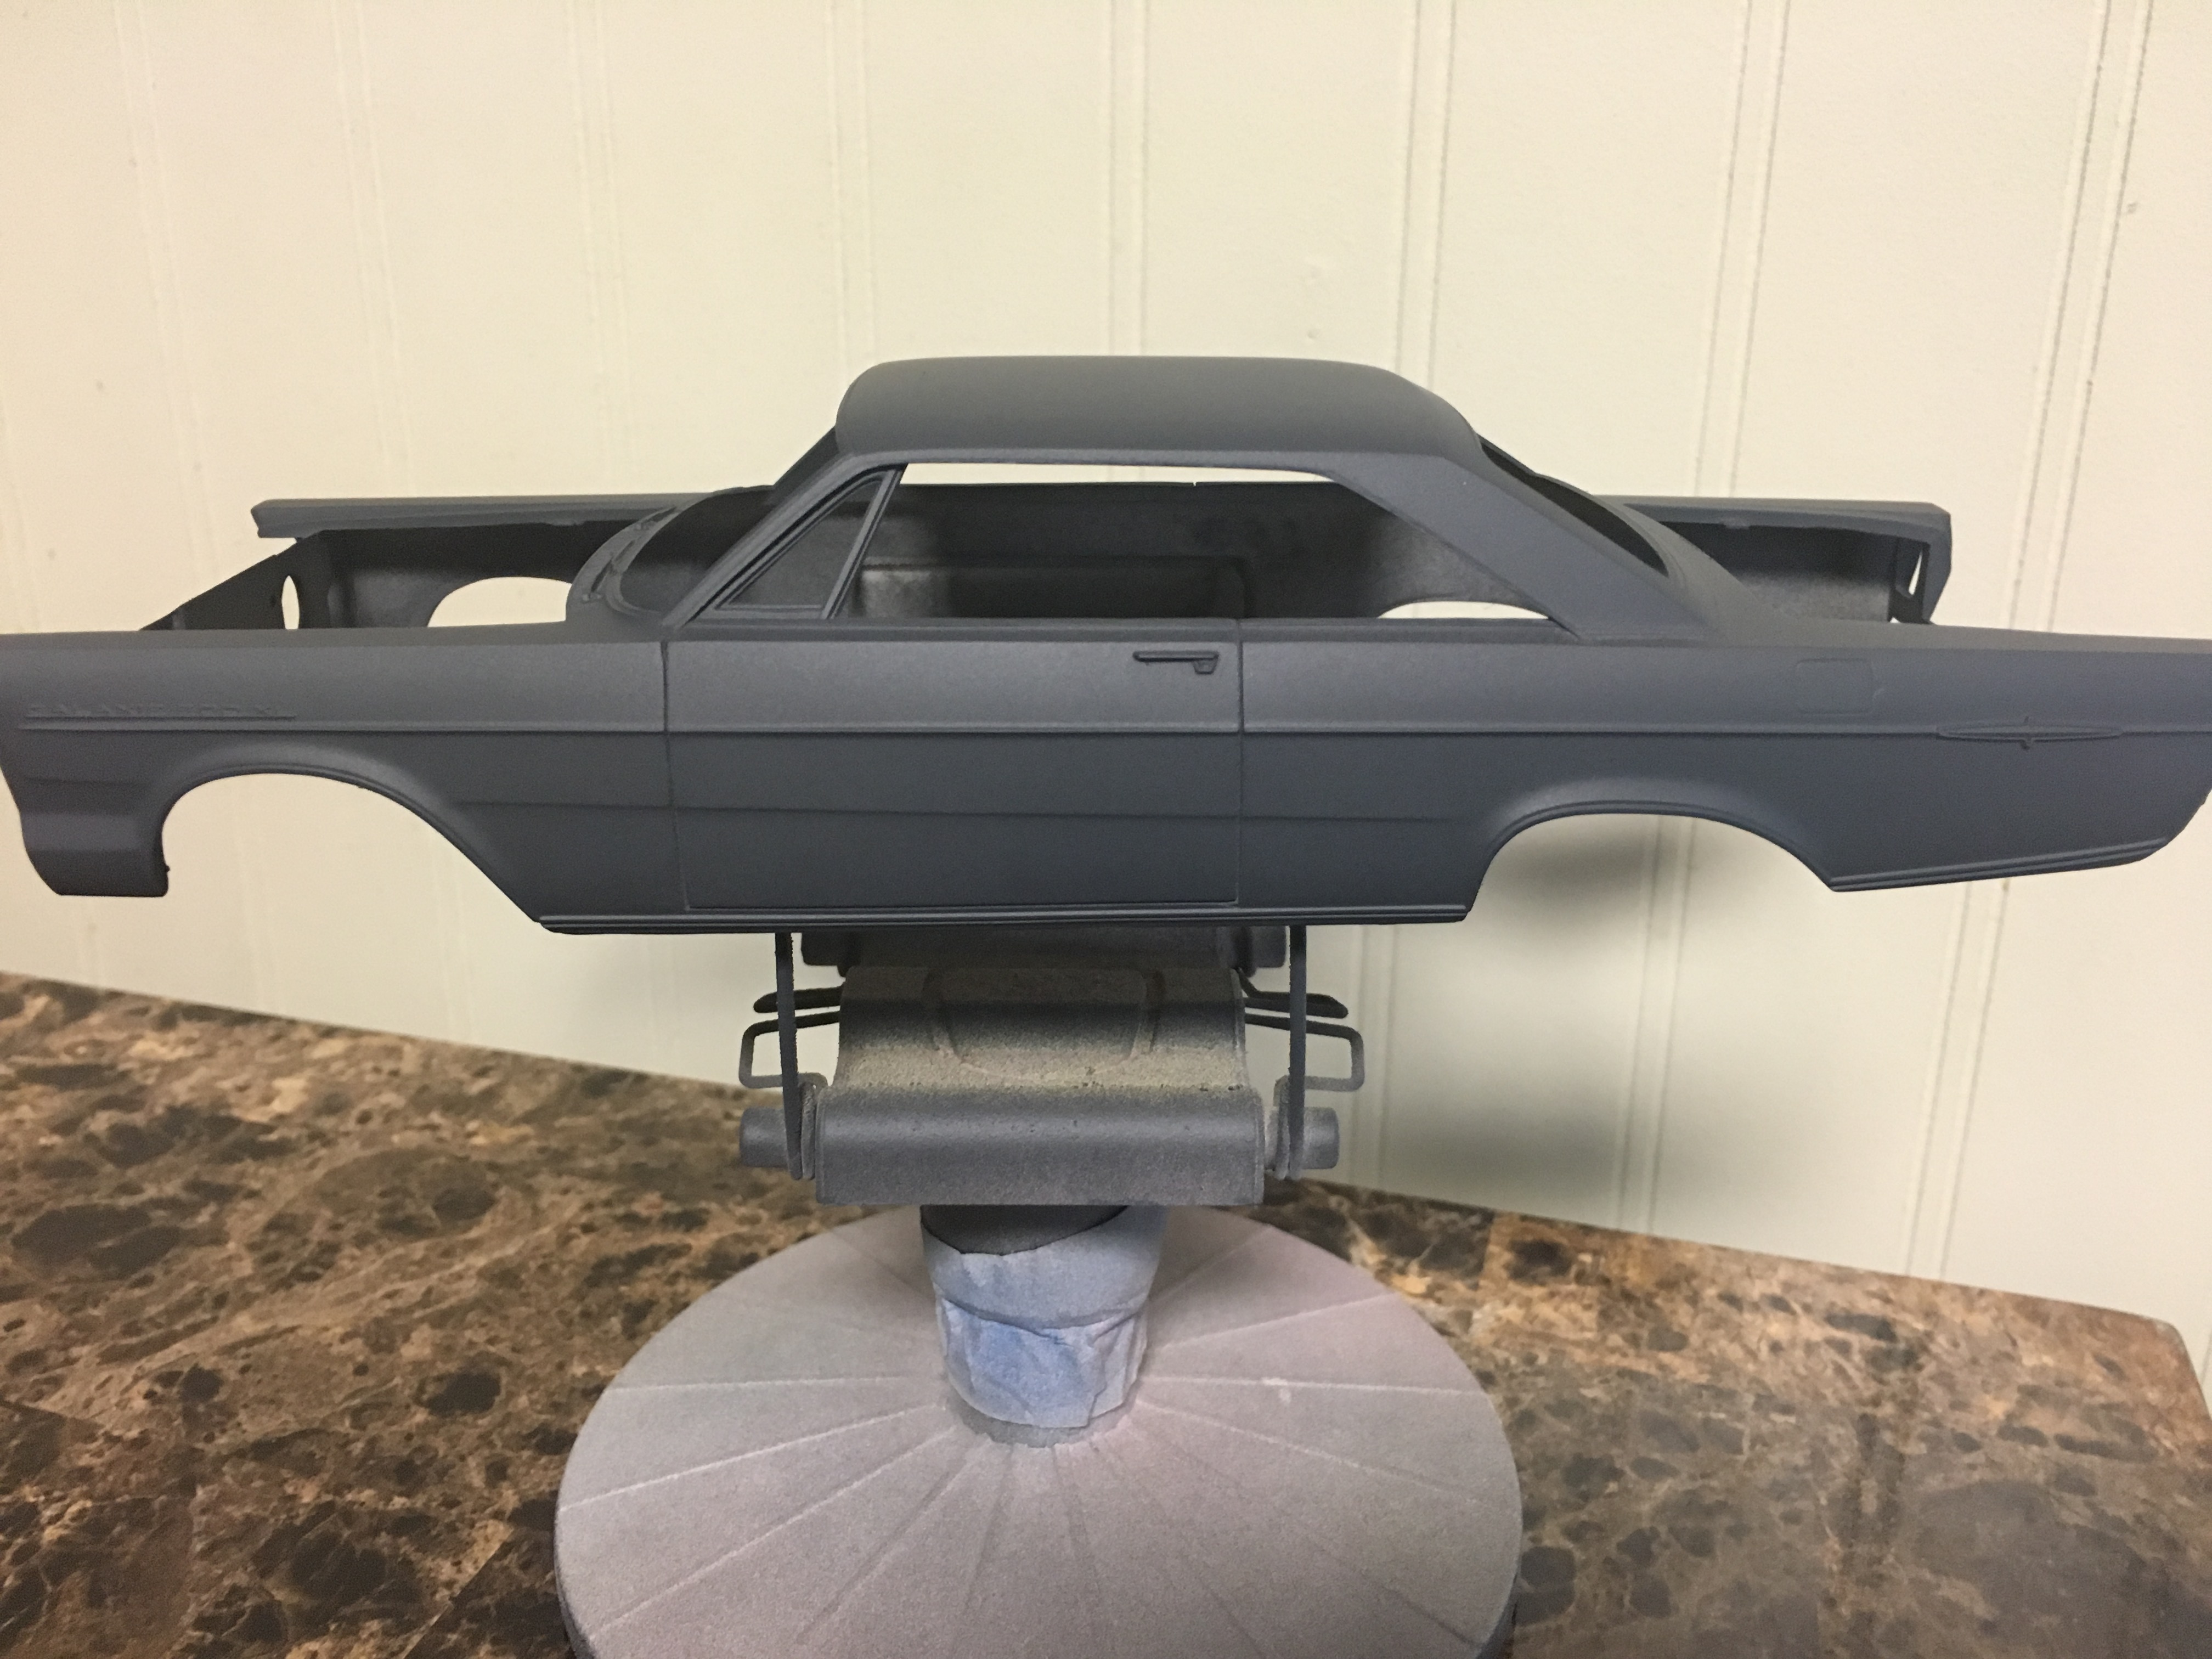
Yes, me too. The plans for this is a Pacific Green metallic, which is pretty dark, black interior, R Code, with redline tires, and 66 Fairlane 427 hubcaps. Except this car will have the factory hood scoop. -
Marcos, love them all, ESPECIALLY the Super Bee. I’ve read your article on this Mopar build about 10 times now. I also ordered the wheel kit from Joseph for my Super Bee build.
-
That Pearl Green really looks good on this car. Nice build! I salute anyone that can make this kit look anywhere near halfway decent, as many members have. I too am waiting to see if a new 69 becomes available.
-
Steve Bagwell '65 Plymouth Super Stock WIP COMPLETE
Brutalform replied to Mister Twister's topic in WIP: Drag Racing Models
The body looks fantastic. Final assembly right around the corner! -
I think I’m done with Duplicolor
Brutalform replied to Brutalform's topic in Model Building Questions and Answers
I’ll stick with the Tamiya as a base, unless I have any problems. Thanks again for sharing your technique. -
I think I’m done with Duplicolor
Brutalform replied to Brutalform's topic in Model Building Questions and Answers
The only time I applied Future was as a clear. I really didn’t like how it looked. Did I put enough on ? Not sure but I watched a video on YouTube, and brushed it on as instructed. The car was painted silver lacquer. I think spray clear looks better. I have a full bottle of Future on the shelf just sitting. Maybe I’ll try it again sometime on a quick build that’s a different color. -
I think I’m done with Duplicolor
Brutalform replied to Brutalform's topic in Model Building Questions and Answers
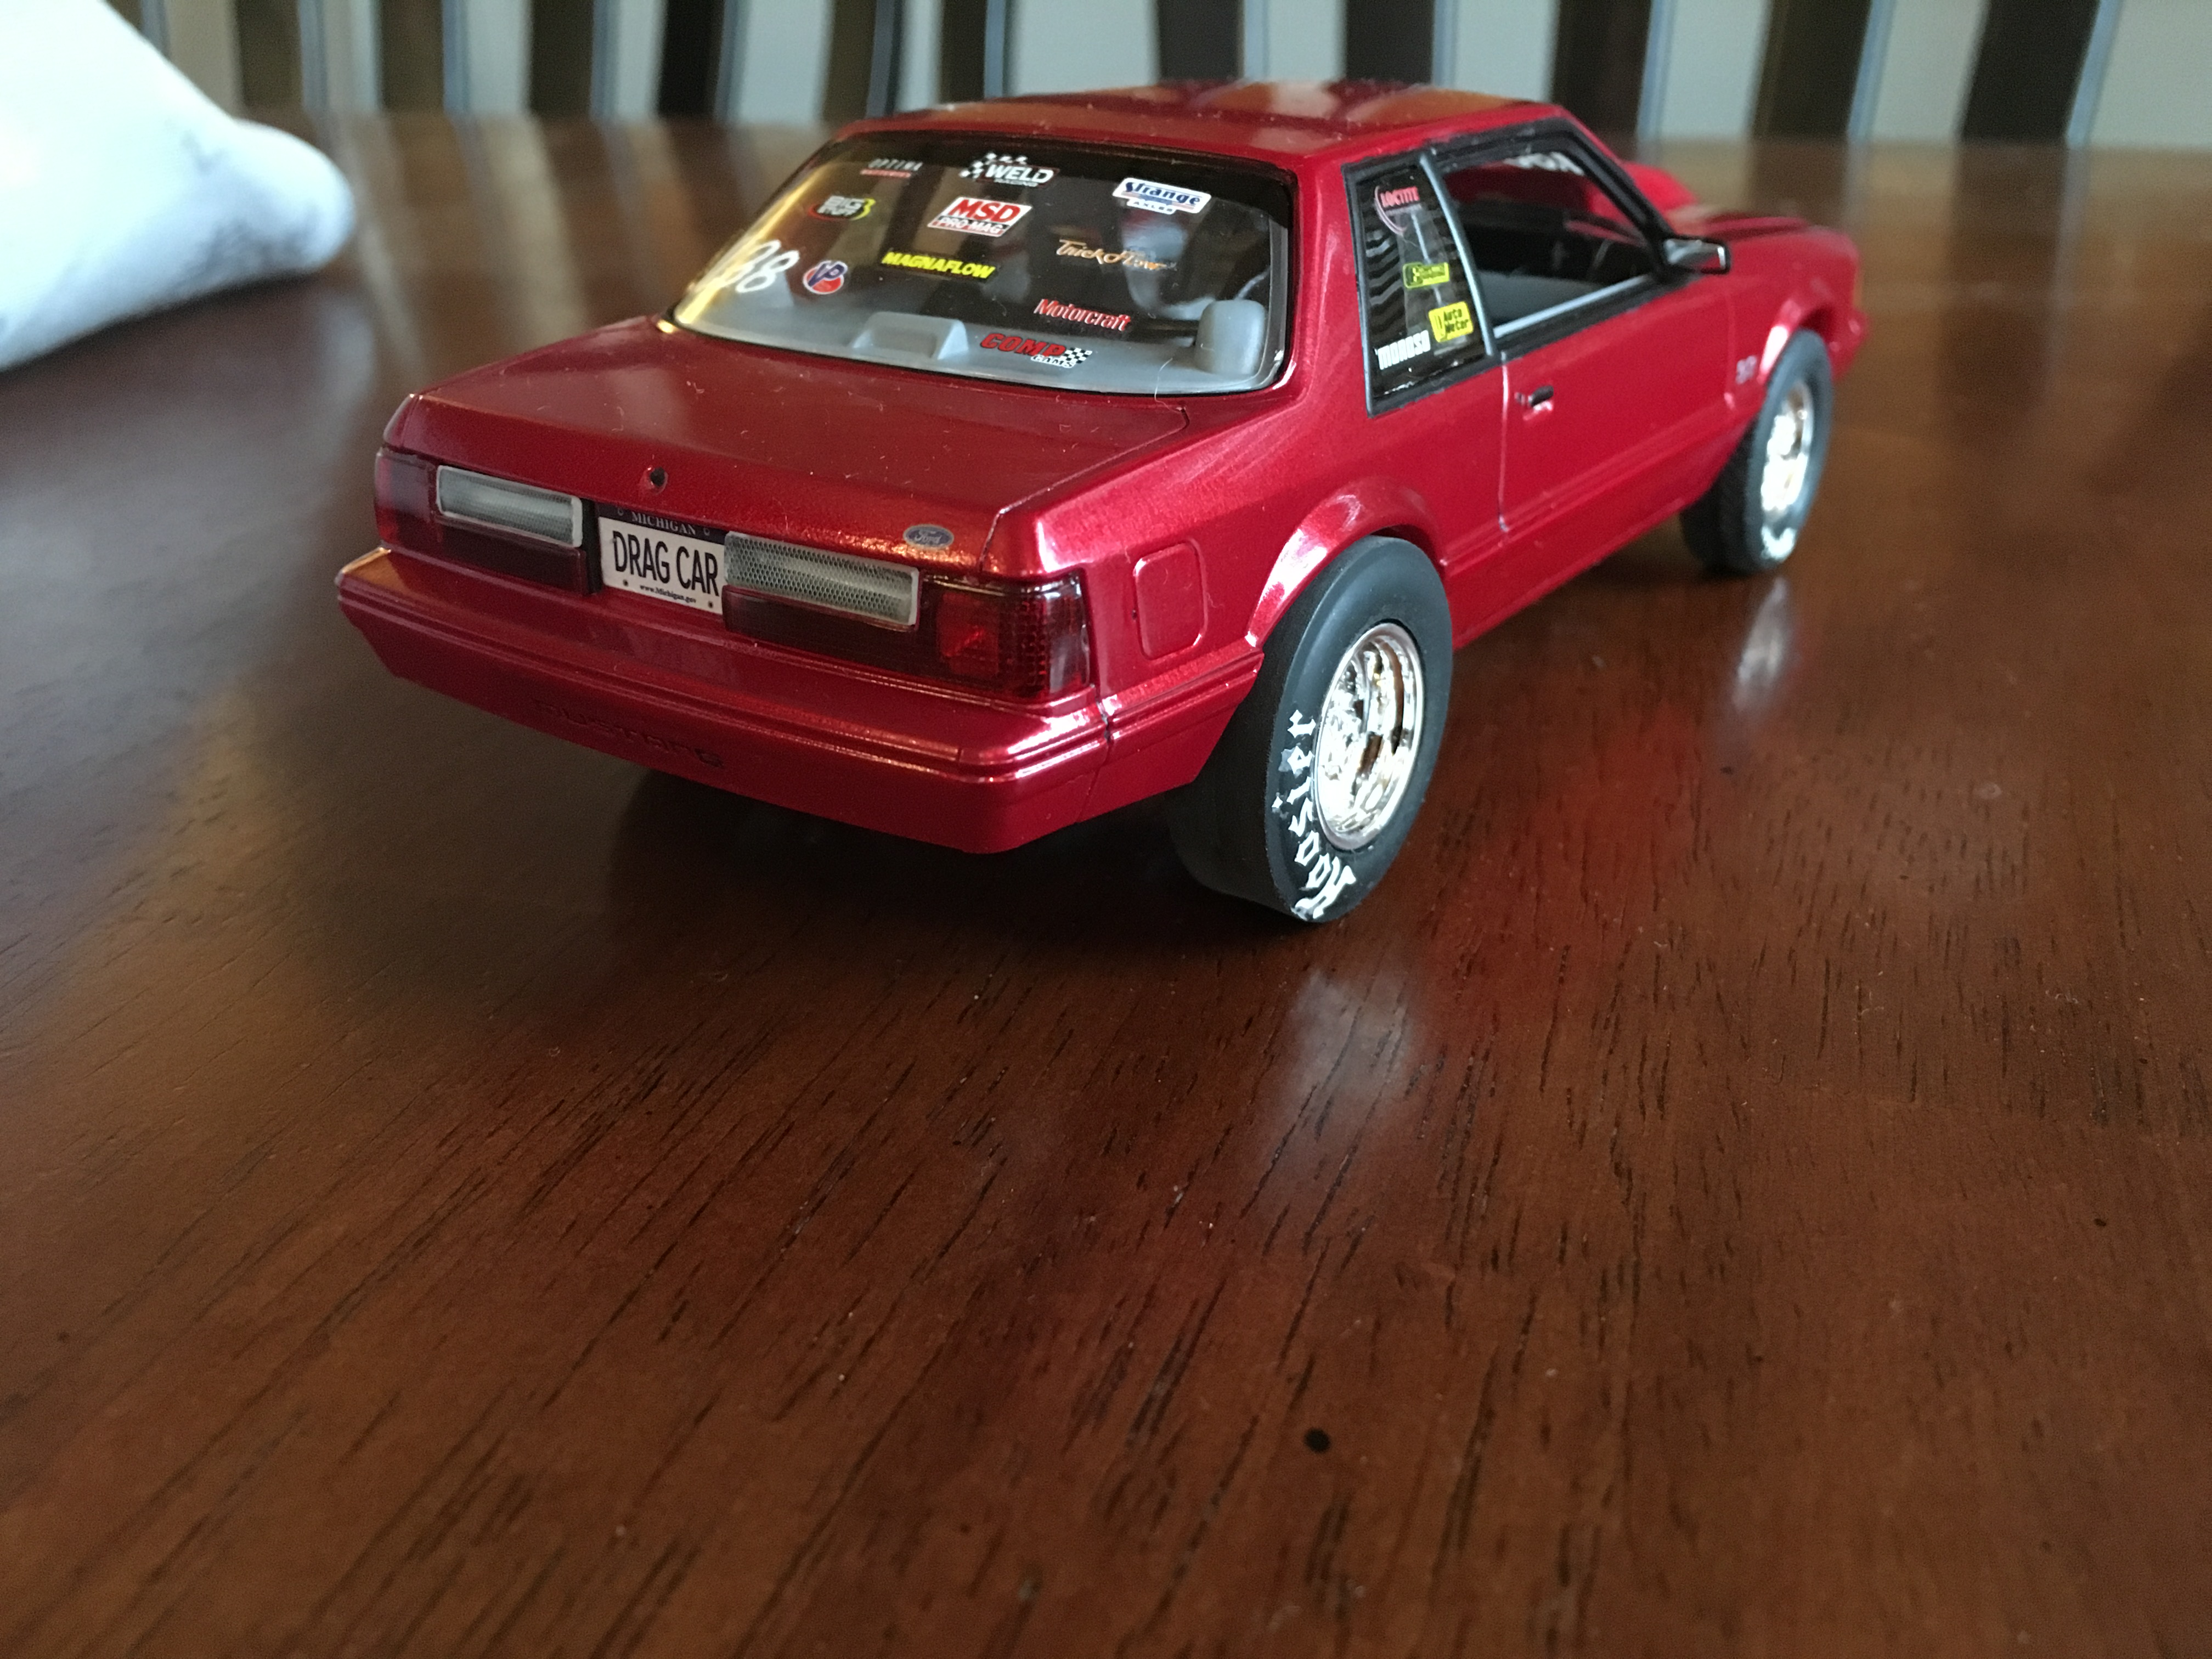
The Galaxie and Mustang were primed with Tamiya primer, and shot with Duplicolor paint and clear. Then polished with micro mesh.
-
I think I’m done with Duplicolor
Brutalform replied to Brutalform's topic in Model Building Questions and Answers
It’s a bit darker than the other grays I’ve used.
-
I think I’m done with Duplicolor
Brutalform replied to Brutalform's topic in Model Building Questions and Answers
I have a full can of that. Like I said, I’ve laid down some nice paint in the past using Duplicolor. Just the last three paint jobs were not laying down for me. Just laid down four light coats on the 65 Ford Galaxie. I went right over the Tamiya primer. Looks pretty good so far. -
I think I’m done with Duplicolor
Brutalform replied to Brutalform's topic in Model Building Questions and Answers
Steve, what clear do you use.? -
I posted something that I didn’t need to post, if I only read the thread more carefully.
-
You did a very nice job. I’d be very proud to call that my build. First completed model you say? Lol. Could have fooled me. And little things like the bumper you mentioned. We ALL learn something new from our previous works, no matter how long we’ve been building. I look forward to seeing some more builds. Very nice, and clean looking Chevelle.