Lunajammer
-
Posts
4,048 -
Joined
-
Last visited
Content Type
Profiles
Forums
Events
Gallery
Everything posted by Lunajammer
-
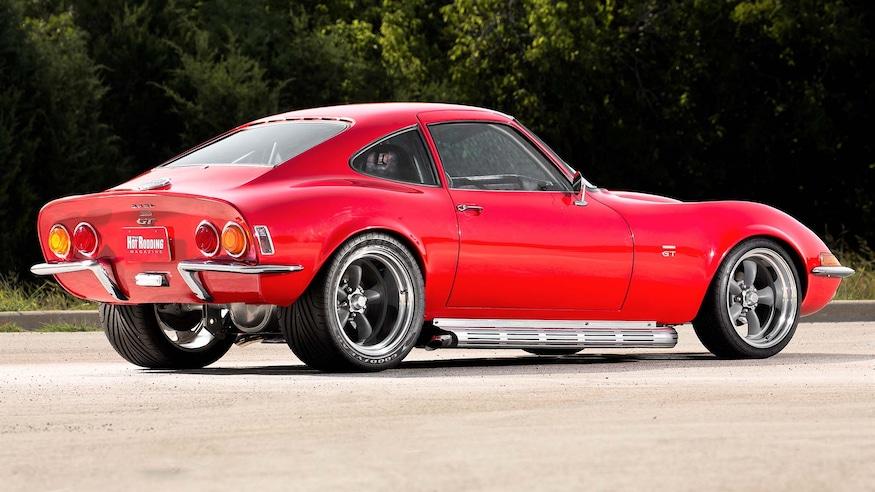
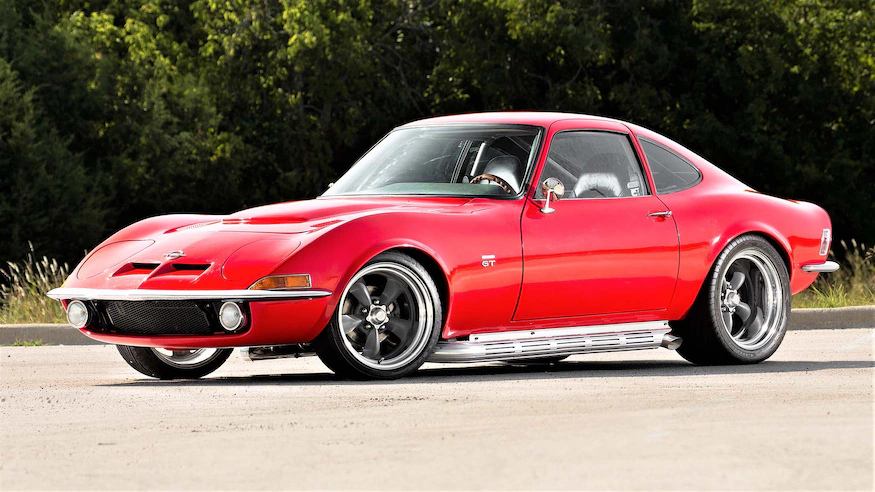
 Lastly is this '70. I have a junker of one of these too, unbuilt but missing the chassis and engine so I thought I'd explore some ideas here. Again, I'm willing to accept the wonkiness of AI's uncertainty on some of this one, but I'm stoked about the concept.
-
This one has some exciting ideas that I'd like to explore more for my model.
-
This one gave me the most consistently interesting options. I love how the car in the back of this one even got a little PT Pronto treatment. This vert also required me to give it a little Photoshop treatment to dial out some wonkiness to preserve an otherwise great rendering.
-
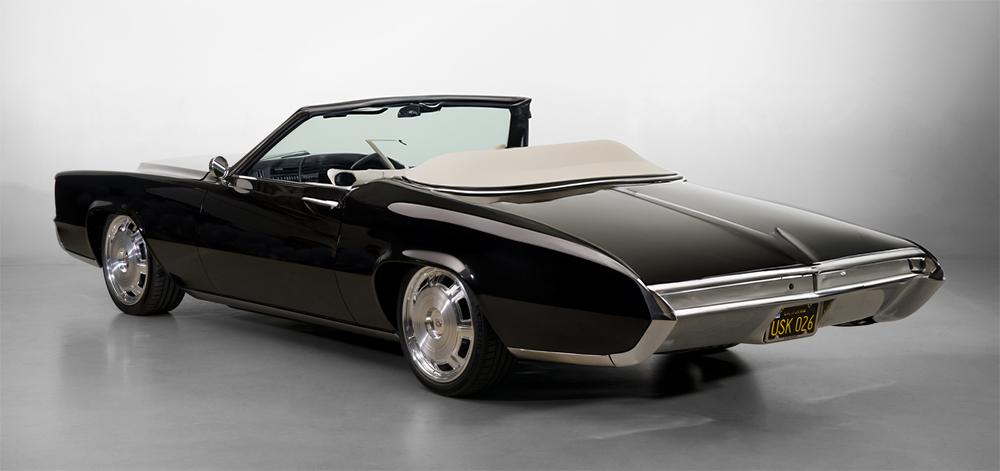
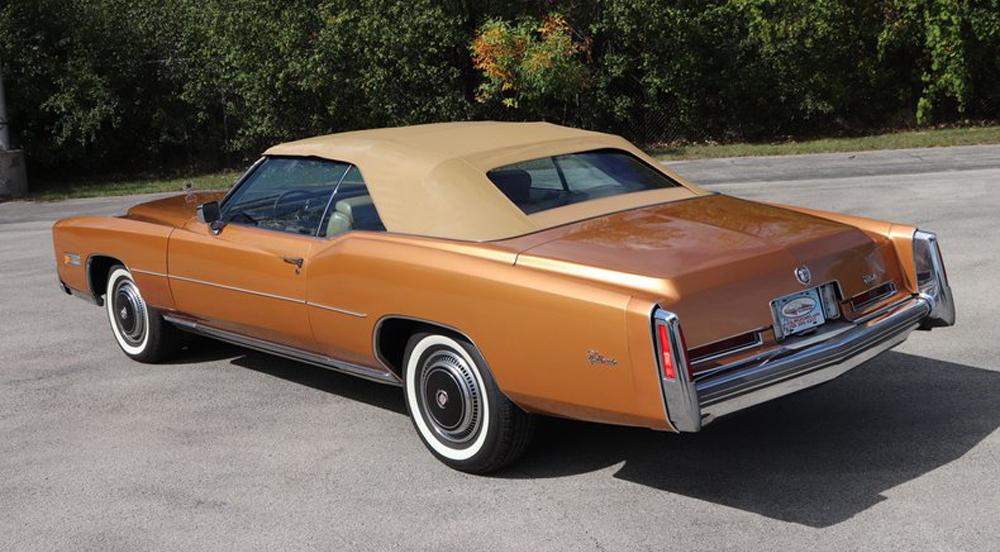
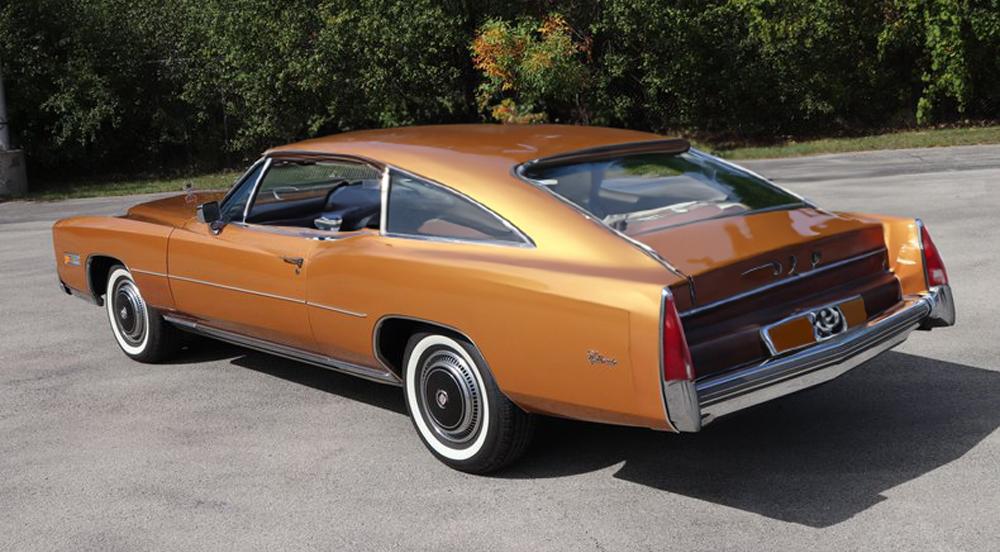
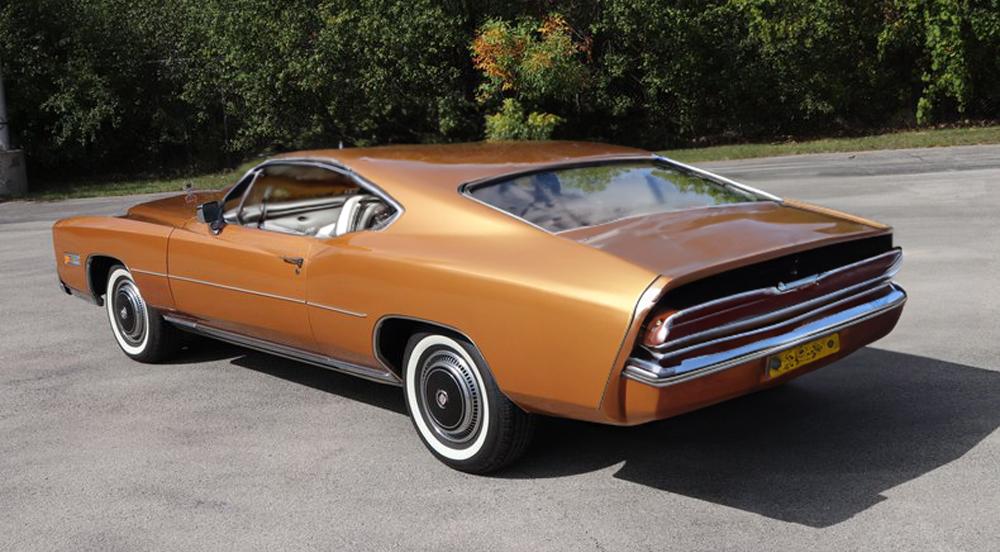
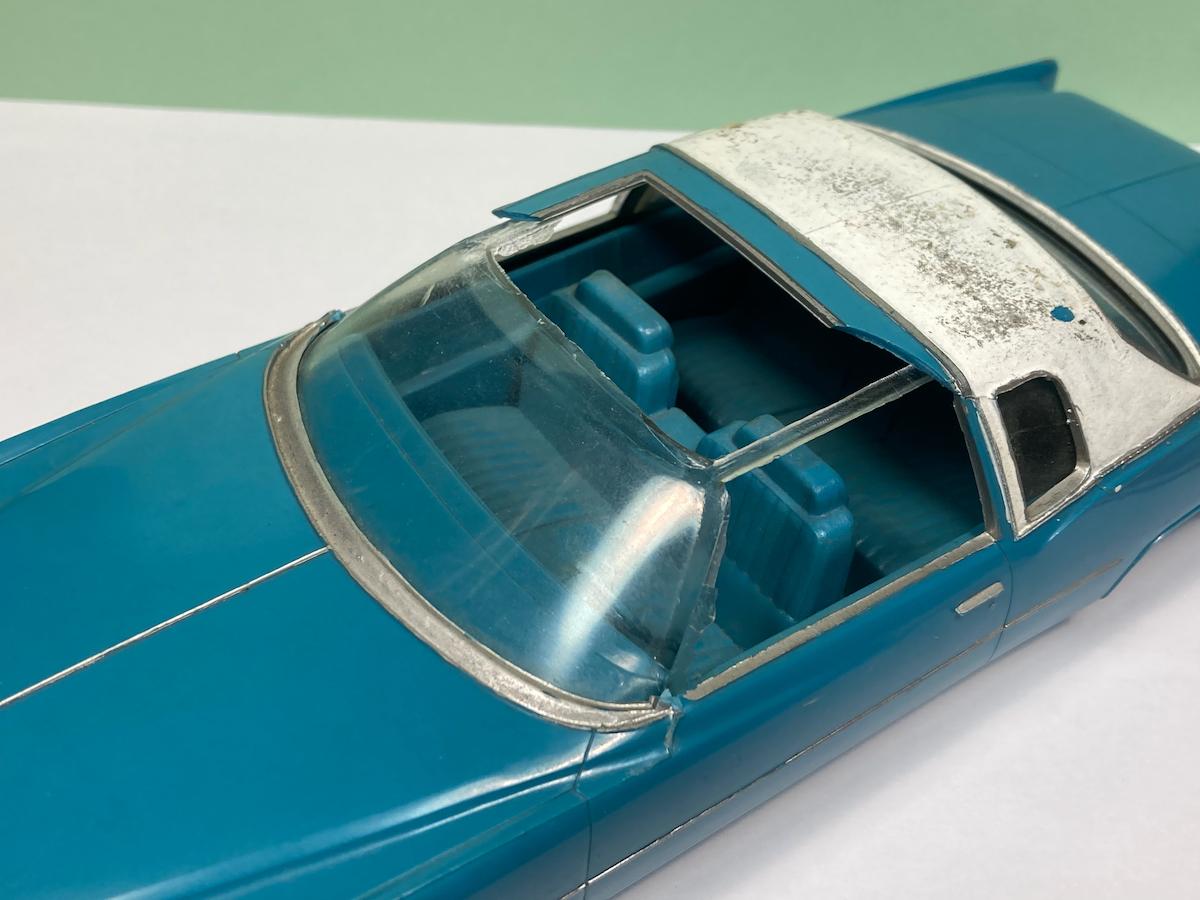
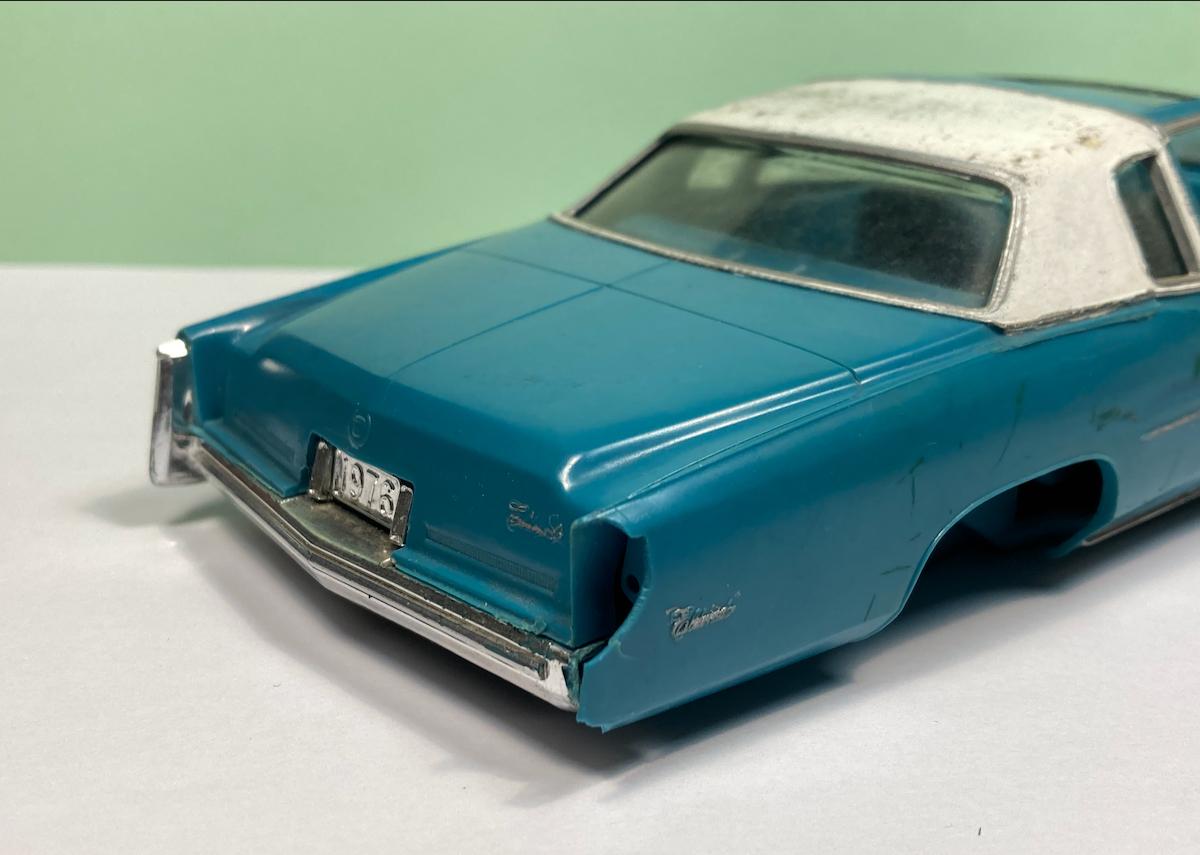
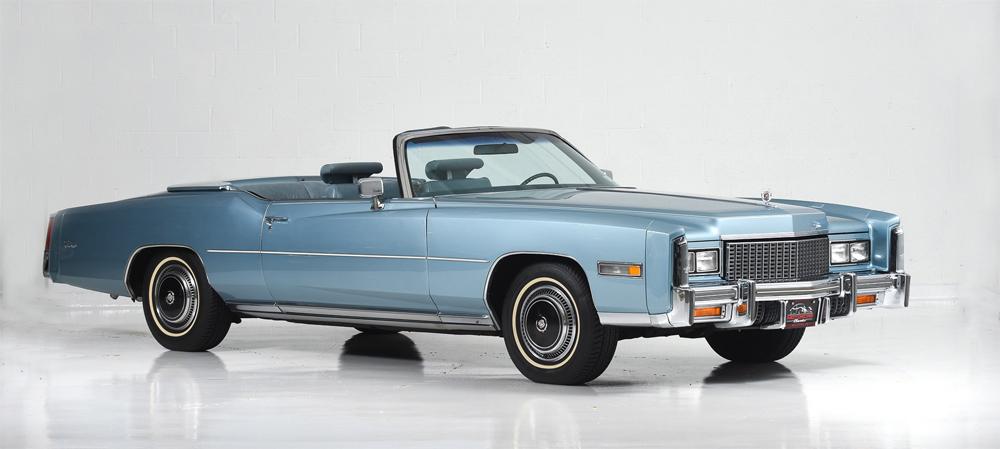
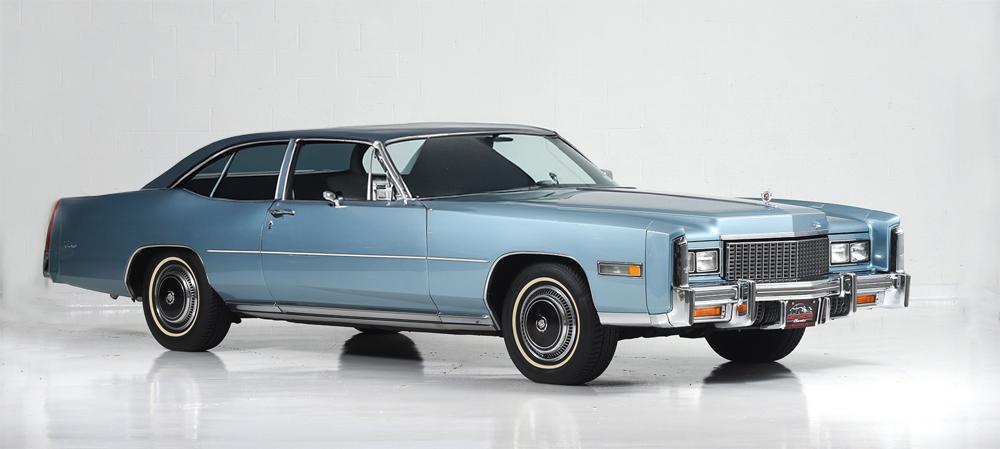
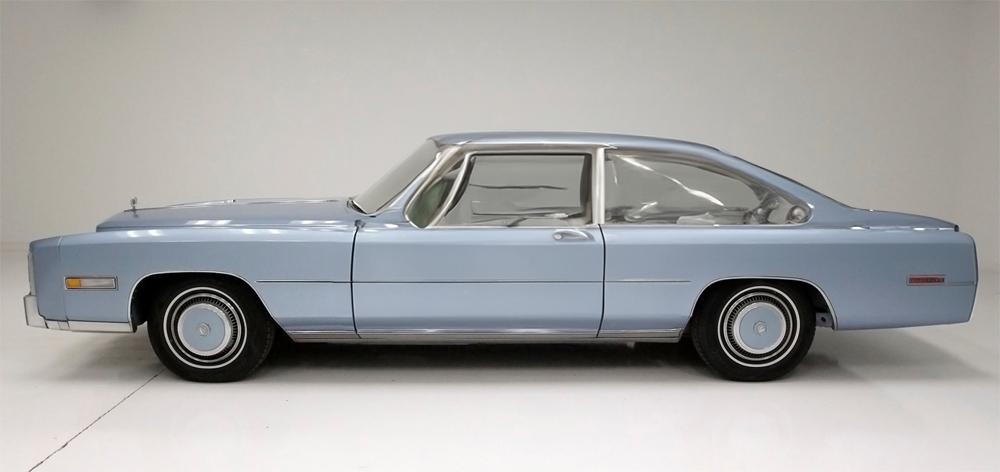
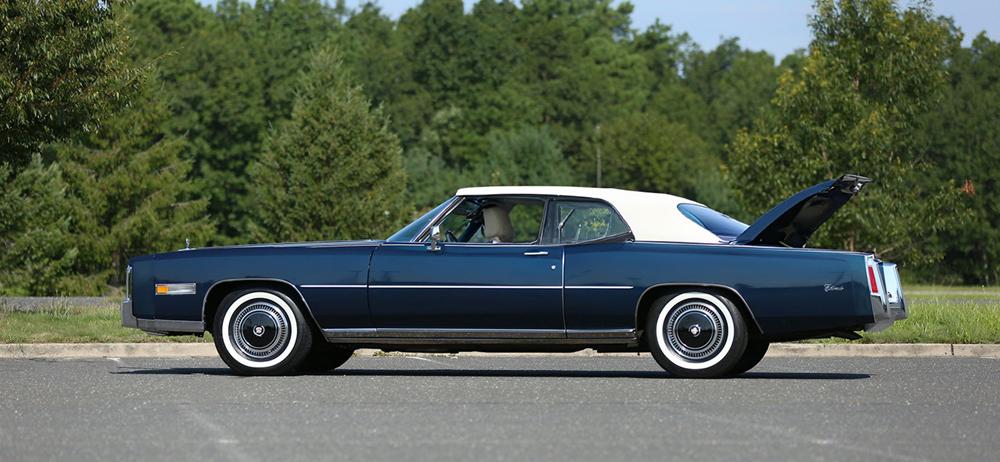
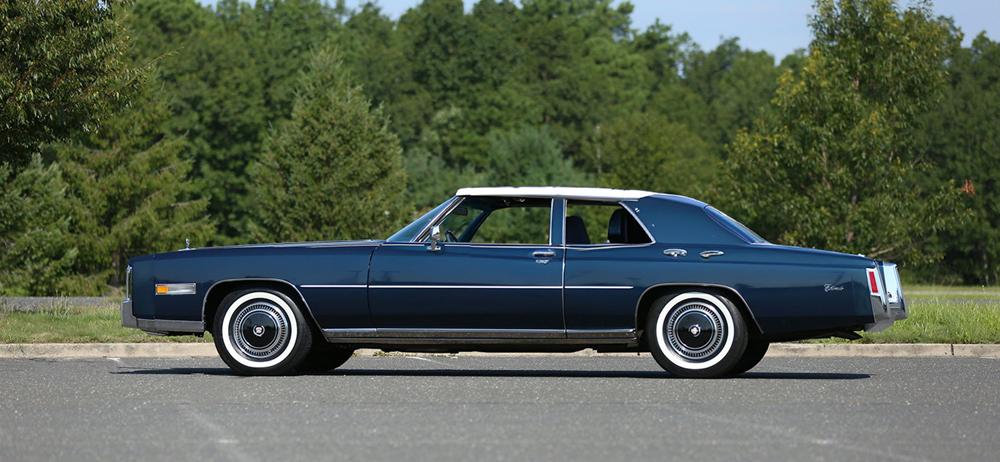
I've had this bomb in my junkers box for some time and I'm considering a custom makeover by redoing the top and back and maybe the trunk. You can see the front of the top is gone and rear bumper is broken and missing. For inspiration, I explored generative AI to see what might look cool. This is what I've got. I selected the area I want to change and gave minimal prompts, just to see what AI would come up. For the first one I used an internet convertible. First pic of each example is the real car. AI seems to favor a sedan in this set. Love the traditional Cadillac look in this one, including the homage to the era of fins. There are a few of those wonky details I'm willing to overlook since I'm seeking inspiration, not logic. This profile shot seemed to make trouble for generative AI. Most of the time I just got craziness, like it didn't really know what it was looking at. Here's the original... ???? In this set, AI seemed fully in control and gave some beautiful clean results... This up-top convertible offered some interesting considerations, but AI simply would not understand my prompts for a "station wagon."
-
Great save! I really had to do some photo comparo to even see the seams.
-
I really like these. The watercolor makes them look so retro and the feel is so organic. Superb work.
-
2024 Cannonball Run Restomods Build Thread
Lunajammer replied to White Rabbit's topic in Community Builds
So here's where I'm at on the 74 Plymouth... As discussed in Q&A, I painted with Duplicolor products but the clear is just not getting hard. It spent a couple weeks off and on in the dehydrator and I went ahead and started cutting the clear with sandpaper and polish. Sands very easily because it's not that hard but I also can't get a satisfactory shine. More time seems to be the answer. Stripping it and starting over is not an option because if it comes to that then I'm out. I've encountered this once before, but it happened when I airbrushed nail polish. At the time I thought the polish had a softener to prevent chipping but it took over a year to harden. The interior is mostly done, still need to detail the dash. Here's where the body stands right now...
-
That is one clean machine. Beautiful pics.
-
I like this. I haven’t seen that wheel treatment on the old RM Bel Air before but it seems so right.
-
We have lots of dogs and they all get top medical care and that means pill bottles. I use them for discarded blades, loose dremel bits, teeny detail parts, mailing small parts, even started to model a steam era metal wheel.
-
Duplicolor Clear Still Soft After 2 Months
Lunajammer replied to Lunajammer's topic in Model Building Questions and Answers
Well, I guess that's not all bad. I'll hold off further polishing, maybe for the summer, to avoid adding a drying barrier. At $18 a can it's freakin' disappointing, especially since that usual hard as nails finish makes such a nice gloss. I'll still try this though. -
I used Duplicolor primer, Duplicolor color coat and Duplicolor clear. The color coat sat in the dehydrator for three days before the clear coat was applied. That sat in the dehydrator for at least a week or two and two months later the paint is still soft and polishes to a bland sheen, not high gloss. Can still dent it with a fingernail. In 30 years of using that product, never had that happen. It was sprayed in a warm dry place. Any thoughts?
-
Fixing a Boo-Boo!
Lunajammer replied to StevenGuthmiller's topic in General Automotive Talk (Trucks and Cars)
That’s the kind of thing that I interpret as a reminder not to get too attached to our stuff, Kharma, etc. Add a few more fortune cookie sayings. Good thing you got off easy, it’s a classy model. -
AMTs 51 Chevy Bel Air hardtop called Black Sapphire
Lunajammer replied to Stanward VonDiederichs's topic in Model Cars
fantastic details and that engine is amazing. -
Tilted wheels. Why?
Lunajammer replied to Earl Marischal's topic in General Automotive Talk (Trucks and Cars)
This. Purely an attention getting fad of audacity, like high lift, large diameter donk wheels. -
2024 Cannonball Run Restomods Build Thread
Lunajammer replied to White Rabbit's topic in Community Builds
Glad to see you're still kickin' Rob. I was beginning to wonder if you'd drop by somewhere along the line. The Impala's a pretty good kit. I started one years ago but it's buried so deep I think I need to take off a corner of the house to get to it. -
I had two or three print paper boxes full of bodies, parts and glue bombs. Then I came across a privately owned collectibles store that was going out of business and for $50 bought 12 or 13 boxes of more model junk, enough to fill the bed of my Ford Ranger. I was able to sort and organize them down to about three full totes. Unfortunately, most of the parts are not "good" parts; glue marred, cut up, busted bits, melted, etc, and none of it very collectible, but some decent loose bodies. Fun to scrounge through.
-
Wow, beautiful detail. I don't know how you got that dash so crisp, but now I know where the dash for my '74 Roadrunner GTX kit came from. All I knew is it was wrong for that car.
-
2024 Cannonball Run Restomods Build Thread
Lunajammer replied to White Rabbit's topic in Community Builds
Yeah, the old grampa glasses are a game changer. Thinking about adding a stronger (closer) pair to the pair I've got. Meanwhile, I came across this. Jeepers, wish I'd seen it six weeks ago. Not much room for Cannonball trickery though.
-
What would a car modelers Hades be like:
Lunajammer replied to GLMFAA1's topic in The Off-Topic Lounge
The more parts you prep, paint and glue, the higher the parts count gets. Every time you open a bottle of paint or glue together an assembly, a cat knocks it to the floor. Every model you ever dreamed of is in front of you and ready to build but you can't get any of the boxes open. ...Or pretty much any Twilight Zone plot you can think of, with models. -
2024 Cannonball Run Restomods Build Thread
Lunajammer replied to White Rabbit's topic in Community Builds
BTW Seth, great minds think alike. I'm using the same seats (from my parts box). -
2024 Cannonball Run Restomods Build Thread
Lunajammer replied to White Rabbit's topic in Community Builds
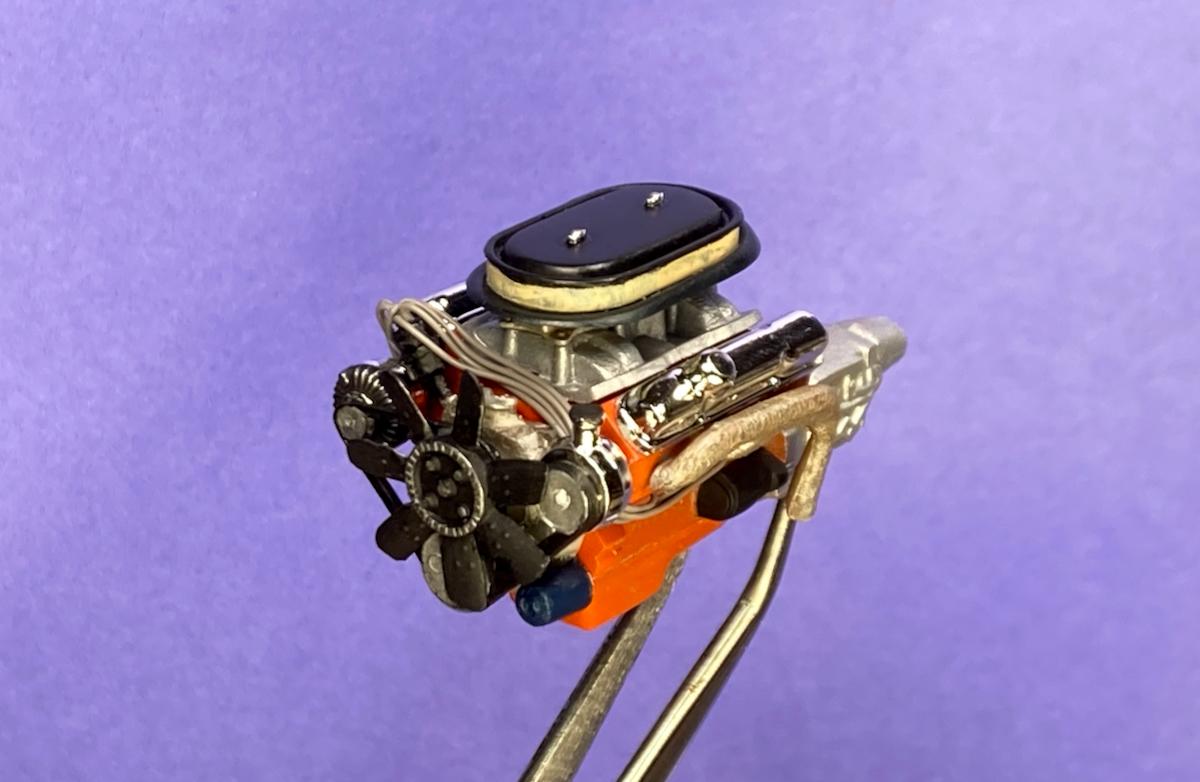
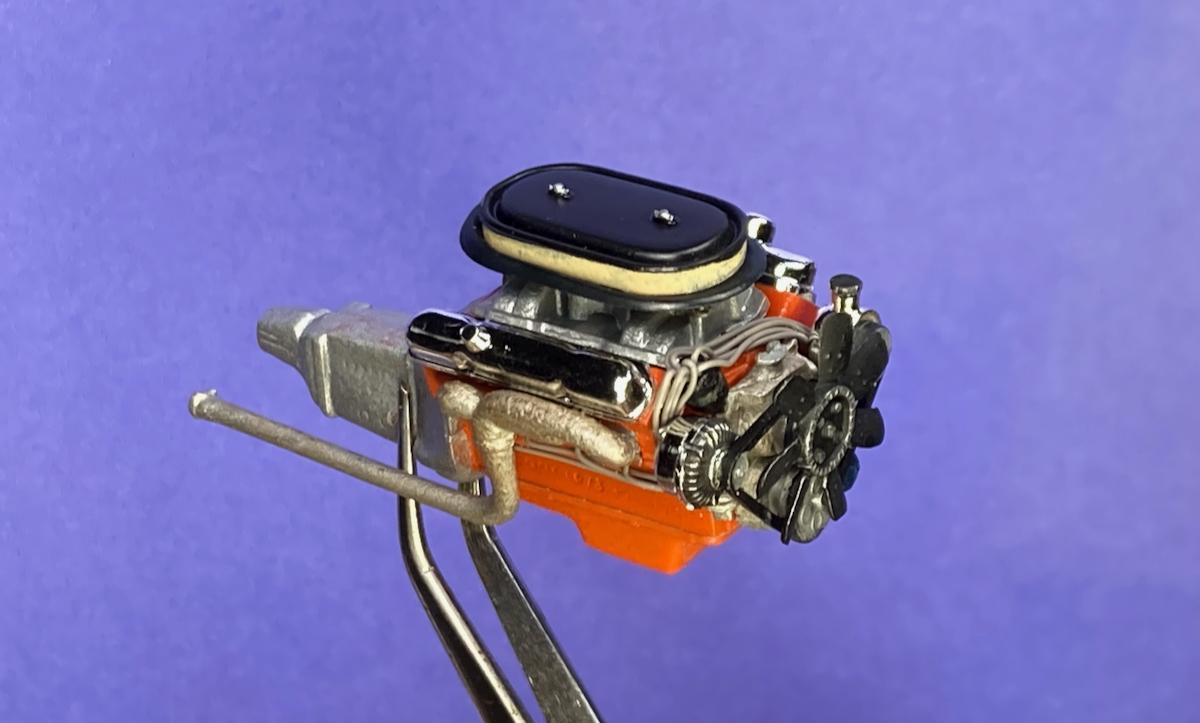
I've been plugging along a half hour here, an hour there and this is where I'm at tonight on the '74 GTX. Engine is done. After momentarily starting on the engine from the Magnum Wagon, I didn't like how involved it would get trying to fit it into the GTX, so back to kit 440 it is. Meh.
-
At the risk of being contrary to my previous post, Donn Yost certainly figured out how to get a great finish right out of the gate. However I've not seen his videos to see what's involved, how steep the learning curve is or what tools and/or environment are required. I got a great glassy airbrush finish once, but I don't know what I did and have not been able to replicate it.
-
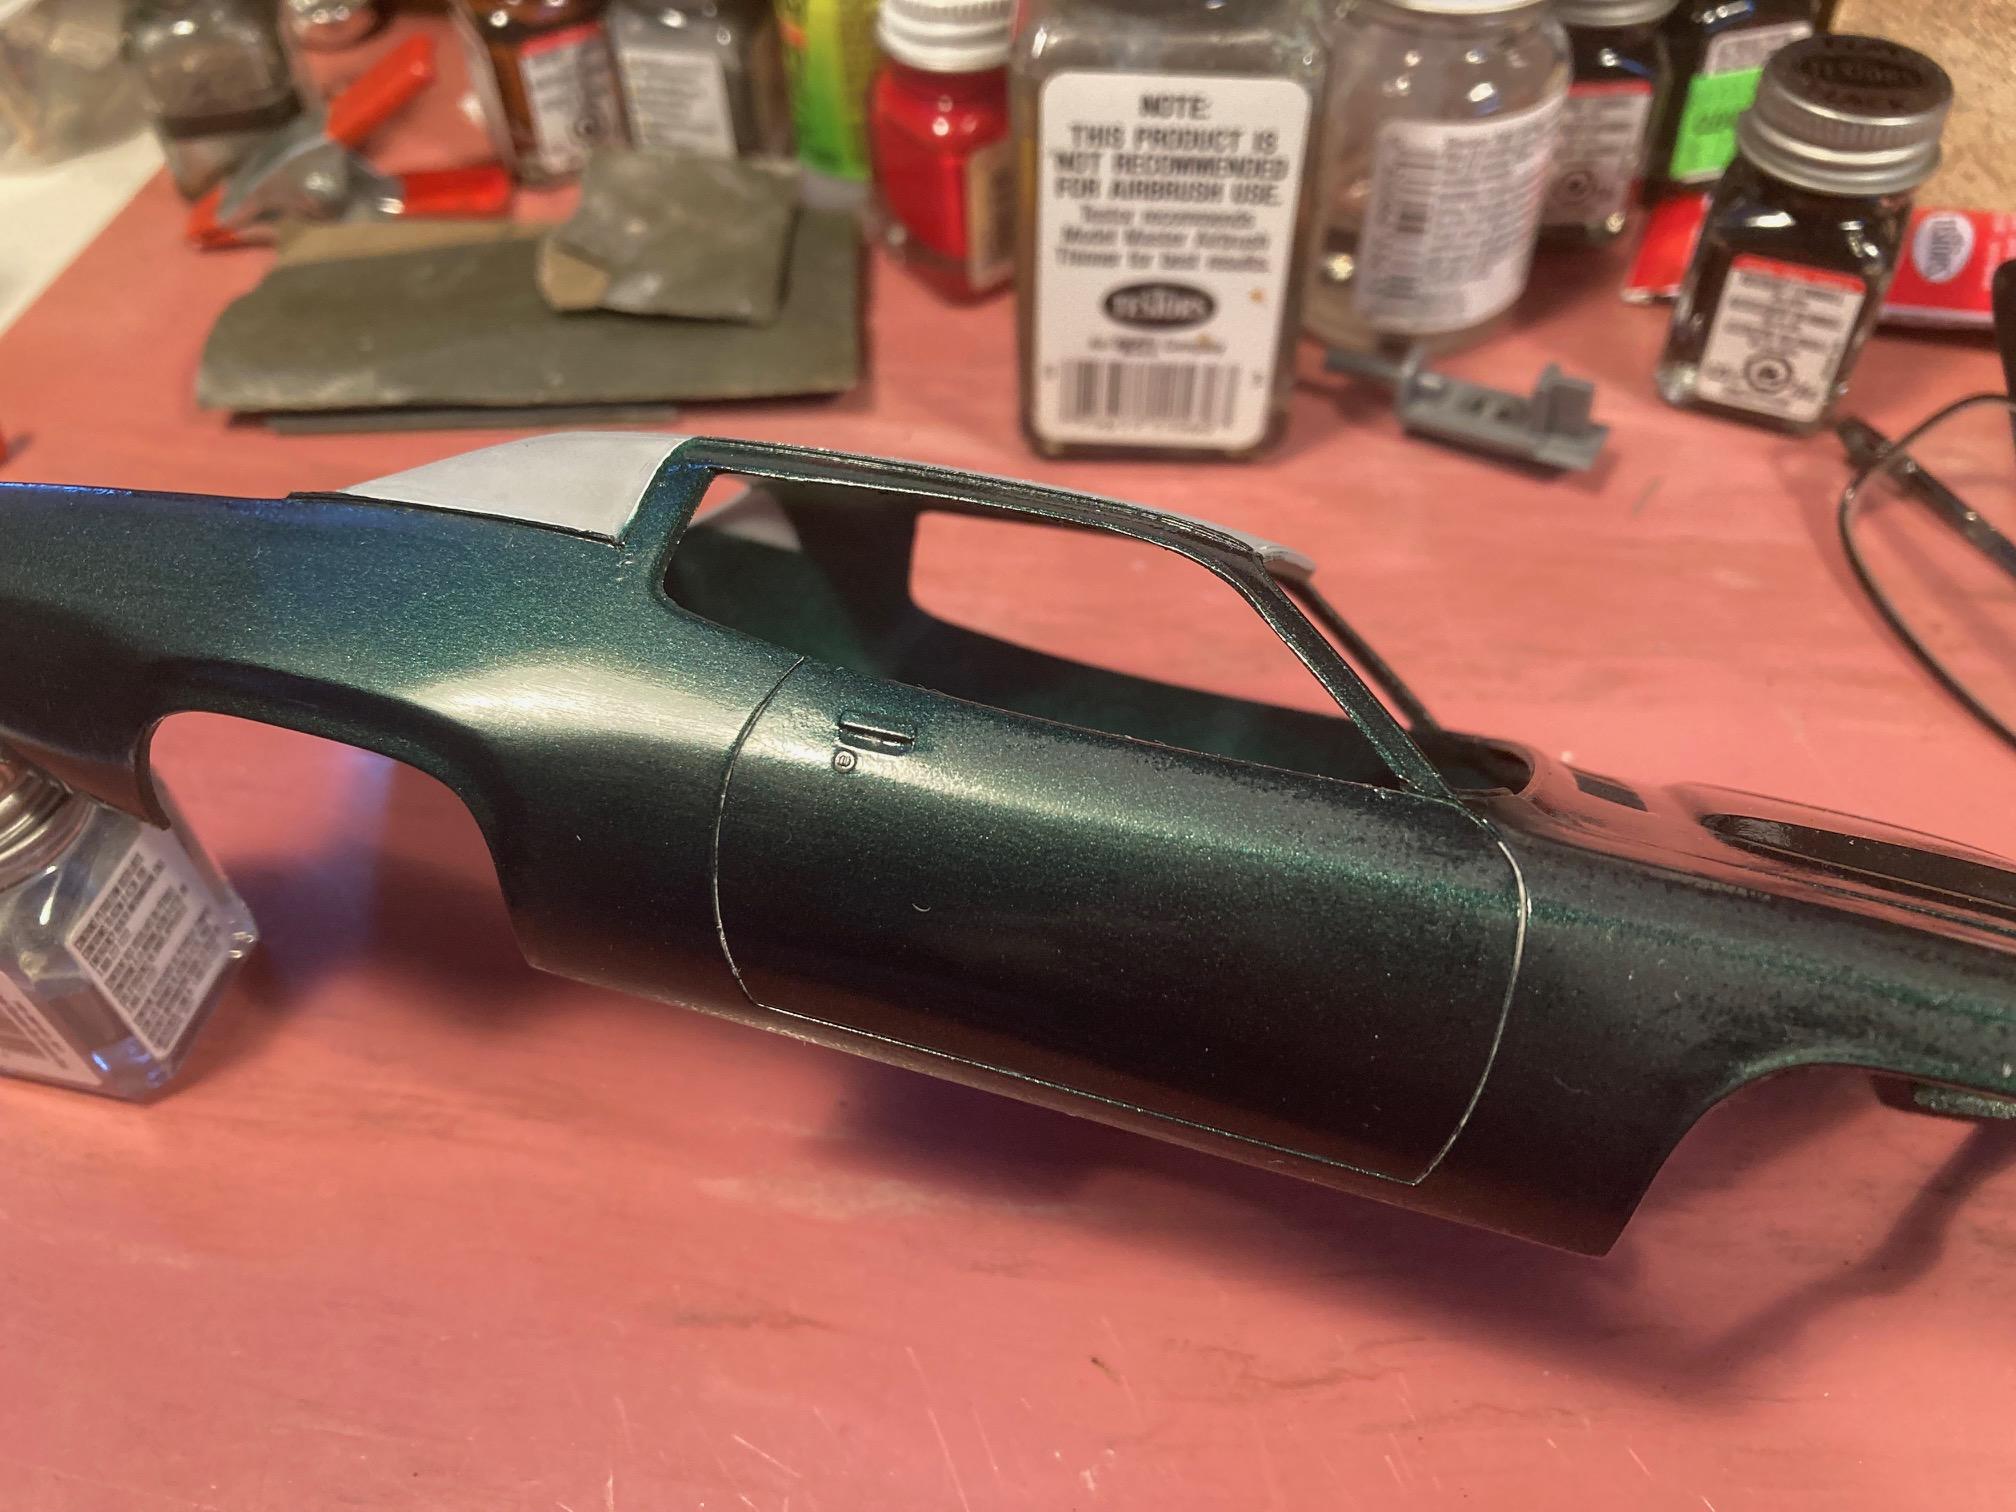
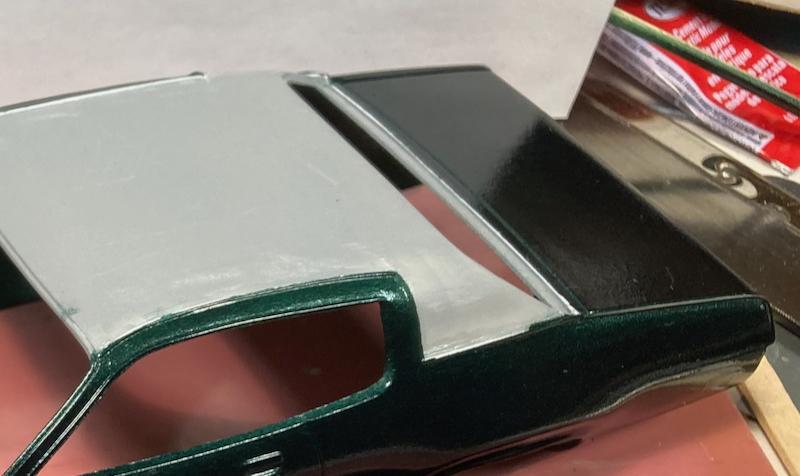
That looks like a pretty typical finish I usually get from spray cans, regardless of how wet it gets applied. Sort of a given that follow up sanding and polishing is part of the process. Not my favorite aspect of model building but I accept it as part of the affair. Pic is not a great paint can job (the green), but it's a reasonable starting point for surface finishing, as is yours.