Randy D
-
Posts
1,917 -
Joined
-
Last visited
Content Type
Profiles
Forums
Events
Gallery
Everything posted by Randy D
-
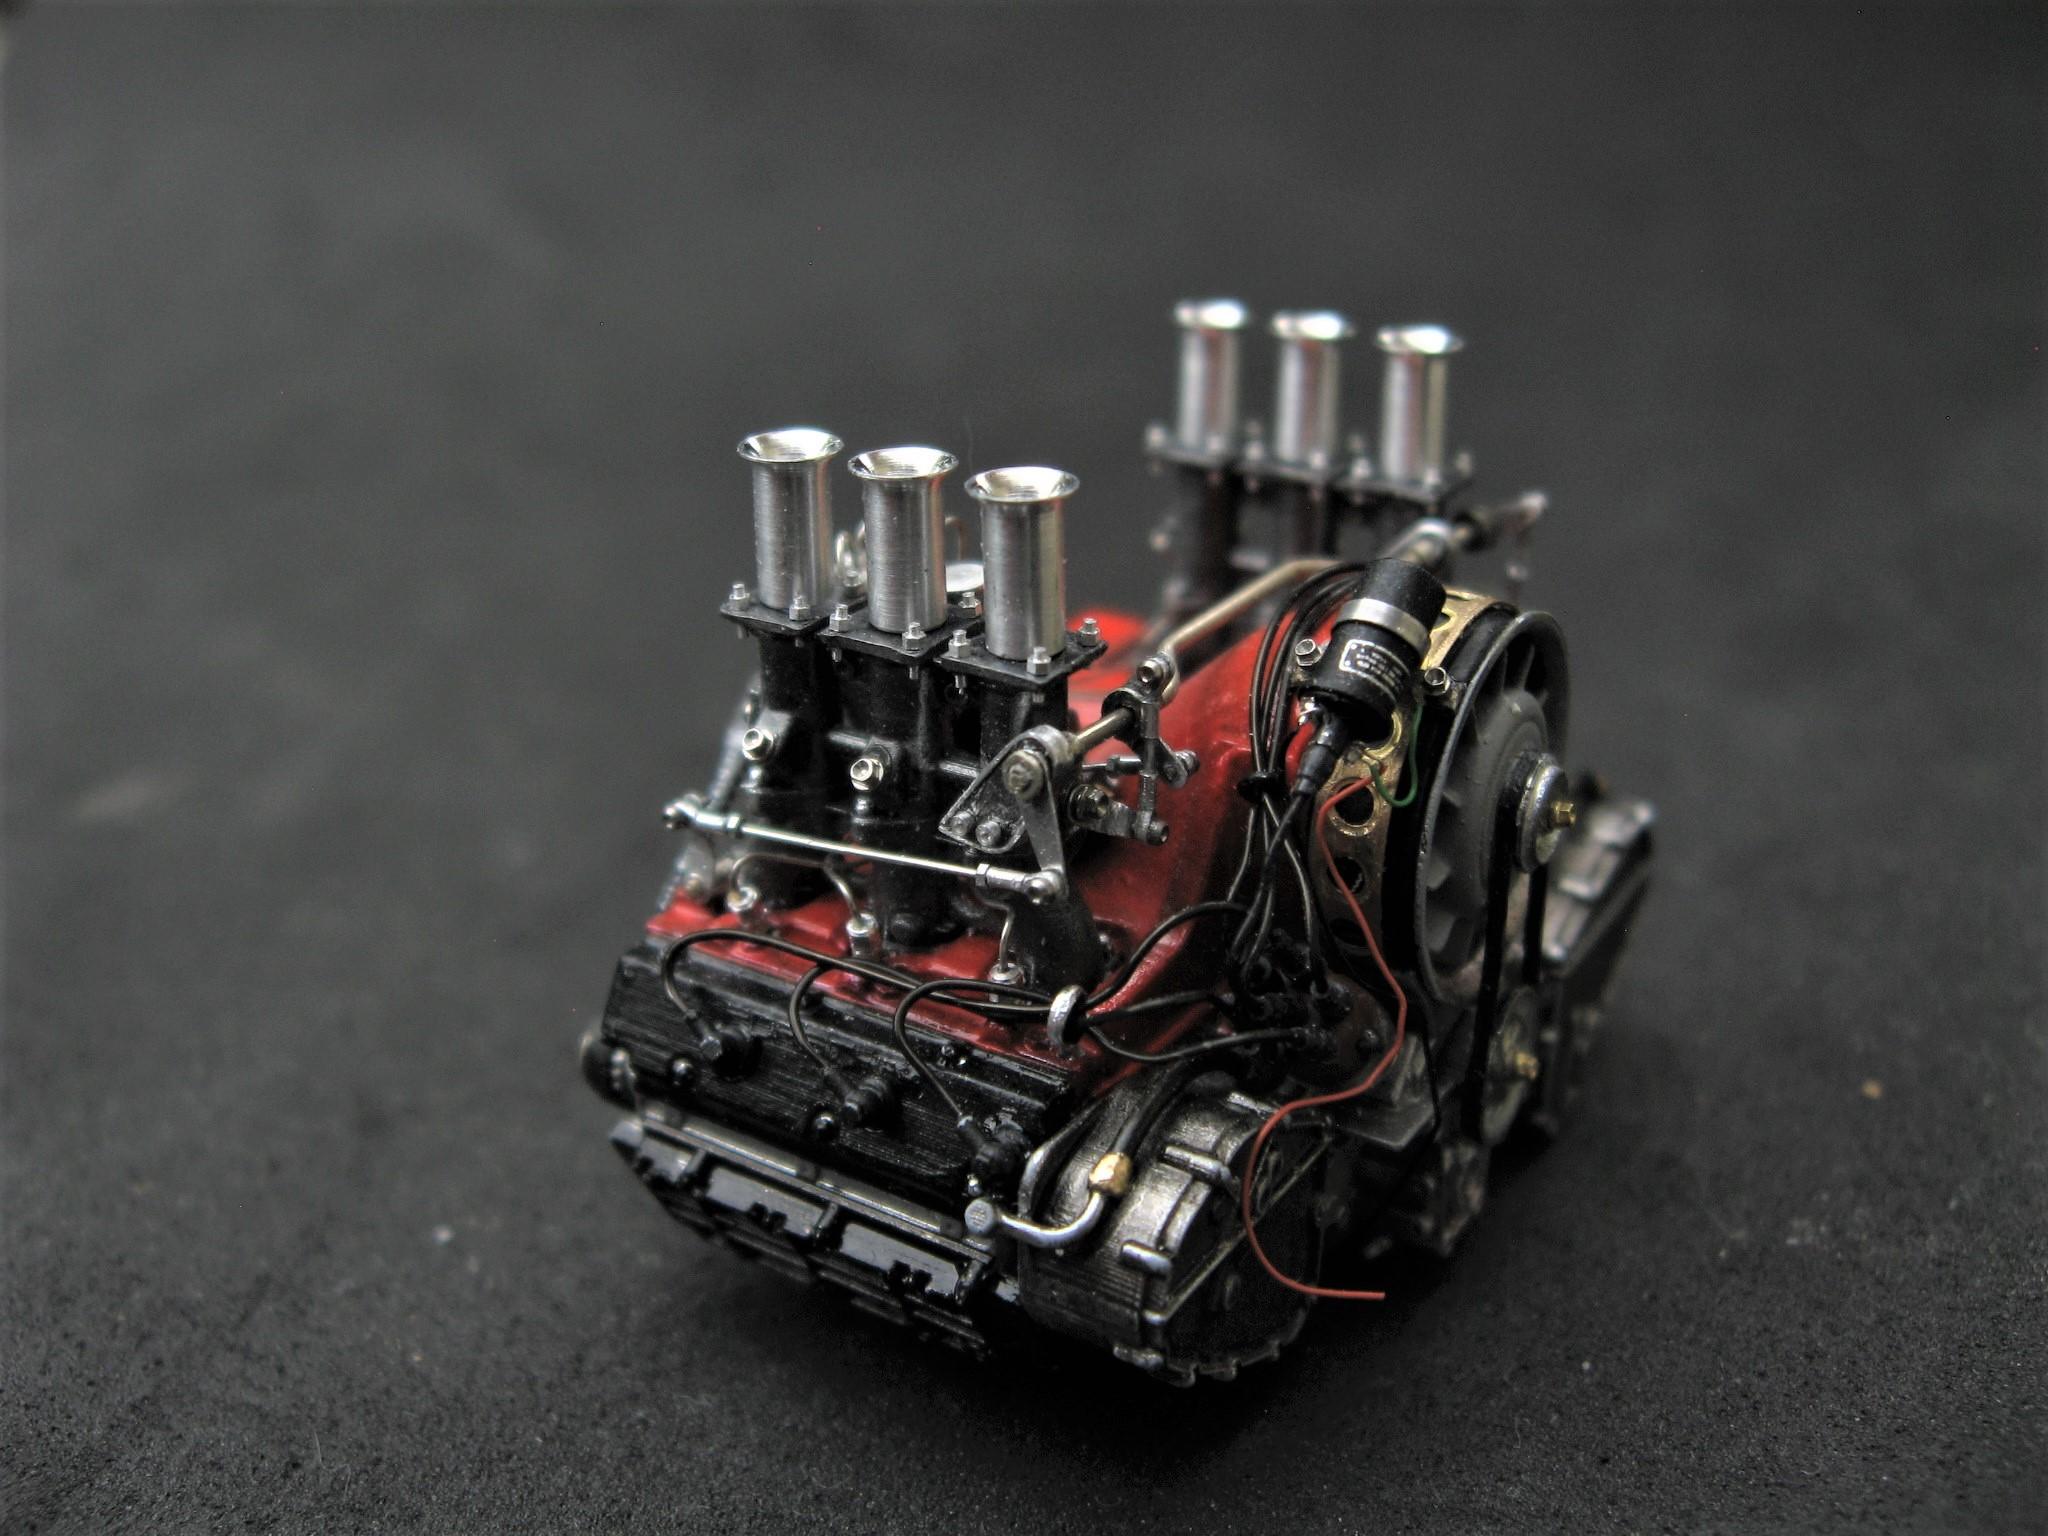
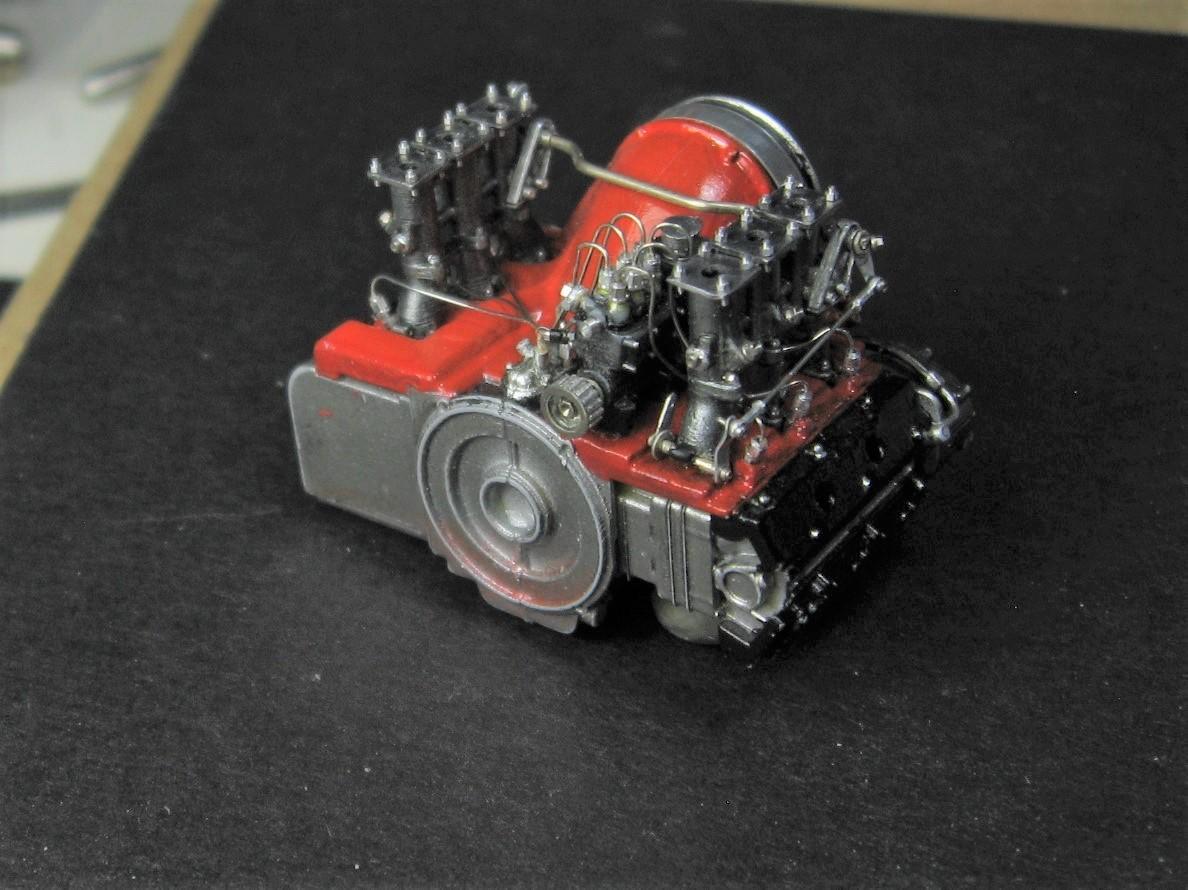
Adding some stacks, RB Motion items... Thanks for looking in! Randy

-
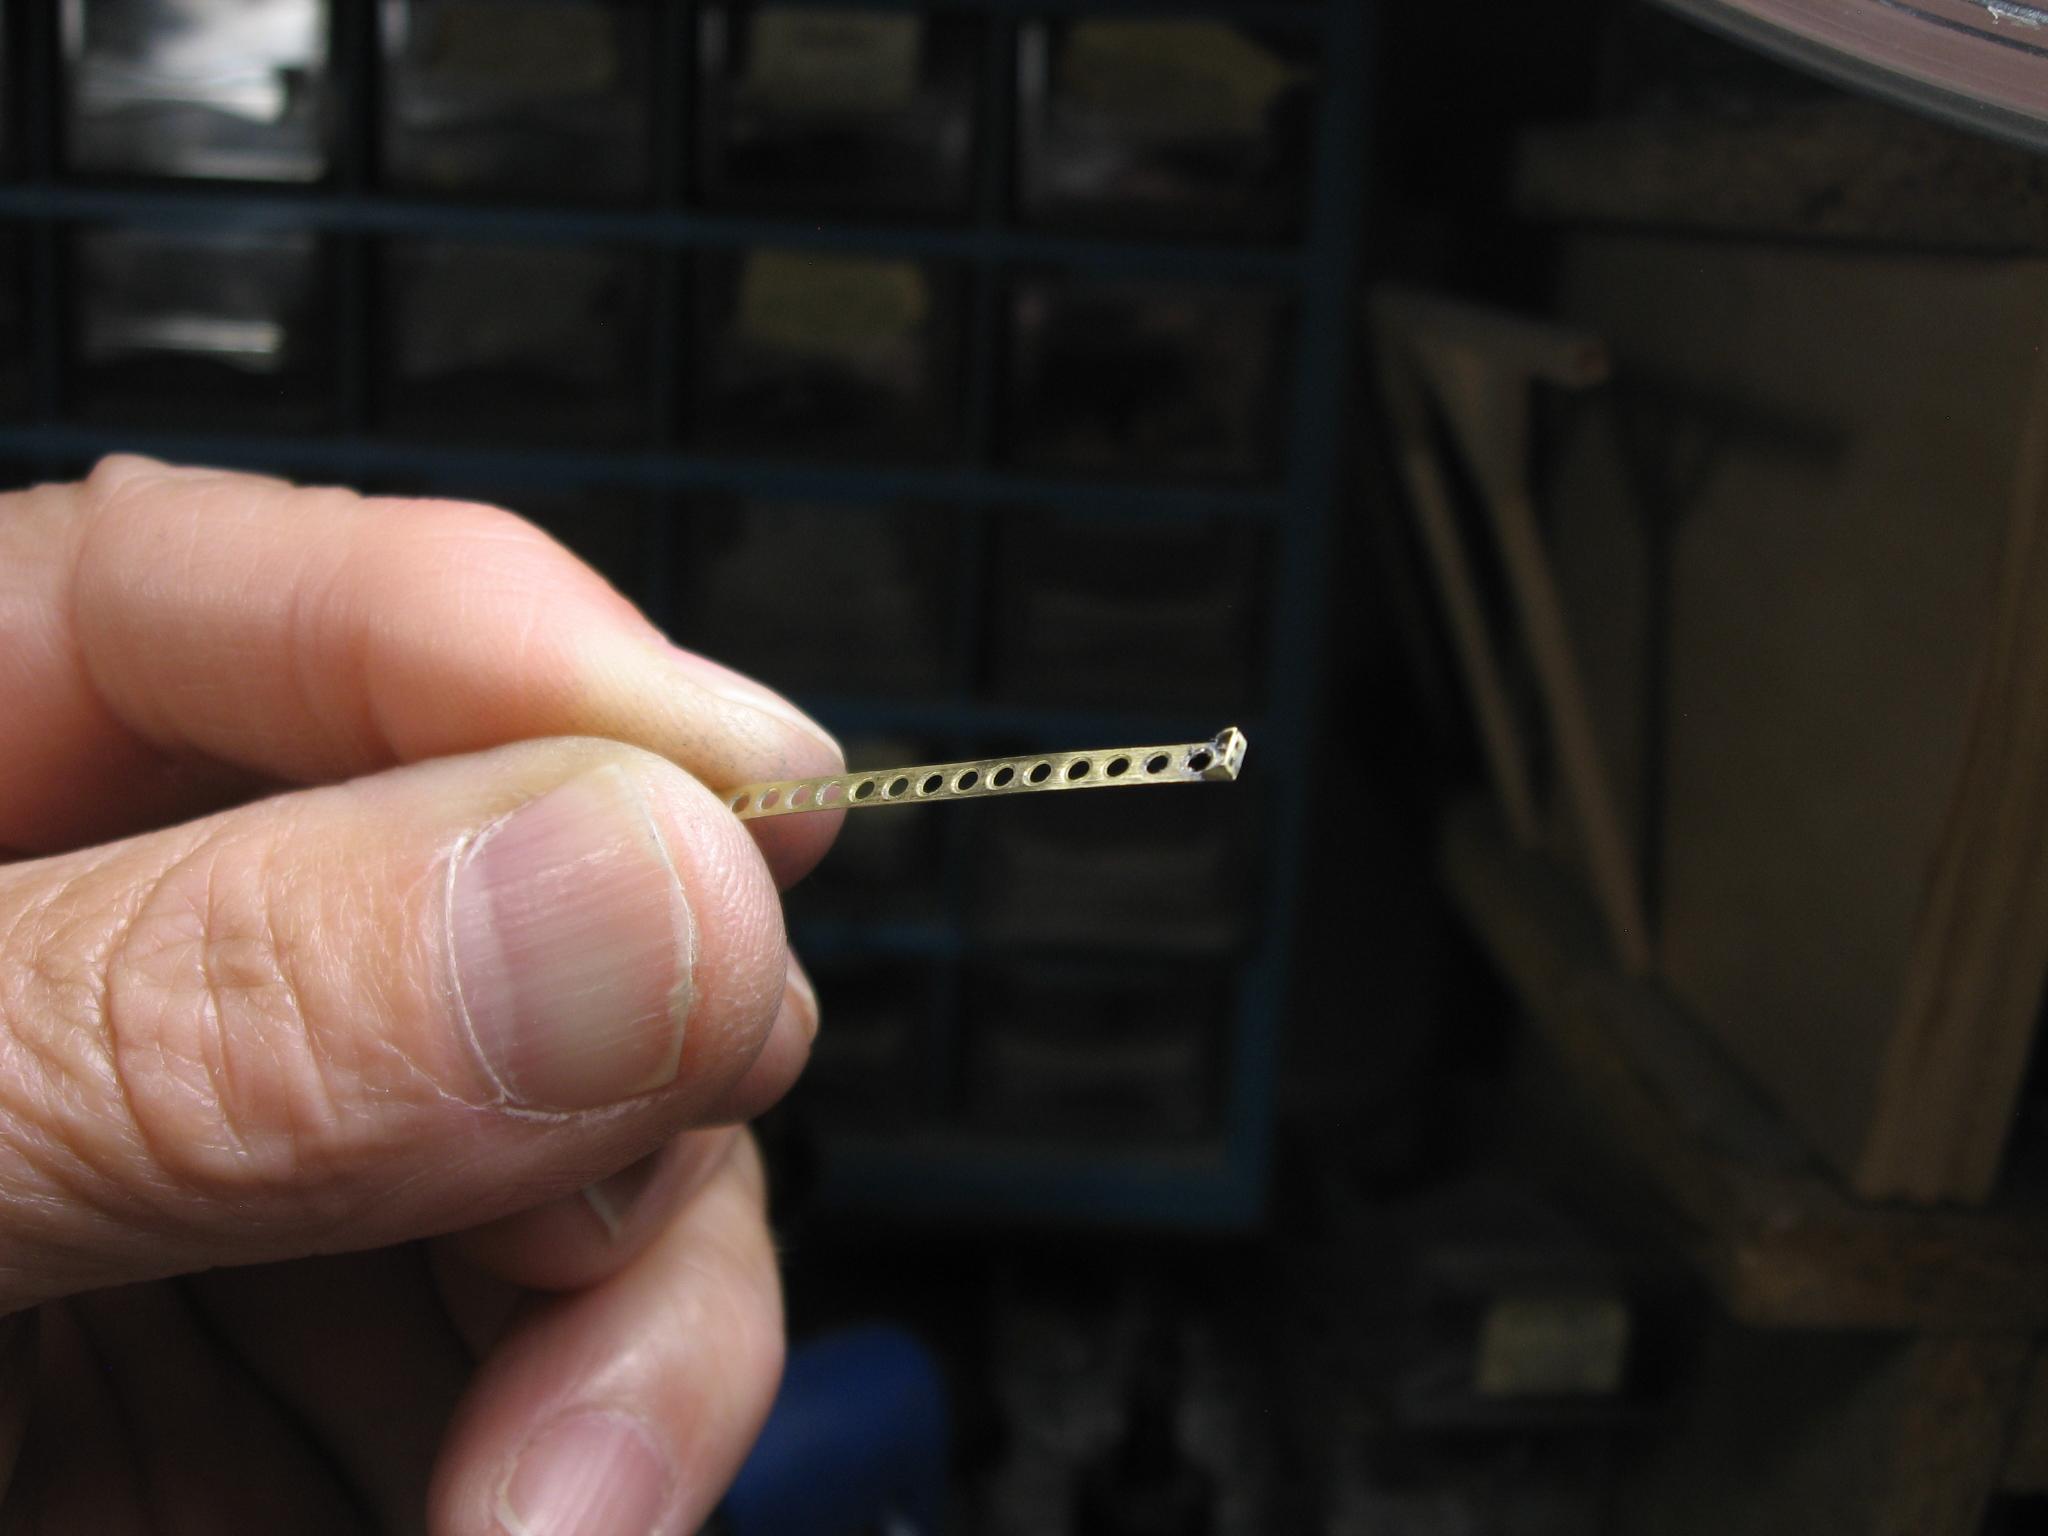
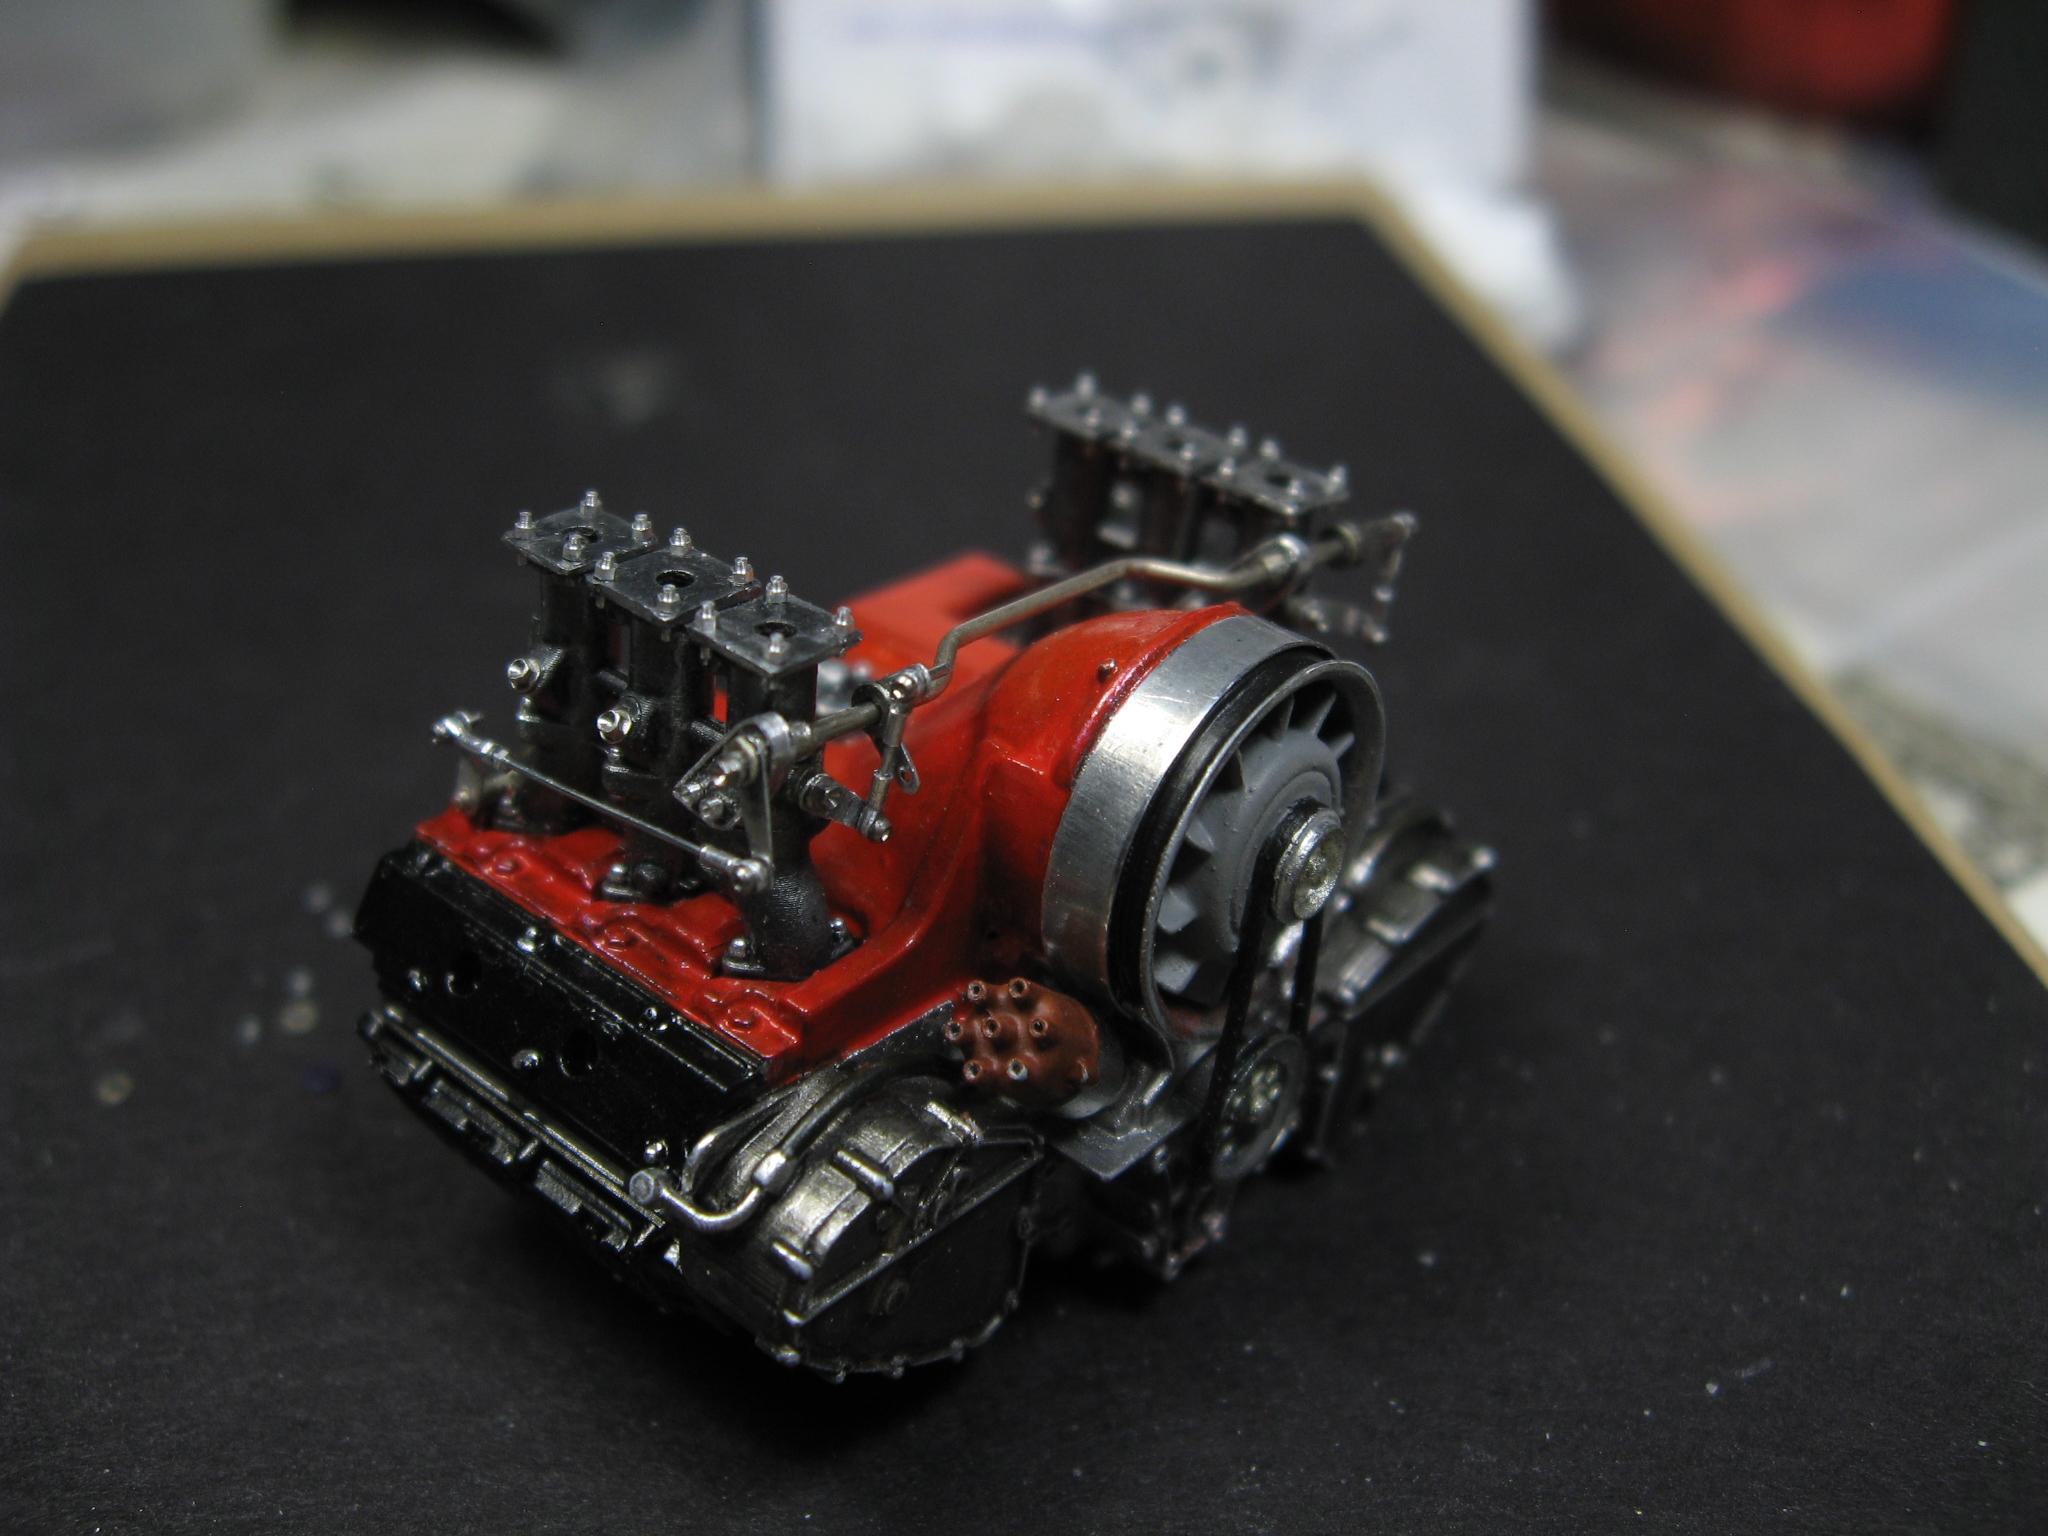
This next part is Tim's fault... Made up a new fan shroud band out of brass and a couple of nuts/bolts... Next up is the coil, Pro tecs piece with some detail added...
-
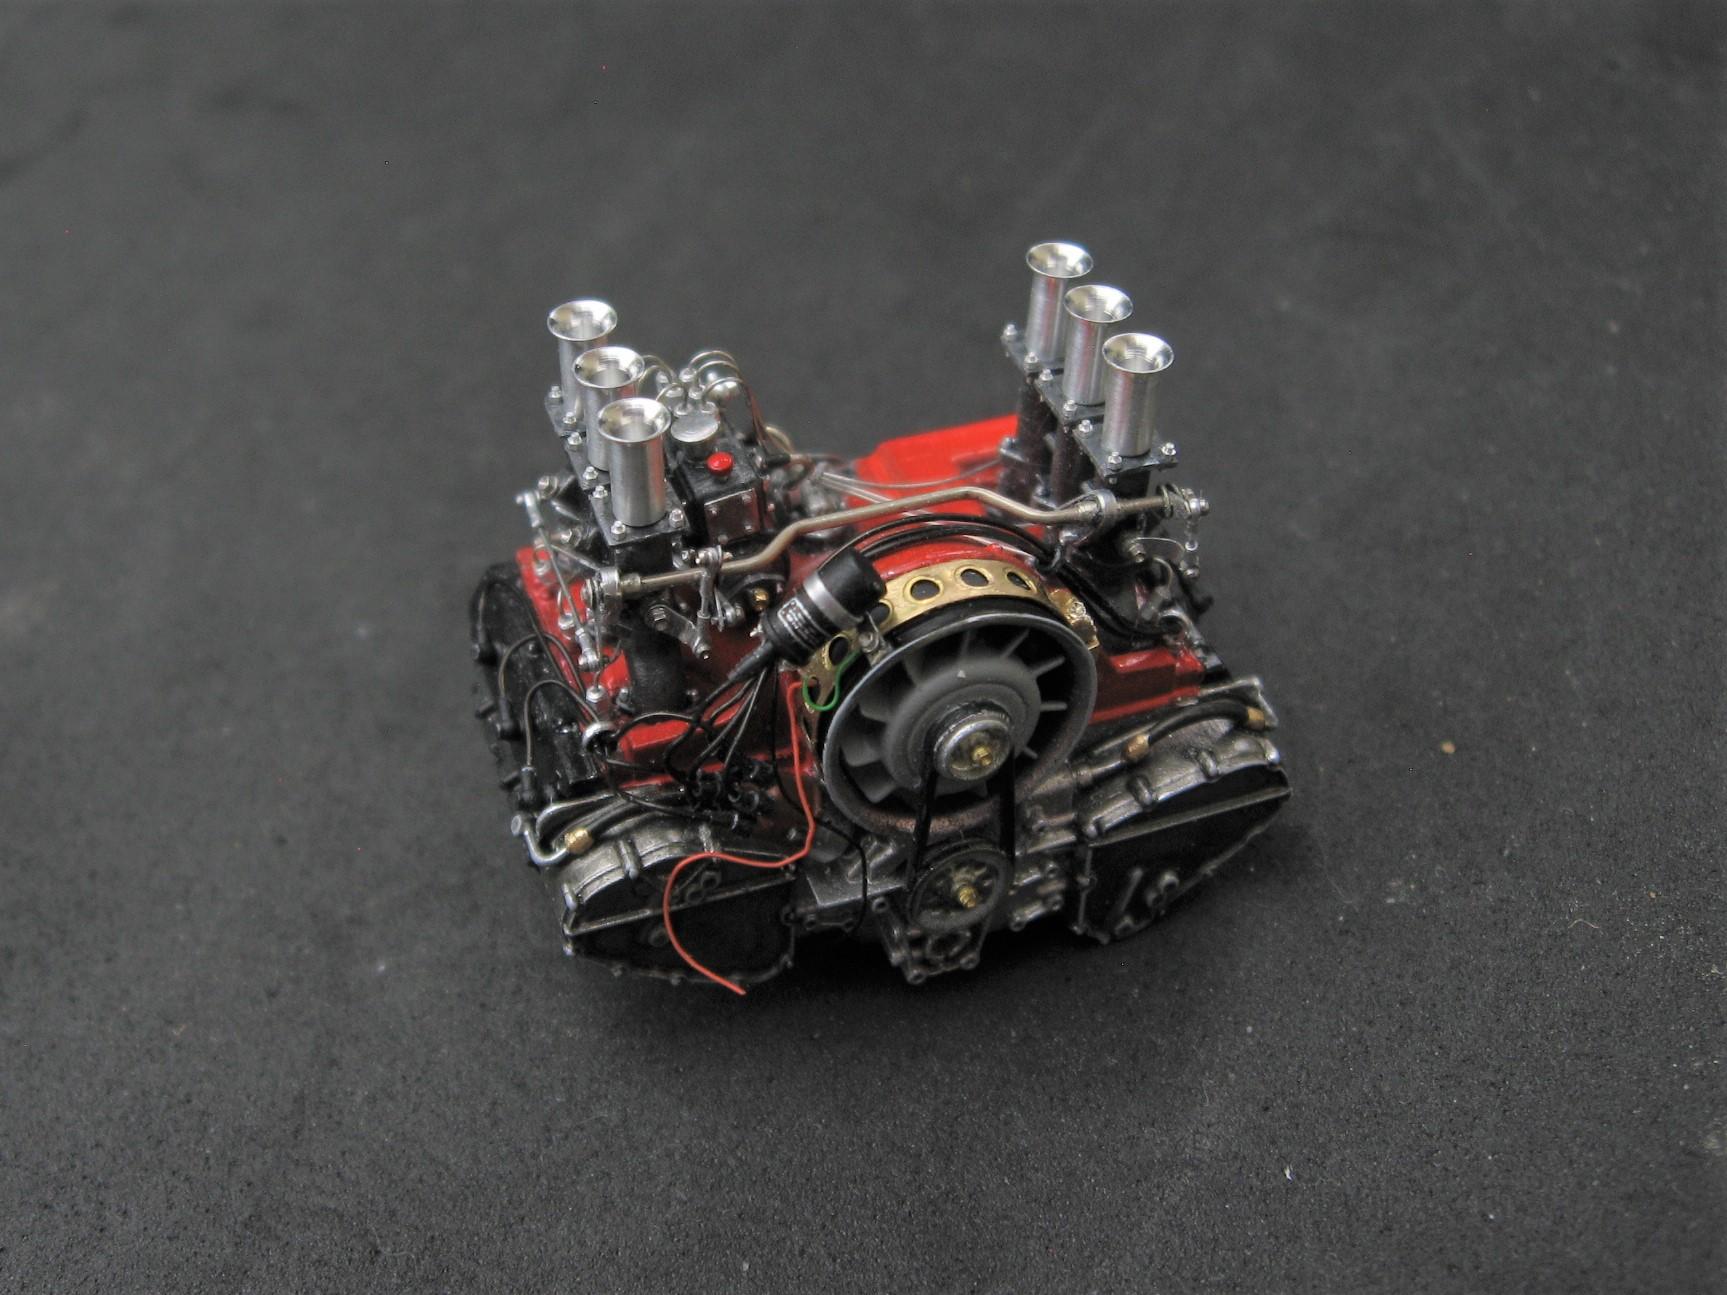
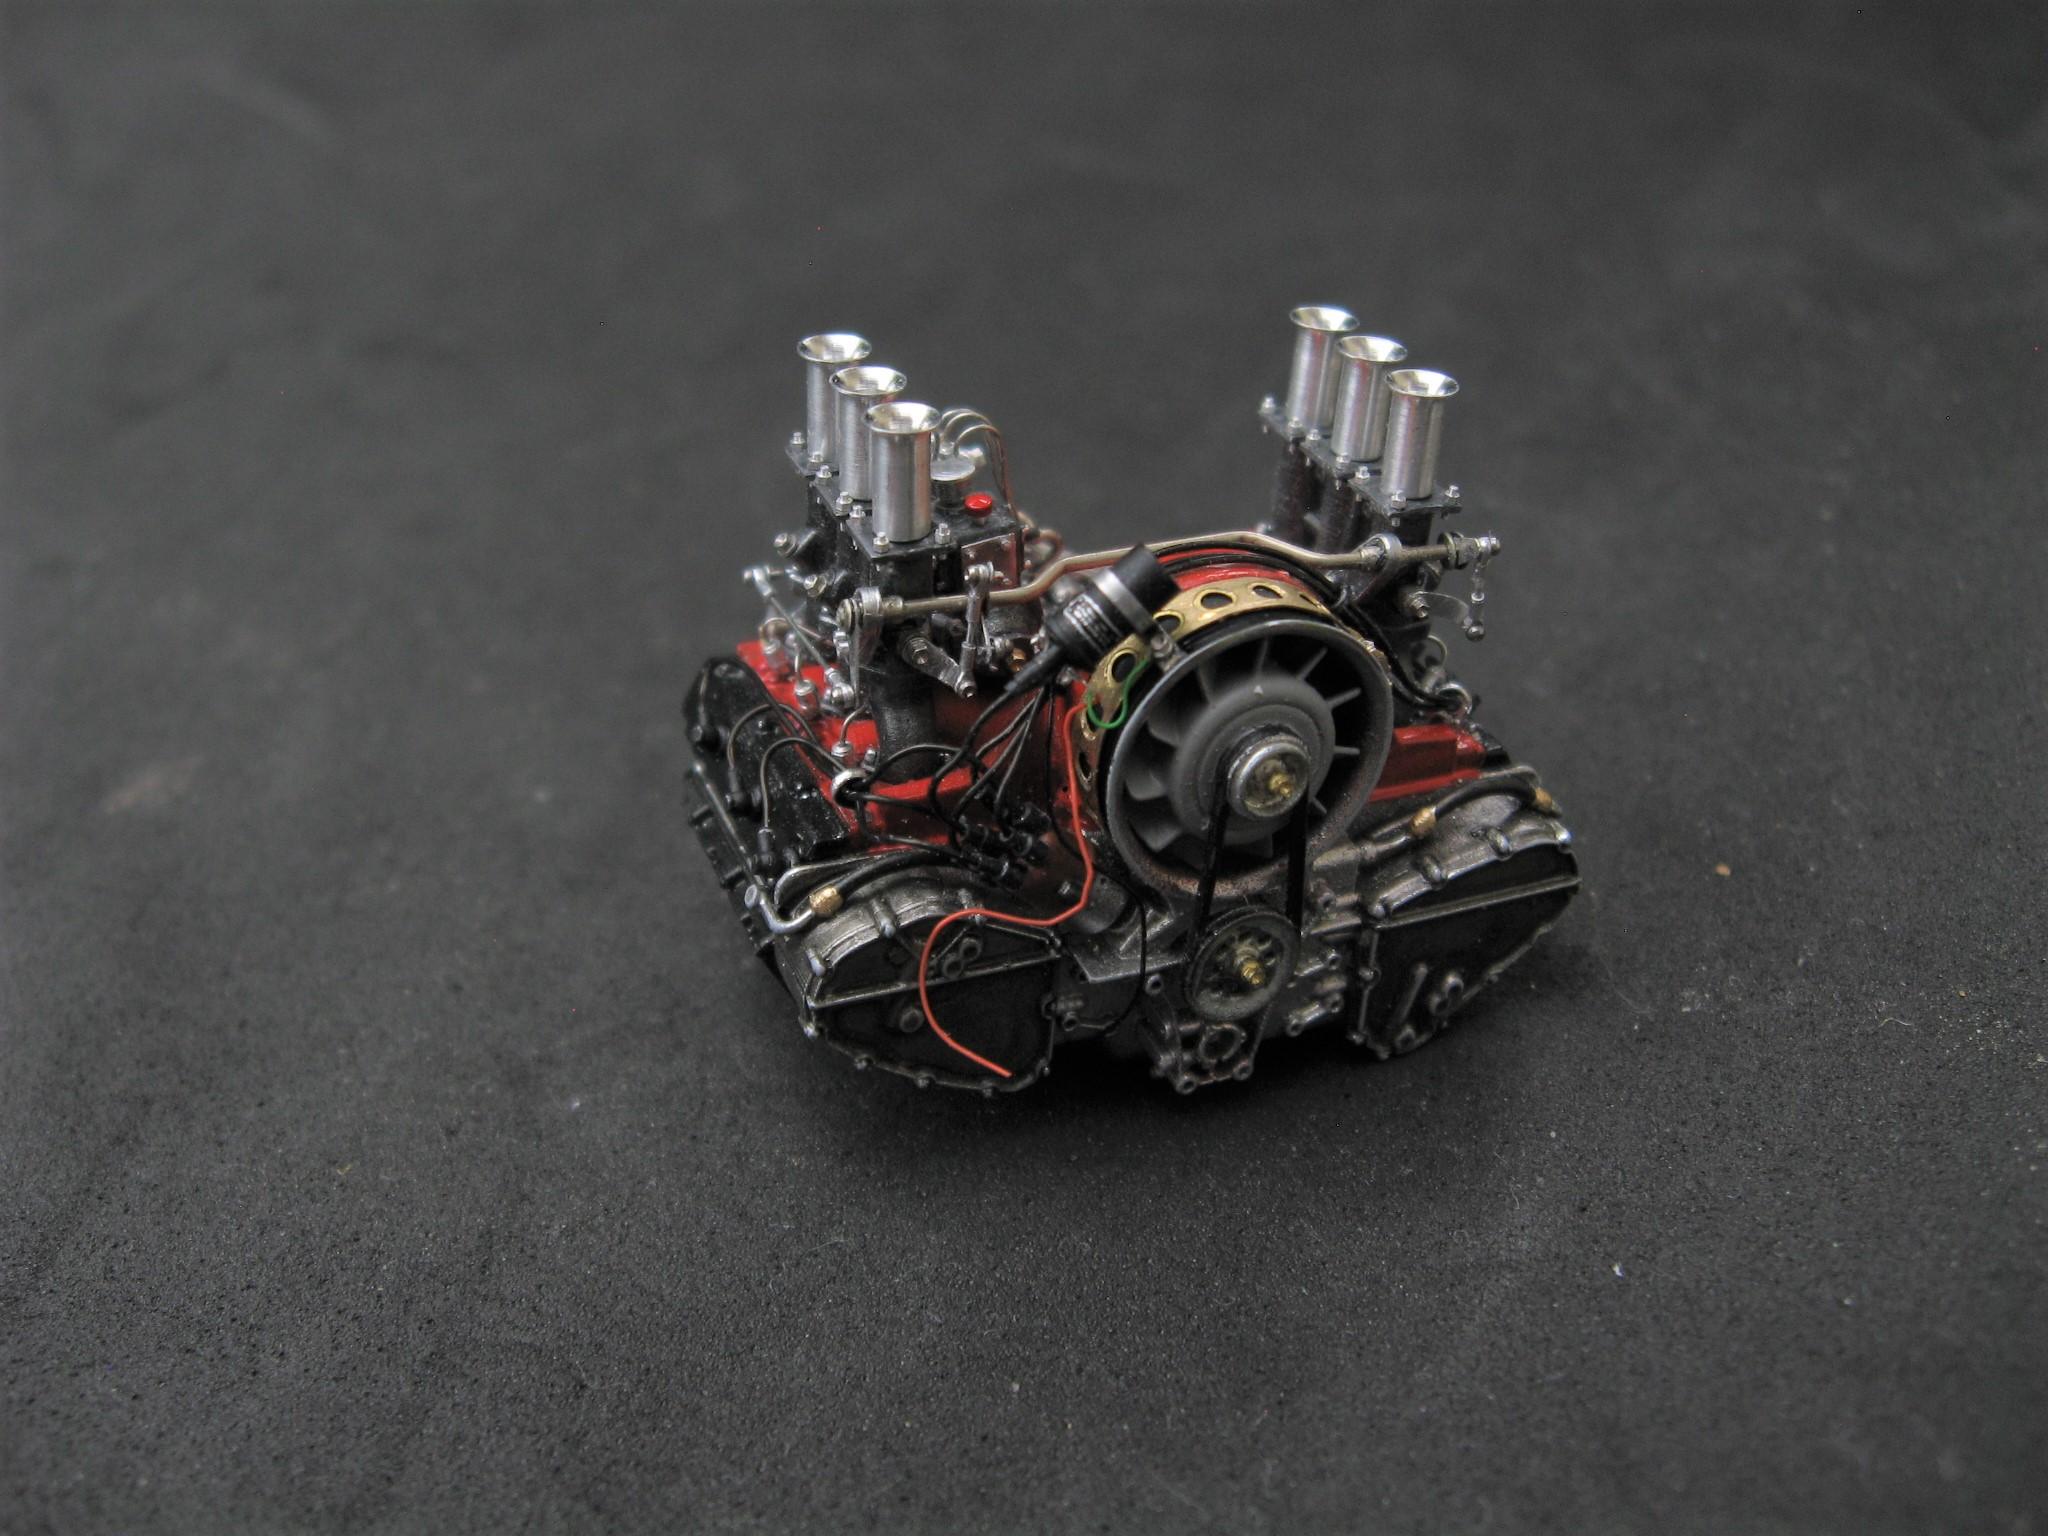
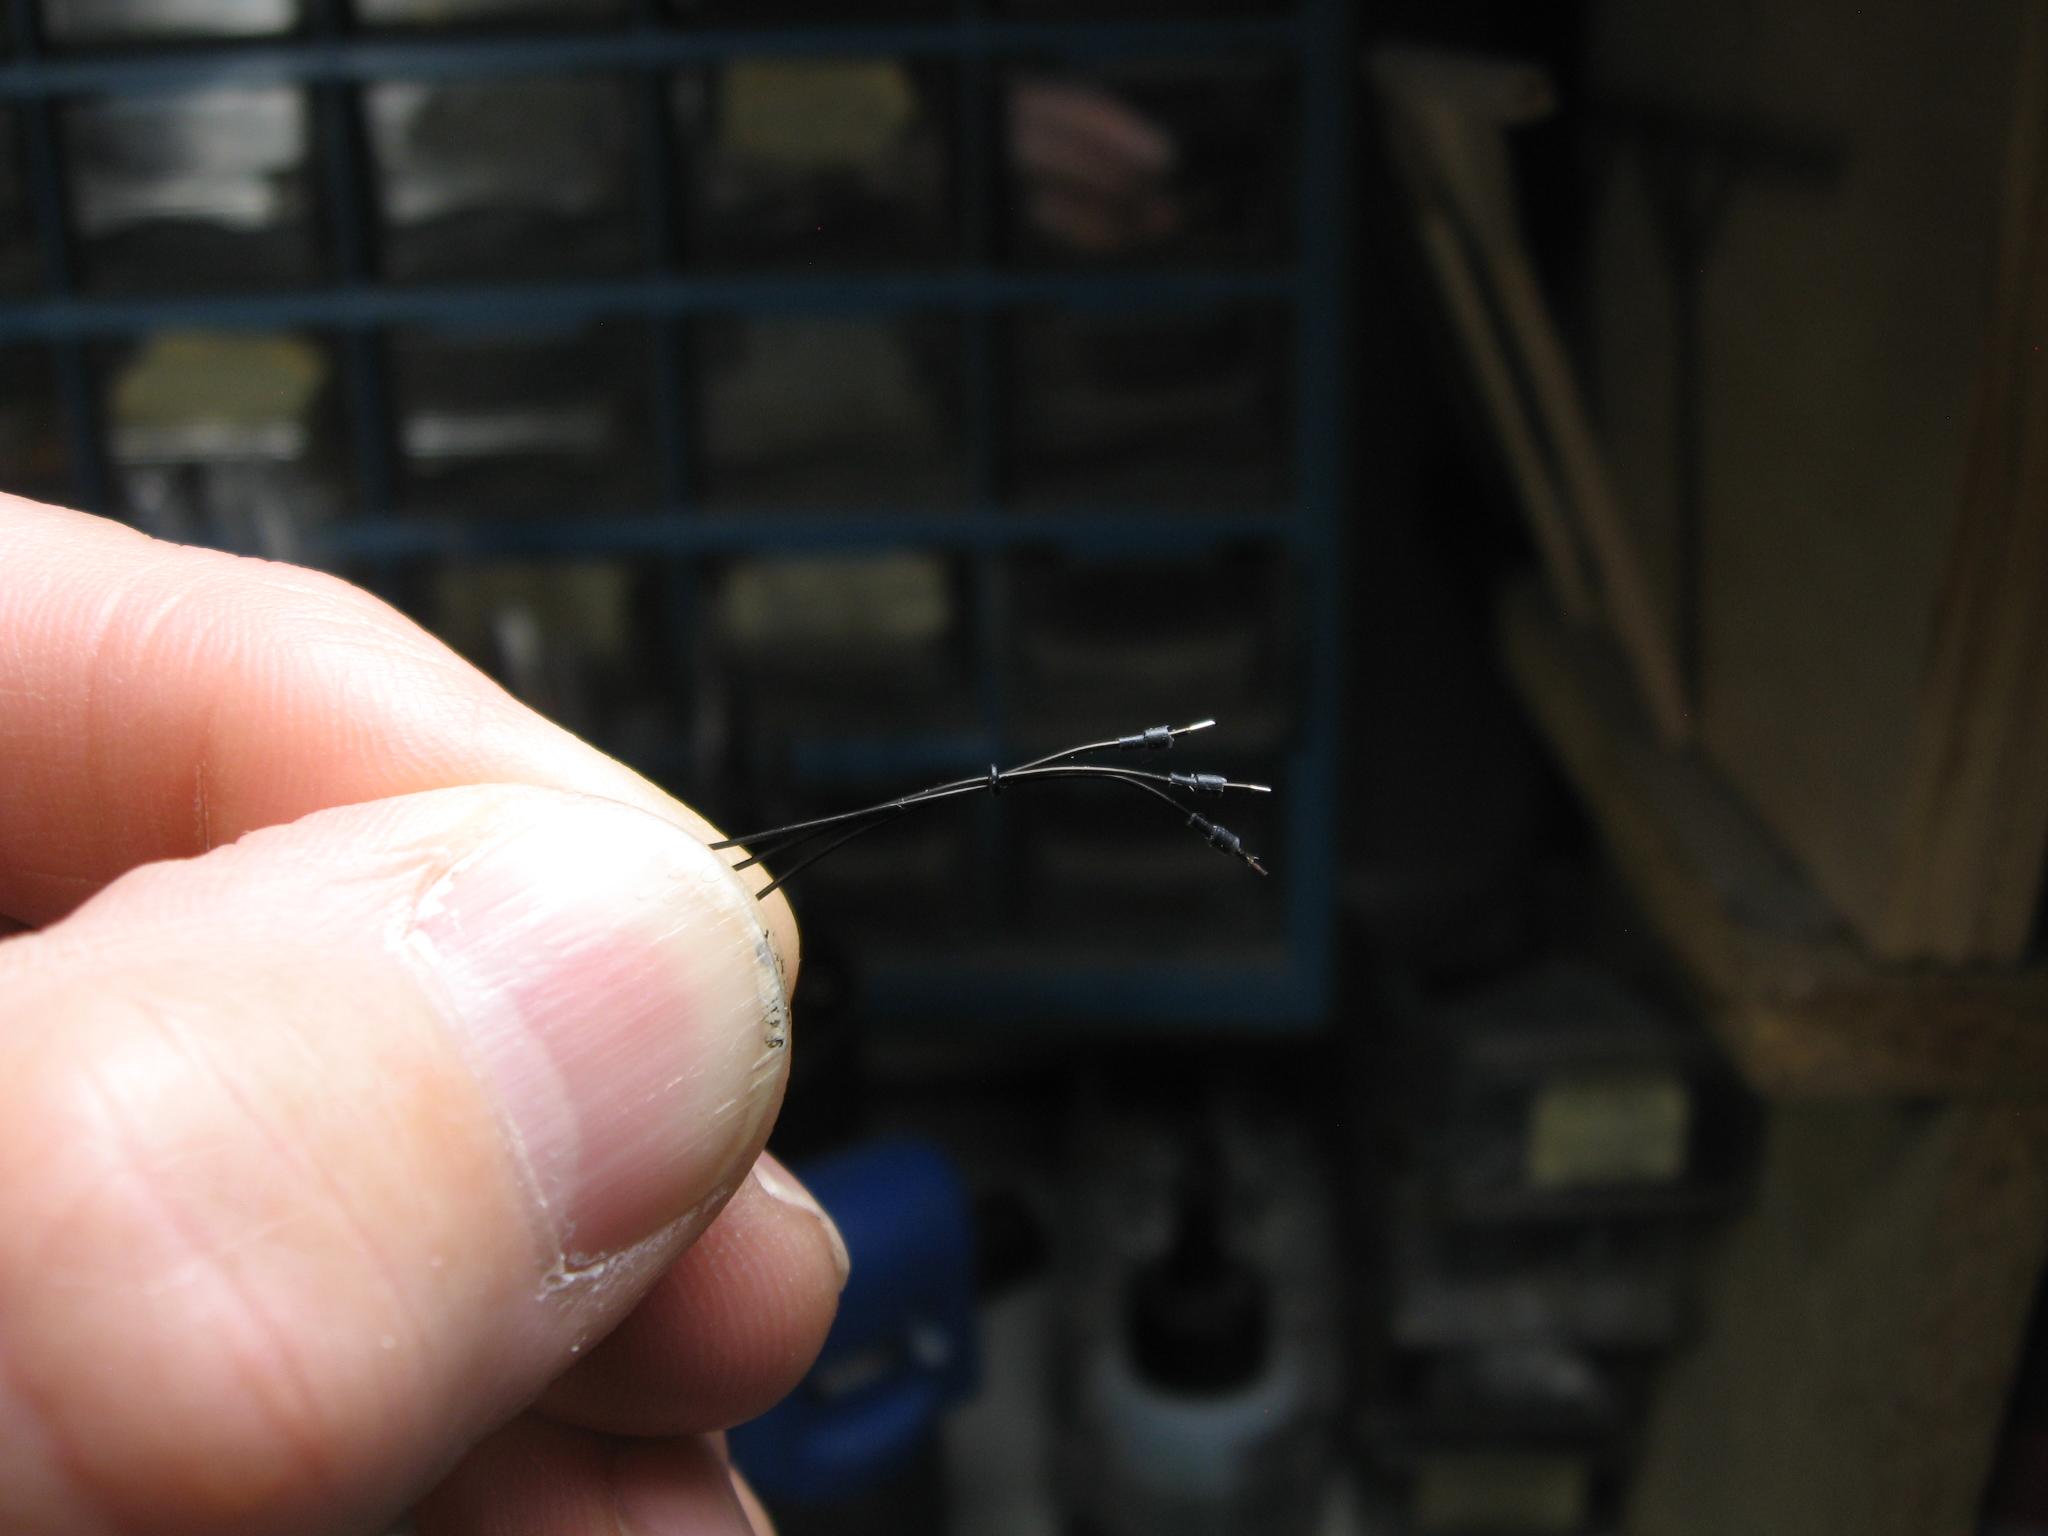
Hi Folks, Trevor, Glad you're on board for this one! Thank you nigel. Kurt , Thanks, always enjoy your modeling adventures. Sonny, I know I have the winning Lotto ticket right here for my Singer Pat, Glad you like it Mr. Engine Man! The linkages are some printers plate for the bell cranks, RB Motion tiny bolts/nuts/rod ends and some albion nickel silver tubing. Thank you Daniel ! J.C. Appreciate the comment my friend. Gareth, thank you for that. Thank you David! Codi, Sure, send me down that rabbit hole it does feel good to post something. I must say you continue to raise the bar with your efforts in the Drag Section. Thank you Mike ! Steve, appreciate you checking in on this one ! Fred, Thank you for the info, I'm jealous, never have owned one!!! Jim, Good questions and I just learned more good info. Maybe that site considers all the air cooled years early, did they switch to water cooled after '89? Digging thru ref. pics and I'm finding yellow , green and red so far.... Some progress... Using 34 ga. wire for plug wire. RB Motion distributor cap boots. These are cool in that they have a small dia. opening for the wire then a larger opening for the dist. cap, basicly goes together just like the real thing...
-

64 Dodge D100 Pickup Pro Street
Randy D replied to AmericanMuscleFan's topic in WIP: Drag Racing Models
WOW just WOW!!!!! Love it Francis, beautiful work. Randy -
Well, I look back to where you started on these carbs and I am just blown away by what you've accomplished along the way. Can't wait to them mounted up !!! Randy
-
That is all for now, Thanks for looking in! Randy
-
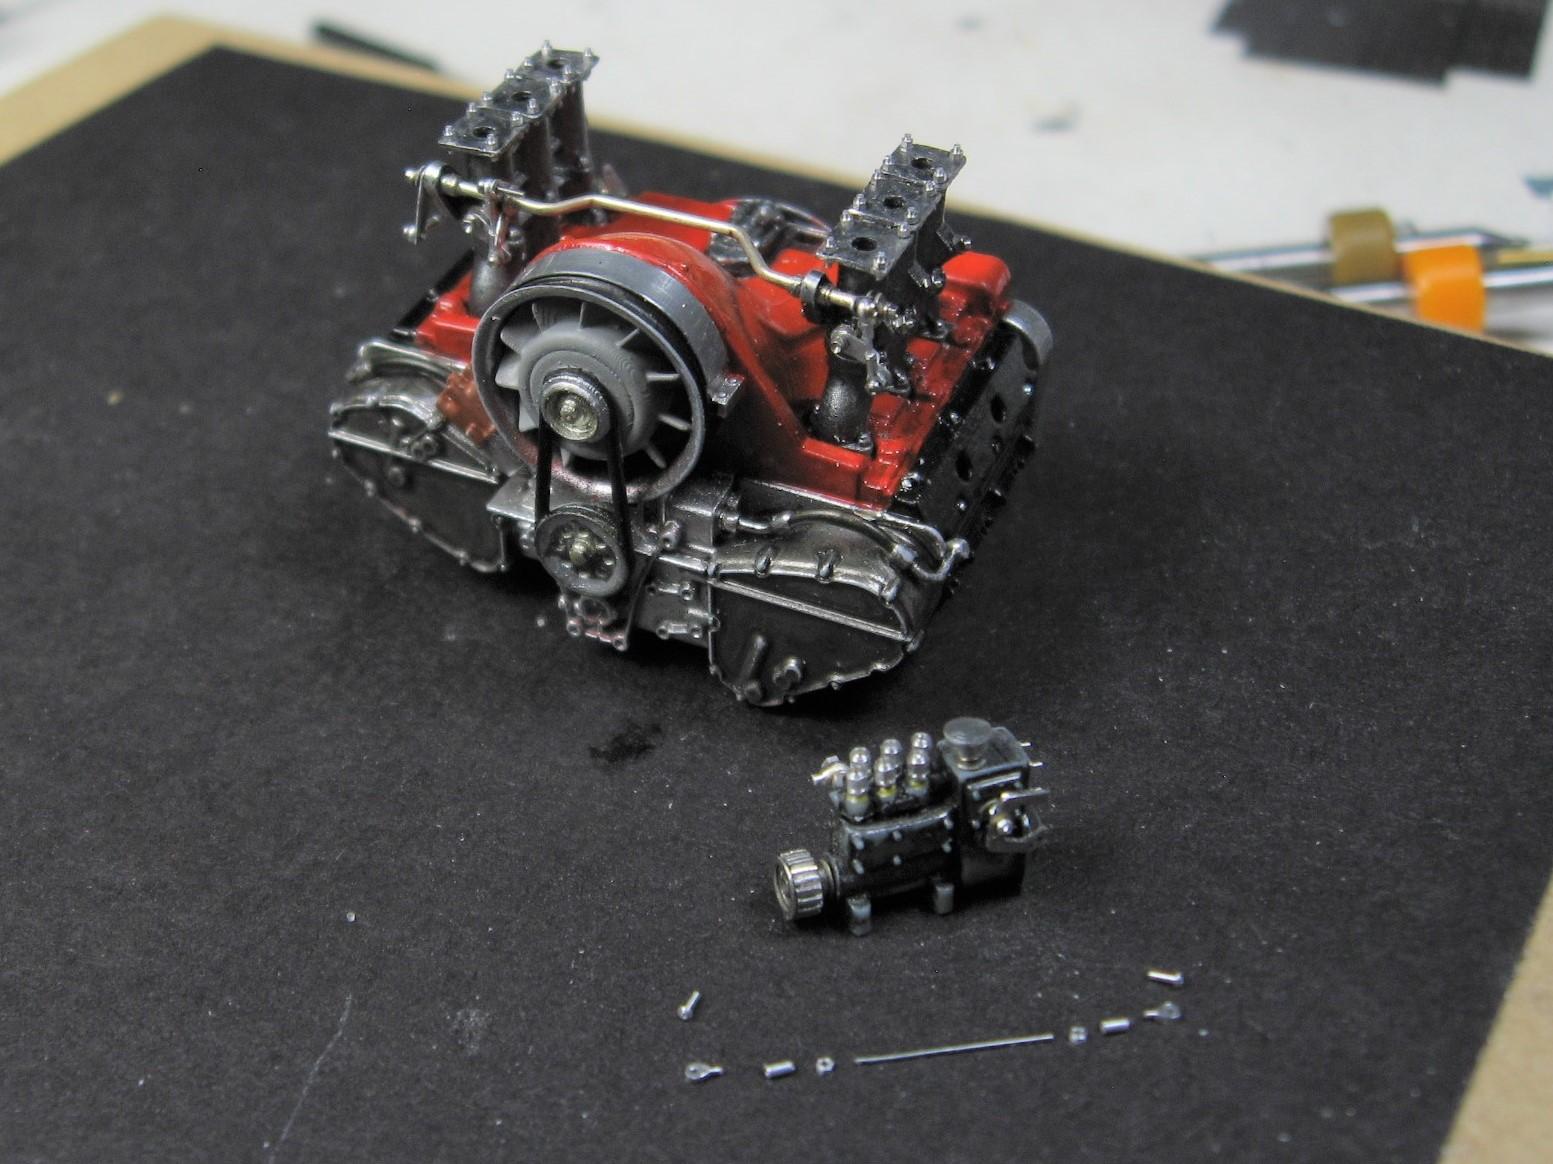
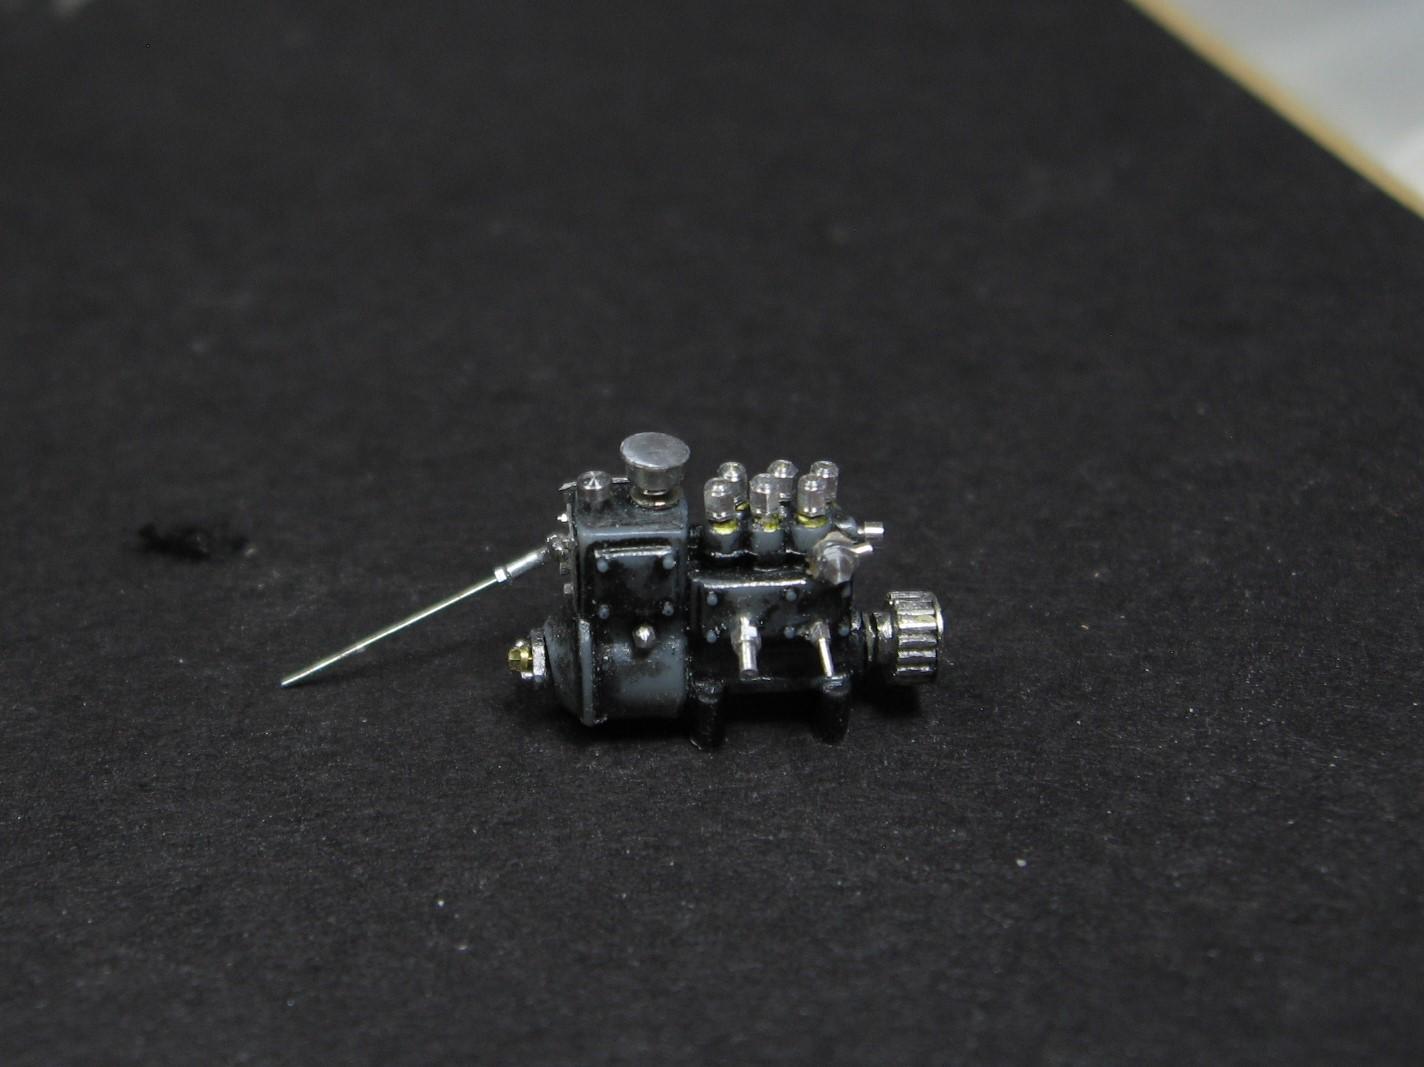
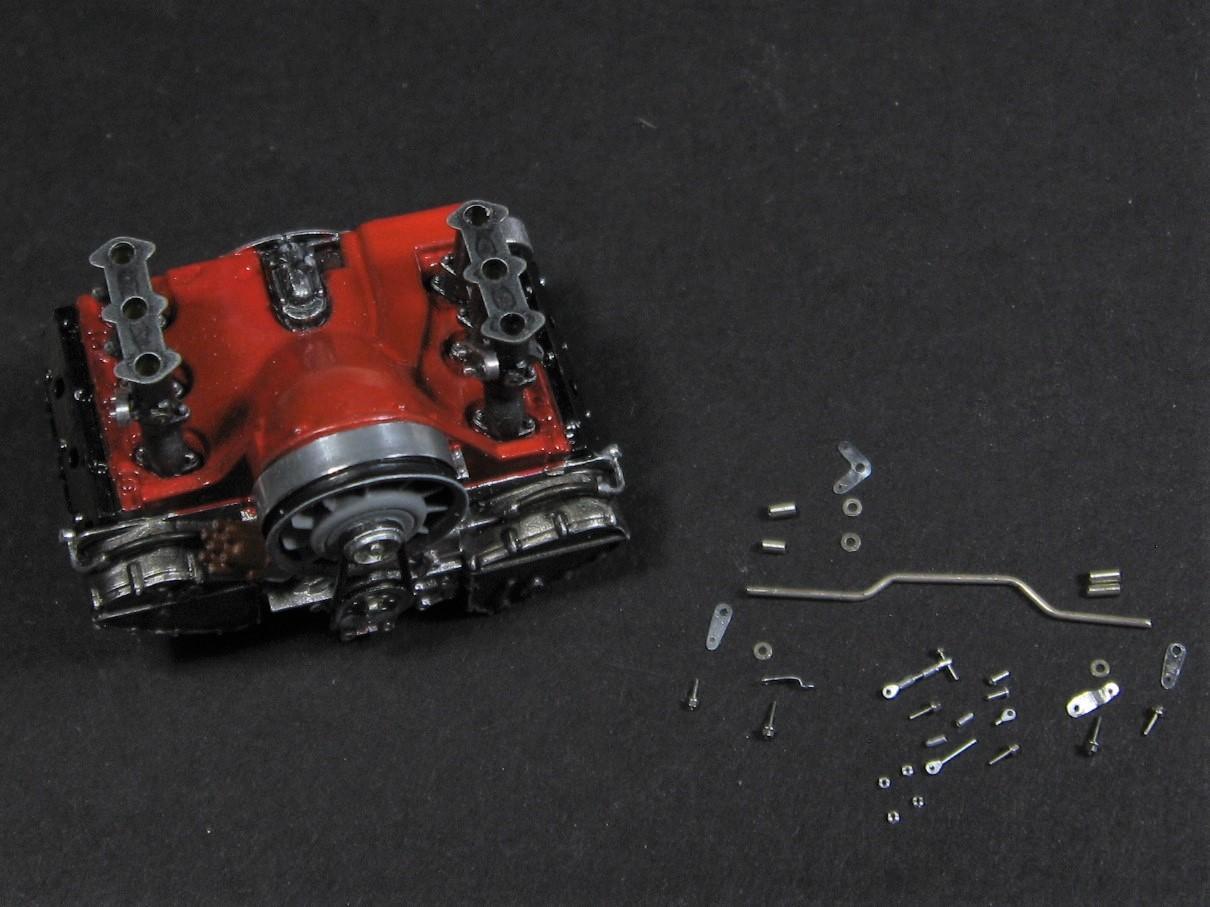
I am painting as I go on this one....red for the upper air channel.... Parts for the linkage and bases for the velocity stacks... Fujimi Borsch F.I. pump is nice piece that just needs some details added and the shutoff and enrichment solenoids removed. Also making up the gears and belt for the drive system...
-
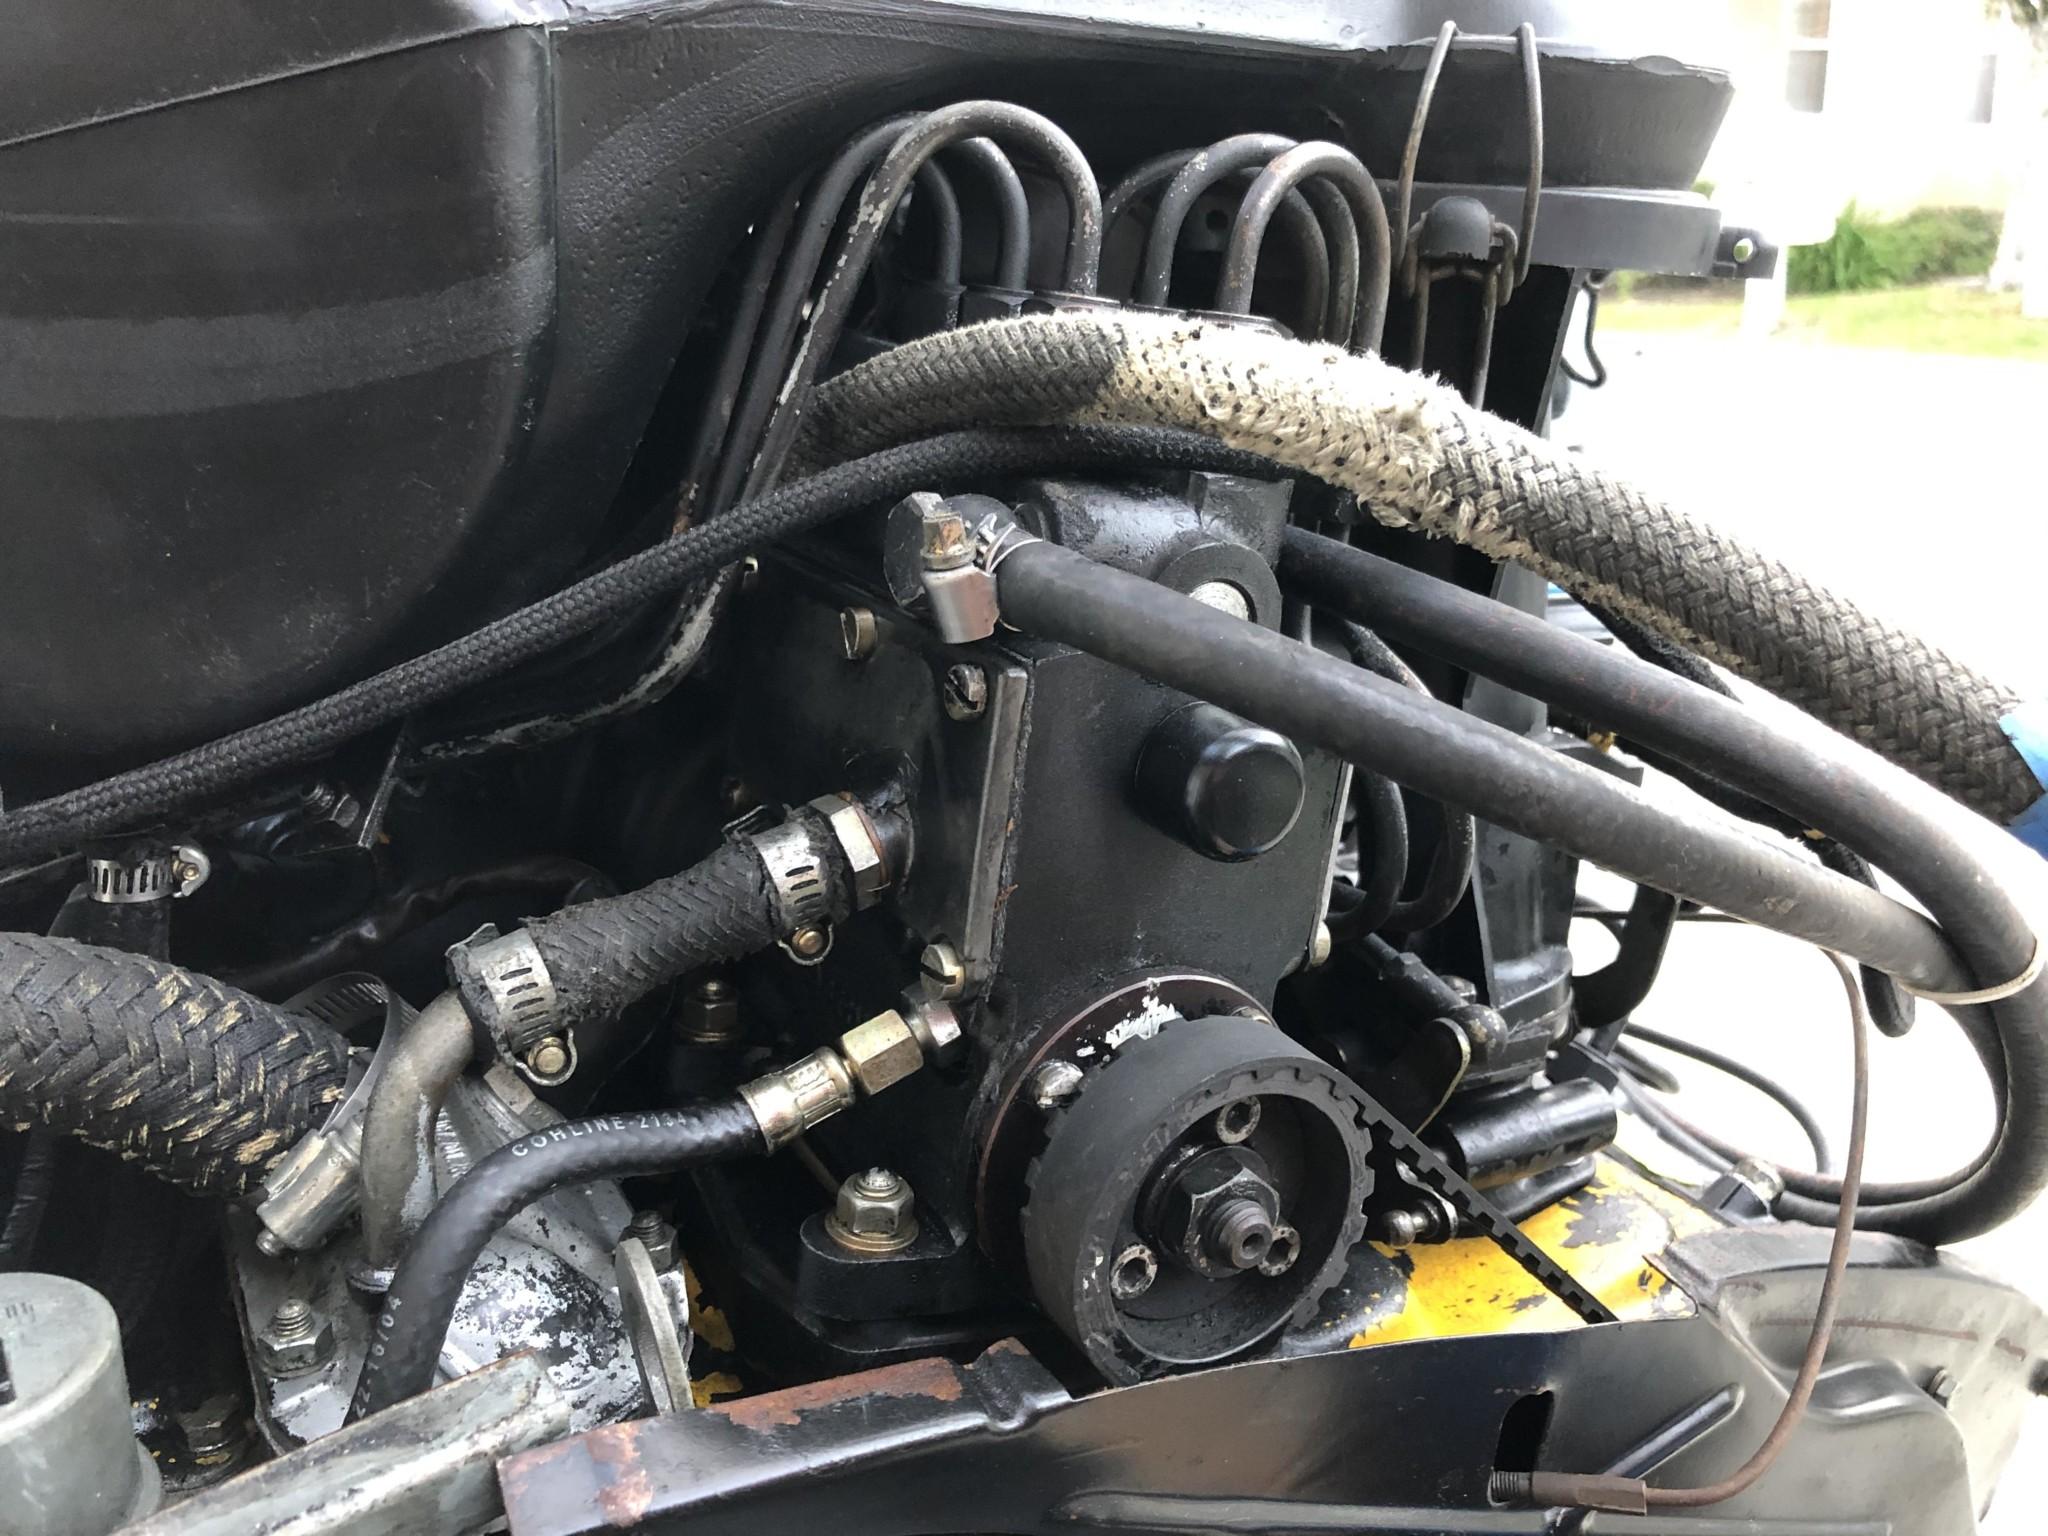
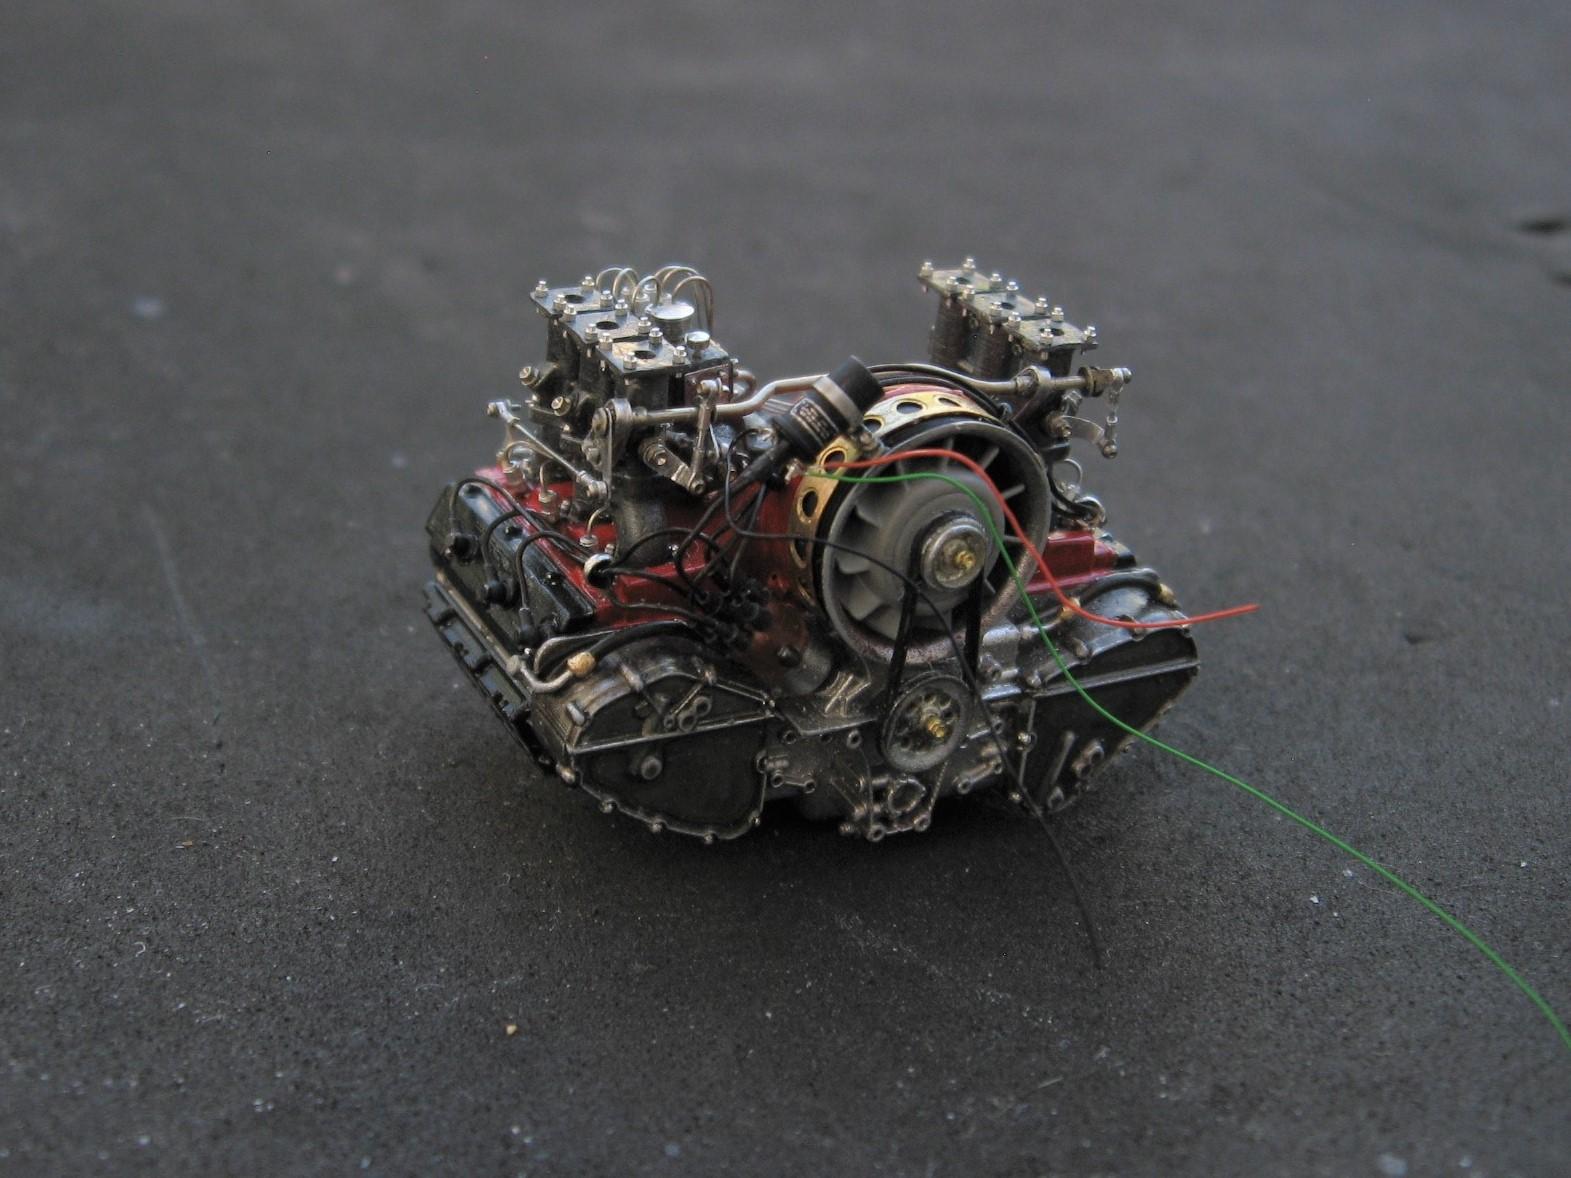
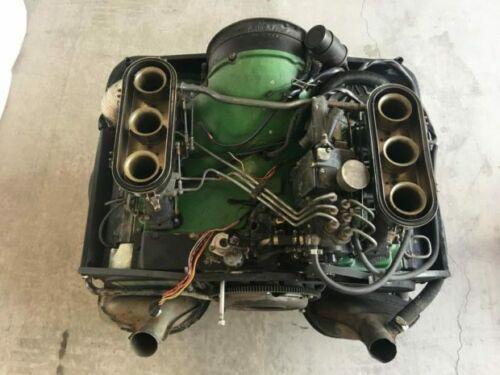
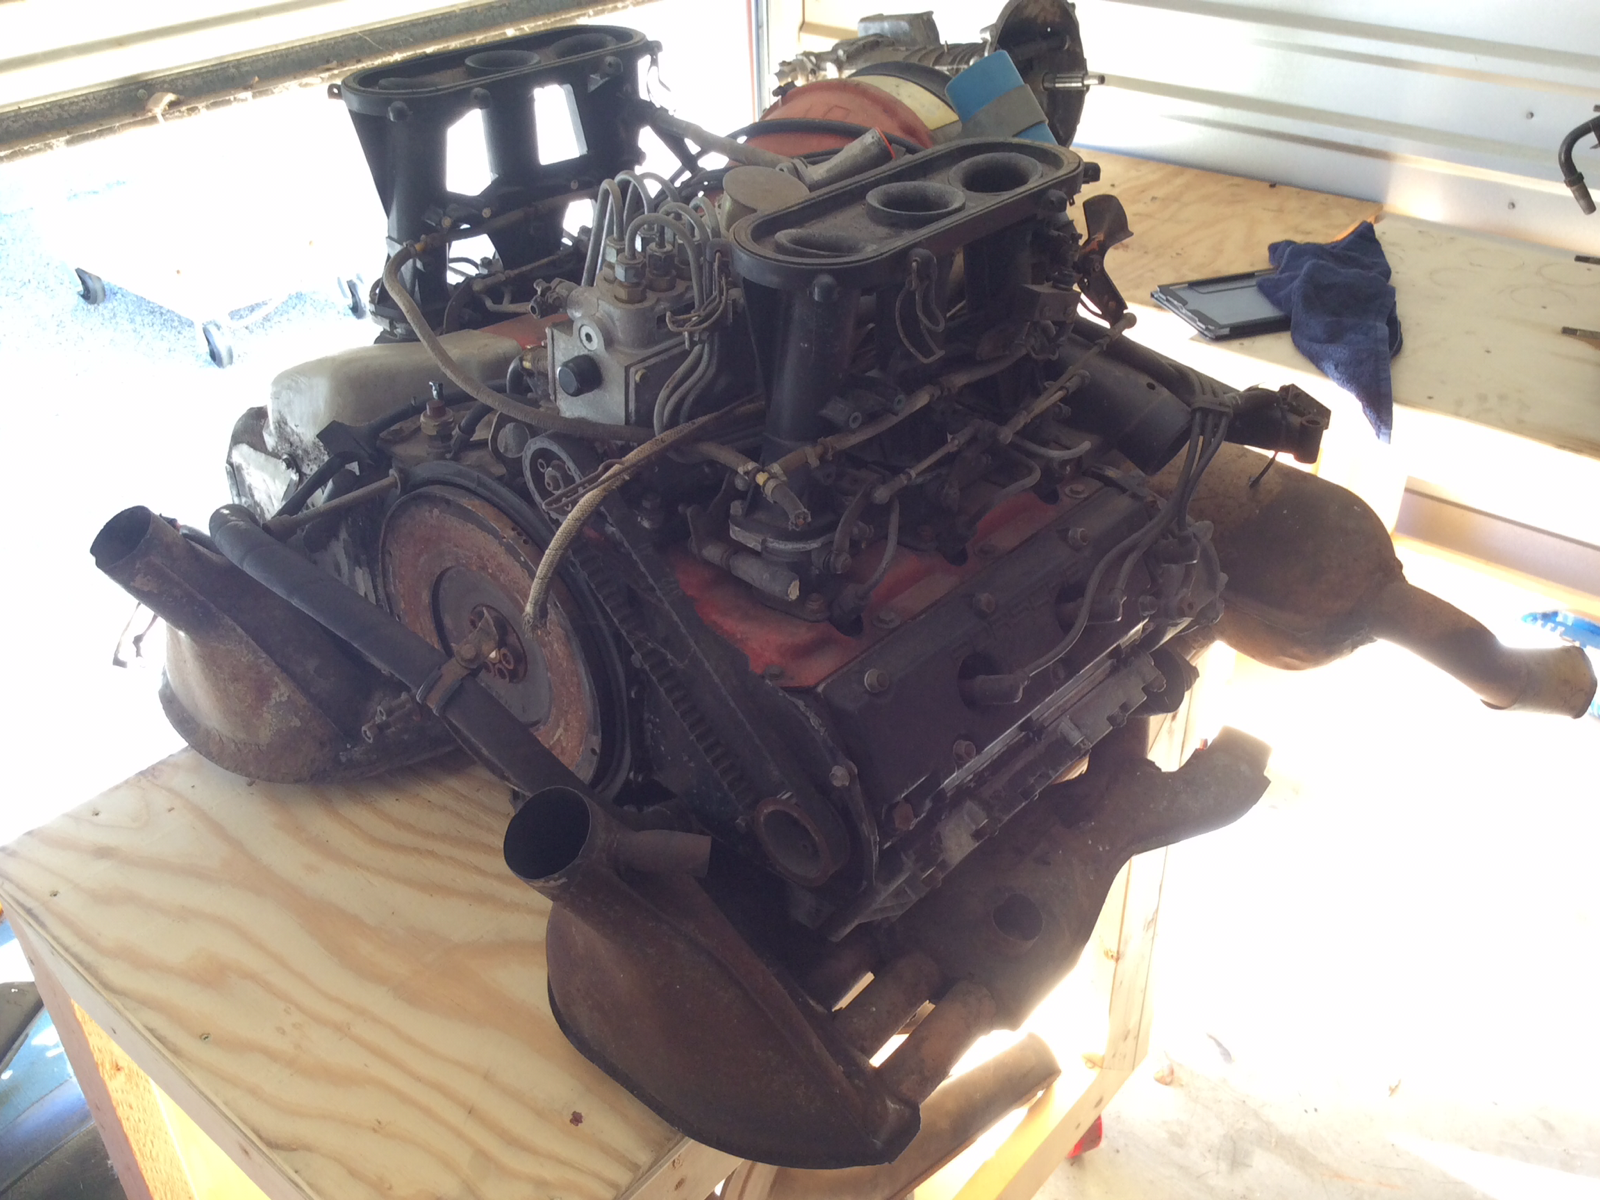
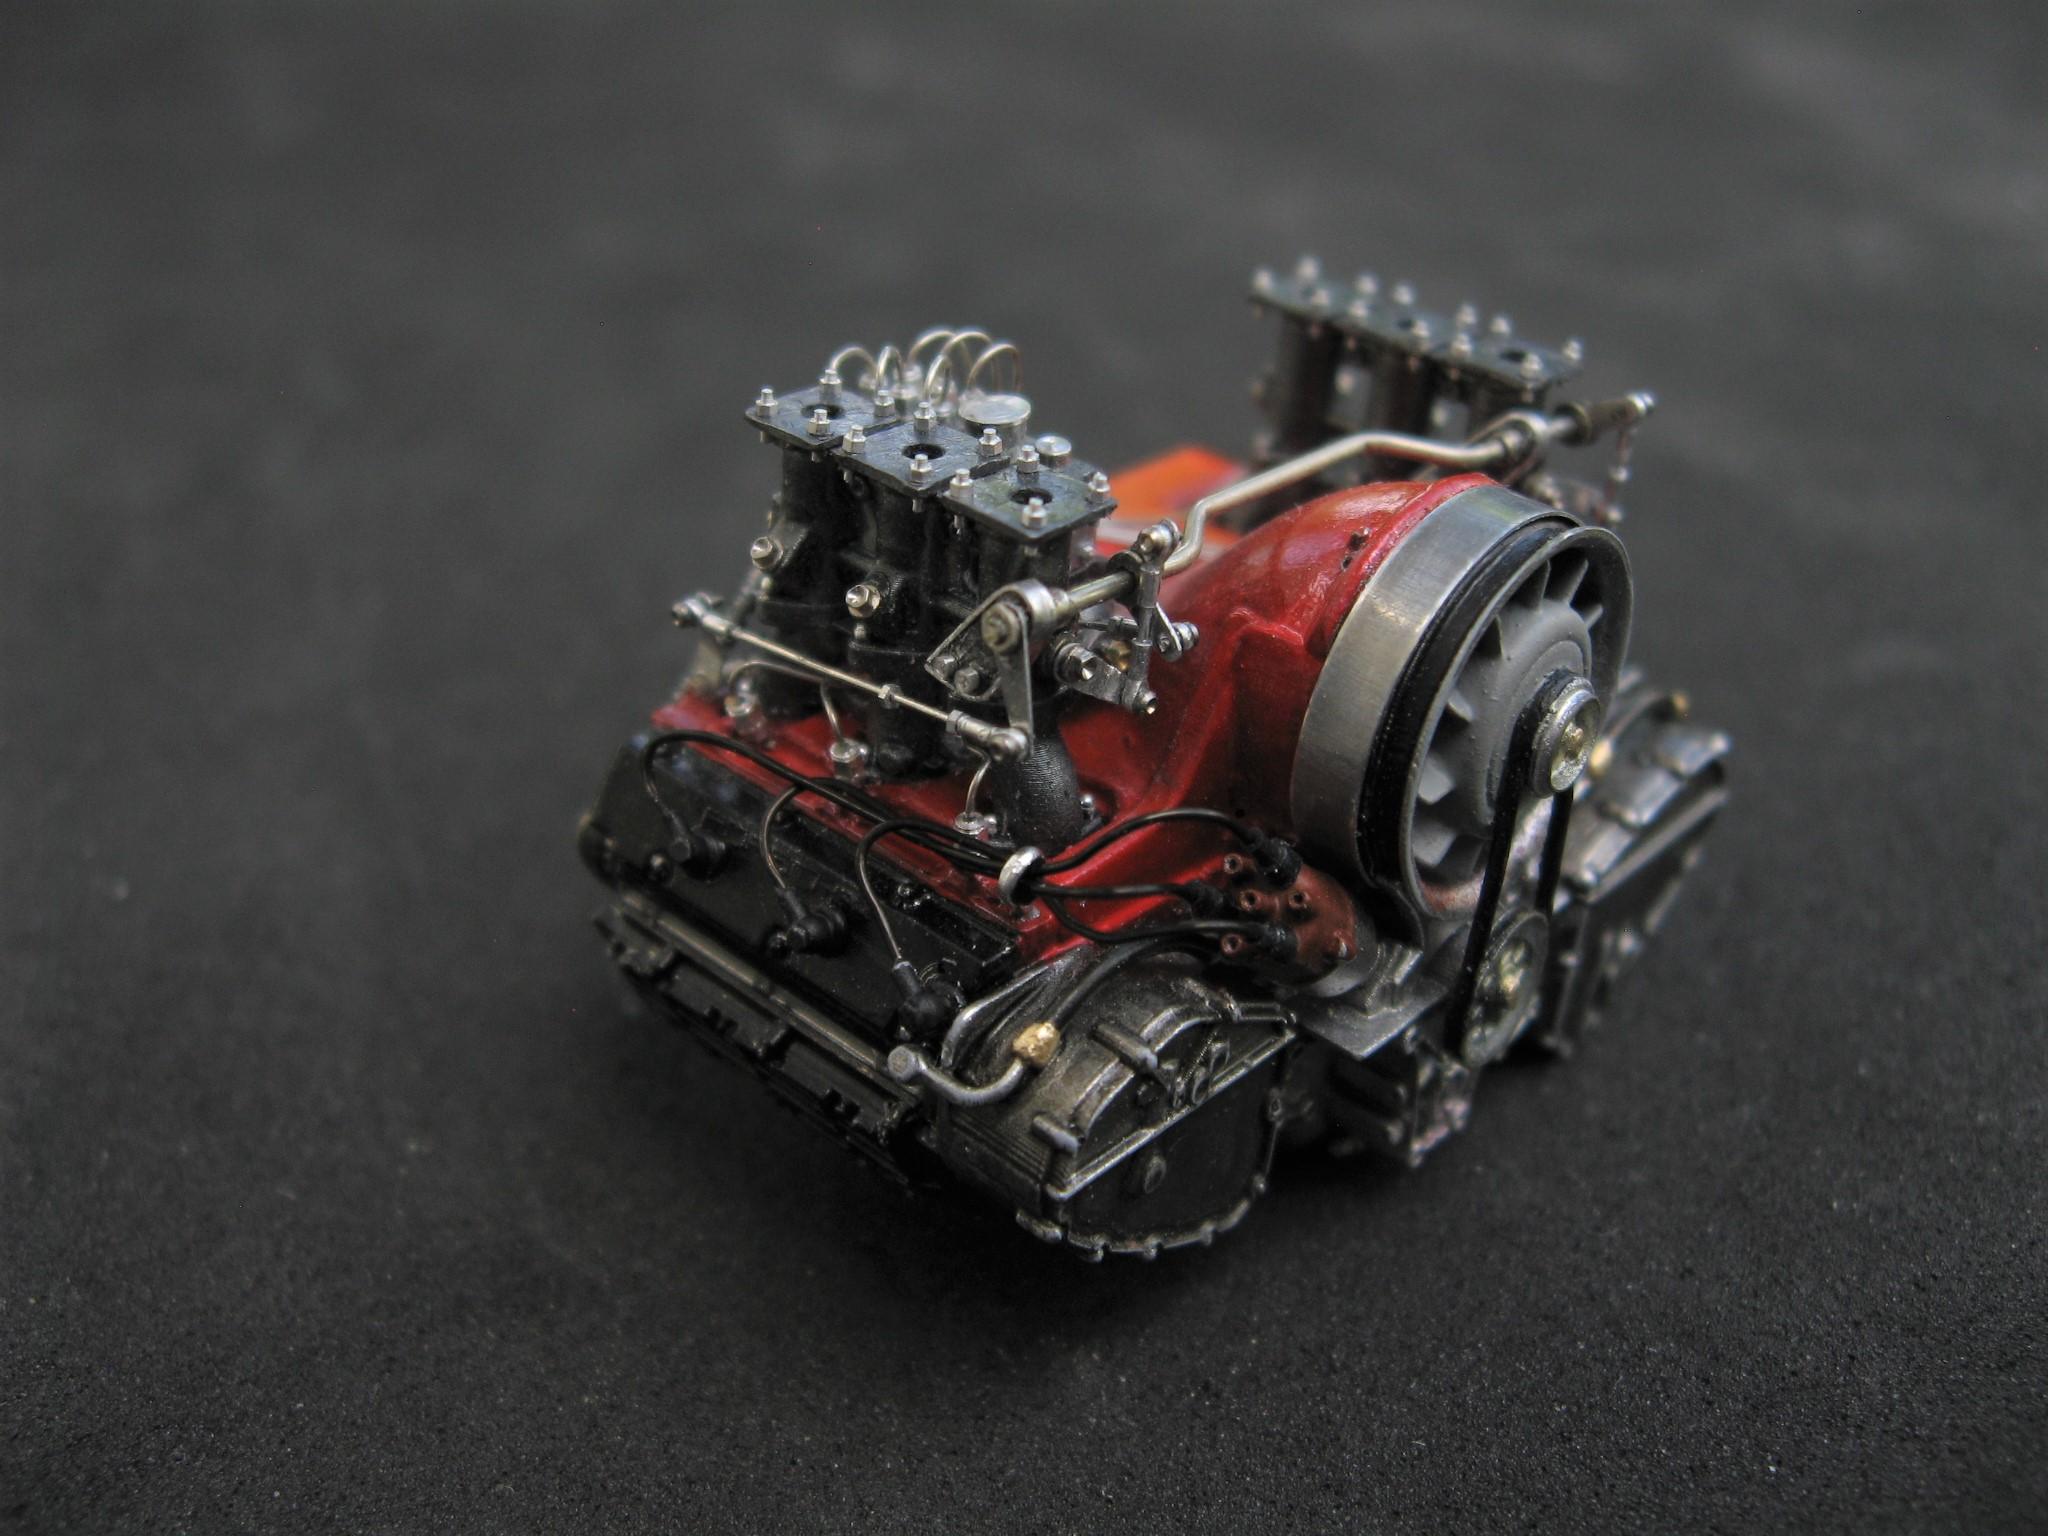
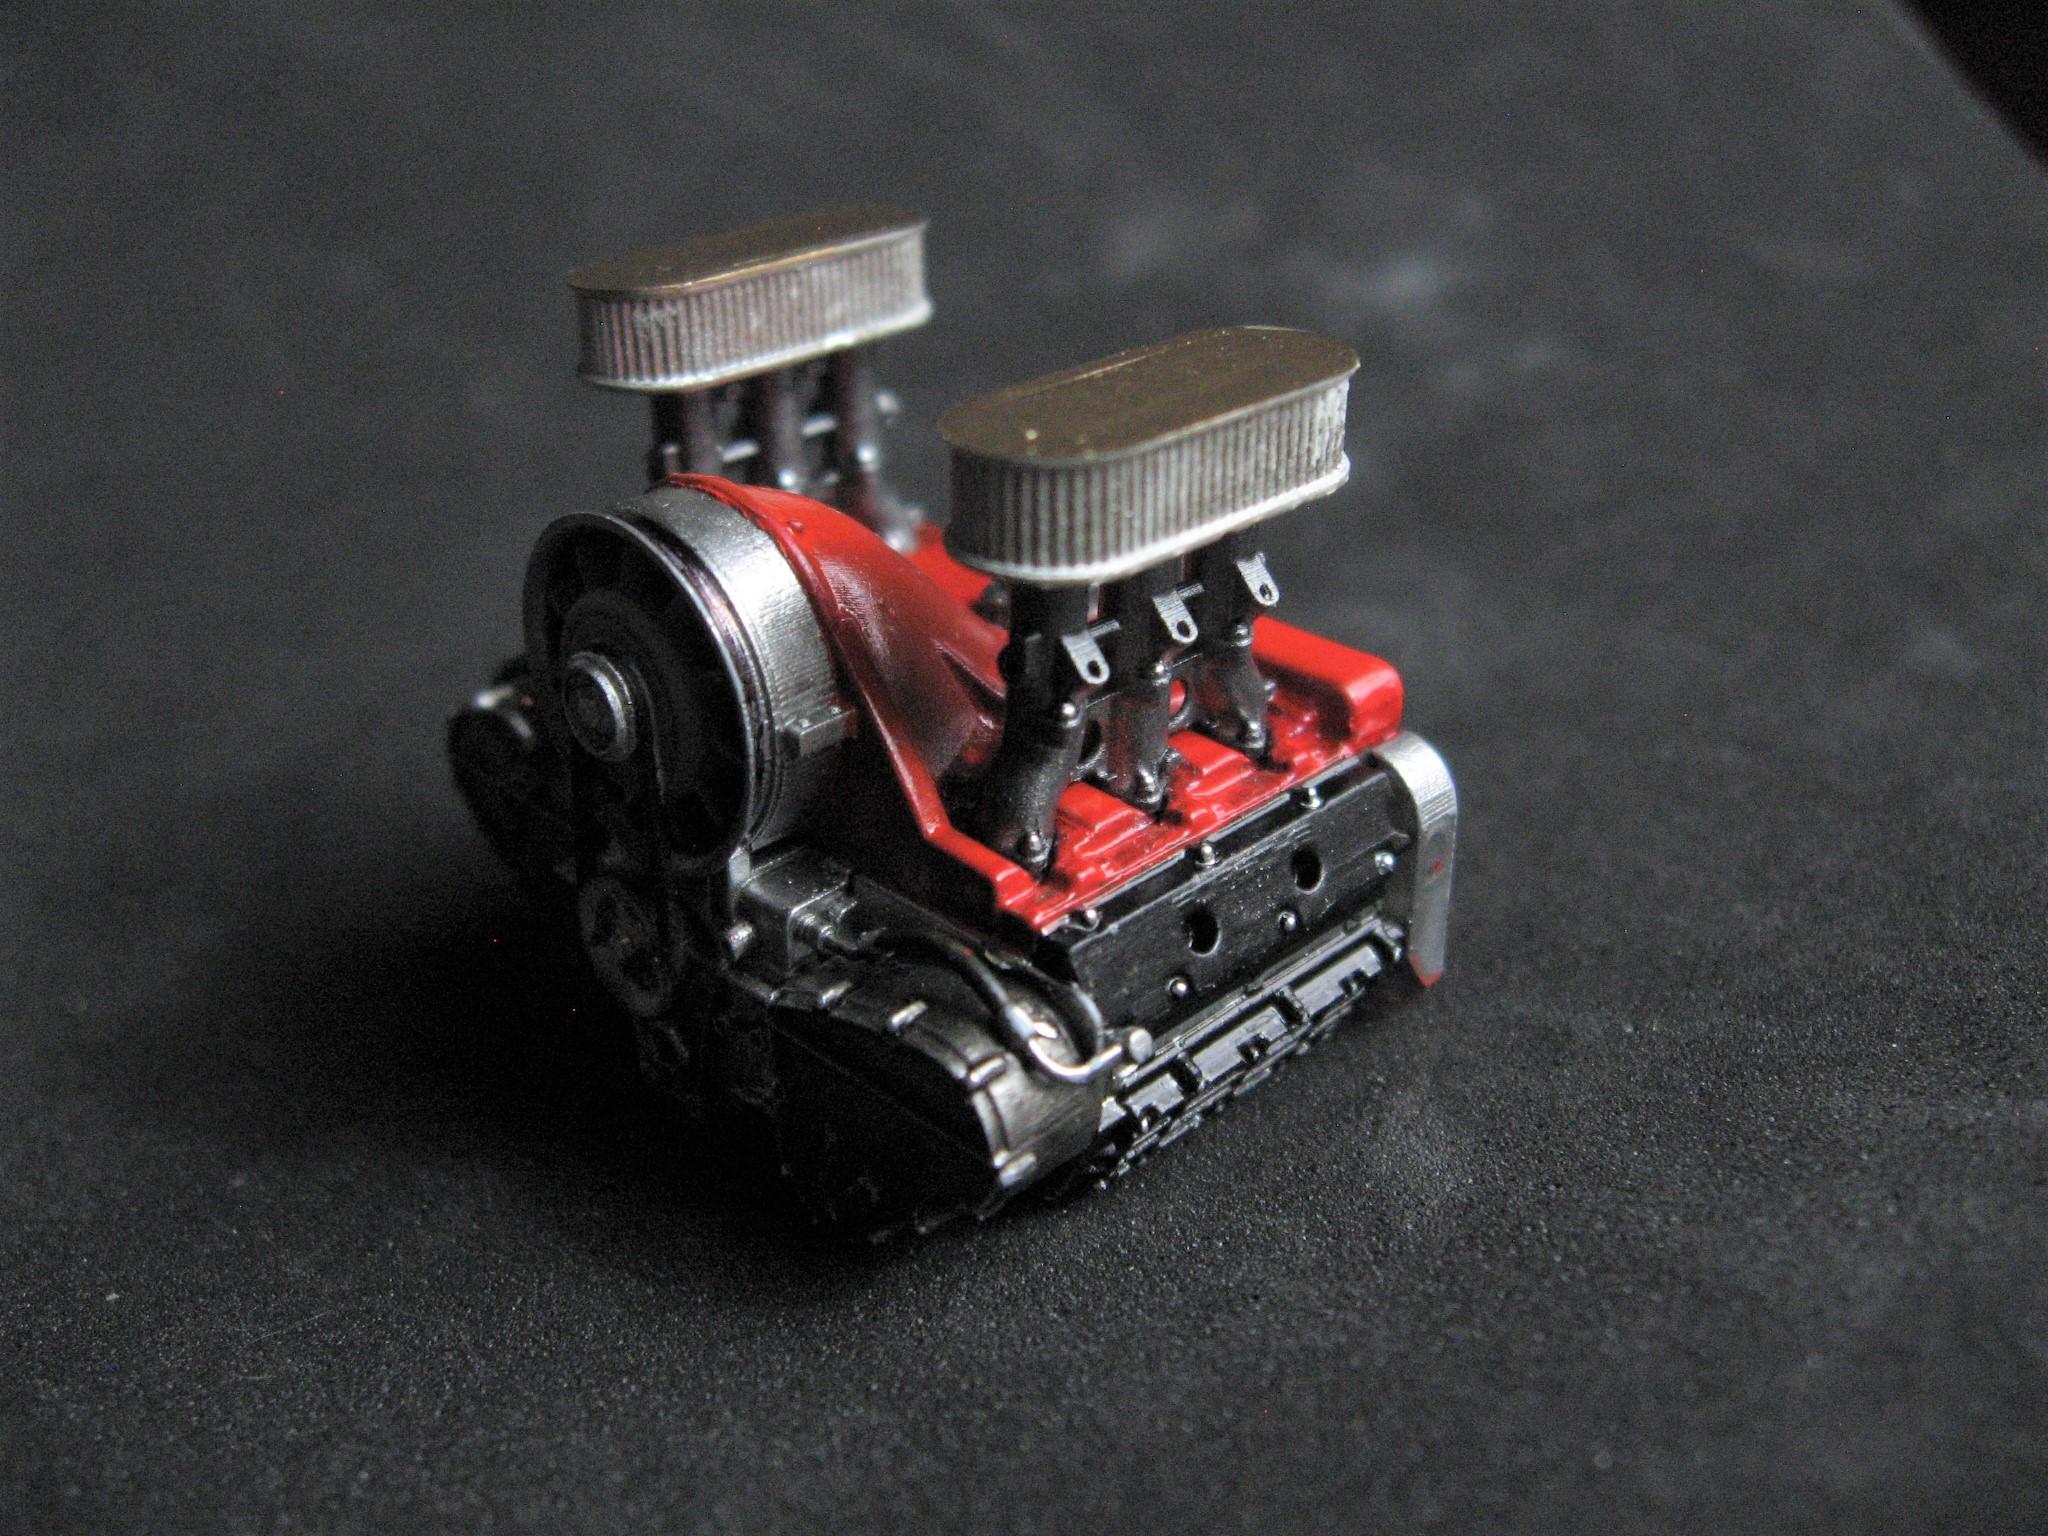
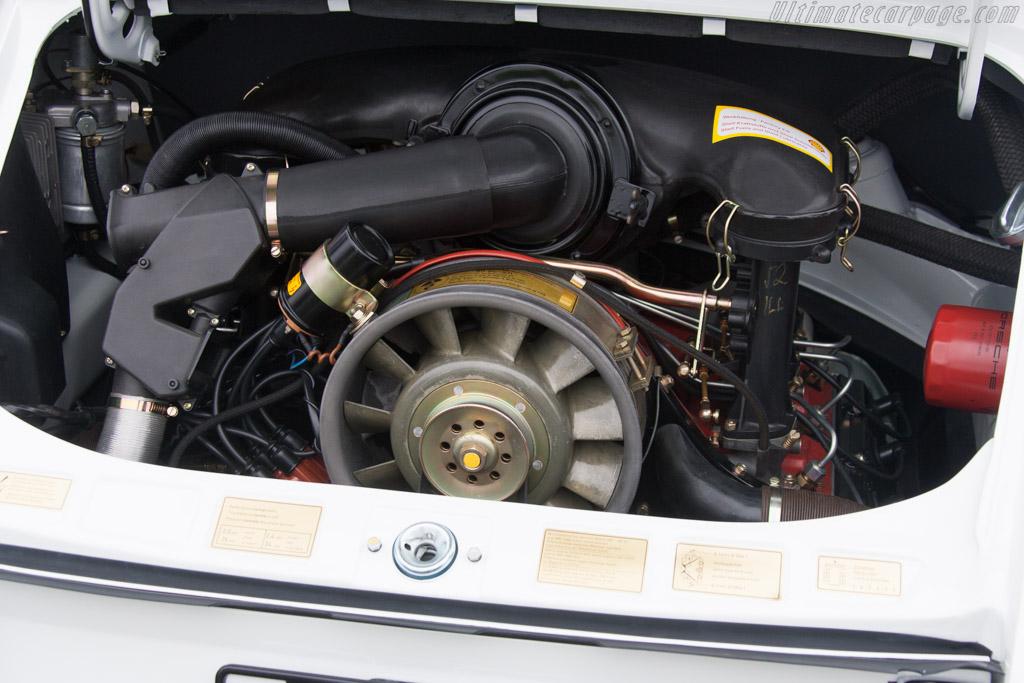
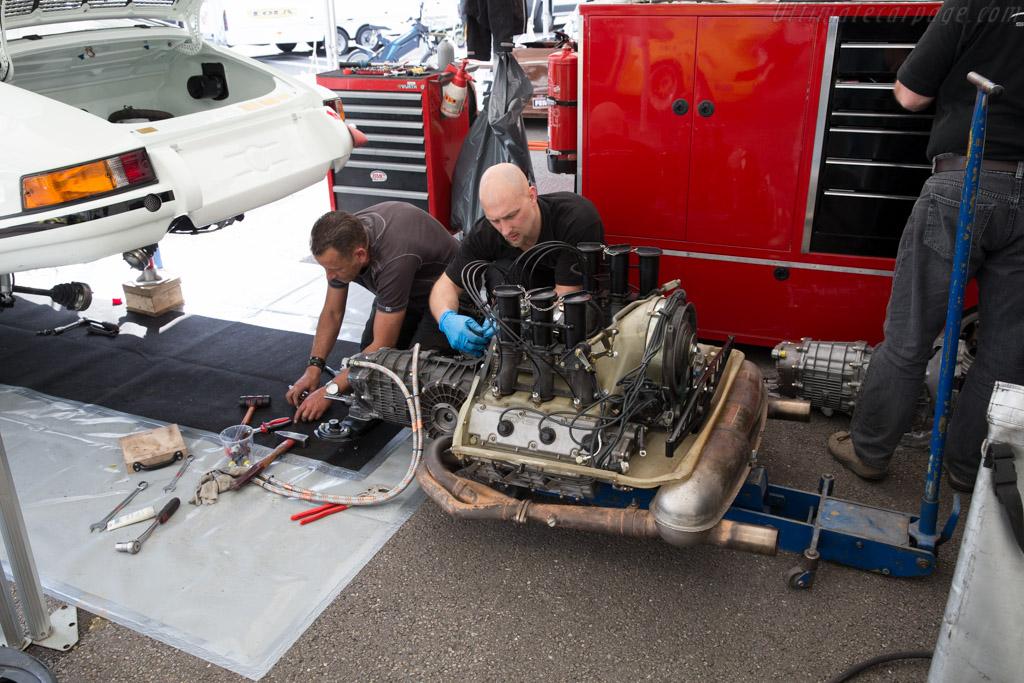
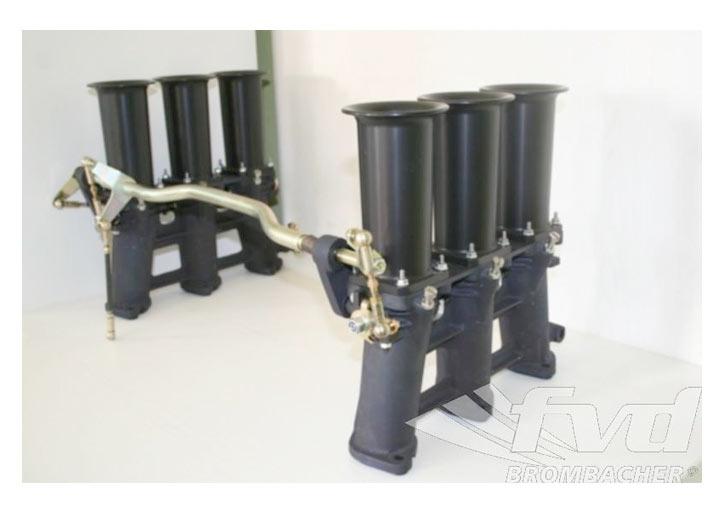
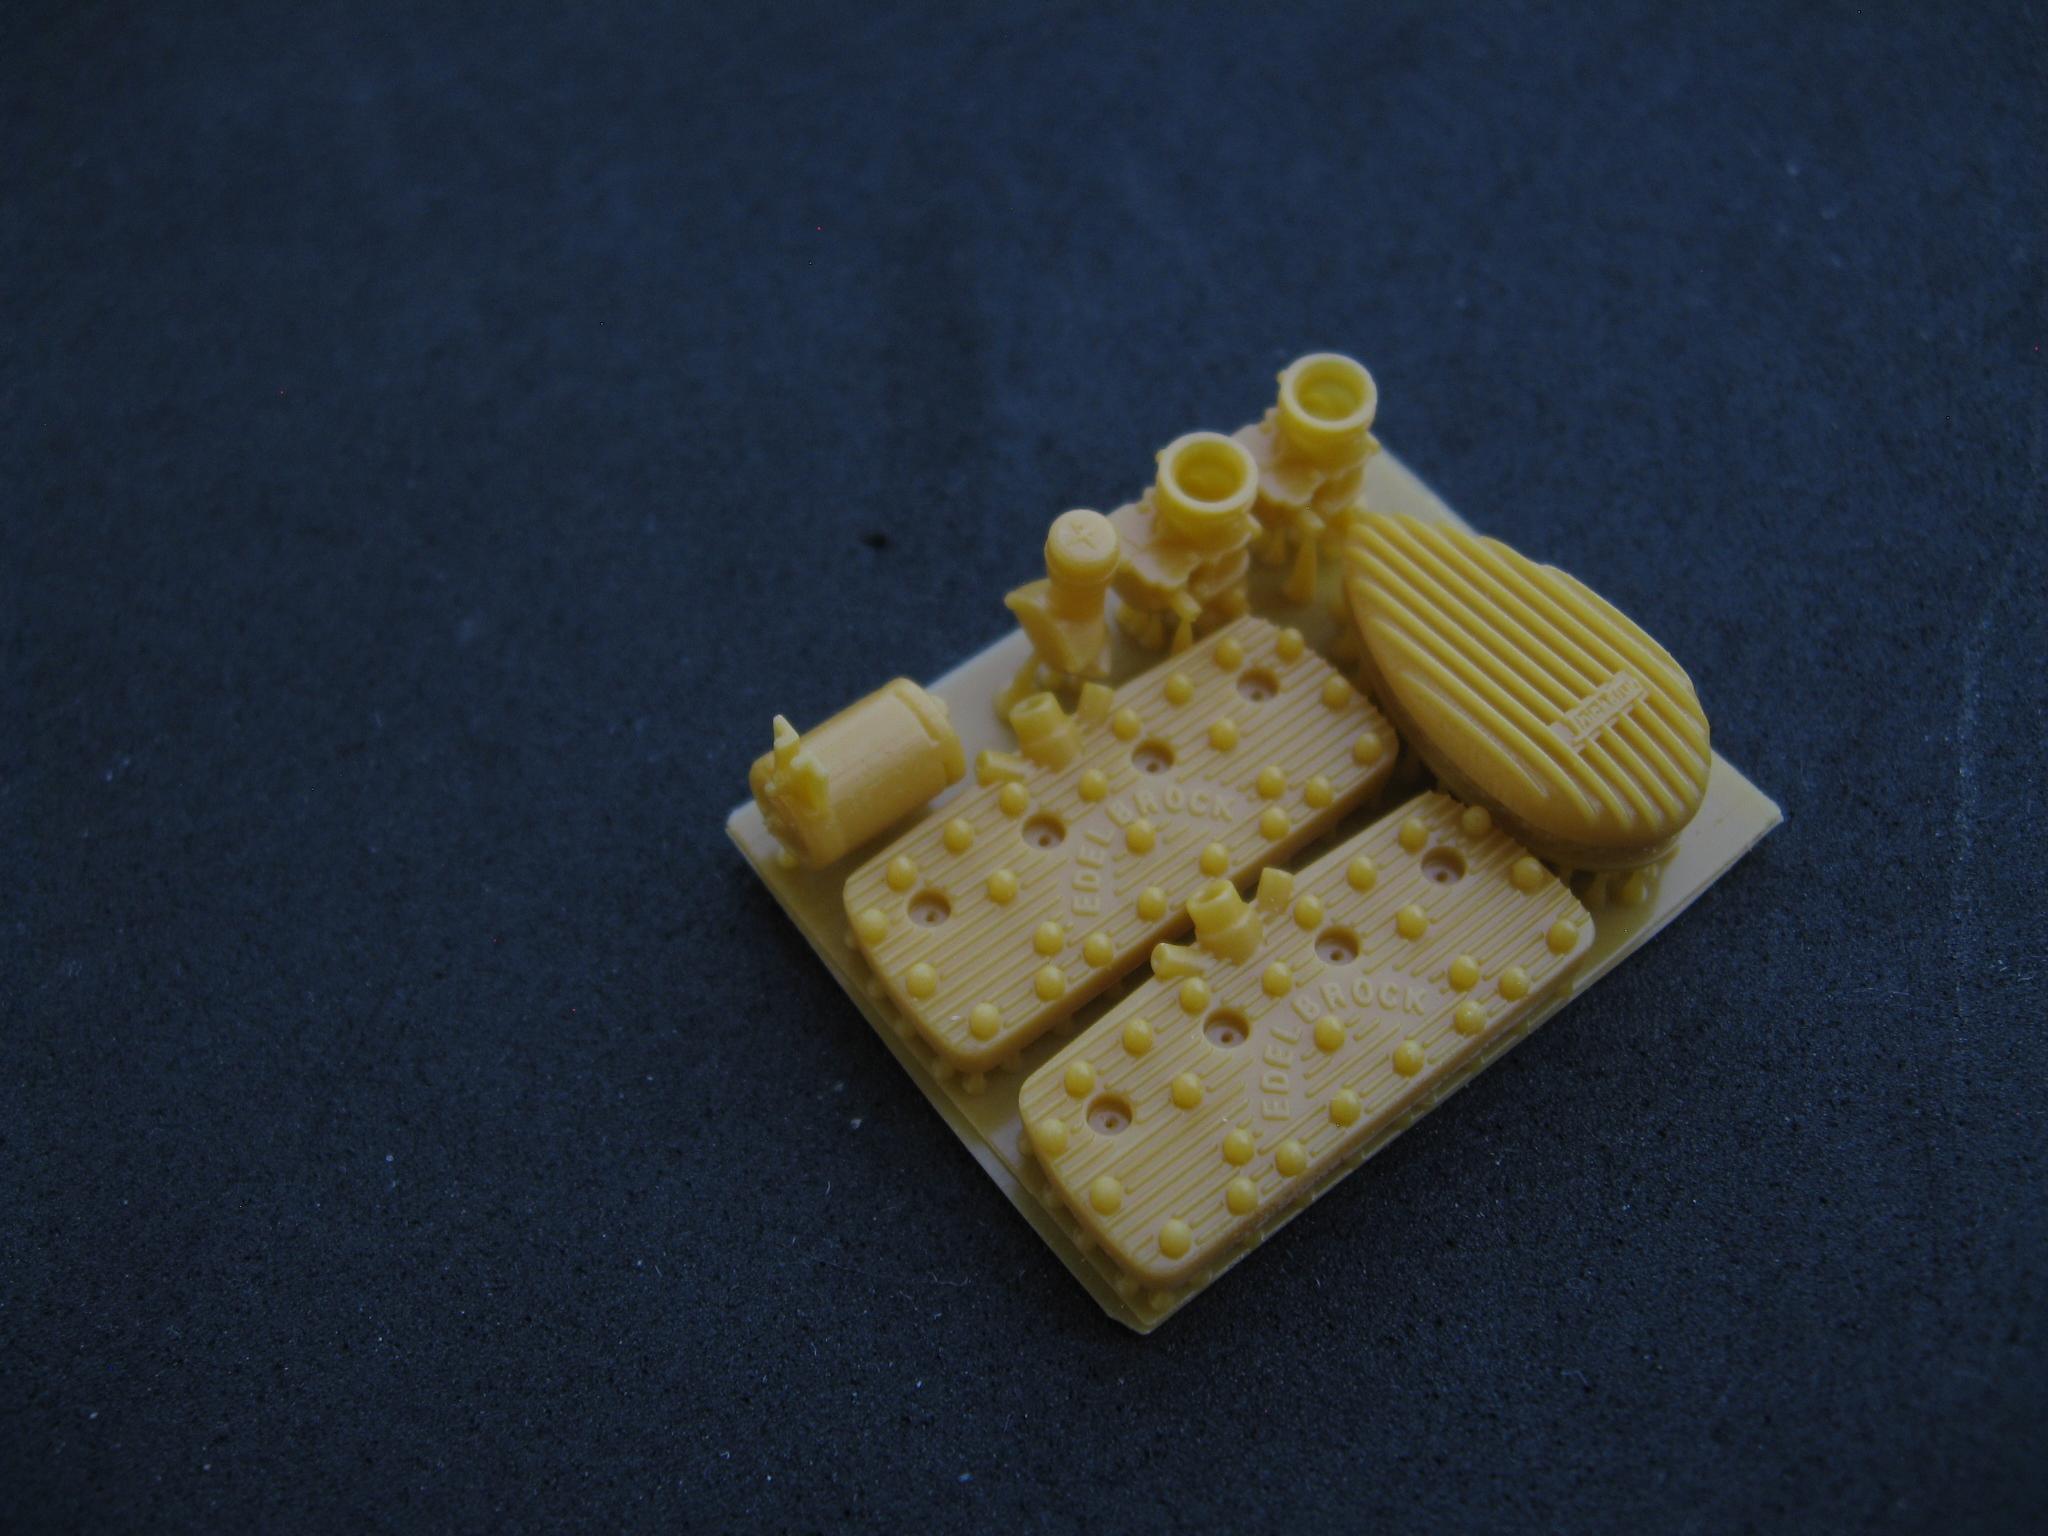
Starting with the engine. The Fujimi kit has a great motor that builds up nicely to represent this..... We want to 'Hot Rod' it to more like this...... The Mad Mike motor is an actual 3D print, not a resin casting. The glue of choice is the same, super glue. This engine is just a few well detailed parts.... I'll save the air cleaners for another project. This engine does not come with a transaxle or exhaust.The throttle bodies will work great with the mechanical fuel injection system I want to build. The Fujimi kit will provide the Bosch F.I. pump and the transaxle. I will make up a set of headers. Here is a pic of the throttle bodies and linkage that I want.
-
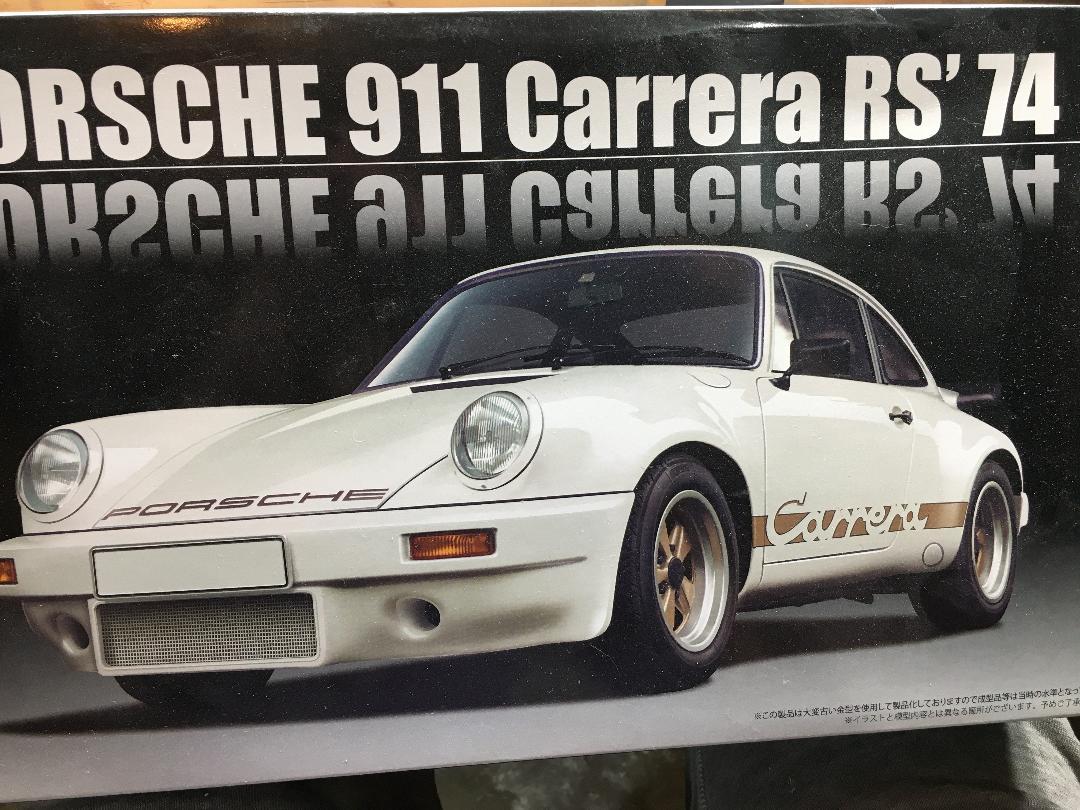
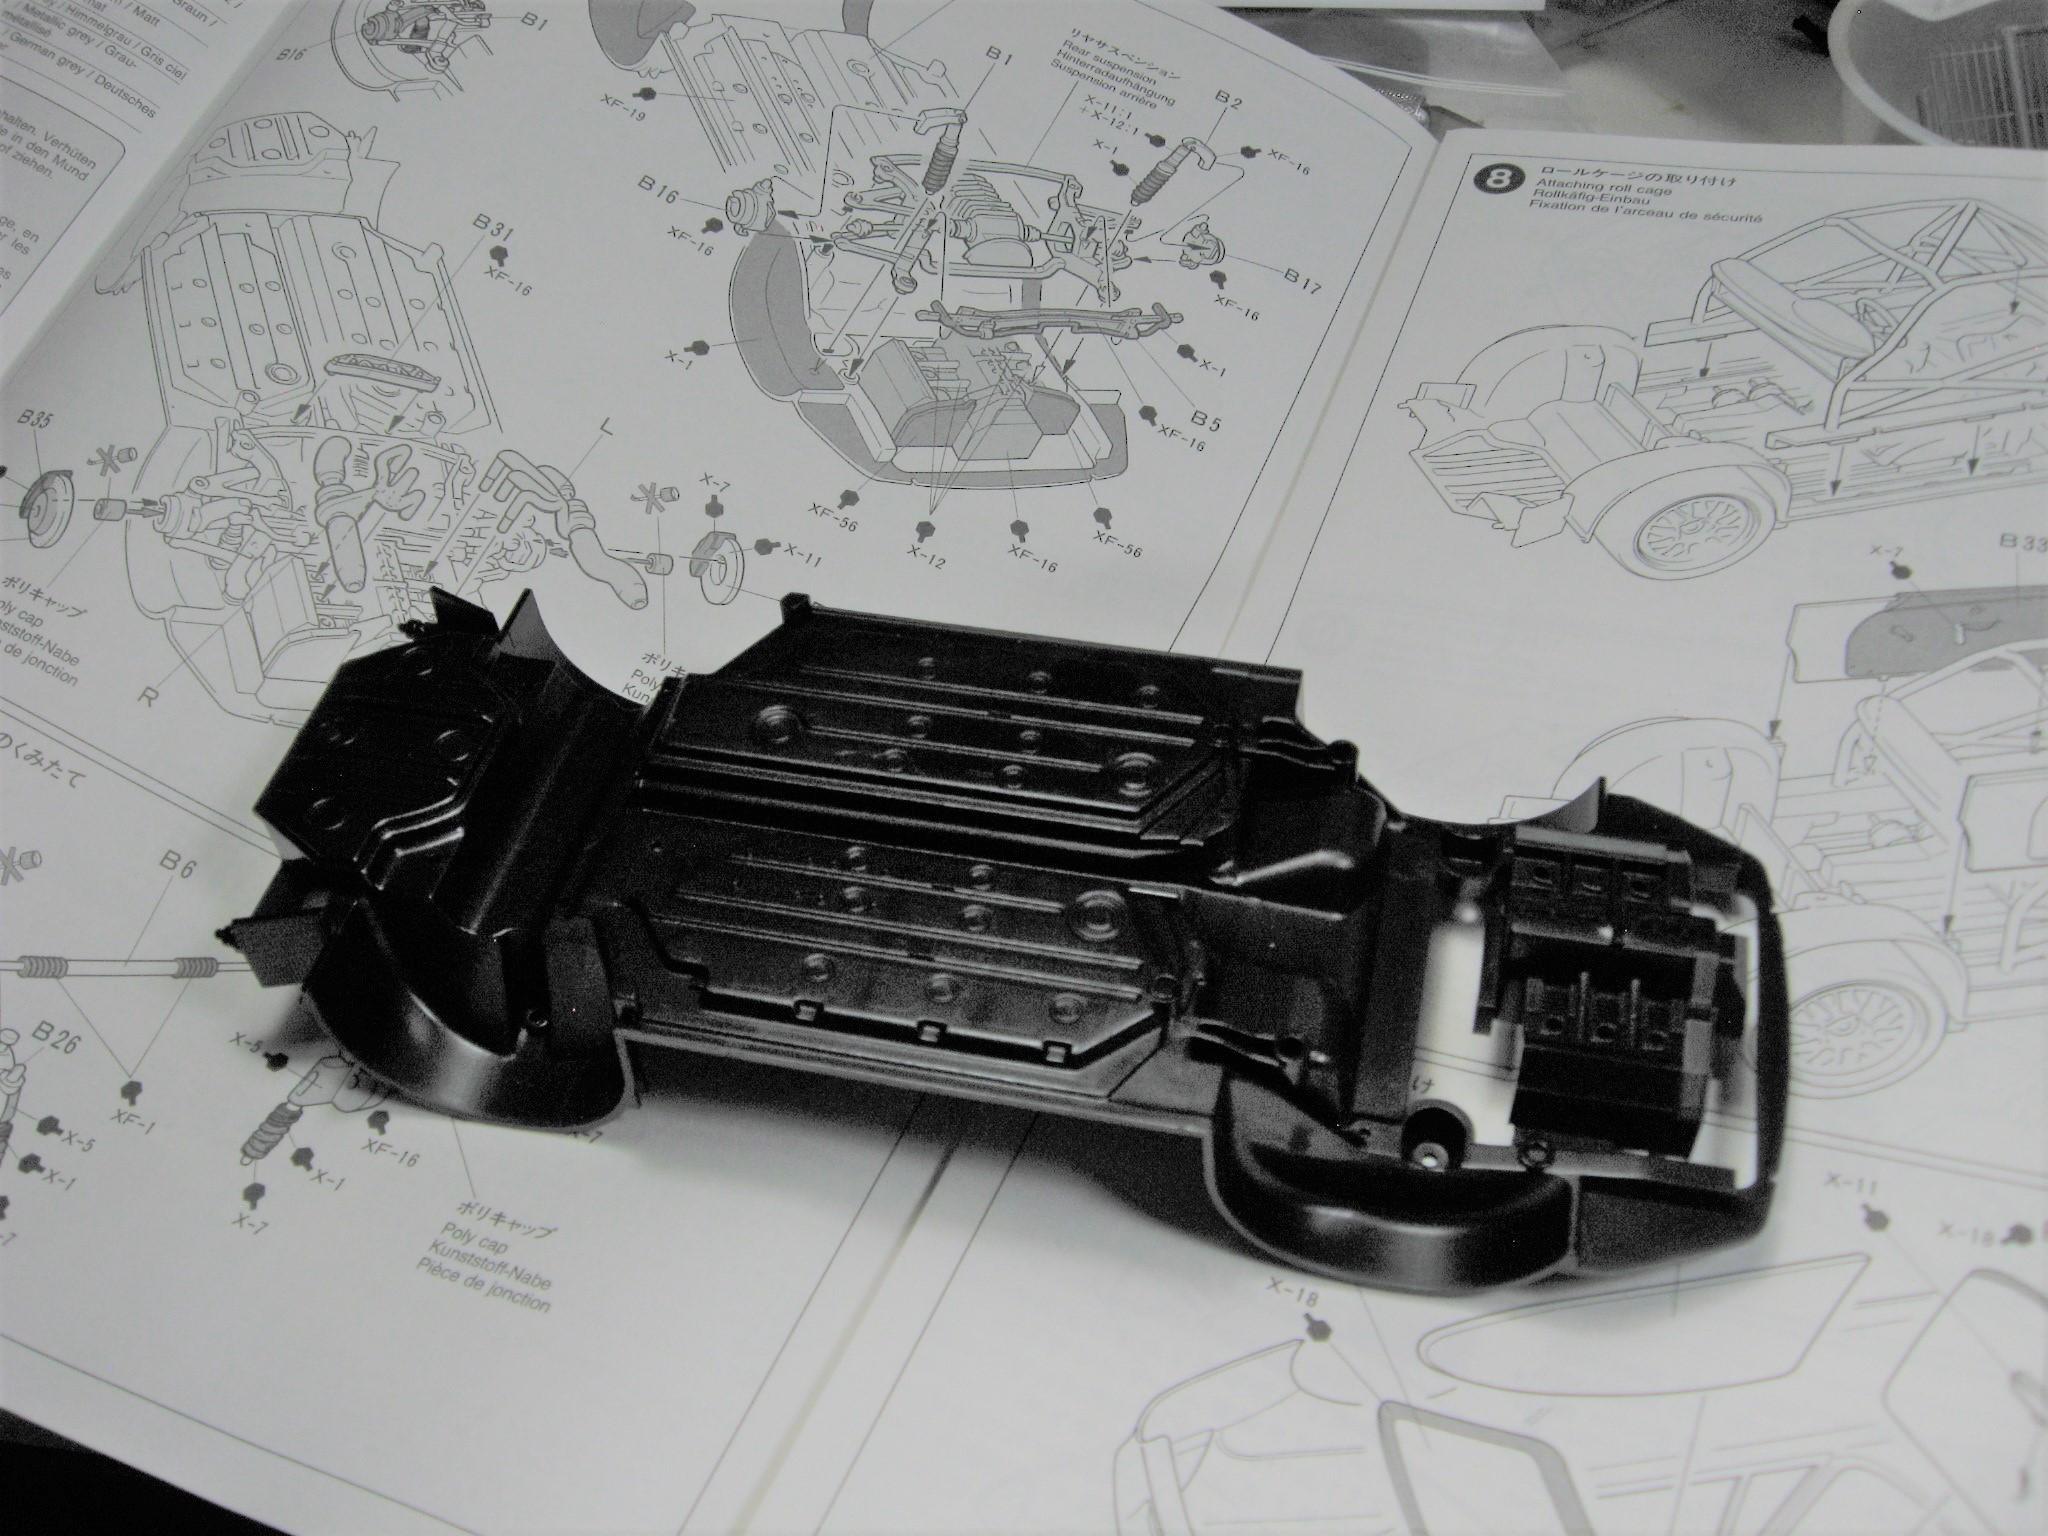
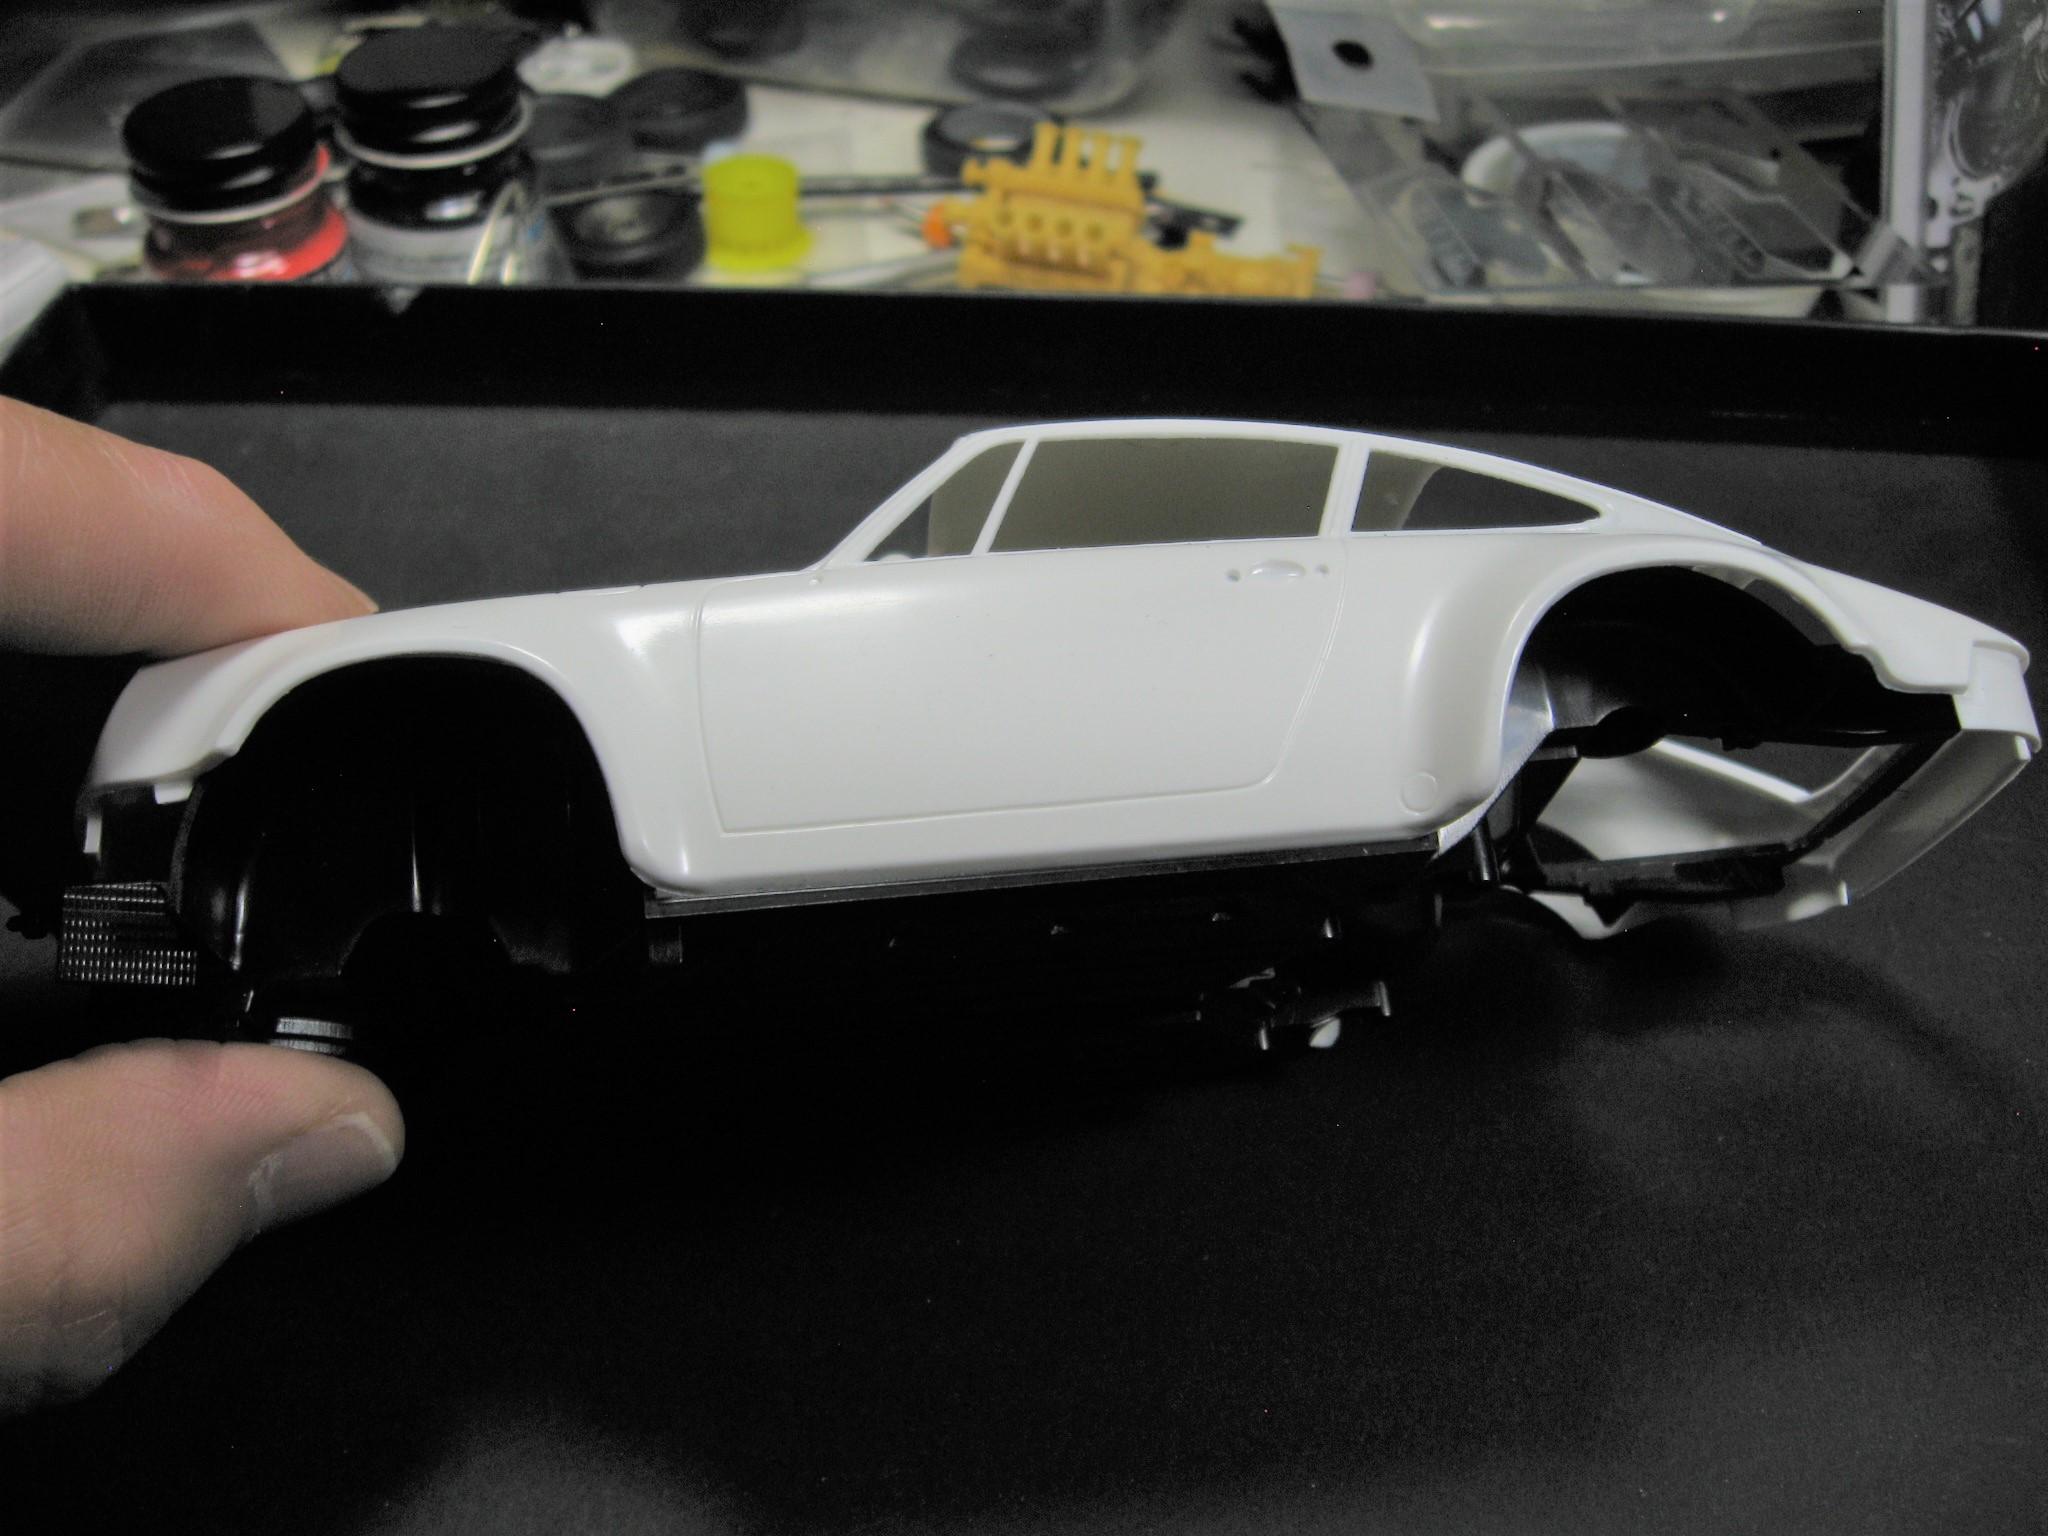
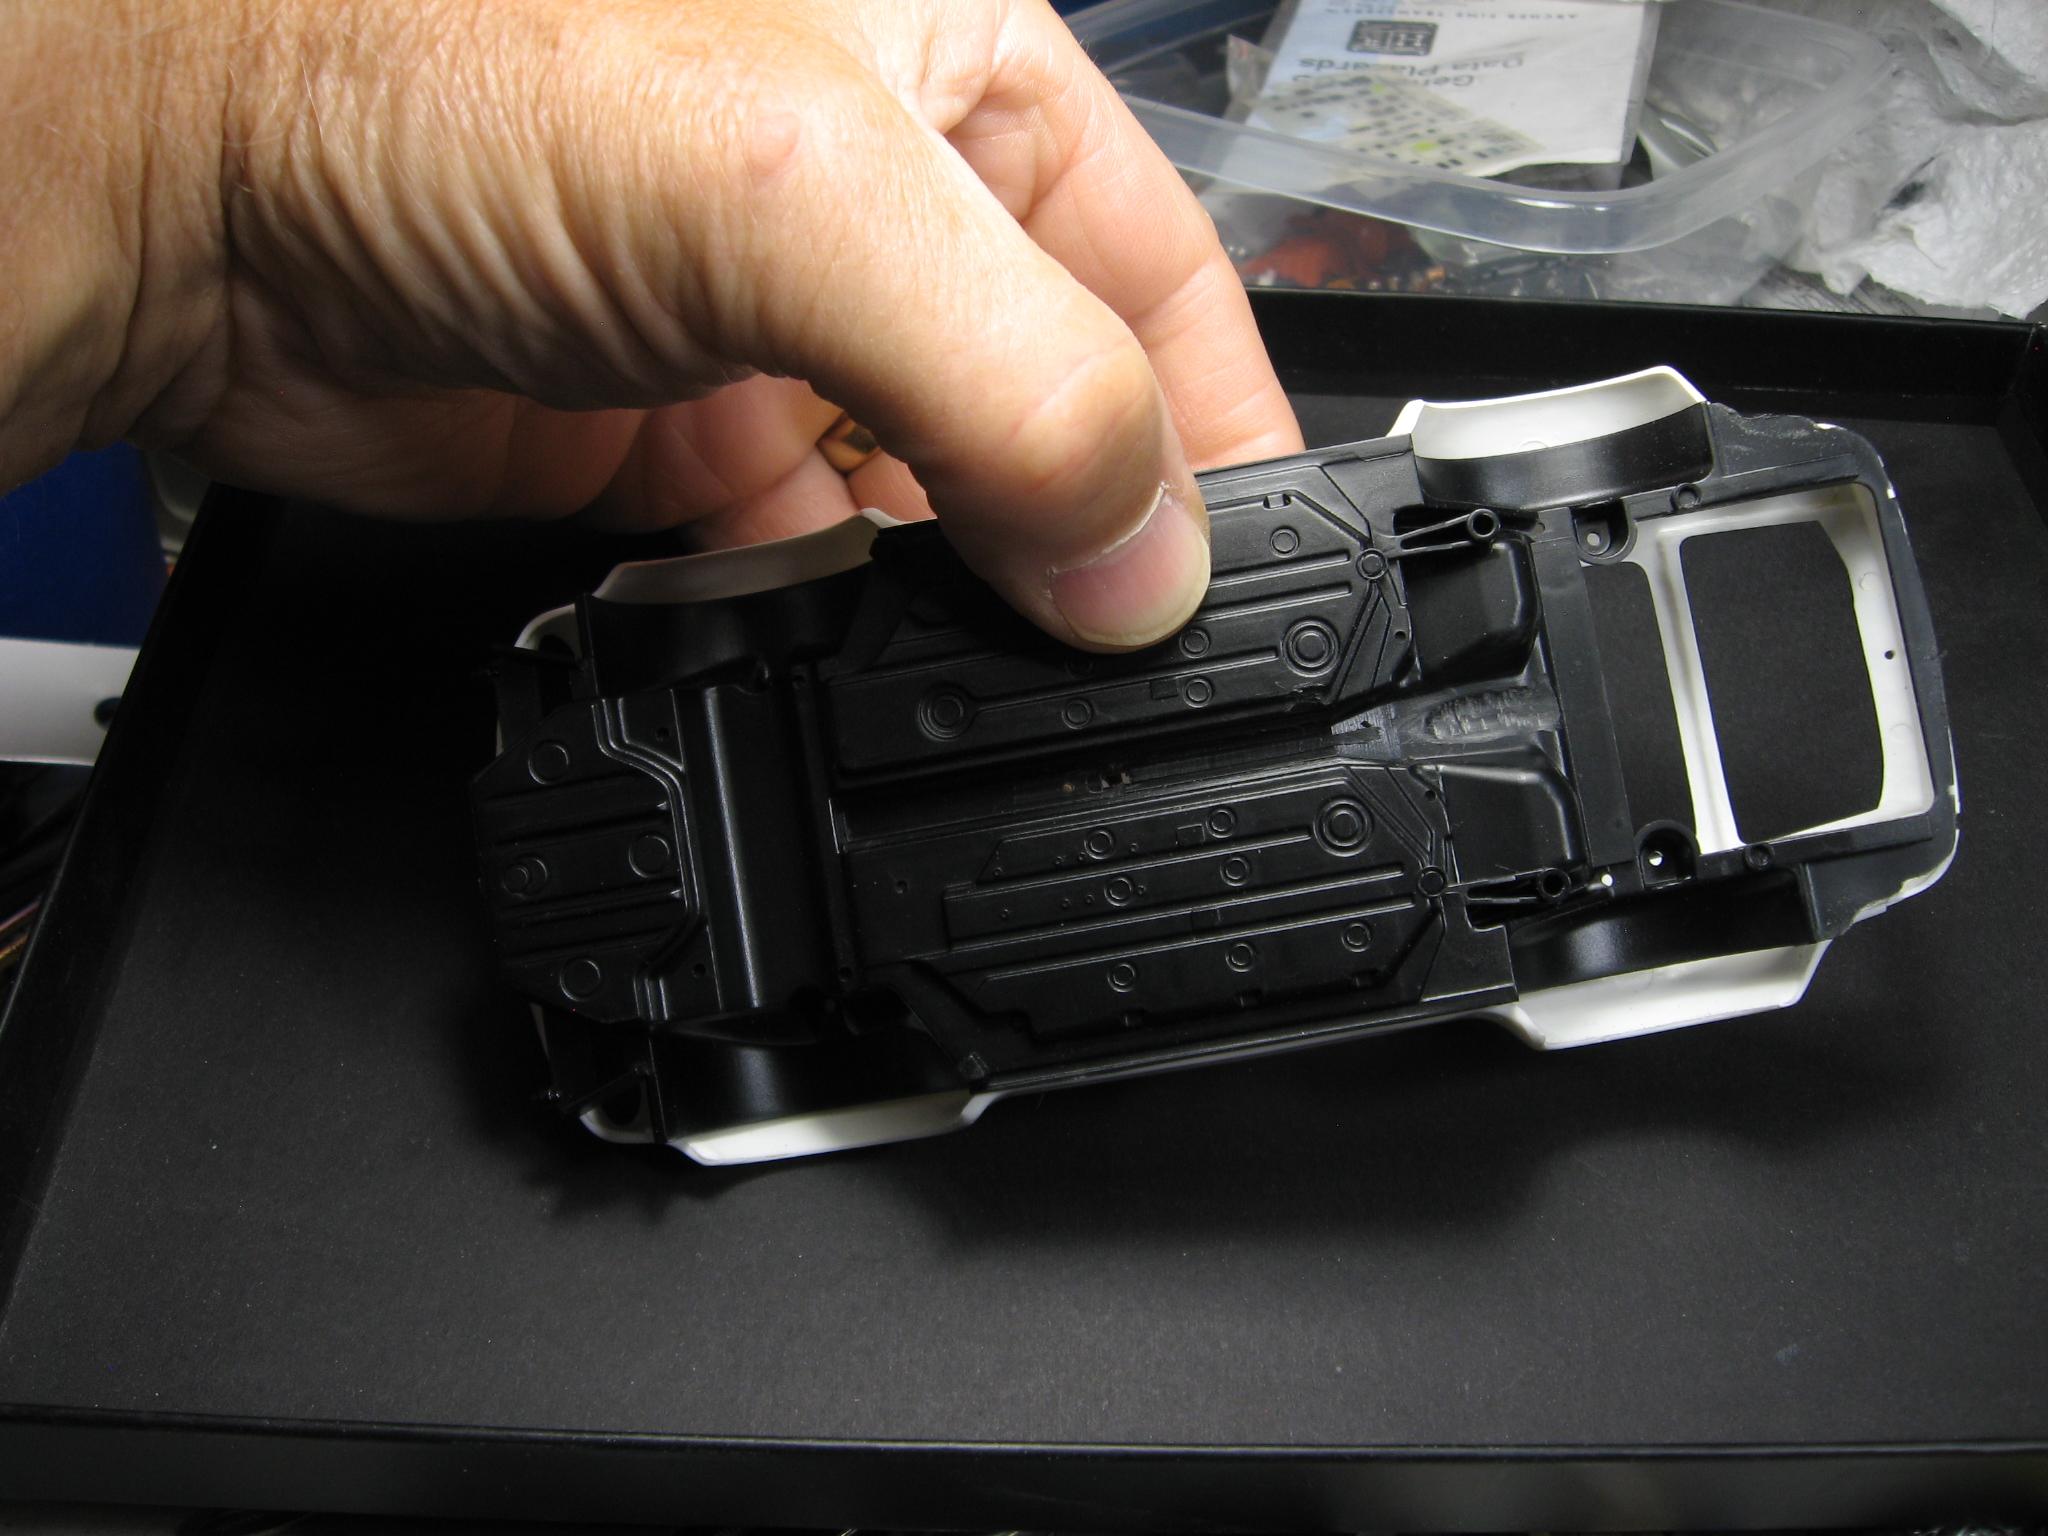
I blame this one on JC's thread in the general Section. Folks continue to post some really cool rides there. My favorite Porsche has always been the early '70's 911 Carrera. Love the flared rear-end without any bolted on fender junk. I have a Fujimi 911 Carrera RS '74 in the stash that will combined with a Tamiya 911 GT2, after market engine, wheels/tires, seats and whatever else I can throw at it to give me a classic 911 look with updated "guts". The plan is to use the more modern chassis and suspenion of the Tamiya kit to update the 911. Then we stuff a "Mad Mike" 911 flat six motor into the curbside Tamiya chassis. The interior, inspired by the Singer cars, will be a combo of the two kits along with after market stuff. The Fujimi kit is the Enthusiast Model re-released a few years ago. Pretty standard EM kit with a couple hundred parts and a ton of mold lines:) The Tamiya chassis looks to be right on as far as wheel base goes. Some triming of the chassis and redoing the wheel wells should get me close.
-
What scale is that one Andy? I have the 1/24th in stock but will have to order the 1/25th. Randy
-
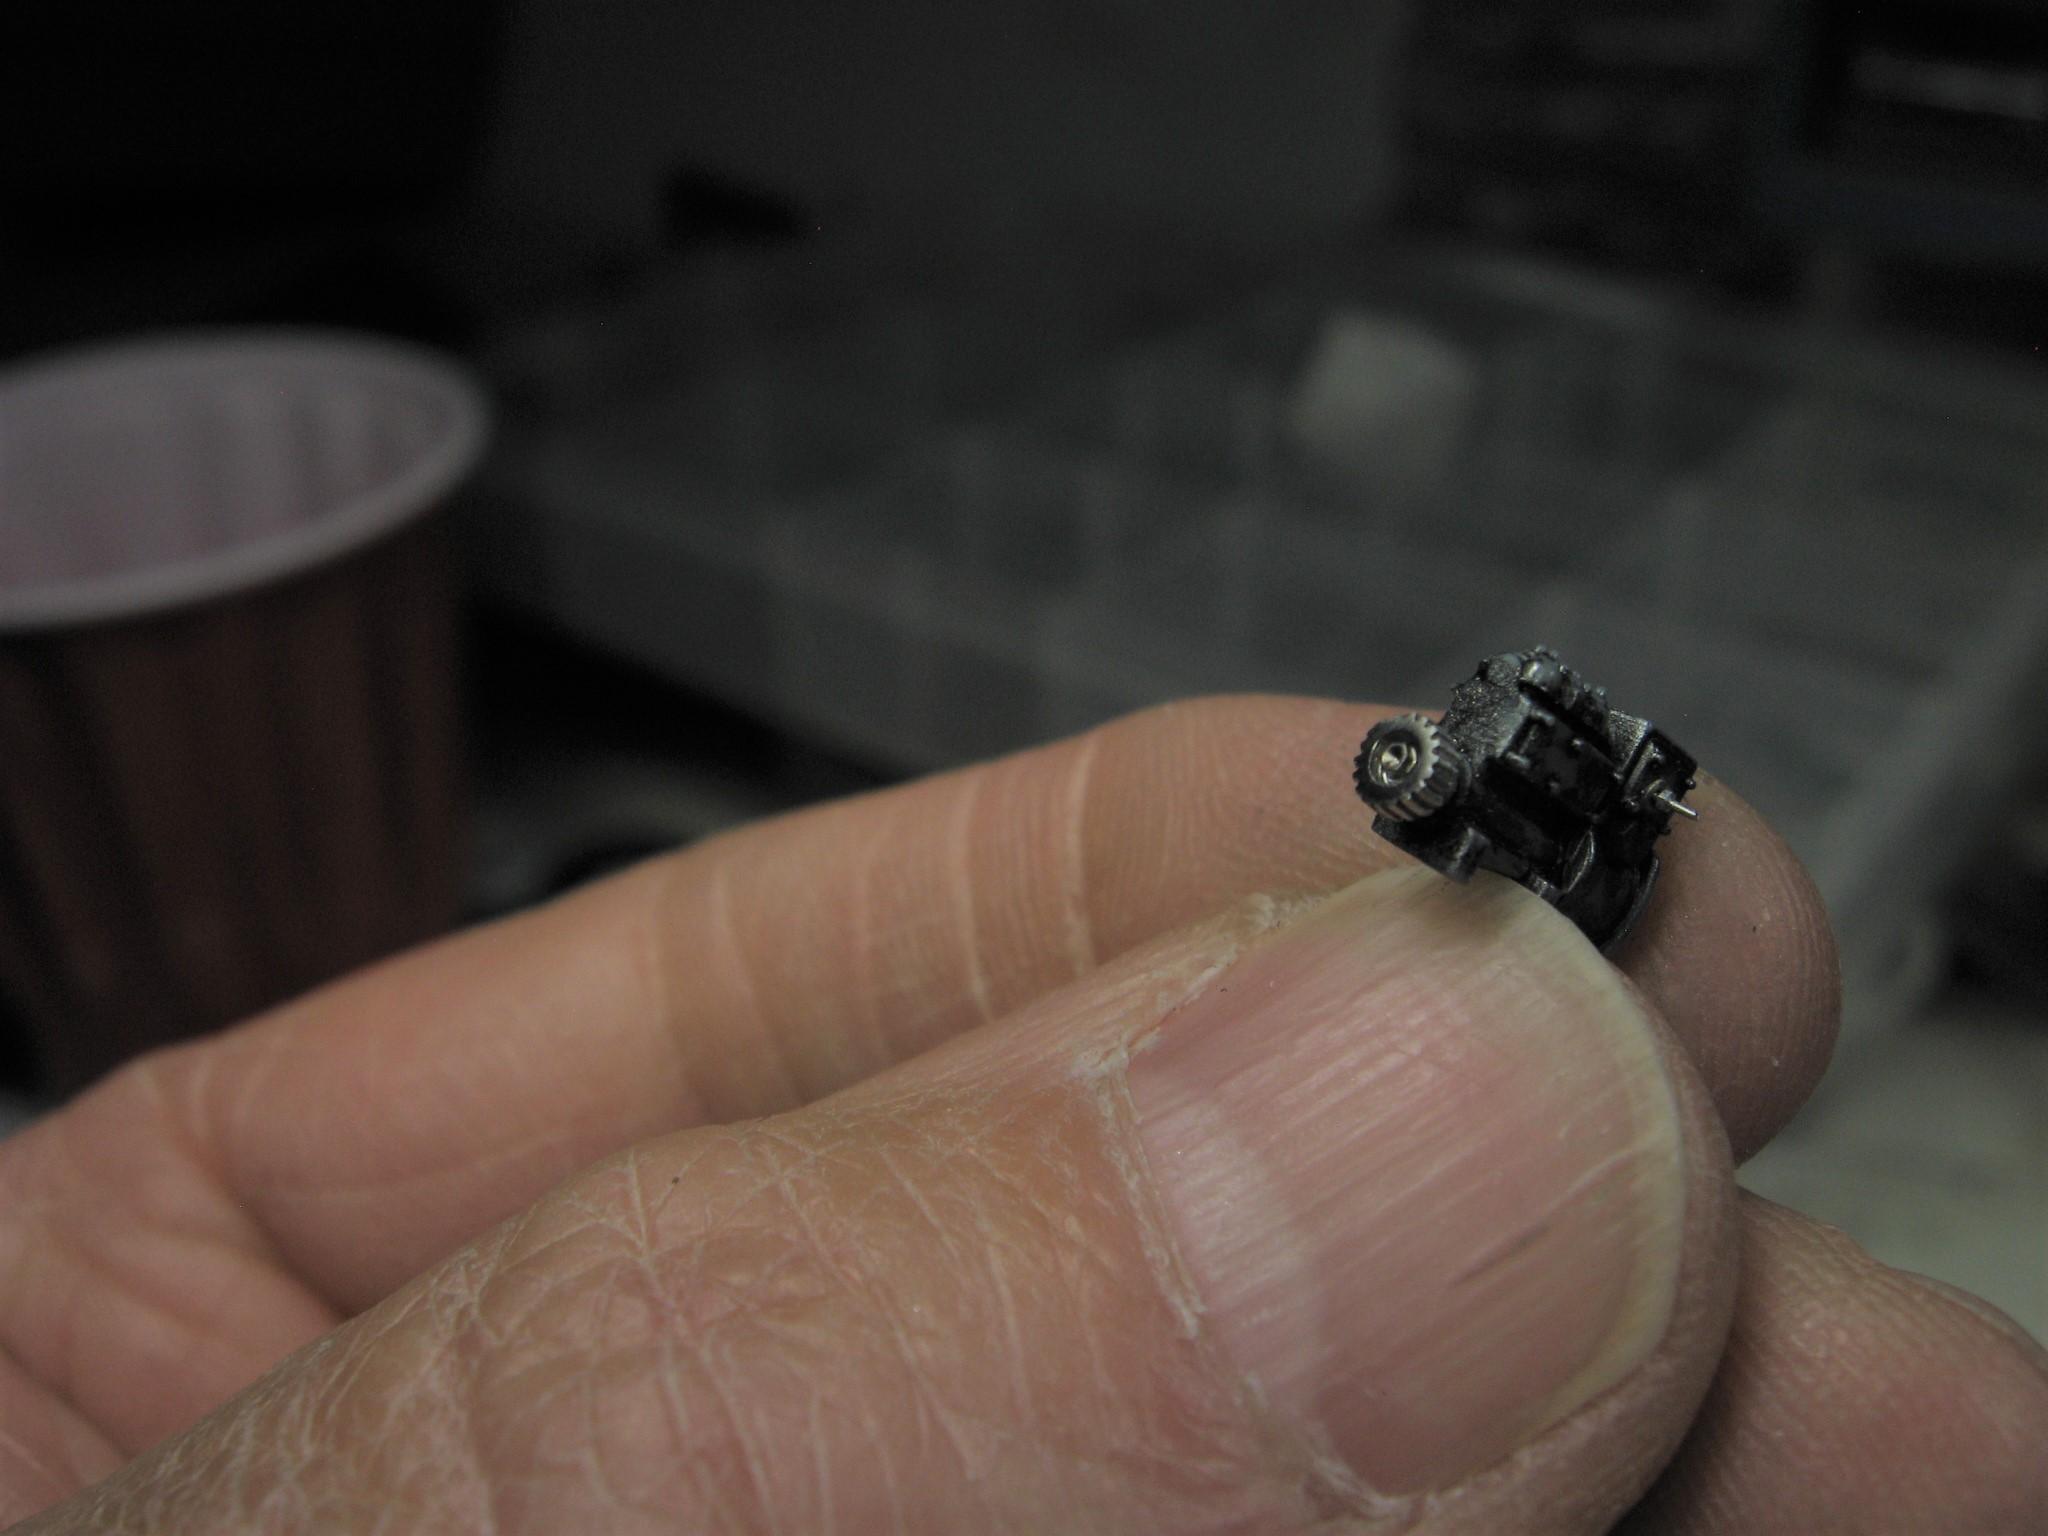
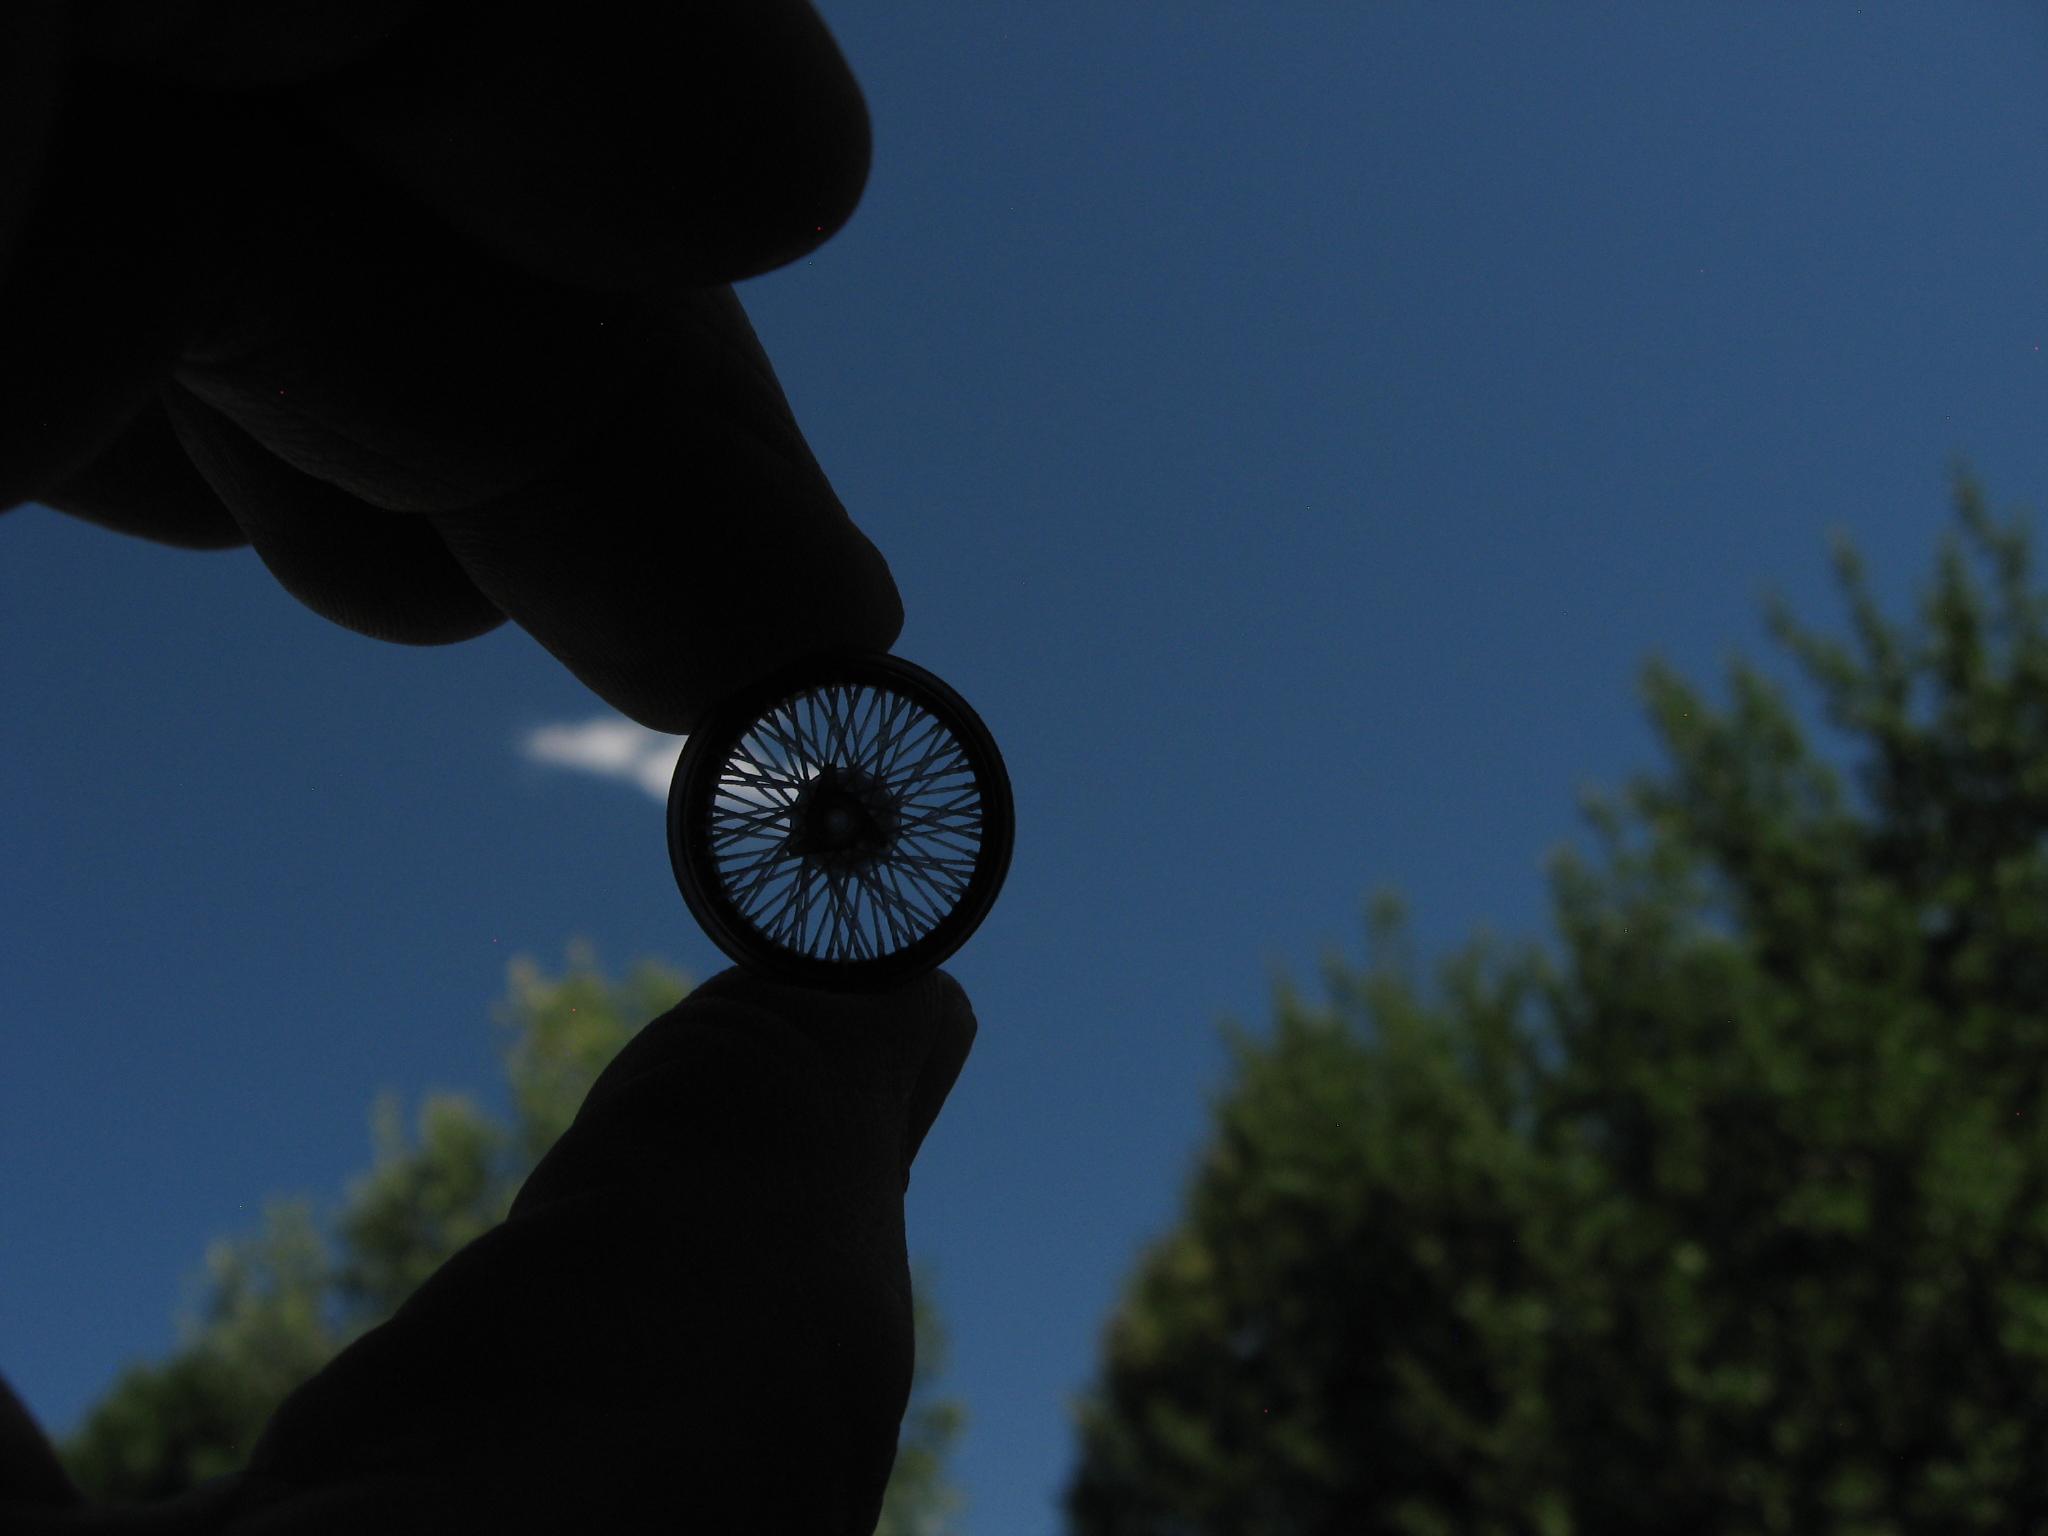
Hi Folks, 'Mad Mike's' latest 3d printed motors from Germany have arrived. Also we have printed another Borrani wire wheel that size wise is right in between our 2 other offerings.
-
WOW... just ...WOW What a treat to look thru this thread brother !!! A classic John T. build once again. Randy
-
Just absolutly mind blowing my friend. Your skill in creating minature parts with no concession to scale is inspiring. Now I have to go thru this a few more times. Thank you!!! Randy
-
Great build thread here Joe ! That shifter is AWESOME. I have sold a ton of those and this is the first one I've seen completed. Randy
-
64 Dodge D100 Pickup Pro Street
Randy D replied to AmericanMuscleFan's topic in WIP: Drag Racing Models
Hello Francis, What a treat to discover this thread. You are a true craftsman Sir. Now I need to check out your other builds:) Randy -
Really fun to follow this one Daniel ! Randy
-
Beautiful detailing on this motor my friend !!!!! Your scratch building all the linkage and details really is impressive. Randy
-
Love this build Eric !!!!! Randy
-
Will be following your progress Kurt ! Randy
-
Great work so far on this one Matt! Love the paint work and engine detail. Randy
-
Hi Folks, Michael just shipped the first batch to me today. Shipping is still a little dicey , could be anywhere from 3 weeks to 9 weeks ! Randy
-
Hi Matt, Glad those got there, my orders going into Germany and France are all messed up. I have had good luck with Tamiya Fine White primer or Mr. Suffacer 1000. I have then gone with gloss black and Spatz chrome. I also have air brushed Molotov Chrome right onto the primer. Randy
-
Hey, What do you mean not functional !!! You're taking the easy way out??? Just kidding, you are one of my favorite builders my friend and I know you will knock this out of the park. Mad Mike is killing us, he did not include the linkage on his 911 flat six either:) I'm working on it..... Randy
-
Okay Andy, I got half mine done, how about yours???
-
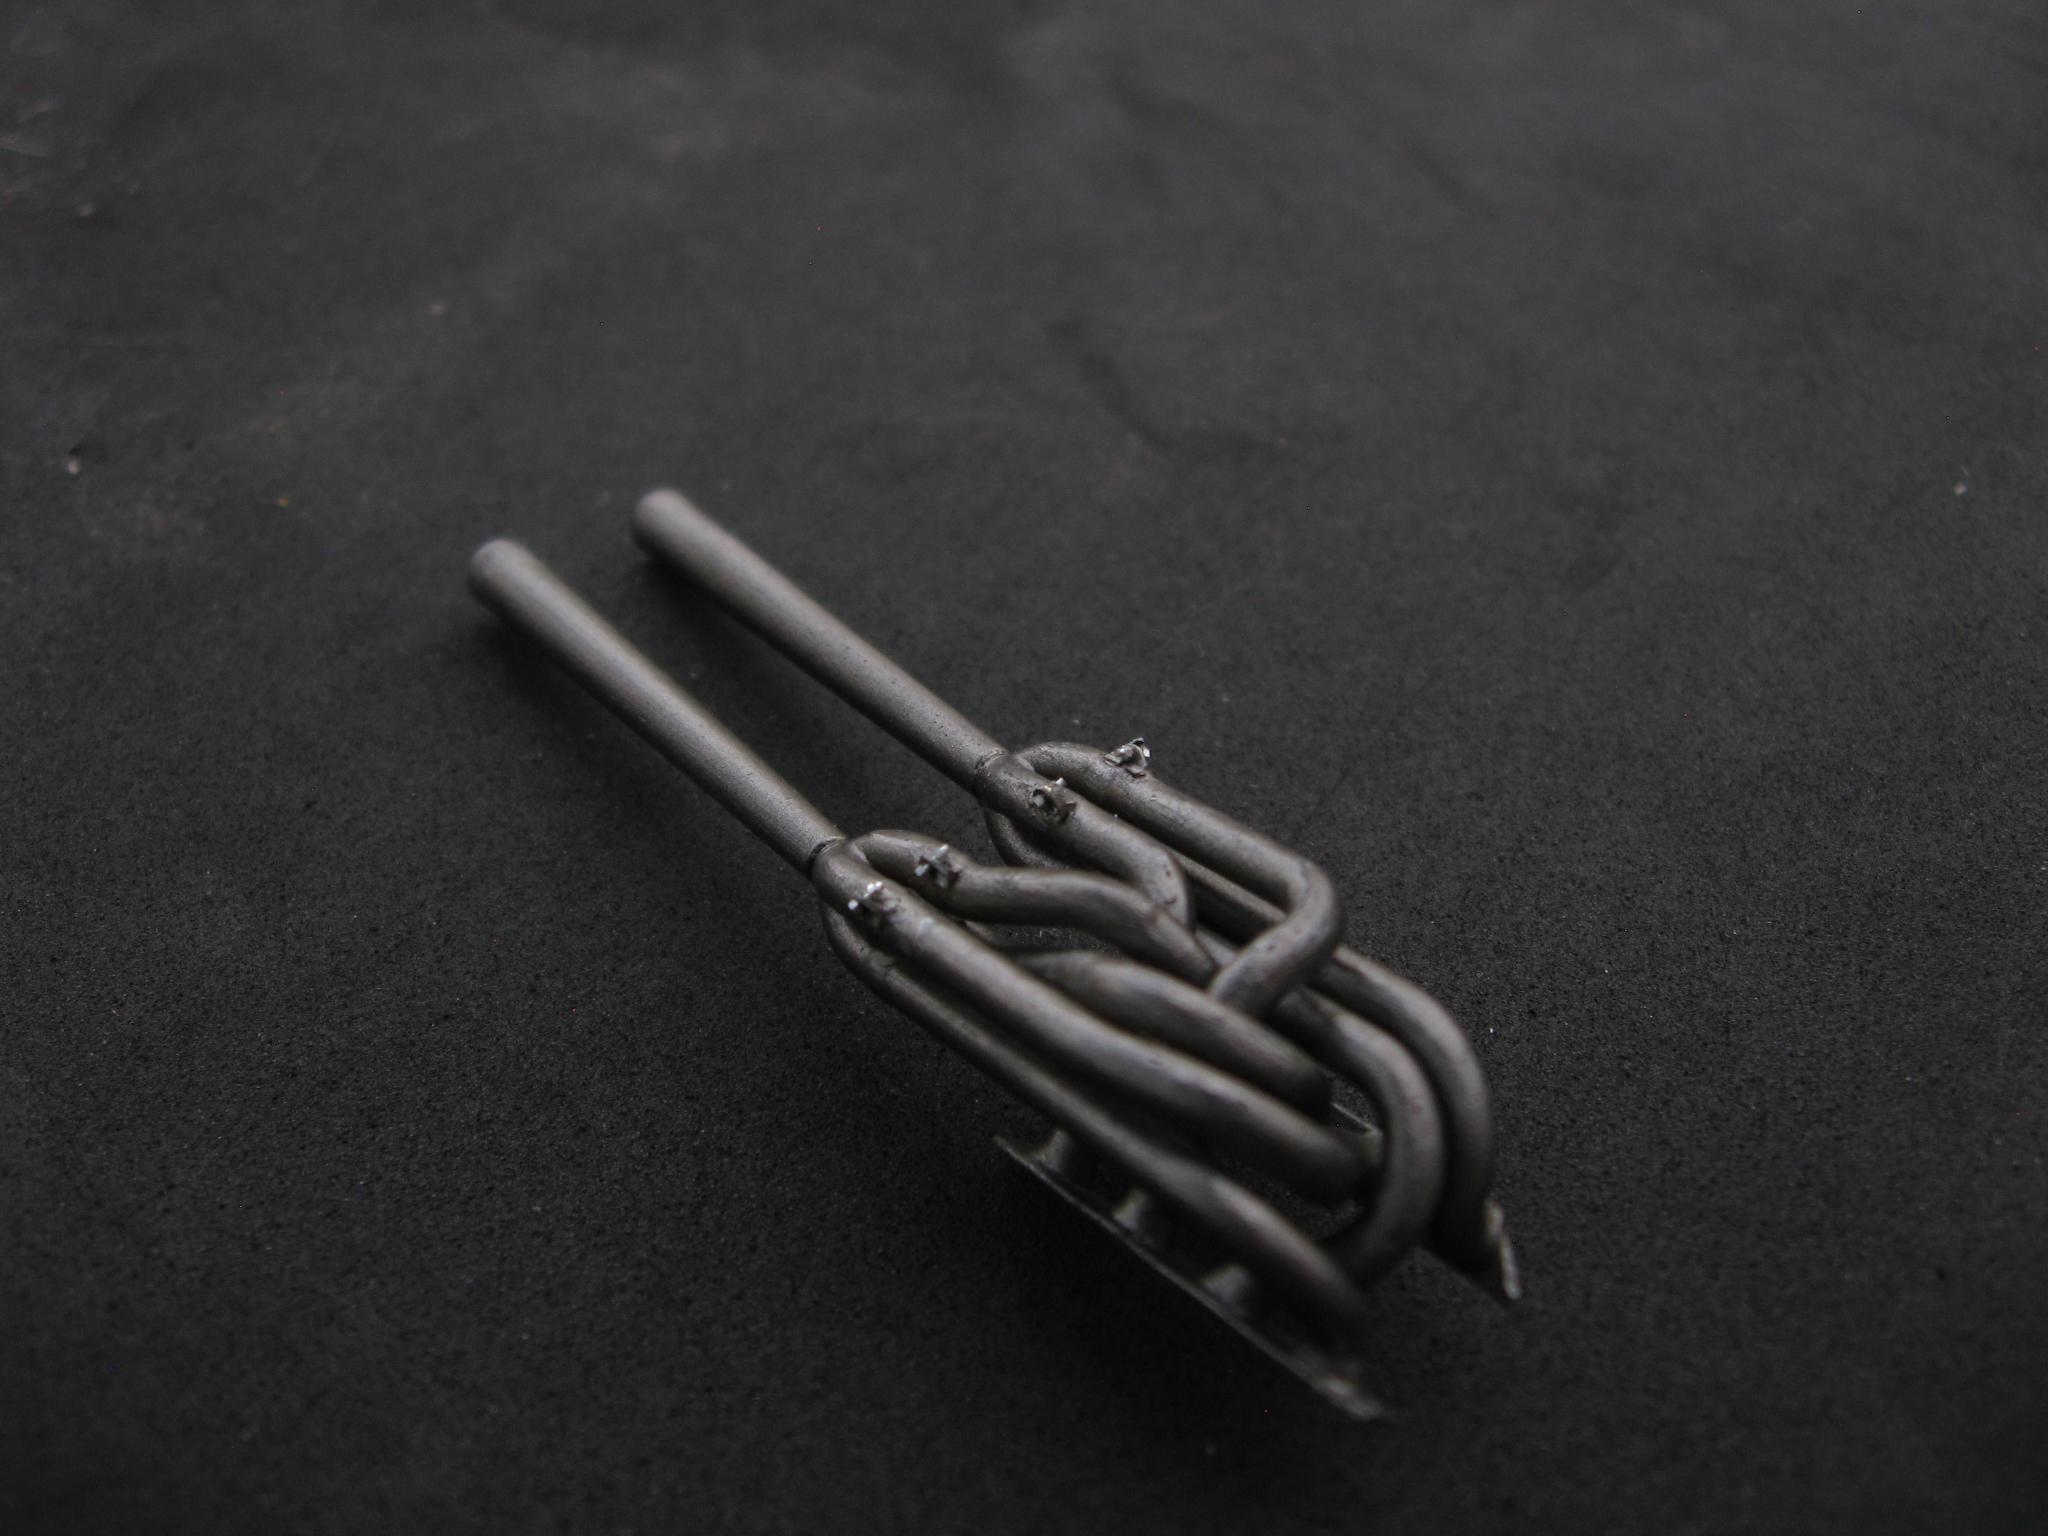
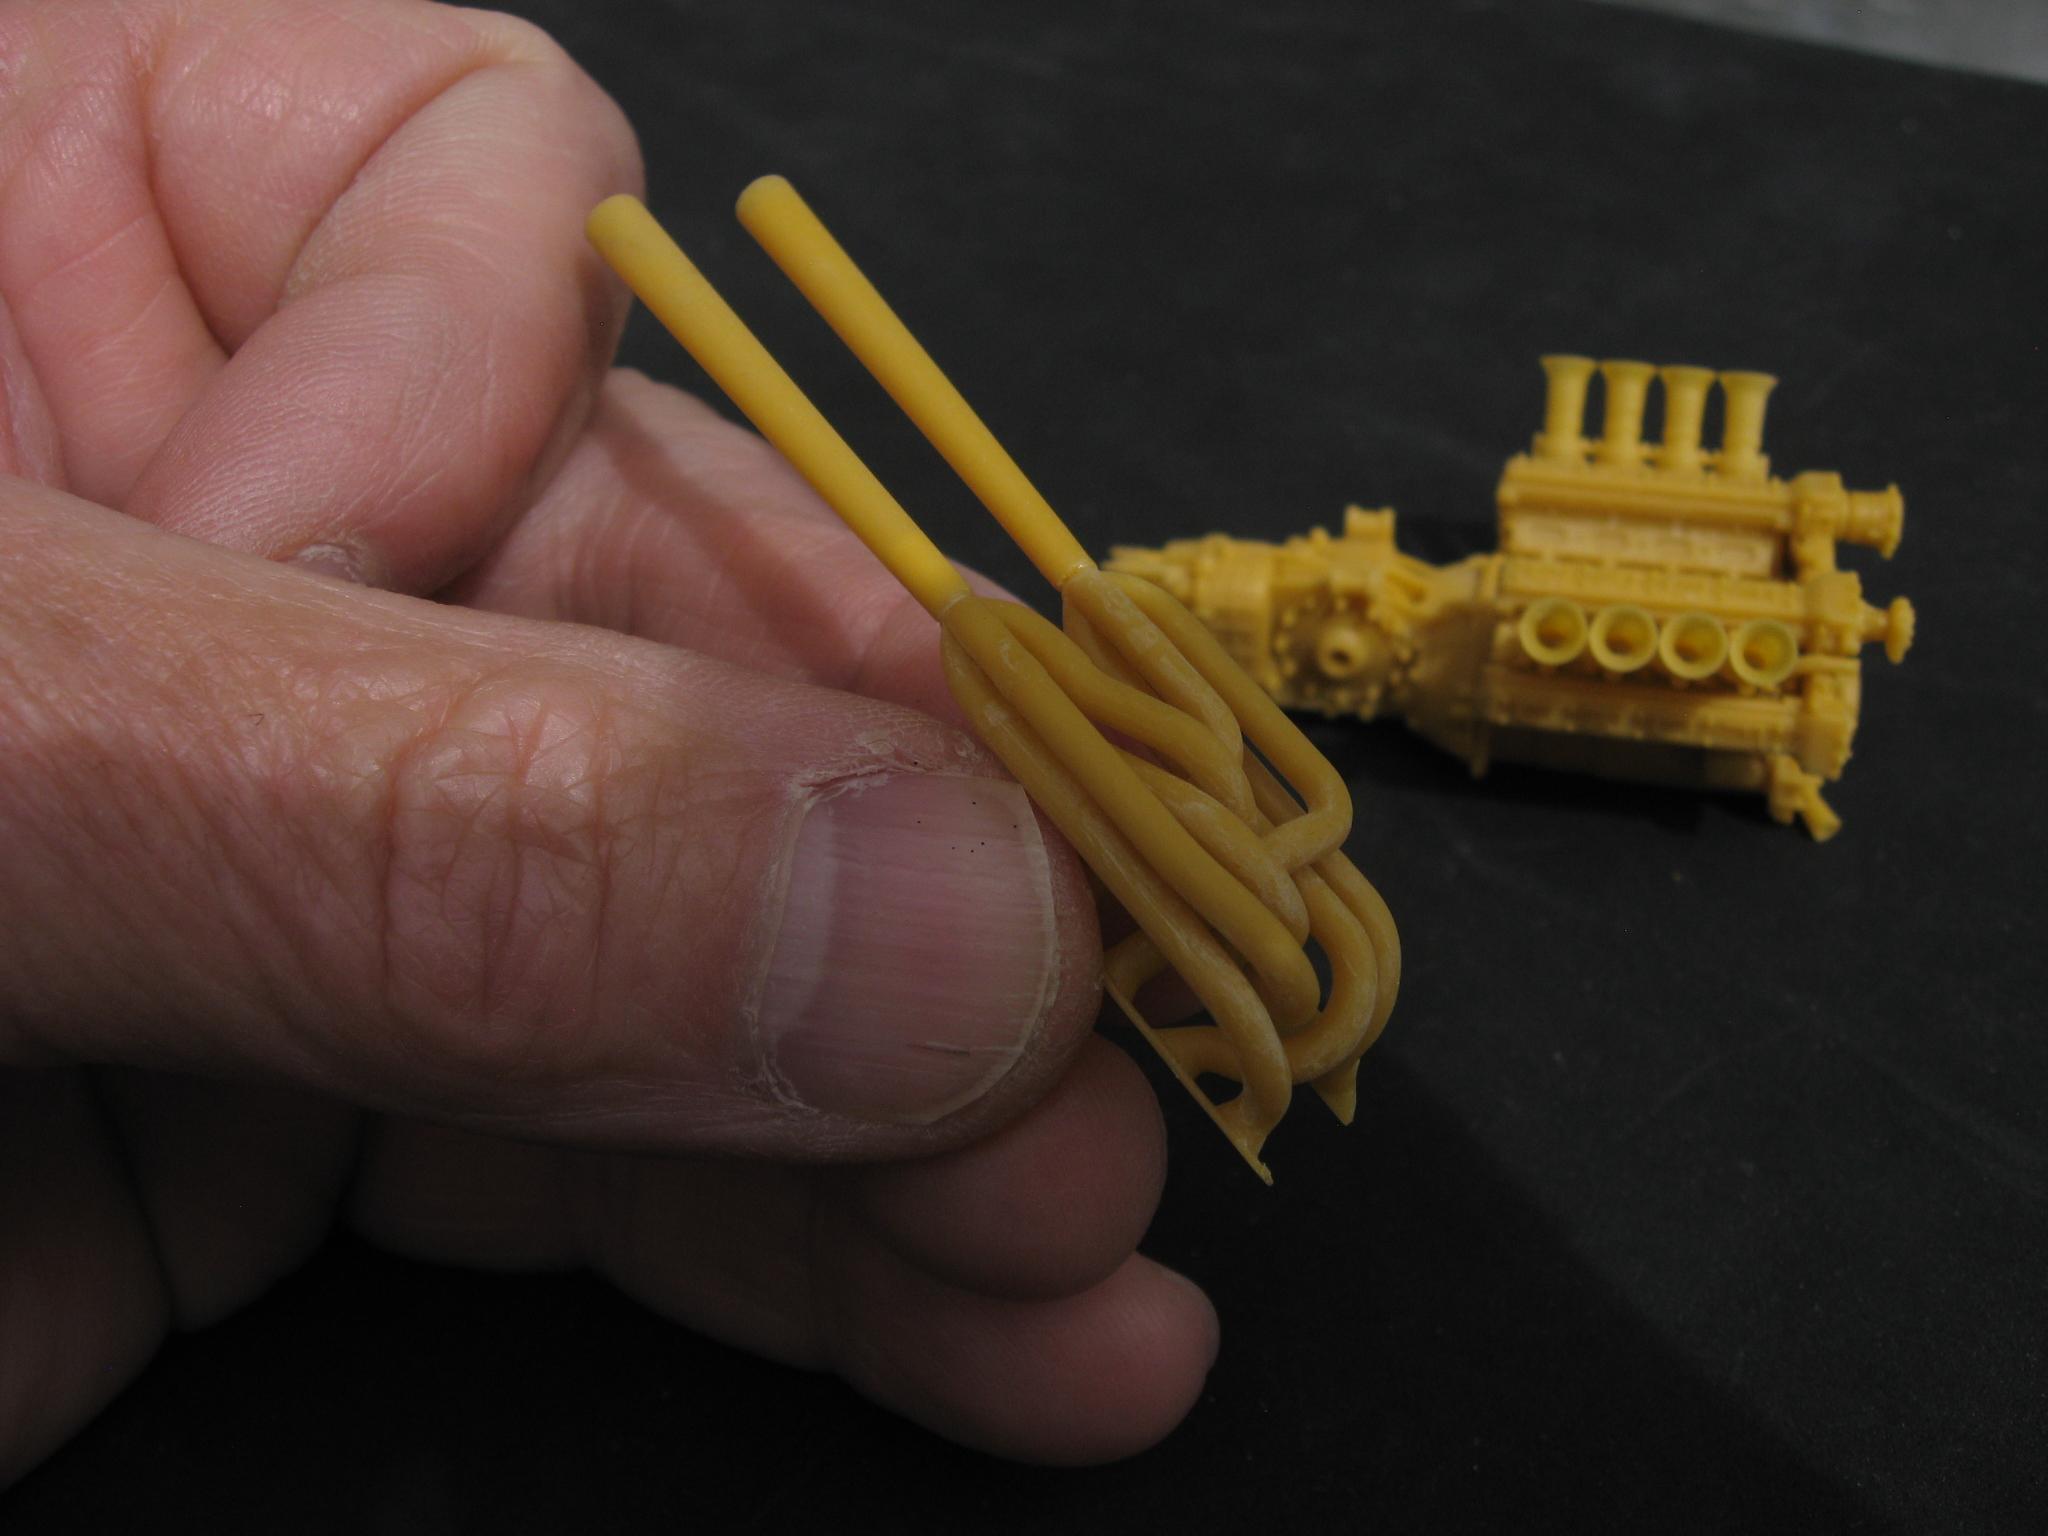
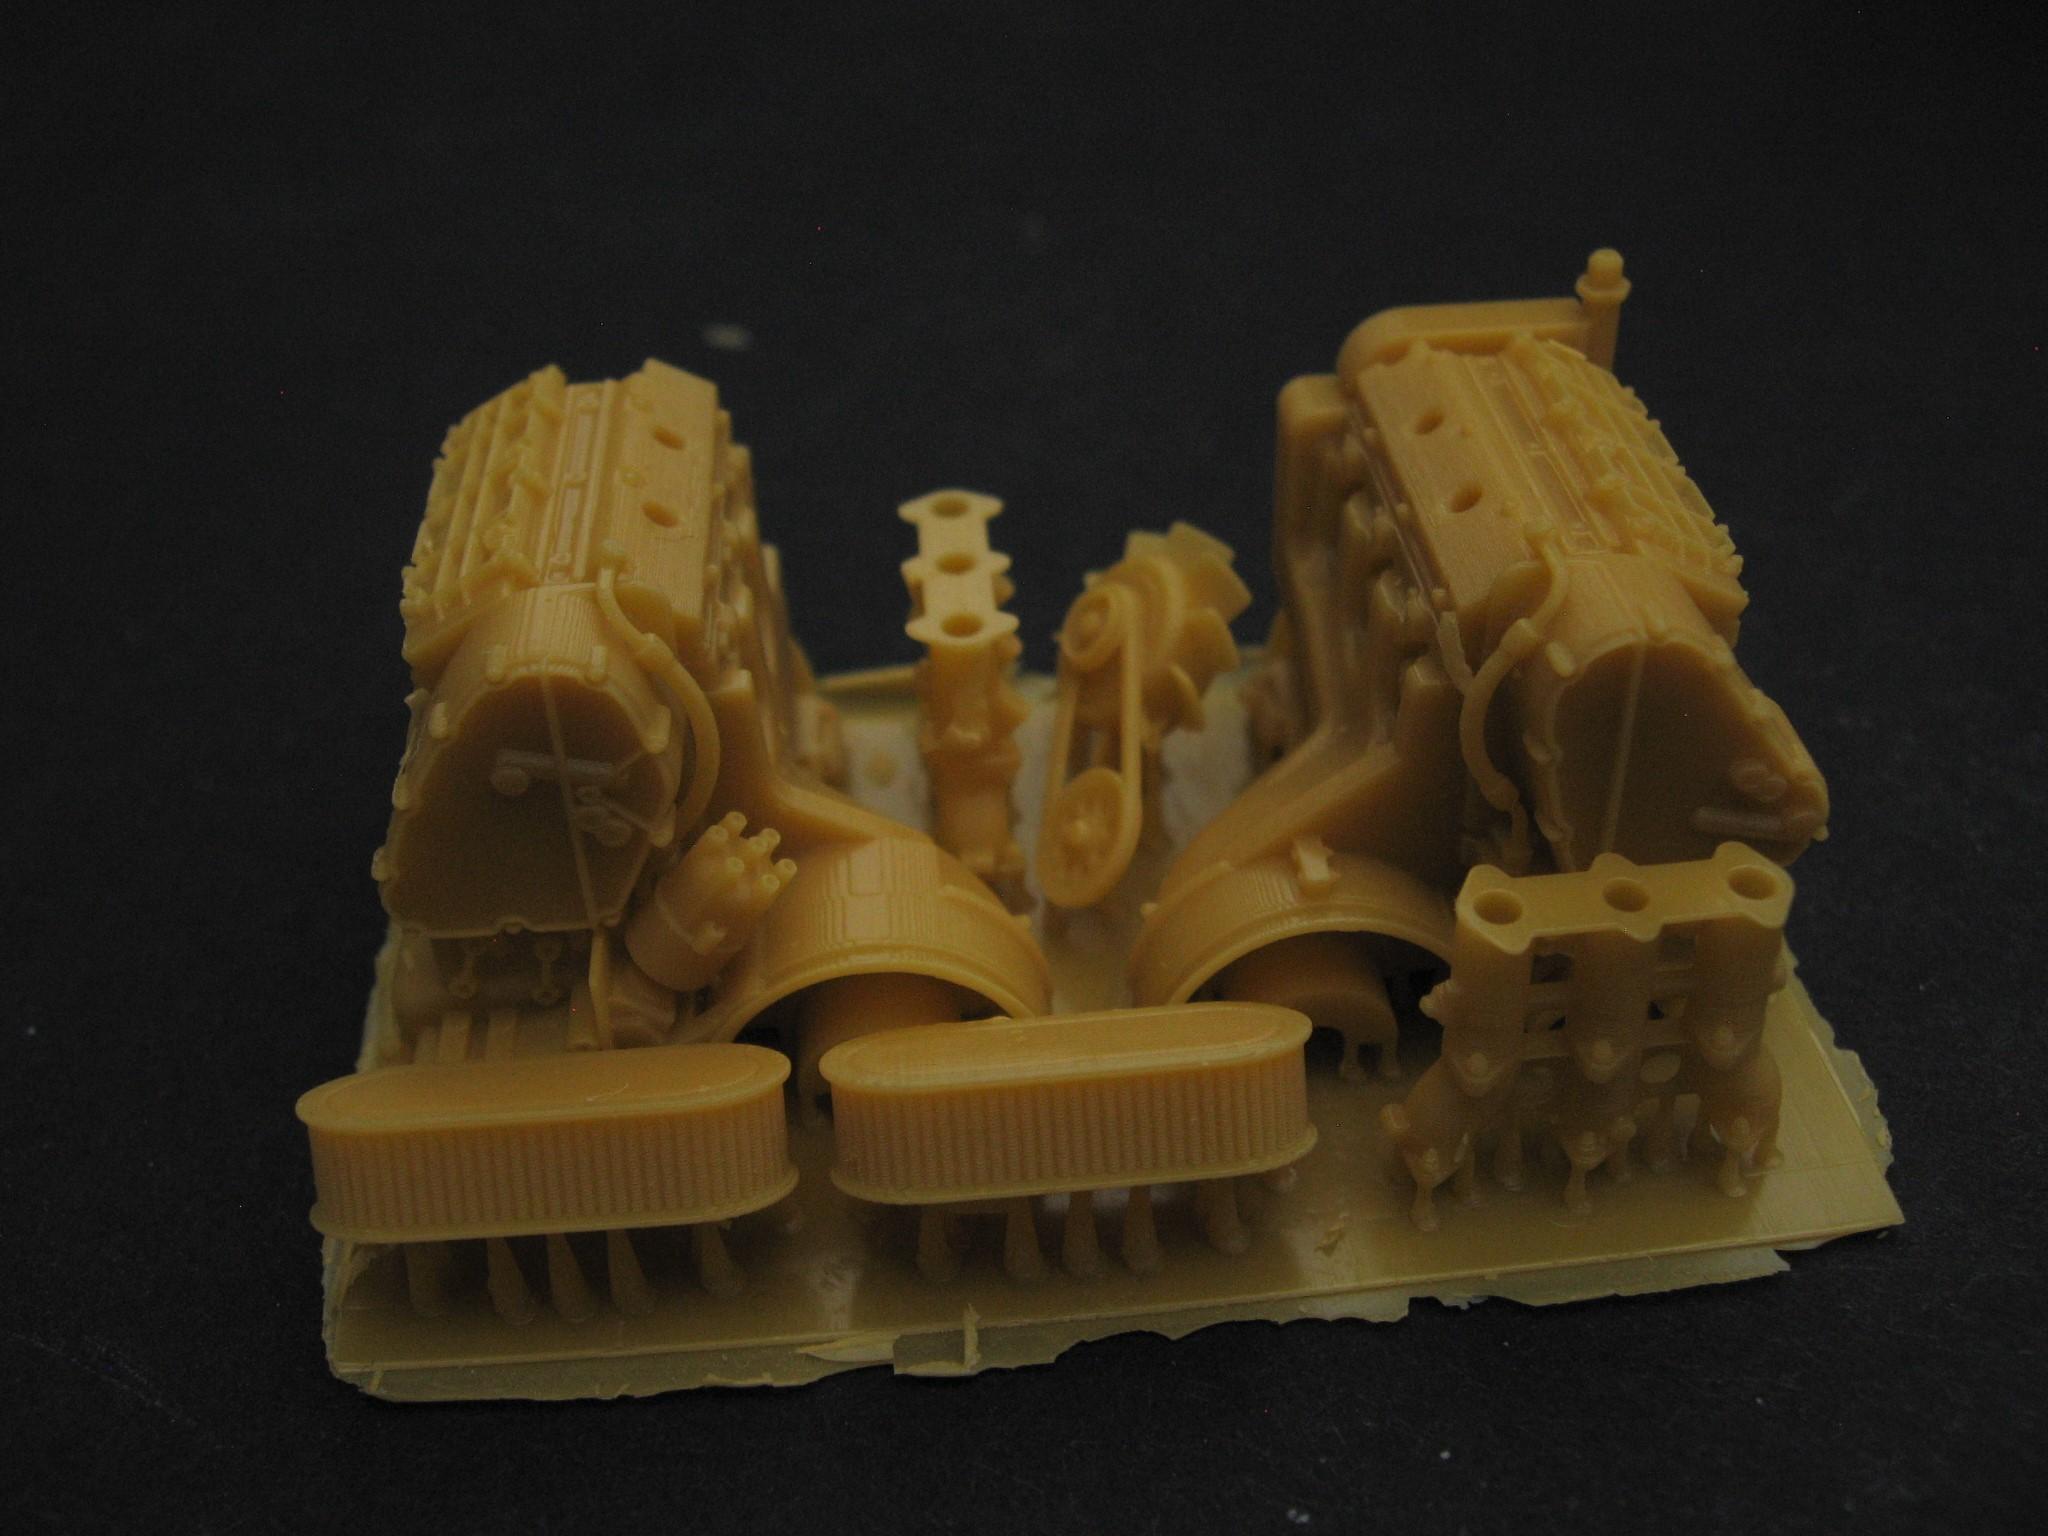
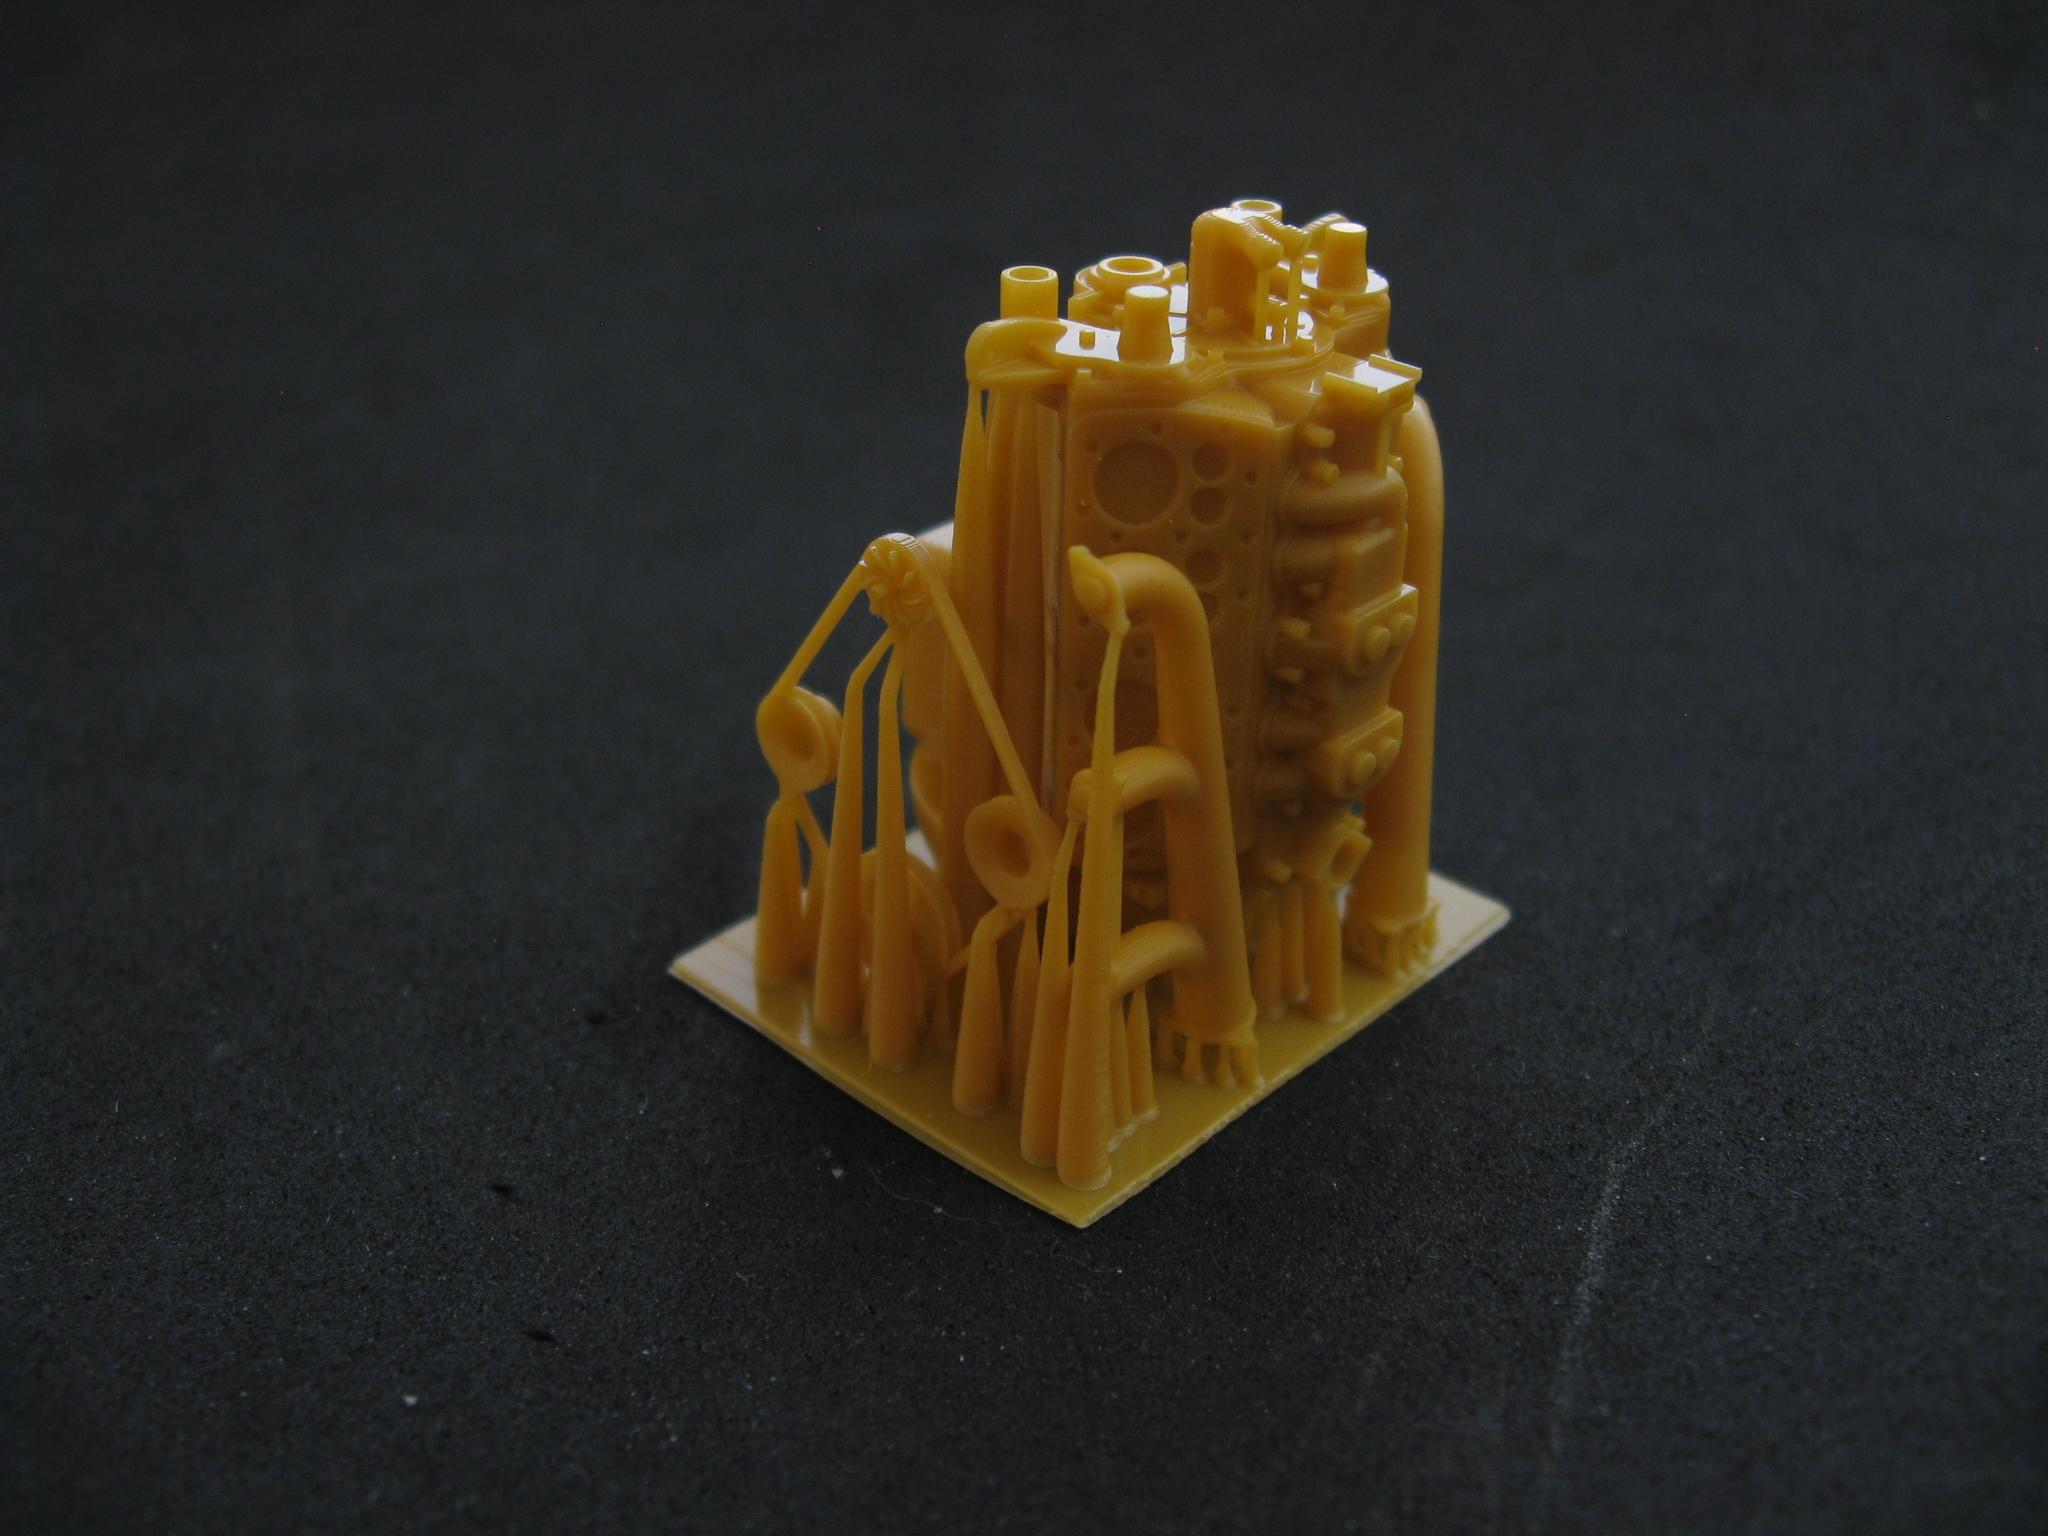
Hi Andy, Mike could chime in here also but the residue may be resin that did not get removed in the cleaning and drying stage when the part comes out of the vat of liquid resin. Try rubbing alcohol applied with a q-tip maybe??? Hope you don't mind but I wanted to emphasize how cool the exhaust system on this motor is. This is where 3D printing shines in the hands of someone as skilled as Mike. All eight pipes and the collectors (the long tips are seperate) are printed as one piece. You gently squeeze and rotate into place on the top of the motor. Pretty much a snap fit !!!! Once the support rods are removed you see where 3d printing allows each pipe to be grown individualy.
.JPG.9f4fc453ee5b78112579802687234709.JPG)
.JPG.9d0bb2208eec189fa4b491e0153210f4.JPG)

.jpg.f44918f266cf7917cb61390016b8e9ff.jpg)
.JPG.dda01137d62485fa69a66cca08824a4a.JPG)


.jpg.a8a8b93583f6ae66d1354da20f808a29.jpg)

.jpg.64d31f88db2460abd21fcb2af658f847.jpg)


.jpg.879b6dae05b6e1724b16c31a9c32082b.jpg)


.JPG.7ffa9e195709818d92789bdb58f840b2.JPG)