dragcarz
-
Posts
2,134 -
Joined
-
Last visited
Content Type
Profiles
Forums
Events
Gallery
Everything posted by dragcarz
-
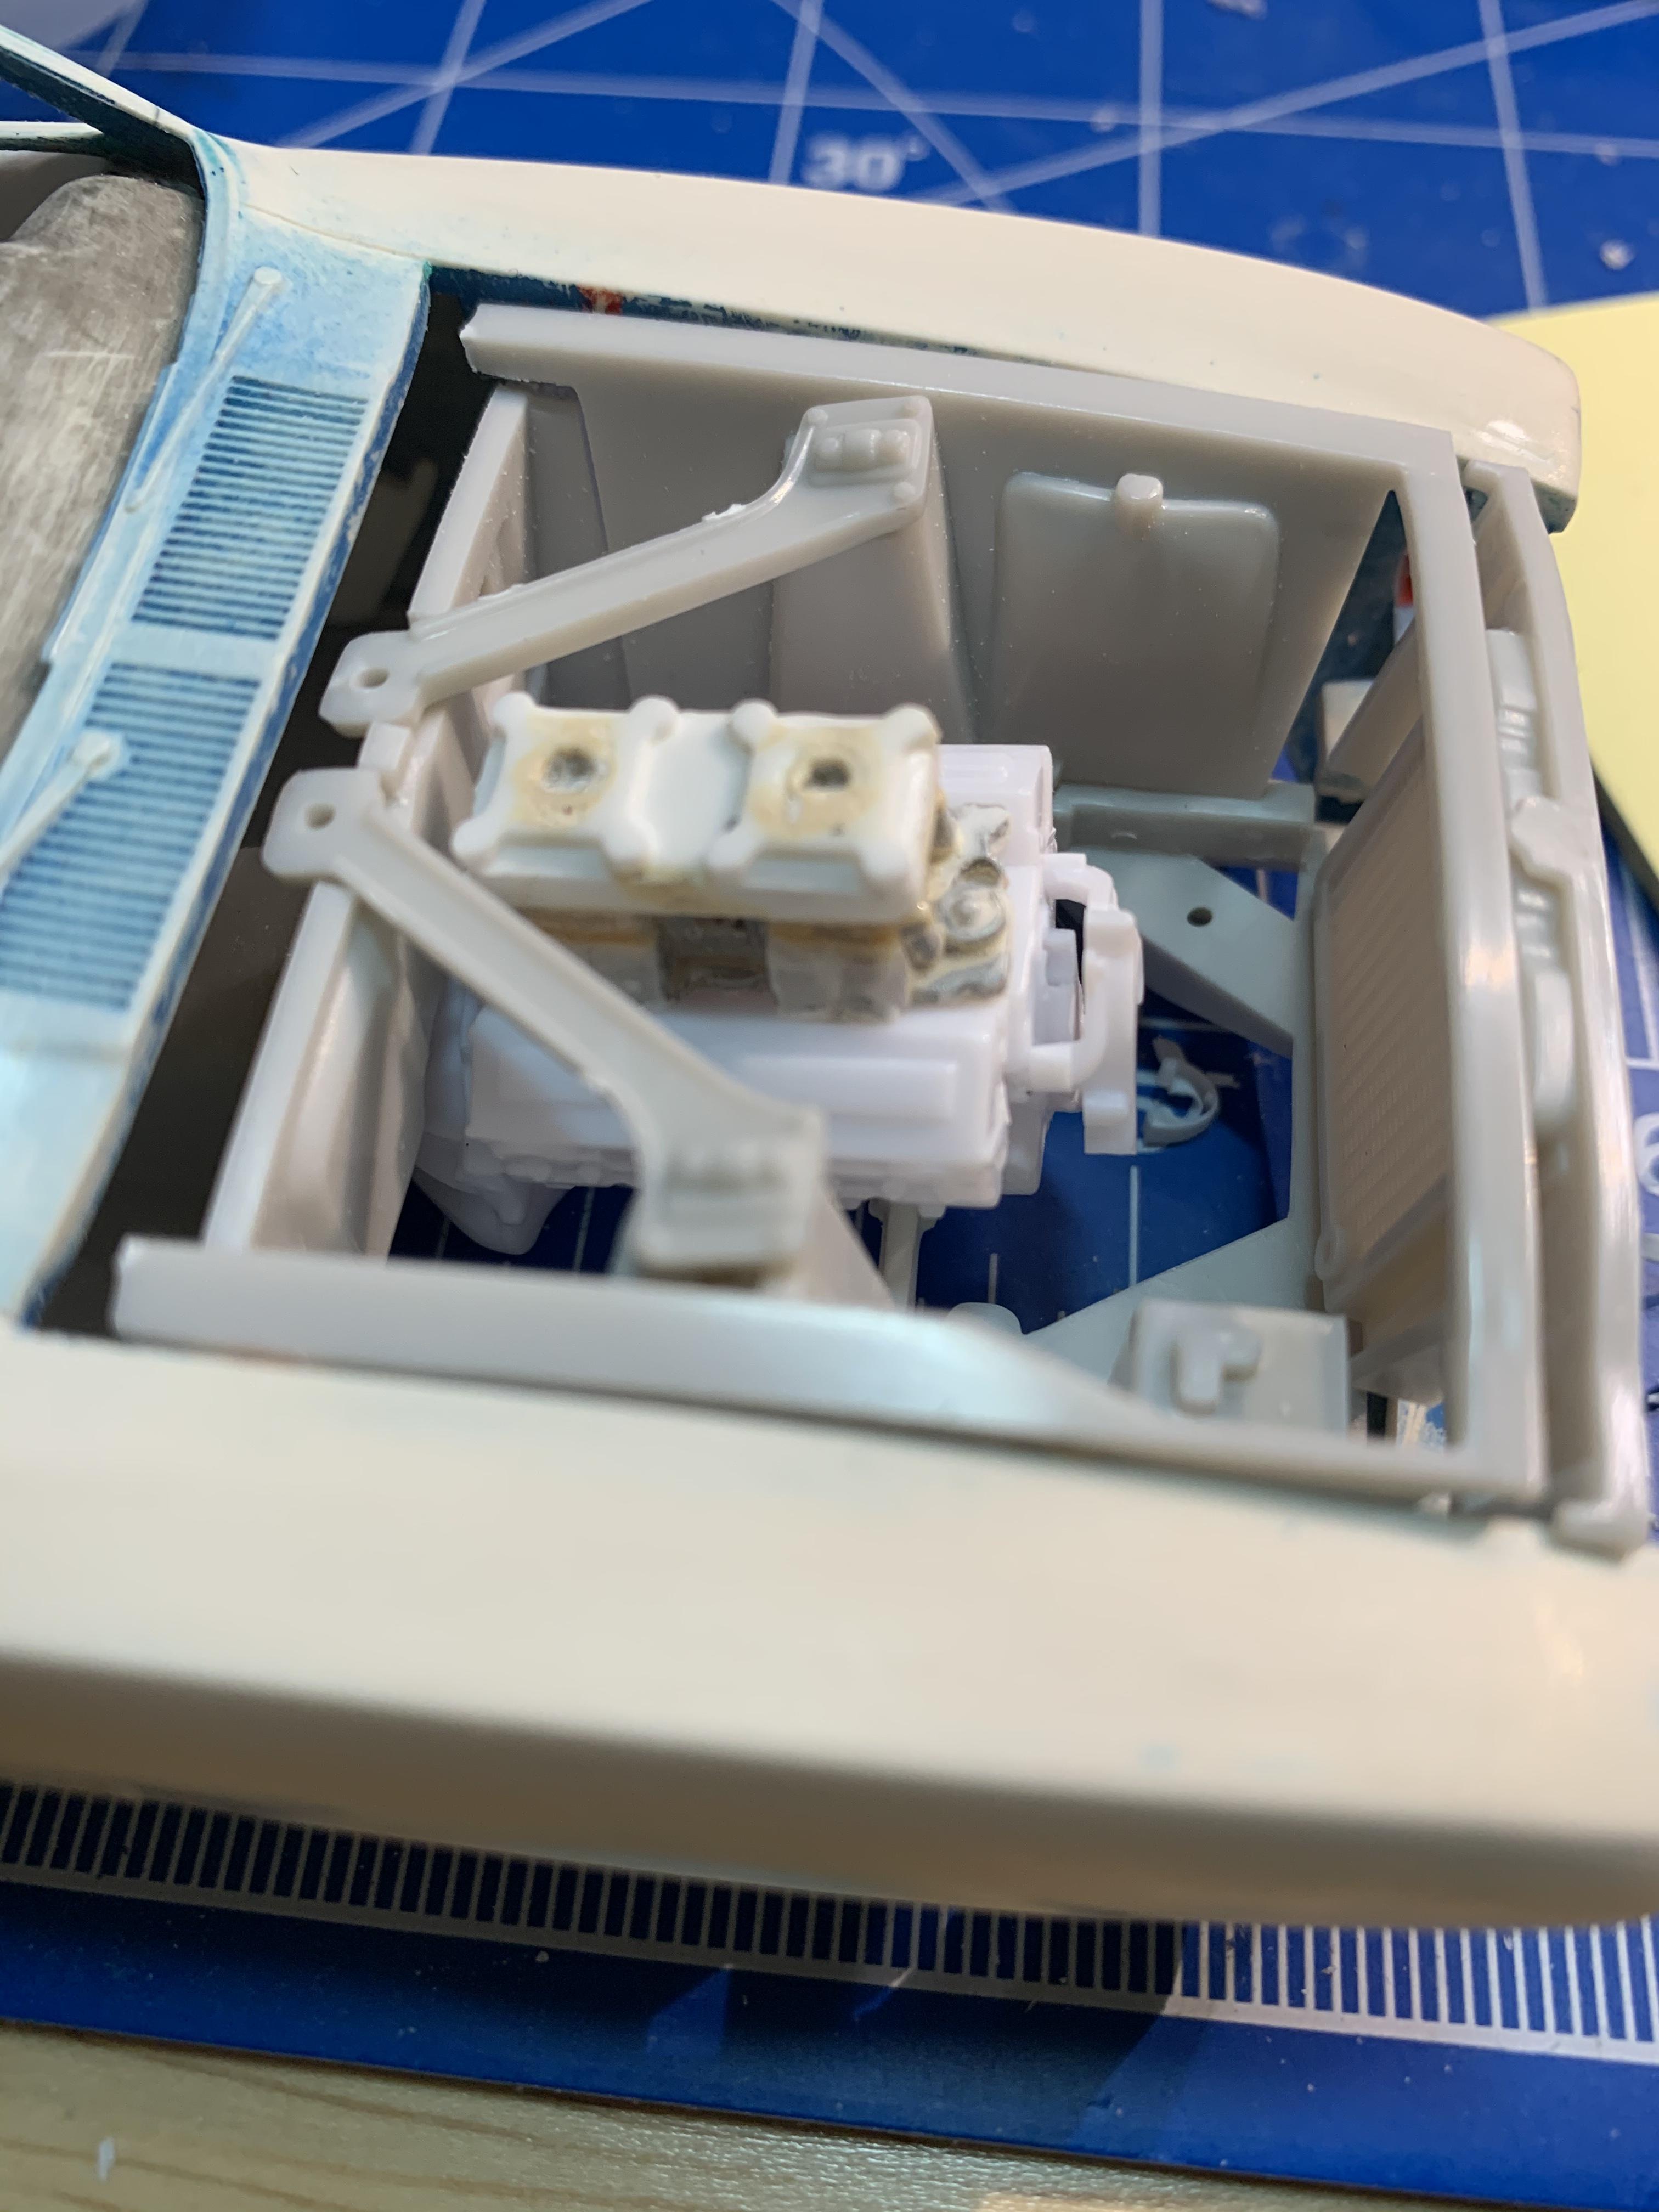
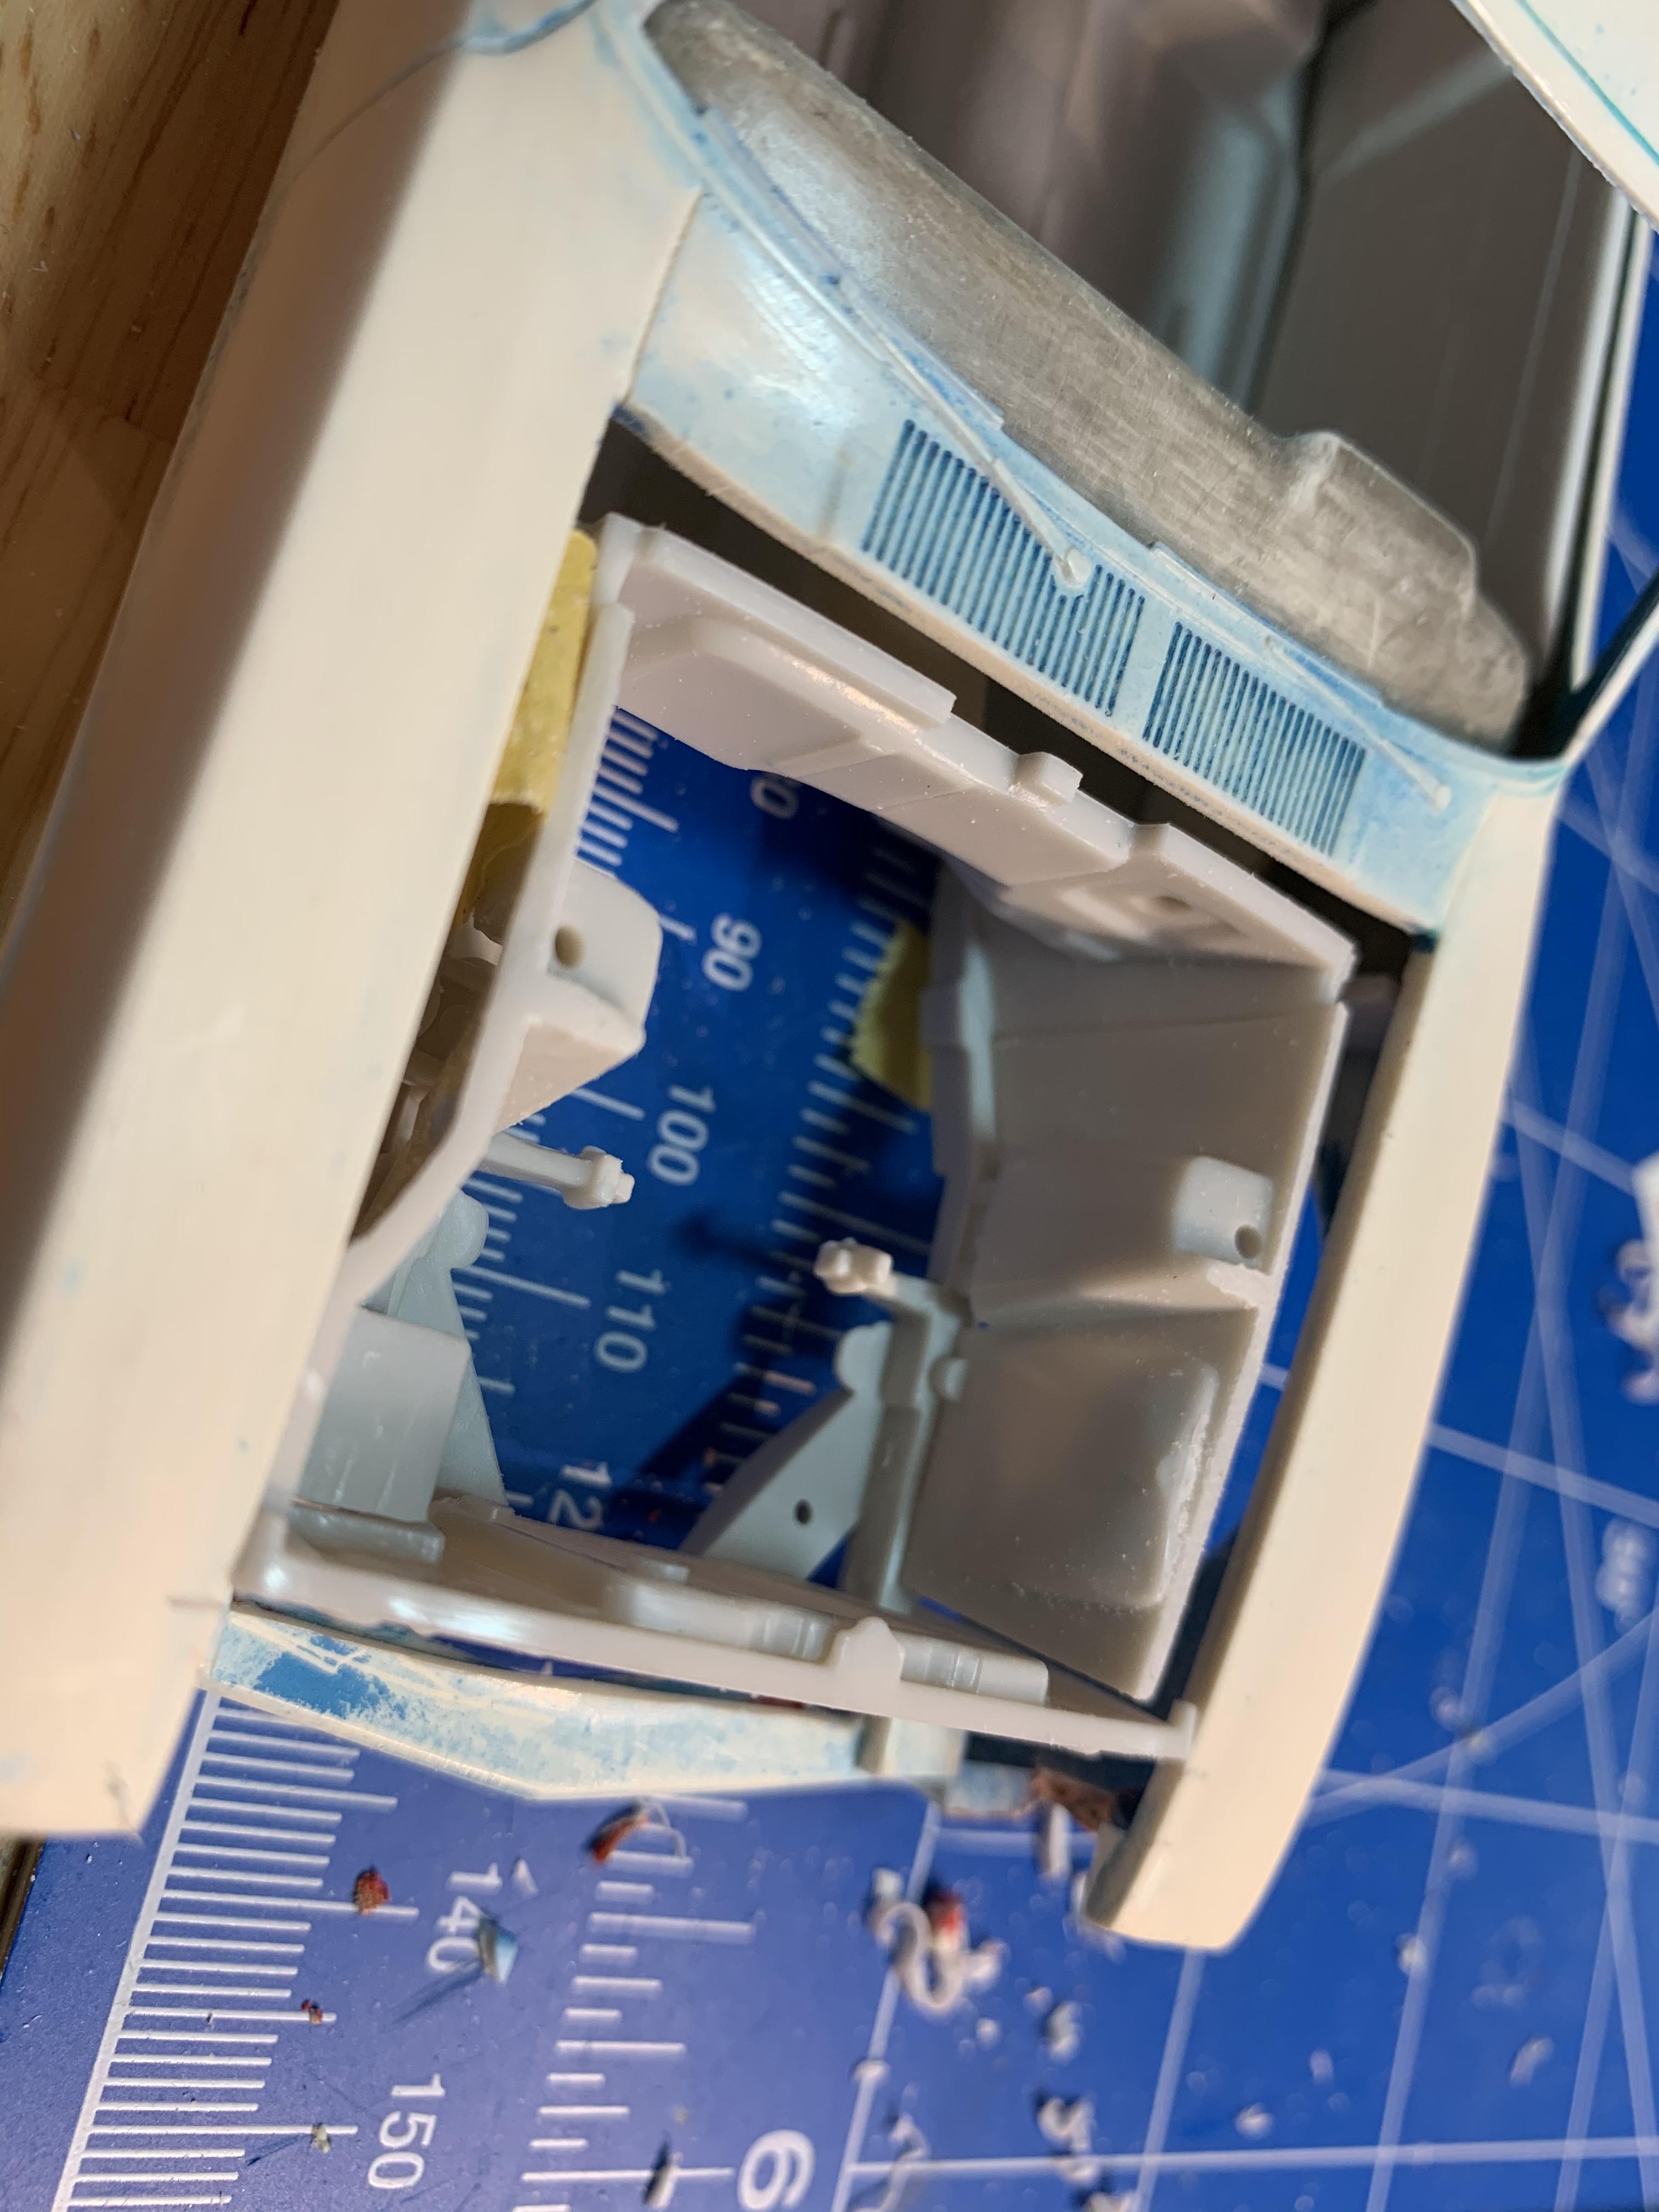
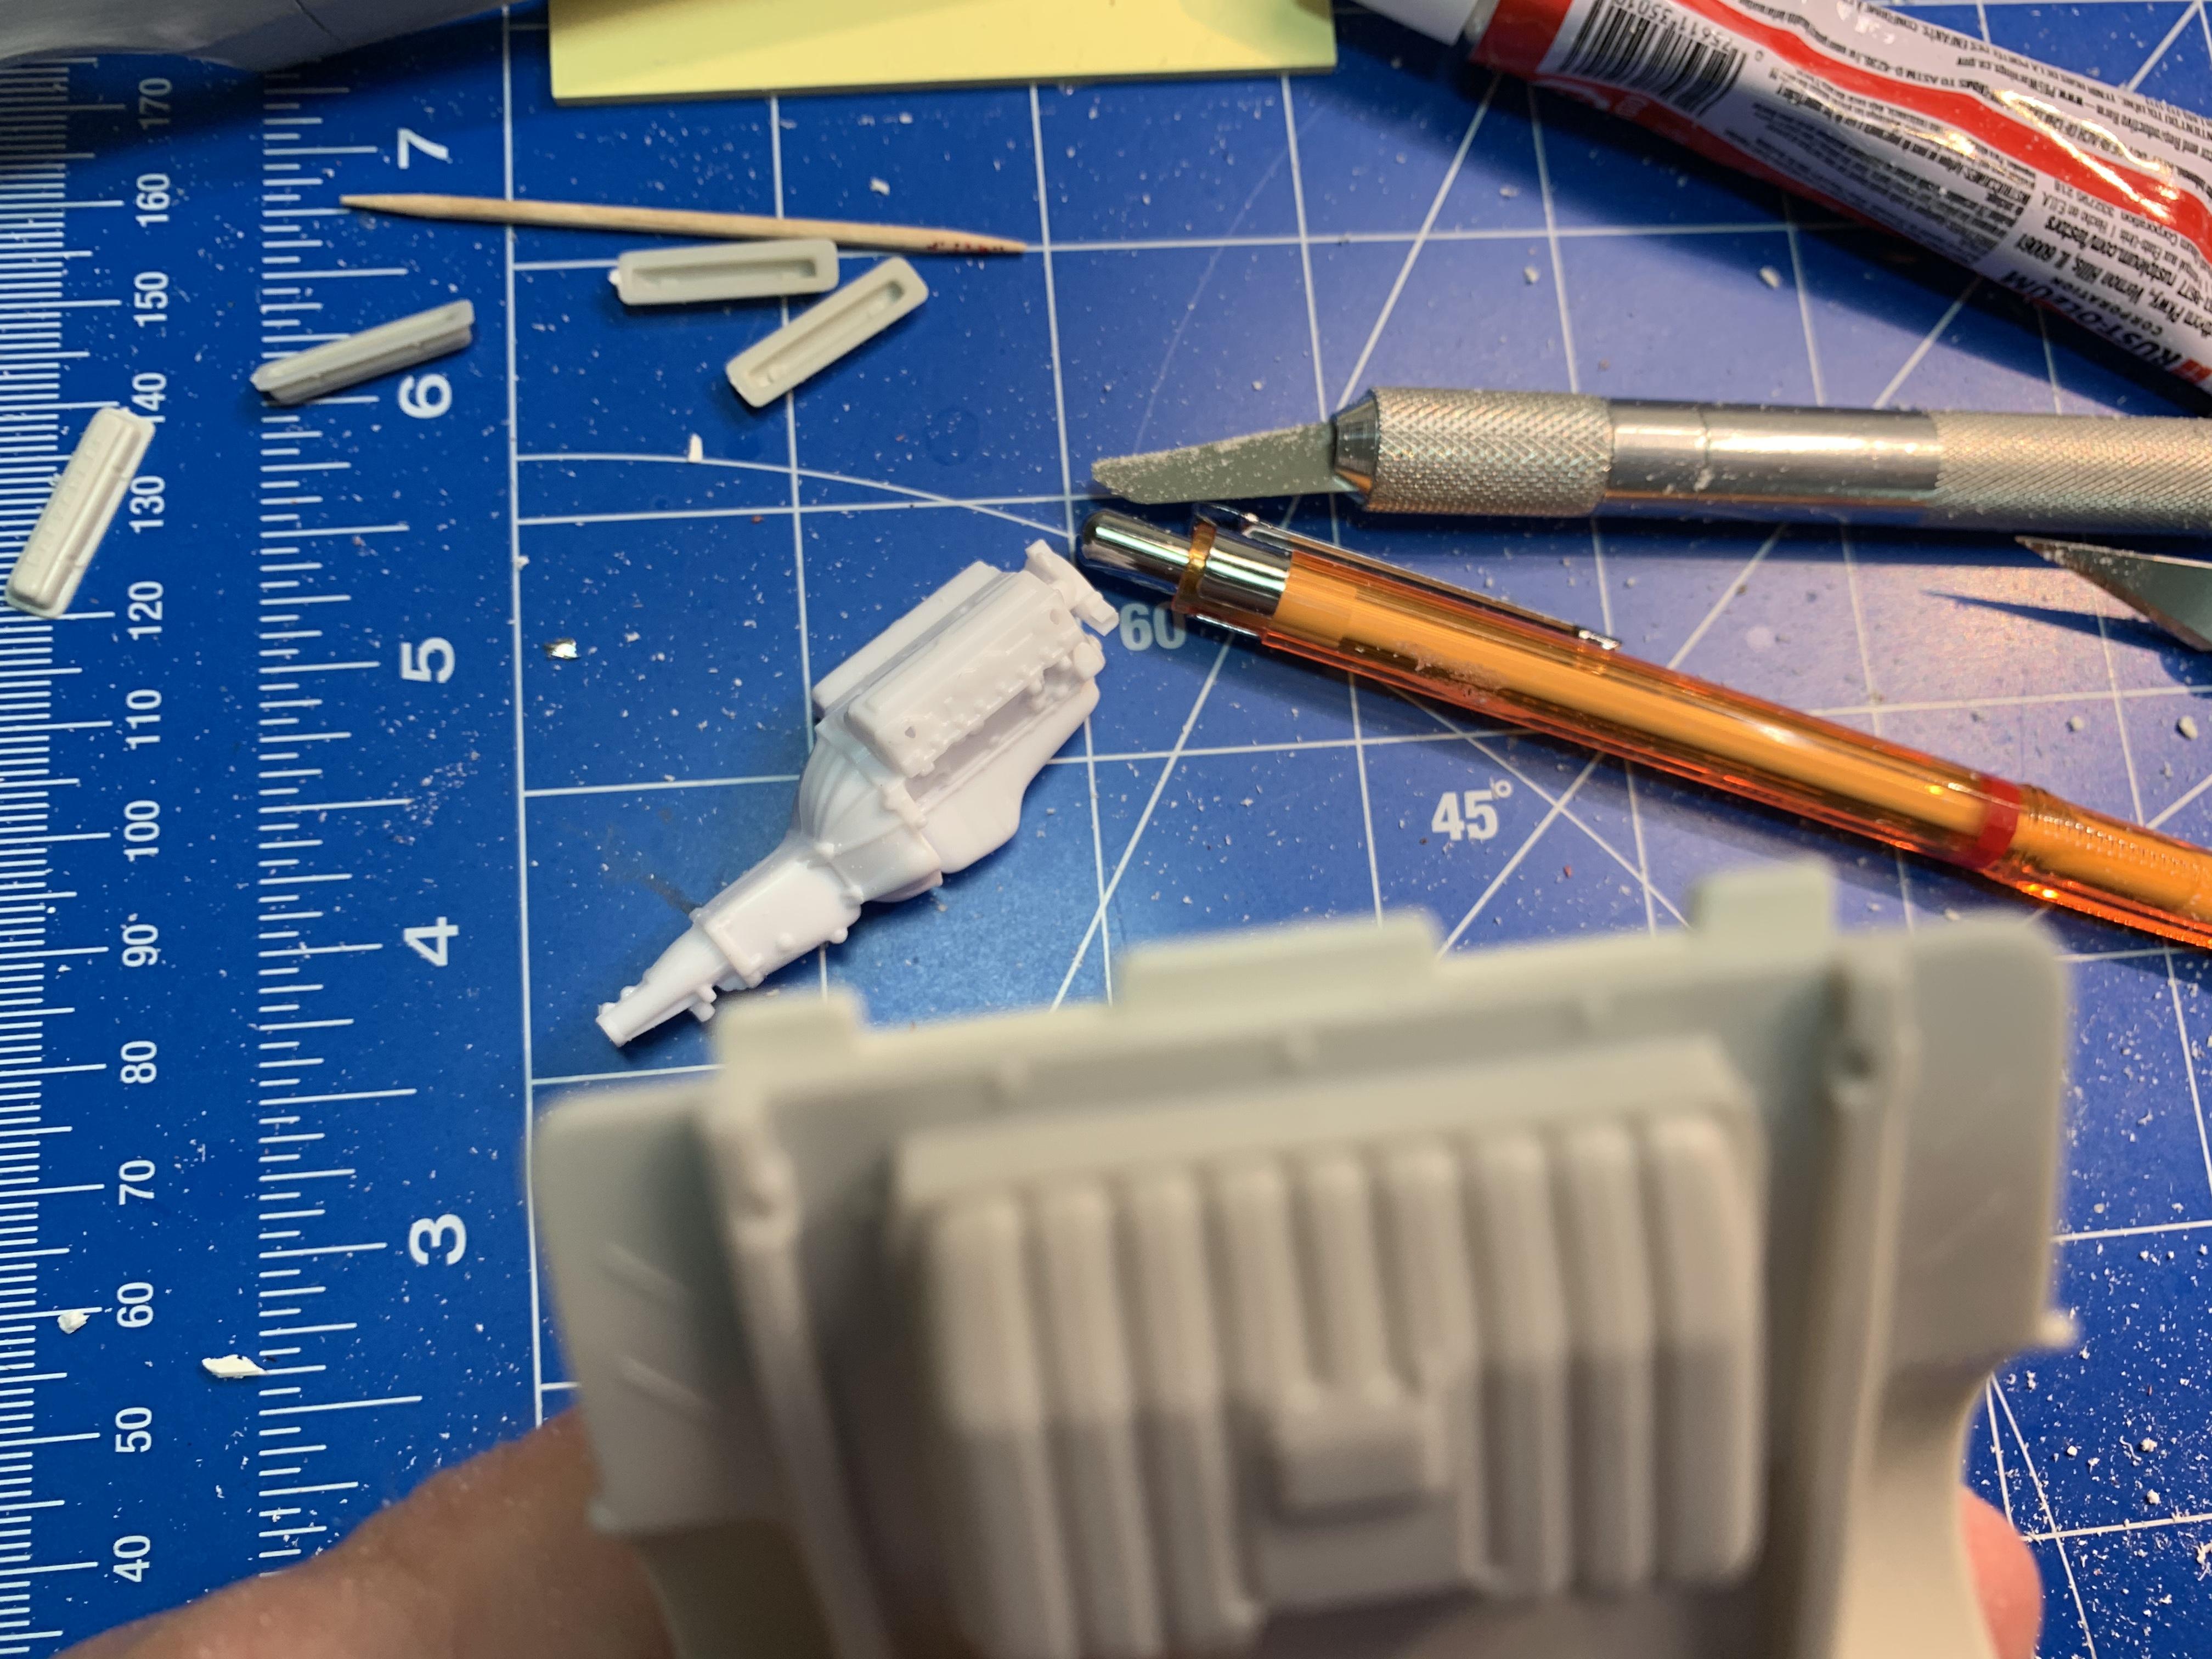
I don’t have the Johan firewall, and the portions of the aprons attached to the firewall help to strengthen the front frame rails. Adding flanges to the fenders help, but there kind of wide. The right side Apron sat under the flange and the left one was to far to the right. I filed down the edge of the firewall where it’s against the body, and that shifted everything to the left. It’s better but I’m gonna give it some more thought

-
 Looks great!
 -
1960 Ford F-100
dragcarz replied to Plowboy's topic in WIP: Model Trucks: Pickups, Vans, SUVs, Light Commercial
So very cool, a lot of work here, and it shows! Very well done, no matter what wheels you choose! -
My 1972 NHRA rule book says rear seat optional, so no back seat. My reference material shows a bolt in Lakewood roll bar instead.
-
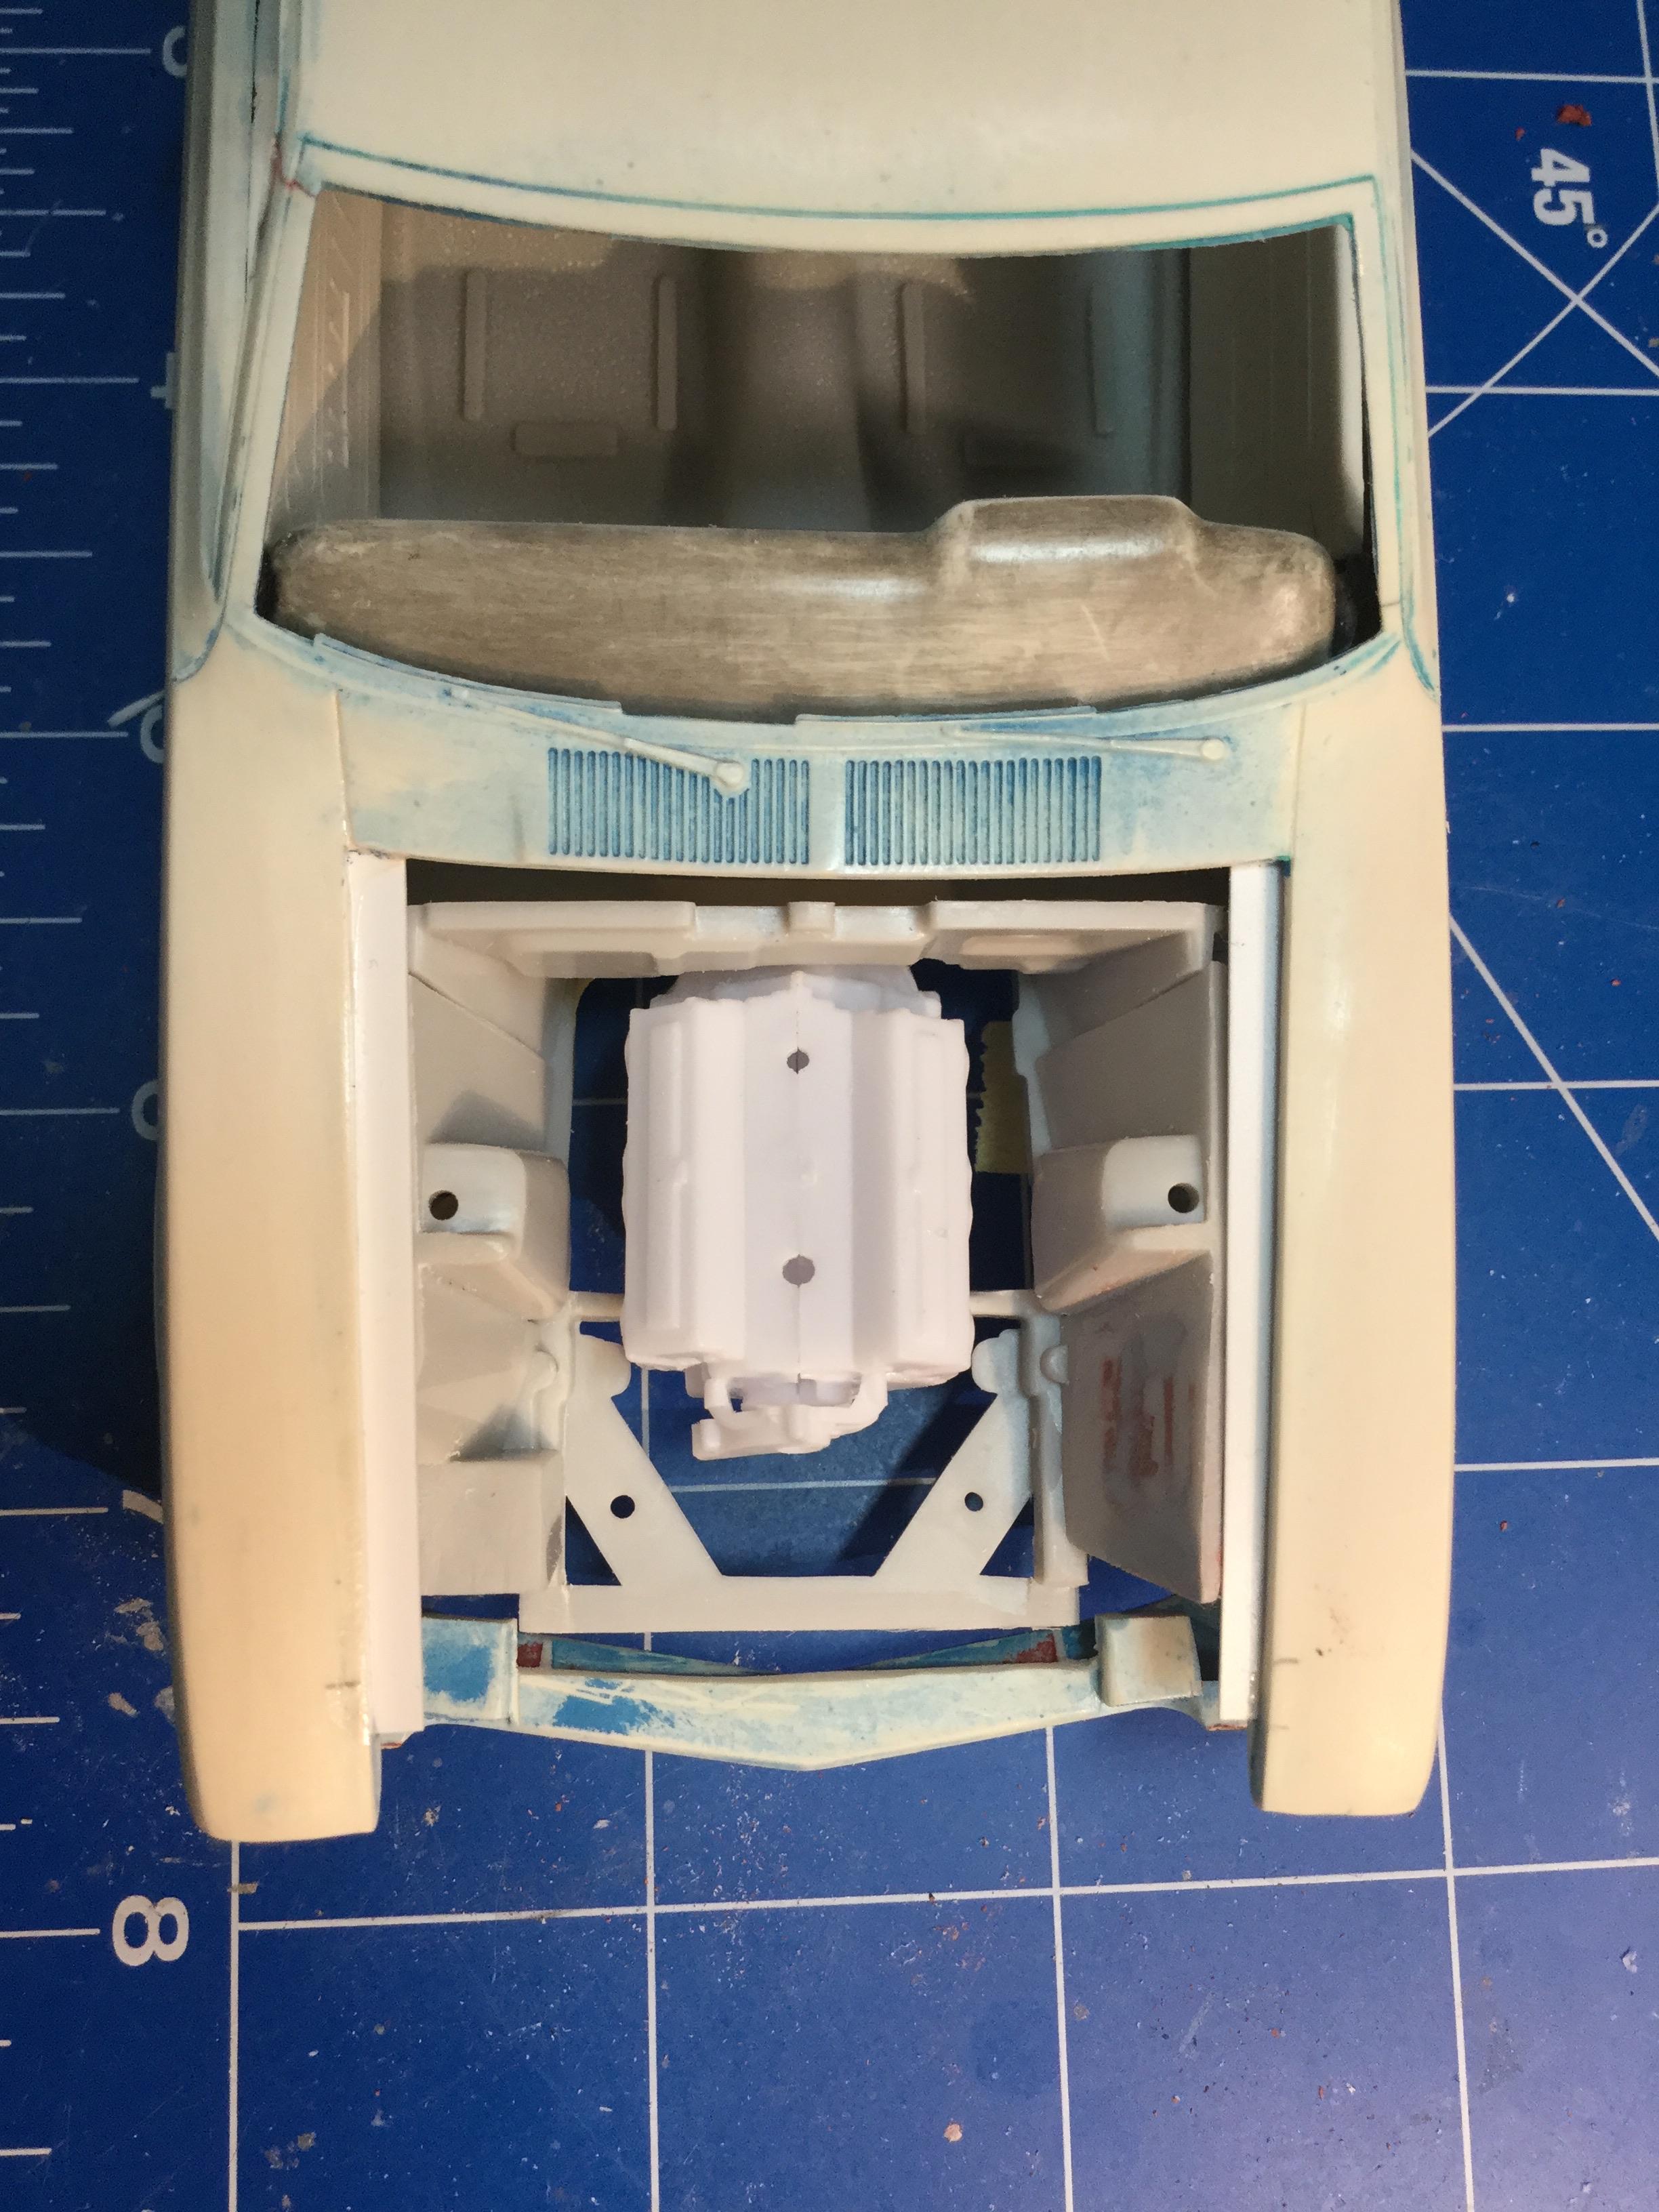
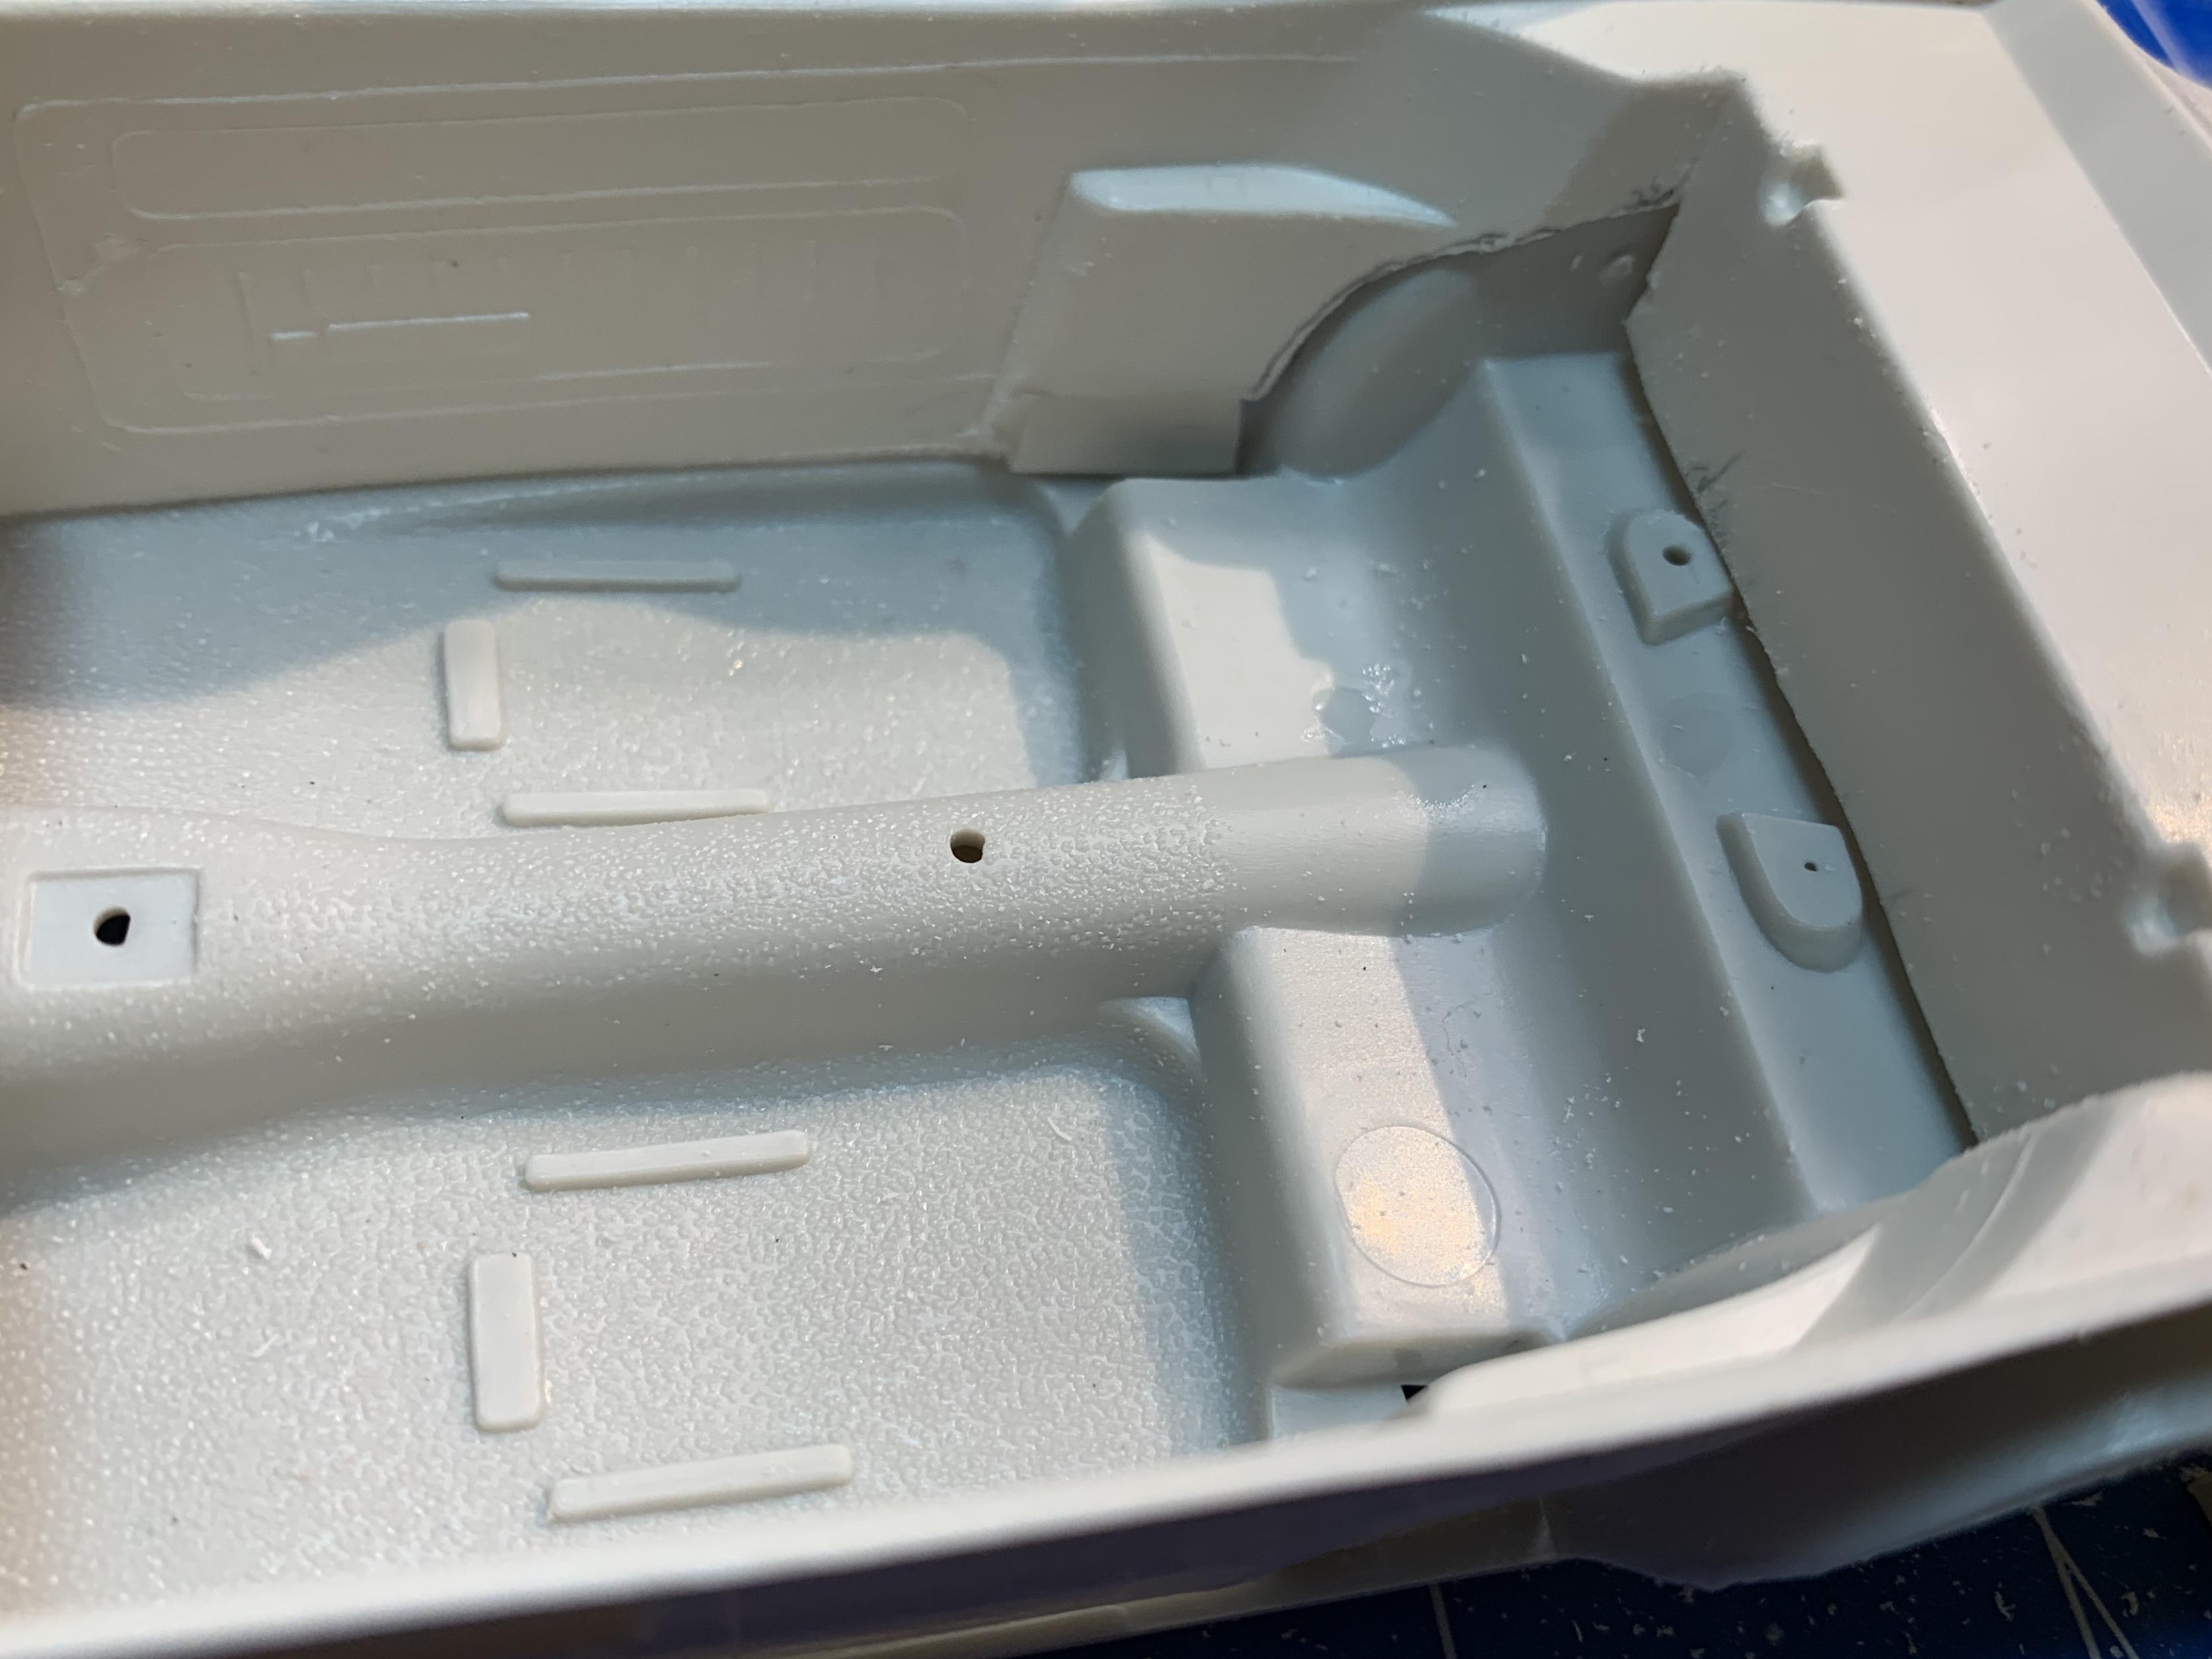
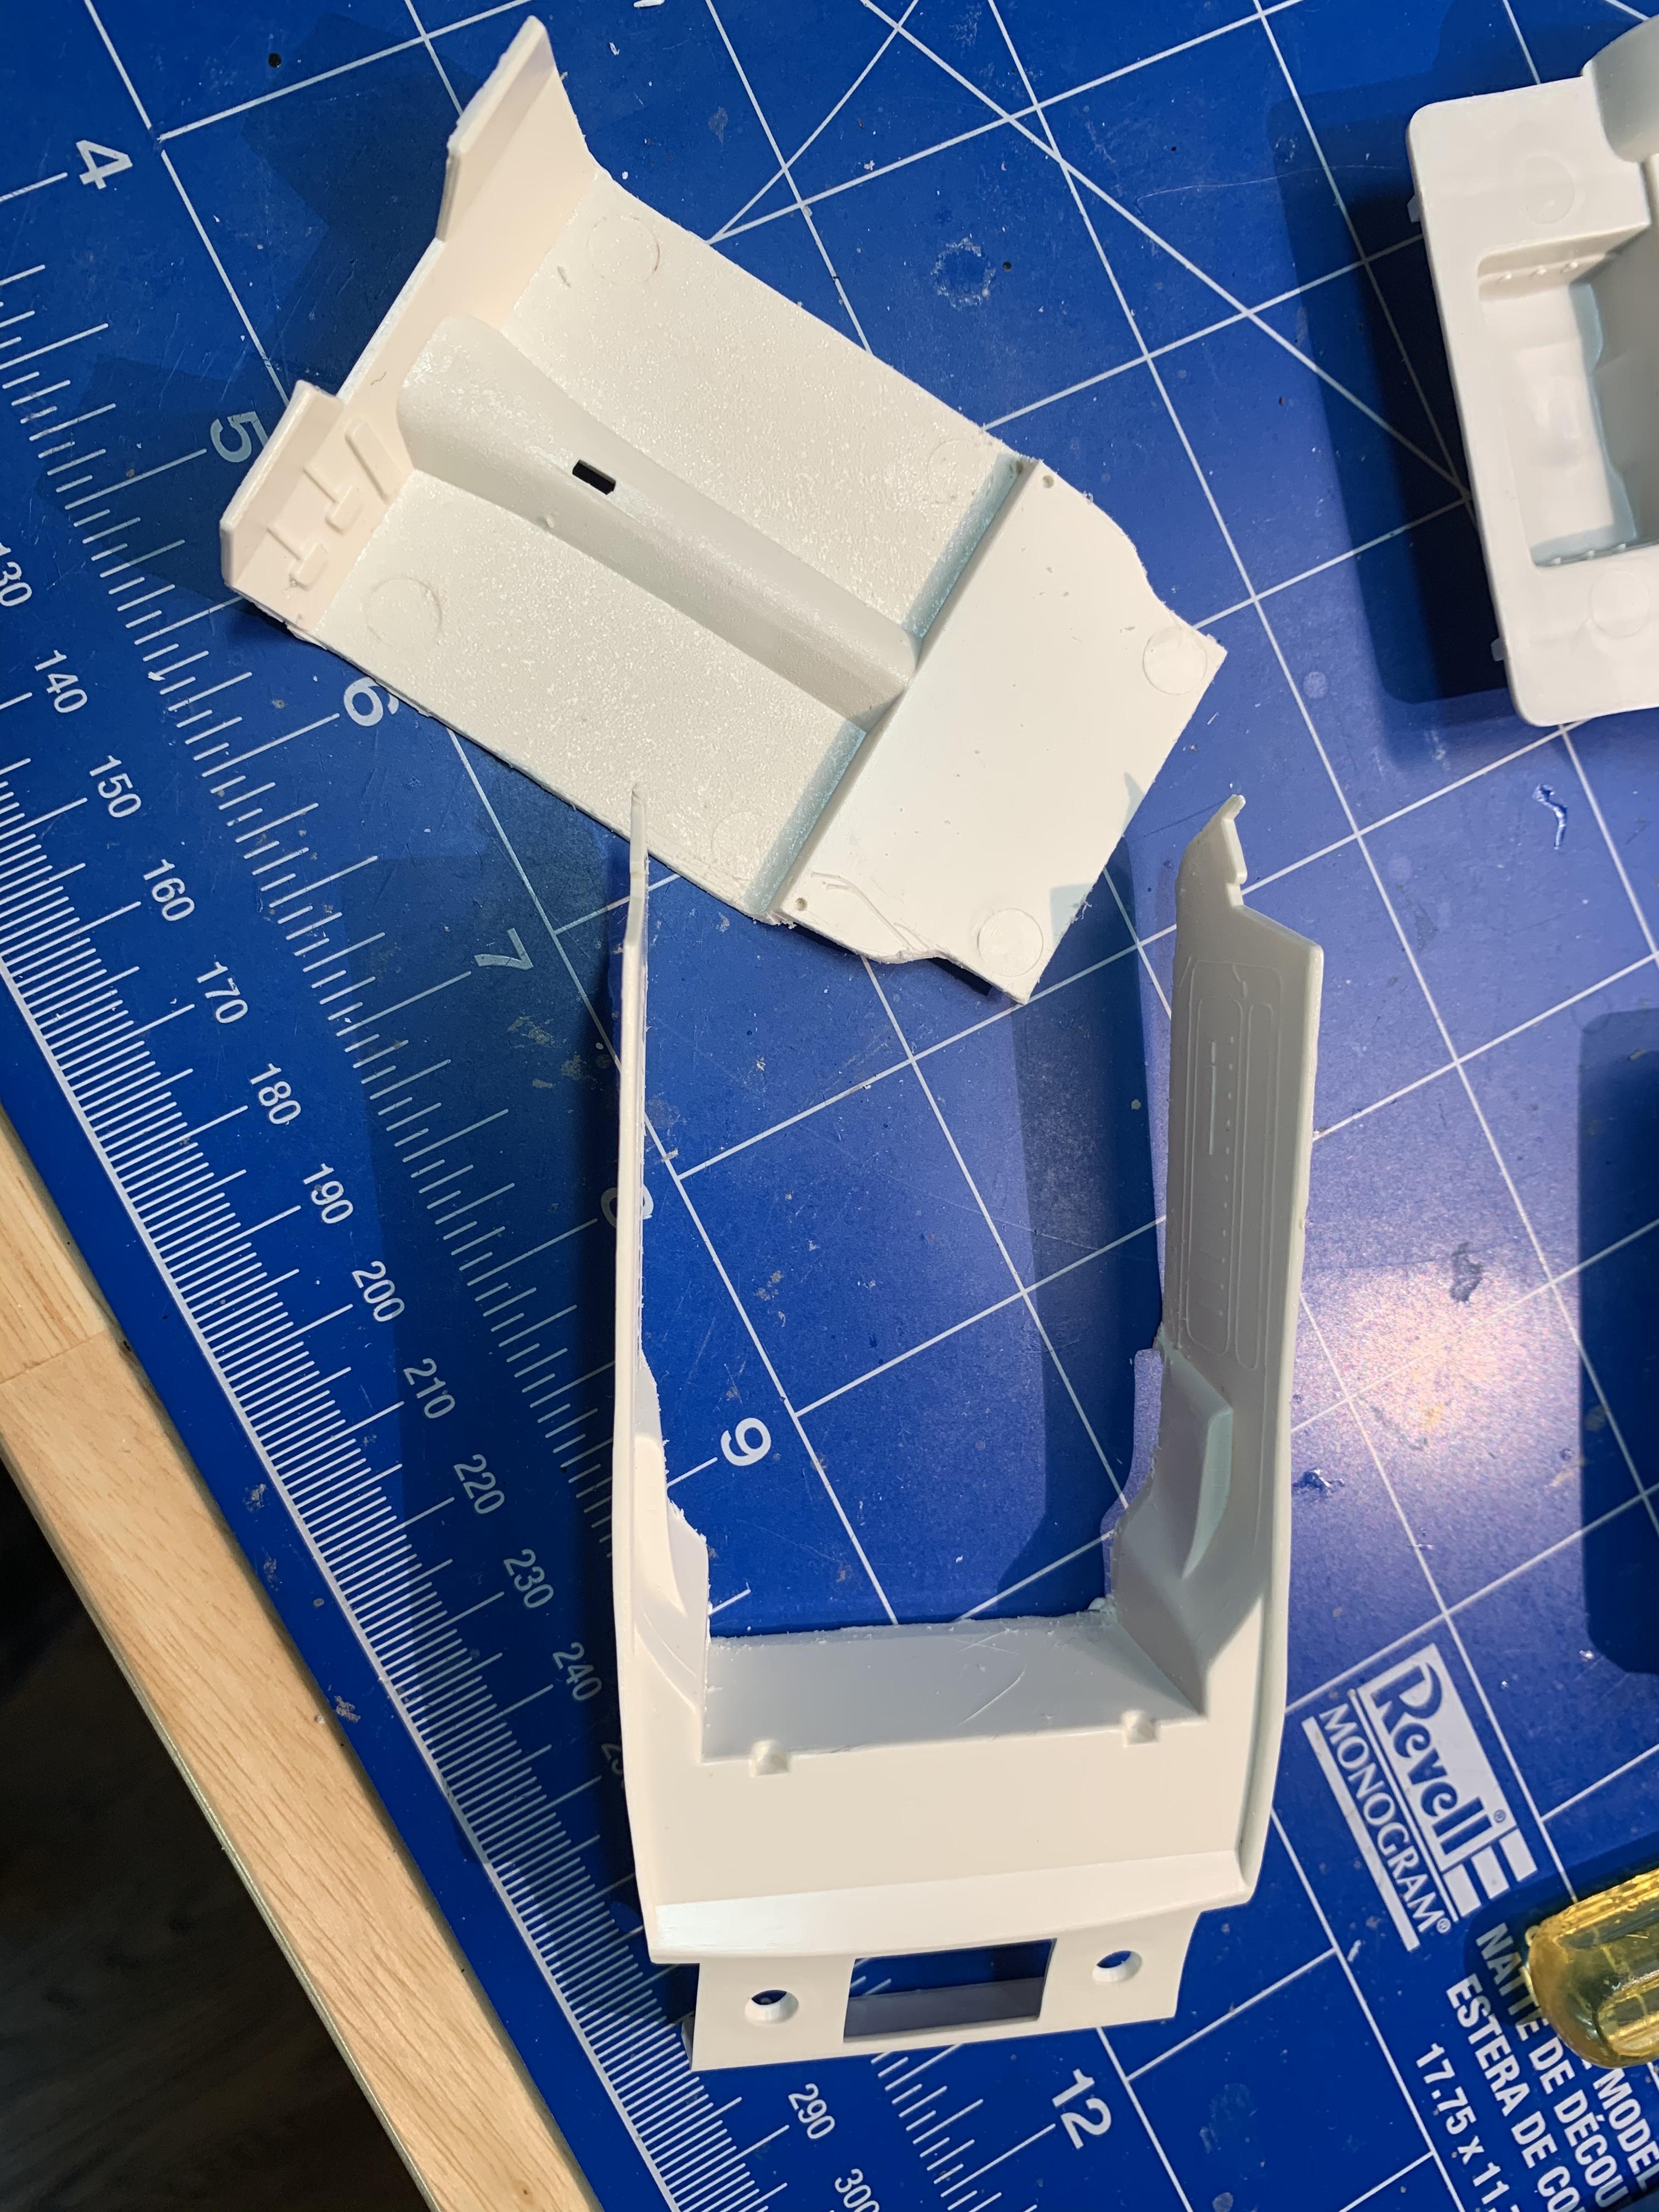
Small update.... I’m trying to fit the fender aprons. Apparently the Mustang engine bay is narrower than the Maverick. I had to reshape the aprons as the Maverick fenders slope forward where the Mustang was flatter. The aprons will have to be installed as part of the final assembly. I added ledges to the fenders but it’s still a little narrow. Need a cup of coffee and some rethinking time......
-
Hey Joe, I could use a little help. I’m doing a similar project, Modified Maverick. I’m trying to fit the Mustang fender aprons, I had to slope them towards the front as the Maverick fenders are more curved than the Mustangs. The engine bay is too narrow now, what did you different to make yours fit?
-
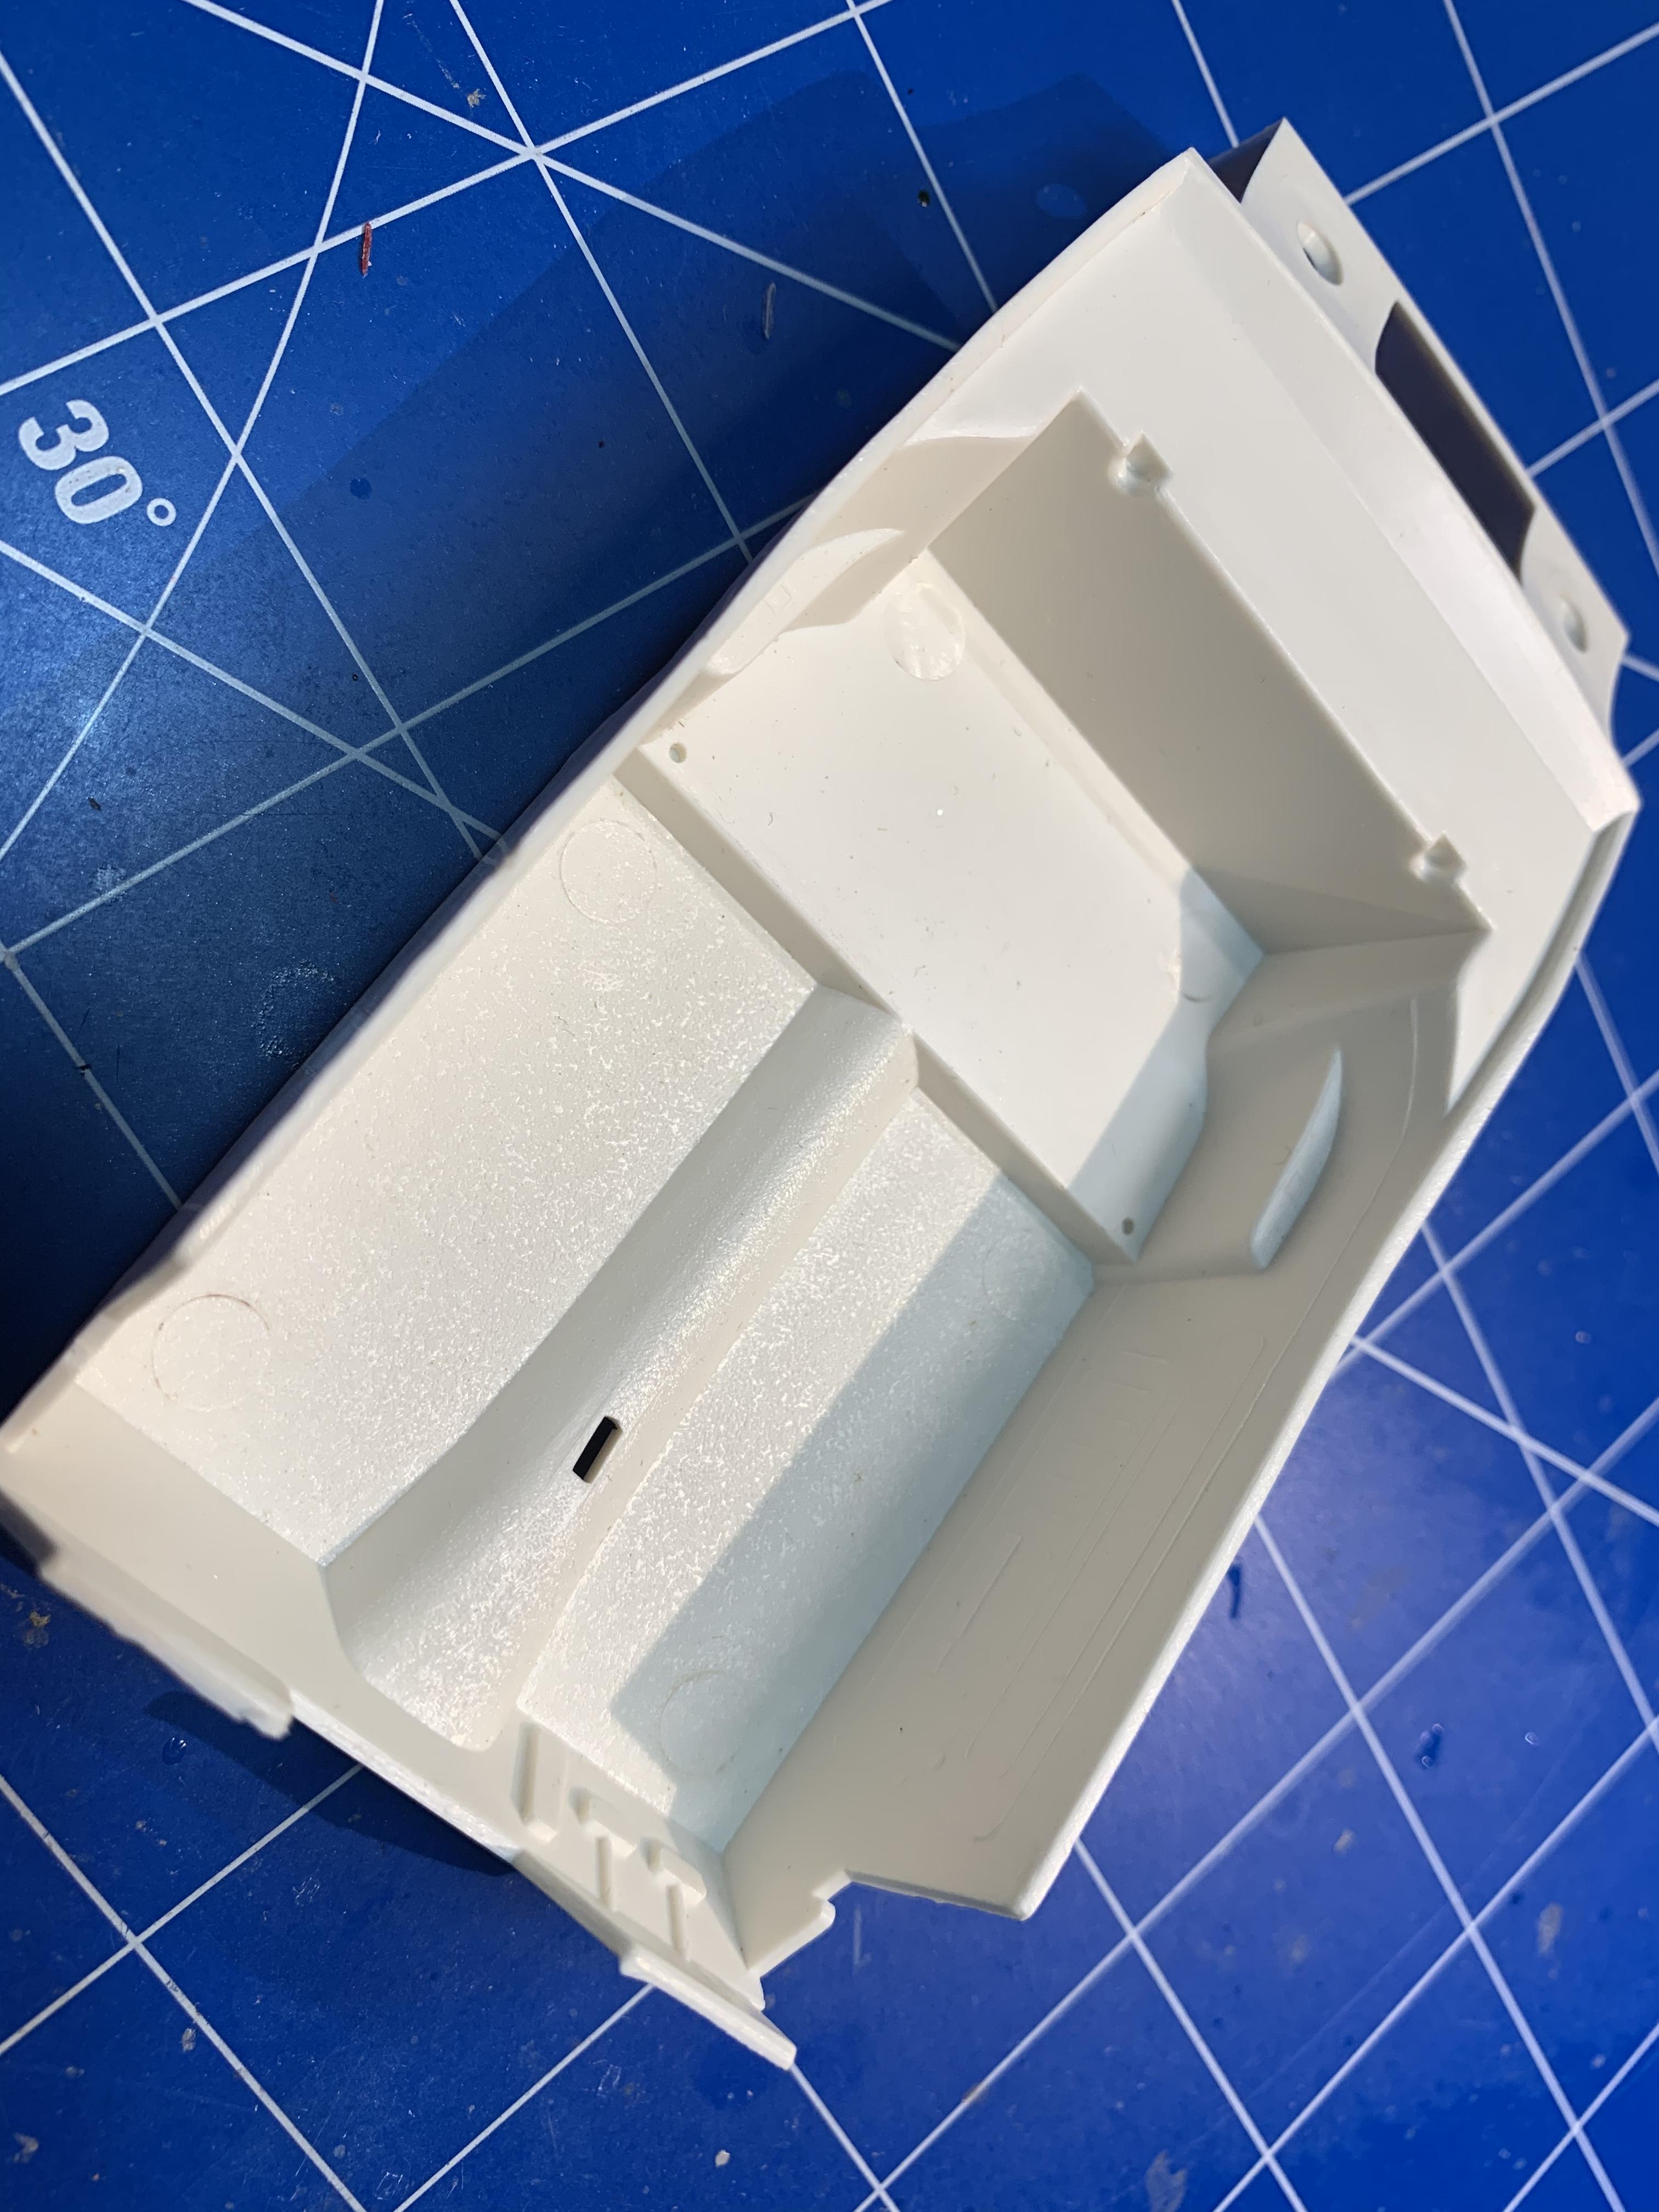
This conversion has been relatively simple so far. The Maverick interior and the Mustang chassis fit really well together. I made filler pieces for the rear interior sides. I was too aggressive when I cut the rear panel, it’s shorter and wavy, but I can fix that.
-
If you want to try this method you want the interior tabs to hang over the back of the Mustang chassis like this.
-
I had to trim the interior to fit around the rear wheel wells. My first trial fit looks a little rough. The Maverick interior sits too far forward on the Mustang chassis. I kept trimming and fitting until I was able to get the interior into its tabs in the rear of the body without it pushing the chassis forward.
-
I couldn’t bring myself to cut up the bench seat interior, so I found one From the pro stock kit, on eBay. I paid my money and waited. The seller was fast at getting it in the mail but the USPS, was incredibly slow. My thought was to remove the floor from the Maverick, and mate the side panels and rear package shelf to the Mustang floor.
-
Another 62 Ford
dragcarz replied to dragcarz's topic in WIP: Model Trucks: Pickups, Vans, SUVs, Light Commercial
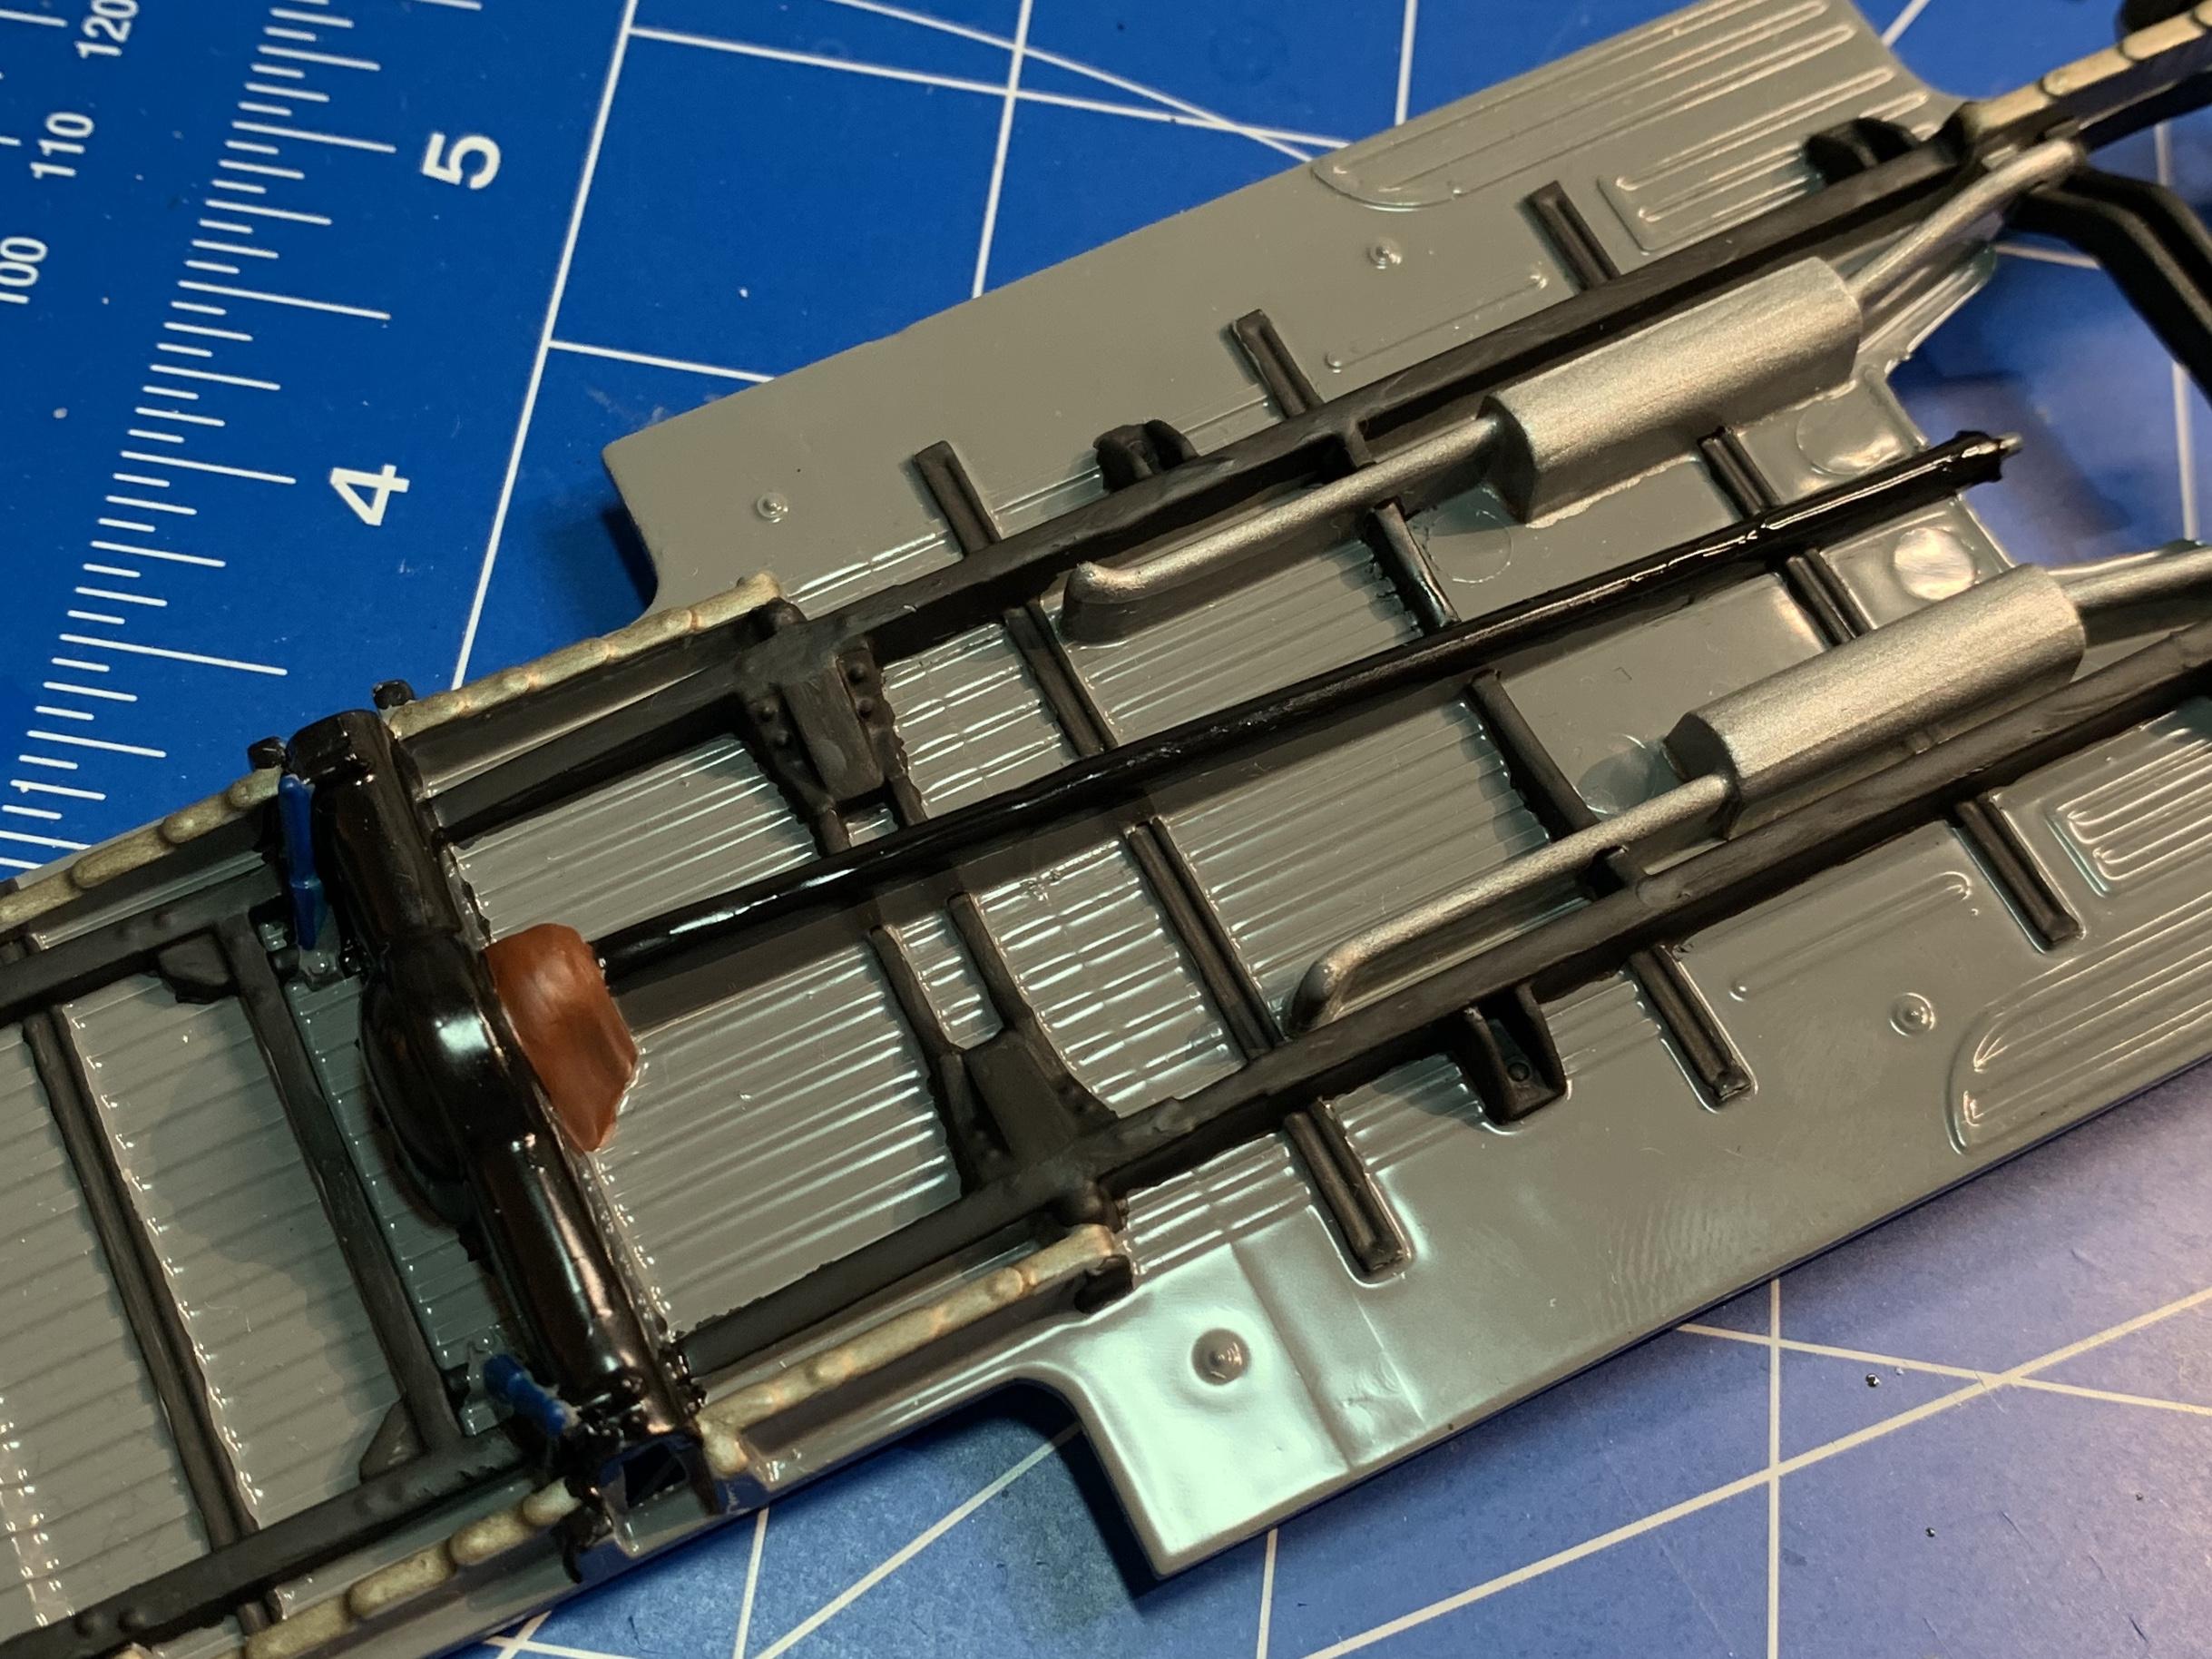
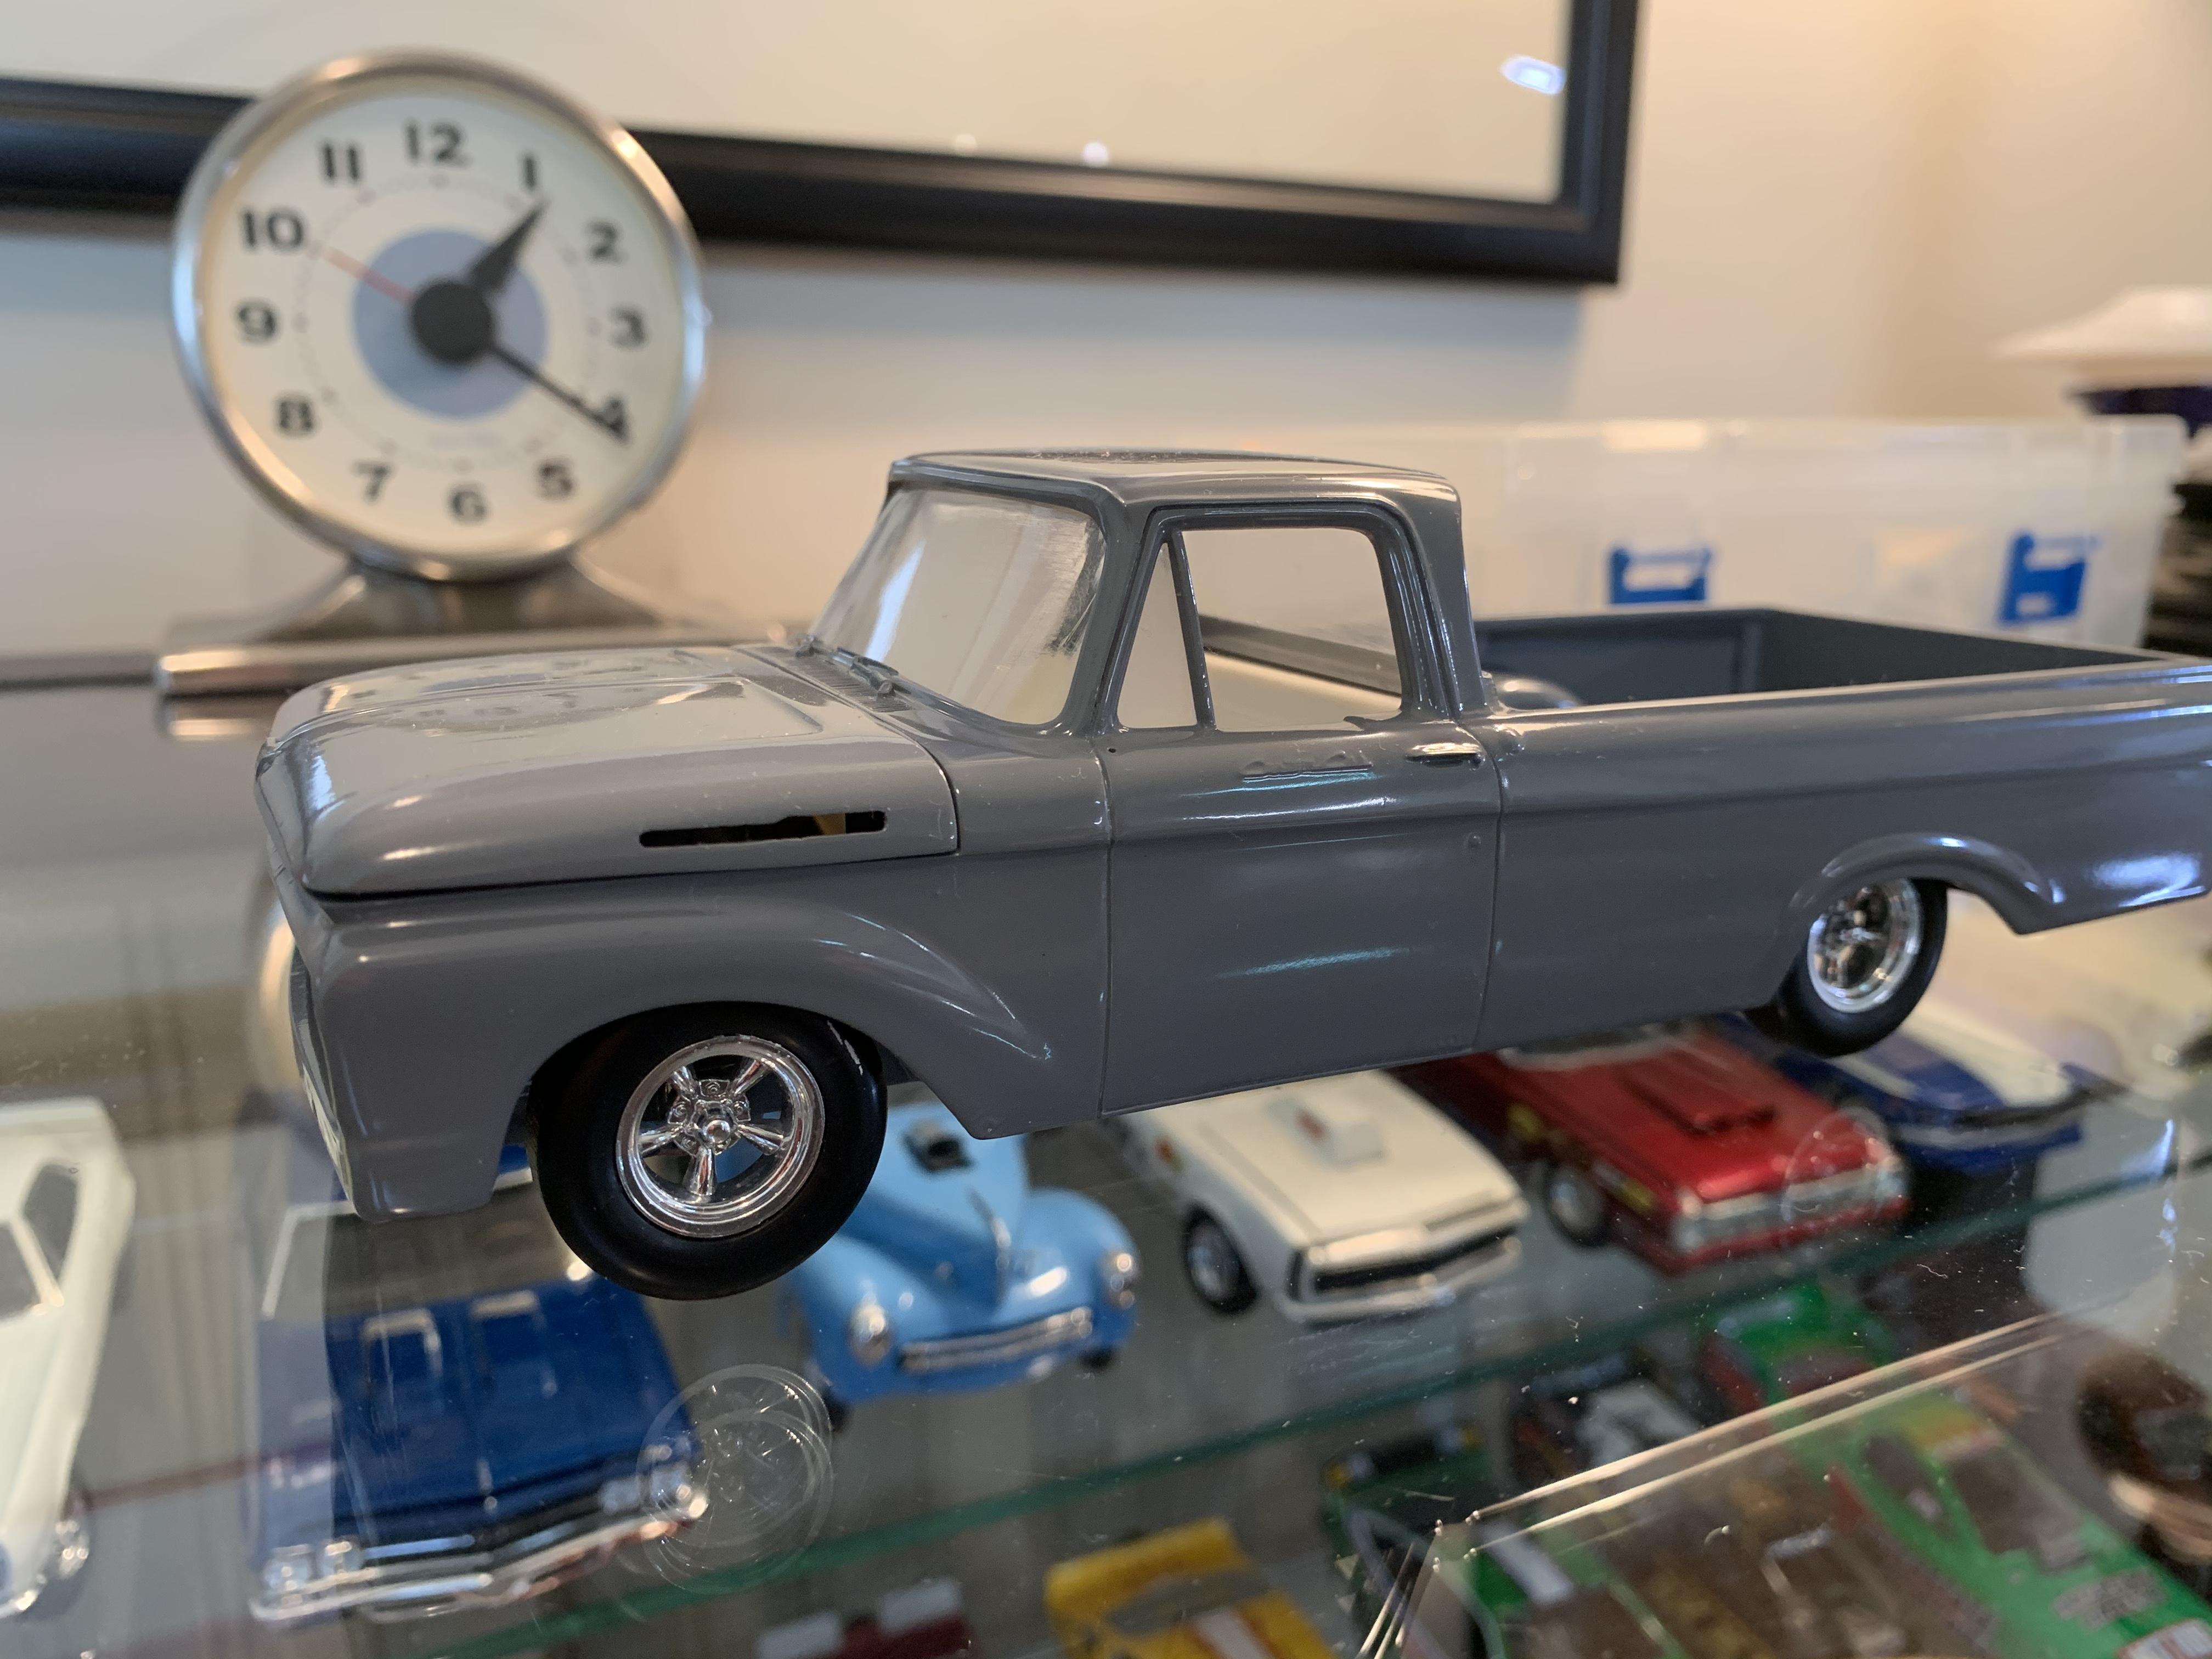
Small update.... detail painted the chassis. Has anyone gat a passenger side exhaust manifold , I’m missing one. Looks like this,only opposite side
-
Very nicely done!
-
Probably the best rendition of this kit I’ve seen.
-
Thanks everyone, yes the kit started as the Revell Blue Max Kit.
-
Well worth the effort, looks great!
-
SO COOL !!!
-
1970 Chaparral Camaro Trans-Am
dragcarz replied to Phildaupho's topic in WIP: Other Racing: Road Racing, Land Speed Racers
I’m always amazed at the amount of time and work modelers are willing to put in, in order to accurately replicate something that moved them. Amazing work here Phil! It’s going to look great. I’m following. -
A very nice looking build!
-
I like it, the colors are great.
-
Coke Lumina
dragcarz replied to Lizard Racing's topic in Stock Cars (NASCAR, Super Stock, Late Model, etc.)
I like what you did, looks very plausible. Nice clean builds! -
It looks great, I thought I was the only one that had built models that old. My oldest is from 1971.
-
The Revell Nova small block has notches in the block for mounting the engine, and they line up very nicely with the AMT chassis. Headers are my next concern.
-
Very cool!!!
-
Another 62 Ford
dragcarz replied to dragcarz's topic in WIP: Model Trucks: Pickups, Vans, SUVs, Light Commercial
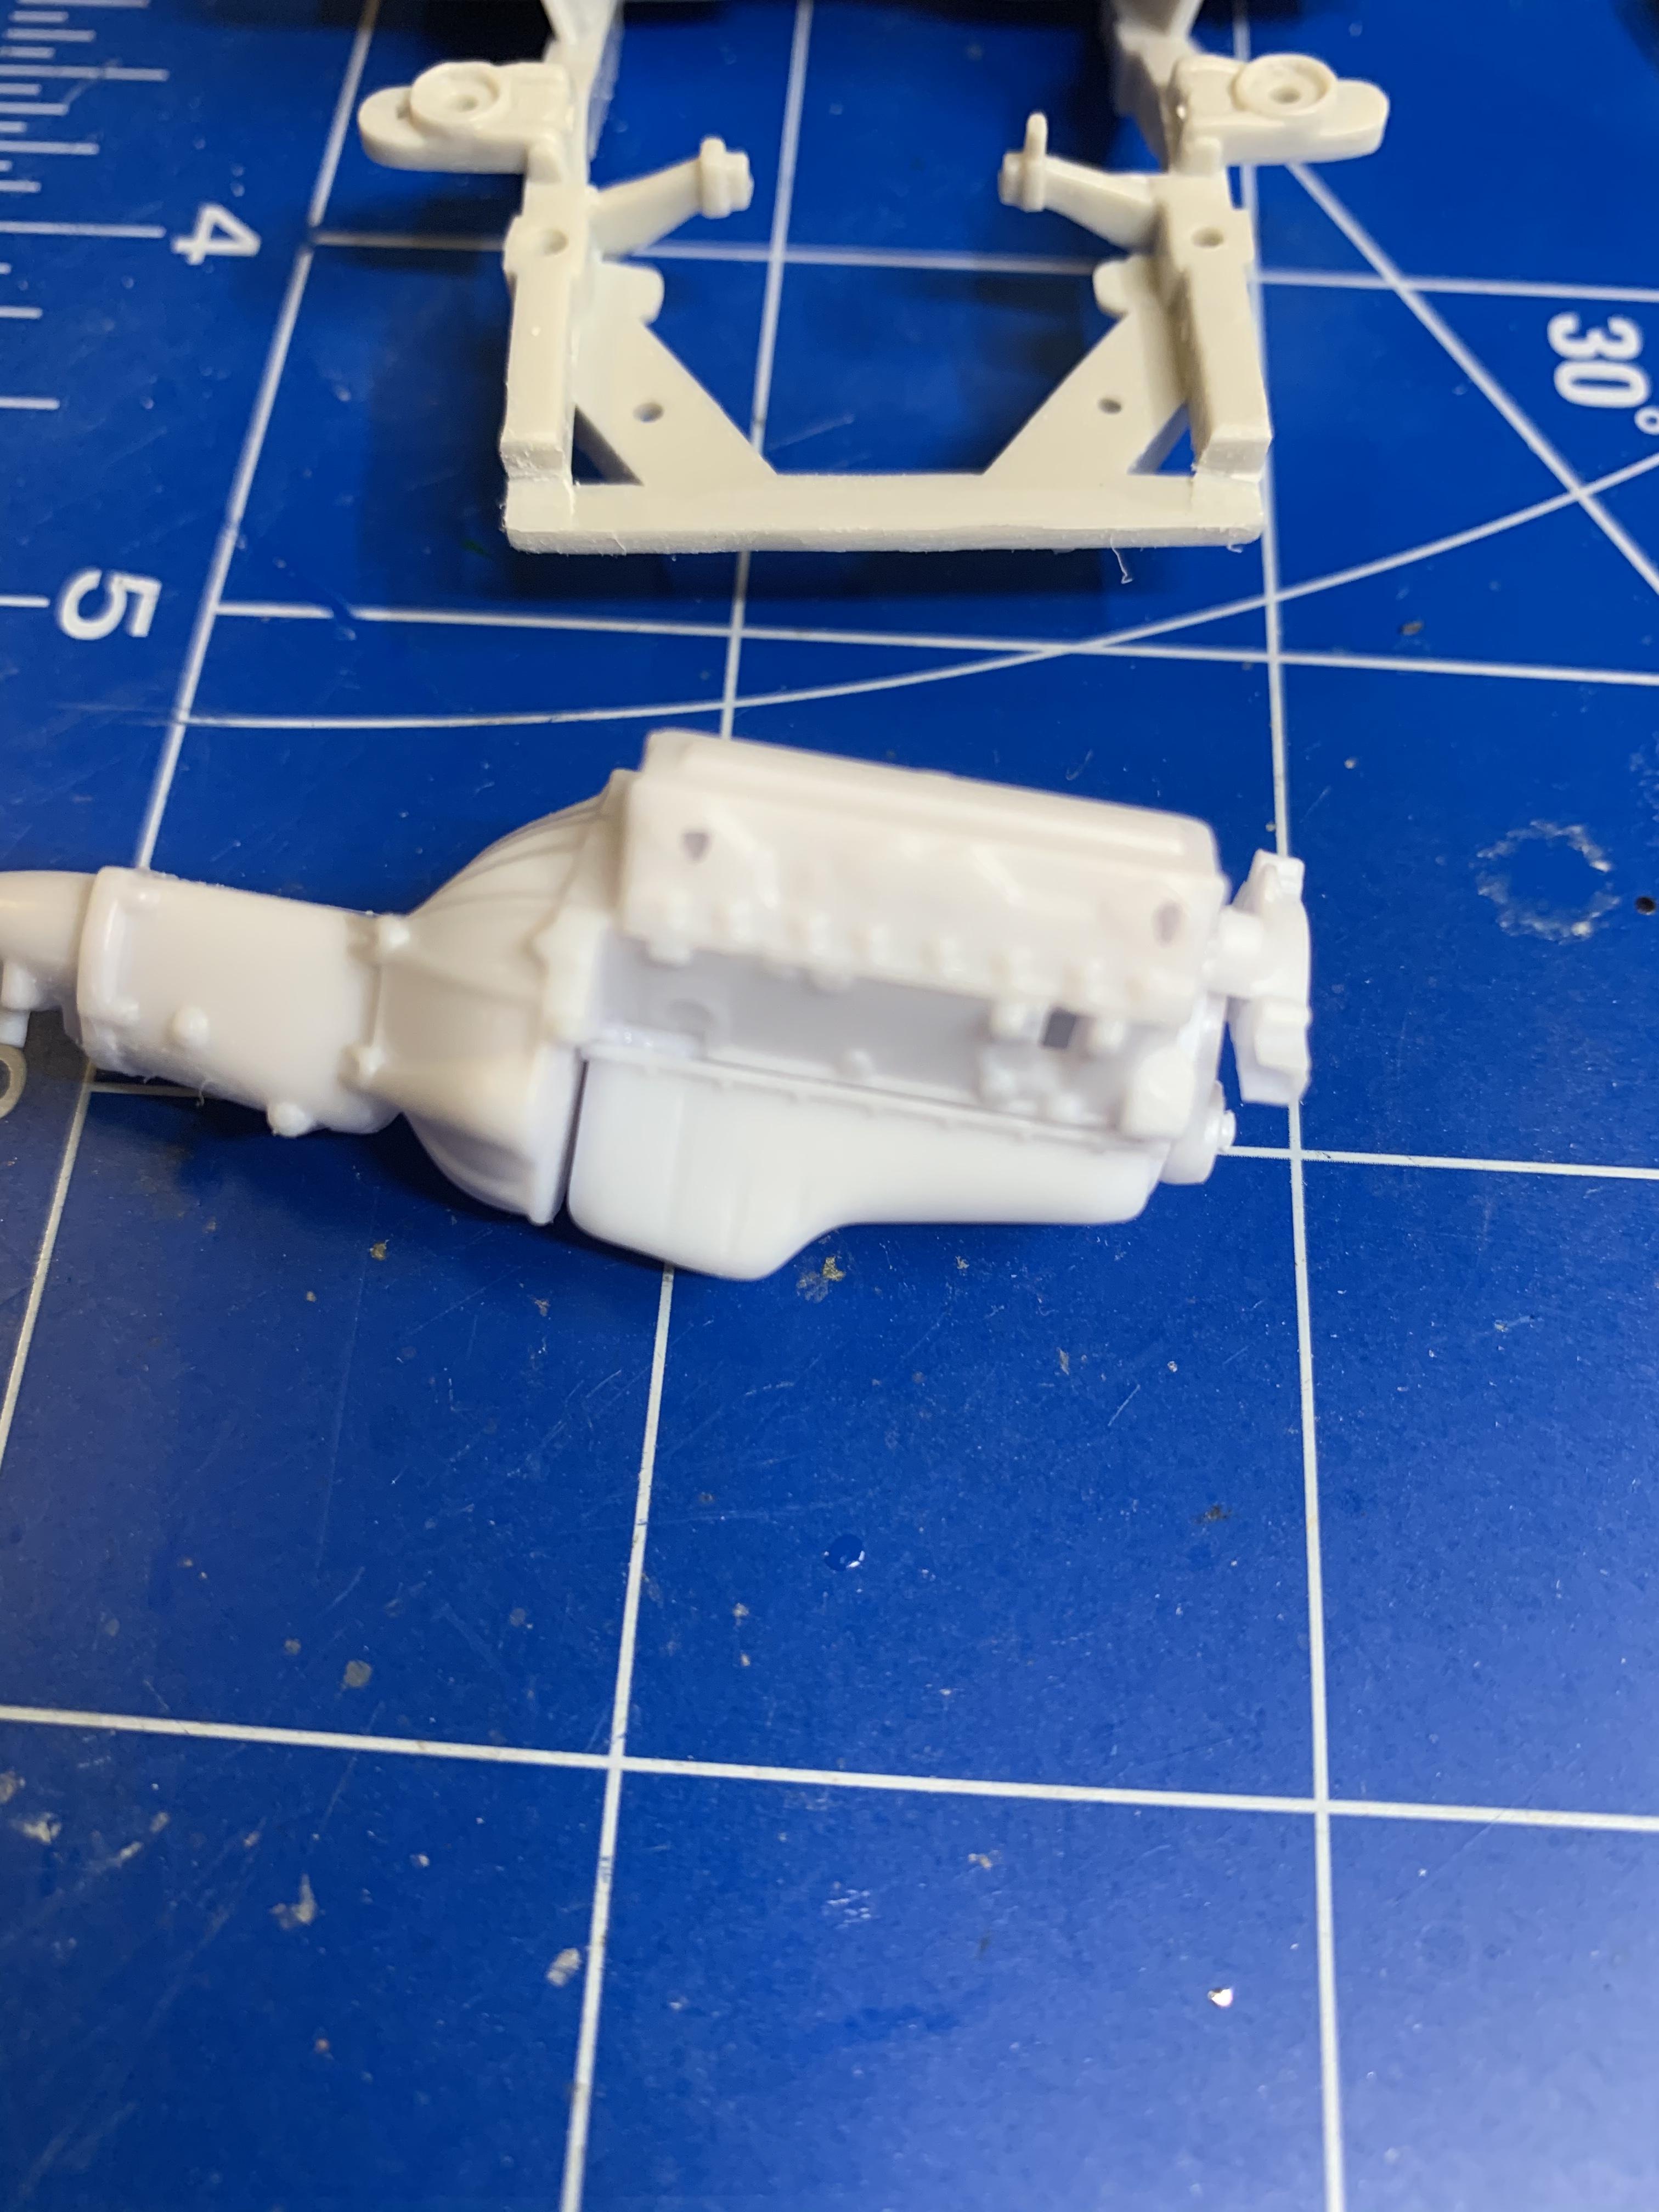
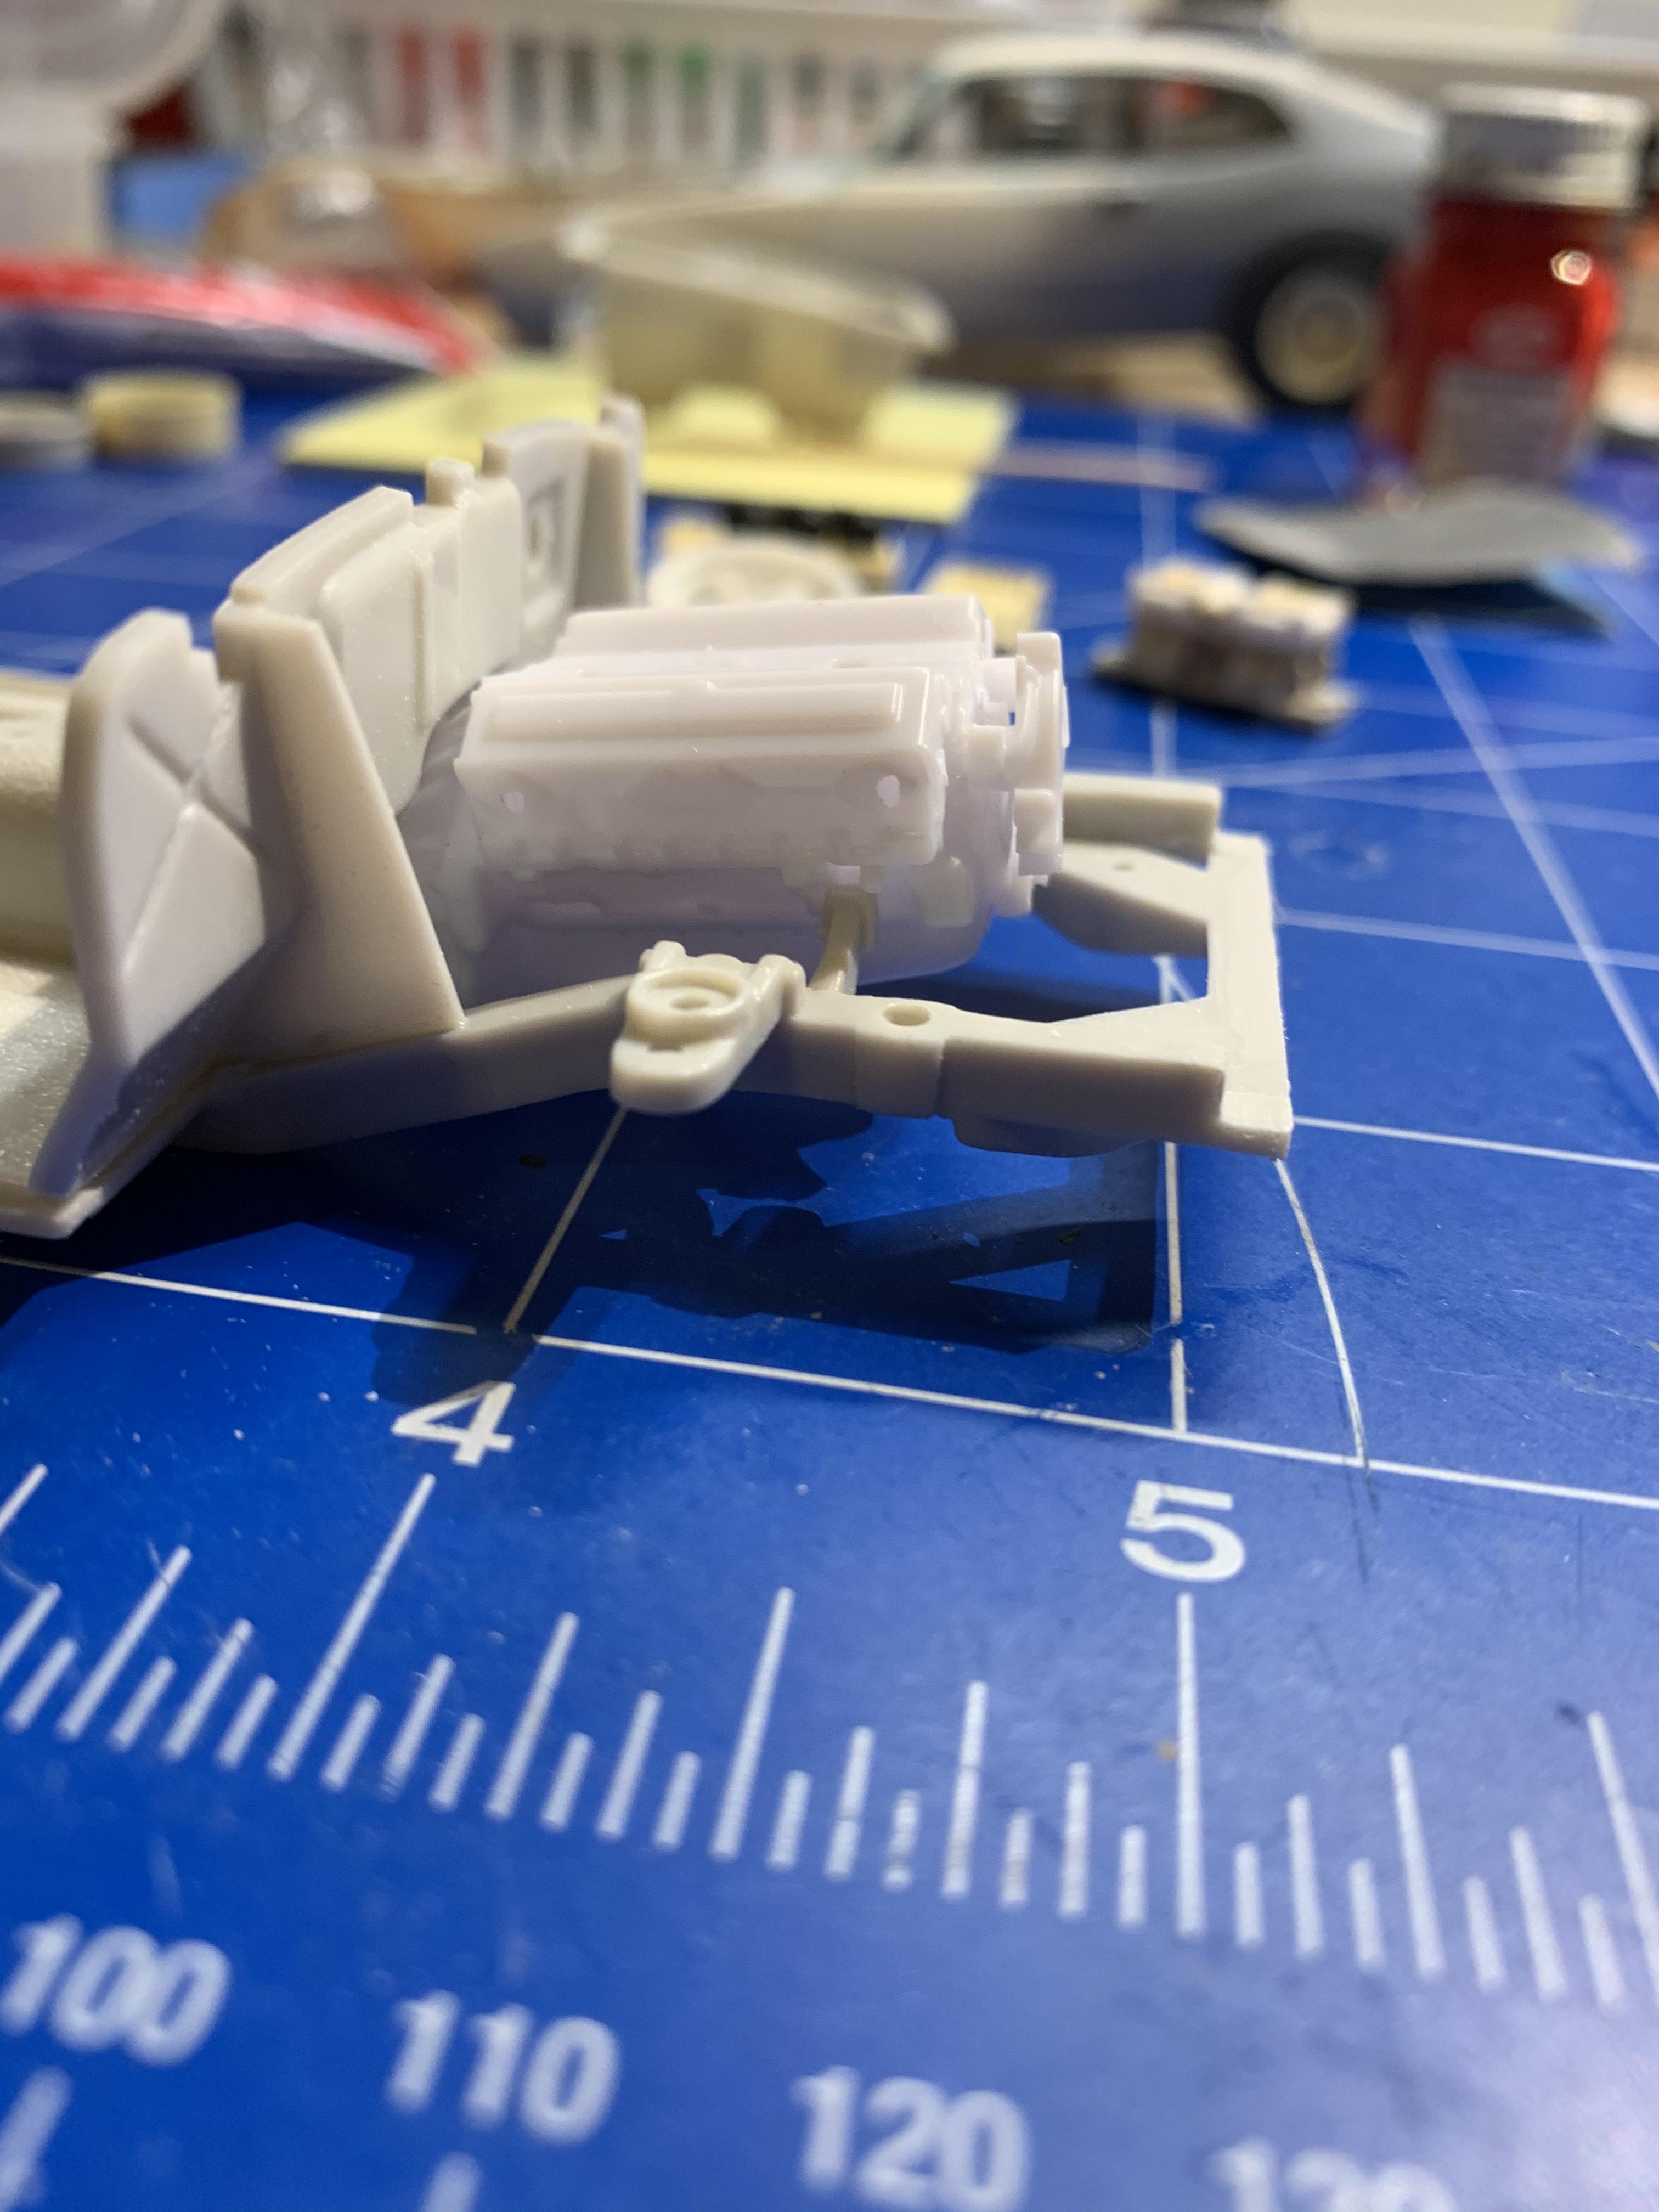
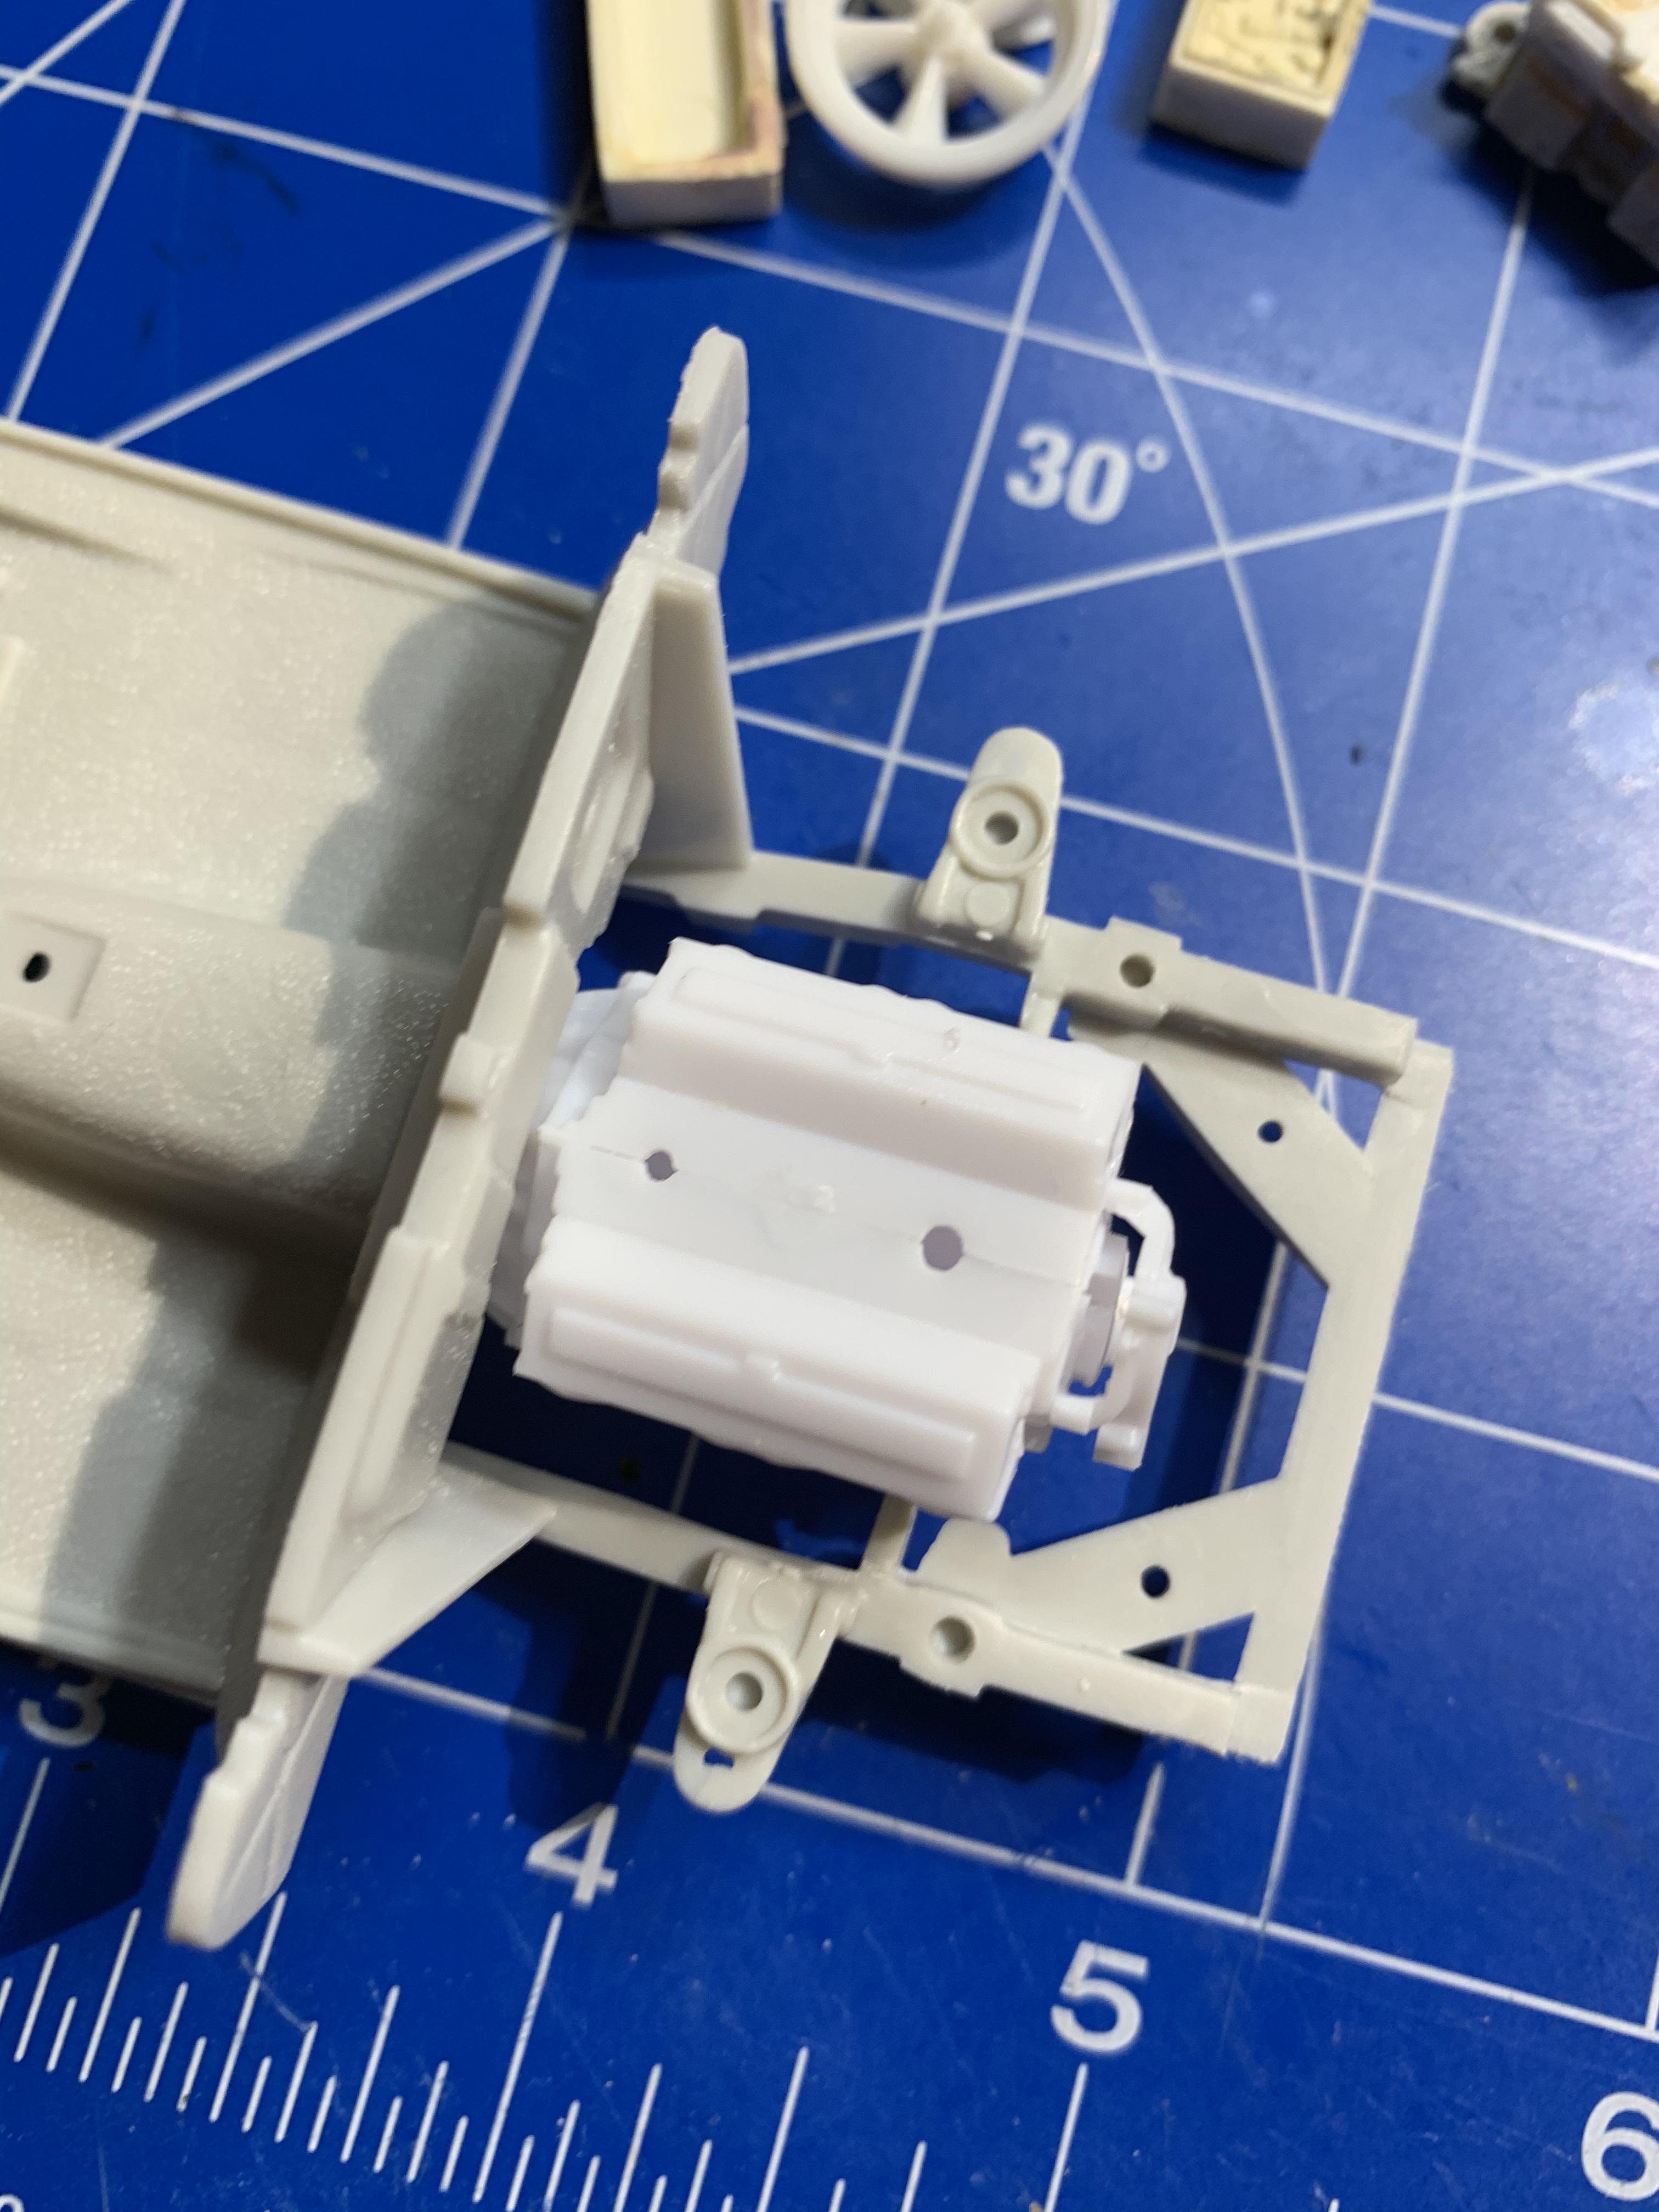
I got most of the motor together, not sure why all of these kits had Triple 2 Barrel carbs??? Searching the parts box
-
Another 62 Ford
dragcarz replied to dragcarz's topic in WIP: Model Trucks: Pickups, Vans, SUVs, Light Commercial
I know, it’s natural for that! Lol