Brudda
-
Posts
4,258 -
Joined
-
Last visited
Content Type
Profiles
Forums
Events
Gallery
Everything posted by Brudda
-
Almost there

-
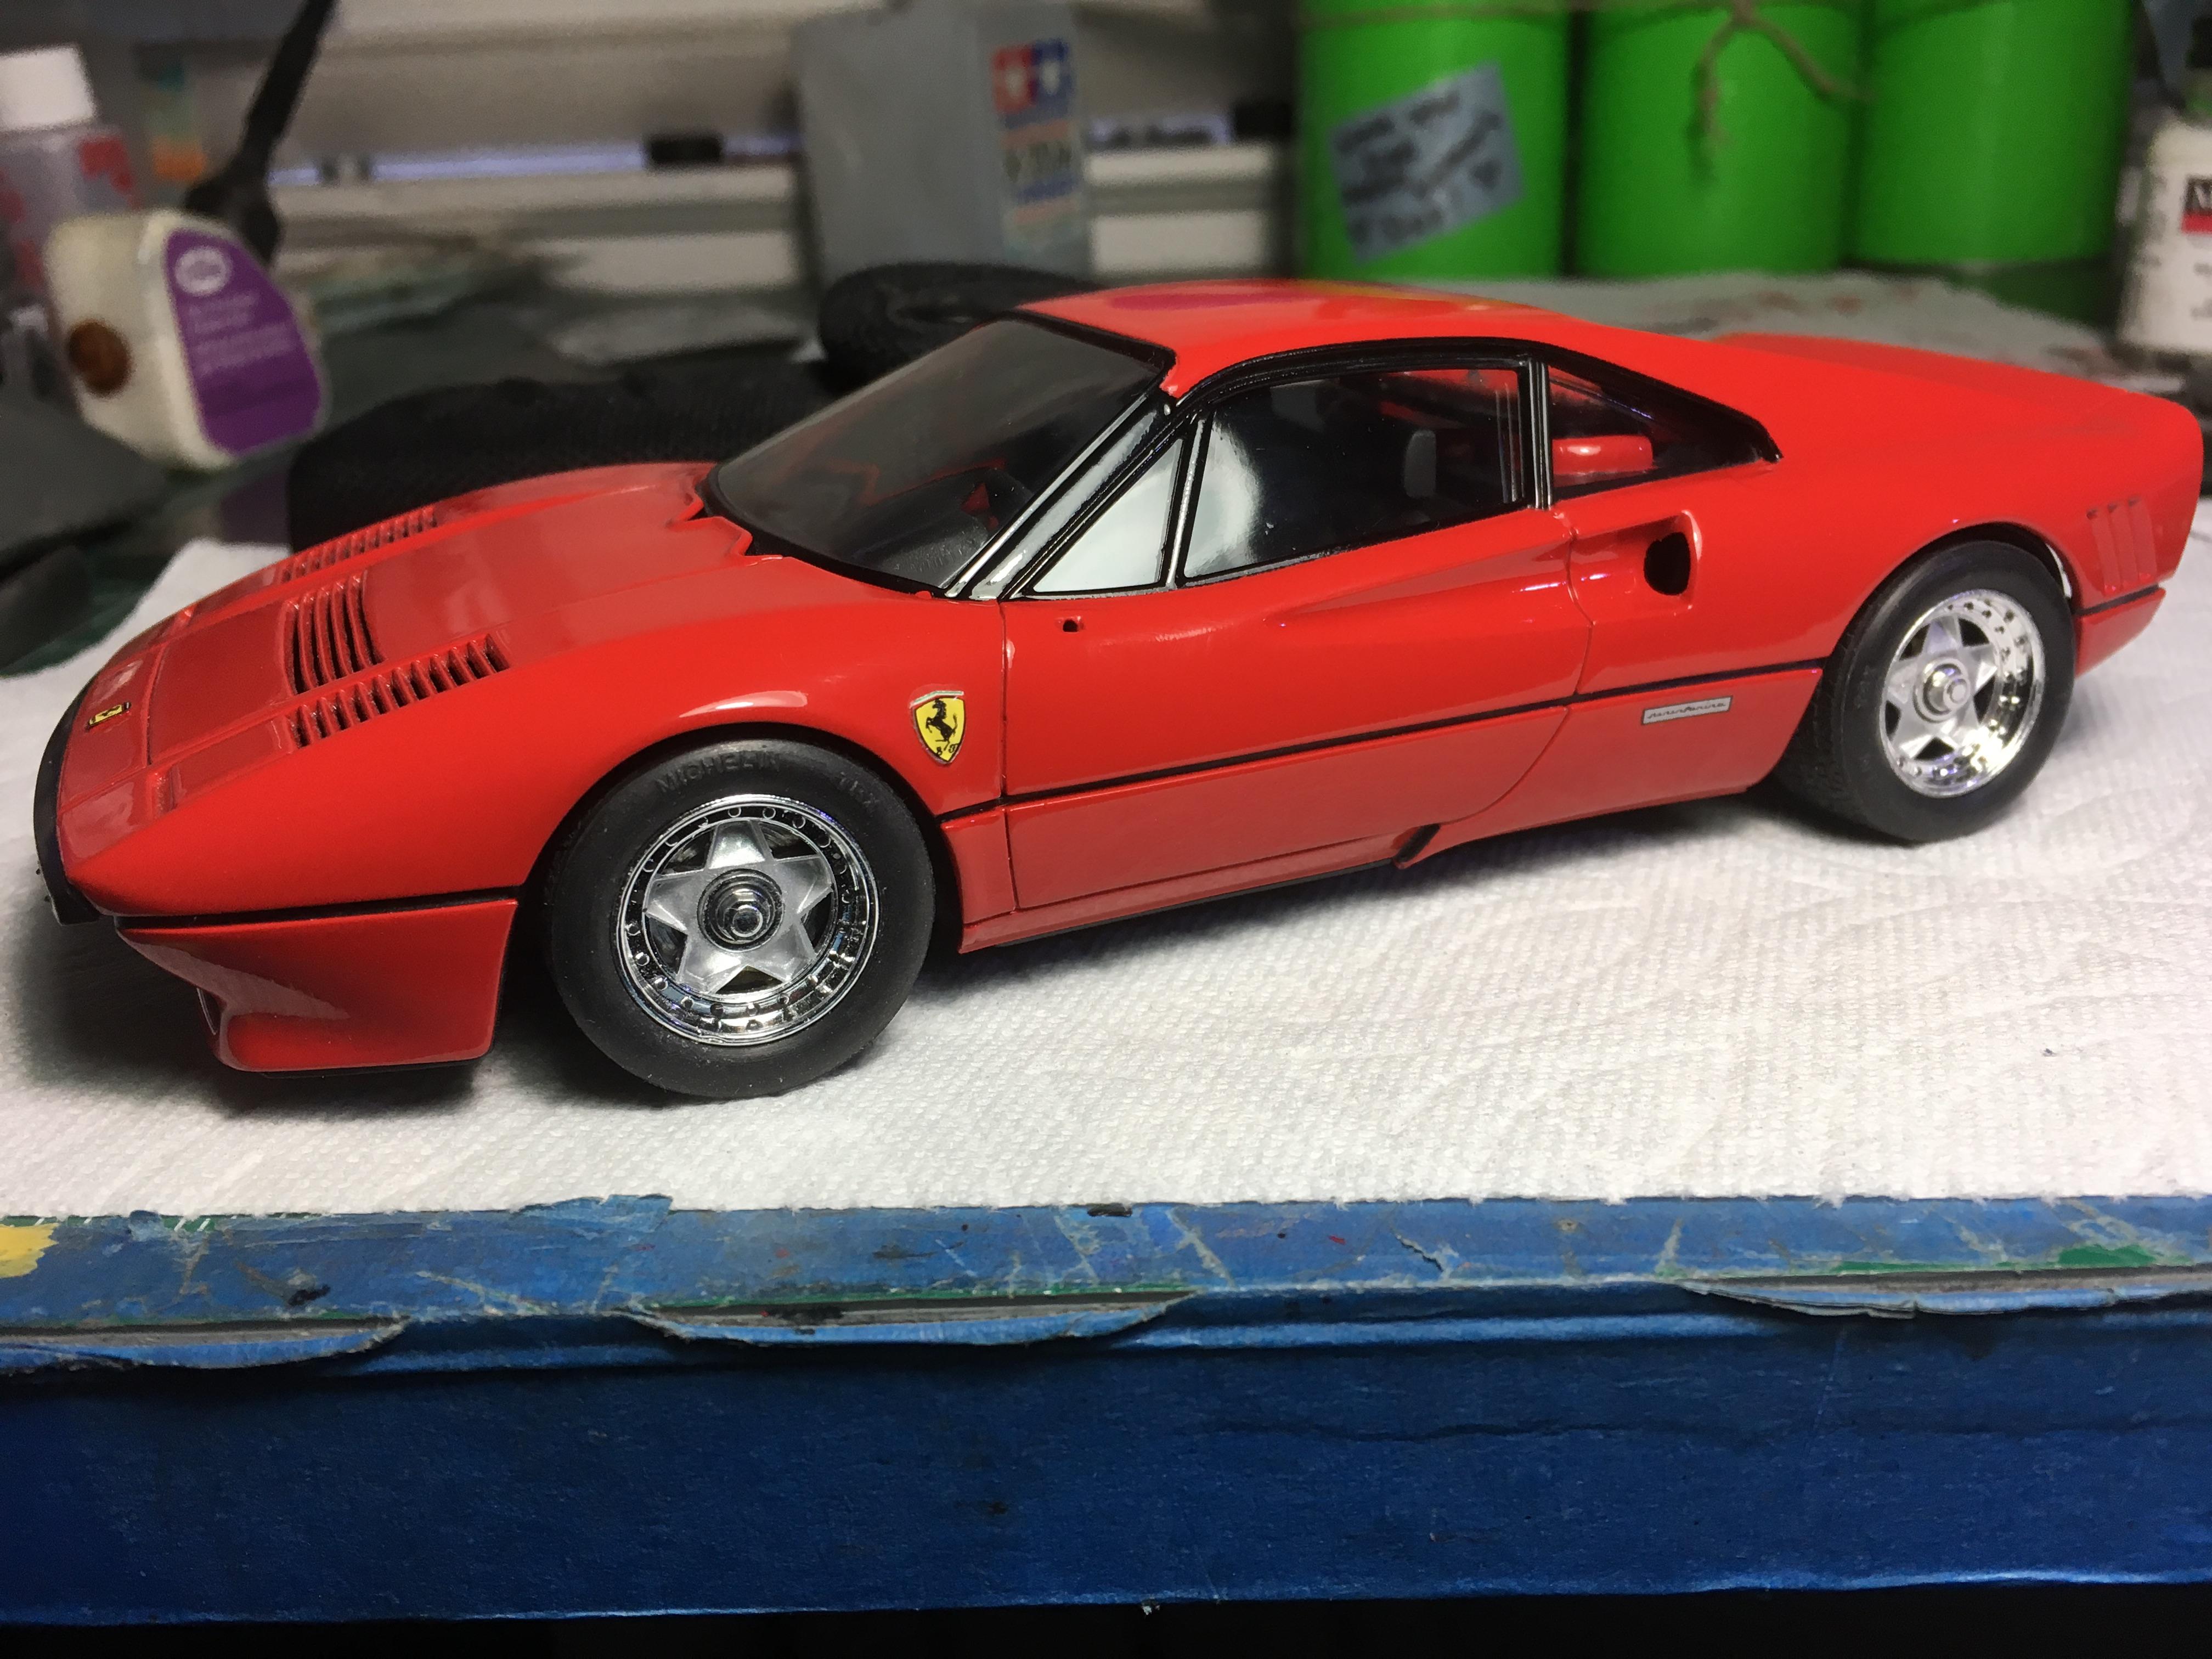
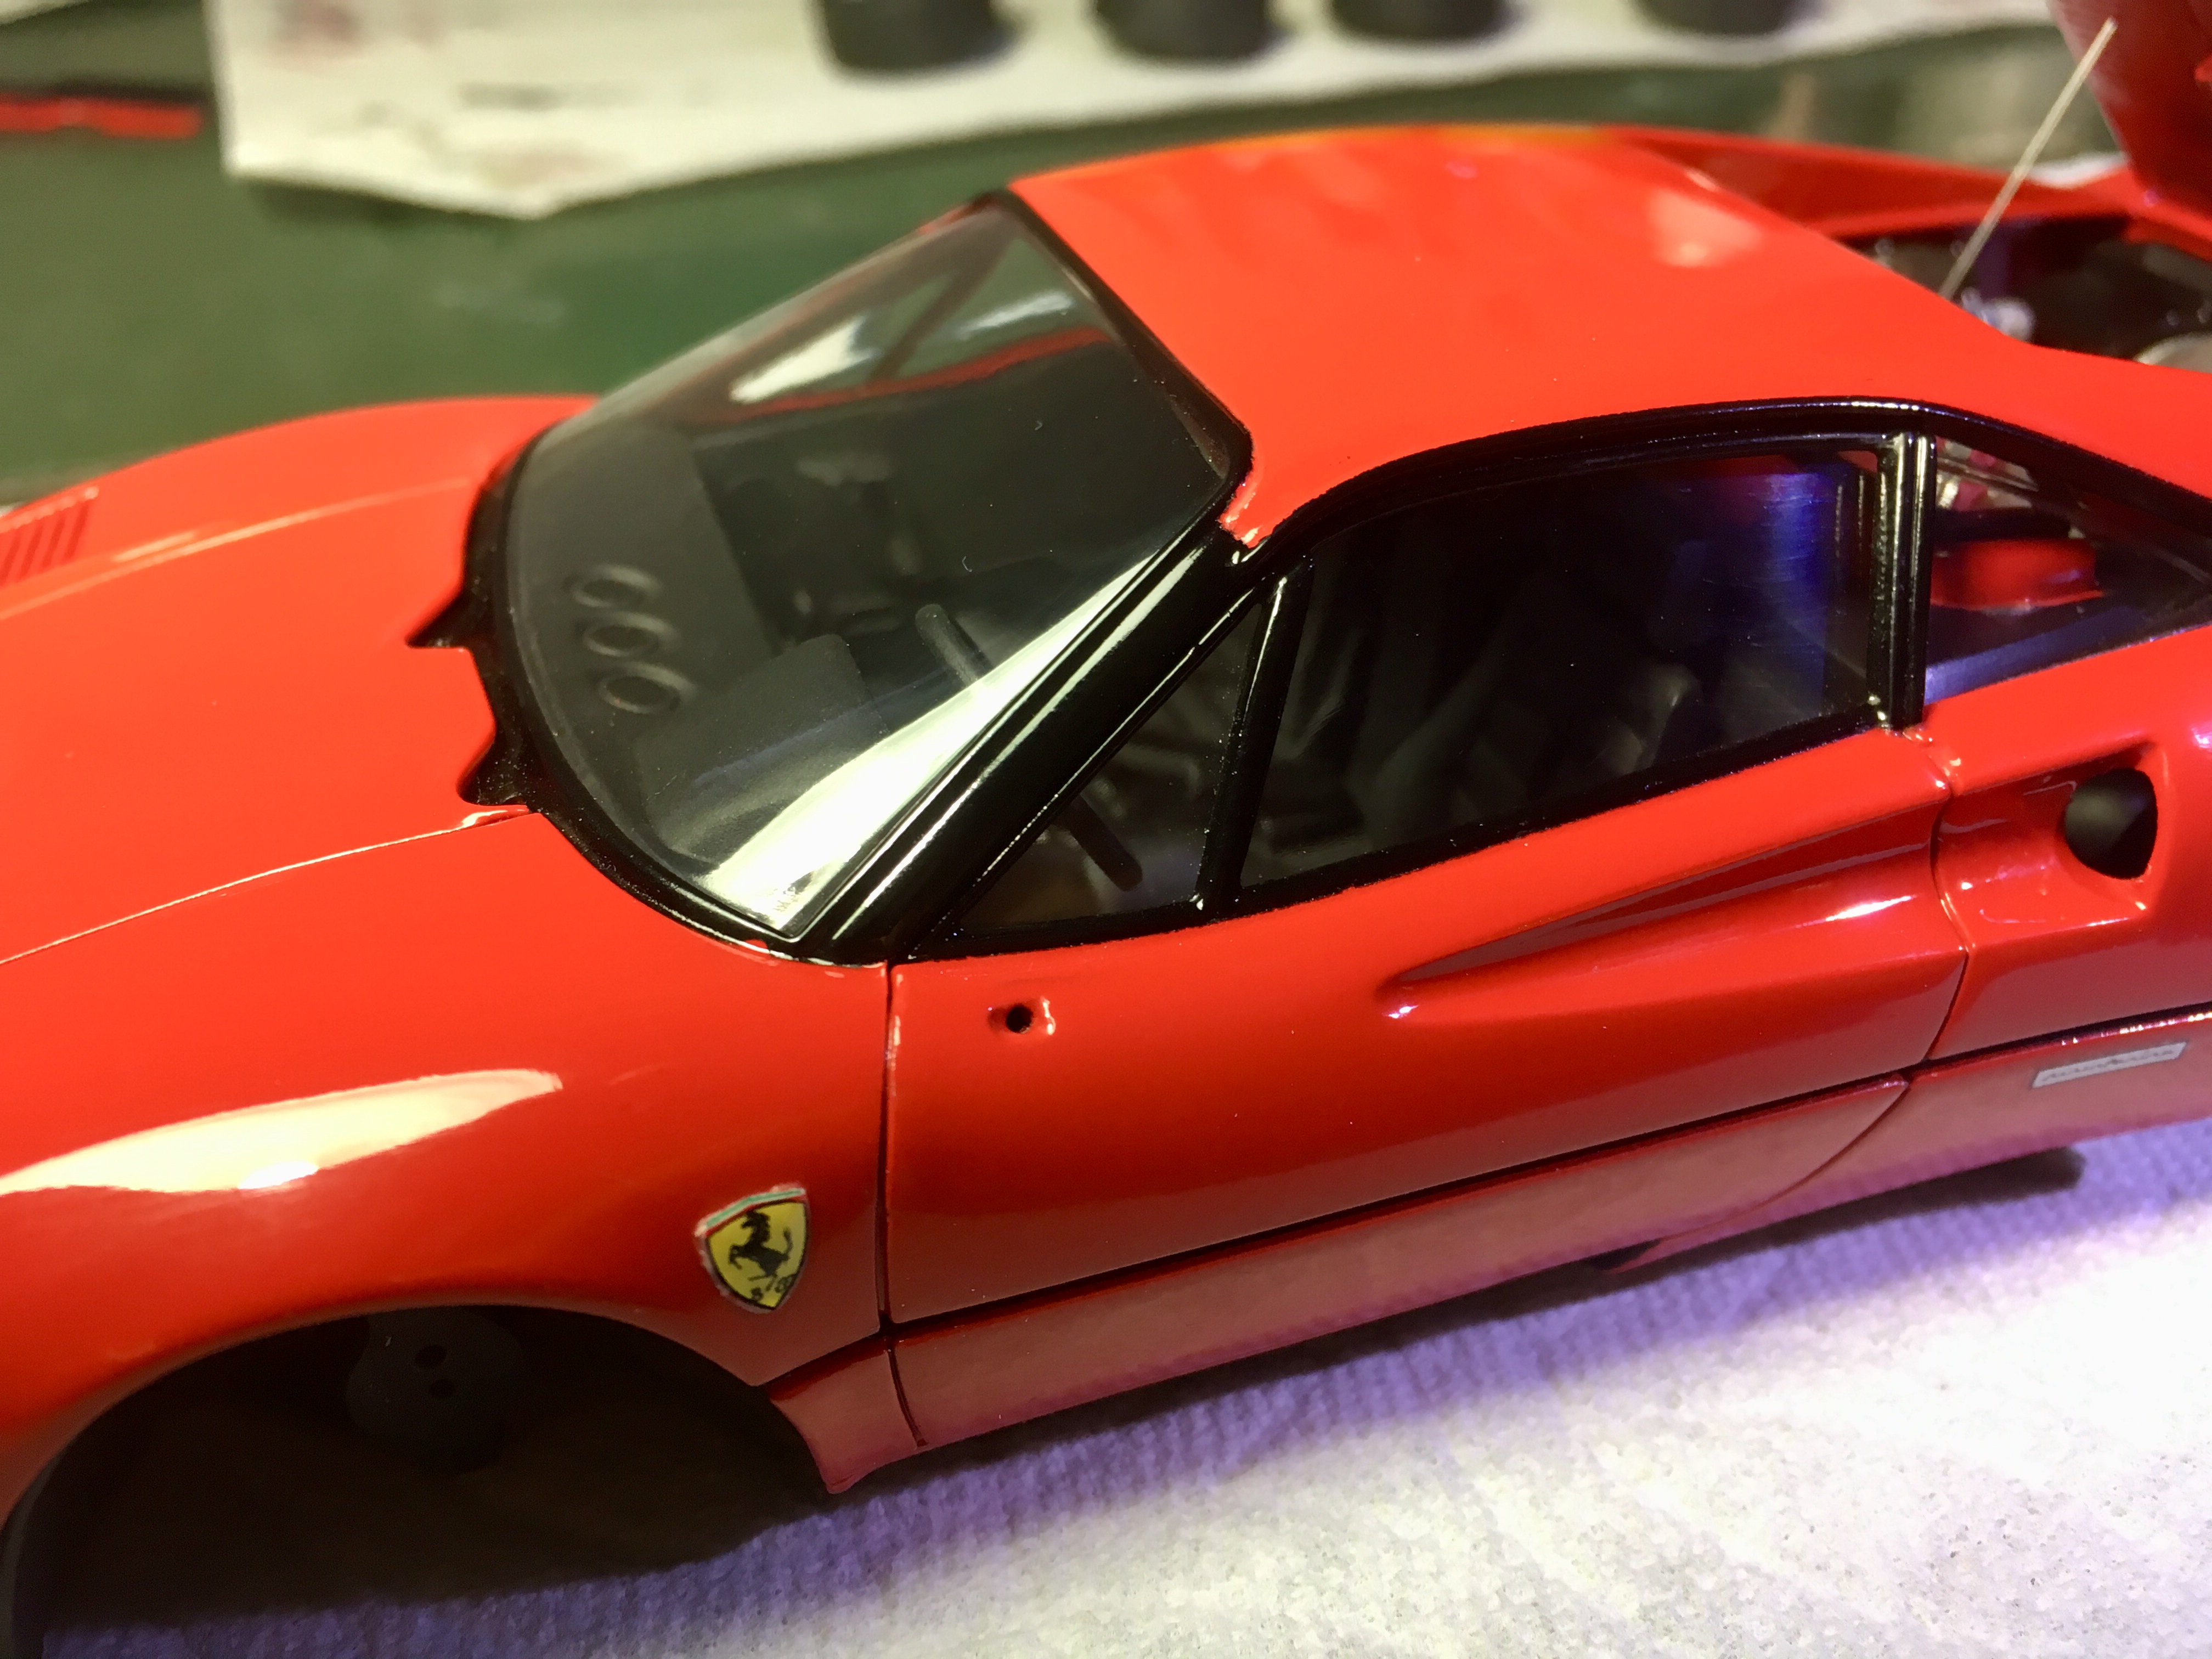
Put the chassis and interior into the body. I was impressed as the body went on without any problems. Rear glass mounted into the channel with ease for some reason. I thought I might have to fight it but did not. Tomorrow the wheels to the car.
-

Revell Williams Renault FW19 F1 1997 Champion
Brudda replied to Twokidsnosleep's topic in WIP: Model Cars
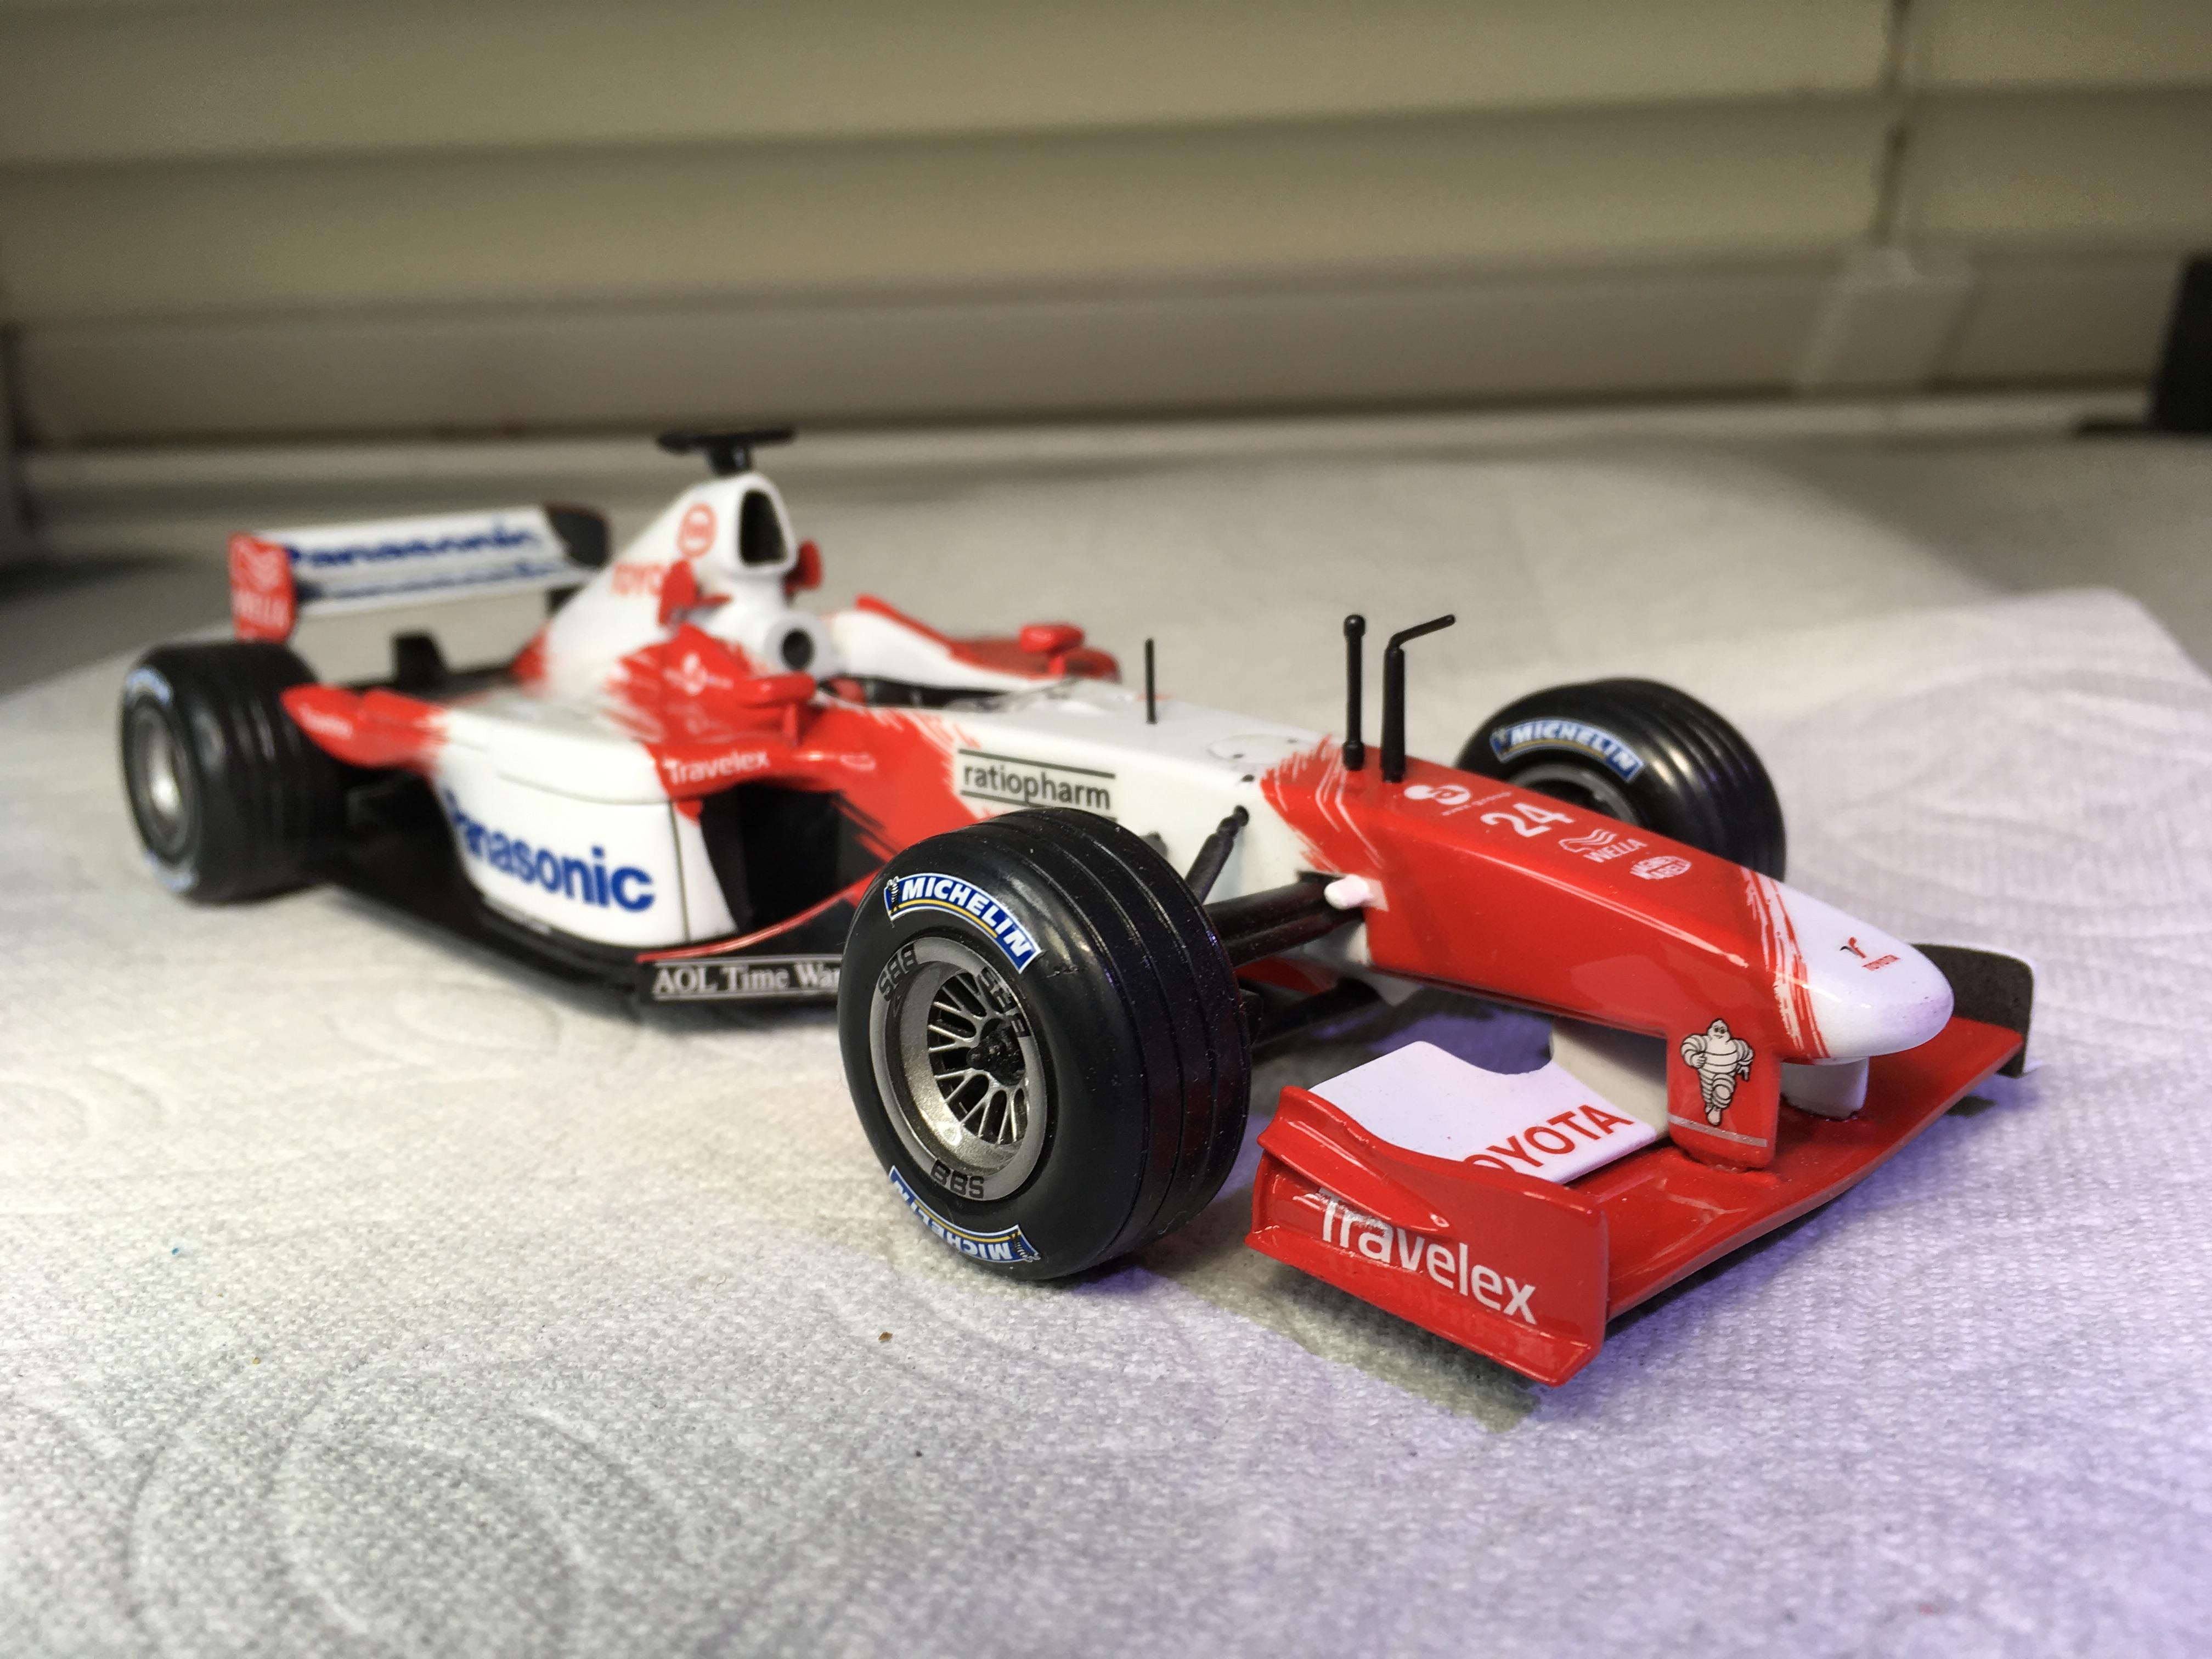
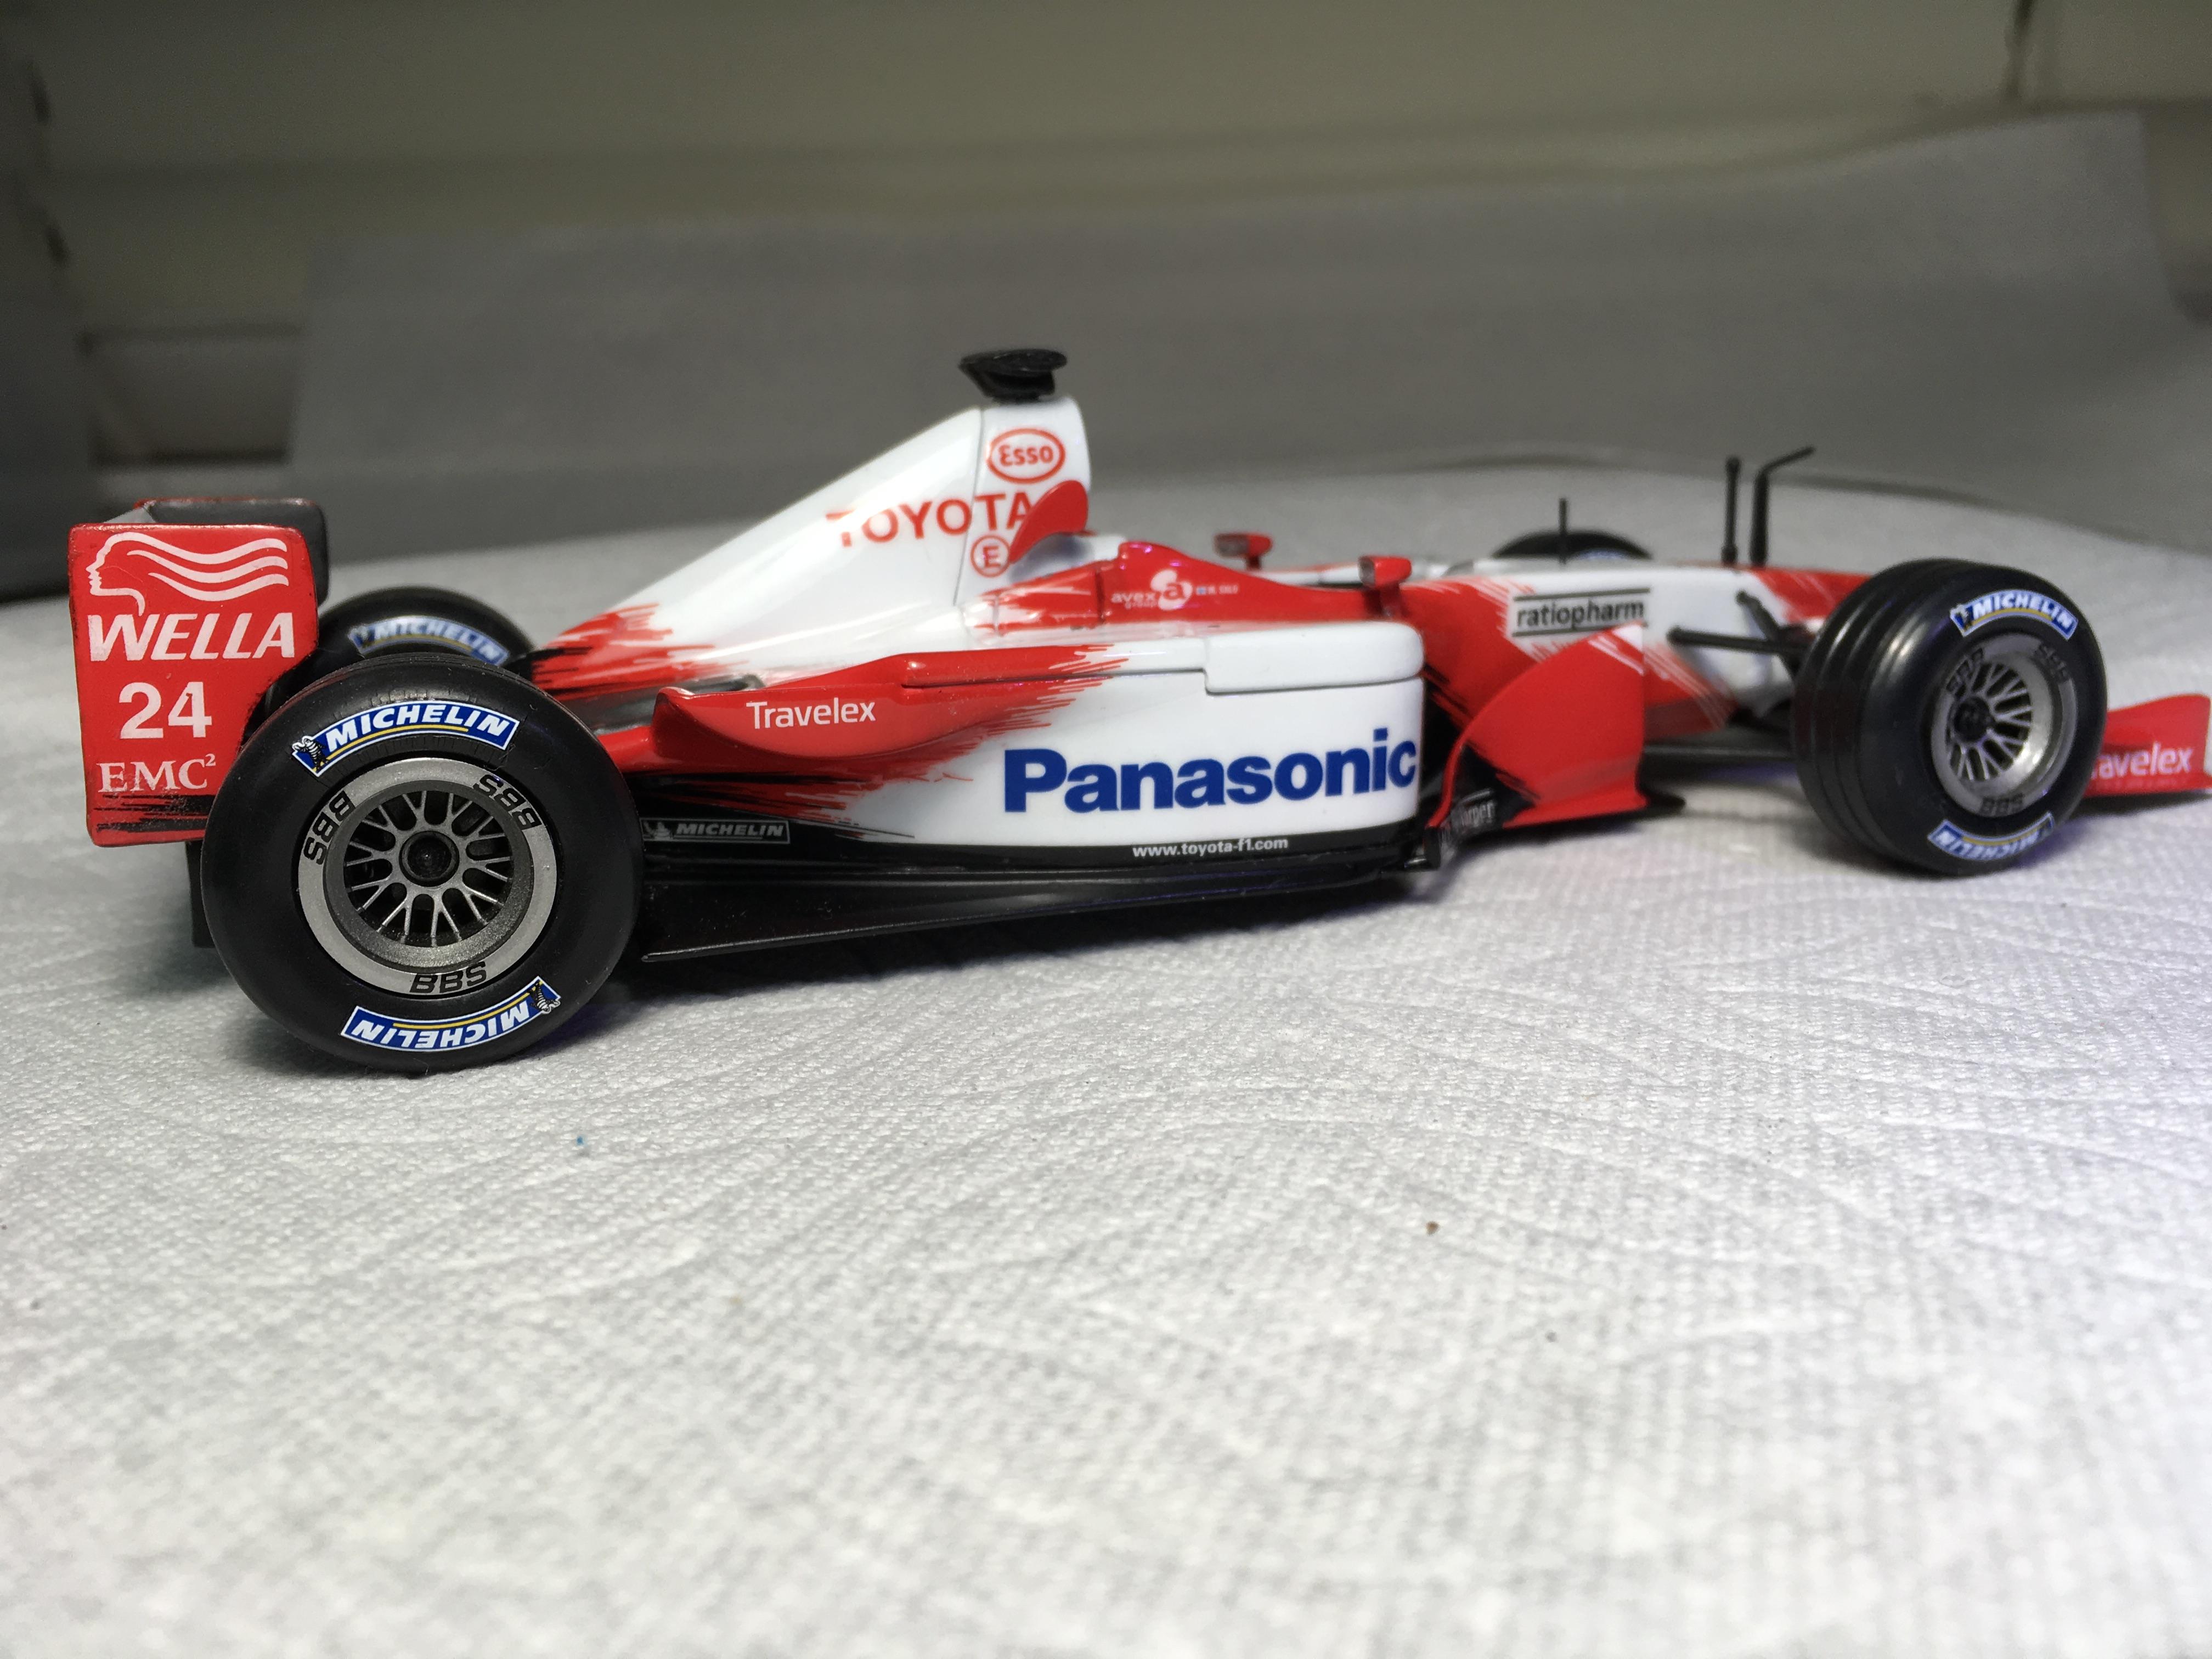
These revell 1/24 build up great! Yours is better but I did the 1/24 Toyota f1 and they build up great!
-
Revell Williams Renault FW19 F1 1997 Champion
Brudda replied to Twokidsnosleep's topic in WIP: Model Cars
Wowwww!!!! F1 cars are cool. They are very hard to build because it’s all out there. Great job!! -
Thank you DannTier, thank you Peter, thank you Modbldr for your comments. Putting the glass in now . It’s very brittle. Hope the chassis goes into the body. The rear glass has to fit a channel so this may be nerve racking. Hoping for the best
-
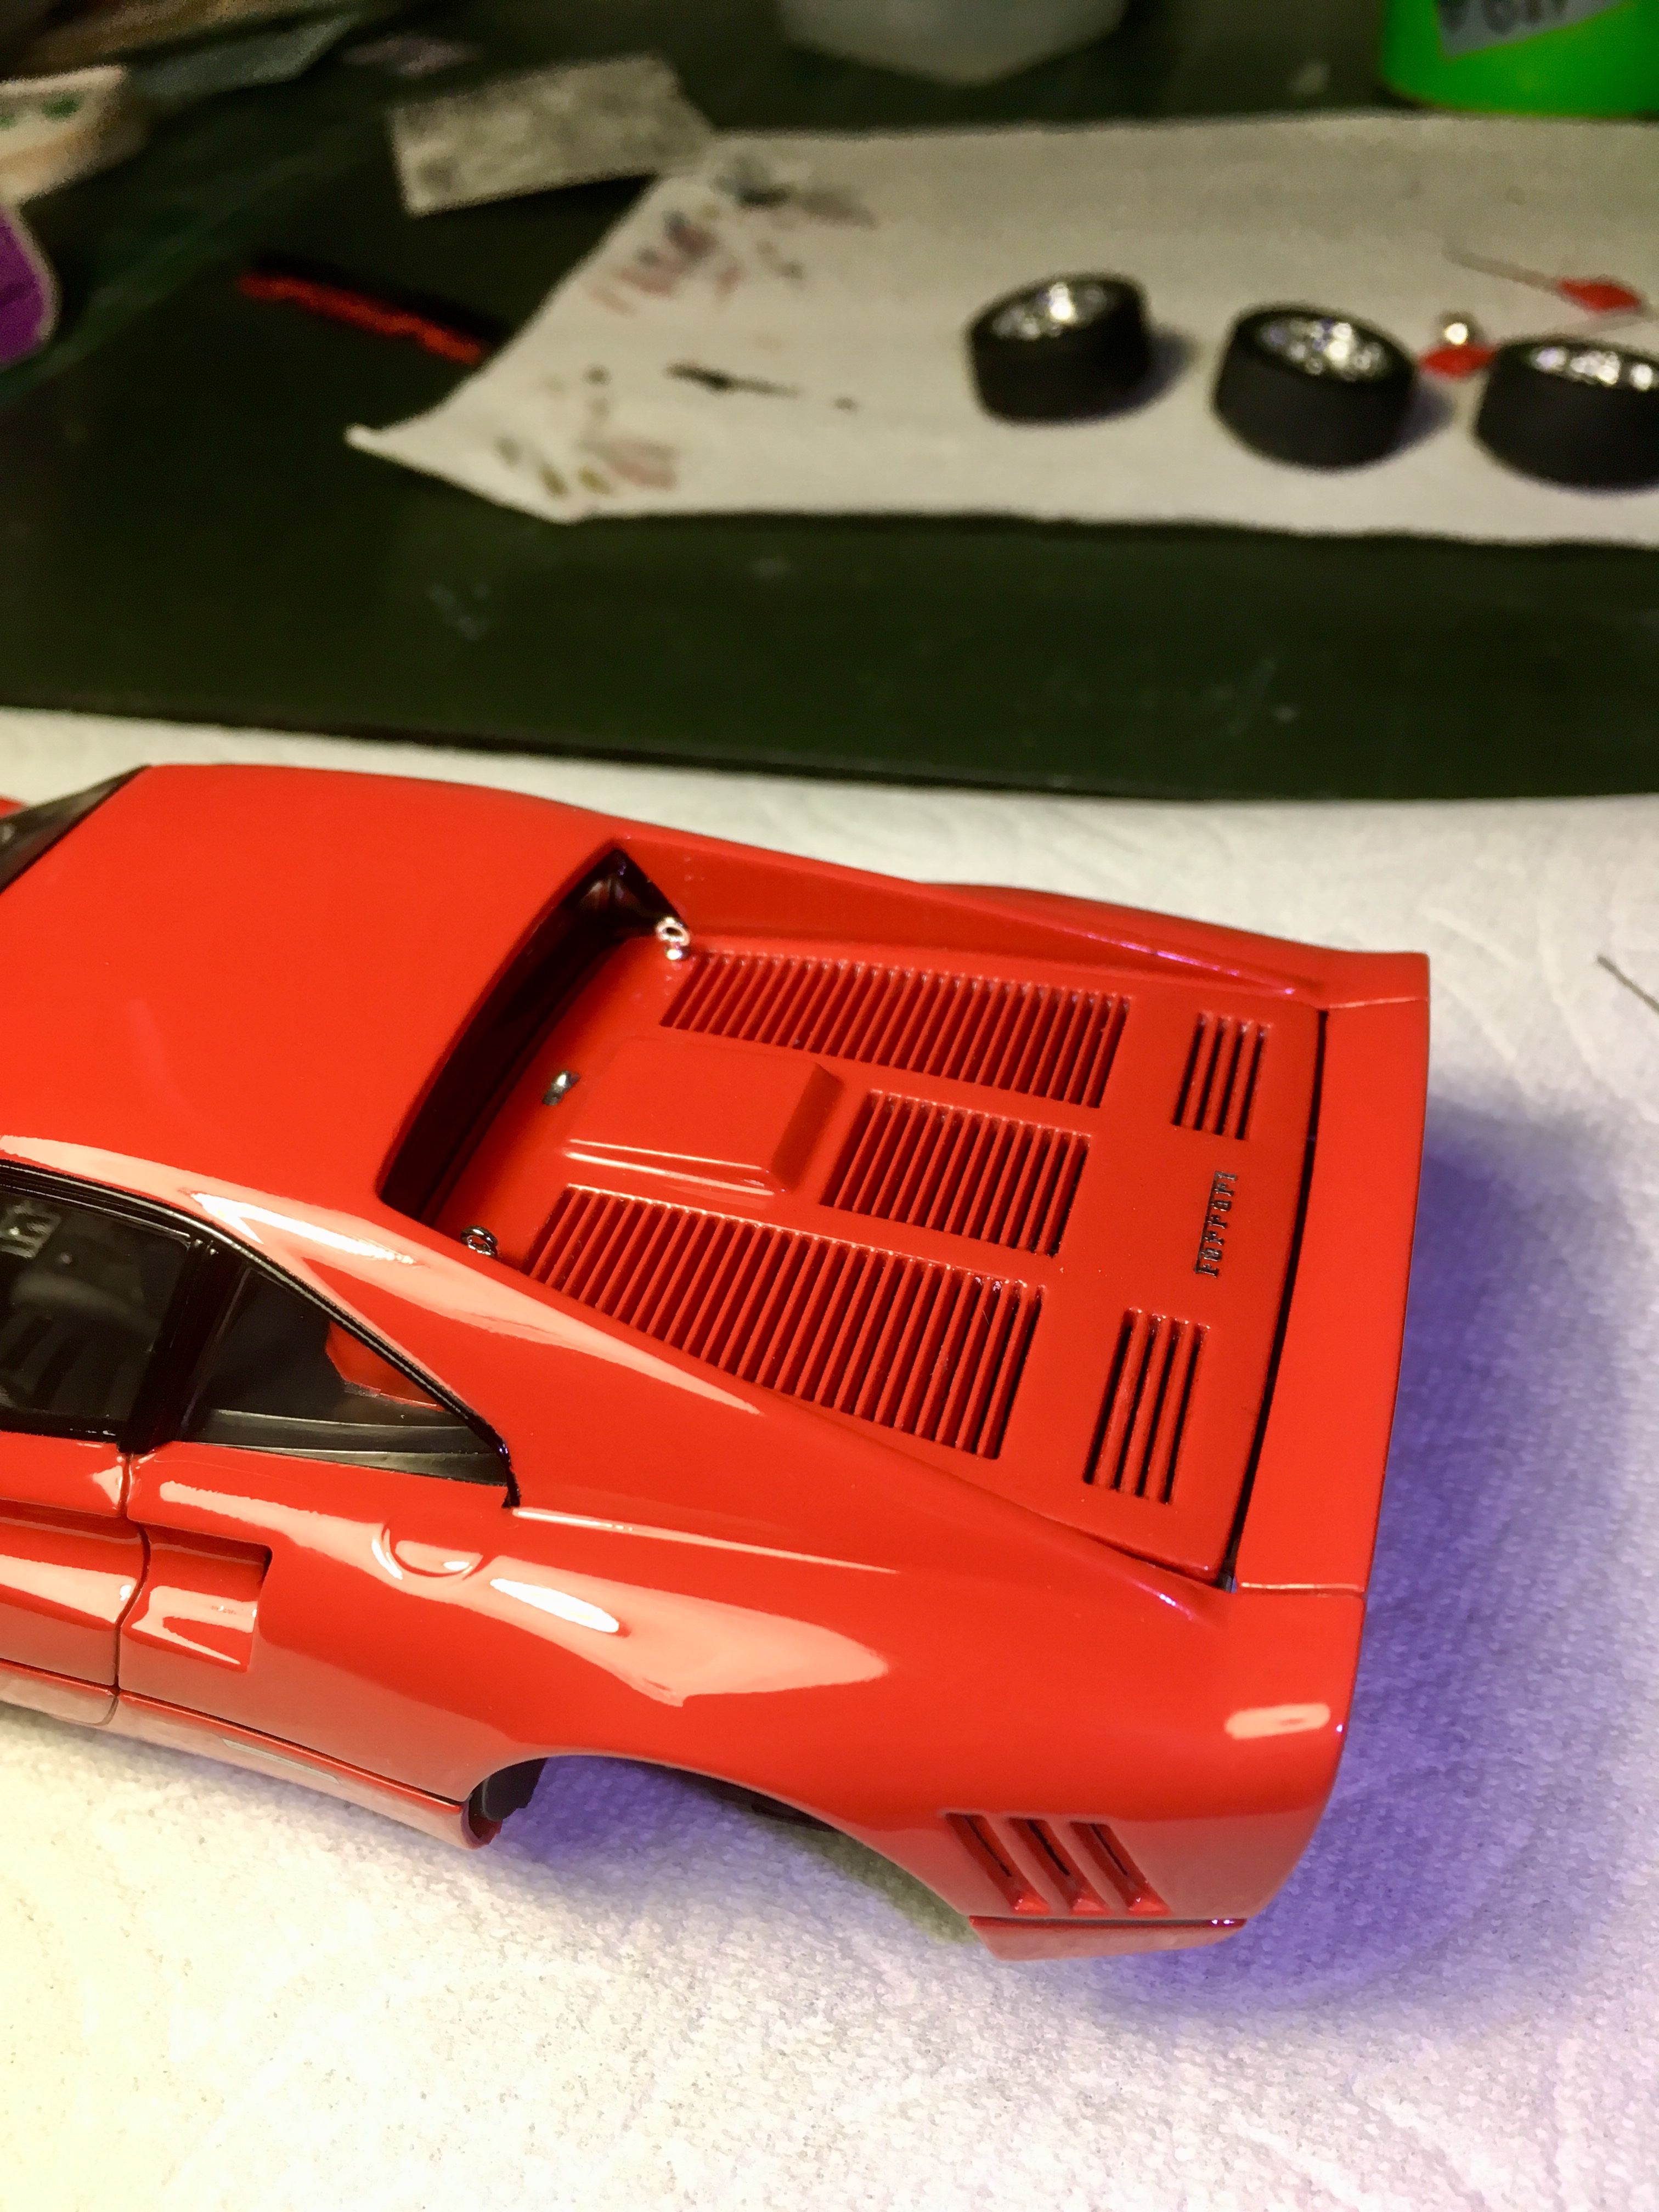
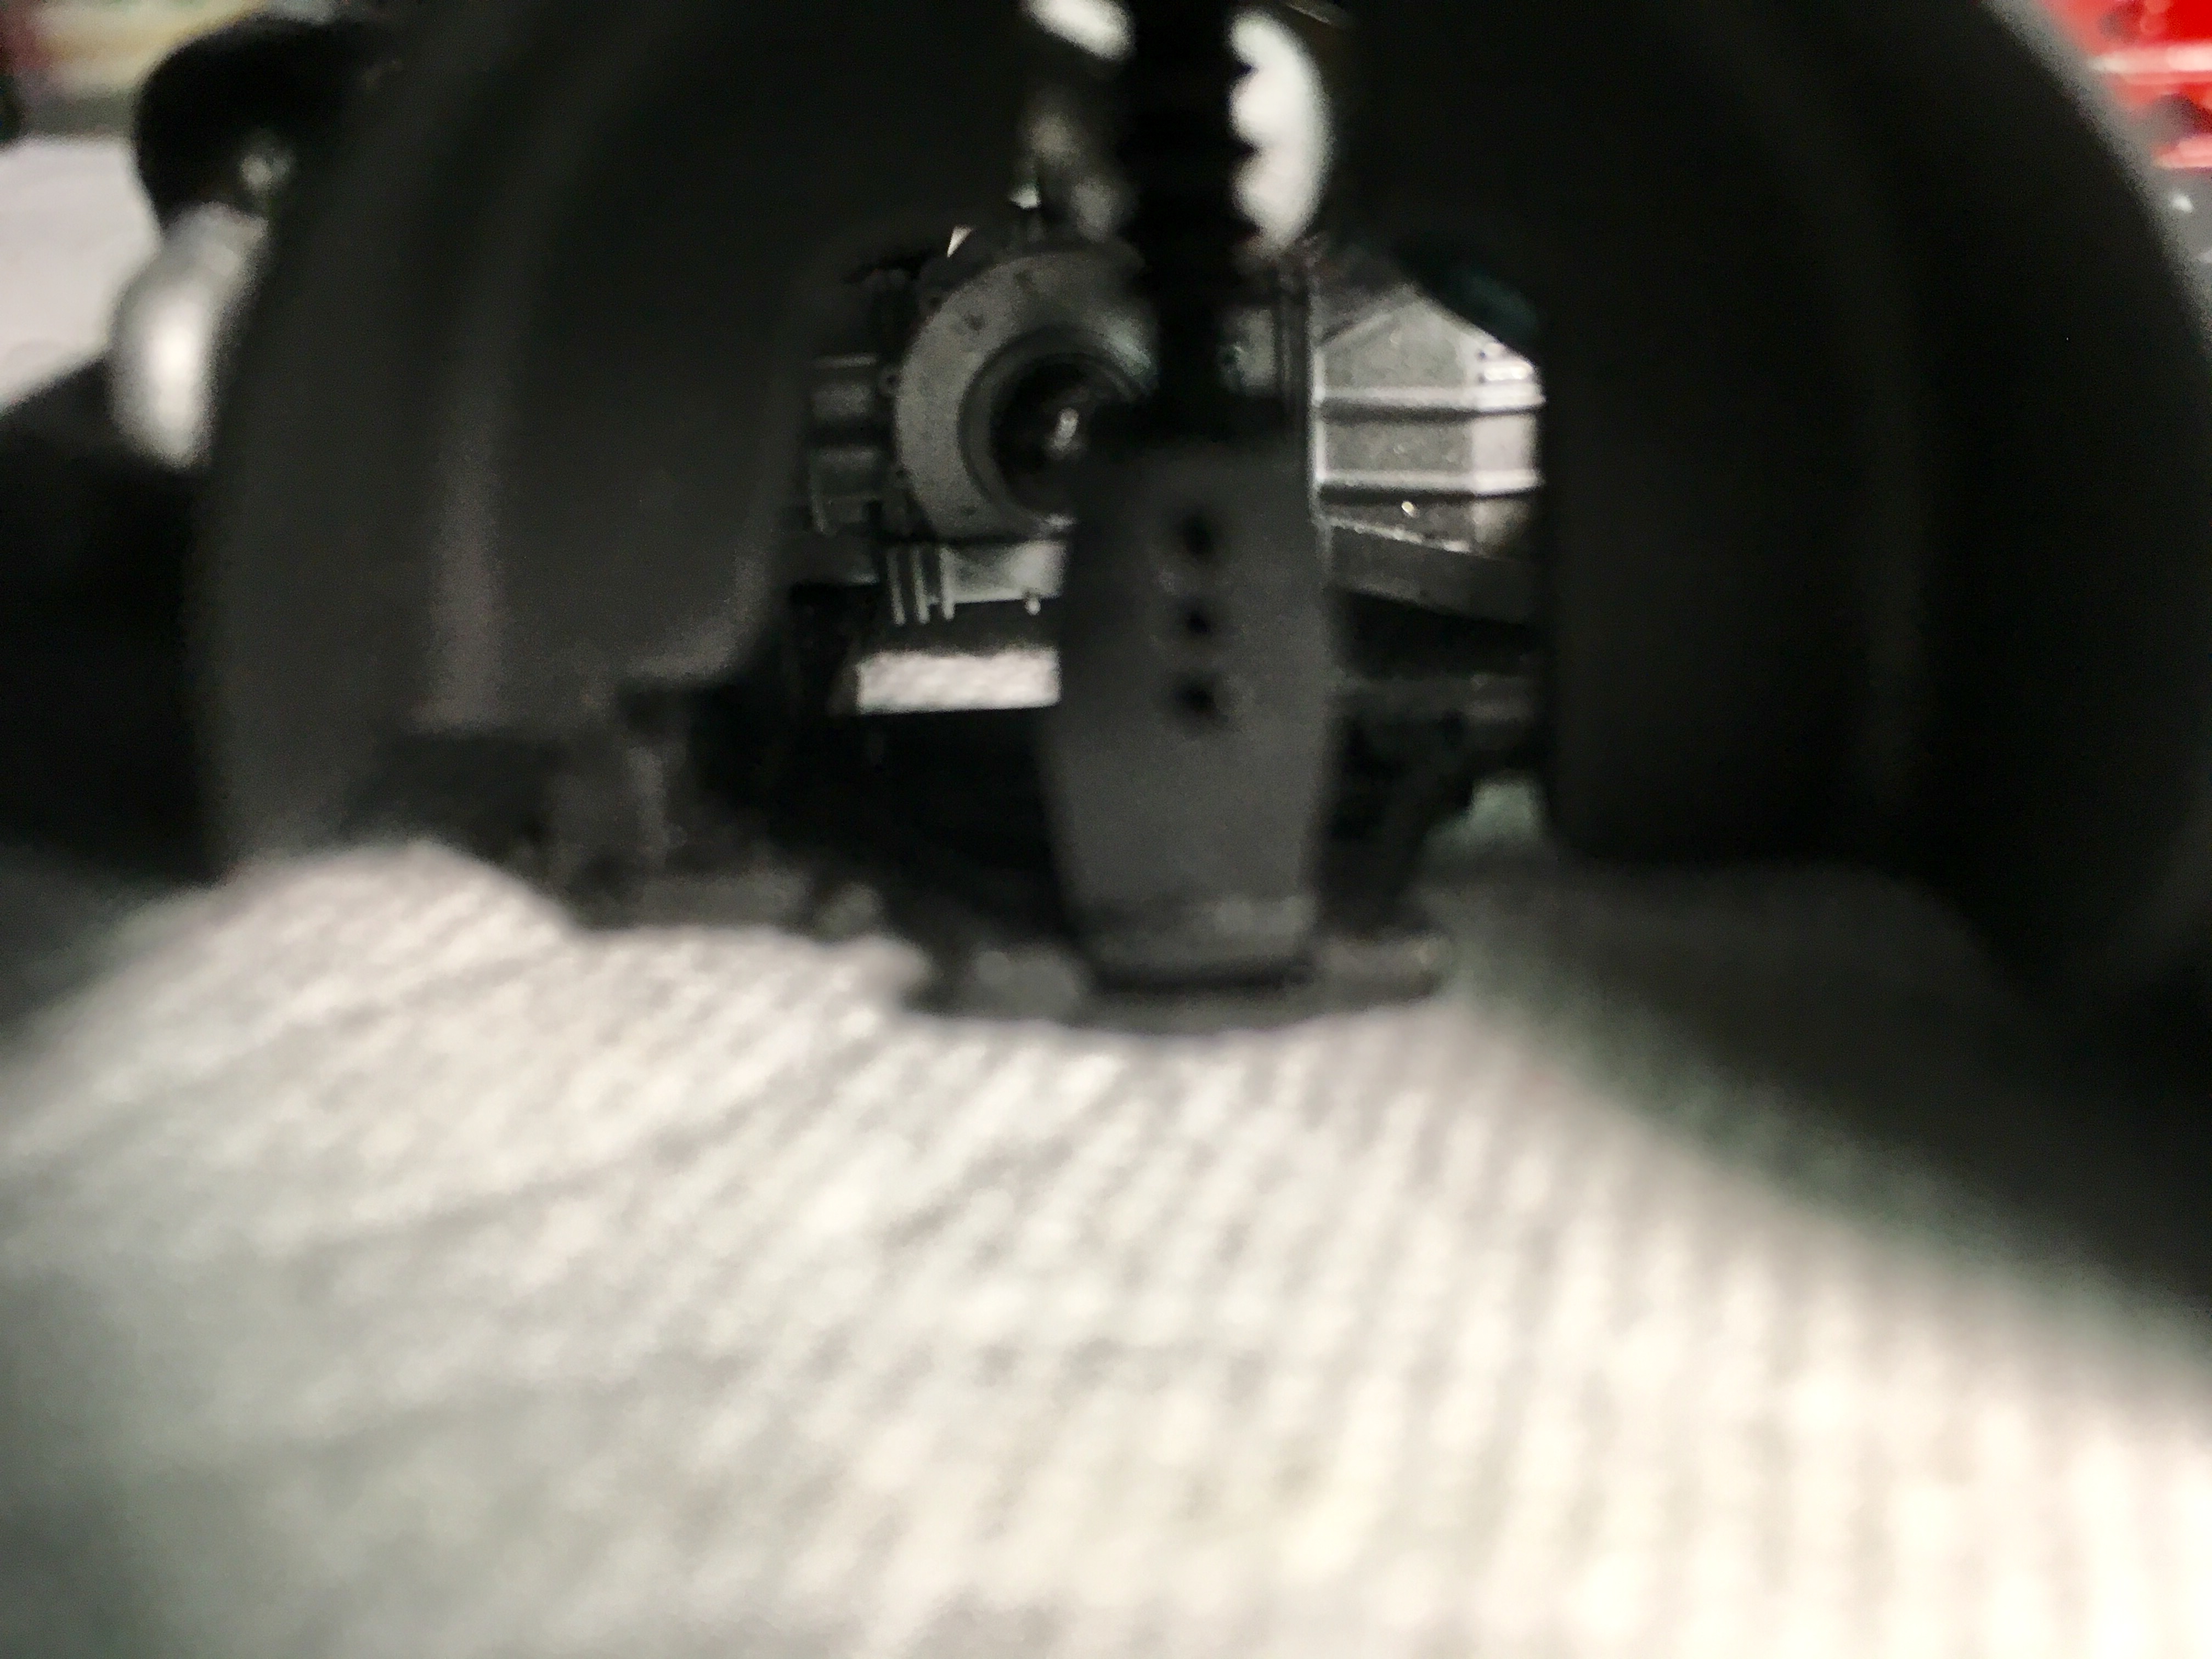
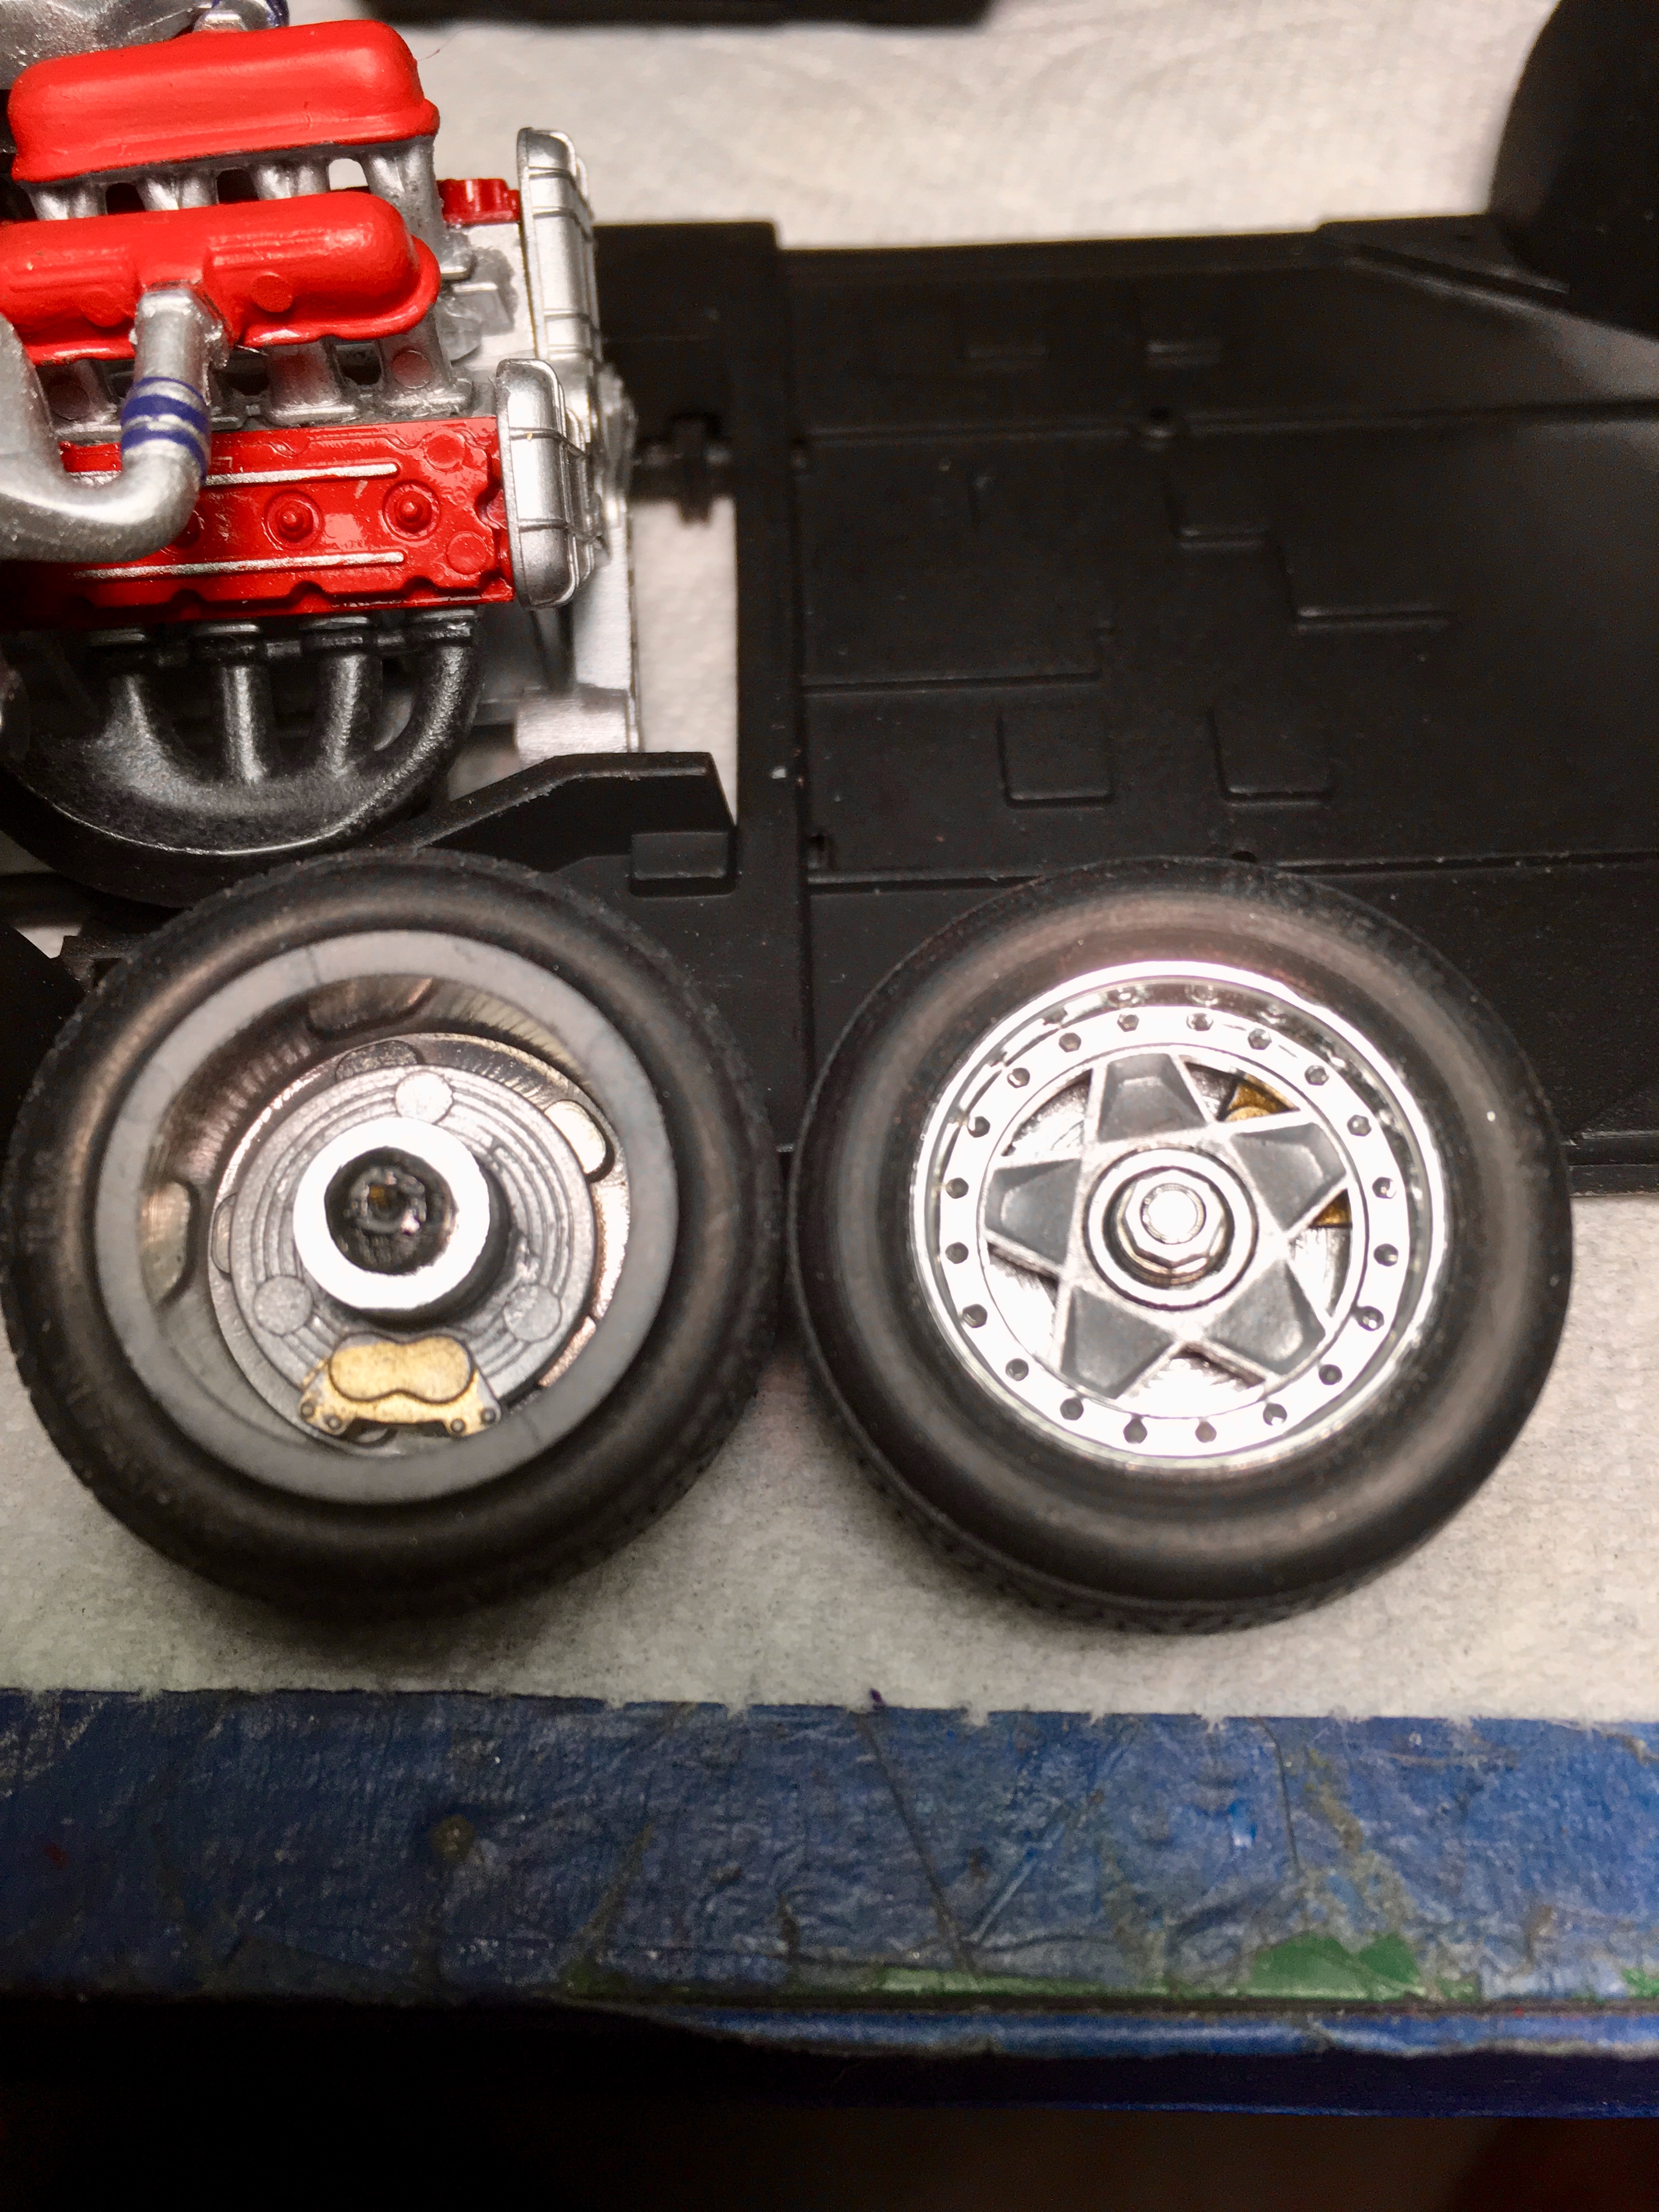
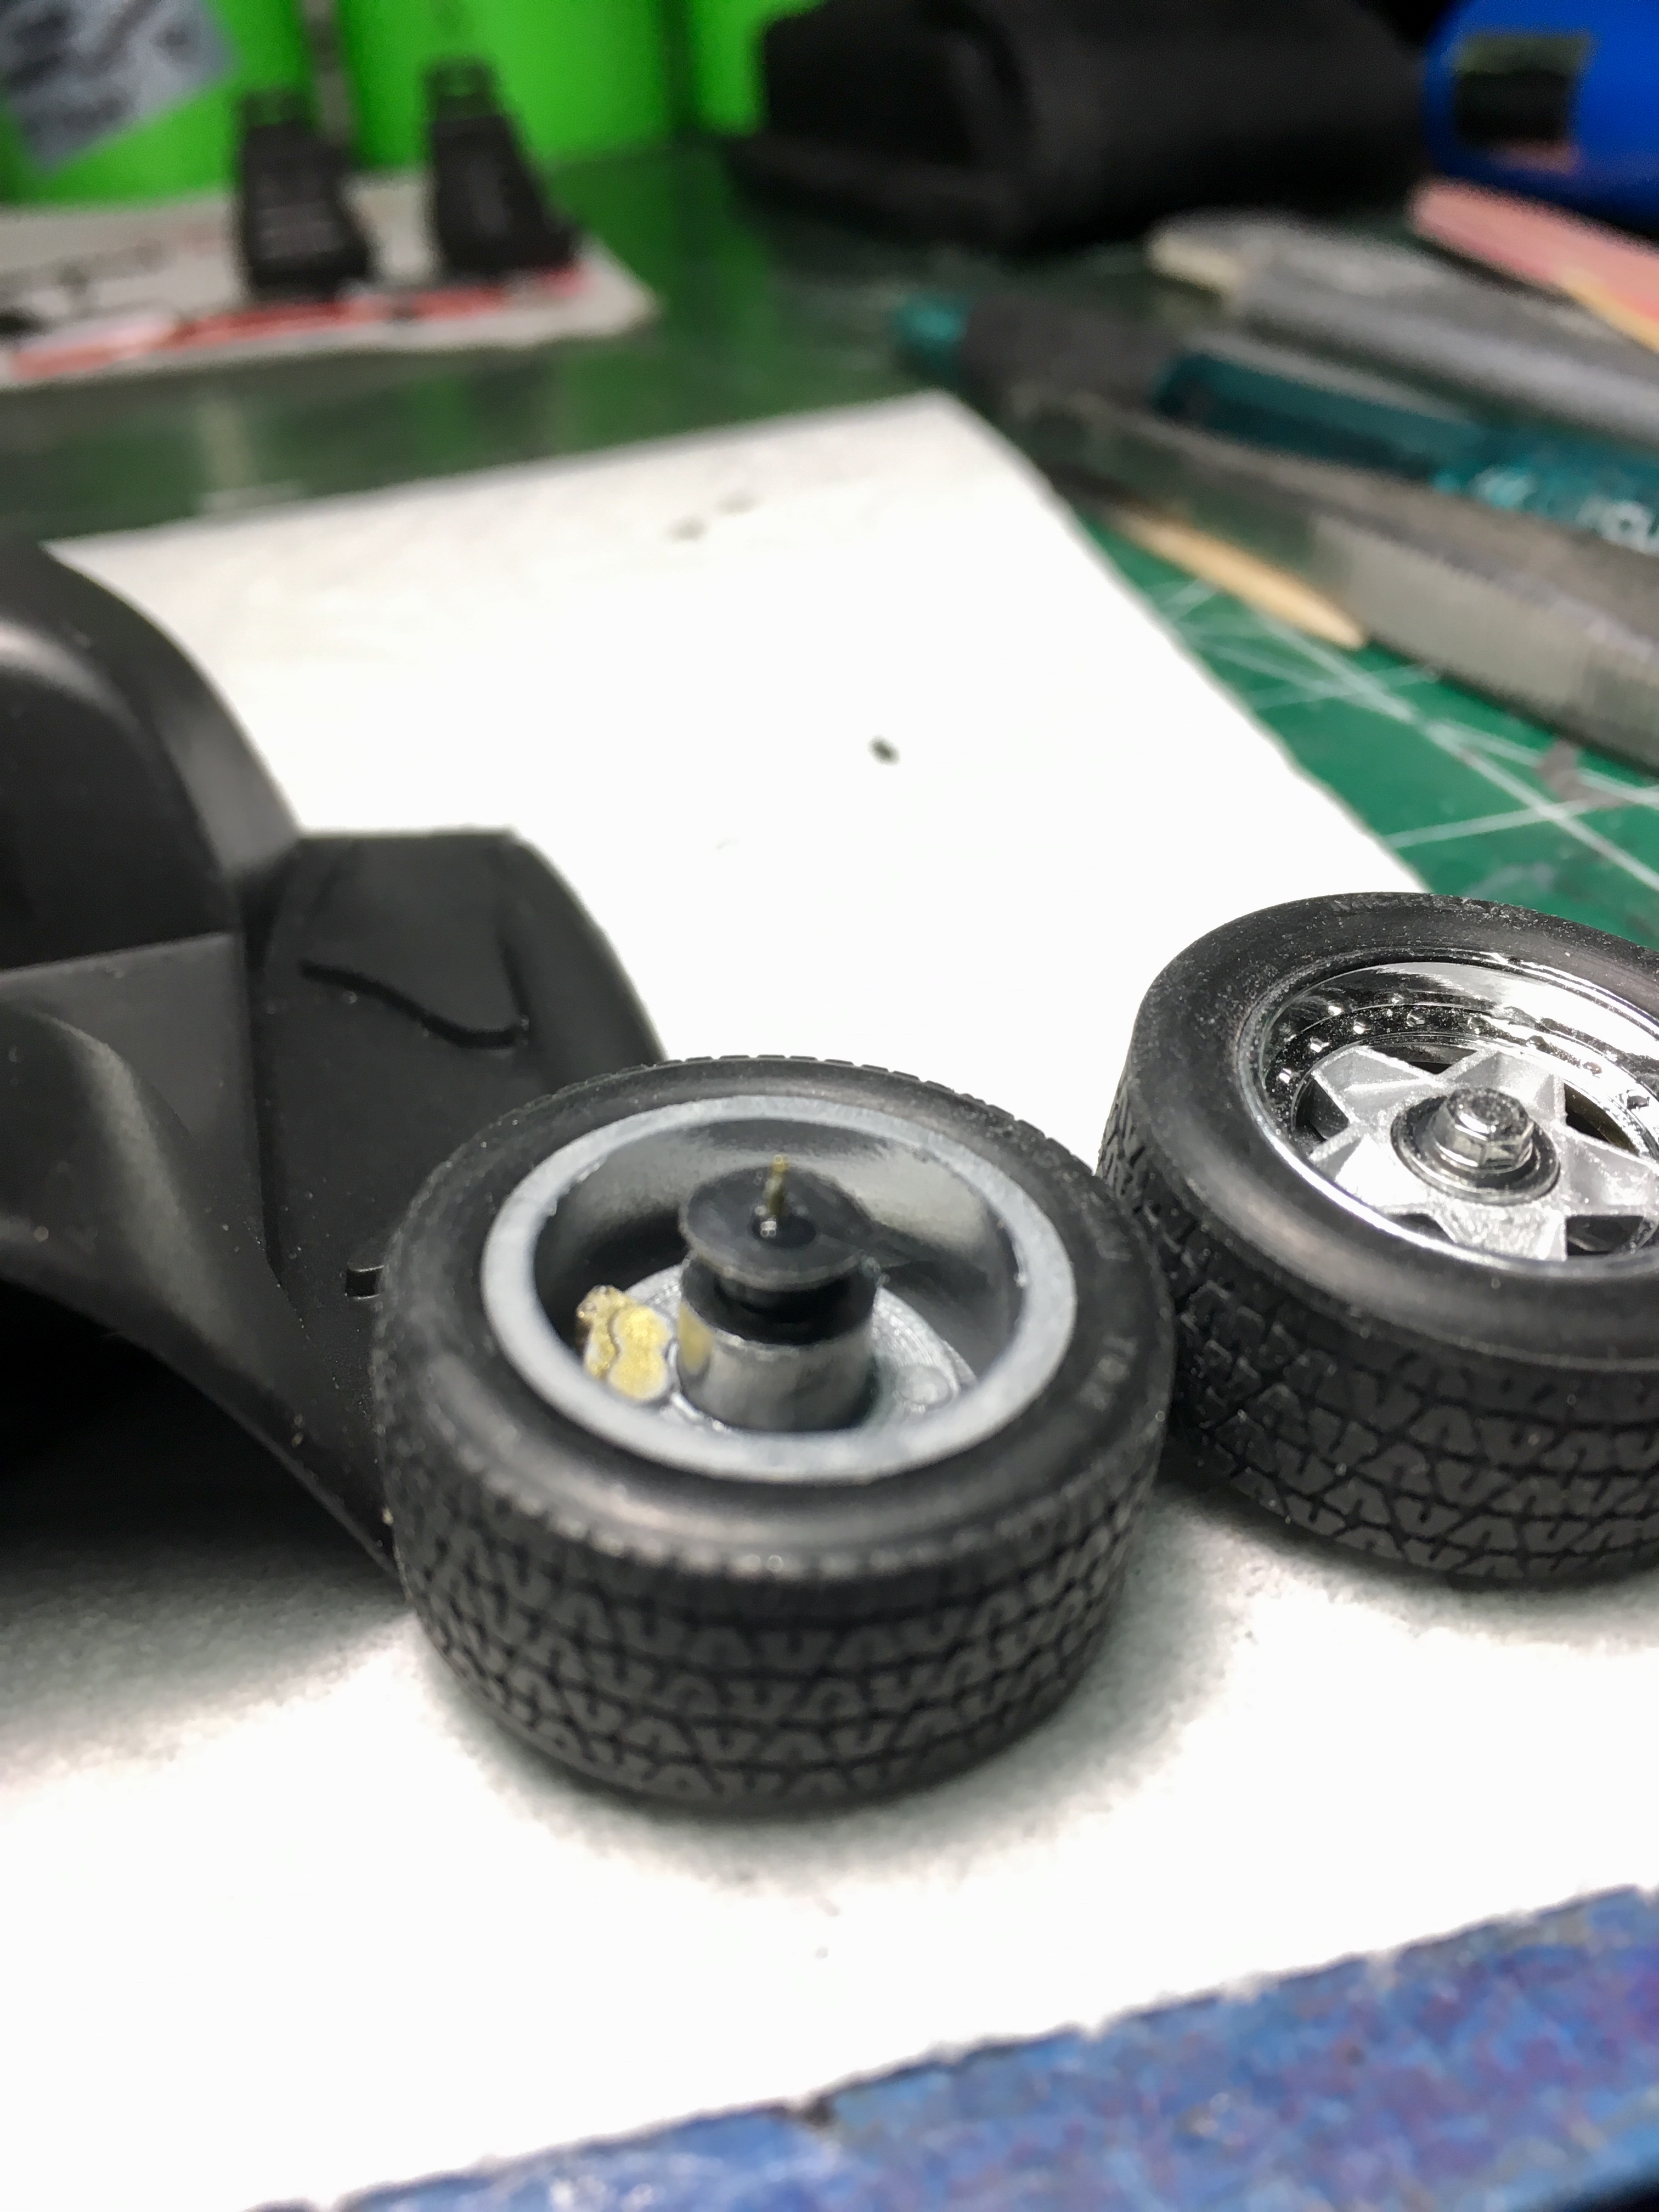
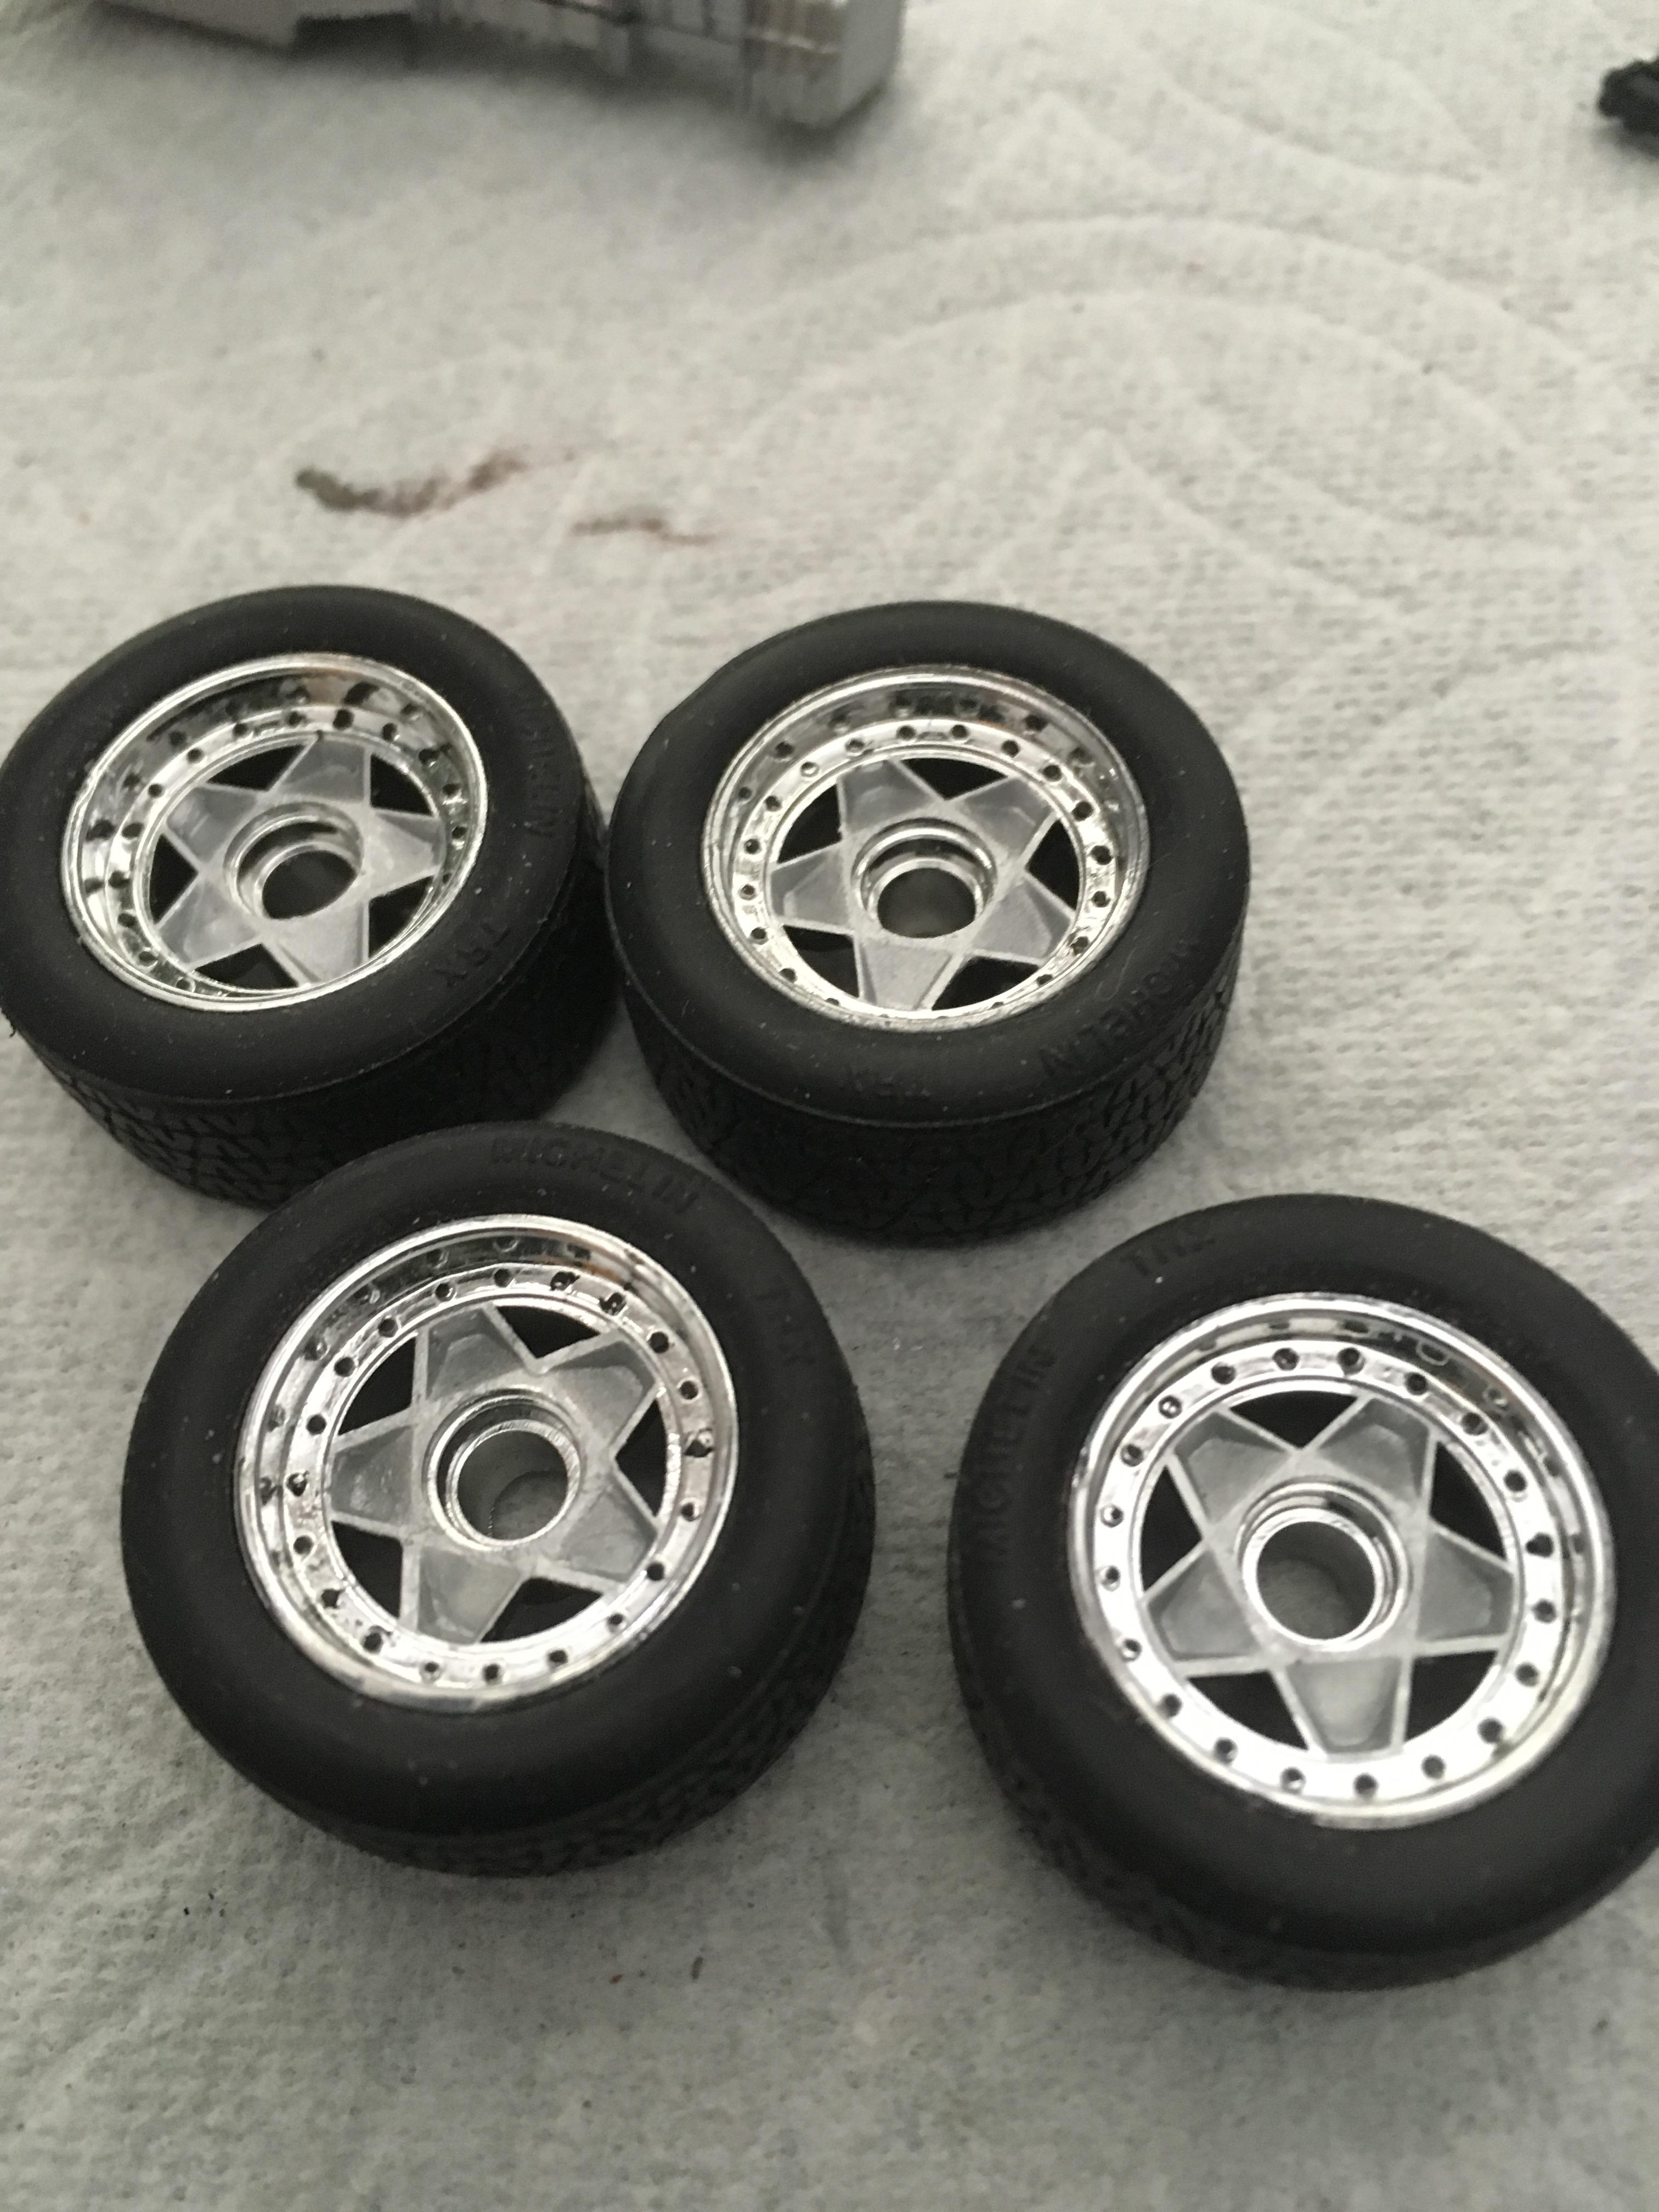
Thank you funky chiken . These next pics is what I did to get the ride height correct. And what I did to get the wheel and tire to set inside the wheelhouse correctly. Other wise the car would set too high and the tires would stick out. I drilled the disc brakes to fit inside the wheel. If you do it by the testors instructions the tires will stick out of the body. I cut off the spindle shafts and put them on the wheel. Drilled a small hole to put a piece of round brass stock. I drilled the front spindle with two hole locations and the rear with three hole locations. Gives me options on ride height. I will then epoxy the rear wheels , then the next day do the same to the front. I just dry fit the tire /wheel for the photos. Hope this helps with this car.
-
What did you see on the road today?
Brudda replied to Harry P.'s topic in General Automotive Talk (Trucks and Cars)
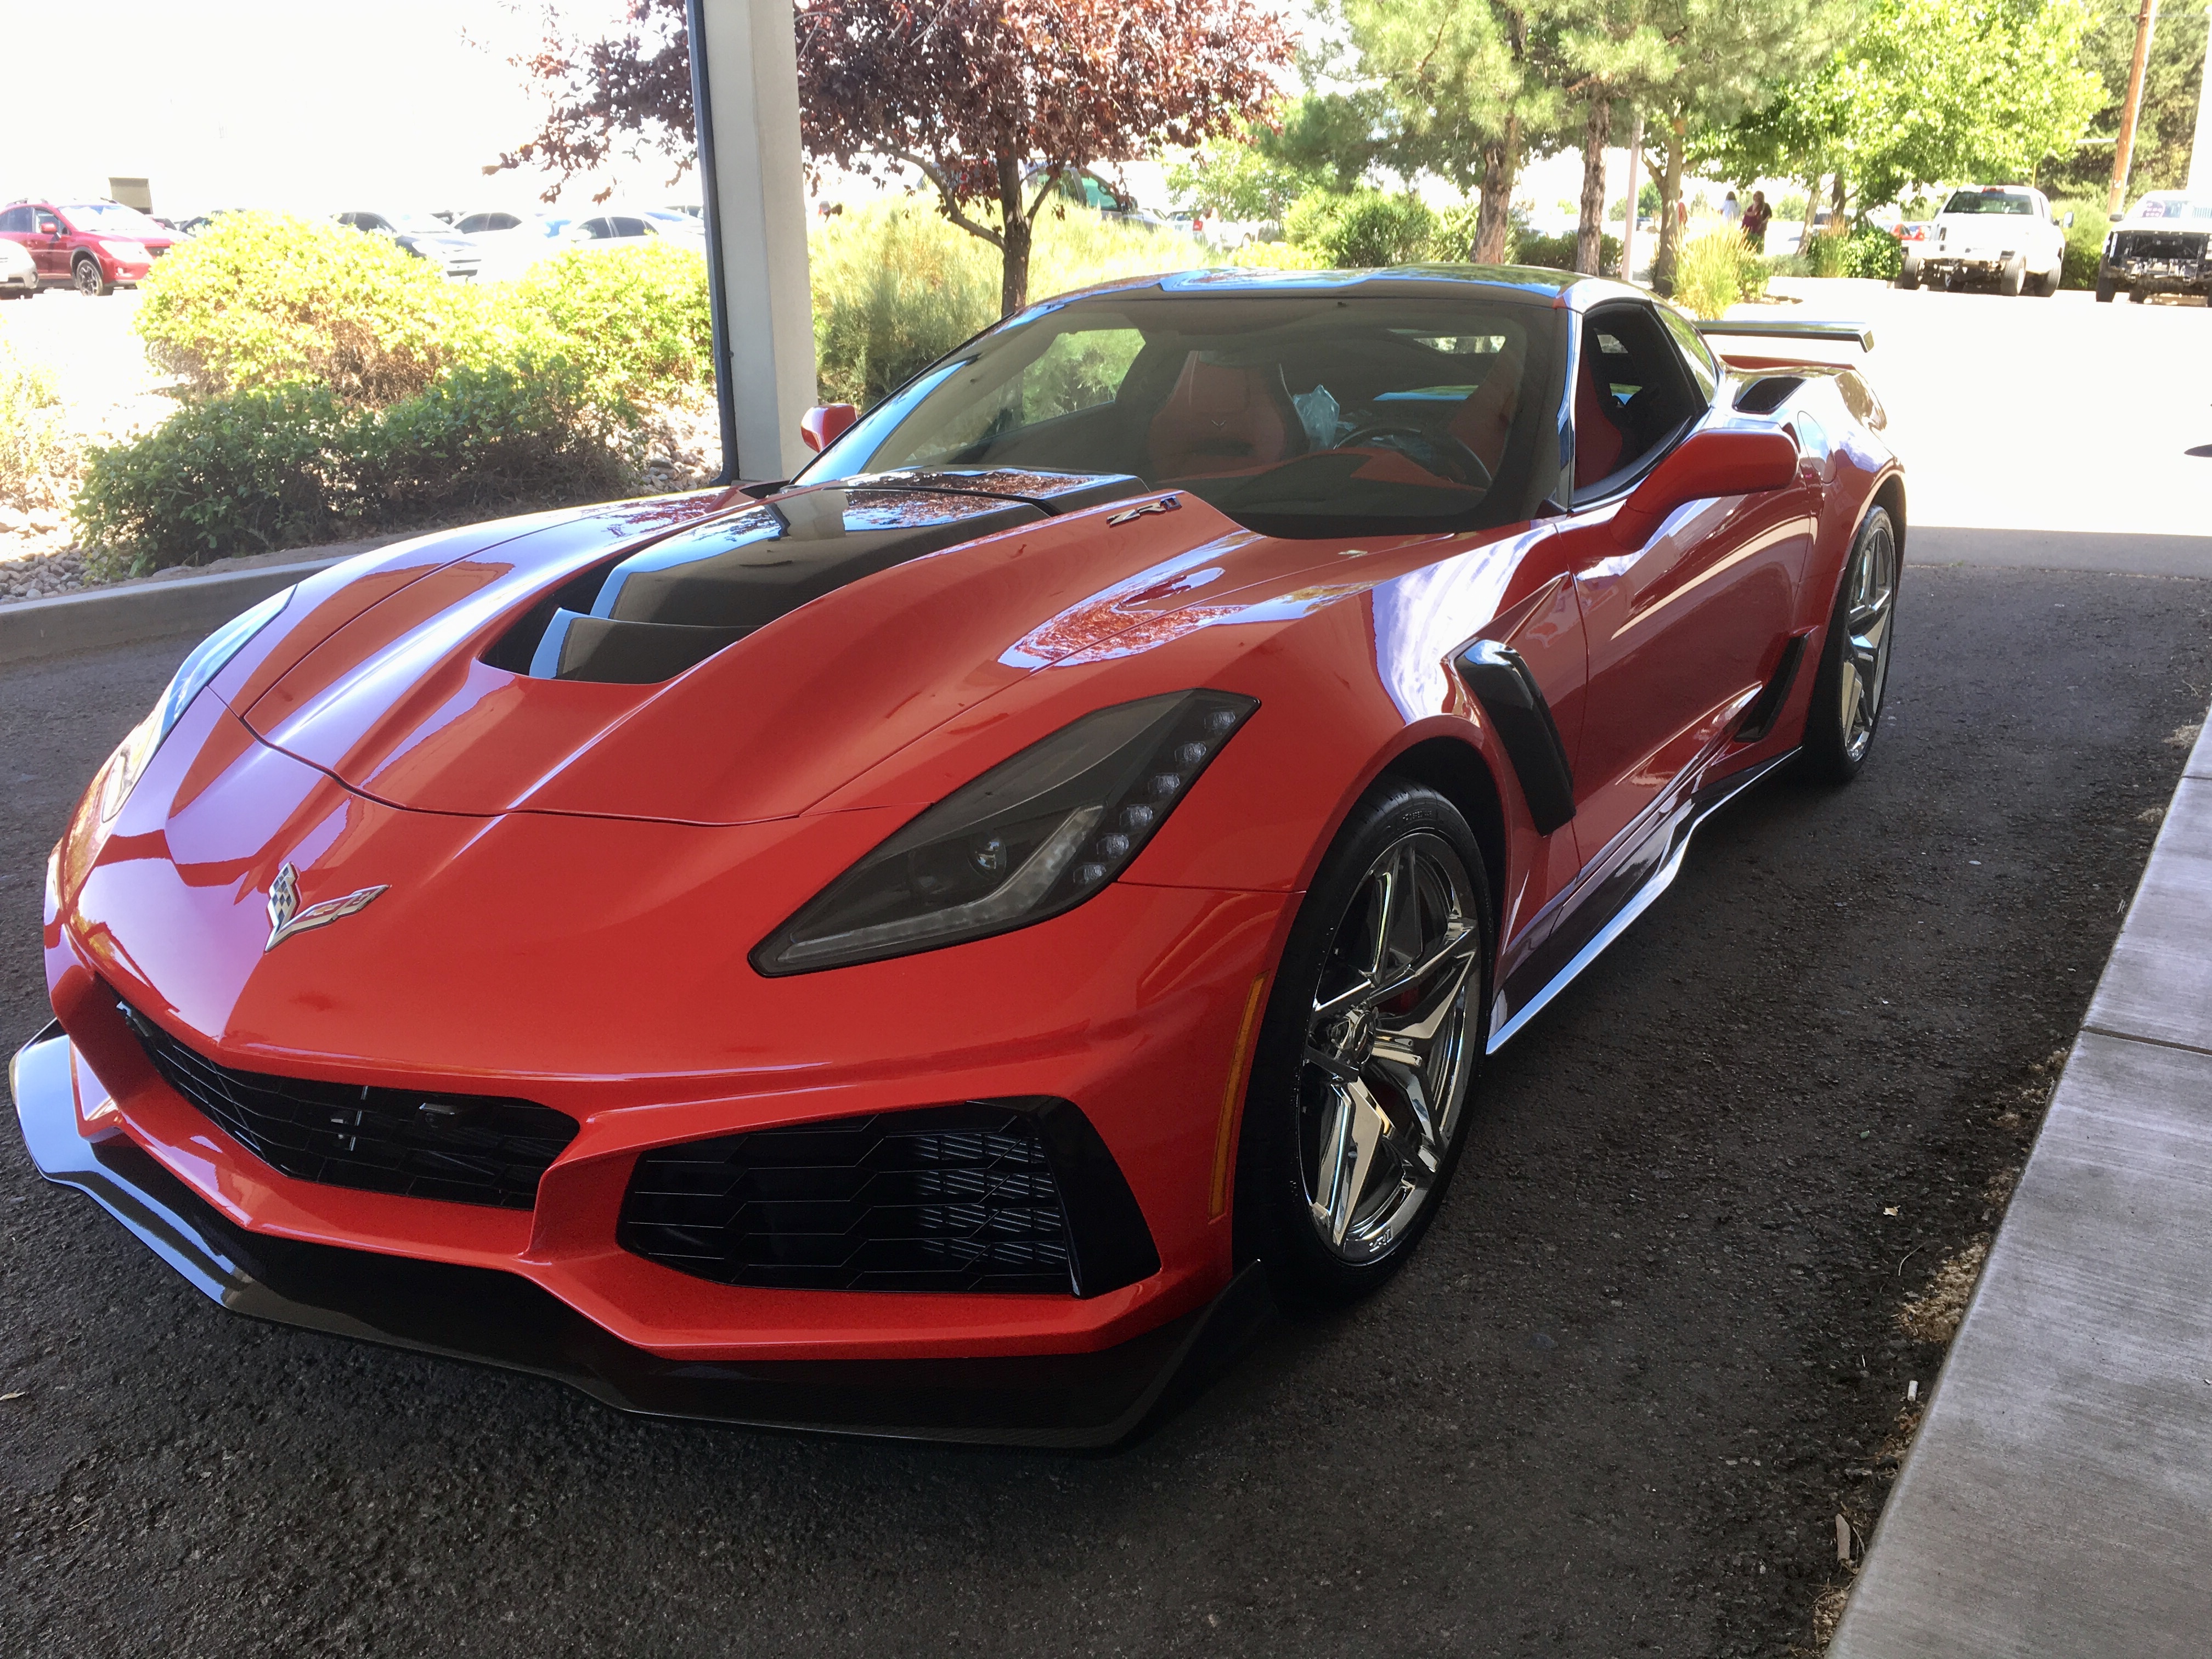
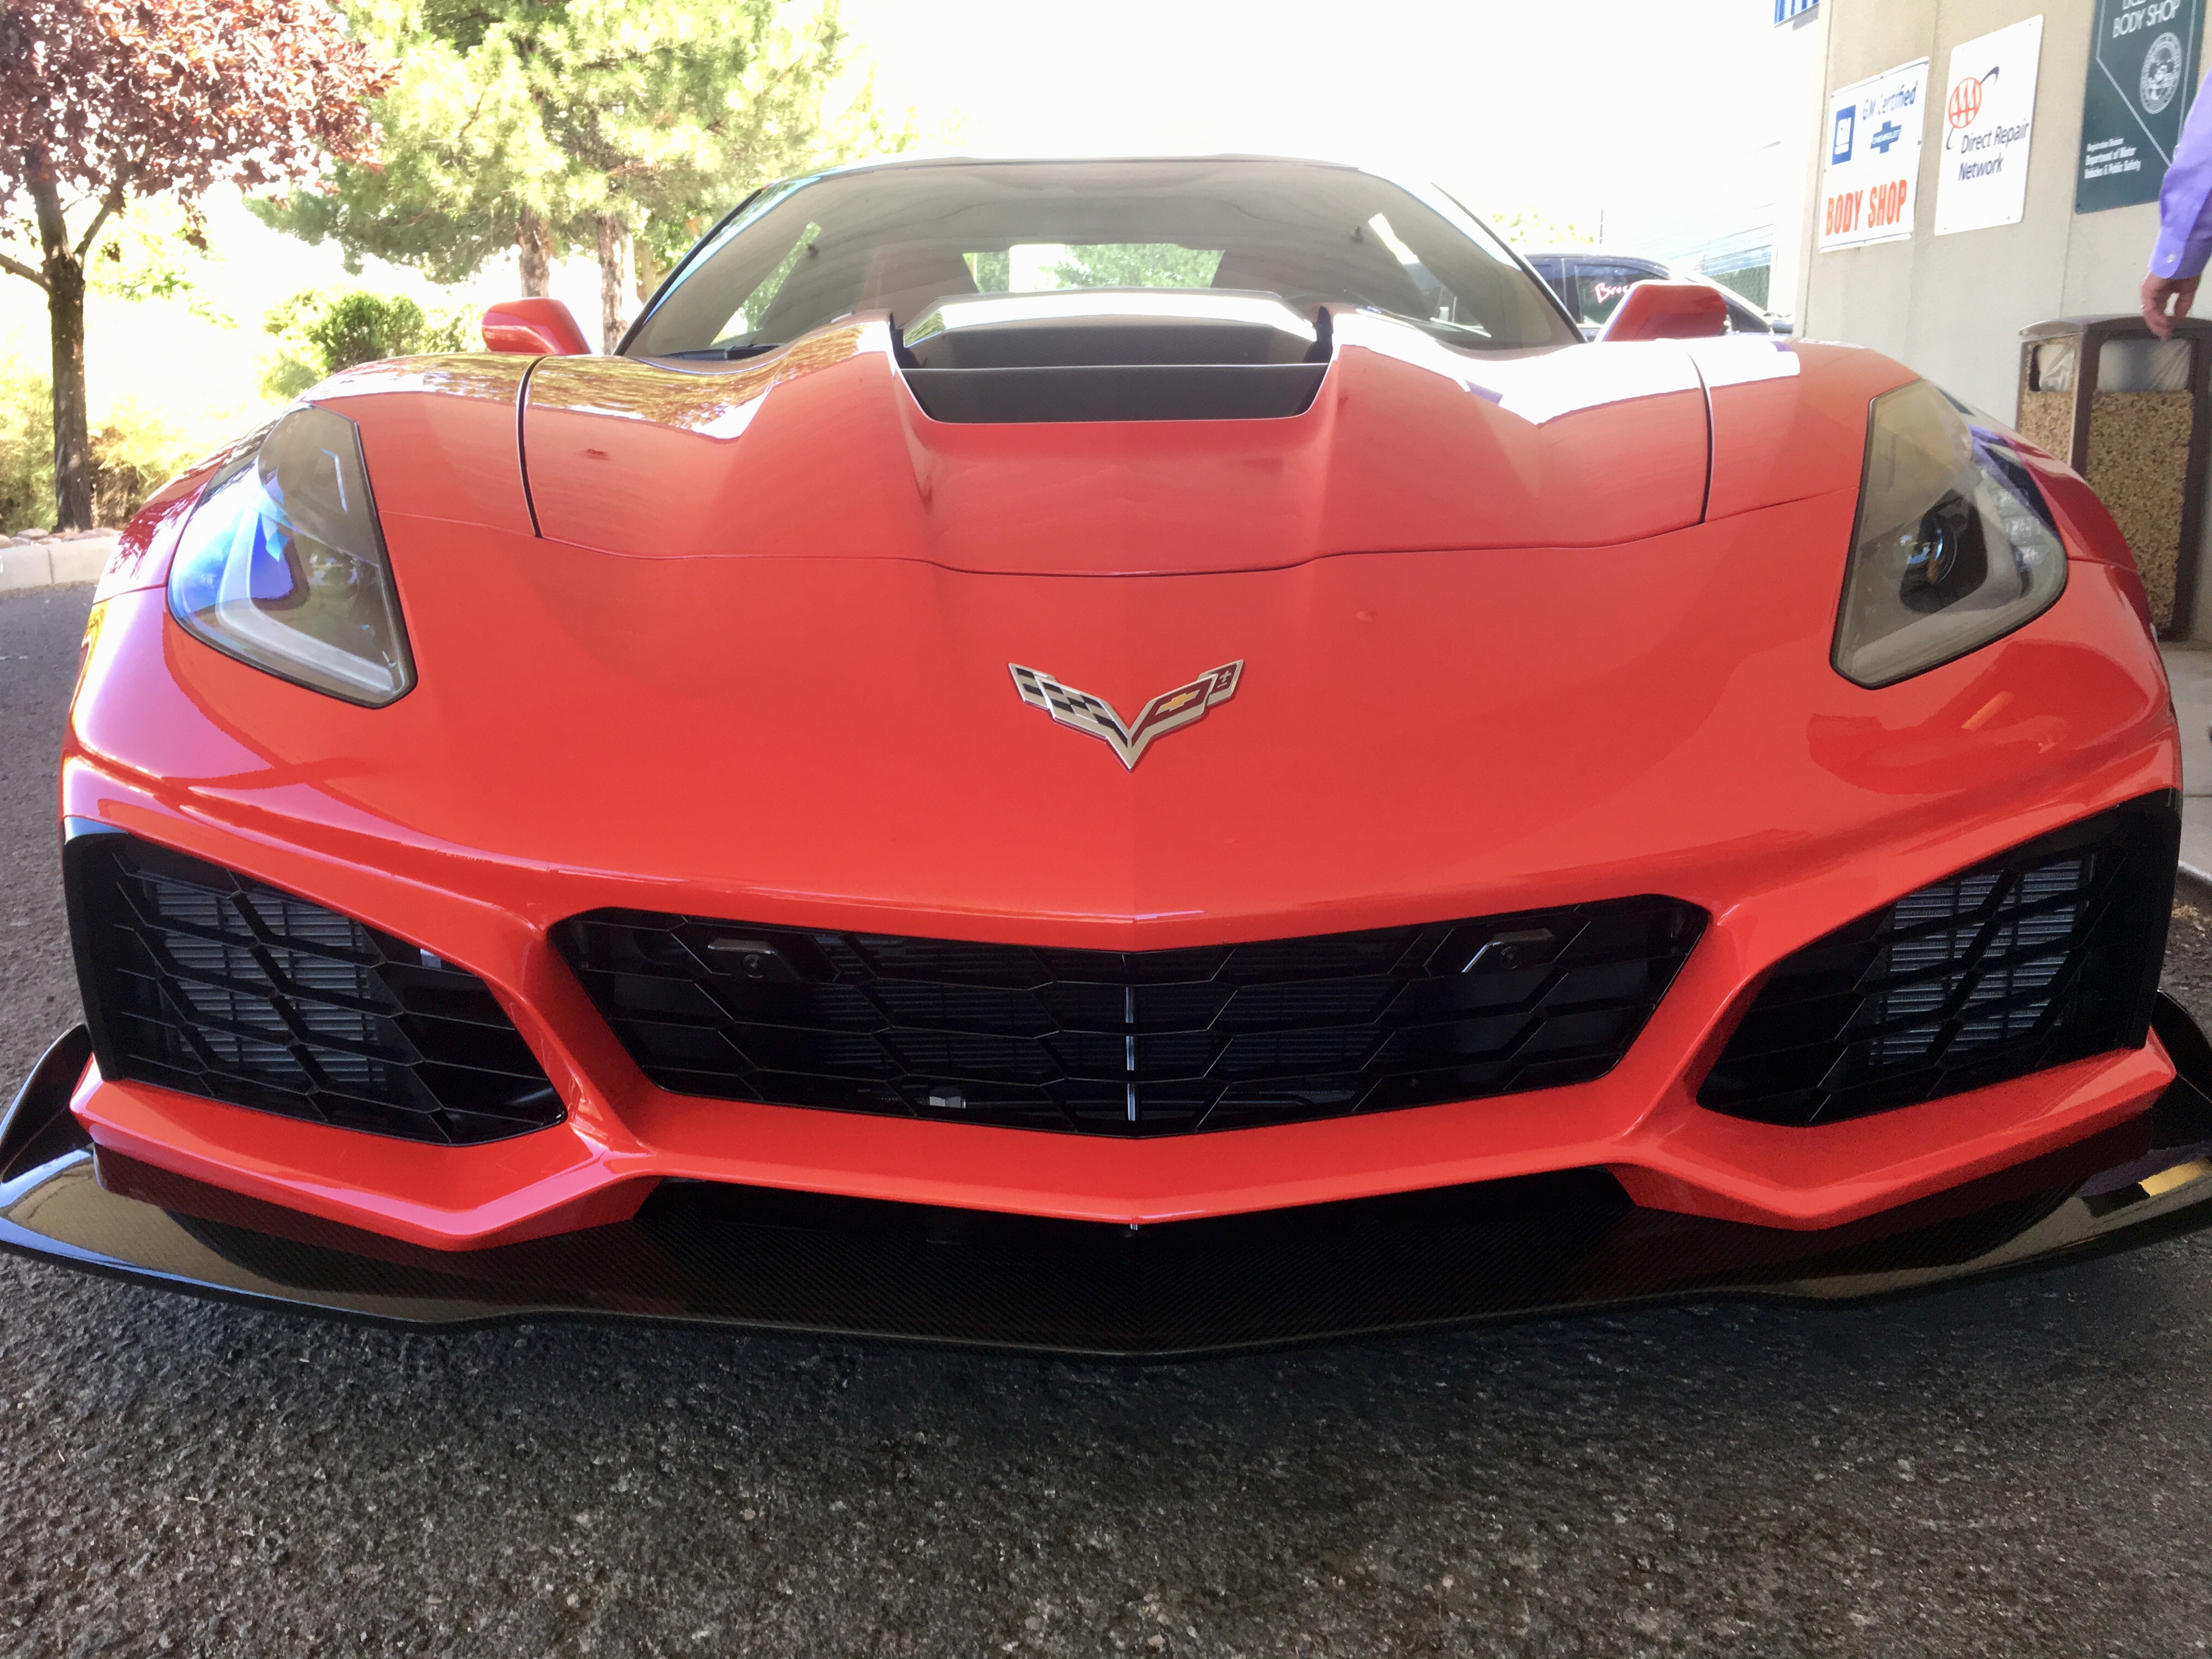
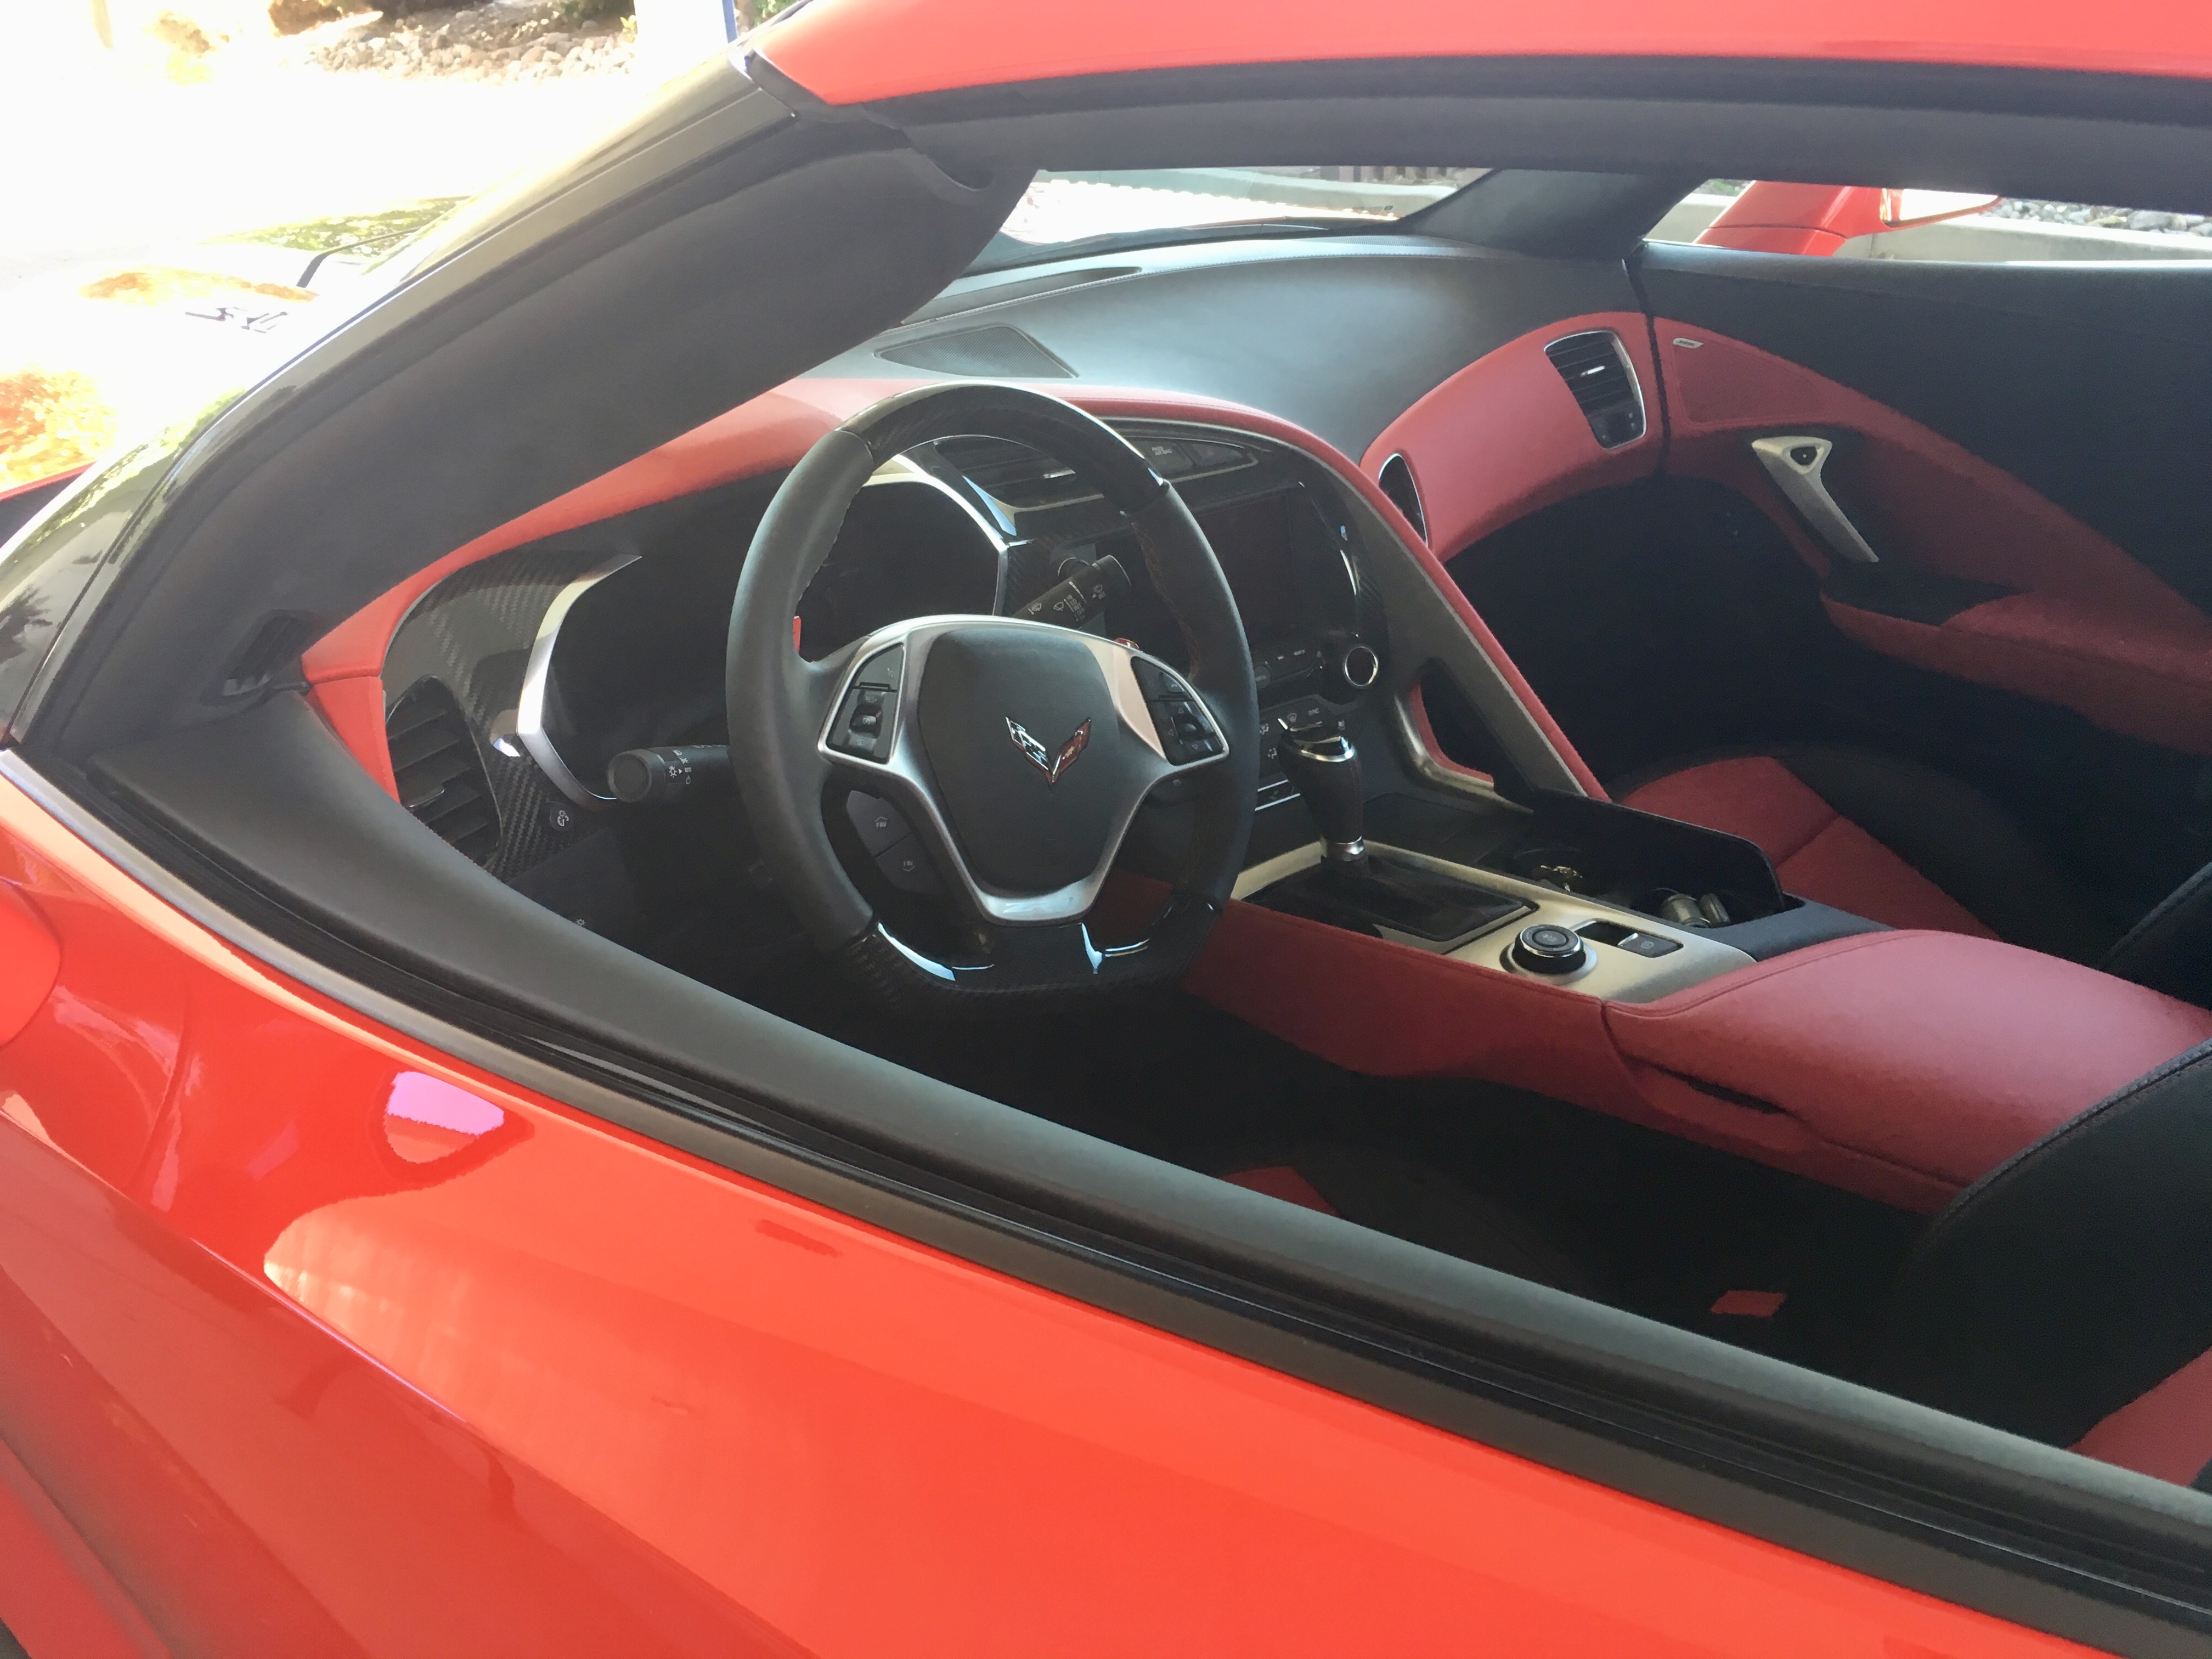
I work at a Chevrolet dealer. This is what I saw
-
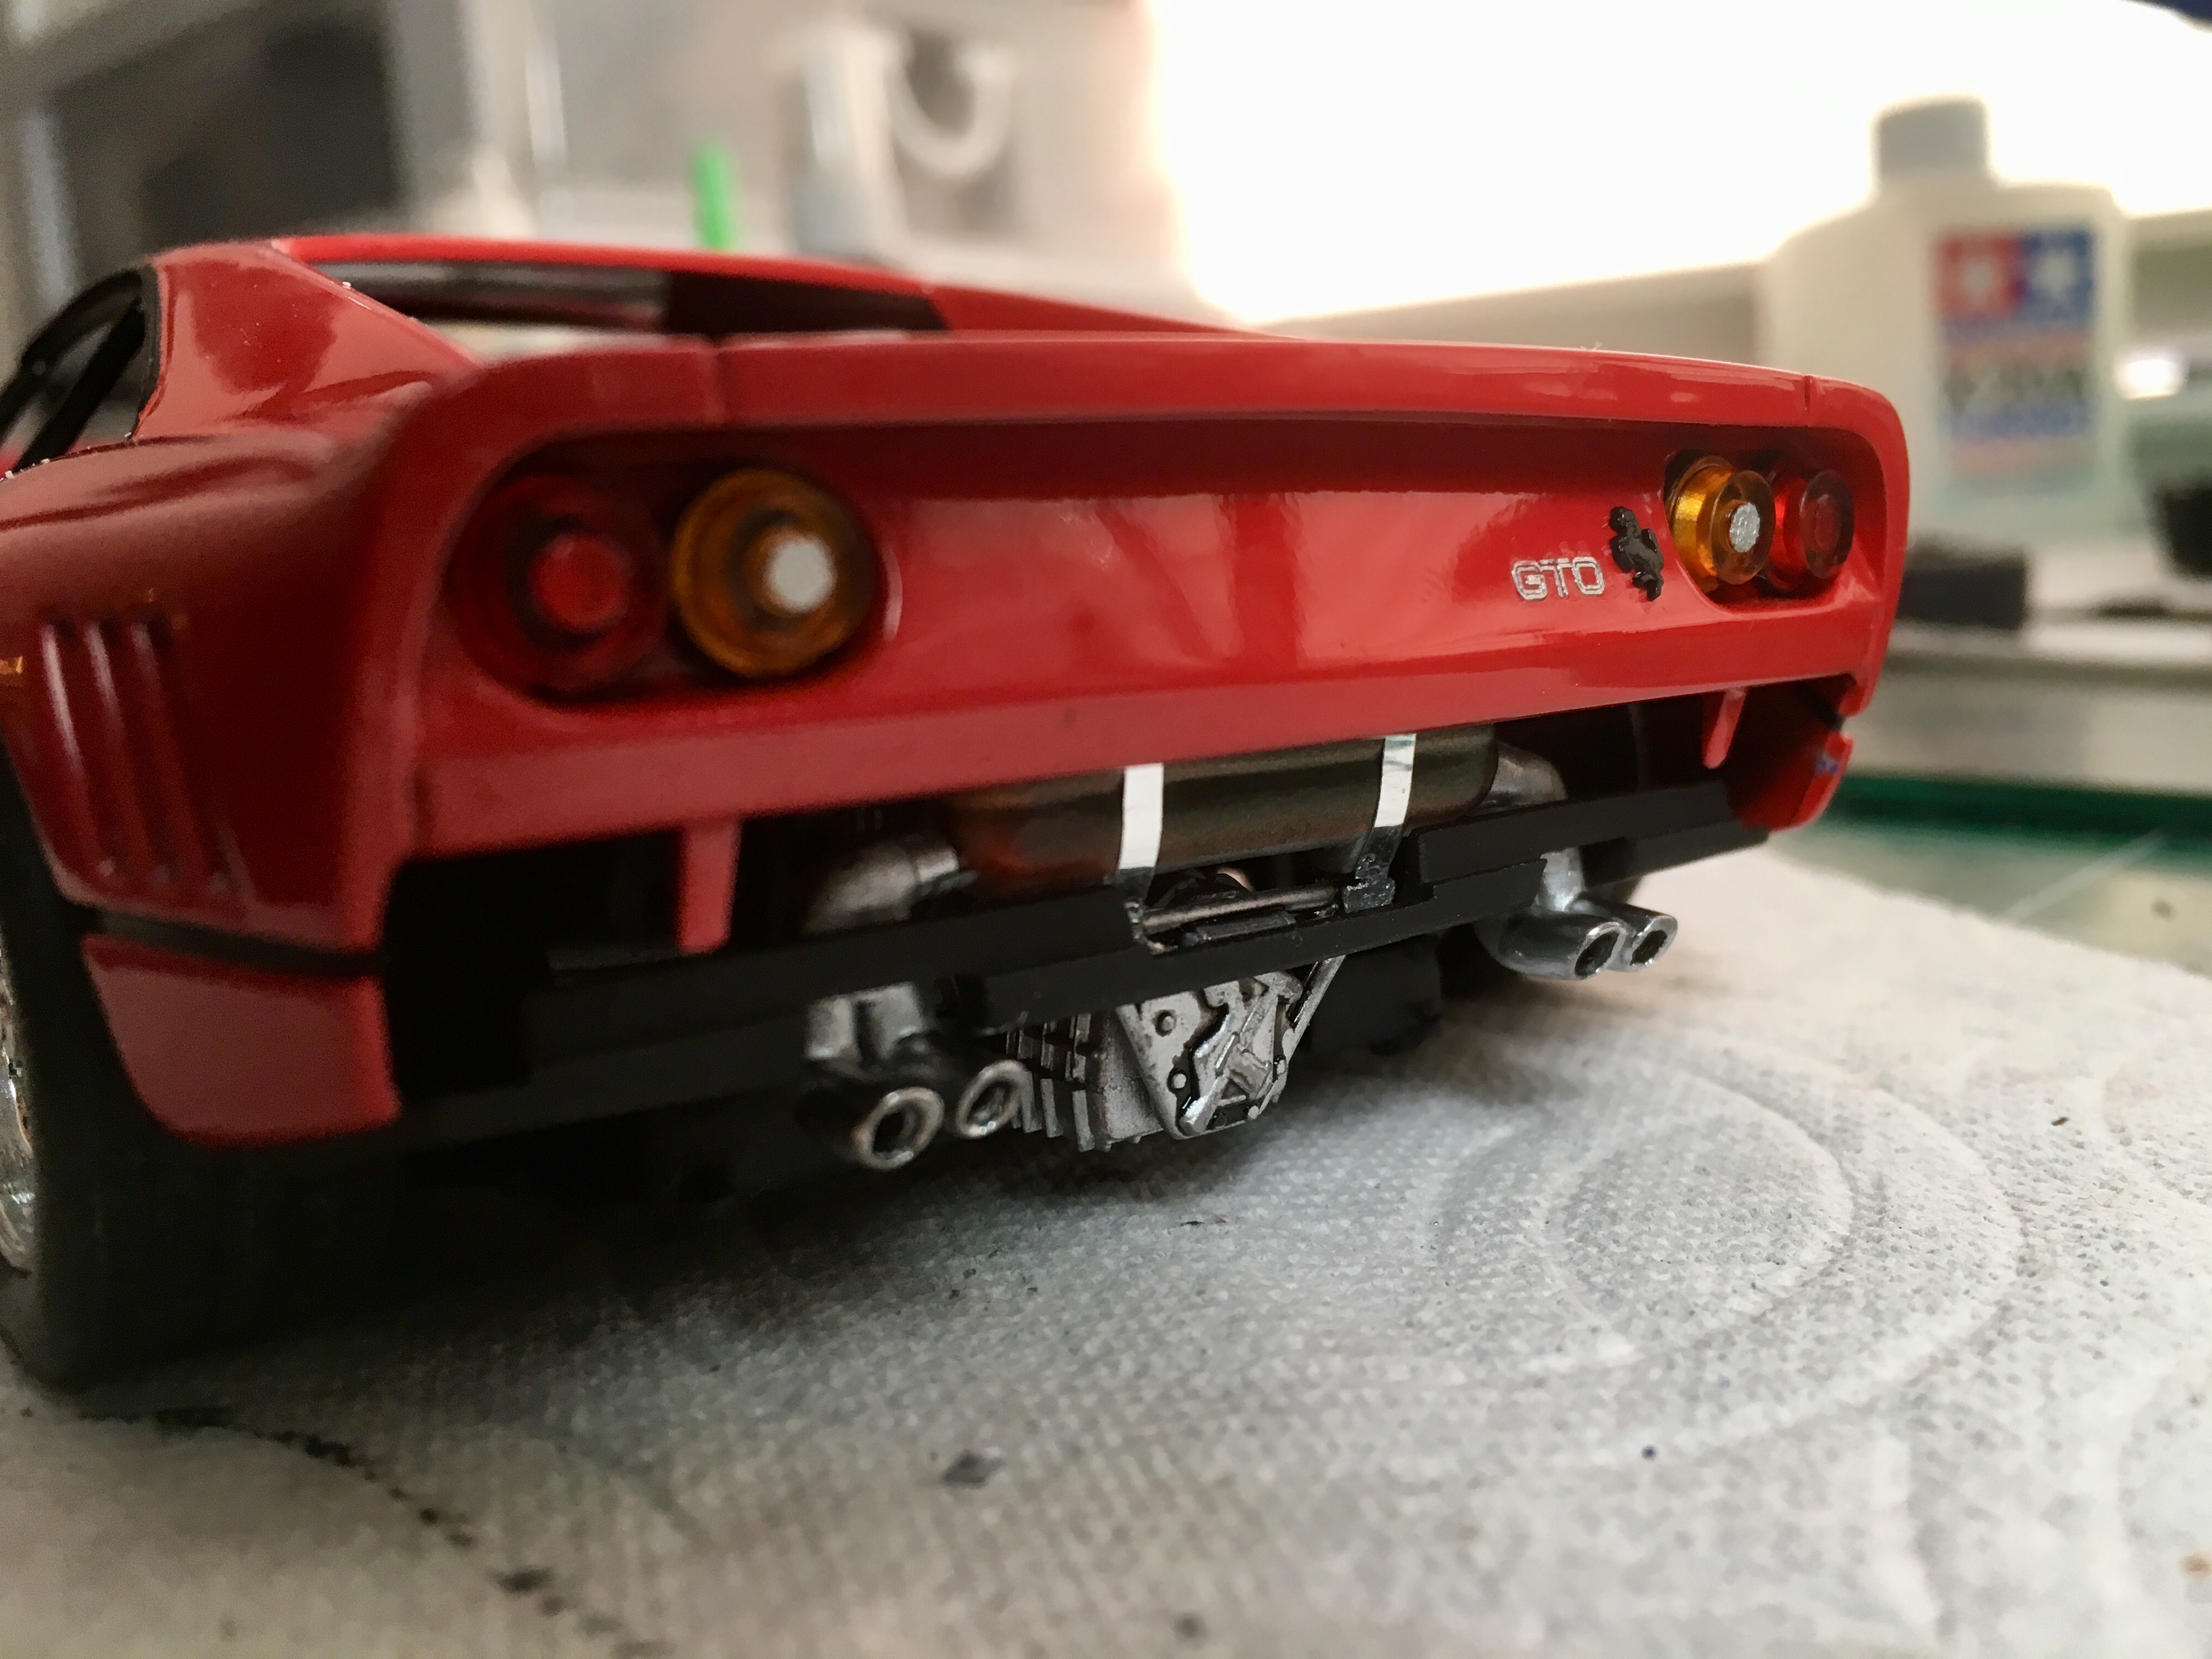
Rear shot before rear bumper goes on
-
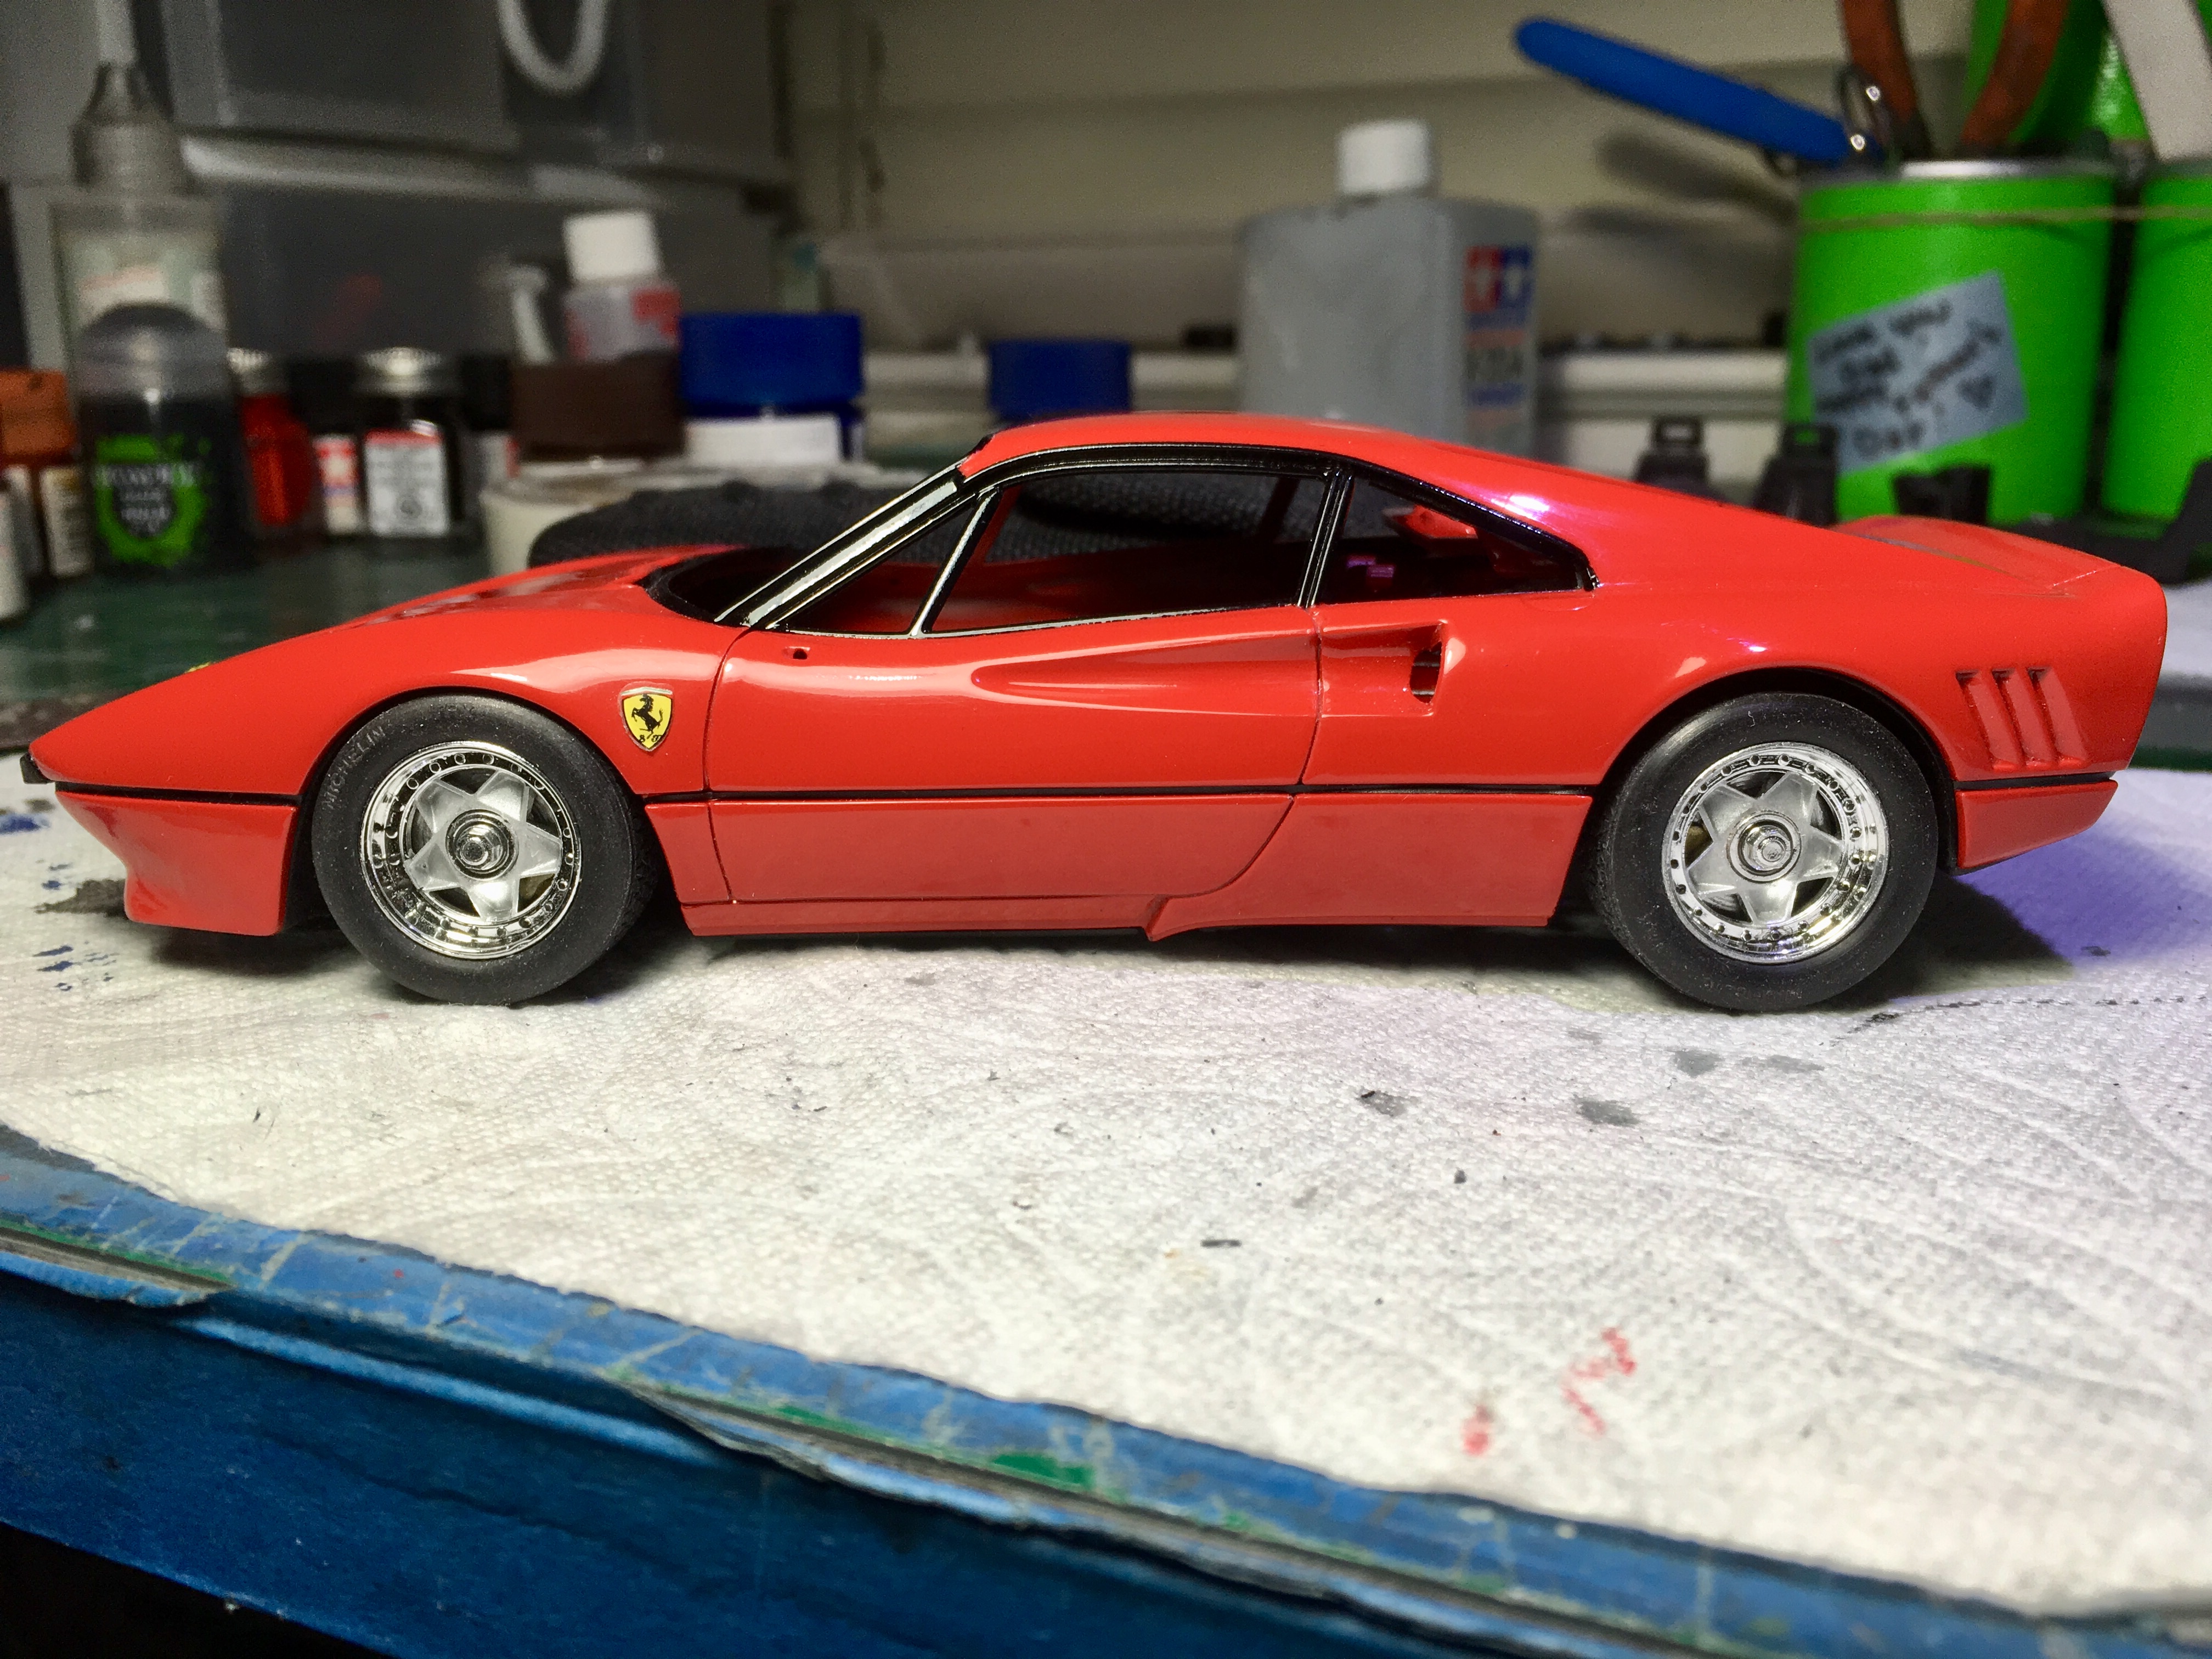
Thank you Iam Superdan and Dogfish. The model is not nice. The plastic is kind of brittle , a lot of sinkmarks, the stock stance is terrible. But if you go into it knowing this, fix all the problems the kit is ok. The dimensions seem to be good. I thought this would be a breeze but again I was wrong. Thank you guys very much for the great comments.
-
Thank you sir
-
Another shot
-
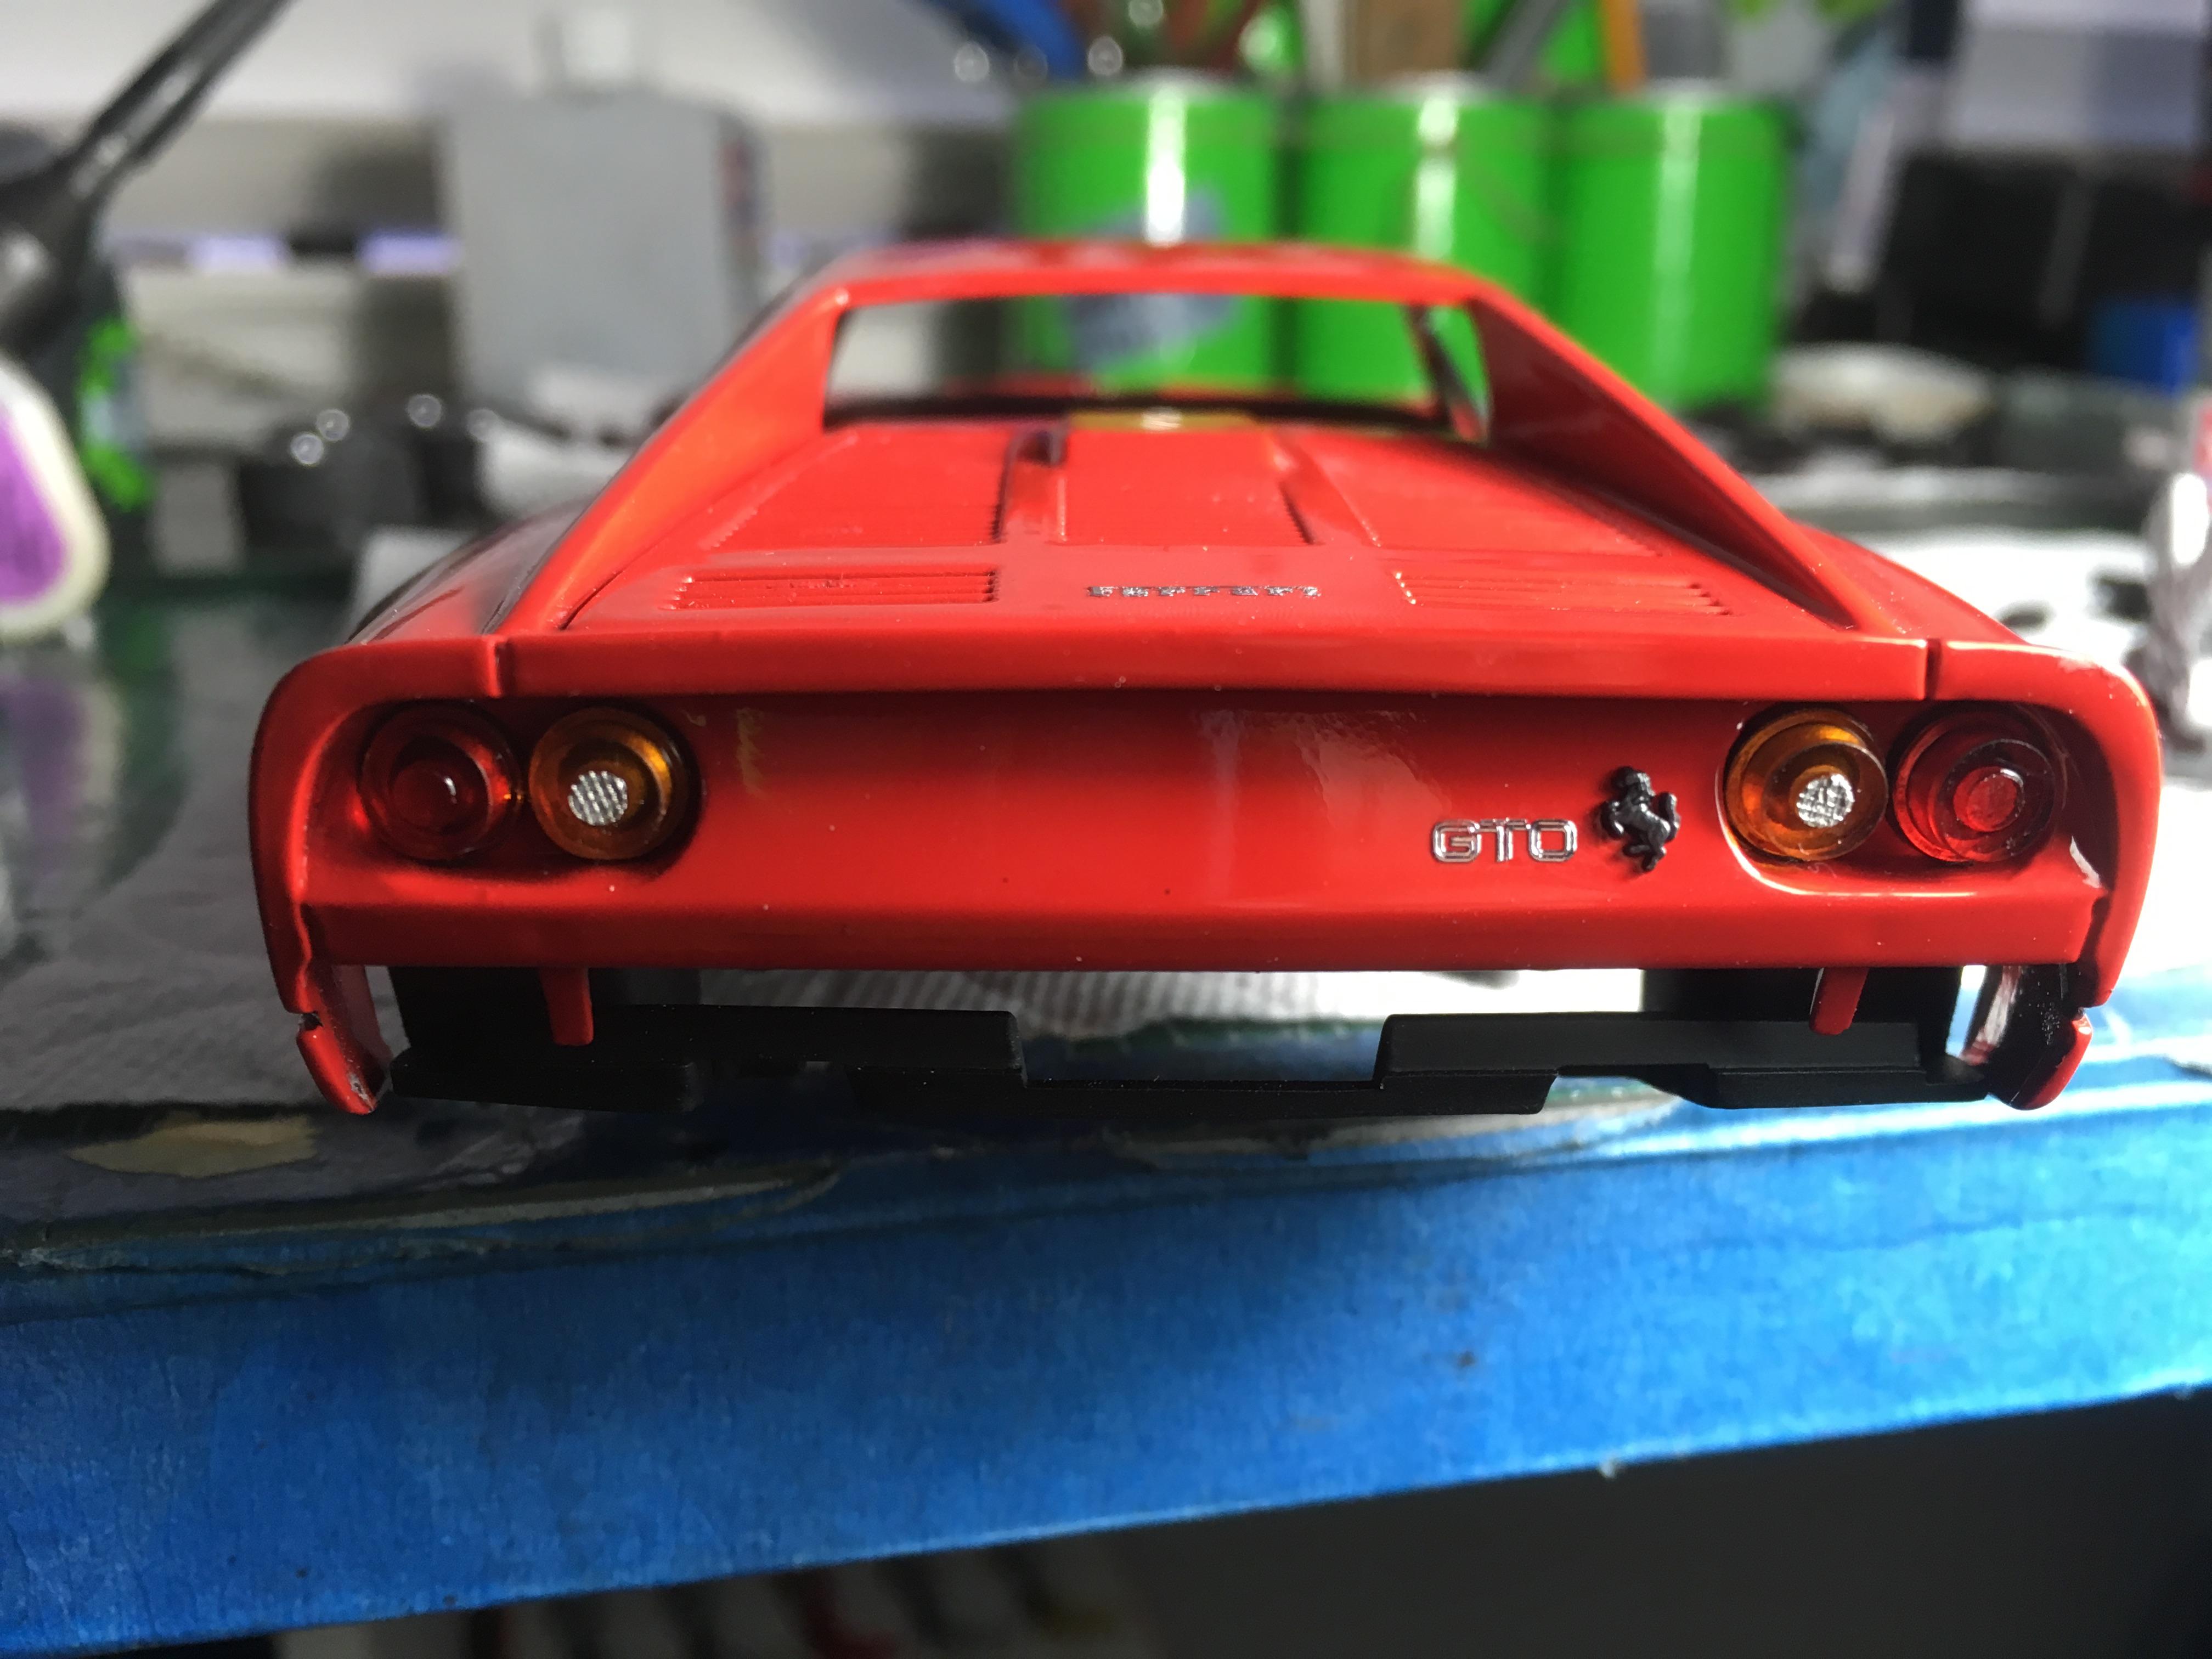
Thank you guys for the great comments. Here it sits on its stance. The body still needs the pininfarina emblem. The lower intake needs to be black. So far it’s good. But a lot can happen on the way to the finish line.
-
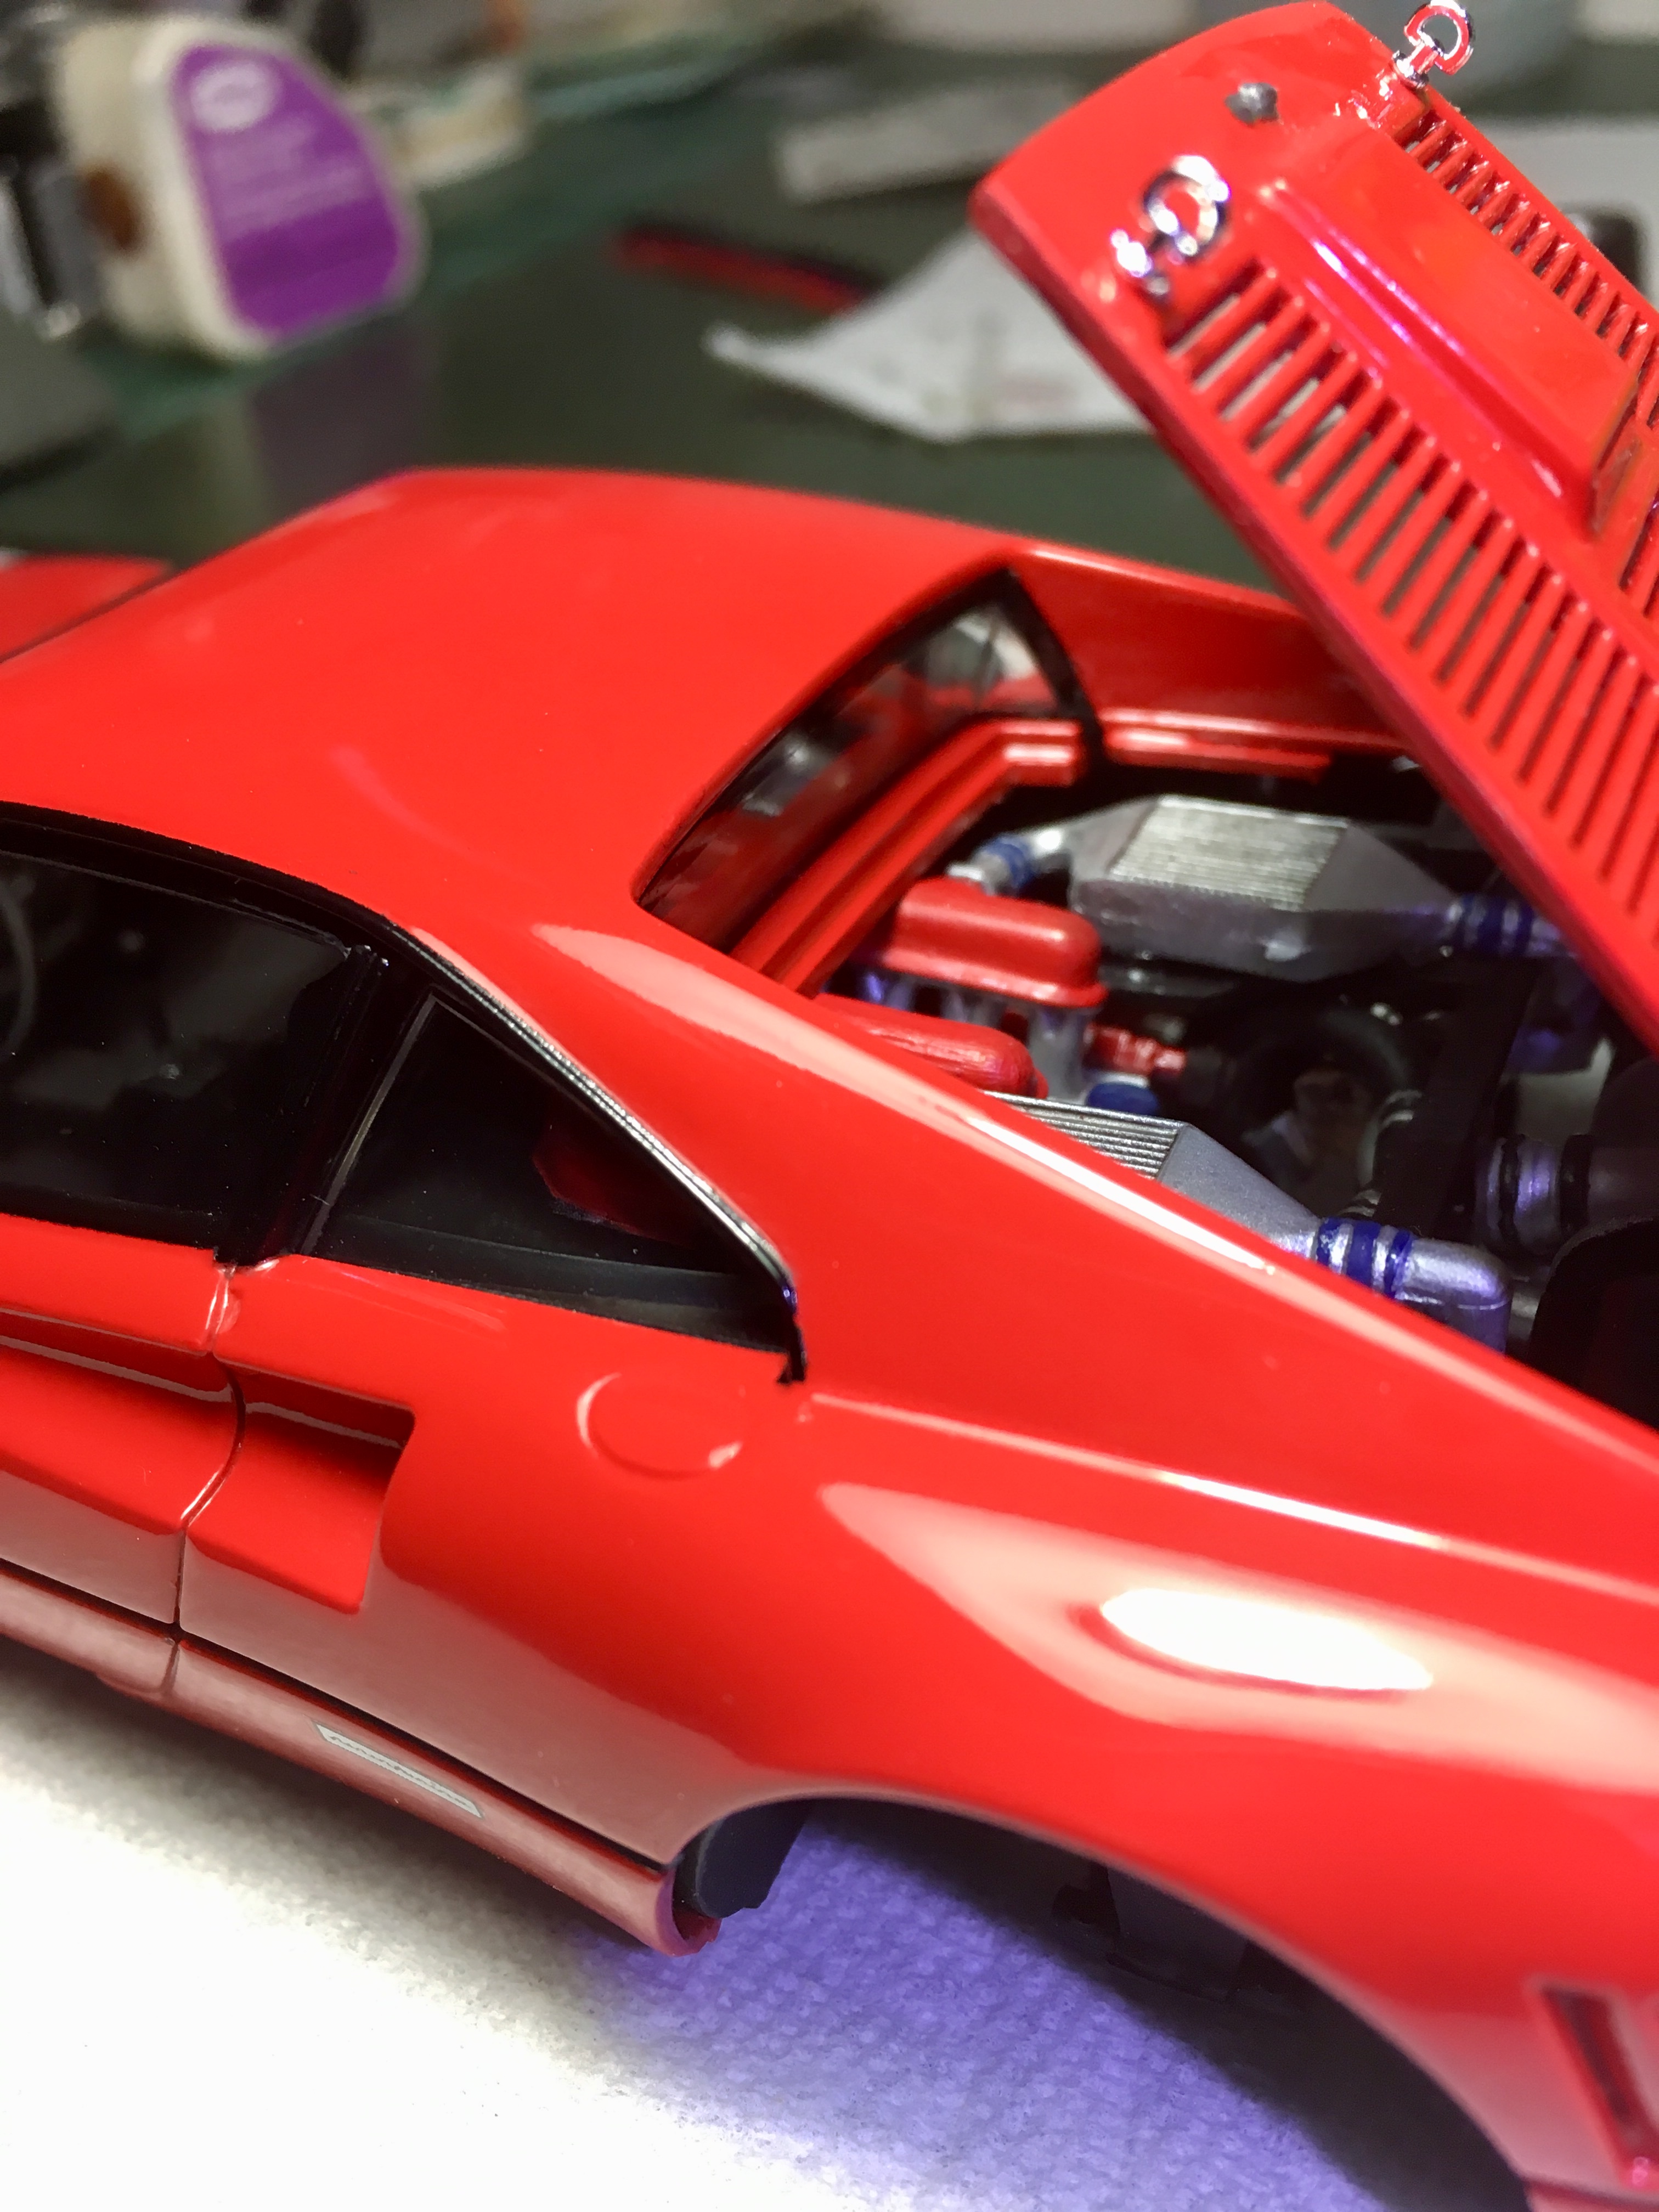
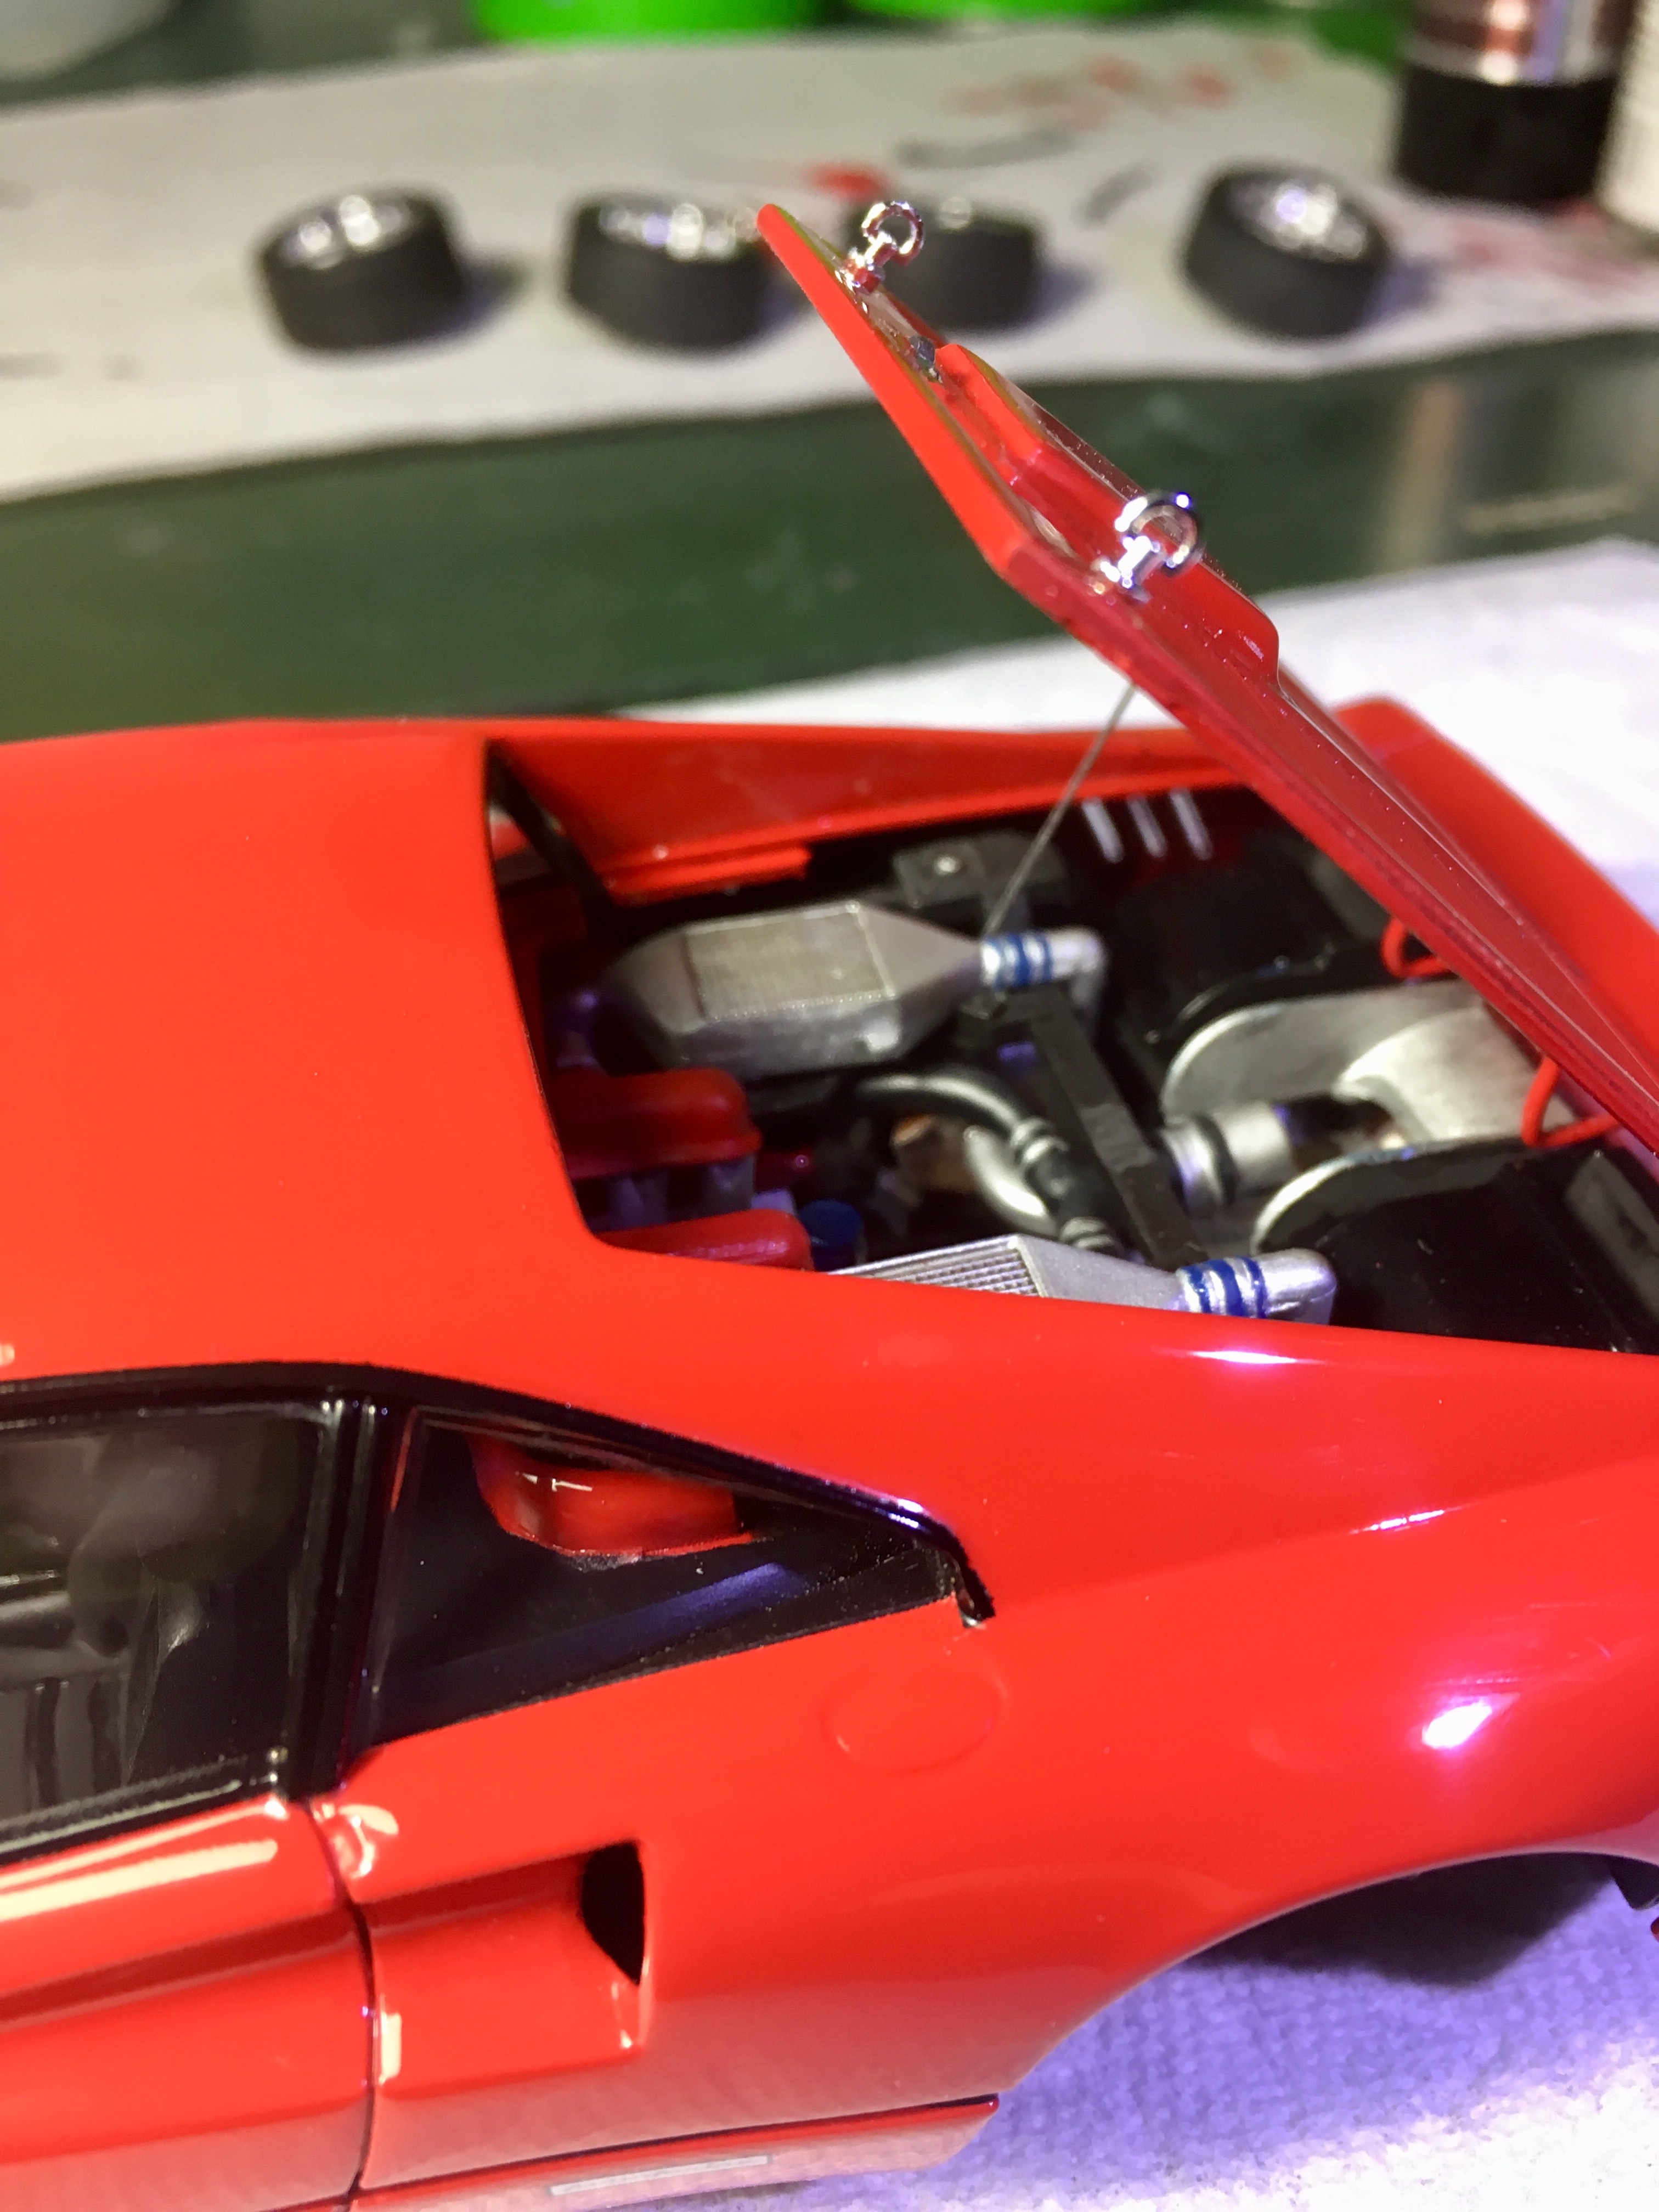
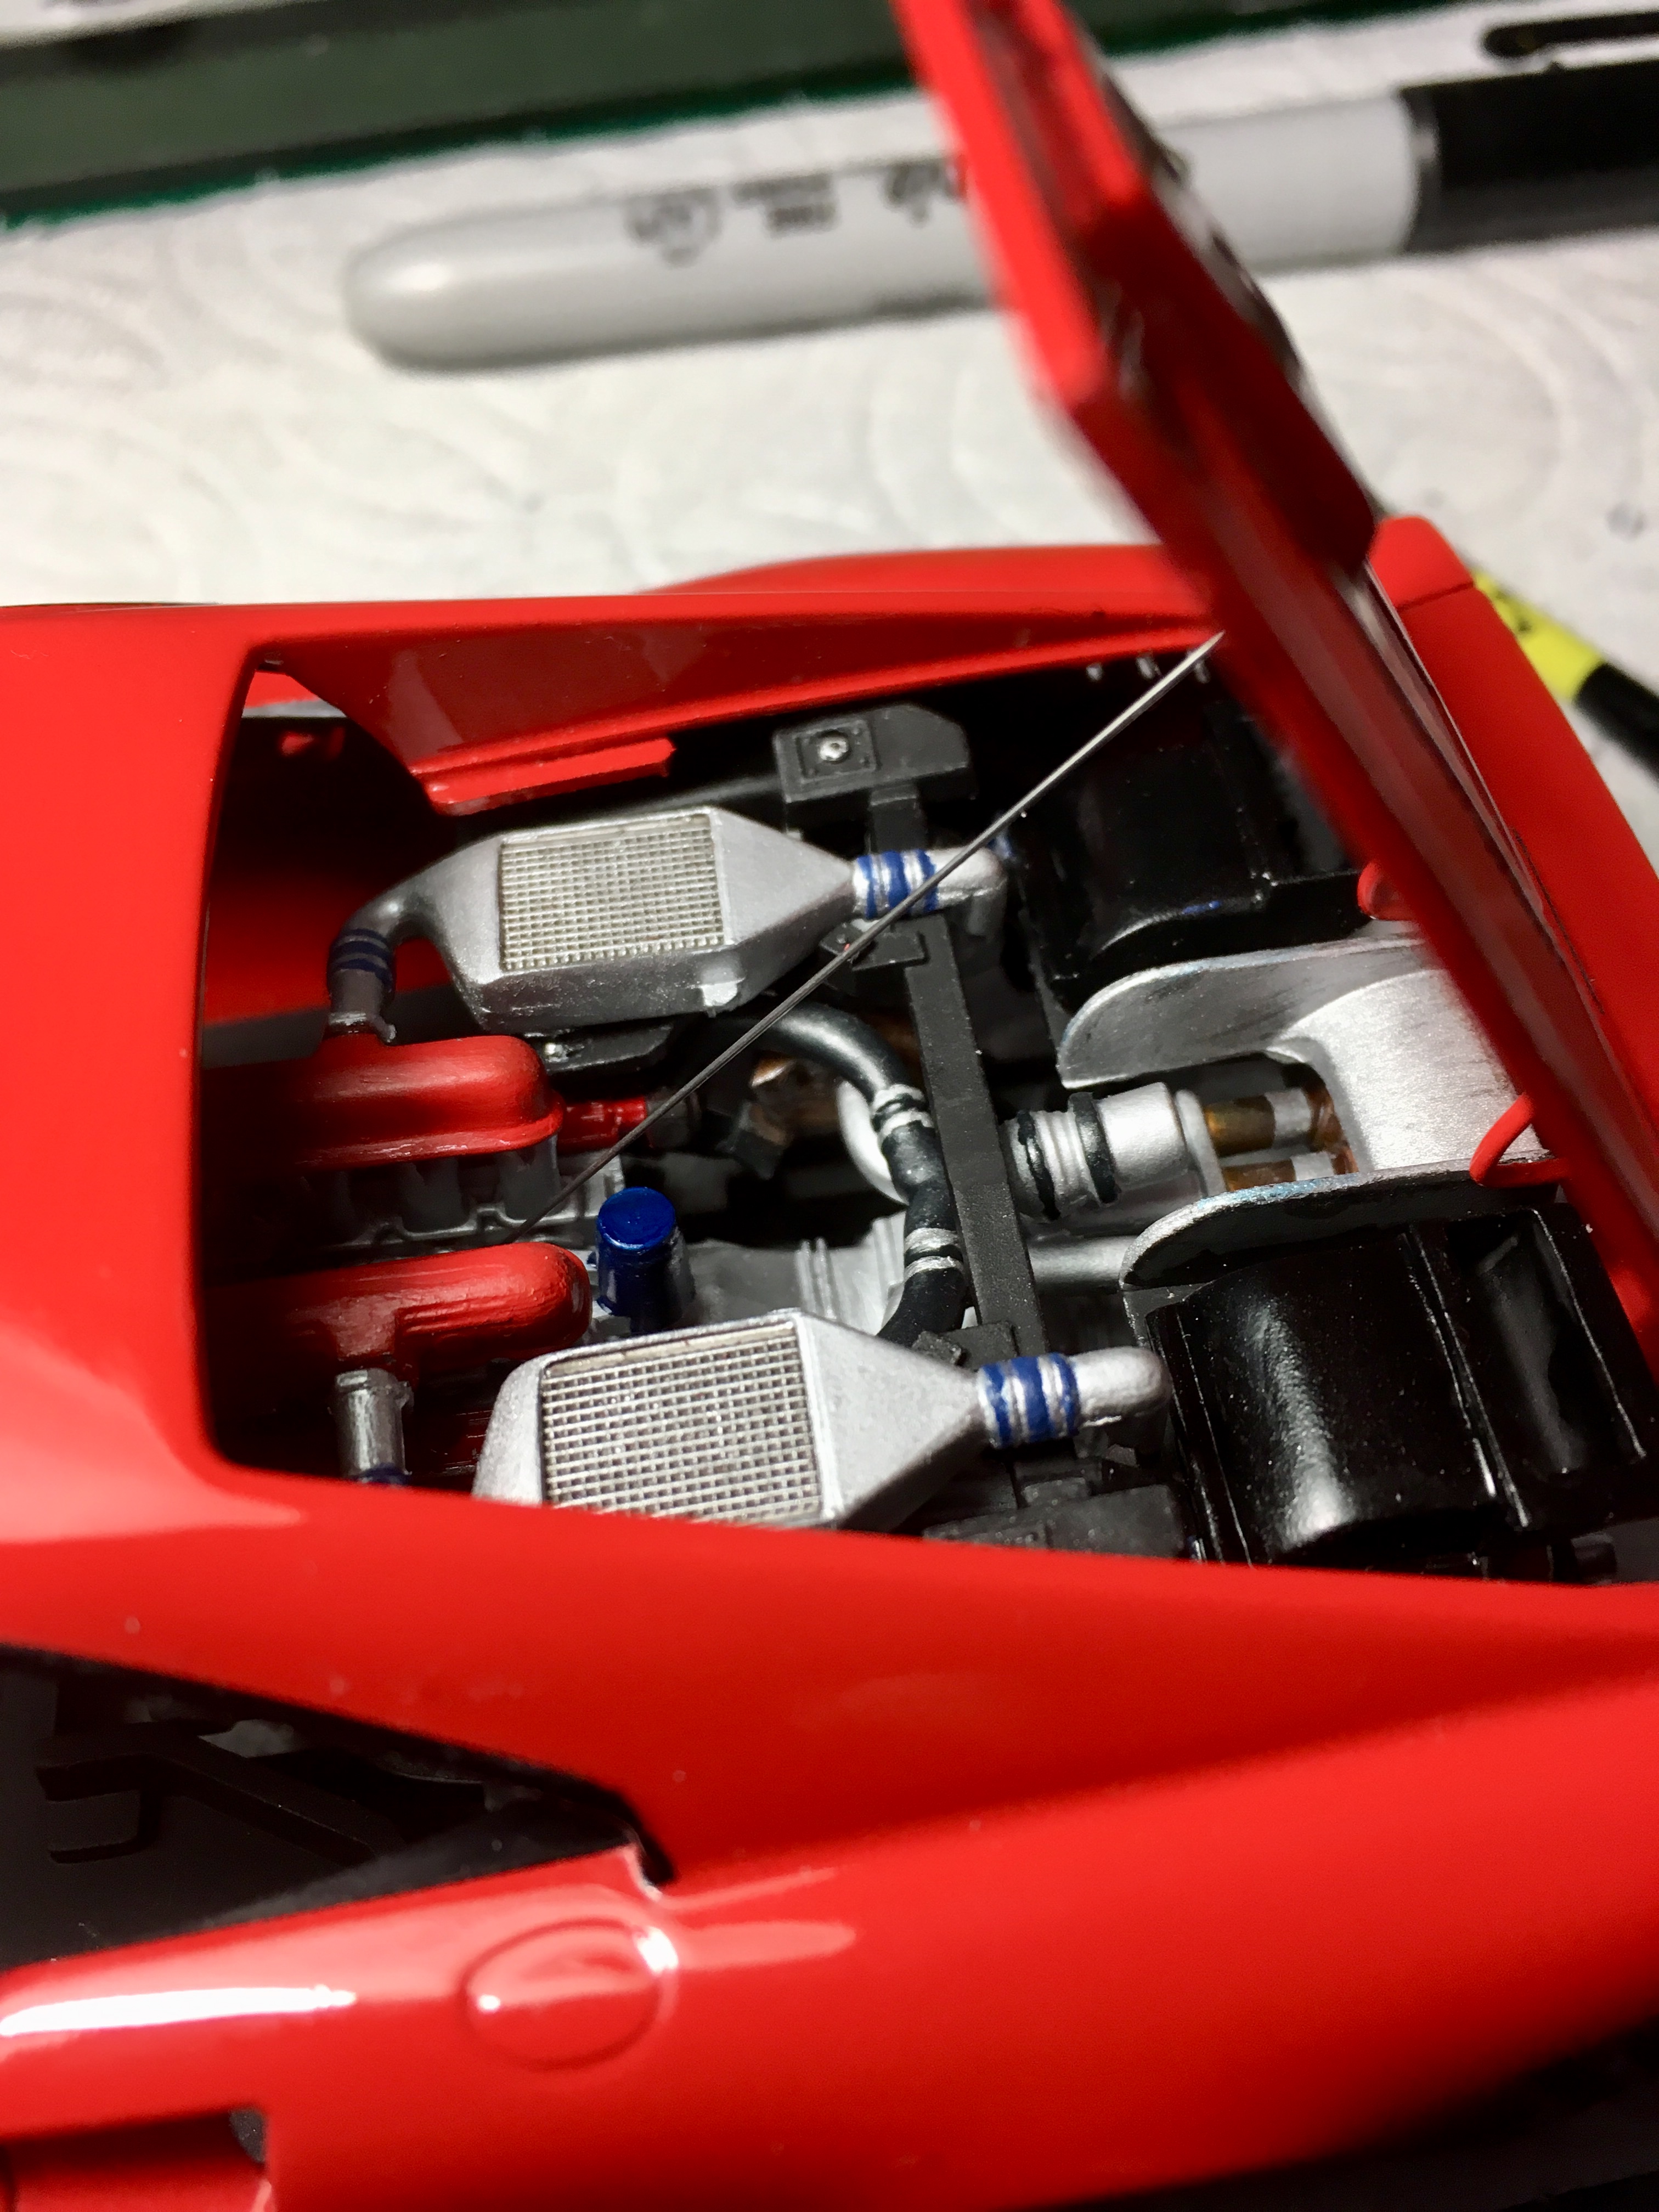
Engine installed. Plumbing was a pain. The hinge assembly clears everything.
-
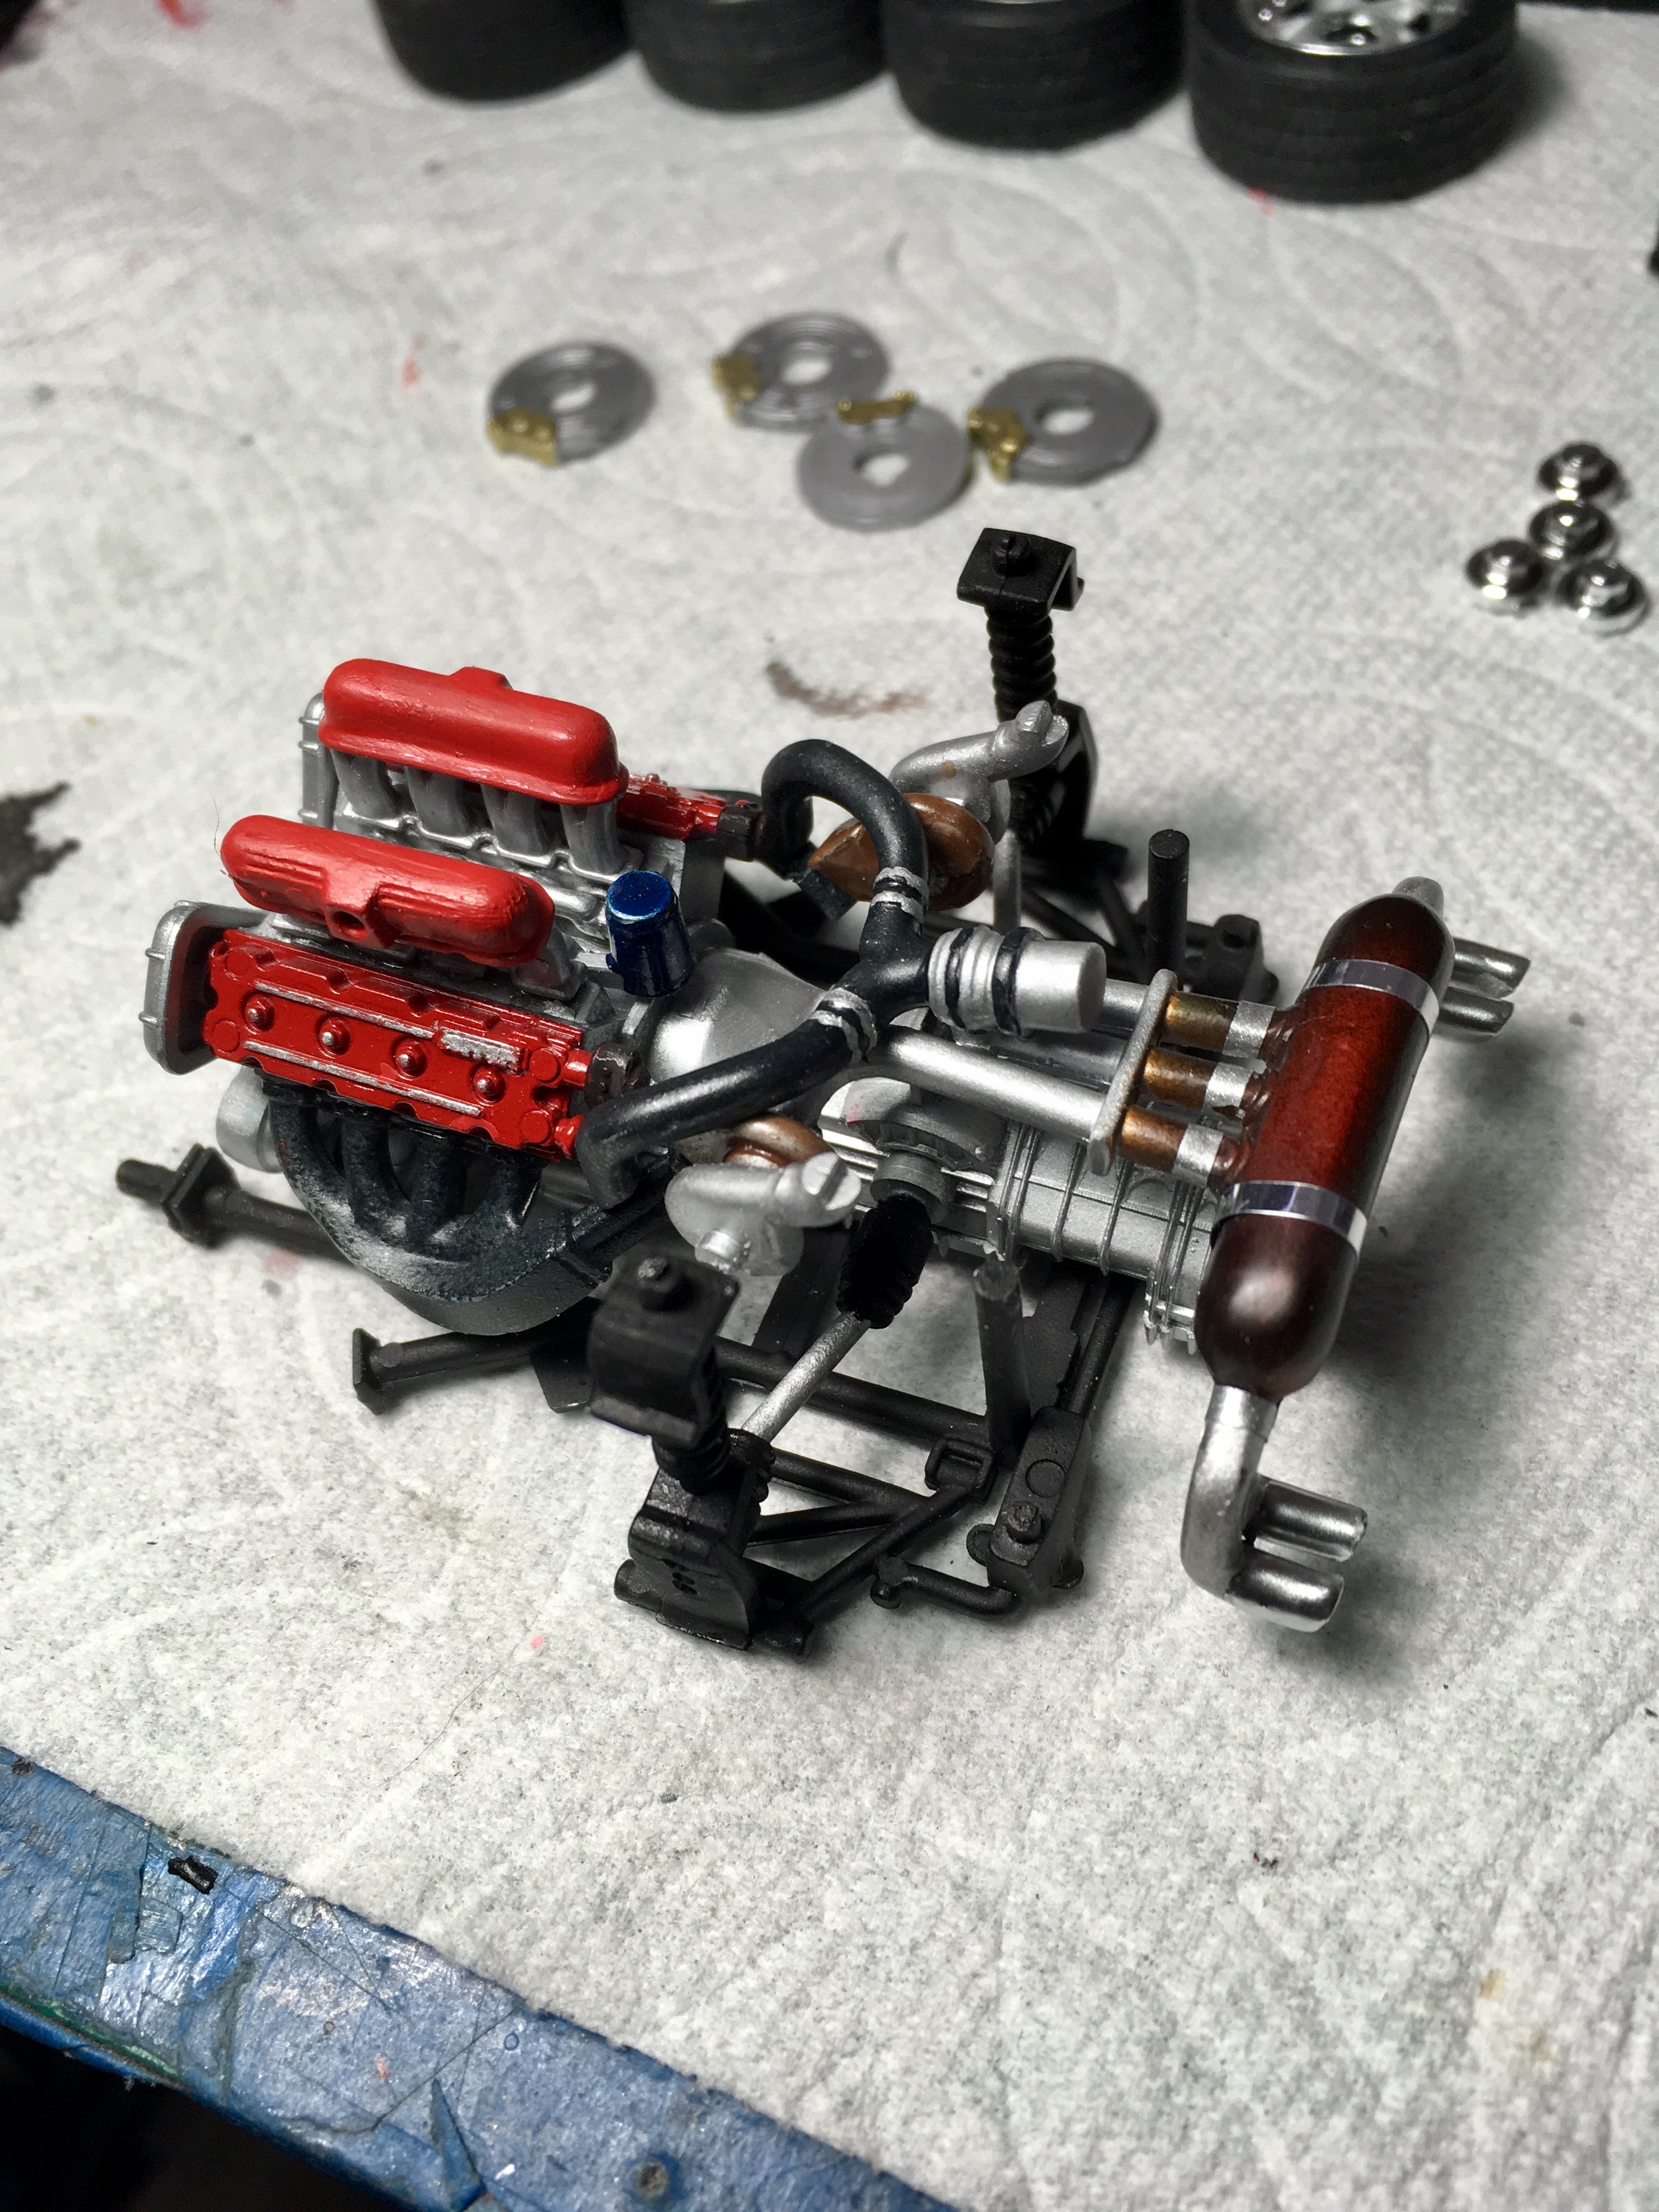
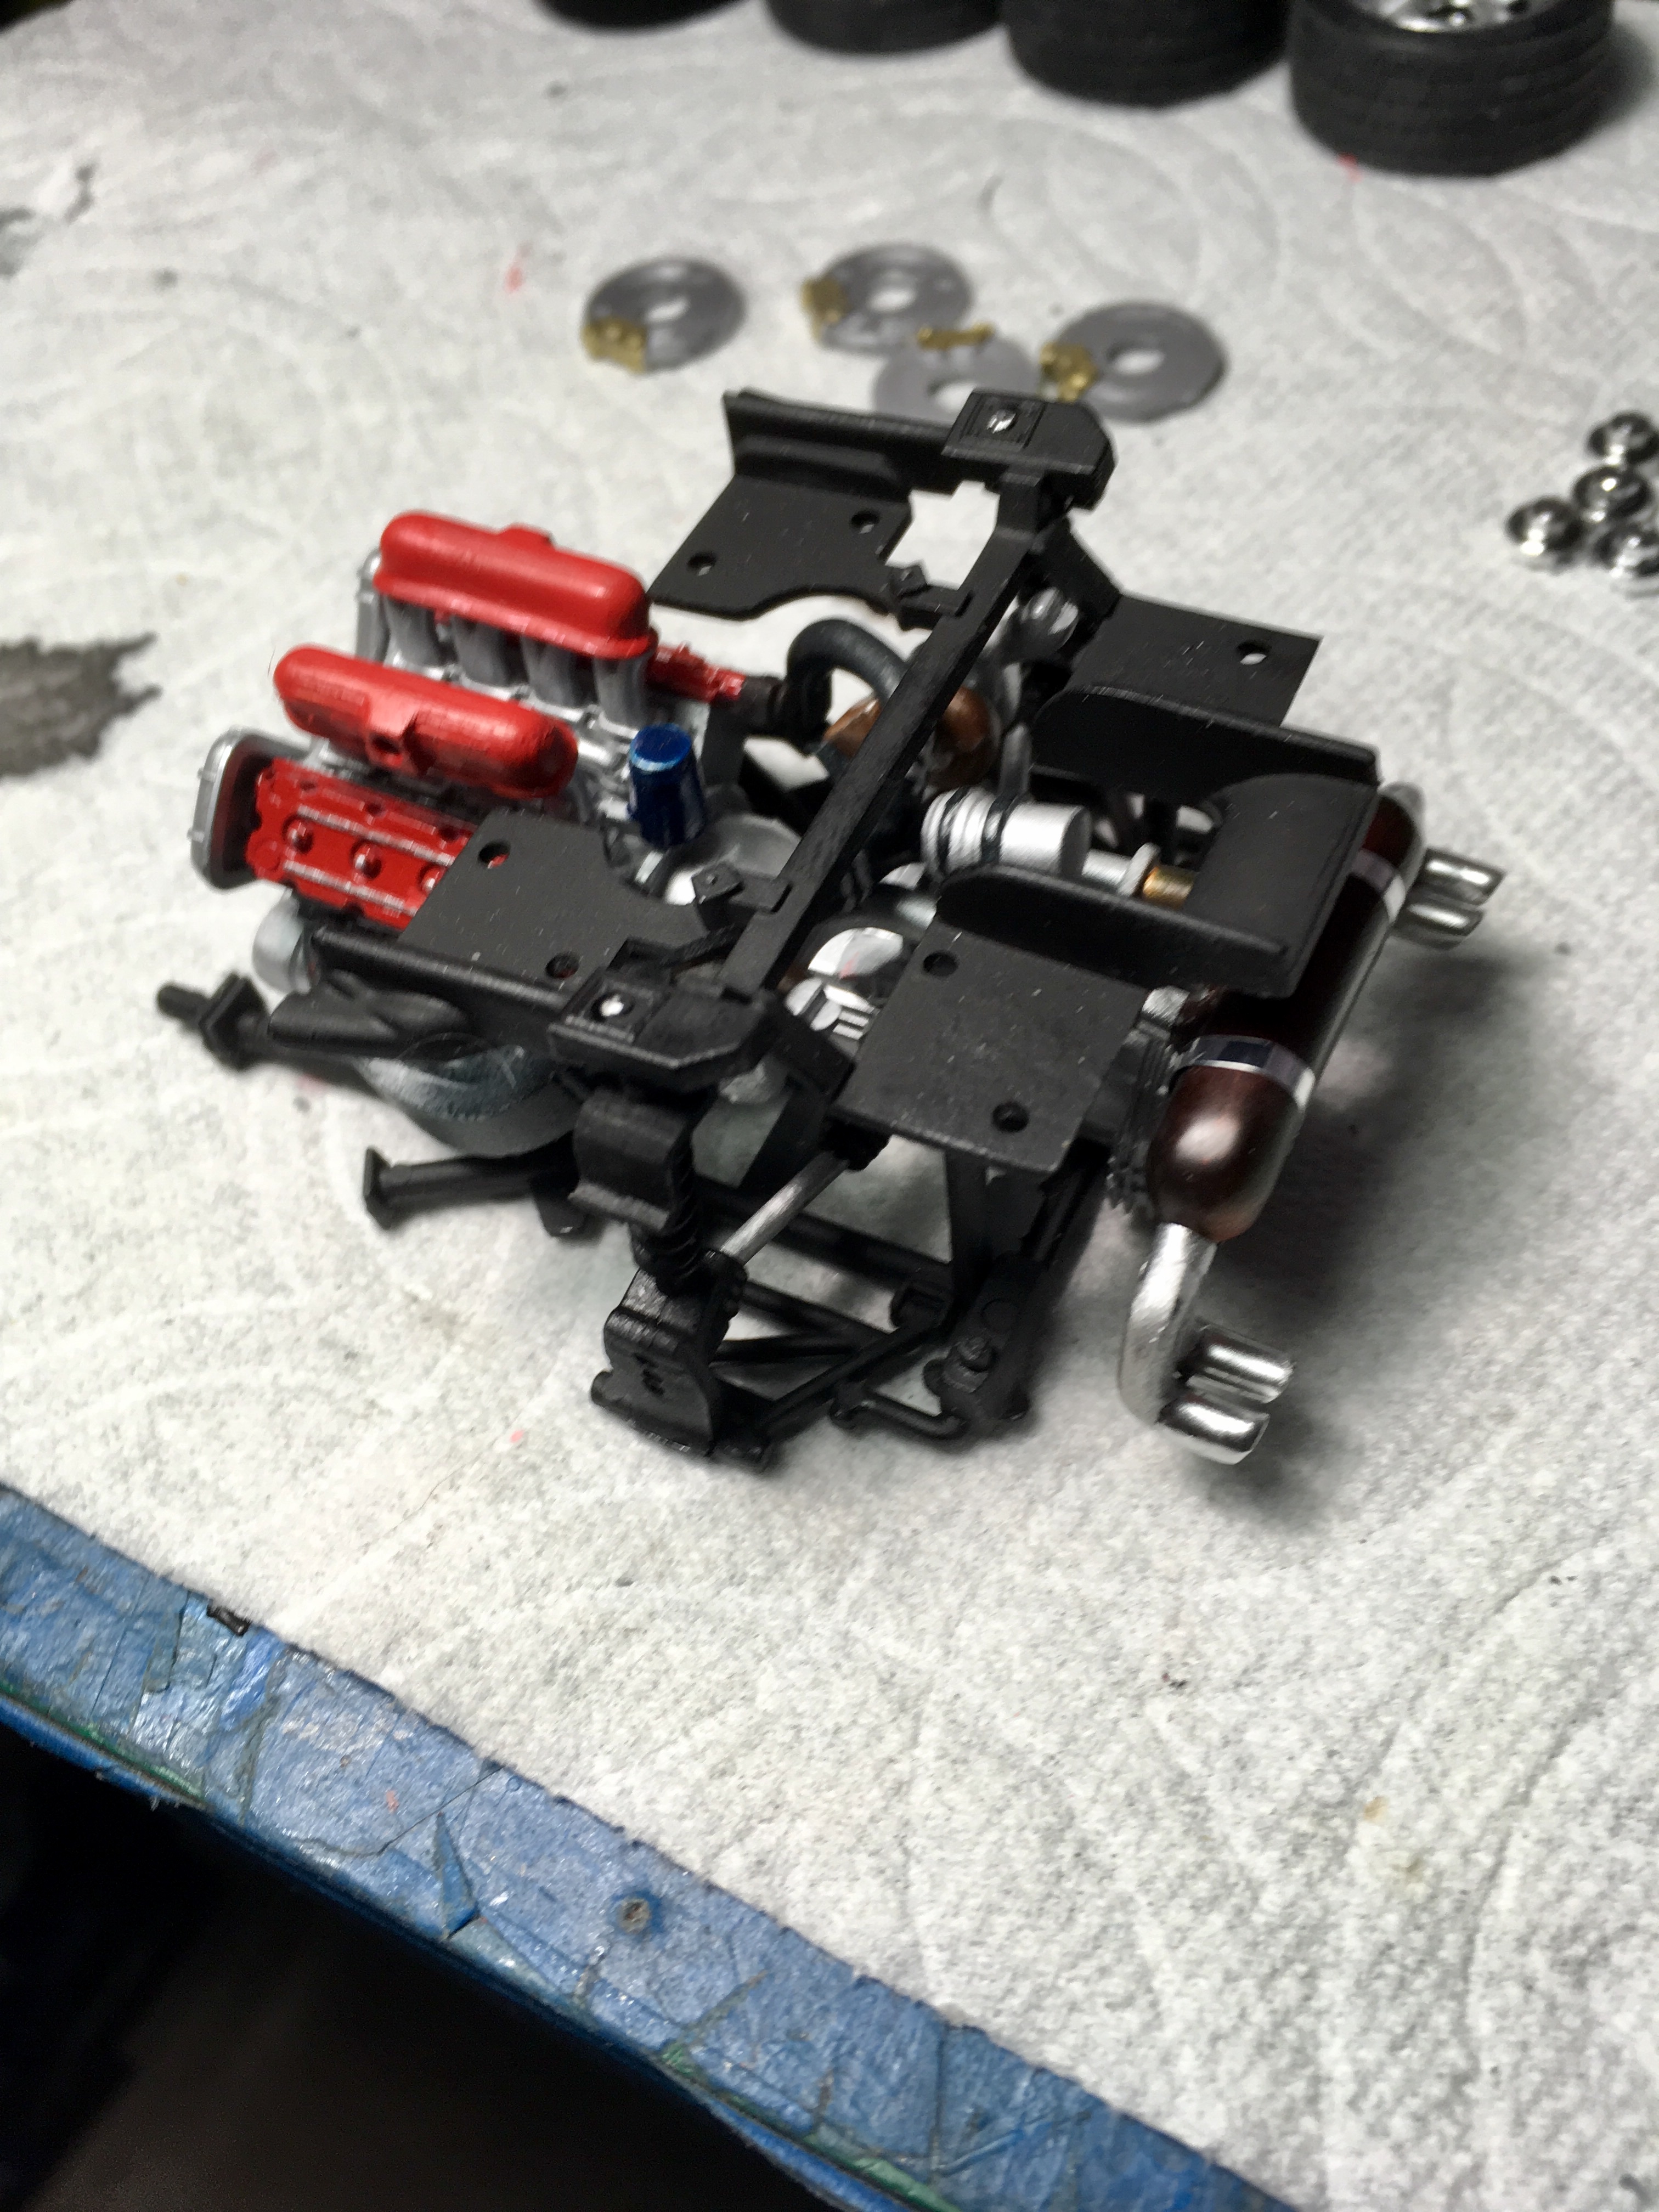
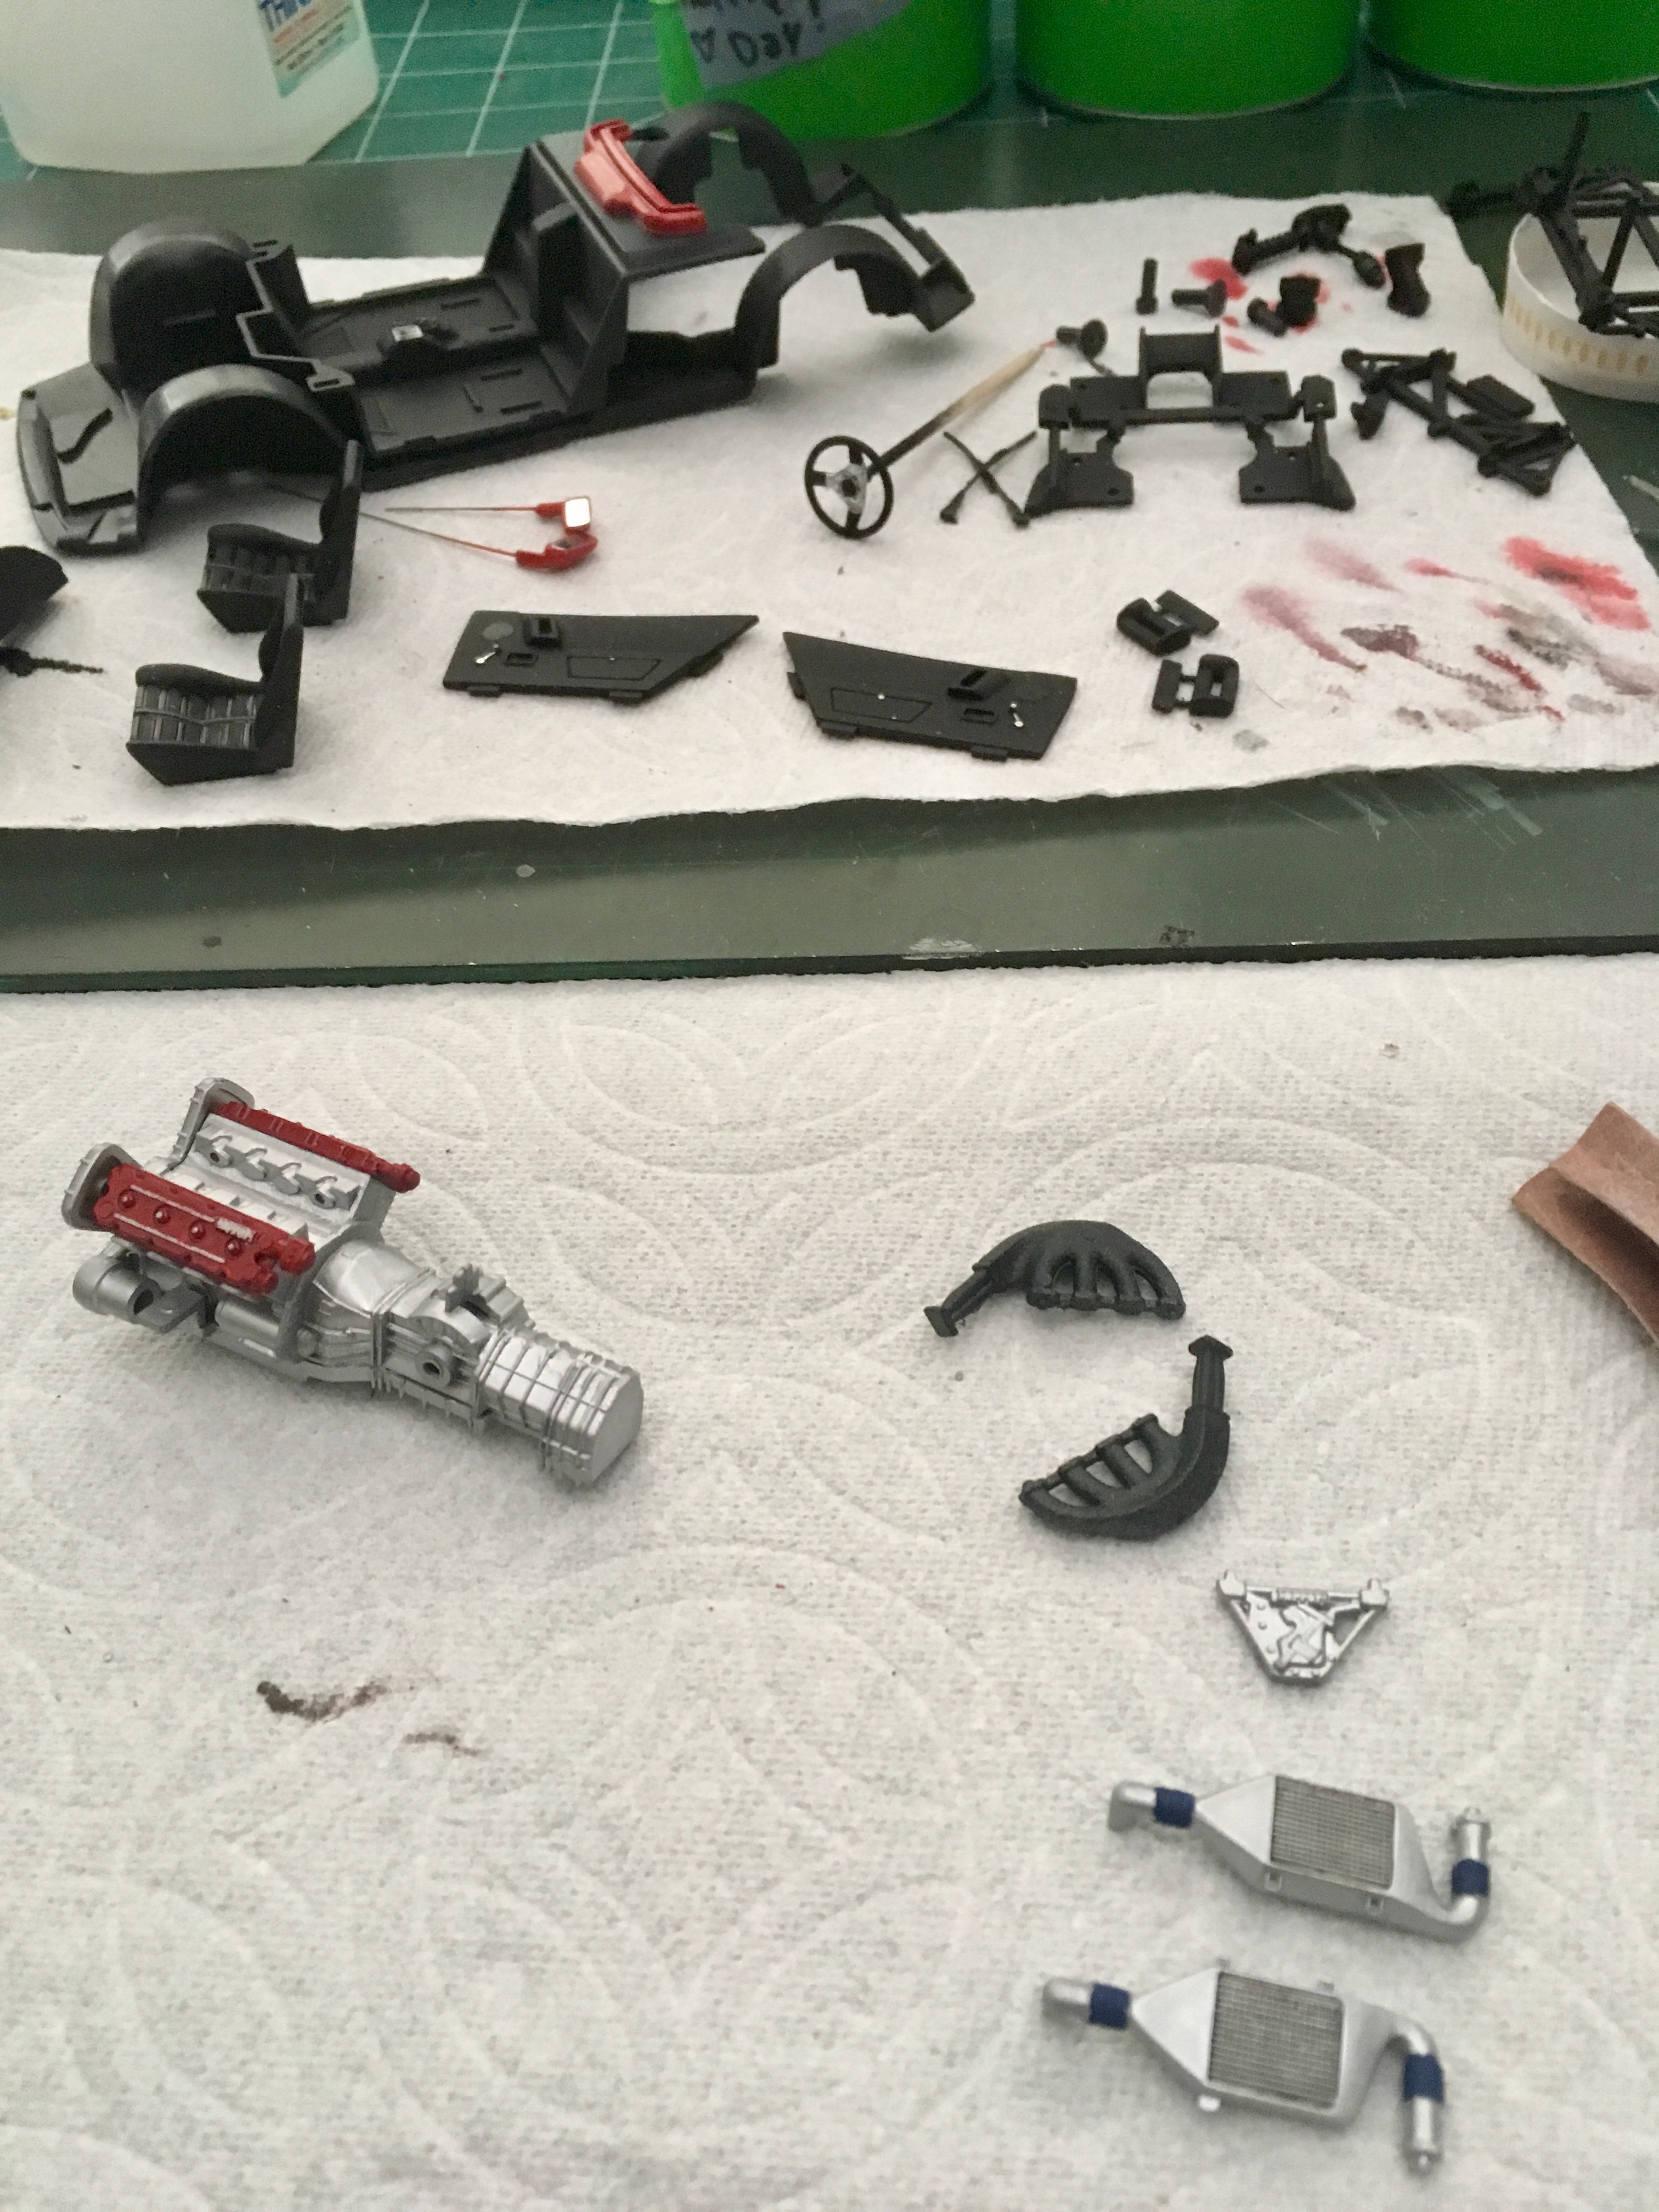
Here is the motor. There is a big plate that fits over this and hides most of it. The turbos , intercoolers and intakes are bigger than the motor
-
Not going to get carried away with detail. No brake hoses, engine spark plug wires etc because you do not see them. My next build is a mfh 1/12 Porsche 917/30 can am car and that will have plenty of detail to deal with. This is just a casual build . Nothing serious.
-
Set the chassis with the interior tub into the body. Since I built the deck lid to open and close I had to check the fit to the interior tub. So far it’s good.
-
Wheels are a little rough but I’m going to use them. The whole kit is rough. A lot of modeling needed.
-
More painting
-
This is just plain to cool. Jay lenos Garage
Brudda replied to gtx6970's topic in General Automotive Talk (Trucks and Cars)
The best car show ever. He is really cool. -
Have you checked your car lately?
Brudda replied to SfanGoch's topic in General Automotive Talk (Trucks and Cars)
Replace the dash board gasket or your dash may crack -
It’s beautiful!!
-
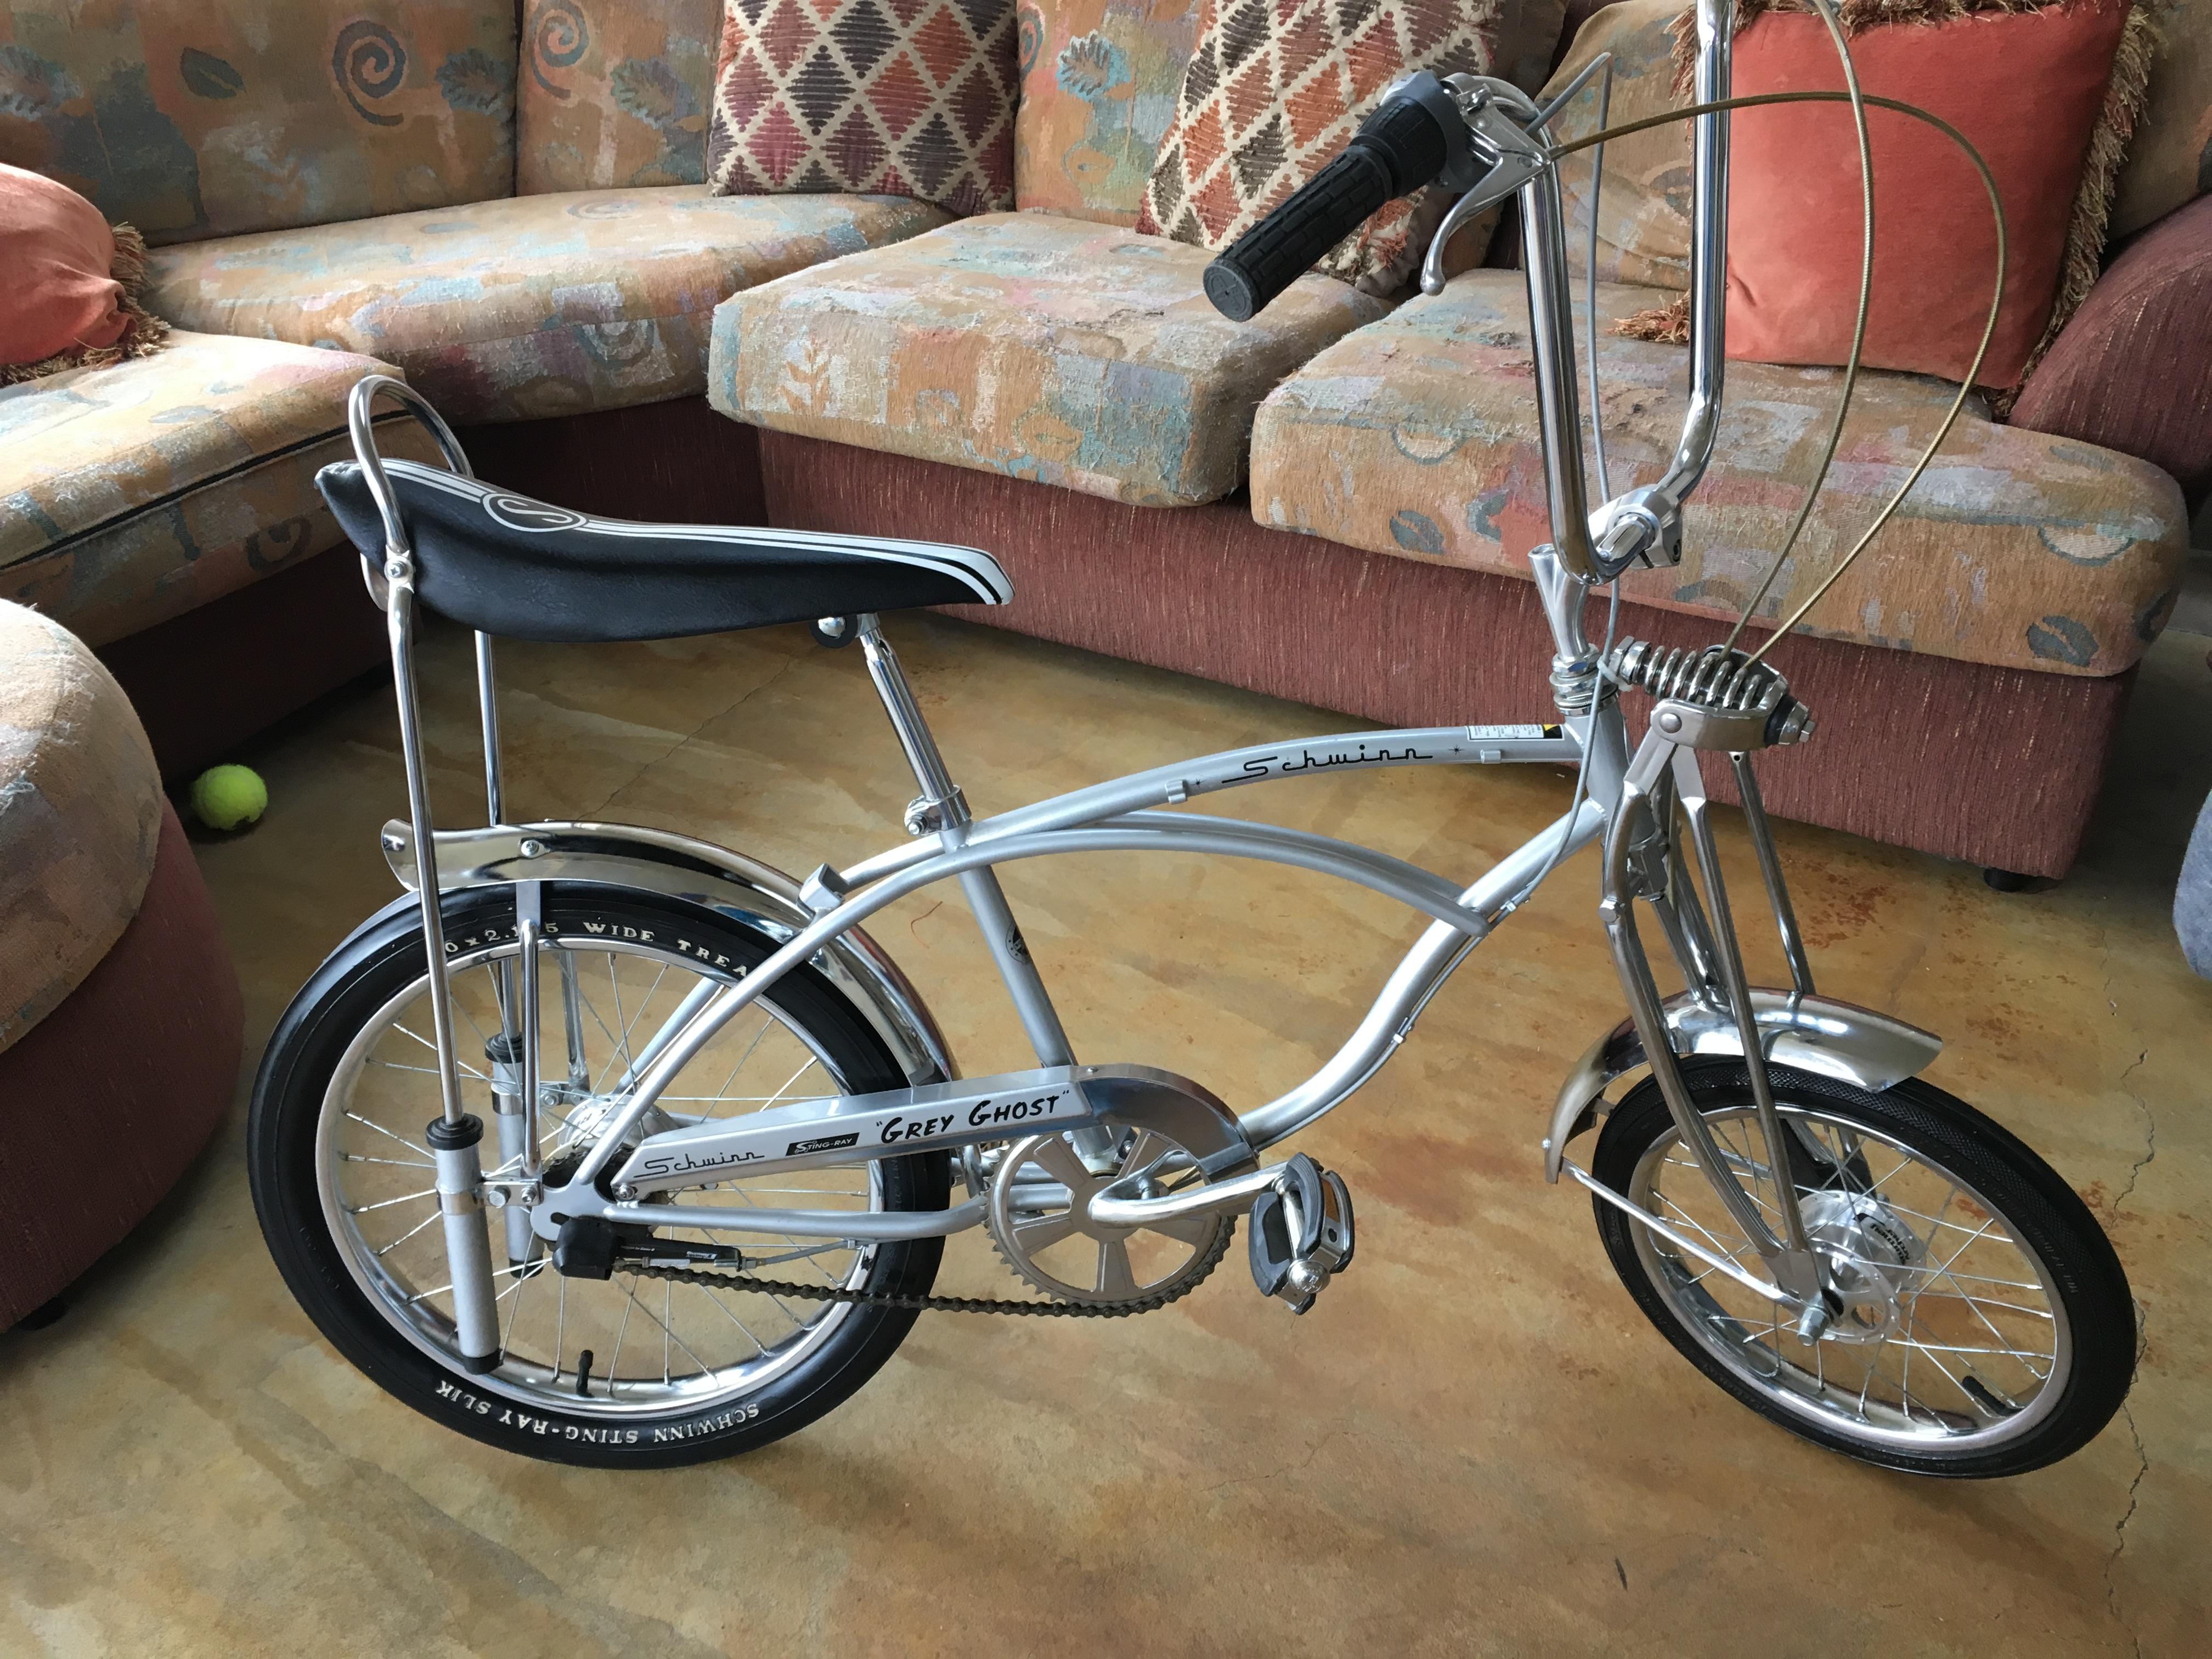
Grey ghost
-
Very nice!!!! Great bodywork!!!
-
Looks cool! I’ll be watching this!
-
Thank you guys, and CptTuttle the kit is ok. A lot of sinkmarks, in the spoiler on the body, dash , seats, rear engine cradle, and the air intakes. The stance is too high, so adjustment is required. But the dimensions seem good and I bought the kit real cheap. $5. Doing the engine next . The interior seams to go together well, after you fix the sinkmarks. The test will be mating the body to the chassis.