64SS350
-
Posts
1,574 -
Joined
-
Last visited
Content Type
Profiles
Forums
Events
Gallery
Everything posted by 64SS350
-
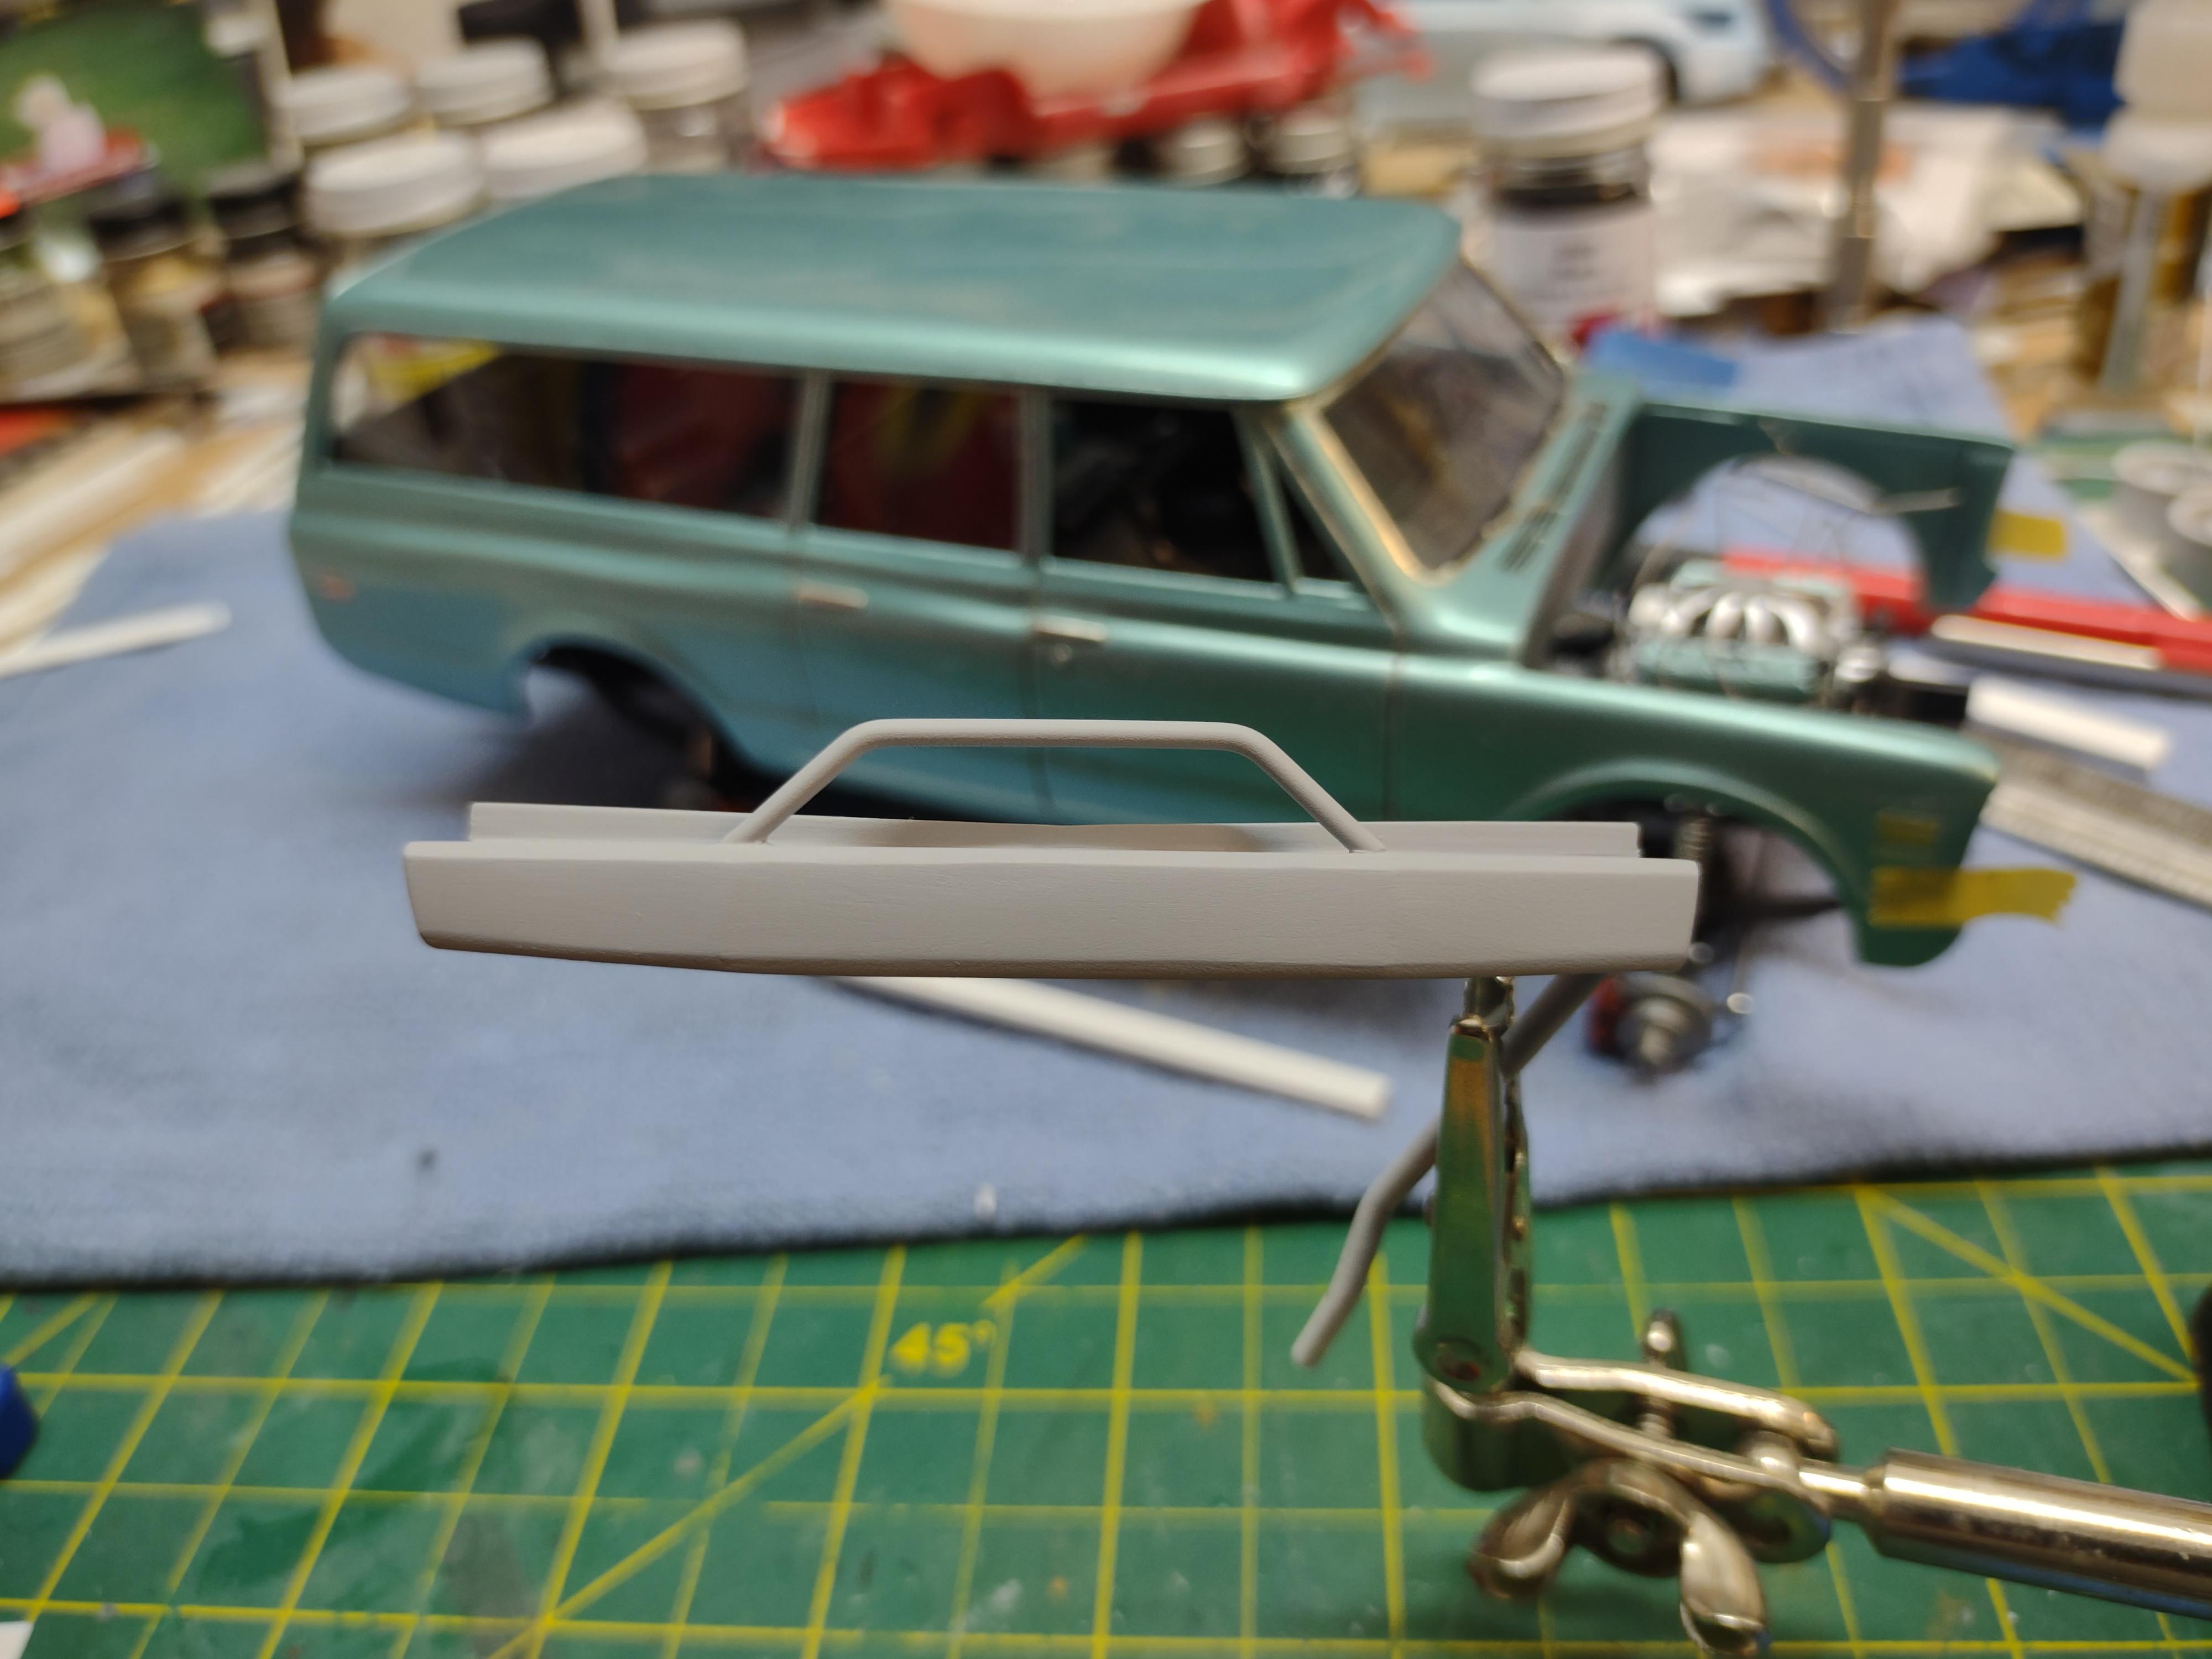
68-72 Suburban scratch build
64SS350 replied to 64SS350's topic in WIP: Model Trucks: Pickups, Vans, SUVs, Light Commercial
New front bumper!
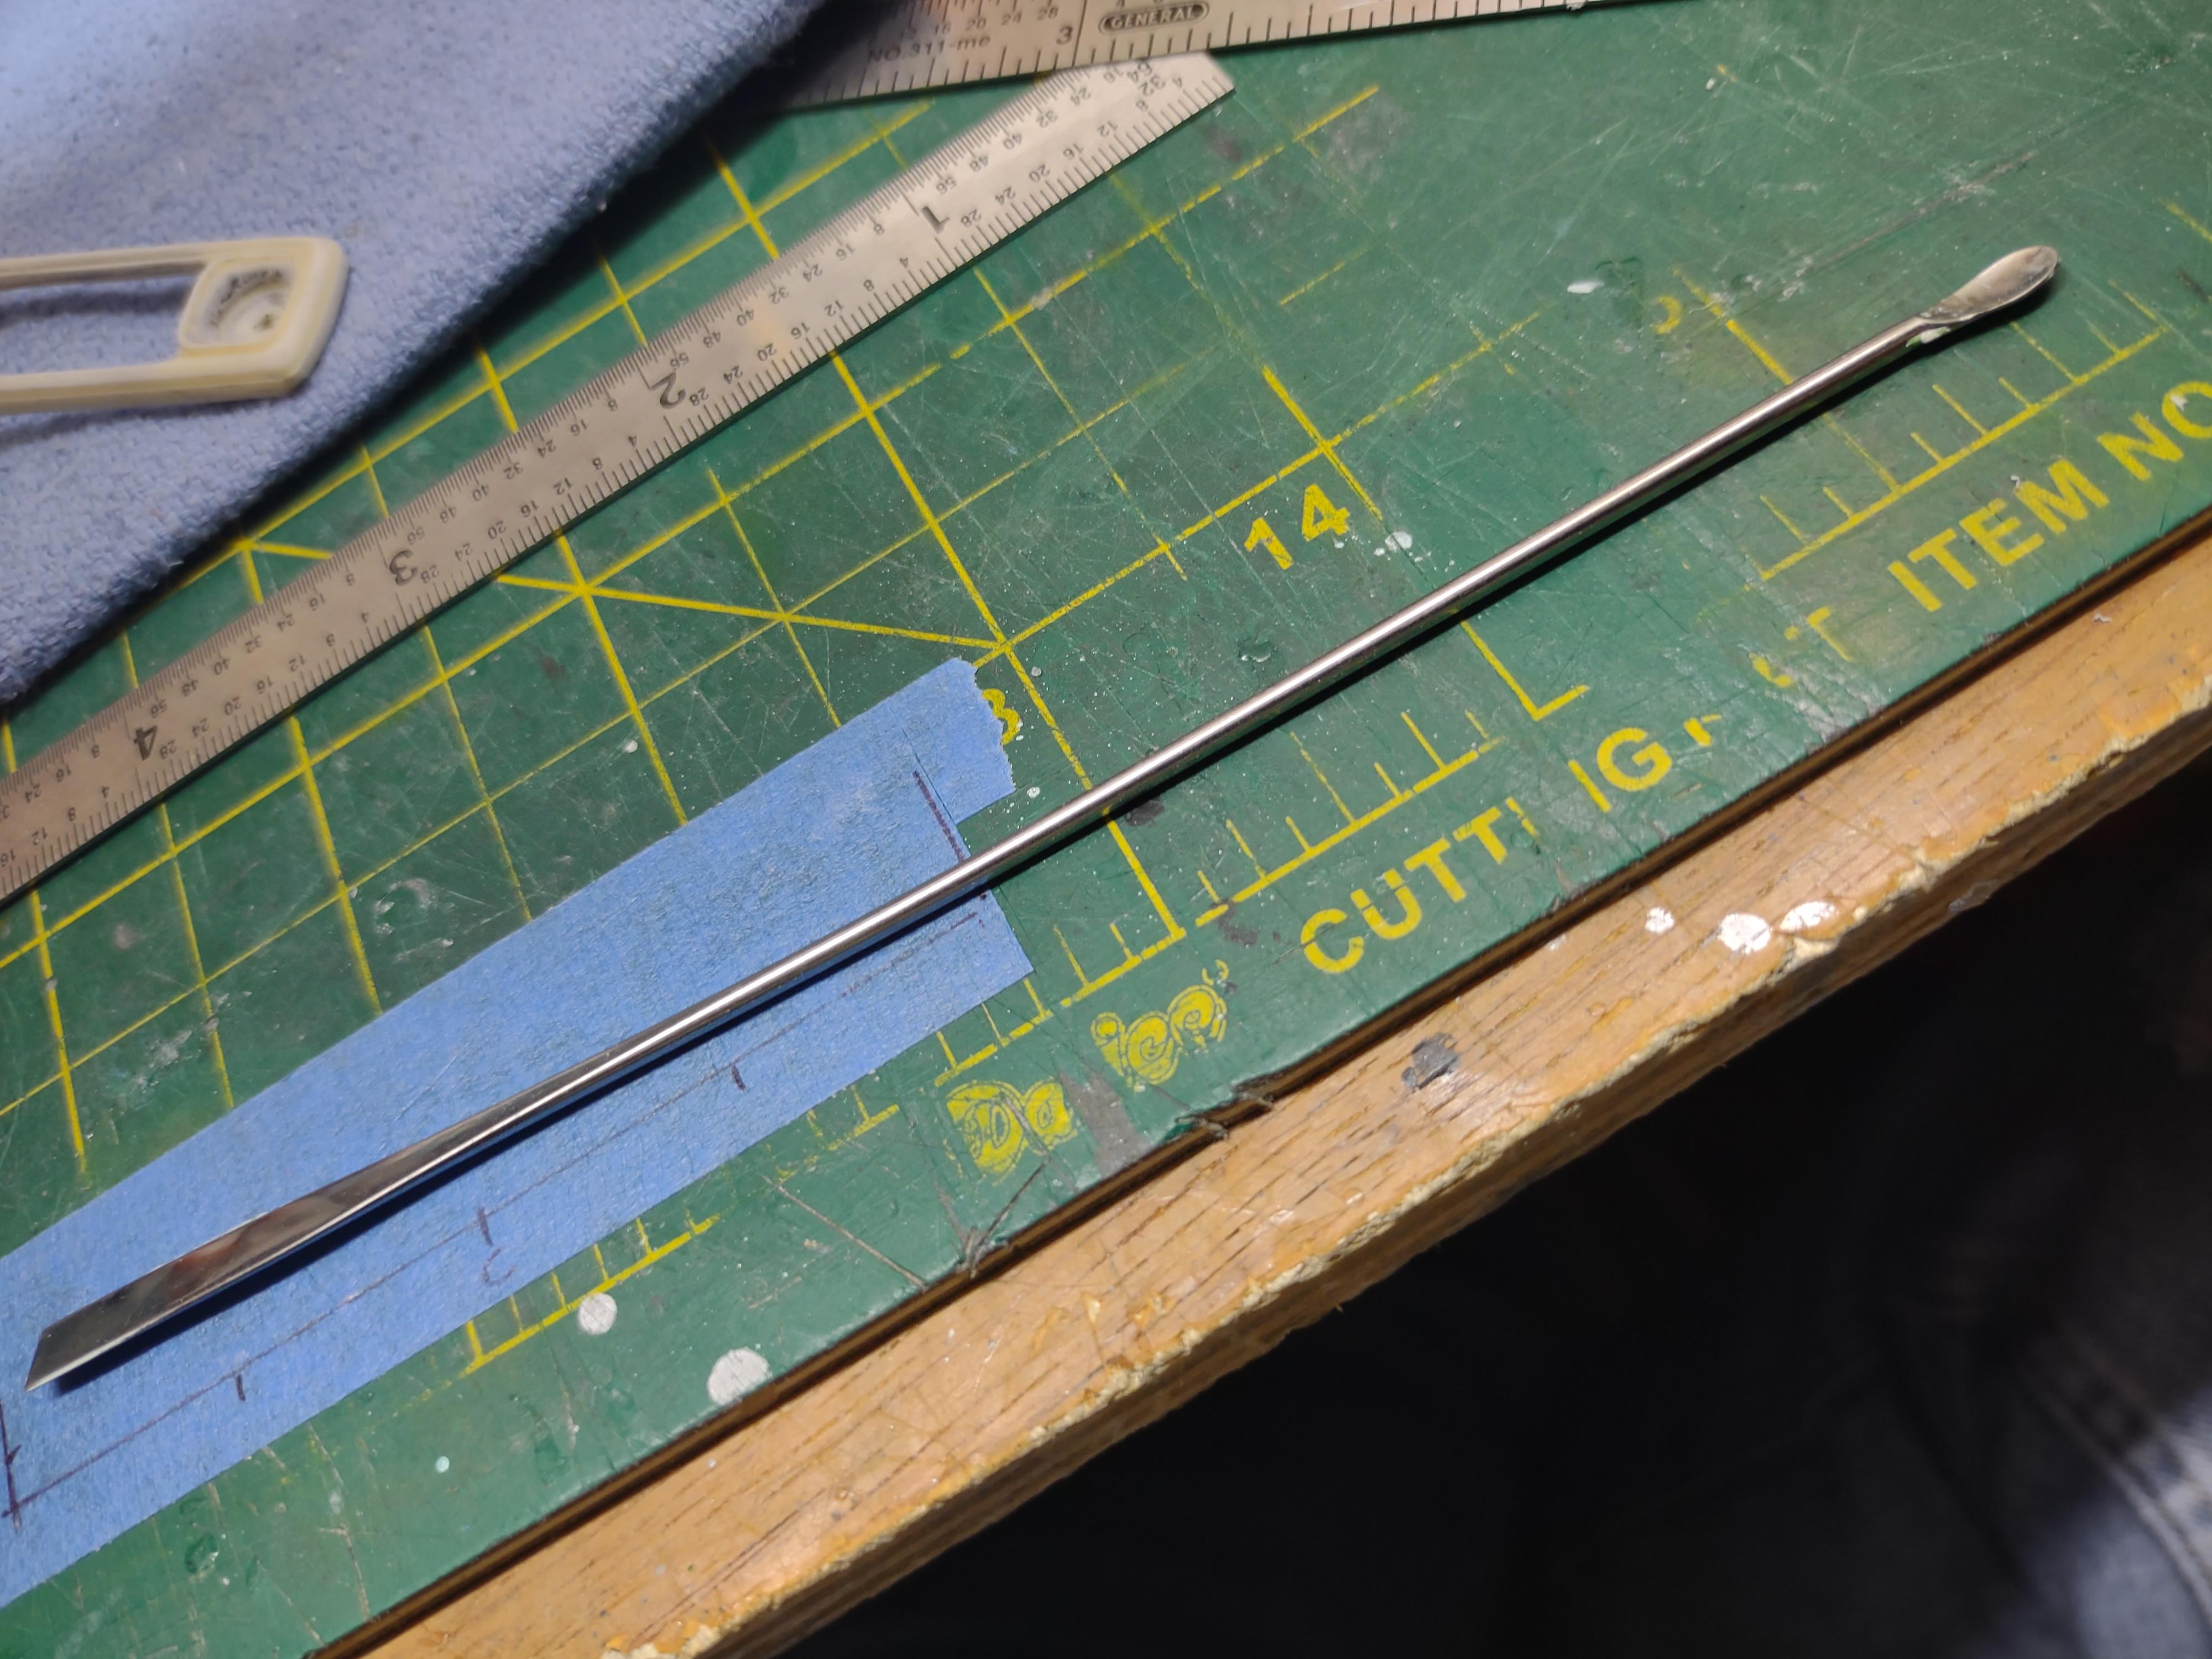
-
I believe this is a Tamiya paint stir. I use both ends for application and shaping. When using body glazing, I can also dip it into lacquer thinner and continue shaping a little bit when it starts to set.
-
68-72 Suburban scratch build
64SS350 replied to 64SS350's topic in WIP: Model Trucks: Pickups, Vans, SUVs, Light Commercial
Thanks for all the compliments, I know it has some flaws, but I've learned a lot along the way. These are the tire/wheel choices I narrowed it down to. The resin on the left equal to 42"... they'll work, but it's really tall. I'm prepping the other two sets for comparison, just realized the slotted wheels are only 5 lug... figuring how to remedy that...as I have two more sets.
-
Painting with the hood on or off?
64SS350 replied to av405's topic in Model Building Questions and Answers
Oh...I digress -
Painting with the hood on or off?
64SS350 replied to av405's topic in Model Building Questions and Answers
Definitely off, it gives better detail of the hood/fender gaps. -
68-72 Suburban scratch build
64SS350 replied to 64SS350's topic in WIP: Model Trucks: Pickups, Vans, SUVs, Light Commercial
Sitting on chassis...
-
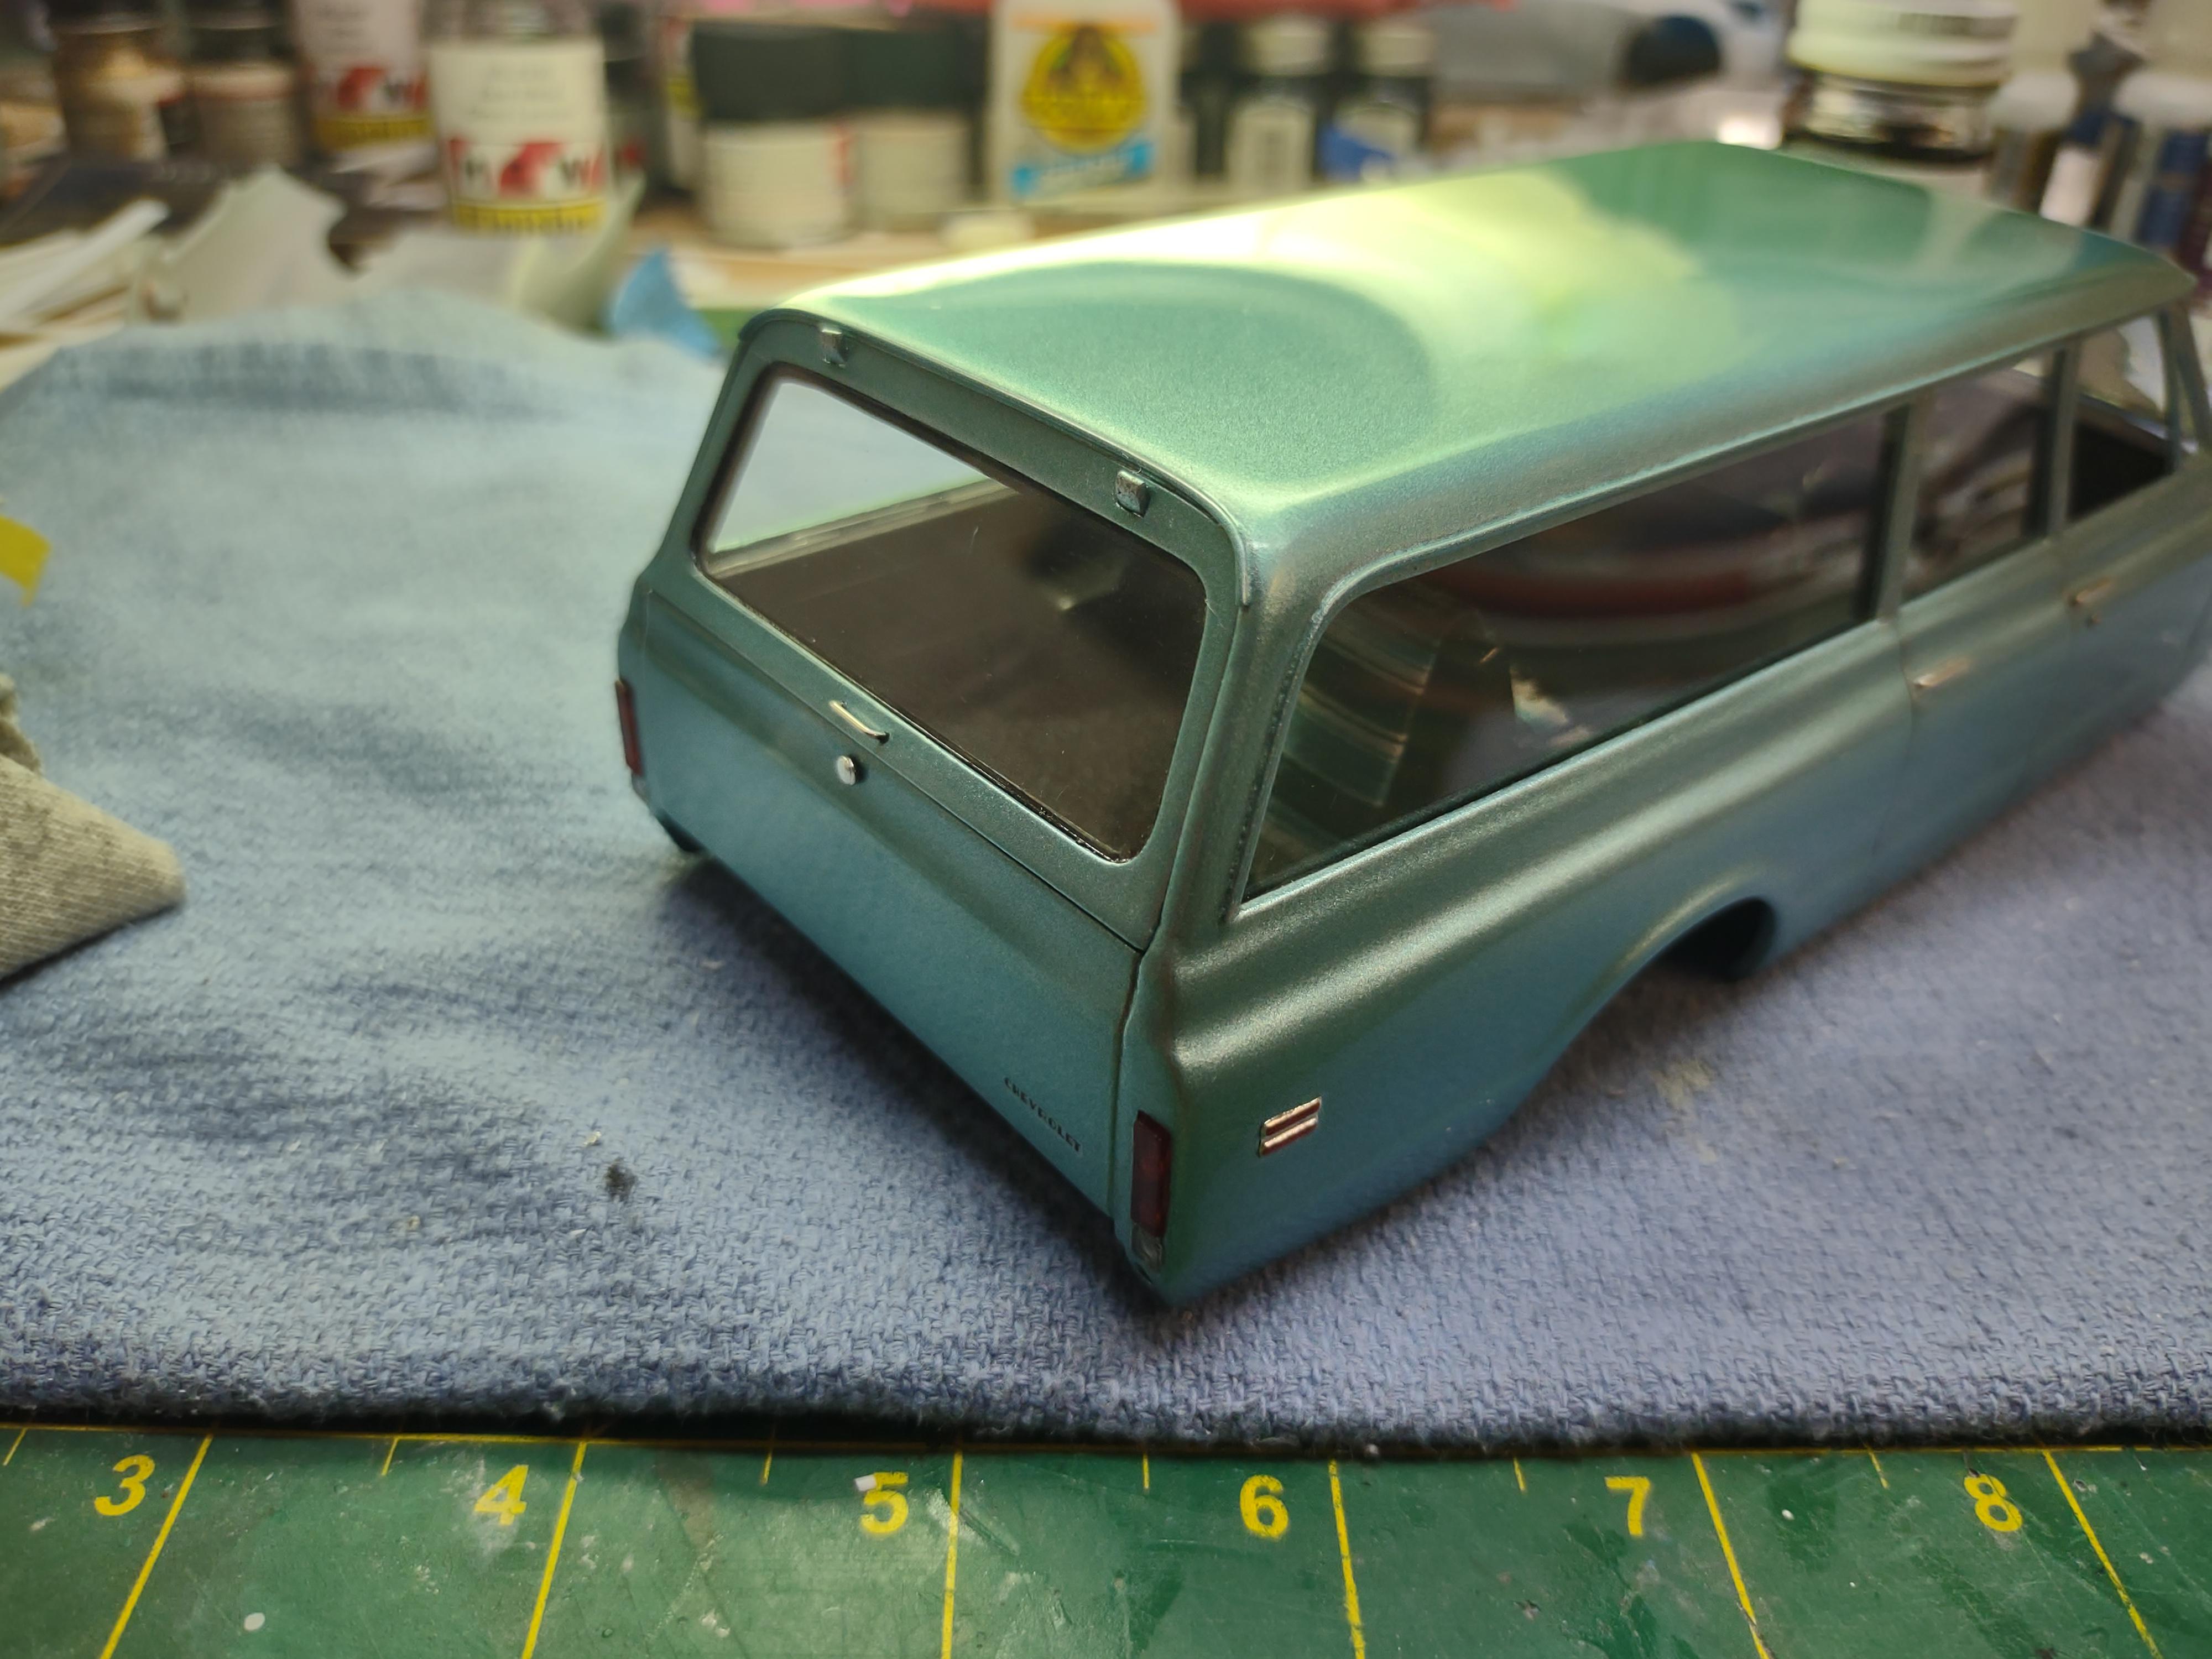
68-72 Suburban scratch build
64SS350 replied to 64SS350's topic in WIP: Model Trucks: Pickups, Vans, SUVs, Light Commercial
All windows are in, as well as interior tub. Back hatch is not glued shut, but tight enough fit I don't want to try to open it. Going to test fit the chassis next and choose tires. I think this is going to end up taller than I expected or wanted. Engine bay is going to have a mold made of it before I slightly modify one to accommodate the headers.
-
-
68-72 Suburban scratch build
64SS350 replied to 64SS350's topic in WIP: Model Trucks: Pickups, Vans, SUVs, Light Commercial
Sooo, I got tired of trying to make the grill slots look even, and changed to this style. Working on windows also, sides are in, front and rear are next. Hood is ready for clear.
-
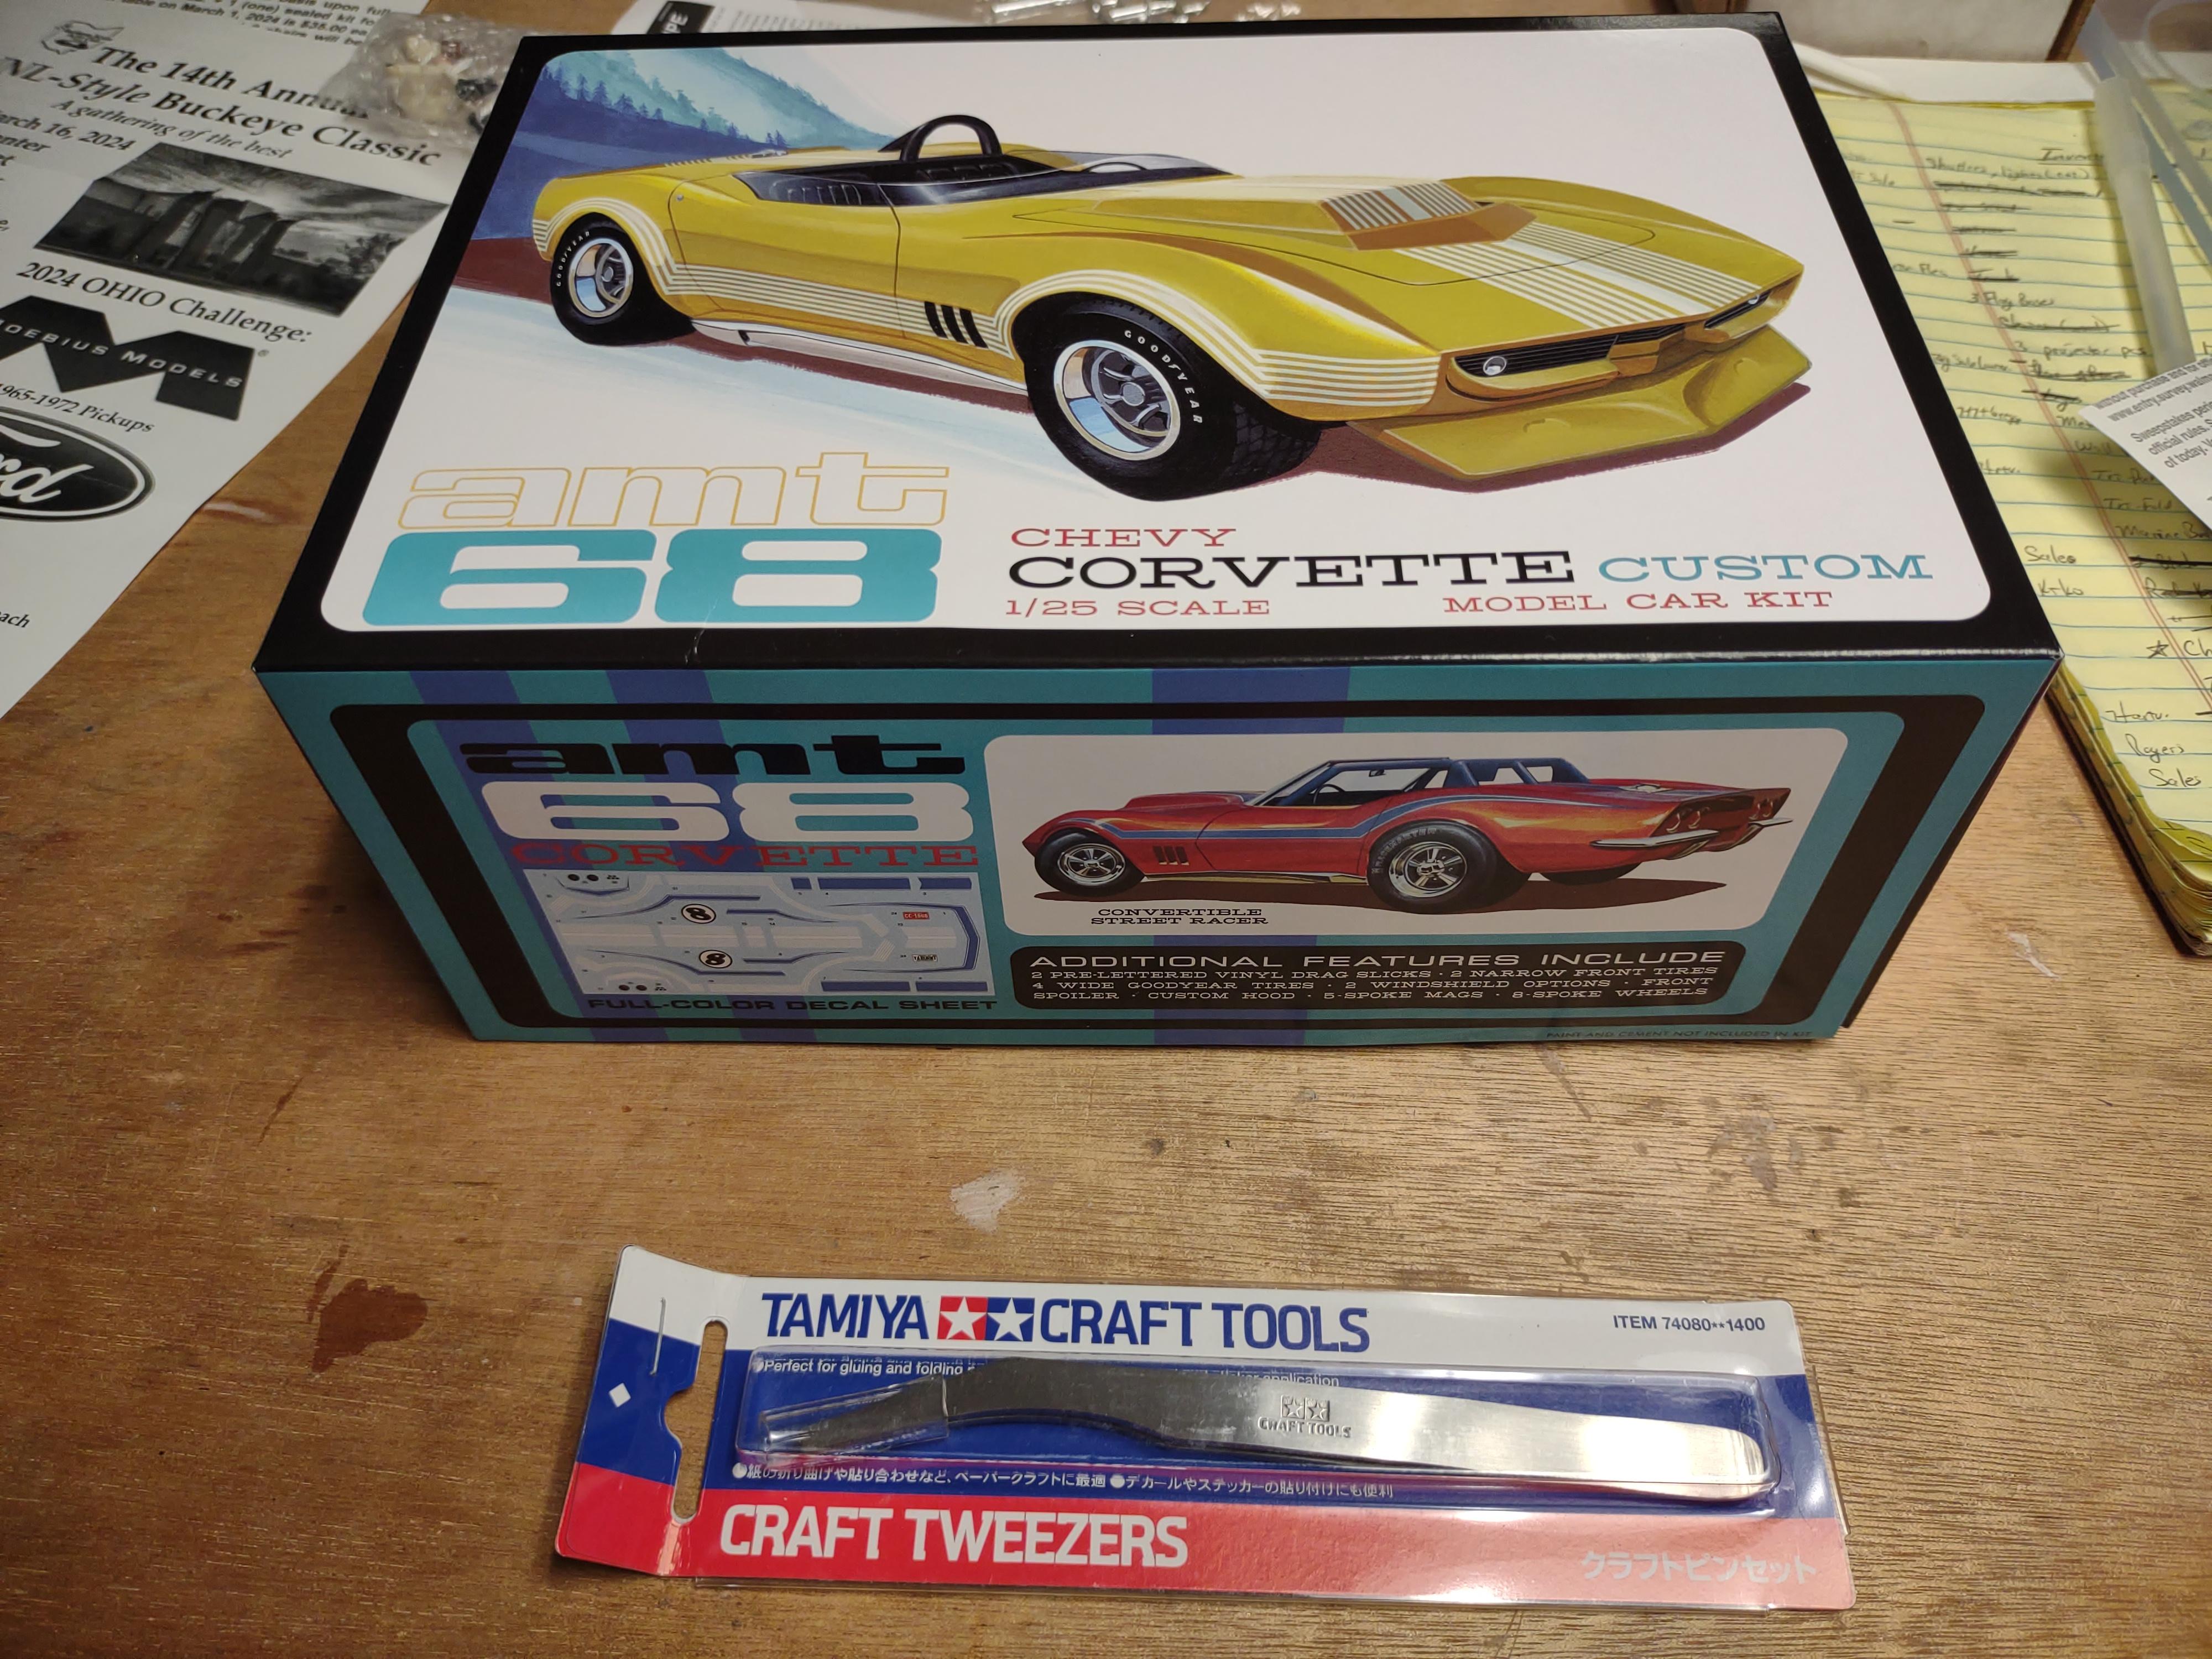
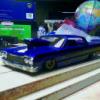
On way home from Christmas trip, picked up three of these Vette kits, plus my 3rd pair of tweezers came yesterday for Christmas.
- 39,242 replies
-
- 3
-

-
- johan
- glue bombs
- (and 1 more)
-
I would start by googling for the dimensions. Either use two beds to get the length or utilize the Suburban body. IMO
-
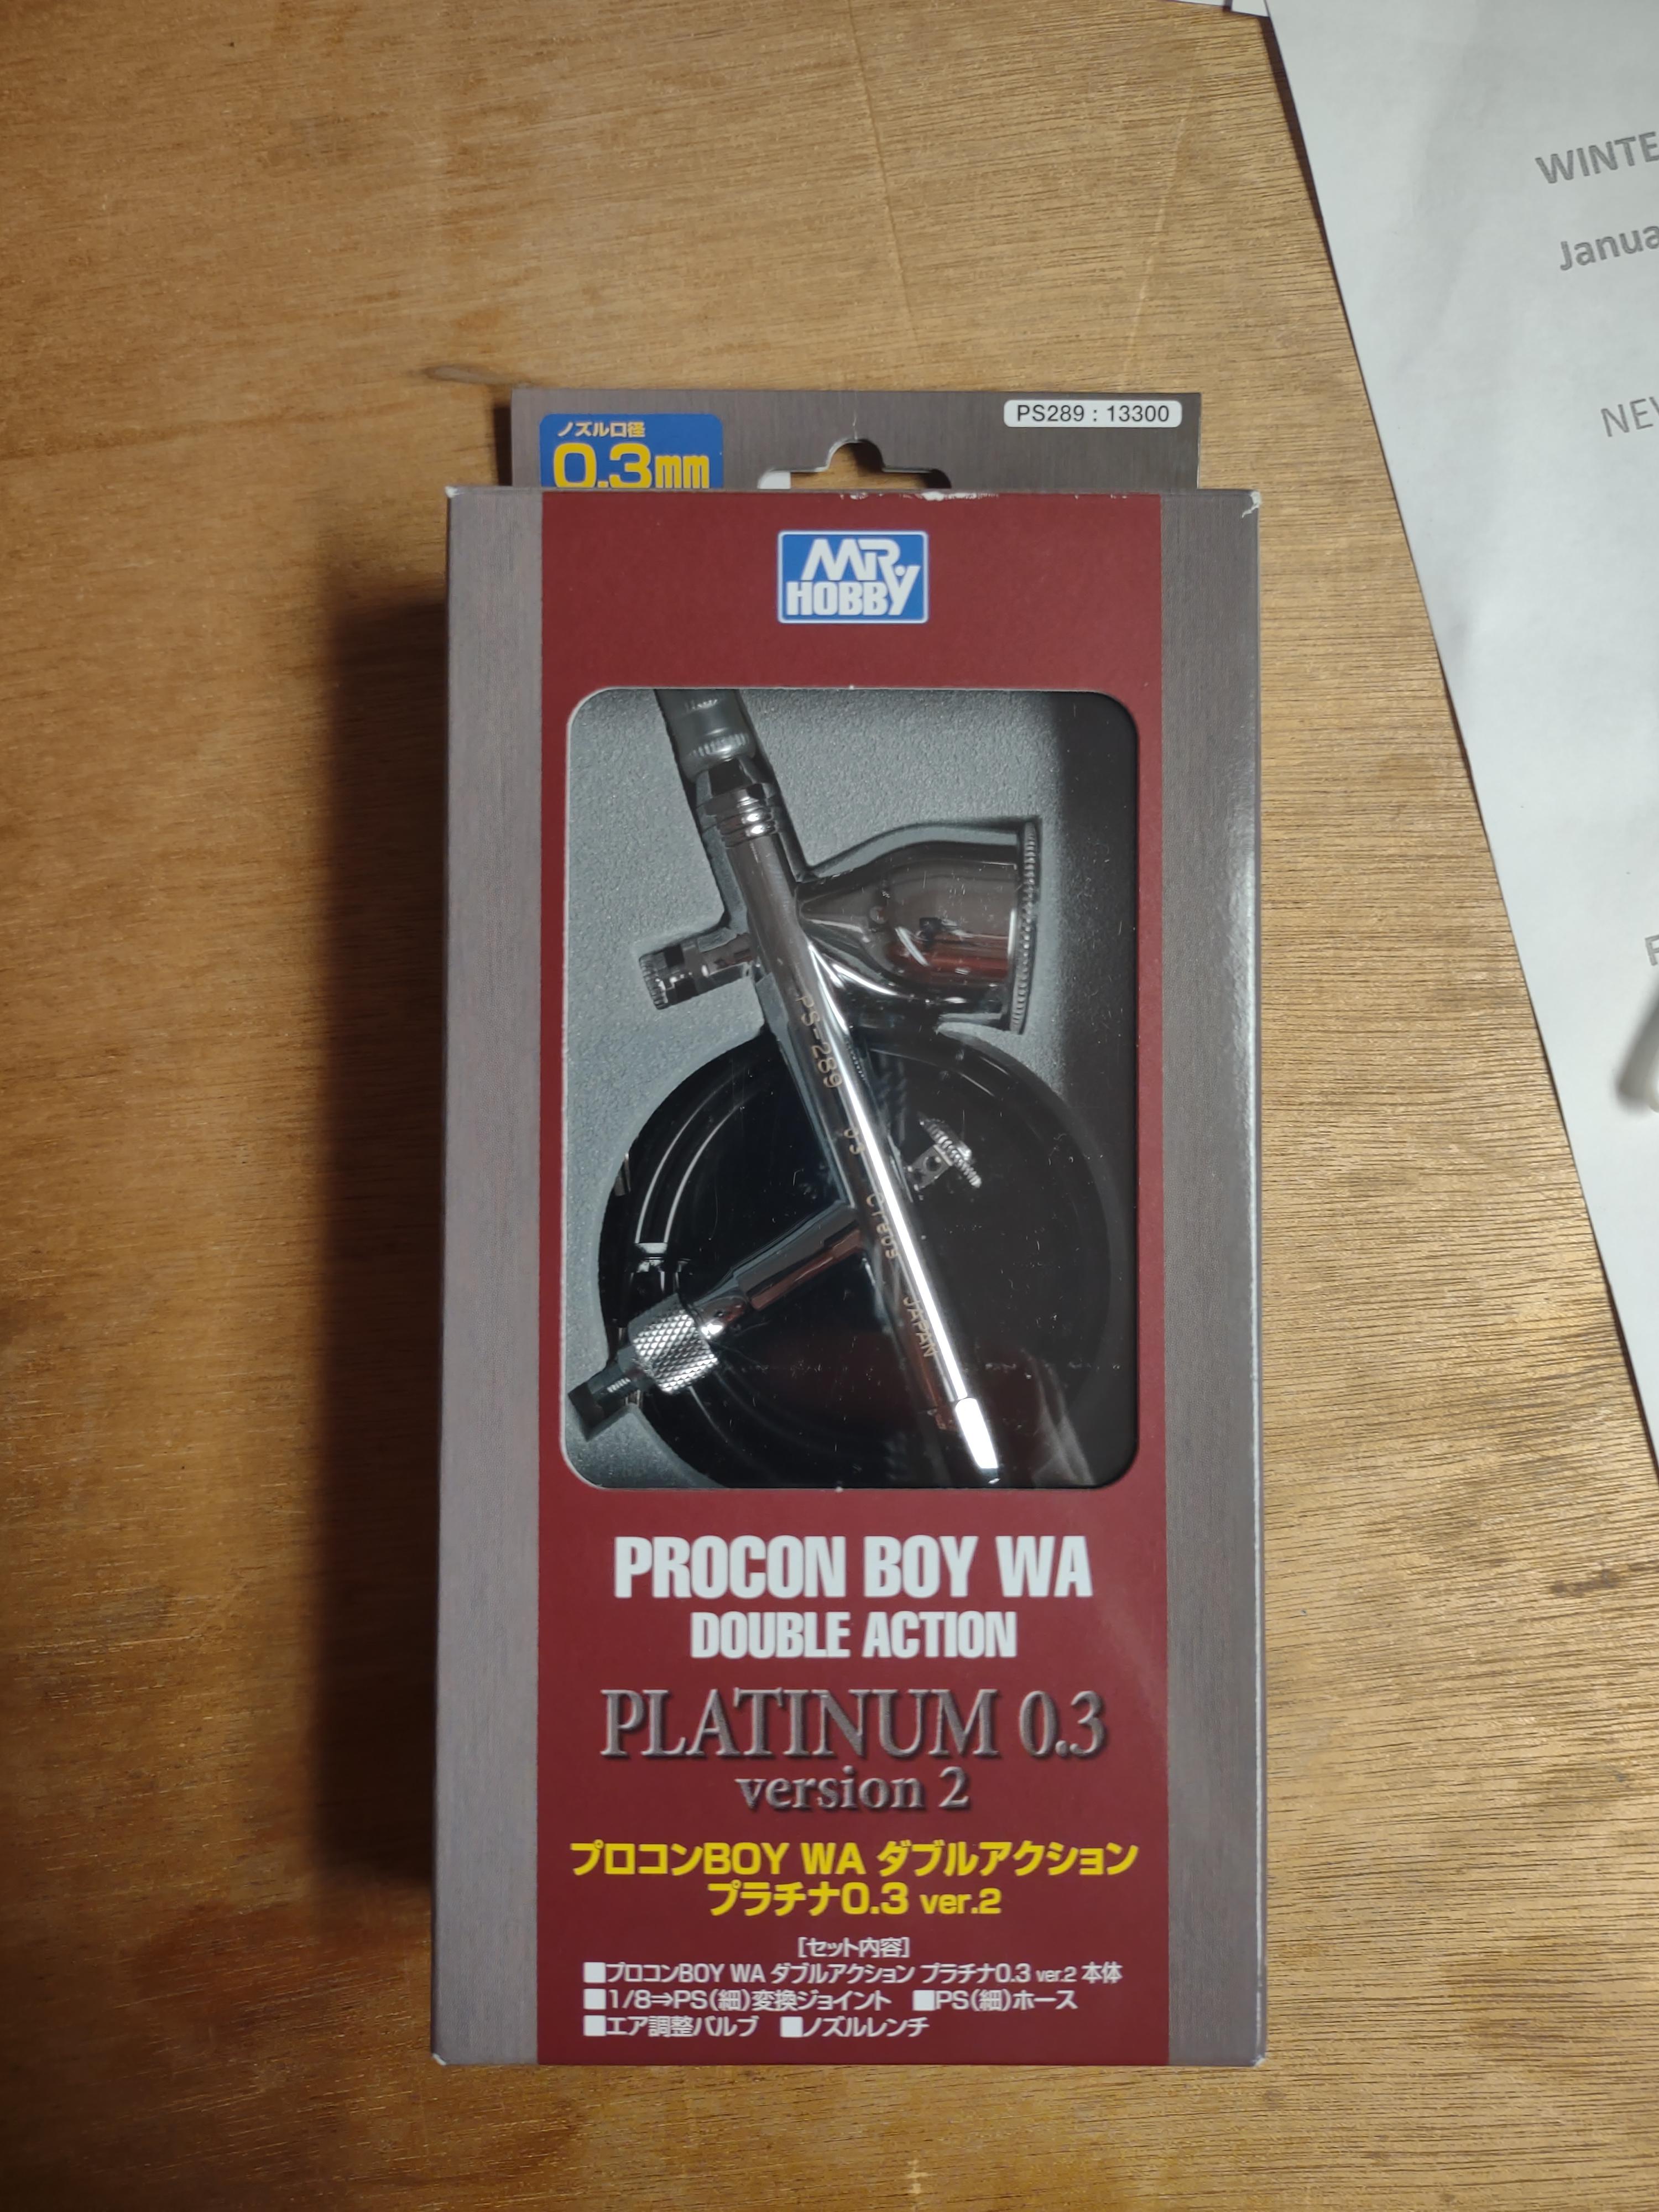
I ordered it Thanksgiving weekend (Saturday) , took awhile to arrive.... unless they were waiting on the fan caps to come in. Didn't get good response from customer service about it... really, no response. Looking forward to trying both new air brushes.
- 39,242 replies
-
- 3
-
-
- johan
- glue bombs
- (and 1 more)
-
Got my second new airbrush from Black Friday, now on to making a paint booth.
- 39,242 replies
-
- 5
-
-
- johan
- glue bombs
- (and 1 more)
-
I agree with the solvents being trapped under the primer. Could be the thickest area of repair that didn't fully cure. I adopted the practice using thin CA to seal my putty, but I'm using body glazing. It soaks in and fills sand marks also. In addition, I use it when sanding the body, to fill sand marks and destress the plastic. Molded raised areas have a "memory", and will reappear. Anyway, hope this helps.
-
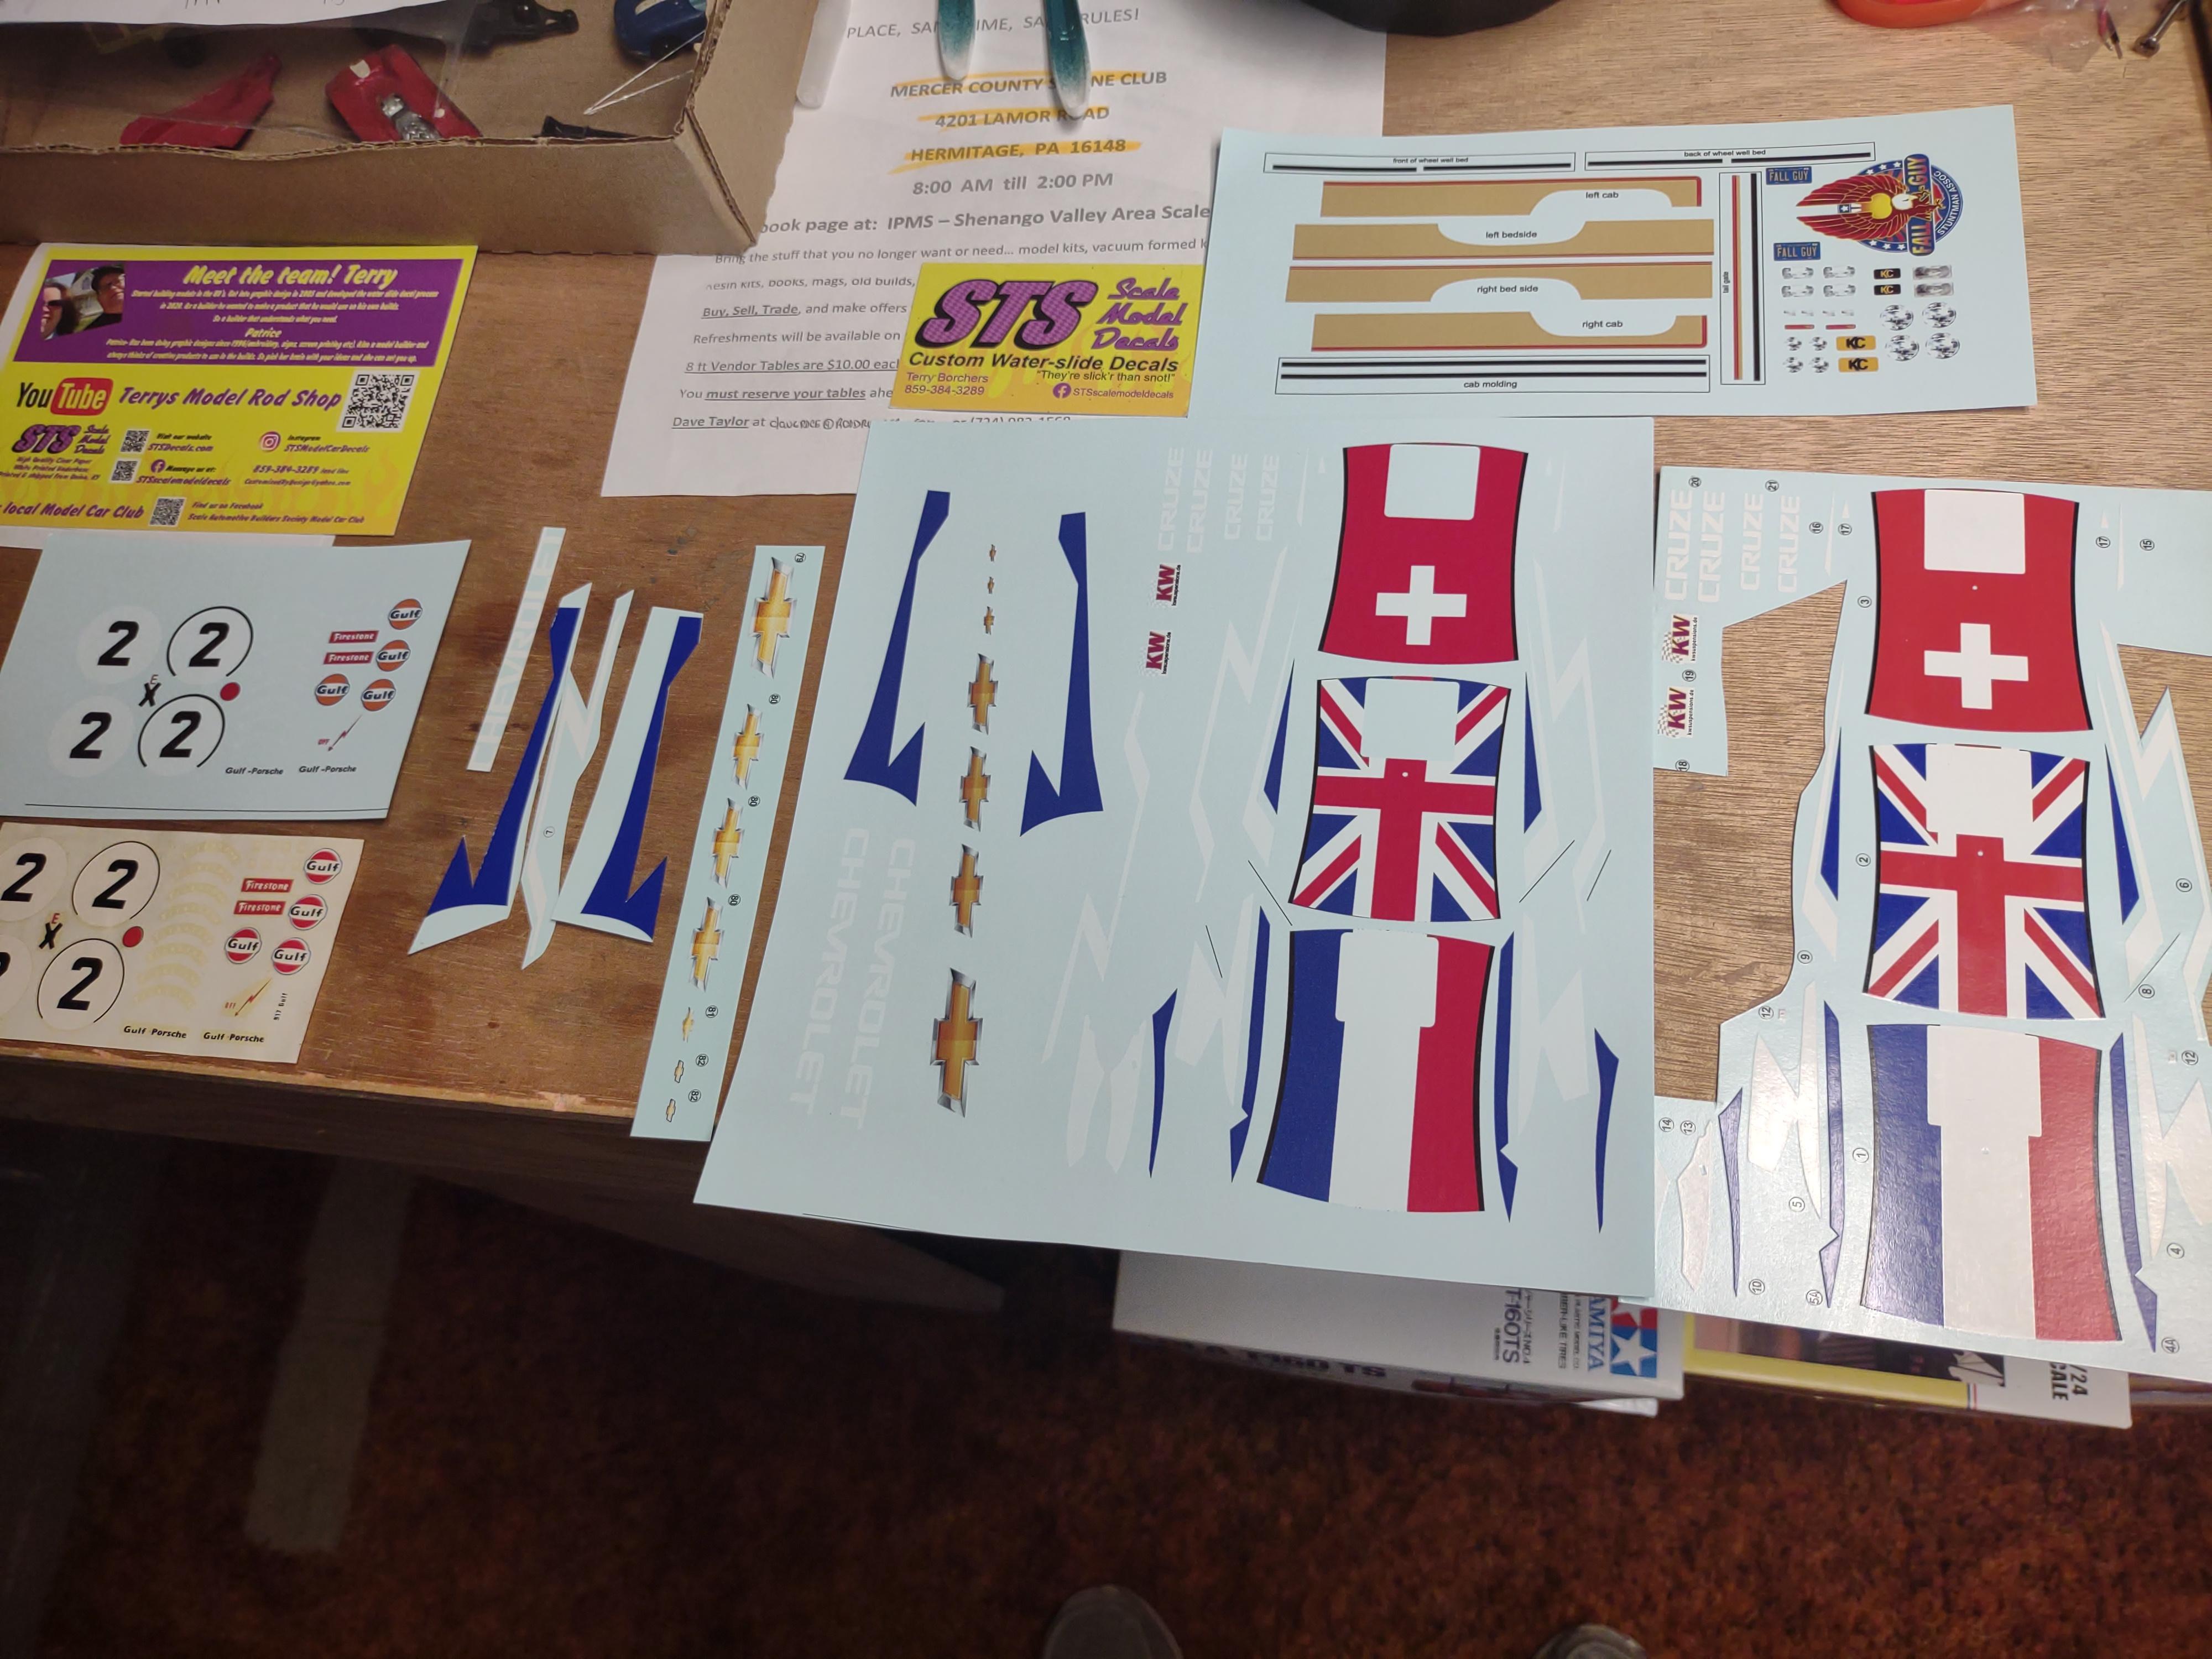
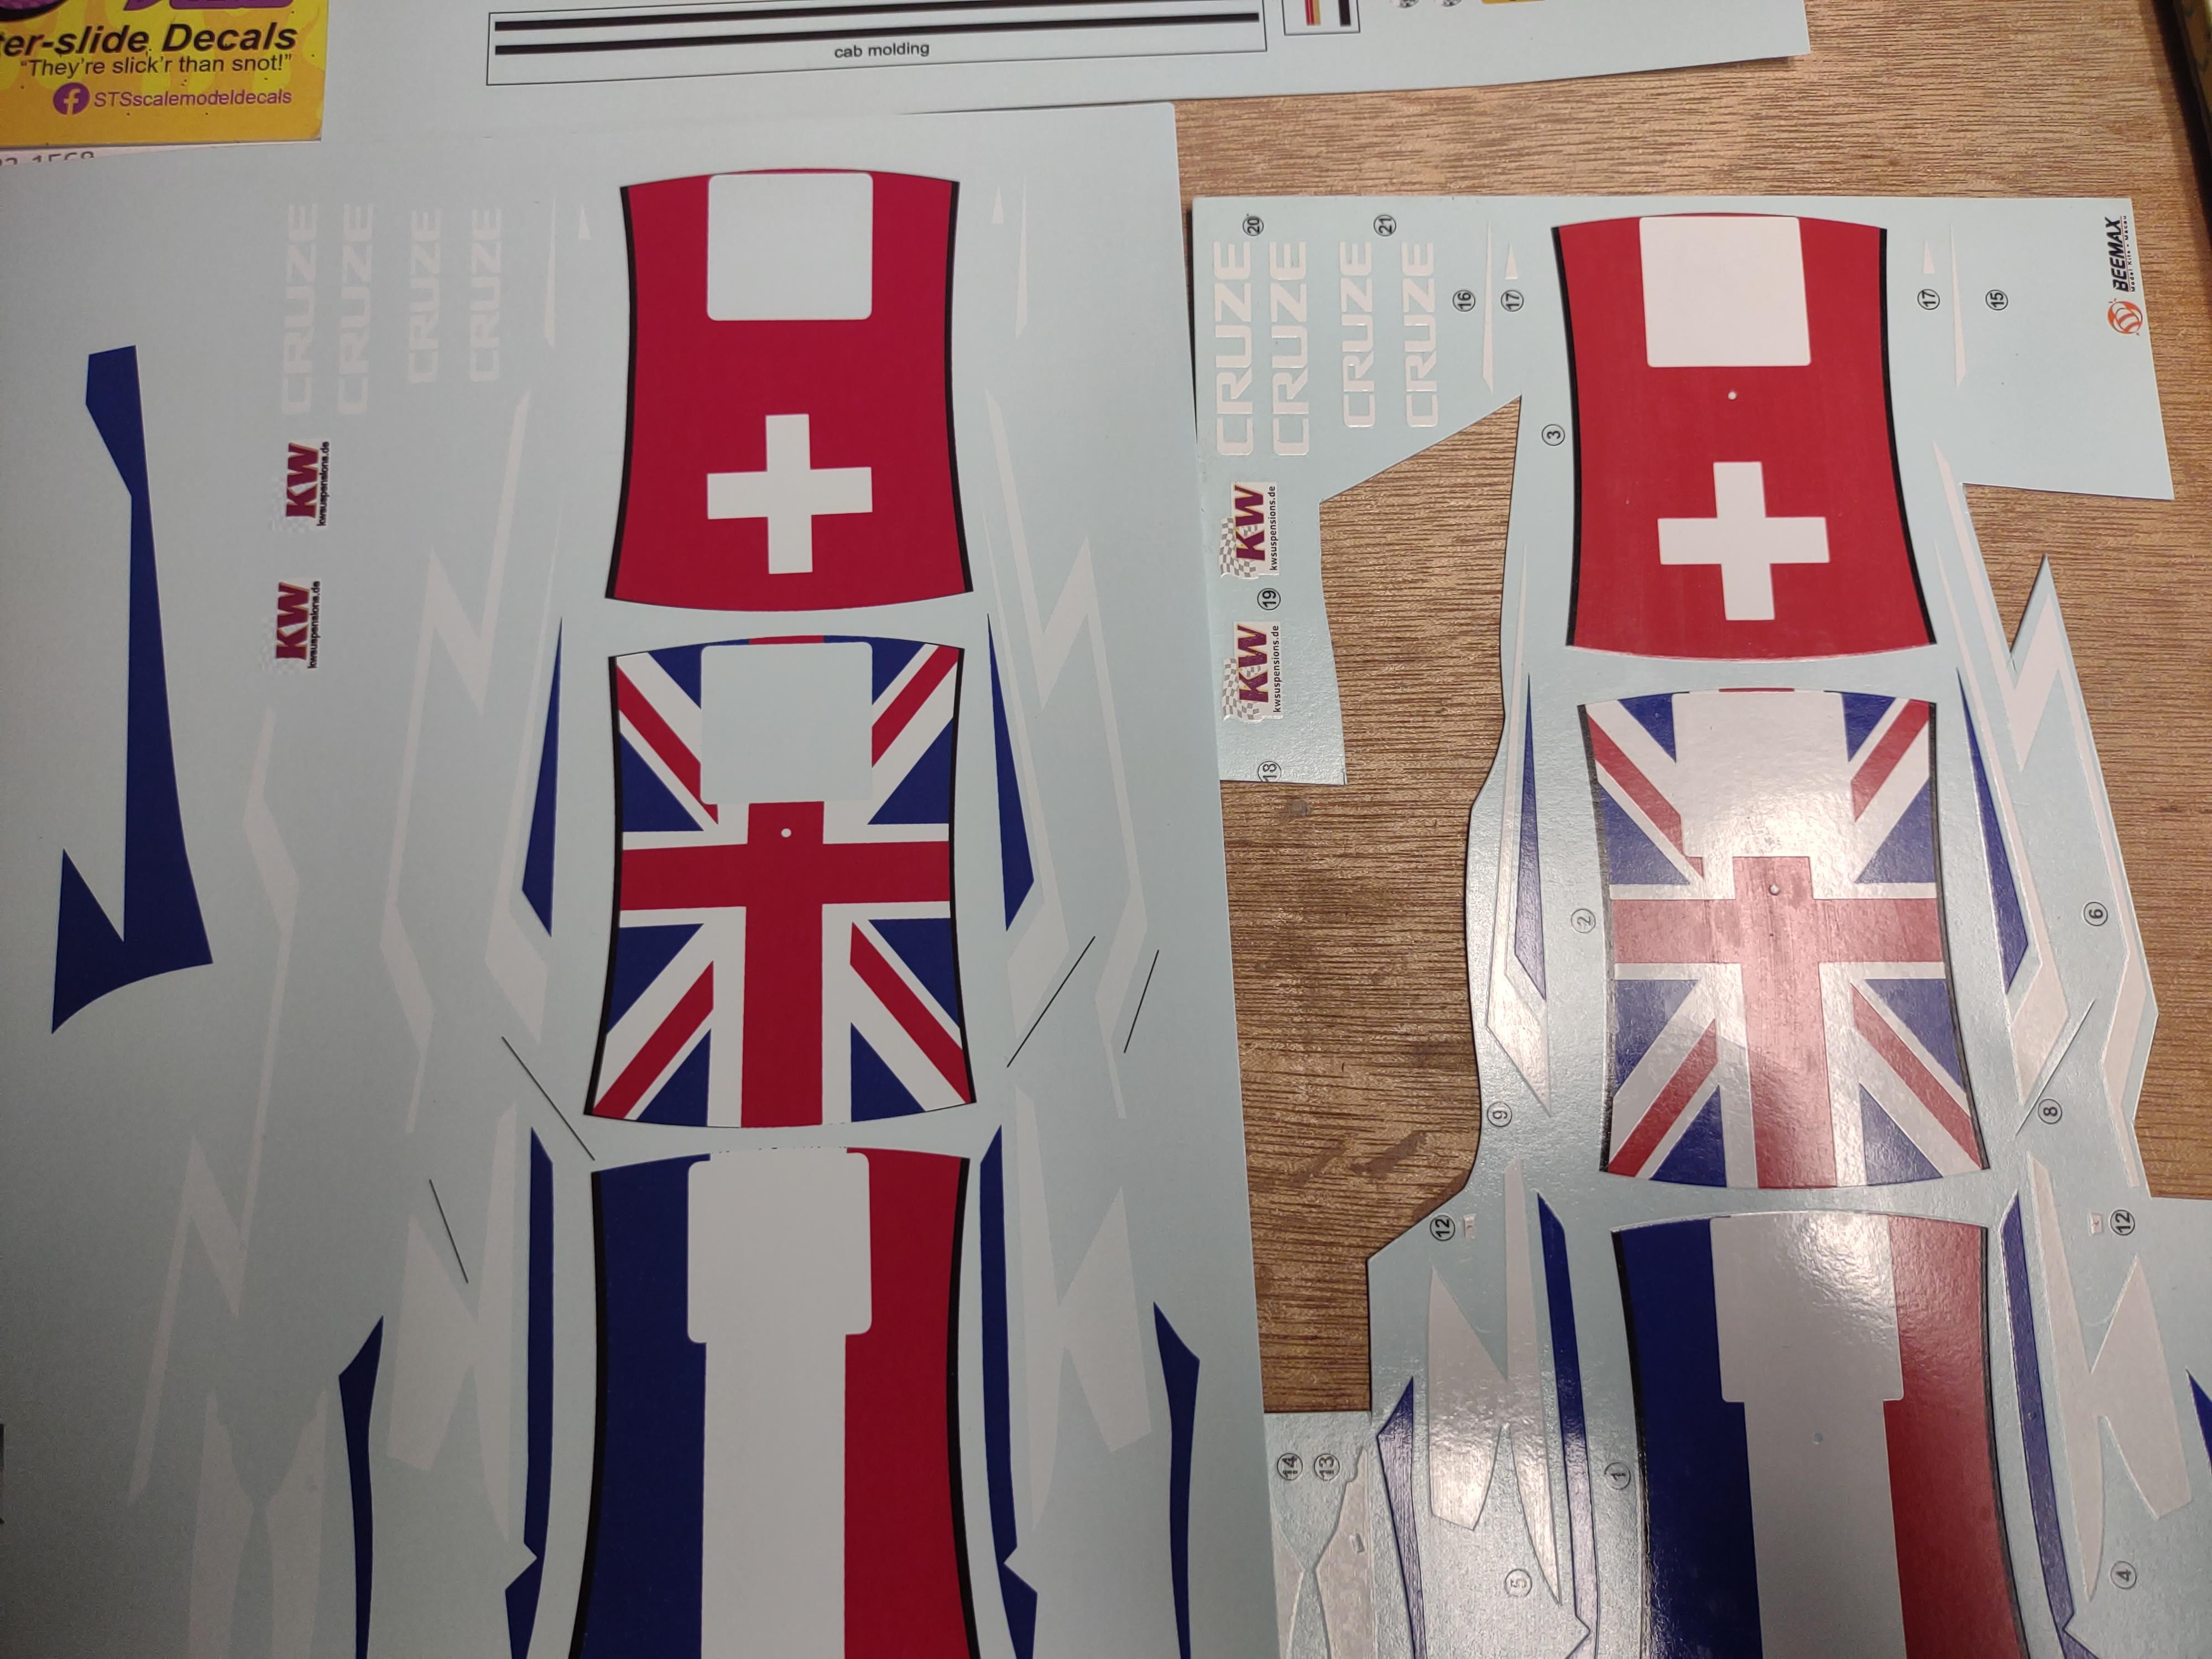
Some decals from STS...they recreated from my old ones.
- 39,242 replies
-
- 2
-
-
- johan
- glue bombs
- (and 1 more)
-
Here's some I just got in on Saturday, contact info in pic.
-
This came yesterday, still waiting on another type to be shipped.
- 39,242 replies
-
- 1
-
-
- johan
- glue bombs
- (and 1 more)
-
Gassers, how have you built them?
64SS350 replied to T-Ray's topic in Model Building Questions and Answers
I must say... watching and learning from so many on here has pushed me to new levels in building. So thanks to all who take the time to share your experiences and knowledge!! -
Gassers, how have you built them?
64SS350 replied to T-Ray's topic in Model Building Questions and Answers
I followed the pattern that Ace and maybe someone else showed us on here. And yes.....these methods are not that hard and look great! (Thanks for posting) Here's my build thread if anything on there helps, these are replicas of my friends 1:1. -
I may be late to the game....what happened to MBW?
-
I have used product plastic when I built slot cars, but to heat shrink it like that.....genius!!
-
I'm having the same issue on the AMT Blazer. I have some sheets from HL, but it scratches so easily, even with a soft cloth. I'll be following to hear suggestions
-
72 Chevy Suburban
64SS350 replied to Modlbldr's topic in WIP: Model Trucks: Pickups, Vans, SUVs, Light Commercial
Just checked your build out...I see you are going loooow! Nice stuff!! -
68-72 Suburban scratch build
64SS350 replied to 64SS350's topic in WIP: Model Trucks: Pickups, Vans, SUVs, Light Commercial
Looking good! The Blazer needed a filler strip also. Using the pu is good, since the wheelbases are the same, less side bodywork also. The Blazer gave me roofs, but I had to work them. They are flat and textured. Made a block to heat and shape in an arch. I also overestimated the springs, this will be a tall one when the time comes for tires! -
68-72 Suburban scratch build
64SS350 replied to 64SS350's topic in WIP: Model Trucks: Pickups, Vans, SUVs, Light Commercial
Wow.... didn't catch that on the rims... thanks! Have to come up with hubcaps I guess. Thanks for the compliments and for following!