64SS350
-
Posts
1,574 -
Joined
-
Last visited
Content Type
Profiles
Forums
Events
Gallery
Everything posted by 64SS350
-
Resin 64 Chevy Crew Cab Pickup
64SS350 replied to 64SS350's topic in WIP: Model Trucks: Pickups, Vans, SUVs, Light Commercial
Yep...those are what I screenshot awhile back for the technique. Thanks! -
Resin 64 Chevy Crew Cab Pickup
64SS350 replied to 64SS350's topic in WIP: Model Trucks: Pickups, Vans, SUVs, Light Commercial
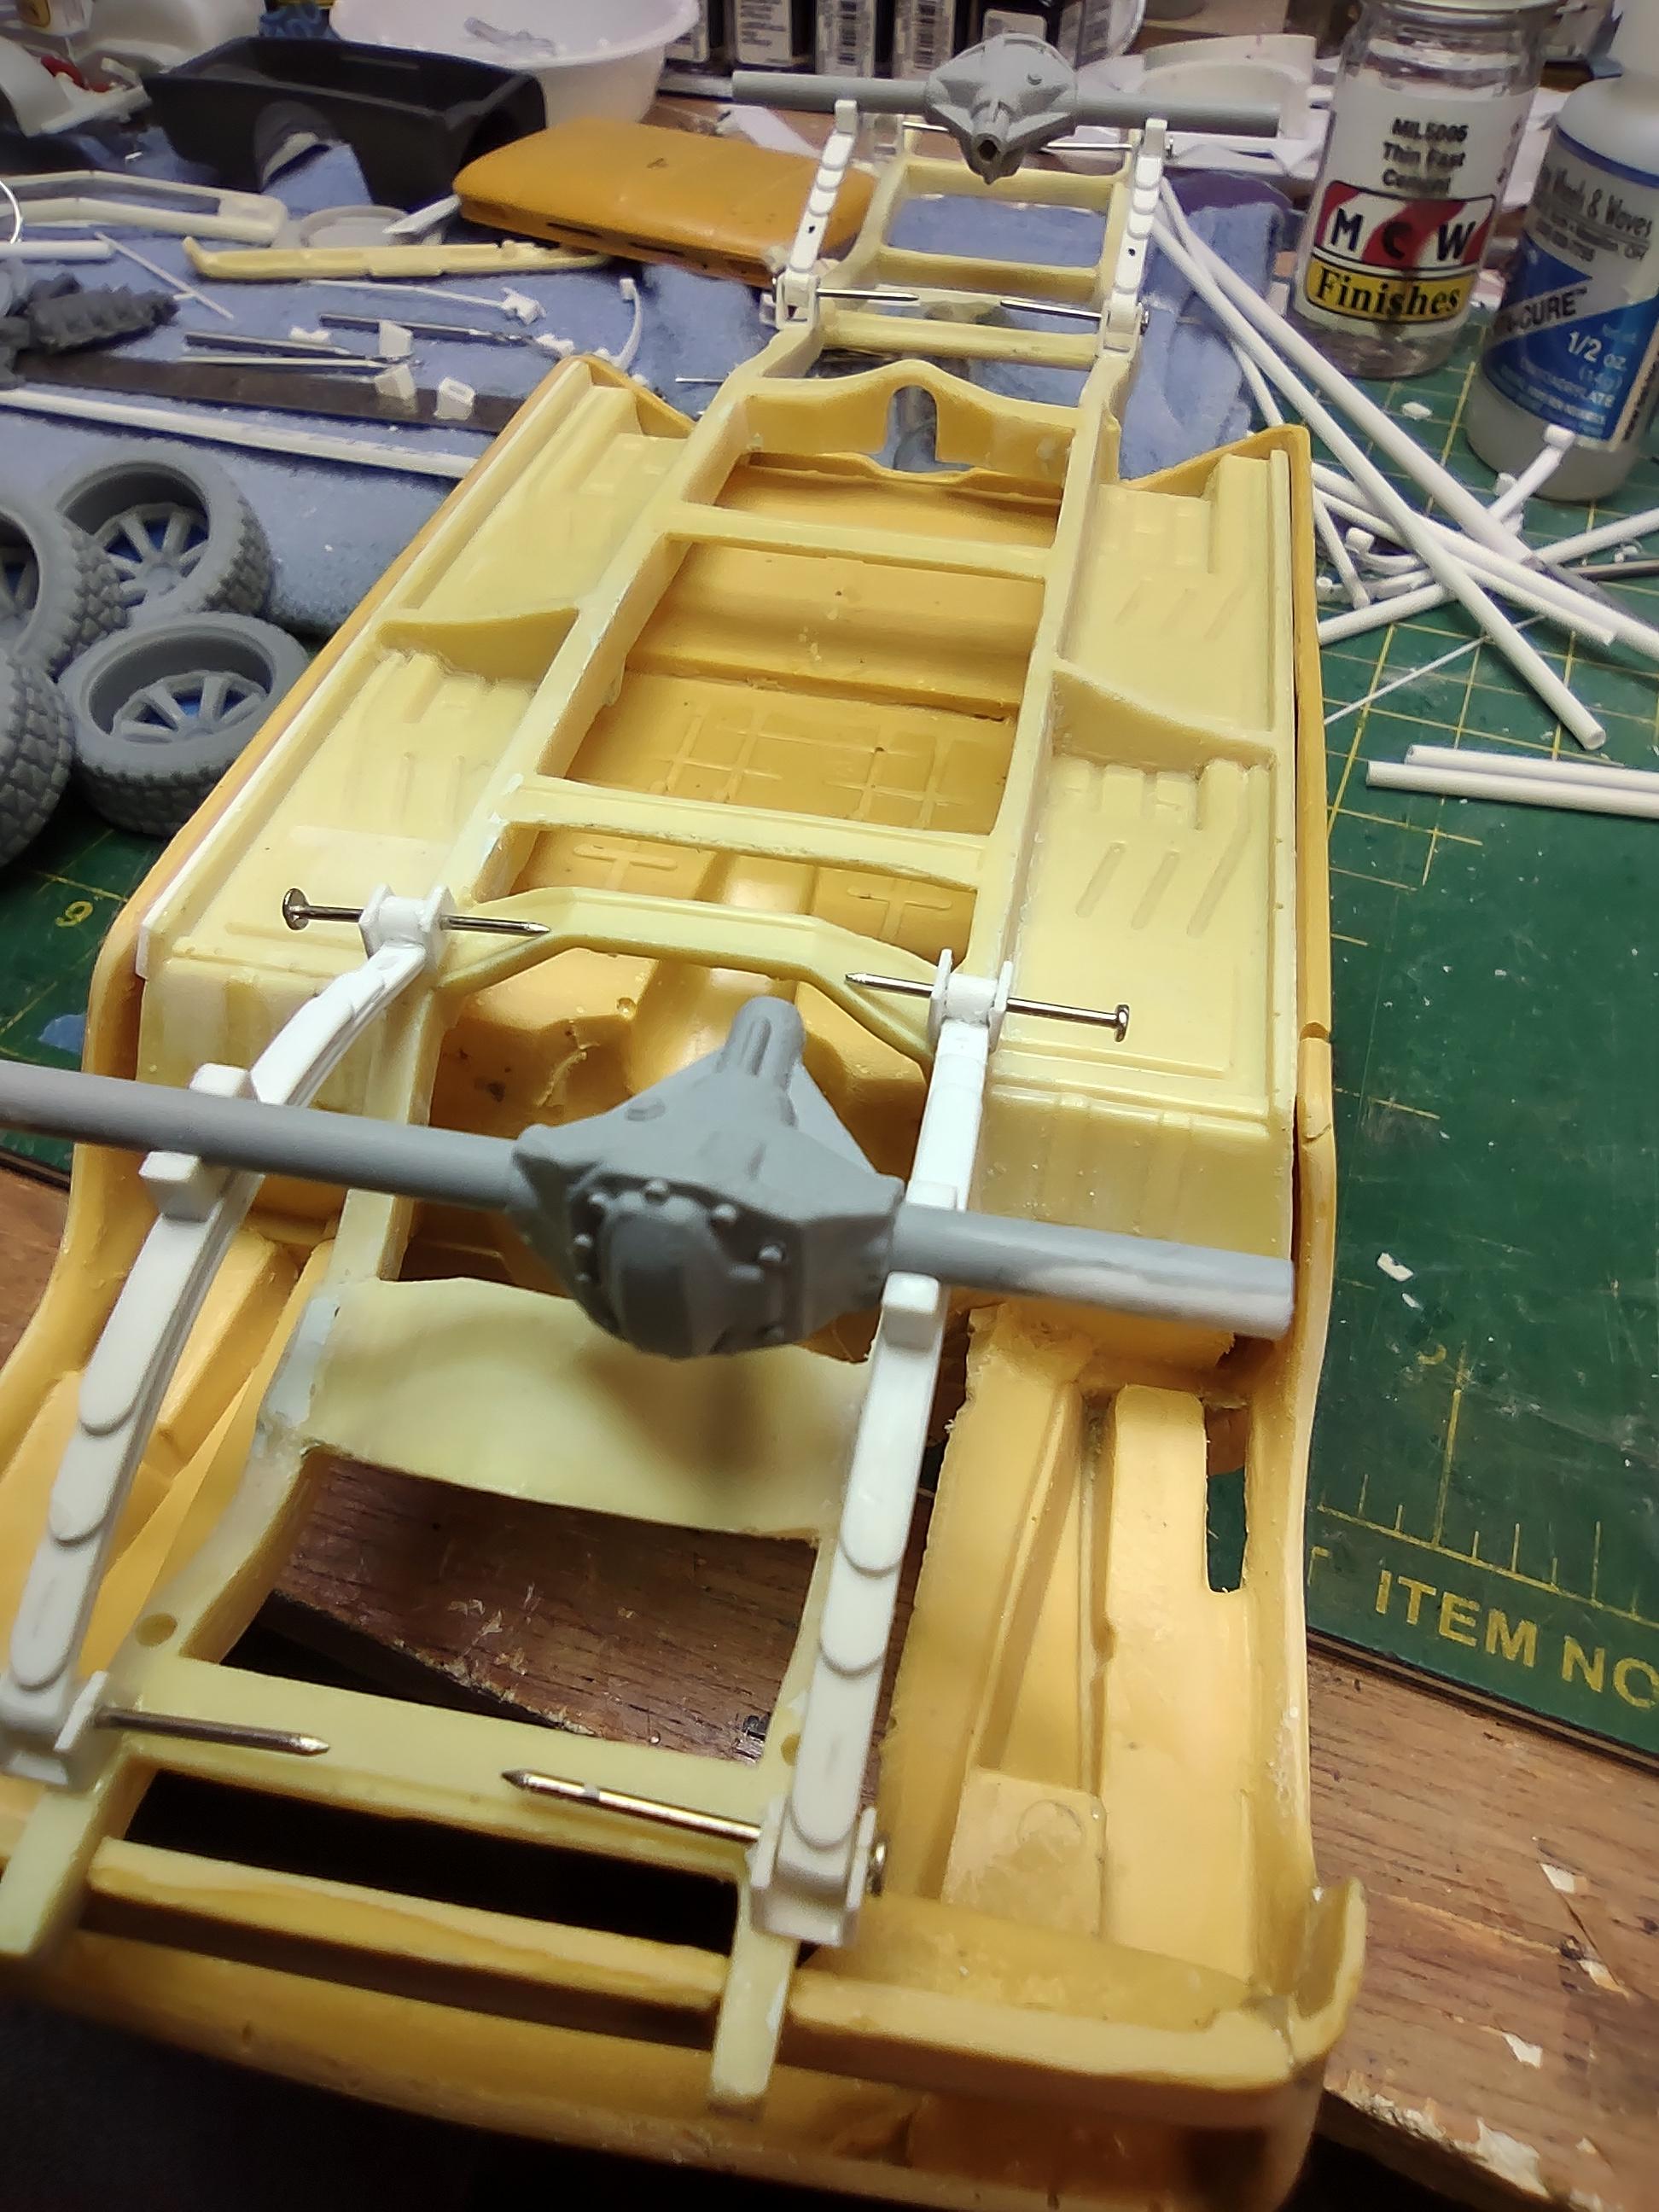
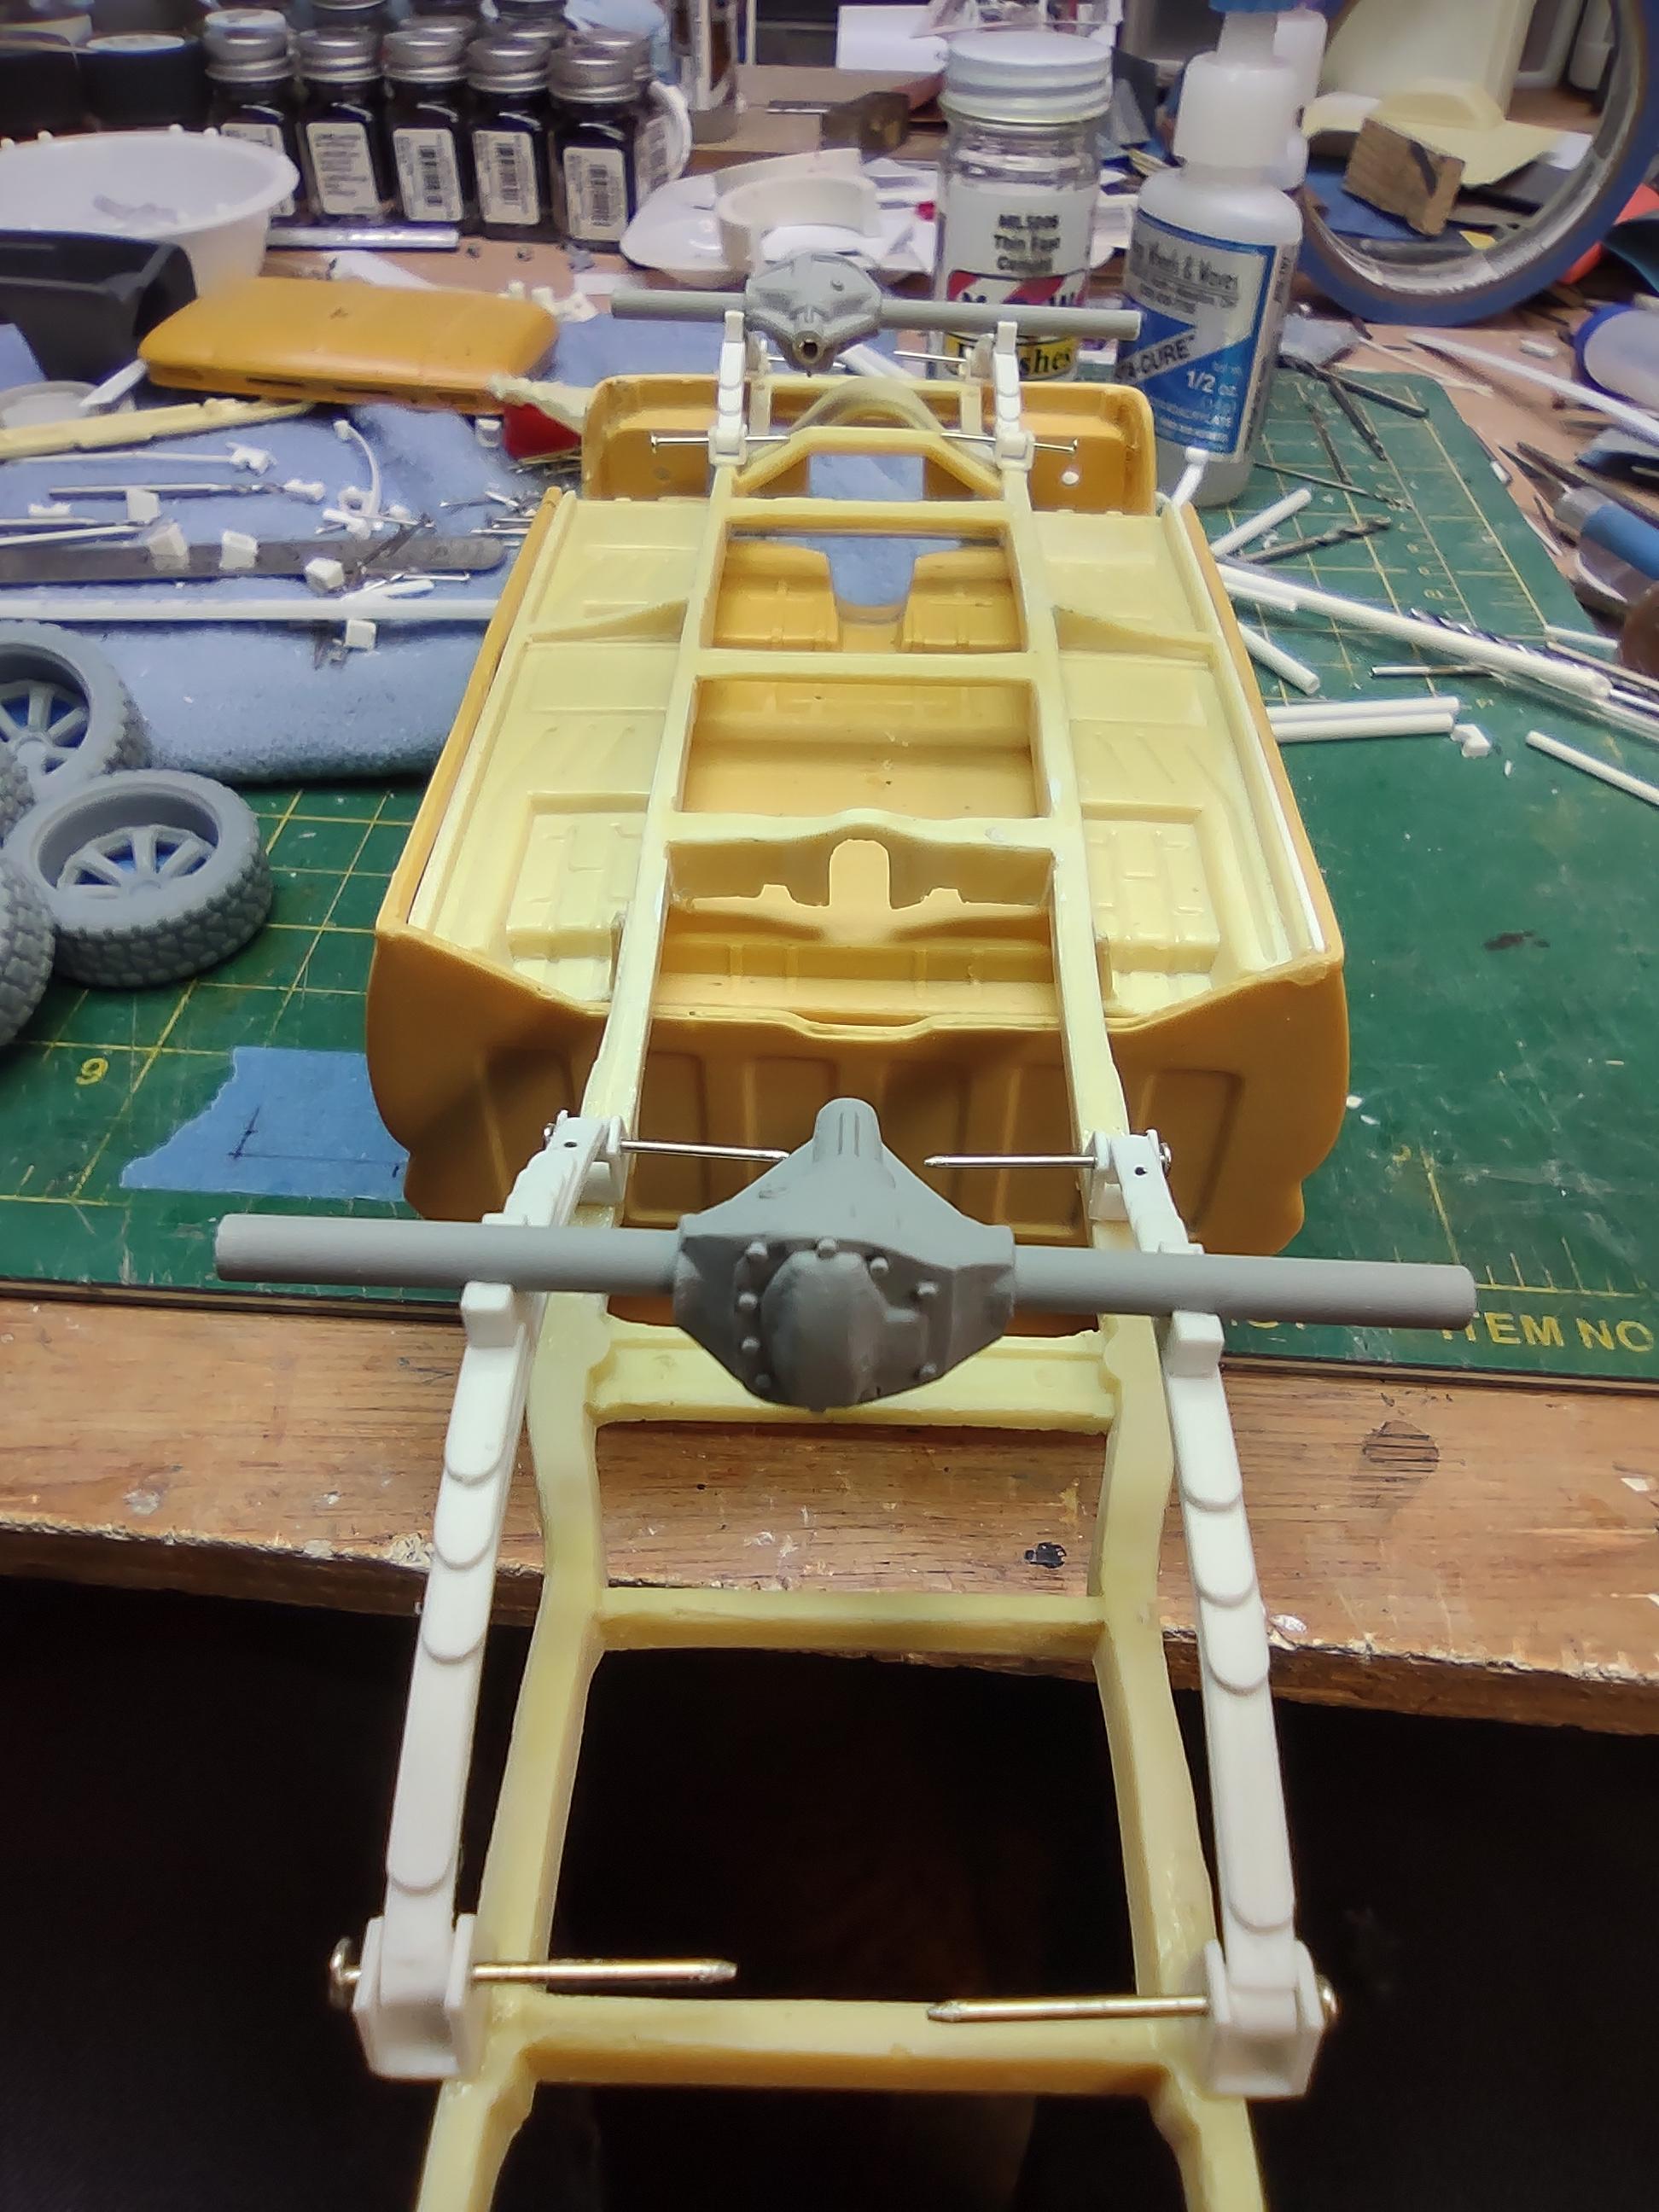
Yes, the leaf springs and differentials have always been subpar in most of the kits. Glad to see a few on the 3D market now. After seeing someone else modify/make some diffs, checked my kits to look for decent ones. As pictured, I modified the ones from the 84 GMC kit, I will definitely be casting these and others. And thank you for looking!! -
Resin 64 Chevy Crew Cab Pickup
64SS350 replied to 64SS350's topic in WIP: Model Trucks: Pickups, Vans, SUVs, Light Commercial
Thanks! Started making my own a couple years ago while building some gassers for a friend. I have a pretty good set up to make them relatively quick, still working on getting the arch and desired height to coordinate in an easier fashion. -
Resin 64 Chevy Crew Cab Pickup
64SS350 replied to 64SS350's topic in WIP: Model Trucks: Pickups, Vans, SUVs, Light Commercial
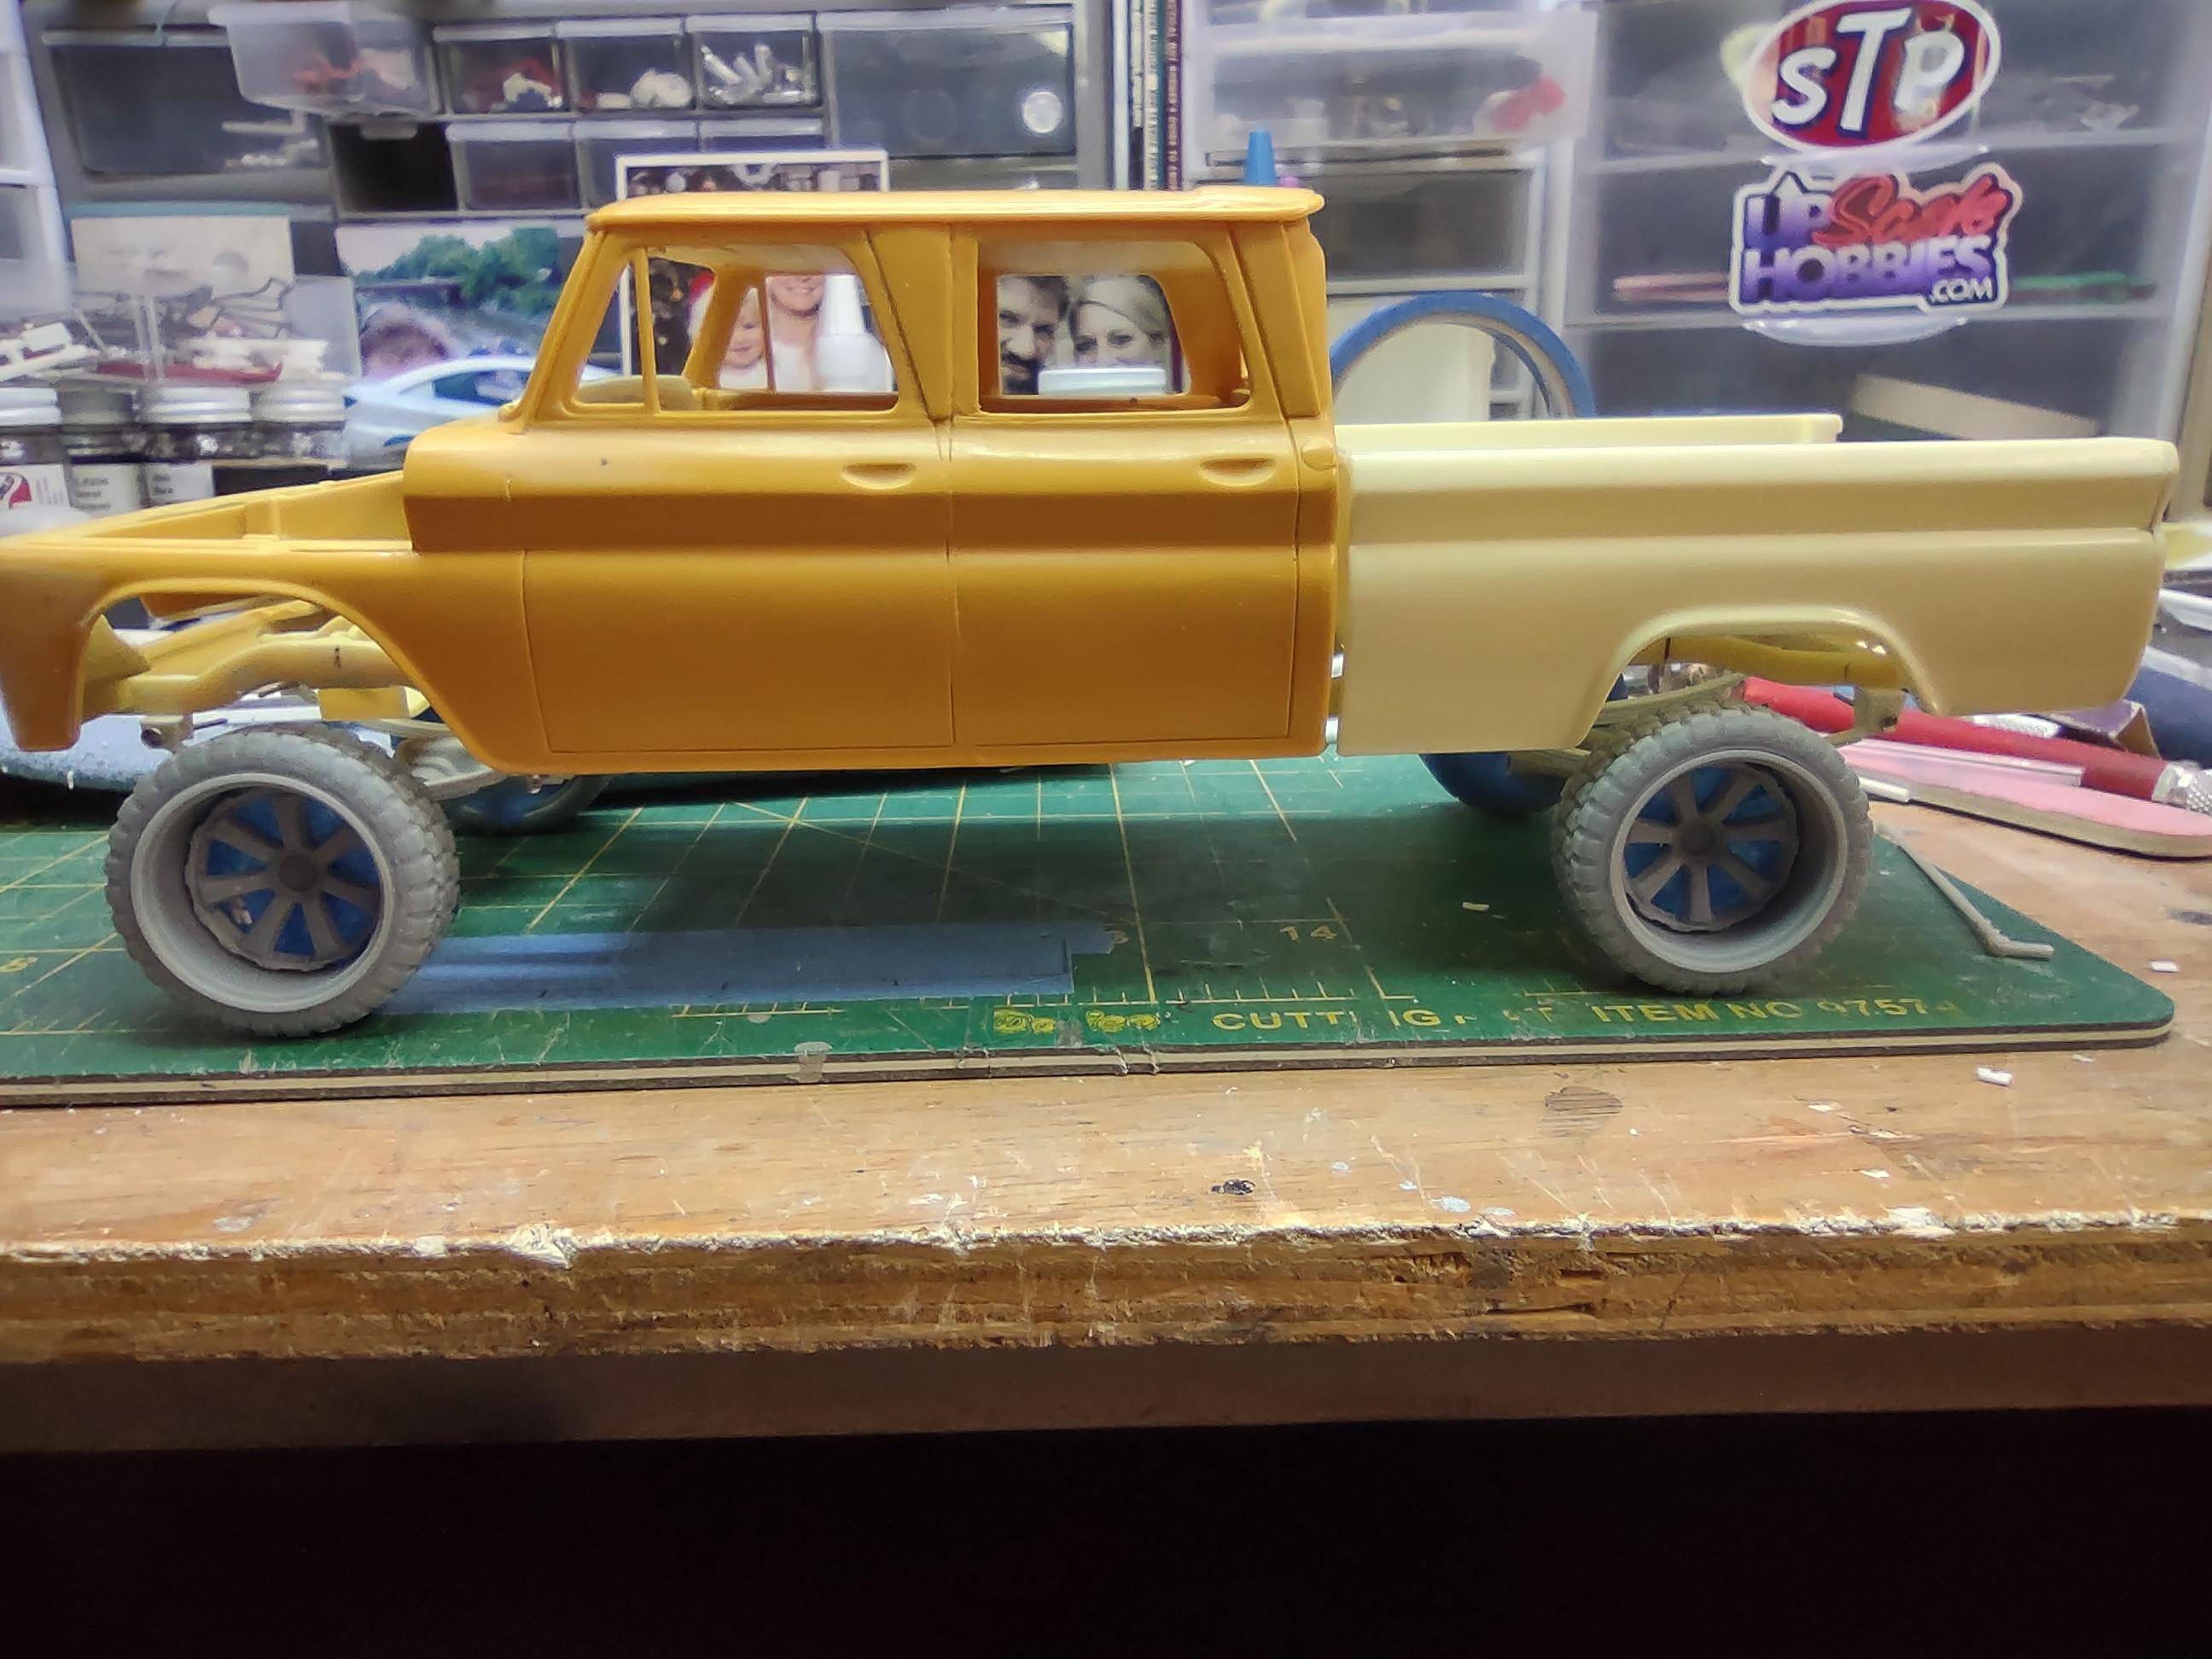
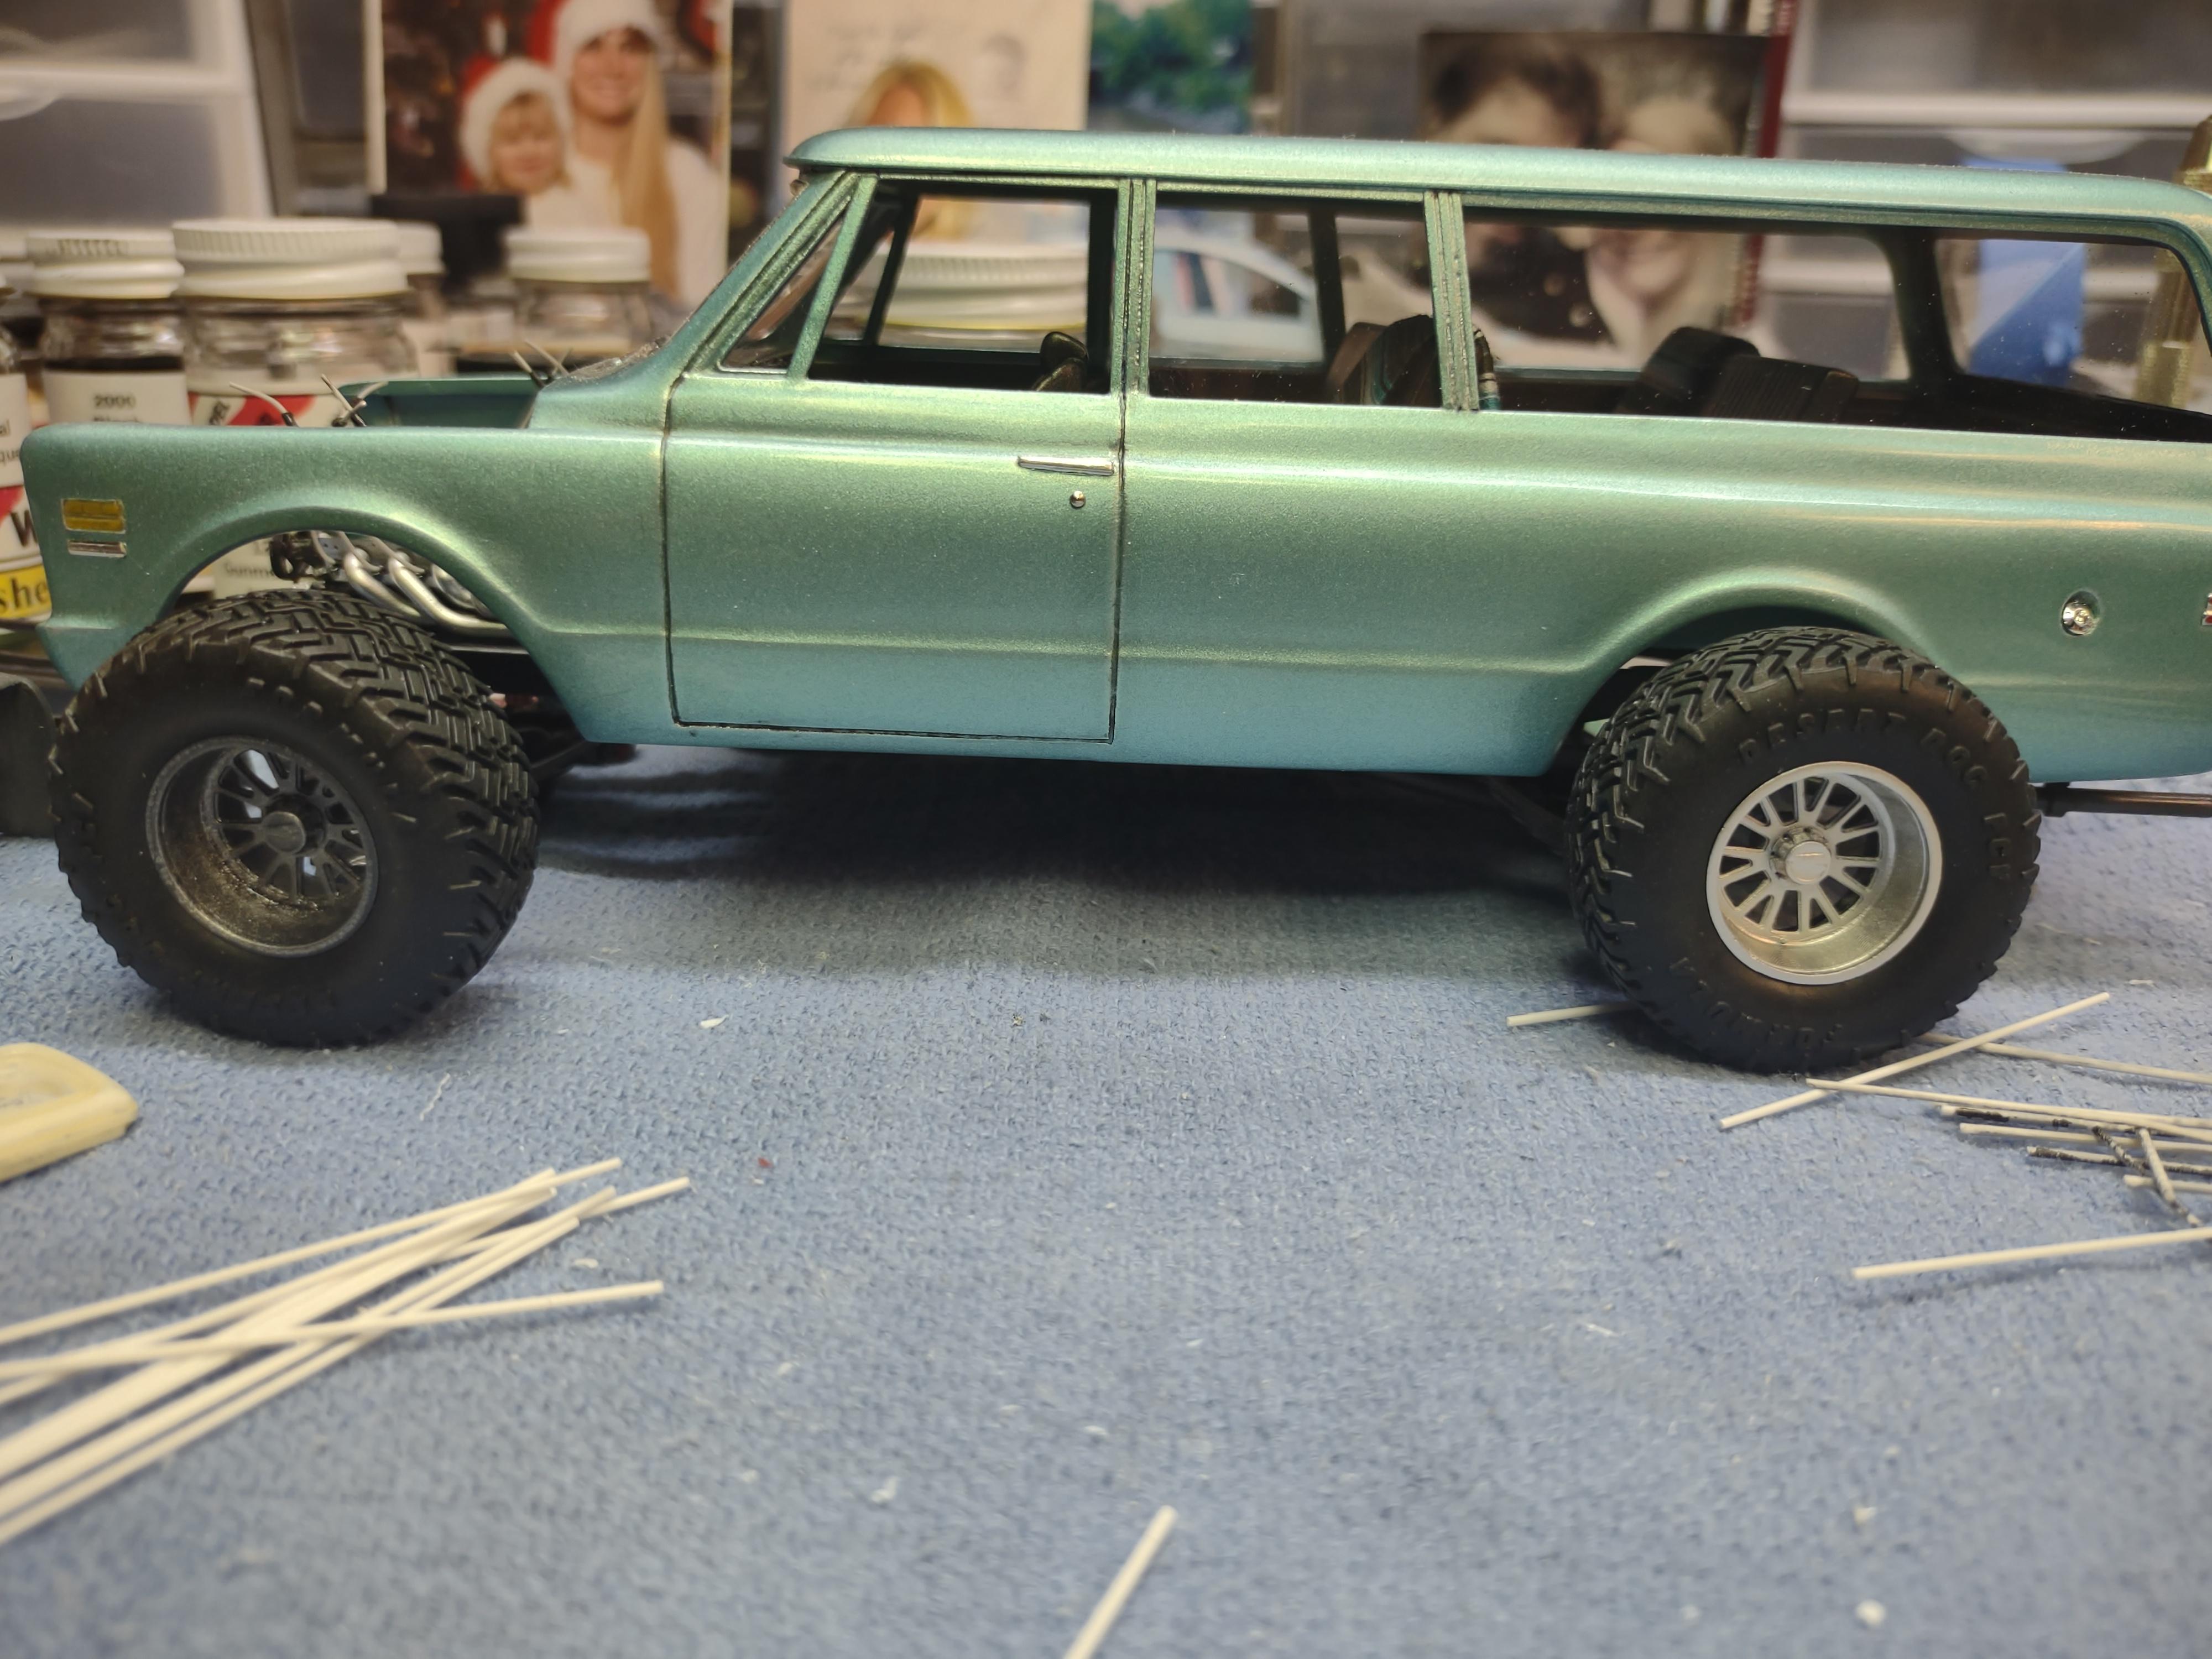
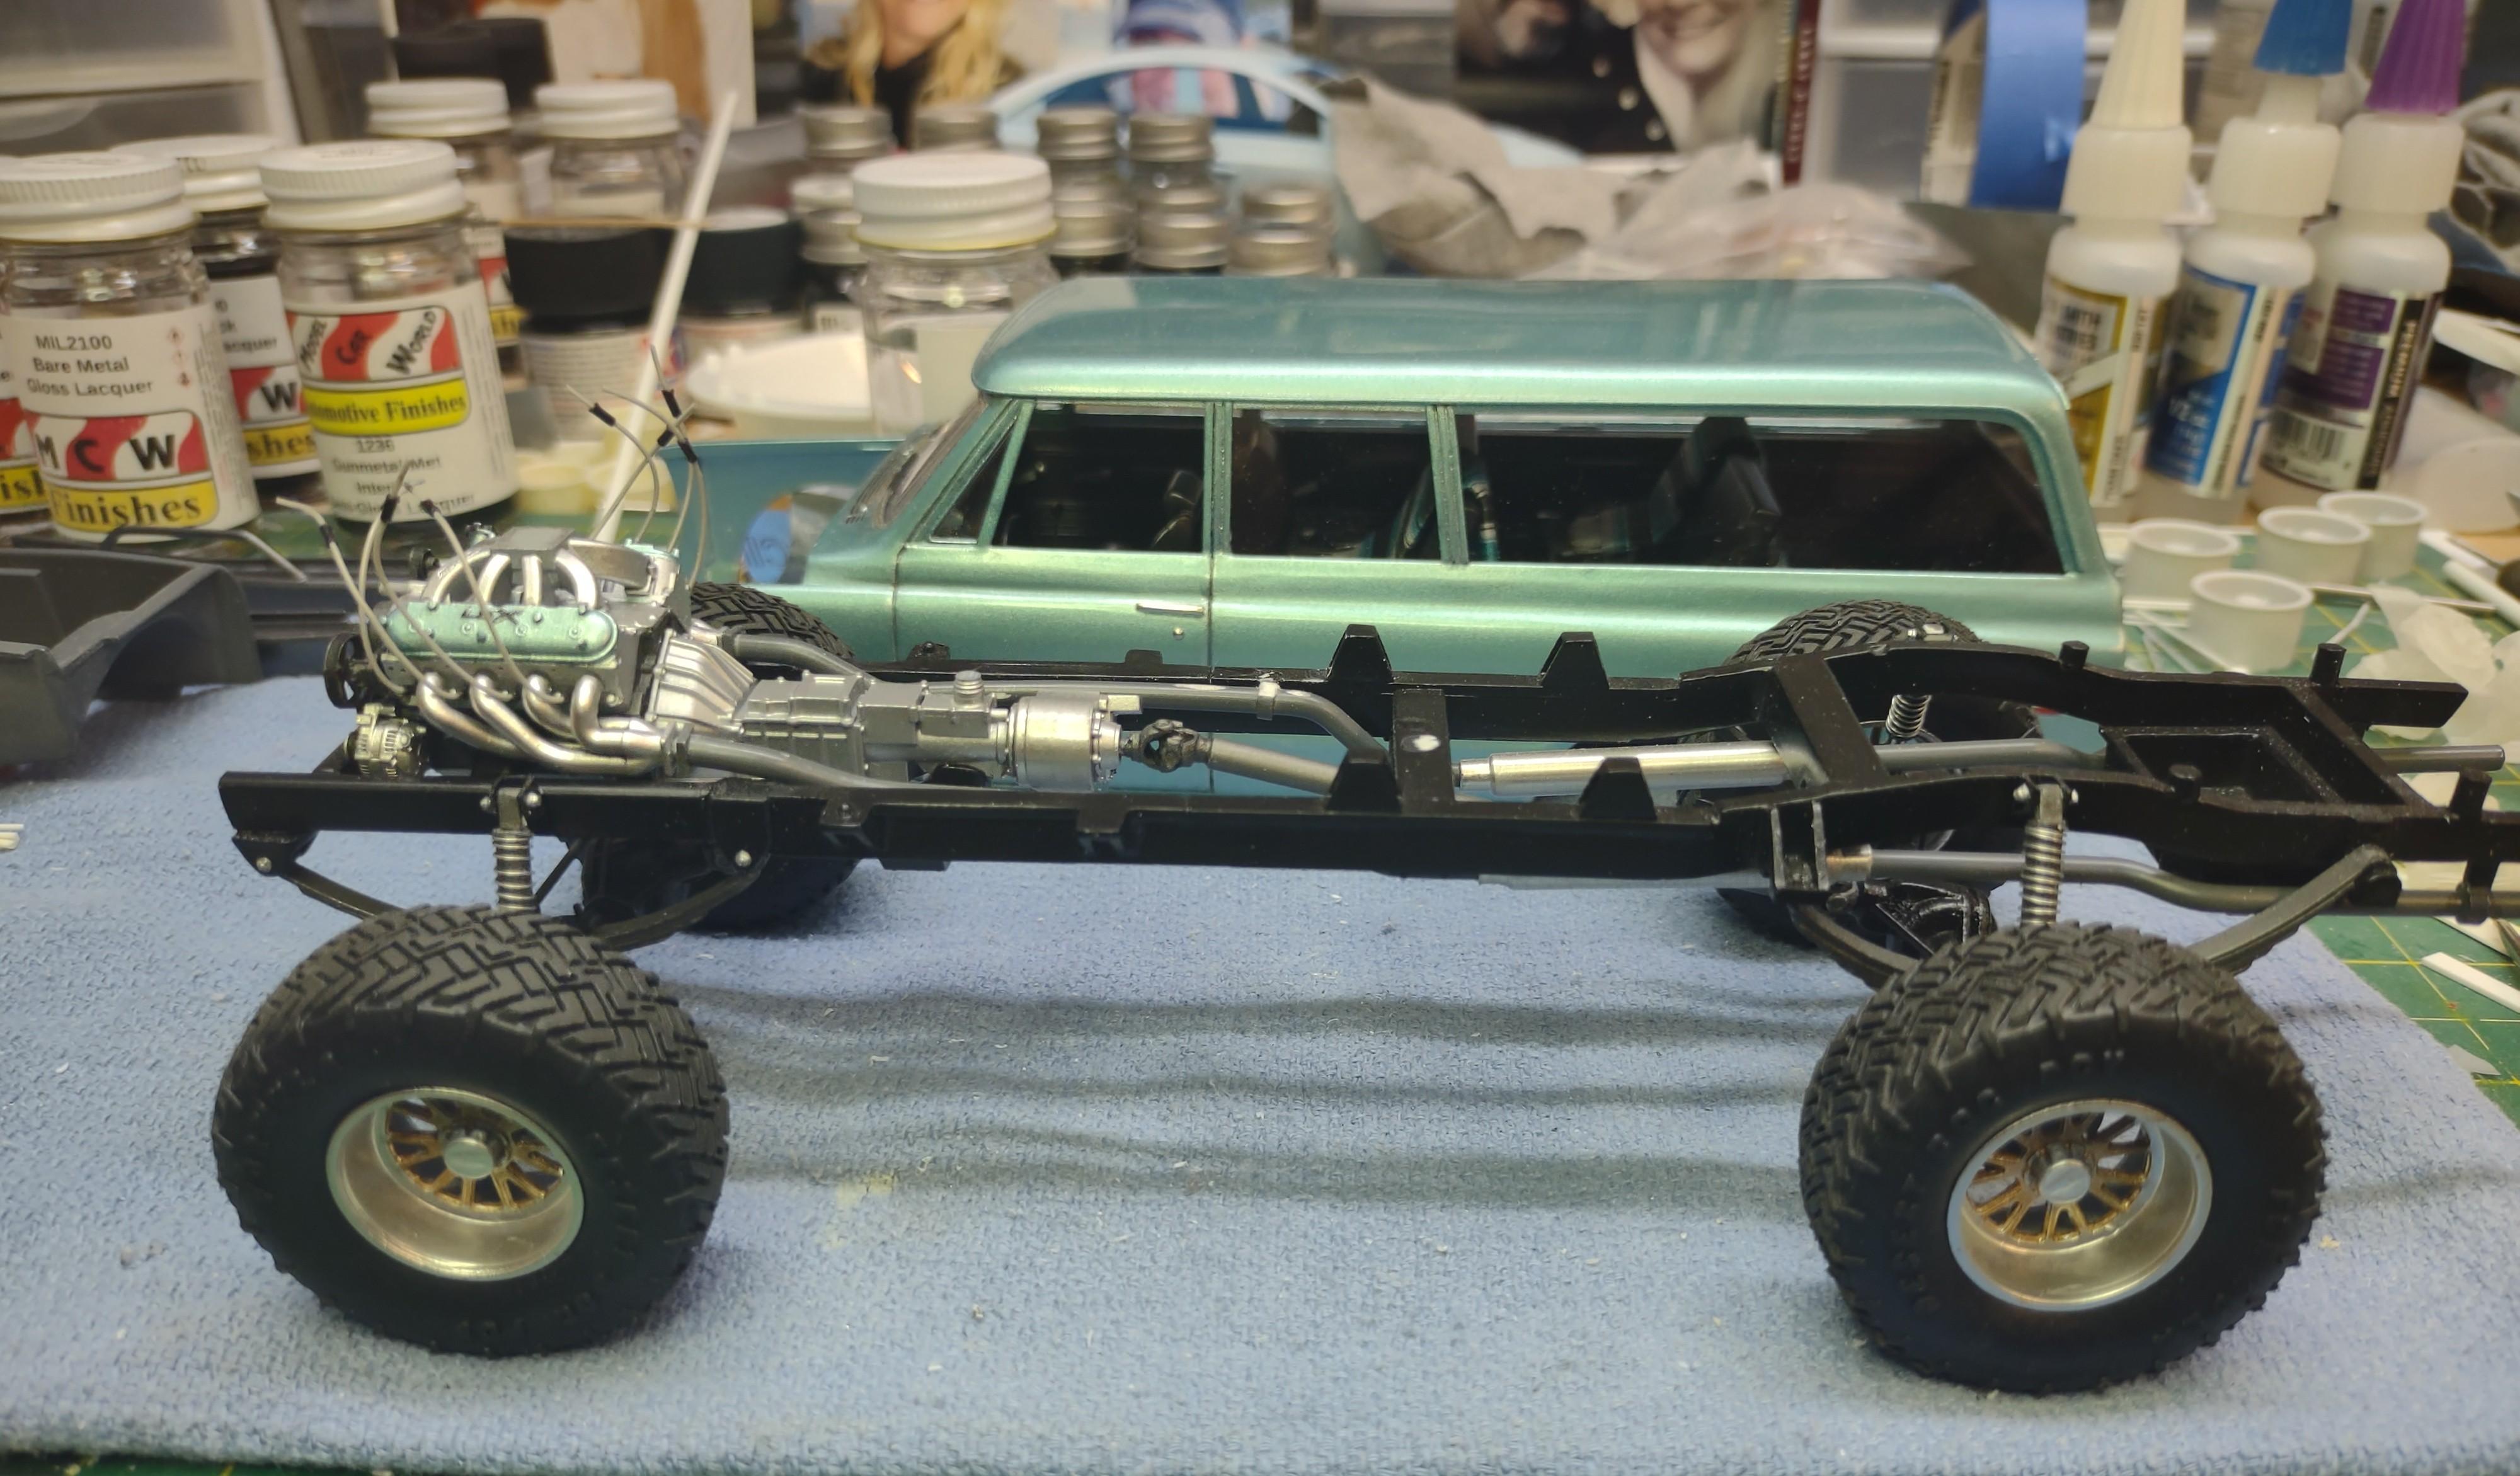
I understand, I like both styles. My second choice was a small set of the Dessert Dogs on Centerline wheels. I wanted to keep this one a lower ride height either way. Motor and drive line is next. -
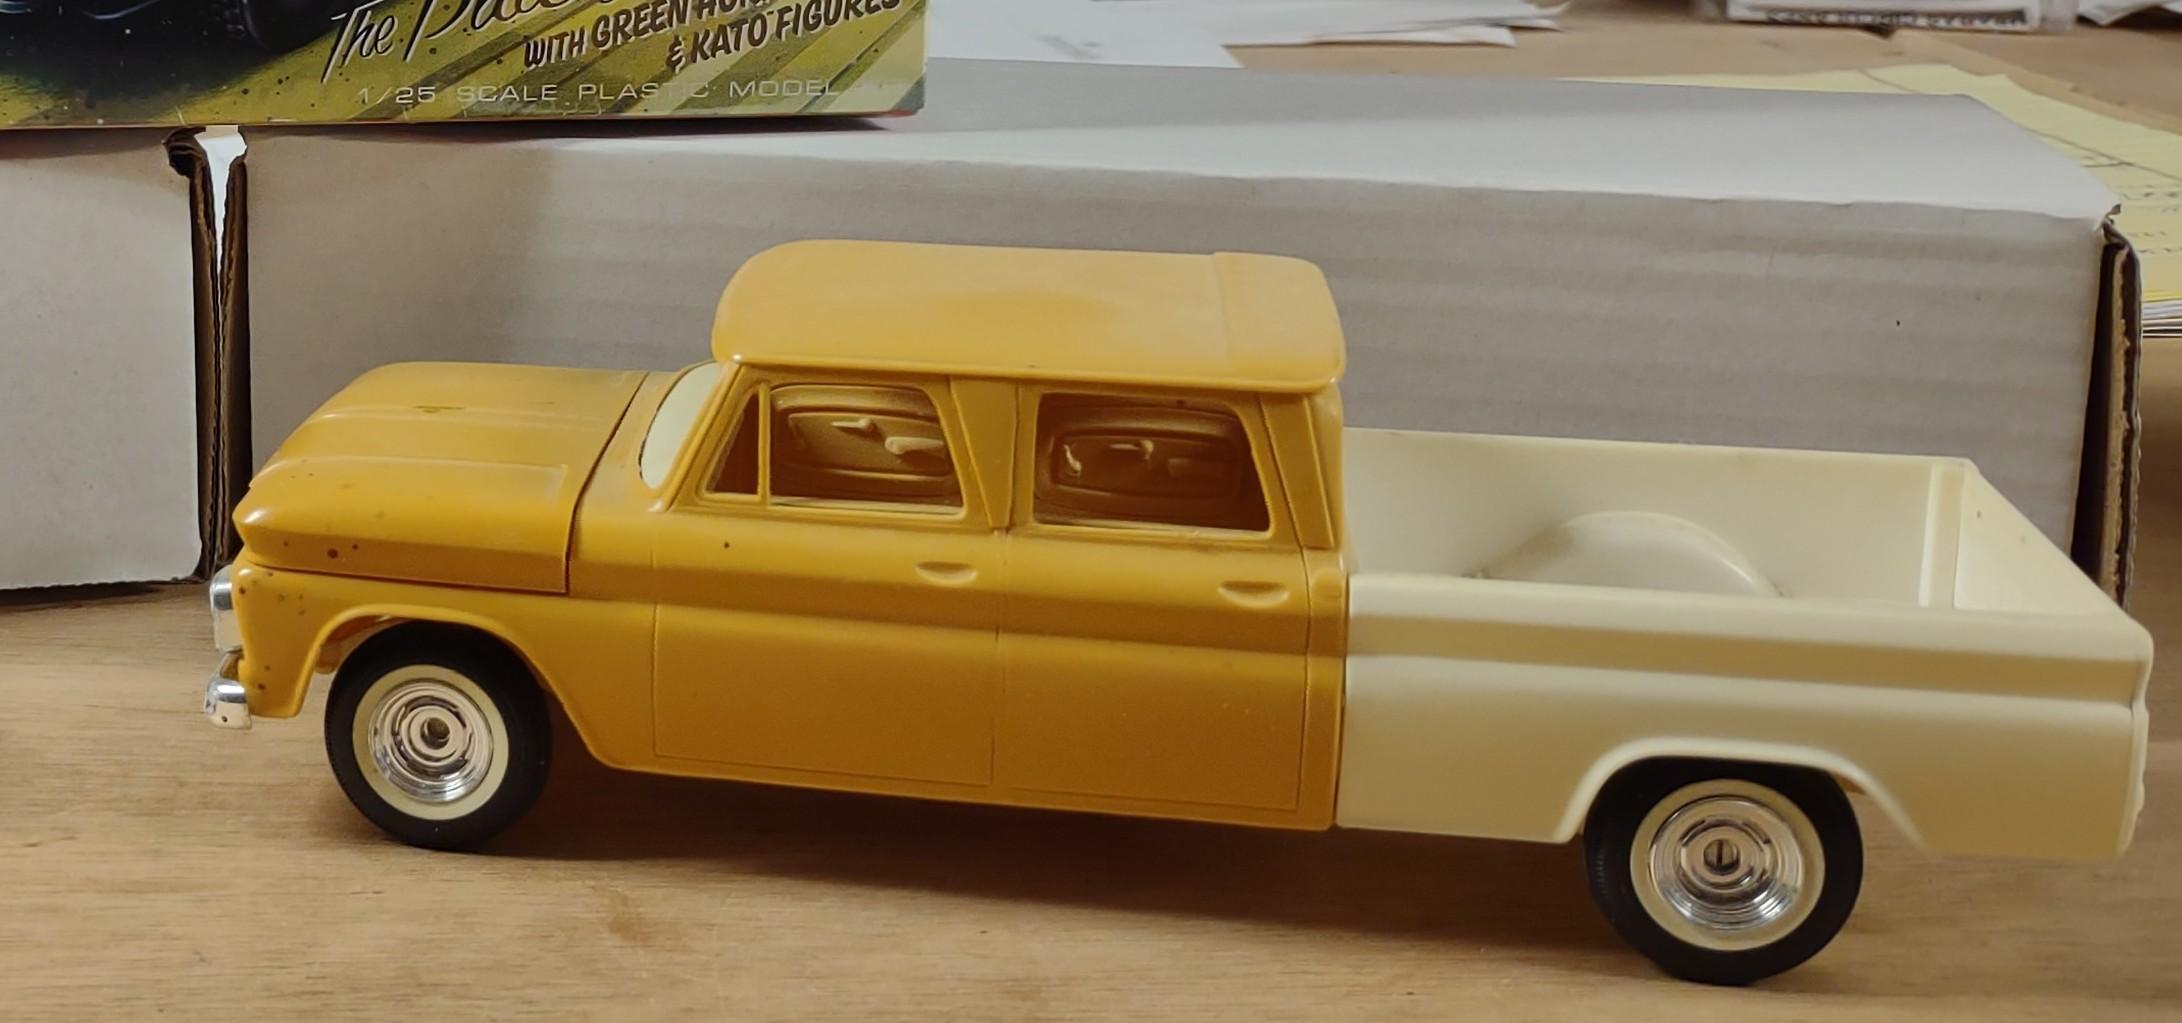
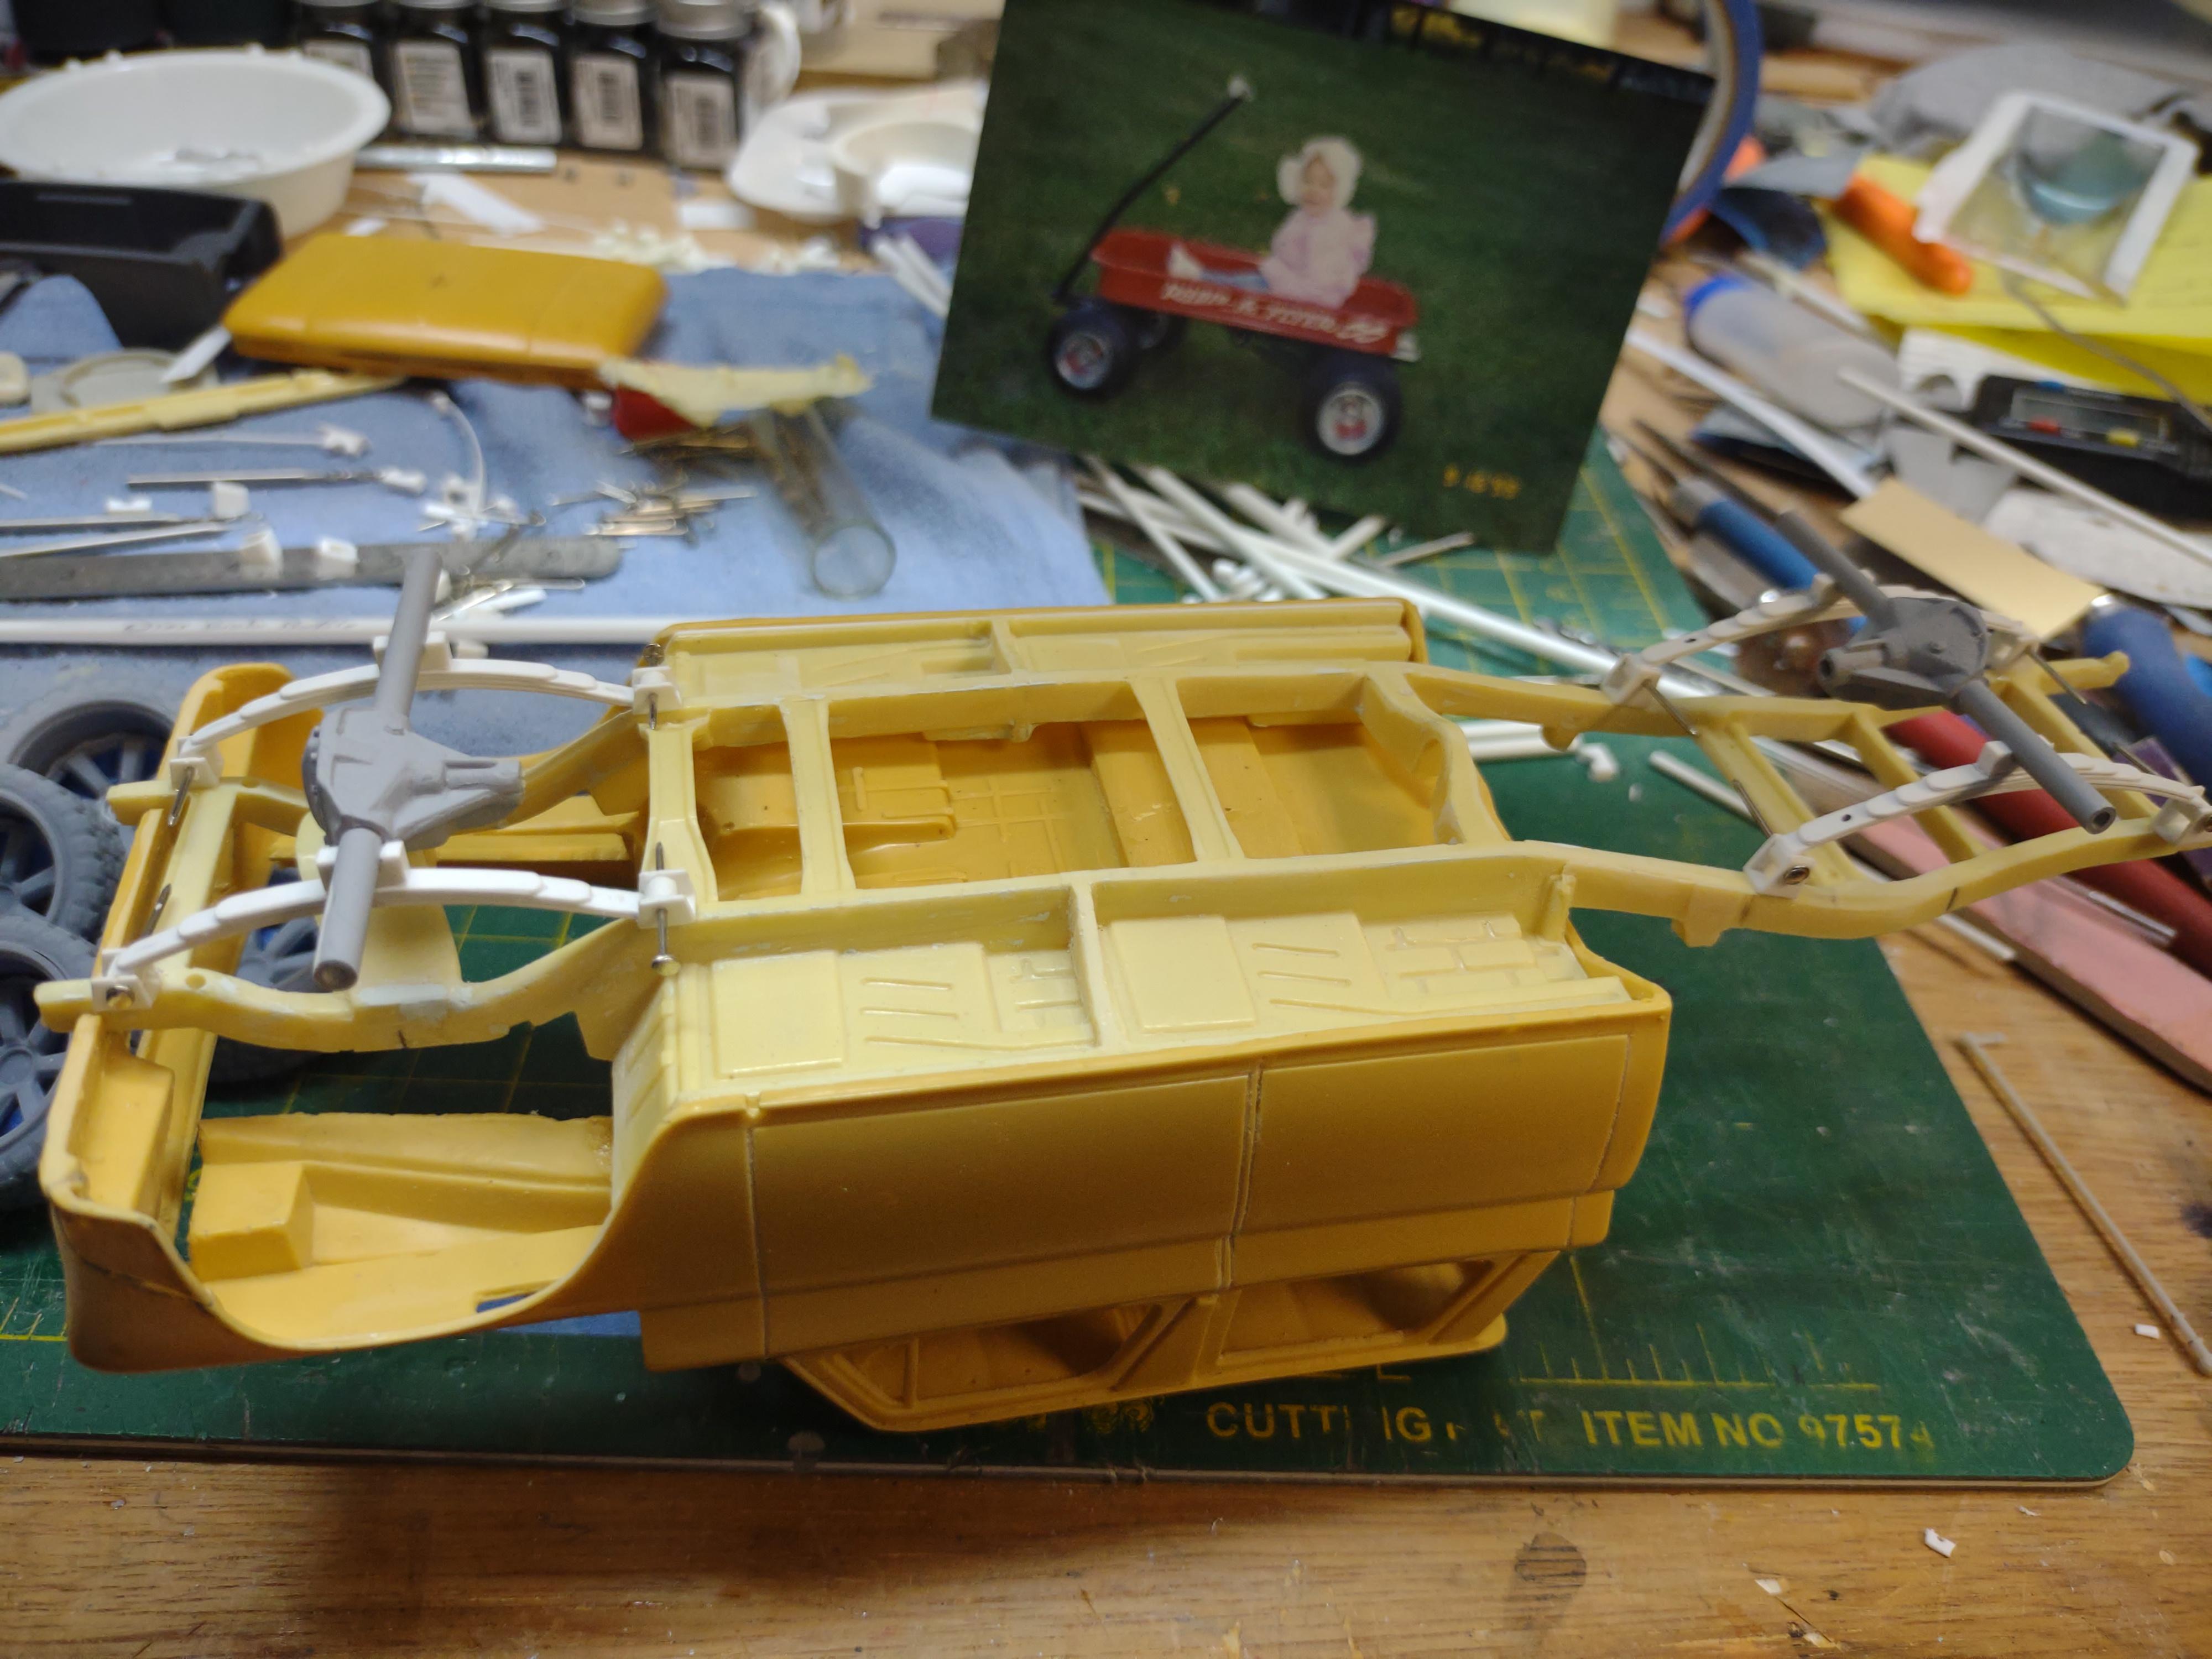
While waiting on parts for my Suburban, I decided to start..... another project! Got this gem from Ron at RMR at Sharon PA show, couldn't wait to start messing with it! So far, I made leaf springs, revamped the diffs from the 84 GMC kit, and chose my wheel package. Progress will probably slow down on my model building, I have a big side job coming up. Here's where I am ...

-
What did you see on the road today?
64SS350 replied to Harry P.'s topic in General Automotive Talk (Trucks and Cars)
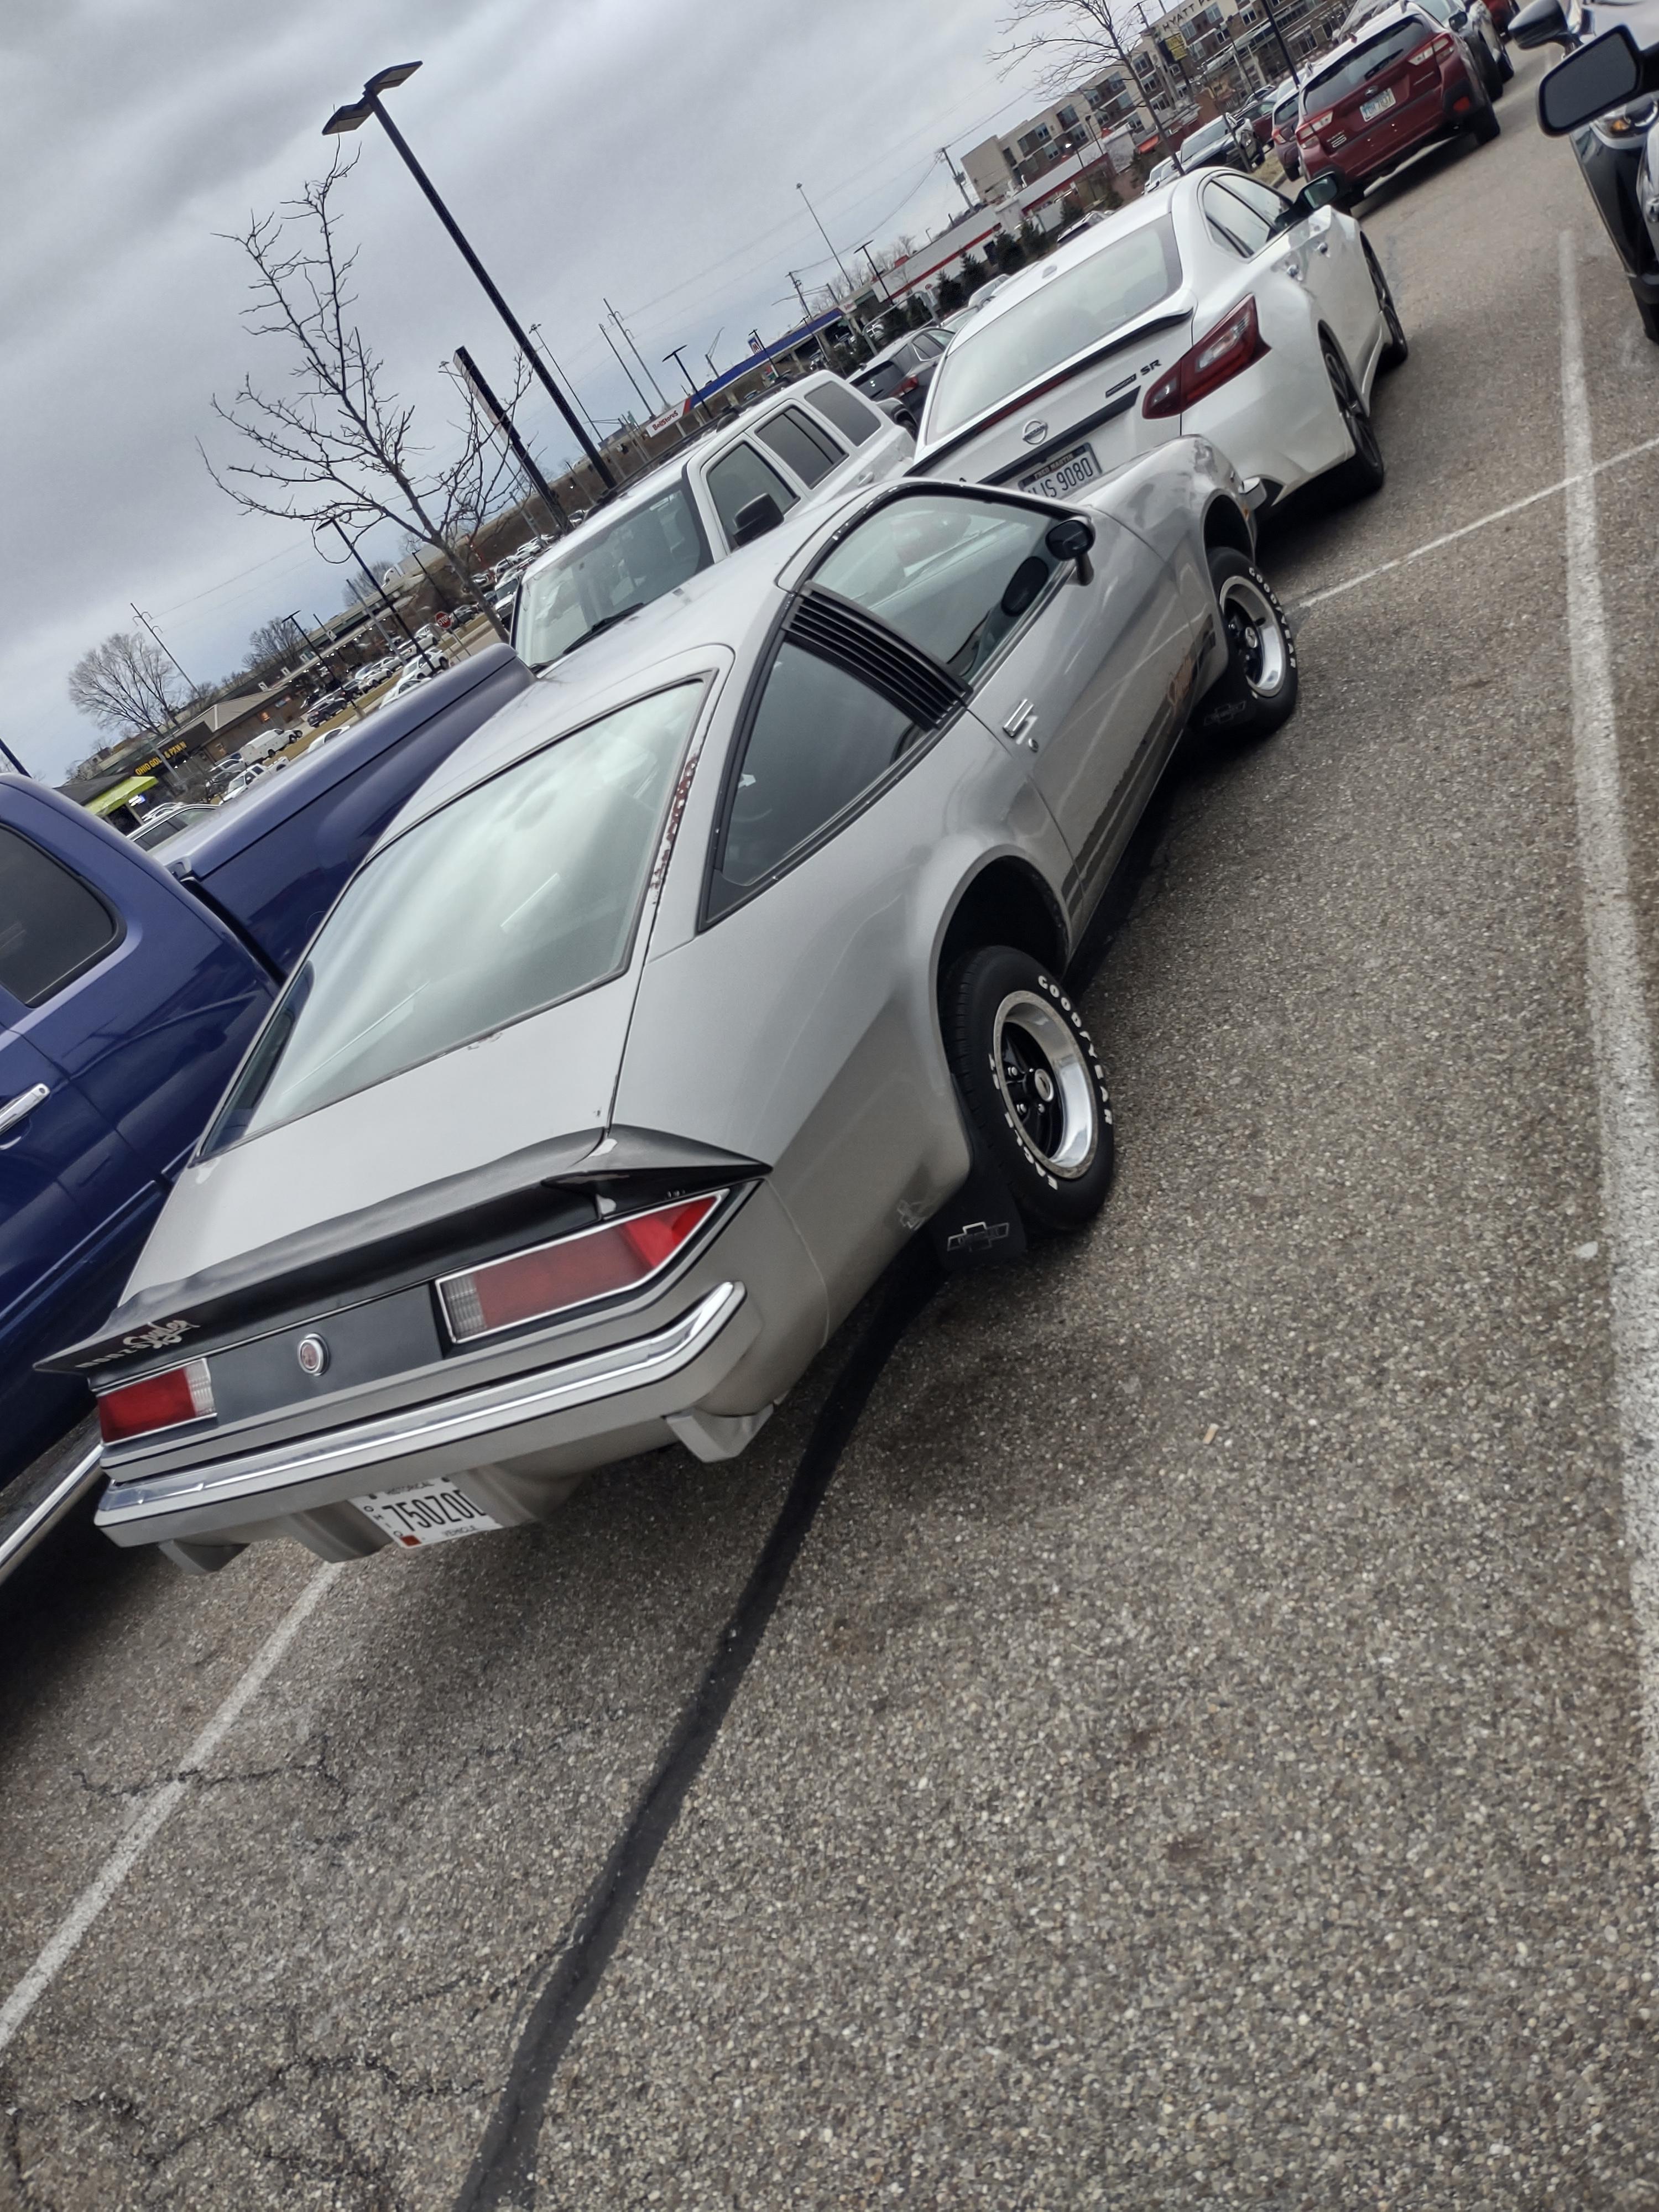
Saw this little gem the other day.
-
Who has the lowest prices on MCW enamels?
64SS350 replied to Monty's topic in Model Building Questions and Answers
If none of your local shops carry it, contact Mike at MCW. He ships out from his own store. Also, not sure where you are located, but also check with him or maybe his site for lists shows he will be at. -
That might be the easiest,but how good do you want the final result to look? In my opinion only, I say scratch build it! I see a few layers of small styrene,BMF, and a little red paint. Unless you are in a hurry, take some time to play with it. Build those skills! You can learn a lot from practicing and talented people on here!
-
So.. I'll digress..
-
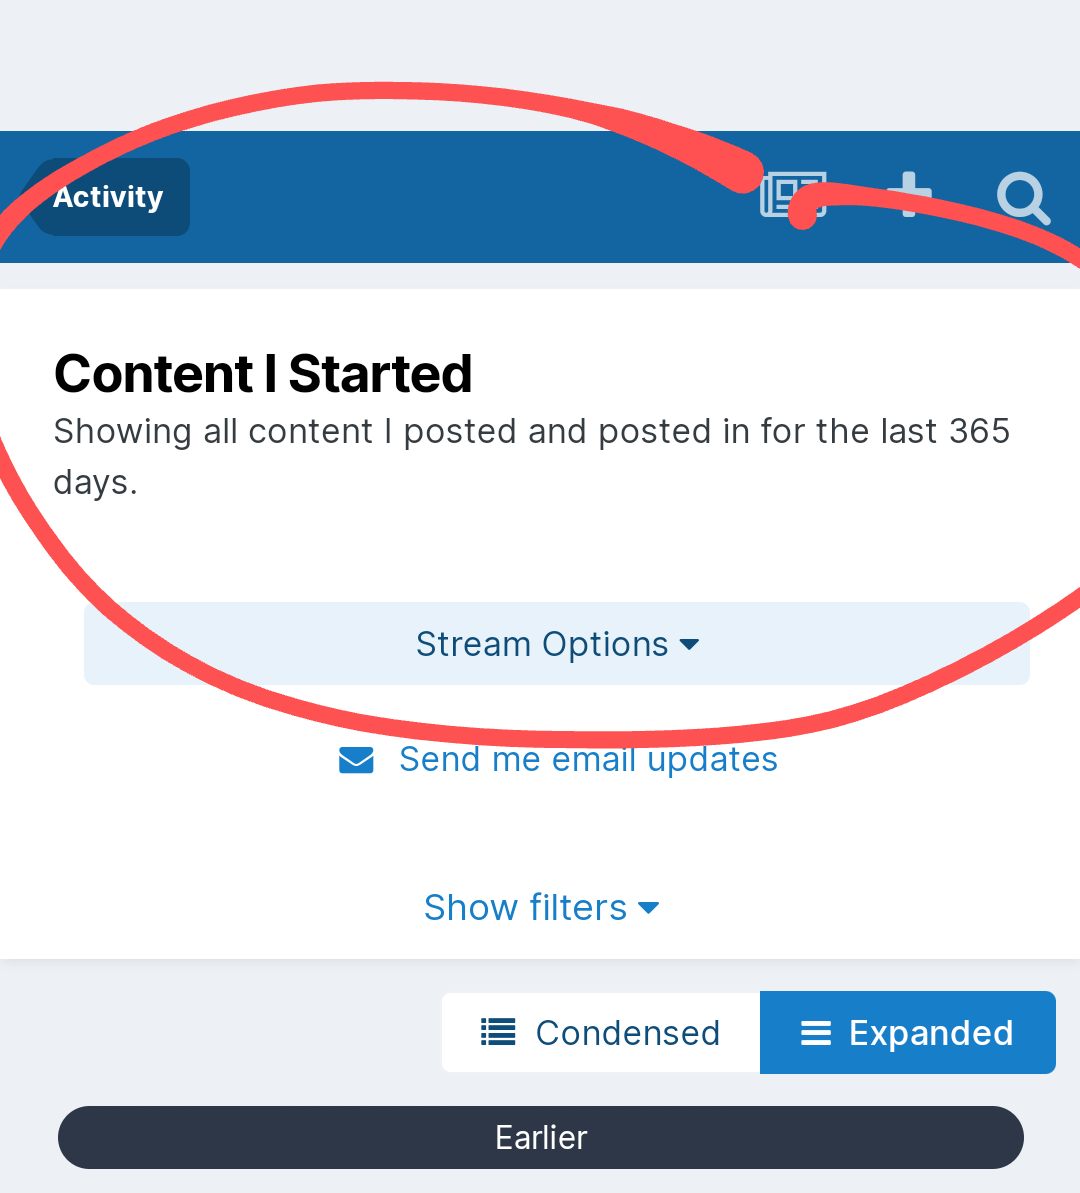
Ok then...I based my statement on the fact I had to search out a couple of mine, and at top of the ....my content page ....it states this....
-
If there is no activity for l believe 365 days, it goes .. incognito...but not gone
-
Venting spray booth out of casement window?
64SS350 replied to atomicholiday's topic in Model Building Questions and Answers
If the casement windows have removable screens, cut a piece of plywood to fit the opening. Using same or thinner material can be held in by the retainers for the screen. Add an appropriate hose connector to the ply. -
Contest/Show Announcements
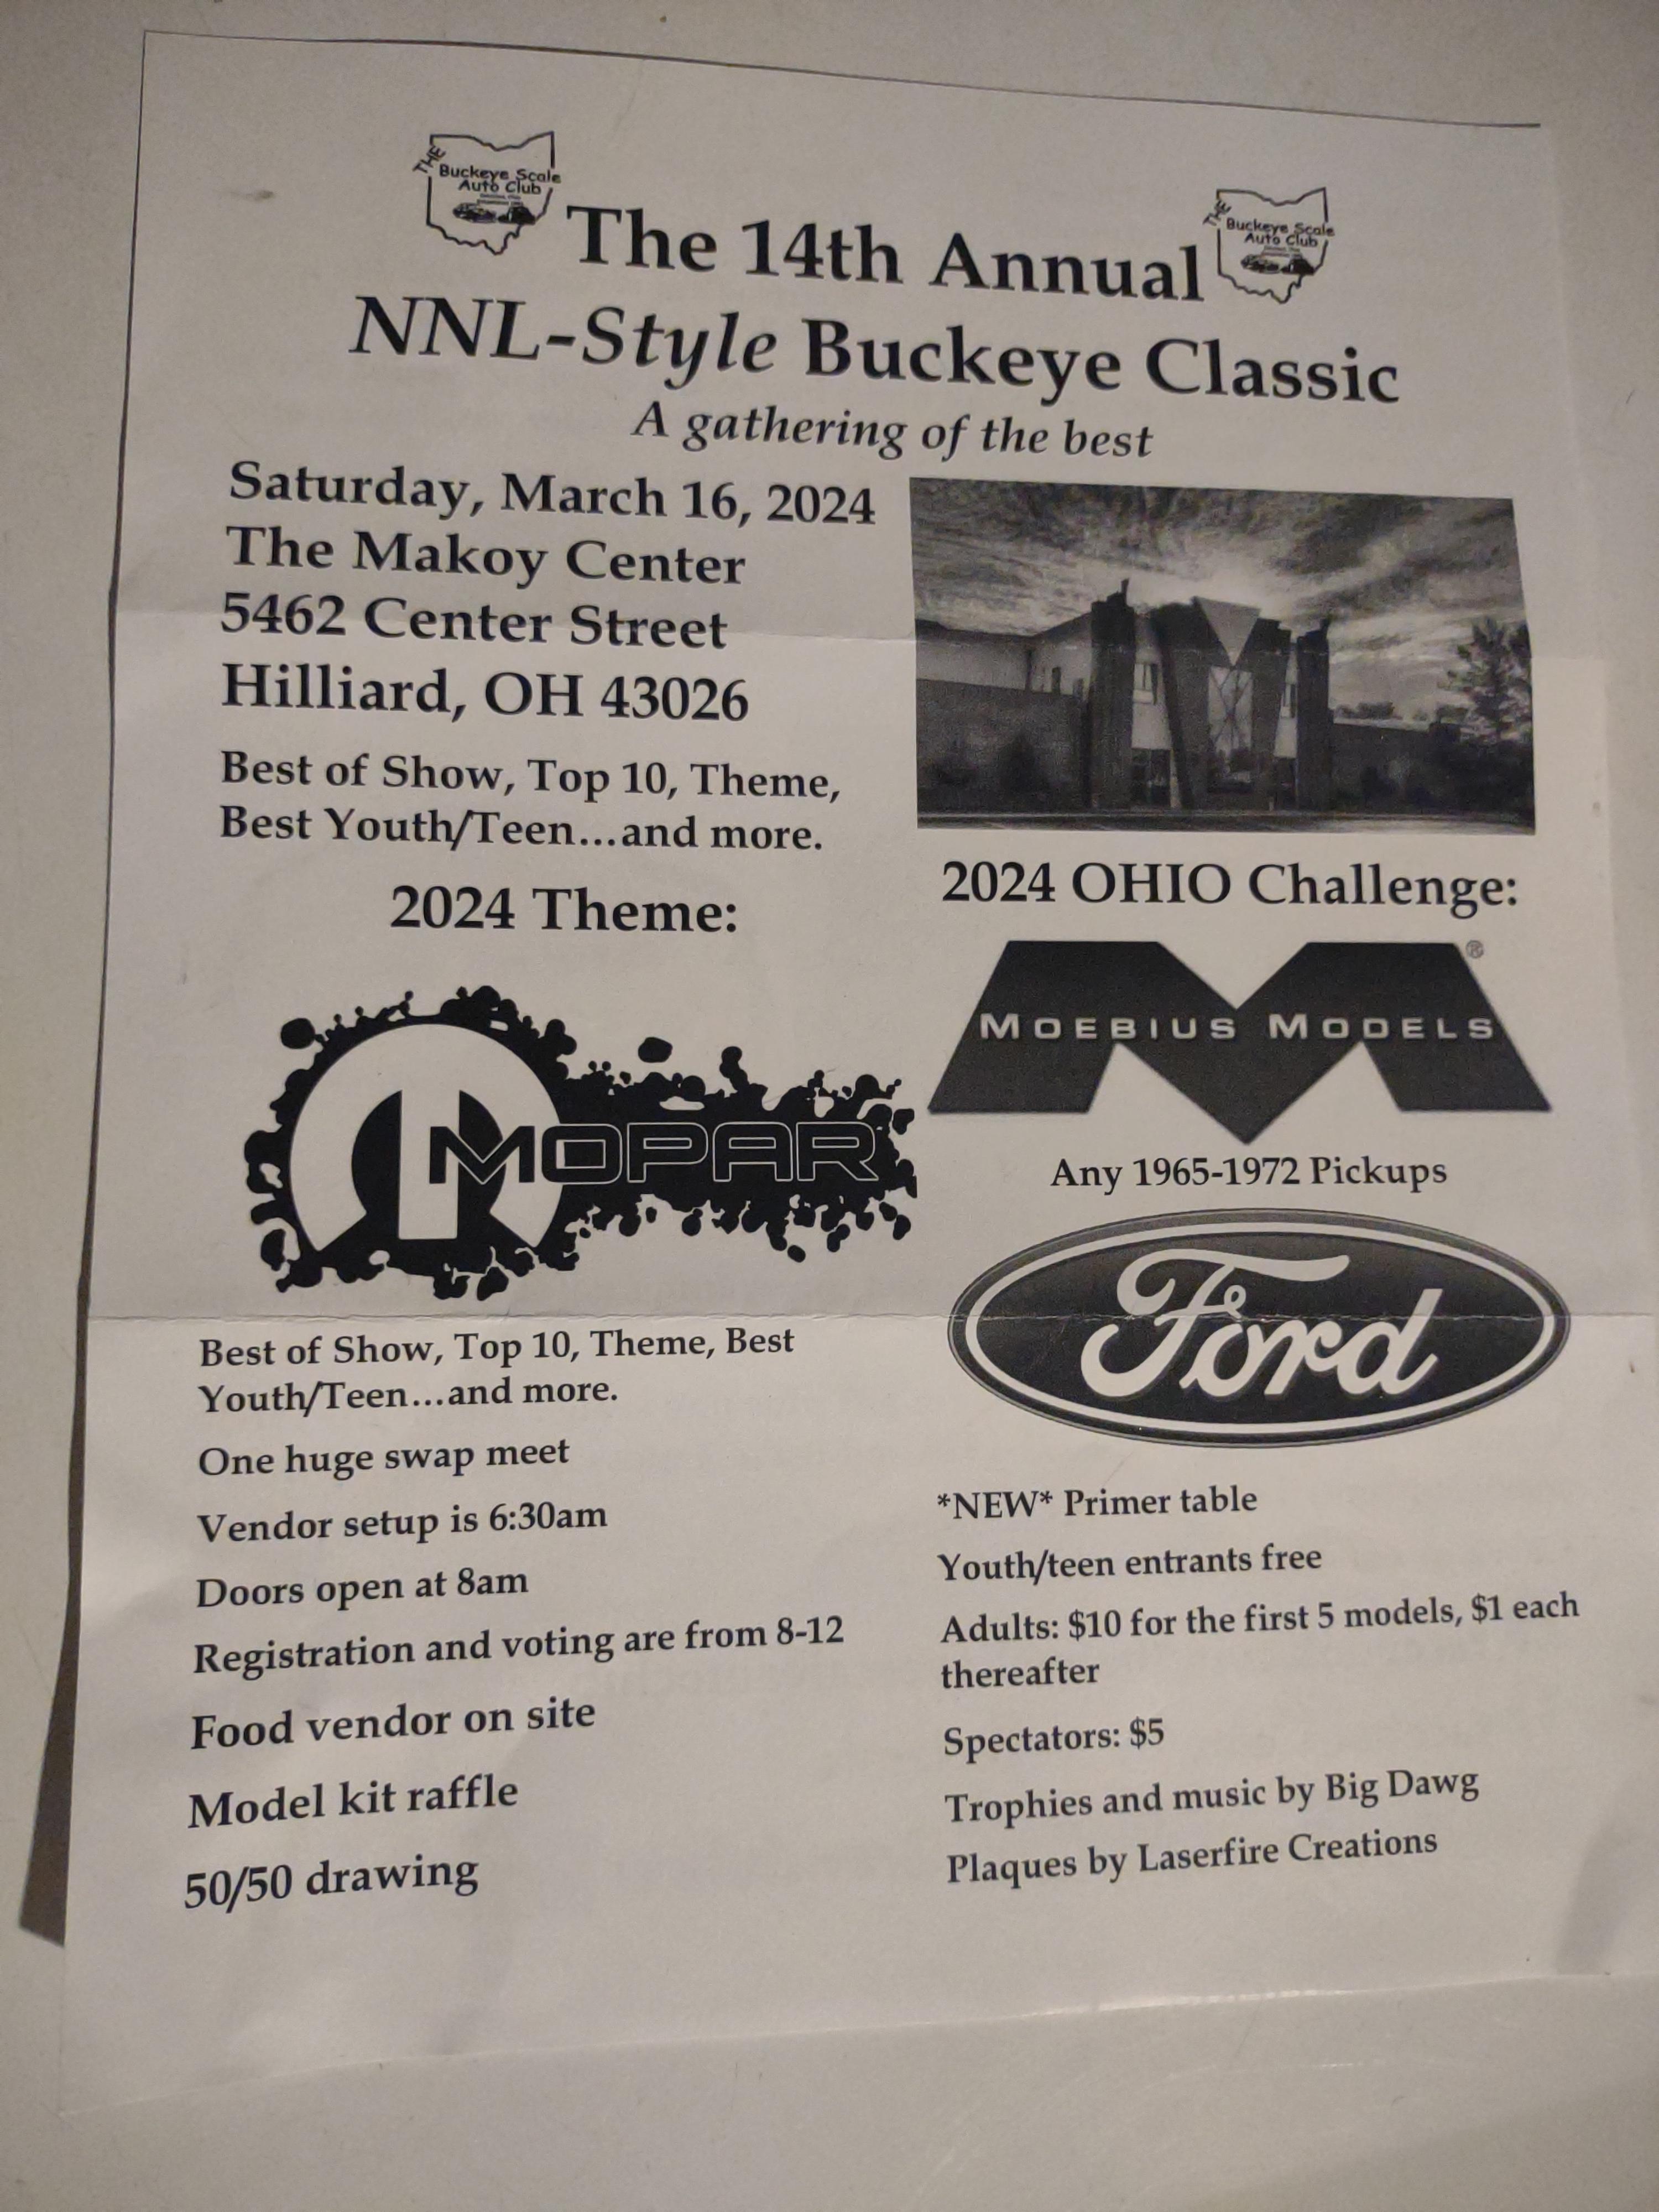
64SS350 replied to Xingu's topic in General Automotive Talk (Trucks and Cars)
-
Looking for first, tires and wheels. Any misc. parts also of interest. From this kit...
-
68-72 Suburban scratch build
64SS350 replied to 64SS350's topic in WIP: Model Trucks: Pickups, Vans, SUVs, Light Commercial
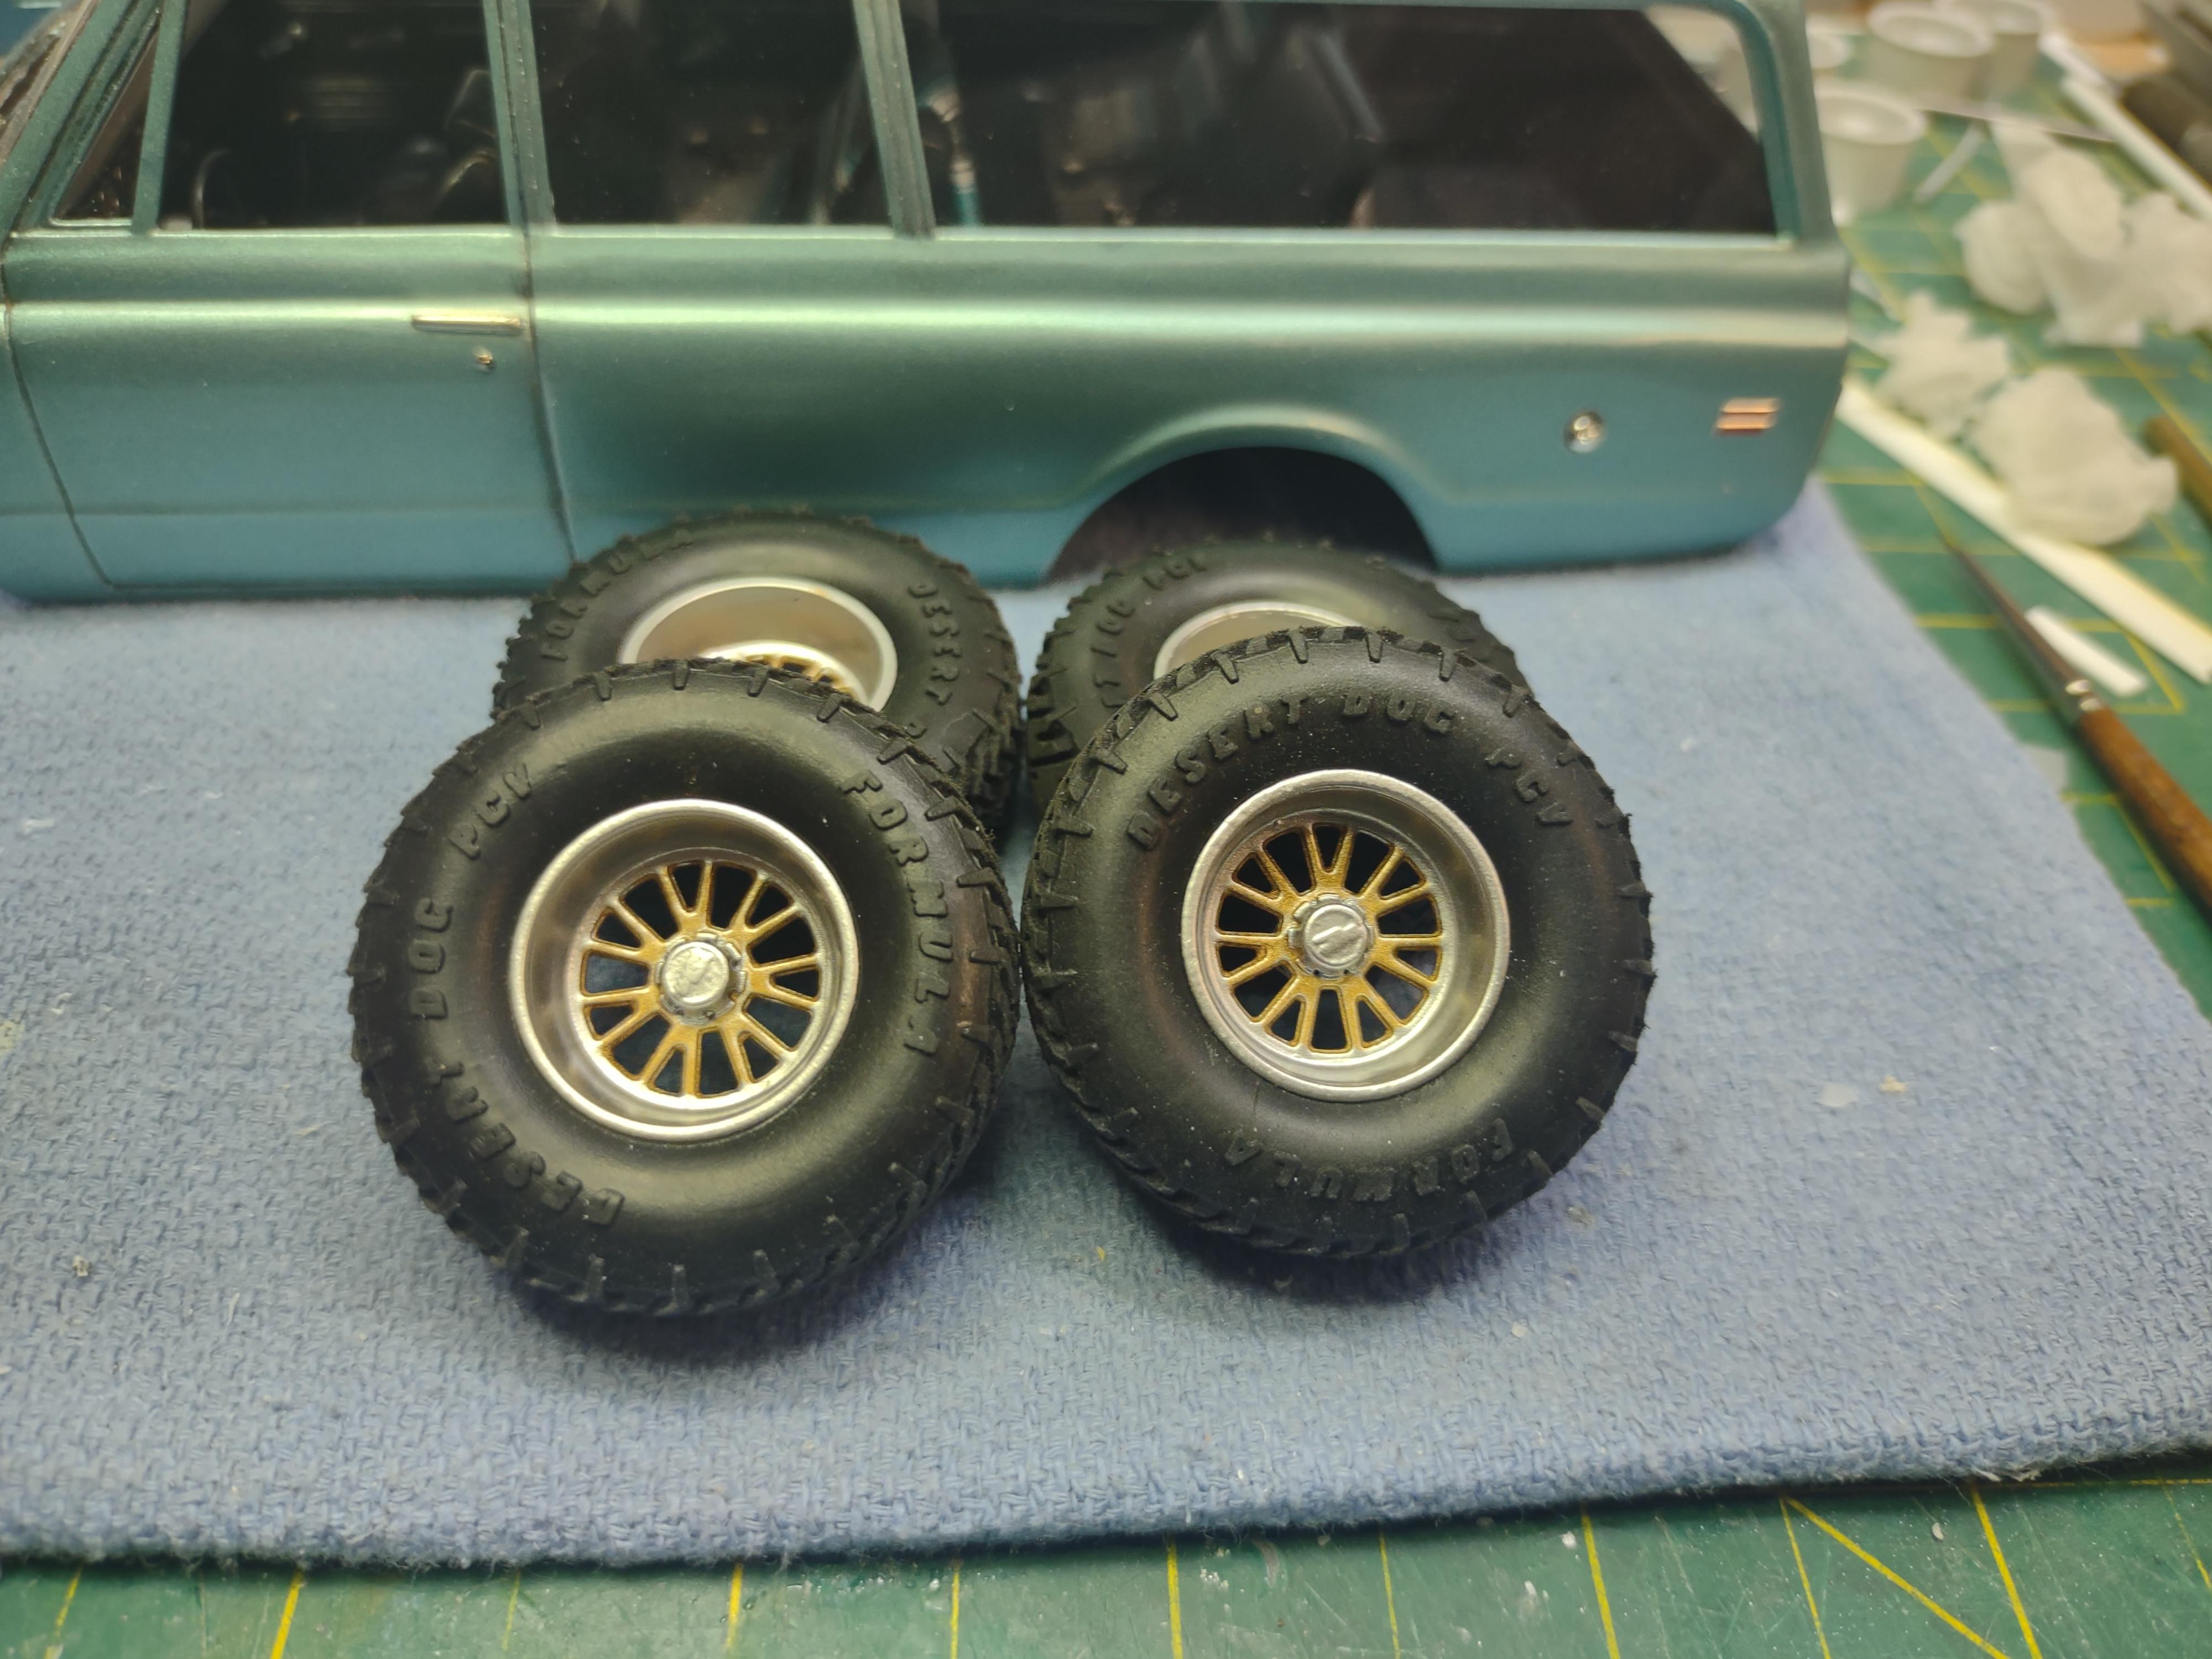
Decided to finish the wheel package. This shows my progression of choices...
-
68-72 Suburban scratch build
64SS350 replied to 64SS350's topic in WIP: Model Trucks: Pickups, Vans, SUVs, Light Commercial
It appears to be a 1965 color for GM...so it can be made available.
-
68-72 Suburban scratch build
64SS350 replied to 64SS350's topic in WIP: Model Trucks: Pickups, Vans, SUVs, Light Commercial
No, you didn't miss the color choice...I just never thought about listing it. The interior is MCW Gunmetal Metallic Interior..semi gl. lacquer. The body is Model Master Artesian Turquoise Metallic (4628L) 1965.
-
68-72 Suburban scratch build
64SS350 replied to 64SS350's topic in WIP: Model Trucks: Pickups, Vans, SUVs, Light Commercial
Funny.... I'm actually contemplating doing that. I have a small piece of stock I'm going to try making a cutter for my lathe to remove them to flush or slightly deeper, then either redrill the rims or make a round insert with the lugs. Didn't think about using the hex beads though! Good idea! -
68-72 Suburban scratch build
64SS350 replied to 64SS350's topic in WIP: Model Trucks: Pickups, Vans, SUVs, Light Commercial
About the same time I got the bodies grafted together, 3d files started appearing. Thanks for your comments! -
Masking tape cut to width, narrow cloth type ribbon??
-
68-72 Suburban scratch build
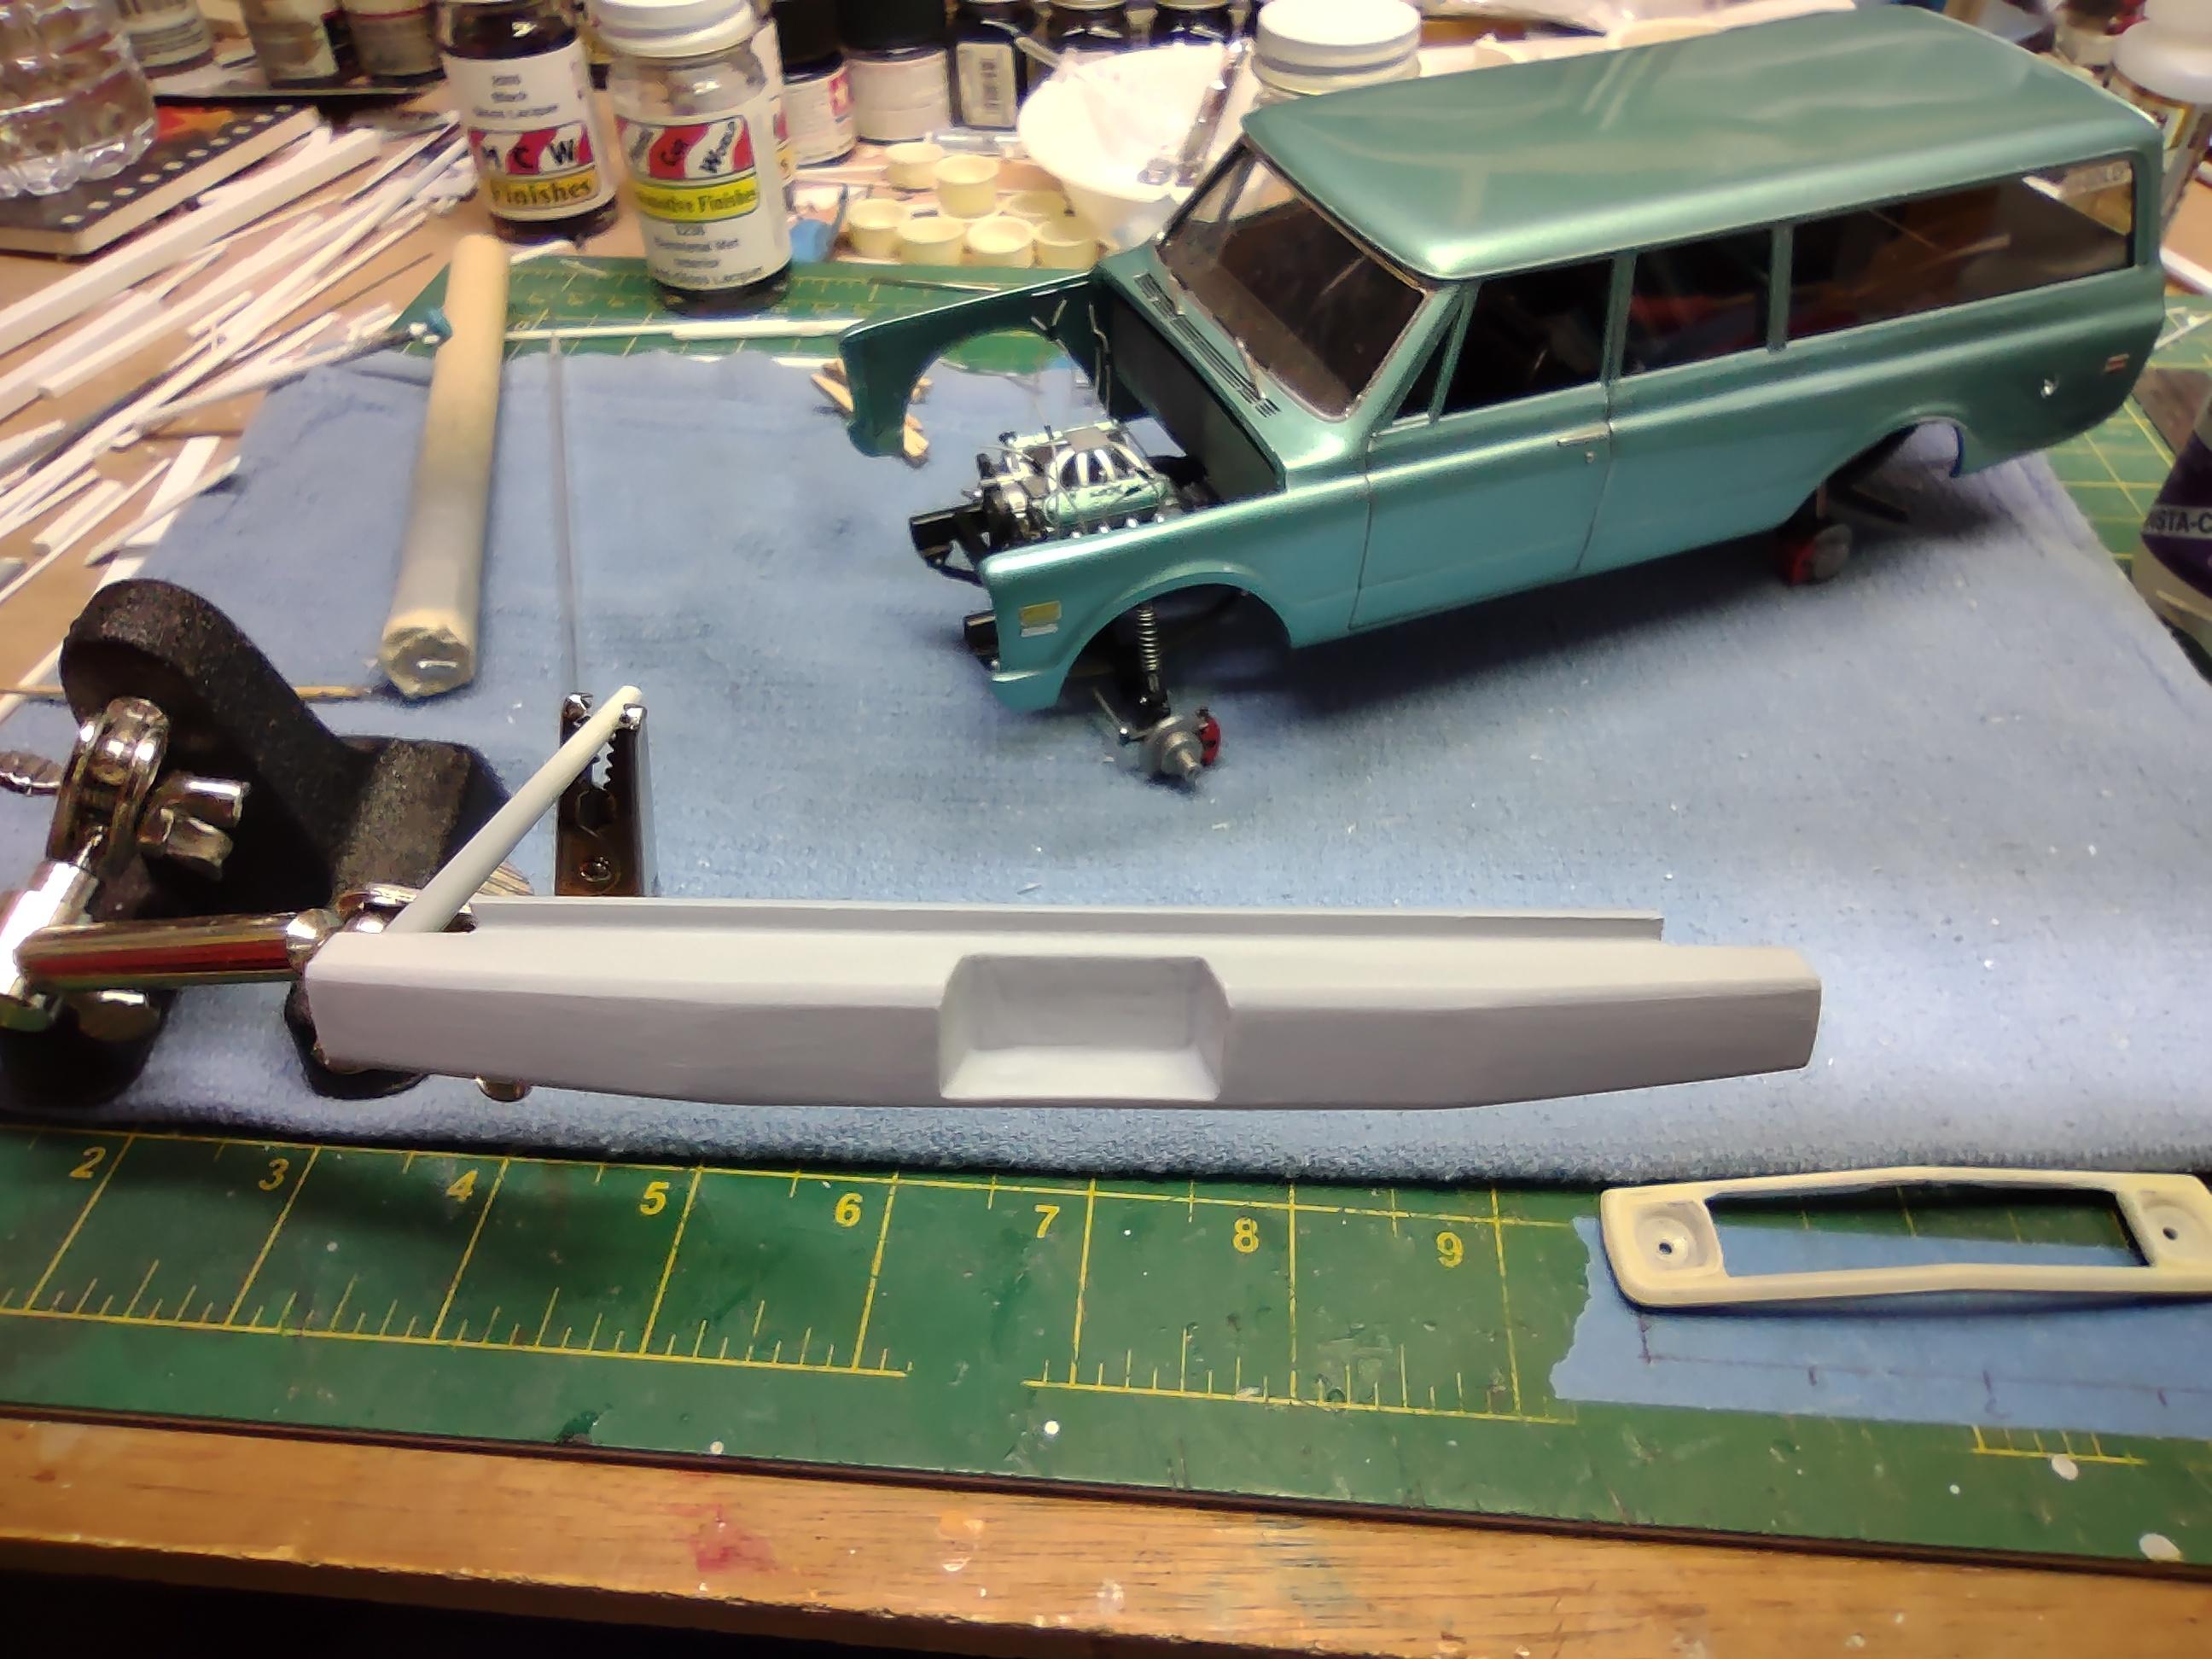
64SS350 replied to 64SS350's topic in WIP: Model Trucks: Pickups, Vans, SUVs, Light Commercial
New update....both bumpers painted. Hood in background has been done for a bit, ready for wet sand.
-
68-72 Suburban scratch build
64SS350 replied to 64SS350's topic in WIP: Model Trucks: Pickups, Vans, SUVs, Light Commercial
Somehow I thought I posted pics of the rear bumper...guess not! So...
-
From Sharon PA show...2 61 Corvair Lakewood Wagon resins, 64-65 crew cab resin , and a Black Beauty!
- 39,228 replies
-
- 6
-

-
- johan
- glue bombs
- (and 1 more)
-
68-72 Suburban scratch build
64SS350 replied to 64SS350's topic in WIP: Model Trucks: Pickups, Vans, SUVs, Light Commercial
Thanks. I actually have a couple different sets of his 5 slot wheels, which of course are awesome, but I'm going for a bit more modern on this one. I'm thinking of Bronco and Ford pickup projects for those!