64SS350
-
Posts
1,574 -
Joined
-
Last visited
Content Type
Profiles
Forums
Events
Gallery
Everything posted by 64SS350
-
AMT Ford Falcon Wild Child 1:1 question
64SS350 replied to 64SS350's topic in Model Building Questions and Answers
Thanks for the info! -
AMT Ford Falcon Wild Child 1:1 question
64SS350 replied to 64SS350's topic in Model Building Questions and Answers
Pu truck...tow vehicle
-
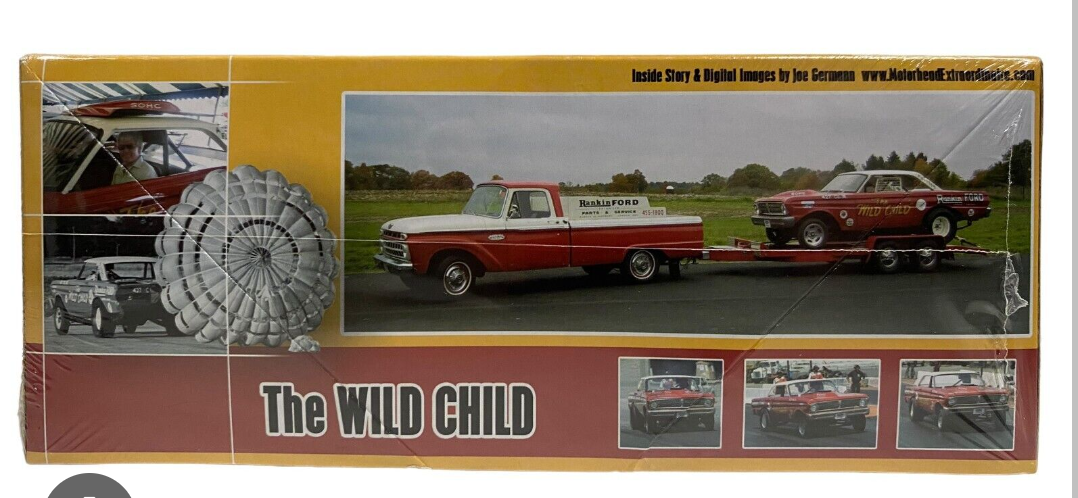
Good day all, I am looking for answers (or pics) to the question of, is the tow truck pictured on the box the actual truck used? Thanks!
-
Resin 64 Chevy Crew Cab Pickup
64SS350 replied to 64SS350's topic in WIP: Model Trucks: Pickups, Vans, SUVs, Light Commercial
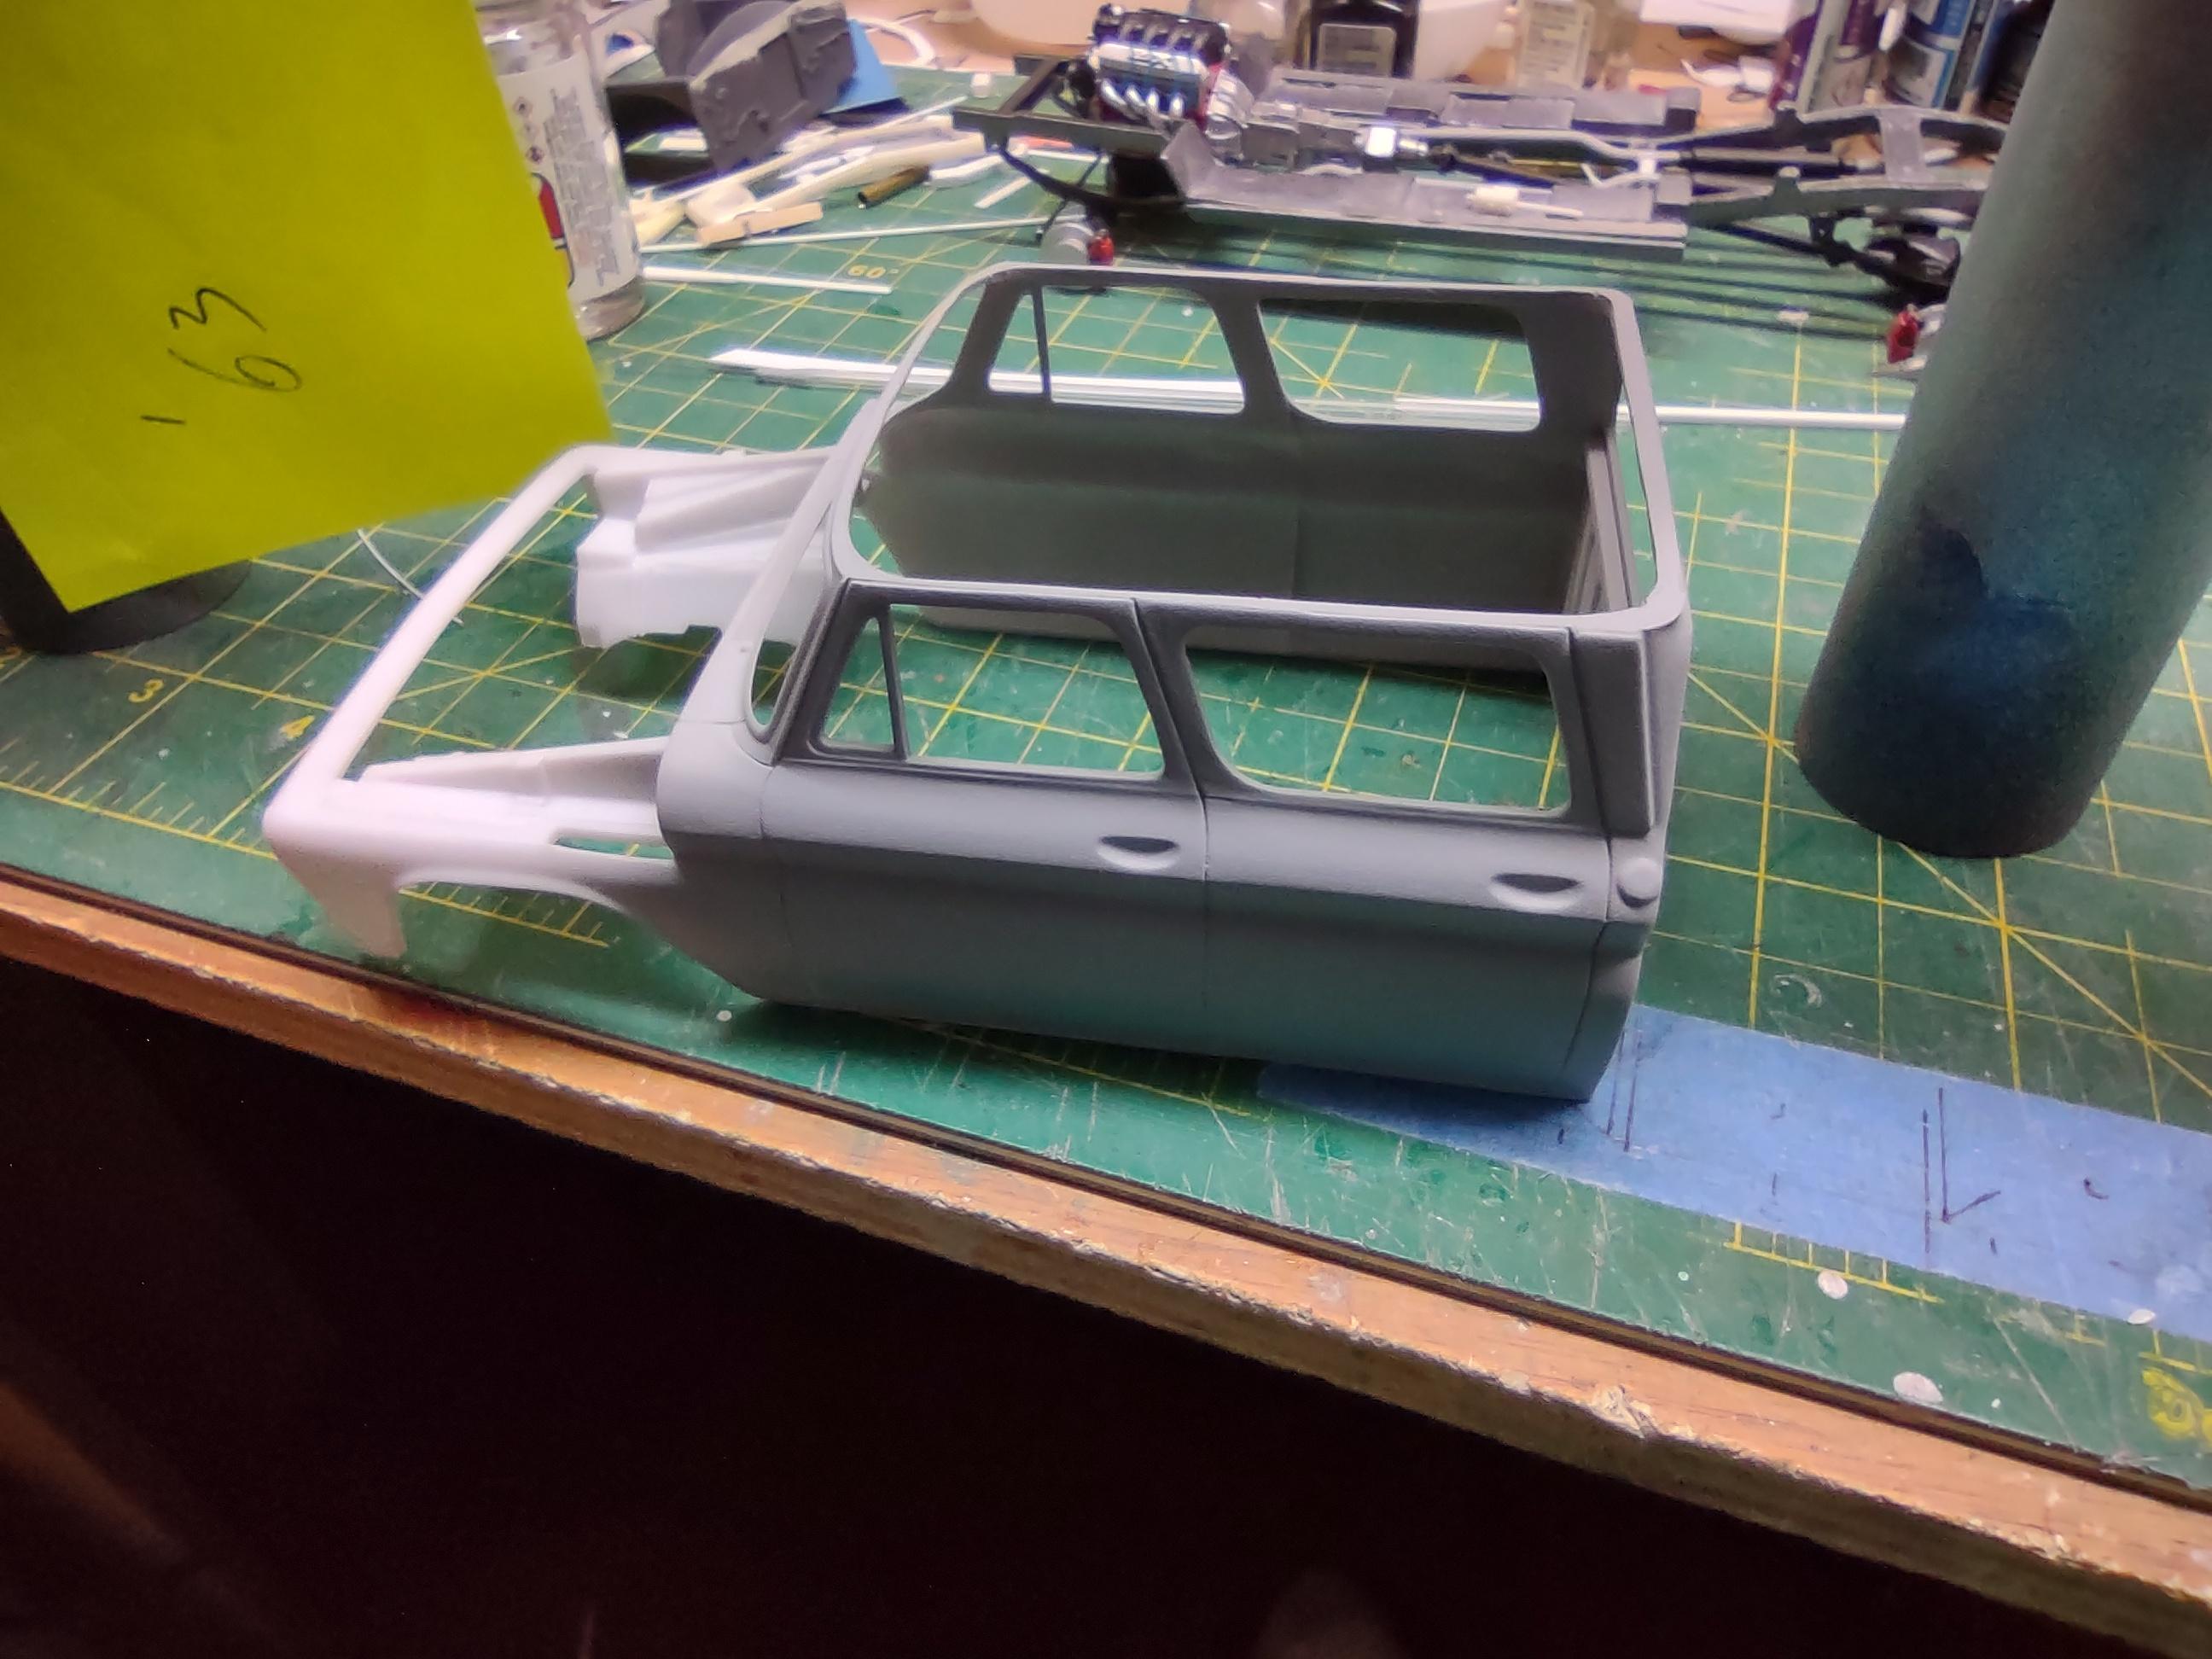
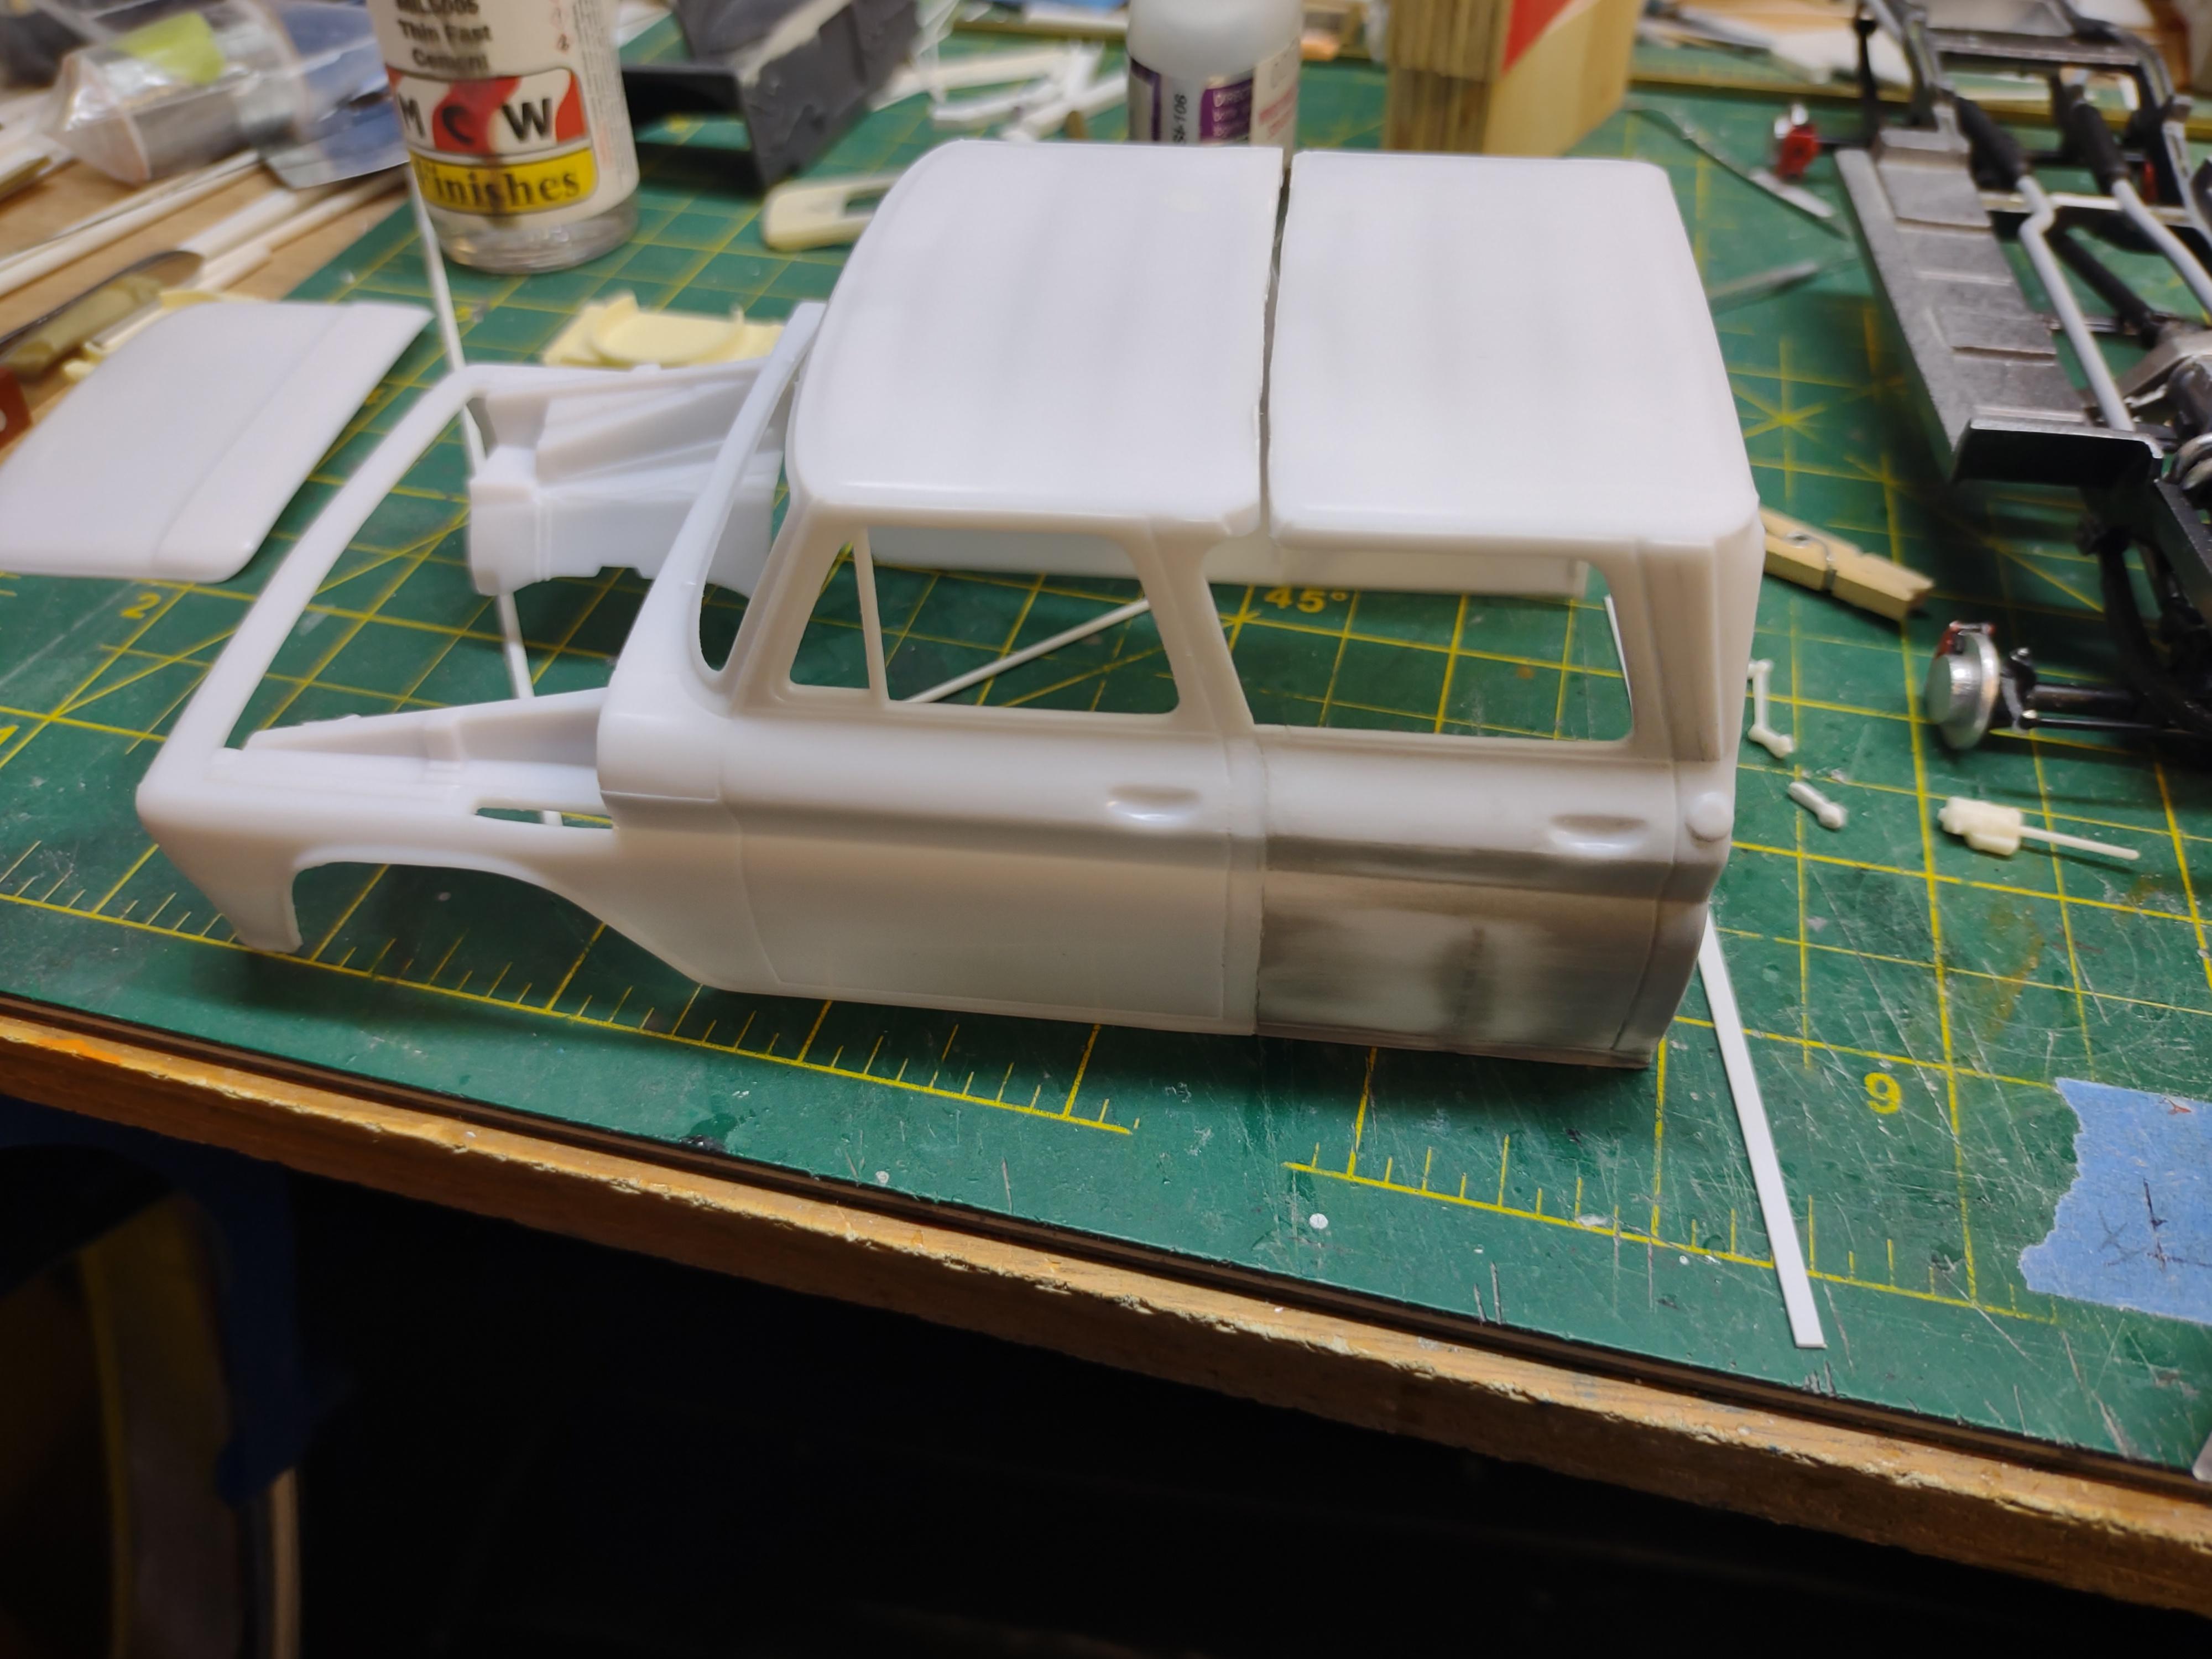
Ok, I think I'm officially done with the resin cab! I have too many models to build to be putting so much time into this one. Here's an update on the new cab. Got the roof done with new drop rail. Cab is mostly done.
-
Resin 64 Chevy Crew Cab Pickup
64SS350 replied to 64SS350's topic in WIP: Model Trucks: Pickups, Vans, SUVs, Light Commercial
Still working on cleaning up these panel lines on the resin cab. Also progress on new cab. Still needs straightened a bit and body work.
-
Wide Body Tires and wheels ??
64SS350 replied to Ralphie's topic in Model Building Questions and Answers
https://offthesprue.com/product/3d-wide-track-vers-wheel-tire-set/ -
Wide Body Tires and wheels ??
64SS350 replied to Ralphie's topic in Model Building Questions and Answers
Off The Sprue has a nice selection of wide wheel/tire sets also. -
Resin 64 Chevy Crew Cab Pickup
64SS350 replied to 64SS350's topic in WIP: Model Trucks: Pickups, Vans, SUVs, Light Commercial
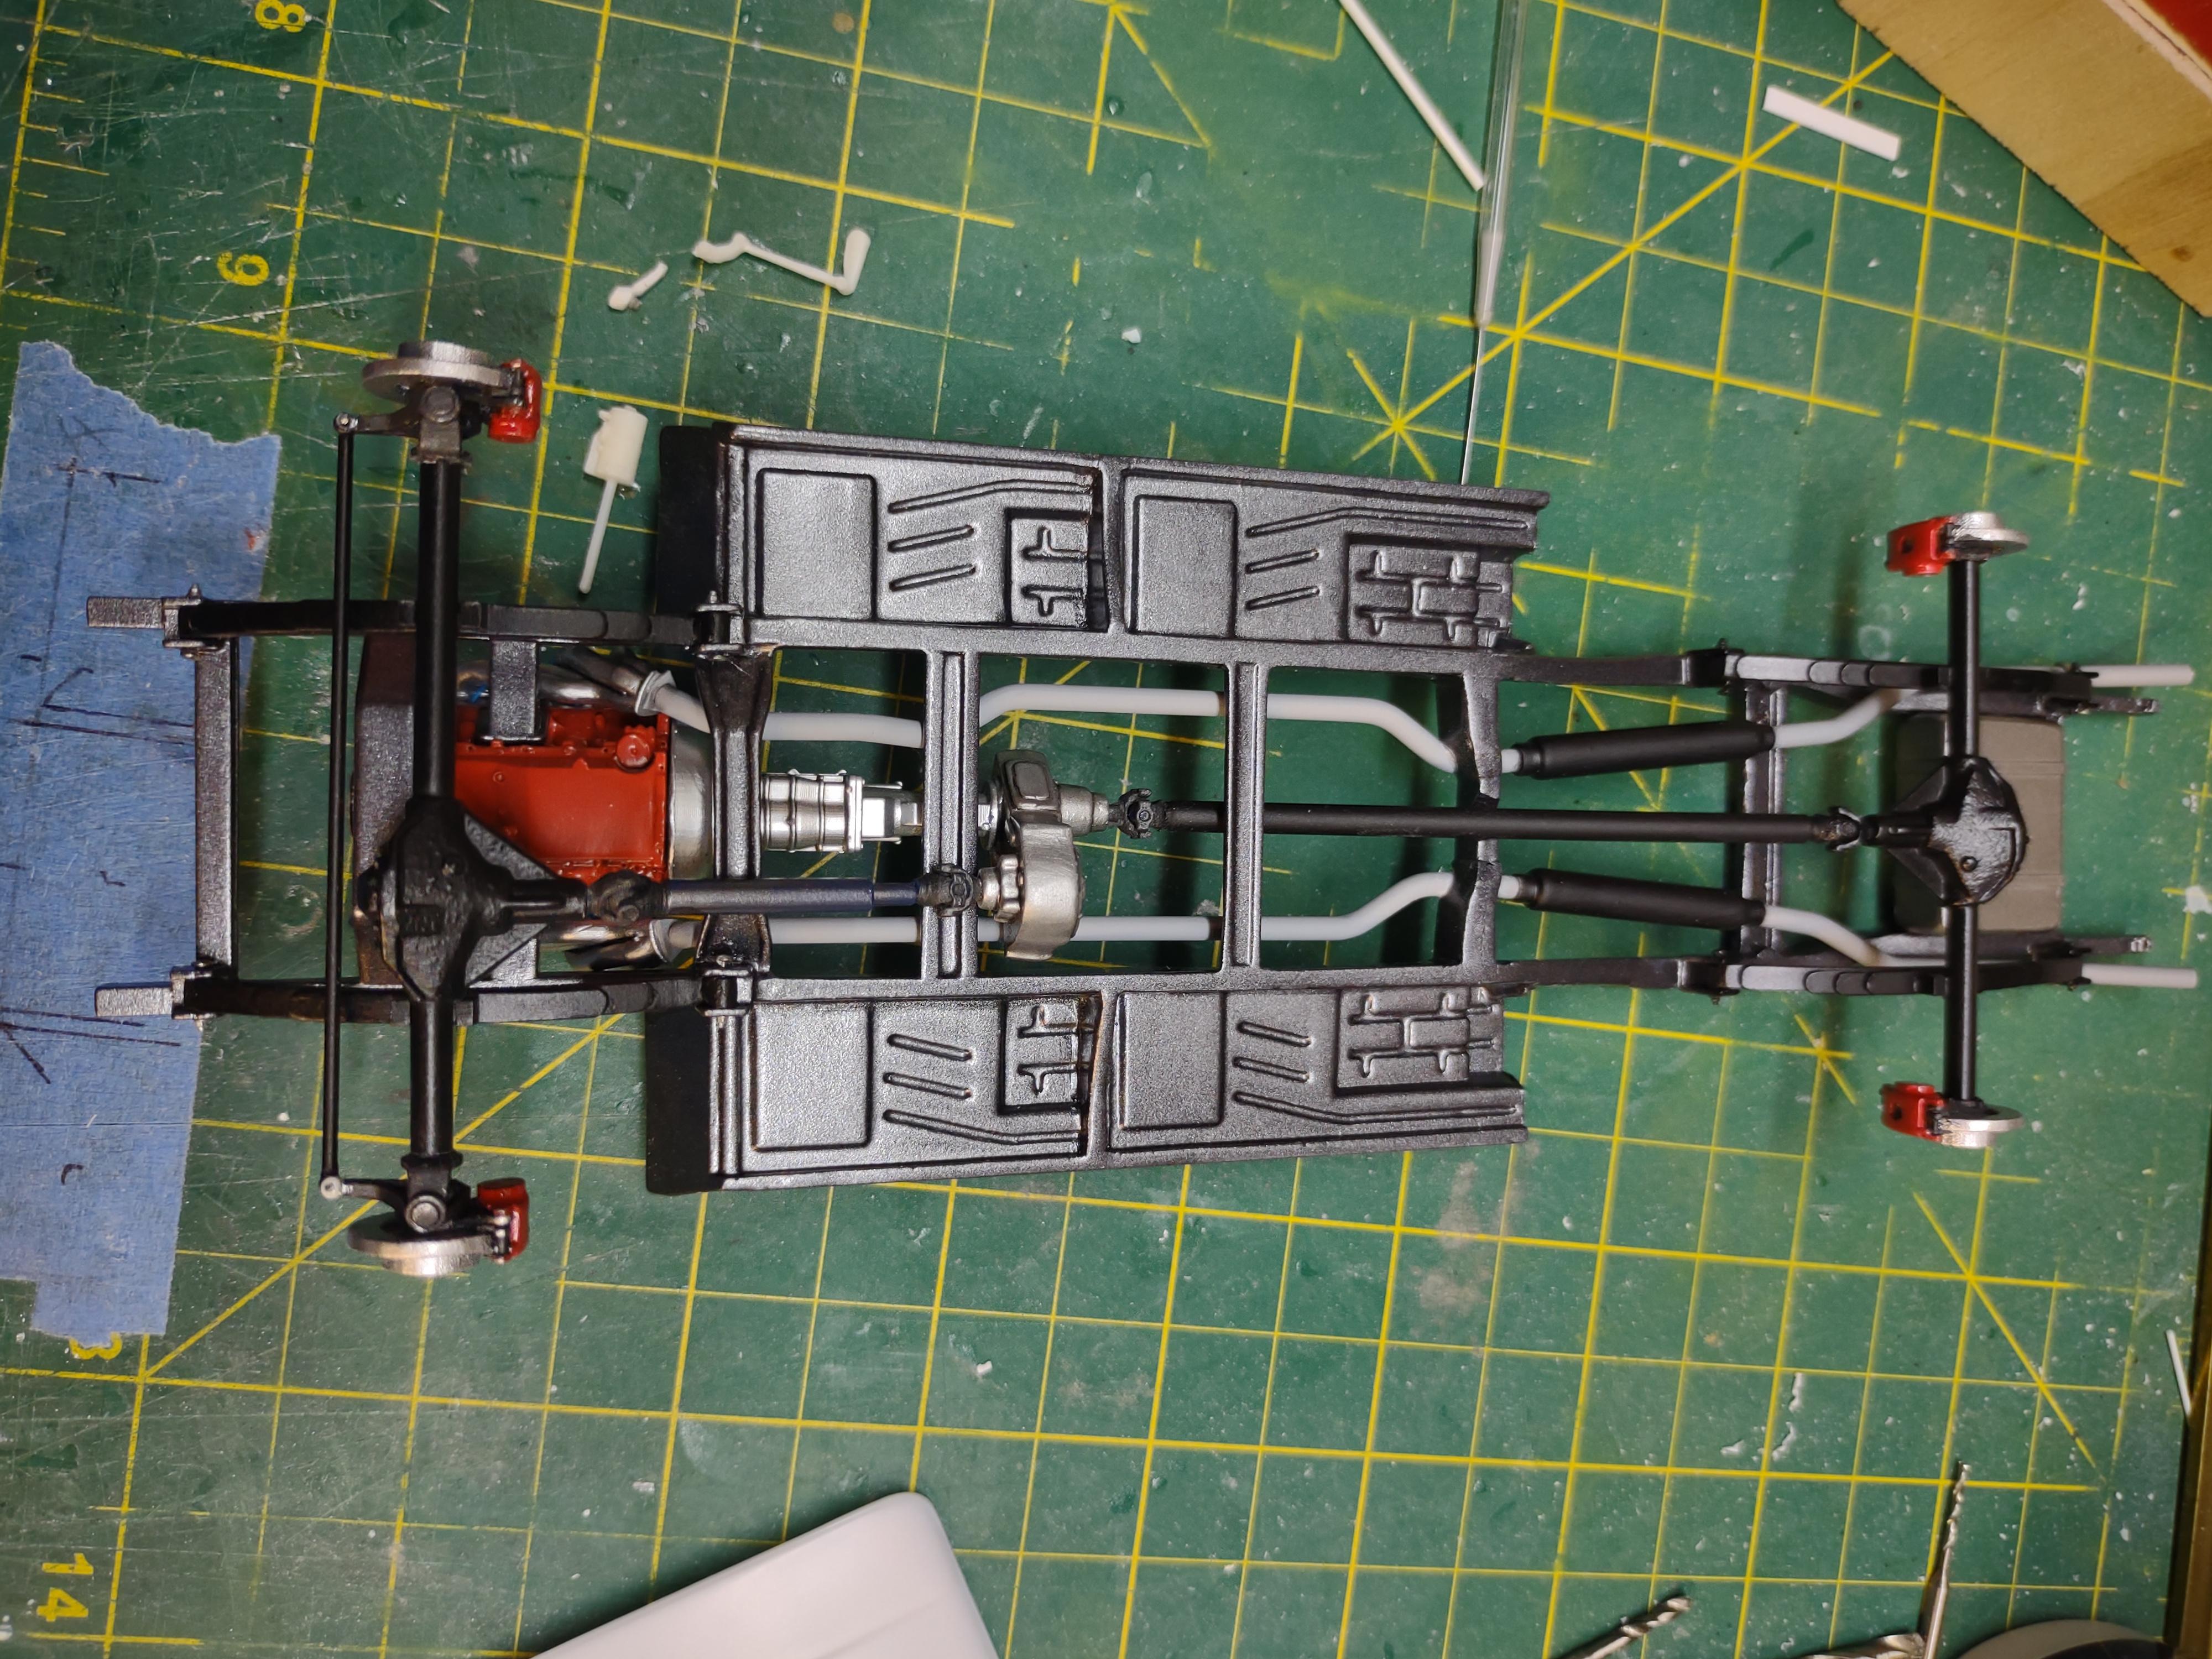
A little update....I got all the wheel hub assemblies painted and installed along with part of the steering. In my frustration with this cab and the panel lines, I finally pulled the trigger on making my own cab. Along with doing so, I may have discovered a way to fix them. So the resin cab may get saved yet! Here's my new or next version...
-
Well, at the end of quoted statement by the plant manager....they are gearing up for a restart on their own account....no further details were listed. Hopefully that happens and we can share any updates!!
-
The one in my area has had them for awhile, just finally decided to get one, ya know... since it was the last one on the shelf! I'm sure they will be replenished.
-
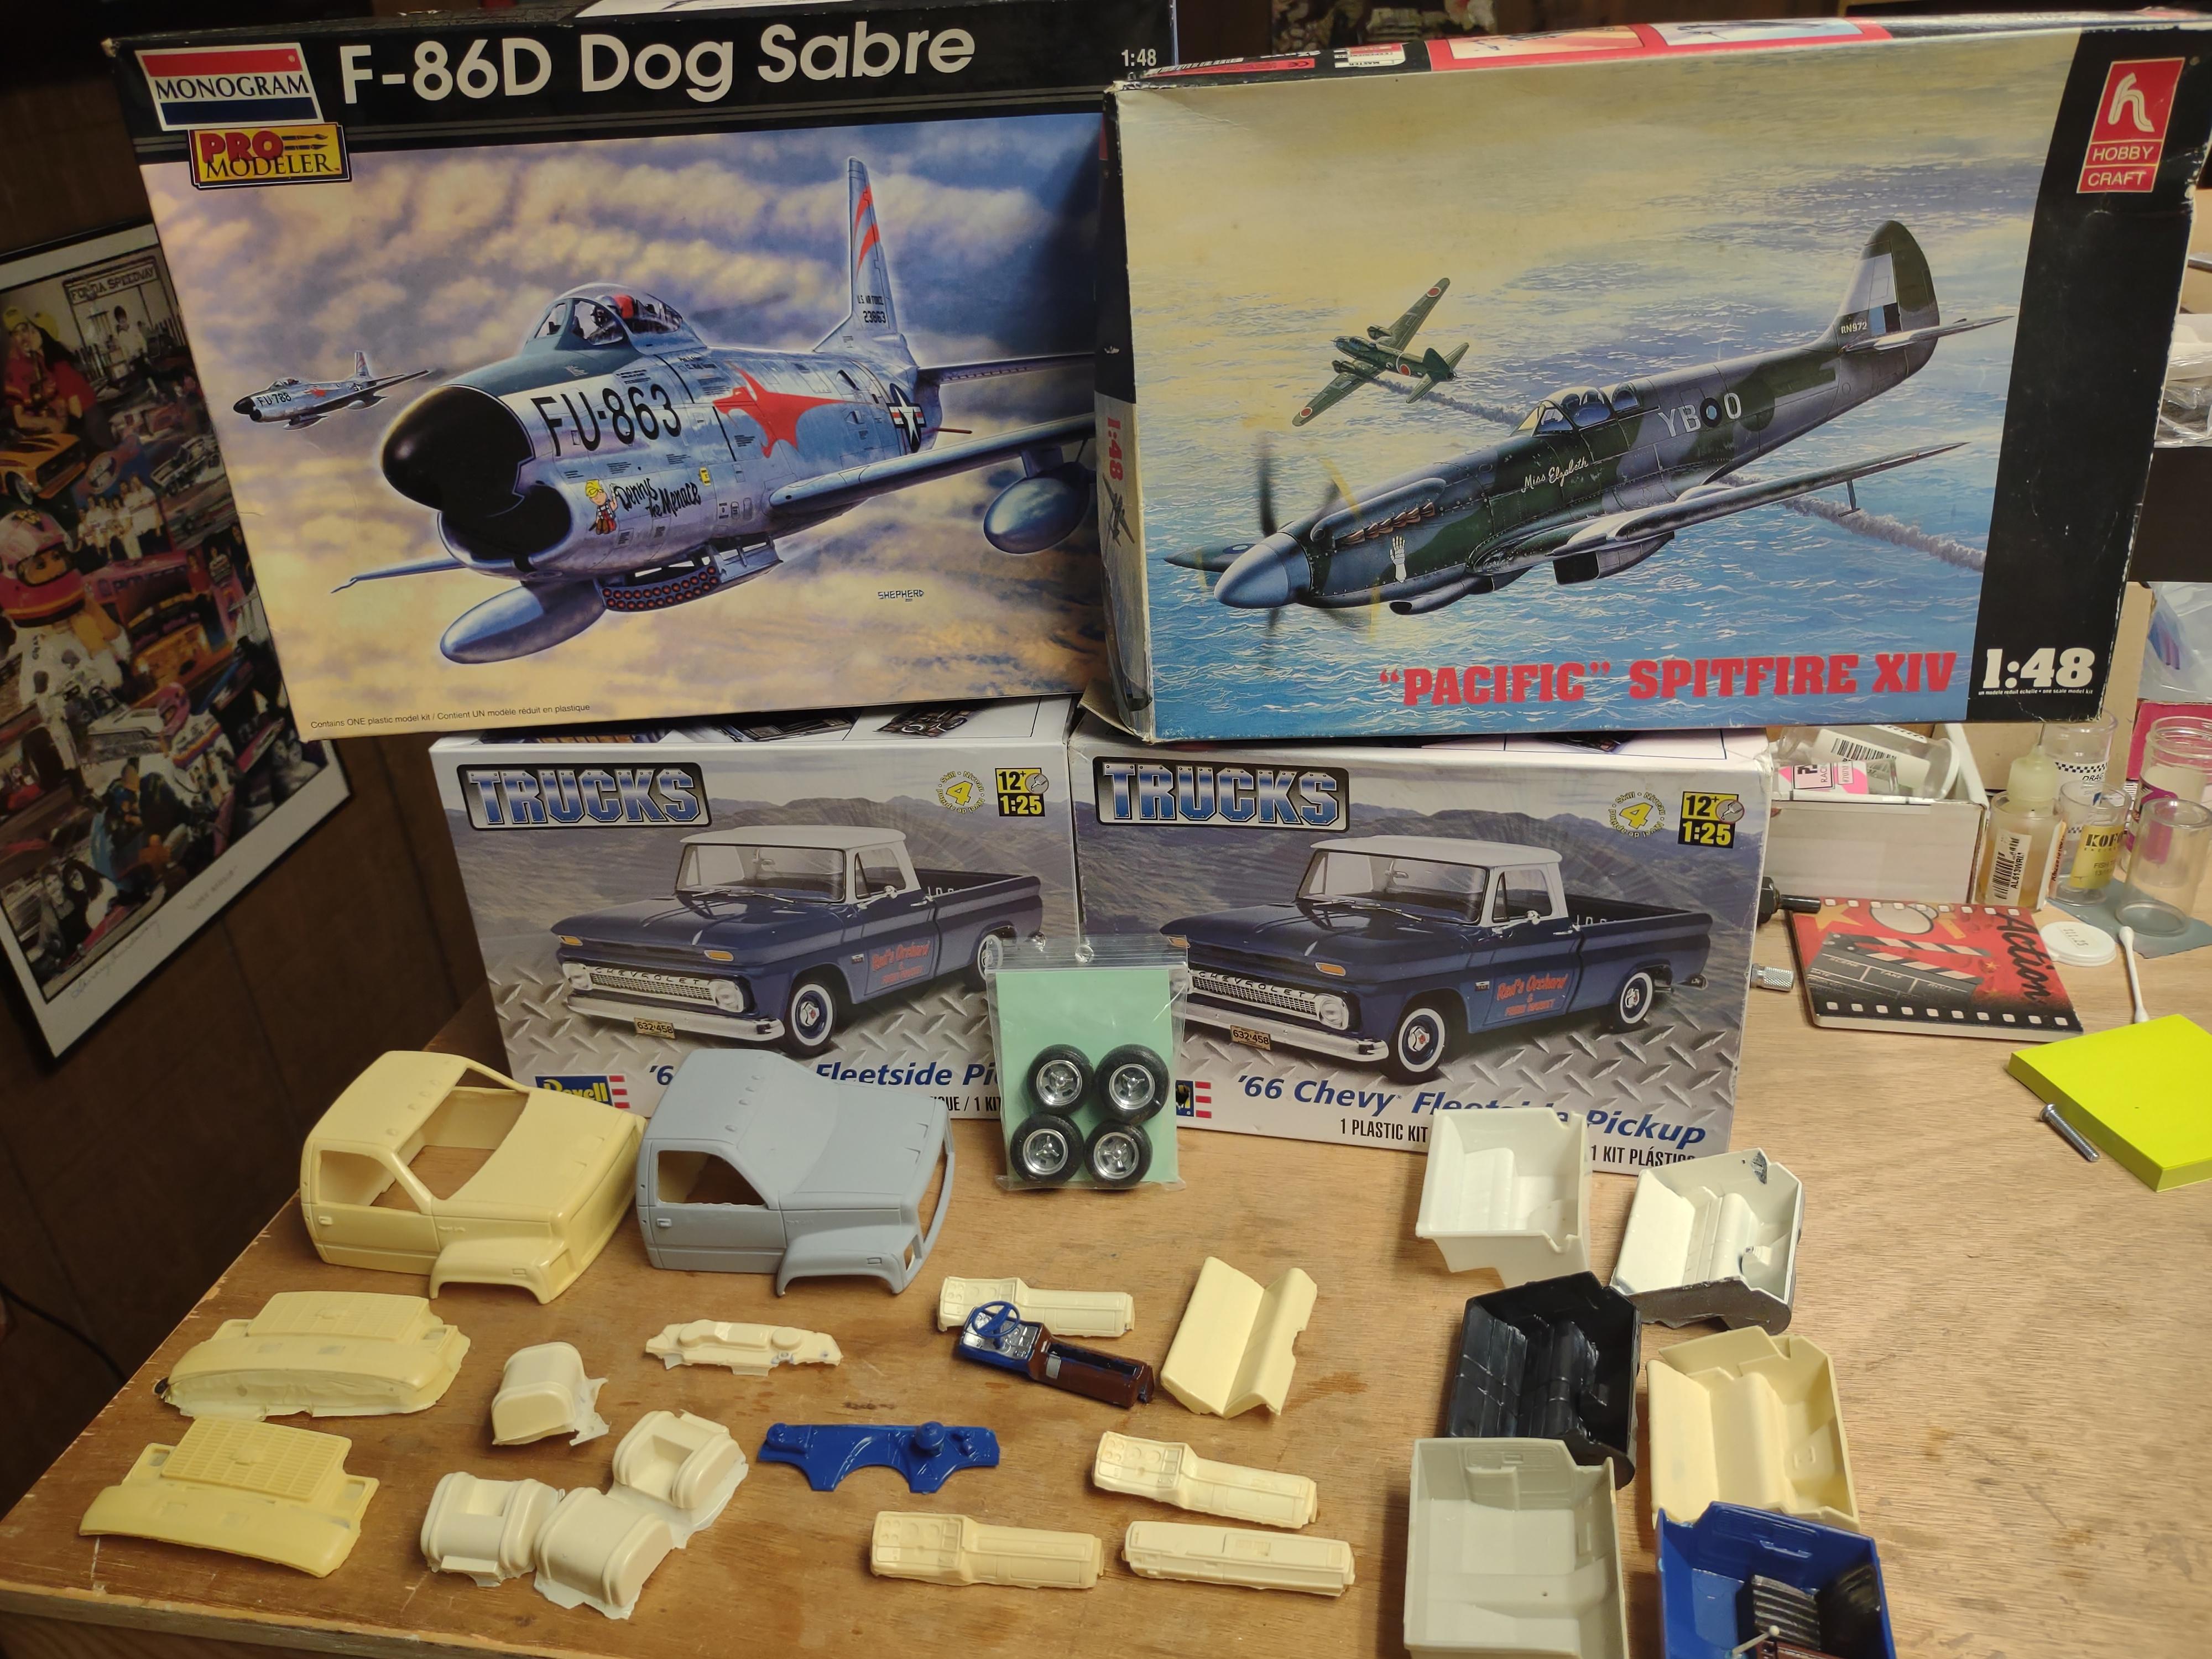
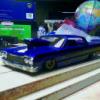
Picked up the Ford at Hobby Lobby, Porsche is a partial kit from eBay.
- 39,228 replies
-
- 4
-

-
- johan
- glue bombs
- (and 1 more)
-
I don't know what is different, but it works! Sometimes, I'll experience a bit of breakage, but not a lot (usually on sharp bends). Anything from hand bending to using a bending tool from my slot car days.
-
I've had great success using the styrene rod sold from the guy on eBay when making exhaust and headers.
-
Resin 64 Chevy Crew Cab Pickup
64SS350 replied to 64SS350's topic in WIP: Model Trucks: Pickups, Vans, SUVs, Light Commercial
Thanks, as an experiment, I found this chrome spray at Michael's. Looks ok, like many others, but I wouldn't recommend it.
-
Resin 64 Chevy Crew Cab Pickup
64SS350 replied to 64SS350's topic in WIP: Model Trucks: Pickups, Vans, SUVs, Light Commercial
Rails are laid in, minus corners.
-
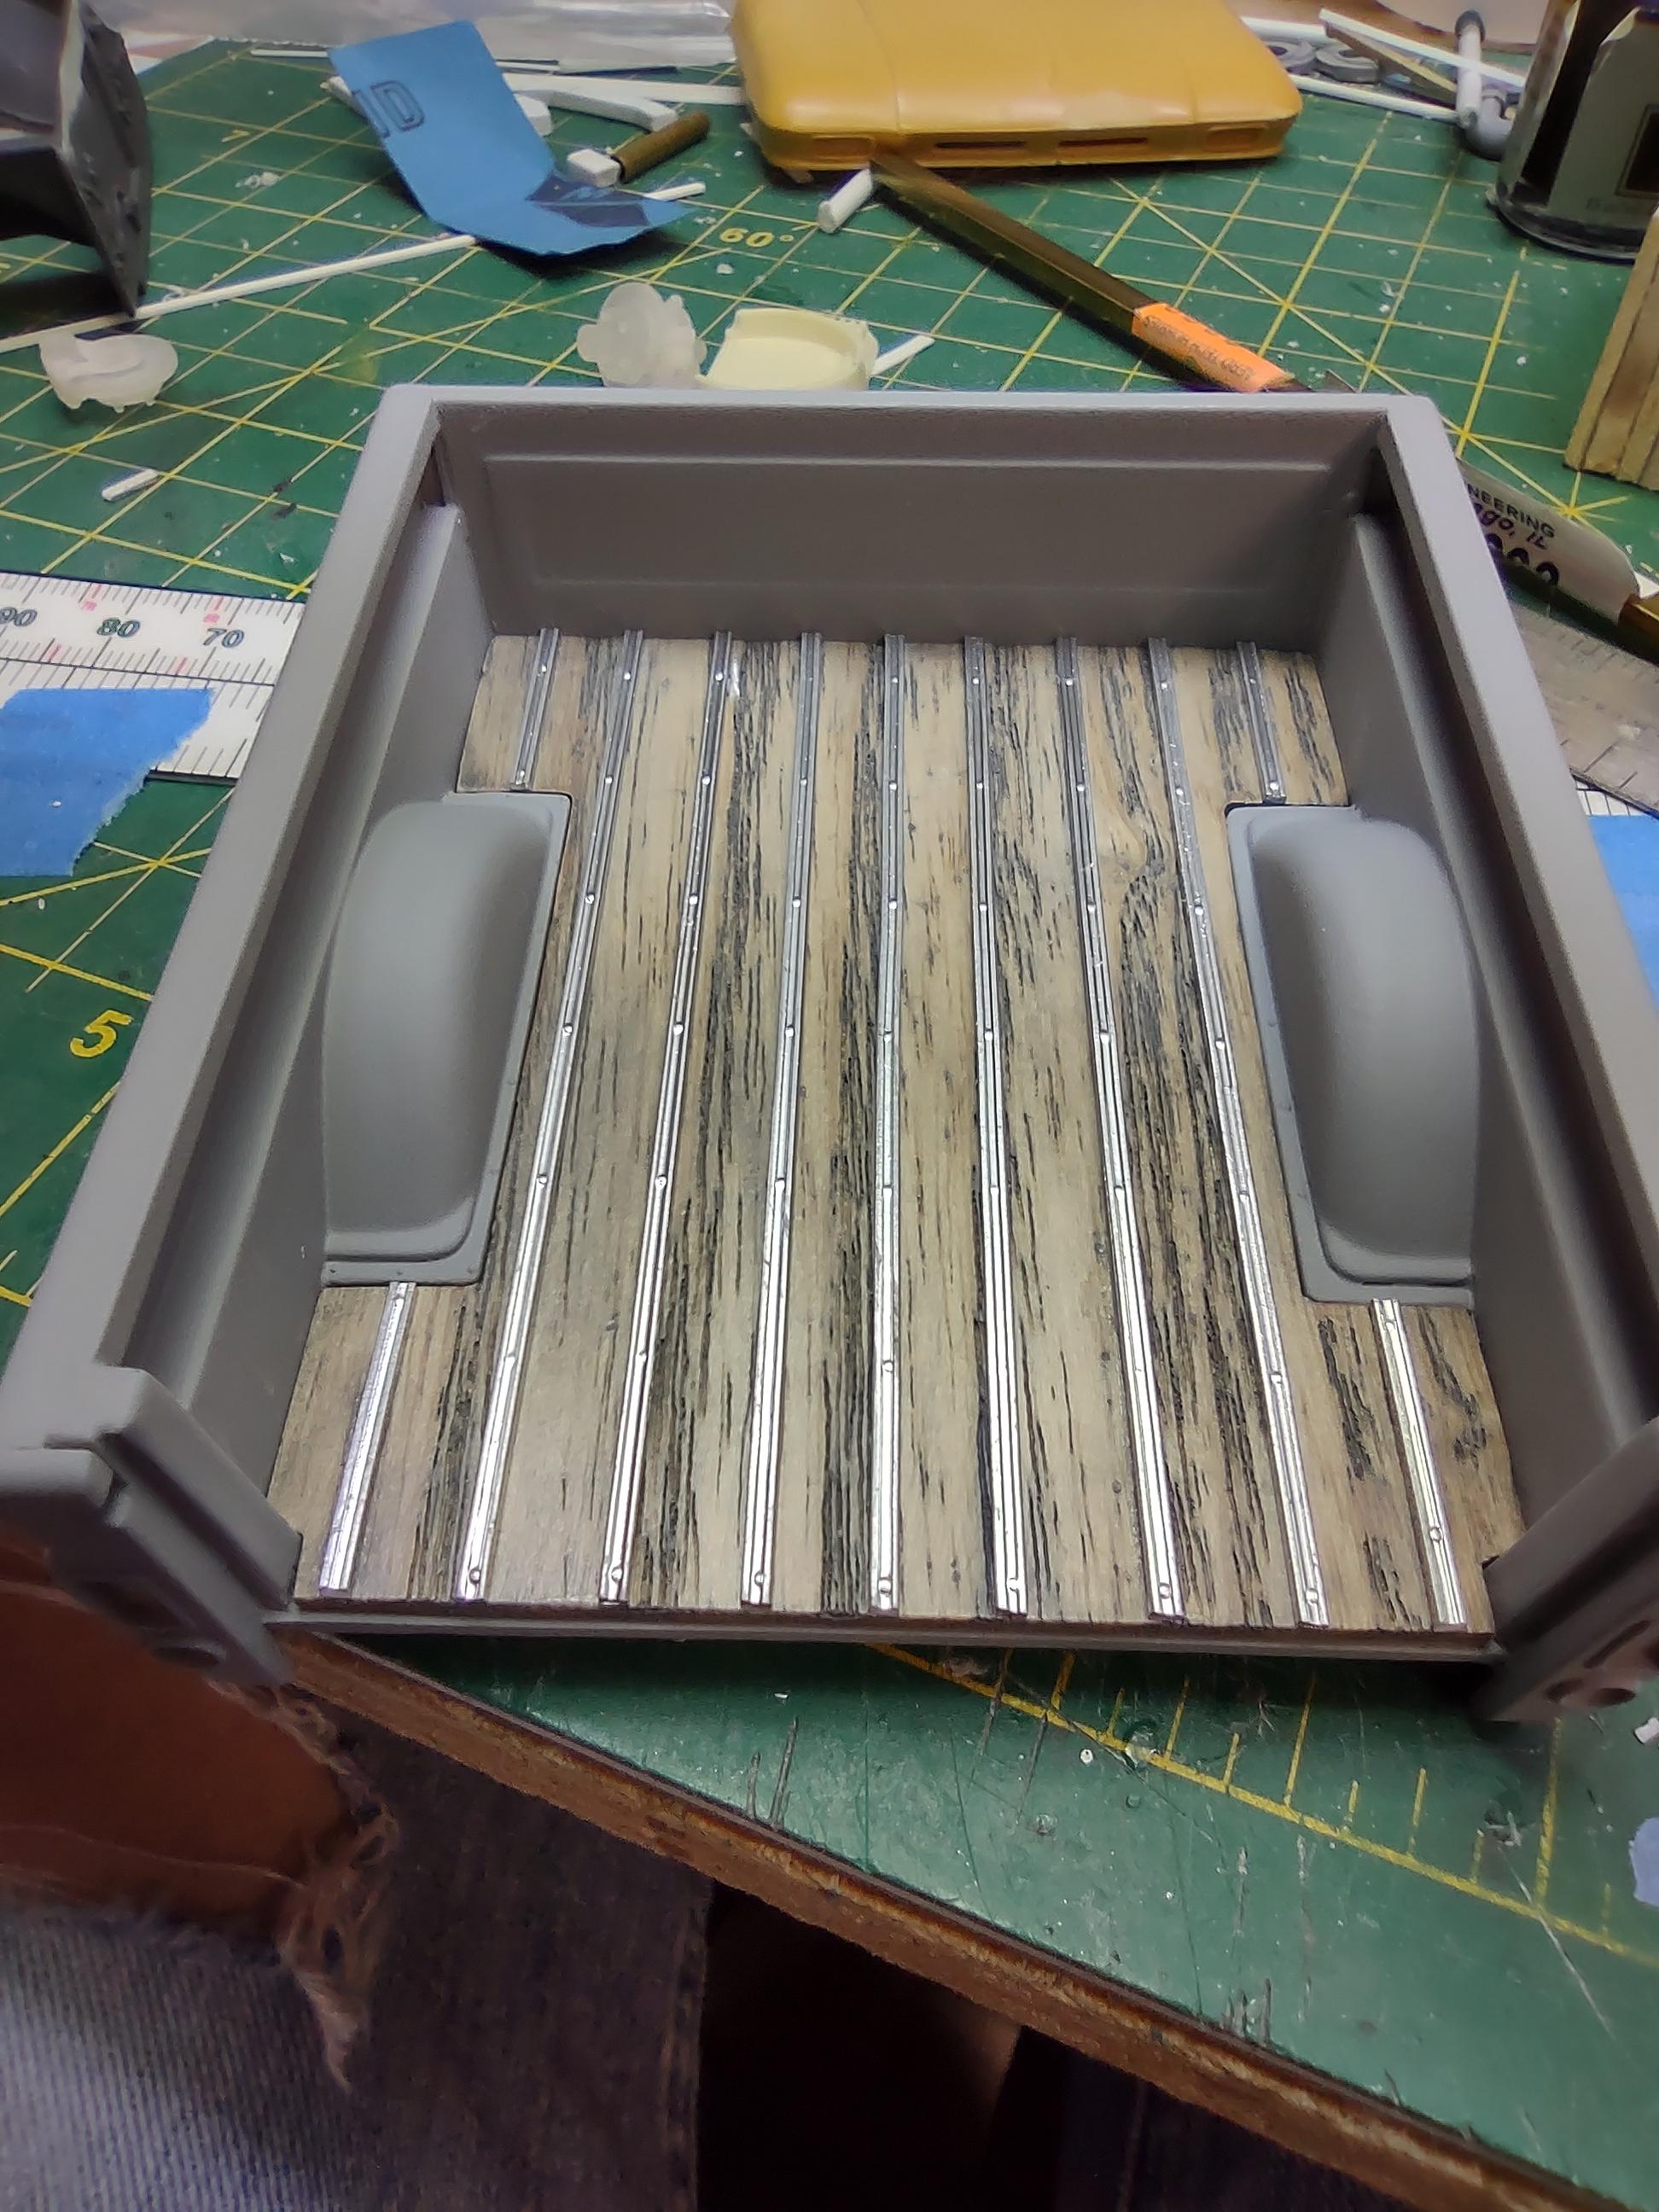
Resin 64 Chevy Crew Cab Pickup
64SS350 replied to 64SS350's topic in WIP: Model Trucks: Pickups, Vans, SUVs, Light Commercial
Here's the bed in primer and wood floor finished. Notice the cutout/recessed area at the top of the bed, as is in a 1:1. I still need to add the supports under the bedrail, cut and install the metal strips.
-
I could be wrong, but that looks more like heavy fish eye. Something not playing nice together and separating. But I haven't used the enamel yet.
-
I did a quick search, here's a link to his eBay items, just scroll down to... sellers other items https://www.ebay.com/itm/256141408868?mkcid=16&mkevt=1&mkrid=711-127632-2357-0&ssspo=609VLjblRAW&sssrc=4429486&ssuid=nnyVb6gkTD2&var=&widget_ver=artemis&media=COPY
-
To prime, or not to prime, that is the question
64SS350 replied to Kaenned's topic in Model Building Questions and Answers
I realize you asked about painting on molded in color, but here's an example from several years ago. I decided to pull out a stalled project because of paint and decal issues. Tamiya paint, no primer, also some sanding.
-
To prime, or not to prime, that is the question
64SS350 replied to Kaenned's topic in Model Building Questions and Answers
Yes prime! One, it does help you find imperfections (as mentioned above), two, it puts a barrier between the paint and plastic if you need body work, three, the paint will adhere to the plastic, so if imperfections are present in the paint... stripping becomes challenging. My two cents -
This is posted on his website
-
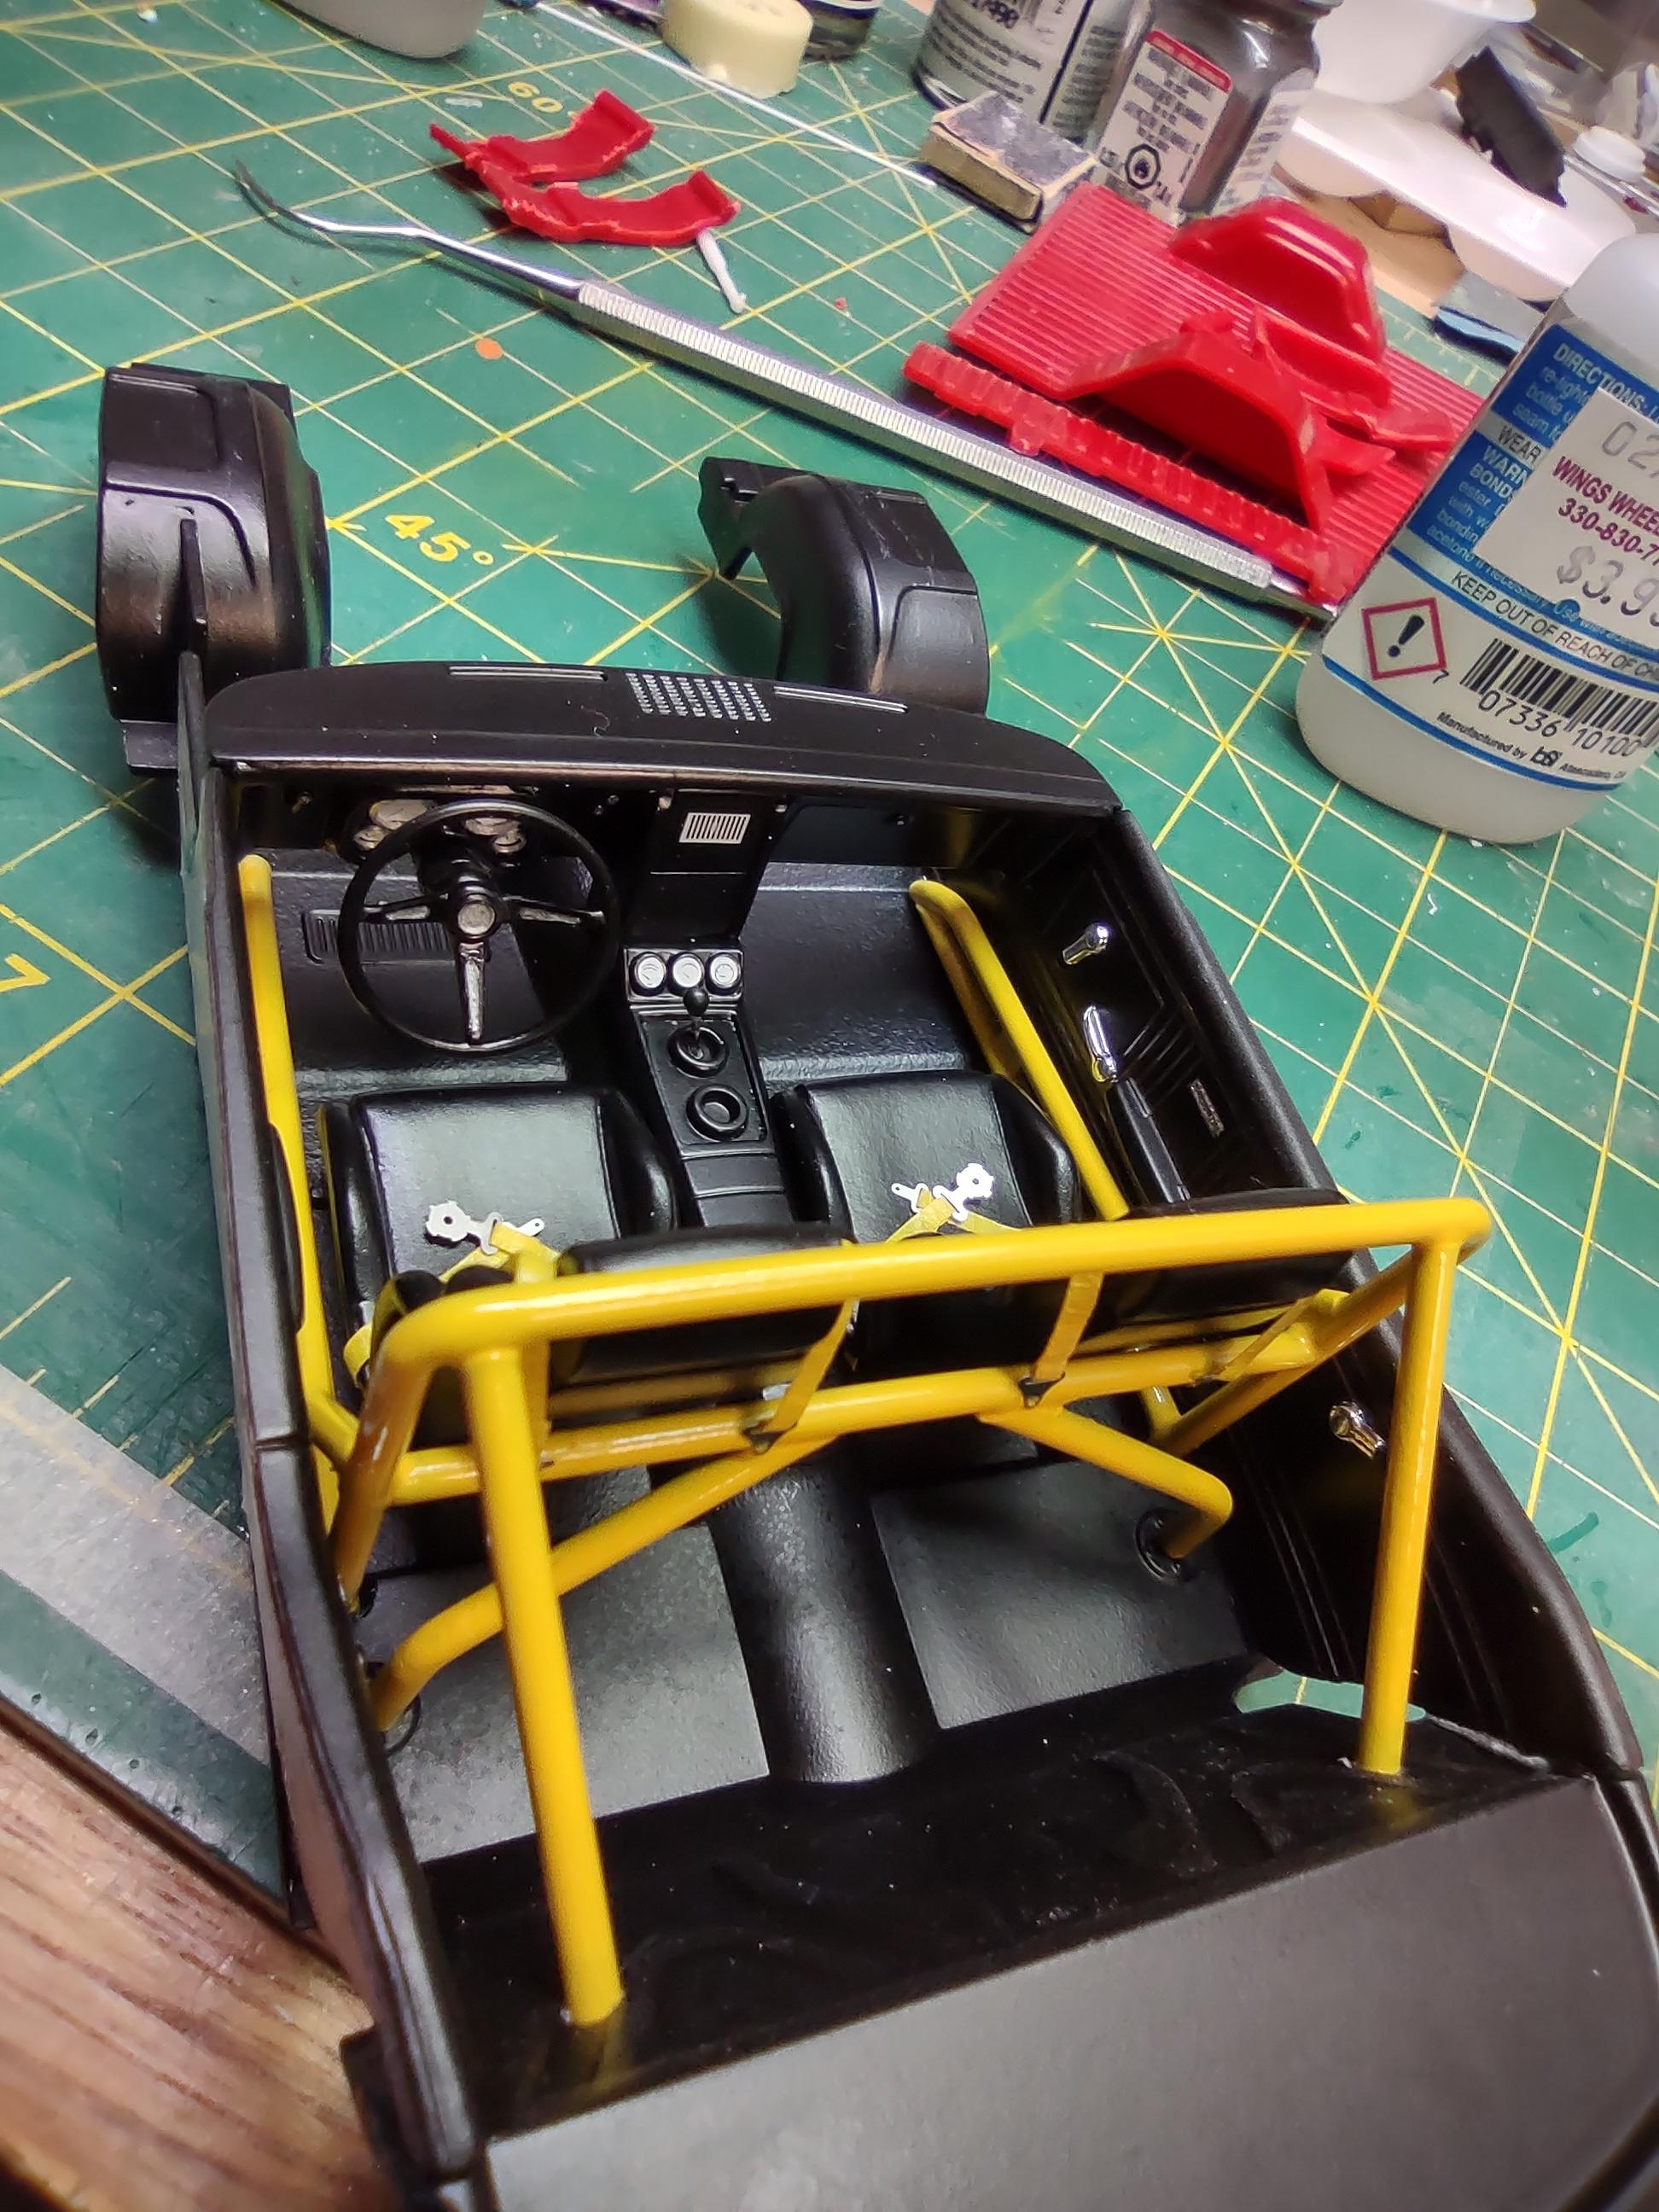
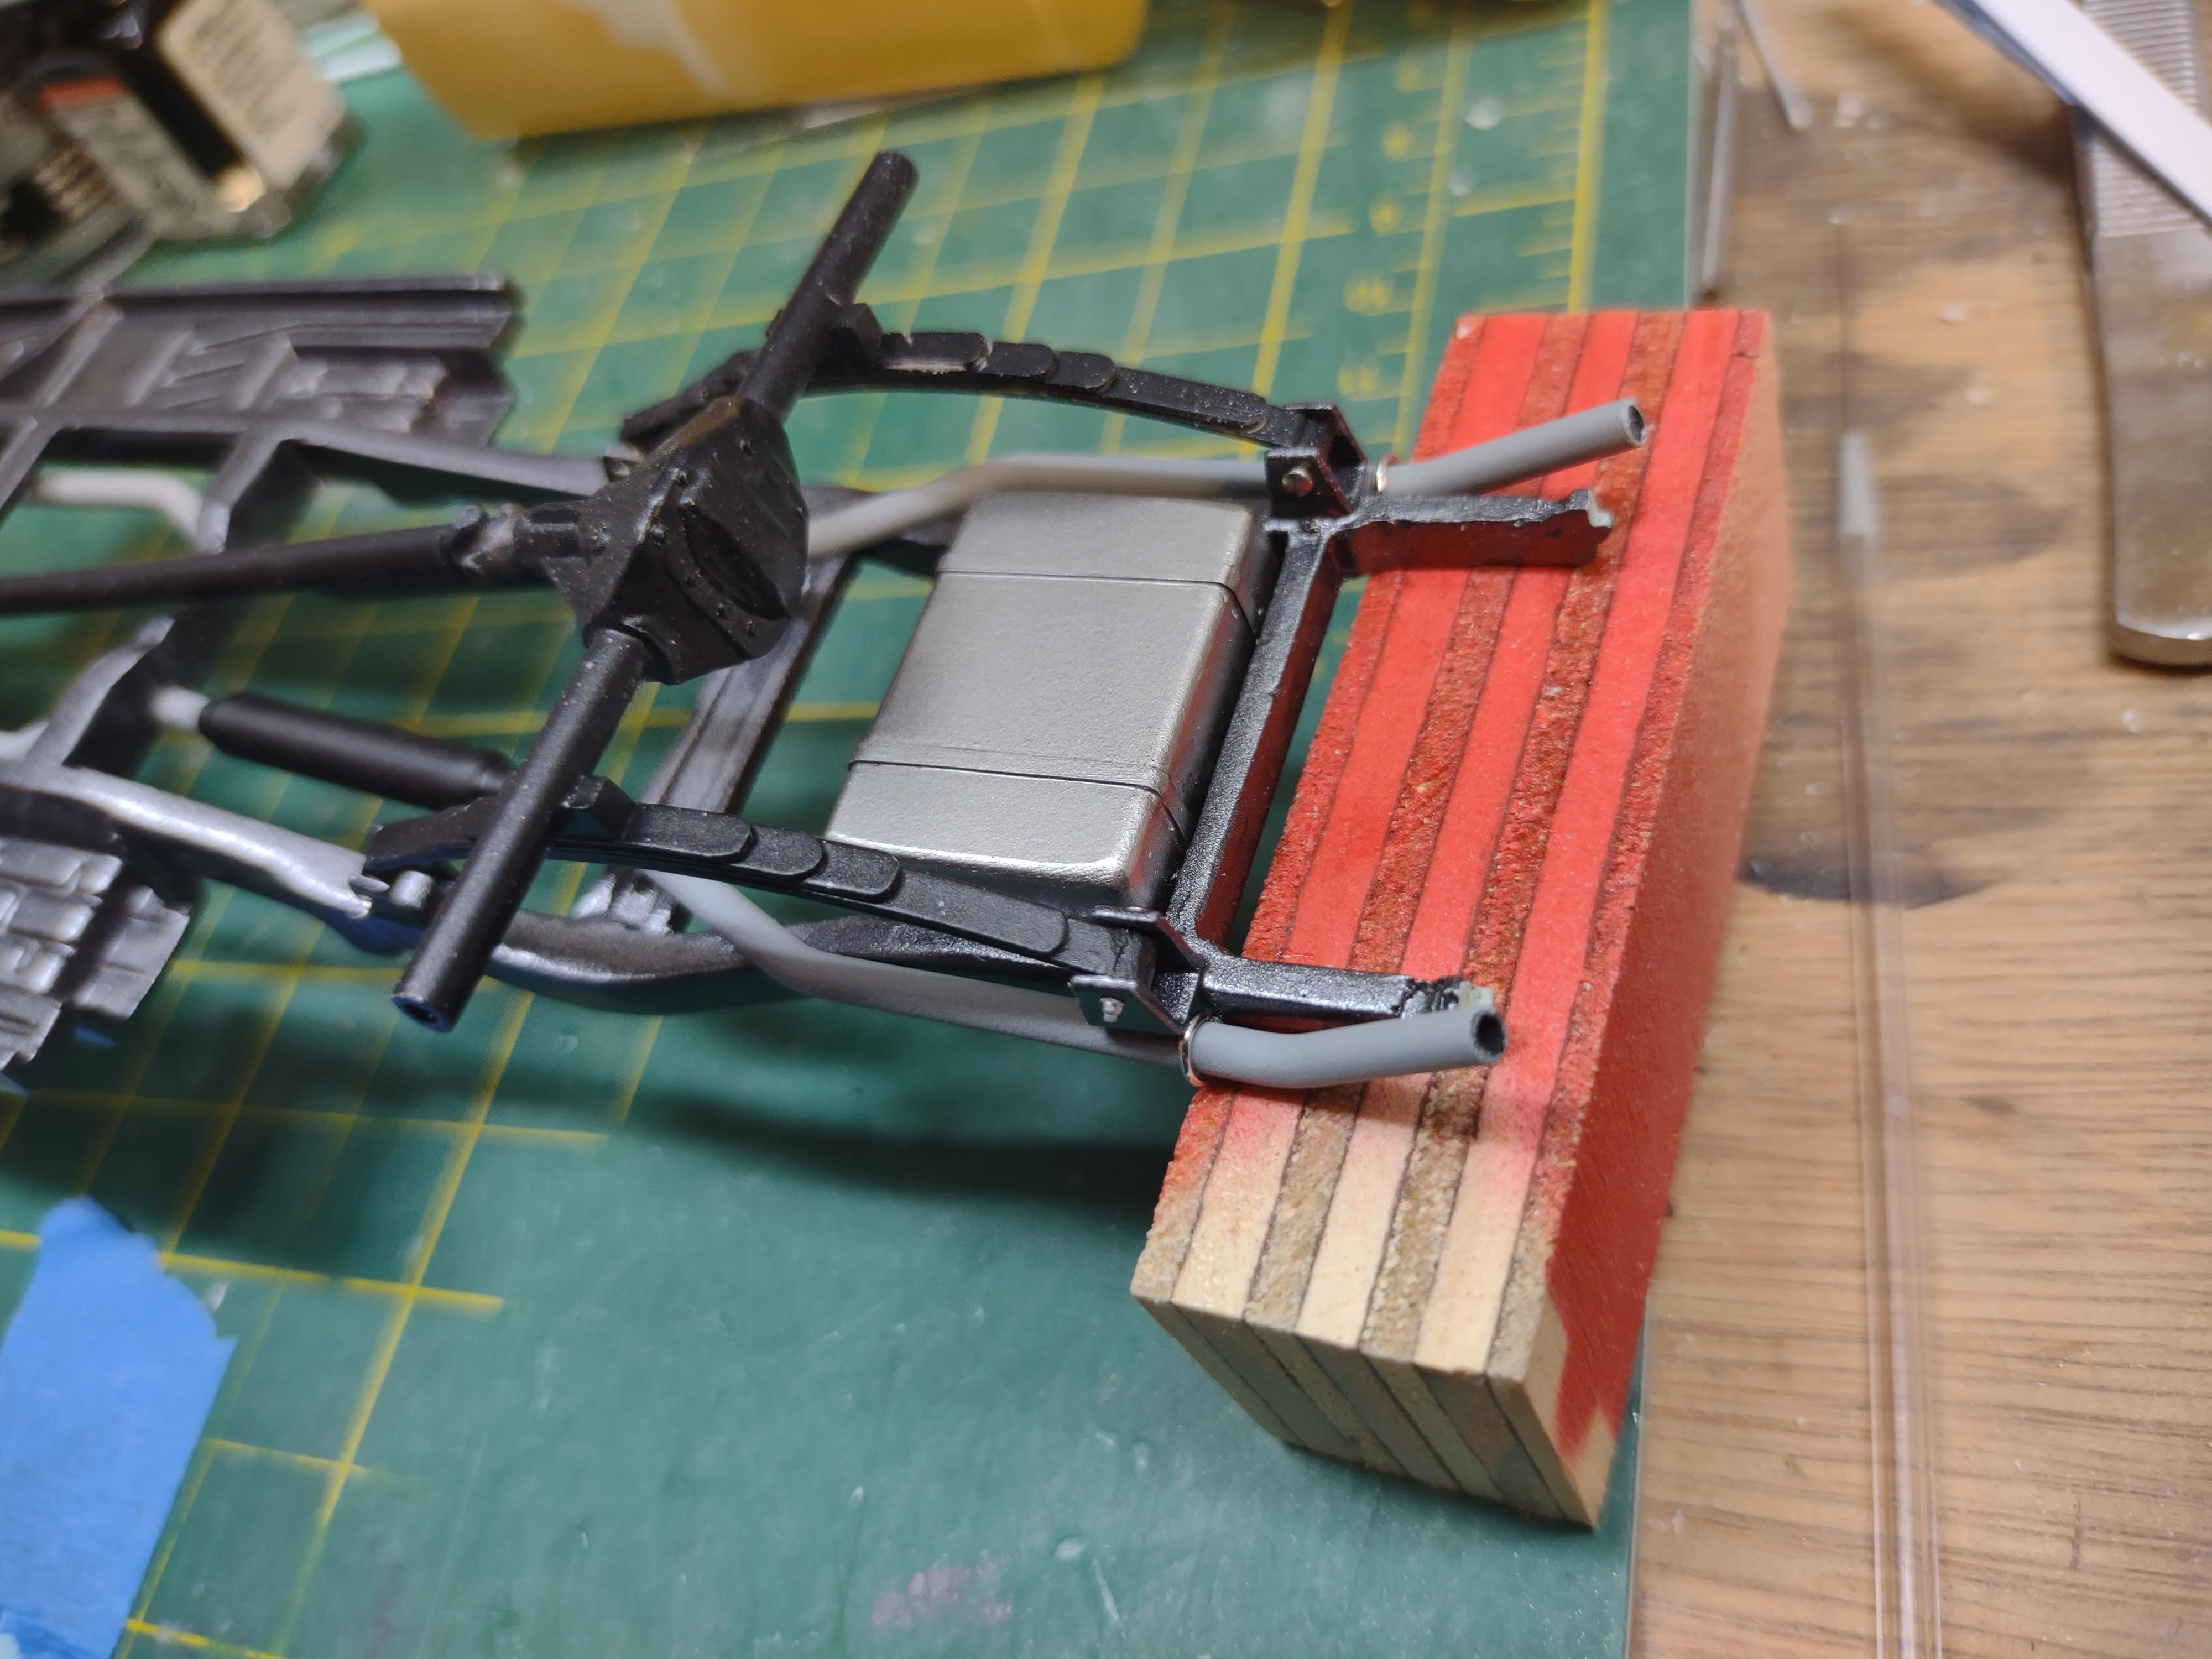
Resin 64 Chevy Crew Cab Pickup
64SS350 replied to 64SS350's topic in WIP: Model Trucks: Pickups, Vans, SUVs, Light Commercial
New exhaust and gas tank
-
Great work, thanks for posting. Lots amazing builds! Great to see your girls involved in the hobby!!
-
Resin 64 Chevy Crew Cab Pickup
64SS350 replied to 64SS350's topic in WIP: Model Trucks: Pickups, Vans, SUVs, Light Commercial
Quick update, I looked over the truck bed and decided I didn't like it, so here we go. For starters, I'm changing the bed floor to real wood and adding the rails next, after I made a bit of tooling make them. Also the sides are incorrect, they are not flat, but angle out to the bedside. I scribed them and waited to finish until I got the floor ready. I also added a gas tank and have to reroute the exhaust , that in the next update.
-
A few items from the Sharon,PA show. Also parts from my friend Ron.
- 39,228 replies
-
- 6
-
-
- johan
- glue bombs
- (and 1 more)