64SS350
-
Posts
1,574 -
Joined
-
Last visited
Content Type
Profiles
Forums
Events
Gallery
Everything posted by 64SS350
-
68-72 Suburban scratch build
64SS350 replied to 64SS350's topic in WIP: Model Trucks: Pickups, Vans, SUVs, Light Commercial
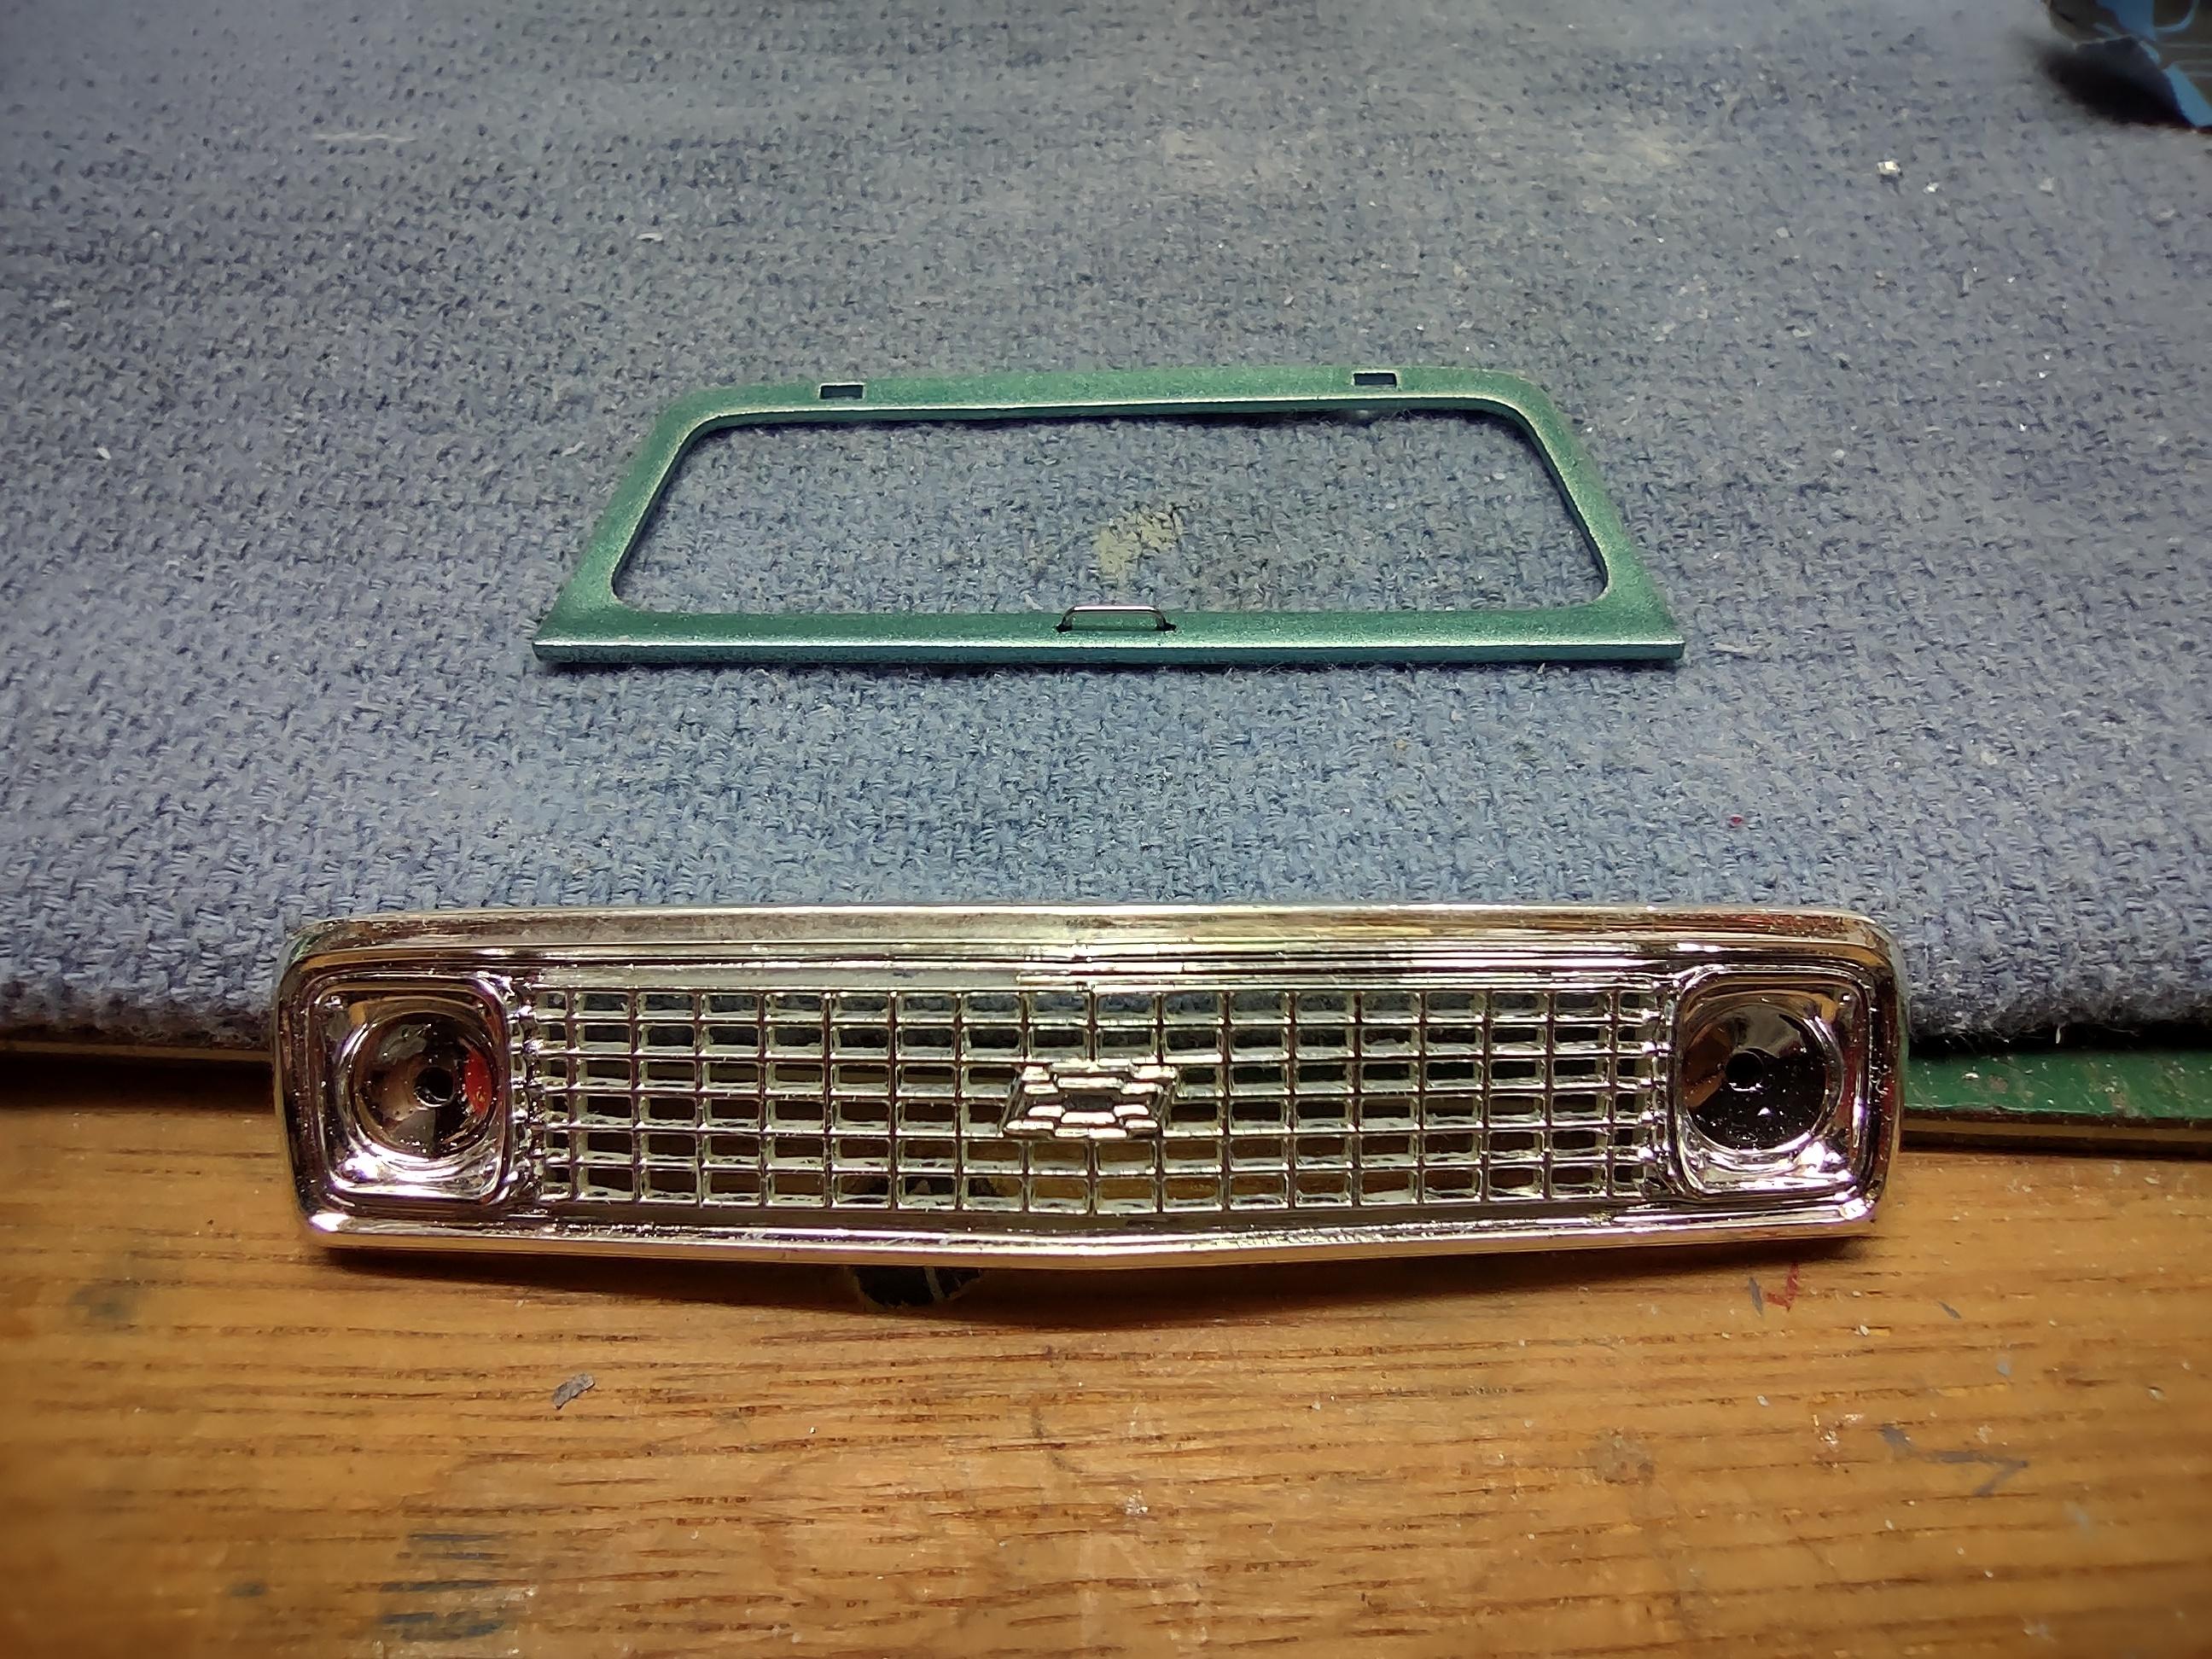
Some progress... added a bit of BMF, a tailgate latch, key locks, rear hatch handle. Decided to open the grill... progress so far. Playing with the stock wheels from the Blazer kit, thinned the back to remove the center, lots of extra styrene in there. Cut loose, cleaned up to make id round, glued pcs to sheet styrene and sanded the od. Wheel on the left is the refurbished one. These are deep and look great in larger tires.... (future projects). Also discovered in research...the taillights and bu lights are inverted.
-
57 Chevy Bubbletop pickup
64SS350 replied to Modlbldr's topic in WIP: Model Trucks: Pickups, Vans, SUVs, Light Commercial
Just found this WIP, awesome ideas and execution! Looks great so far! -
68-72 Suburban scratch build
64SS350 replied to 64SS350's topic in WIP: Model Trucks: Pickups, Vans, SUVs, Light Commercial
Hood is in the brake fluid, polished the body in the meantime, which actually removed the lines that I previously mentioned on the roof!
-
How to make candy pink paint?
64SS350 replied to LDO's topic in Model Building Questions and Answers
I'm not real familiar with candy colors, other than the base does make a difference, silver, gold, maybe white. A suggestion is to check out Barbaros Rex on YouTube, he experiments with a ton of different paints, many candy/translucent colors recently. -
68-72 Suburban scratch build
64SS350 replied to 64SS350's topic in WIP: Model Trucks: Pickups, Vans, SUVs, Light Commercial
The roof problem is in the middle, at the joint. Hard to see in pics, but stands out to the naked eye. I even blocked that roof several times. I'm thinking of buying a printed roof rack for it anyway. I too like the color, but heavy on the metallics. -
68-72 Suburban scratch build
64SS350 replied to 64SS350's topic in WIP: Model Trucks: Pickups, Vans, SUVs, Light Commercial
Painted the body a couple weeks ago, spray can Model Master lacquer. I now the body work wouldn't be perfect, just ready for it to be painted. After I used MCW clear, a couple spots showed up that appeared to "raise". I sealed all the mudded areas with super thin CA and final sanded, plus Duplicator primer. It's only on the hood and the roof joint, pondering to fix or let go.(and no...I don't drink Rockstar..lol)
-
custom water slide decals
64SS350 replied to TINCANBANDIT's topic in Model Building Questions and Answers
STS Decals -
Simulating thin whitewalls on tires
64SS350 replied to Mr. Metallic's topic in Model Building Questions and Answers
This was shared with me, this is an amazing idea! -
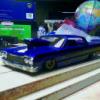
From the C.A.R.B.S. show, plus ordered some decals from STS.
- 39,242 replies
-
- 2
-

-
- johan
- glue bombs
- (and 1 more)
-
Decals for Aoshima 2012 Chevy Cruze
64SS350 replied to 64SS350's topic in Model Building Questions and Answers
Thanks -
In need of a set of decals, anyone making these still? It was made by Aoshima/Beemax. Thanks for your help!
-
Wow, mine in Canton has the car kits for $12.99
-
C.A.R.B.S. Fall Fest 2023 Nov. 4, 2023 9am-3pm Who's Going?
64SS350 replied to thatz4u's topic in Contests and Shows
I secured two tables for the show, finally worked out I can make it, after several years. Hope to meet some of you....and sell you something!! See ya on the 4th!! -
I would try gently and repeatedly trying to 'work' the screw to break it loose. Also, I think you could use a soldering iron to slightly WARM the screws. Heat will break the 'seal' and also warm the plastic to make it a tad pliable. Try gently removing while warm, and also after it cools if needed.....IMO
-
Pulled the Camaro out of the paint booth, (after a long pondering session). Shot some clear, didn't like it, now wet sanded down for next steps. Updates coming!
-
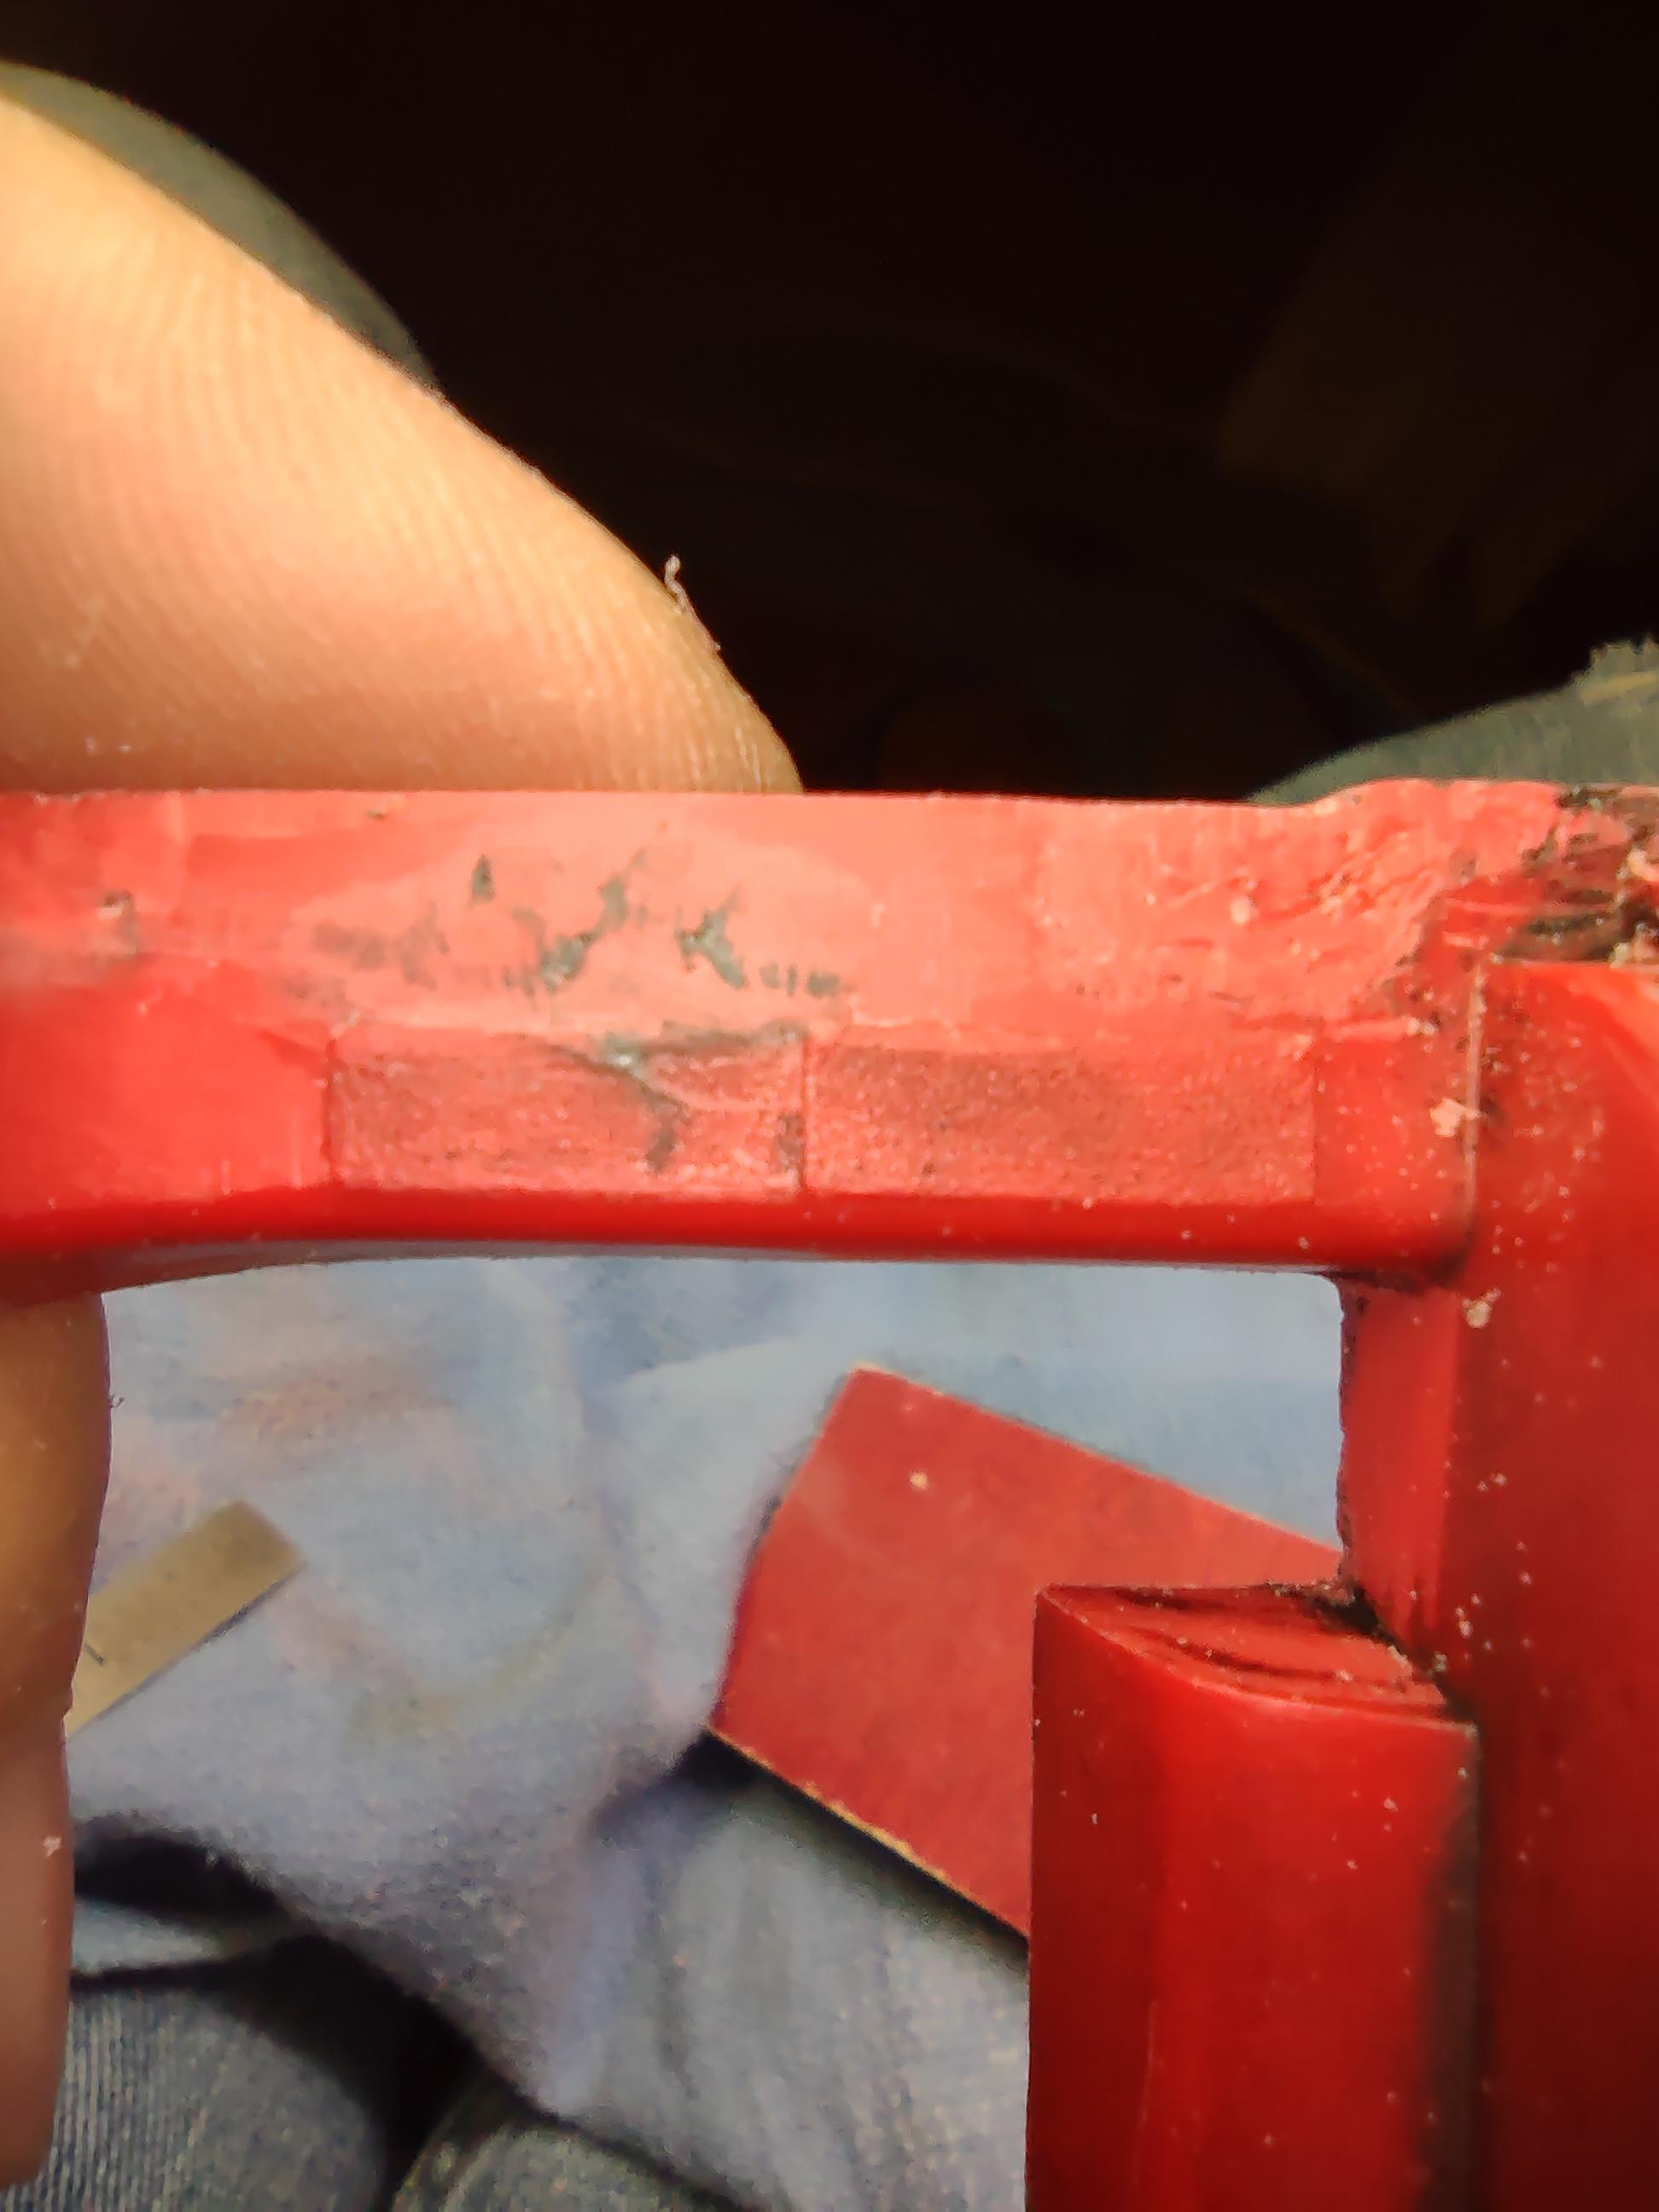
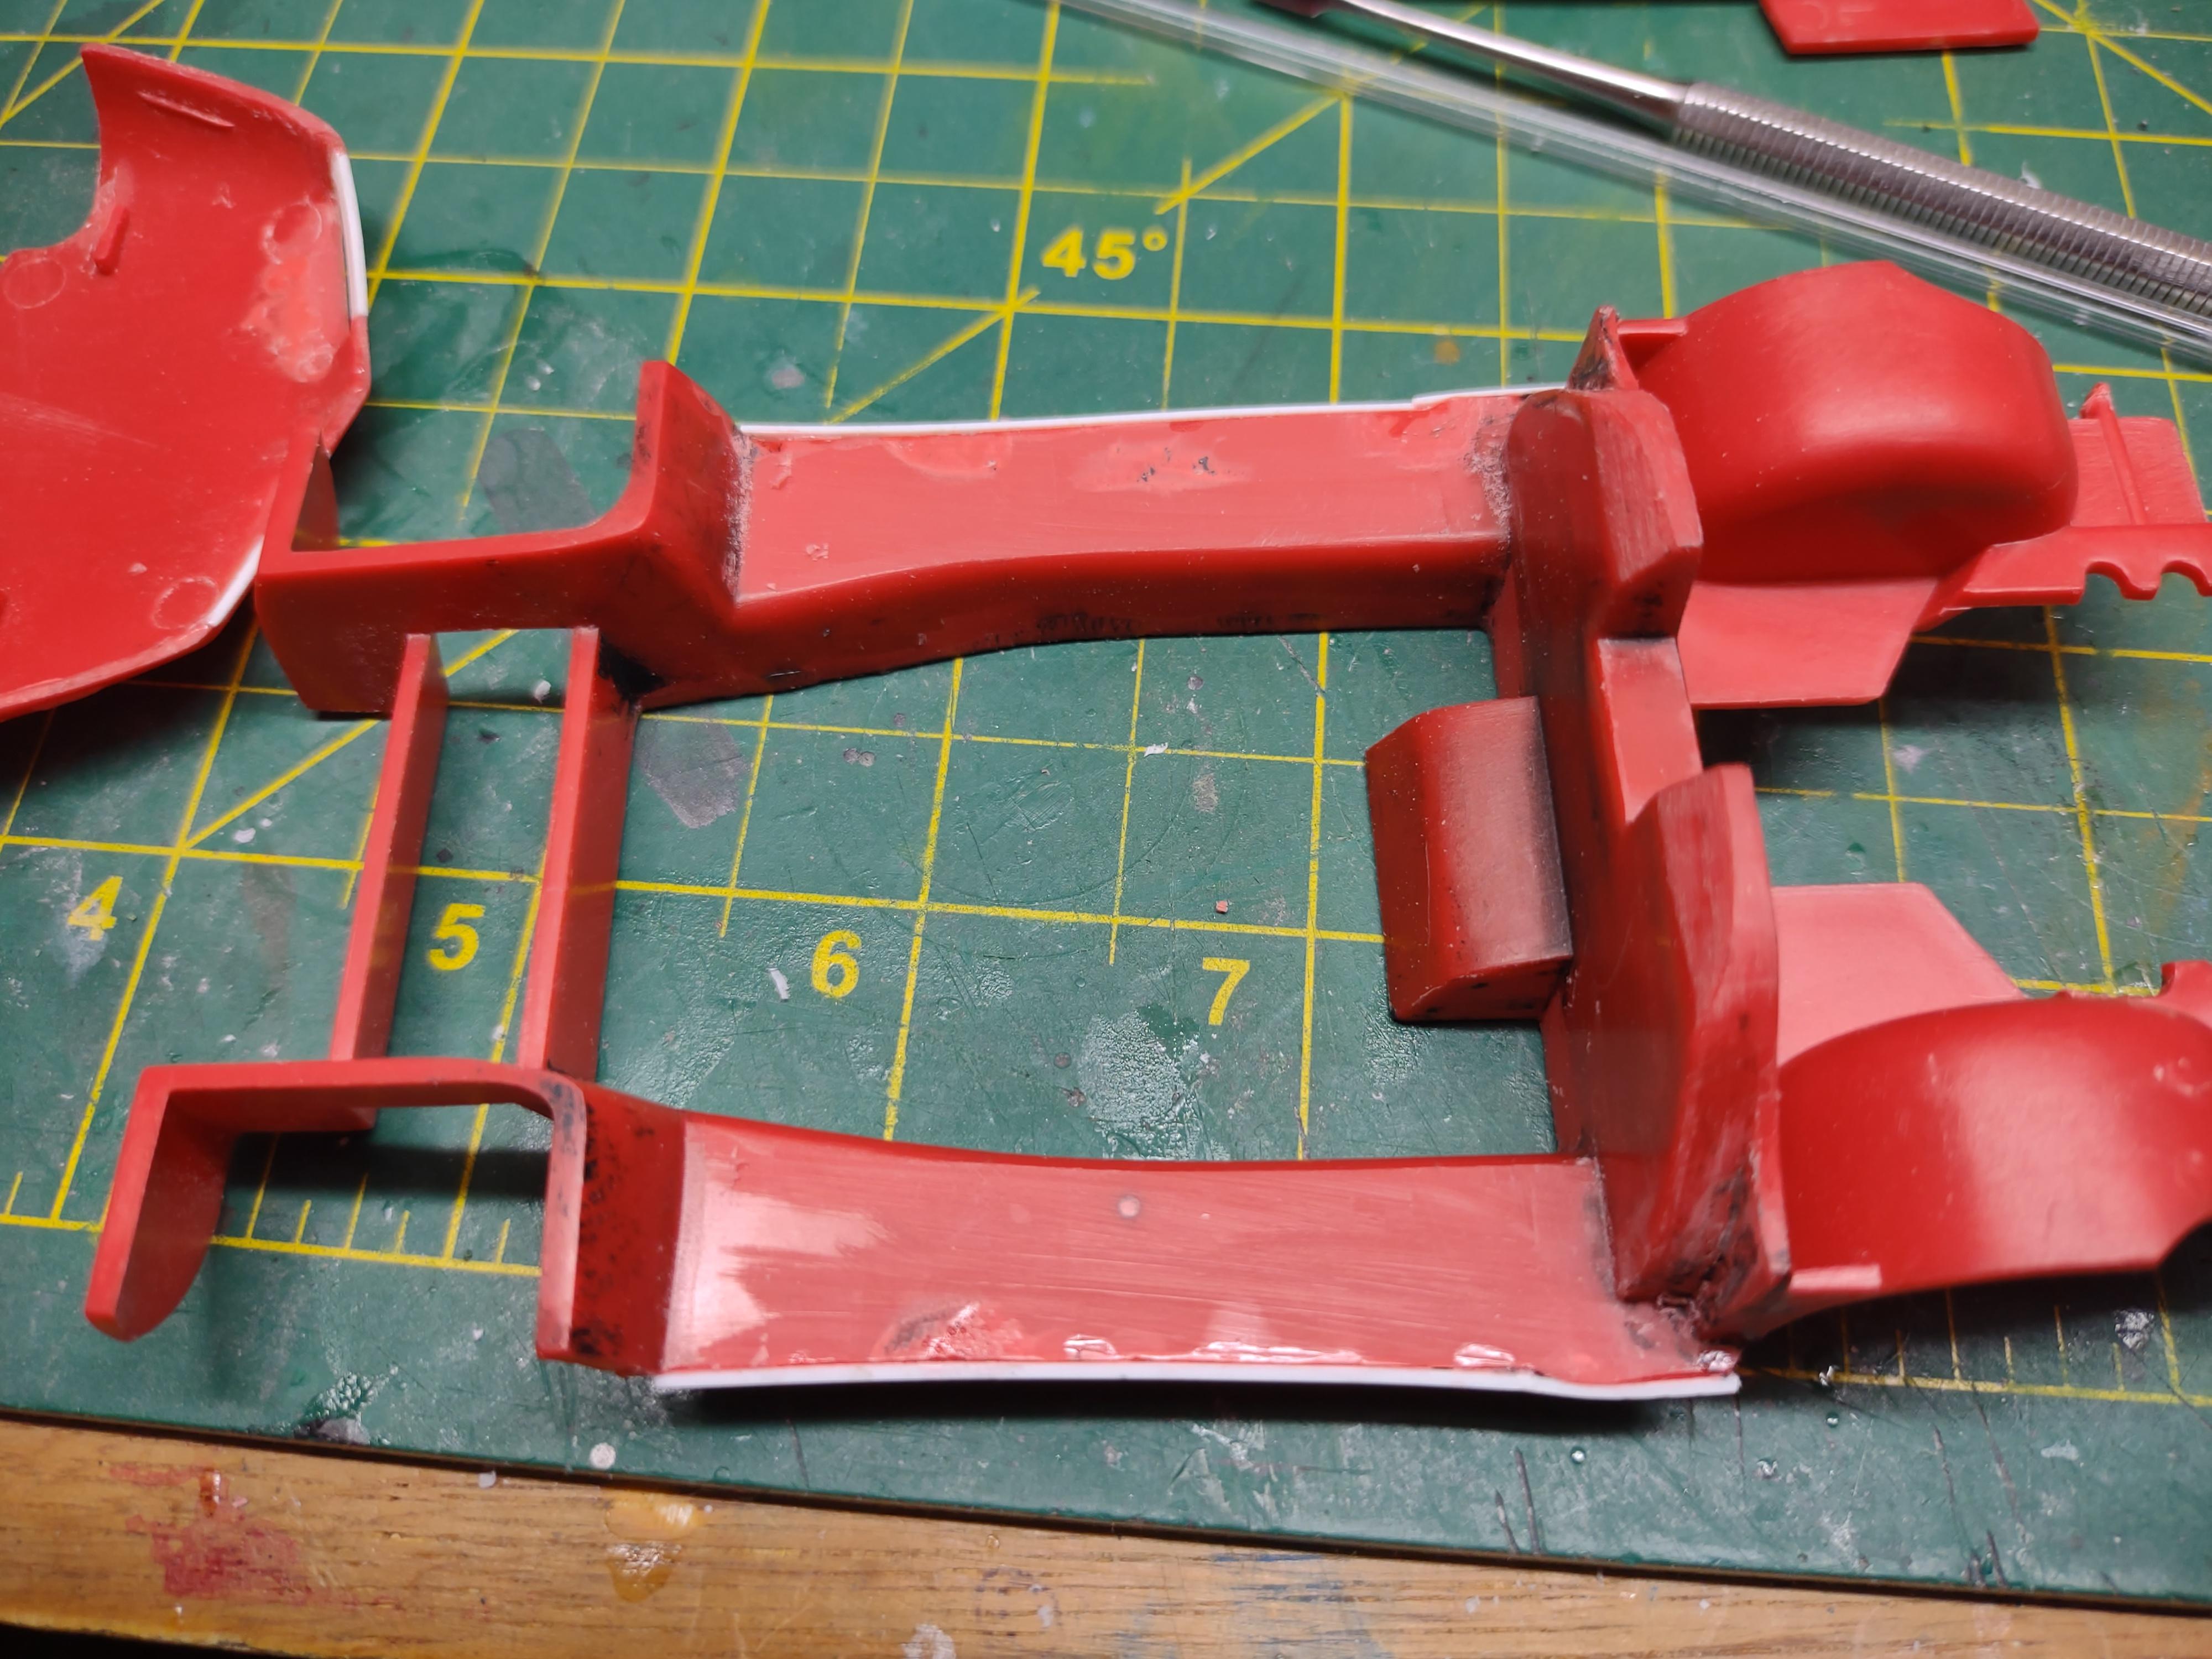
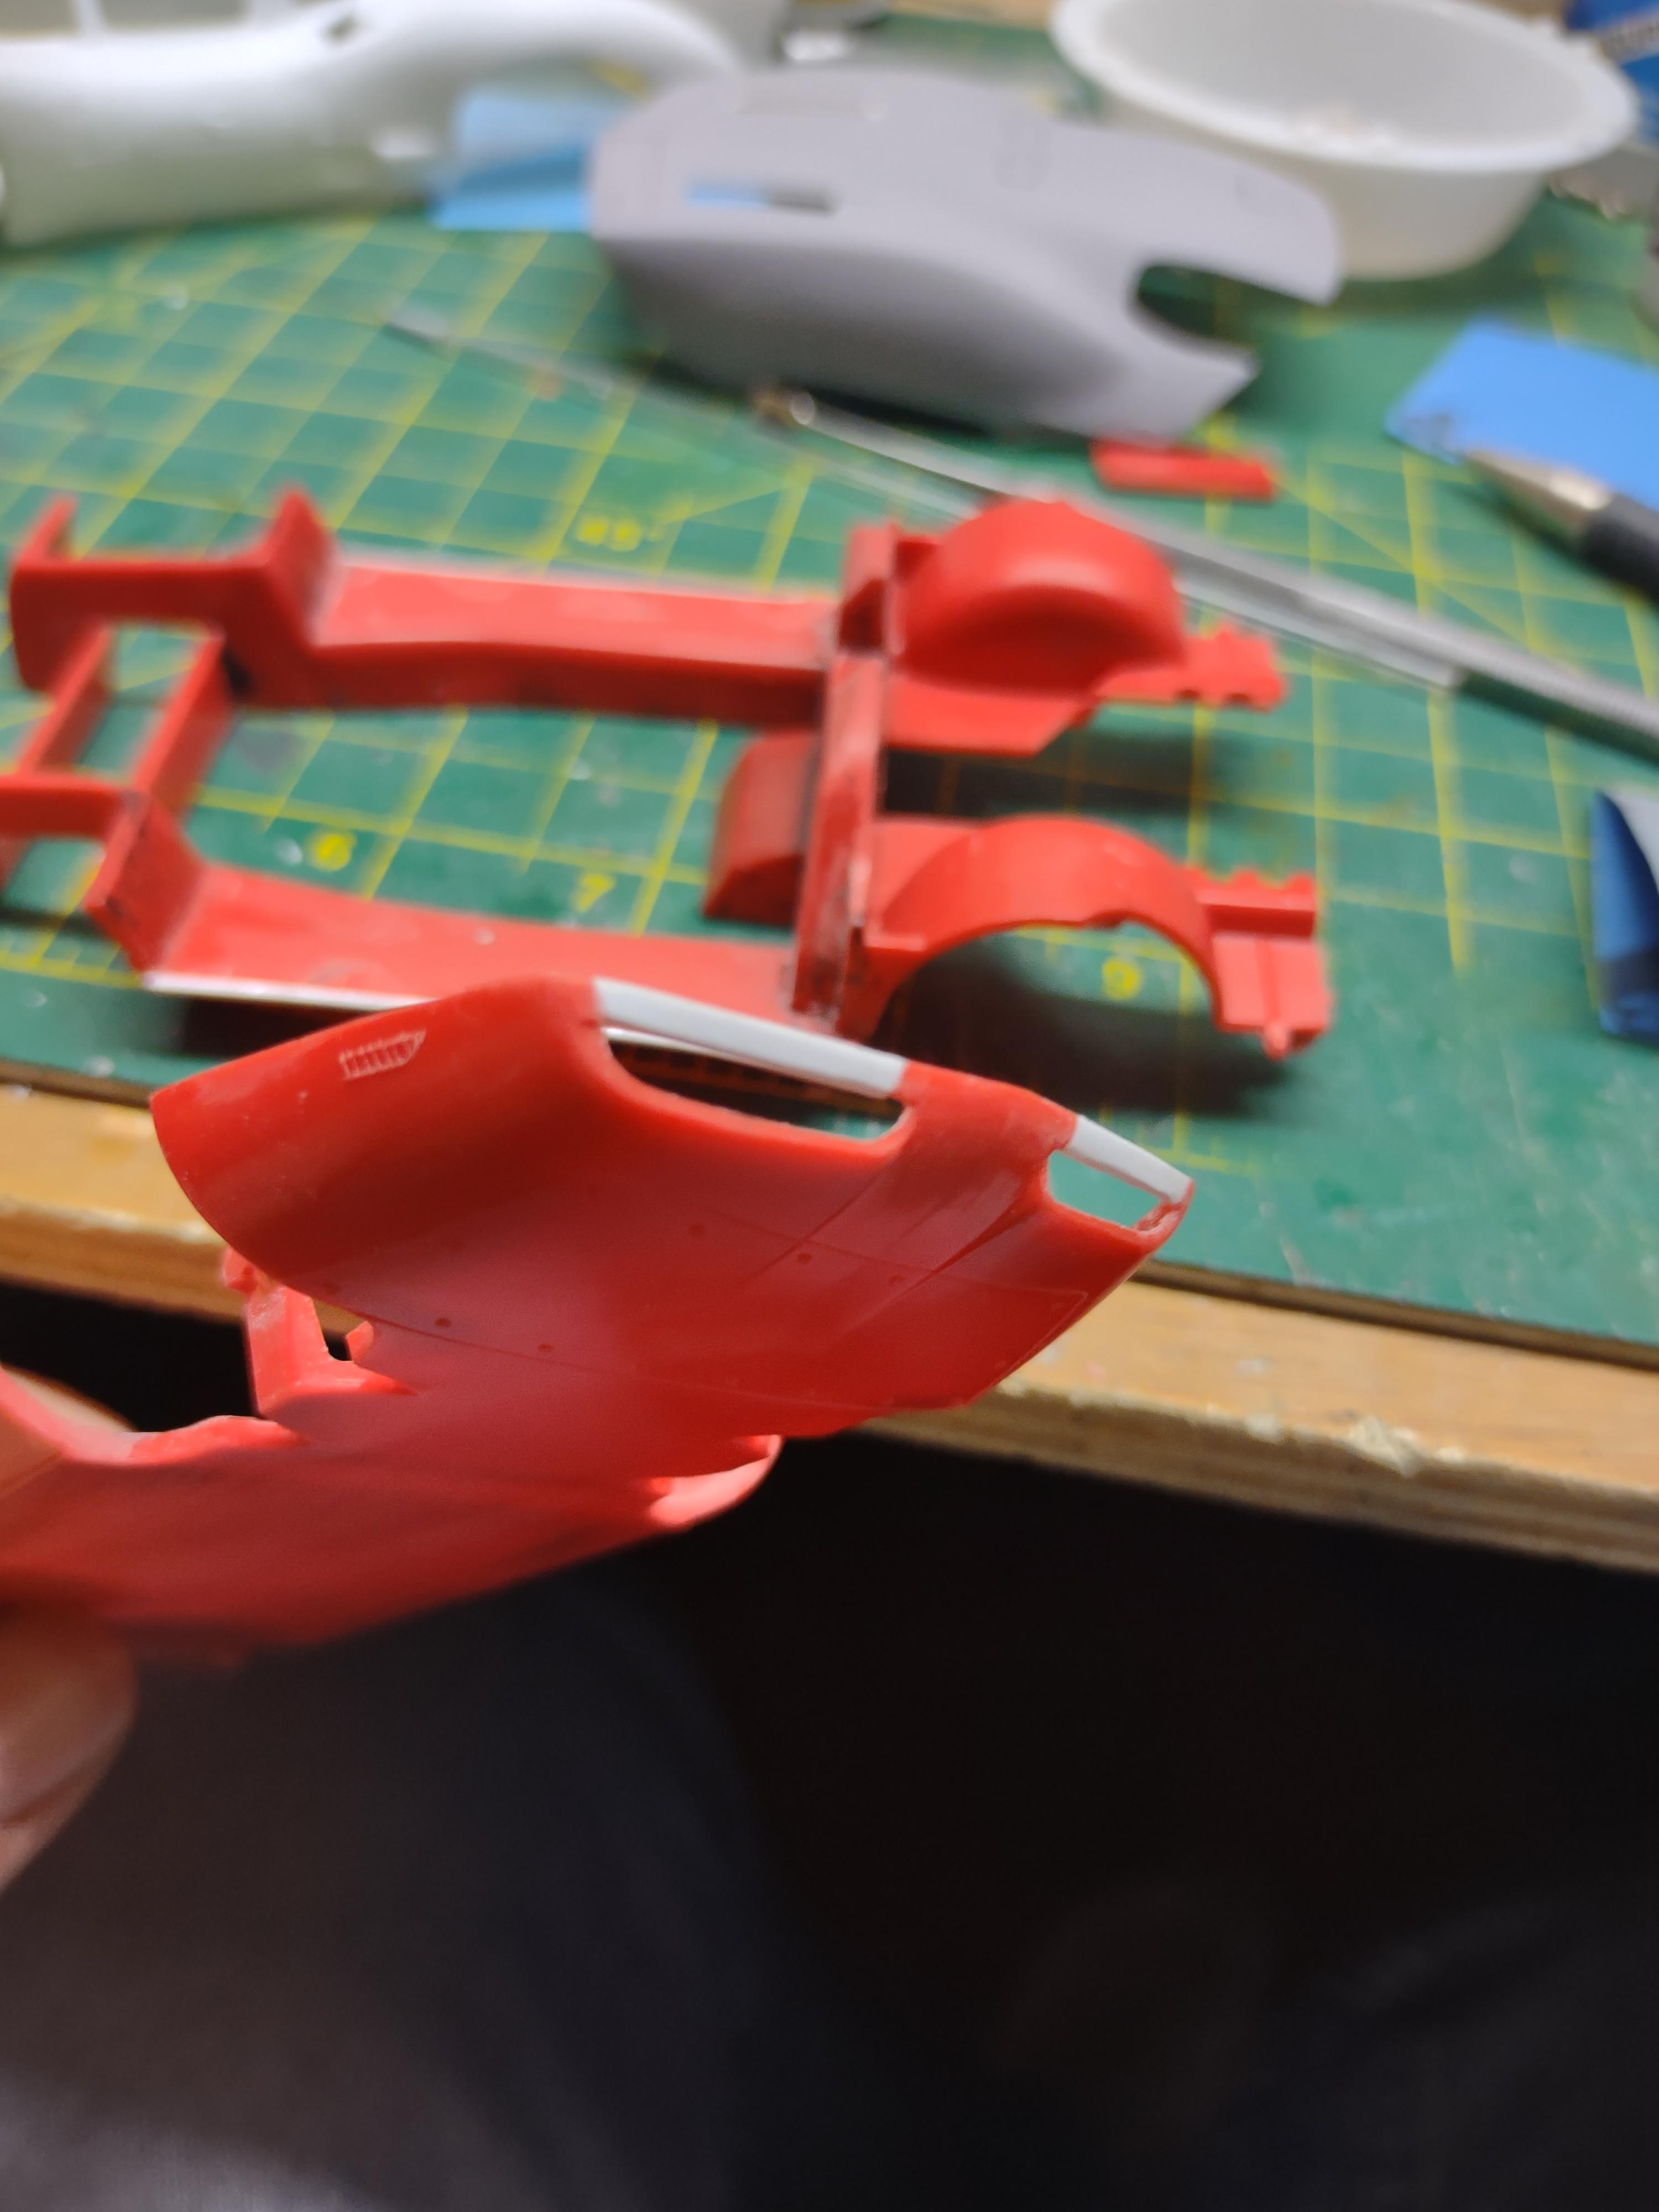
Wow, I realized I haven't posted any updates on the project for quite some time. I have only tinkered with it on and off, but have come to the realization that a glue bomb may never be quite the same as new. So I will make it close! Here are a couple pics of progress, front clip is primed, but not shown.
-
Period racing paint finishes (Chaparral 2D)
64SS350 replied to 64SS350's topic in Model Building Questions and Answers
Yes sir, definitely not a high gloss. What would your suggestion be to polish it and not get the mirror finish? -
Period racing paint finishes (Chaparral 2D)
64SS350 replied to 64SS350's topic in Model Building Questions and Answers
Is that just the lacquer? Any clear? Trying to get the sheen right. That looks very nice!! -
Period racing paint finishes (Chaparral 2D)
64SS350 replied to 64SS350's topic in Model Building Questions and Answers
Cool details you don't find just anywhere!! -
Period racing paint finishes (Chaparral 2D)
64SS350 replied to 64SS350's topic in Model Building Questions and Answers
Black and white pics don't help -
I have started on the Monogram Chaparral 2D car. What type of paint would give a period correct finish? Is the underside really brown?? Thanks, Karl
-
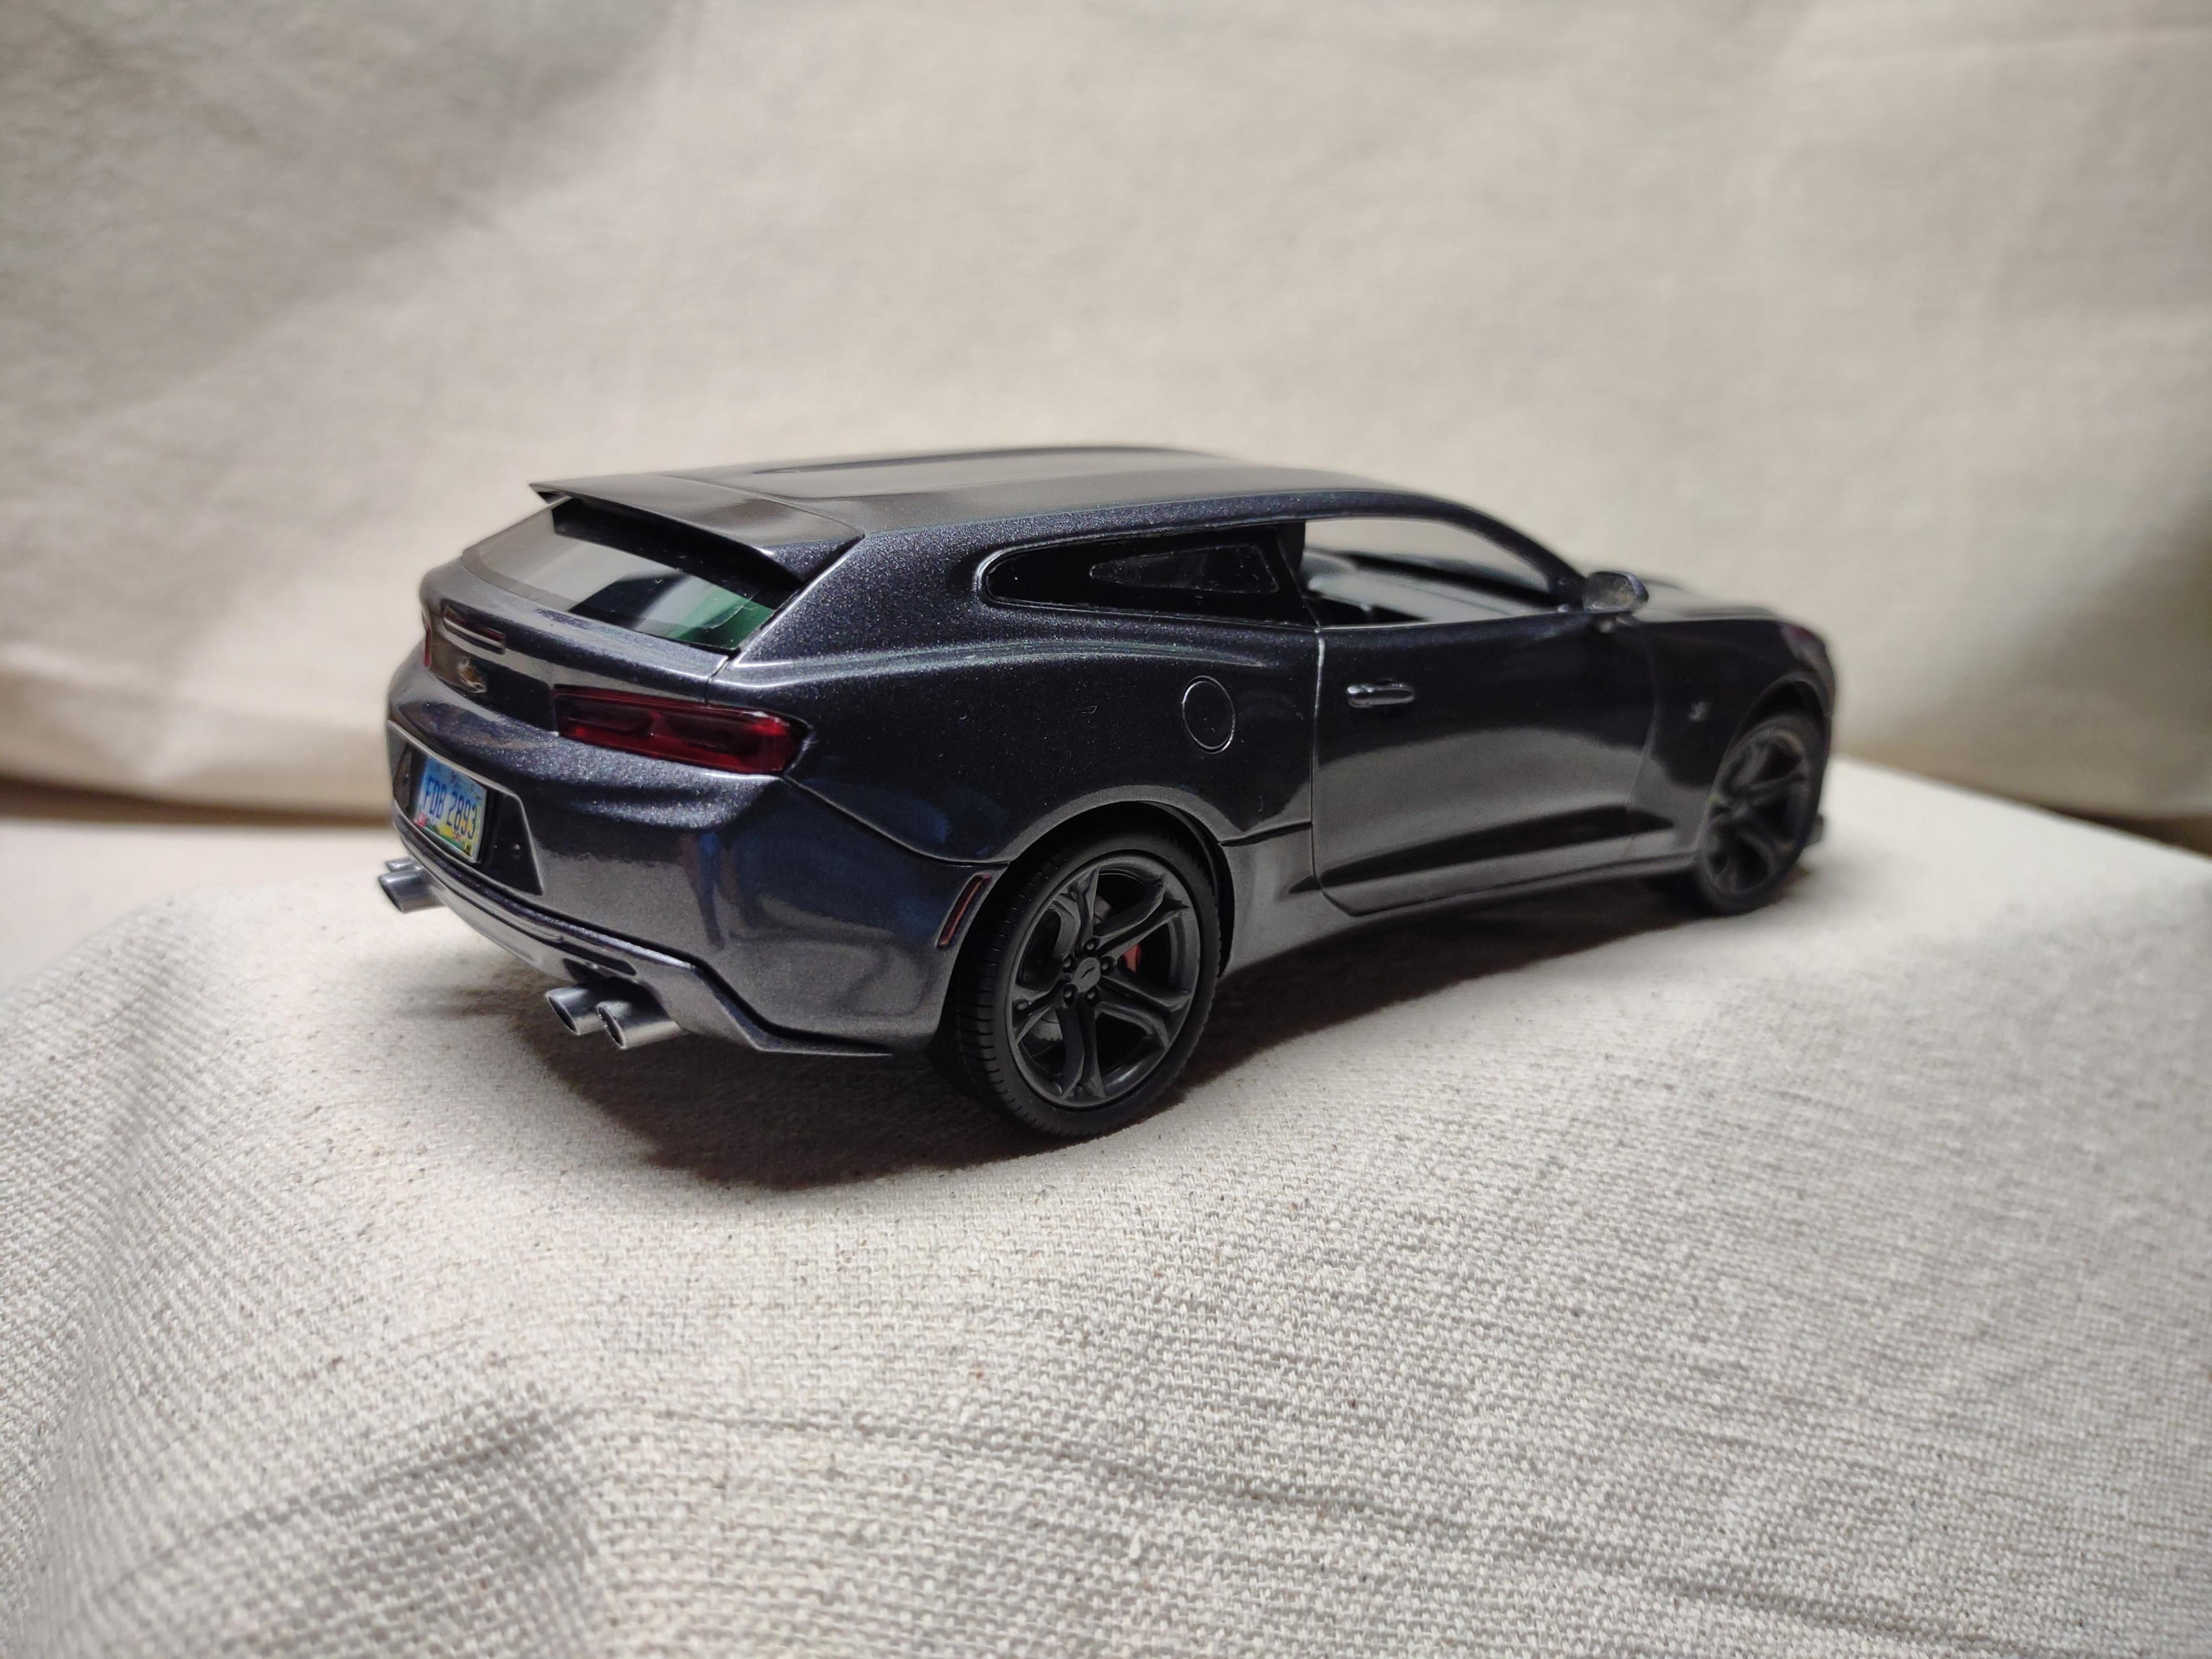
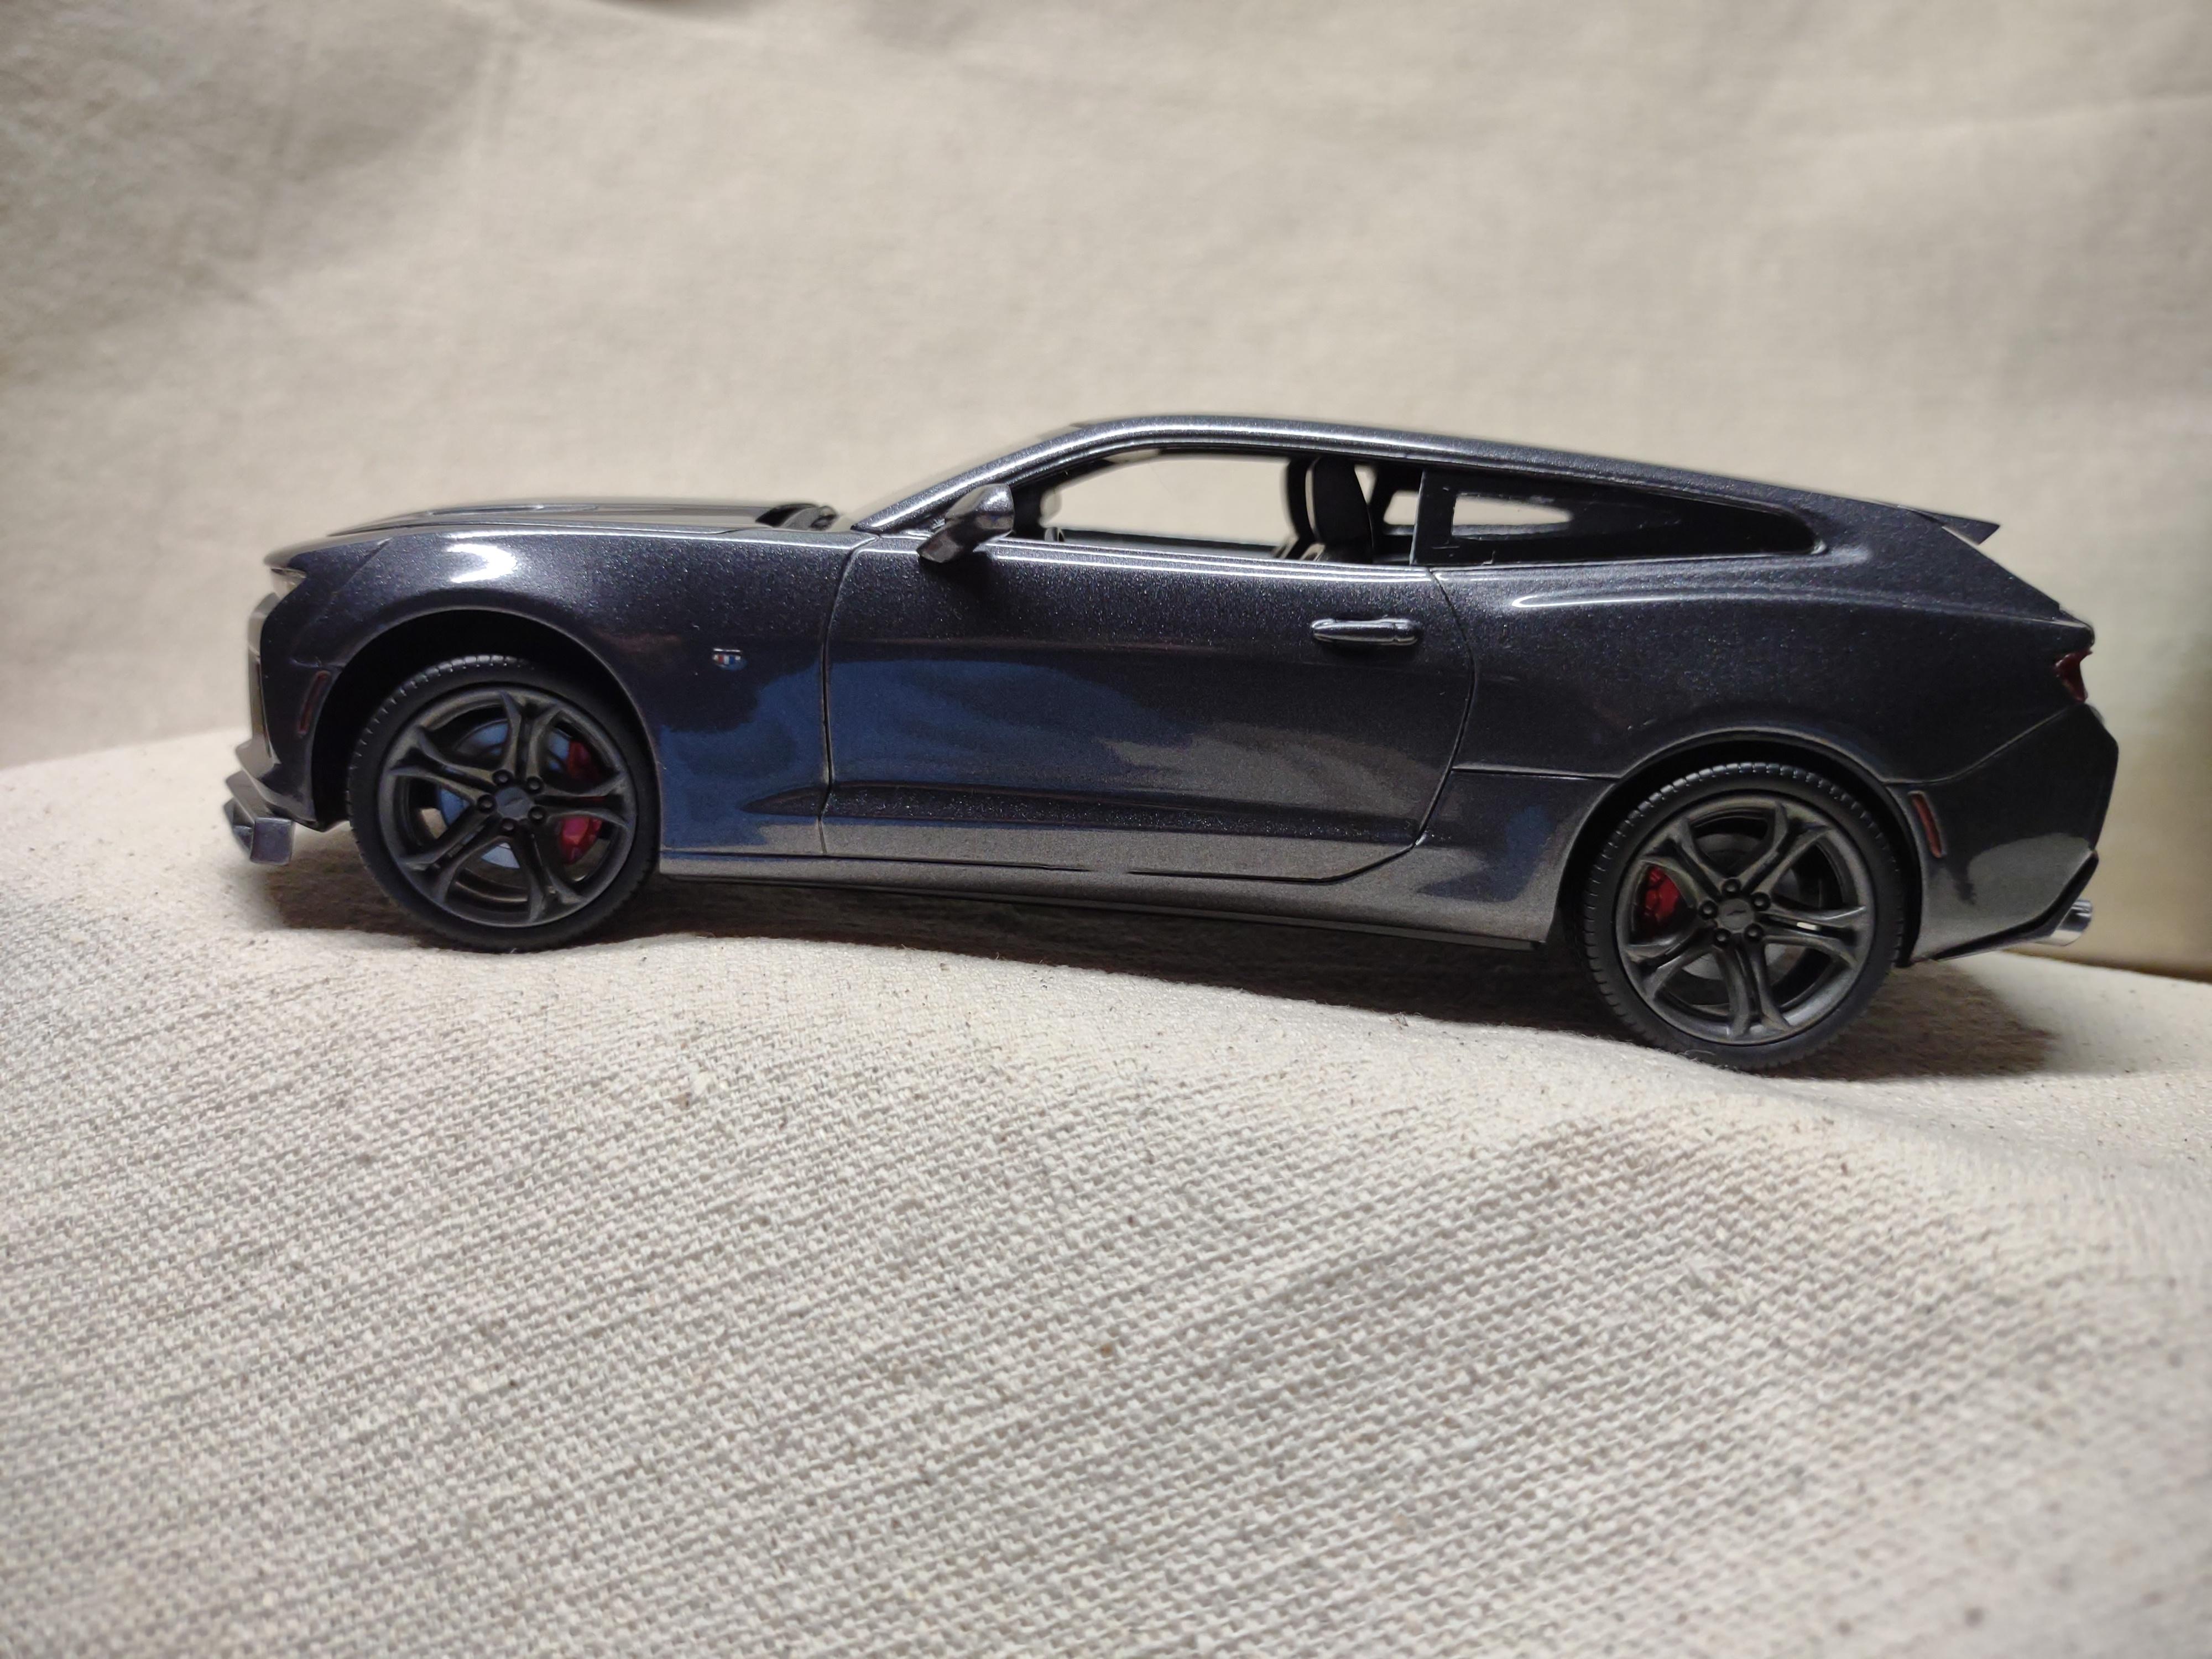
Basically..yes, but not really. The definition of "Shooting Brake" varies. Your adding a longer roofline to a sporty car.
-
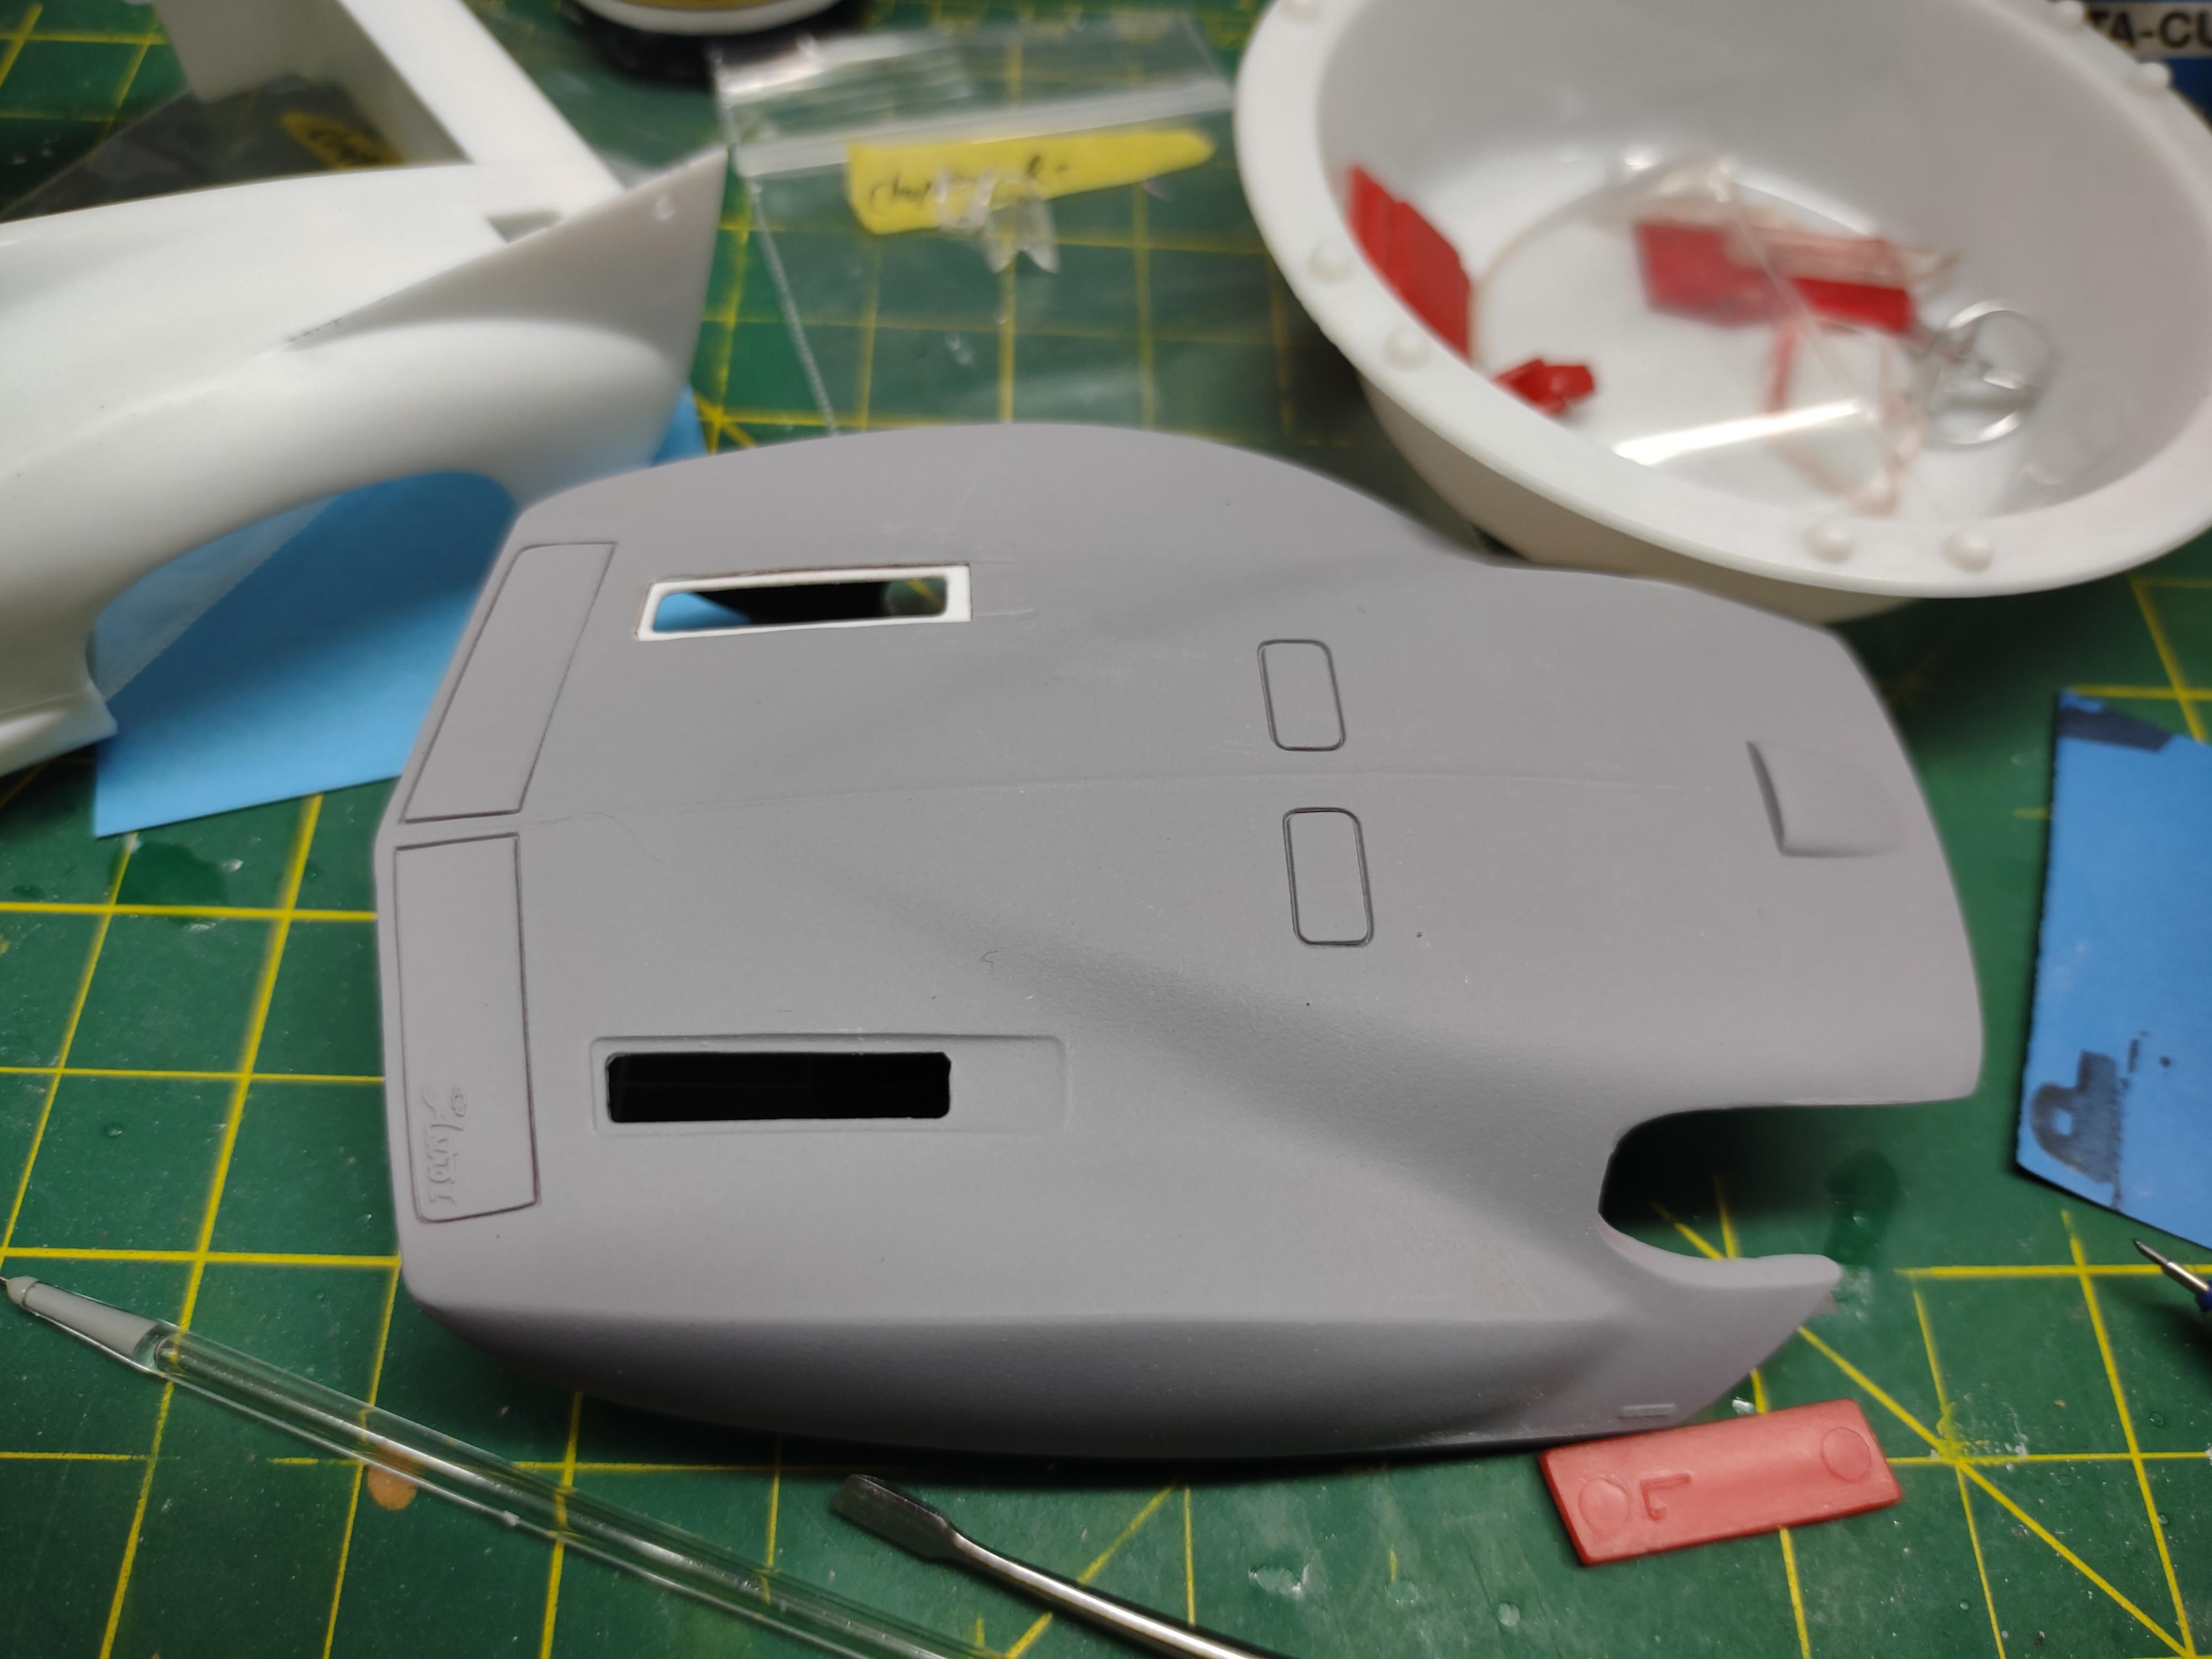
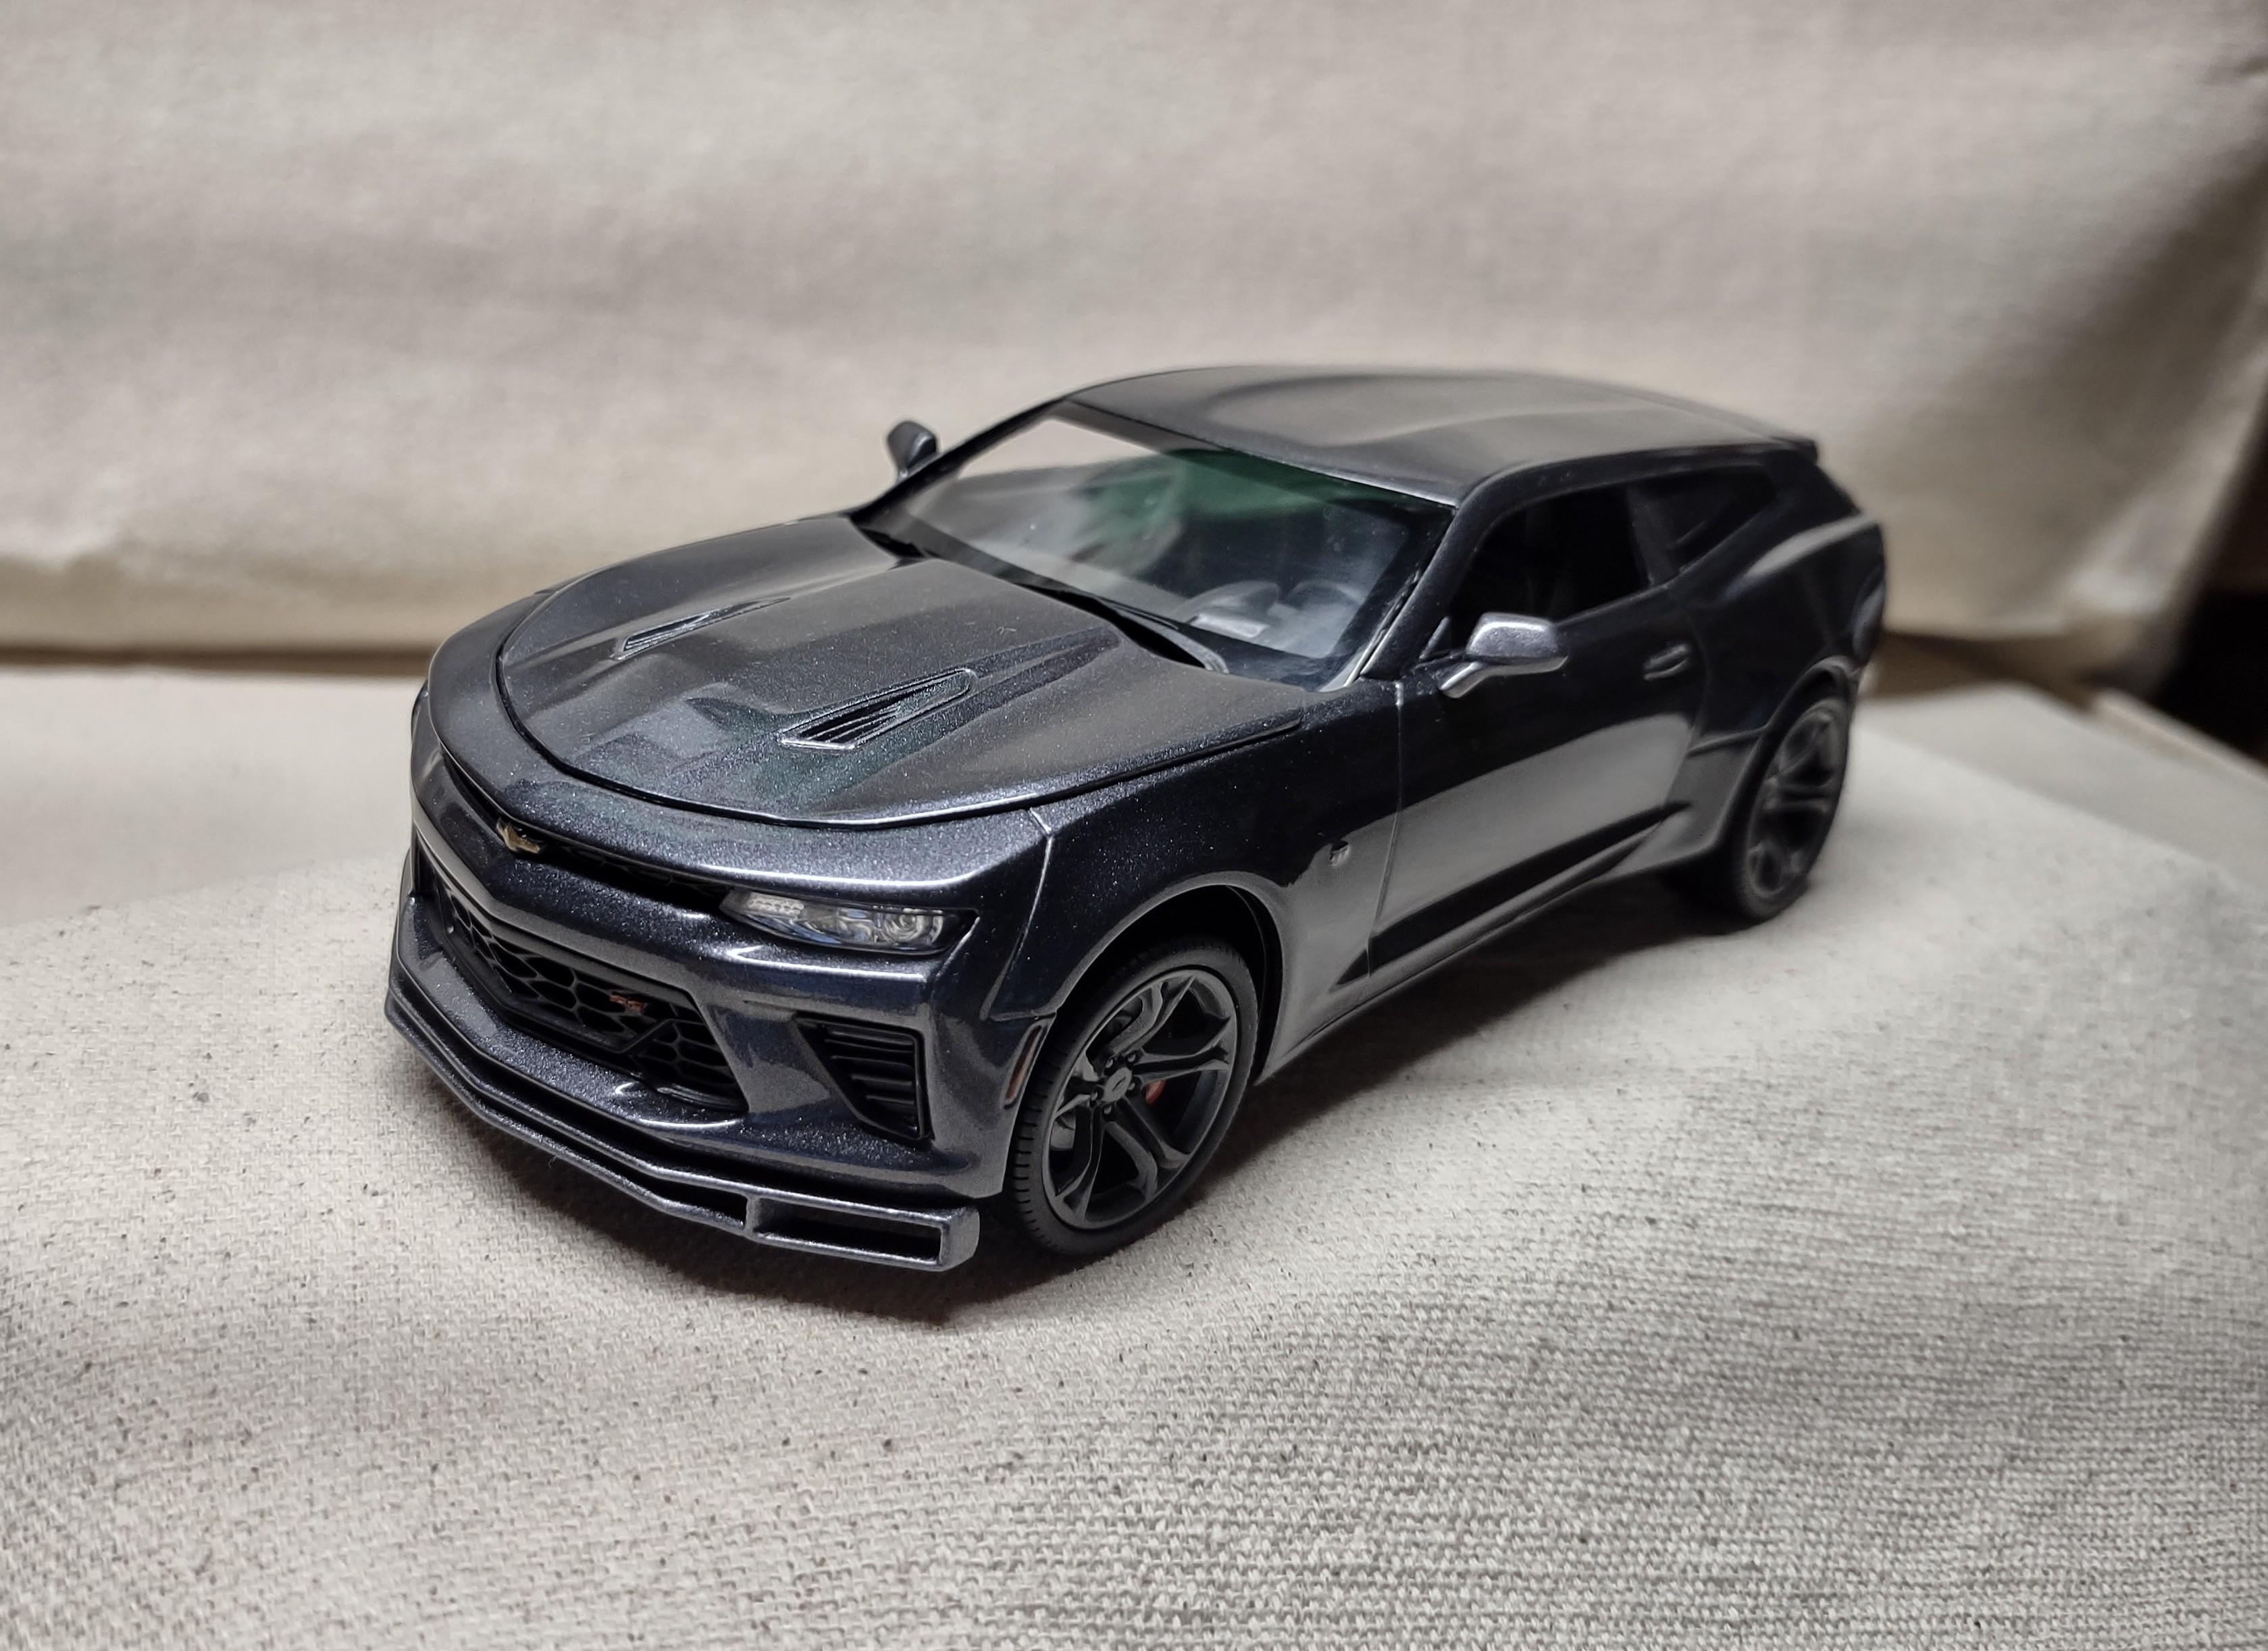
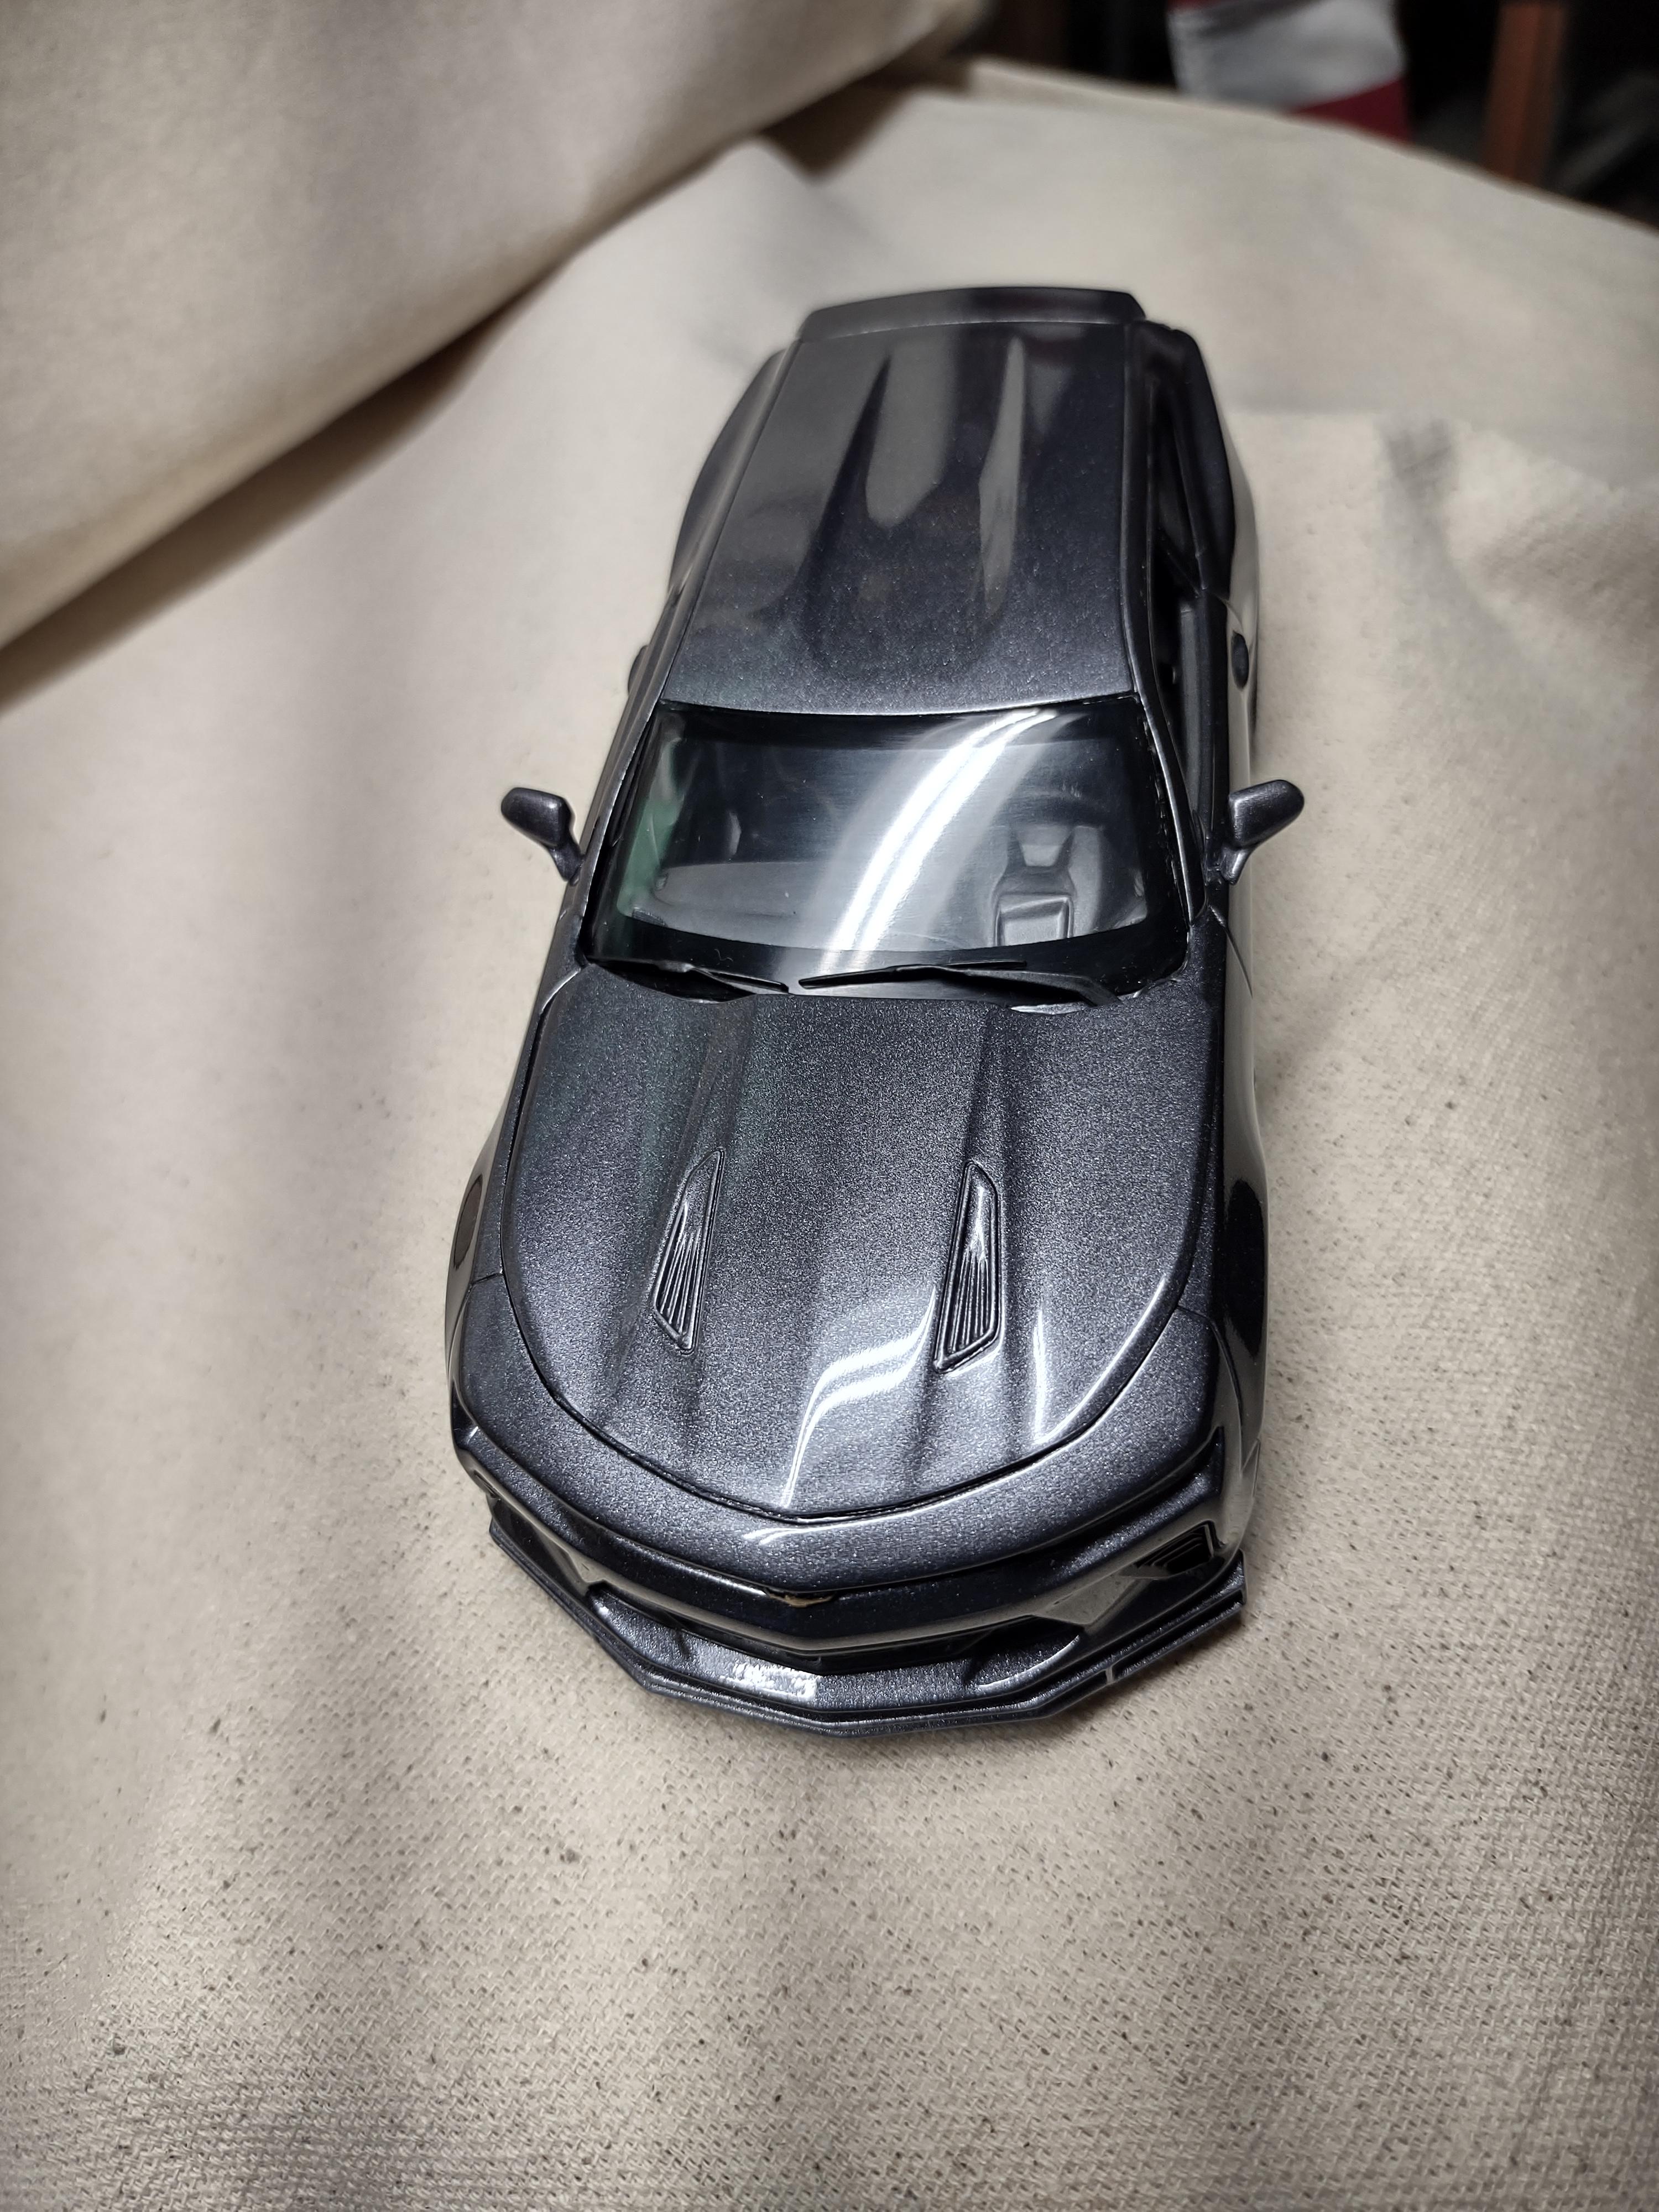
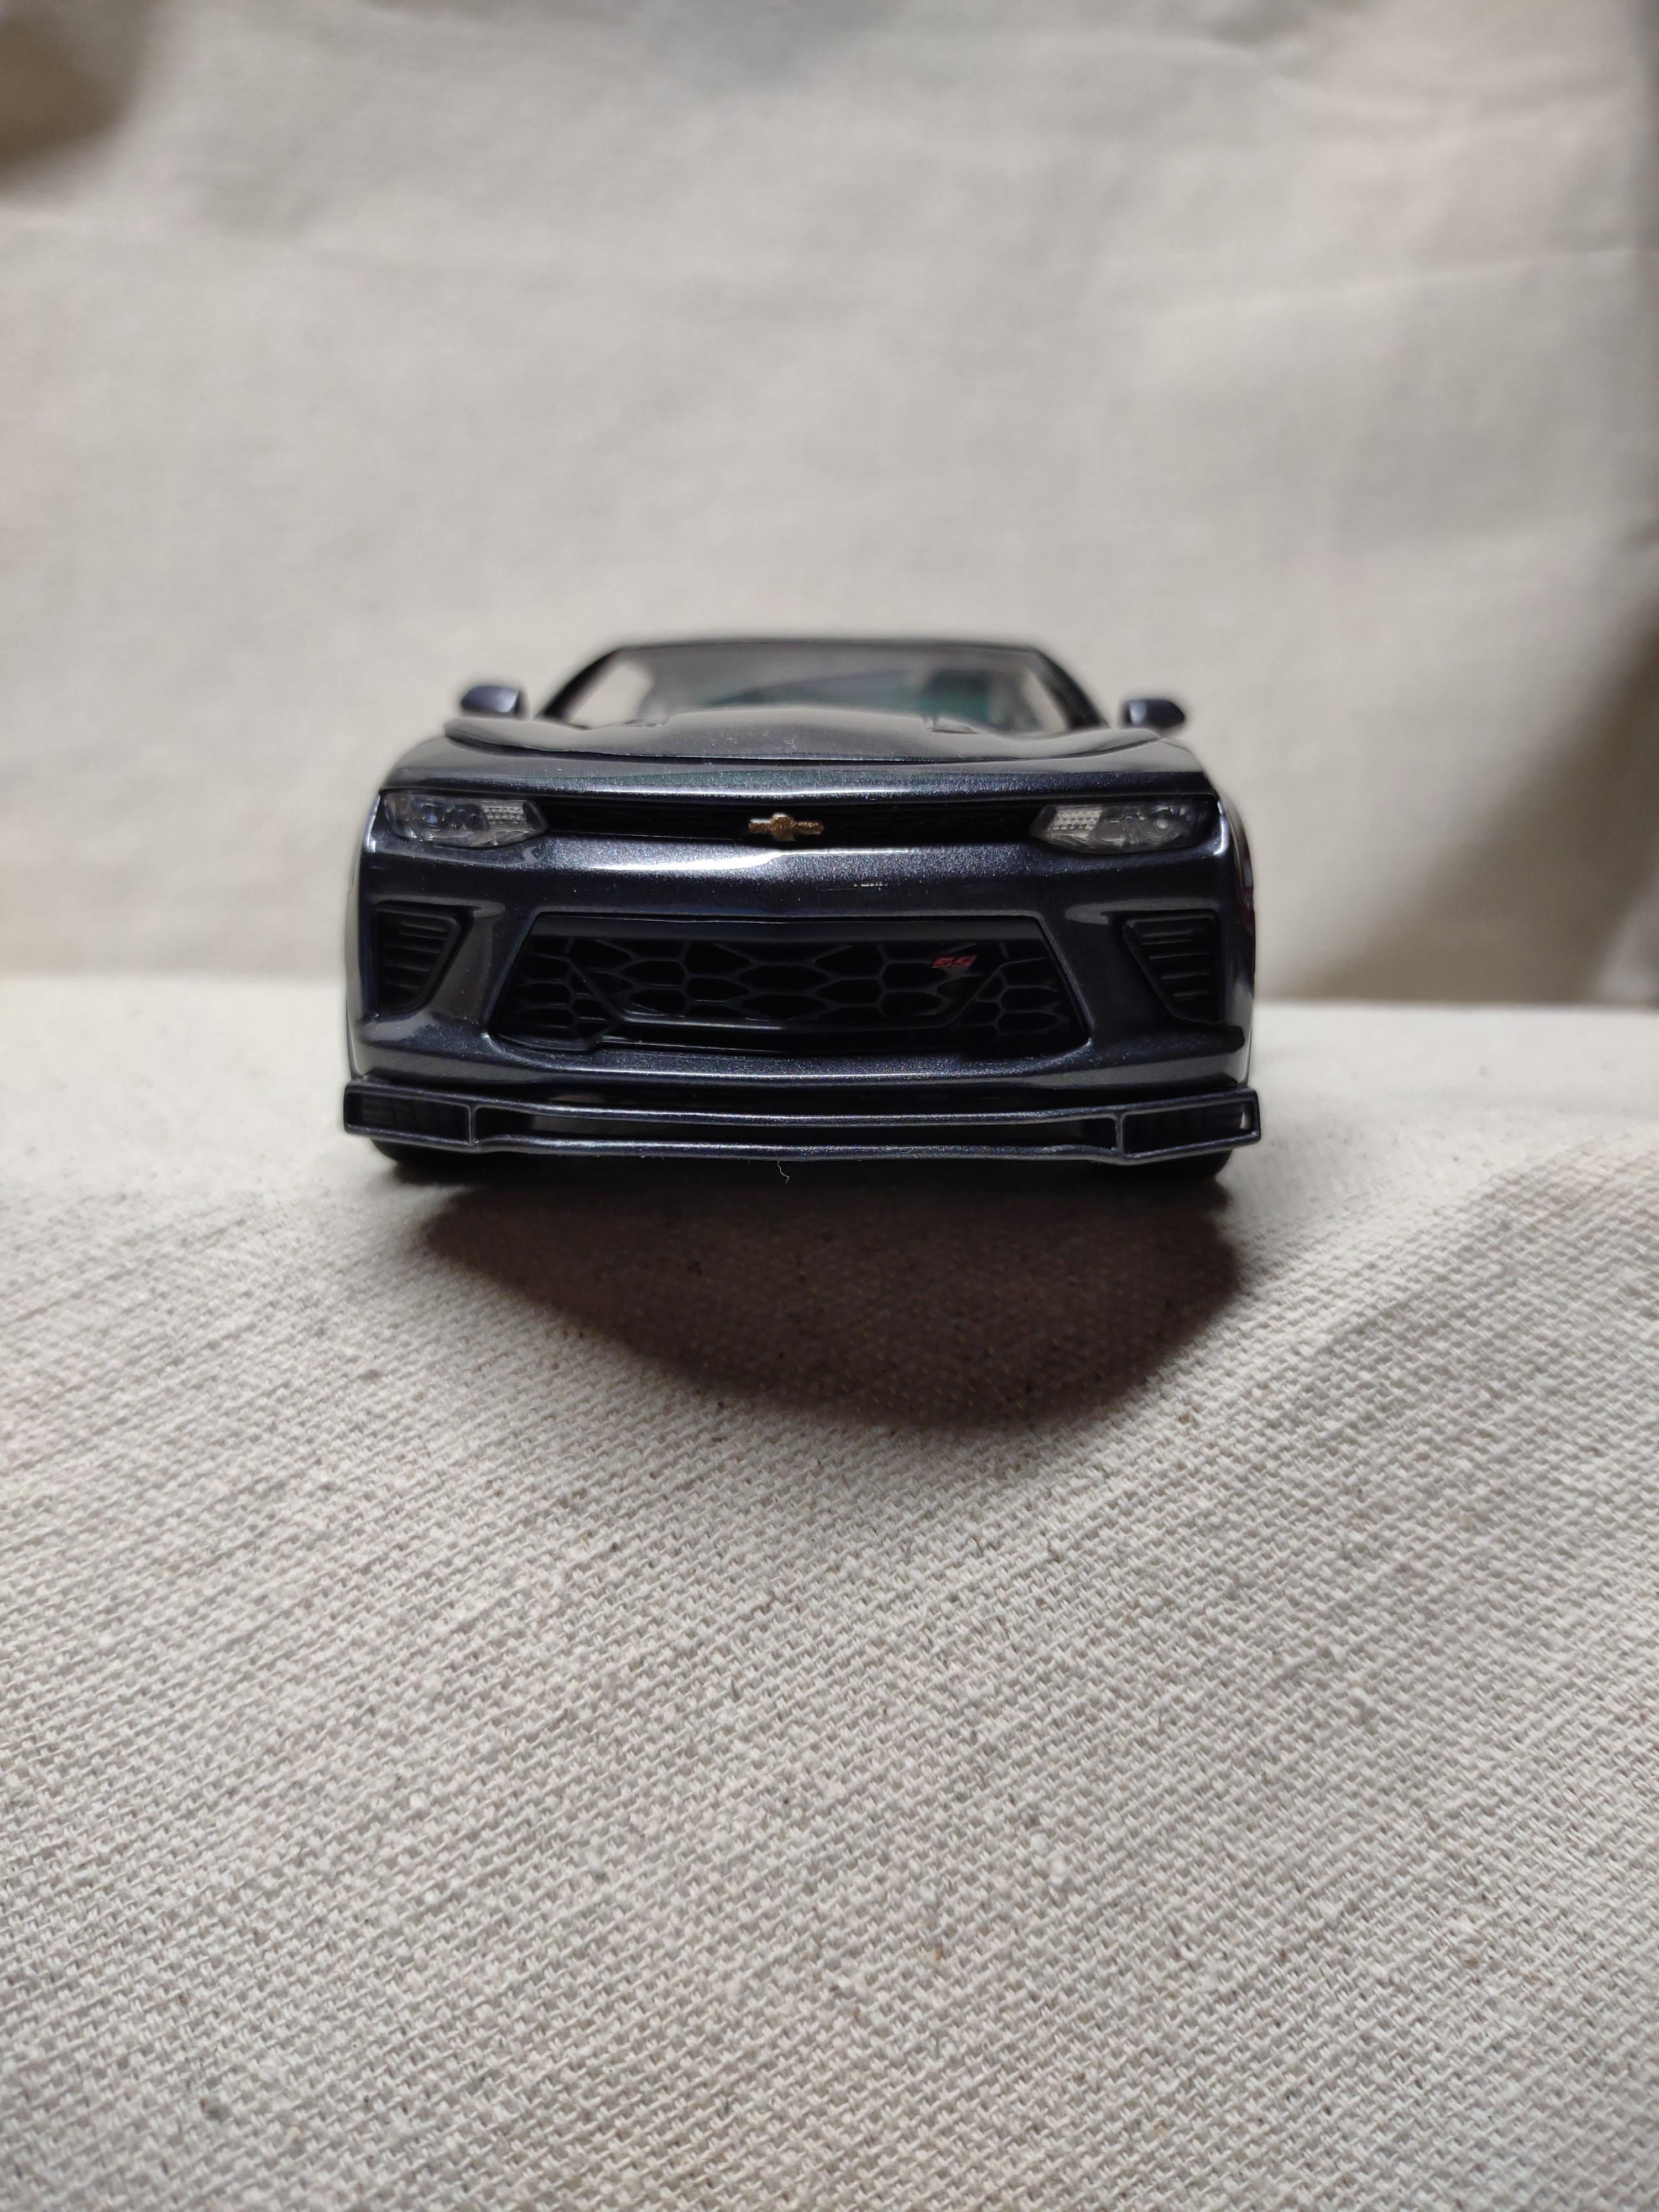
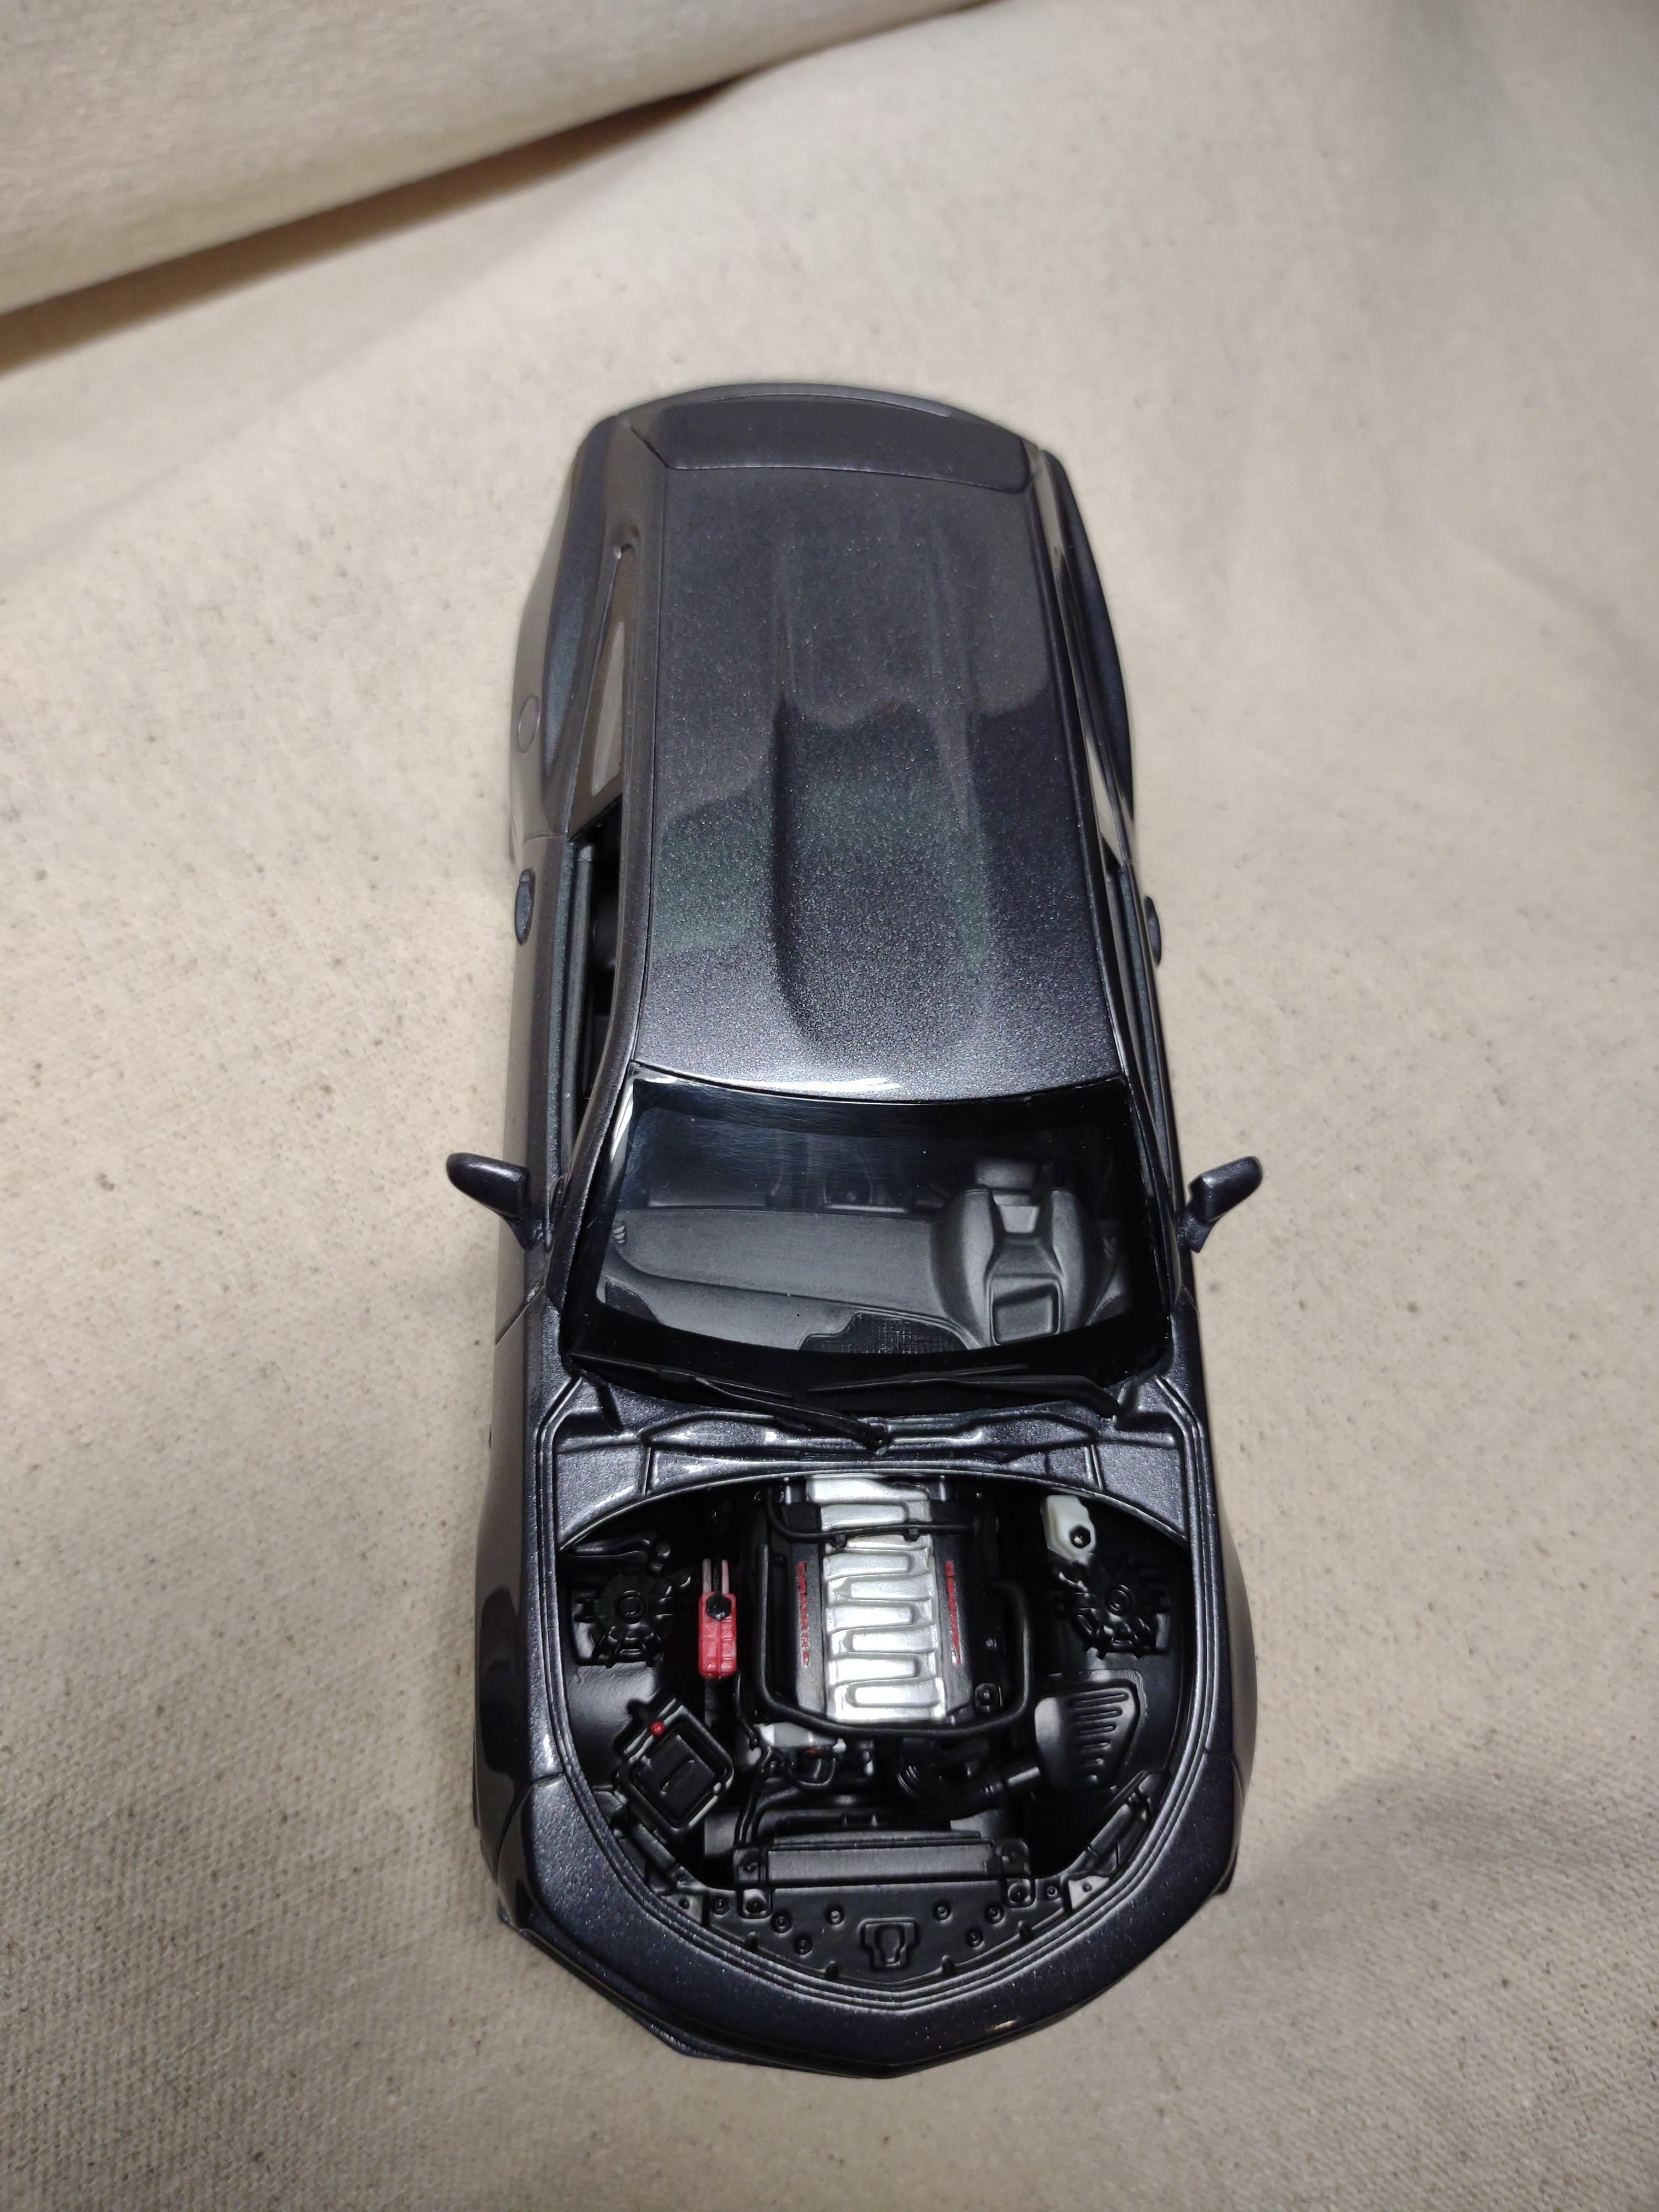
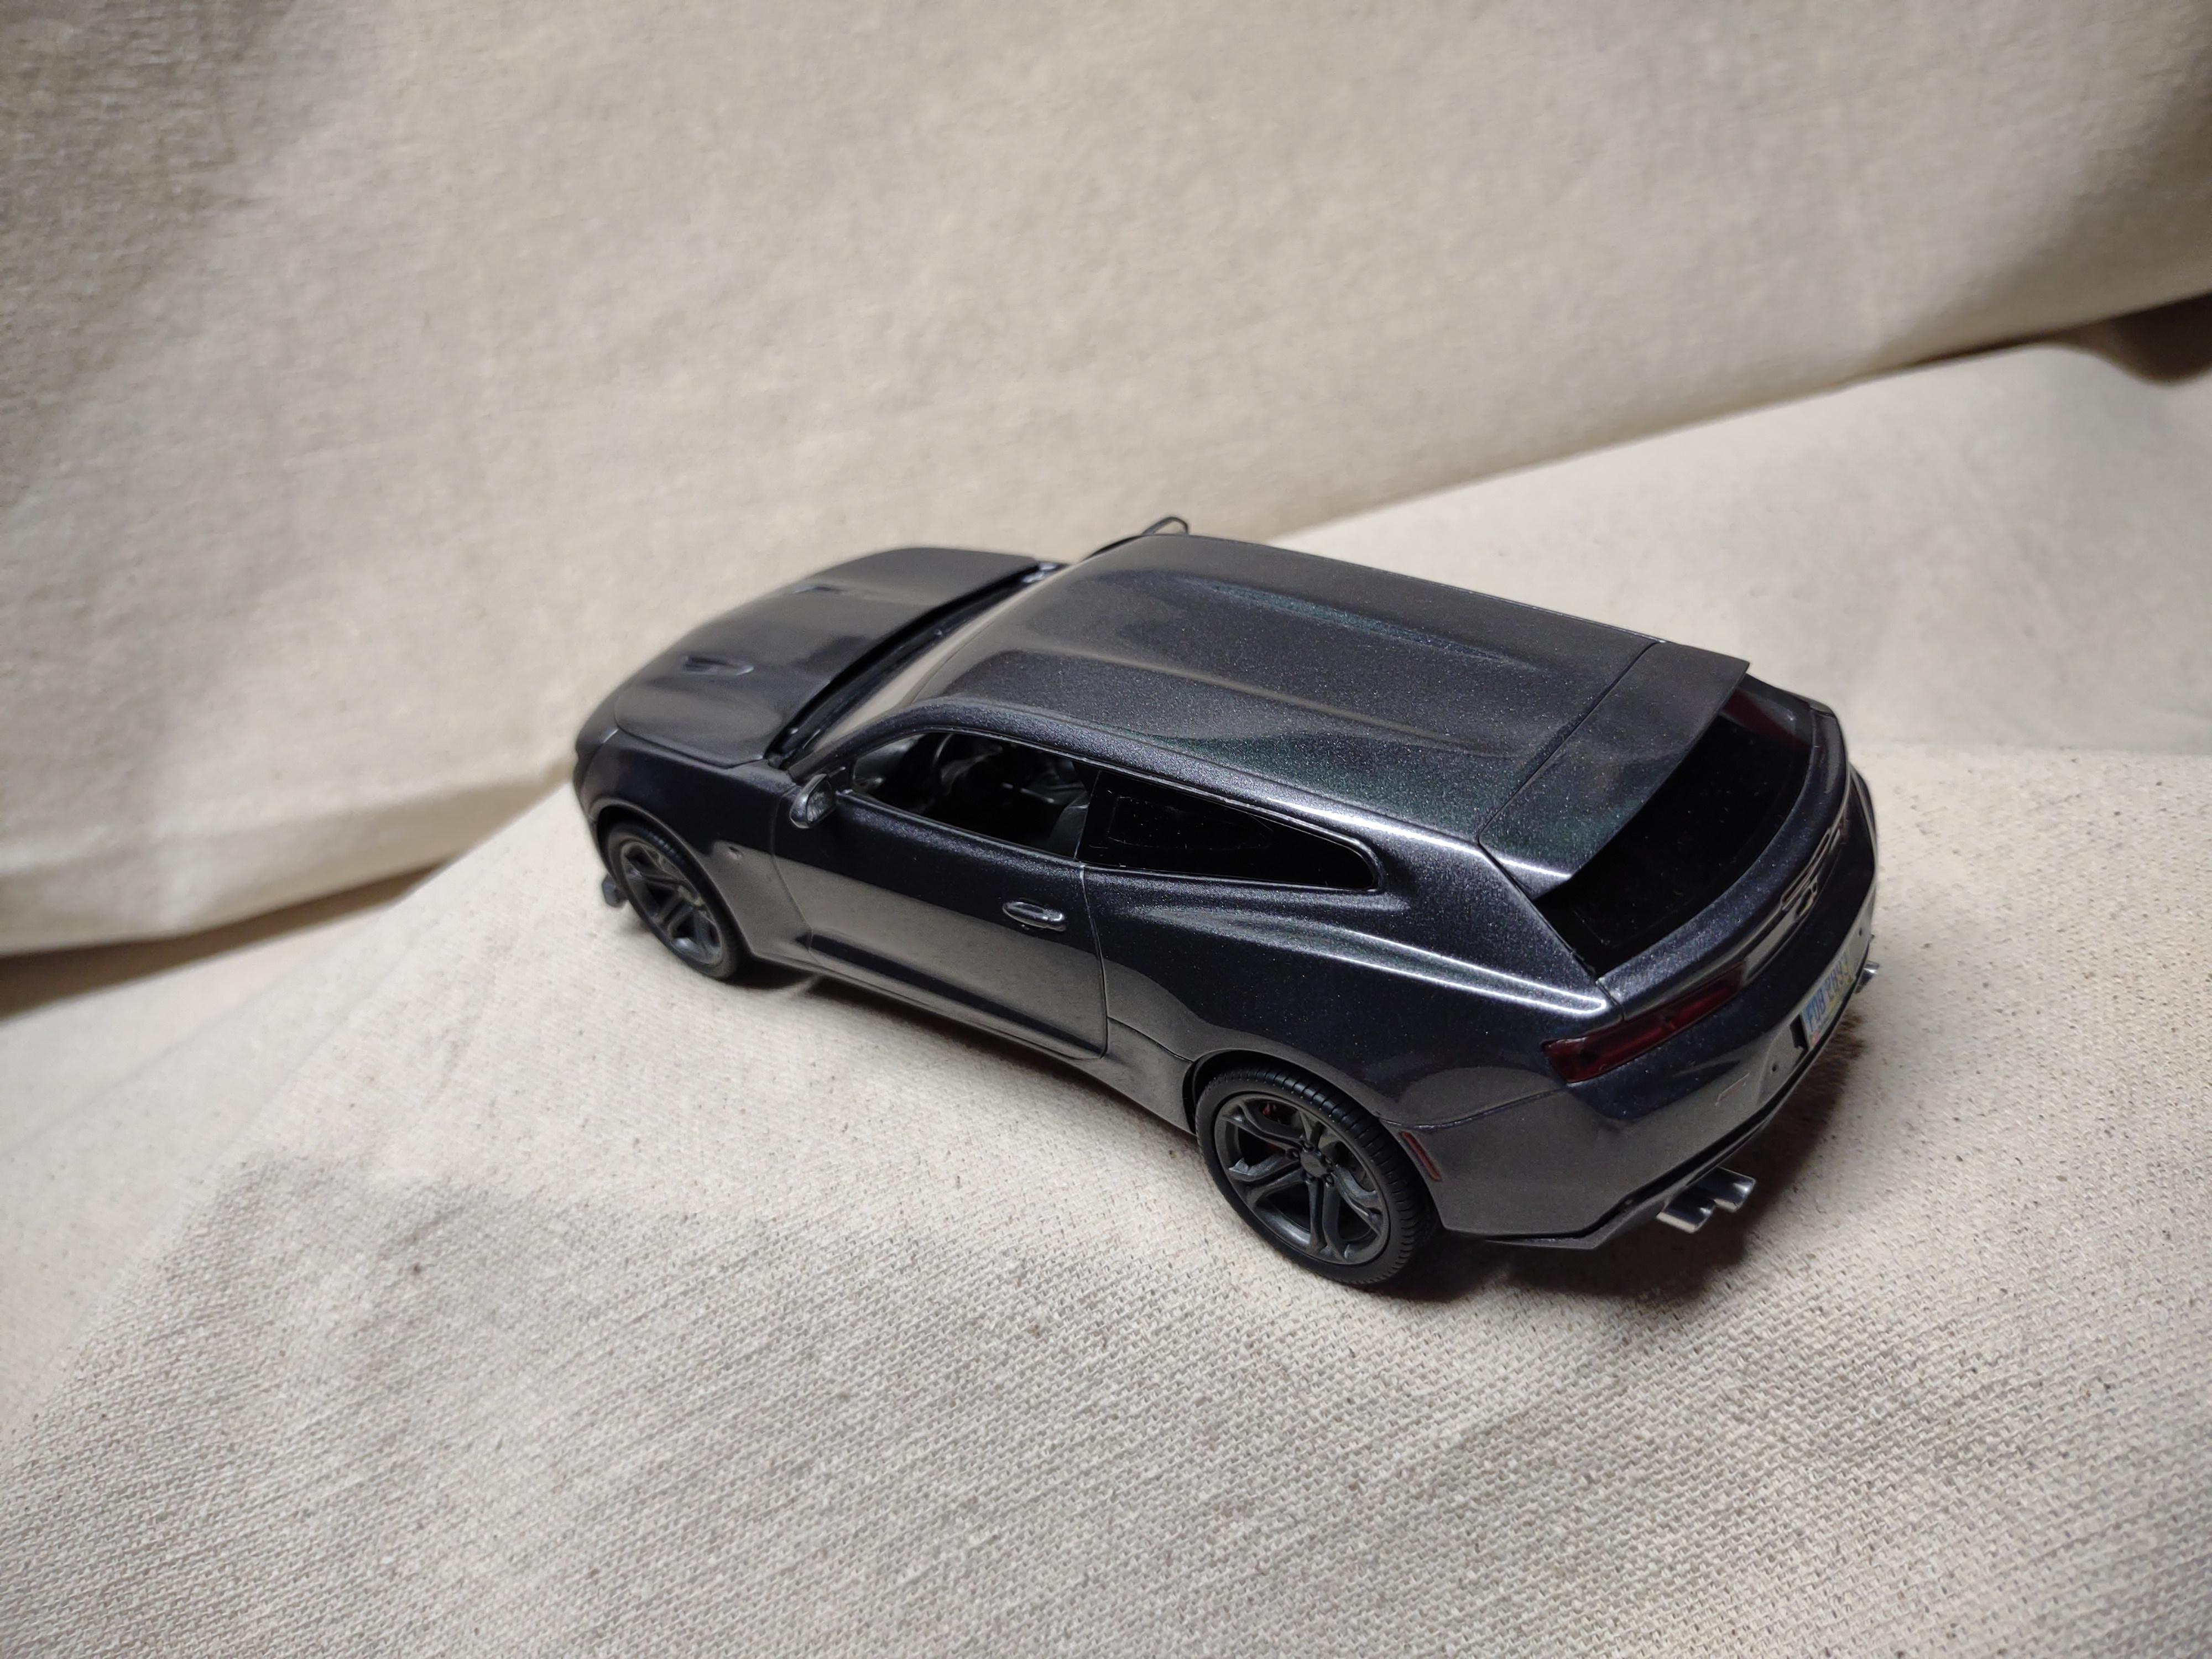
Here is my version of the C1 resin Shooting Brake Camaro. Thanks for looking! Build link here http://www.modelcarsmag.com/forums/topic/181024-shooting-brake-camaro-resin-build/page/2/
-
She is done! I should have figured out something to lower the stance, but definitely on the next one. More pics in Under Glass section soon. Thanks for following and all the comments are much appreciated!!
-
what is Tamiya TS-65 pearl clear used for?
64SS350 replied to drugsarebad420's topic in Model Building Questions and Answers
I just used it on a Camaro build over Tamiya Gunmetal Grey. It added more metallics, with prismatic colors. It's very subtle, need good lighting to pick it up. I also added TS-13 over it, with some polishing, but not all of it. You can check it out under... Shooting Brake Camaro under the WIP section.