

espo
-
Posts
23,350 -
Joined
-
Last visited
Content Type
Profiles
Forums
Events
Gallery
Everything posted by espo
-
I would try and stay with a masking tape product designed for the type of painting and model building we are doing. Plowboys suggestion of removing masking tape is right on. I would suggest removing the tape as soon as the paint has flashed over even if the area you just painted is still too soft to be handled. Many of the "Home Depot" style masking tapes are designed for household type painting and they are used to mask different types of paint than what is usually used here and the manufactures maybe using a different type of adhesive than what we need for what we're doing.
-
Morning to you both. I don't have any pictures, but I do have an original kit box on the '50 Ford convertible. I'll share some of the information on the box and you can draw from that what you may. The kit # T-150-200 is listed as being a 3 in 1 with Stylized, Customized, and Stock options. On one side of the box, they have some nice-looking drawings of some of the Roof options. These pictures all show the optional body mods on them. They show a hardtop version, and it does look like it may be chopped. A top-down convertible with a boot. An up-top convertible roof as well as a Carson style roof with a small port hole window on the side. This kit doesn't mention the half roof done in a Carson style that I remember from what I'm thinking may have been later issues. As you both know the convertible kit offers a different design for the mounting of the windshield. The kit has both a stock height and a copped windshield option. For the body they show in addition to the stock grill, two different styles of headlight and grills along with a simple front roll pan and frenched style grill surround. For the rear body they show the option of a roll pan instead of the rear bumper, a housing for a recessed trunk mounted license plate and some glue on side fins for the custom taillights. The interior included the same bucket seats used in the coupe model along with a butterfly style steering wheel. Today looking thru some old parts I found what looks like a stock height convertible roof but with a smaller than stock rear window, also an interior cover from the back of the front seat all the way over the boot area. This is just a few of the options AMT offered way back when. These are still one of my personal favorites, partly because we had a new '49 Ford when I was a child and I have owned a few including a couple of '51's thru the years. We can hope that Round 2 seeing enough chatter about this kit too consider a more complete reissue.
-
I agree it would be great if Round 2 would do a '51 Ford. I have built a few resin bodied '51 Fords and even owned one a loooong time ago. Your suggestion for the Victory hardtop style was an option on the original '50 Ford convertible kit. In fact, that original kit was full of custom parts with four different roof options. As for an accurate '51 Ford there are a few differences from the '49 and '50 that to be correct would destroy the original '50 hood and interior. Beyond the grill the hood on the '51 had a slightly different shape in the crown. The taillights could easily be done with a simple add on part much the way Ford did it to the real cars. The trunk lid shared the '50 models license plate light and handle. The dashboard is entirely different as were the interior window moldings. I would be very pleased of Round 2 would just open all the channels on the parts trees for the '50 convertible kit, beyond that they would only have to get a bigger box to hold all the goodies.
-
Great looking paint finish and color. The differences between the '49 and the '50 were really minor and many don't realize what thew differences in the trim were. The contrasting interior looks good with the exterior.
-

What would YOU like to see as a model
espo replied to JeroenM3's topic in General Automotive Talk (Trucks and Cars)
I would like to build a model of a Baja Bug I owned years ago. I have seen the "wide eyed" style, but mine was somewhat different.
-
A basic out of box build. Painted the body today and will put on the decals in the next couple of days. The interior is done as are the wheels and tires. Working on the chassis and suspension.
-
With these finishes this looks as good as any new tool pickup kit of today.
-
MPC 1/25 1984 GMC
espo replied to Mike C.'s topic in WIP: Model Trucks: Pickups, Vans, SUVs, Light Commercial
Are you "pinning" the exhaust and light mountings? -
Another PaddyWagon,kind of.
espo replied to BIGTRUCK's topic in WIP: Model Trucks: Pickups, Vans, SUVs, Light Commercial
With the color on the body this C-Cab style looks great. Could be a flat bed or a tanker. -
1940 Ford Sedan Delivery Pro Street
espo replied to Zippi's topic in WIP: Model Trucks: Pickups, Vans, SUVs, Light Commercial
Great looking finish. -
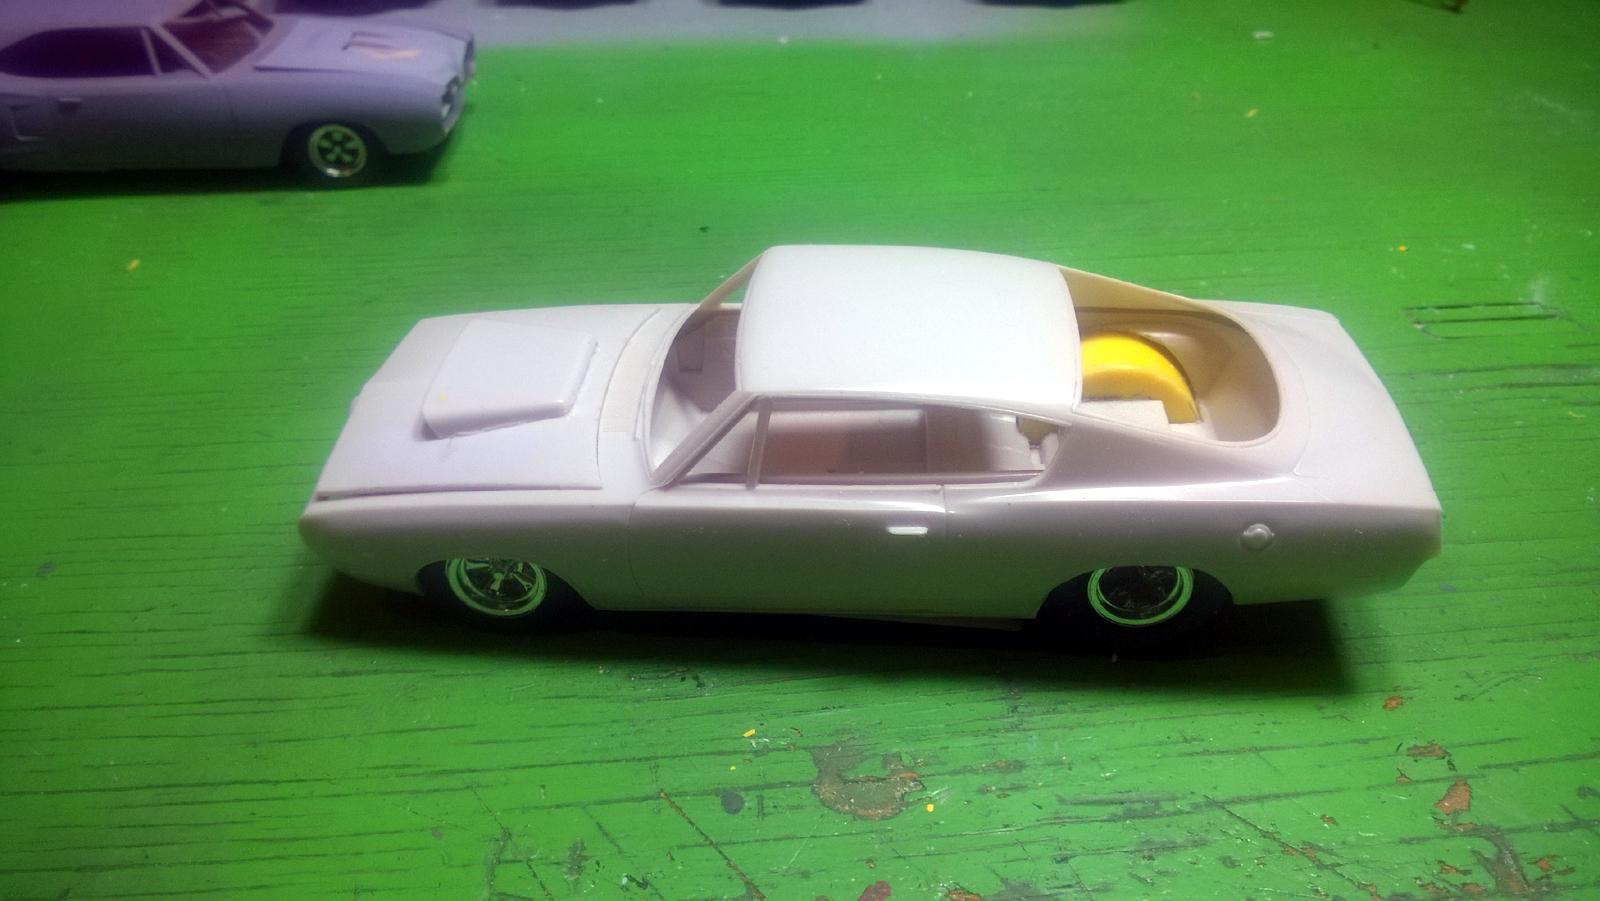
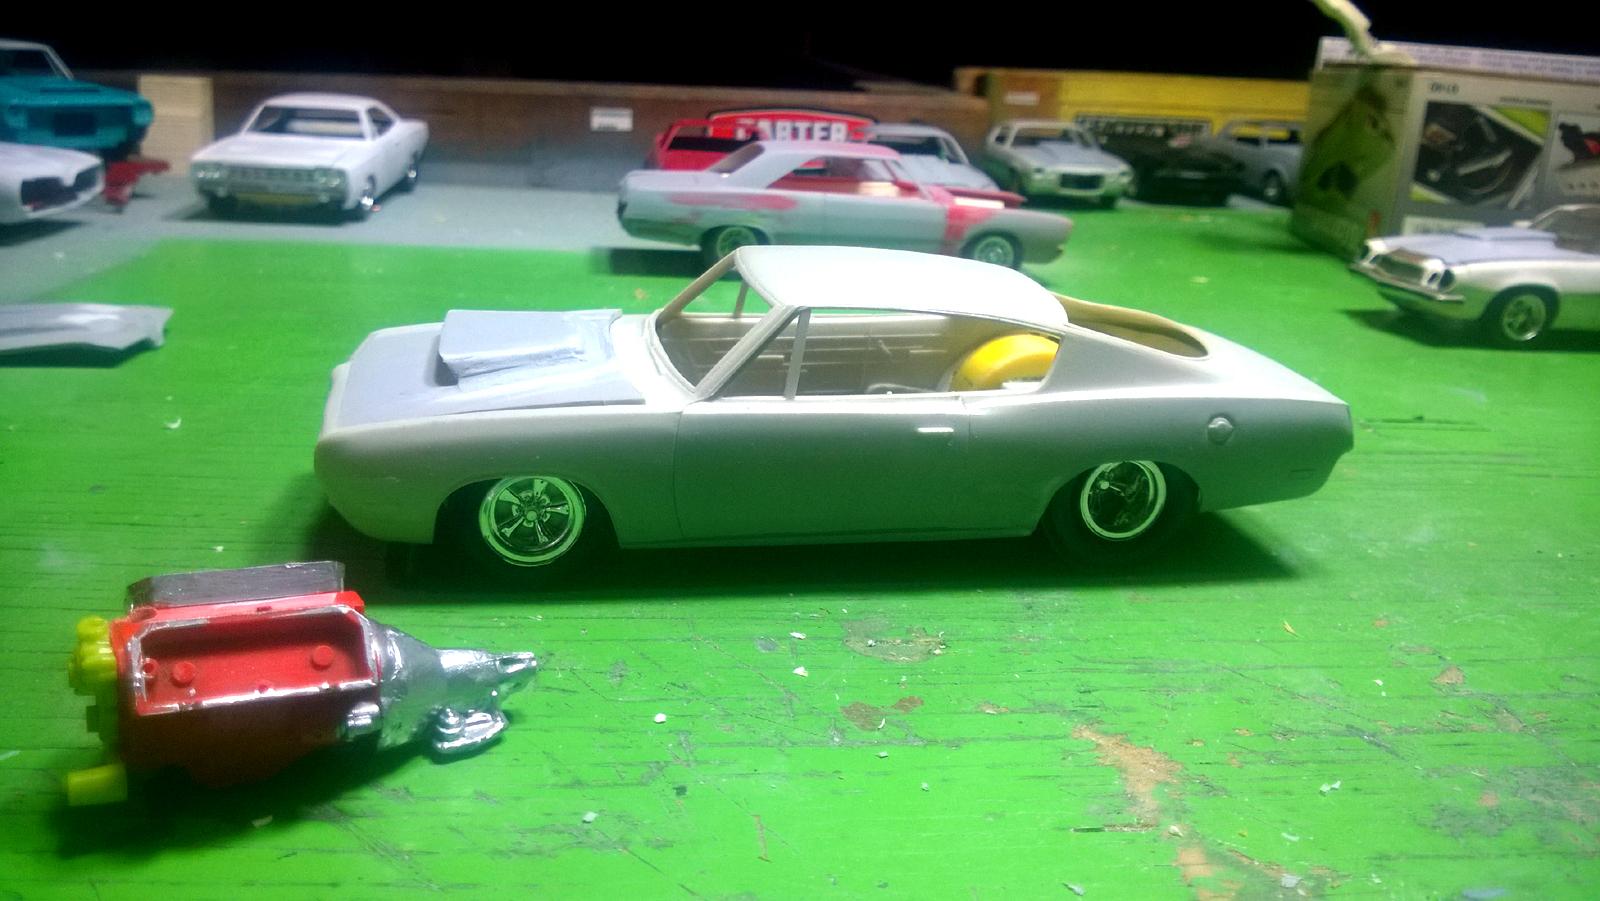
The Yellow convertible looks great. What color did you use for the Charger?
-
These pictures remind me of an old saying. "You can tell the men from the boys by the size of their toys"
-
I use one of those desk mounted lights on an articulated arm with a circular light with a magnifying glass in the center. This has worked well with a few draw backs. The distance between whatever I'm detailing, and the magnifying glass doesn't leave a lot of room sometimes for the tools I'm using. Beyond that it's just needing a new prescription for my glasses.
-
You beat me by a month. The biggest challenge in building today seems to be the eyesight and the arthritis in the hands. Otherwise, I feel like a young man trapped in this old body.
-
Great looking stance. The color combinations with the interior looks very rich.
-
I agree with everyone else on the quality photos. The paint looks very smooth, and I like the different color than what you usually see this kit done in. The close-up photos show the attention to the fine trim detailing.
-
Great looking paint color and finish. I like the period side trim treatment.
-
Great looking car show. I find some of the different models that we don't see here interesting.
-
These look great and the leads should be long enough.
-
This build really captures look of the era. The background in the picture also fits the time frame. The paint finishes look great, and the stance is perfect. Very realistic looking undercarriage.
-
That's the one I was thinking of. Sorry all, just an old guy yelling at the clouds here,
-
My bad, sorry. I was thinking the Skips Edition was the same as the one that Revell issued with the Gasser optional build. That issue had the Hood Scoop and straight Axel set up.
-
Two entirely different kits from the same manufacture. The one you have does not have the opening doors and has been reissued several times with different trim and themes. There should be someone here that can offer a copy of their instruction sheet. There used to be a site you could go into that would have all the instruction sheets you would need, but I can't find it at this point.
-
Great looking paint color and finish. I like the way you detailed the engine. The interior is a little difficult to see in the pictures but look good as well.
-
I agree with everyone else, this build looks great in the pictures. Very clean finishes and nicely detailed.
.jpg.a6dbabf041a0d6873b4abf5769c0b21a.jpg)
.jpg.d659219795e4e7a21c971a8dd5dafe53.jpg)
.jpg.fed16beefa0e6515e605b3a9e0ab2644.jpg)

.jpg.19ef7371ef08a3281175f574a9897497.jpg)
.jpg.8d2bdd9bf5cb6dfc8e7fd02c95e75fdc.jpg)
.jpg.81ac498e8ed1430bc2f58e2f34dd4a2b.jpg)
.jpg.5bde4599d0b8ee695815fff9f5805b3b.jpg)
.jpg.aec246224b815c968552df0b735f7d26.jpg)
.jpg.f24523503a6fbc21b6abf86f3ff9cf19.jpg)
