

Fat Brian
-
Posts
4,439 -
Joined
-
Last visited
Content Type
Profiles
Forums
Events
Gallery
Everything posted by Fat Brian
-
I believe AMTs old White Western Star is pretty close.
-
-
Tape attacked lacquer. Thoughts?
Fat Brian replied to atomicholiday's topic in Model Building Questions and Answers
I've had this happen with Tamiya tape as well. If you want to try to save the paint job you could wet sand the black and try to reshoot it. I got some no name tape off Amazon that seems to work better. It's not as this as the Tamiya stuff but it hasn't eaten the paint underneath it yet. -
1966 Chevy Nova Pro Street - Engine size?
Fat Brian replied to jlucky's topic in Model Building Questions and Answers
The AMT 67 Chevelle pro street kit has a big block that could be a 427. The engine in the 66 kit could represent about any modified small block Chevy, it wouldn't be unreasonable to call it a 383 stroker motor. -
1/25 scale 10" 1960's slicks
Fat Brian replied to ColonelKrypton's topic in Model Building Questions and Answers
There's a small set in the last two issues of the AMT 49 Ford but they're white walls and cheater slicks. -
The vast majority of the ones I saw were blue with chrome stamped valve covers. The 427 cars has black engines with chrome stamped valve covers.
-
Revell 29/30 Ford A kits. Extra Tires?
Fat Brian replied to stavanzer's topic in Model Building Questions and Answers
The way those tires mount on the rims you couldn't have hard resin tires unless they were two pieces. -
The only good parts from the AMT kit are some cool 409 valve covers. Unfortunately, you can't really use the rest of the engine in anything else because it has a hole through it and only half a transmission.
-
The AMT/MPC kits have window louvres, it'll be interesting to see how well they fit.
-
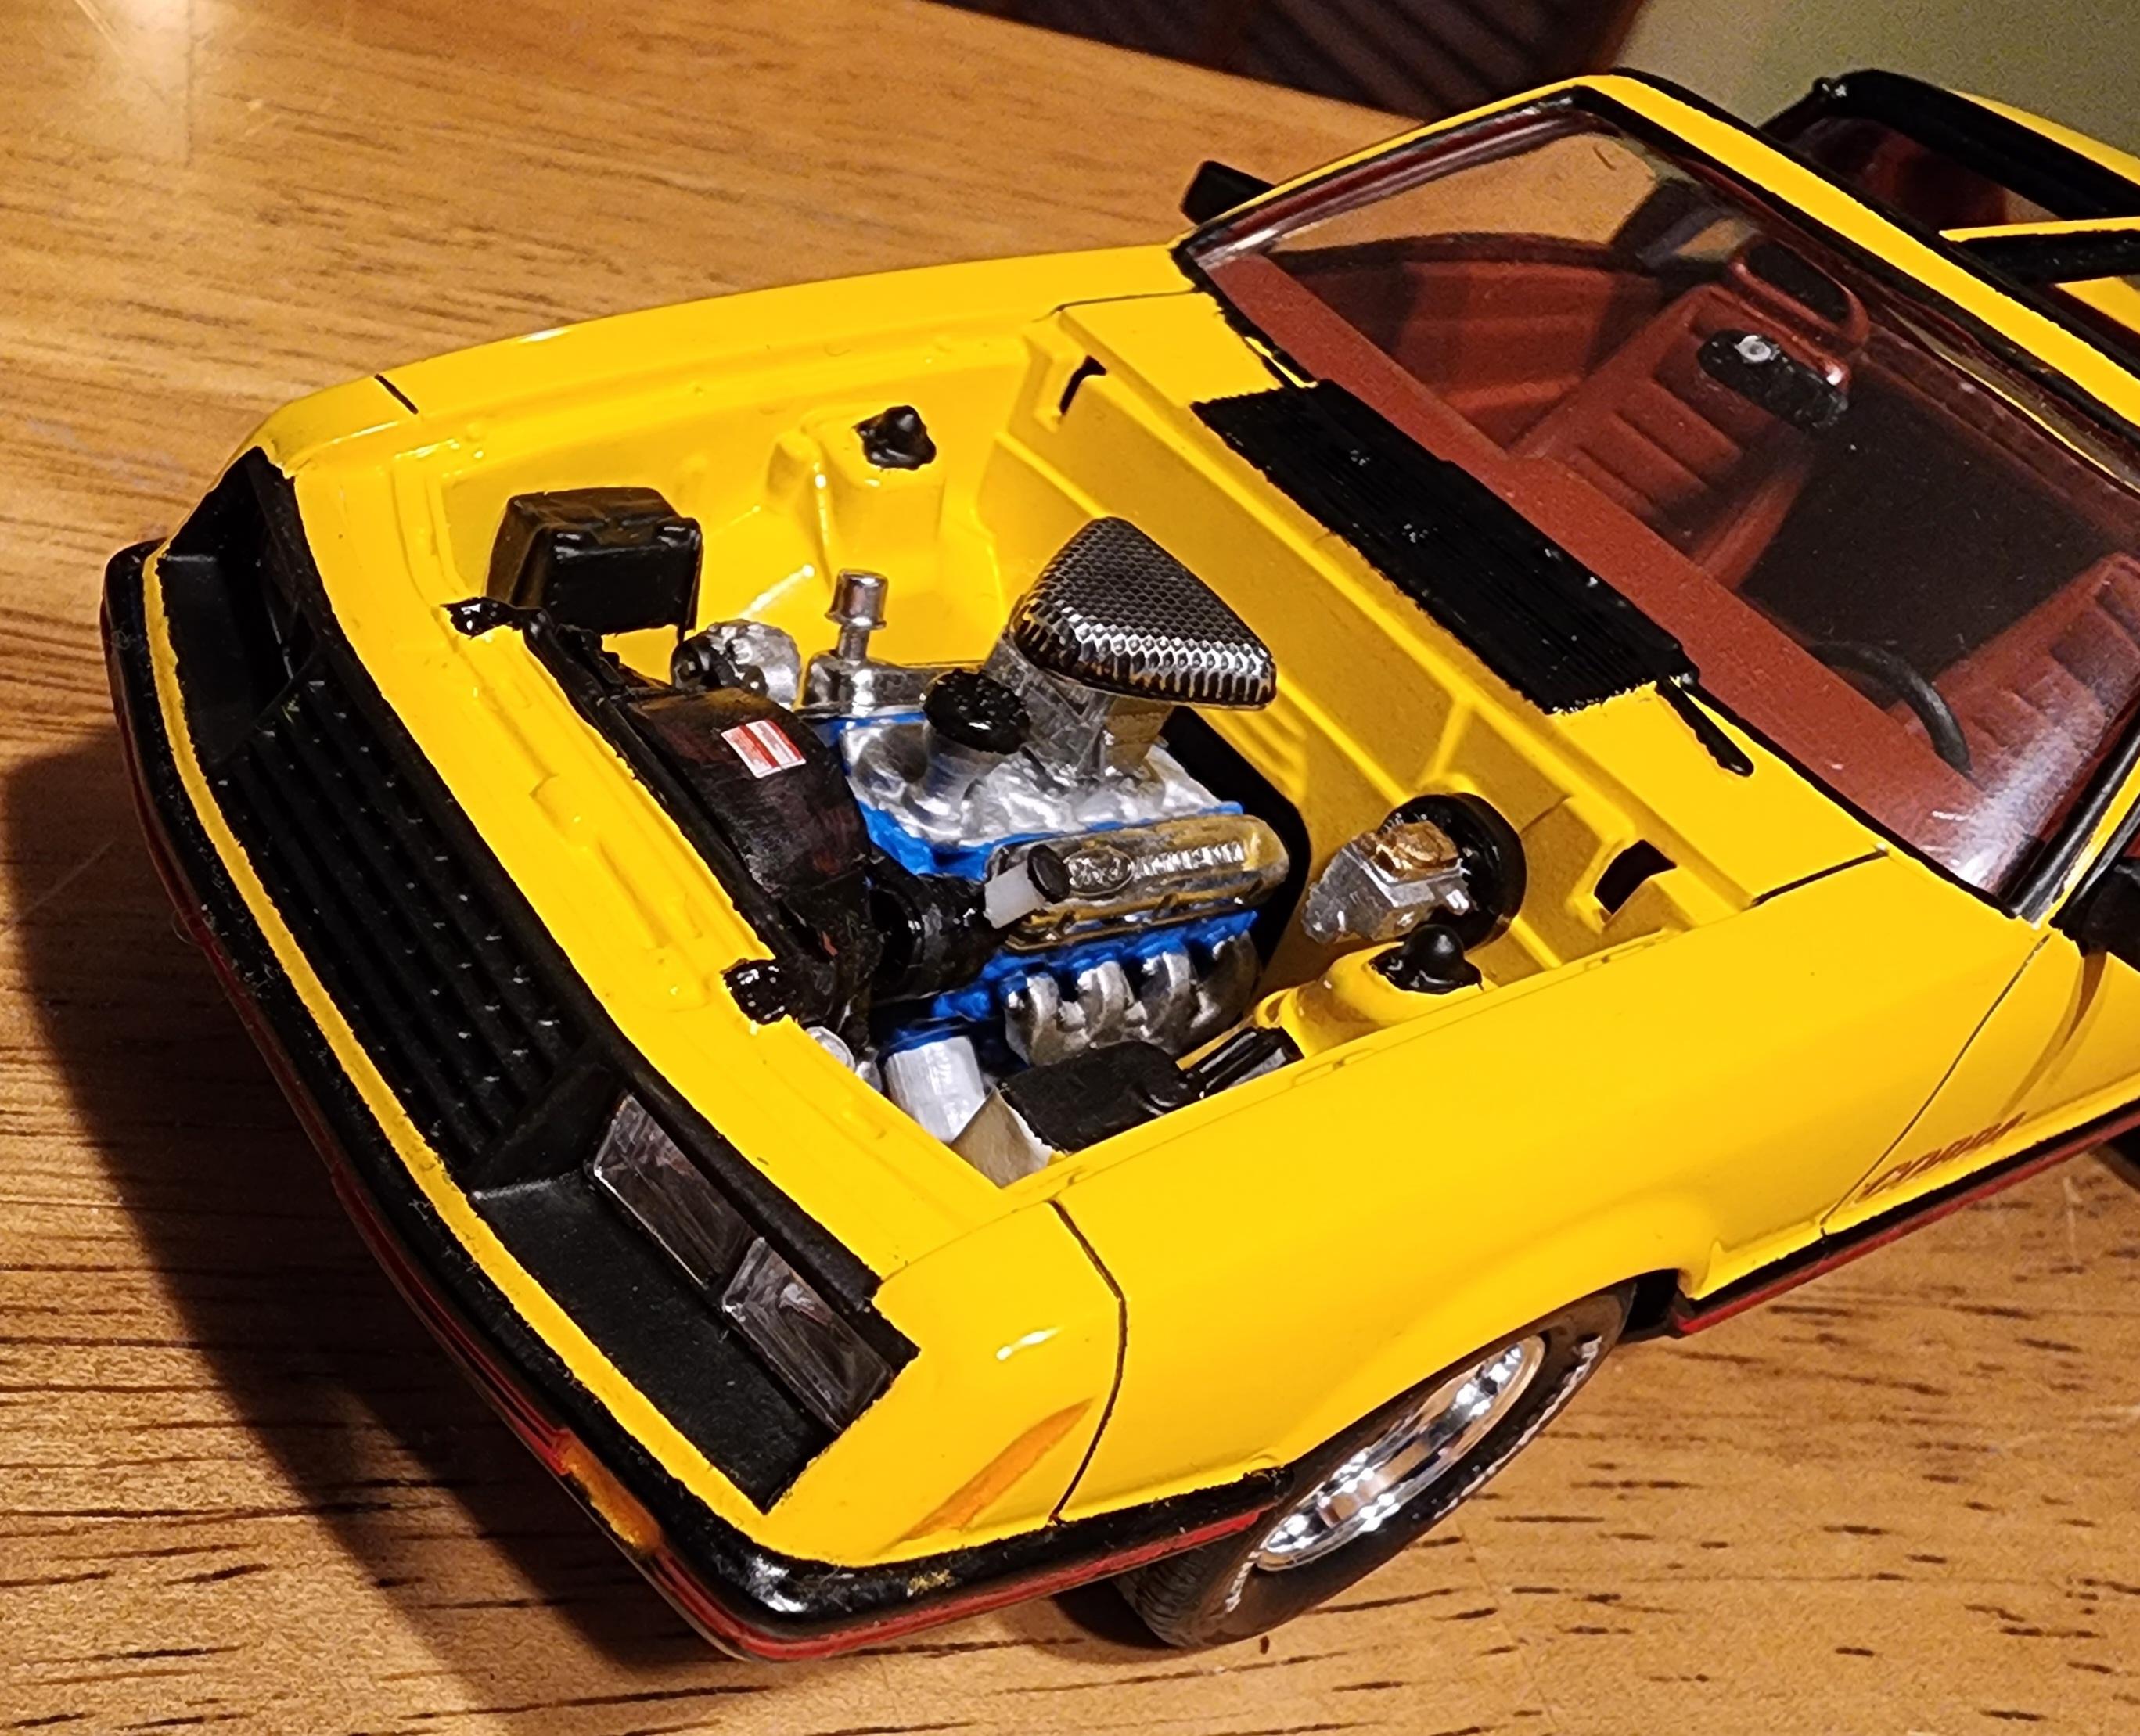
Late 70s/ early 80s Camaro
Fat Brian replied to MrMiles's topic in Model Building Questions and Answers
Yeah, that's it but certainly don't over pay for one. The yellow one that was posted in still pretty easy to find and has much better decals than the older ones. -
Late 70s/ early 80s Camaro
Fat Brian replied to MrMiles's topic in Model Building Questions and Answers
The Revell kit you saw has pulled double duty as a Camaro and Firebird over the years so the body is a bit of a mix and match of shapes. I think the best Camaro of that body style is the Monogram 1/24 kit. -
Fender flares for USA-1 Monster Truck
Fat Brian replied to MurfTwice's topic in Truck Aftermarket / Resin / 3D Printed
There's a guy that used to have lots of USA-1 and early Bigfoot stuff on Shapeways but he took it down. He said he's printing it somewhere else now, here is the email he gave me phantomphan50@hotmail.com -
Buying a pin vise HELP
Fat Brian replied to WizPorsche944's topic in Model Building Questions and Answers
This is the set I bought recently. I highly recommend this style drill, it has a real chuck on it, not the little collars that never seem to hold the bit straight. https://a.co/d/4MSX9Xc -
I need a recommendation.
Fat Brian replied to ctruss53's topic in General Automotive Talk (Trucks and Cars)
You might want to try Reddit. The sub r/modelcars skews pretty young so it may be a better market for import kits. -
What kits have thin whitewall tires?
Fat Brian replied to R. Thorne's topic in Model Building Questions and Answers
Off the top of my head the 66 Wildcat and 63 Galaxie have them. -
ISO 1981 Ford Mustang
Fat Brian replied to pontiac.maniac's topic in Car Aftermarket / Resin / 3D Printed
Thank you, yeah, cutting the T tops in a getting rare and never coming back kit was intense. For the MPC kits the grille is molded into the main body shell, on the Monogram kits the front fascia is a separate piece. Unfortunately, they're different scales so you can't really swap parts between them. The egg crate and bar grilles are both correct for an 81 depending on the model and options. Another difference between the kits is the spoiler is separate on the MPC kits but molded to the body in the Monogram versions. So, pick the front end, hood, engine, and spoiler or not and that will give you an idea which kit will get you closest. -
ISO 1981 Ford Mustang
Fat Brian replied to pontiac.maniac's topic in Car Aftermarket / Resin / 3D Printed
The 79-81 Mustangs are all pretty much the same so it really depends on which grille and engine you want. The MPC pace car kit probably has the most build options since it has the standard front valance and the pace car air dam. It also has the 4 cylinder and a v8. It just locks you into the bar style pace car grille. Here's an 81 I built from the Monogram red 79 kit. It has the v8 from the Pace Car version and the chassis plate and dual exhaust from the 90 convertible. I cut the T tops since the Monogram kit doesn't have them.
-
Gotcha, thank you for the clarification.
-
Very cool, that's such a classic look.
-
So the MRC wheel sets were reboxed Aoshima wheels? I always wanted a big and little set with the good Goodyear tires because the Wide Ovals were so square.
-
Preventing Tamiya Spray Can Runs/Bubbles
Fat Brian replied to TheCamaroKid's topic in Model Building Questions and Answers
That's more what I do, I try to get most of shine from clear coat. Honestly, if I can get a good coat of clear I don't even polish it, I've got better things to do with my time than risk ruining a good enough paint job. -
Preventing Tamiya Spray Can Runs/Bubbles
Fat Brian replied to TheCamaroKid's topic in Model Building Questions and Answers
The heavy, wet, close up coat is doing it. The paint has to travel through the air a bit to dry it out enough not to run. Shooting too close can let bubbles to make it to the body. Try keeping the same distance for your wet coat as your mist coats and keep it a bit less wet. Ideally you only want it damp enough so that when you go from the side to the top or top to the side the indirect spray will blend in. -
I wonder if the Aoshima Cragars are the old MRC set? If so it'll be good you have those back. I'm interested in the Hasegawa Beetle too.
-
You can also track down the Big AL Thunderbird, it has the same engine as the kits above. Then there's the MPC Ghost of America. This engine is a bit different than the AMT version but still serviceable.
-
Question for the NASCAR folks
Fat Brian replied to landman's topic in Model Building Questions and Answers
Always test your clear over a scrap decal. I ruined an almost finished build be clearing over decals with an incompatible clear, it just beaded up on the decals and ran off them. The same can of clear laid down fine over modern Revell decals so I thought I was safe.


.png.c53b125d1f46ed72f0814942d29d429a.png)