Fat Brian
-
Posts
4,439 -
Joined
-
Last visited
Content Type
Profiles
Forums
Events
Gallery
Everything posted by Fat Brian
-
Yep, they're based on the Mayflower moving van kit. Sometimes you can find them pretty cheap because of the over production of NASCAR stuff back in the day.
-
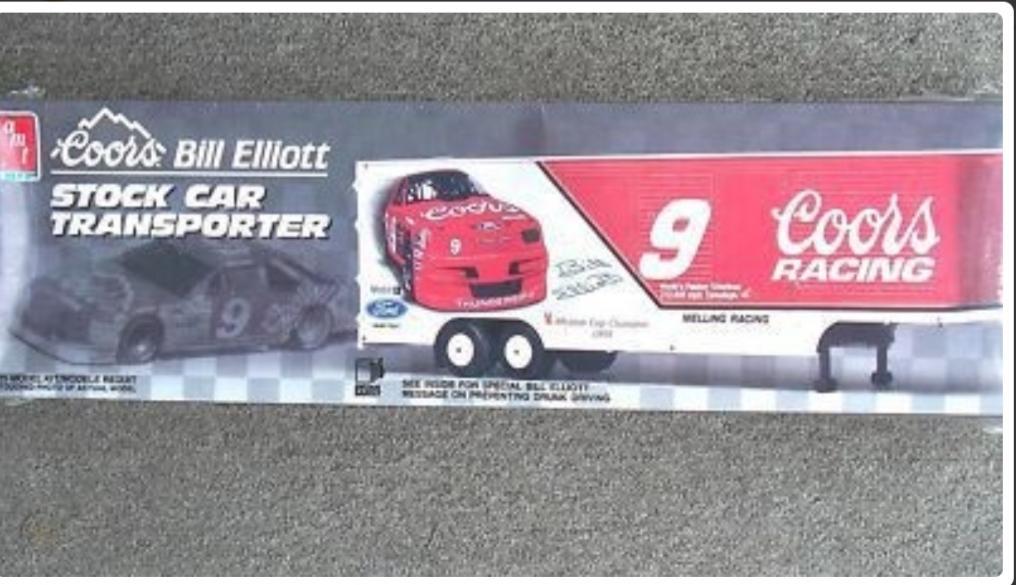
The closest you're going to get in kit form is one of the AMT NASCAR hauler trailers.

-
Best lamborghini countach kit
Fat Brian replied to randx0's topic in General Automotive Talk (Trucks and Cars)
Yes, Testor's did sell a lot of those kits under their own name and you can usually score those a bit cheaper than the Fujimi branded versions. -
Best lamborghini countach kit
Fat Brian replied to randx0's topic in General Automotive Talk (Trucks and Cars)
The Fujimi Enthusiast kits are probably the best out there. Don't get me wrong, they're daunting to look at but if you take your time they build into something pretty special. They also cover about every version of car that was available. -
If you have a 3d printer there are files out there of varying quality but I don't of anyone actively printing them for sale. I'm really surprised one of the 3d printing guys hasn't taken this on yet.
-
I had a lot of fun with this and was already thinking about another build for this coming year, I certainly wouldn't mind running this back again. I do think the California Drags gives people more options.
-
The only difference is the Euro version has a more extensive decal sheet. The plastic parts are the same.
-
Safety in the 50's
Fat Brian replied to TarheelRick's topic in General Automotive Talk (Trucks and Cars)
Same here, I work for the gas company and this looks like the piping we still use for meter sets and stuff. -
Here are the winches from Fireball.
-
I keep a deep blade razor saw for long, straight cuts. I also use Model Car Garage photoetch saws for tight areas and curved cuts. However, one of the most important tools in my cutting arsenal is a set of digital calipers. Making even, straight cuts saves a ton of trimming and truing up after the fact.
-
Those that were only made once
Fat Brian replied to T-Ray's topic in General Automotive Talk (Trucks and Cars)
The 50 Olds has a second mild custom version. I'm sure we'll see one or the other again in 8 or 10 years.
-
Fireball models has a few types of winches. Texas 3d Customs also has one that comes with a set of custom bumpers.
-
I agree with the three bean mix, the variety is nice. I also add a can of fire roasted diced tomatoes and a can of stewed tomatoes. My wife likes corn in it too. For a side try this. You'll need two packs of Martha White Mexican corn bread, two eggs, 1 tube of Jimmy Dean hot breakfast sausage, a can of Delmonte Southwest corn, and an onion. I make this in a 10 or 12 inch cast iron pan. Grease the pan with Crisco and if you have parchment paper cut a disc the size of the bottom of the pan to help the cornbread not stick, put the pan in the oven at 350 to preheat. While the pan is preheating start browning the sausage, chop until you've got semi fine pieces. Once you get the sausage going start mixing the cornbread in a large mixing bowl. Add the two eggs and however much milk the package calls for, I think it's 2/3 cups per package. Mix well then drain the can of Southwest and add it and dice the onion and add it. Once the sausage is fully browned use a slotted spoon to scoop it into the cornbread mix, the idea is to not get all the sausage grease in the cornbread mix. Give the batter one more good stir and pour it in the preheated pan. Bake at 350 and start checking on it at 25 minutes. The exact cook time depends of the size of the pan. Once it's done top with butter and Texas Pete to taste. I love this stuff and make it every chance I get, it goes well with Jambalaya and red beans and rice too.
-
Gofer Gasser Decals, for real cars?
Fat Brian replied to Roadrunner's topic in Model Building Questions and Answers
Slixx also has an assortment of gasser decal sheets. -
I want to build something stupid and have settled on a burnout car. And since it's a competition I figured I'd see if anyone wanted to join me. I'm thinking of starting November 1st and running to the end of March.
-
When she agrees to the makeup detector she can have model detector.
-
The Future of Revell...for 2024 at least.
Fat Brian replied to niteowl7710's topic in Car Kit News & Reviews
According to the the Stay Tuned guys you need a 4x4 S-10 because it has the mounts for the front differential, the driven front spindles, and the correct frame crossmembers for mounting the transfer case and having a front driveshaft. -
The Future of Revell...for 2024 at least.
Fat Brian replied to niteowl7710's topic in Car Kit News & Reviews
It's an interesting question, I think if they could have reissued the Syclone they would have but who knows. -
The Future of Revell...for 2024 at least.
Fat Brian replied to niteowl7710's topic in Car Kit News & Reviews
The youtube channel Stay Tuned just built a Syclone out of junkyard parts. They used a 4x4 S-10 and put the entire driveline from a GMC Safari mini van in it. Add 1 Chinese turbo and they were doing 4 second 0-60 times. -
The Future of Revell...for 2024 at least.
Fat Brian replied to niteowl7710's topic in Car Kit News & Reviews
Based on the last release of the S10 being mashup of parts I bet they can't find all of the tooling to any one specific version of the kit. -
Custom decal suppliers?
Fat Brian replied to Steve H's topic in Model Building Questions and Answers
Do any of these places use an Alps printer? I need something with white printed. -
Don't forget the Grand National is 1/24 scale so it might be a tight fit in 1/25 kits.
-
Neither of these are my builds, just dome google-fu. The red kit you posted has a 2.8 There is a GTP version with a turbo 3.1 There's also an AMT 20th anniversary Firebird GTA Turbo with a 3.8 but it's rear wheel drive.
-
No problem, I just happened to have all of them handy this morning.
-
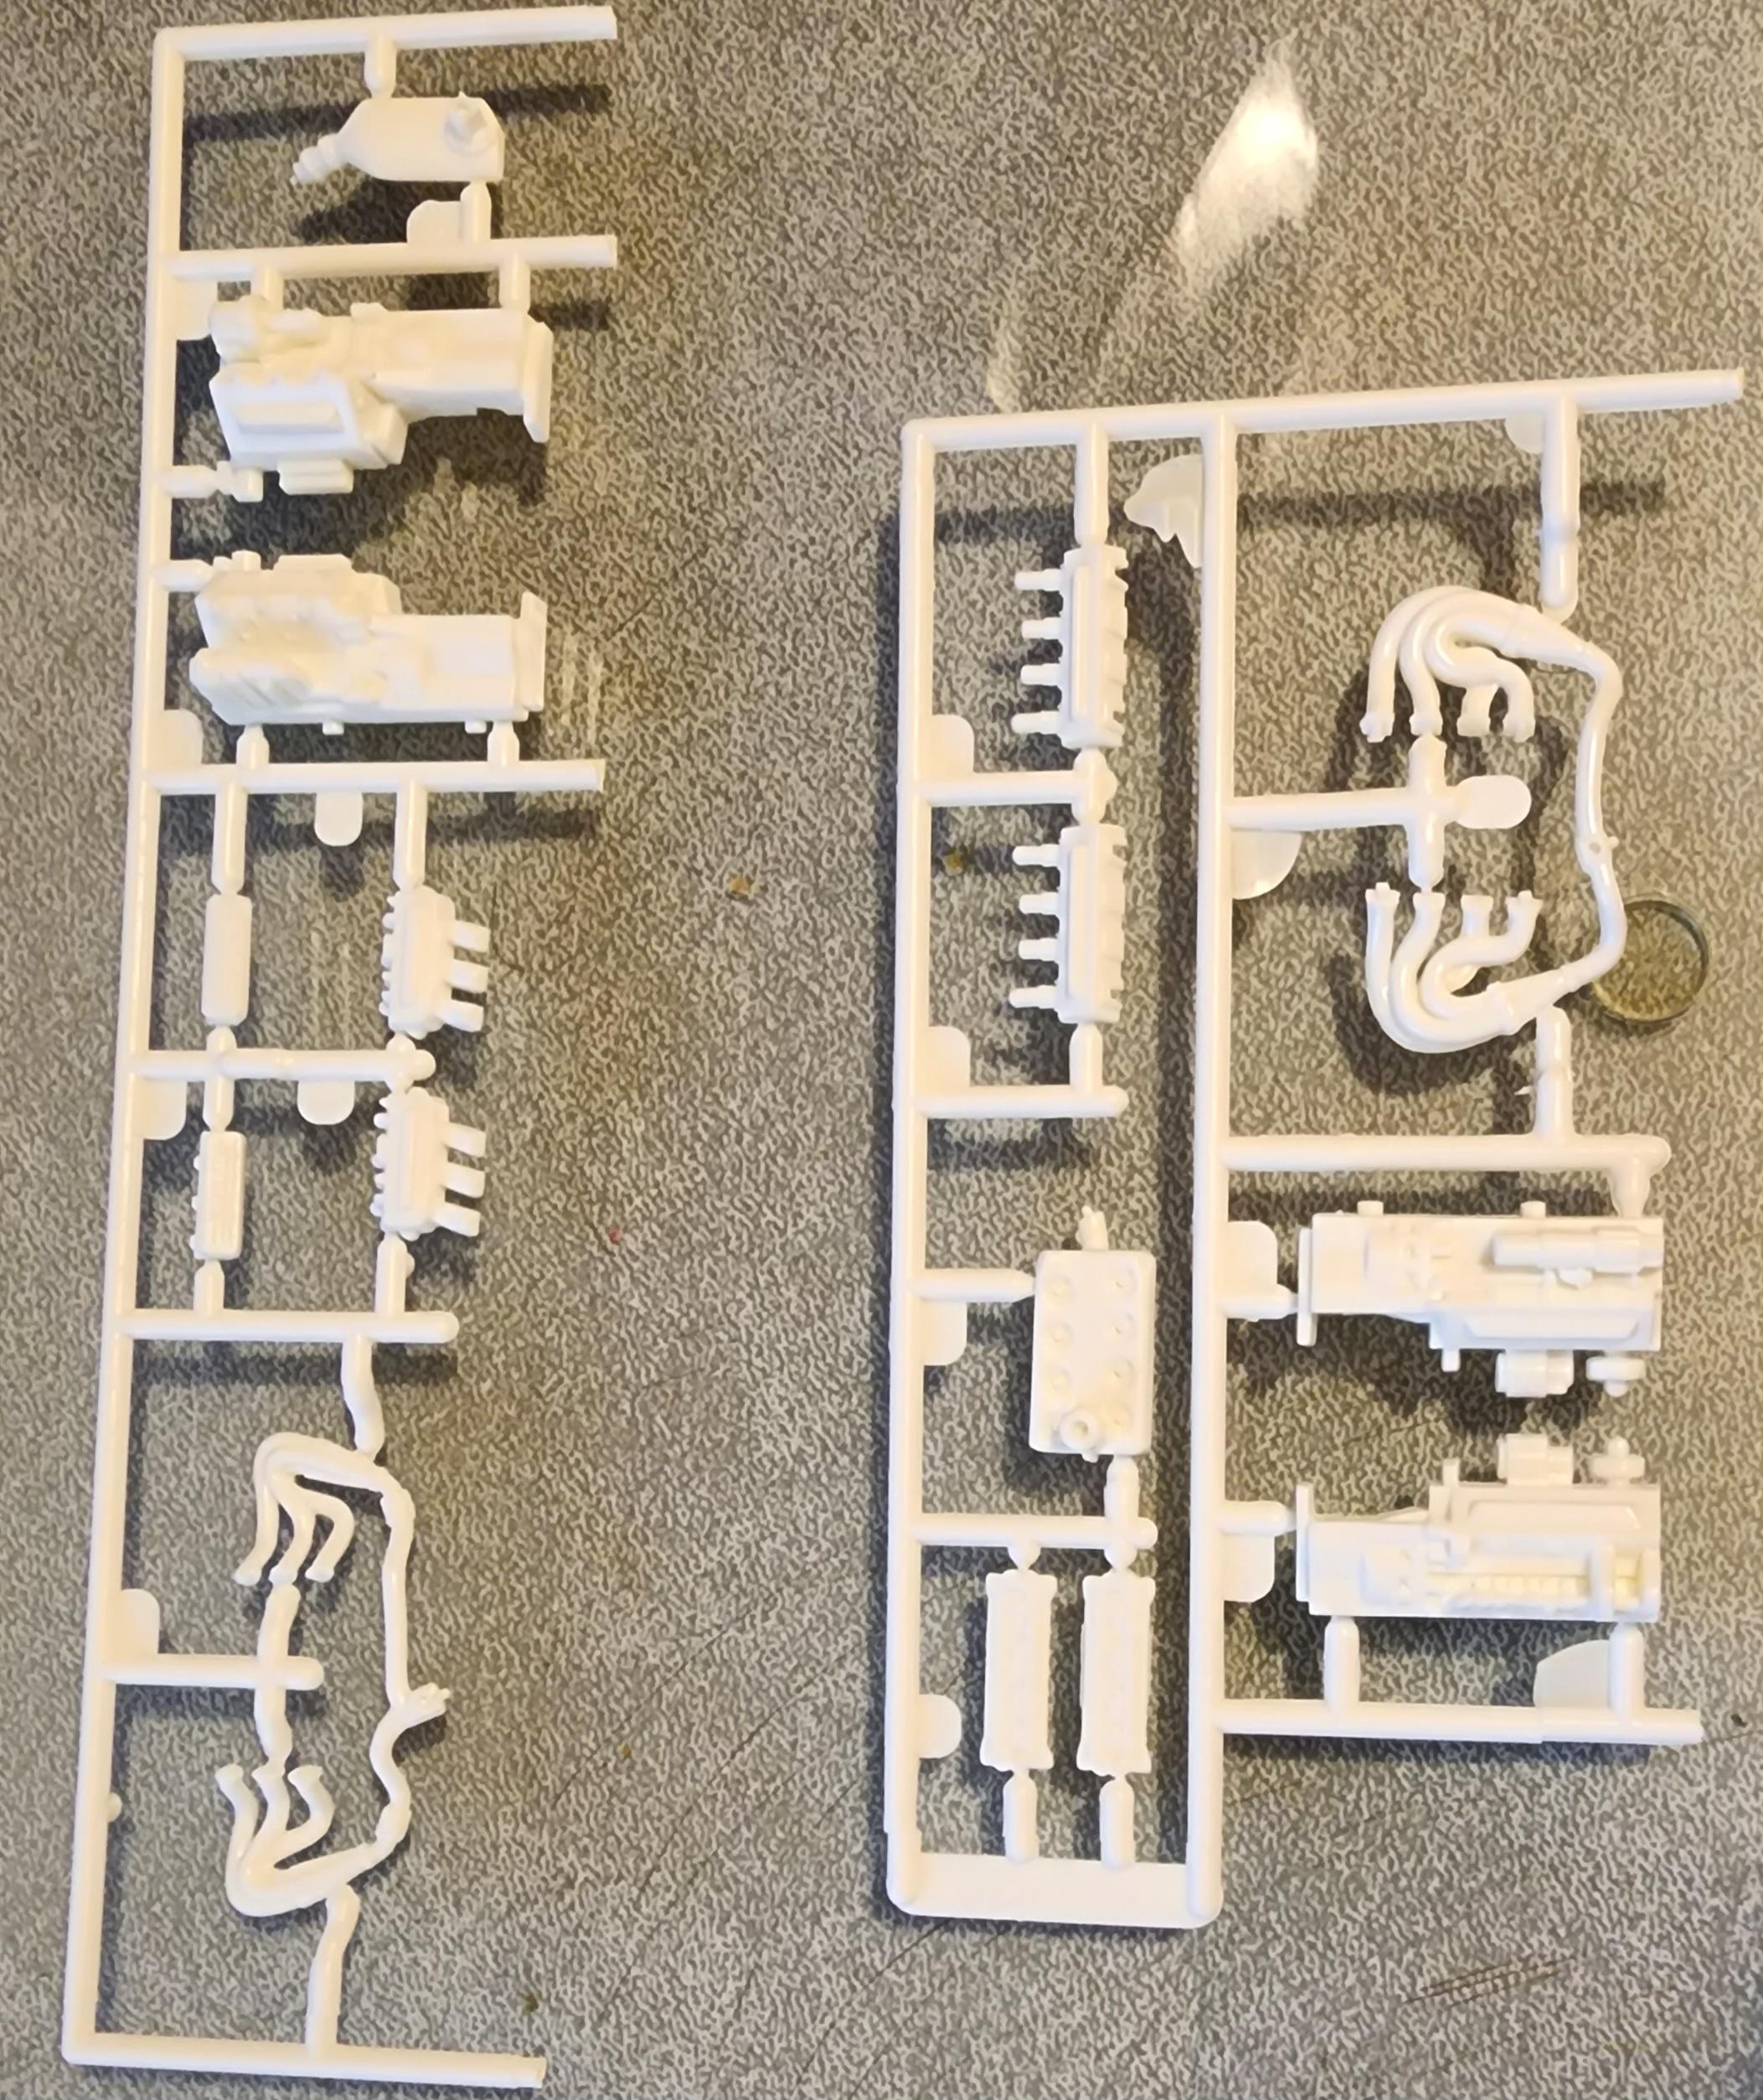
The Monogram Indy car kits are kind of simplified in the engine detail. Left is the V6 Buick from the Planters car, right is the V8 from the Valvoline car. It has Chevy on the valve covers.