Fat Brian
-
Posts
4,439 -
Joined
-
Last visited
Content Type
Profiles
Forums
Events
Gallery
Everything posted by Fat Brian
-
GT 40 seat painting ideas ???
Fat Brian replied to cobraman's topic in Model Building Questions and Answers
If you're painting the seats in the first pic I would cover the area with the grommets in bare metal foil, paint them the appropriate color, then gently wet sand the grommeted area until the foil is revealed. -
Days of Thunder Revisited.
Fat Brian replied to Snake45's topic in General Automotive Talk (Trucks and Cars)
I live just outside Charlotte, NC and the filming of Days of Thunder was a huge deal when I was a kid. The local news was at Charlotte Motor Speedway every day giving updates on what Tom Cruise was doing each day. -
Fireball F-250 Suspension kit.
Fat Brian replied to Mike C.'s topic in Truck Aftermarket / Resin / 3D Printed
Yes, the Fireball kit would be correct for a 73. There's still the issue that Ford didn't make 4x4 Camper Specials until 77 but that is what it is. If you could find a 77 grille the Fireball kit would be correct for an early Camper Special 4x4. -
Fireball F-250 Suspension kit.
Fat Brian replied to Mike C.'s topic in Truck Aftermarket / Resin / 3D Printed
Just for informations sake I wanted to mention that the Fireball kit isn't correct for the AMT 78-79 kit. The Fireball kit replicates the pre-77 1/2 F-250 Highboy with the spring perch on the front differential and divorced transfer case. Here's a link with more info. https://www.motortrend.com/features/what-is-a-ford-highboy/ -
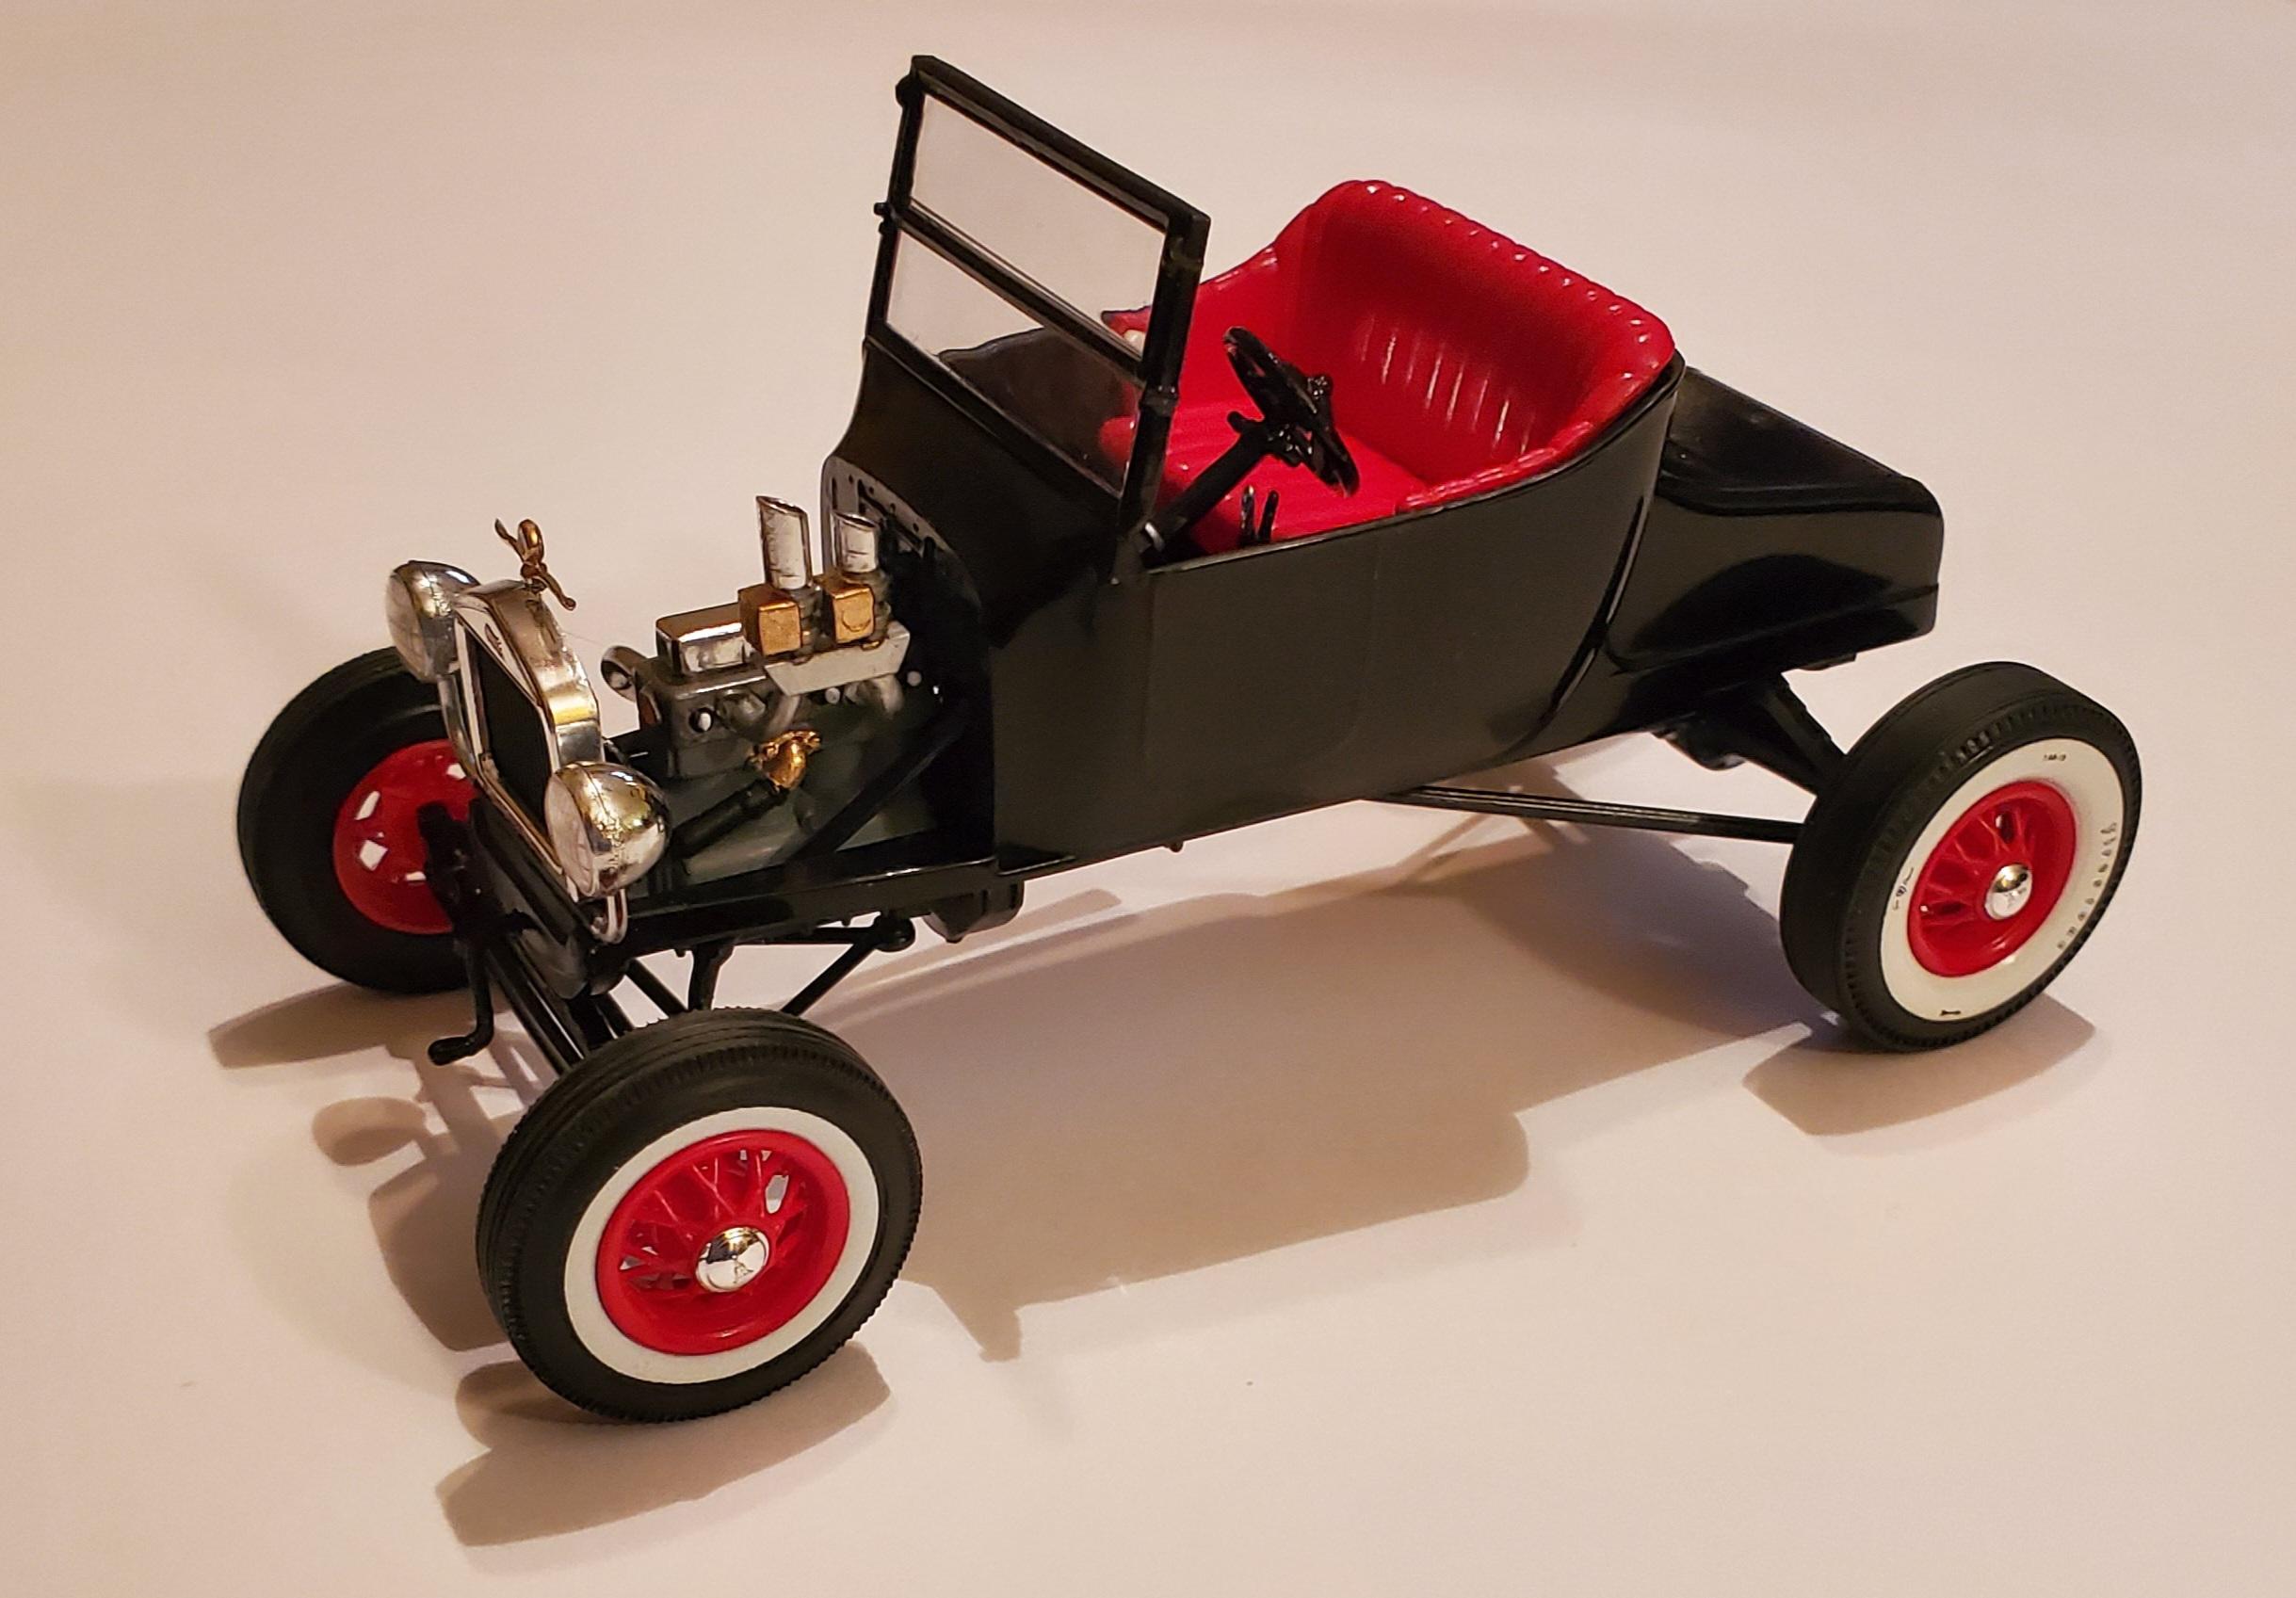
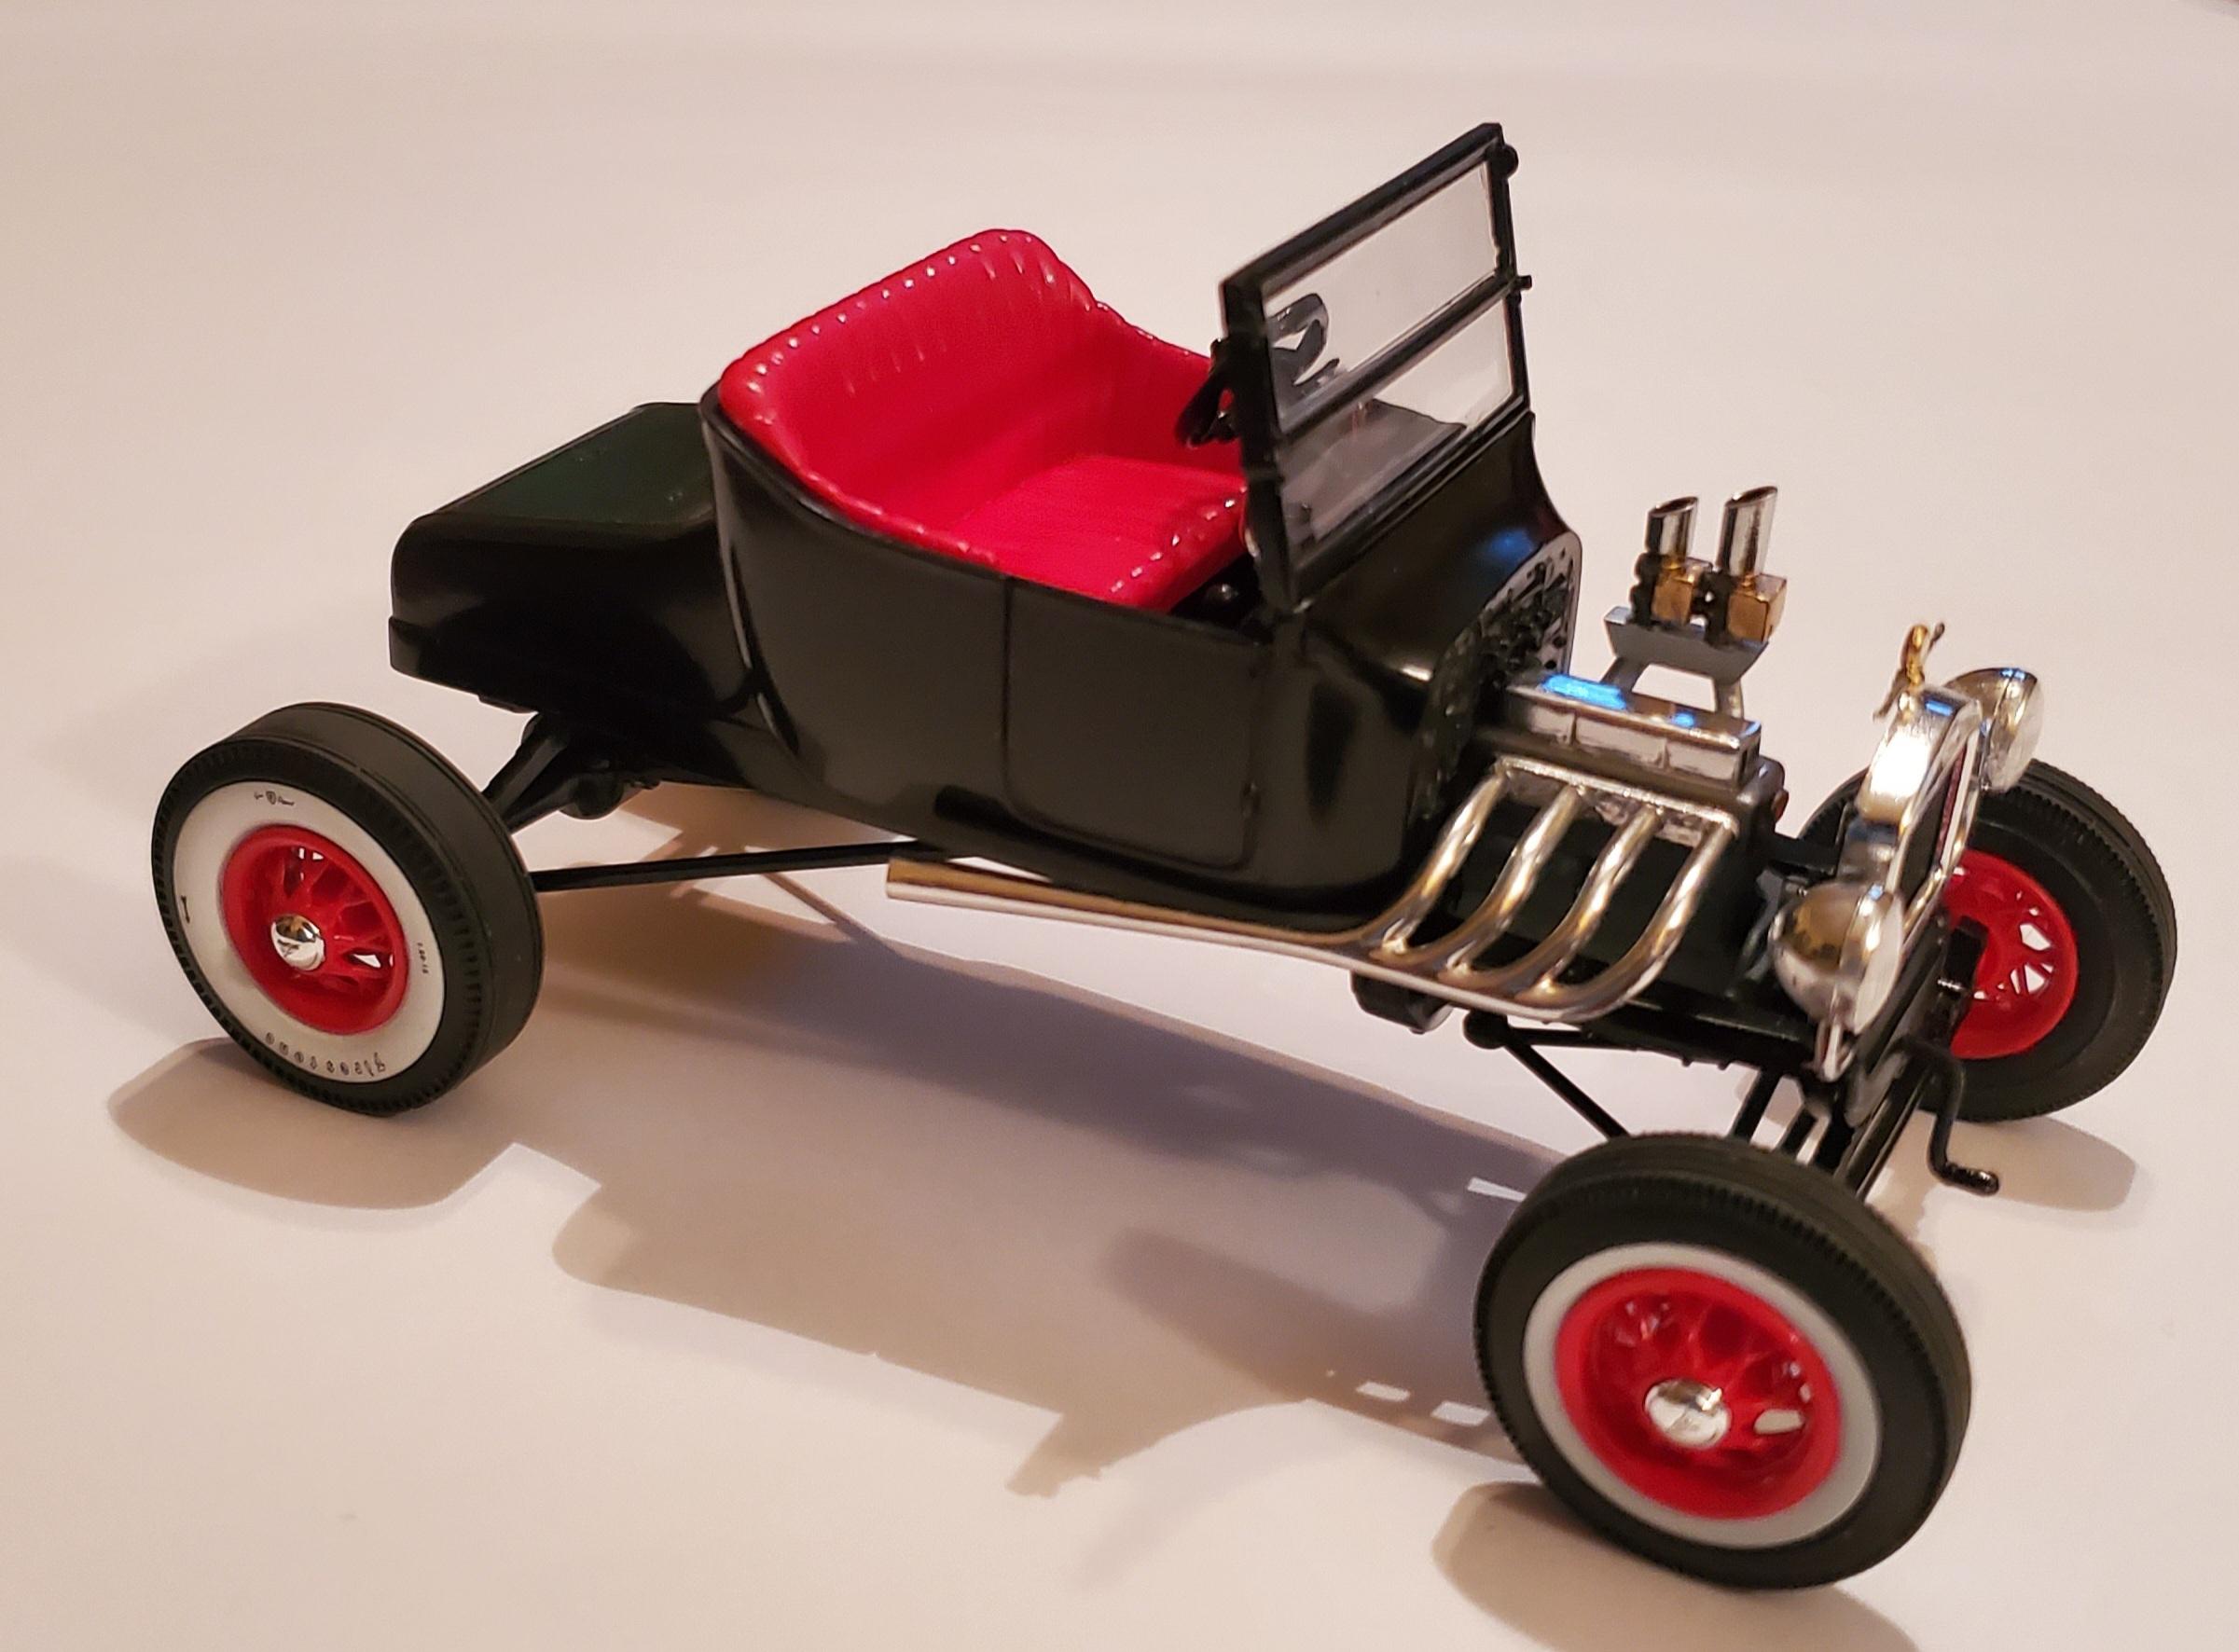
To be honest this whole build was inspired by those rear tires from the 49 Ford kit. They weren't right for what I was doing with the 49 but they were too nice to languish in the parts box. I happened to see a YouTube video about a speedster kind of similar to this and the slicks would look perfect on it. Then that lead down the 4 banger performance rabbit hole where I found the Rajo head and the Chicago transmission. I have Ardun heads but I didn't want to split up a pair and the Rajo was really simple to approximate, the head is just two thick strips of Evergreen with the edges rounded a bit and spark plugs added and the valve cover is borrowed from an 80s Ford 2.3. The intake is just bits of Evergreen with carbs from the 25 T kit.
-
It's a surprisingly tough fit considering how common this engine is in the 1:1 cars. I ended up cutting the head off and turning it around to get the intake on the left side where there was more room. The exhaust manifold was also hard because of the extended footwell on the right side. If I had been building a normal track car I would have turned the exhaust out right in front of the footwell and continued it like the stock parts but I wanted to do something else.
-
I agree, I might look around and see if I can find some small gauge decals. That's one area that Round2 is really lagging behind in that seems like it would be an easy win.
-
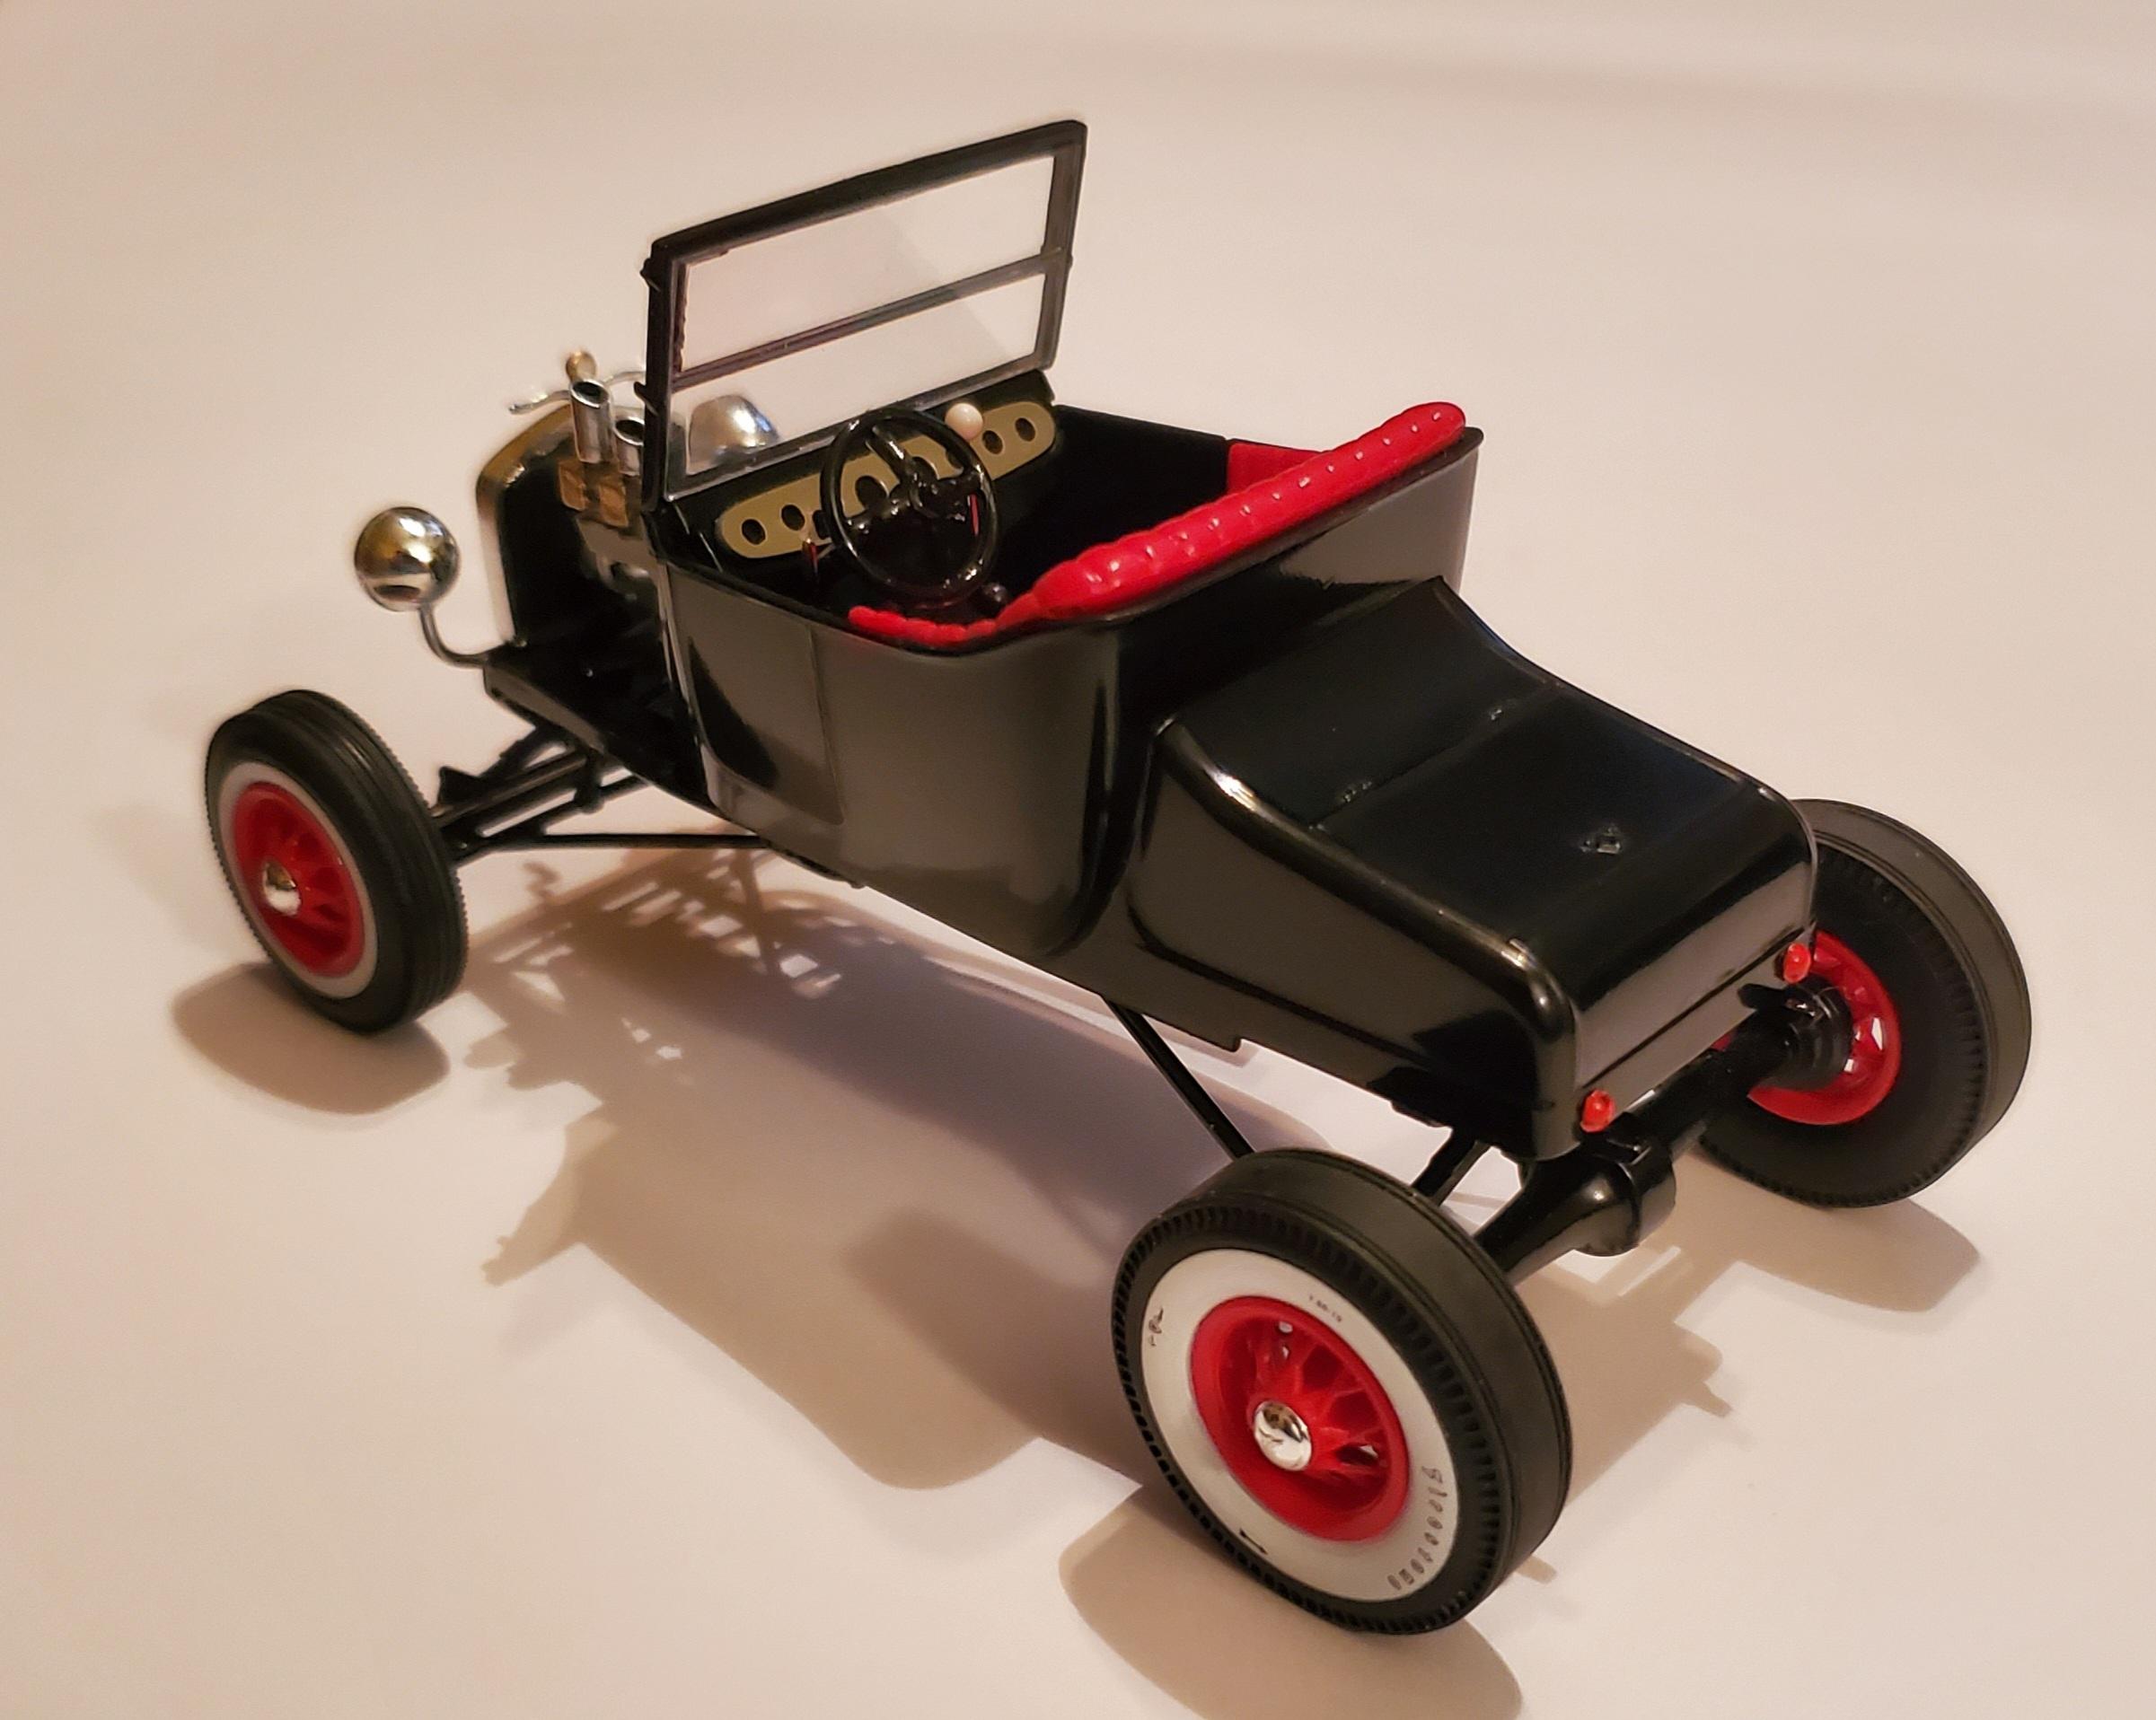
Just a little thing I threw together between other builds. It has an OHV conversion based on a Rajo head and a Chicago auxiliary transmission. The wheels are from the AMT 34 pickup and the tires are from the most recent 49 Ford kit.

-
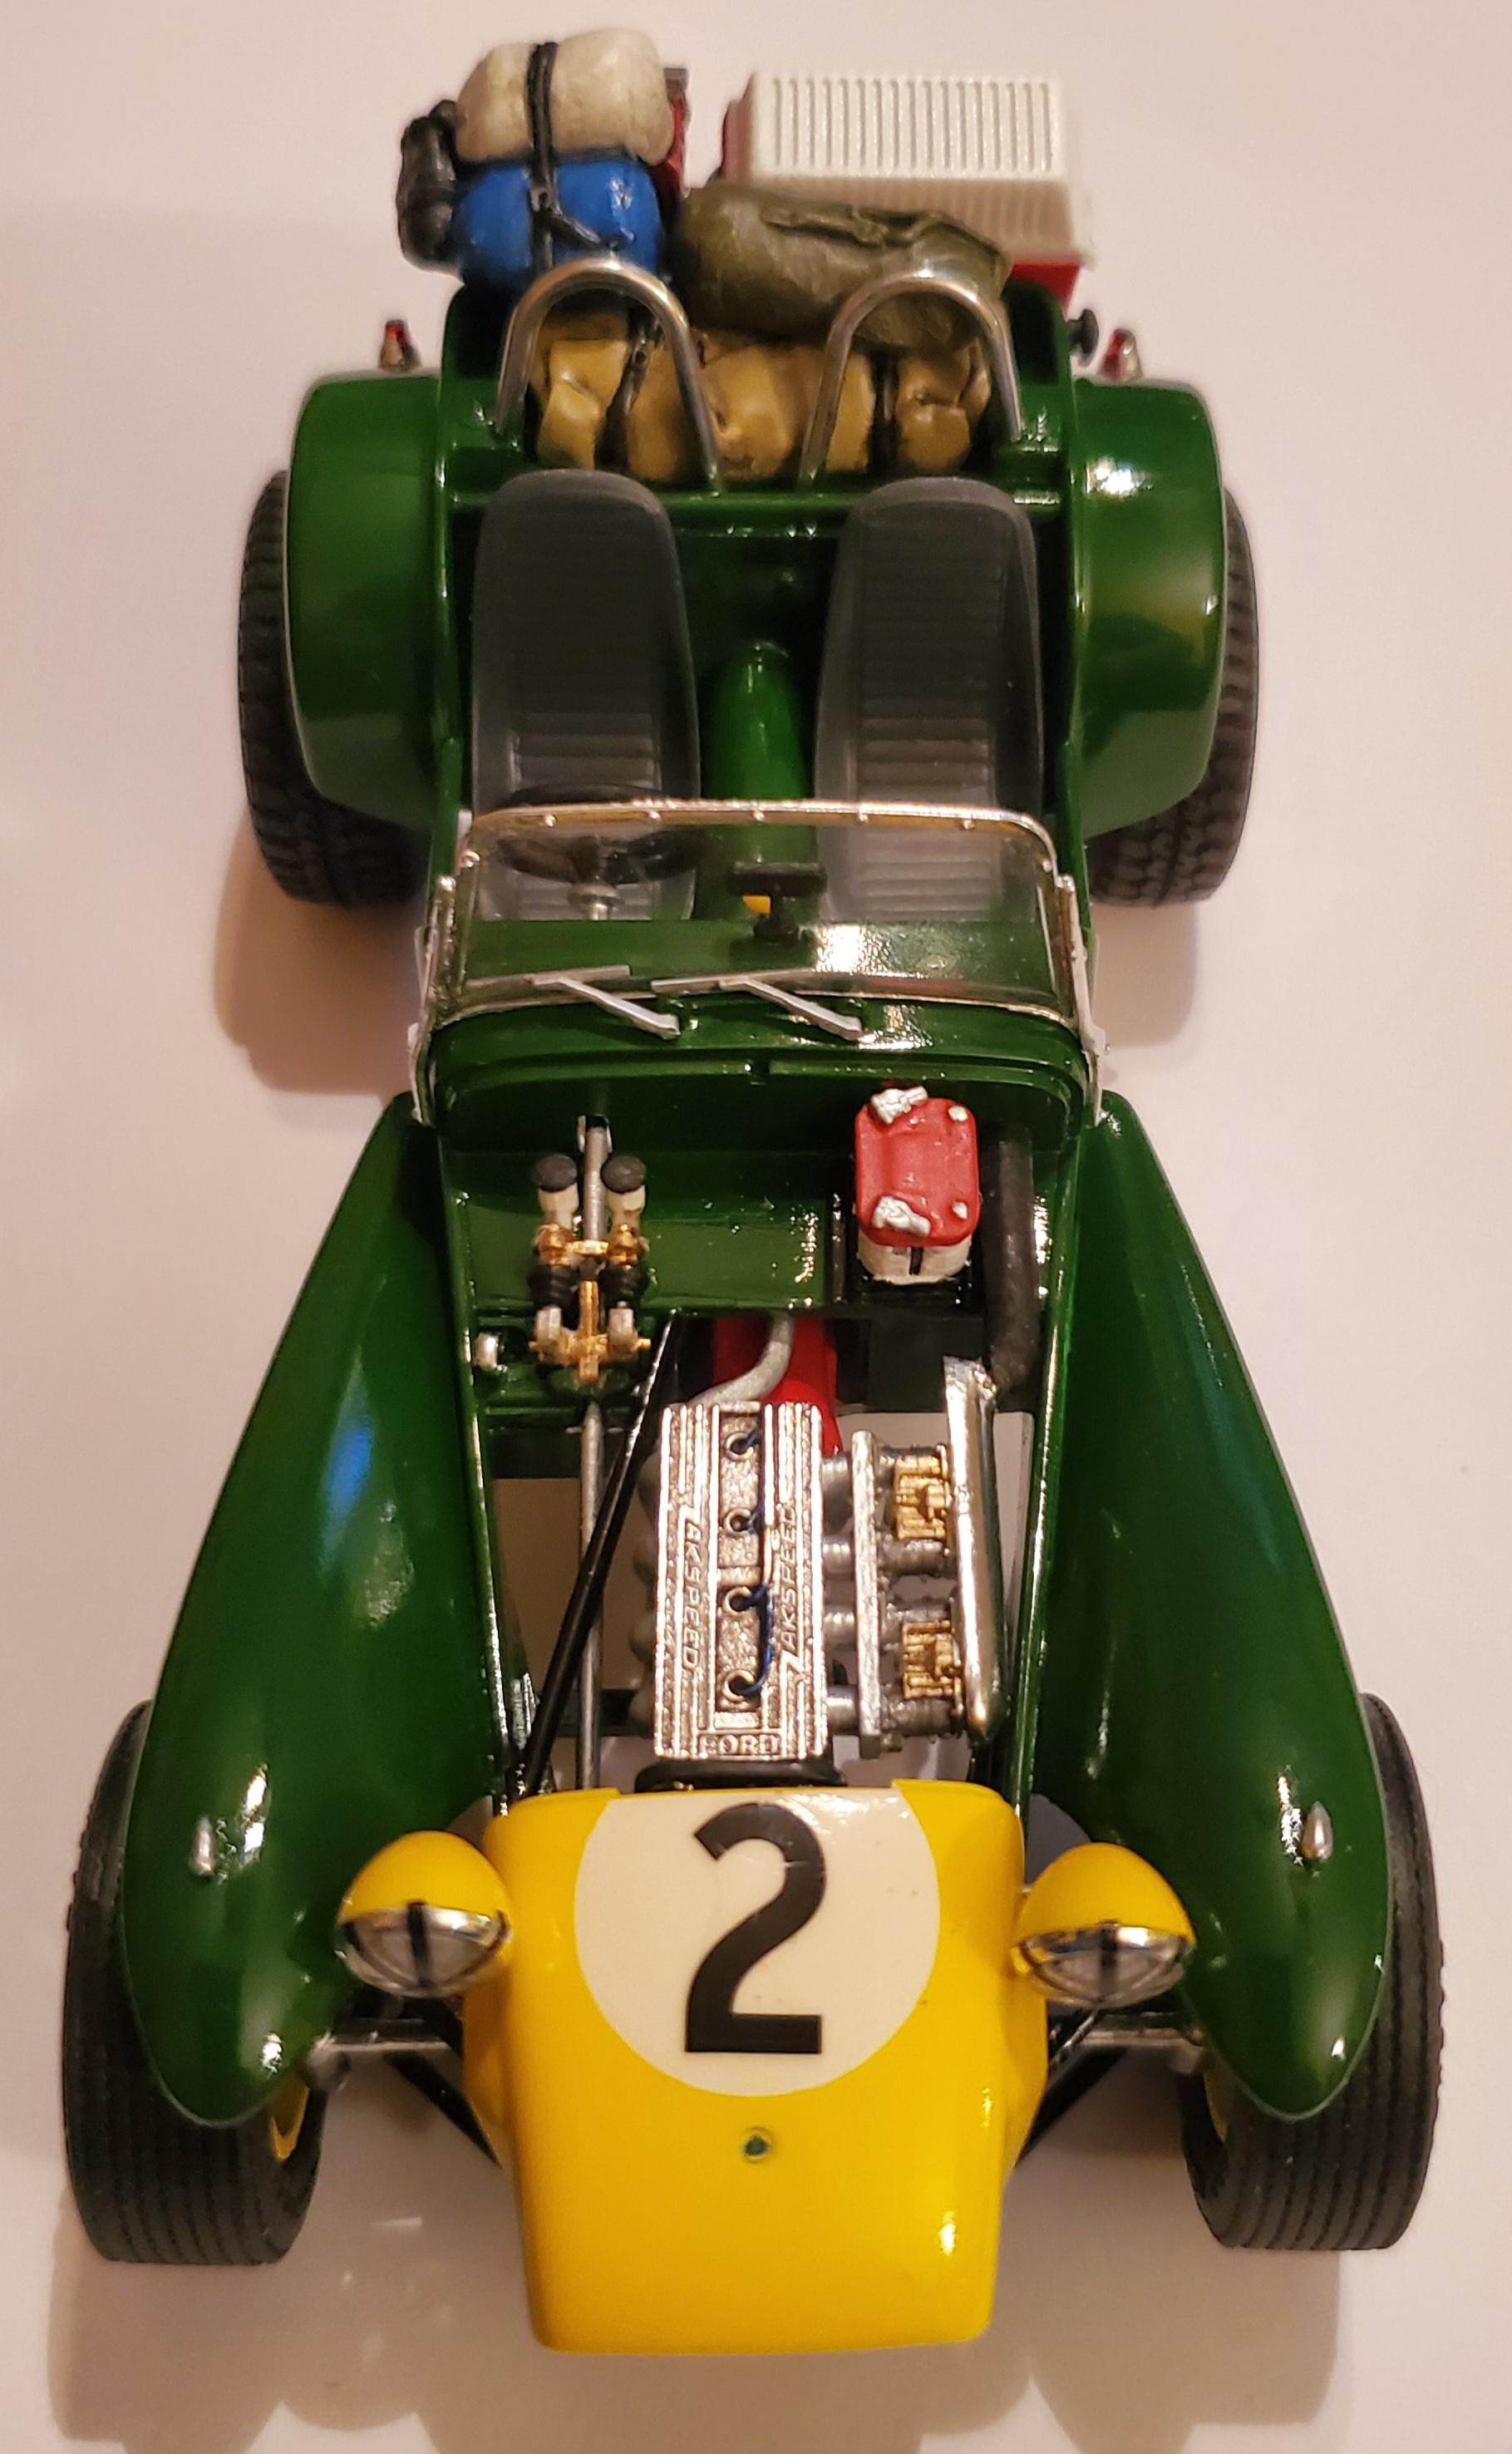
I'm calling this one done. I just need to put on the tag and figure out some cargo netting but that may be a minute. This is the Tamiya Lotus 7 with the Cosworth 2.0 yb engine from a Monogram IMSA Mustang. The wheels are from Fujimi and the tires are American Satco and MRC. The cooler and generator are from a diecast diorama set and the bags are military stowage.
-
There are quite a few on Shapeways. Most are in model railroad scales but most creators will rescale things if you ask them.
-
It doesn't matter to me whether it's a whole body or panels, especially if it means getting both front end styles.
-
I'm down for one, though I prefer the bug-eye version. It would be great to also have a set of wide 5 wheels.
-
Looking for a set of Cougar Tail Lights
Fat Brian replied to Dirkpitt289's topic in Model Building Questions and Answers
Here the last release, it's gotten a bit pricey. https://www.ebay.com/itm/254001878931?mkcid=16&mkevt=1&mkrid=711-127632-2357-0&ssspo=eSp0Ah0eTMy&sssrc=2349624&ssuid=CNi_i6G9QKy&var=&widget_ver=artemis&media=COPY -
Looking for a set of Cougar Tail Lights
Fat Brian replied to Dirkpitt289's topic in Model Building Questions and Answers
That kit has been recently reissued so it's not nearly as hard to find as it used to be. -
Instruction sheet BLOOPERS
Fat Brian replied to Vintage AMT's topic in General Automotive Talk (Trucks and Cars)
This one is from the new Revell Land Rover. It had me searching the box trying to see if the exhaust was actually different for left and right hand drive versions.
-
That looks more like the little trailer that a body that was on a truck chassis. It doesn't look too hard to make out of some quarter round, sheet stock, and some fine strips for detailing.
-
Instruction sheet BLOOPERS
Fat Brian replied to Vintage AMT's topic in General Automotive Talk (Trucks and Cars)
The problem with the horn instructions is that it shows to put it where the wiper motor piece should go. The horn is big enough that in that location it can cause the hood and/or air cleaner to not fit correctly. -
By the system posted above the 56 and the Big Game truck should be a 3 if the rating was based solely on parts count. Since they're both a 4 there has to be more to it. The Monogram Pulldozer Blazer was an American scale 2 and the new reissue will be a 4 as well.
-
Having not actually built the 56 myself my guess would be the 56 might be considered more difficult because it lacks the positive mounting points and overall fit of a newer kit. The Big Game pickup is also a level 4 ex-Monogram kit with low parts count that has some vagueness in how the body mounts to the frame.
-
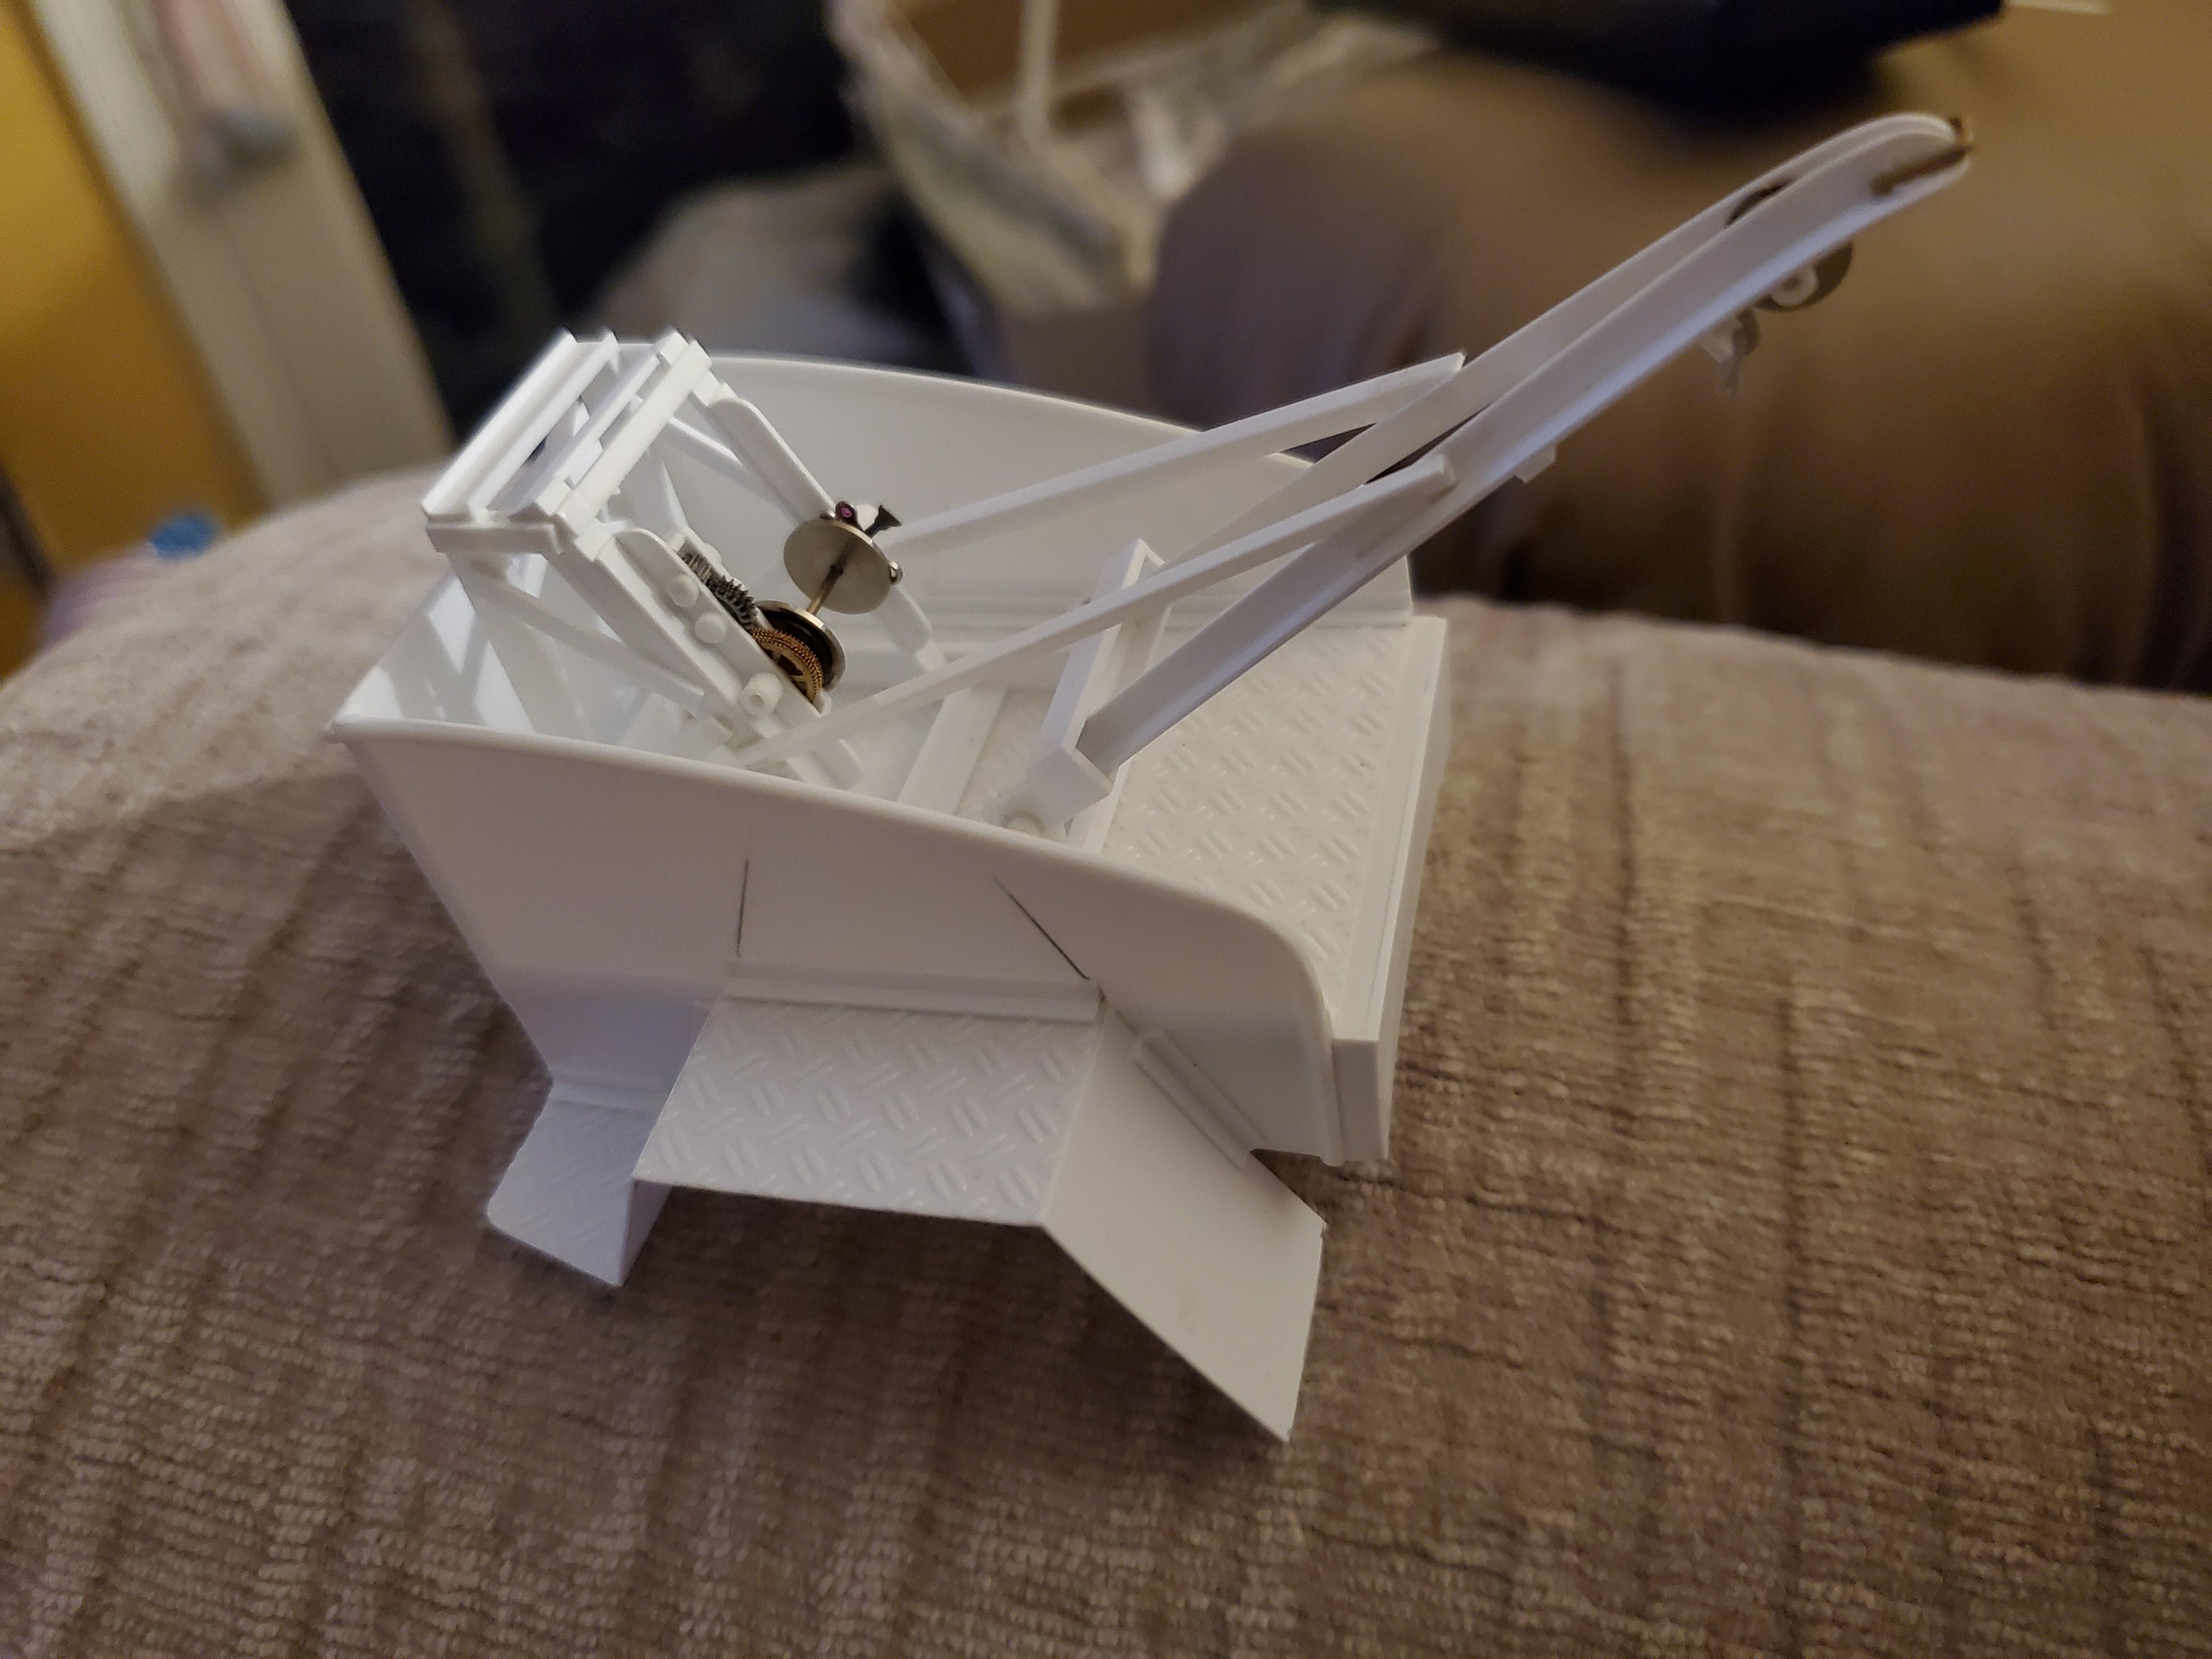
The devil is in the details. How do you do it?
Fat Brian replied to conchan's topic in Model Building Questions and Answers
The jewelry section of the craft store will have tons of things that can be repurposed for modeling. Various gauges of aluminum wire can be had in bare or red, blue, and gold anodized for all manner of things. Also, you can order wrapped wires for plug wires and such. Brass rod is also helpful for hinges. Tiny hexagon beads can be bolt heads. I also like to have a well stocked bag of Evergreen and Plastruct plastic stock. Square, round, rectangle, tubes, angle, C channel, hexagonal rod, sheet stock, it all has a use and it's easier to figure out how to scratch build something when you have pieces to work with. Here's what you can do with a pile of Evergreen and a handful of watch parts.
-
How do I remove glue smudge from windshield?
Fat Brian replied to Mike C.'s topic in Model Building Questions and Answers
This is a kit I really wish I gotten when it was a out a few years ago. The glass doesn't look ruined like from regular red tube glue. -
This is pretty tempting, I have the Tamiya 60s Mini but this would be cool for a modern version.
-
It has a custom dash that looks like would make it very easy to move the steering wheel over.
-
How do I remove glue smudge from windshield?
Fat Brian replied to Mike C.'s topic in Model Building Questions and Answers
That glue is supposed to be water based so I would run it under warm water and used a toothpick or something equally soft to try to pick it off. For applying the glue in the future try a paint brush. I sit my glass in place and then dab glue around the edges with a paint brush. -
They're different parts. The 150 kit has a coil sping front end, the 250 kit will have leaf springs. The axles are also very different.


.jpeg.65c66a84e50e709986c1e07c5654069d.jpeg)