Search the Community
Showing results for tags 'VW'.
-
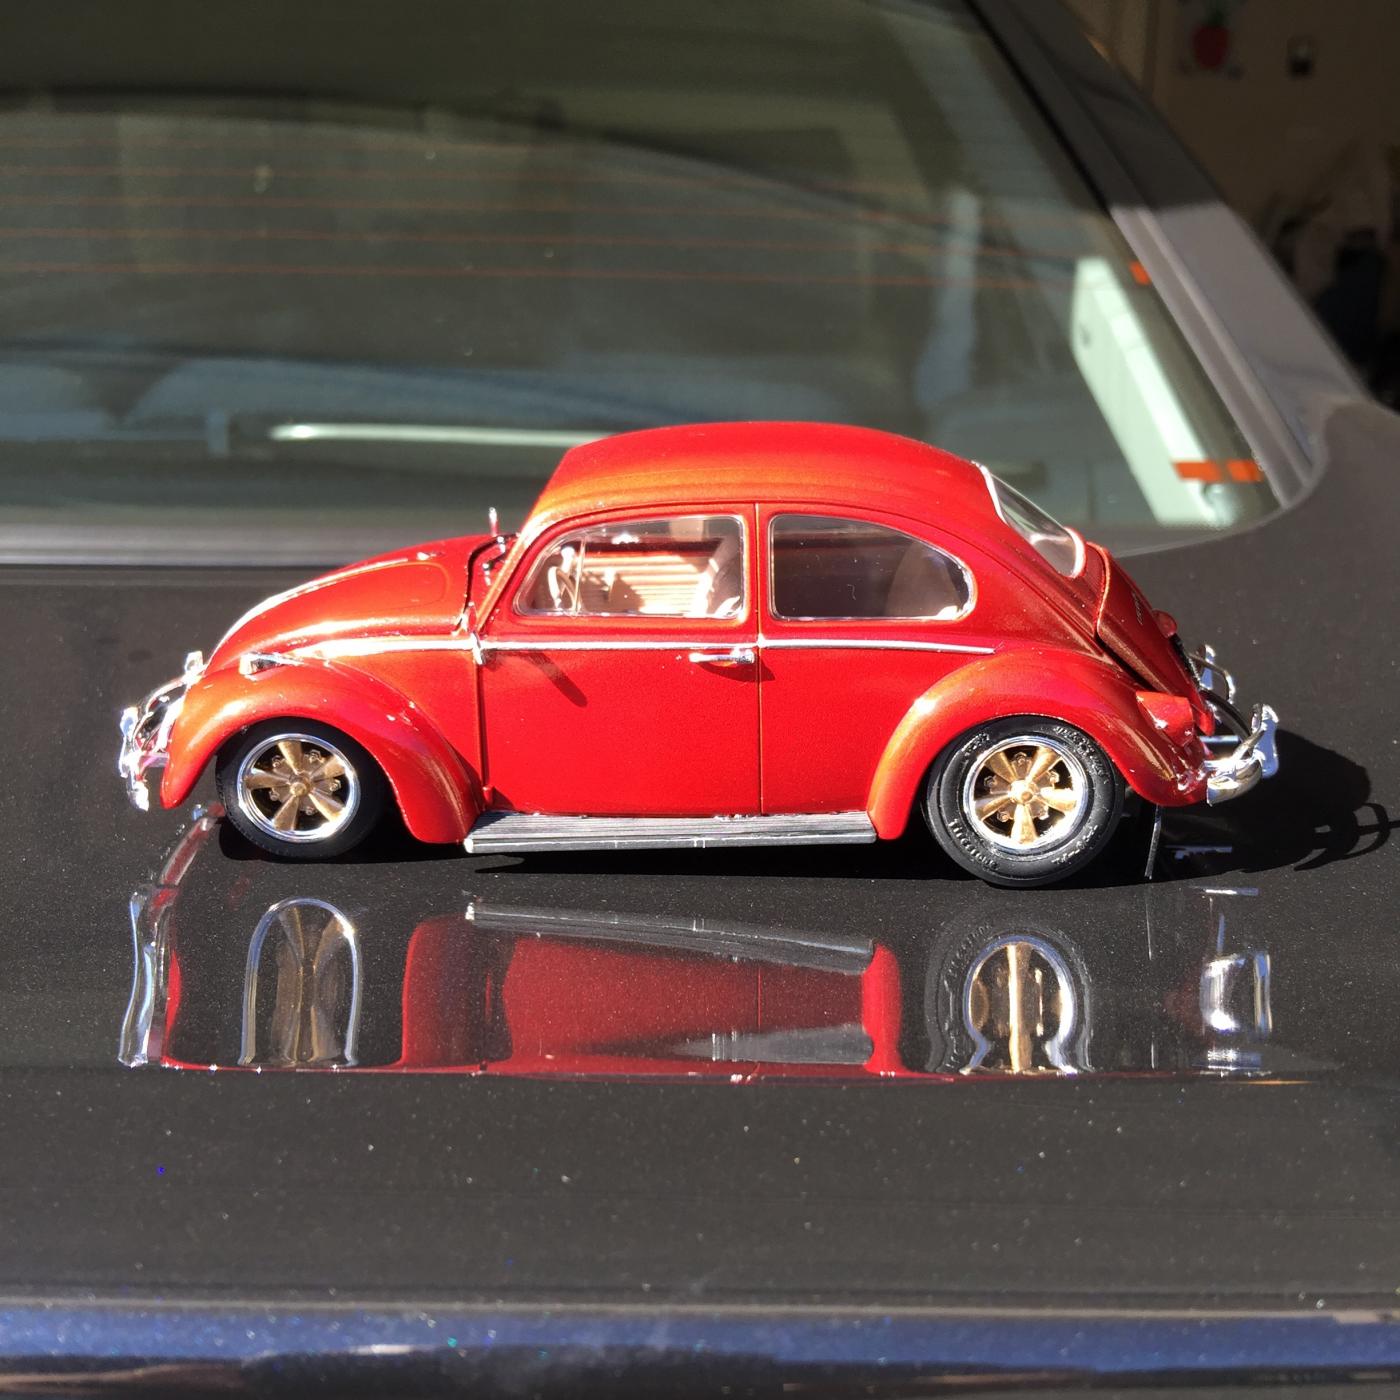
Decided to treat myself at Christmas and get a 1:24 model car, something to keep me busy and out of trouble. I didn't have any specific model in mind, so I nipped down to my local model shop and browsed the shelves. The MK1 VW Golf Cabriolet caught my eye and so the purchase was made. Having not done any models for a good few years I decided to just dive straight in do it the way I wanted to. I tend to learn better and quicker when I just have a go, rather than reading or watching videos. I started cutting bits out and mocking up the body. I knew I would want different wheels and lowered suspension, so I order a set of 15" banded steel wheels. When mocking the wheels on to the body it was apparent I had a slight issue with poke. The wheels came with wider rears, and to get them to fit the car nicely I would really need 2 pairs of fronts (narrower width), these along with a little trimming would fit the arches just right. So I ordered another set of the wheels. For the car colour I decided to go with a period correct red. I'm pretty pleased with the results for saying I haven't done it for a while, there are plenty of flaws with the job but I'm pleased. The wheels fit better now and look better with the matt black centres and gold bolts. Next I tackled the engine. I was thinking about getting a VW 16v turbo engine for it, but though I'd stick with the standard engine for this build. This is where I am up to in the build now, next up is the interior. Sorry for the quality of the images, will try and use my proper camera for the next lot of update images.
-
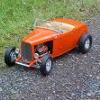
This is the 3rd 'Zinger!' I've built. The Zinger Drag and Zinger Buggy, were re-issues, but this was an original. (I think. Moulded in orange with a photo on the box. not artwork) The chrome was lousy and there was enough flash to make another kit from it. But I really enjoyed making it. It took me back to my youth , but now I've got the patience to put things right on kits. In case you've never seen these before, here's some original promo photos: Here's my attempt: I hope it made you smile My other Zingers are here:
-
Started with Gunze Sangyo kit. Has anyone else thought about this with this kits? "I would love to get my hands on the guy who thought making the seats and door panels out of the same rubber as the tires was a good idea!" I got around this little frustration by molding and casting the seats and door panels in something more friendly to paint. (I did this with the Gunze Beetles too.) The fit between the door panels and body wasn't great either, so they had to be modified to the extent of moving the (separate) door pulls and window cranks back 1/8"! Otherwise, a smooth build. Yes, the color is factory stock, straight off the color chip sheet....

-
I'm working on two models but making separate discussions for them. I'm building a Meyers Manx but we are focusing on my revel beetle. Paint (spray cans): 3 coats of Tamiya white primer, 3 coats of Tamiya ts-34 camel yellow, and 3 coats of Tamiya Ts-13 clear. I did wet sand the body but a little to much on a few places like around a headlight but not to noticeable (I'm a beginner)
-
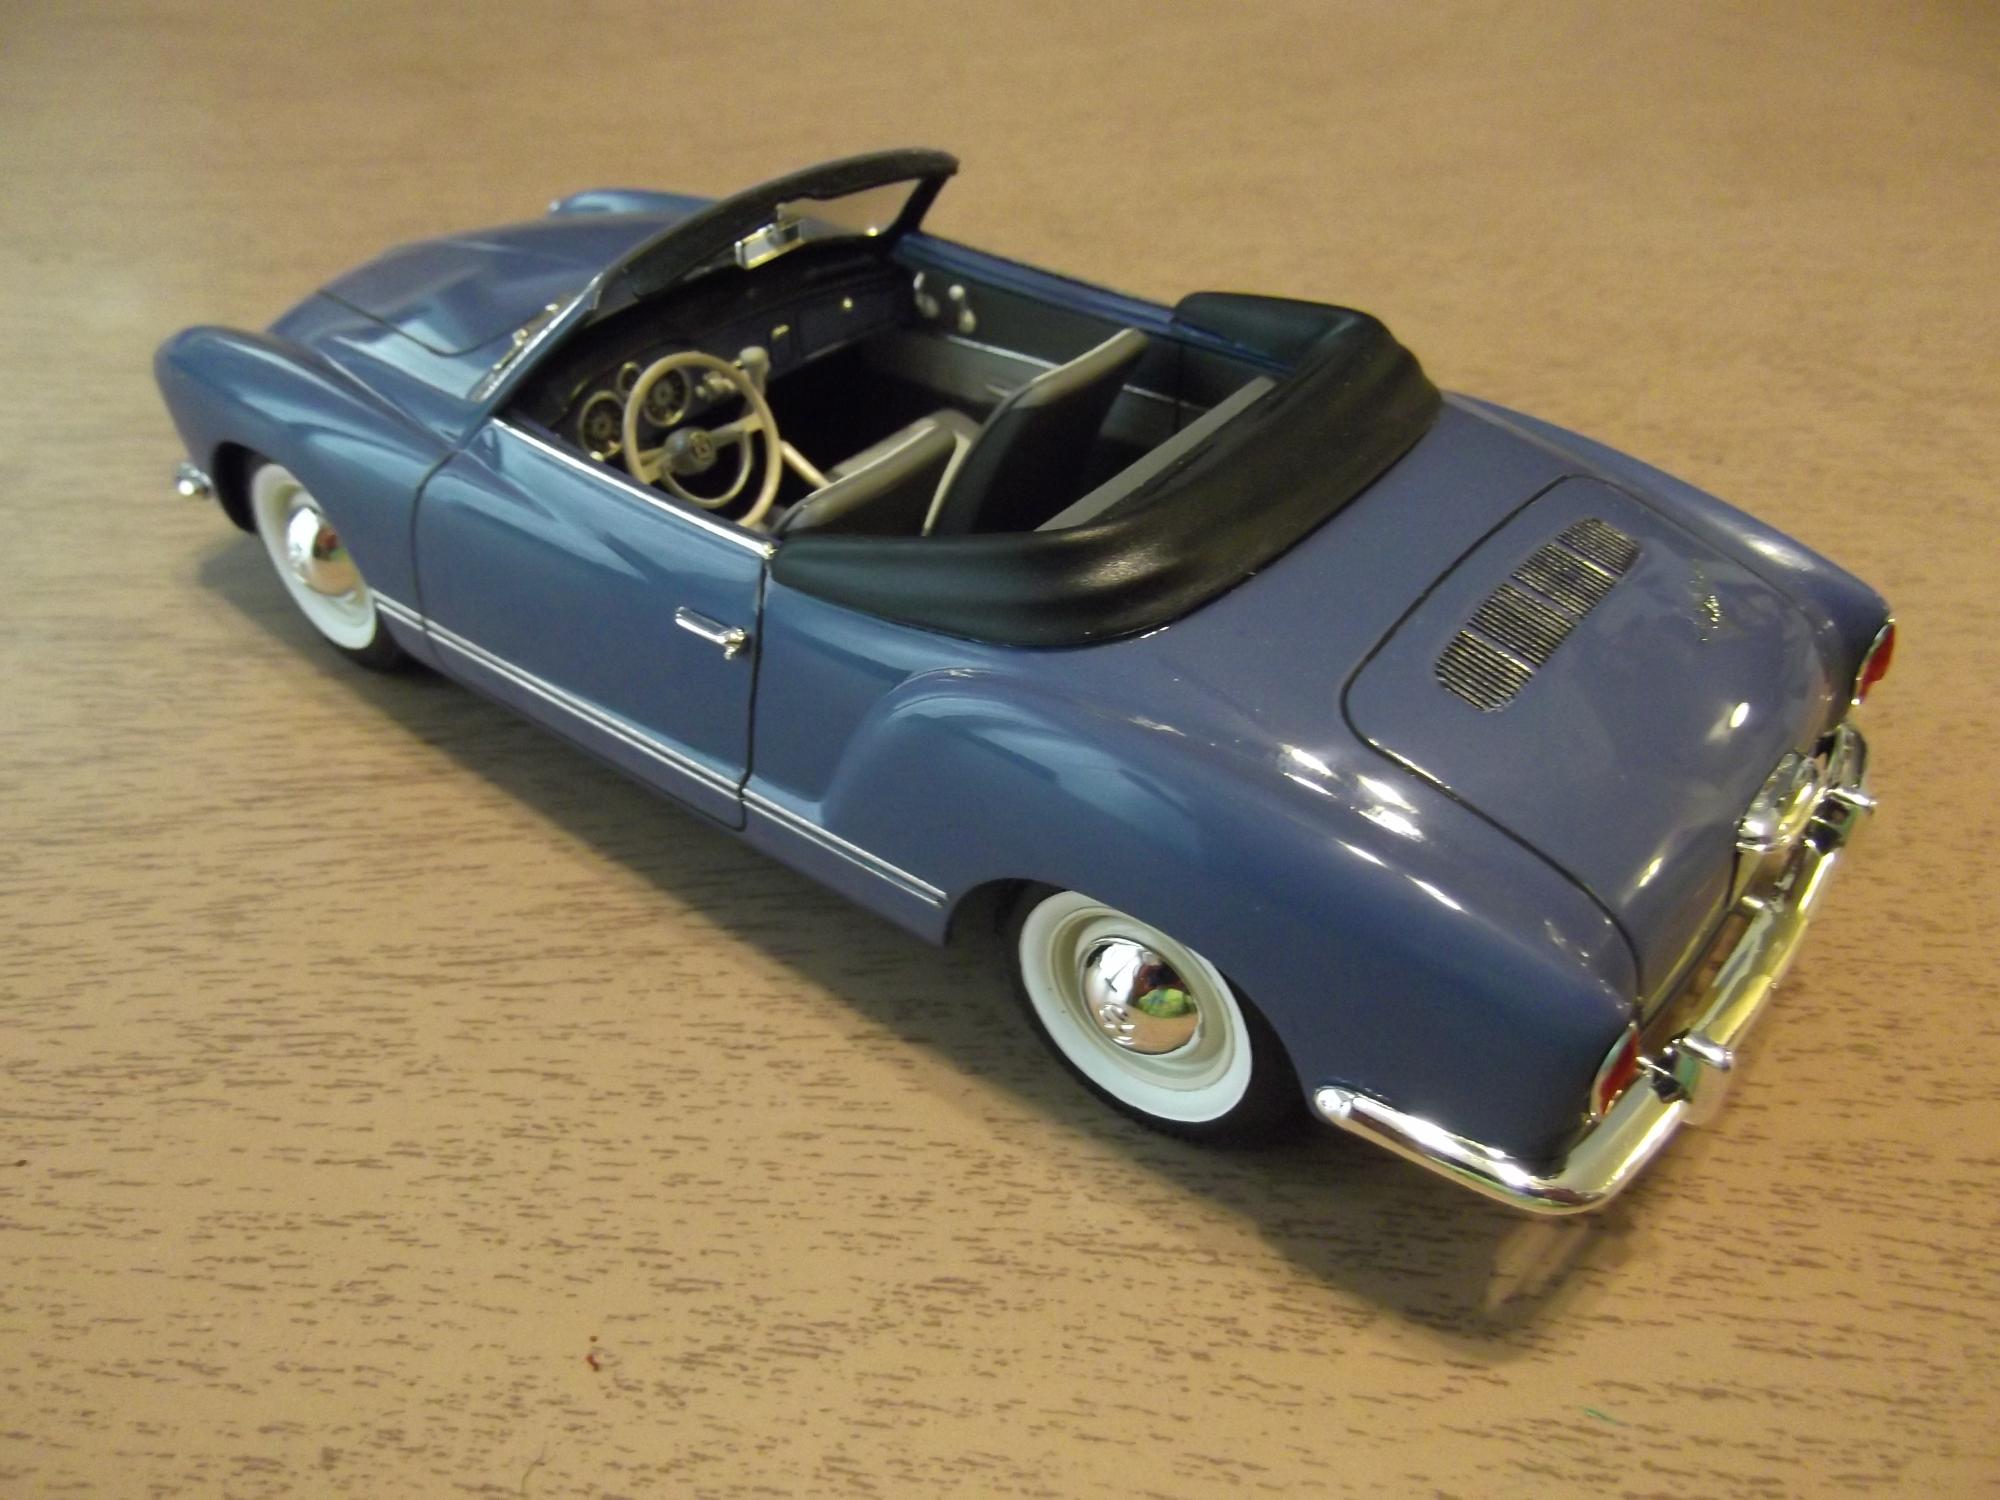
My 1/12 1953 Volkswagen Canriolet by Sunstar It is a limited edition on 1500 worldwide. This car, has working everything . Not to mention it's awesome details. Working features include: opening doors, hood, and trunk working suspension working door handles working steering working Windows/cranks opening semaphores/ turn indicators removeable wheels and hubcaps posable windshield wipers and side view mirror removable tool case with removable tools tilting seat backs opening glovebox posable stick shift tilting visors removable tonneau cover working fabric convertible top
-
Back at it again, with a vw beetle now, this is going to be a replica of my real one that i too am currently working on, which you can see here: http://www.thesamba.com/vw/forum/viewtopic.php?t=636548&postdays=0&postorder=asc&start=0 Here it is, and all the work i have done on it so far: The filler is for bumper holes, indicator holes and some vent on the front of the car holes, i havent finished sanding down the front yet, or the back actually. I really need to paint the exhaust again, i am terrible with a brush, i stole the exhaust from a secret project im doing and just bent it to fit like my real one. I cut the rear seats out and will be filling in the hole at some point because i too dont have rear seats. Thing is, i have a few issues with this kit, the first one is that my dash is right hand drive, and its had new guages put in and been smoothed out by the P.O and im not sure how to replicate it, i am in the process of sanding the dash down and then filling in the indents on it, so i can make the car right hand drive, but im not sure how to make new dials and guages...
-
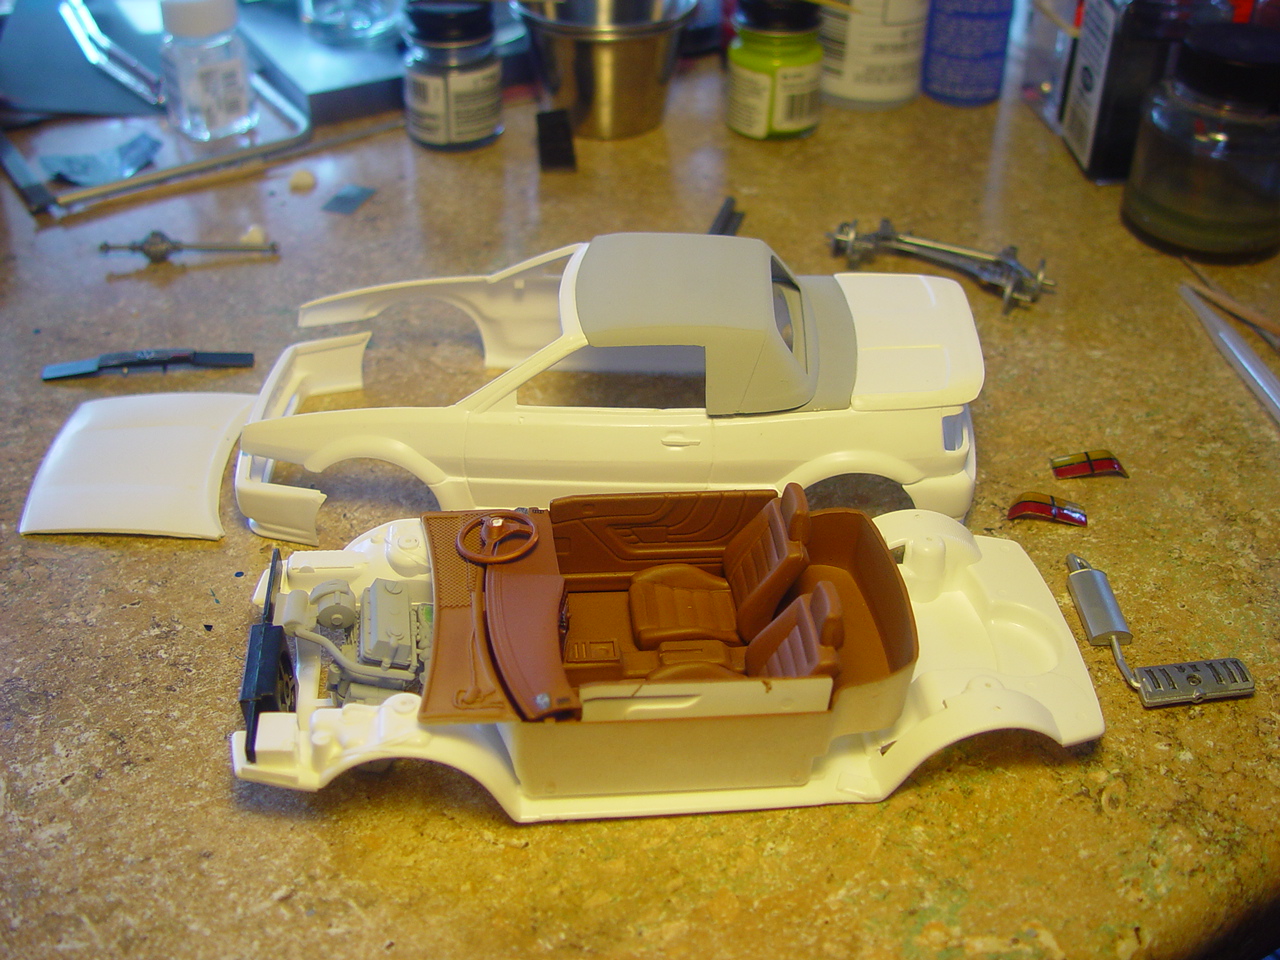
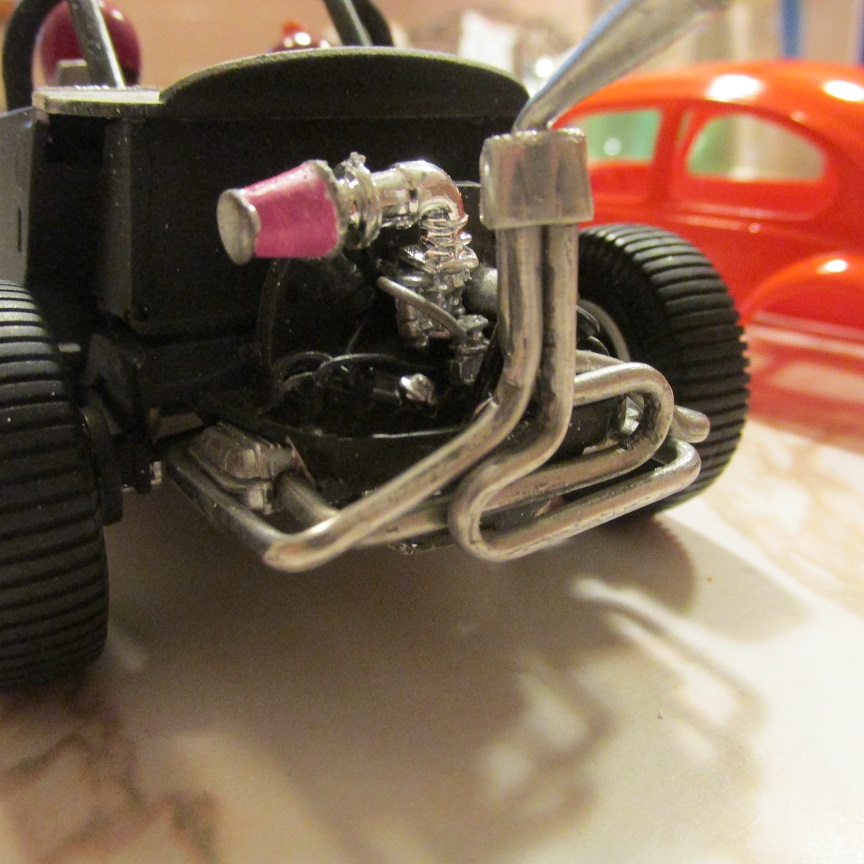
This is a mockup while I smooth out the seams on my 1/16 Karmann Ghia project. There were flat spots in the body casting in the nose, right above the point where the lower apron glues in place, so I'm taking extra time in an effort to build up the proper contour. If it doesn't start coming together soon, it's going to get primer, rust, peeling paint and I'll pass the front end off as old body damage. Engine will be finished off with scratch-built manifolds and linkage for 3D printed Weber IDA's I purchased from Shapeways. I'm also contemplating a more traditional hot rod/low rider wheel and tire combo for the planned super-low ride height. We'll see how it goes, eh?
-
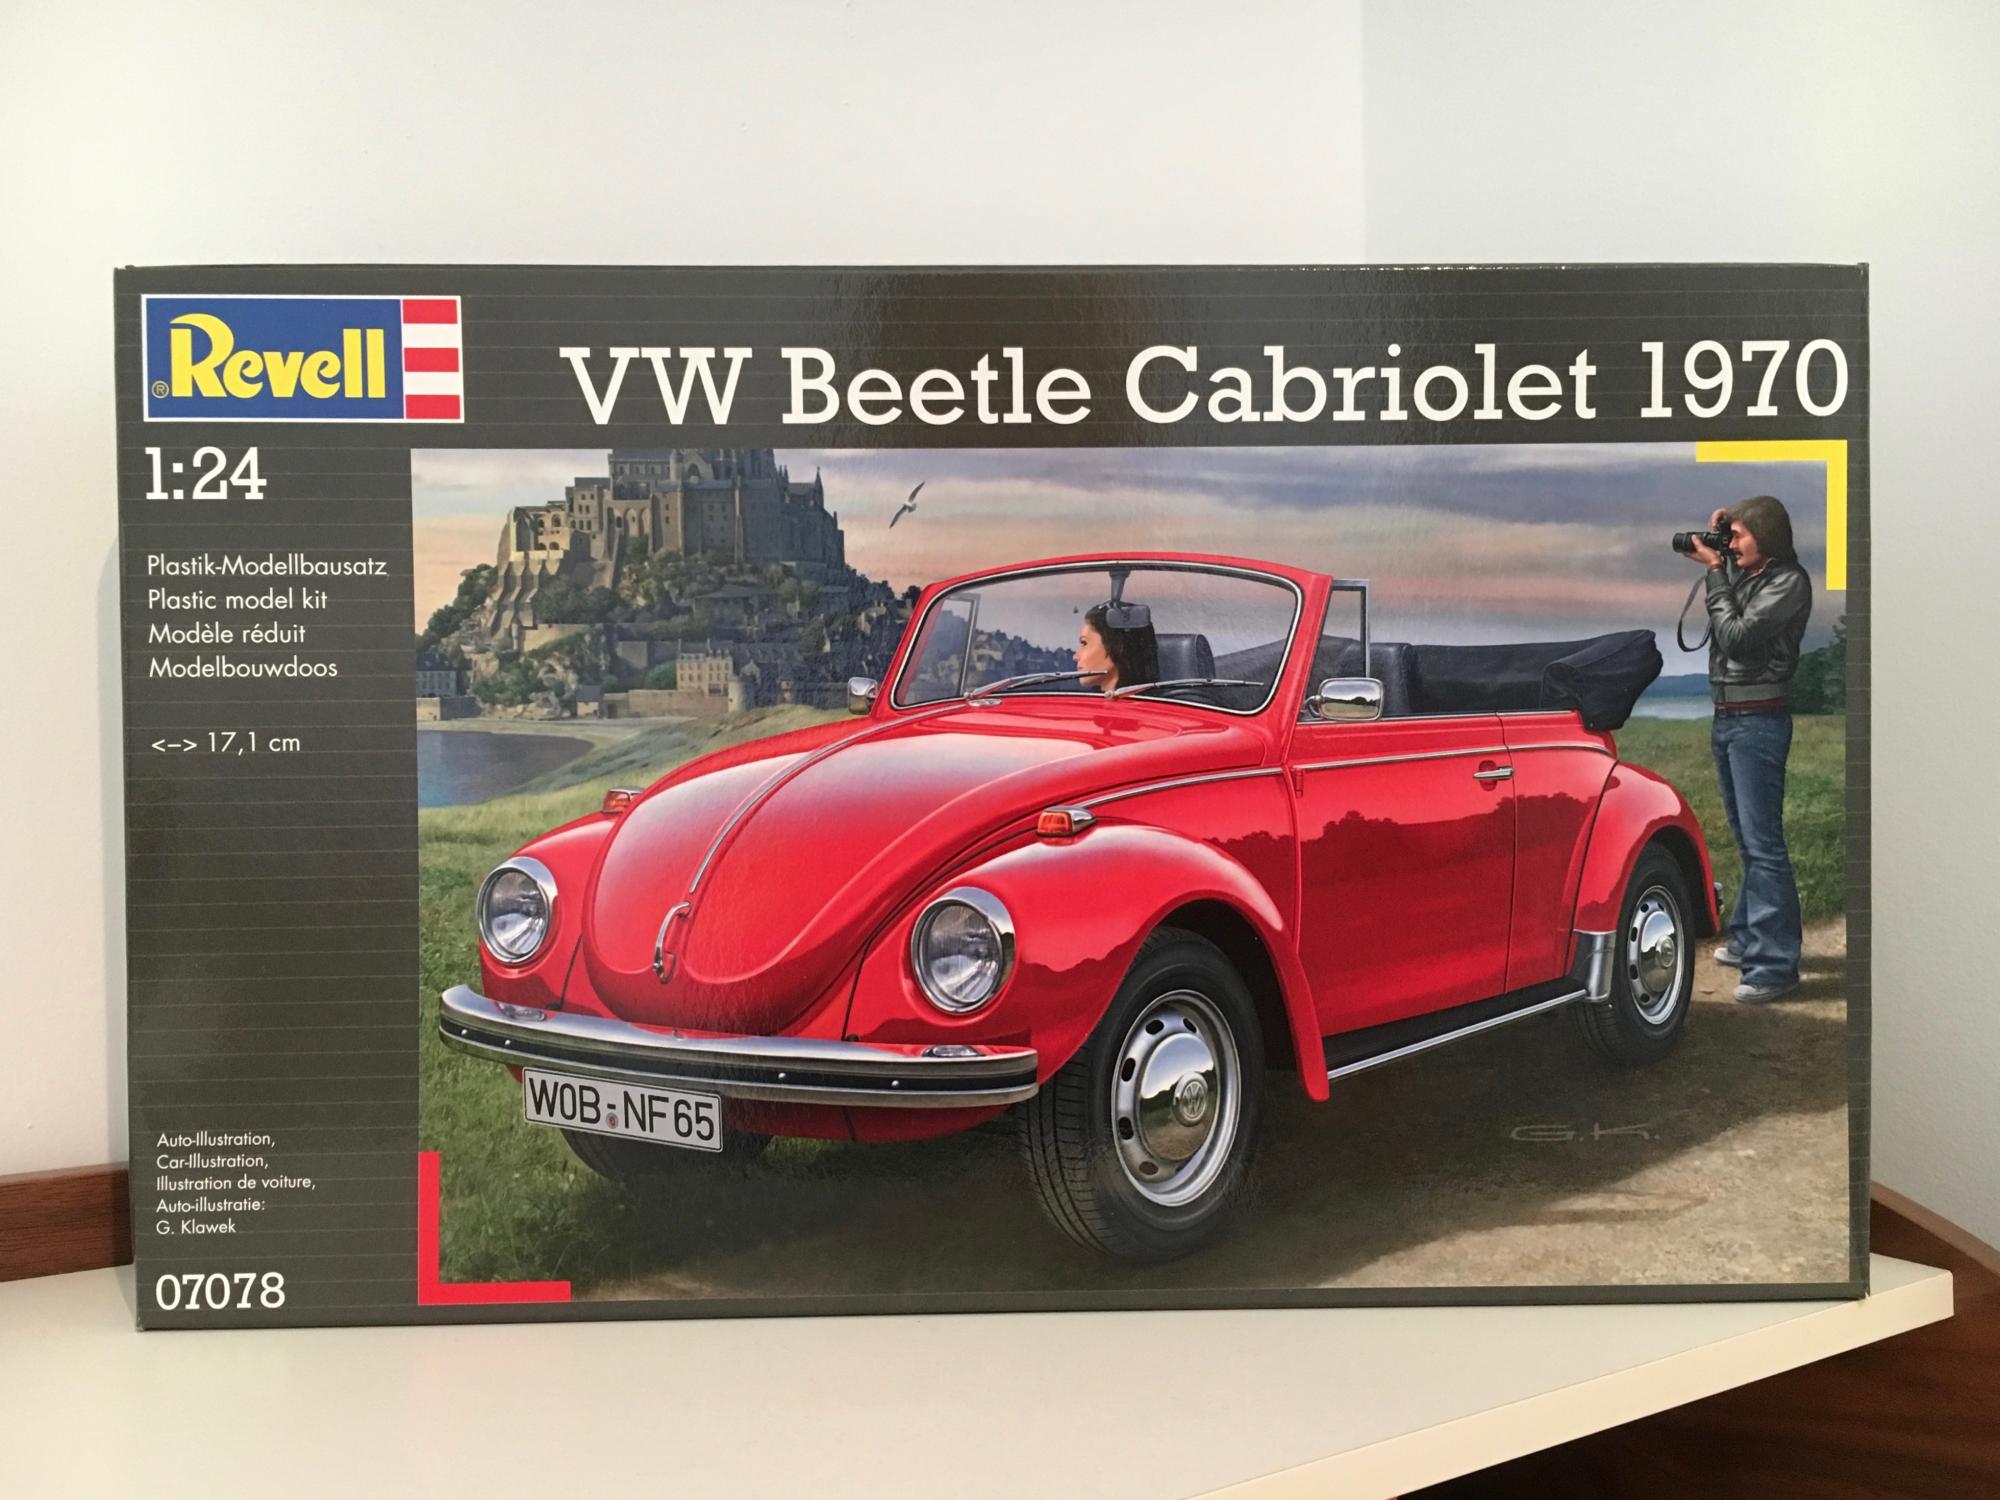
My very first kit arrived today! I wasn't able to find this particular kit in stores near me so I purchased through eBay. While I waited, I researched 1:1 scale examples and tips/tricks from the web. Everyone on this forum has some outstanding projects and I hope to make it look half as good as some of yours! If you know of any good beginner resources please let me know! - Mike
-
This is my recently finished Tamiya Bug. It's supposed to be a candy though it's hard to tell. The kit was excellent which shows my mediocre skills at building. However, I like it just the same.
-
Hey guys, I finished this VW Beetle Baja racer a couple weeks ago. Here's a small diorama I made for it showing it in a race. It's just a piece of Styrofoam covered with dirt, a few plants, and rocks. I used a heat gun to make ruts where the wheel tracks are. For the blue sky photo background, I set up an old ironing board my wife painted. I dirtied up the Bug a little with some real dirt. There are driver and passenger figures inside. This was an easy and fun project. I hope you like it! Sam
-
Hey guys, I just finished my latest project: a VW Baja Bug based on the Revell 1/24 Beetle kit. I did some surgery, cutting down the rear fenders, opening up all four wheel wells, and cutting a hole in the front deck lid for a spare wheel. I raised the rear suspension a little, and used rear wheels and sand tires from an old Meyers Manx kit. Little Red Wagon front wheels and spare with parts box tires. Exhaust pipes are made from solder (tedious job!), as is the front bumper. Rear engine guard is pieces of roll bars and sprue. Light bar is cut down from some pickup roll bar (Lindberg F-150 maybe?). The rear seat was cut out, and a roll bar made, Racing seats from the parts boxes. Window netting is metal window screen. There's a driver and passenger figure inside ready to race! I plan to make a small diorama of the Bug in a desert race scene. Paint is Valspar Allis-Chalmers tractor paint. This build was just fun! I had a couple fit issues when putting the body on, but it didn't come out too bad, I think! Comments welcome!
-
Do any of the VW Bus / Type II models come with the Gear Reduction Axle Boxes? I sort of have a hair brained idea of using a pair on a Hot Rod to go even lower. One could feasibly set up a Ford Banjo Rear End with a set of gear reduction boxes flipped to drop another four inches. Not to mention the fact that these boxes had a variety of gear sets available and could essentially be set up in an overdrive like a Quick Change Rear could.
-
I'm working on a Baja off-road Beetle, made from the Revell 1/24 scale Beetle kit. The kit is so nice I almost didn't want to hack it up, but I can always get another kit to build stock! I cut down the fenders with a Dremel tool, then cut a hole in the front deck lid for the spare using a hole saw on a drill press.....very.....carefully! The rear seat was cut off, and different seats used up front. The exhaust pipes are made from solder. I botched the first set, and these aren't the best, but I'm tired of bending solder! Rear wheels and tires are from an old Manx kit (I think). front wheels are from the Little Red Wagon kit with parts box tires. Gas tank is a cut down 32 Ford tank. A friend gave me the two race driver figures. Neither of us knows what they're from. I put them in the seats and plan to make a small diorama of the Bug in a desert race. Still some work to do - make an engine guard, front brush guard, light bar on the roof, install headlights, windows, decals, etc. Fun project, but more work than I thought it would be!
-
This was my first time working with a Resin body. Used the Winged Express kit for chassis and cut out the side panels of the frame, not sure why, just to be different I suppose. Shoe horned a Ross Gibson McGee Quad cam engine in it. Not sure how manageable it would be to get down the track with that short wheel base. She would be one wild ride that's for sure.
-
Another kit finished this year... i like the final result..
-
Just a beater '57 Beetle with 17"-ish wheels from Revell's '41 Chevrolet Pickup.
-
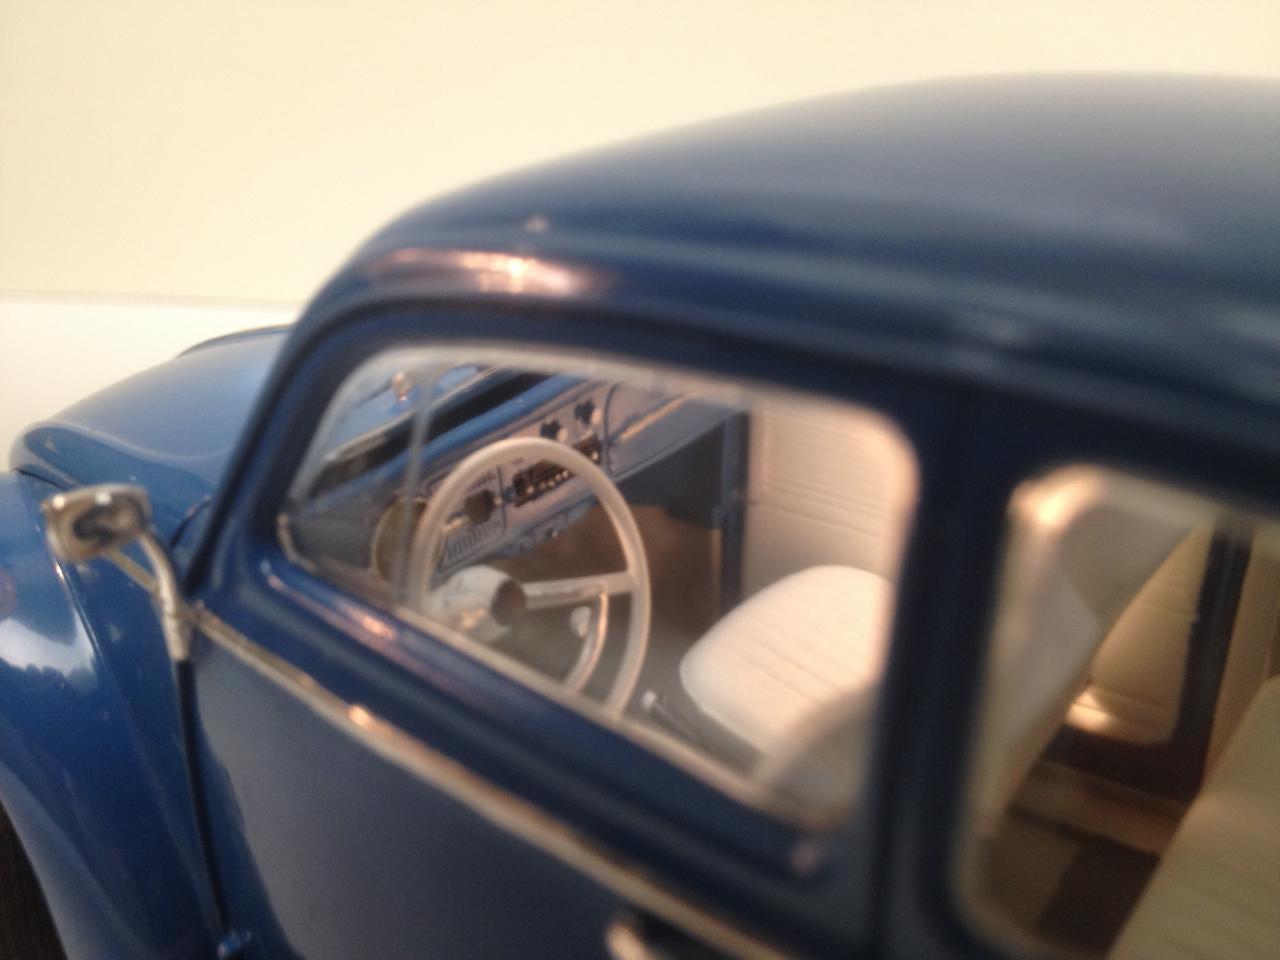
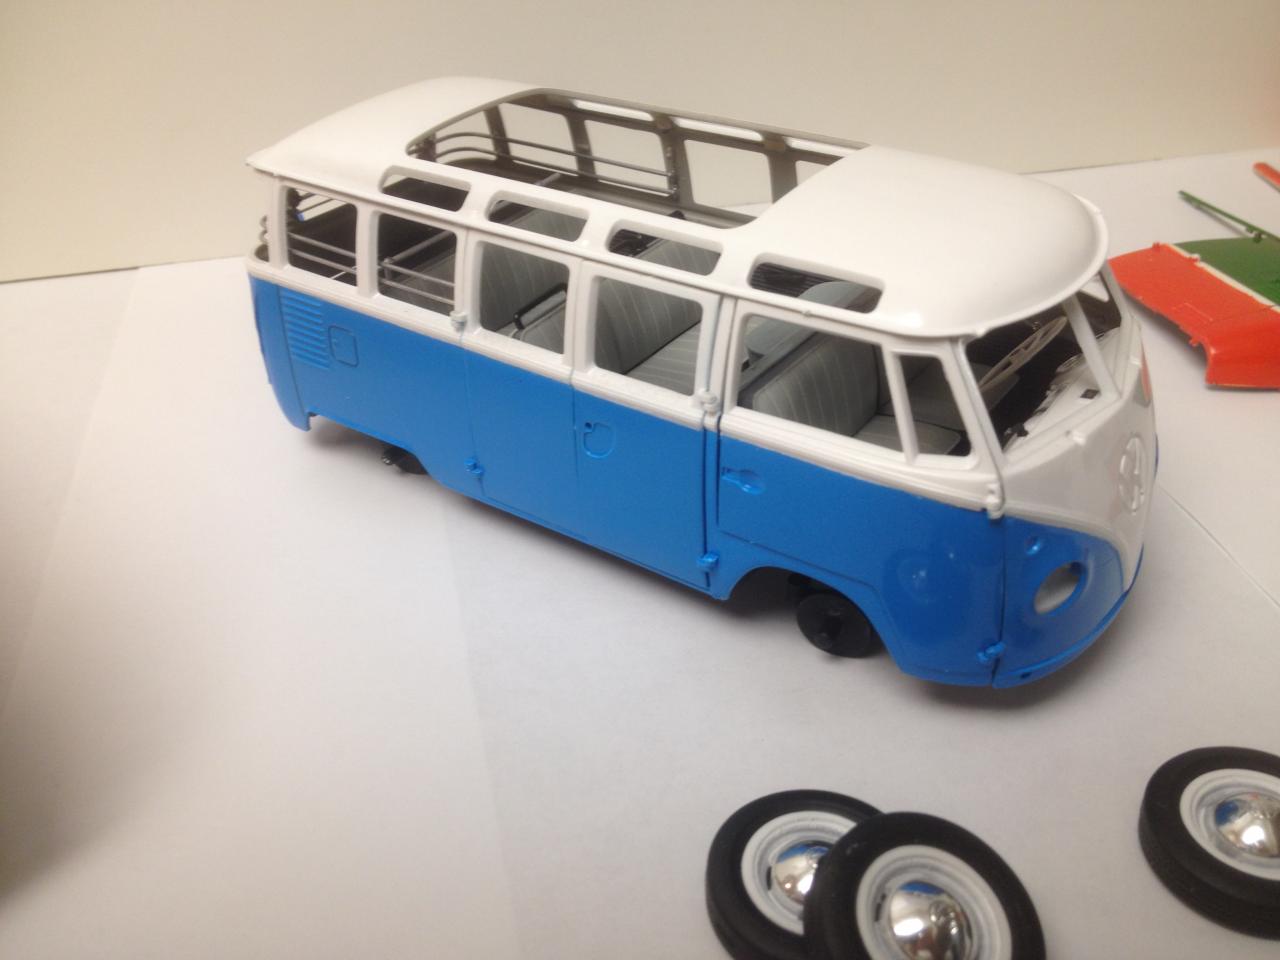
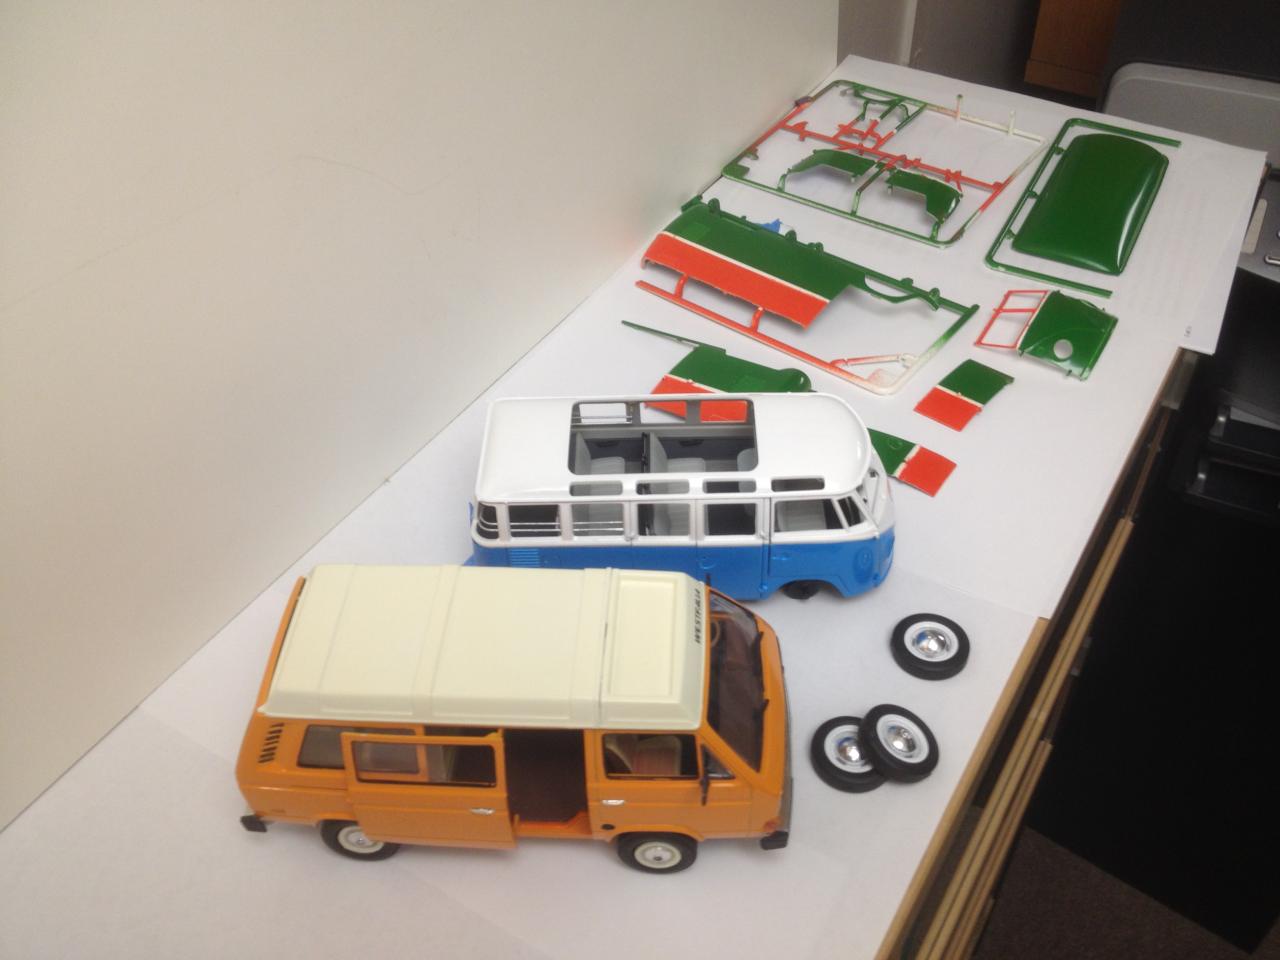
Winter in the Northeast is not the best painting weather. So this year, I decided to paint some kits in advance. I already had a VW Bug built - so I decided to paint some other VW kits in September - a Vanagon, a Samba Van and a cargo van. I painted, bagged them, then starting working on them when the temp got to freezing. This is kind of a cross between Under Glass and On The Workfbench. Here are some pics of the VW Bug I had already built - it's from the Tamiya kit The next to be built which i just finished, is the Vanagon from Revell of Germany. I found this kit (and the Samba Van) very difficult to built. Lots of warping - but with patience and a few clamps it worked out. Here are some pics Next to be built is the Samba bus - here are some pics of the partially finished bus And in pieces is the next project - the cargo van
-
Think about World War Two. Many have speculated what humankind would be like today if the Axis forces took over the world after winning WWII. What about automobiles? Germany made the Beetle, which was amazingly reliable. They probably wouldn't think so highly of American cars. But they wouldn't want to just throw the American cars away. So I've made a prototype. Take an American car. Oh, here's a Monogram 40 Chevy! How ugly! Germans wouldn't take so kindly to the American front-engine style. So what would they do? Put a VW engine in it, in the rear, where an engine belongs! They would put the headlights on the fenders, inset, where they belong! American seats? Pshaw! VW seats all the way! Pictures soon to follow.
-
Thinking of taking this Maisto Squareback and making a replica of my poor old '73 :,(
-
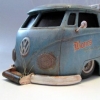 When brainstorming project ideas, sometimes I find it helpful to start with backstory rather than just starting with a couple of model parts that happen to fall together, though I've had plenty of projects begin that way as well. In this case, the project was sparked by a conversation in cluding the idea that swap meet spaces were claimed by a first-come, first-served method like the Oklahoma land race, and what kind of hauler one might use to sell at such an event. I went with a slammed VW singlecab, converted to a halftrack with a roller on the front bumper to help skid over larger obstacles (see the weeds caught in the roller and rear bumper, below). Based on a Freeman Cars VW DRAG TRUCK body and the treads from an old small scale Caterpillar tractor model, I built this slammer:
 -
Here is a Revell vw bus I completed for a friend. Easy build. Did the in side with tie-dye, has a home made table. With a reel to reel tape deck, tamyia paint an clear, custom decals. Detailed rims. Came out decent , hope u like it,
-
It has taken me more than half a year and this is my first finished build in 2013! Normally, I would've finished about 8 by now, now just this one. It was a project where I didn't know for sure how it would turn out and what the final look would be, simply because it has never been done before in this way and even with the real cars, the Kubelwagen is mostly left untouched. Not so much with this kit, I decided to modify the heck out of it. I started with cutting up the body and get it from a 4-door to a 2-door model, then I sectioned the body and shortened it. I made a new nose, so the original floorpan could be used and prevented it from making the model look goofy. I added a very wild paintscheme, inside and out, and added a lot of different styled touches. I think that overall, the blend does come out nicely. I haven't gotten a proper photobooth for this size of cars yet, so I made a rough photoshoot, sorry about that.
-
Someone on this forum mentioned that he would like to see more of my VW`s so here is one: I did this a while ago, Mr Model / Gunze Sangyo Karmann - Ghia. I did it in kinda sixties- custom / lowrider style I quess. Pegasus wheels and stock hubcaps, lowered to the max. I painted it with Tamiya lime green pearl over silver leaf base. Final layers were made with Tamiya clear. Rear glass and rear quarter vindows were cast as a same clear part with top. I didn´t want to go with clear top so I sprayed few mist coats of lime green pearl to top. Top is now supposed to look like tinted plexiglass custom top on a convertible. Oh, and those nice spun aluminium mirrors are from Mr. Modeller, Brazil. Thanks for looking these pics, comments are welcomed as always. Jarkko
-
This is from the Revell Germany kit of 1991. I have been packing it around forever. The body piece had a decent warp in it, most of which I removed with hot water treatment. There is still some warp there, but I think when I get the rest of the kit together it may straighten out. The overall quality of the kit is really poor, and it was molded in a softer version of styrene, or some other plastic. It is coming together though, and I think (hope) it will make a nice shelf model. I will paint it Boyd's Aluma Coupe pearl yellow. The windshield piece is broken in two right down the middle, so I will have to scratch something together for that. Keep tuned, it will be done soon hopefully.
-
hi folks here is my rat style golf (rabbit) mk2 regards maik


.JPG.c40cb340e0d081bb679636013824f0f4.thumb.JPG.9fbd3527528a648bf878012e7a872a72.JPG)