Search the Community
Showing results for tags 'chevrolet'.
-
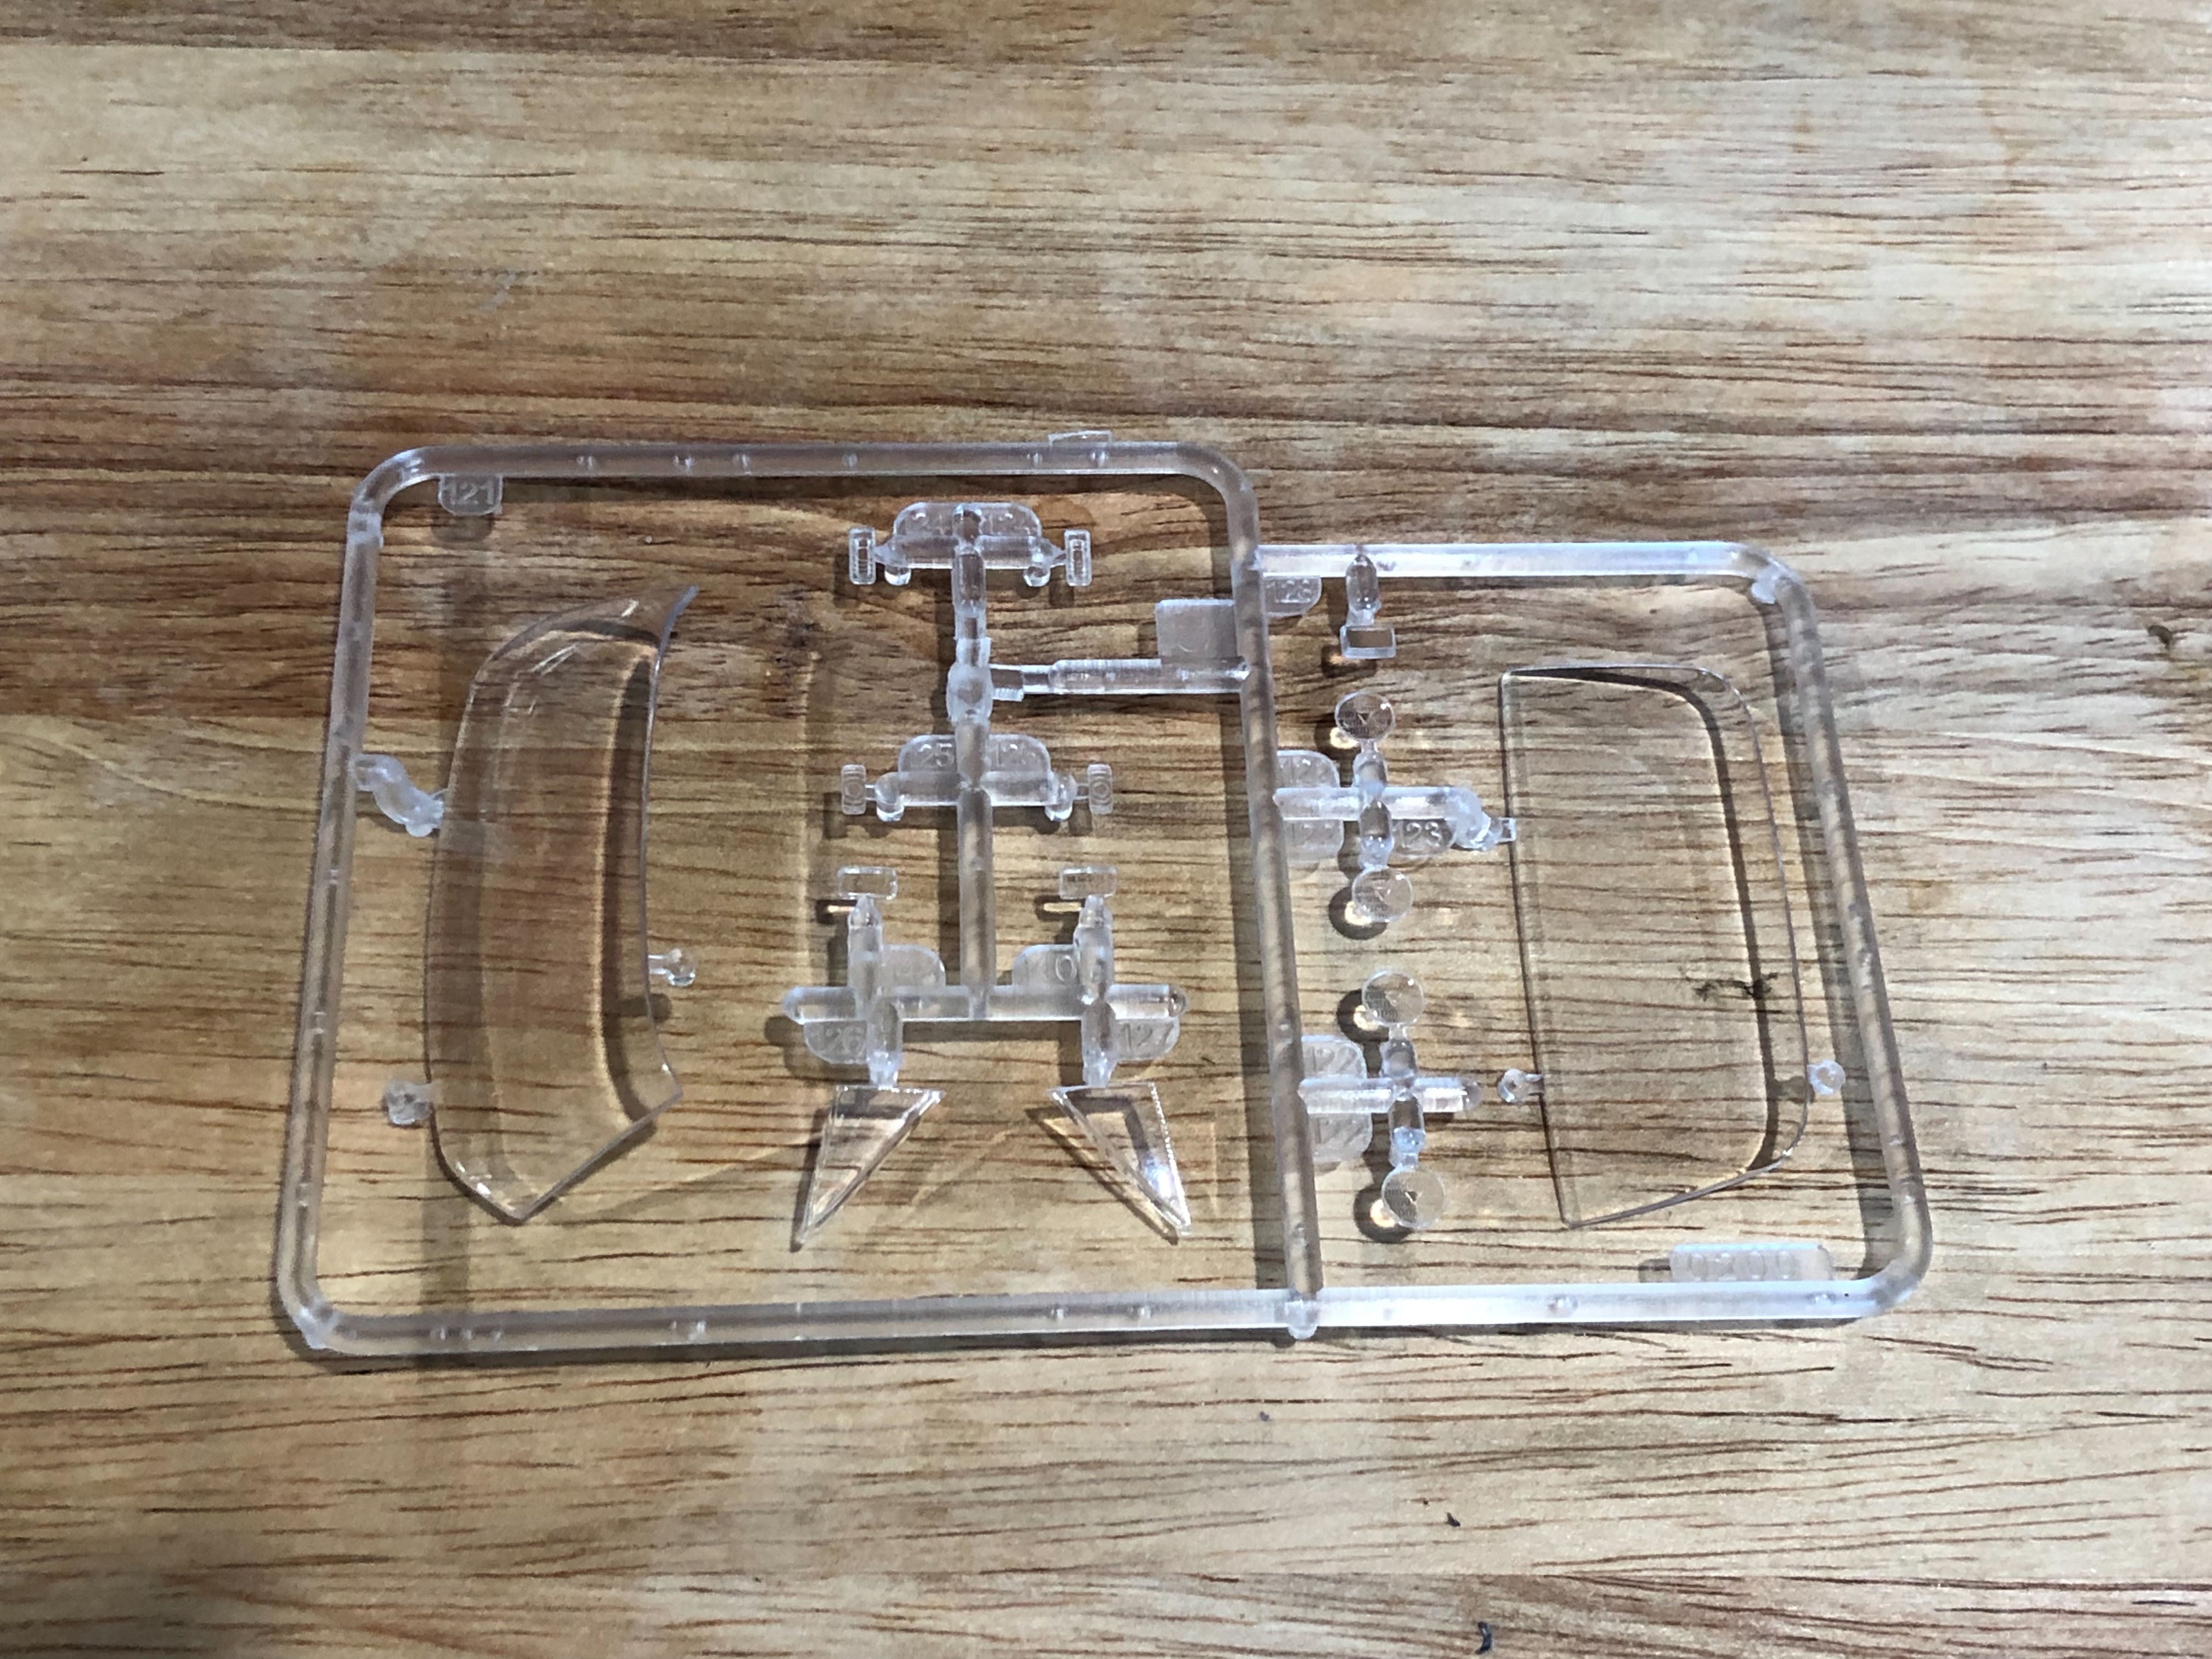
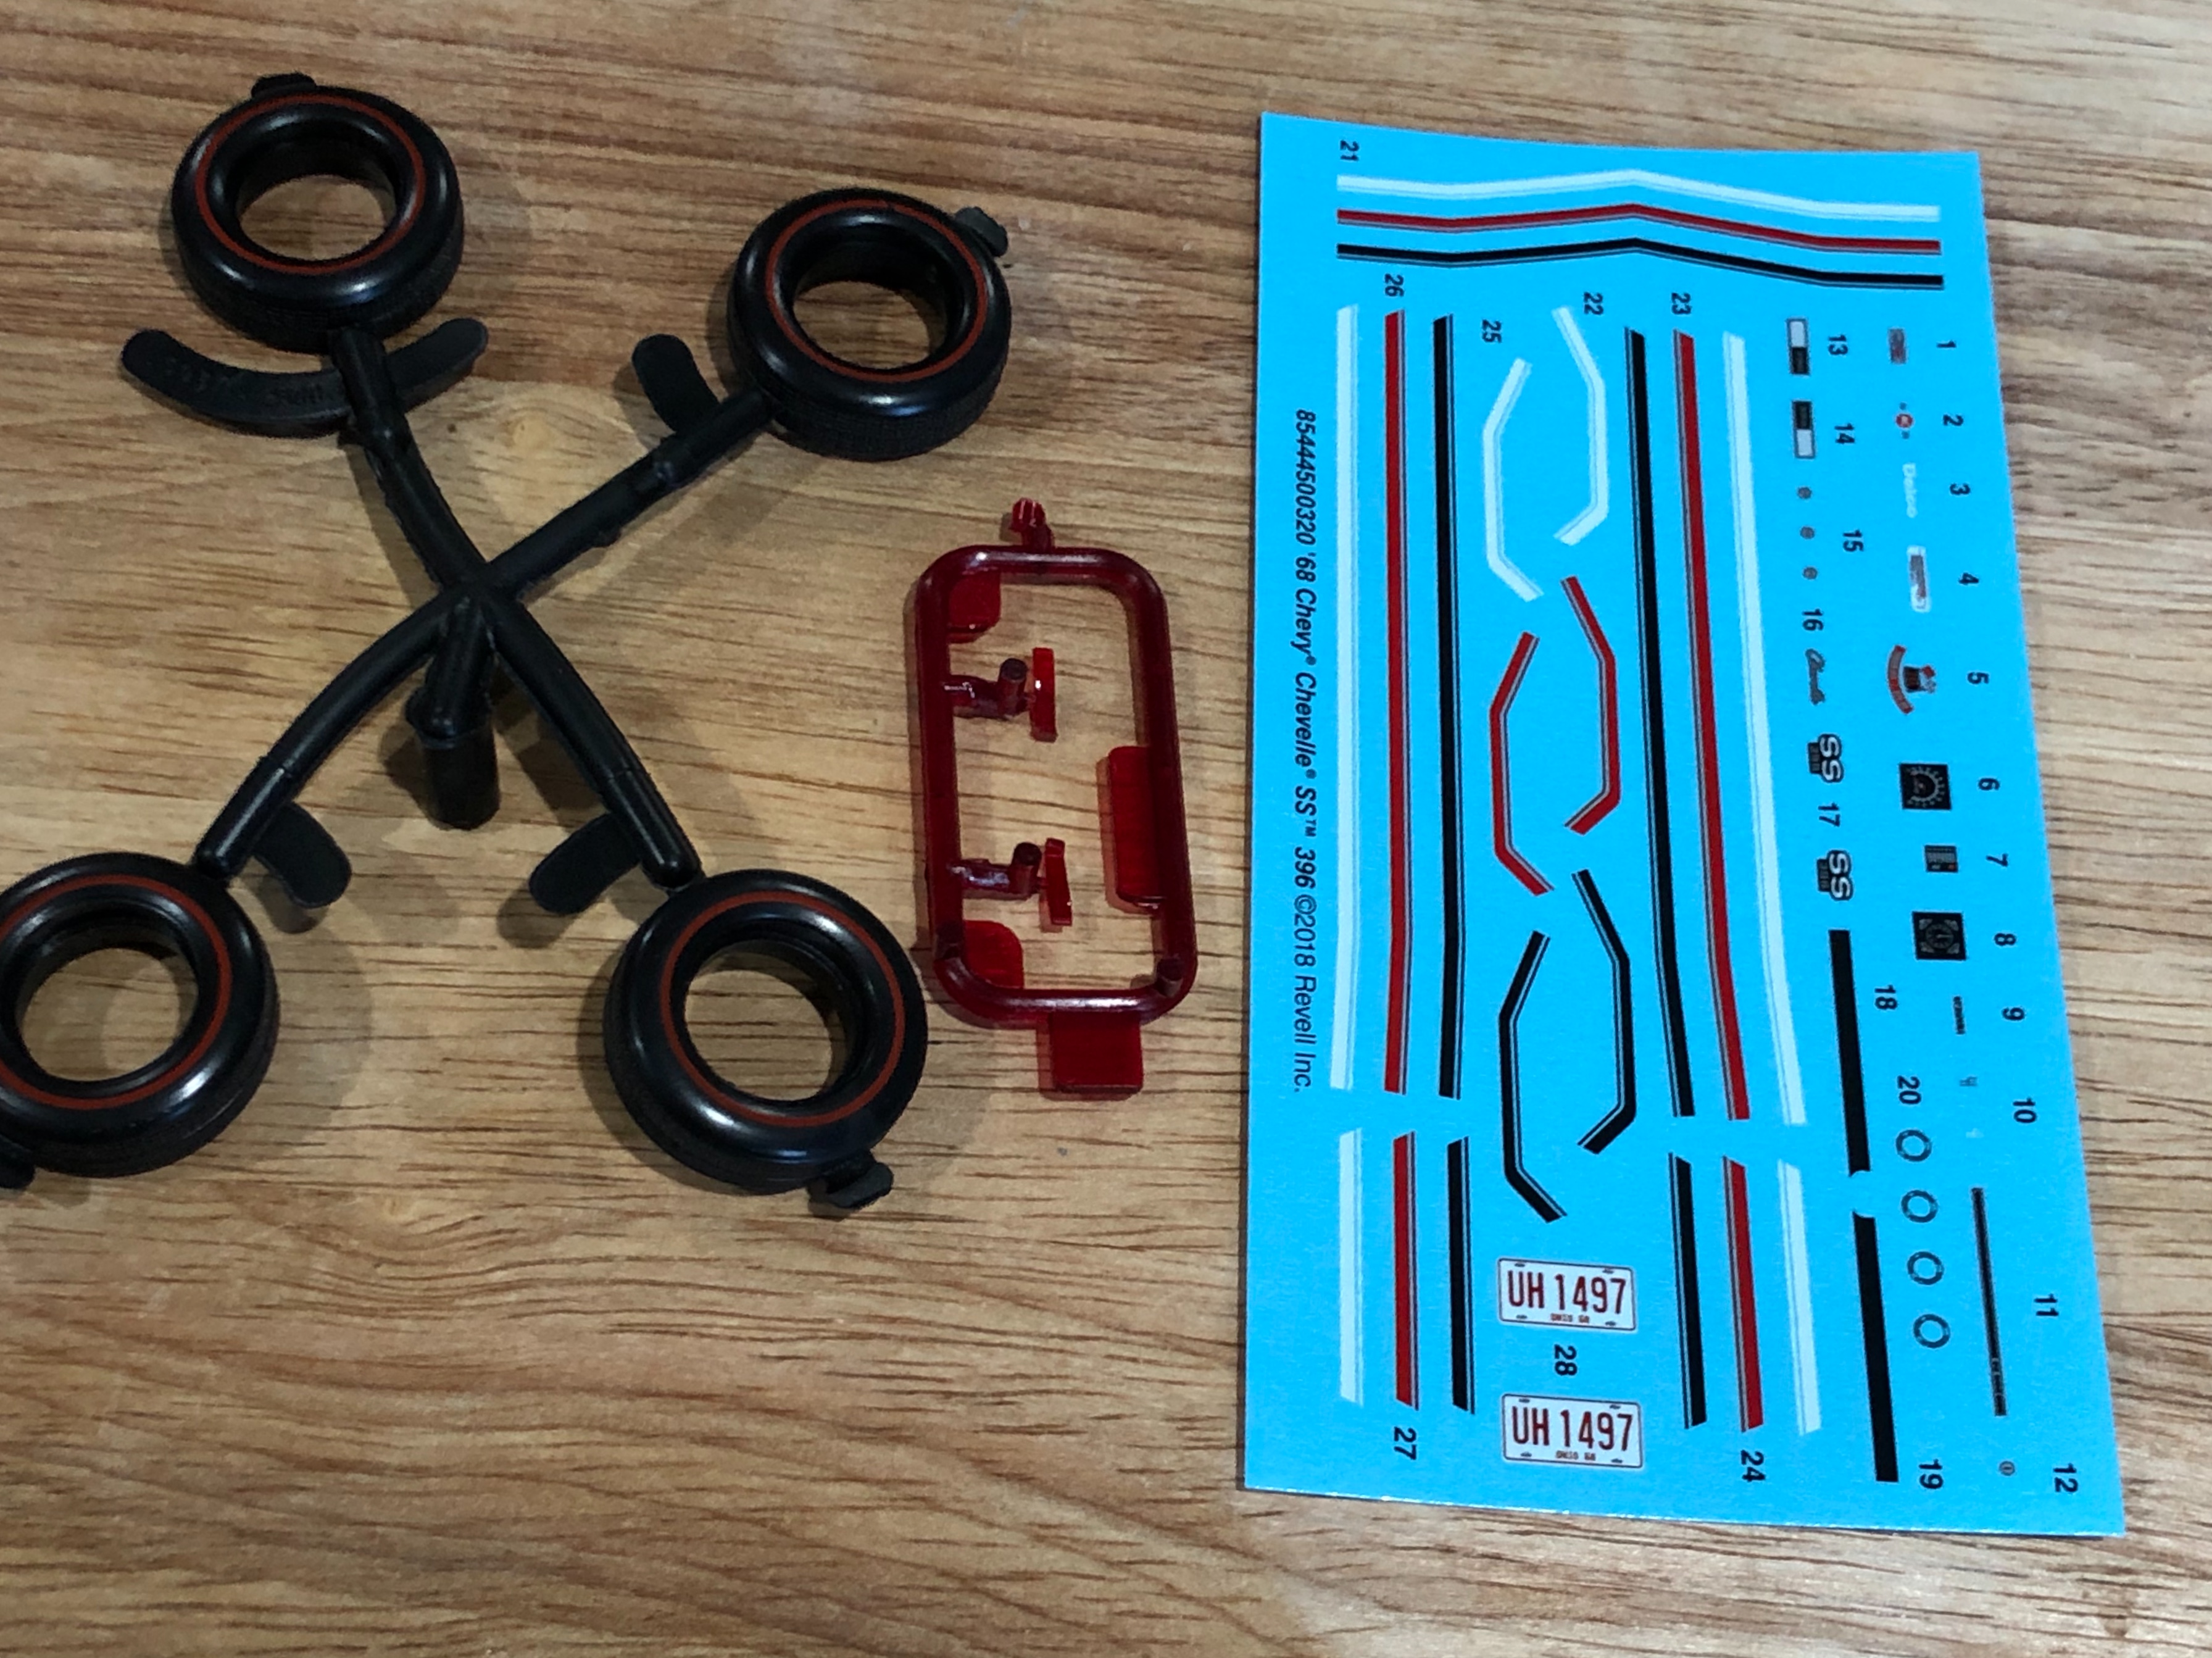
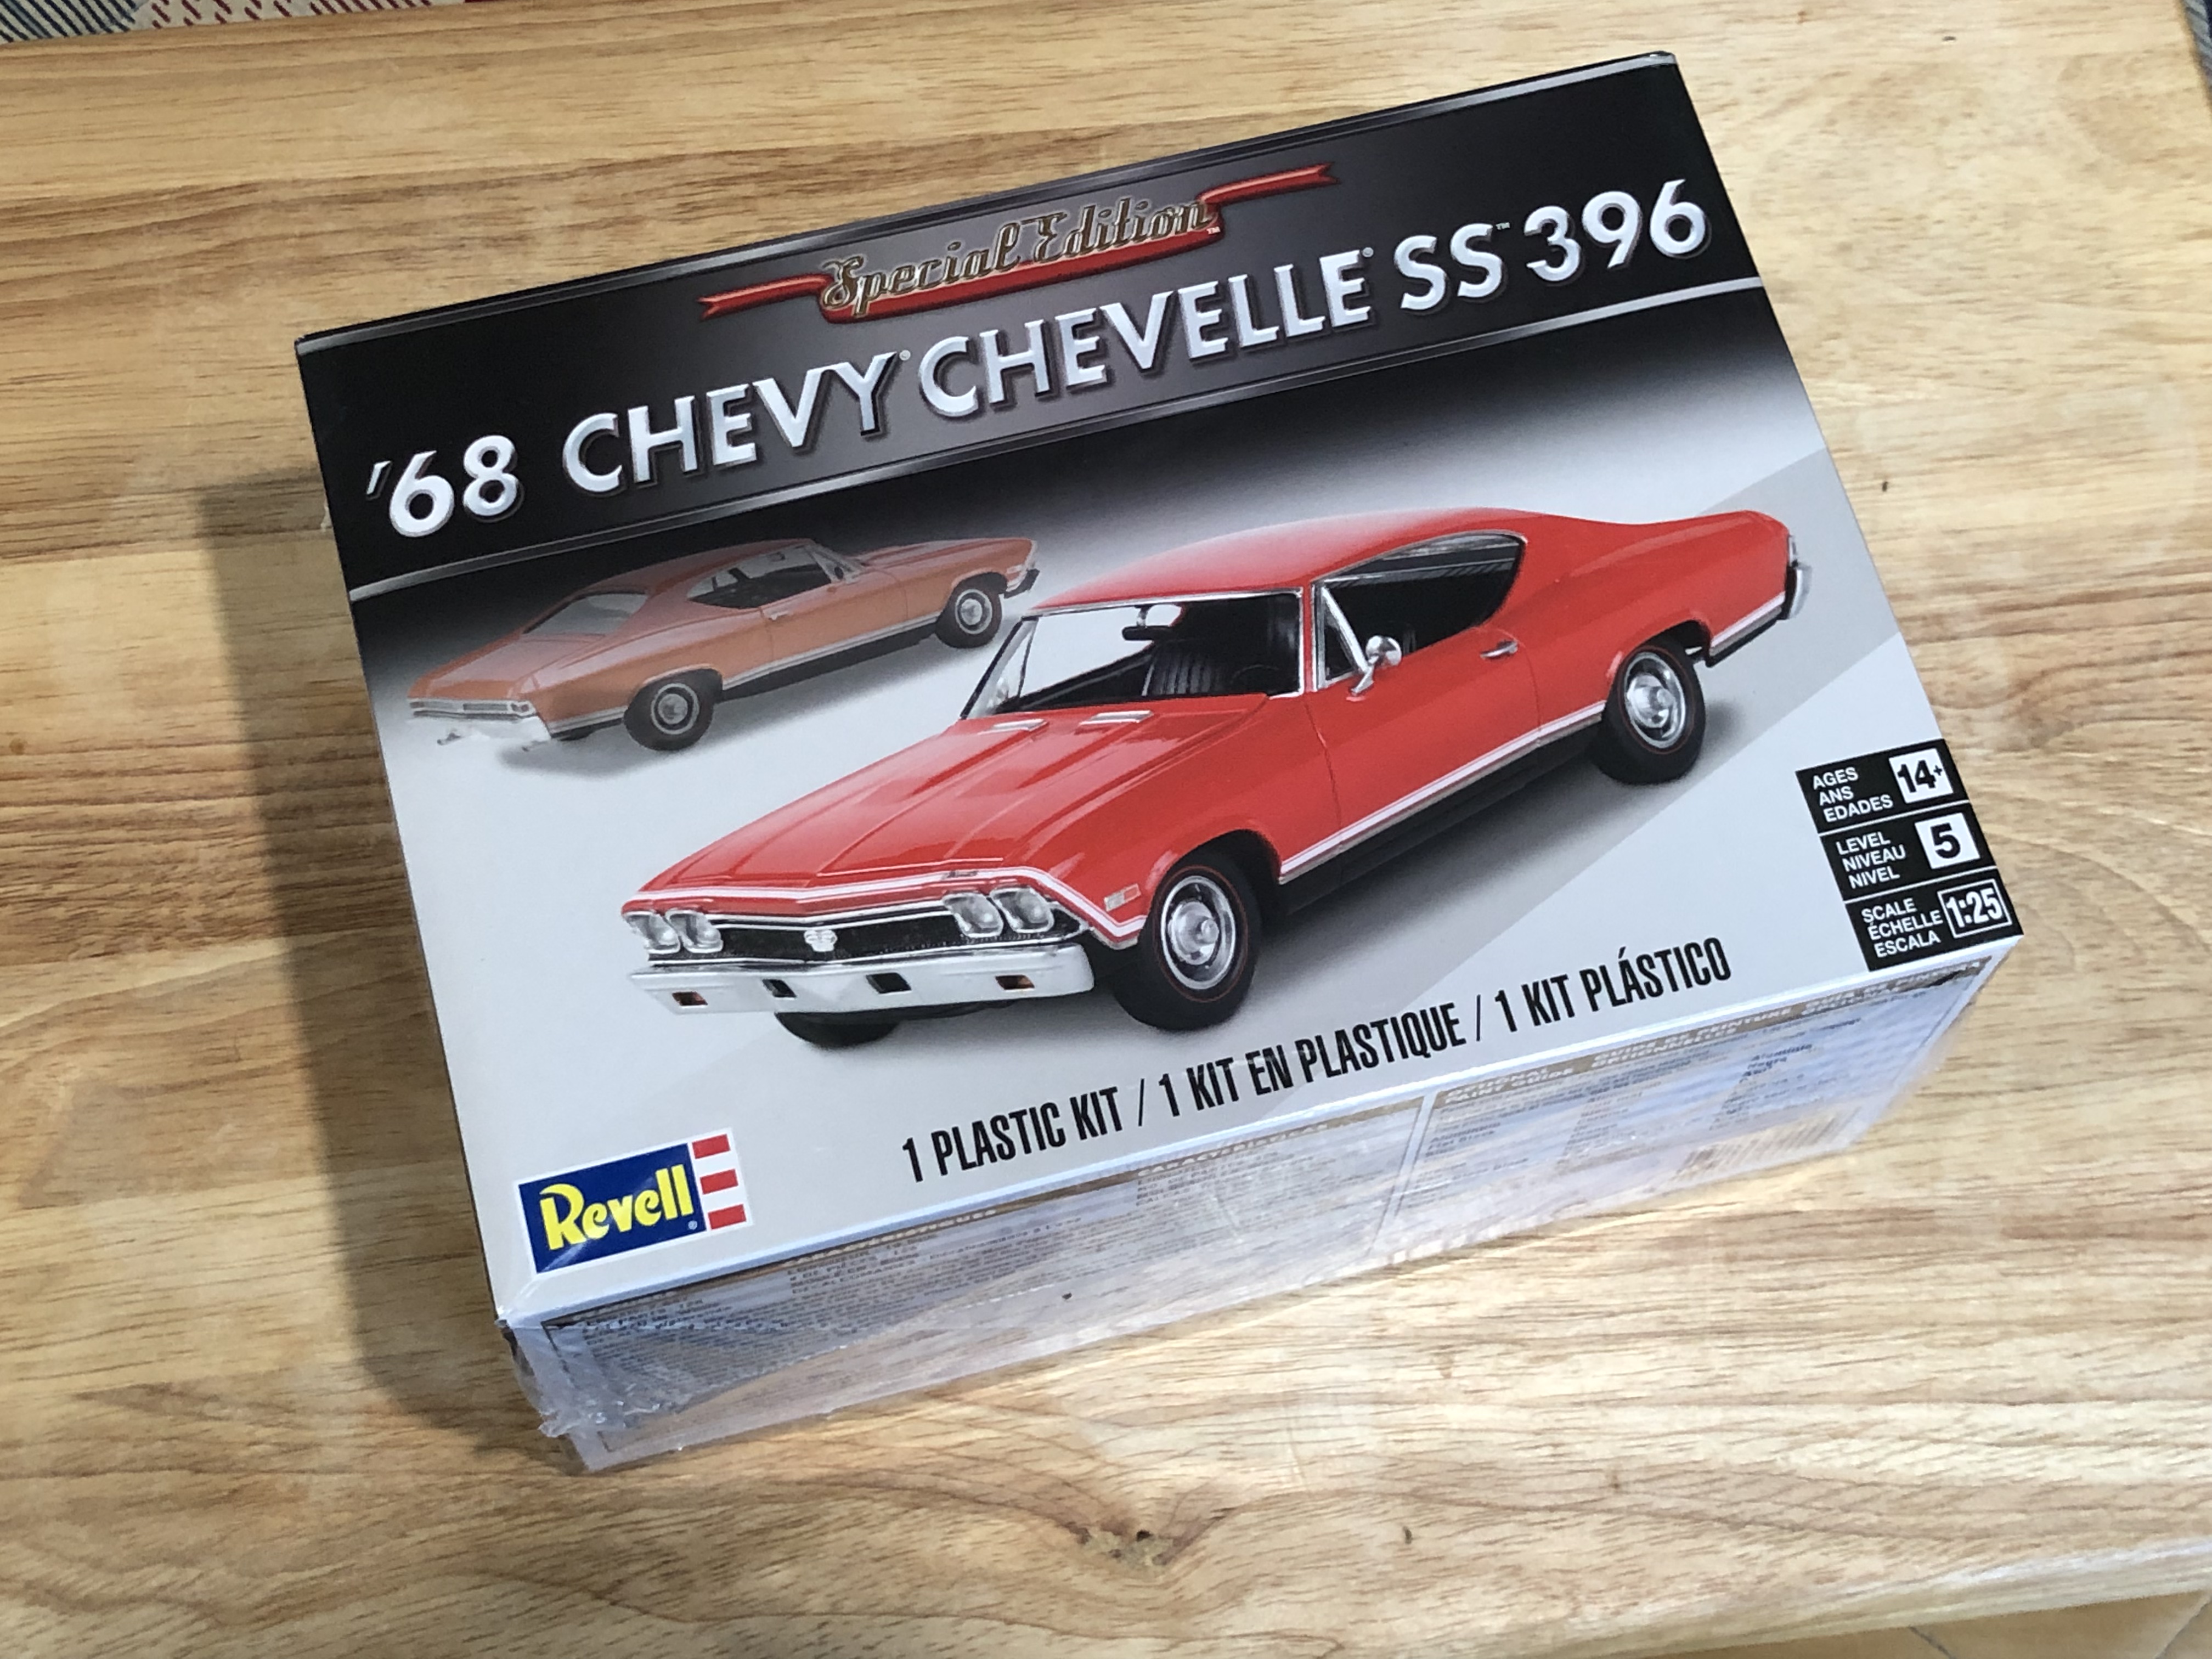
 My daughter couldn’t wait for Christmas for me to open this one!
-
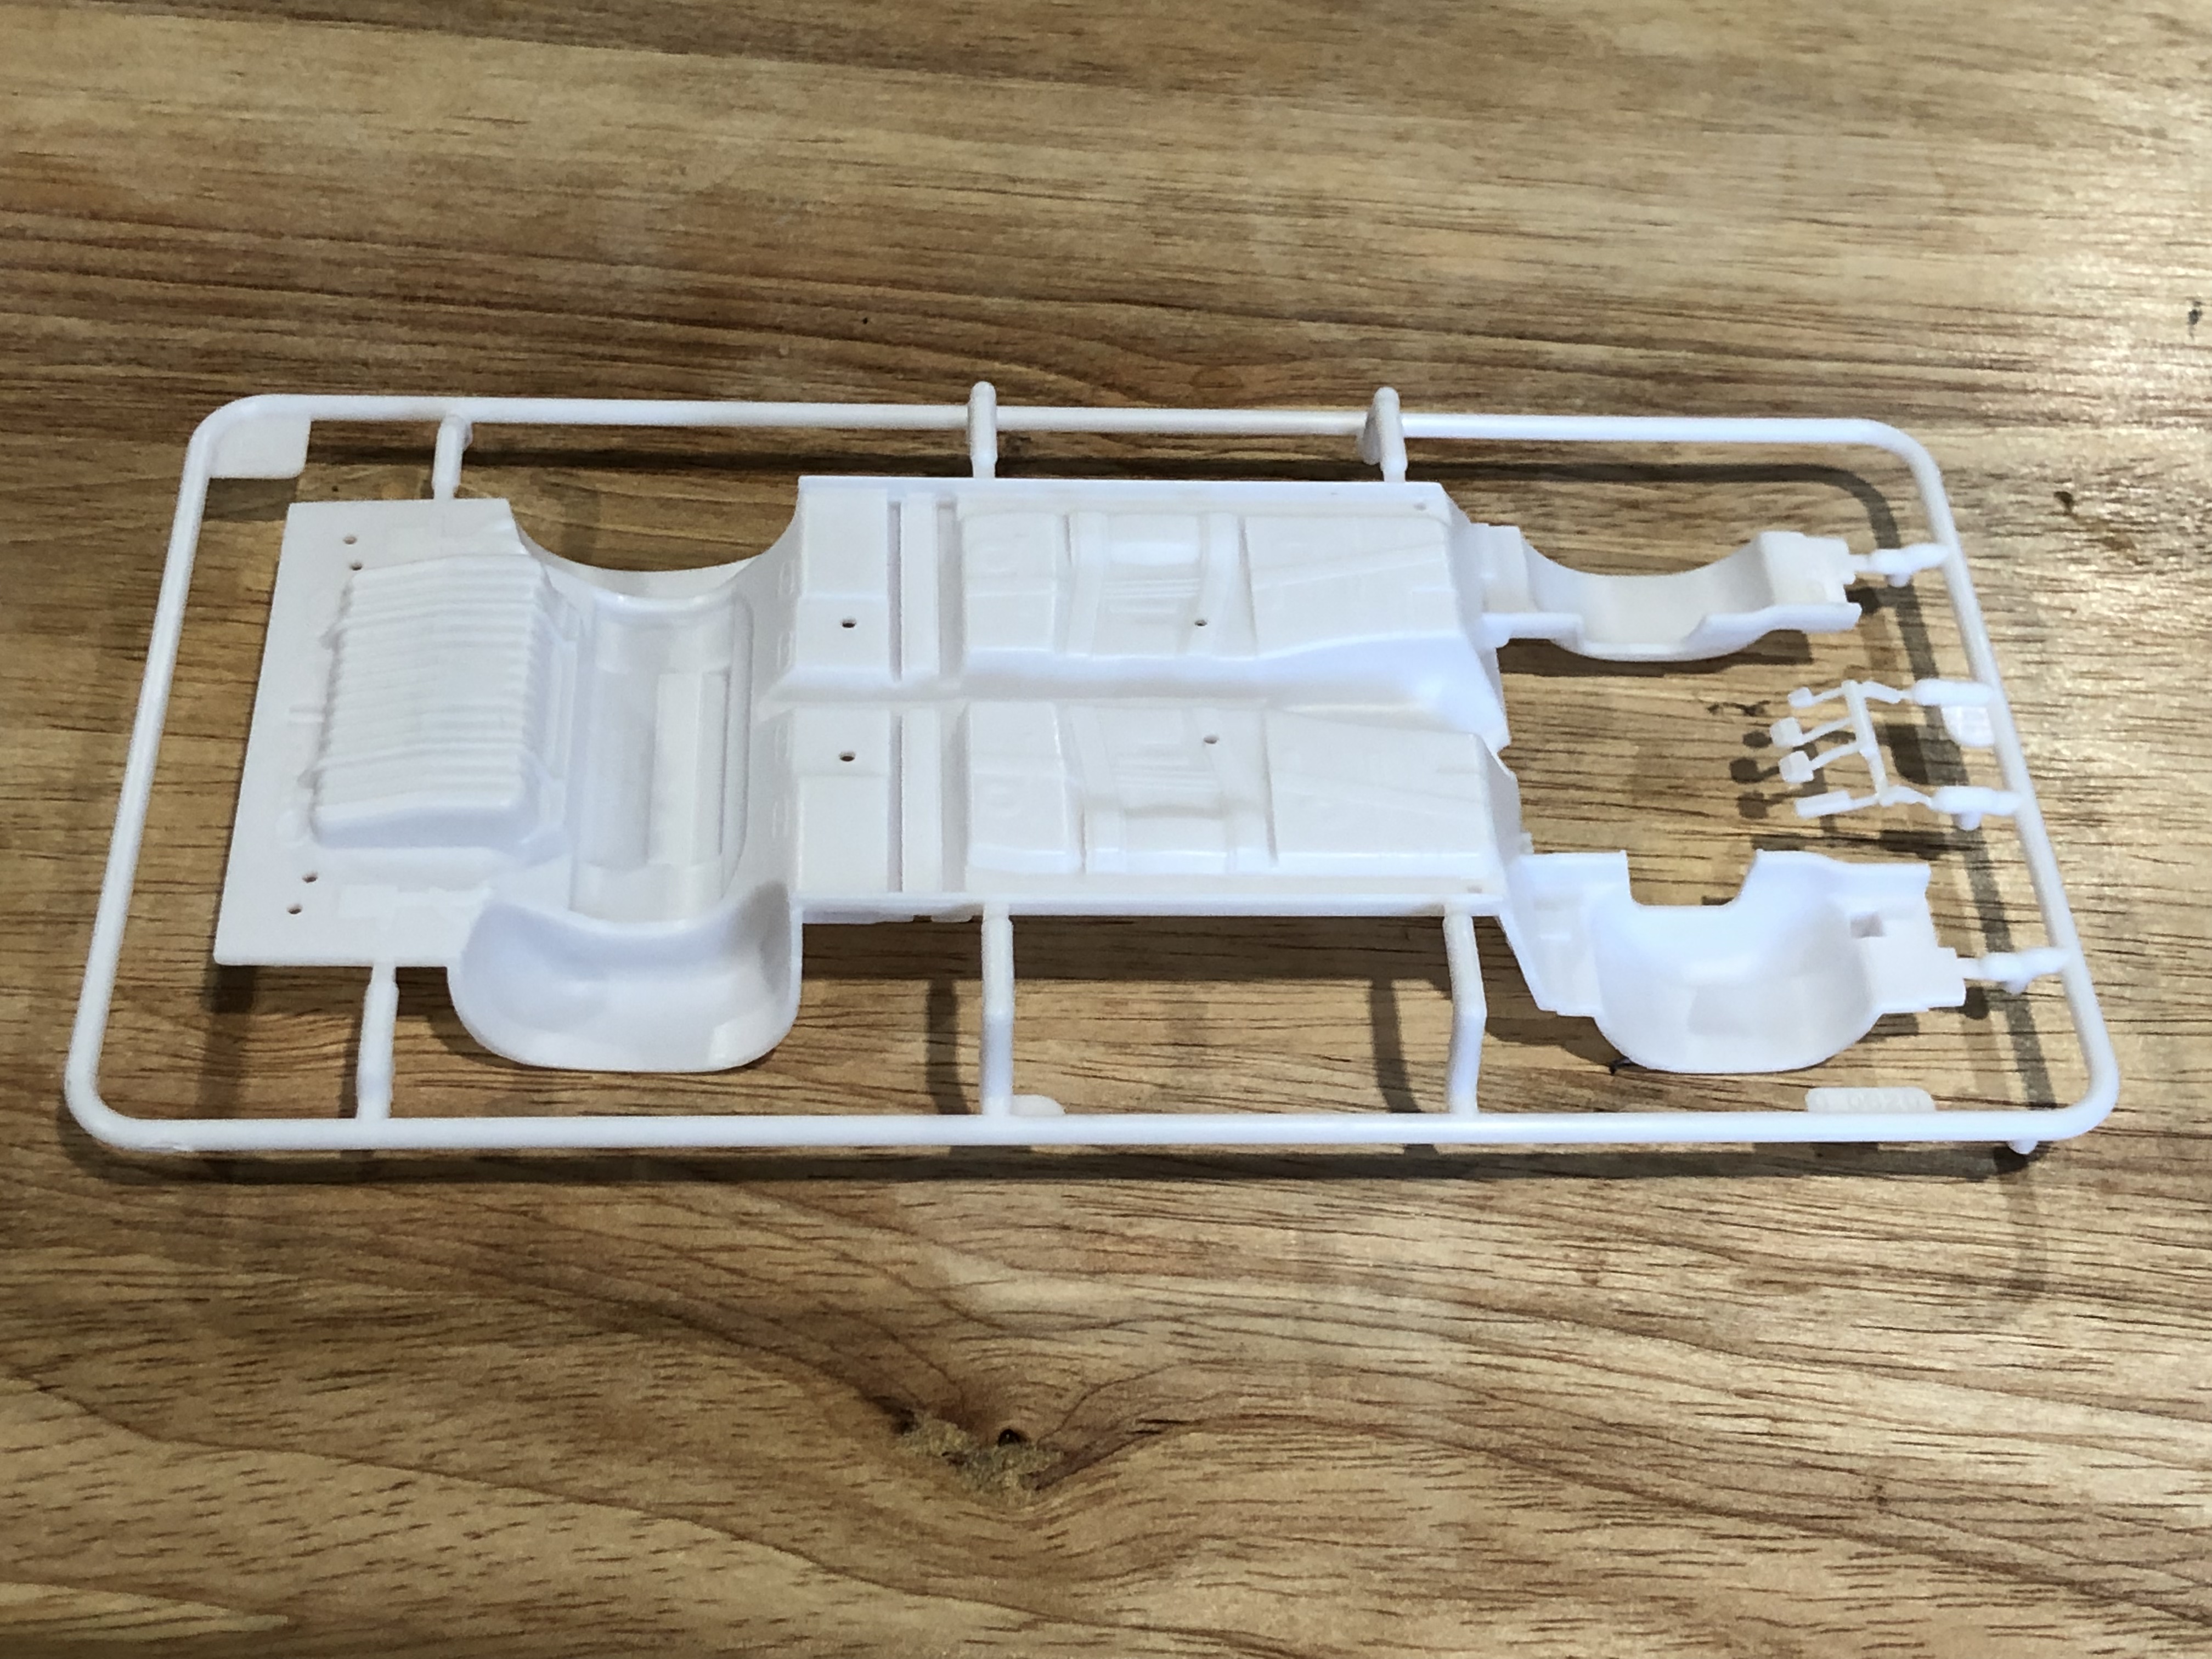
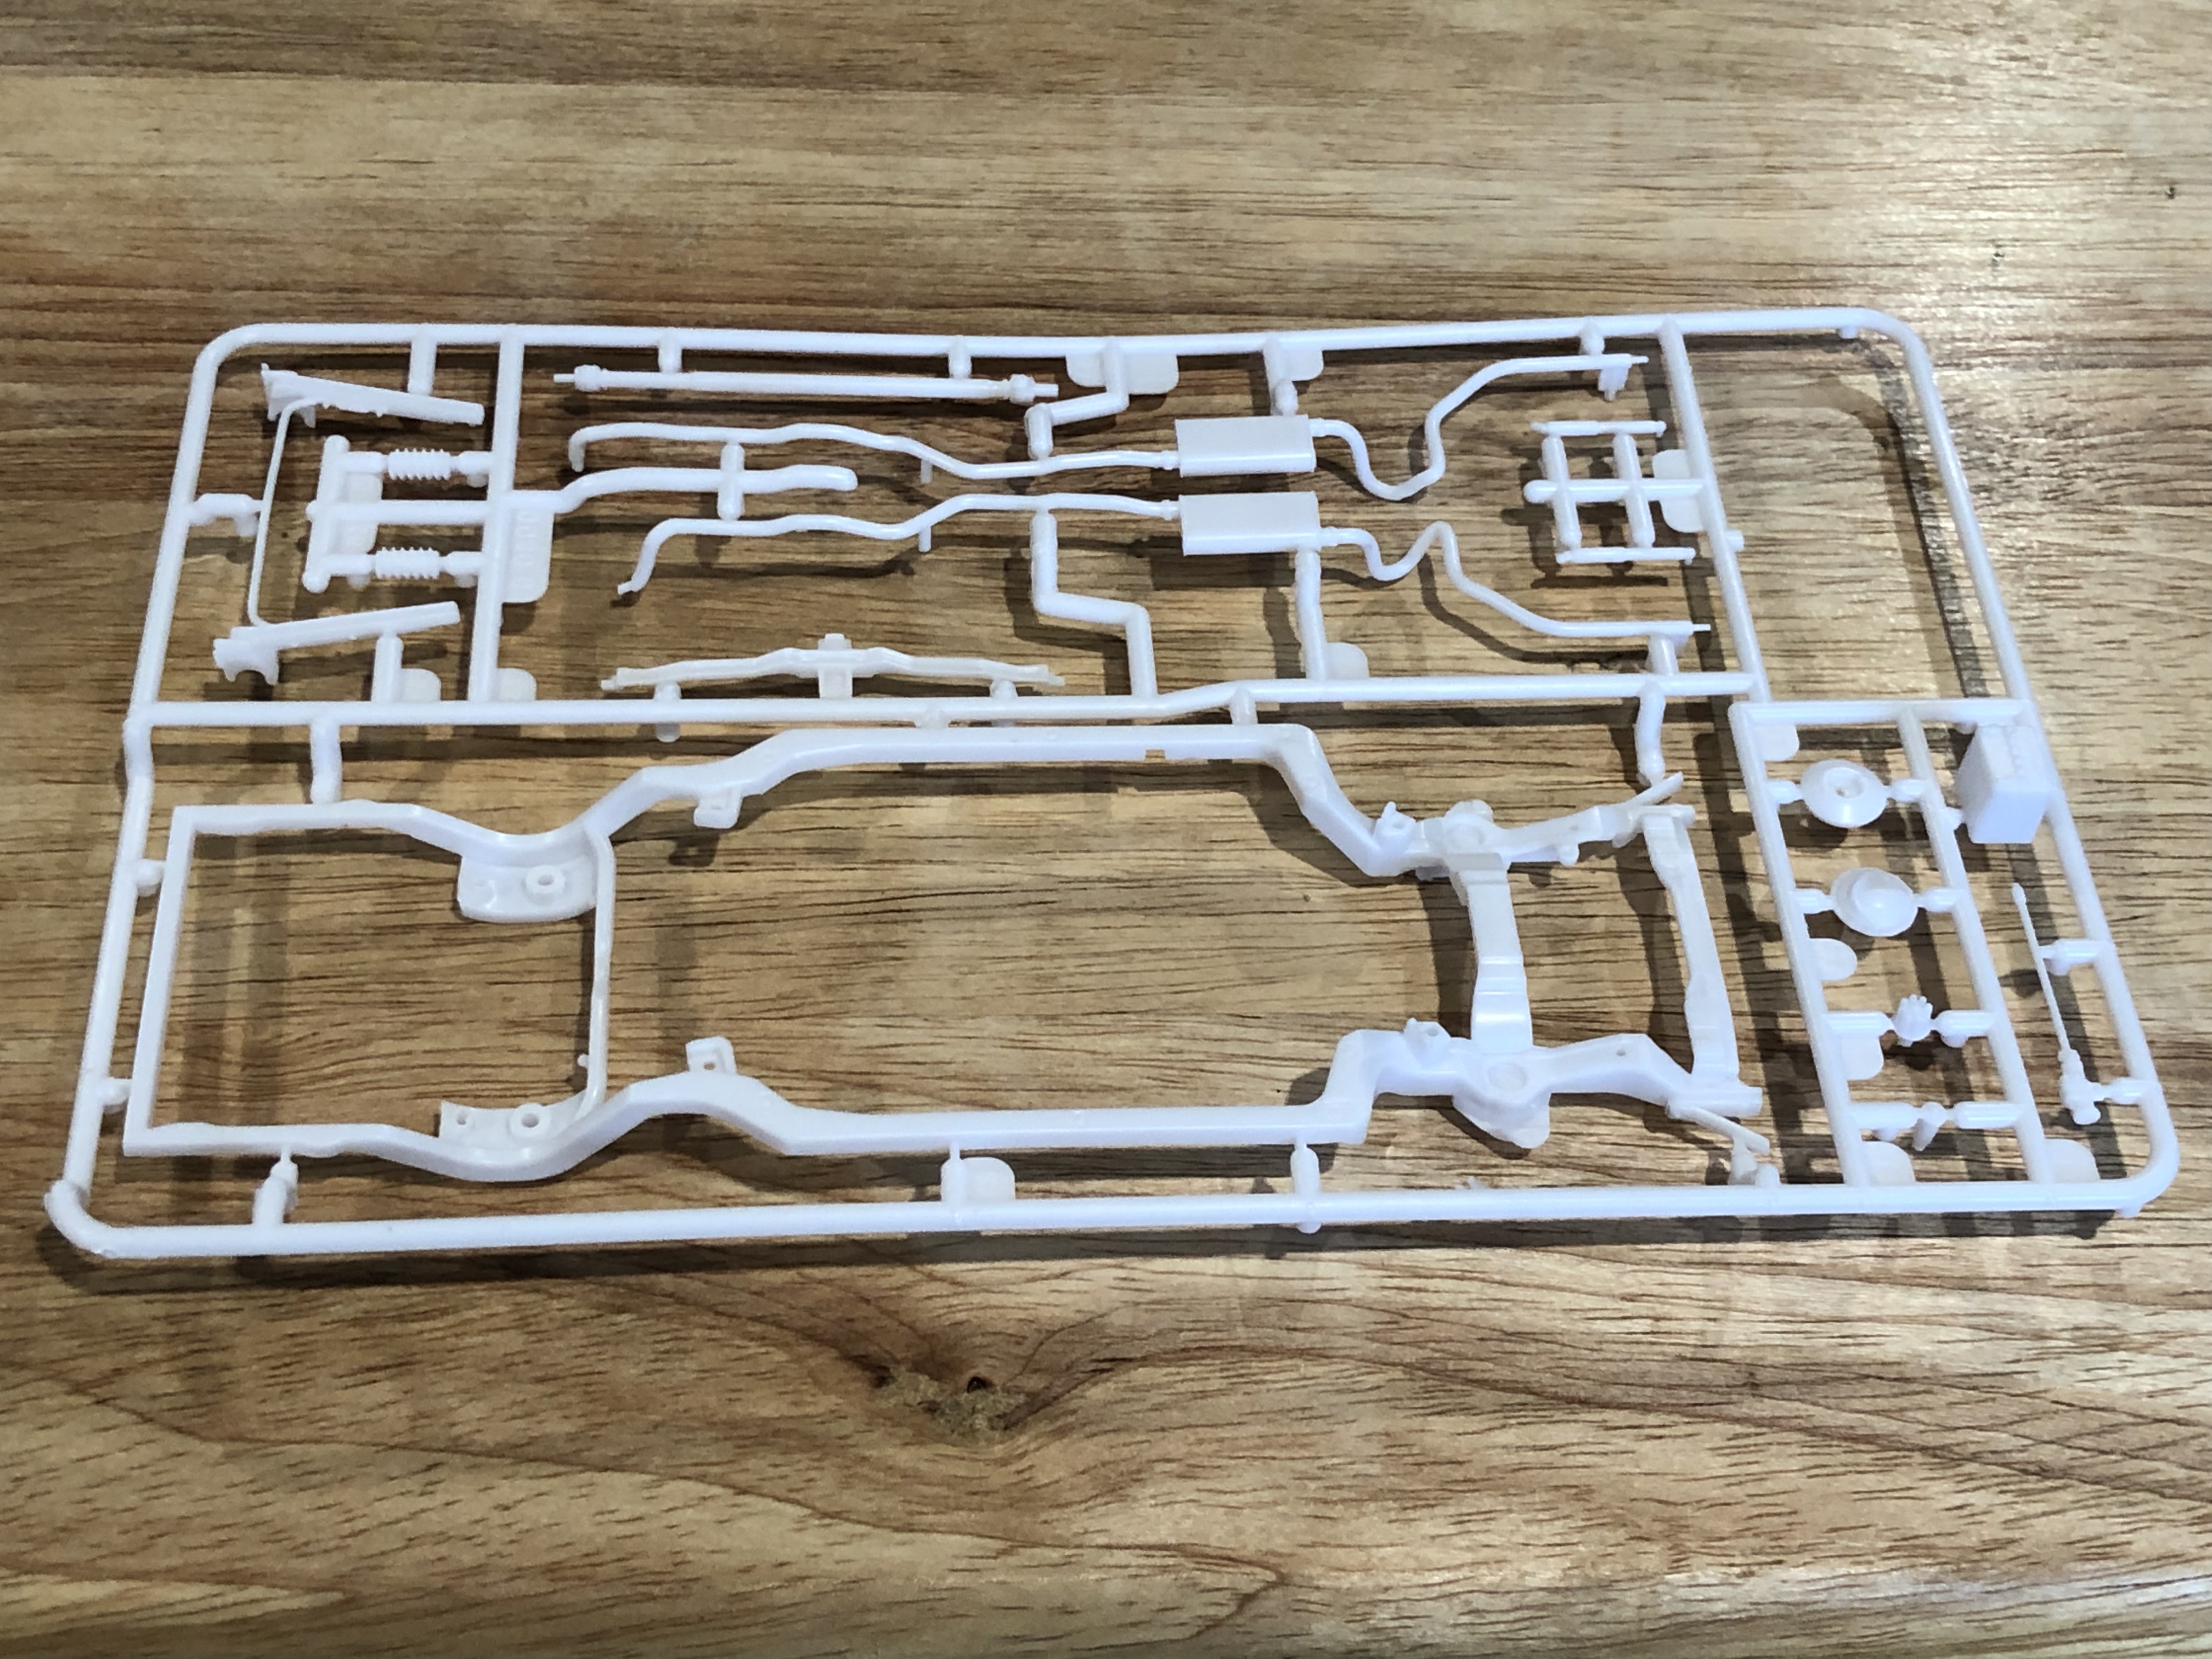
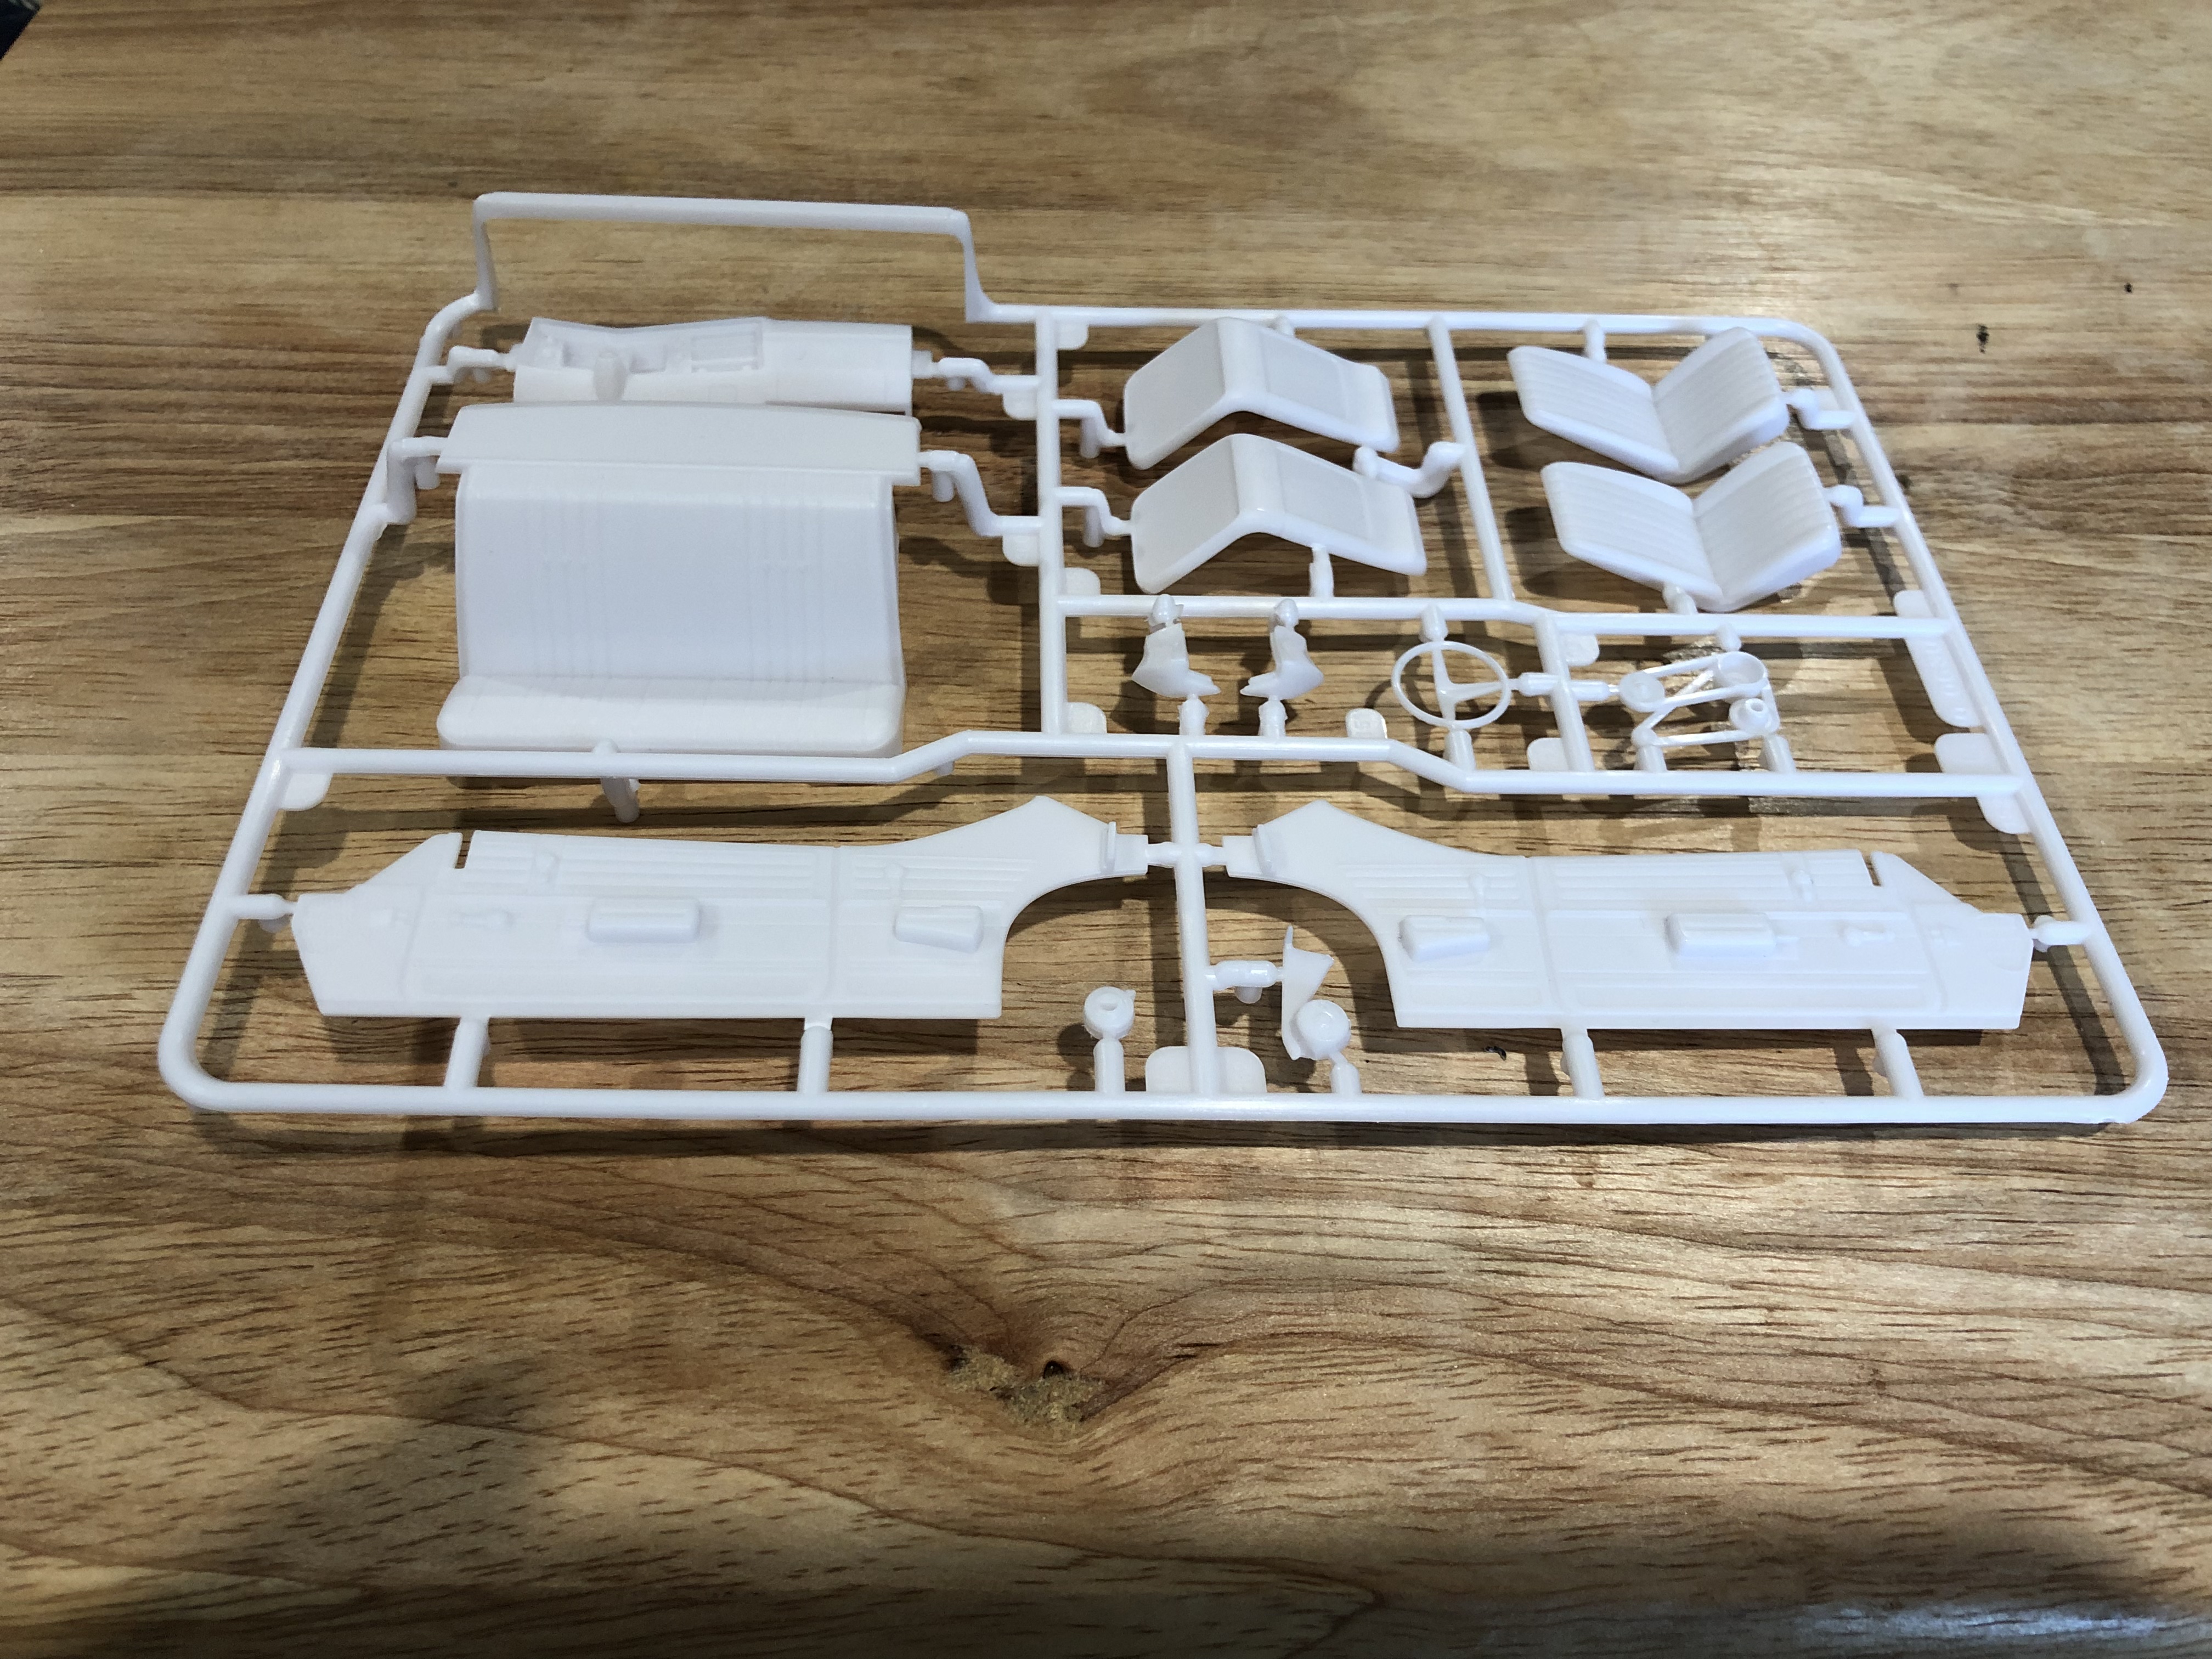
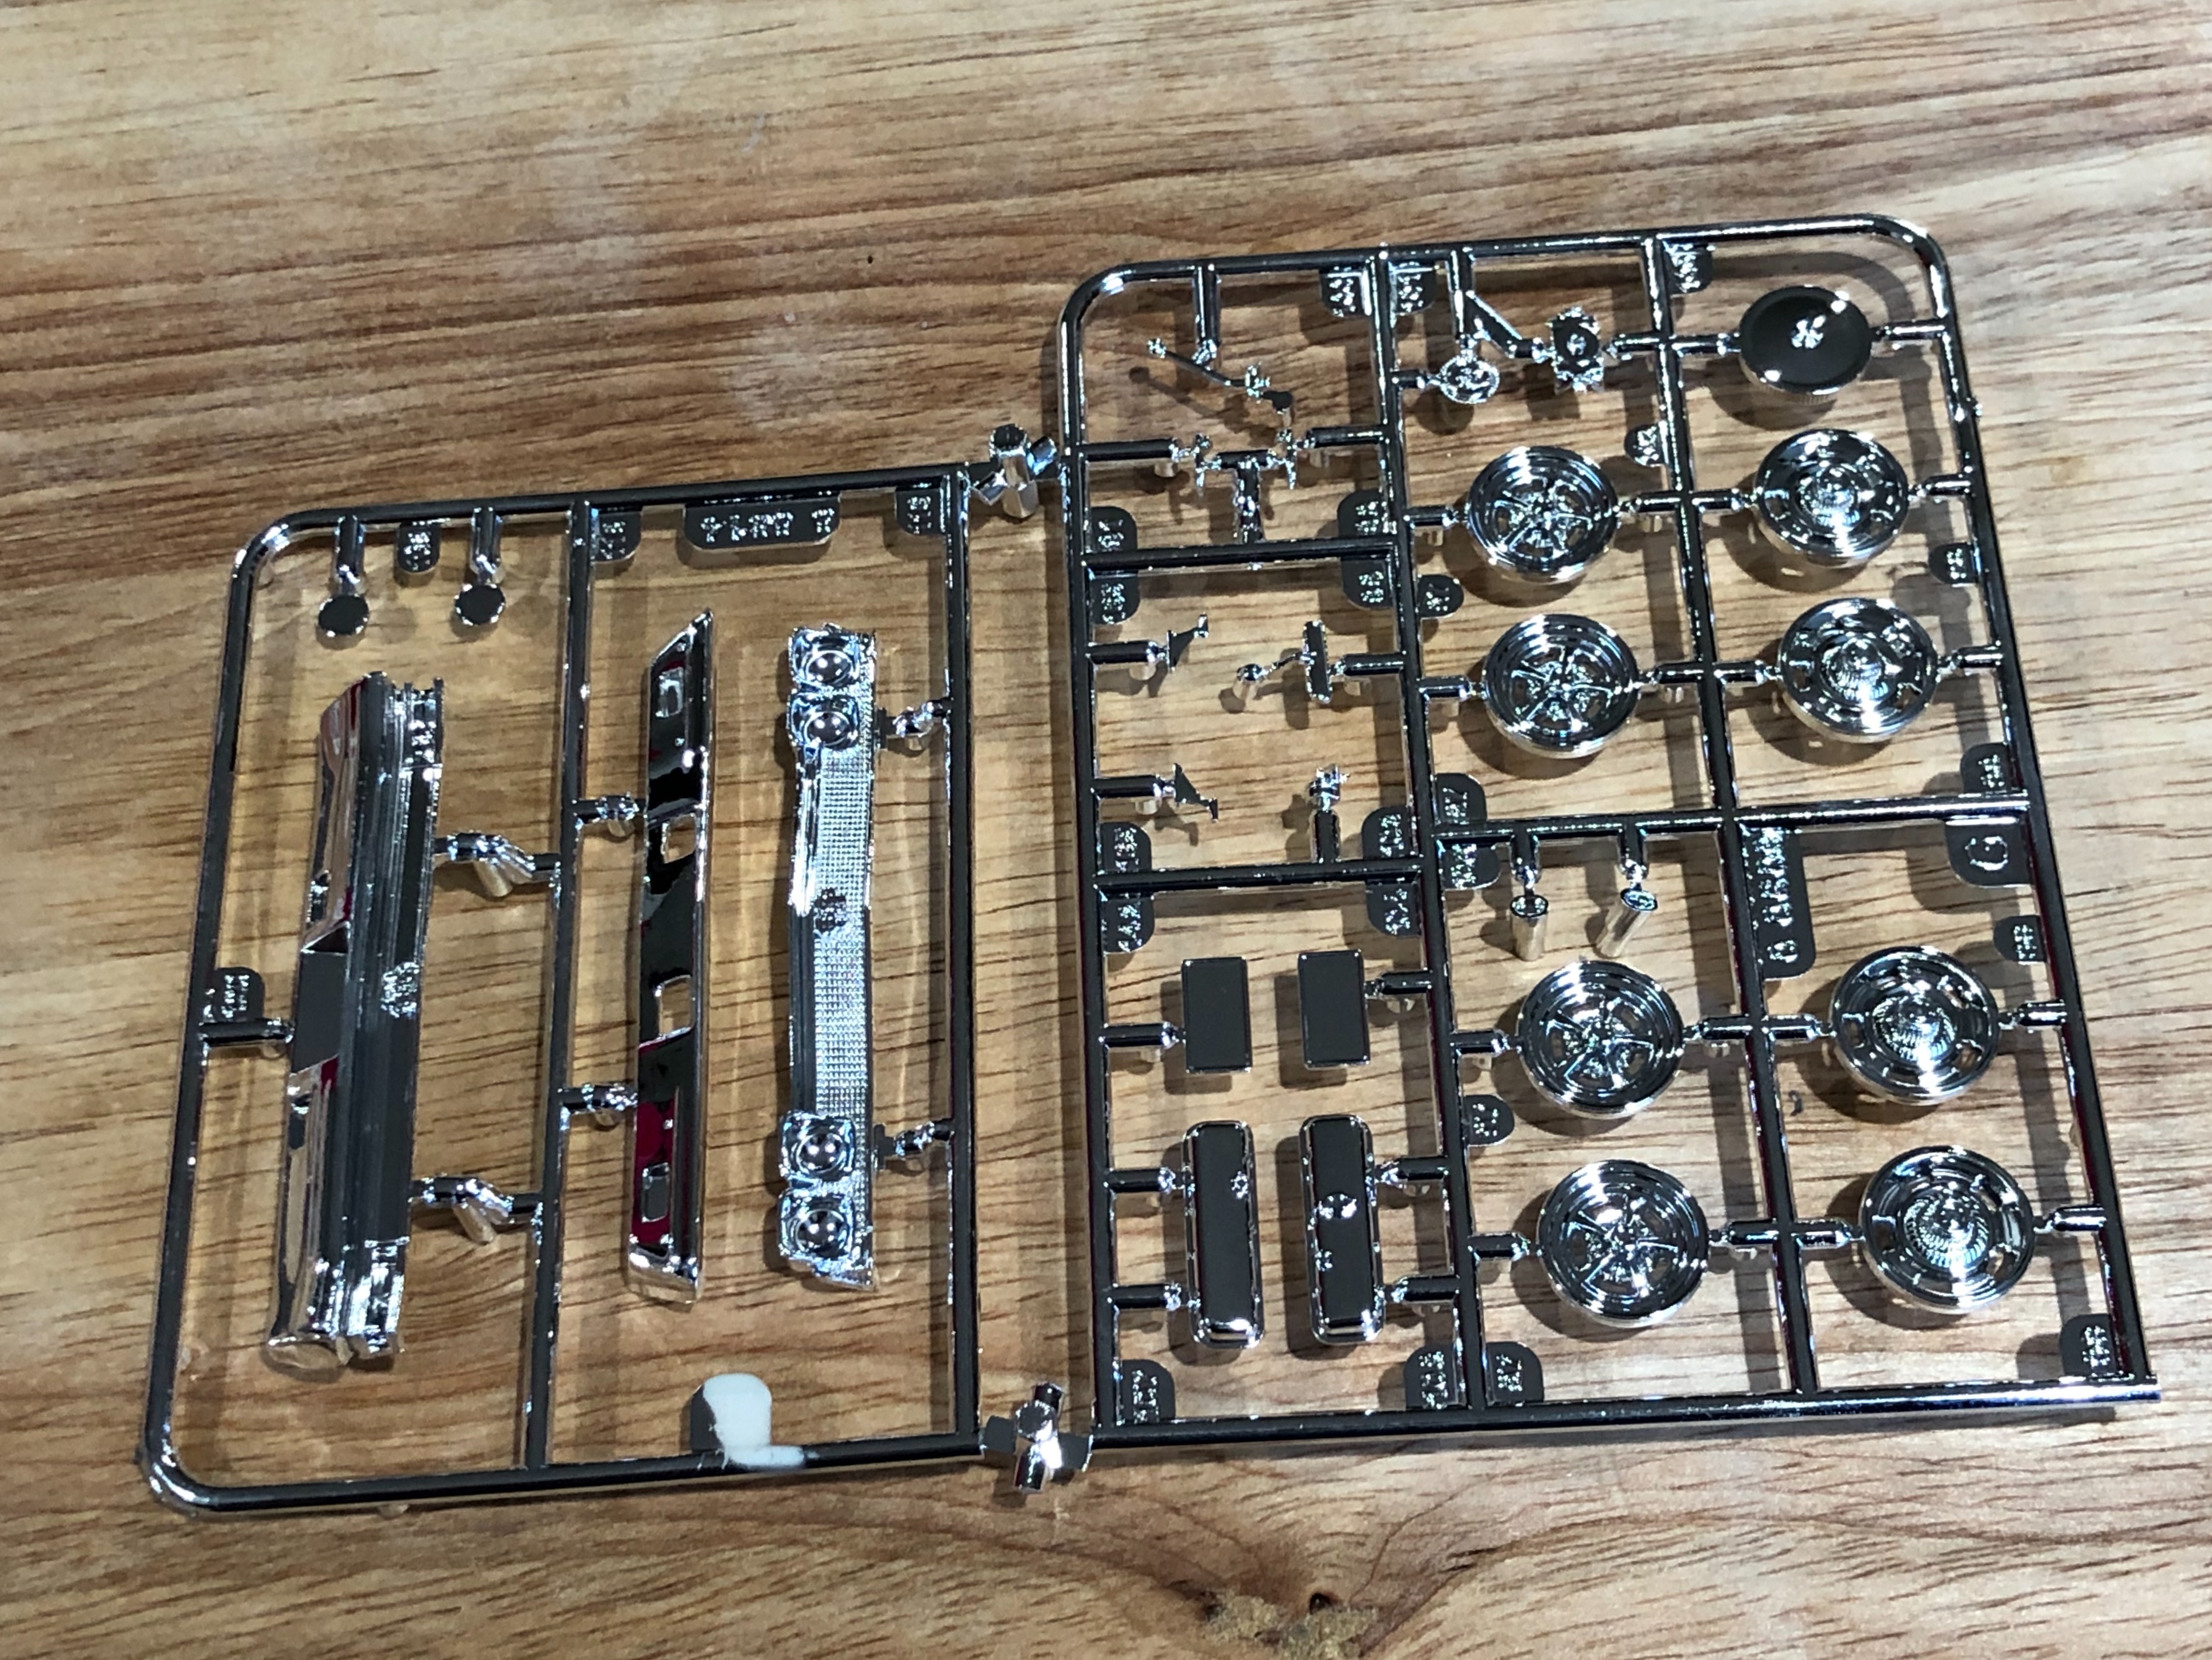
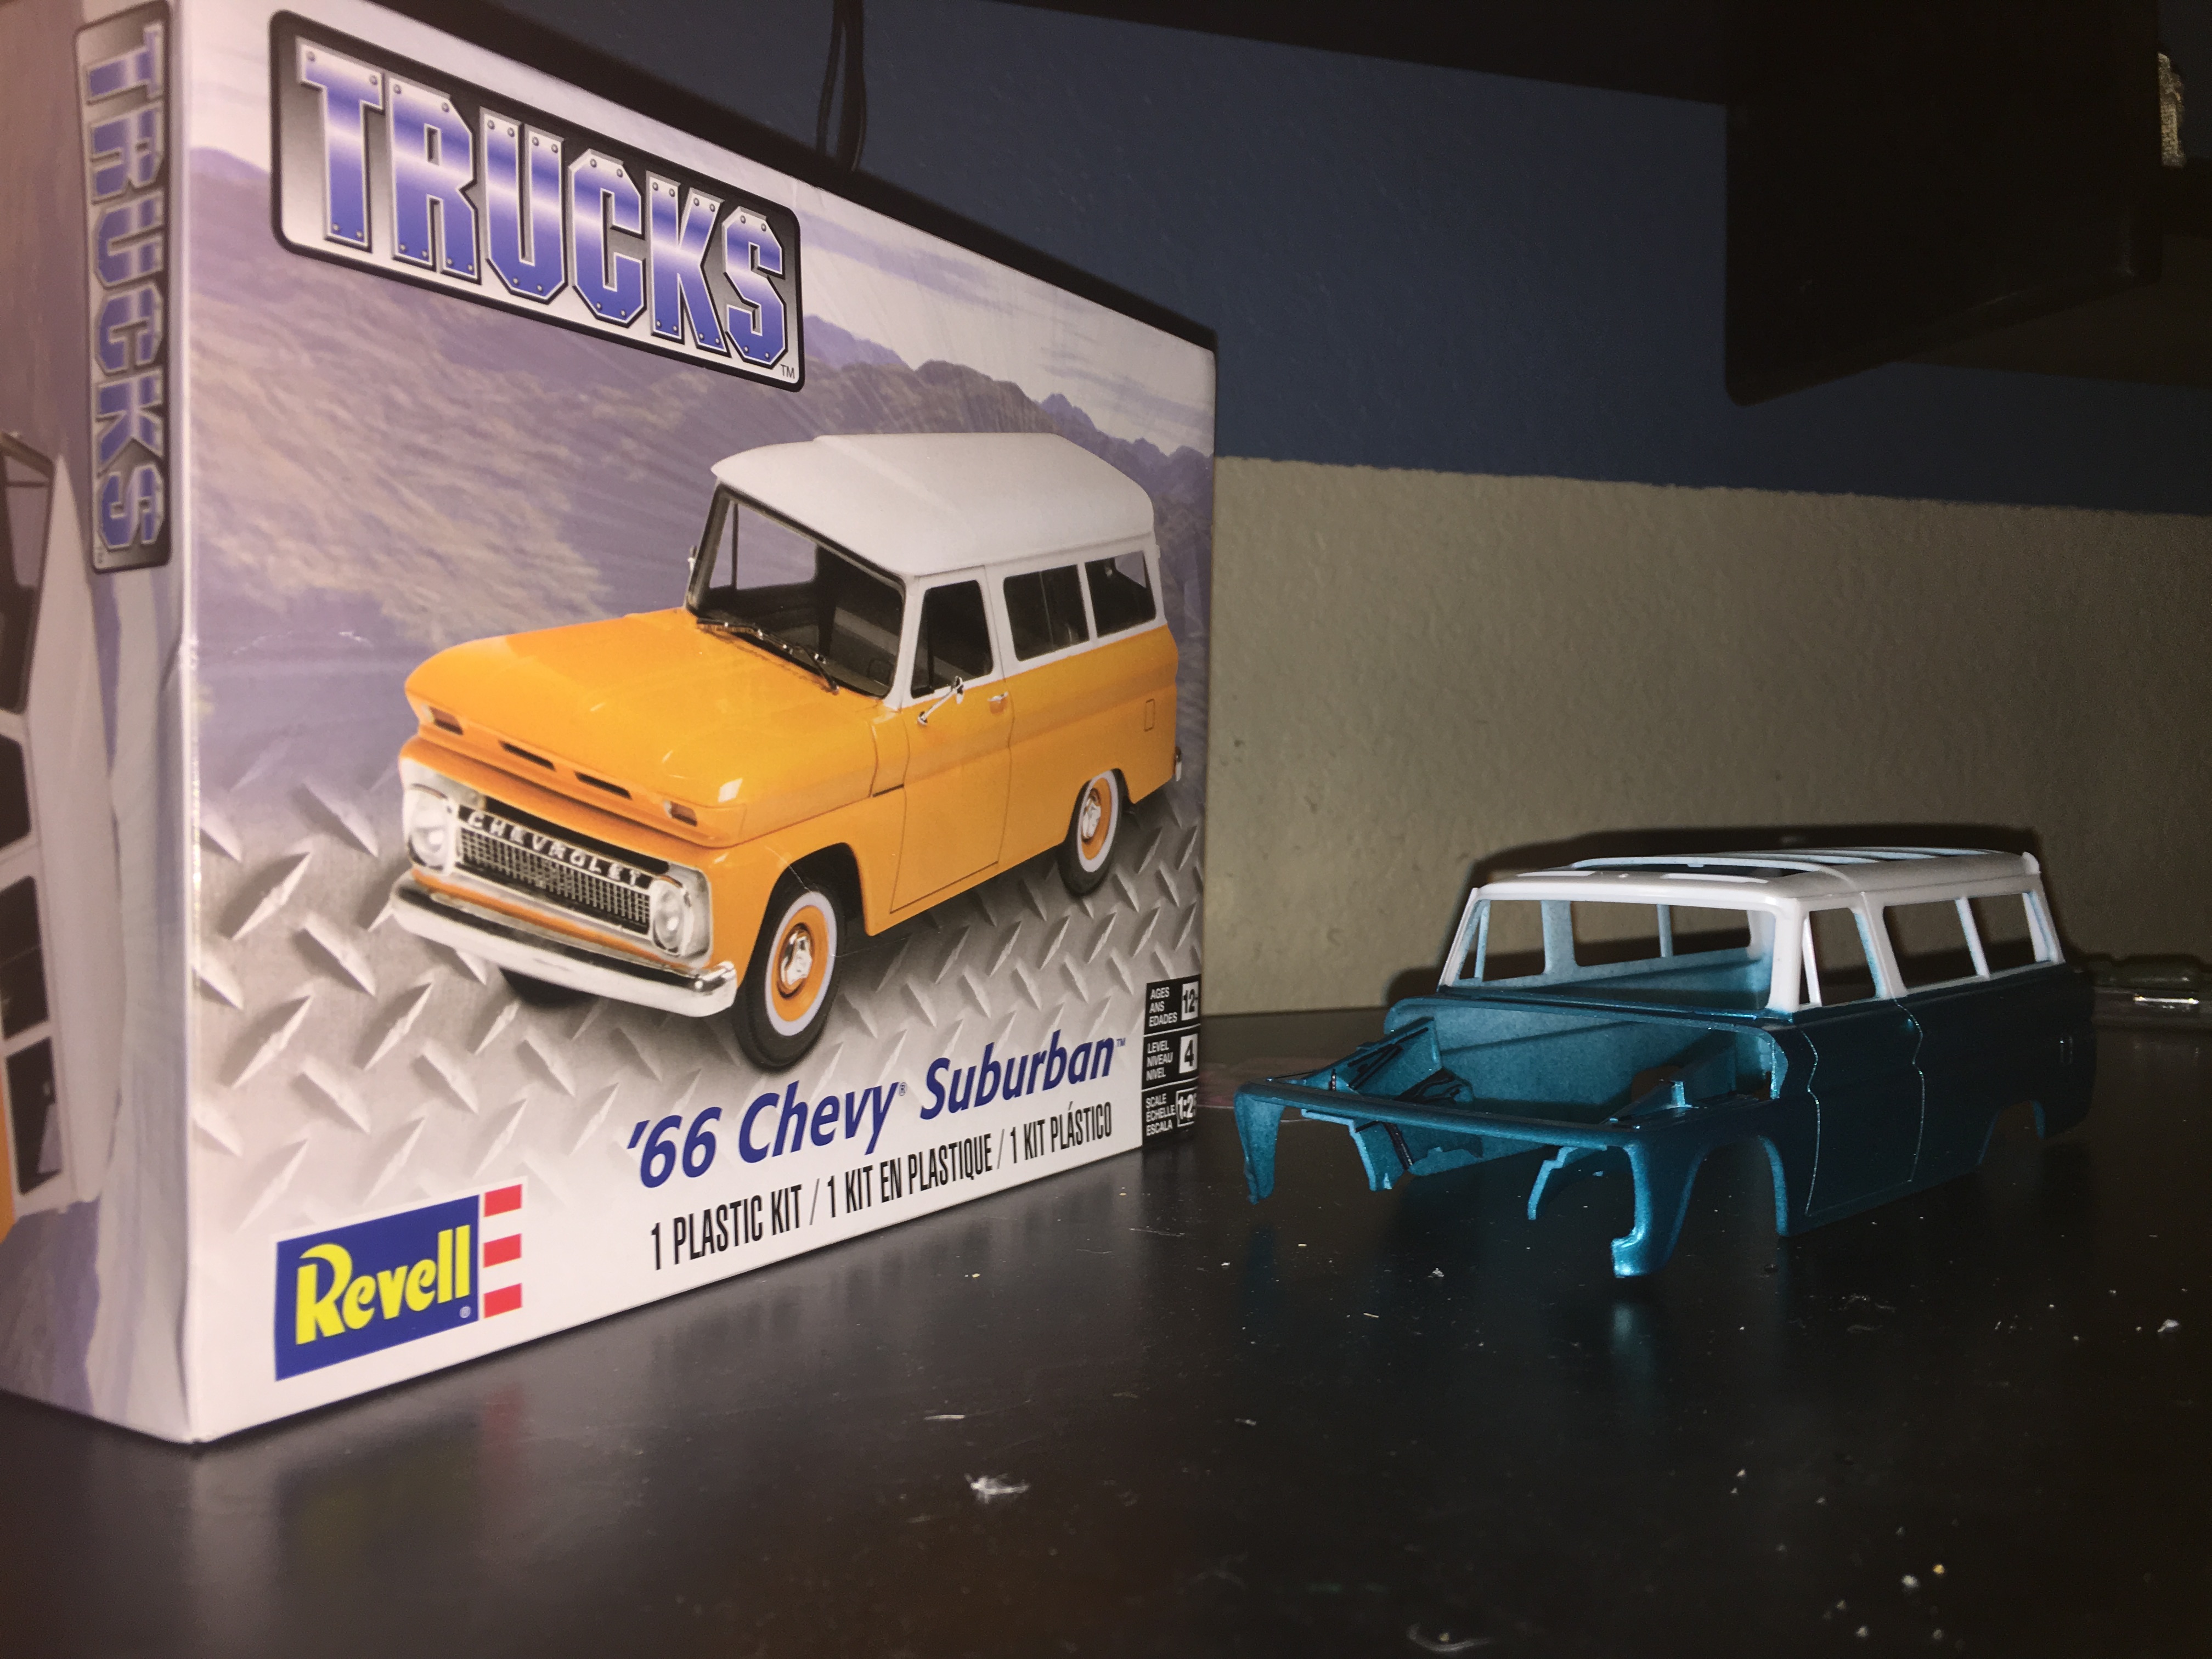
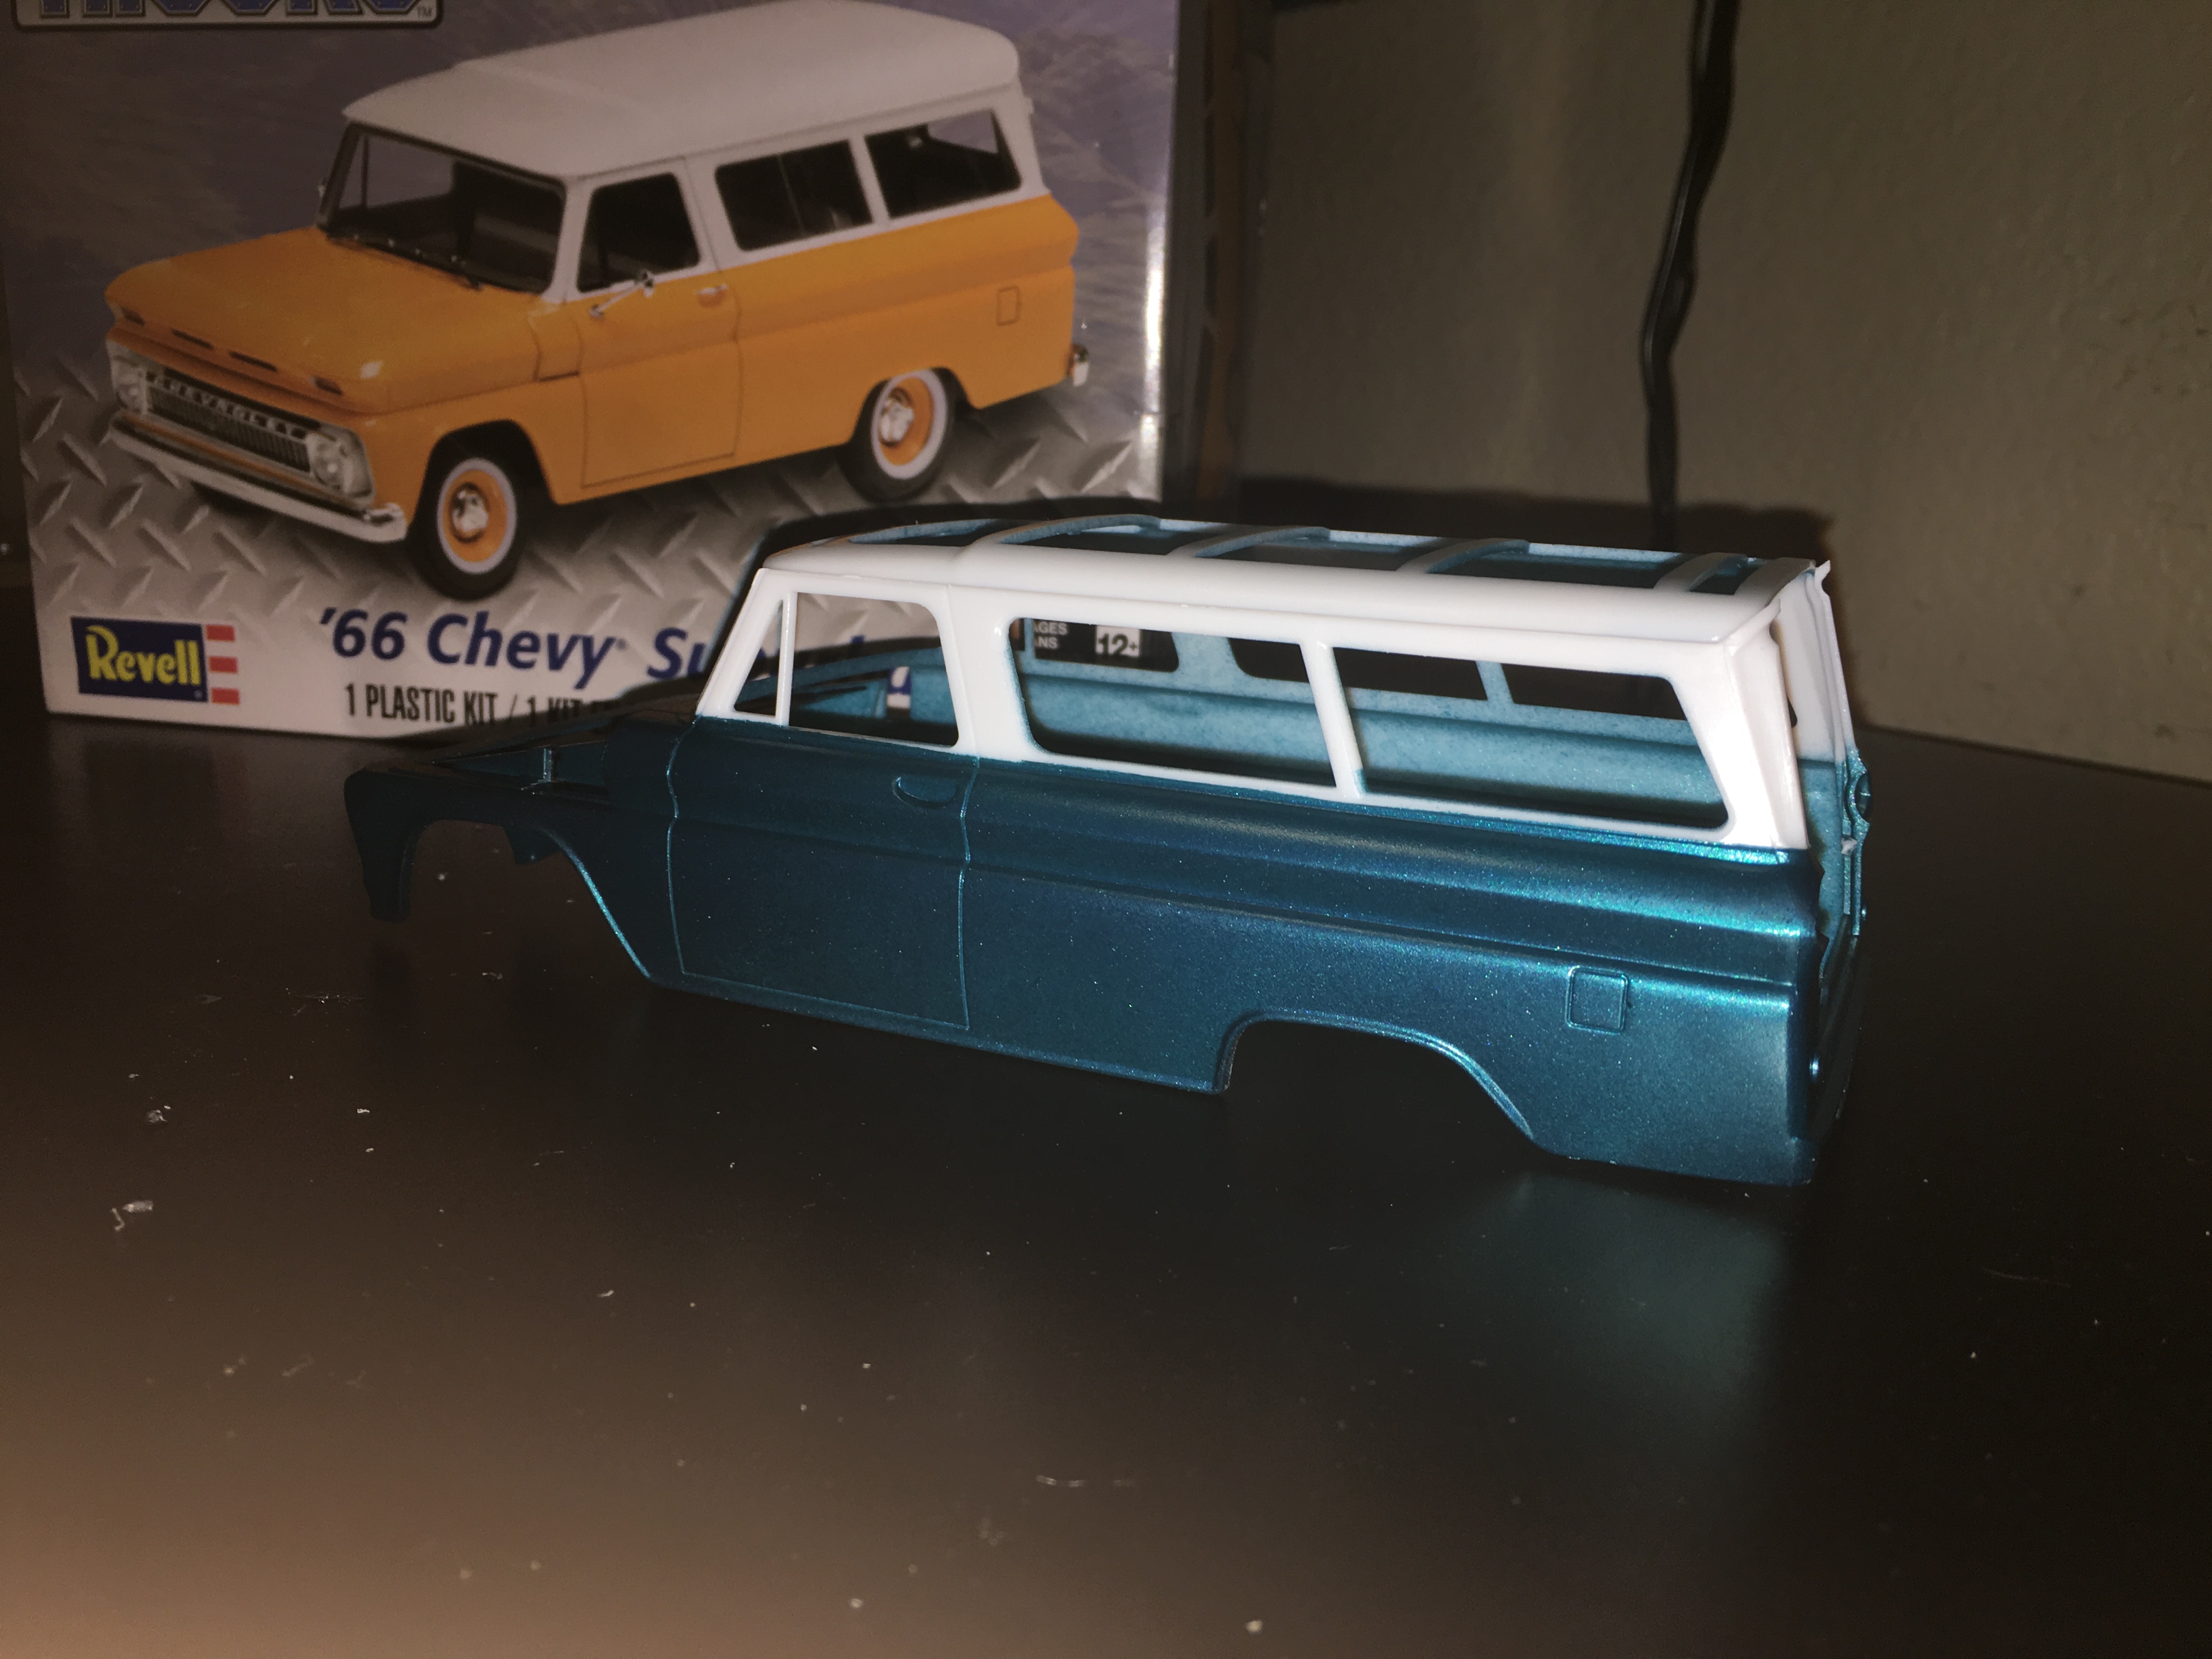
 Hey guys! This is the 66 Suburban kit from revell, here it is so far.
-
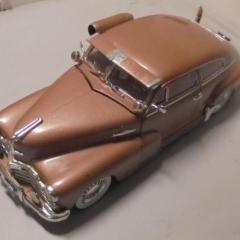
Conversion of a conversion, the Canopy Express is a rare vehicle to begin with. I started this April 1995. *Edit* I made it a 1948, simple to remove the door vent windows. For starters, anyone building the '50 Chevy pickup needs to know, the driveshaft should be assembled the other direction, the end at the differential is fixed, the instructions are incorrect. The other thing I've done so far, is correct the running boards, by shaving down the perimeter so the ribs stand proud, not recessed lines, that's a pet peeve of mine with this kit. Another pet peeve, is the firewall should be flush with the front of the cab, not recessed back, but that requires reworking the recess for the engine, so I have corrected that. Yet another pet peeve, is flat headlight reflectors, that has been corrected. Can't forget the door handles, they were shaved off, will make new ones, that will sag like the real thing. LOL The reason I put this away for so long, the interior needs a total scratch-build. The resin floor with wheel wells is completely incorrect. I am planning to not keep the wood floor boards, but make it like they put in diamond plate or a newer ribbed truck bed (will be last minute decision). I have turned the wheel well form, from Corian using the drill press. I'm now at the cardboard mockup stage, which will become part of the plastic form to vacuum-form the interior panels. I have the tailgate done, used eye glasses hinges, and interior panel is done. I'm now working on the driver seat, which I had previously cut down from the bench seat, but was incorrect. I am also making a new gas tank, based on the drawing in the repair manual that I kept from owning the real '48 5 window. Next steps are: bed sides with "rolled" edge, center taillight and also the other taillights, 4 on the floor gear shift, thinking about making a hood hinge with spring and latch, perhaps a roof rack that would be made of rebar, dings and dents with rust holes, will try some extreme weathering techniques. The final touch, what should the painting company name be (plan is to have spilled paint inside to use up paint)?
-
Getting back to this one final. Did some work on the interior, Tamiya Dark German grey, flat aluminum, ultra bright BMF, and kit supplied decals. I think it come out really well, just some touch up on the aluminum on the front seat. I have some Ken's Fuzzy fur for the carpet area.
-
 My new project! Im going to use alot of time for detailing and painting and every progress. Hopefully its my masterpiece when its finished and done. So shortly, Its going to be something special Engine has started for progress.. Not much happened so far but maybe on next week i have more time to make some serious progress.. Engine is from kit, and those Edelbrock valvecovers are from some AMT model kit, i believe its `55 Chevy Stepside.. Im using Highlight Model Studio detailing parts for this build, and here are especially photoetch set designed for 64-66 Chevy pick ups.. First i started modifying tail lights, i am filling original places with glue and plastic sprue number plates, then i will sand them smooth and use filler later for really smooth finish.. PE light will be glued there, just when im about doing final detailing.. Body work first..
 -
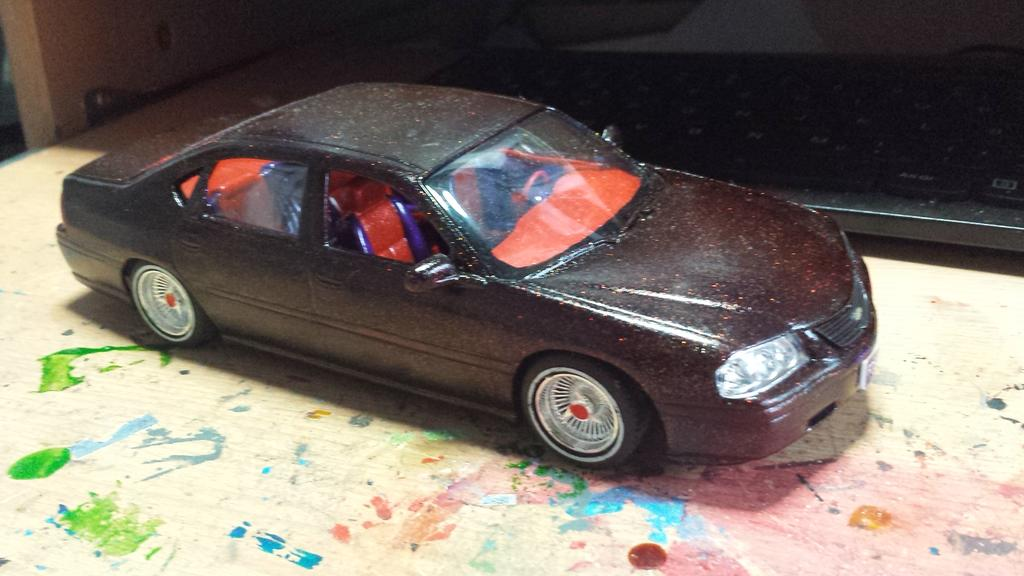
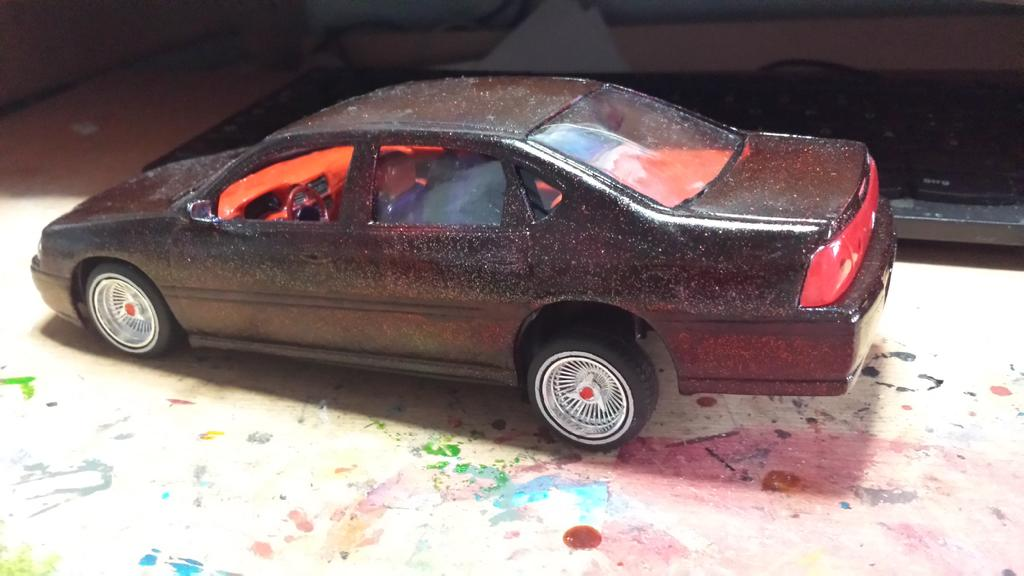
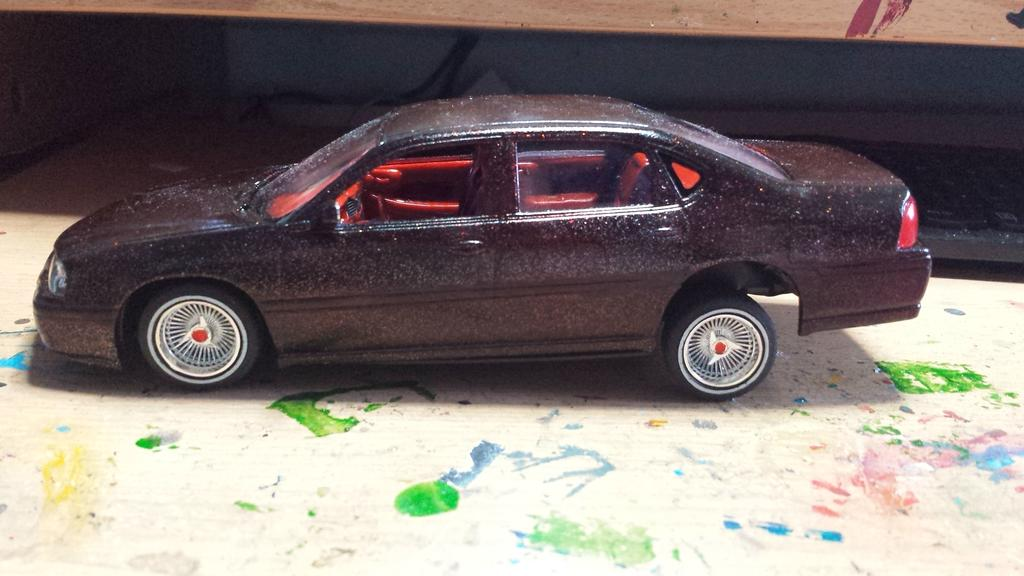
Hi , guys ! This is my Impala Lowrider. The kit is the Revell police car. Greetings from Jan
-
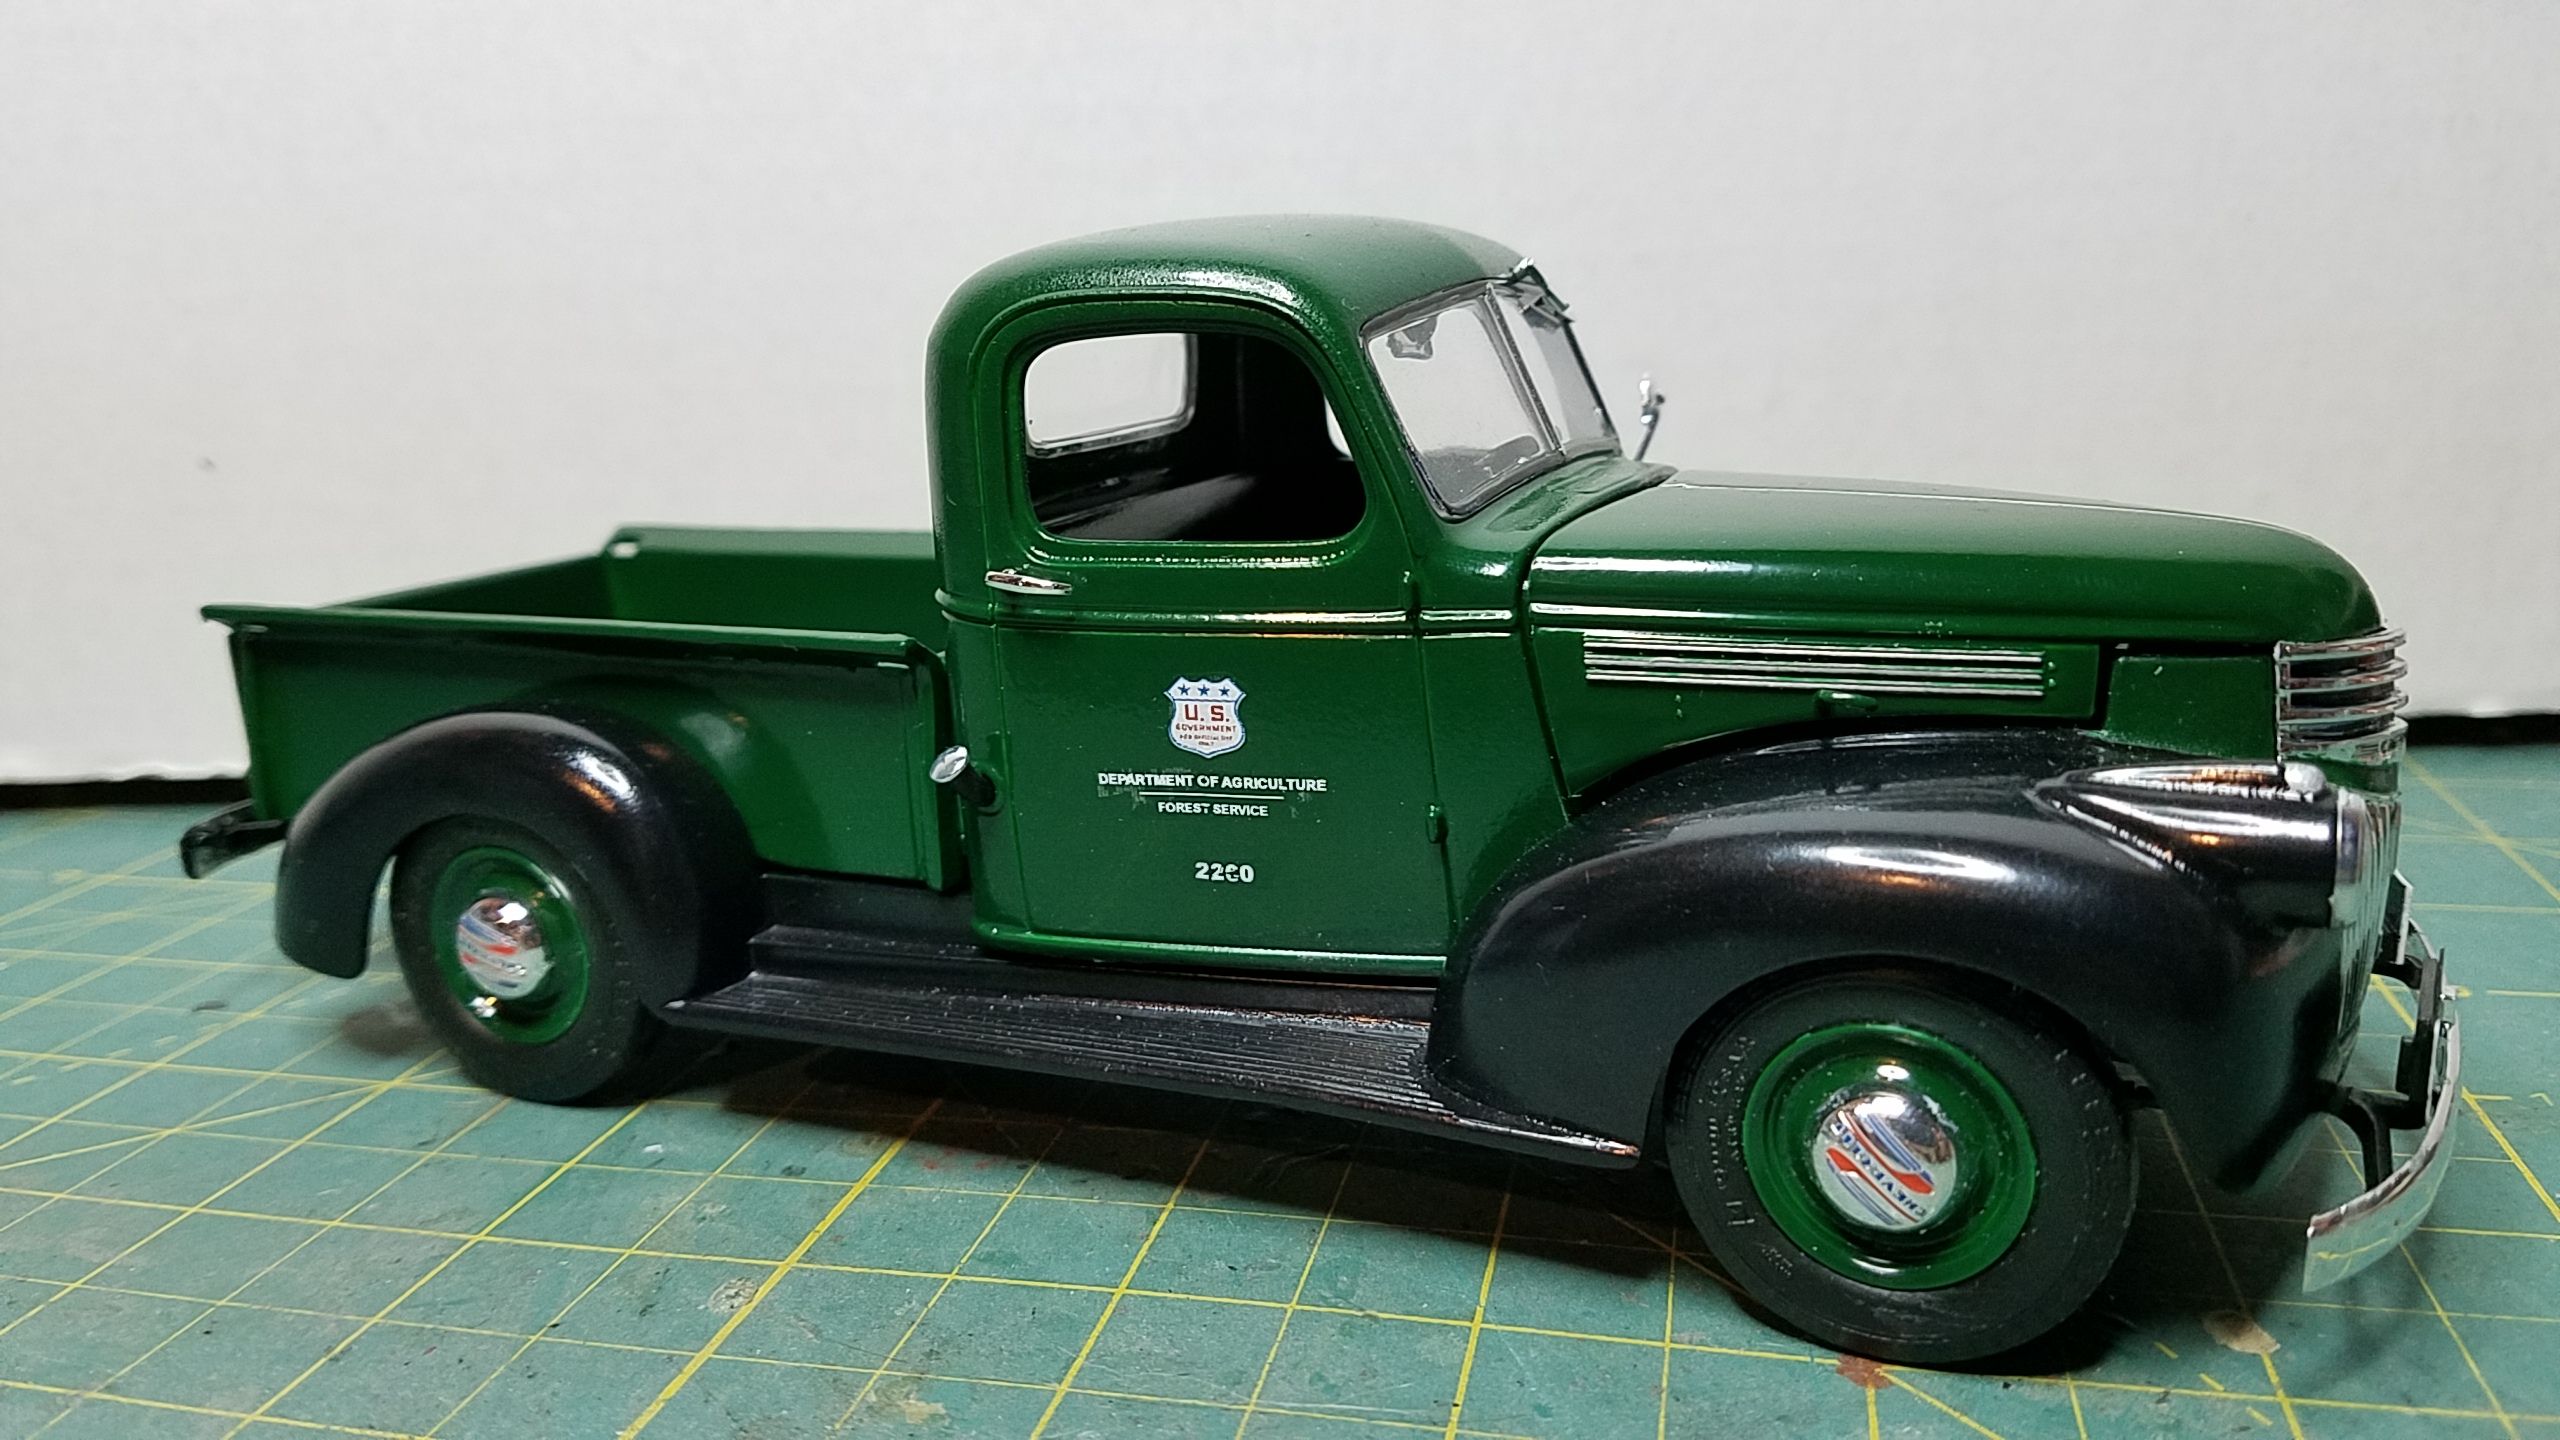
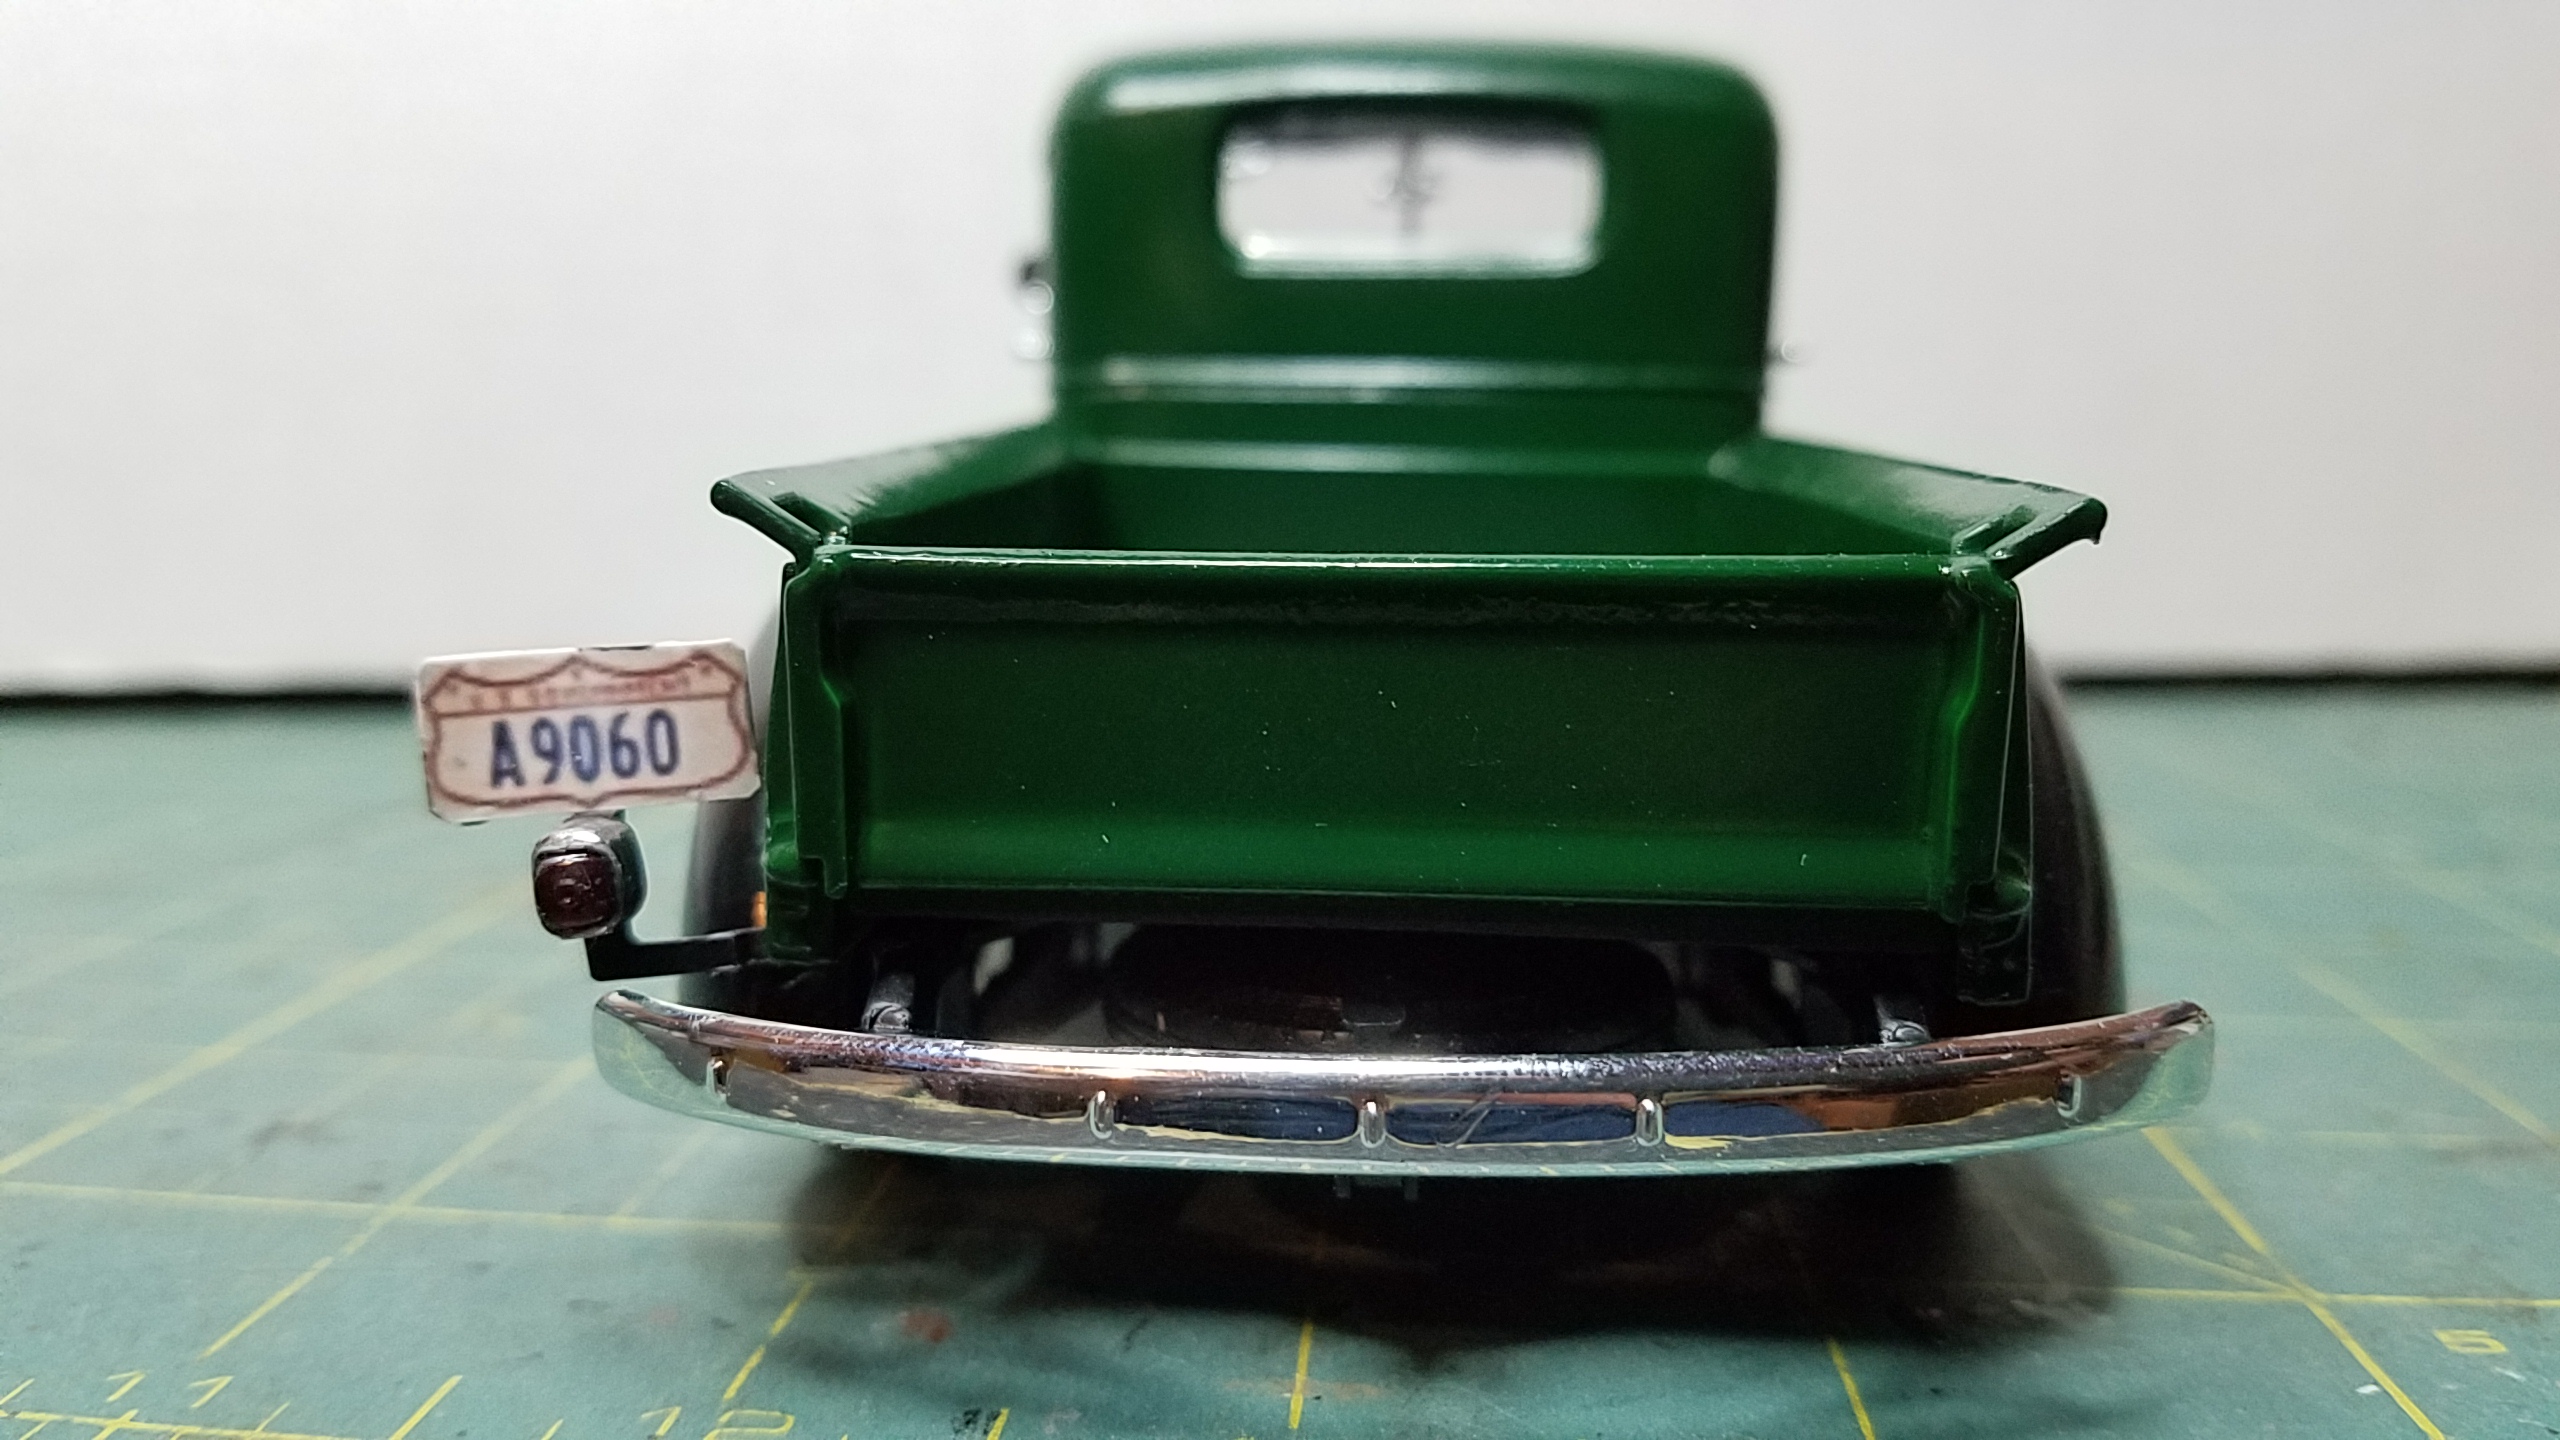
 Calling this one done. It was a good build. Thank you to Aaronw for the help USFS decals. Might make some wildland tools for the bed in the future.
-
Done this about a decade ago when i first learned how to draw paths in PS. Started on a rough pencil sketch. Kept on adding details to make this. Did it with a mouse so it was a pain to learn.
-
 For those wanting to make their model really accurate... Images from an eBay listing. https://www.ebay.com/itm/1962-chevy-c10-truck-cab-chevrolet-1960-1961-1963-1964-1965-1966-c-10-truck-/322758065568
 -
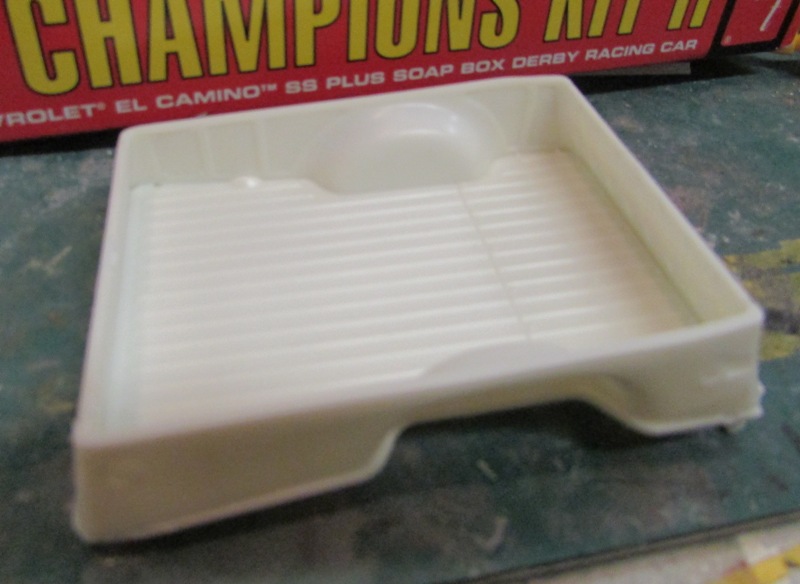
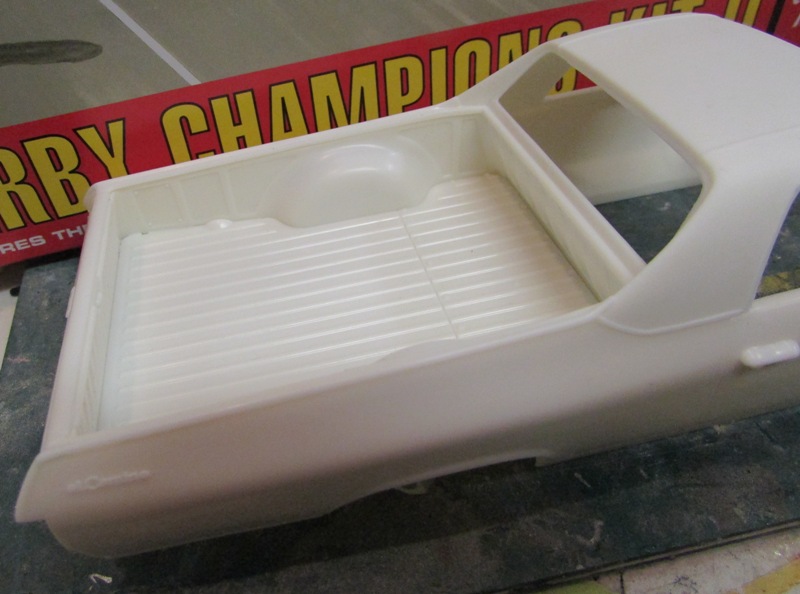
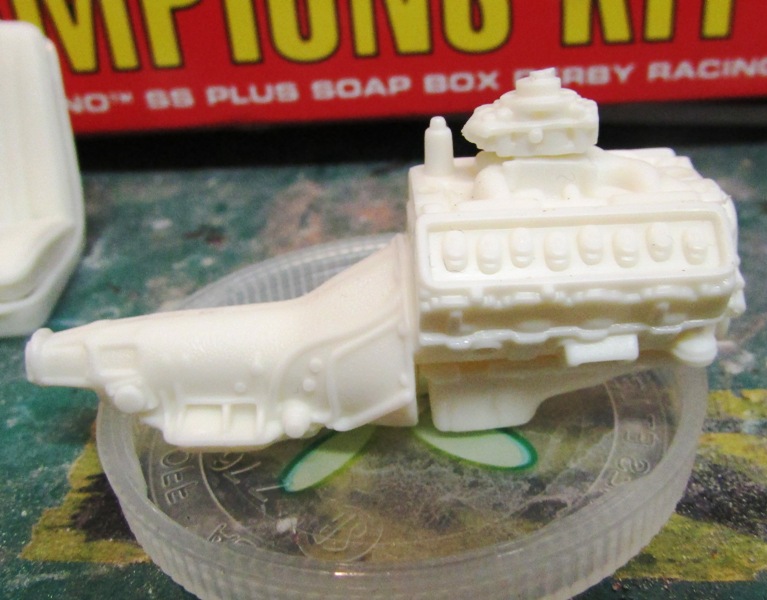
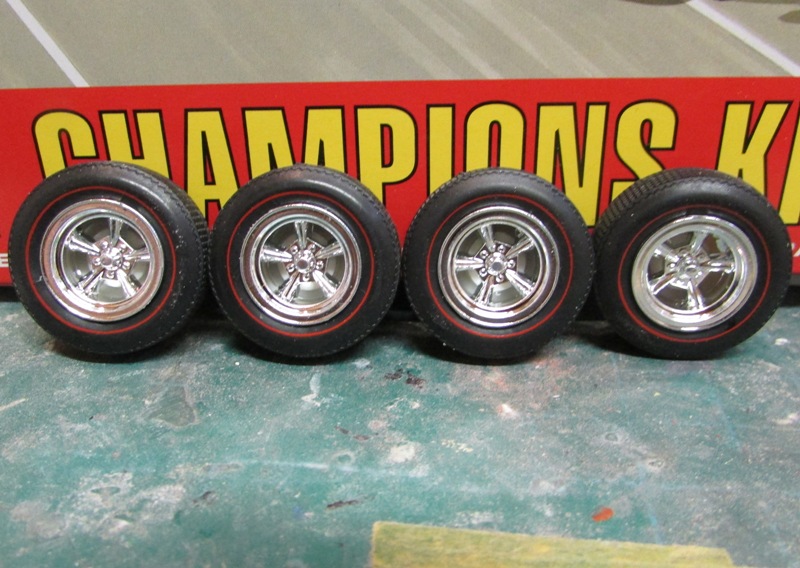
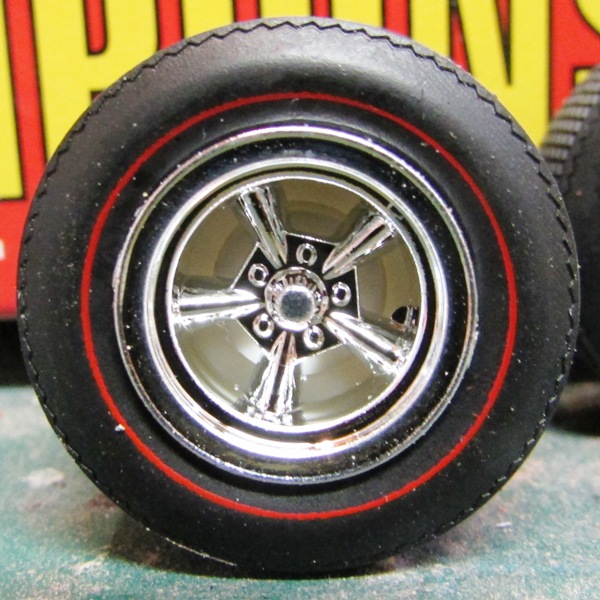
Hi everybody, i didn’t published here for long time ago, but when i see all positive comment on my two other post I will say then I have to show my work here ! I just begin to work on this Elky , I like the new goodies in that edition , soap box, decals and new Torque Thursh wheels and red line tire ! My work began by assembly the rear bed, seats, and the big block Chevy 396 ! I choose to use the Torque Trush wheels with redlined tires! Due to that I removed the white lettering from the yires other side !
-
 Miniman Factory M1008 CUCV kit in 1/35 This will be my first all resin (and PE) kit build. kit contents The following are side by sides with the MENG "Toyota" Tomorrow I'll post pics of the Miniman Factory Chevy cab next to 1/24 and 1/25 scale truck kits. Thanks for looking ...
 -
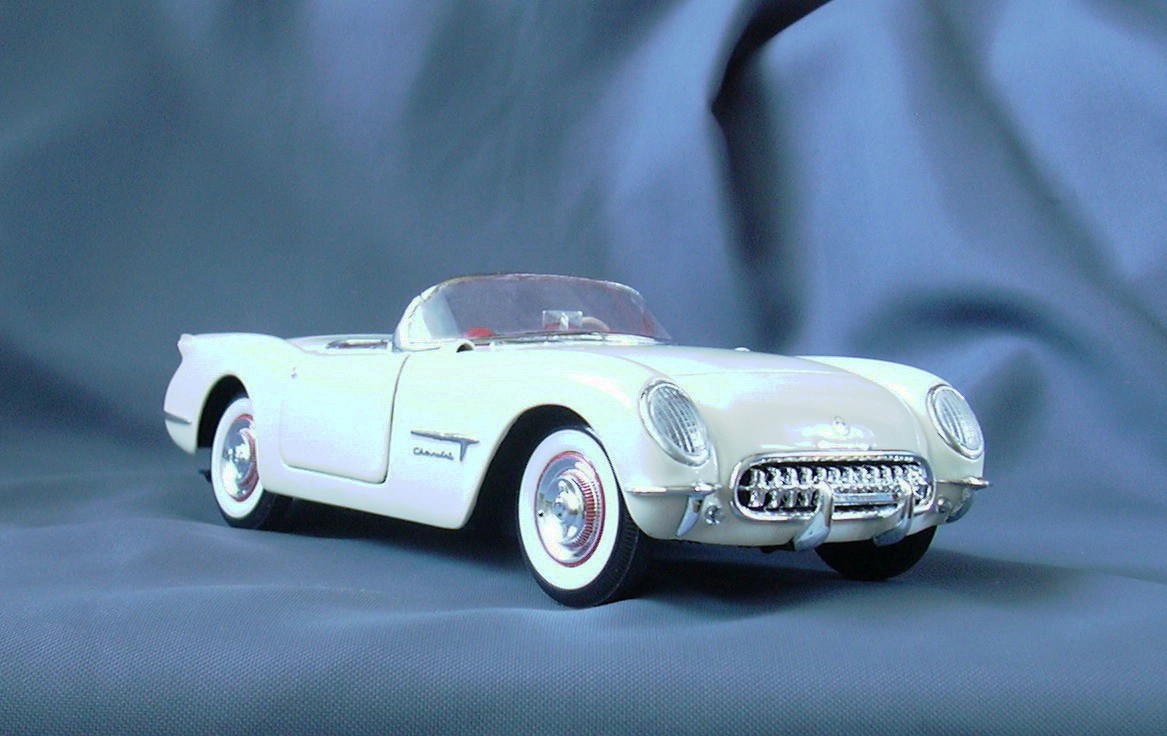
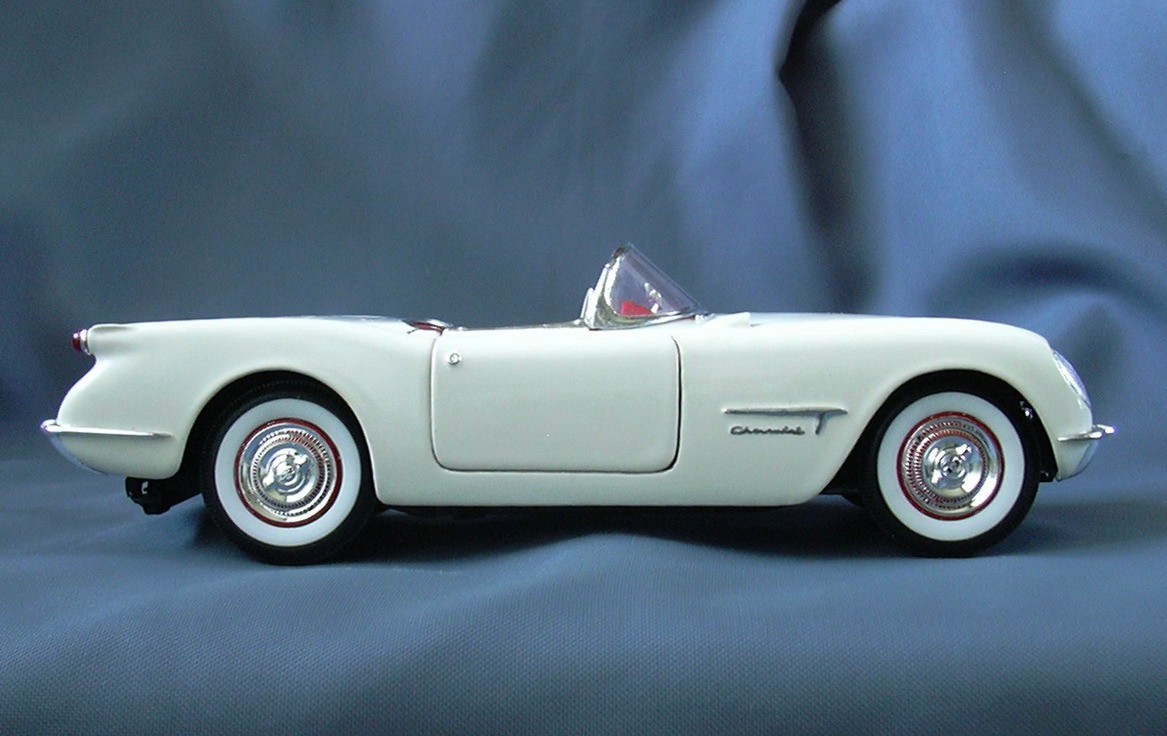
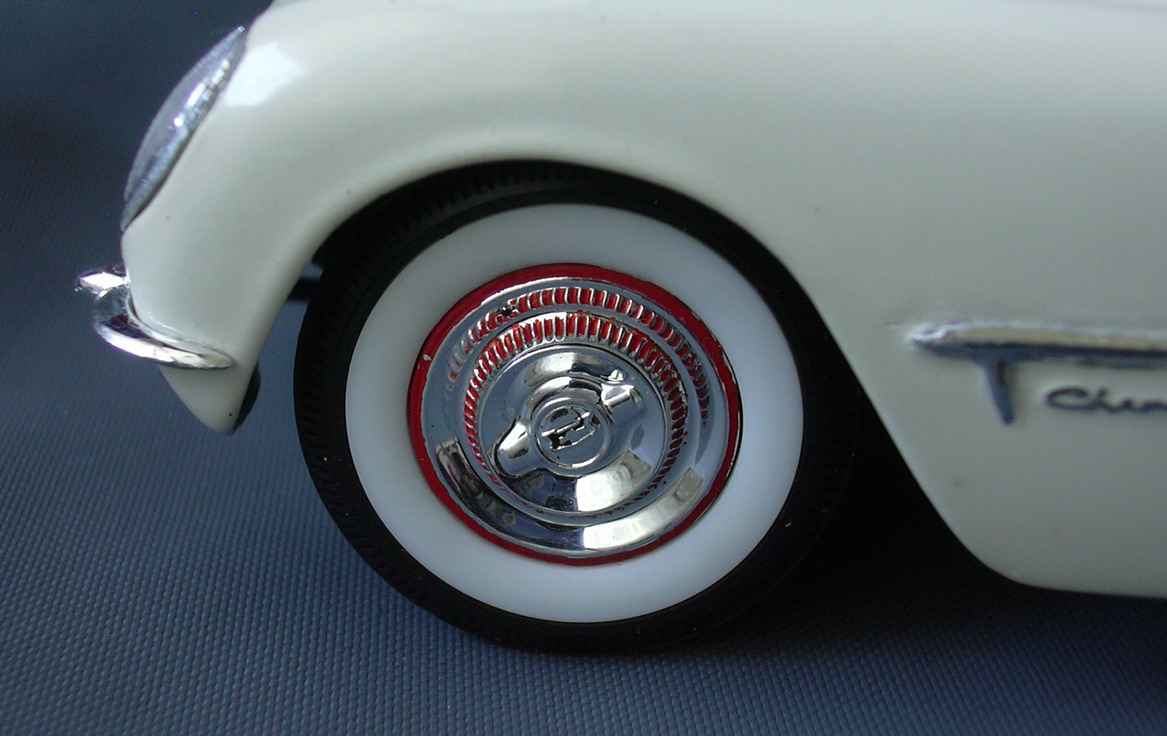
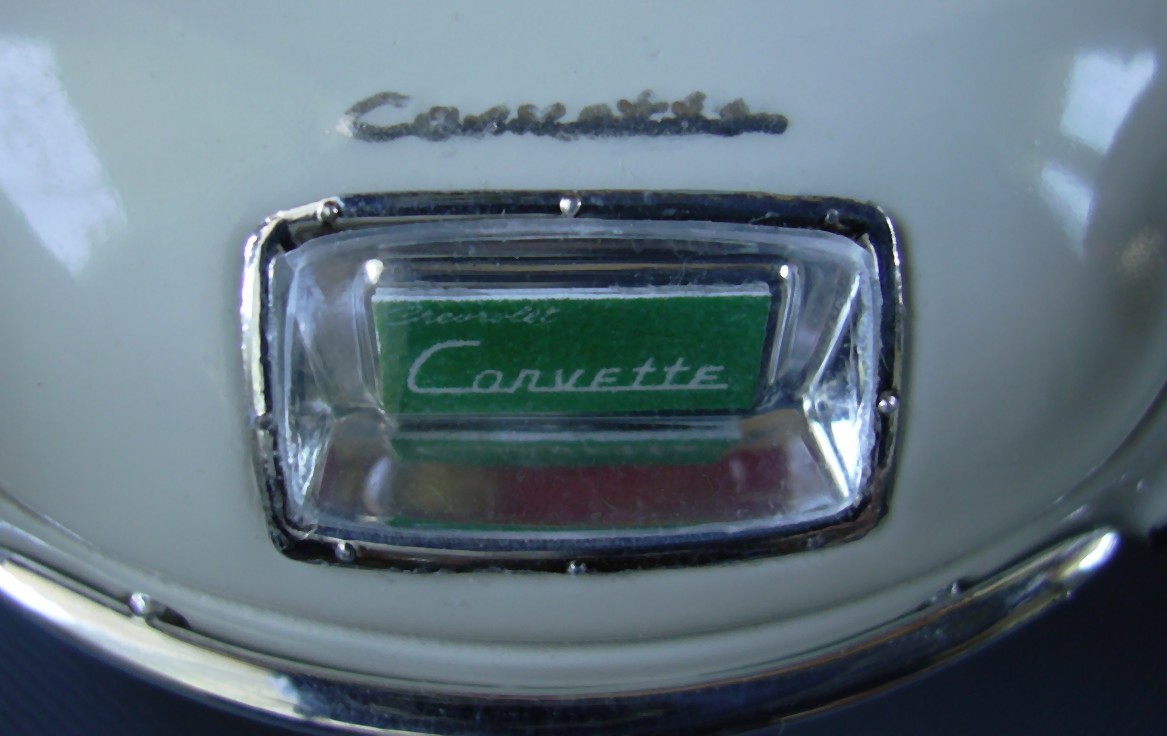
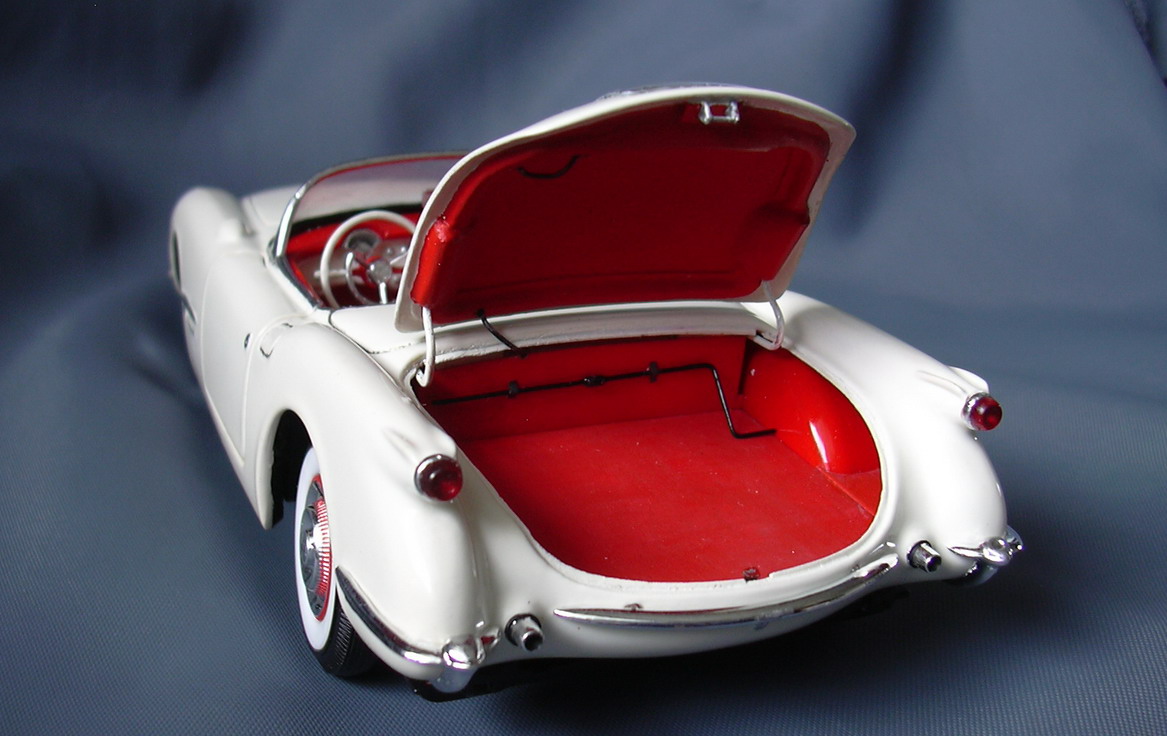
The Chevrolet Corvette Prototype (GM intern EX-52) 1952 began its life as a scatch on a paper napkin. Shortly was introduced the First American Sport Car in the Motorama show in 1953. The car is existing still today but the engine was changed by Mr. Zora Duntov to a V8 engine. So the car to see today is the very first Corvette V8 ! I modified a Corvette 1953 Revell kit back to prototype: on outside was not very much to do. More differences were in the engine compartment. Here I got help with two photos from GM Media Archive. Enjoy the pictures and any comments are welcome.
-
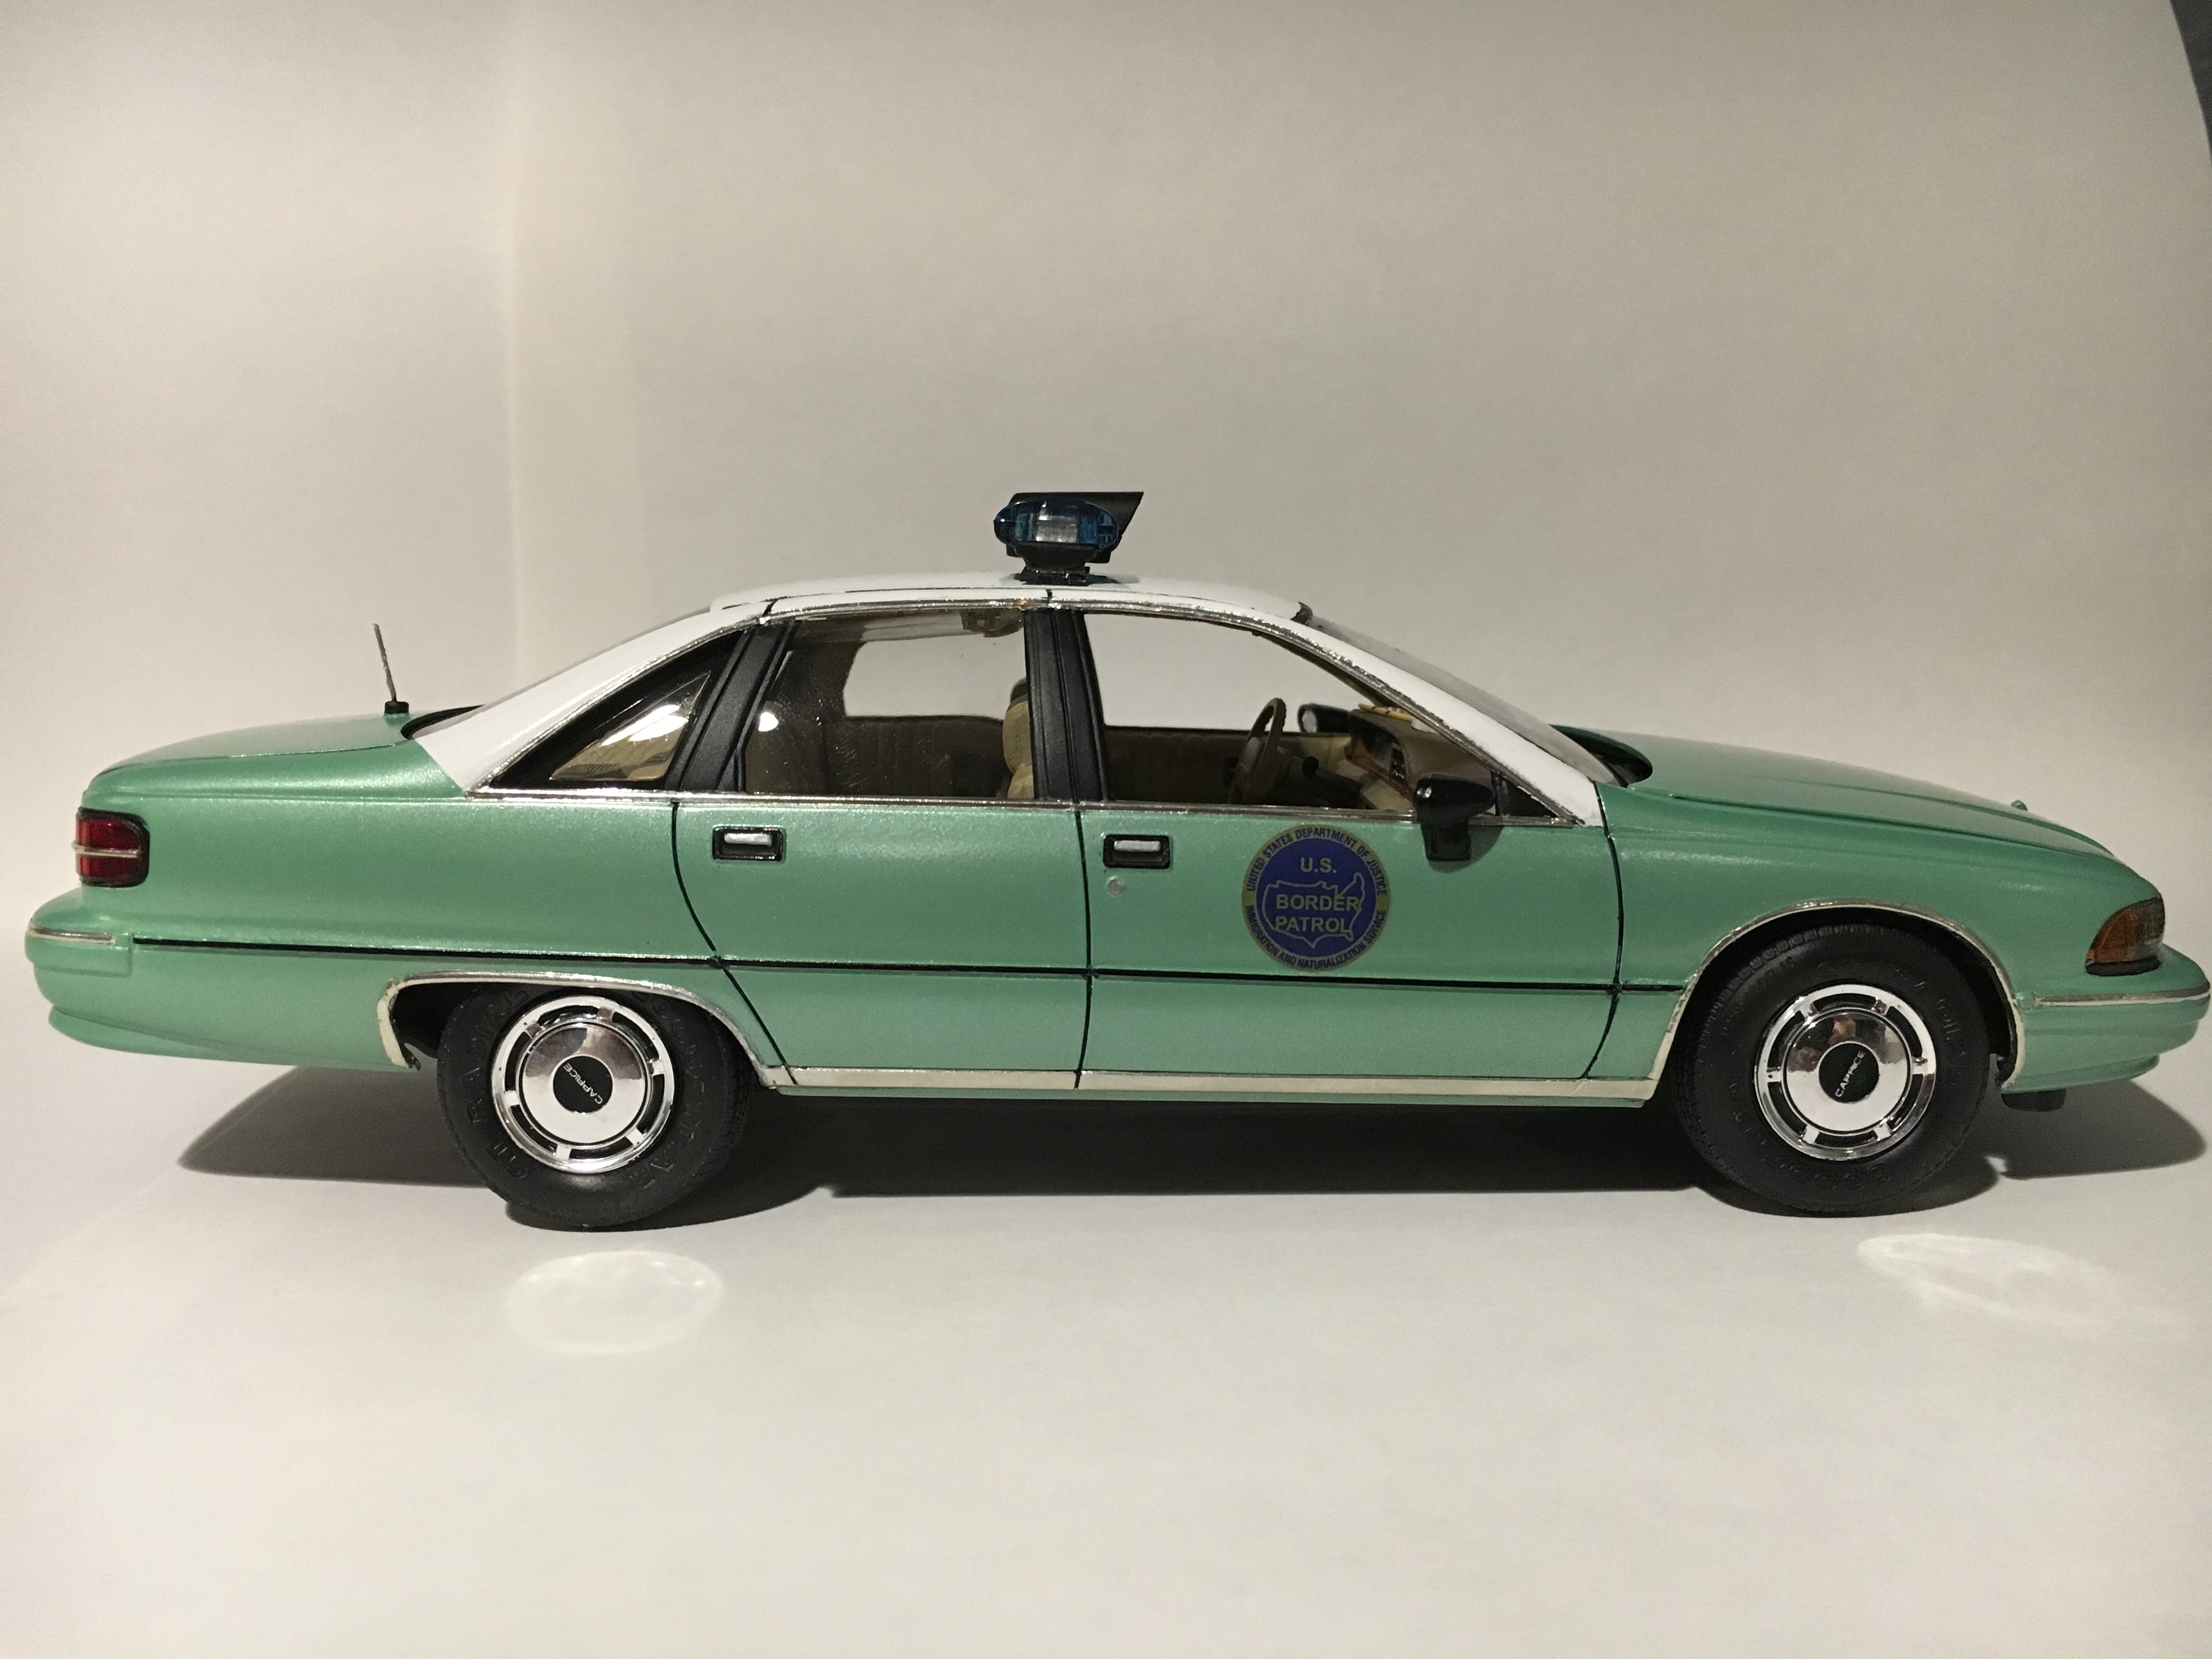
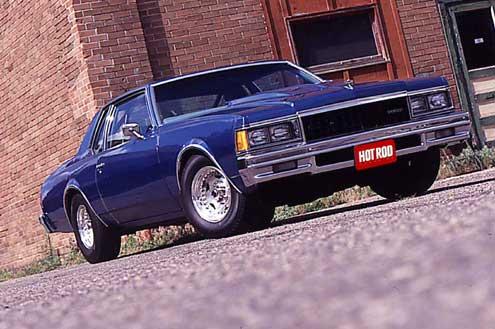
1991 was the last model year that the United States Border Patrol painted their vehicles white over light green (I don't know the exact paint code). Since the BP bought Caprices as their basic patrol sedan that year, they were the last sedans to utilize this paint scheme before the agency switched to all-white cars with a green stripe the following year. The kit is from Revell, Jetsonic light bar is from the AMT Ford Taurus police car kit, and decals are from Billbozo. Paint is Tamiya Pure White over Tamiya Pearl Green and the side molding was made from Evergreen stock. In retrospect, I should have added a cage for prisoner transport but we will just say this is a supervisor's car. This is my second complete kit and again, I learned a lot from it. I mostly got to work on my BMF techniques. The only real mess up I had was that I accidentally spilled glue on the front windshield, something I was not able to fix. The real deal (courtesy of copcar.com):
-
I was going to wait a little while longer before I started this thread on my 1976 Chevrolet Bison stake truck so I had more progress to show; but since we are already close to the end of the month, and the rules do say "monthly updates" I figured no time like the present. Here is the kit that I am starting with: Yes, the venerable AMT Chevrolet Bison. The plan is to replace the 8V92 that comes in the kit with a 6V92T, shorten the hood to a 108" BBC from the kits 116" BBC, swap out the air ride suspension for the spring suspension from the AMT GMC Astro/95, then add the stake body from the AMT Ford C600 kit (thank you, Aaron). I have had the Auslowe Detroit Diesel 6V92T kit kicking around for a while now, and I figured this would be perfect: Oh, man, was I ever wrong! Ever since I started building this engine back on January 1st, it's been one step forward & two steps back! I'm going to toss the Auslowe engine idea, and replace it with a 6V92T from GW Trucks. Hopefully more progress next month!
-
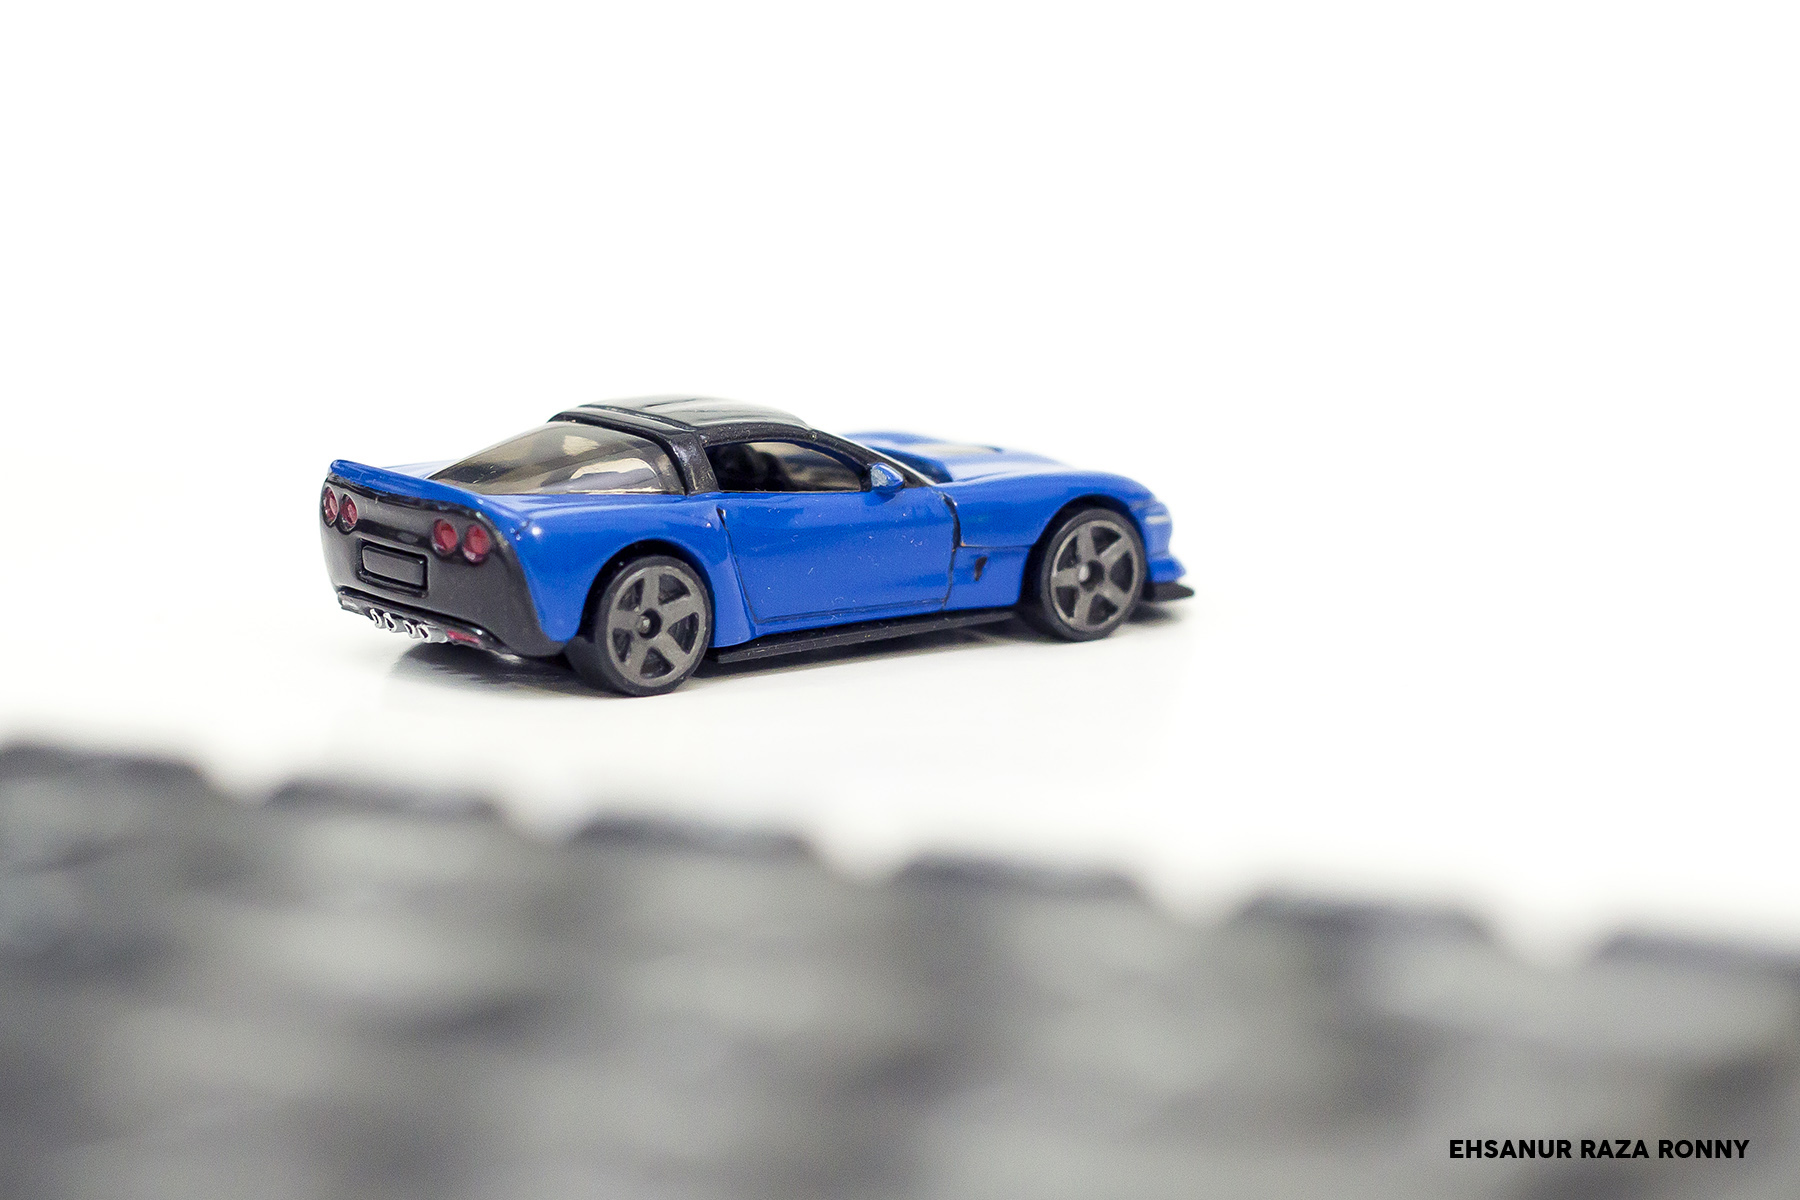
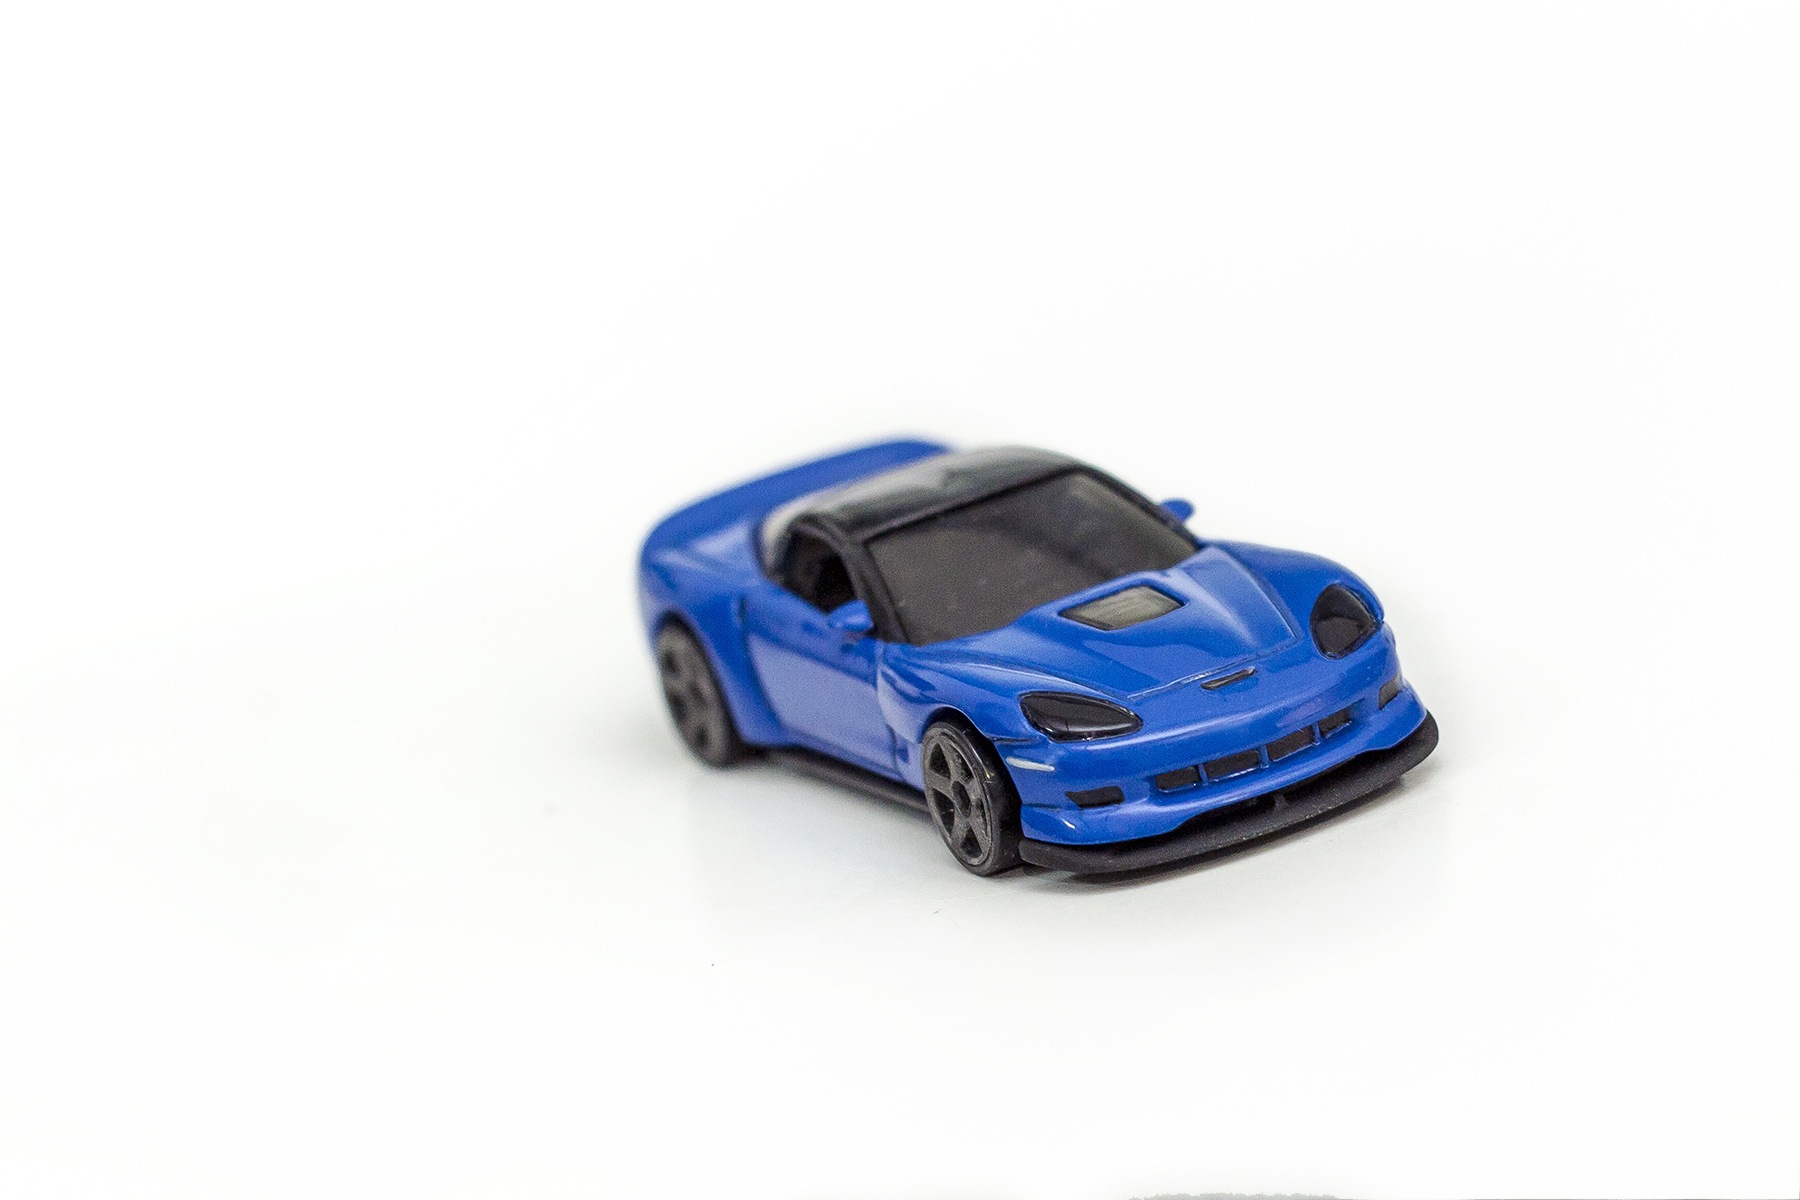
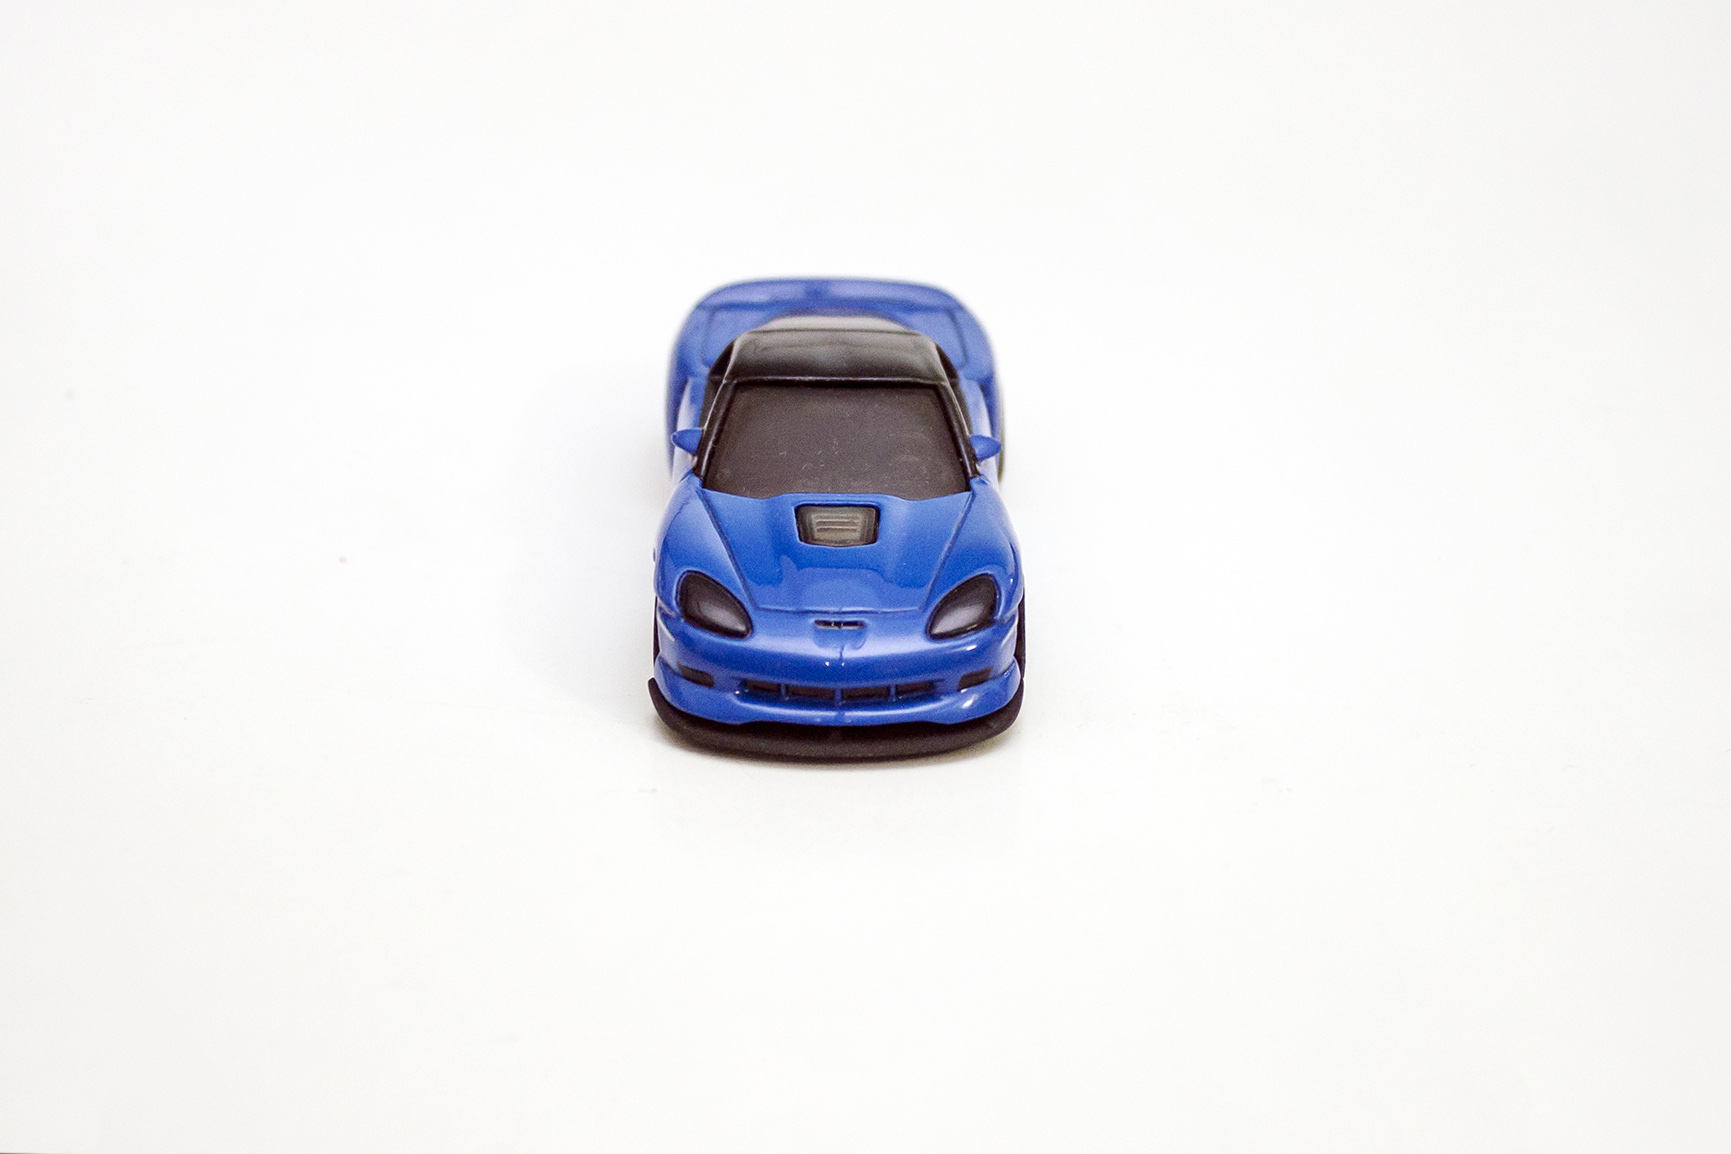
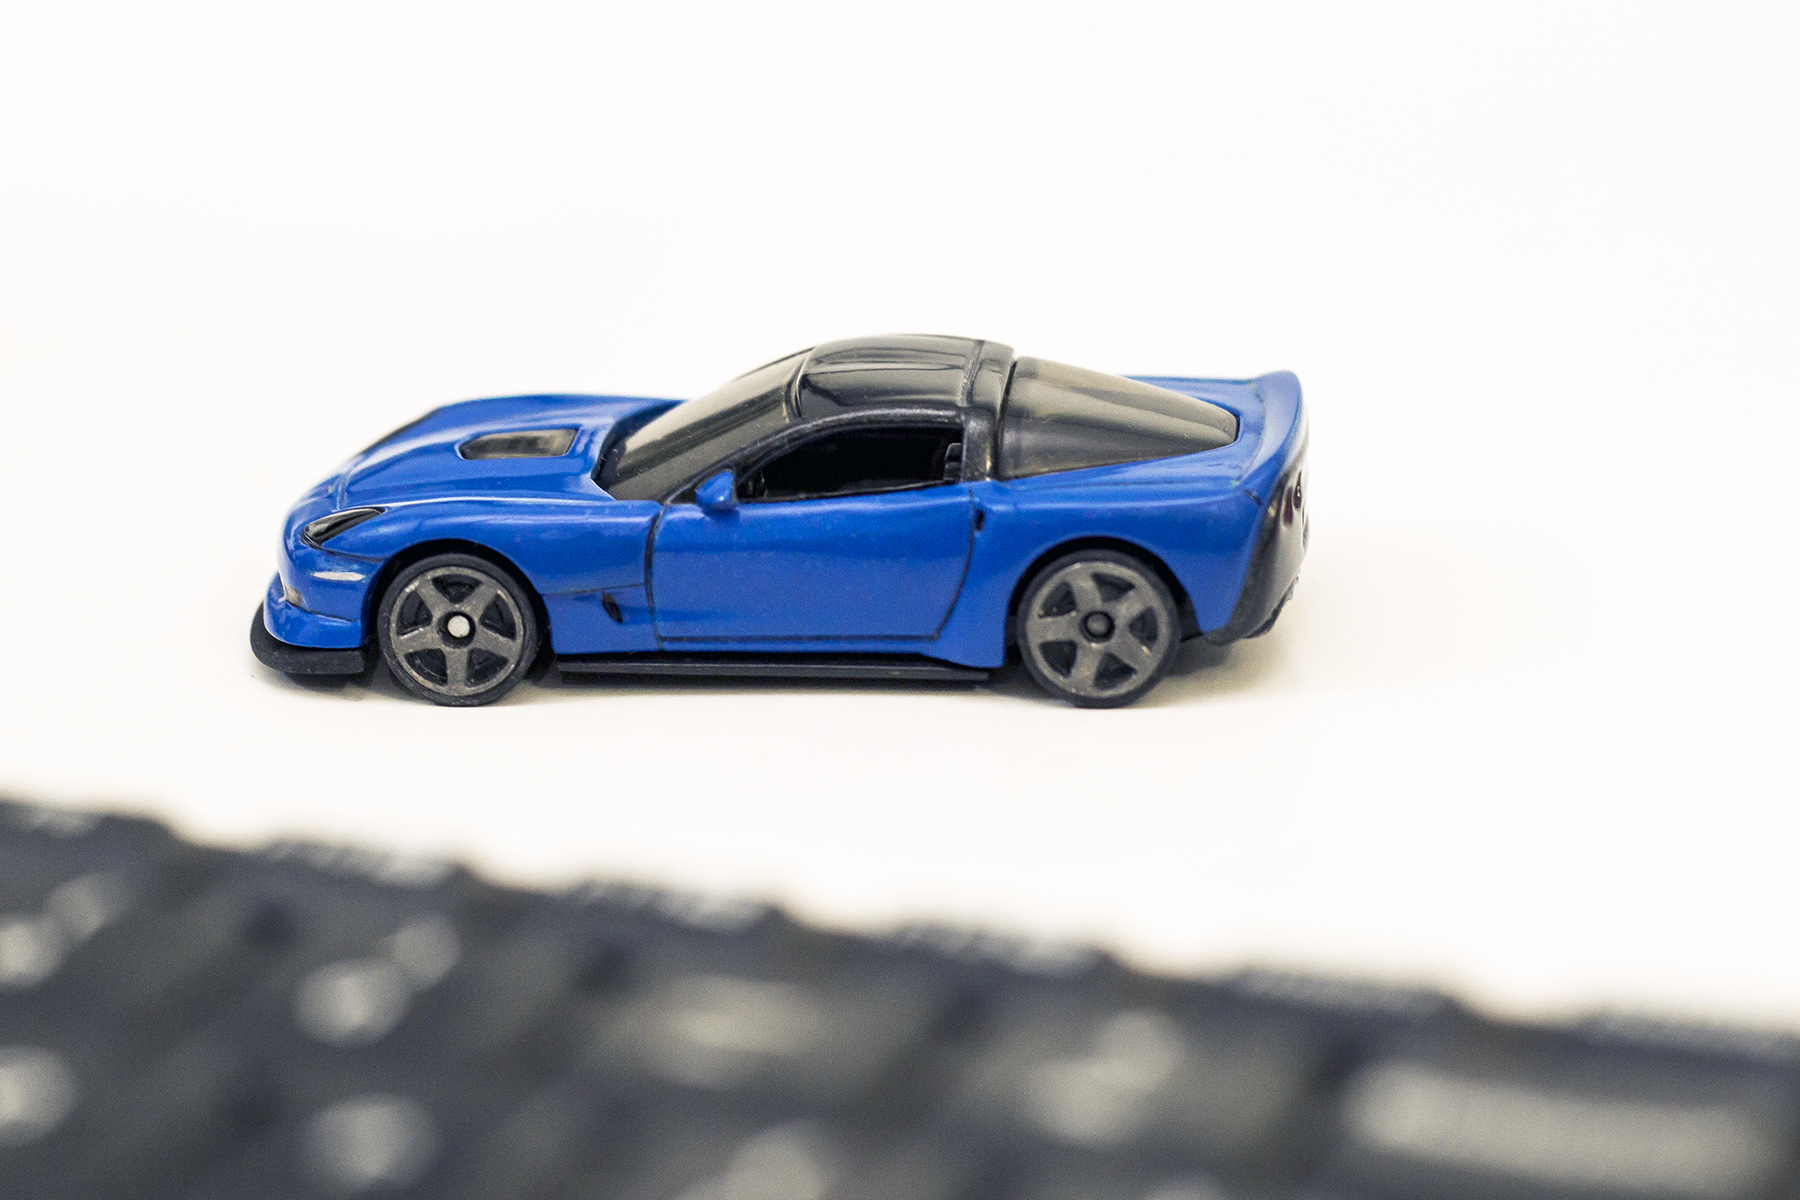
Decided to merge a bit of my favorite JDM tuning influences with a rock-star of a US sportscar. The original HOtwheels version was nice enough but had some glaring issues such as the big/little wheels sizes. Putting a smaller wheel on the rear meant there was a wider wheel gap and a slumped down rear end. This is the first time I work with modelling putty. Work done: Lowered. Wheel well filled in. Widebody conversion. Custom front splitter. Rocketbunny style rear spoiler. Side mirrors. Wheels cut and reassembled further out to sit flush with wider track. IMG_3597.xmp
-
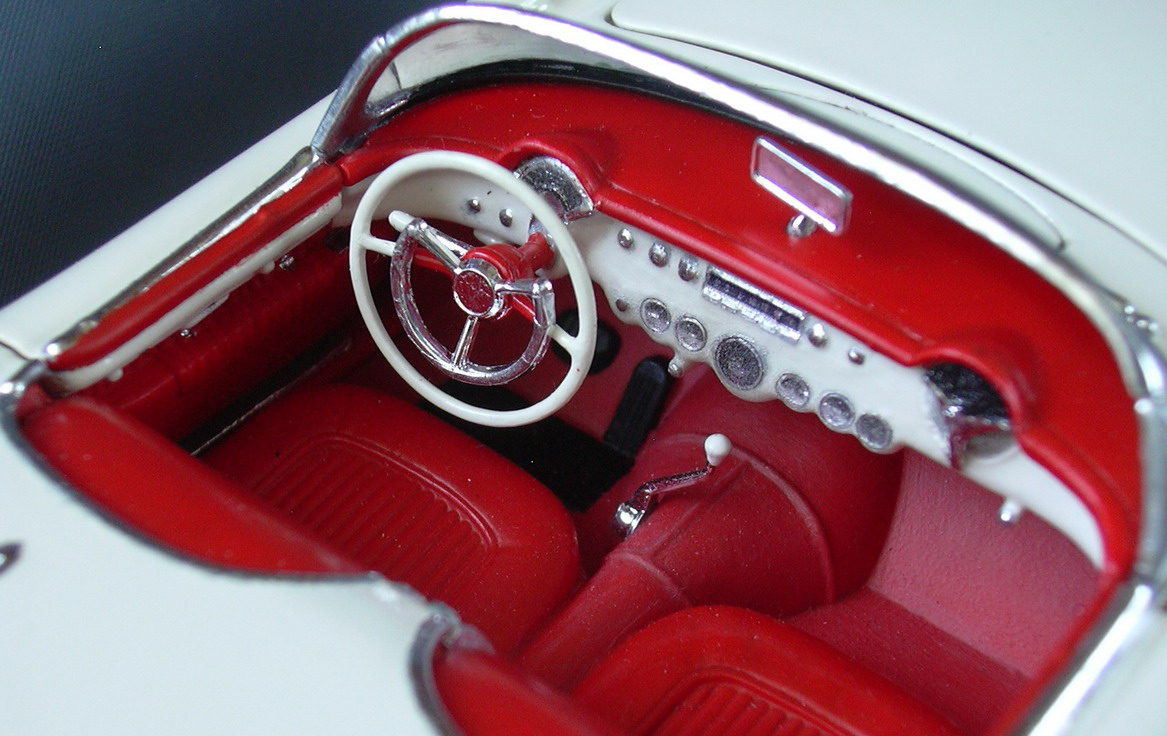
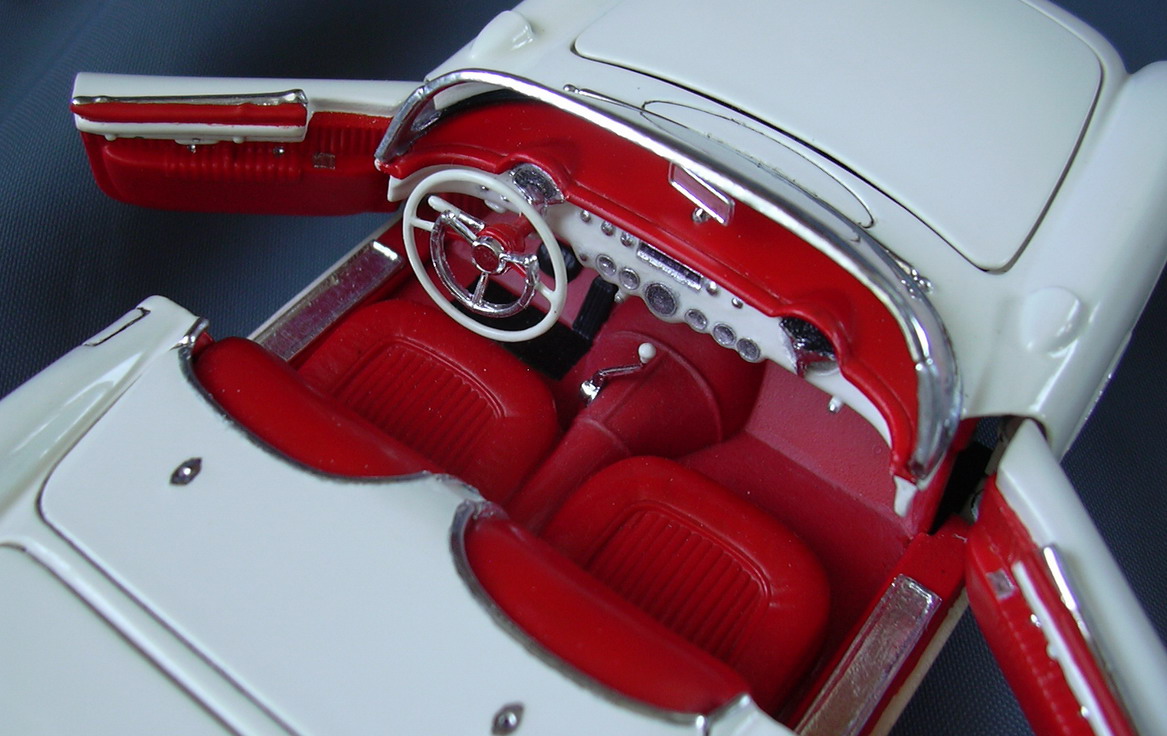
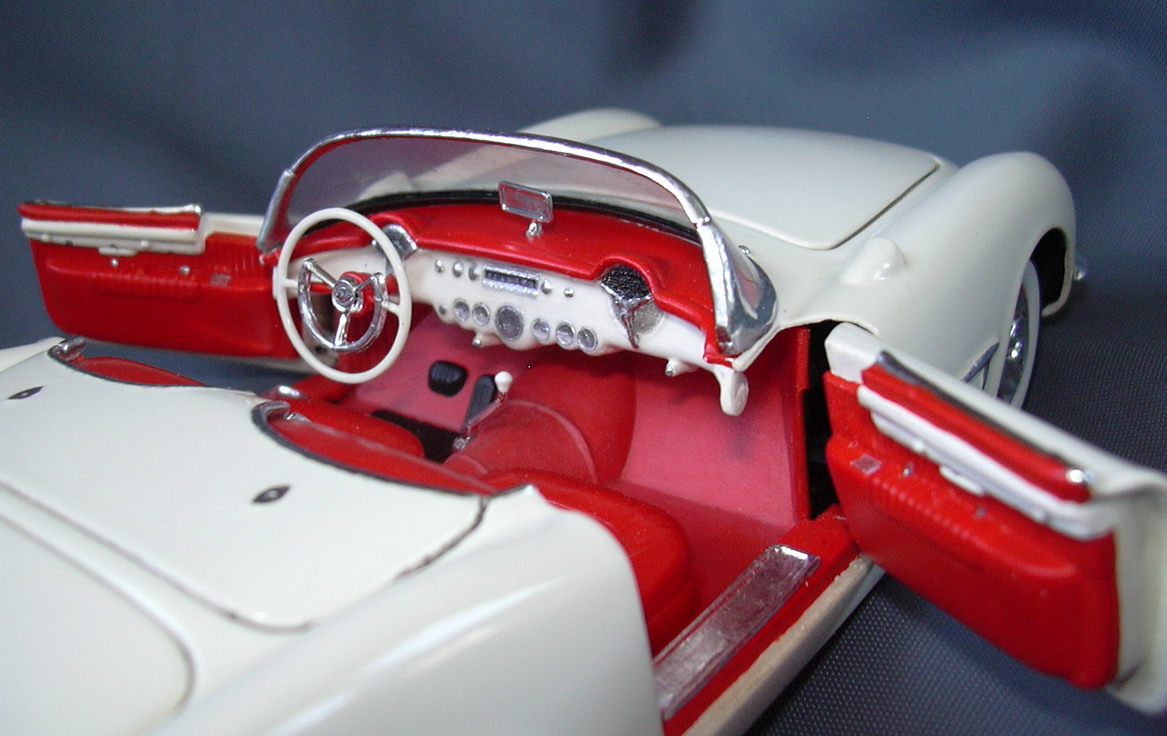
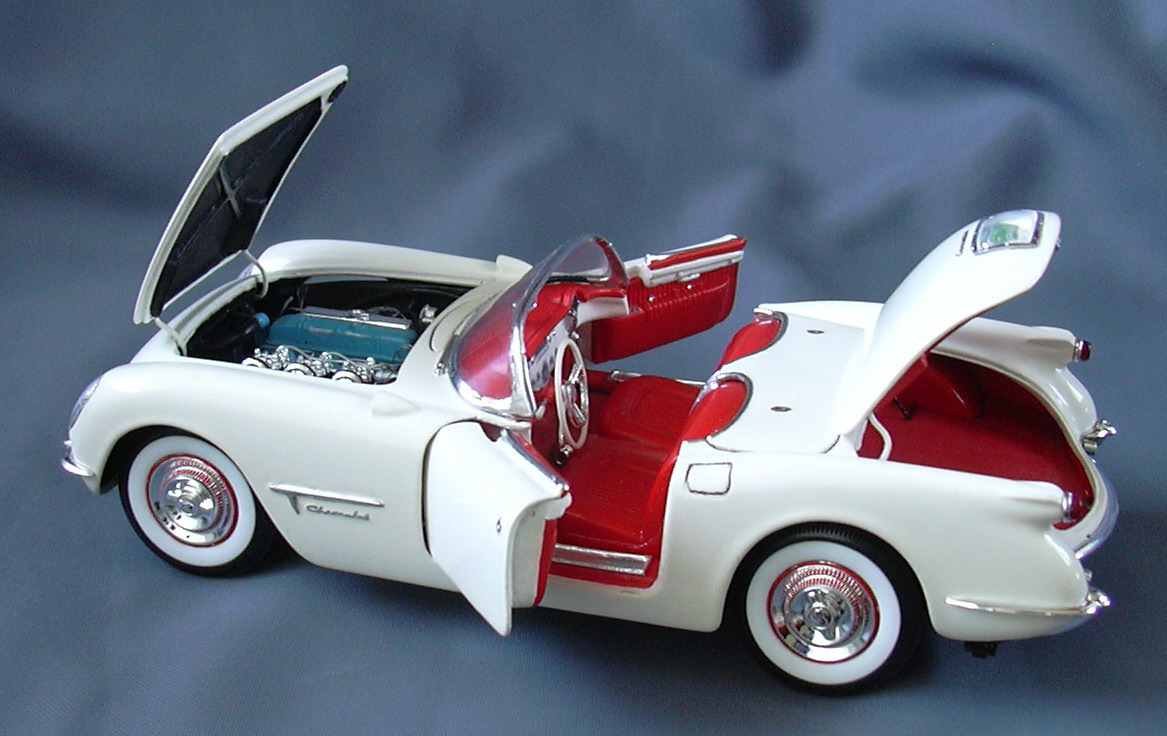
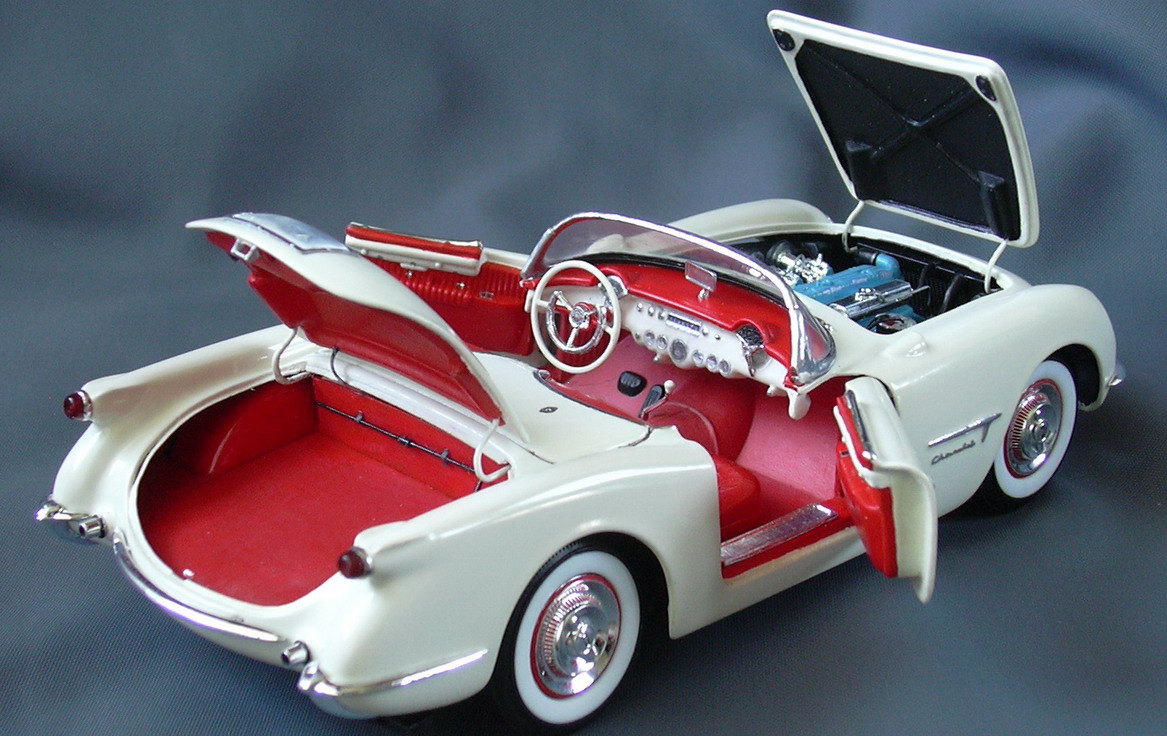
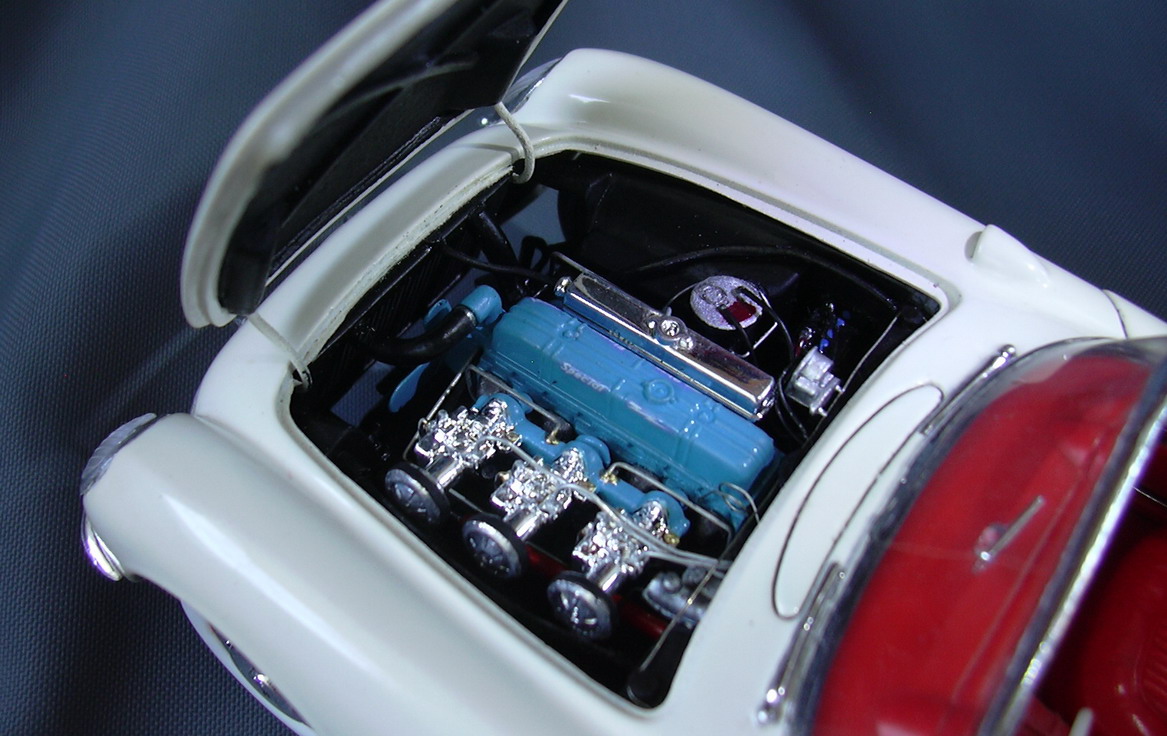
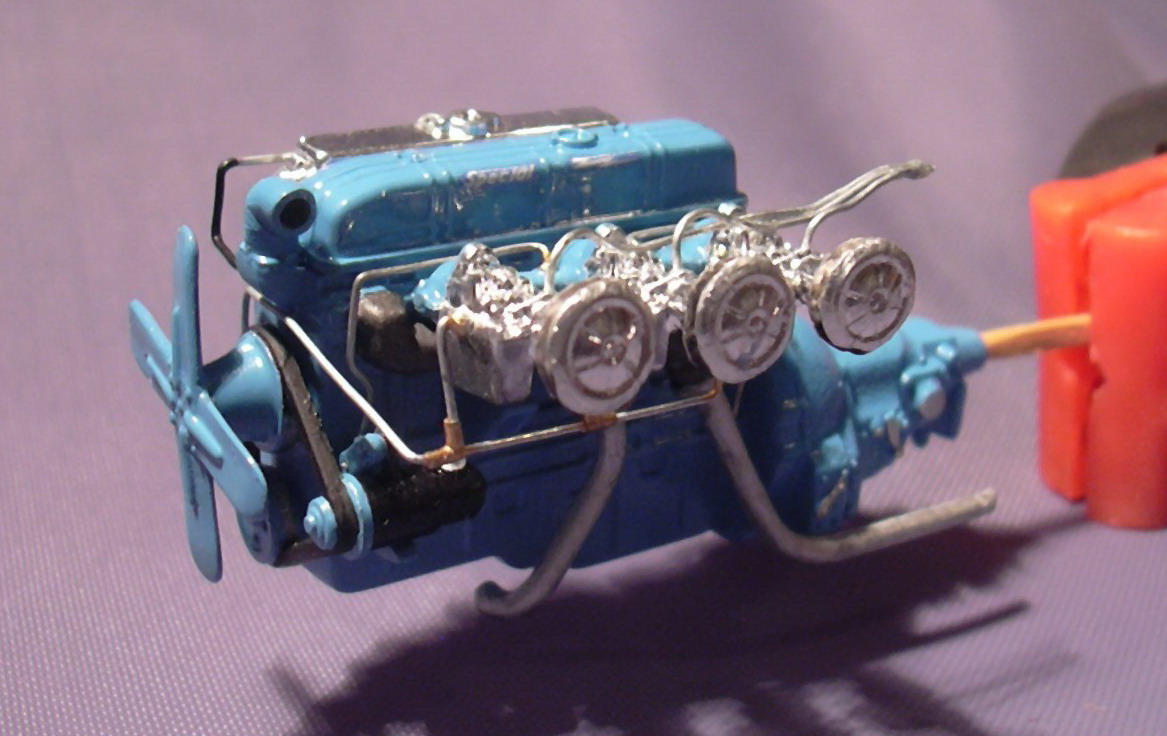
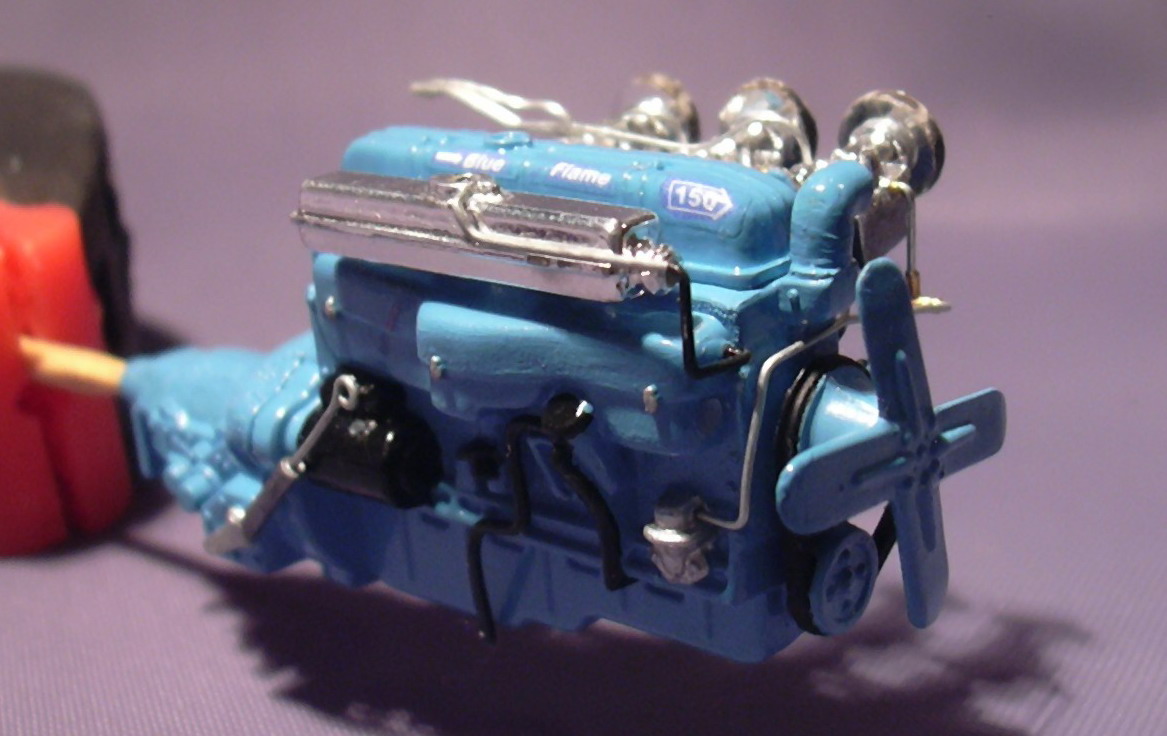
I am using the AMT 57 Corvette frame and engine under the AMT 55 Corvette body because I feel the 57 frame is overall superior to what comes in the 53/55 kits. I have the front spindles in so I could see how it would sit. Overall look Rear close up Front close up I also did some boring things like paint the engine, sand some on the body, etc.. The AMT 57 Corvette frame really works great on the 55 body. Thanks for looking.
-
 Not perfect, but at least I like the style!
 -
http://www.ebay.com/itm/Chevrolet-Bel-Air-150-210-Bel-Air-/162142018610?forcerrptr=true&hash=item25c06adc32:g:3OwAAOSwIgNXjsD-&item=162142018610 Several dozen reference shots, including chassis.
-
This took only 2 days to build. A nice kit, sprayed in One Coat De Ja Blue and Blazing Black 2-tone with dark grey interior. Extra decals by Dirty Donny.
-
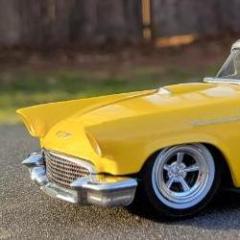
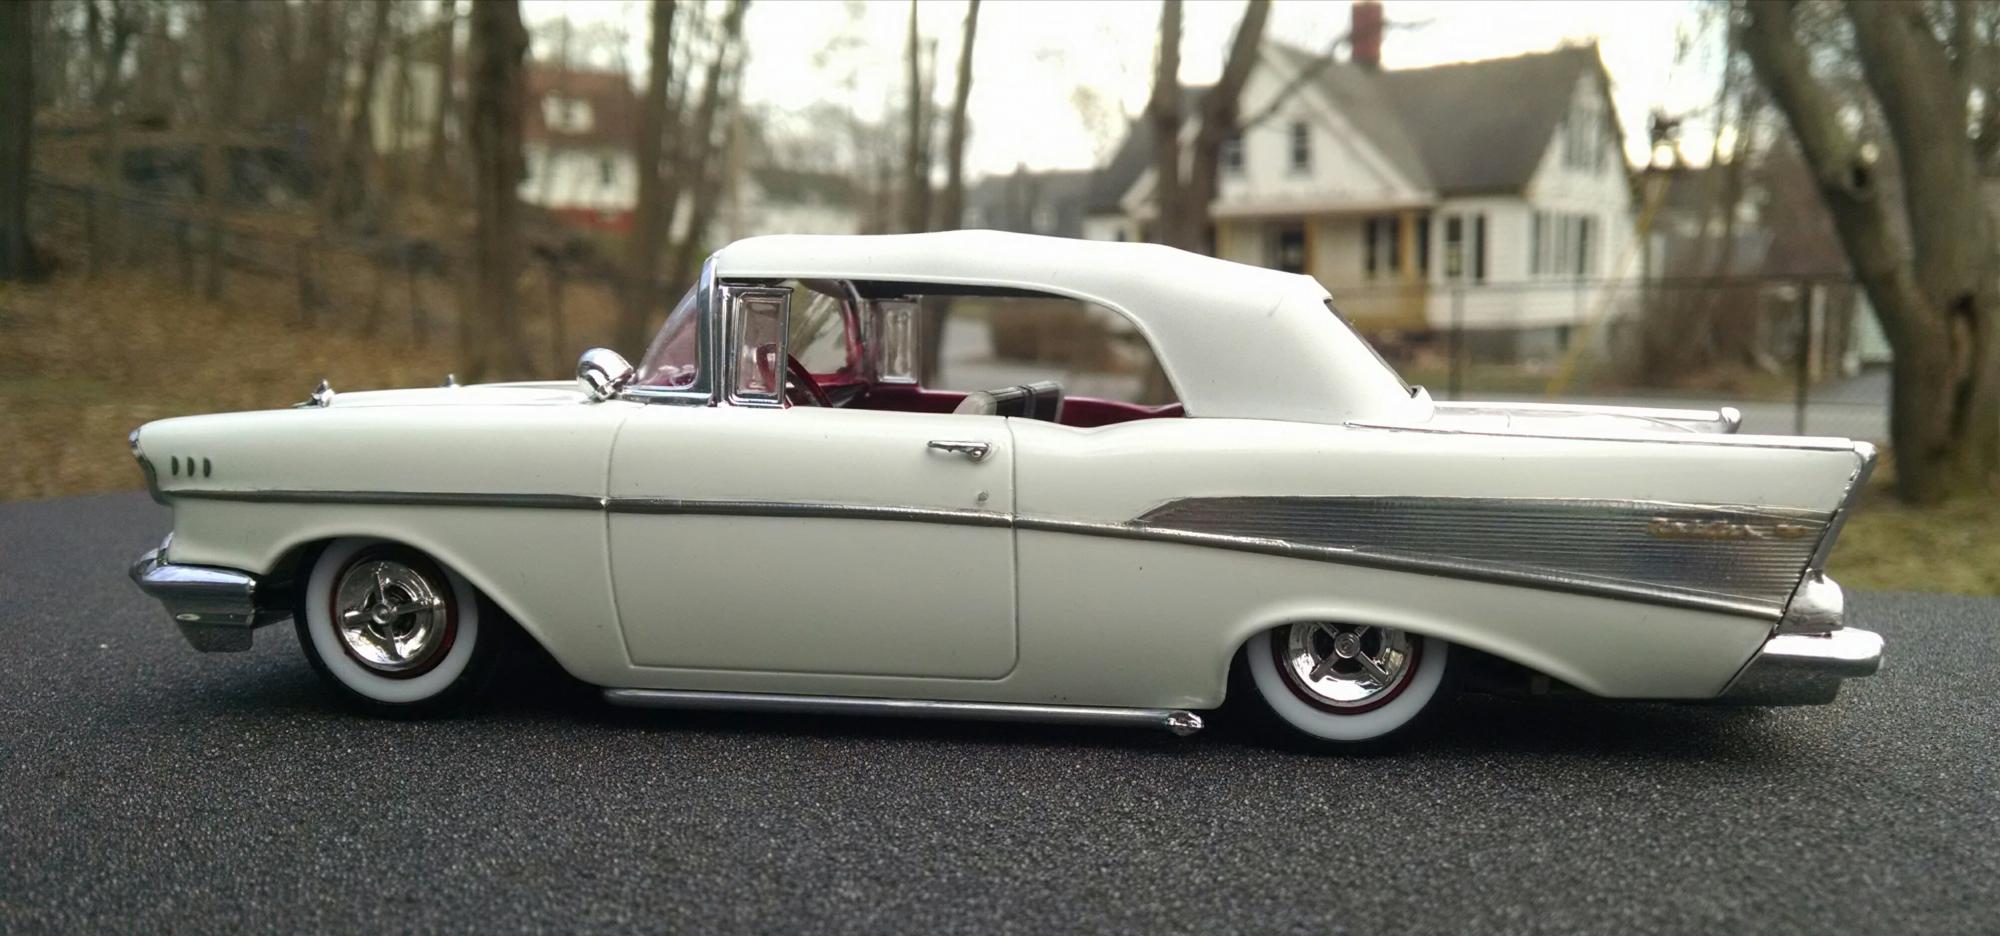
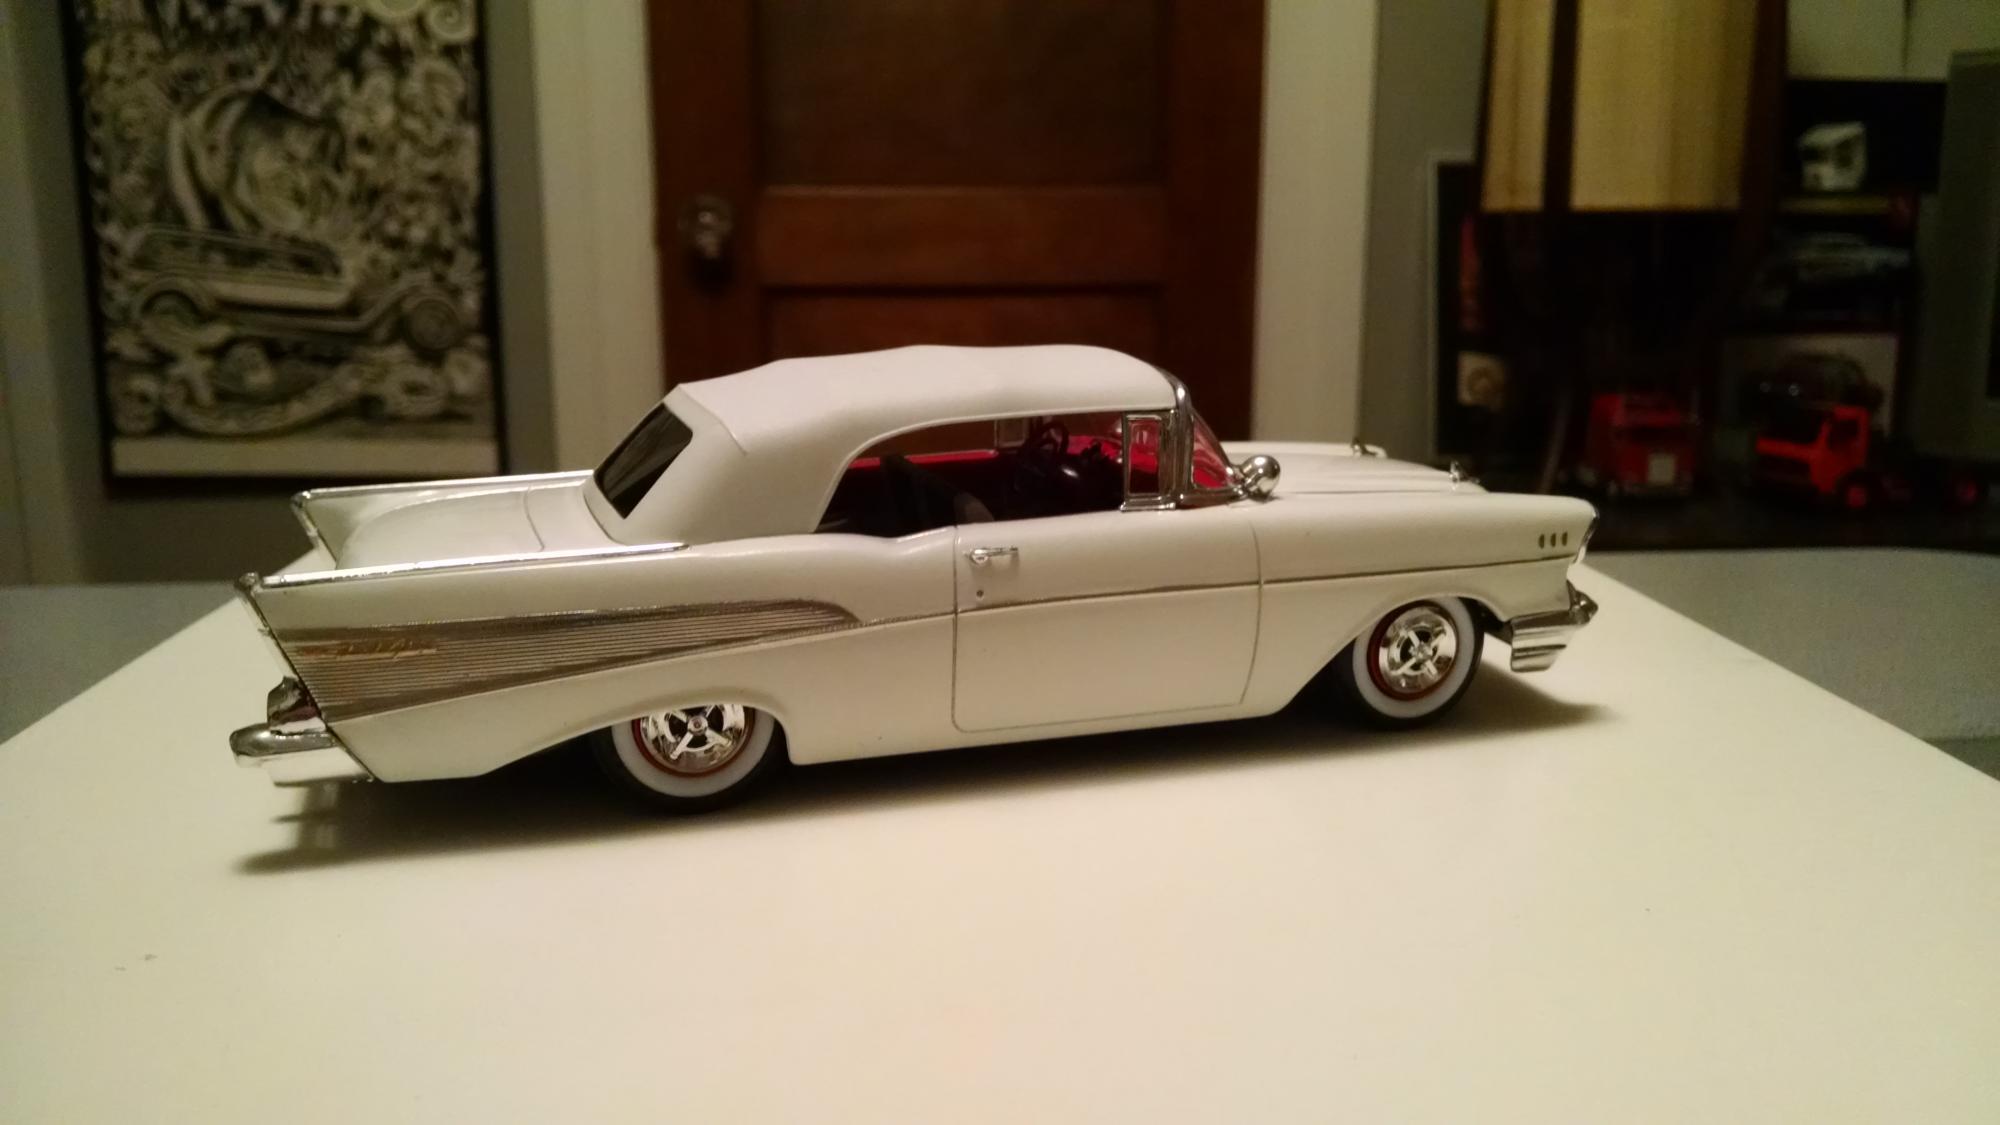
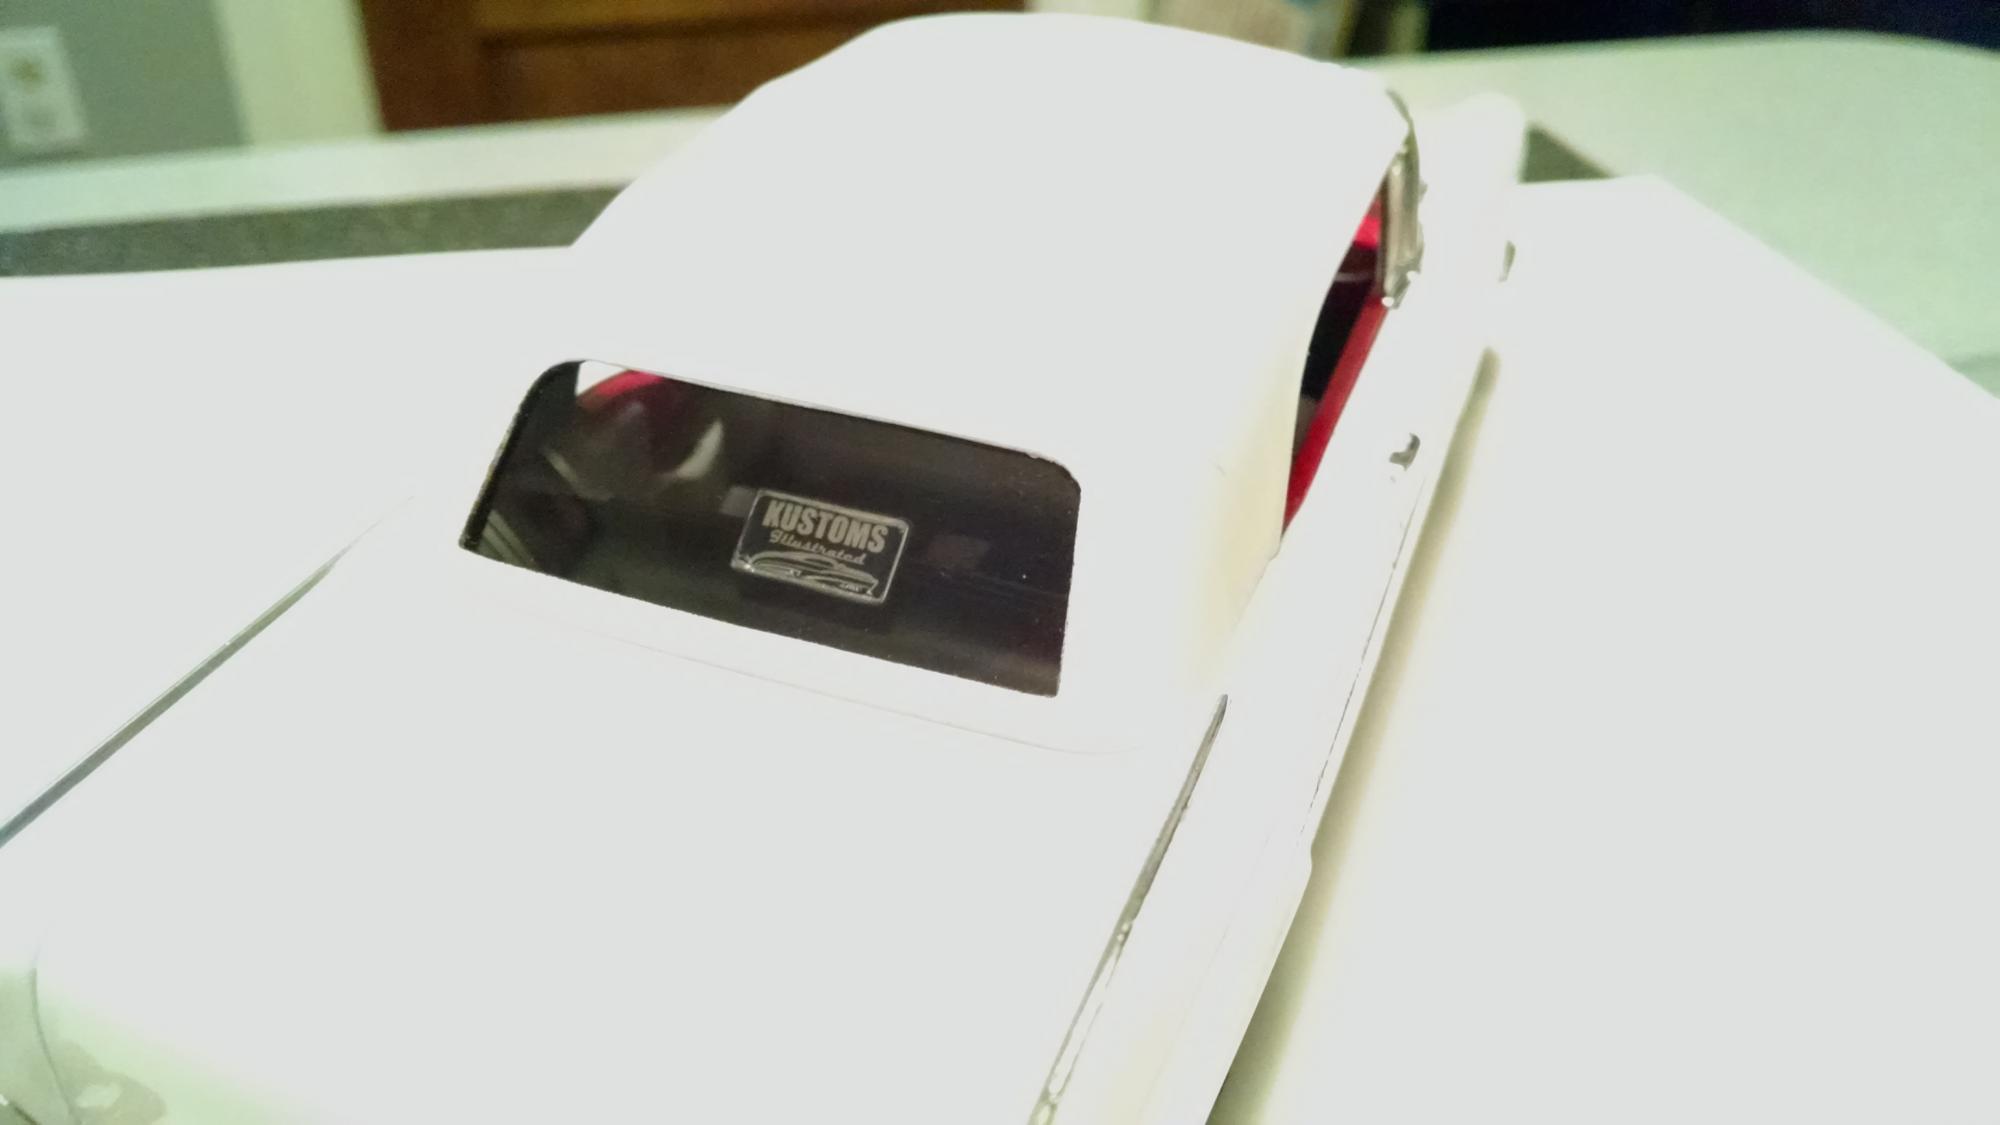
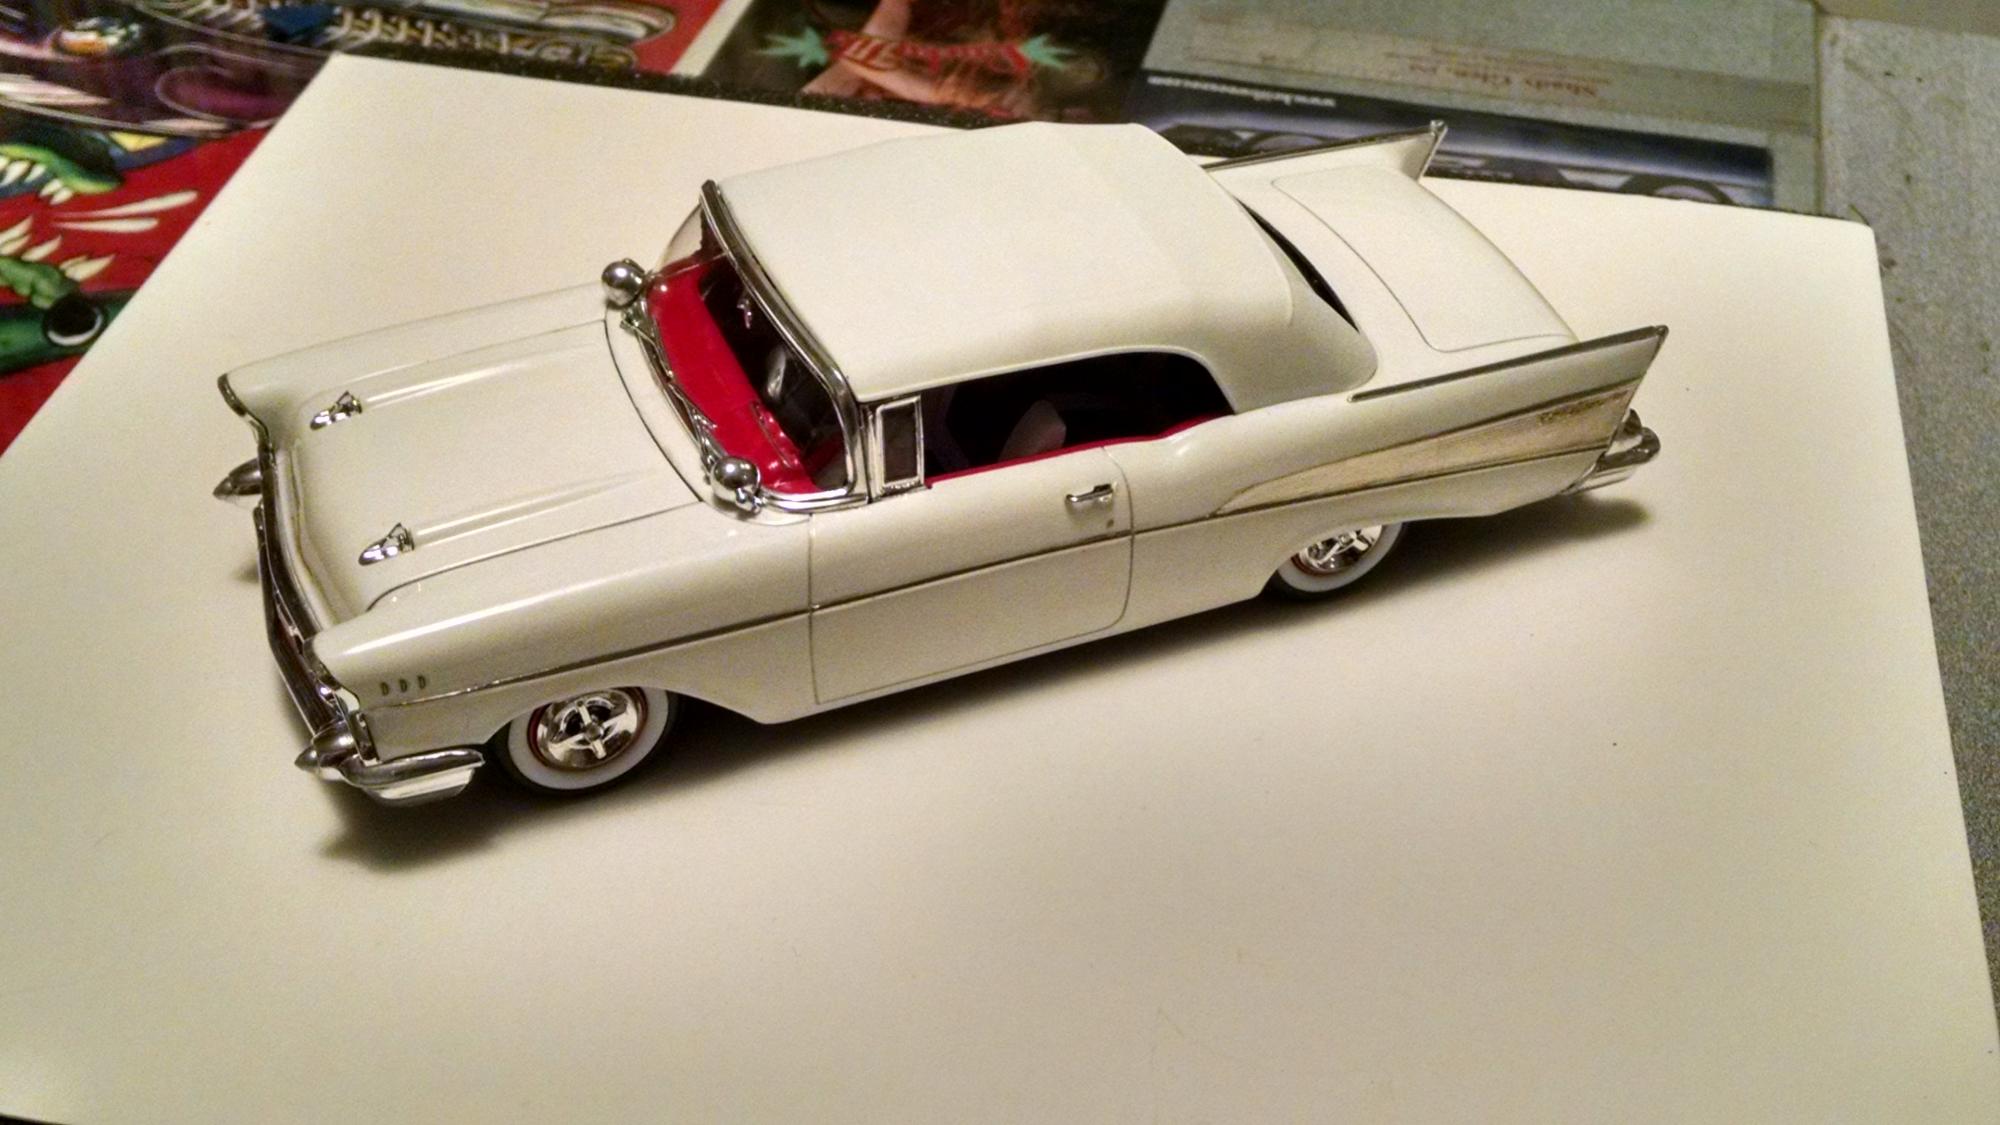
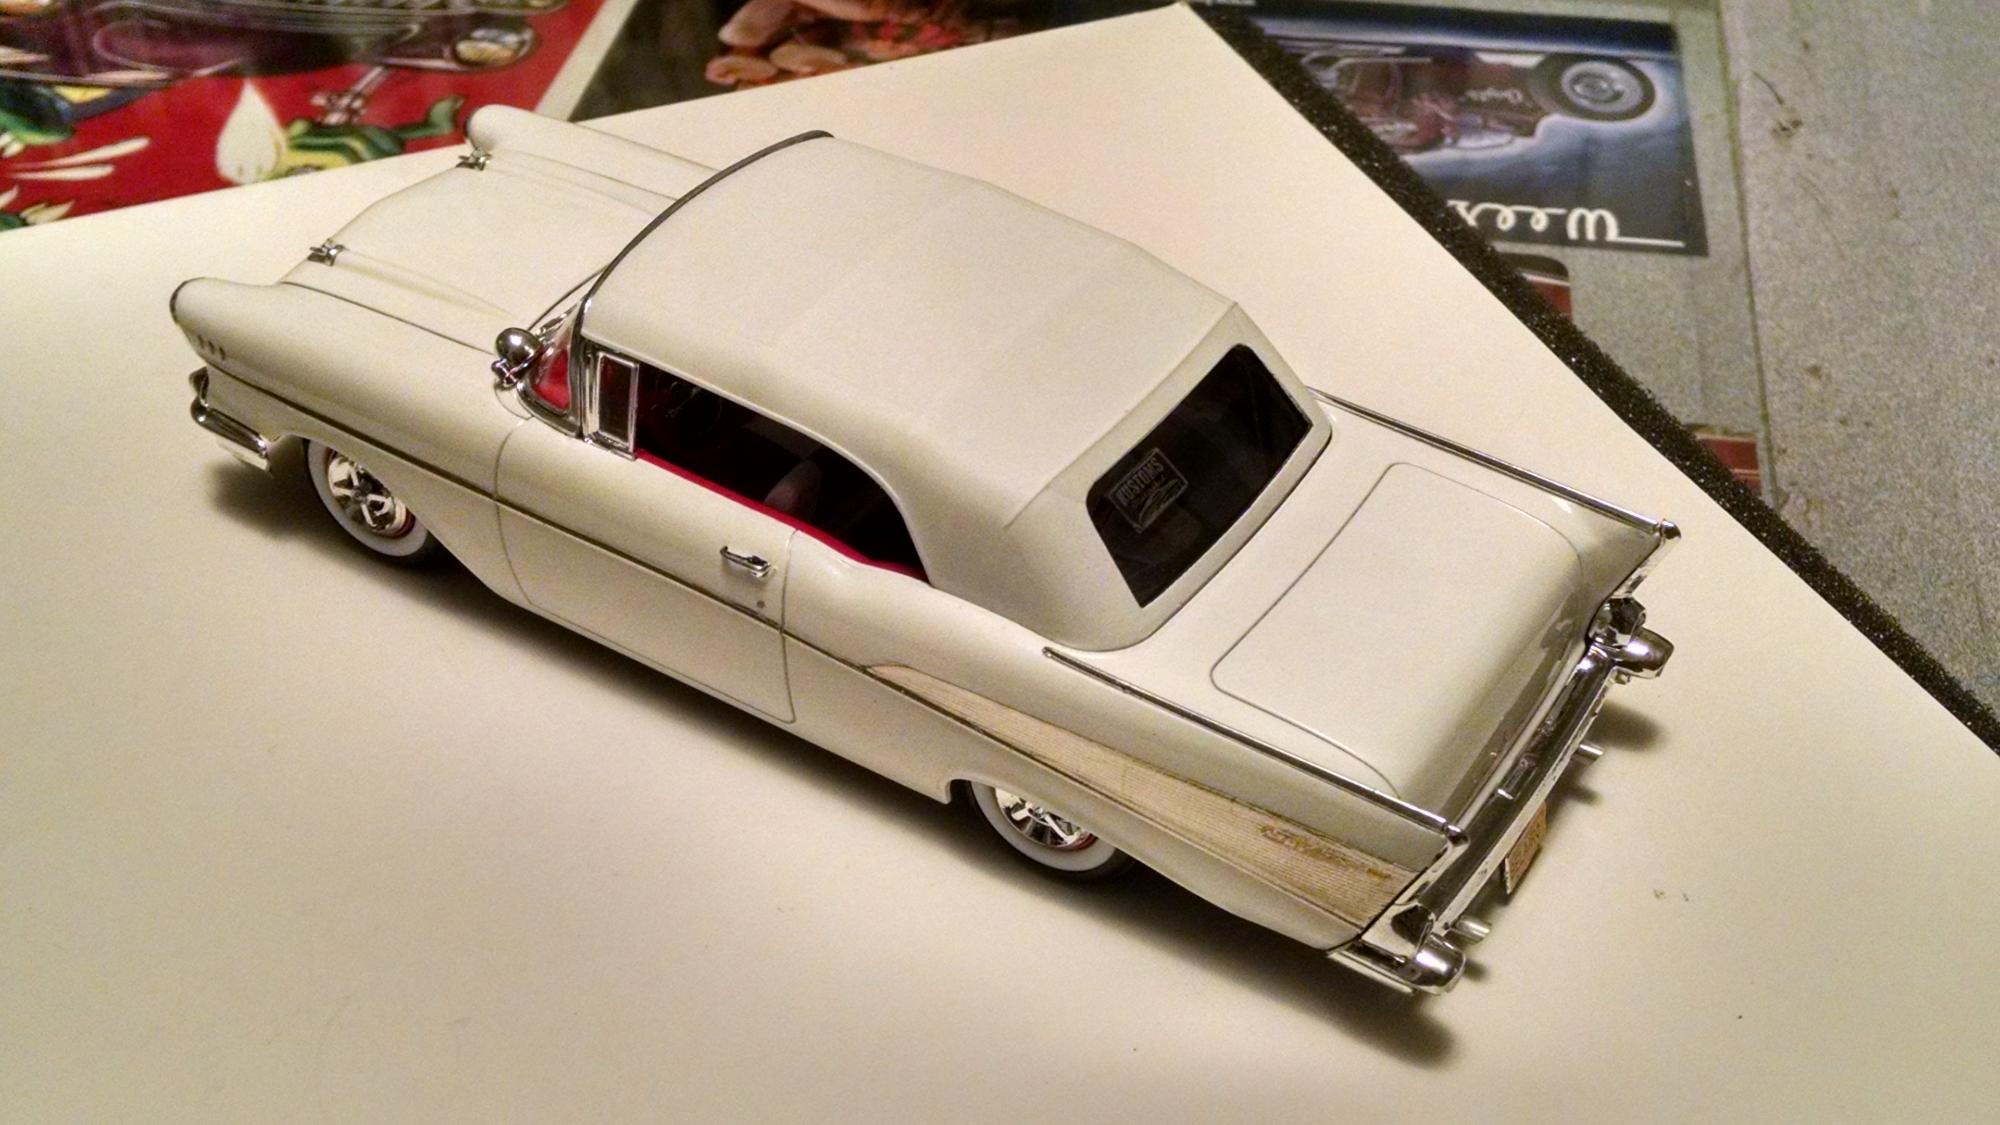
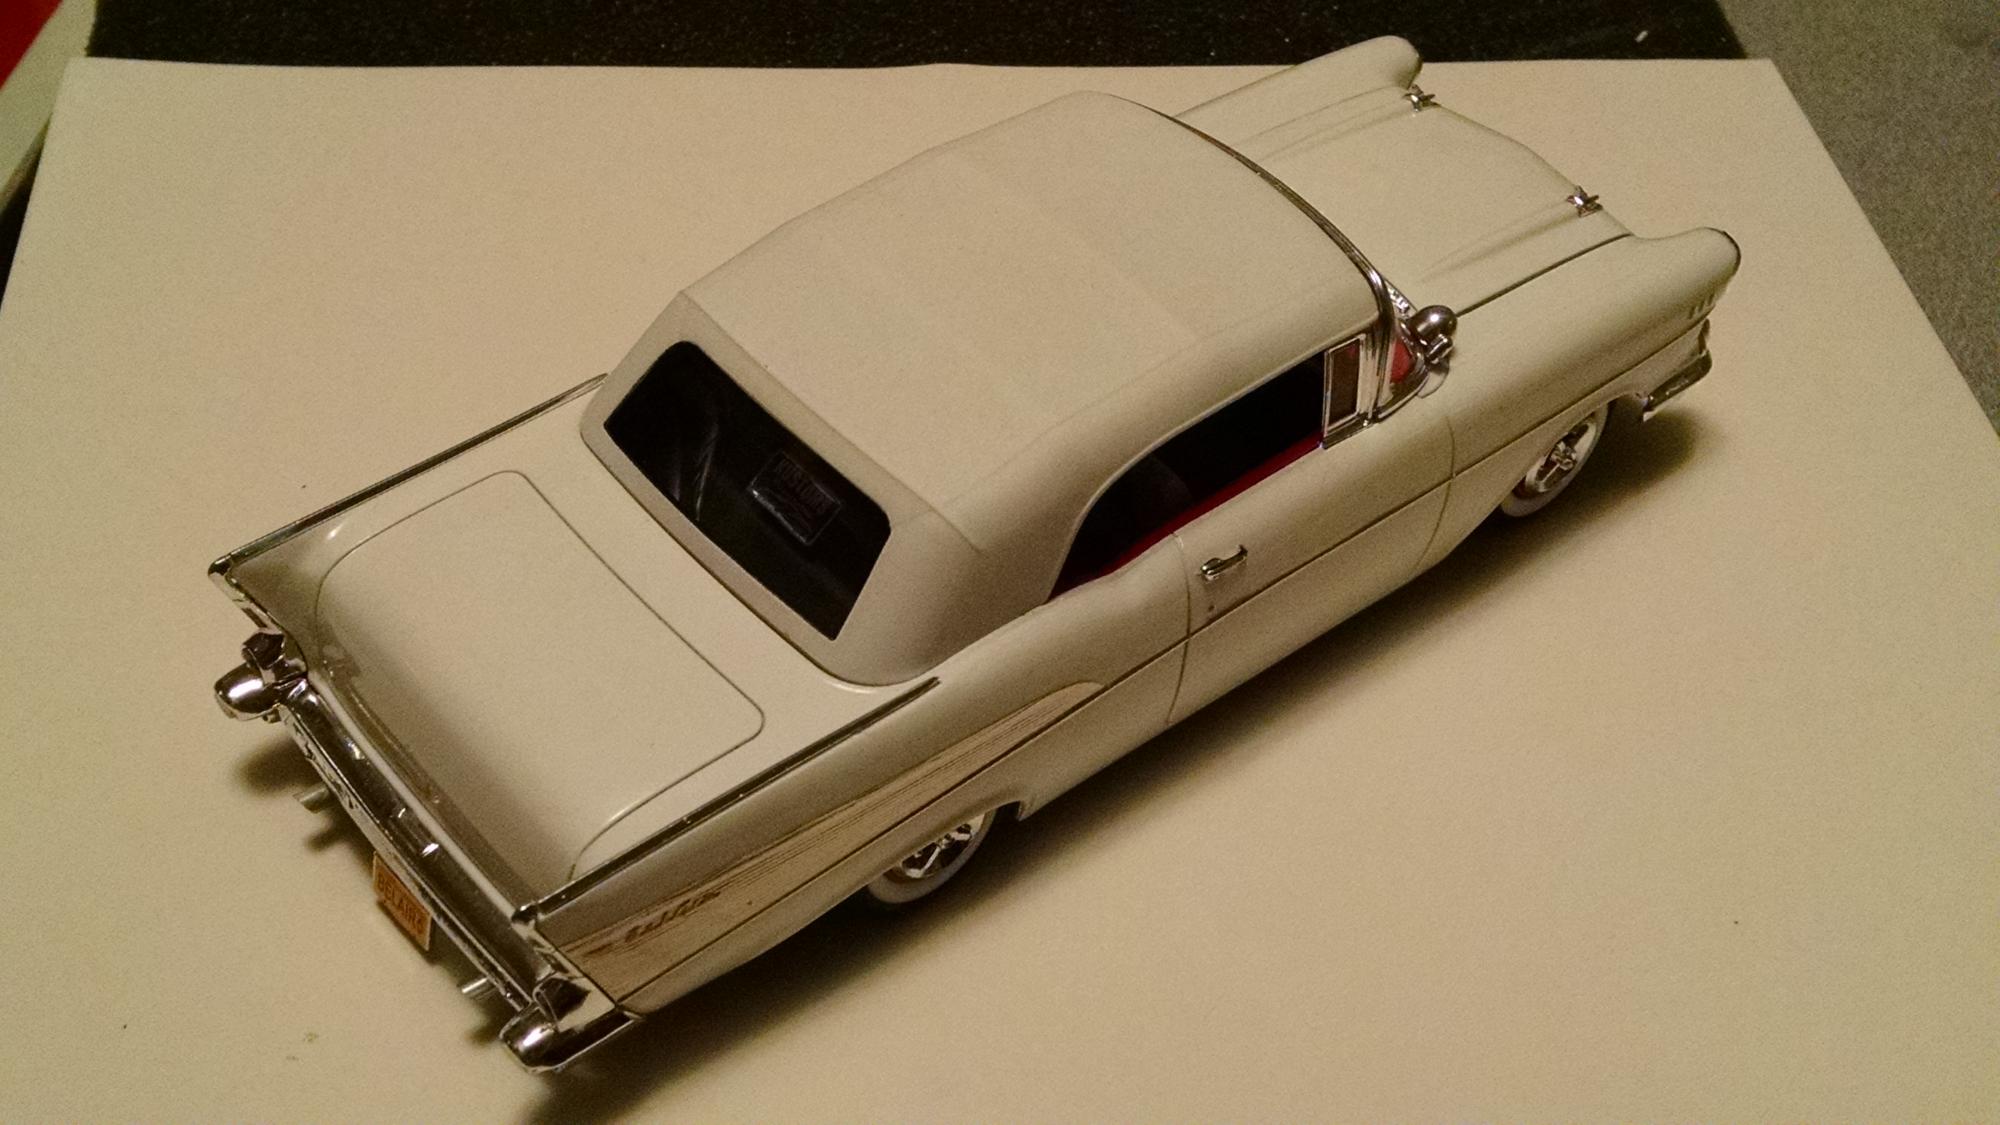
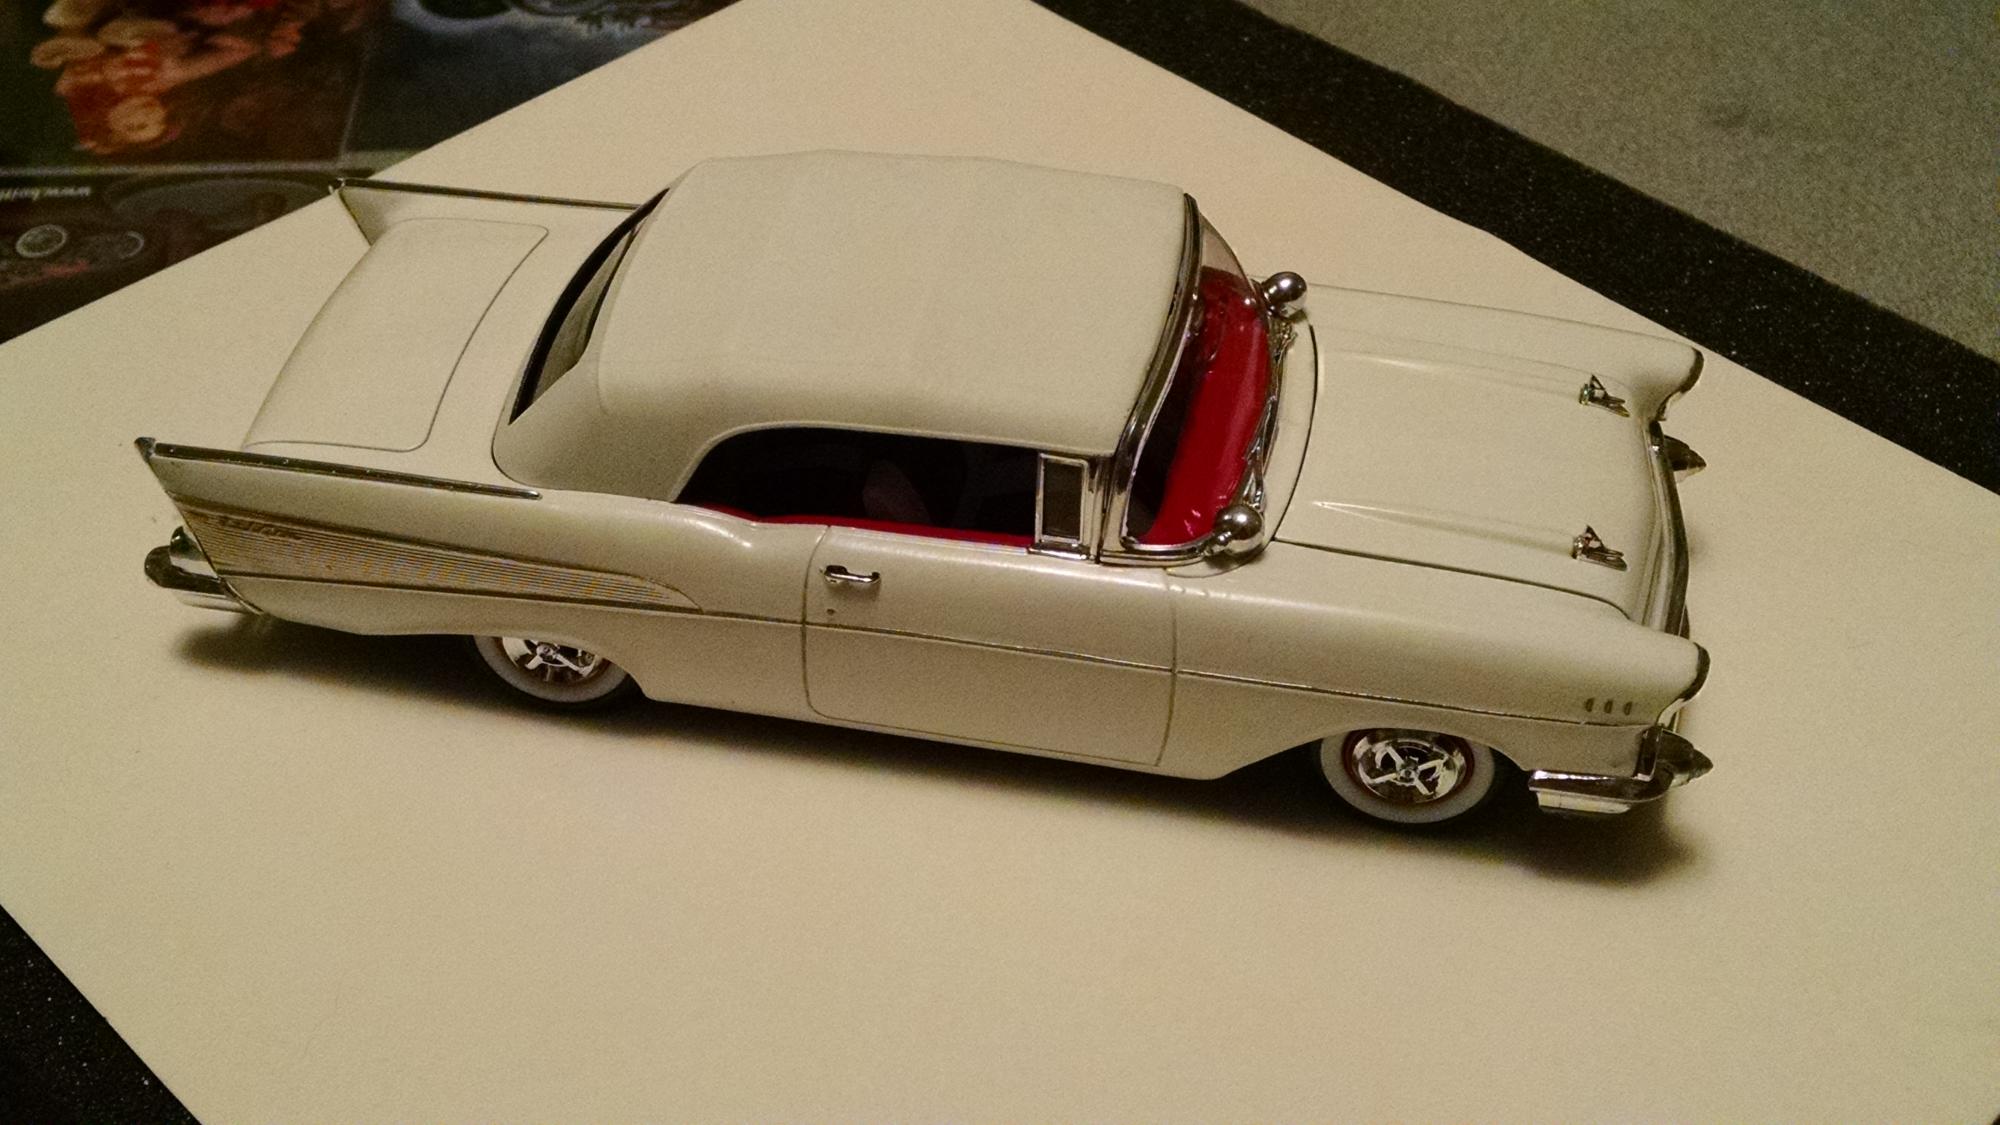
Just finished this last night. I call it "Mack The Knife". Based on Revell's '57 Chevy Ragtop and inspired by a real one I had seen at Lead East a couple of years ago. Very fun kit to build. It is Tamiya White with red black and white interior. The top is krylons flat white. the caps are from Modelhaus and the spots are parts box finds.
-
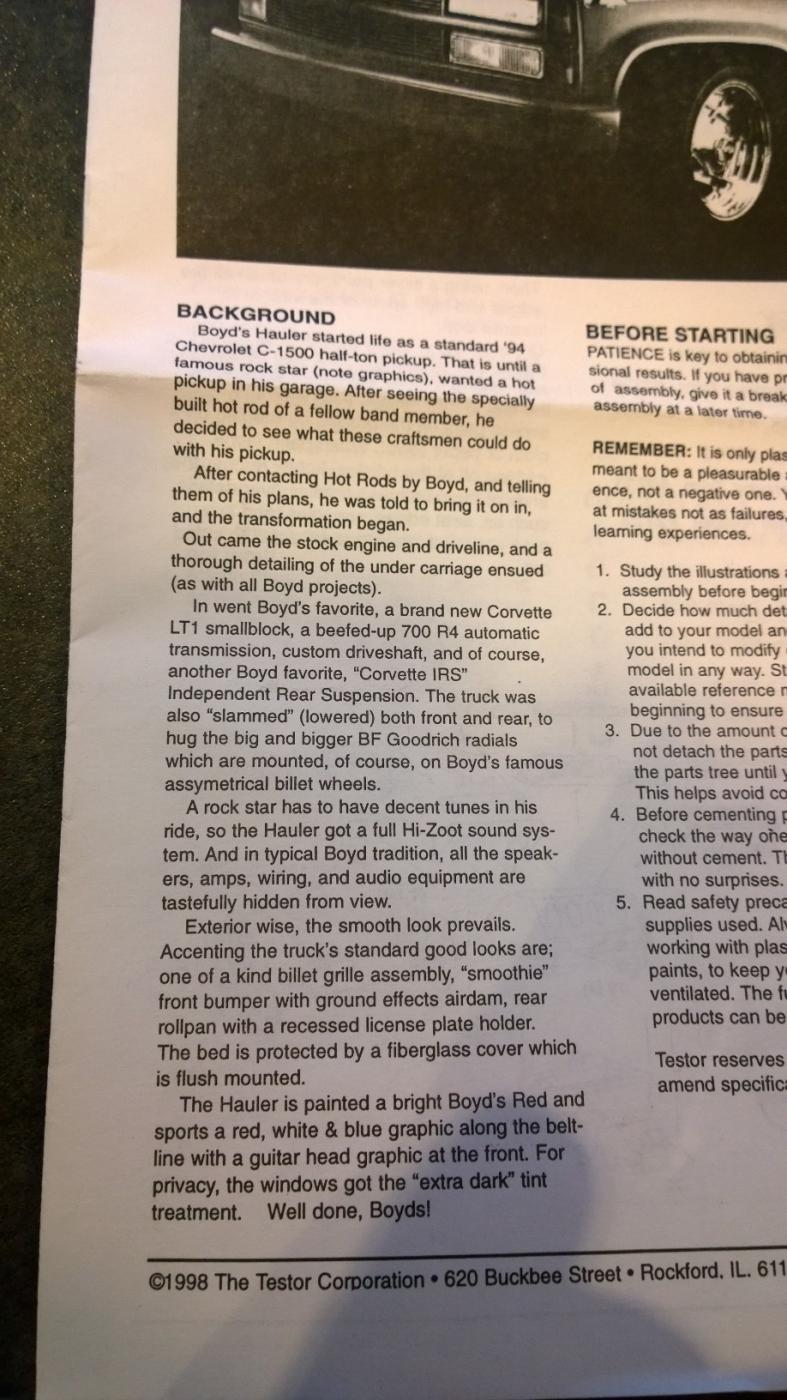
.thumb.jpg.d0926de2d8346363976c7c0a63bd15d7.jpg) This one will be hitting my bench shortly. Music is my main hobby, and I'm a huge fan of 80s metal and rock, so when I saw this kit, I had to have it. Testor's call it the Boyd's Hauler, I call it the Van Hauler. I find it amusing that they keep referring to the unnamed rock star. Licensing I guess. Anyway, lots of detail in this kit. Much better than the usual AMT Chev trucks, although I'll have to compare to my 454SS kit and see how close they are for tooling. Comes with the Van Halen decals sheet, Van Halen stripe wheels, Corvette engine and suspension. Building this one box stock, with a few extra details.
This one will be hitting my bench shortly. Music is my main hobby, and I'm a huge fan of 80s metal and rock, so when I saw this kit, I had to have it. Testor's call it the Boyd's Hauler, I call it the Van Hauler. I find it amusing that they keep referring to the unnamed rock star. Licensing I guess. Anyway, lots of detail in this kit. Much better than the usual AMT Chev trucks, although I'll have to compare to my 454SS kit and see how close they are for tooling. Comes with the Van Halen decals sheet, Van Halen stripe wheels, Corvette engine and suspension. Building this one box stock, with a few extra details.
-
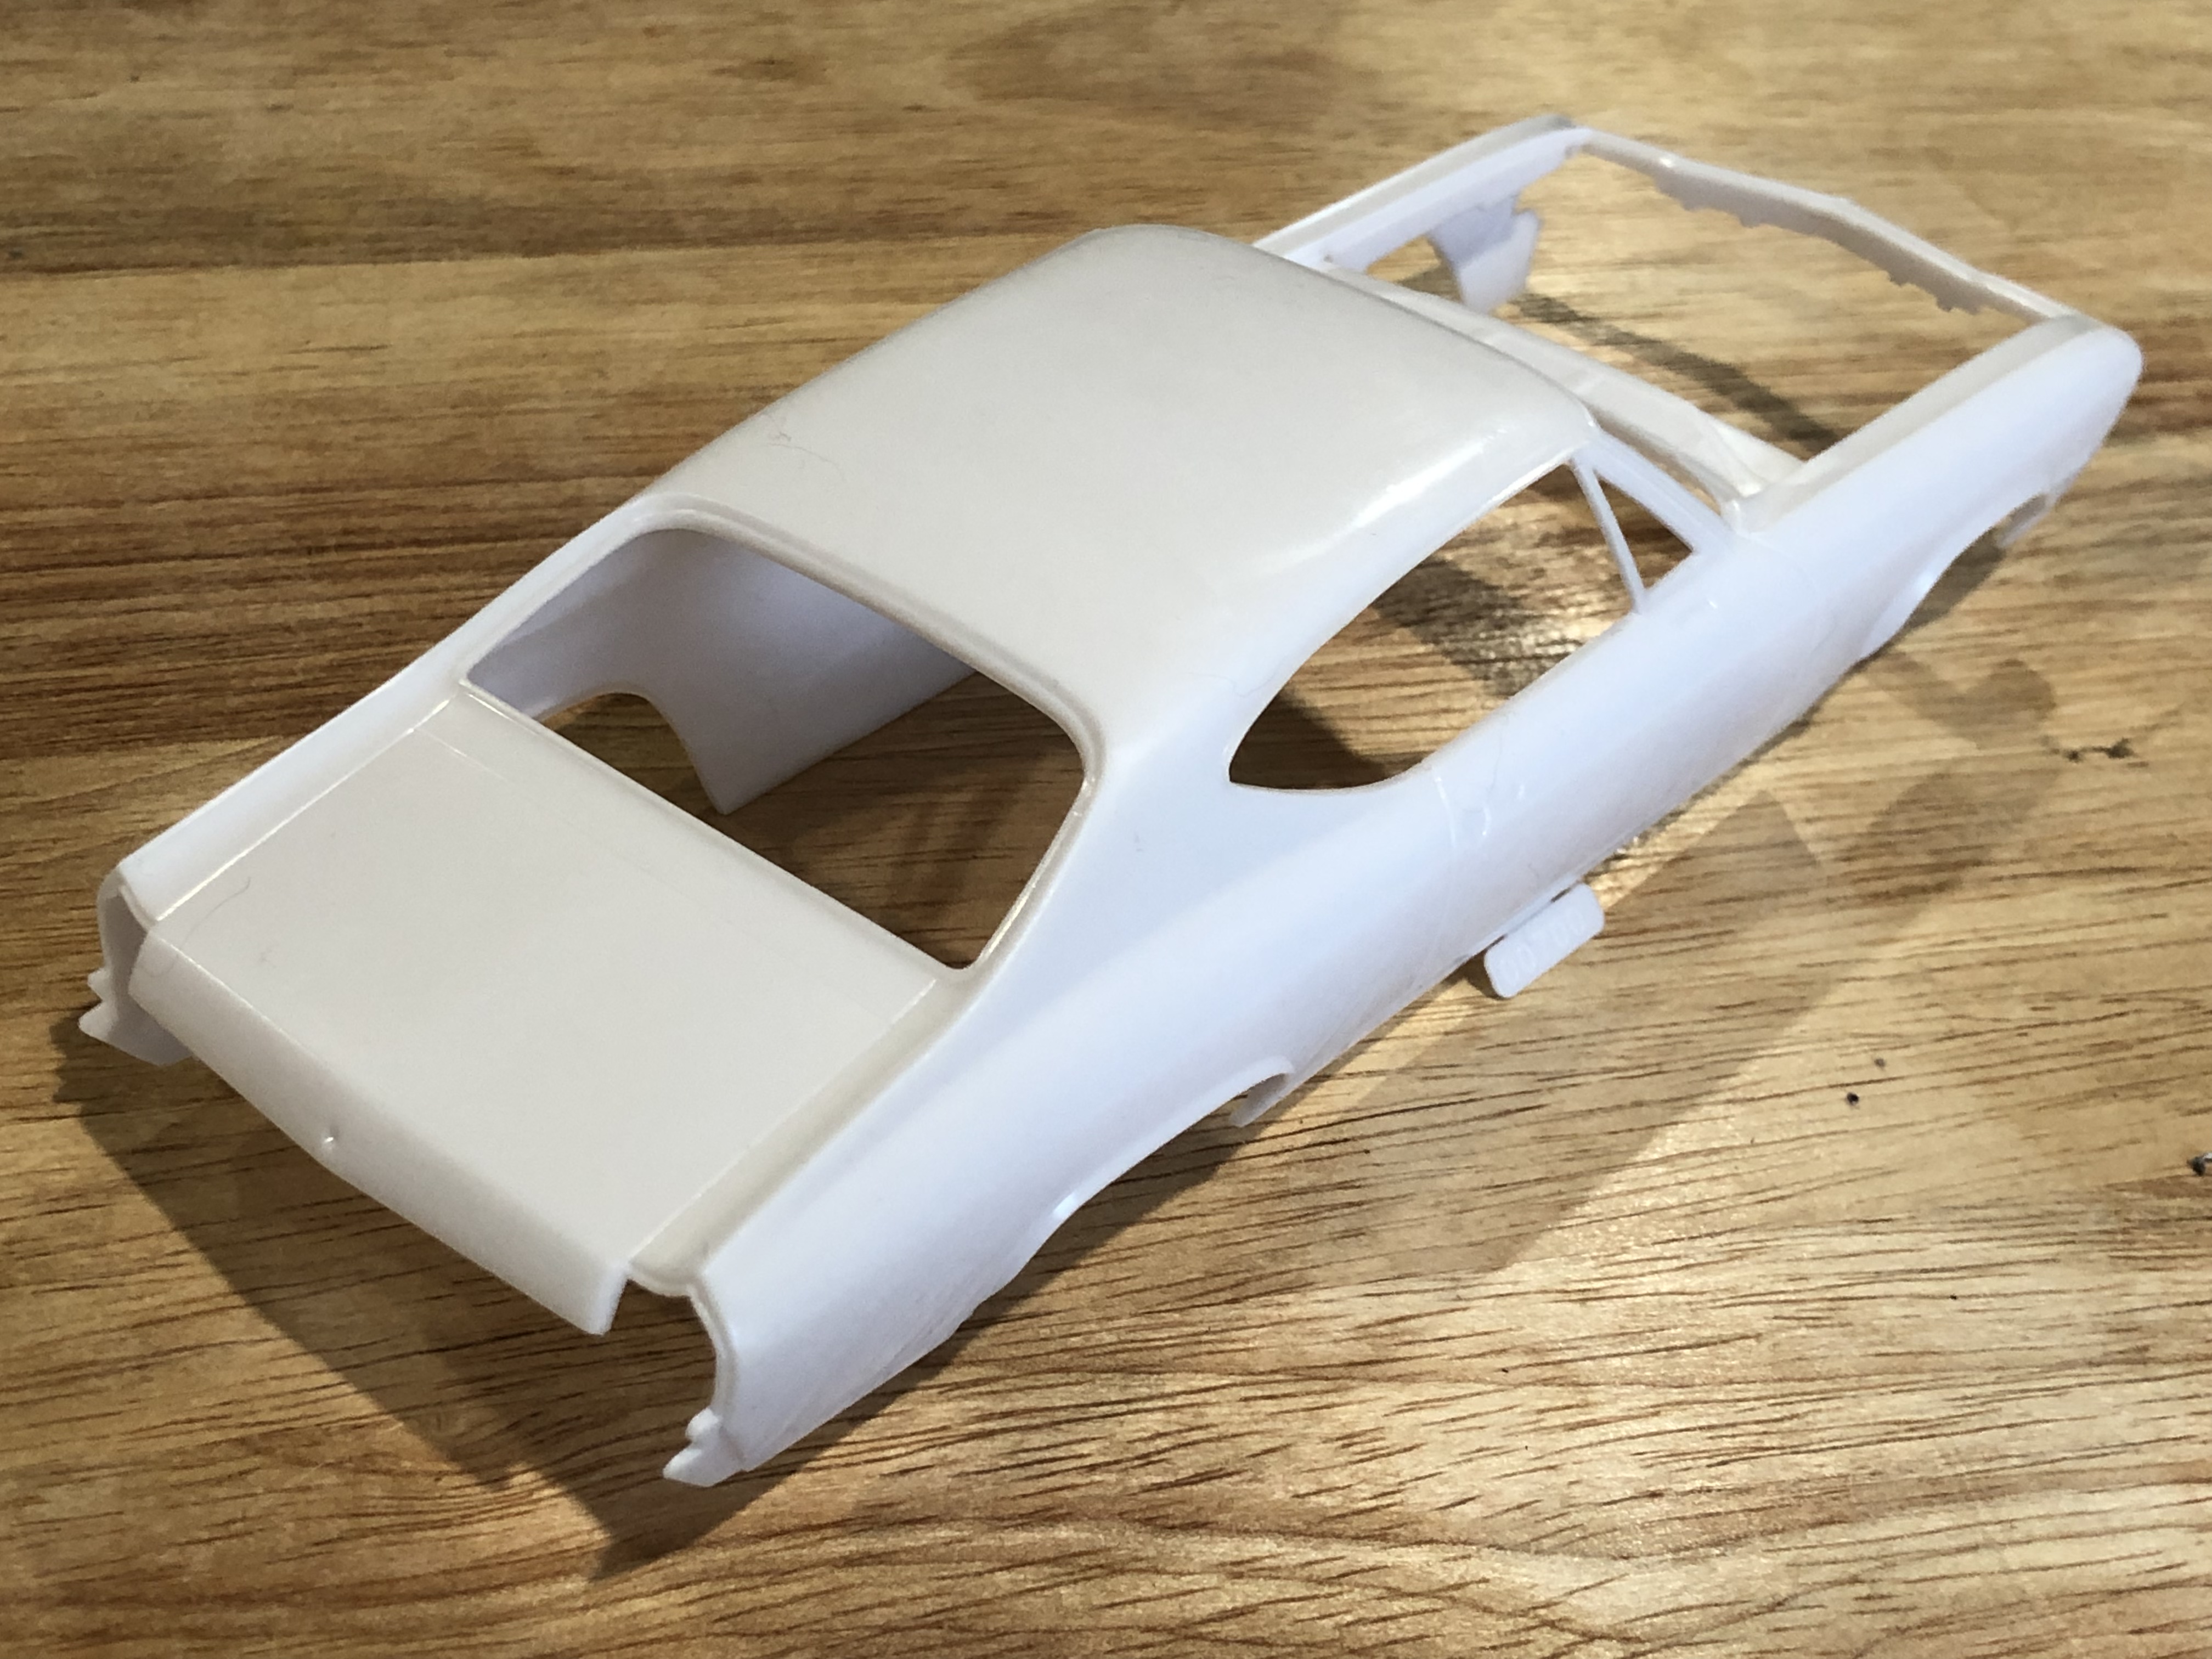
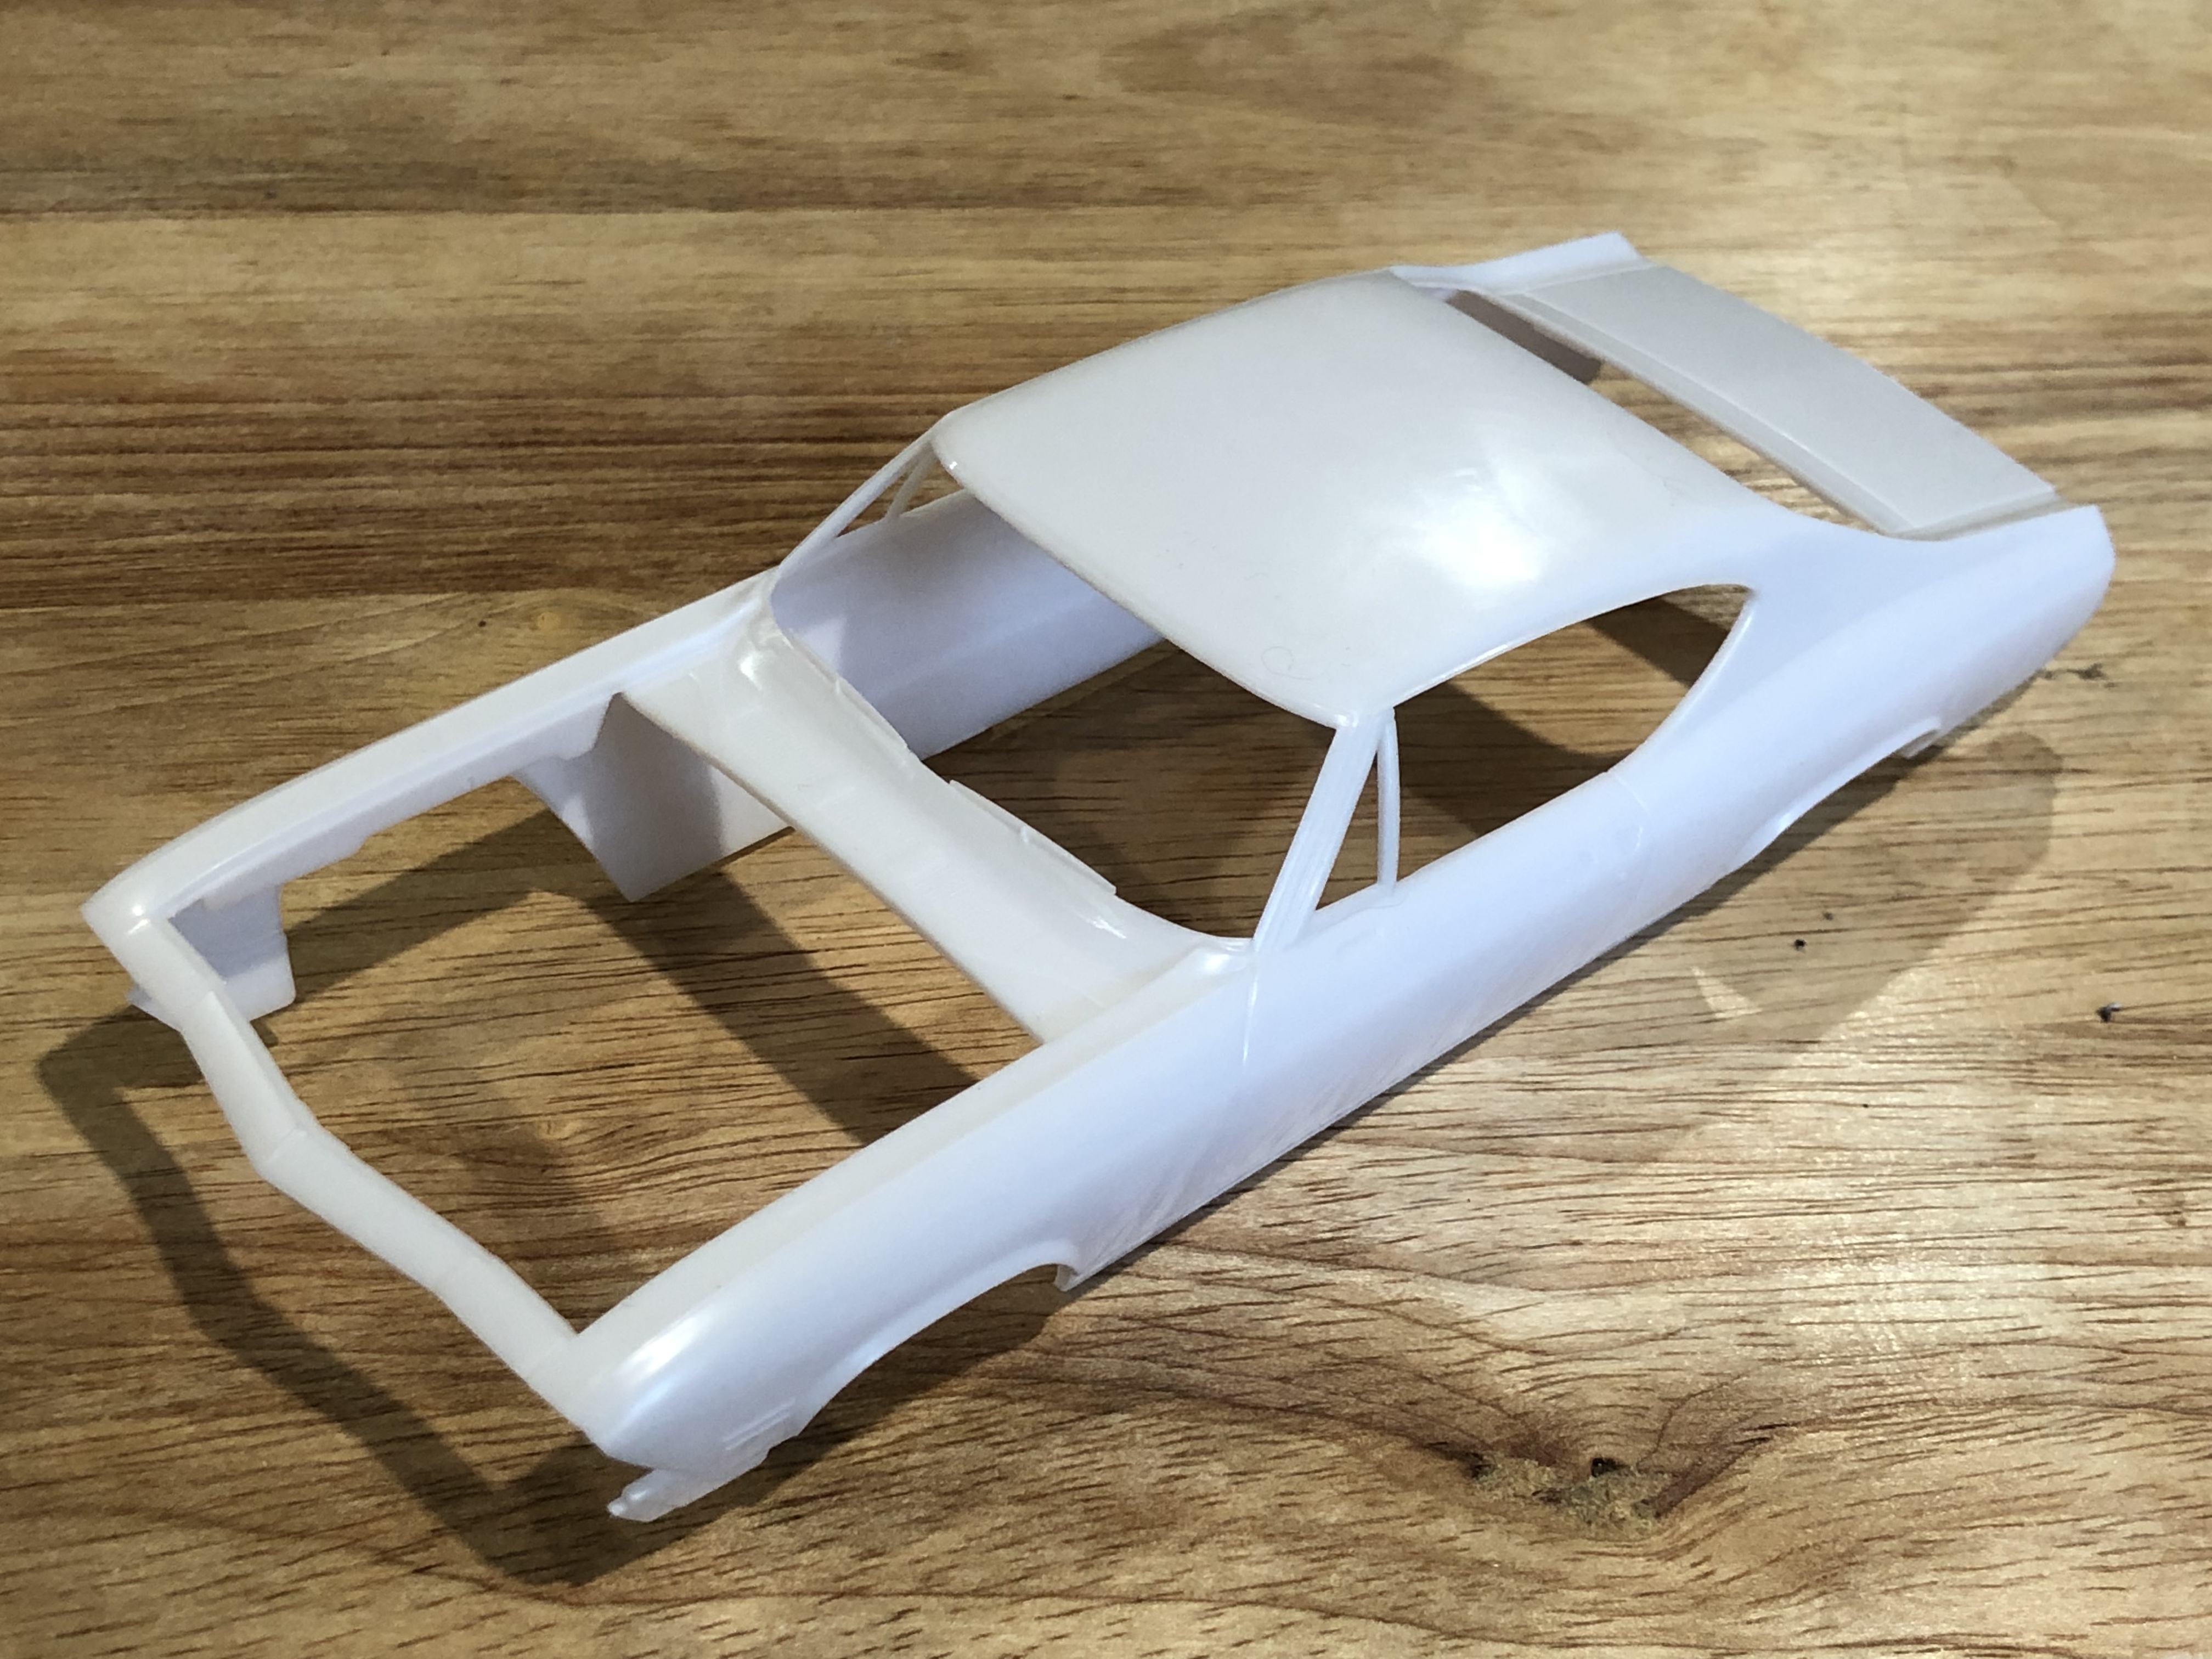
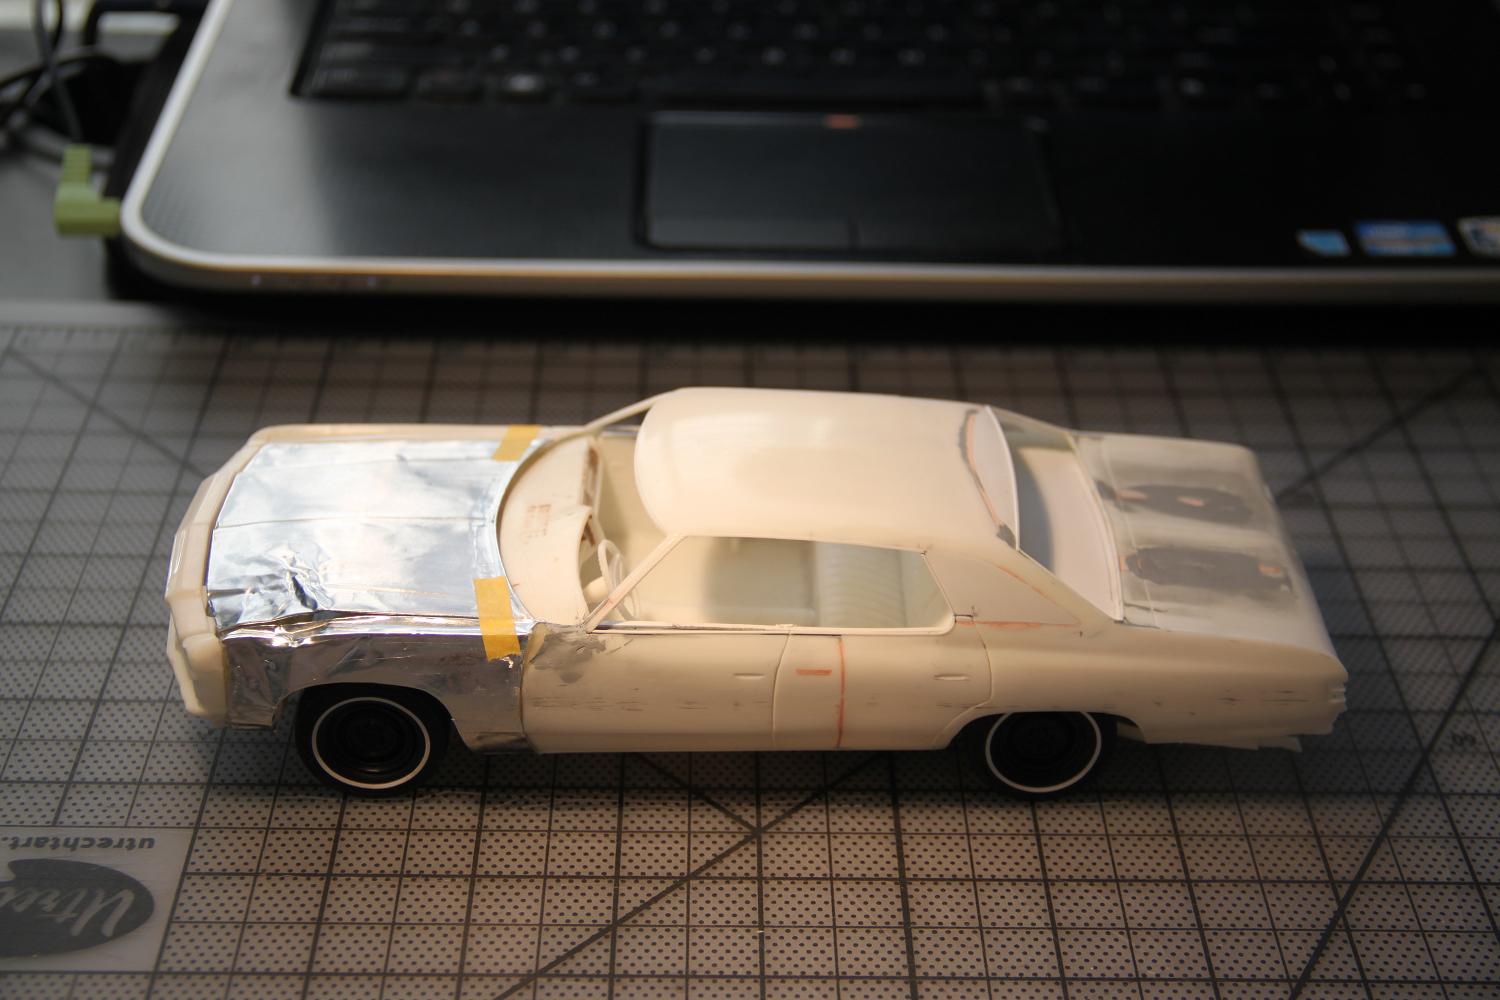
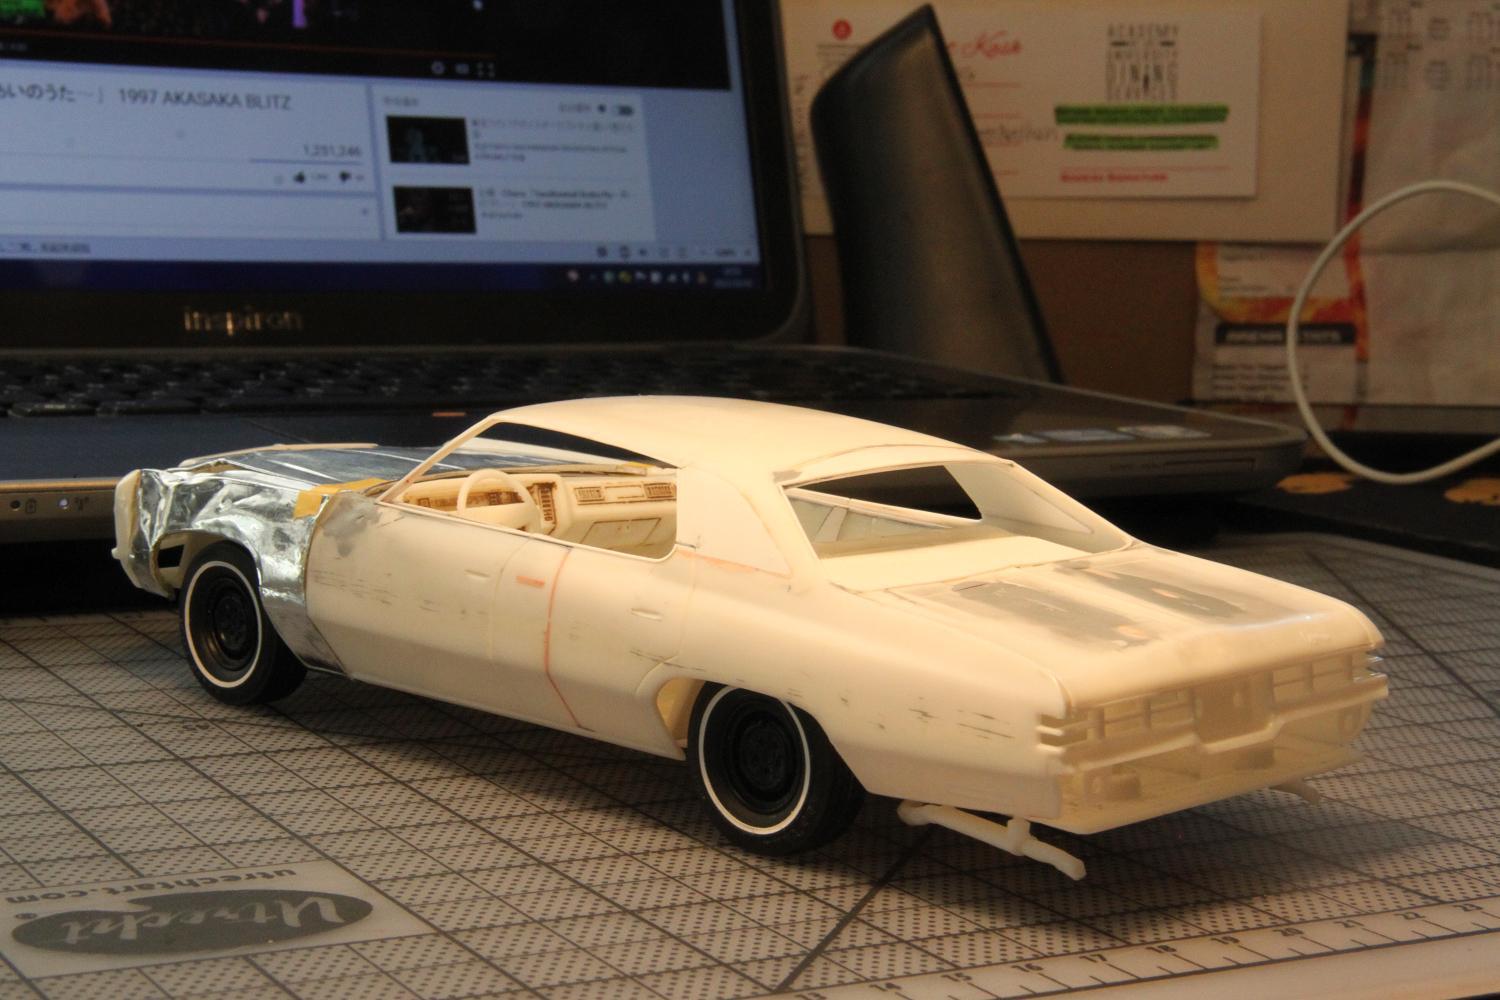
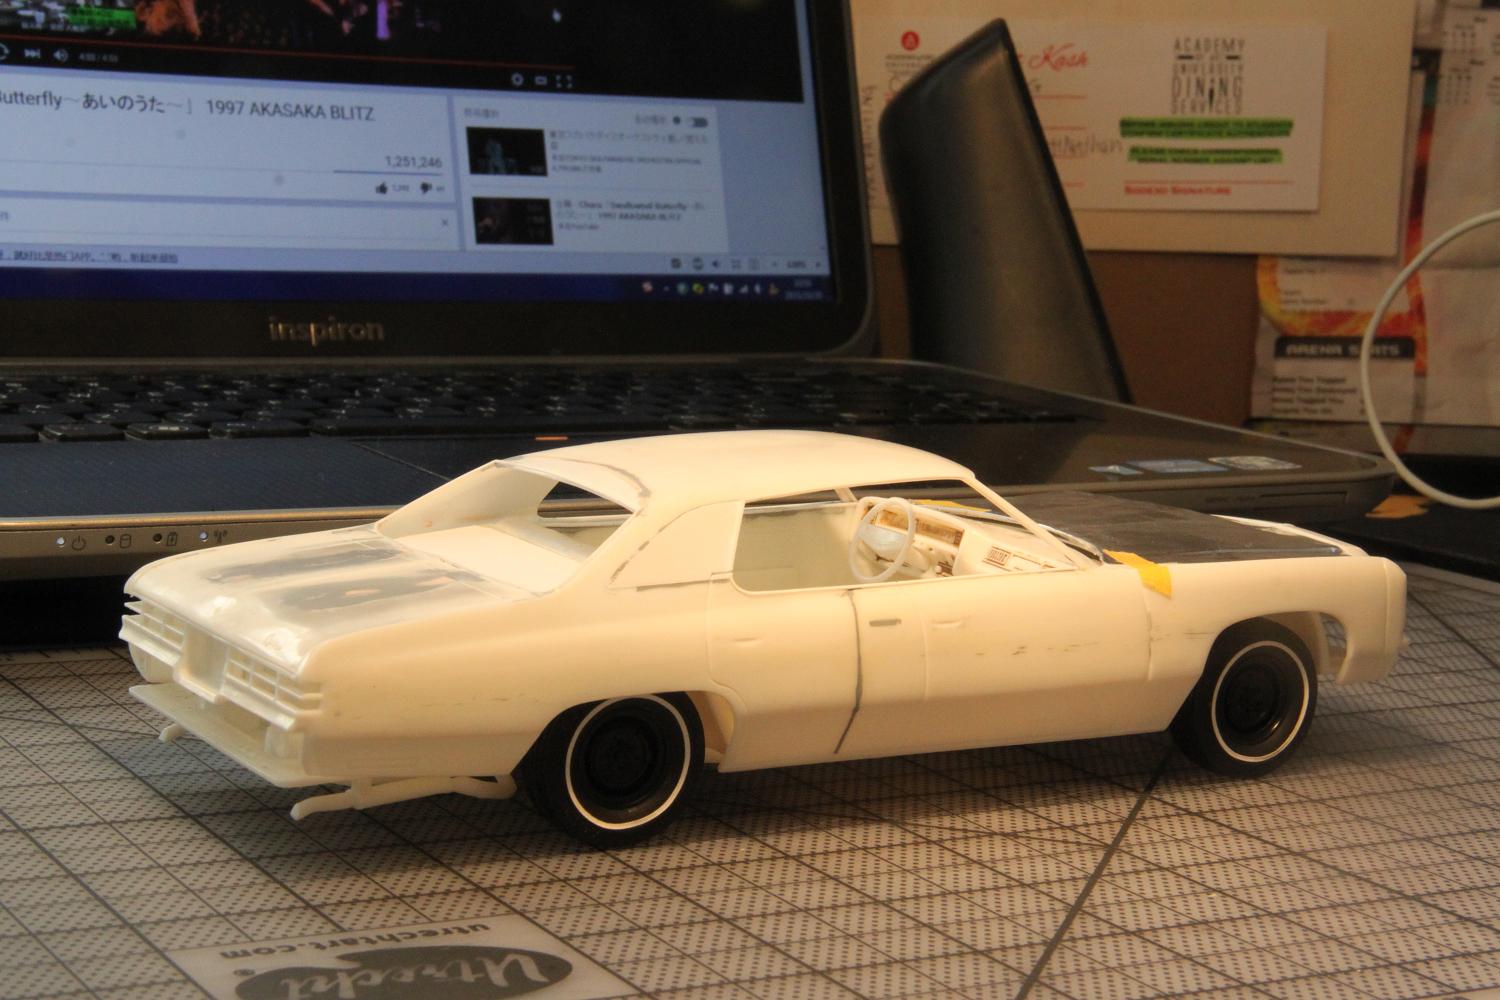
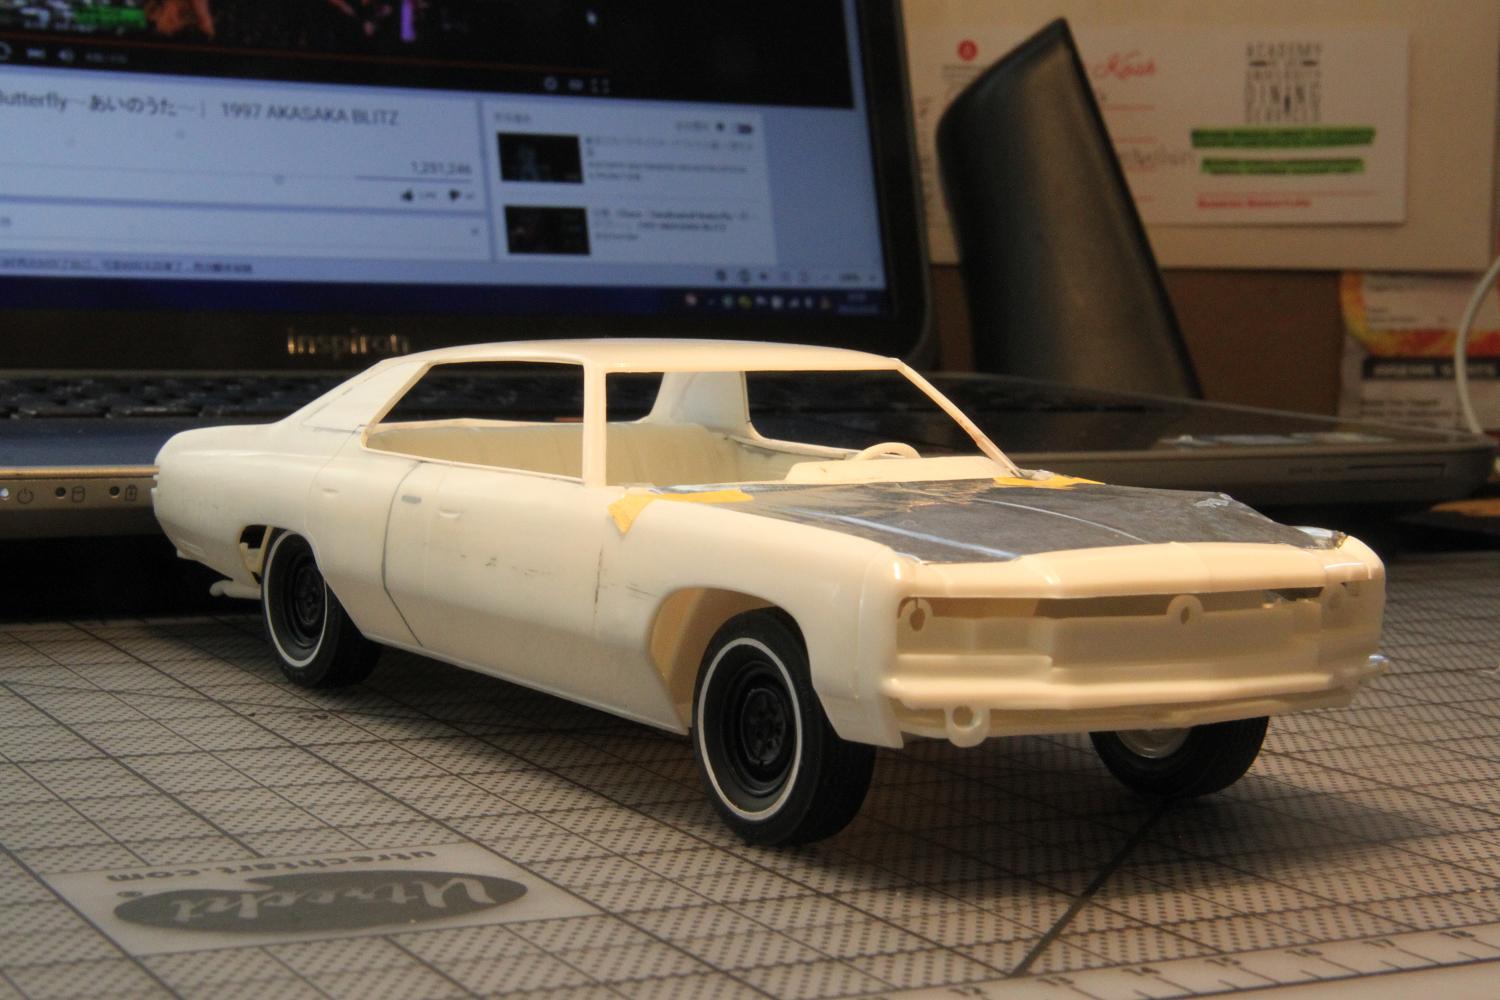
 Hi guys I`m Cosmo and this is my first post in here. I`m working on a conversion project that started from a MPC `76 Chevy Caprice 2-door coupe version. For some reason the body part was not molded well when I received the model and I think it`s beyond repairable. So I decieded to chop the damaged A-pillar and fender section and replace it with epoxy-bounded Foil material and gave it a damaged appearance. I always have a thing for the big, full-size american 4 door sedan in the 60`s and 70`s. So I converted the MPC 2-door coupe version to a 4-door sedan. I cut the B-pillar and fill the quarter window because I prefer a more traditional and thicker C-pillar which is different from the actual `76 Caprice sedan, but personally I prefer the look. I also rescribed the door panel lines and trunk. I used sterene sheet to reform the roof section and I sanded off the side trim to give the Caprice a more "base model" appearance. -------------------------------------------------------- I`ll keep the progress updated in here. Comments are greatfully appreciated!
-
 I plan on build Caprice coupe with the fishbowl glass 77-79. I have required the interior,body and glass. Does anyone know if there was made any kit`s,diecast or aftermarket options for the early versions? Any suggestions are welcome but in 1:24/1:25 scale only. Thanks Tommy
-
-
Had an issue with the cab trying to get it on the chassis which caused much cursing, but it finally came out looking great.