Search the Community
Showing results for tags 'revell'.
-
 Is there a hard top available for this kit? Or do I need to buy an entire resin body just to get one? I would rather just have a roof piece if possible.
 -
The EB110 is a car that looks much better in the flesh than photographs, generally, and looking at the model has the same effect. It's a much better-resolved design than it looks at first glance. Probably one of the hardest kits I've ever built. The level of detail is fantastic, especially around that complex engine bay, but sometimes it's more ambitious than the toolmakers could live up to. The body shell out of the box is pretty flimsy, with "working" front bonnet and engine cover, so I glued them in place to help straighten out the main body piece. Full build WIP, with all the gory details, here: http://www.modelcarsmag.com/forums/index.php?showtopic=99294 bestest, M.
-
A great article in last month's Octane promoted this to the top of the build pile! It'll join the XJ220 and soon-to-be-built NSX in an "early 90s supercar" corner of the garage... The Revell kit is very nicely detailed, generally, but the mould is suffering, and this is NOT a car that likes to be packed in a flimsy box and sat on a shelf for years. Airfix/Heller do the whole cabin as a transparent piece that sits on top of the body, whereas Revell has gone for a roof and the flimsiest A-pillars ever committed to plastic. The body shell is also flimsy, and warped on my example, so I've assembled various "working" bits into one, much more solid, shell. The opening bonnet shows you little except the battery, but fixed in place it beefs up the front end nicely. And while it would be nice to have an opening engine cover, both it and the roof were warped. Fixing it shut lets me use the window between the cabin and engine bay as a solid "bulkhead" which pushes the roof and engine cover nicely back into shape... not quite figured out how the "wing" works yet. Heat shields covered with cigarette foil. They'll need a bit of fettling, but the texture is perfect... Wheels stripped of chrome. Lots of flash in the holes, so these are the "best of eight" -- I had a spare set from a donor kit I bough just for the tyres for £5, but the originals demonstrate how tired the mould is. It seems bizarre that they would chrome them in the state some of them were in, but there's obviously no intermediate quality check... The engine is nicely detailed, if a bit over complex -- I don't see a need to have the cylinder head in three stacked parts, especially when they don't fit very precisely, which can end up with your cam covers not aligned and not parallel, if you're not careful. If I was building another one, I'd set up (unglued) the base/sump part of the engine on the bearers in the big chassis part, and then glue on the block/head parts to the base, fine tuning their fore and aft alignment in the chassis, until I was sure that they run directly front to back, and then add the induction manifold and check that for alignment, all while the glue is soft. The blue detailing is prototypical, but there's a bit more to do to the throttle actuator rods yet... bestest, M.
-
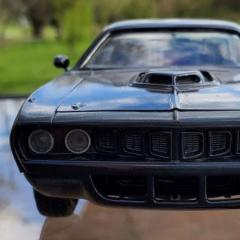
Revell 1/24 '71 HEMI® 'Cuda Hardtop I saw this model at my local drug store and it was on sale, so I got it. This is a picture of the painted body sitting on the frame: I put some 19" rims with low profile tires on it, I think they look much better than the stock ones that come with the kit I need to do a little detail work with the black strip, but i really like it on the lime green. and of course The Hemi: I will try to post more as it get it done.

-
My first drag car in a while. Box stock, except for some additional engine parts and better wheels. Built to match the box art hope you like it
-
 I bought this a while ago, but I've only just got around to building it. I liked the look of the lace decals, even though the lace is a tad out-of-scale. Gold and purple always go well together, so I used purple candy over a silver base. The horrible kit wheels were replaced with some from a Polar Lights funny car. Now, I've heard it said that this kit has one of the worst Ford SOHC engines in 1/25, so I decided to pep it up a bit. I added resin pulley wheels, intake, oil filter and gear linkage. I also added a Mallory ignition module and rear disc brakes. The engine had no magneto, so I made one that looks kinda like a Vertex. A Detail Master 5-point harness and a fire extinguisher were added to the interior. I had to lift the pickup bed a bit to stop the rear arches rubbing the tyres. A note to anyone who plans to build this kit...The front axle is set too far back. The rear edges of the tyres would foul on the bodywork. I know some guys re-position the leaf springs, but I'd already painted the chassis and installed the axle before I realized my error. Luckily, I'd only fixed the front axle on with CA glue, so it came apart easily and I was able to fit it in a better position with epoxy. The kit decals were dead tricky. They seemed to stick fast, on contact with the paint. I managed to get them all on, but it was a sweaty hour. 'nuff blurb.. Here are the pics: Comments appreciated Hope you like it Thanks for looking
 -
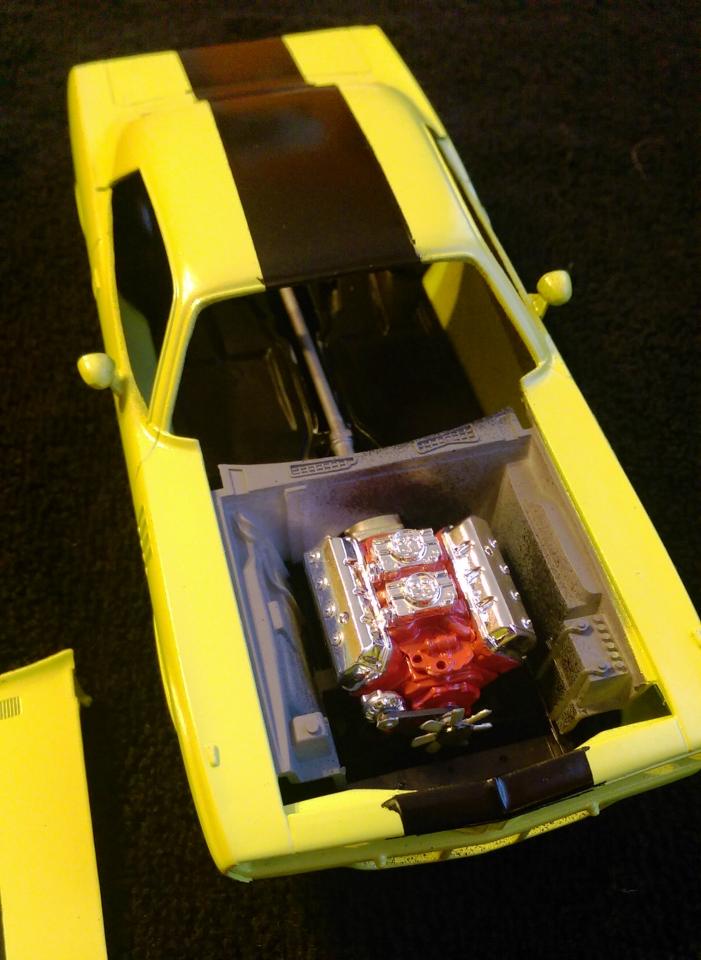
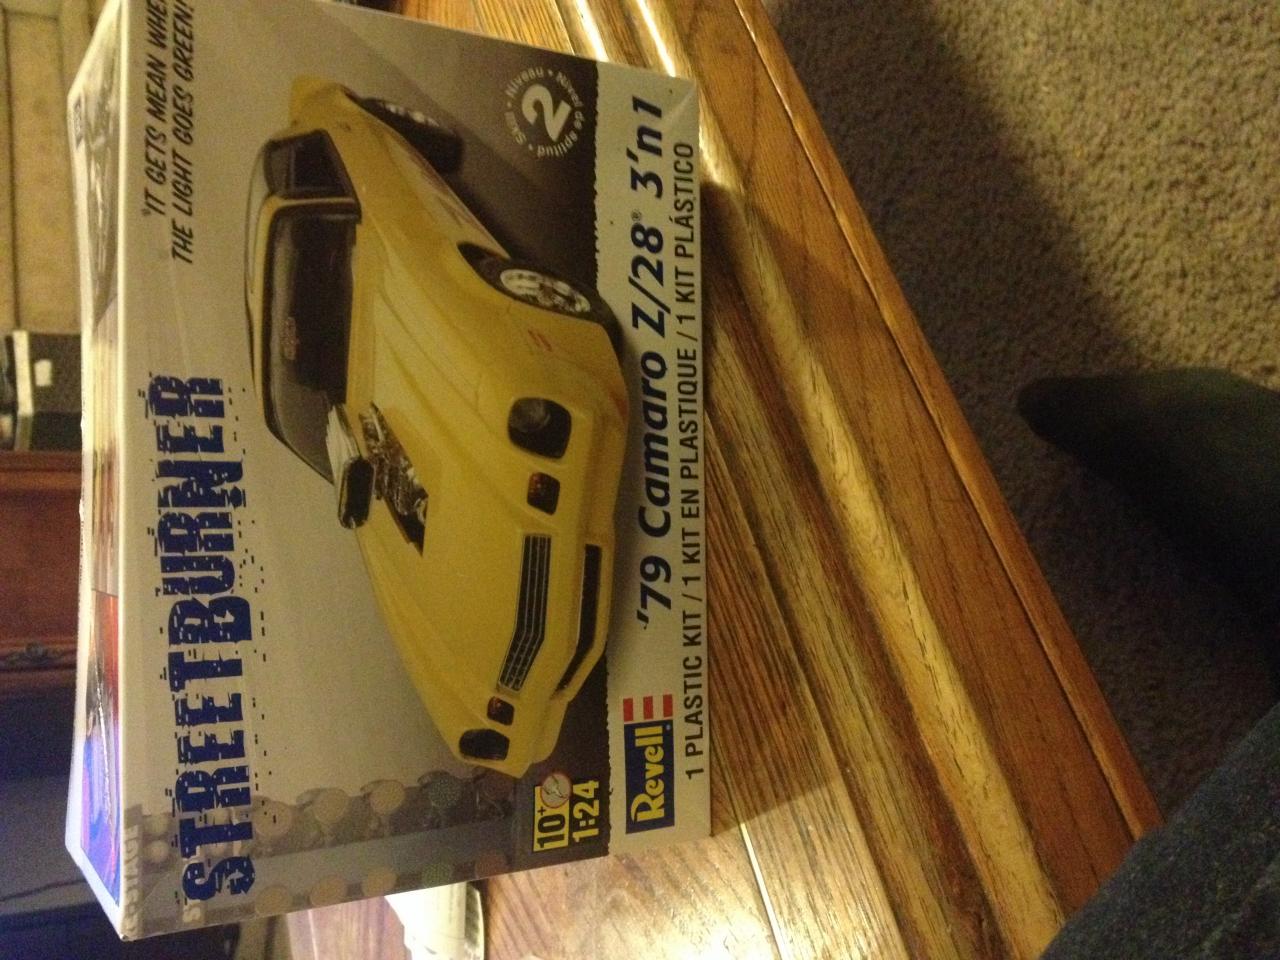
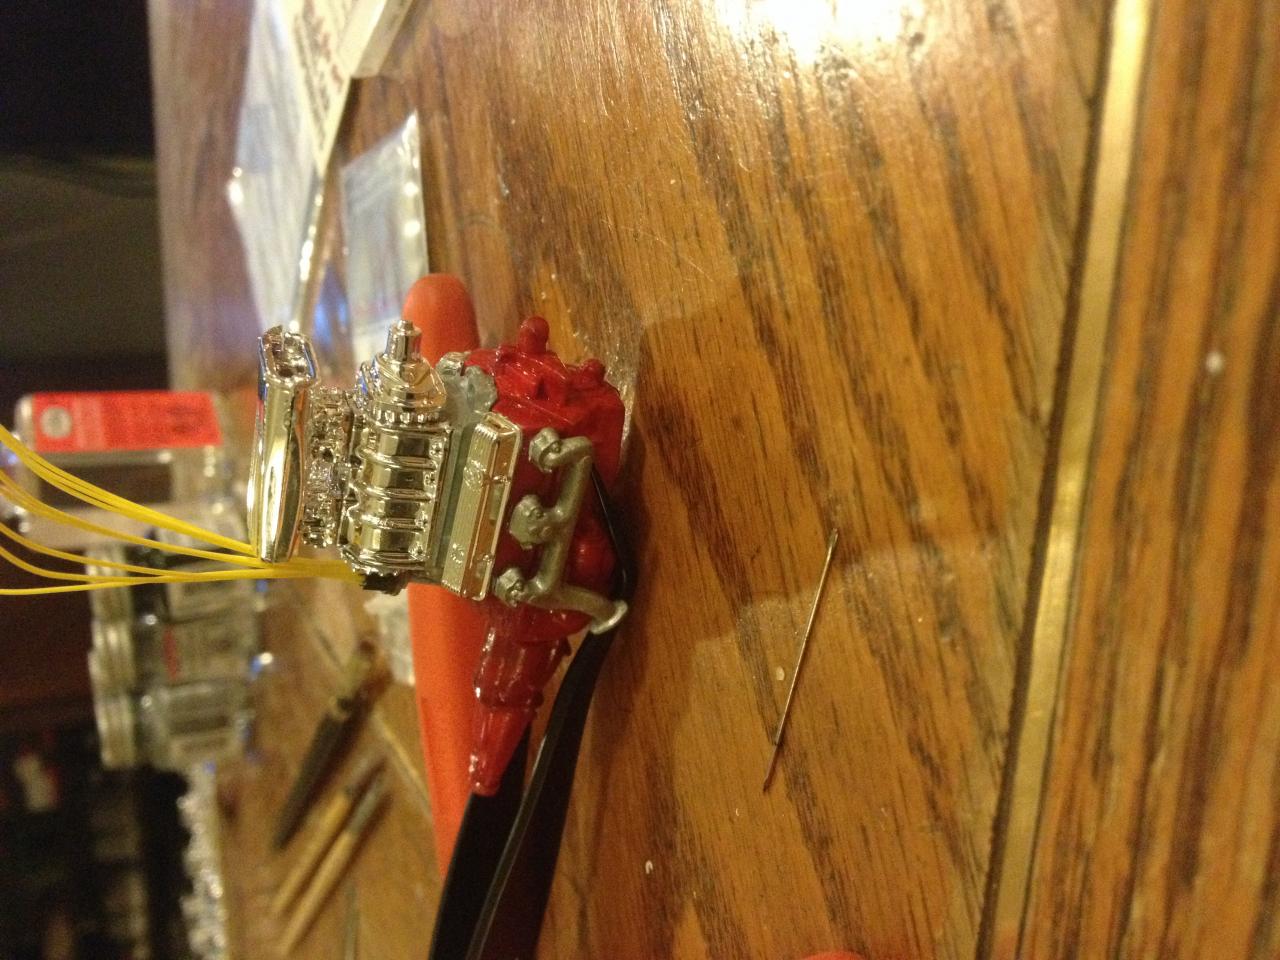
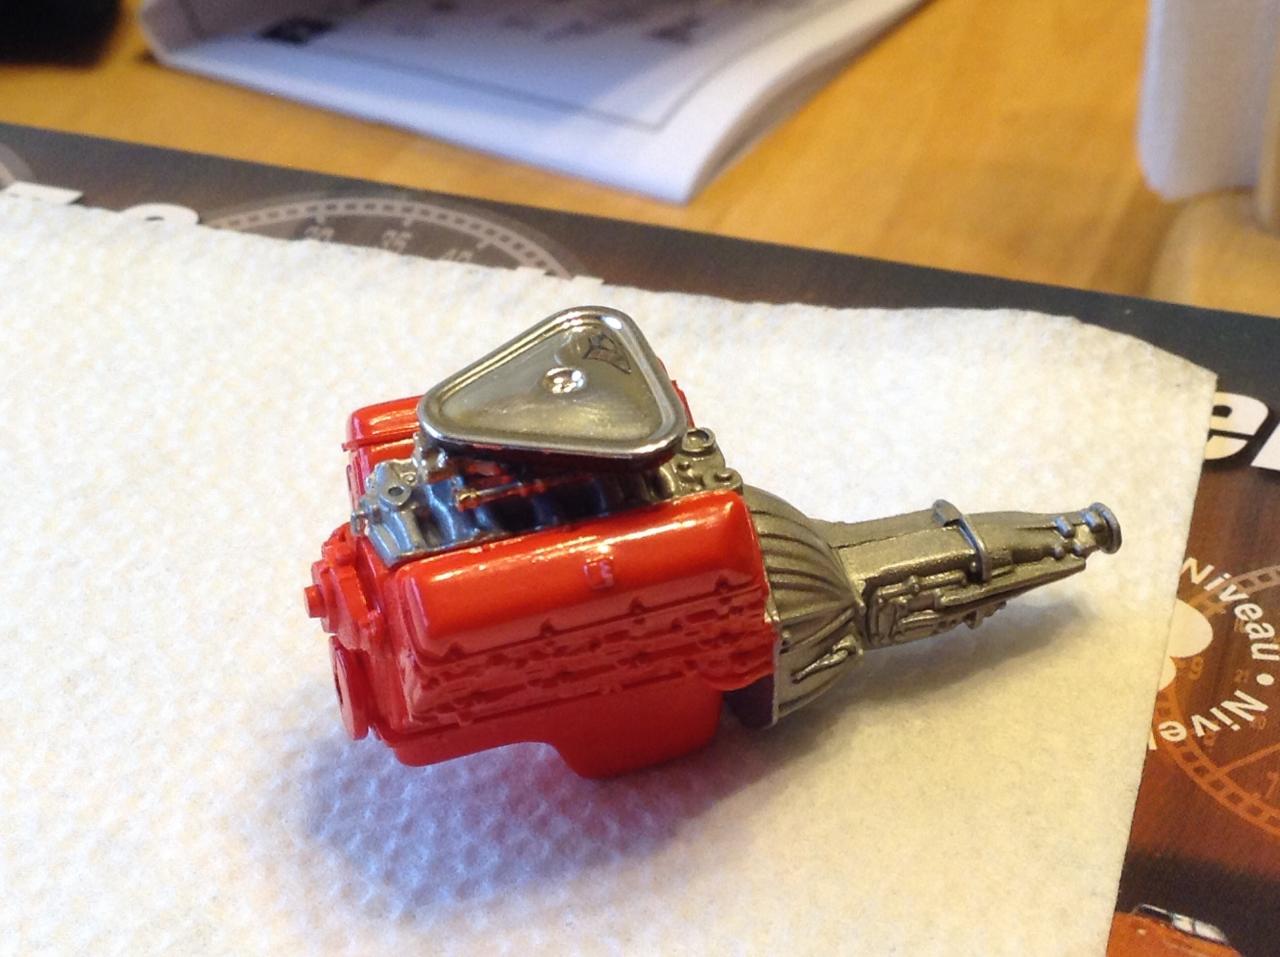
Starting a Camaro being built for drag days Doing the engine first. Went with a Chevy engine red With a lil black wash to make a look a lil used Also my first attempt at doing spark plug wires so this will be a first
-
Hey. I just got this the other day in a trade. I have a long way to go before I undertake this mission such as finding parts that I'd like to use. I may have a few parts from it that I want to get rid of from this. If so, I'll post them up in the trade section. Wheels will be my first quest. Thanks for looking.
-
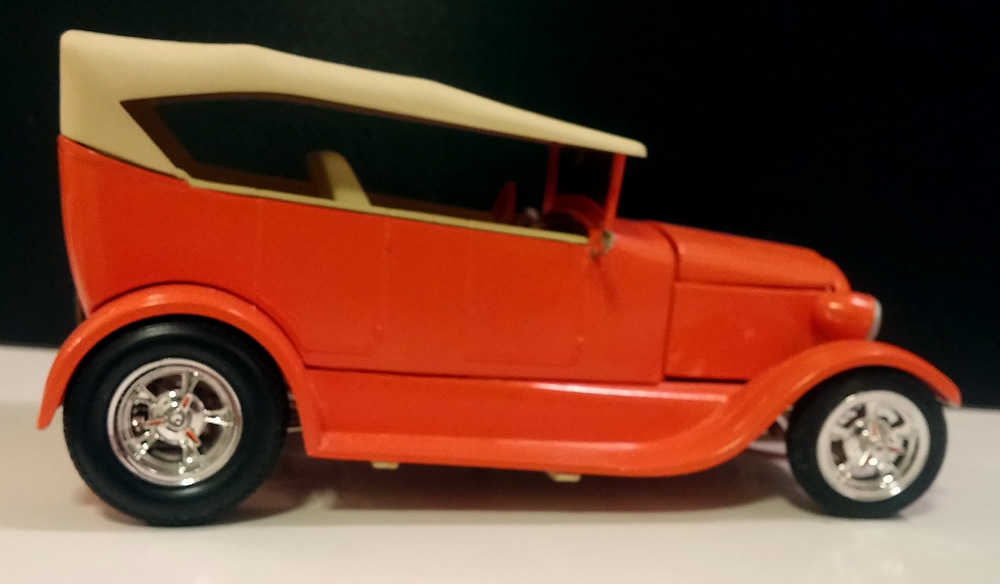
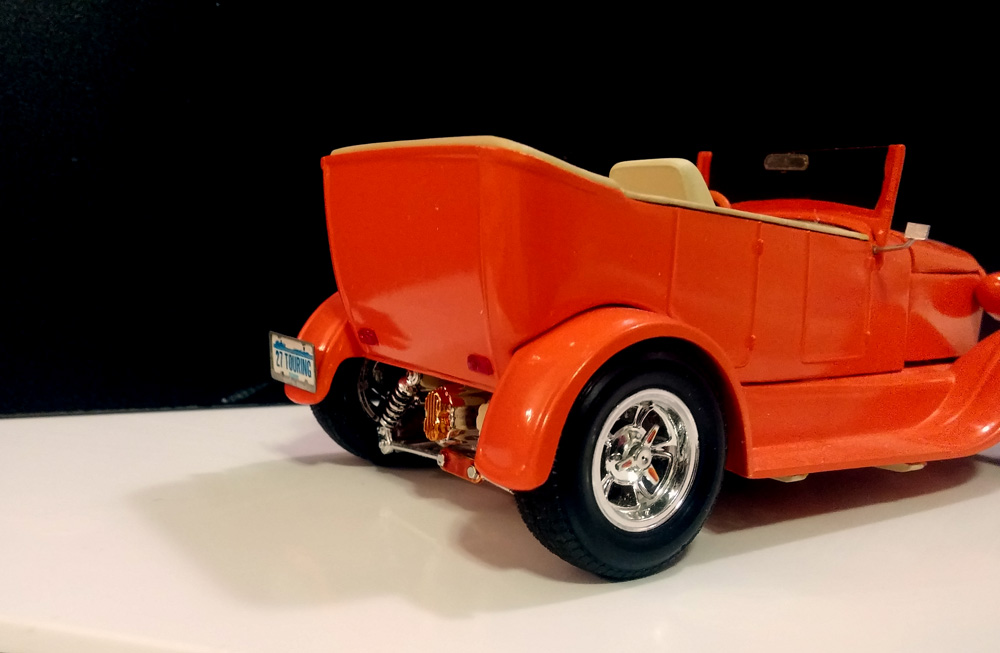
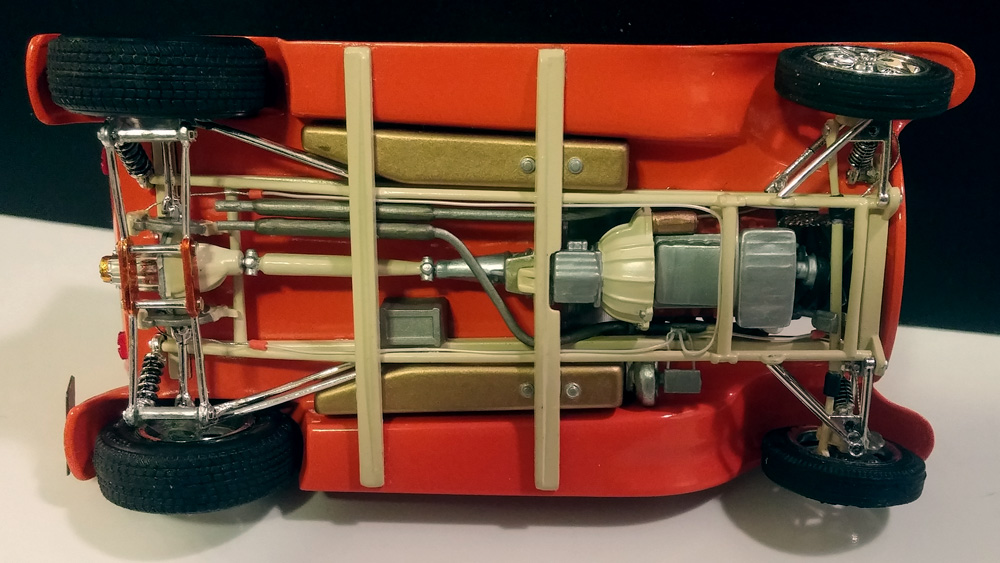
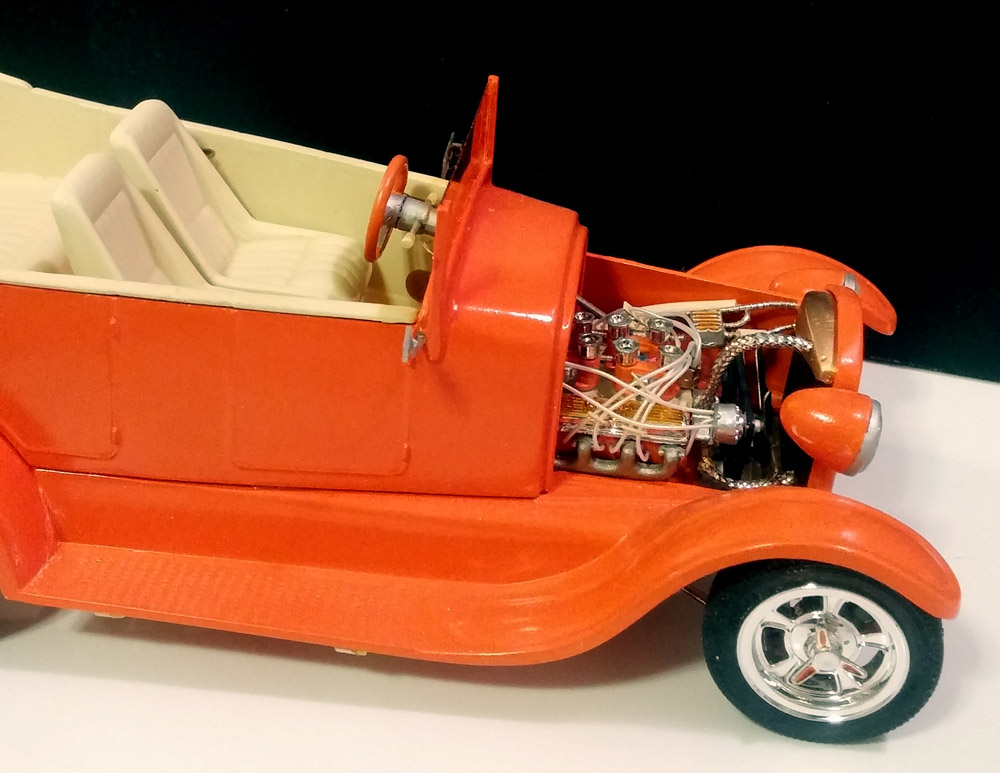
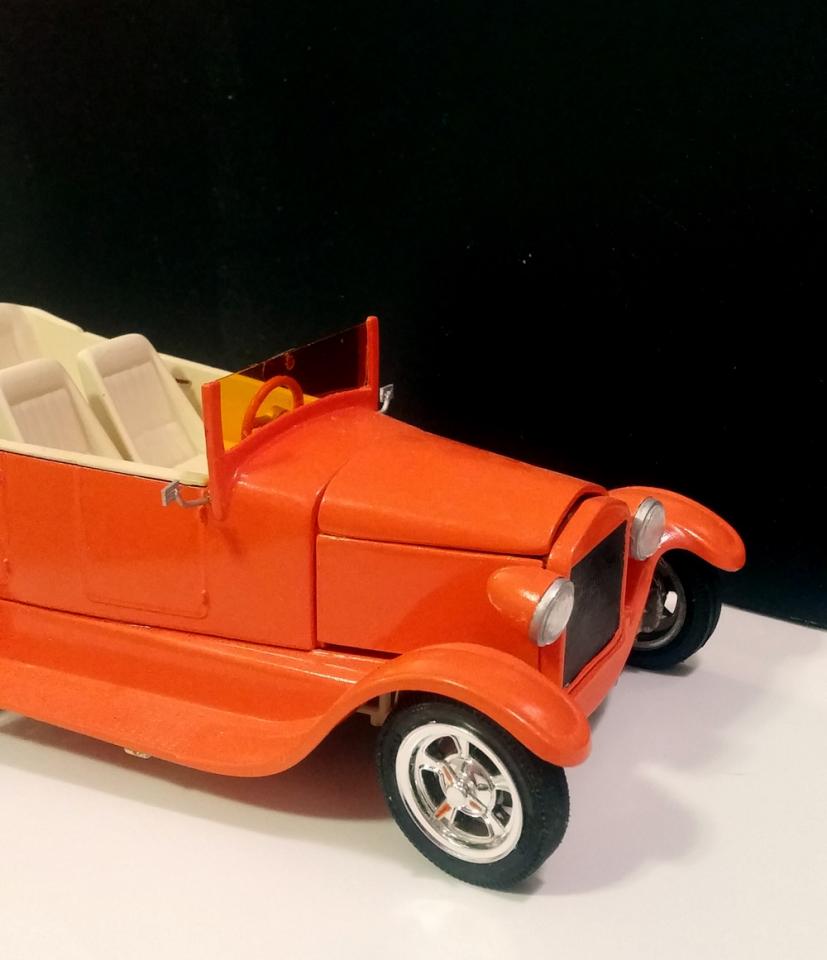
 After I finished my '40 Ford Roadster Pickup based on a Tim Boyd article, I was drawn to one of Tim's Street Rodder articles and making a then modern Street Rod out of the '70's vintage Revell Buttera kit. I built the inaccurate '34 3 Window by Revell and I loved the chassis. I completed this model during my summer break between May and June before I started summer classes. This model was not as heavily modified as my '40 Ford Roadster Pickup but I did do far more plumbing on this model than I ever did before. The colors I used were Krylon Popsicle Orange (OSHA Safety Orange), Model Master Ivory, Tamiya transparent Orange, Pactra Gold and Revell Metal colors in Humbrol pots and a few other odds and ends colors. The theme I chose was to make the car an Orange Creamsicle, a cool car, with a tangy orange outside and a creamy cool interior. Ah, the early '90's with all of the bright colors drilled into a young impressionable mind... I chopped the top, but unlike the article I retained the reverse angle to the sides - Tim made more of a vertical formal side panel to the roof. I stole the intake from an MPC Camaro with injectors, '36 Ford Headlights, front tires from some o;d gasser or dragster from my parts box, the turn signals and the rear taillights are from a sprue of Big Rig Trailer lights trimmed down. I used Detail Master flexible fan and used a Detail Master interior detailing kit for the speakers and the door handles. The dash was scratch built and an epoxy casting was made off of another Rod kit for the cluster. I wired the engine, added break and fuel lines to the chassis, hoses for the air conditioner and radiator. My challenges was the chopped top and molded windshield, wiring and photo-etch. I broke with the instructions flow and built the motor and wired it up and set it into the chassis to later find out how hard it is to get the fenders over the engine. The instructions show that you put the heads on after the fenders are installed, Doh! I did a lot of cussing that afternoon in the basement and my Mom yelling at me for swearing so much. I got it together and I was pleased with it and I got a shinier body after I had polished the Krylon with Automotive buffing compound (the days before Micro Mesh polishing systems). Looking back and trying to keep it together has been quite a challenge as well. The Buttera chassis is beautiful and has pose-able front wheels. The A arms keep on opening up and the front wheels pop out, various phot etch bits fall off and the rear wheels fall off and break off of the mounts. The kit was designed to originally have 2 part plastic tires and small rimmed wire wheels. By the late '80's new vinyl tires and bigger rims were a part of the kit and were heavier and then break I think I will finally have to pin the rear wheels on and glue the wheels in place. Once again thank you Tim for making interesting projects to inspire builders. After I did this model I was brow beated by a modeling friend to quit following model magazine articles and make my own rods and customs. My friend Jeff had built many models kit bashed his own way but my technique was still more advanced than his. My confidence was bolster by doing these two conversions and I took up his challenge. The model I built the following year tested by kit bashing skills and I used my first resin body as well. P.S. Yes, I was trying to get a little artsy with the composition of the photos...
-
Started out late 2013,this is the ones done in 2014. Thanks for looking and merry christmas to all of you.
-
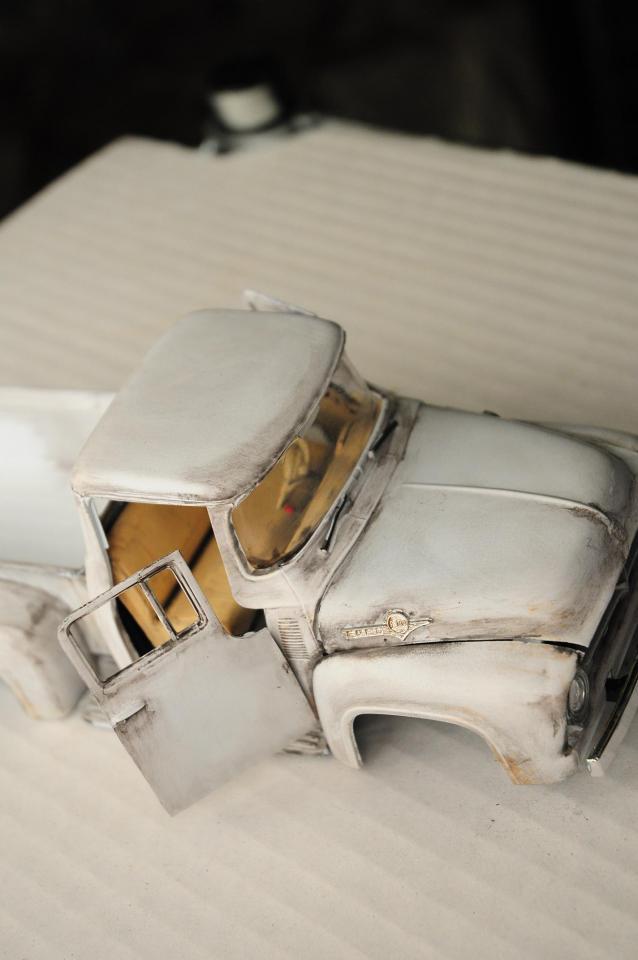
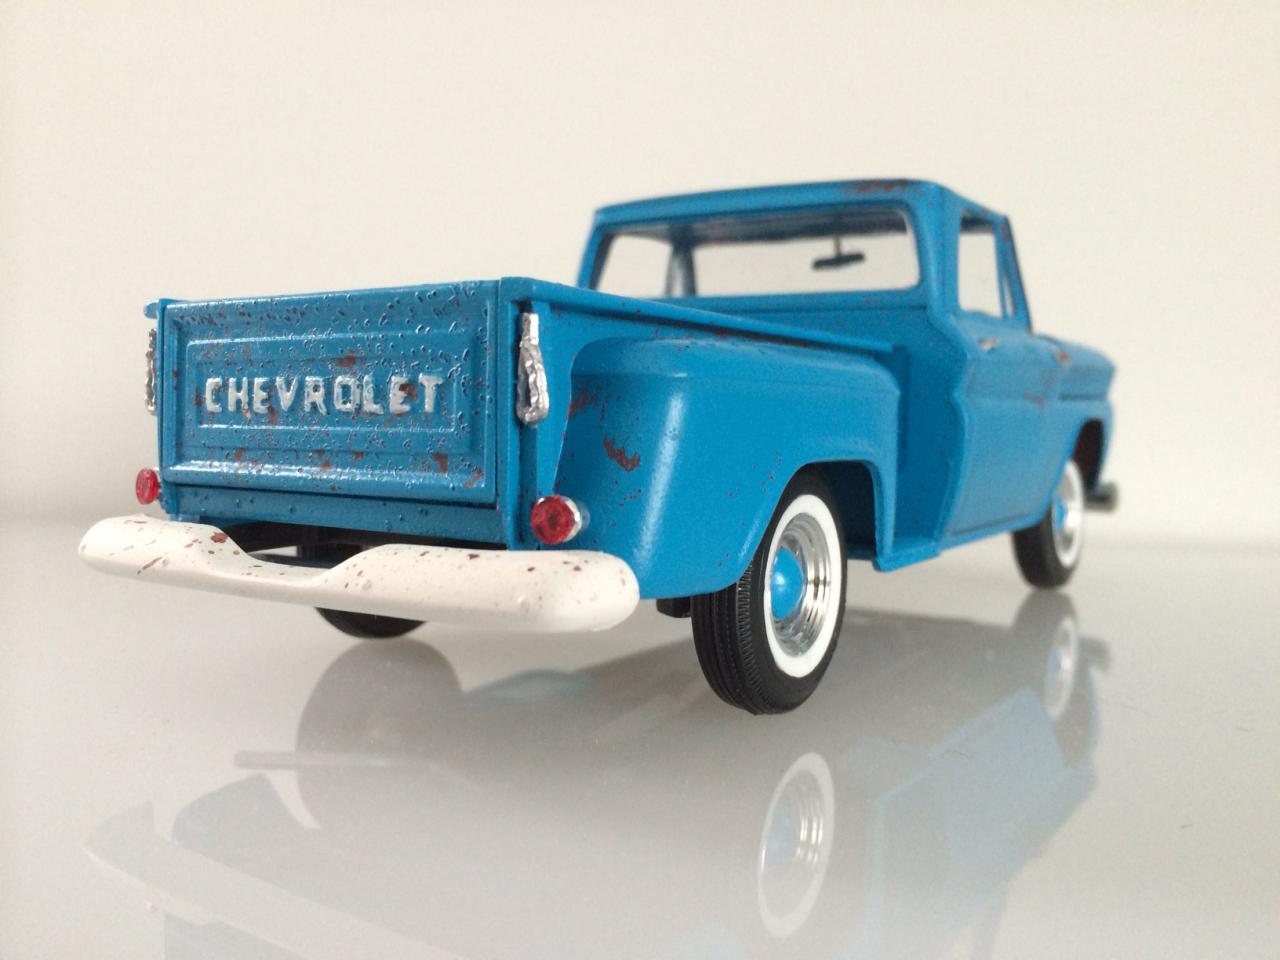
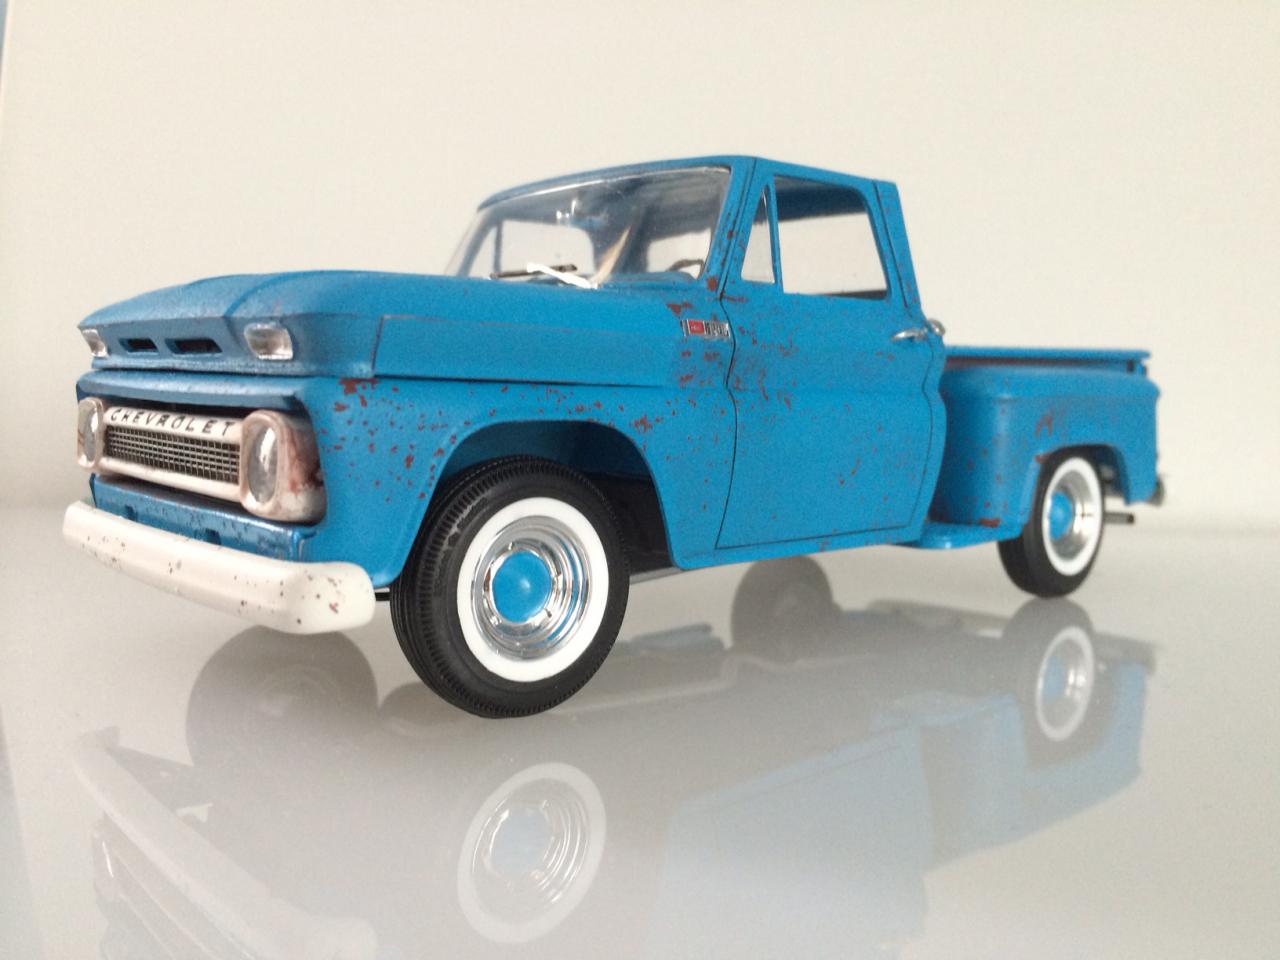
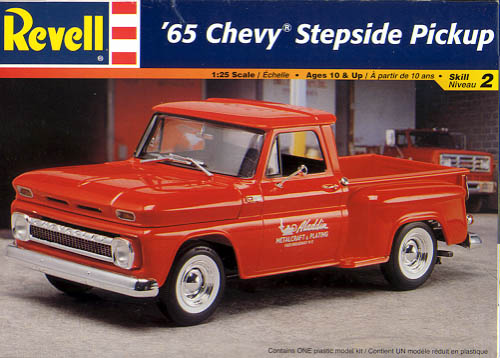
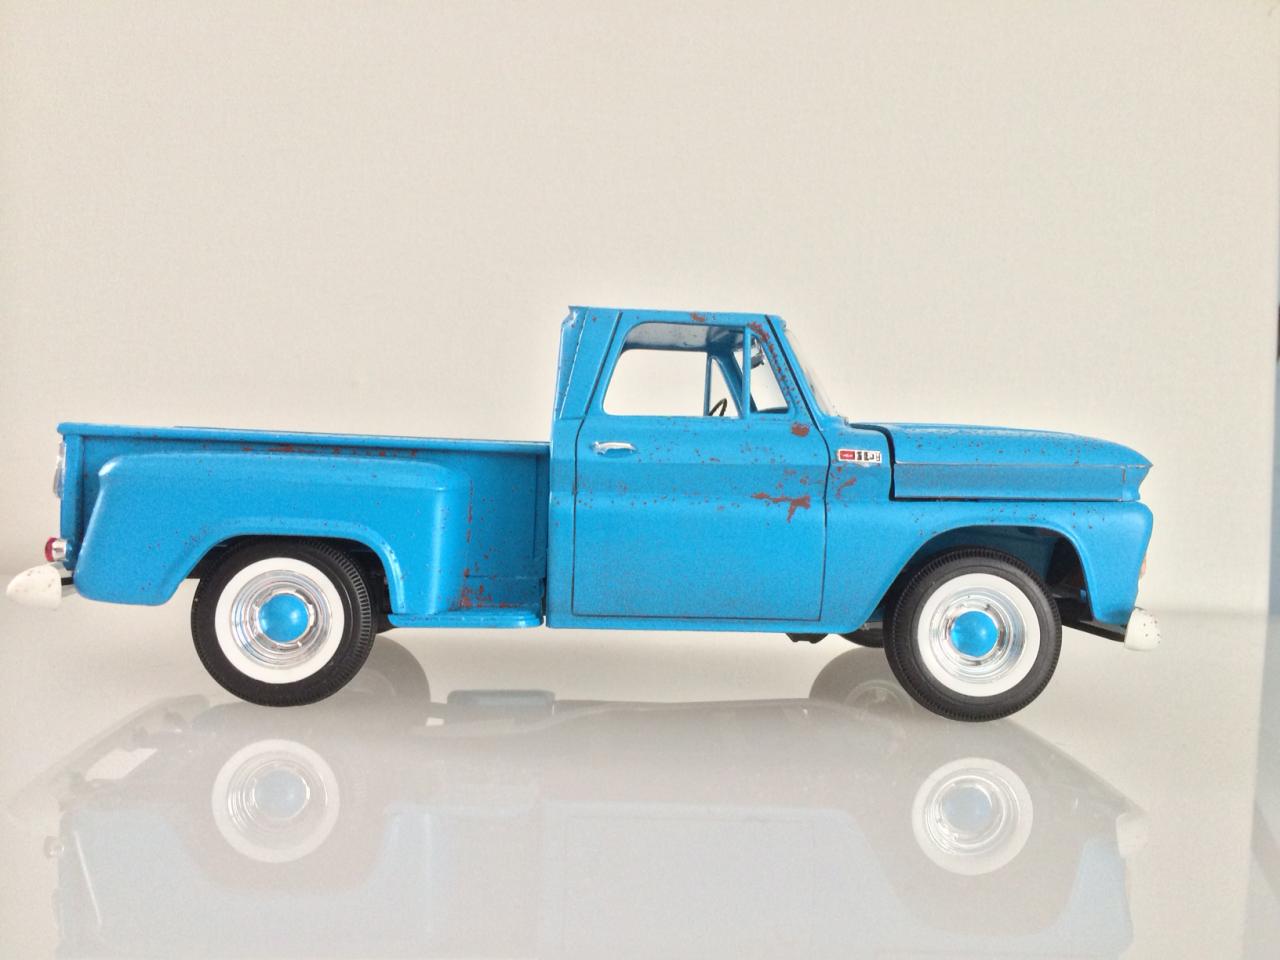
 after almost a year of not touching a single model I finally decided to finish these old plastic jewels that haunted me from the depths of my closet! and as I thought well maybe I'll just paint her satin white and leave her alone I dove into a deep hole of inspiration and thought "why not try something new", everytime I'd finish a model I'd paint it and make it look out of the factory, but not no more my friends, here is my take on a revell ford pick up and my first try at weathering a model!!!! please feel free to let me know your opinions! I'd love to learn from the Jedi Masters of weathering!
-
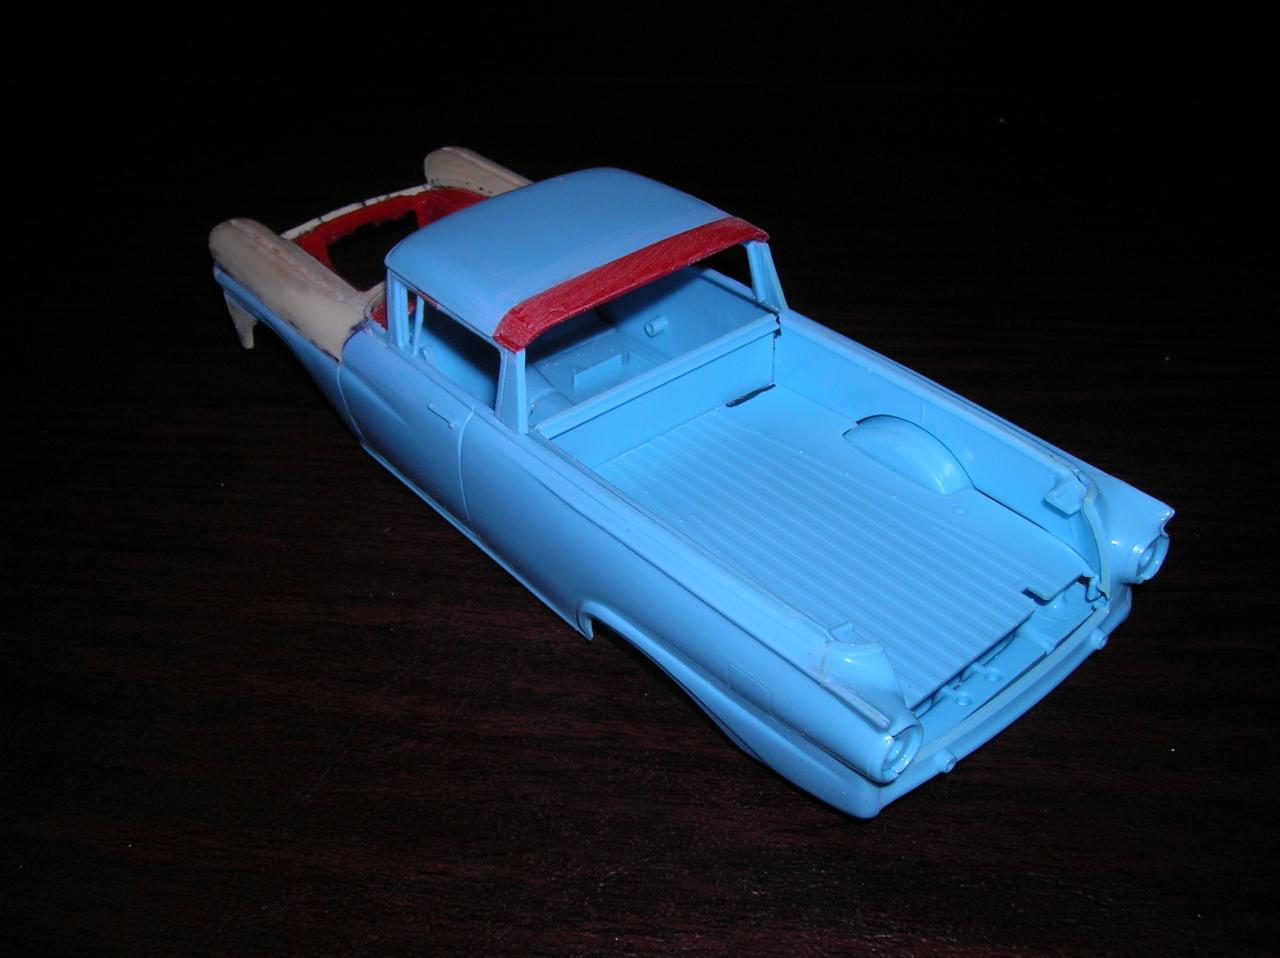
I have been struggling with finishing this project for a while. Most of the hard work is done. The front '58 Ford clip came from an original 3 in 1 annual kit. Maybe it was a waste of a rare model, but I find matching plastic to plastic easier. This is the white parts. The Ranchero body is the old Revell which actually was a Country Squire kit when the tool was first created. For that reason, the doors on the Ranchero are two short since it is one of two doors on each side. Revell didn't take account the fact that the front two doors on a four door car are not the same as a two door car. So, the roof is too short. The red parts are from another Ranchero kit I robbed to stretch the Roof on the blue Ranchero body. I need to scribe new door lines and make new door handles.
-
I finished this one recently. I tried some stuff on this one for the first time - first two-tone interior, first time wiring an engine, and first time using BMF. It came ok I guess...I used Krylon Satin Finish in Ivory and Pistachio. Sorry for the cellphone pics, I misplaced the tripod for my camera. (Still need to fix the windshield) Thanks for looking!
-
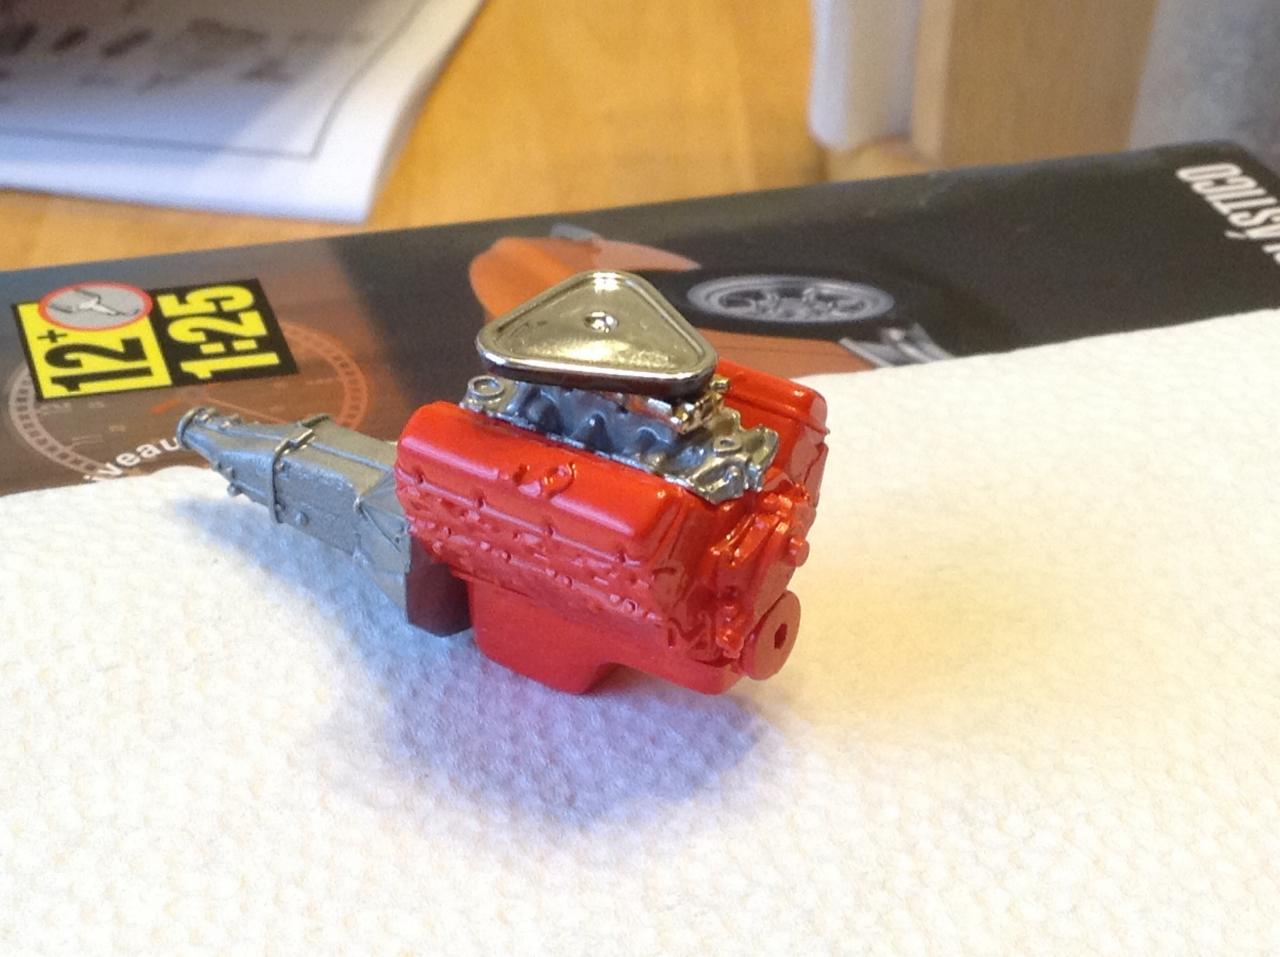
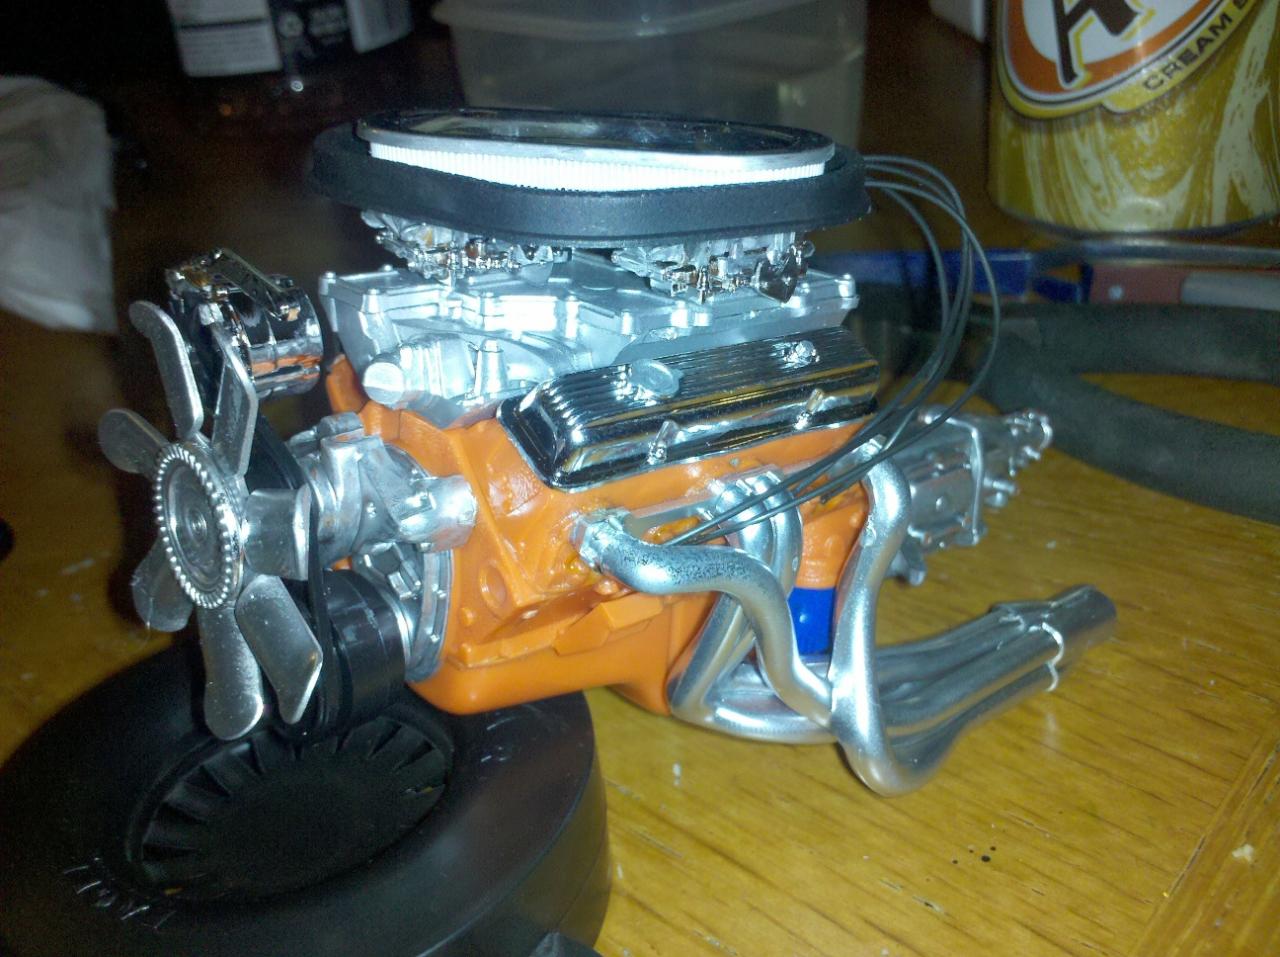
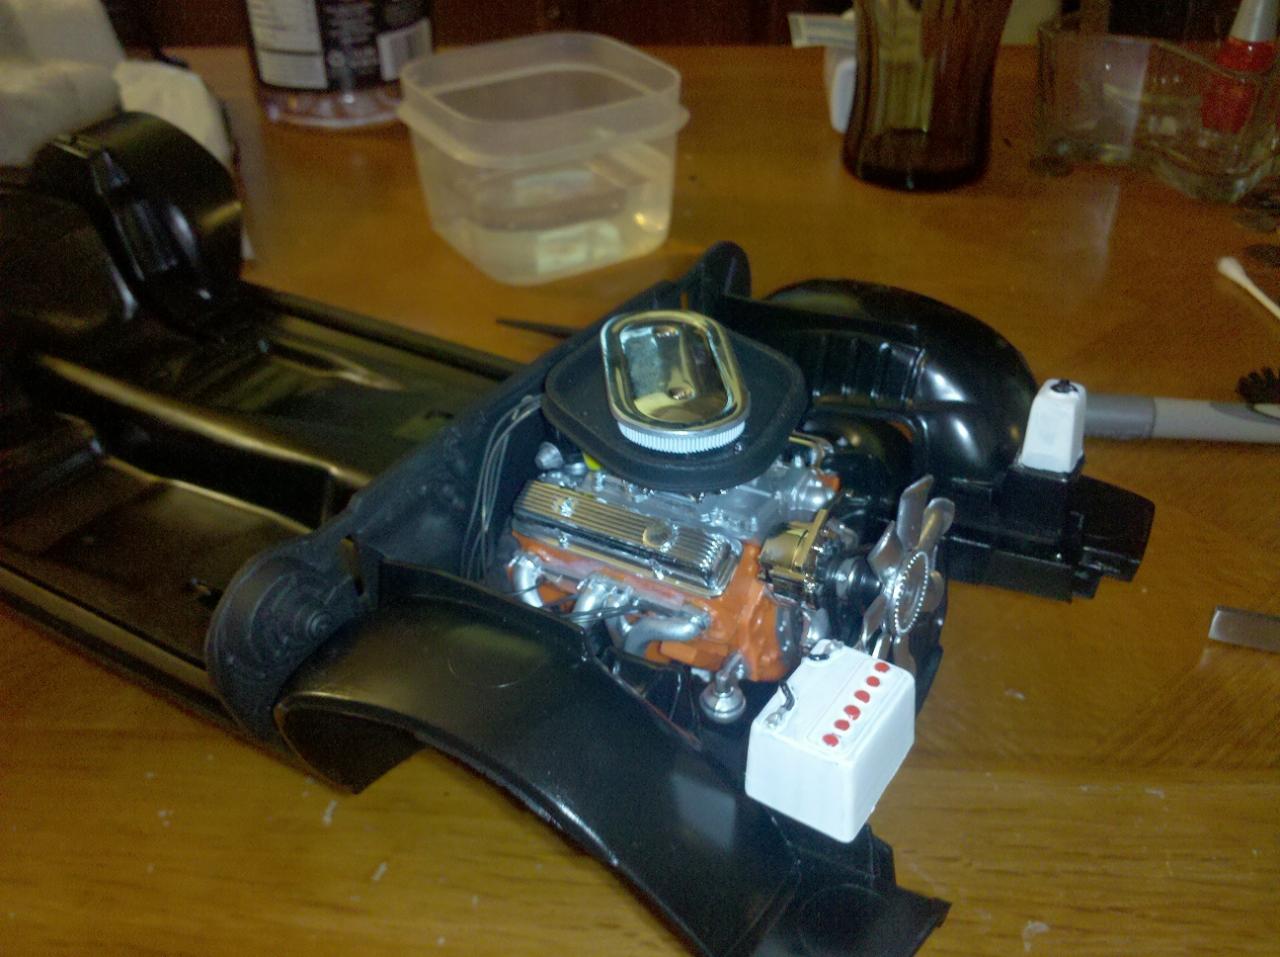
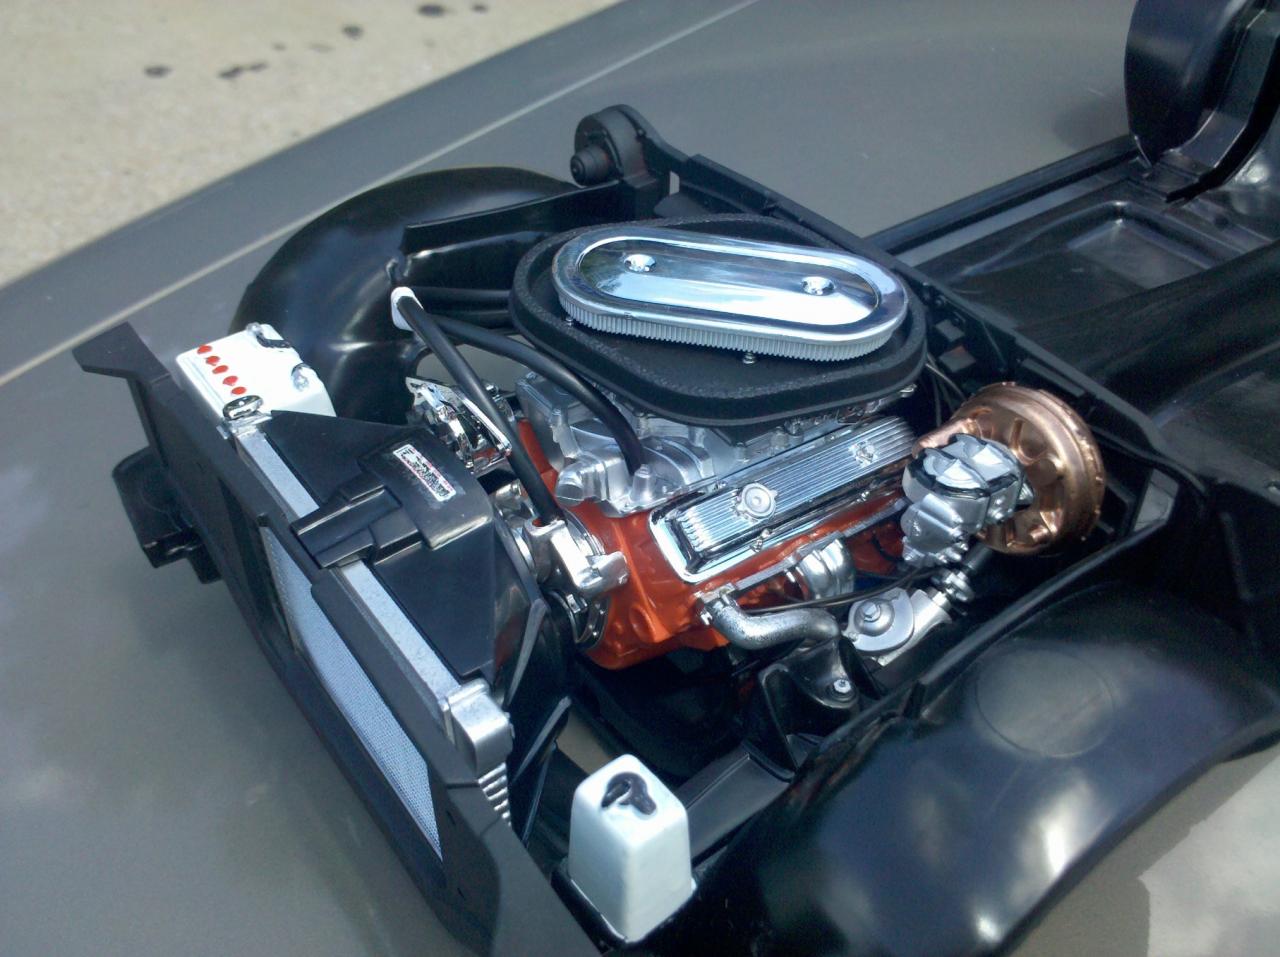
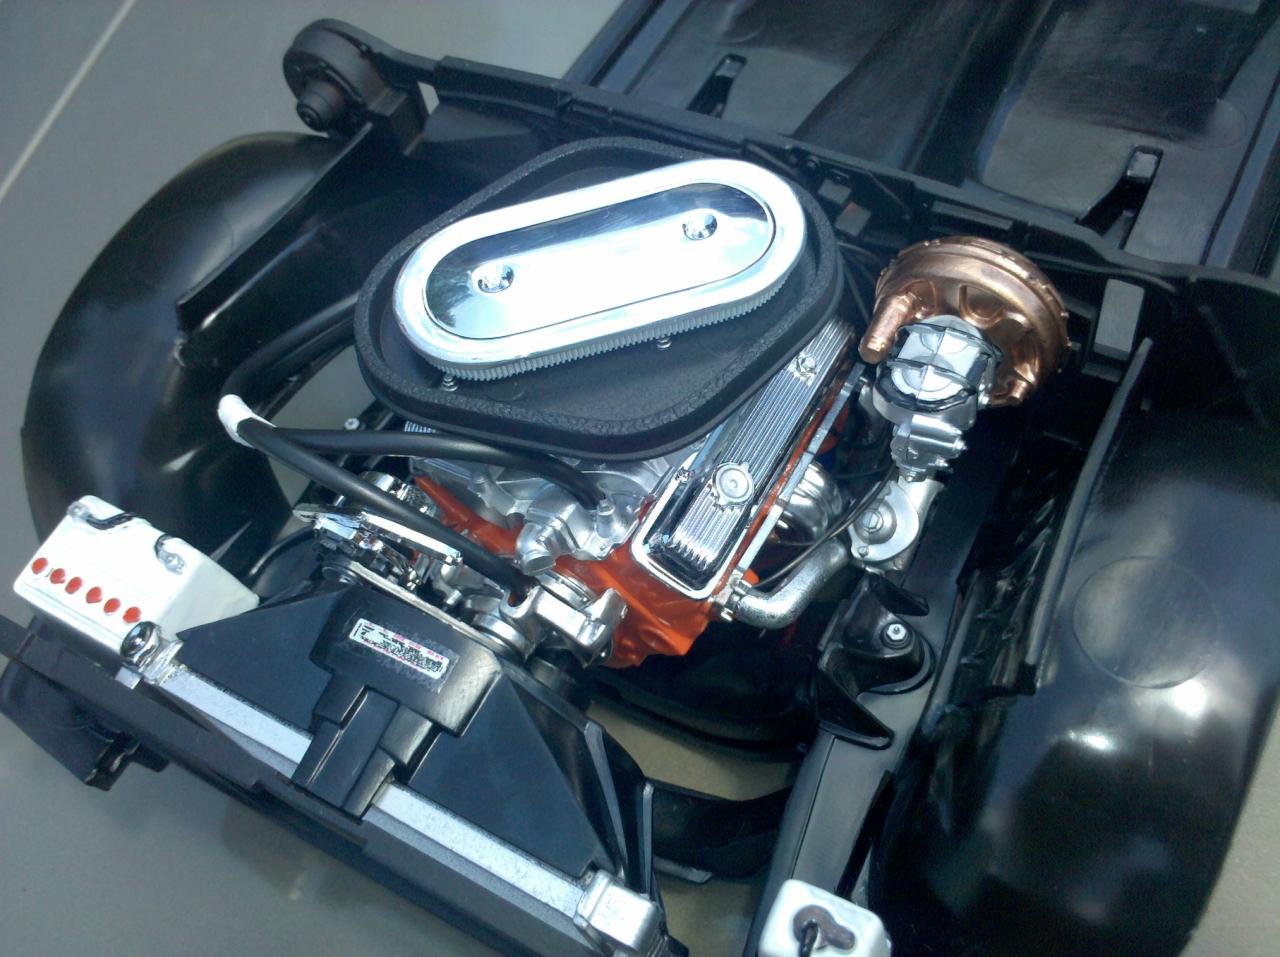
Here's my entry for this year's Cannonball CBP. Revell kit mainly OOB with a '90's Corvette motor. Paint is Tamiya and a few MCG photoetch parts added.
-
Hi! I would like to start (or try) to make a car model. I was wondering if you guys could help me with some of my questions? - What kind of paint shall I use? and how many types do I need to get a good finish? - Where do I buy these kits from? (live in Norway) - And what kind of tools I need for the job. (glue, brushes etc) I was looking at this, is this good? : http://www.modelcars.com/testors-model-car-spray-paint-set.html And does the manual say what kind of colors go where? Thanks for responses.
-
Back on the bench after a long break, where I'll be building a slightly modified, updated version of the 1957 Bel Air that my dad built back when he was younger (going to be a birthday gift for him). His build was the original 1963 release by Revell, and really showed how tough the kit went together. I was trying to find the same kit on ebay, when I was lucky enough to find out that the recently released Ed Roth kit is the one I wanted, at retail price (surprised I haven't seen anyone else building it yet ) Here's a few pics of my dad's build: My plans are to paint everything pretty much the same as his build, but clean up all the parts as best I can as well as make sure they fit great. I'm also stripping all the chrome so it's easier to clean up the parts, and I'll be coating them in Alclad chrome. I'm also going to use some parts box tires instead of the kit tires (even though they are one piece rather than the old two piece). Starting with the chassis, I painted it all satin black and painted the gas tank and exhaust aluminum. My dad used the lift "shackles" from the drag version in the back, so I'm doing the same. Of course, this meant modifying the exhaust on the driver's side to fit properly since it originally ran above the rear spring perch.
-
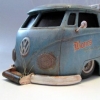
This is a mockup while I smooth out the seams on my 1/16 Karmann Ghia project. There were flat spots in the body casting in the nose, right above the point where the lower apron glues in place, so I'm taking extra time in an effort to build up the proper contour. If it doesn't start coming together soon, it's going to get primer, rust, peeling paint and I'll pass the front end off as old body damage. Engine will be finished off with scratch-built manifolds and linkage for 3D printed Weber IDA's I purchased from Shapeways. I'm also contemplating a more traditional hot rod/low rider wheel and tire combo for the planned super-low ride height. We'll see how it goes, eh?
-
This will be my summer project. I haven't been on the forum for quite some time. I did a 55 Chevy last summer and I have yet to post pics of that in another post. This one will be a stock build as true to original as I can do with the supplies I have available. I'll update with pics as often as I can. I'm going for completion in just a couple weeks. Keep me on track!
-
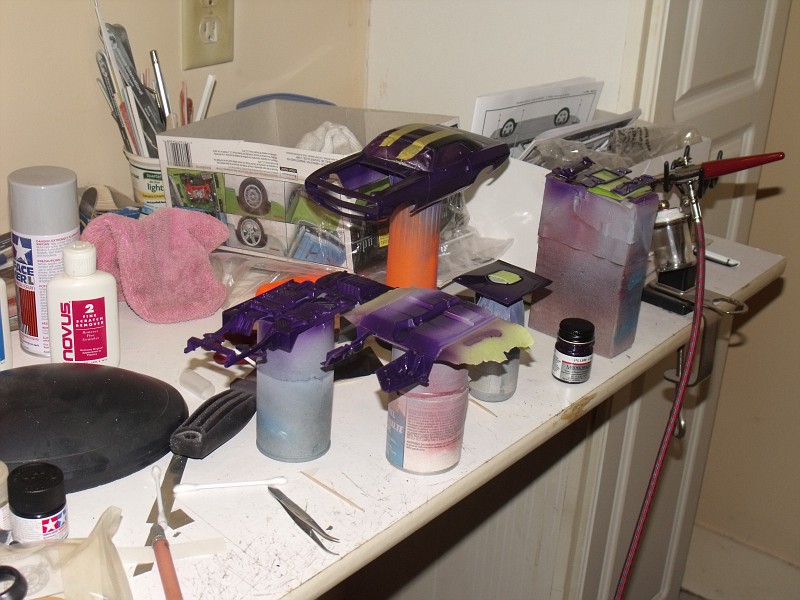
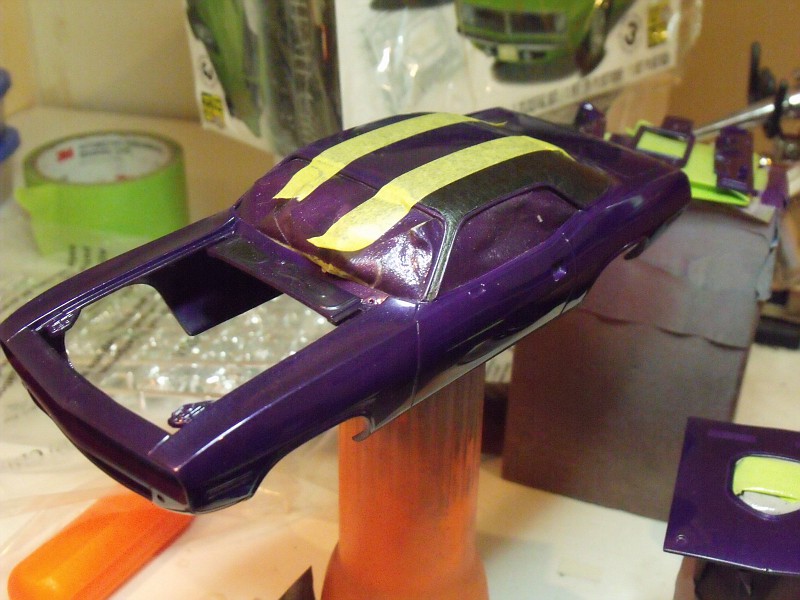
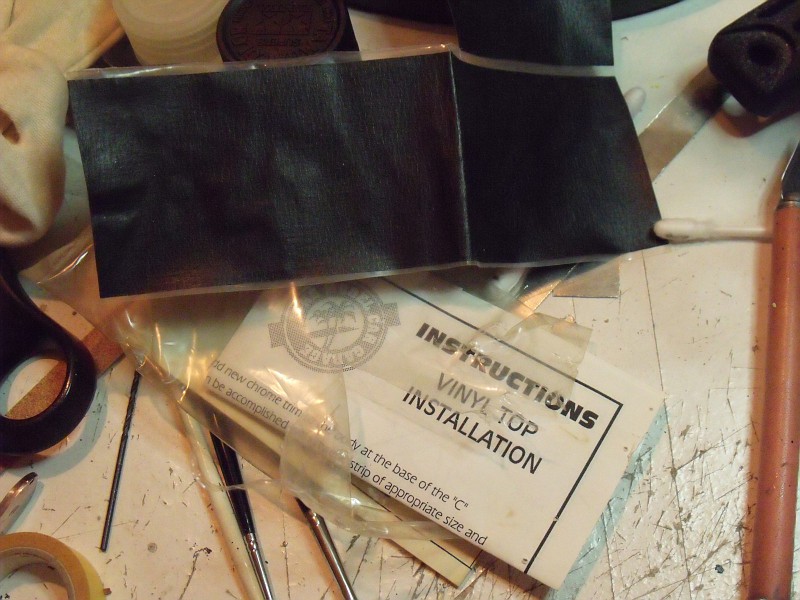
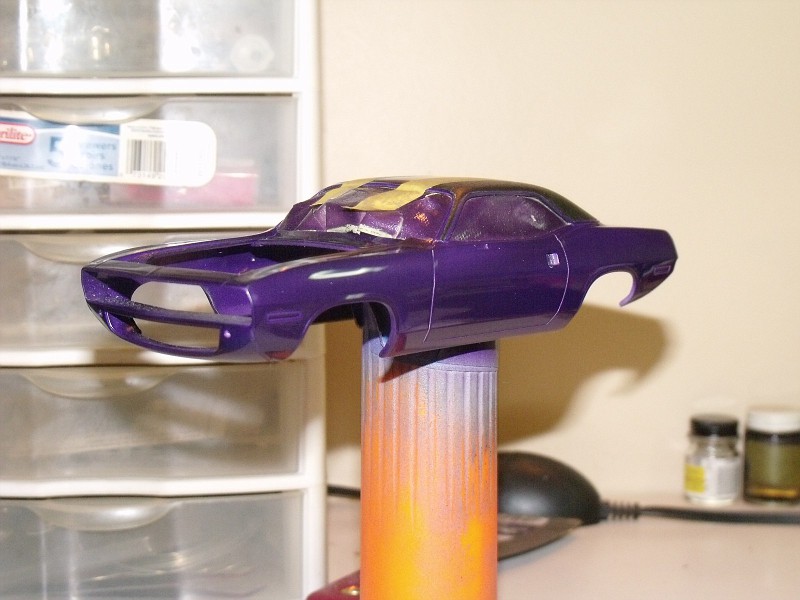
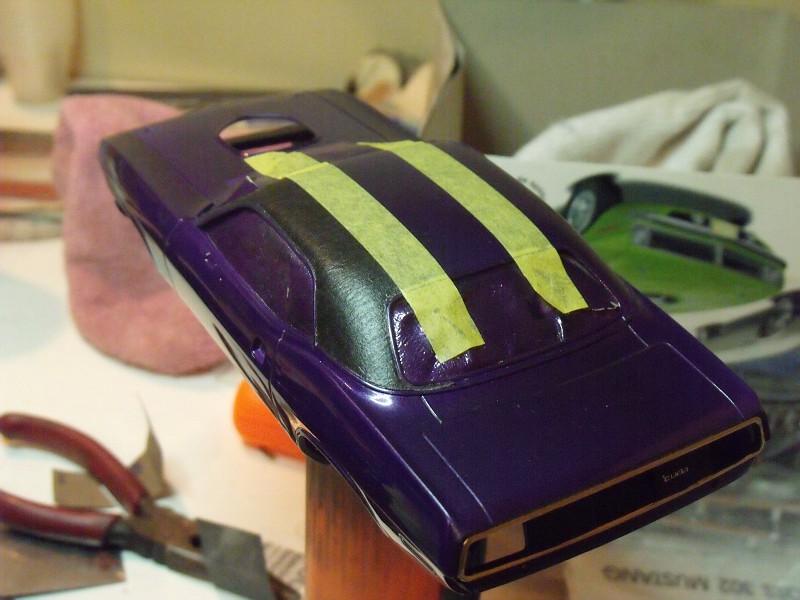
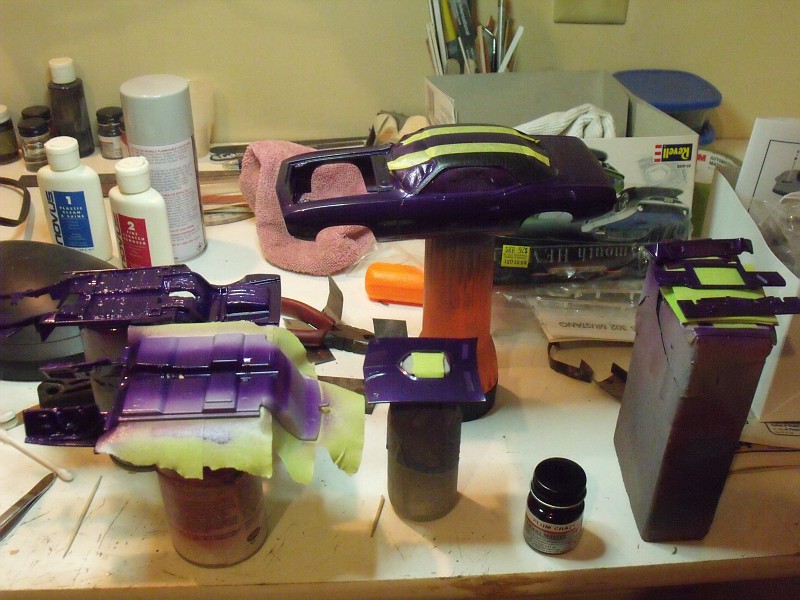
Howdy, Im new here, but have actually have been a visitor many times this year. I started building model cars back in the late 1980's and then got away from it in the mid 90's until recently. I used to travel arount the mid-west and even a little on the east coast, back in the day, attending model car shows. I just started back up building this past year. Boy have I missed it. I have already completed a few builds and at some point will post them for you all. I recently bought the new Revell 70 Hemi Cuda kit and wow do I like it. I know there are a few issues with it, but, hey, there are with most kits anyway. And besides thats why they call us model builders. Right? Part of the fun in building kits for me is correcting what I can, and adding and changing what I want. Well for this build I decided to do a vinyl top verson. It will be painted testors plum crazy purple enamel. I'll be posting a few pics along the way. I have already corrected the wheel openings, built the side window trim out with evergreen strips, instead of etching them deeper- this helps with the thickness of the vinyl top material I am using from the model car garage. I, also, have already scratch built the molding, below the rear window, for the vinyl top from evergreen strips. The body in the first few pics has already been painted, clear coated and polished and I have already started applying vinyl top meterial. I primered the body with tamyia thin grey primer. Then mixed my paint as well as my clear coat at 50/50 with hardware store laquar thinner. Excuse the pic quality, my camera is almost as old as I am LOL. I'll be posting more as I go along. Thanks in advance for checking this post out.
-
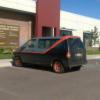
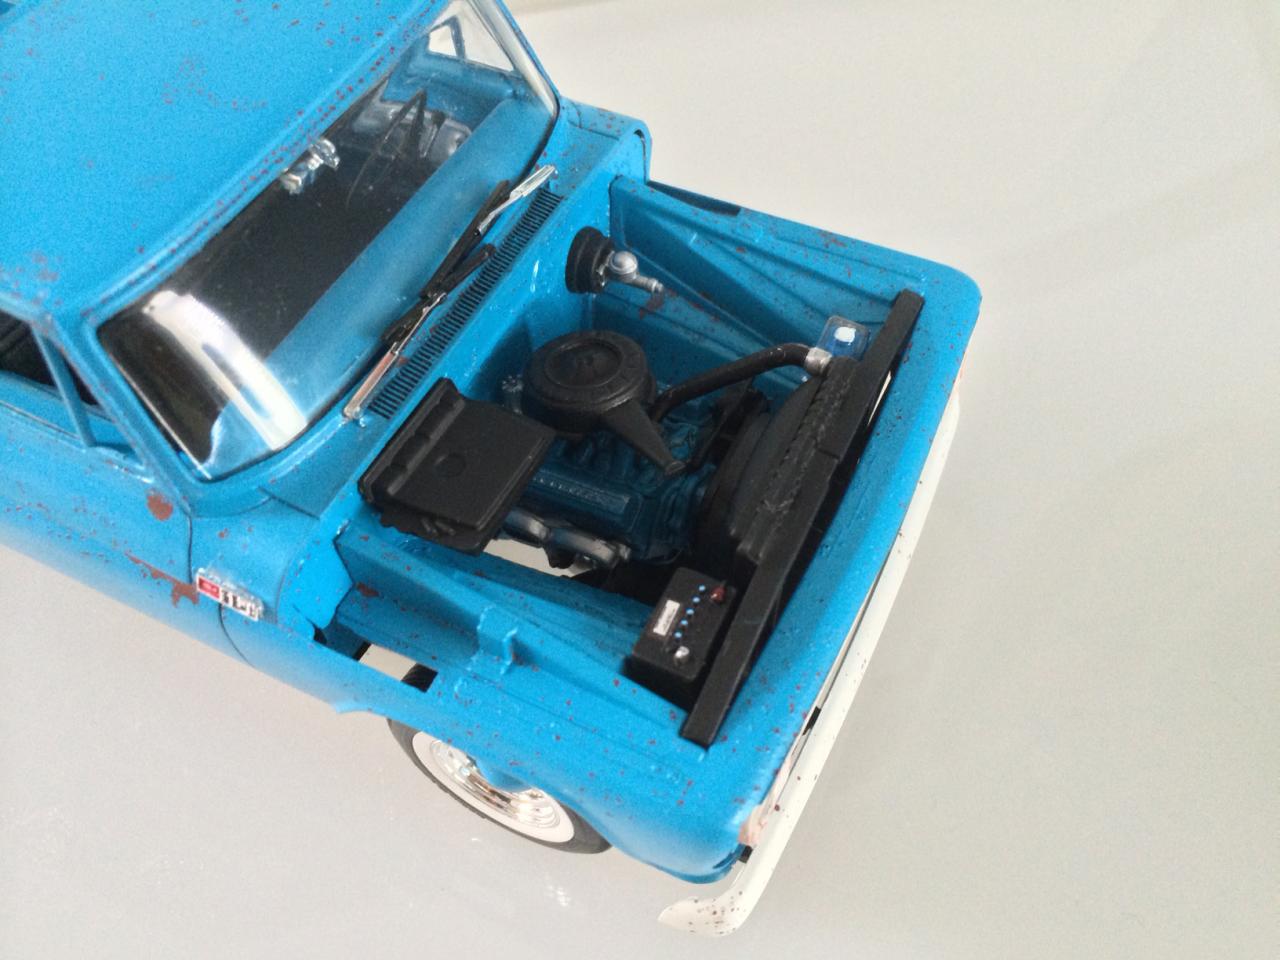
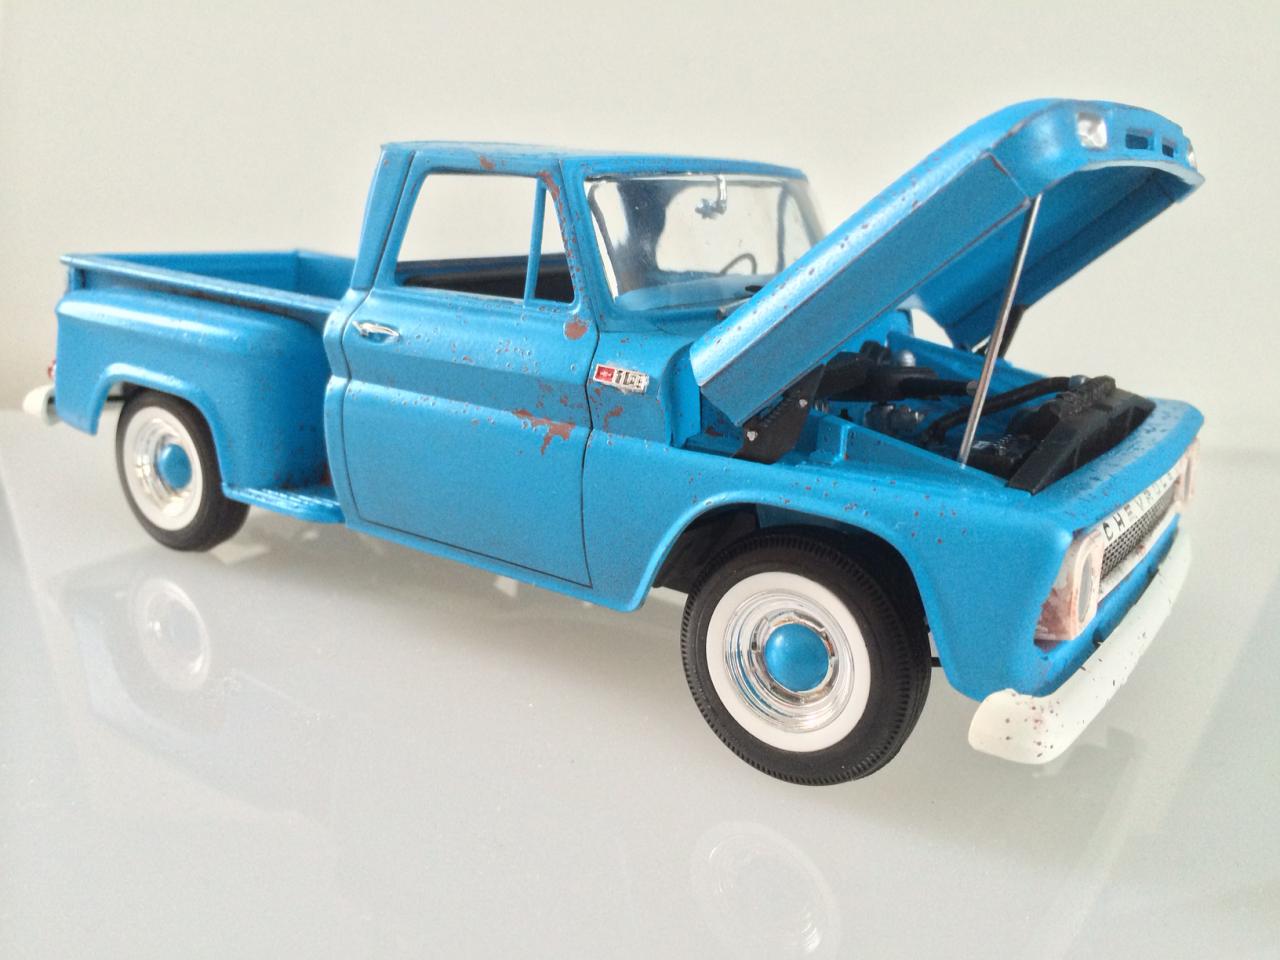
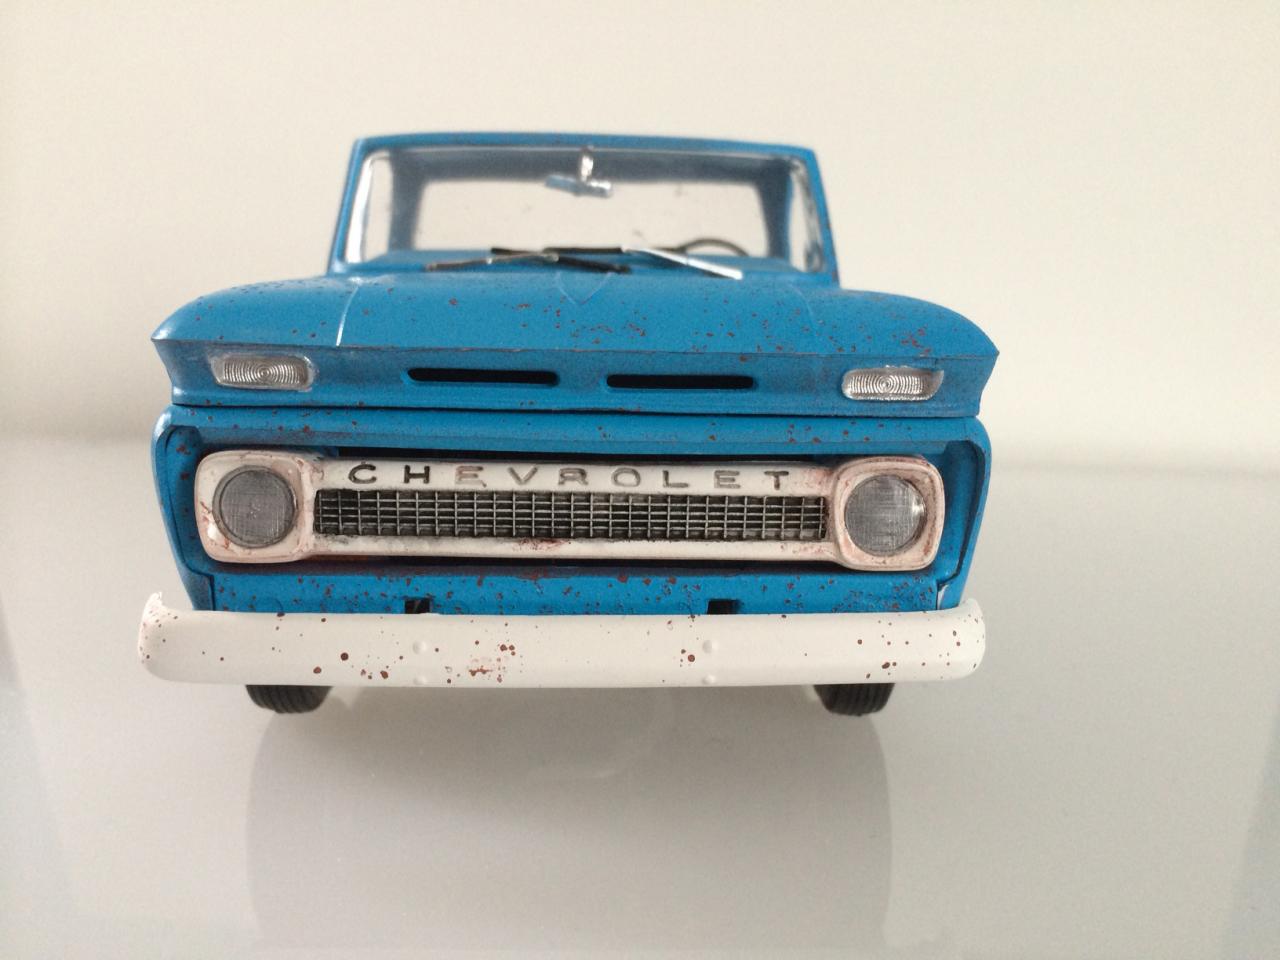
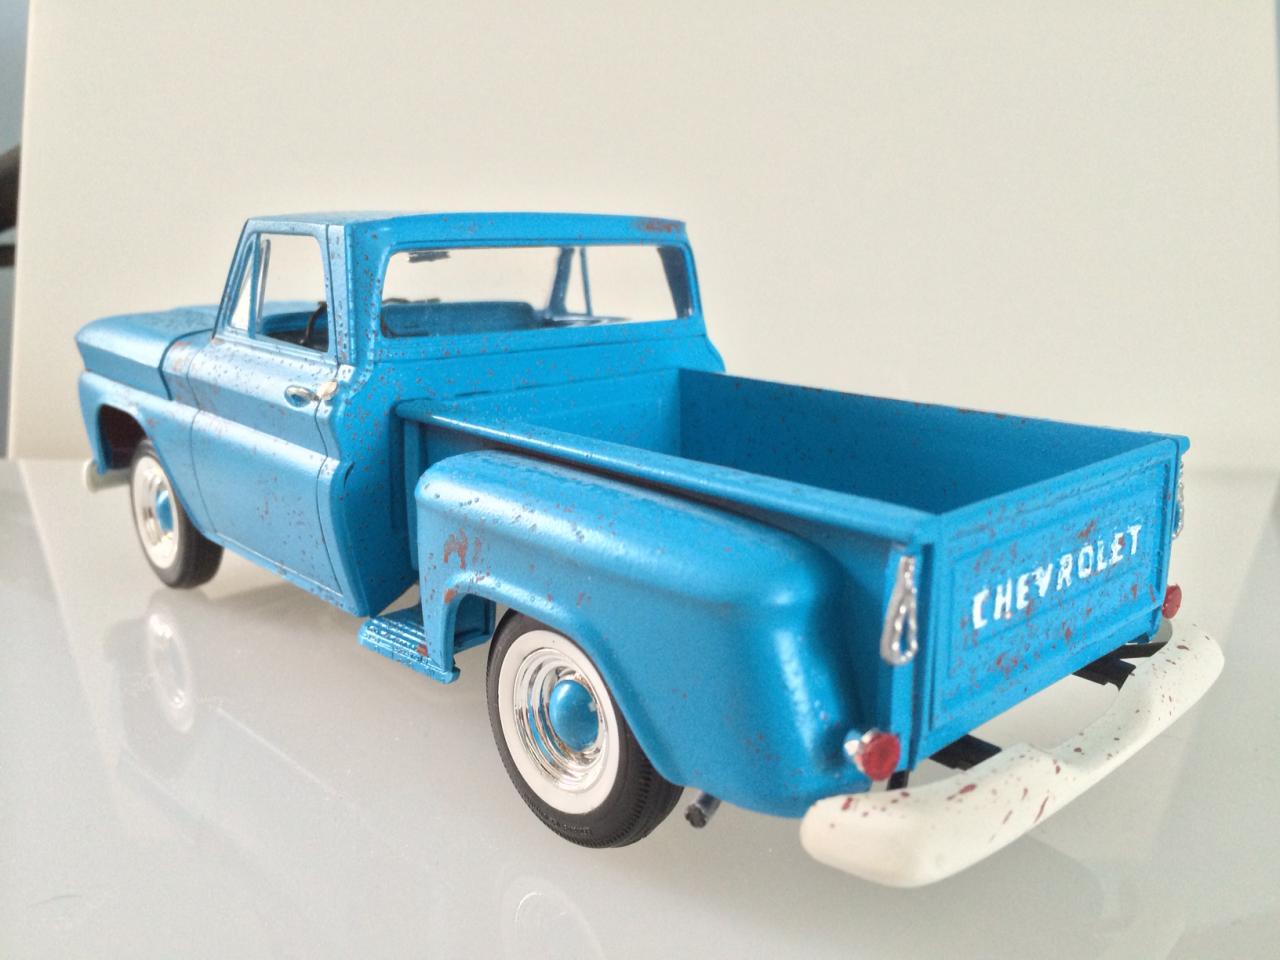
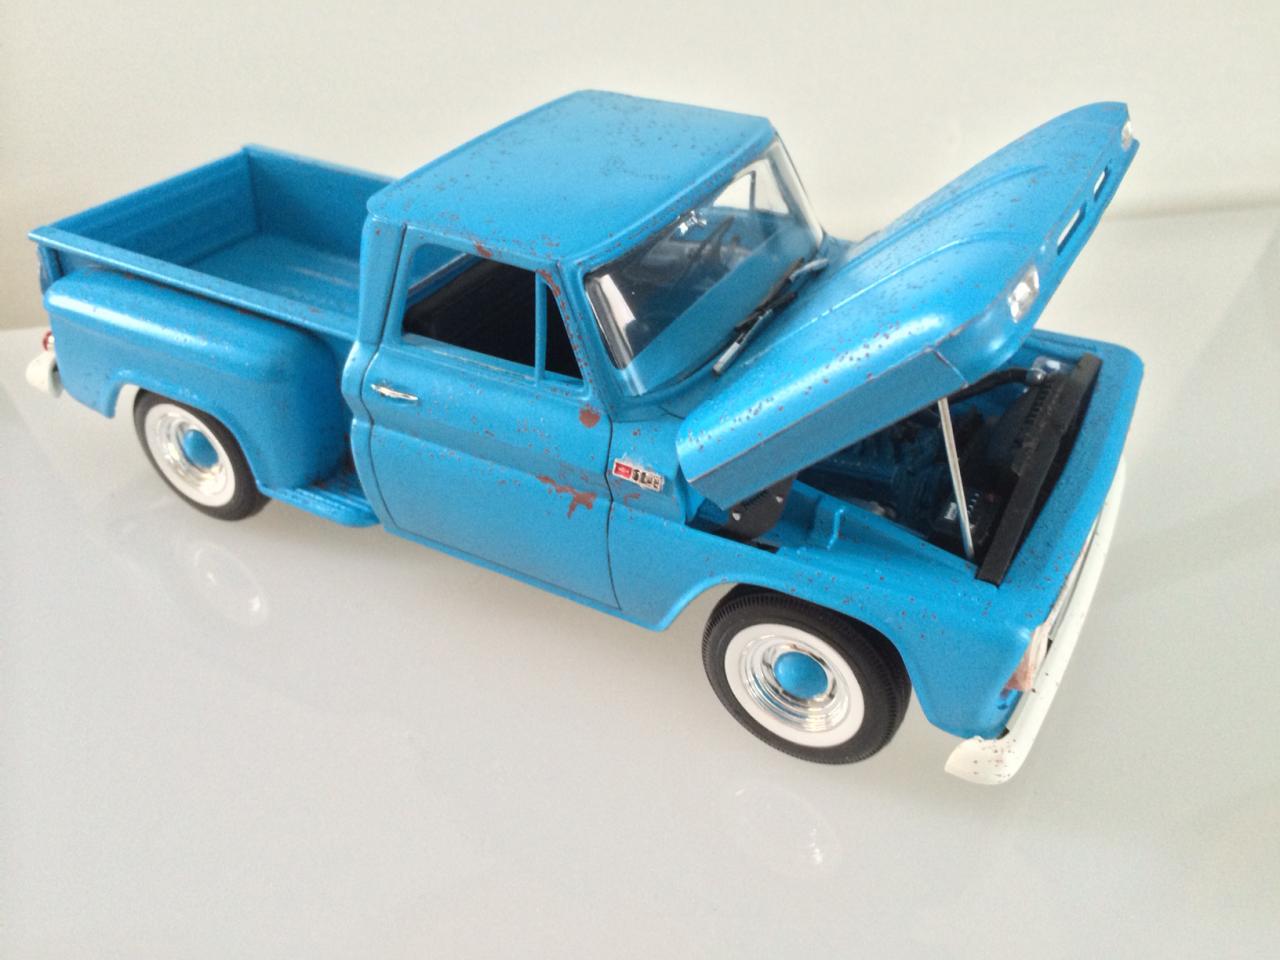
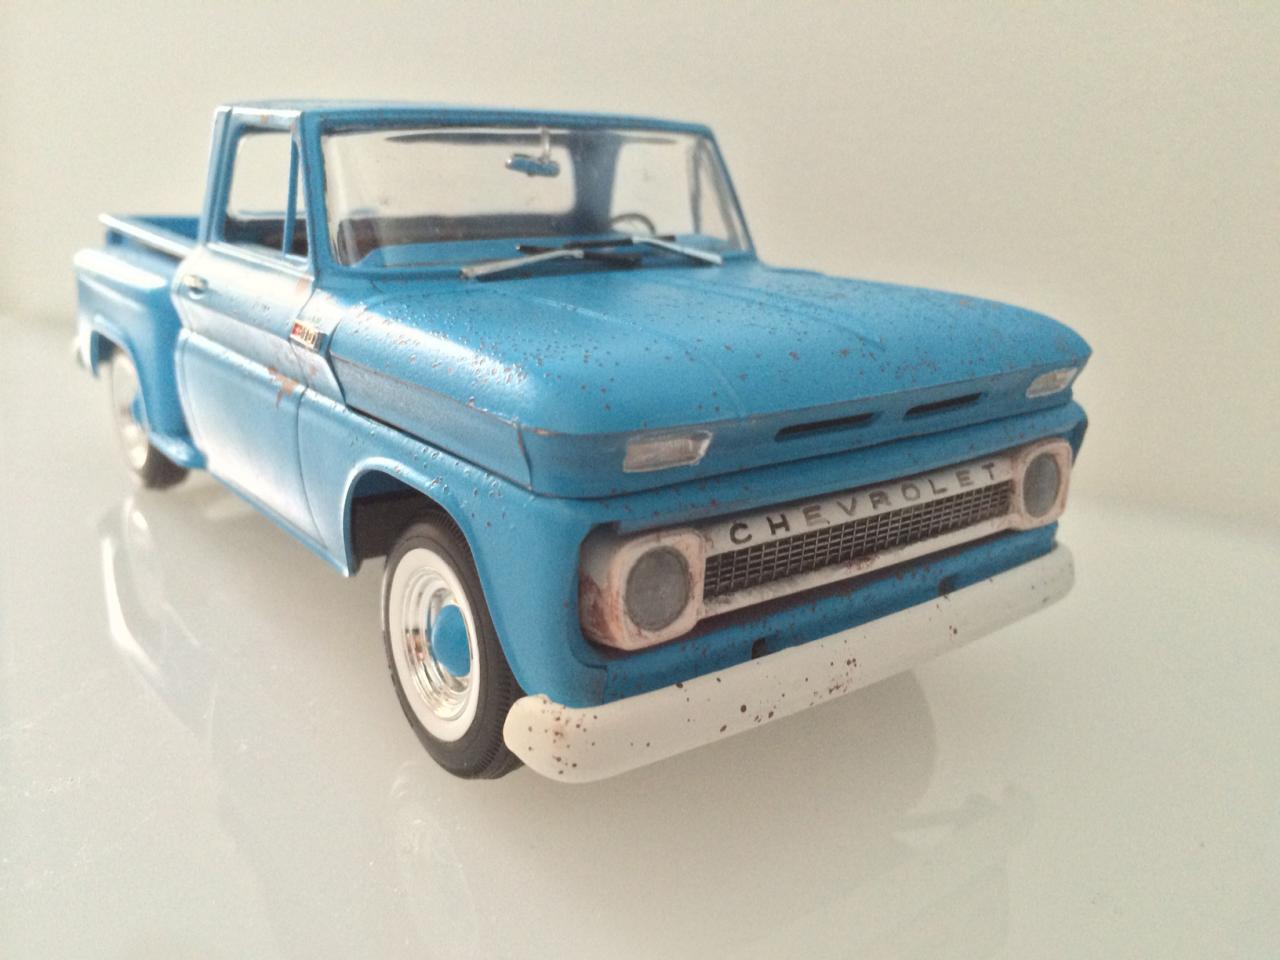
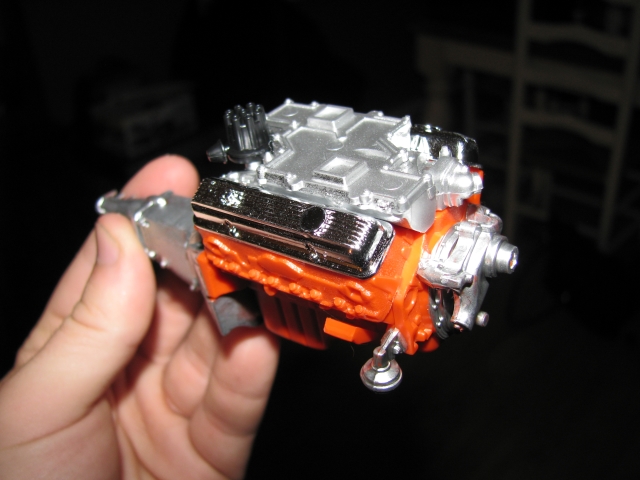
 I bought this for a few bucks at a thrift store recently, no box or instructions, just the parts in a large ziploc bag. Been working on it for the last few weeks and finally finished it this weekend. I stayed up til 4:30 in the morning Saturday night, listening to the nuts on Coast to Coast AM on the radio and working on the kit and had a blast. Nothing like "me" time. It isn't perfect, but it's done. One of my favorite shows is Fast 'N Loud and I especially enjoy when they take an older vehicle and redo the brakes, interior and electric, drop in a new crate engine and tires, then seal the rusty paint to keep the patina. I used the salt technique I learned from this forum. While the salt was drying on the primer, the salt got wet during a humid night and it didn't come out exactly as planned, but I can live with it. For a skill level 2, there were a lot of parts in this detailed kit. I love the look of body color steelies and chrome center hubs, but I thought I'd do something different. Initially I was going to use a different wheel / tire combo, but the Revell kit has the "pop on" type of wheels and I simply had no replacement for them. Since this is a work truck and nothing fancy, I dechromed the bumpers using Eazy Off oven cleaner and painted them flat white (first time dechroming for me). I used a drug store watercolor set to add rust and fill in the grill. Had I to do it over again, I would have painted the engine a different color and painted the engine bay flat black. There are imperfections (the side badge slipped after gluing it, among other things) and there are a few pieces I omitted (side view mirrors, among others) but I think I'm relatively happy with the outcome. Next build will probably be my take on the Rat Roaster.
-
I haven't seen many positive write-ups of this kit -- and I'm not sure why not. It's an early 90s kit, and not up to Tamiya's latest standards, but it IS very well detailed and fits together pretty well. It needs some work to get the bonnet to close properly (and in mine there's some tin can on the underside of the bonnet lid and a strong magnet atop the firewall), but that's about it. There's a fair bit of flash to be cleaned off (sometimes on delicate parts), and a lot of the chrome parts needed stripping, cleaning up and re-doing, but nothing a sharp knife and ten minutes couldn't fix. I'd also recommend stripping the chrome off the windscreen frame, mirror and sun visor frames, gluing them together into a single sturdy assembly, and then rechroming them. I think the under bonnet and underside detailing is excellent (and taught me some new things about different types of car suspension) and, with the cockpit, it all responds very well to simple detail painting. ..and now with the hard top: If I'm honest, I'm not really happy with the hard top. I just don't have the scratching skills to do the windows and glazing justice. My advice is that if you want a hardtop version, find an issue of the kit which has one included -- and if anyone's got one that they're NOT going to use, I'd happily take it of their hands to have another go! bestest, M.
-
 Hey guys, this is my first build ever. I got it for Christmas from my brother, and I thought I was never going to finish it! Well I finished it about a month ago and I think it turned out so-so. The paint came out better than expected (testors one coat lacquer) it only has one run, and it is on a front fender. However there is no detail paint, a poor interior and no bmf. I only used one of the gaudy decals, that is on the back of the truck. Also the windshield is missing due to overspray because I forgot it was on there. Also, how do you truck guys afford to build trucks??? I understand this one is like 20 bucks, but I really love the KW Wrecker kit but I can't drop the coin. Seriously $70+ for a model, that is insane. I think I'll just stick to cars and pickups :-( . Finally, can you guys give me some pointers on my work? I don't care if you say it is bad, just tell me what I can do better.
 -
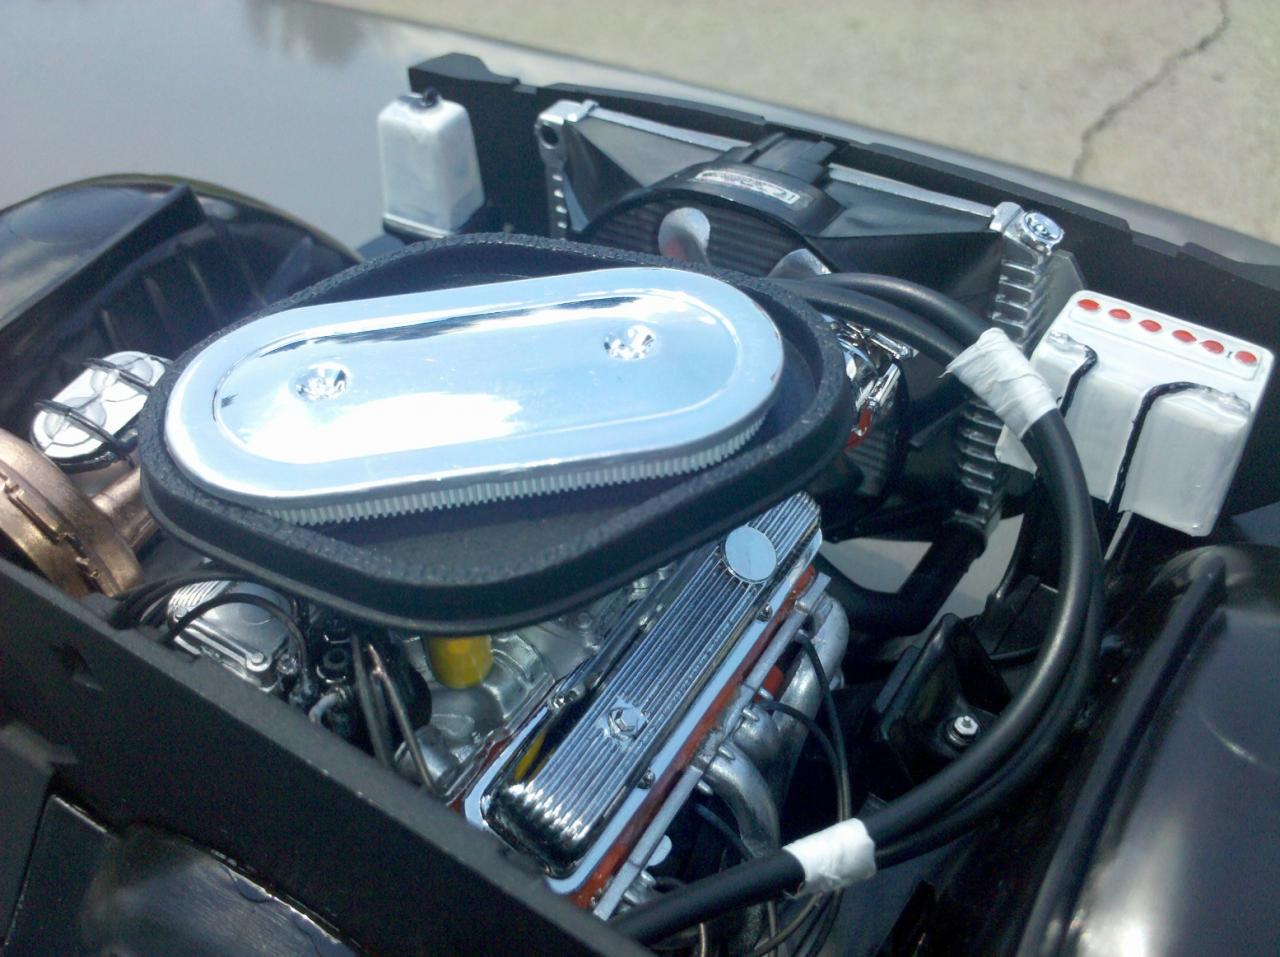
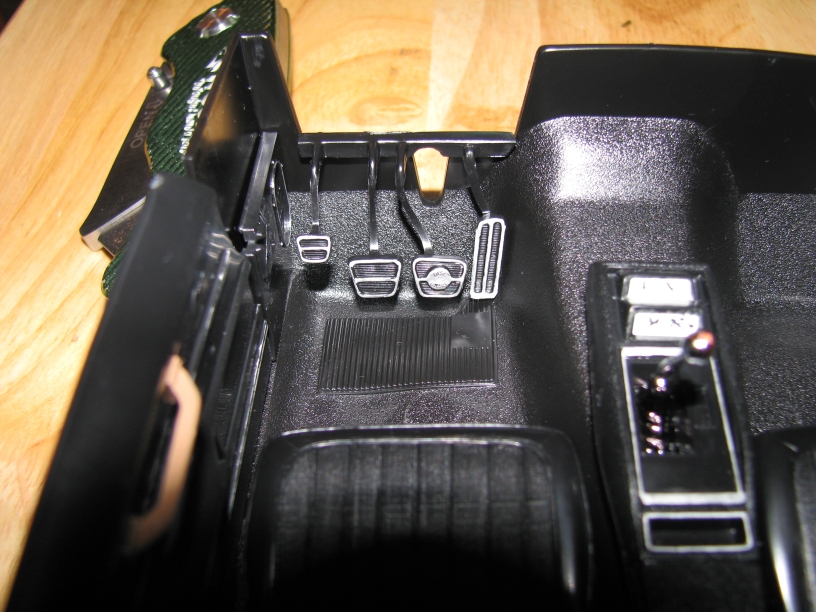
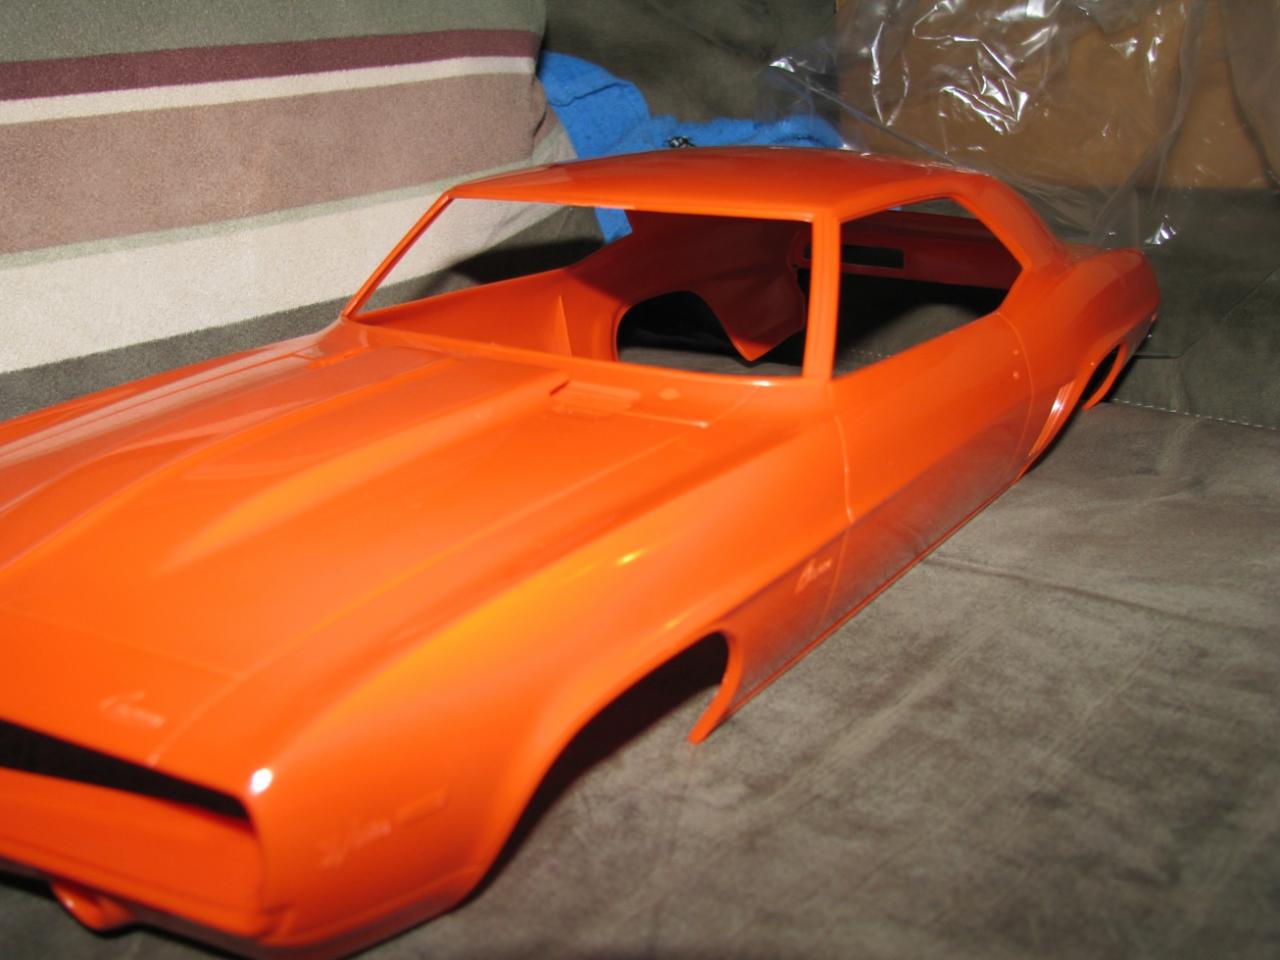
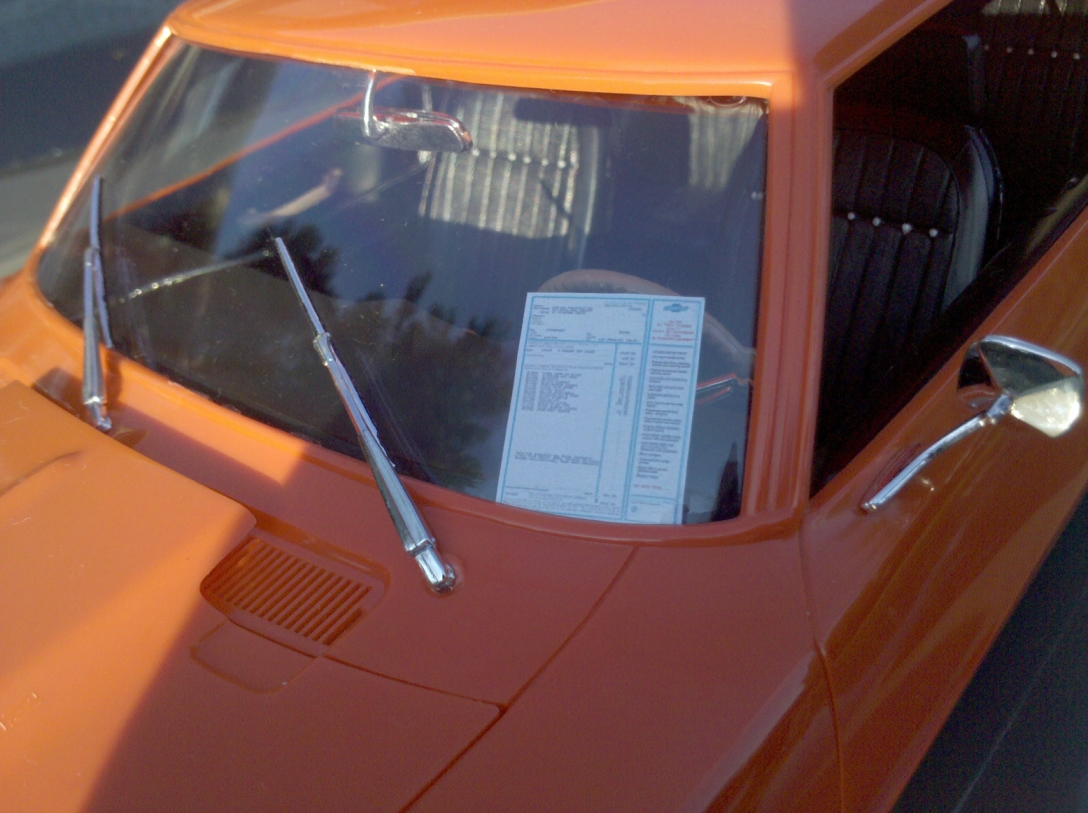
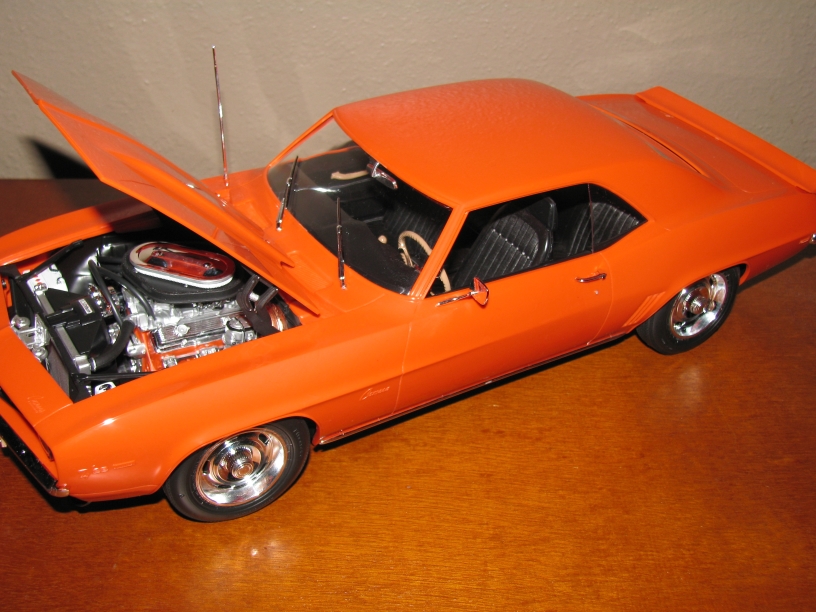
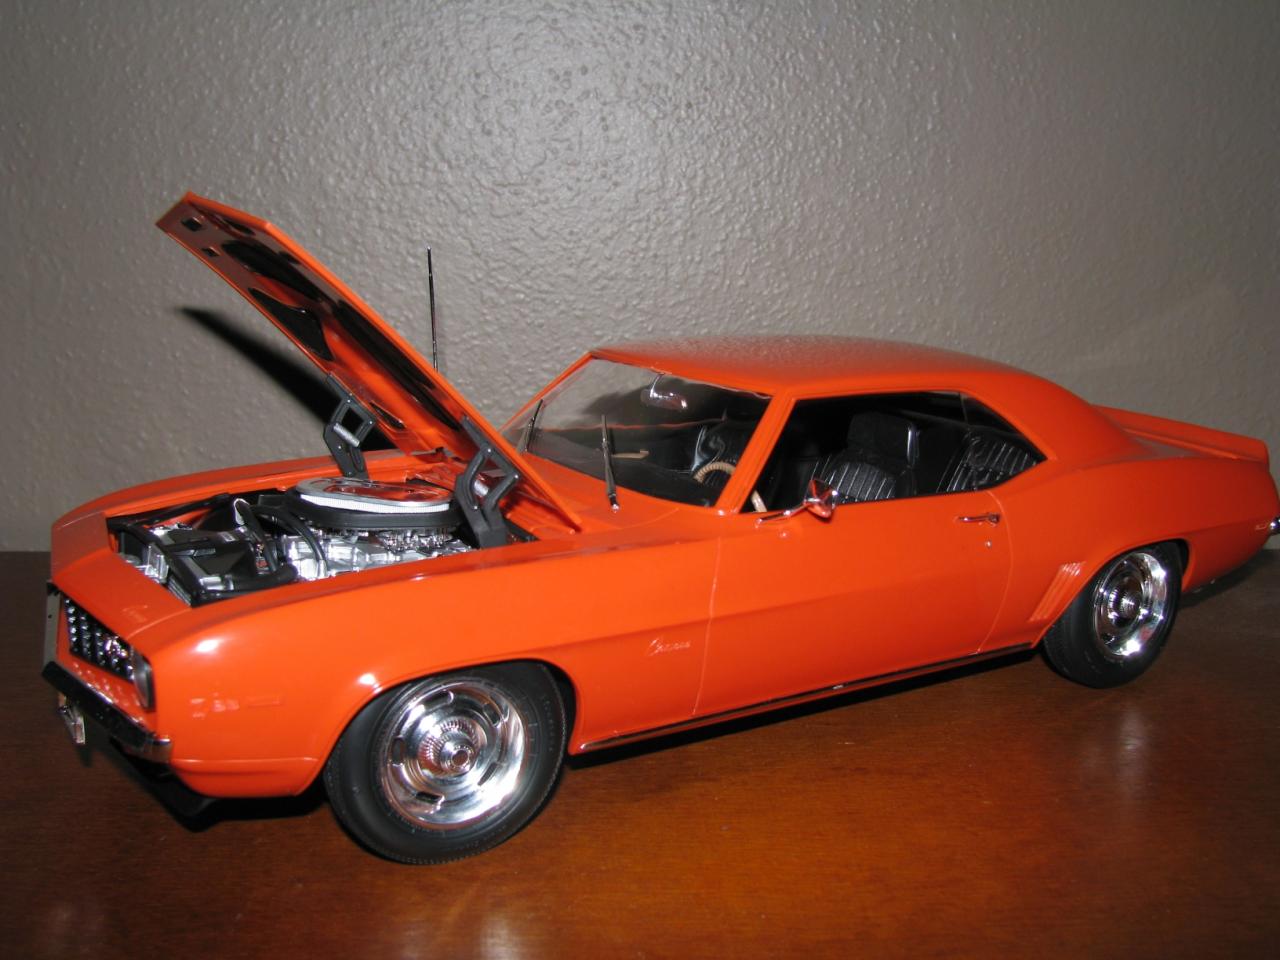
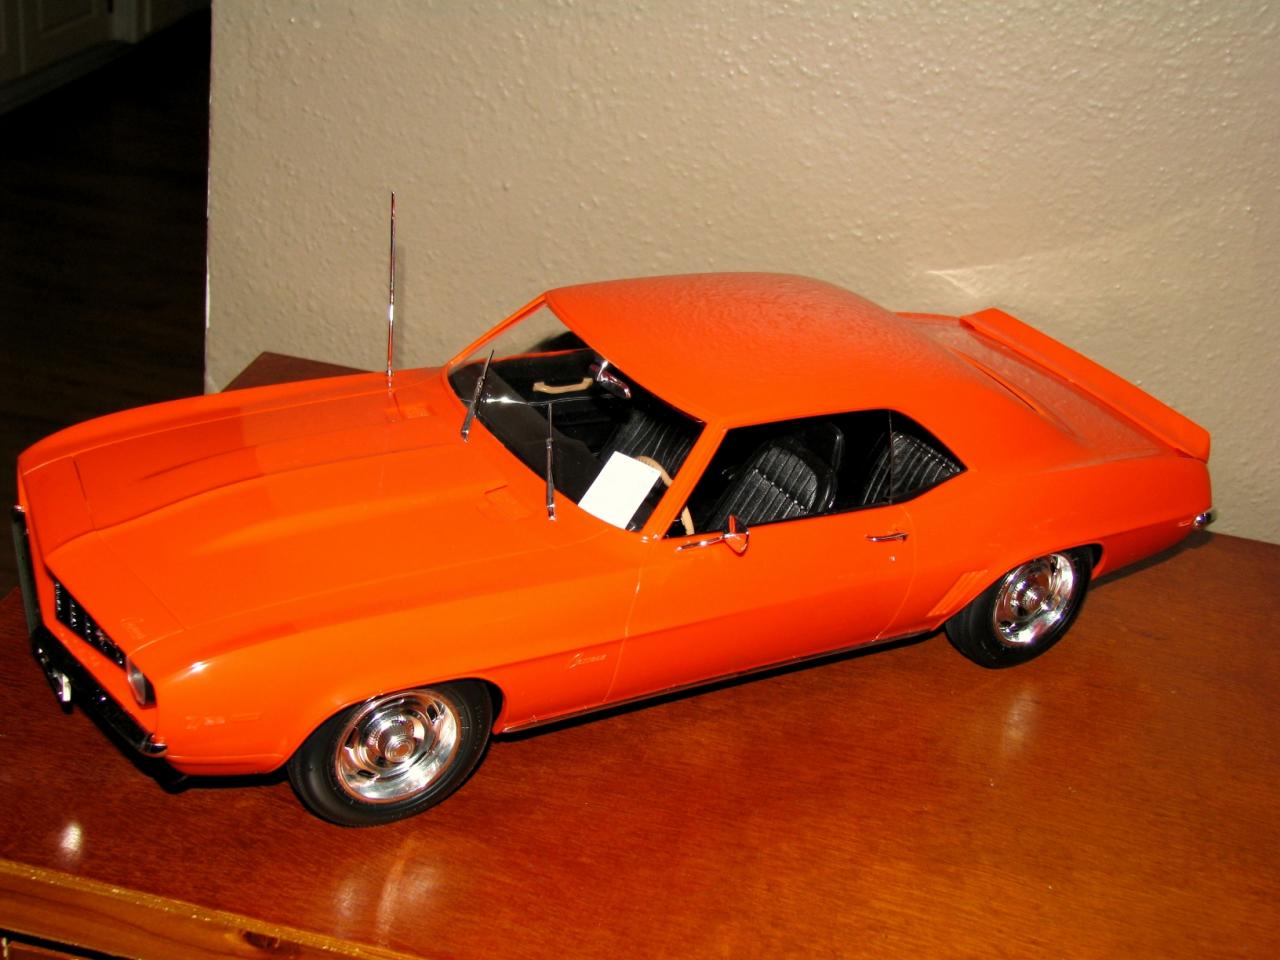
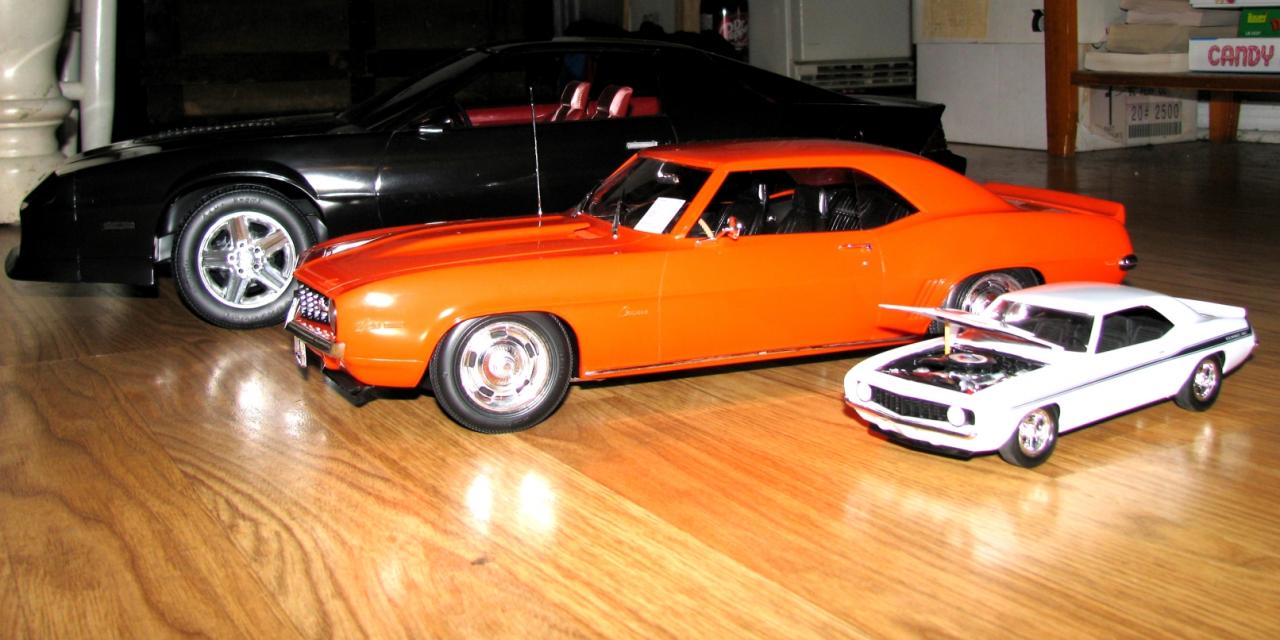
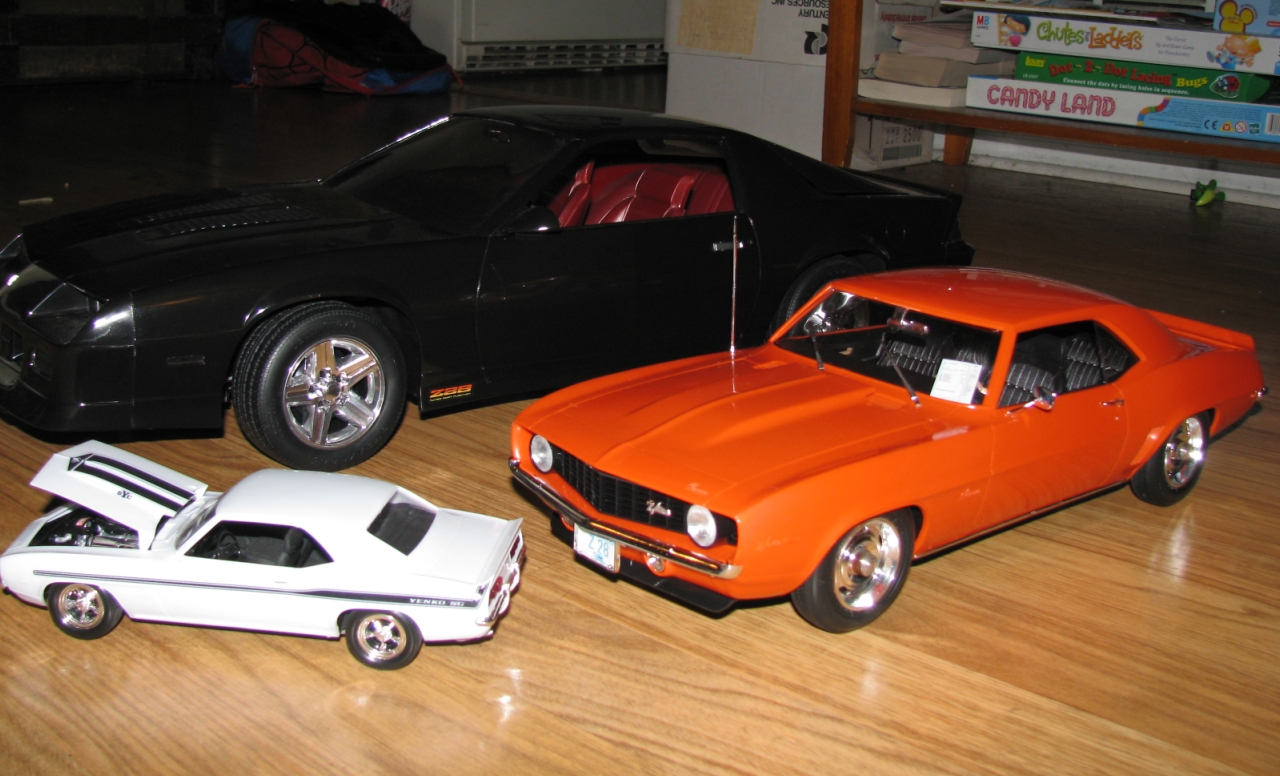
I had some issues with this build, luckily I had a little help from hawk 312, as im sure you know his are some of the best around so I had some pretty good tips, i liked the color it was molded in so I actually have no paint on it, just a ton of polish and wax. The pics dont really show the finish but in person you could never tell it wasn't painted and cleared. I also got the idea of the window sticker from hawk, thanks man. I cant wait to start the build of the new foose I got. This one will get the full paint and polish treatment.
-
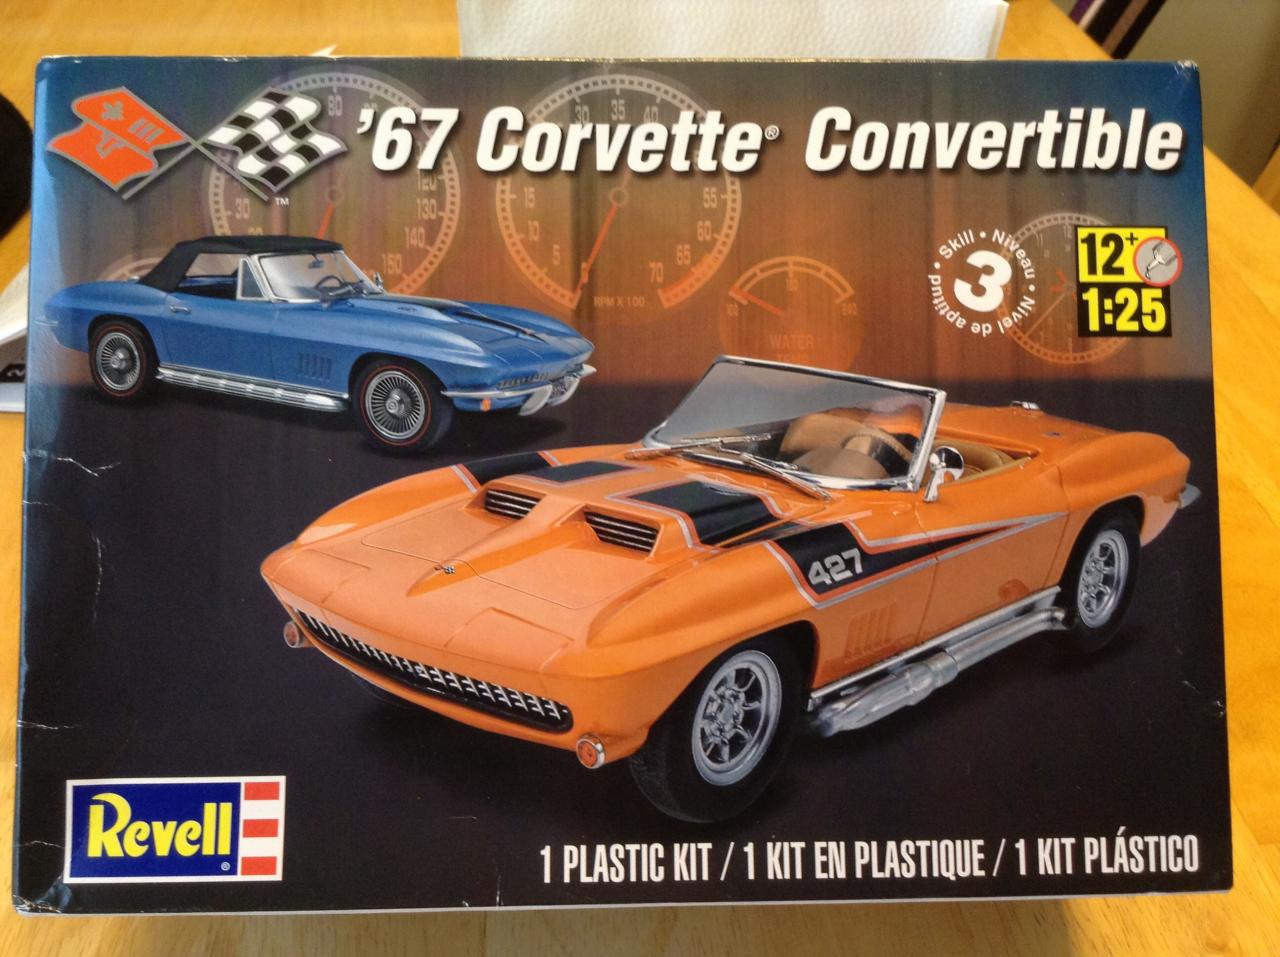
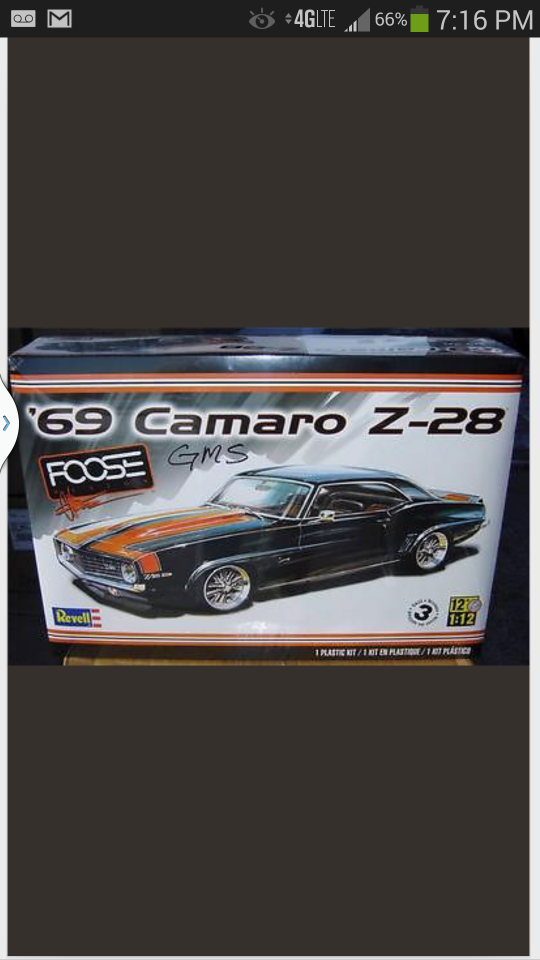
Just got mine today....I've been waiting to build a new version of this car, I've got a few good builds on the old kit but looking forward to a brand new sealed box. No more missing this piece or broken this and that I get when I buy the old kits on eBay.
-
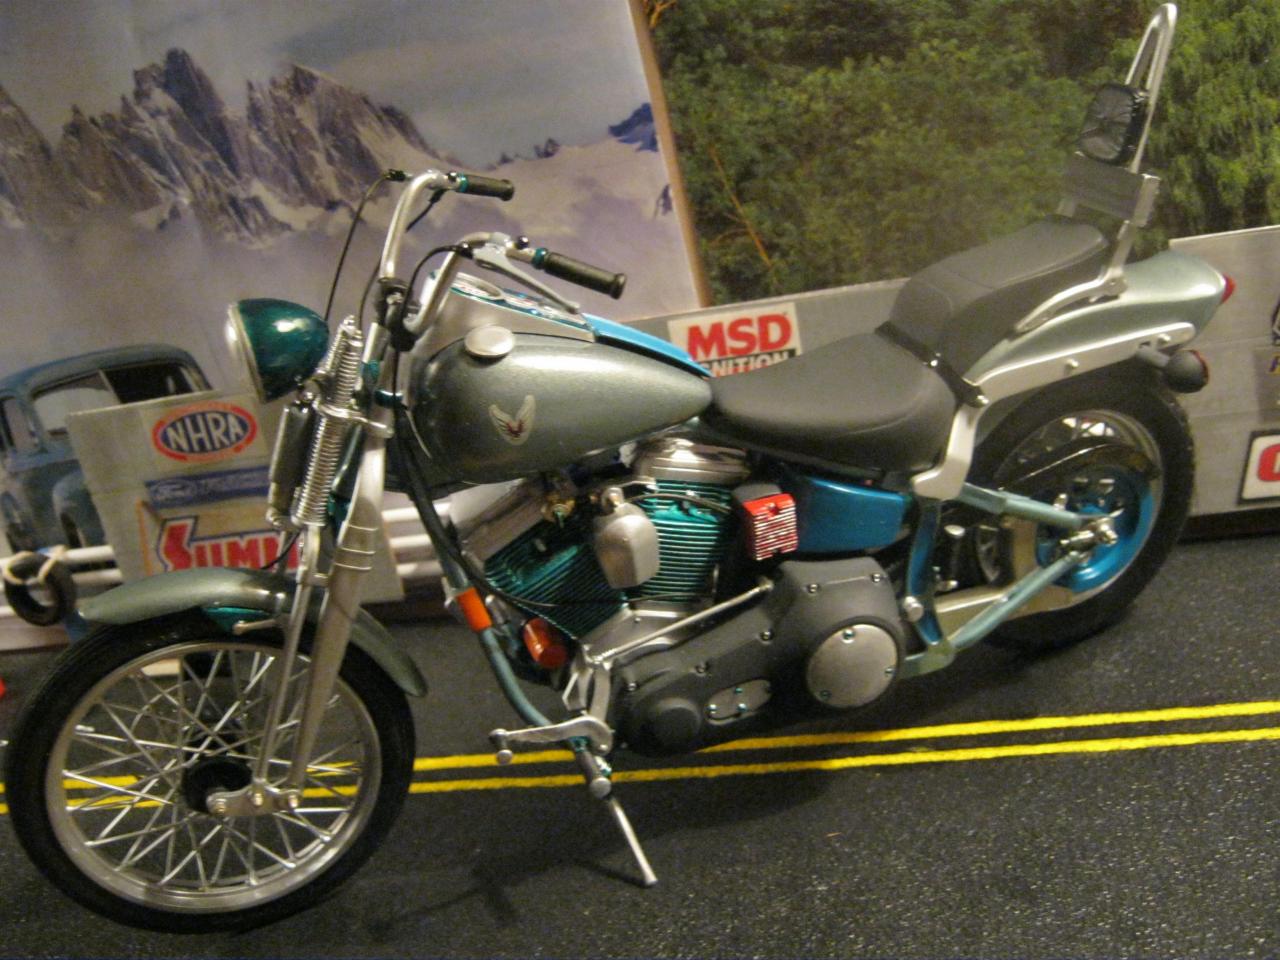
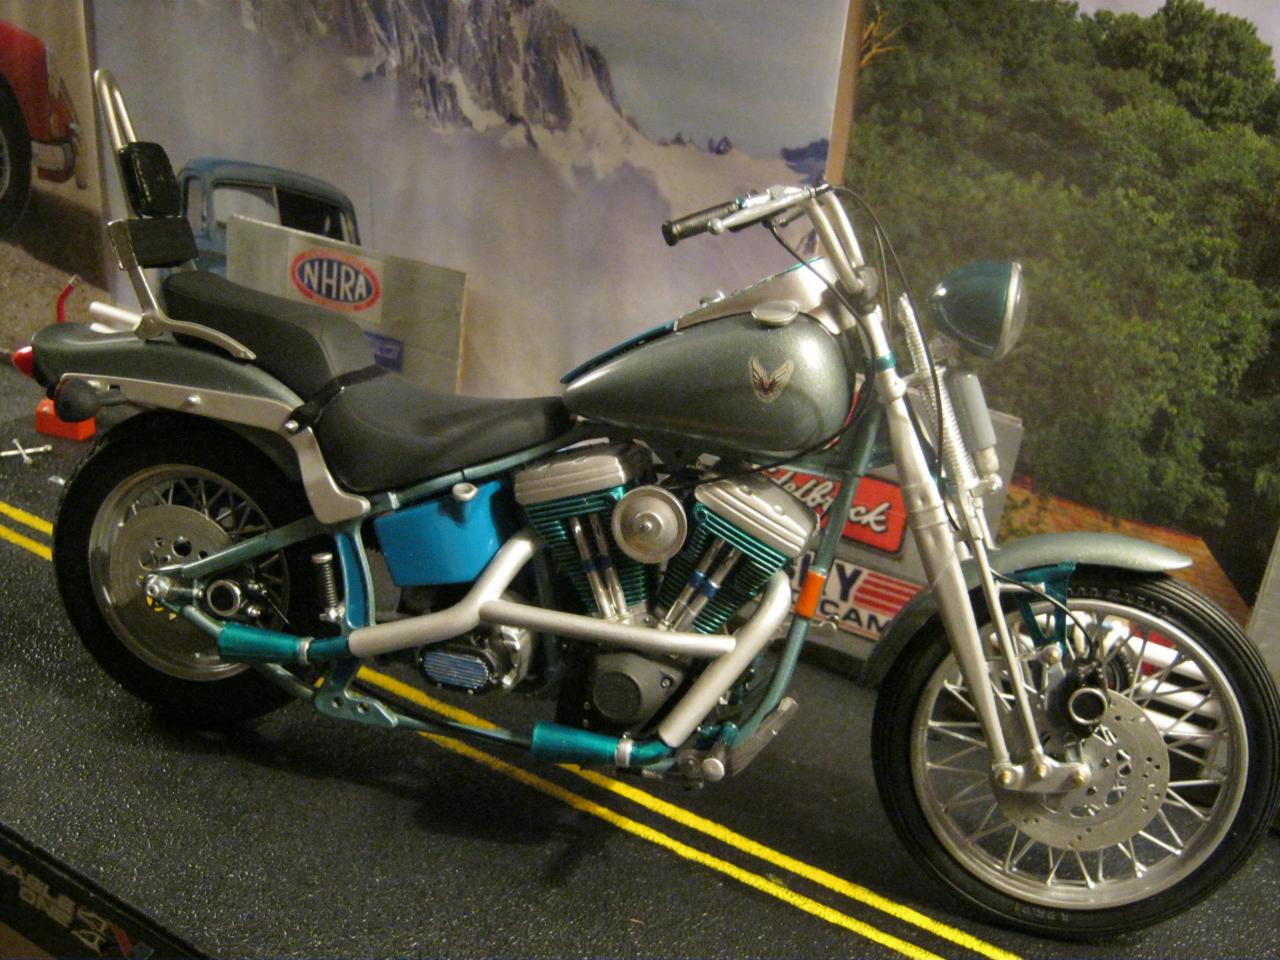
 Happy Holidays ,,just finished a 1/8 1995 Revell snap kit that I got @ swap meet. It turned out ok for a snap kit,,it actually has some decent detail molded into it. I didnt have the decals,,so I just put a TA wing badge on tank,,it looks kindof like a Harley badge. Also scratch built a sissy bar for back seat. Thank for looking