DPNM
-
Posts
1,163 -
Joined
-
Last visited
Content Type
Profiles
Forums
Events
Gallery
Everything posted by DPNM
-
Sorry!!! My bad. I shall see if I can have a MOD move it to this post.
-
I started my AMTronic build. It can be found here. I hope it's Ok to put a link instead of posting progress here. Every time I update the build I will put a link in this post.
-
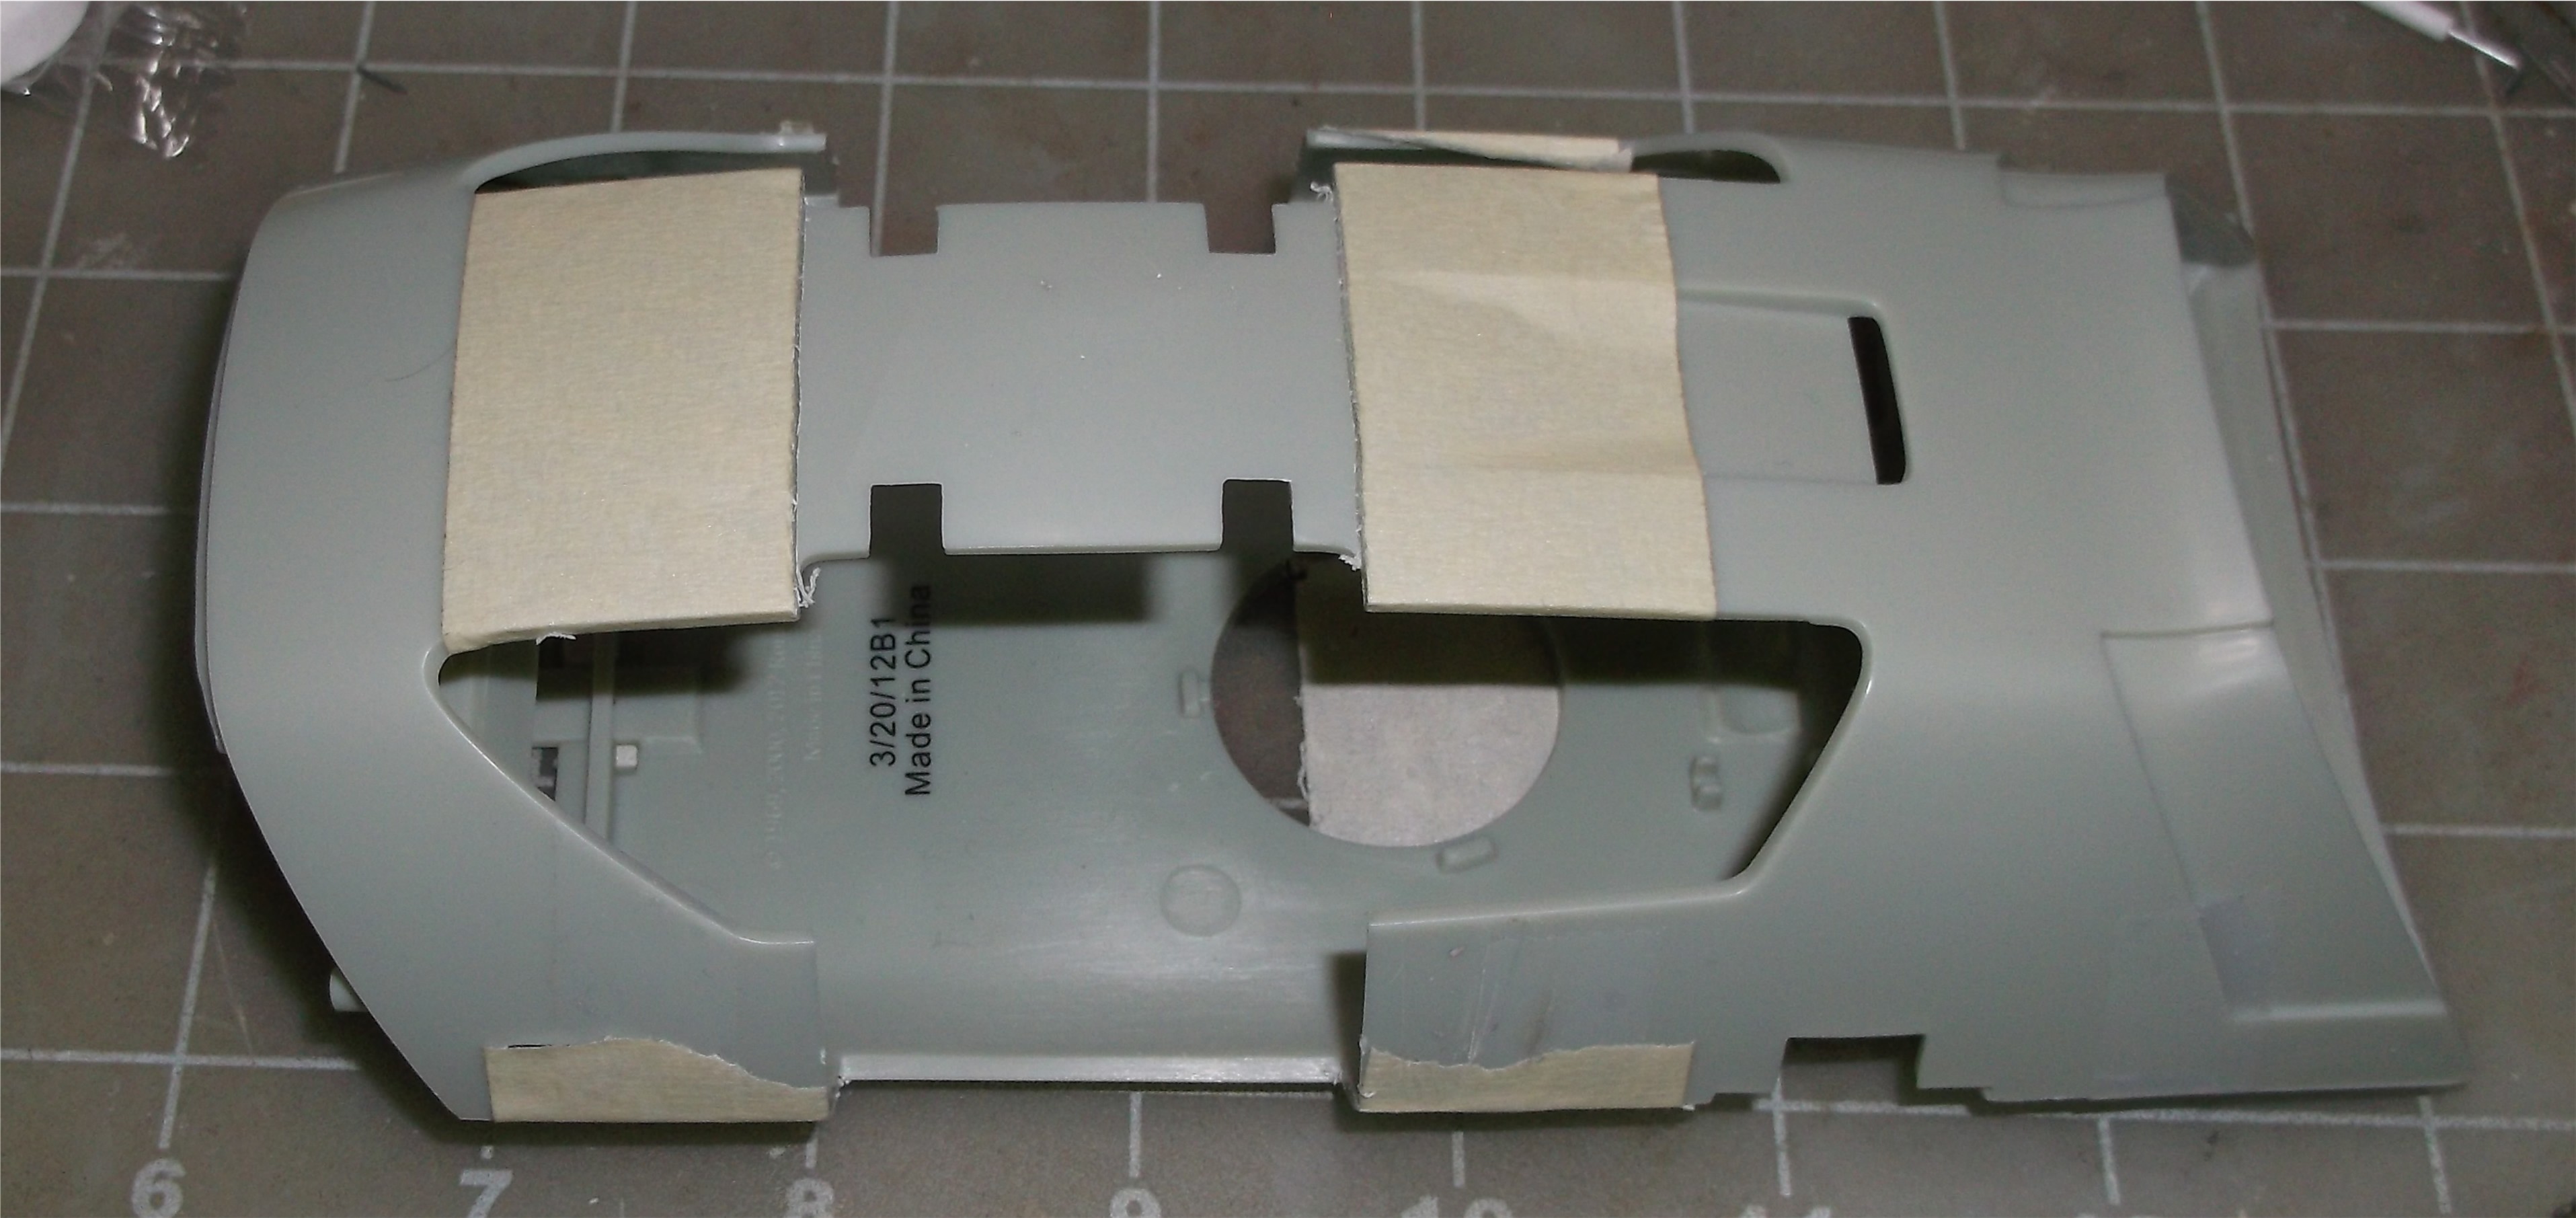
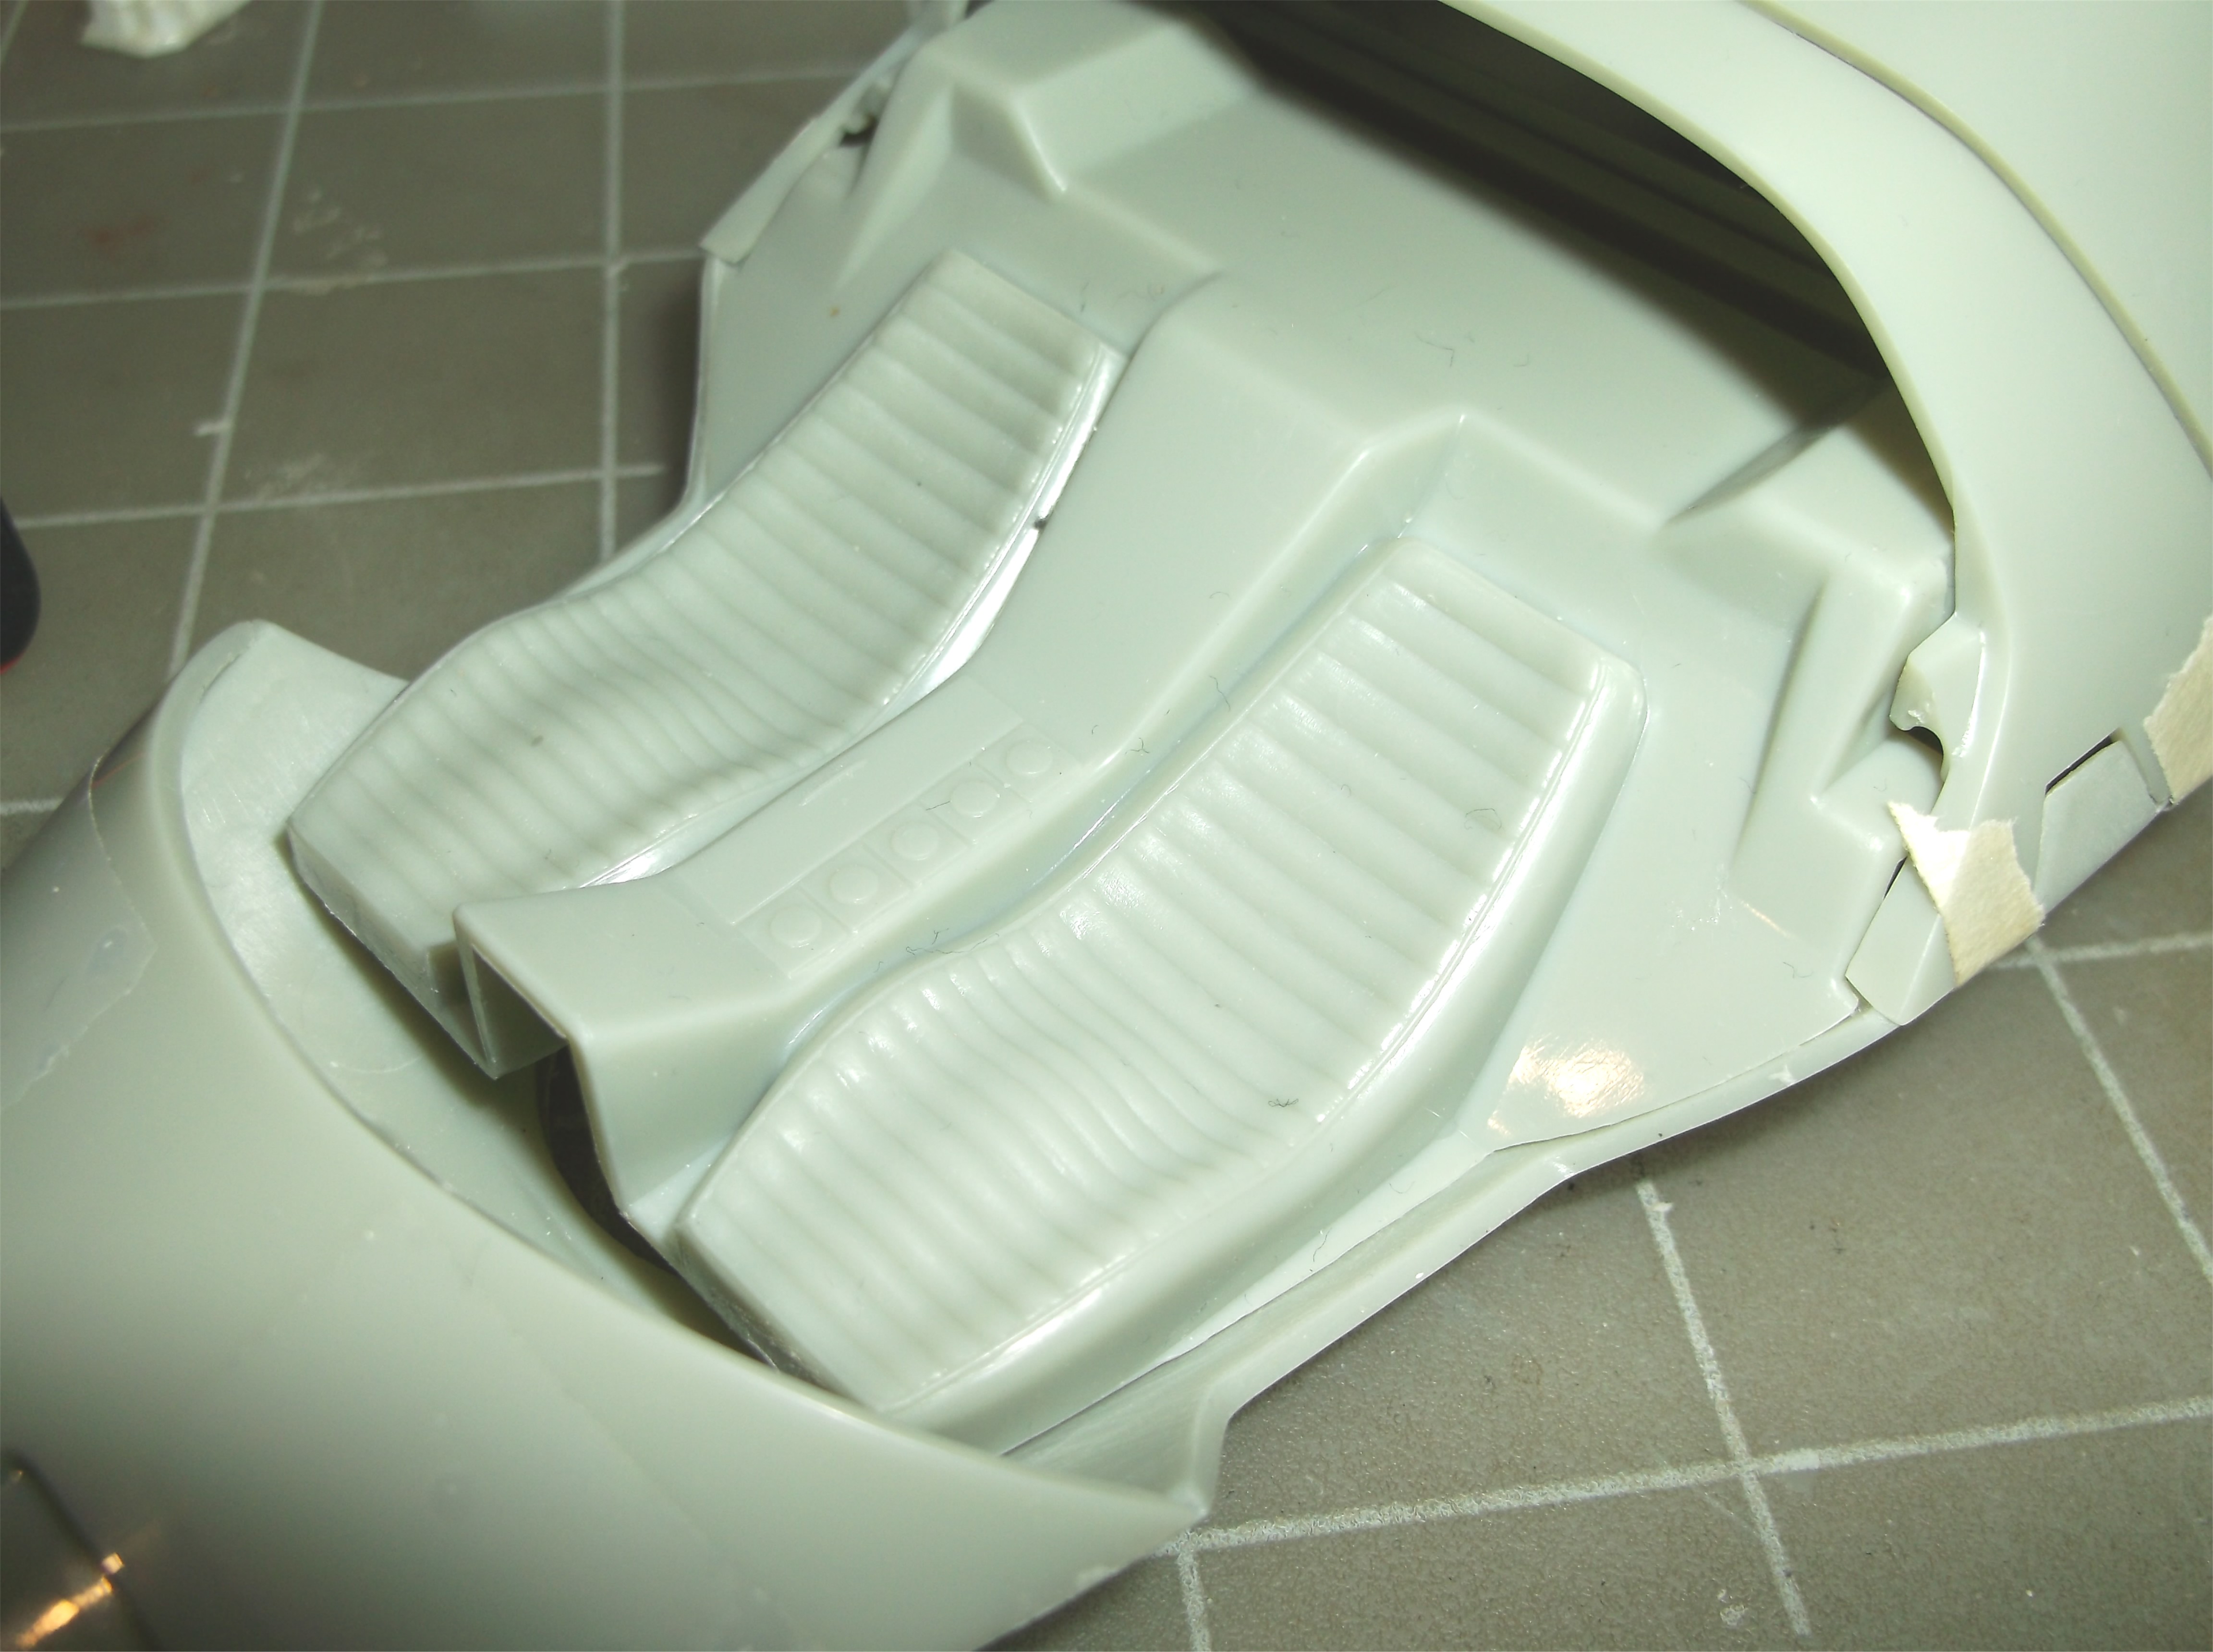
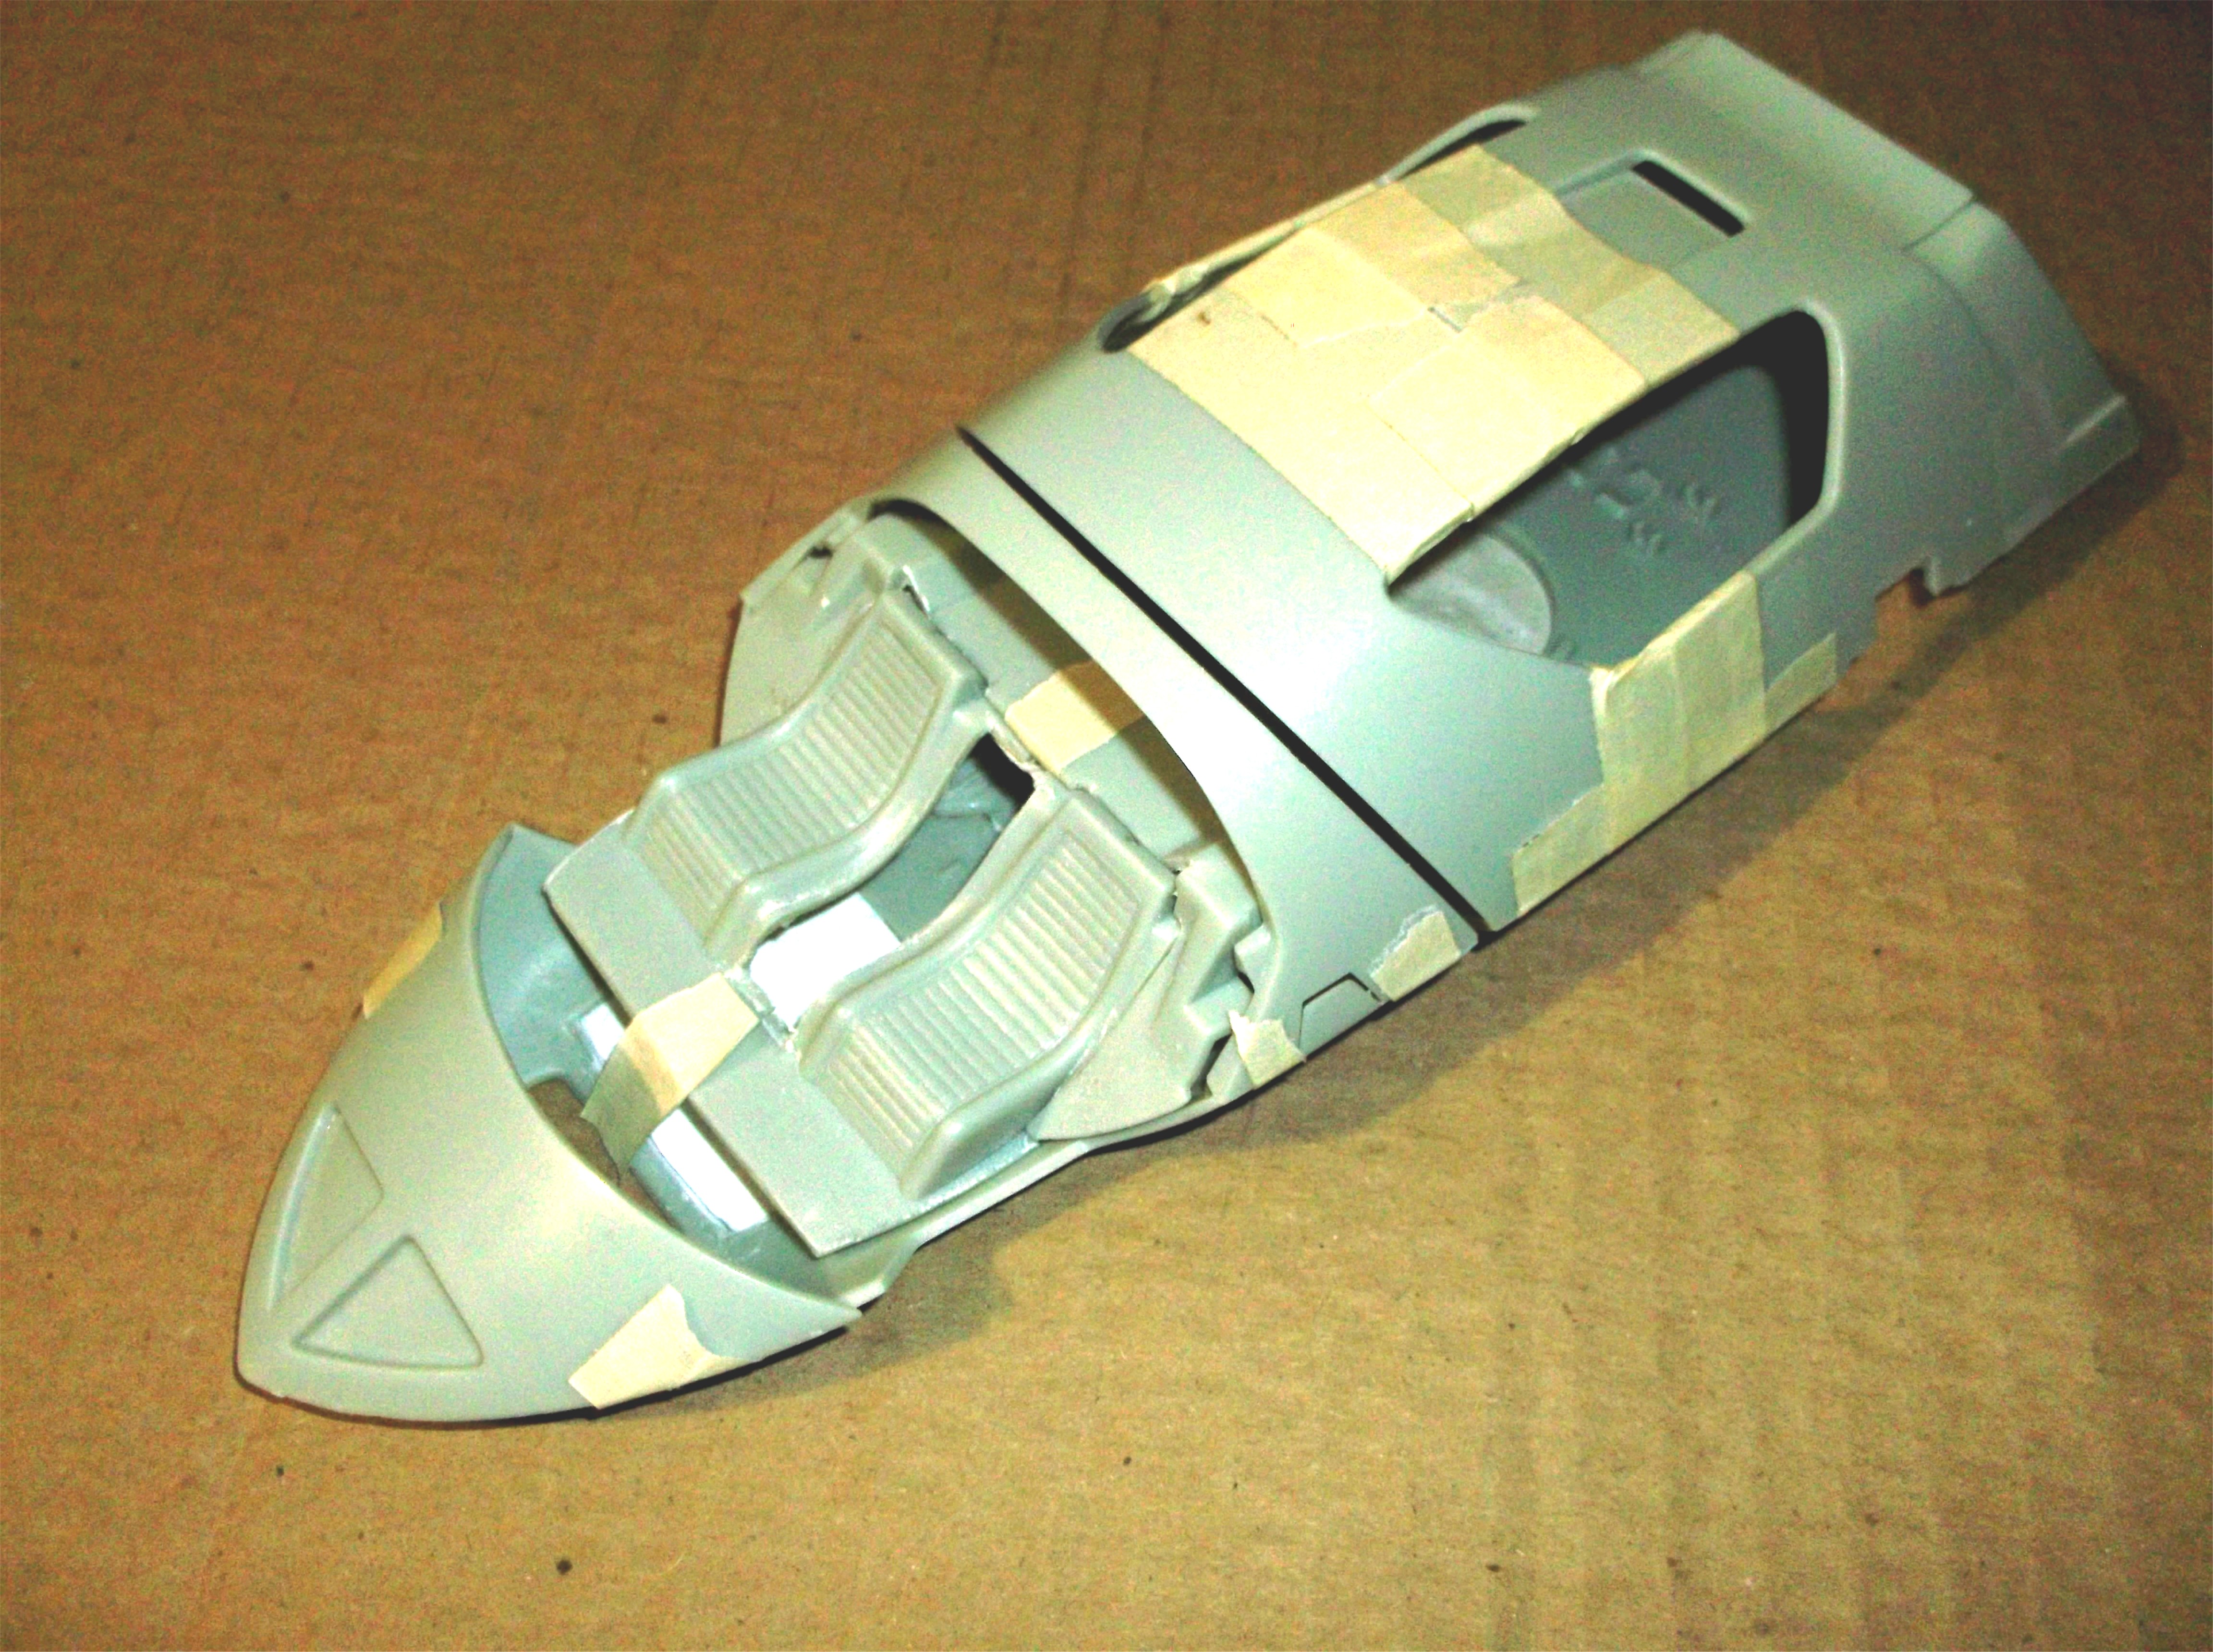
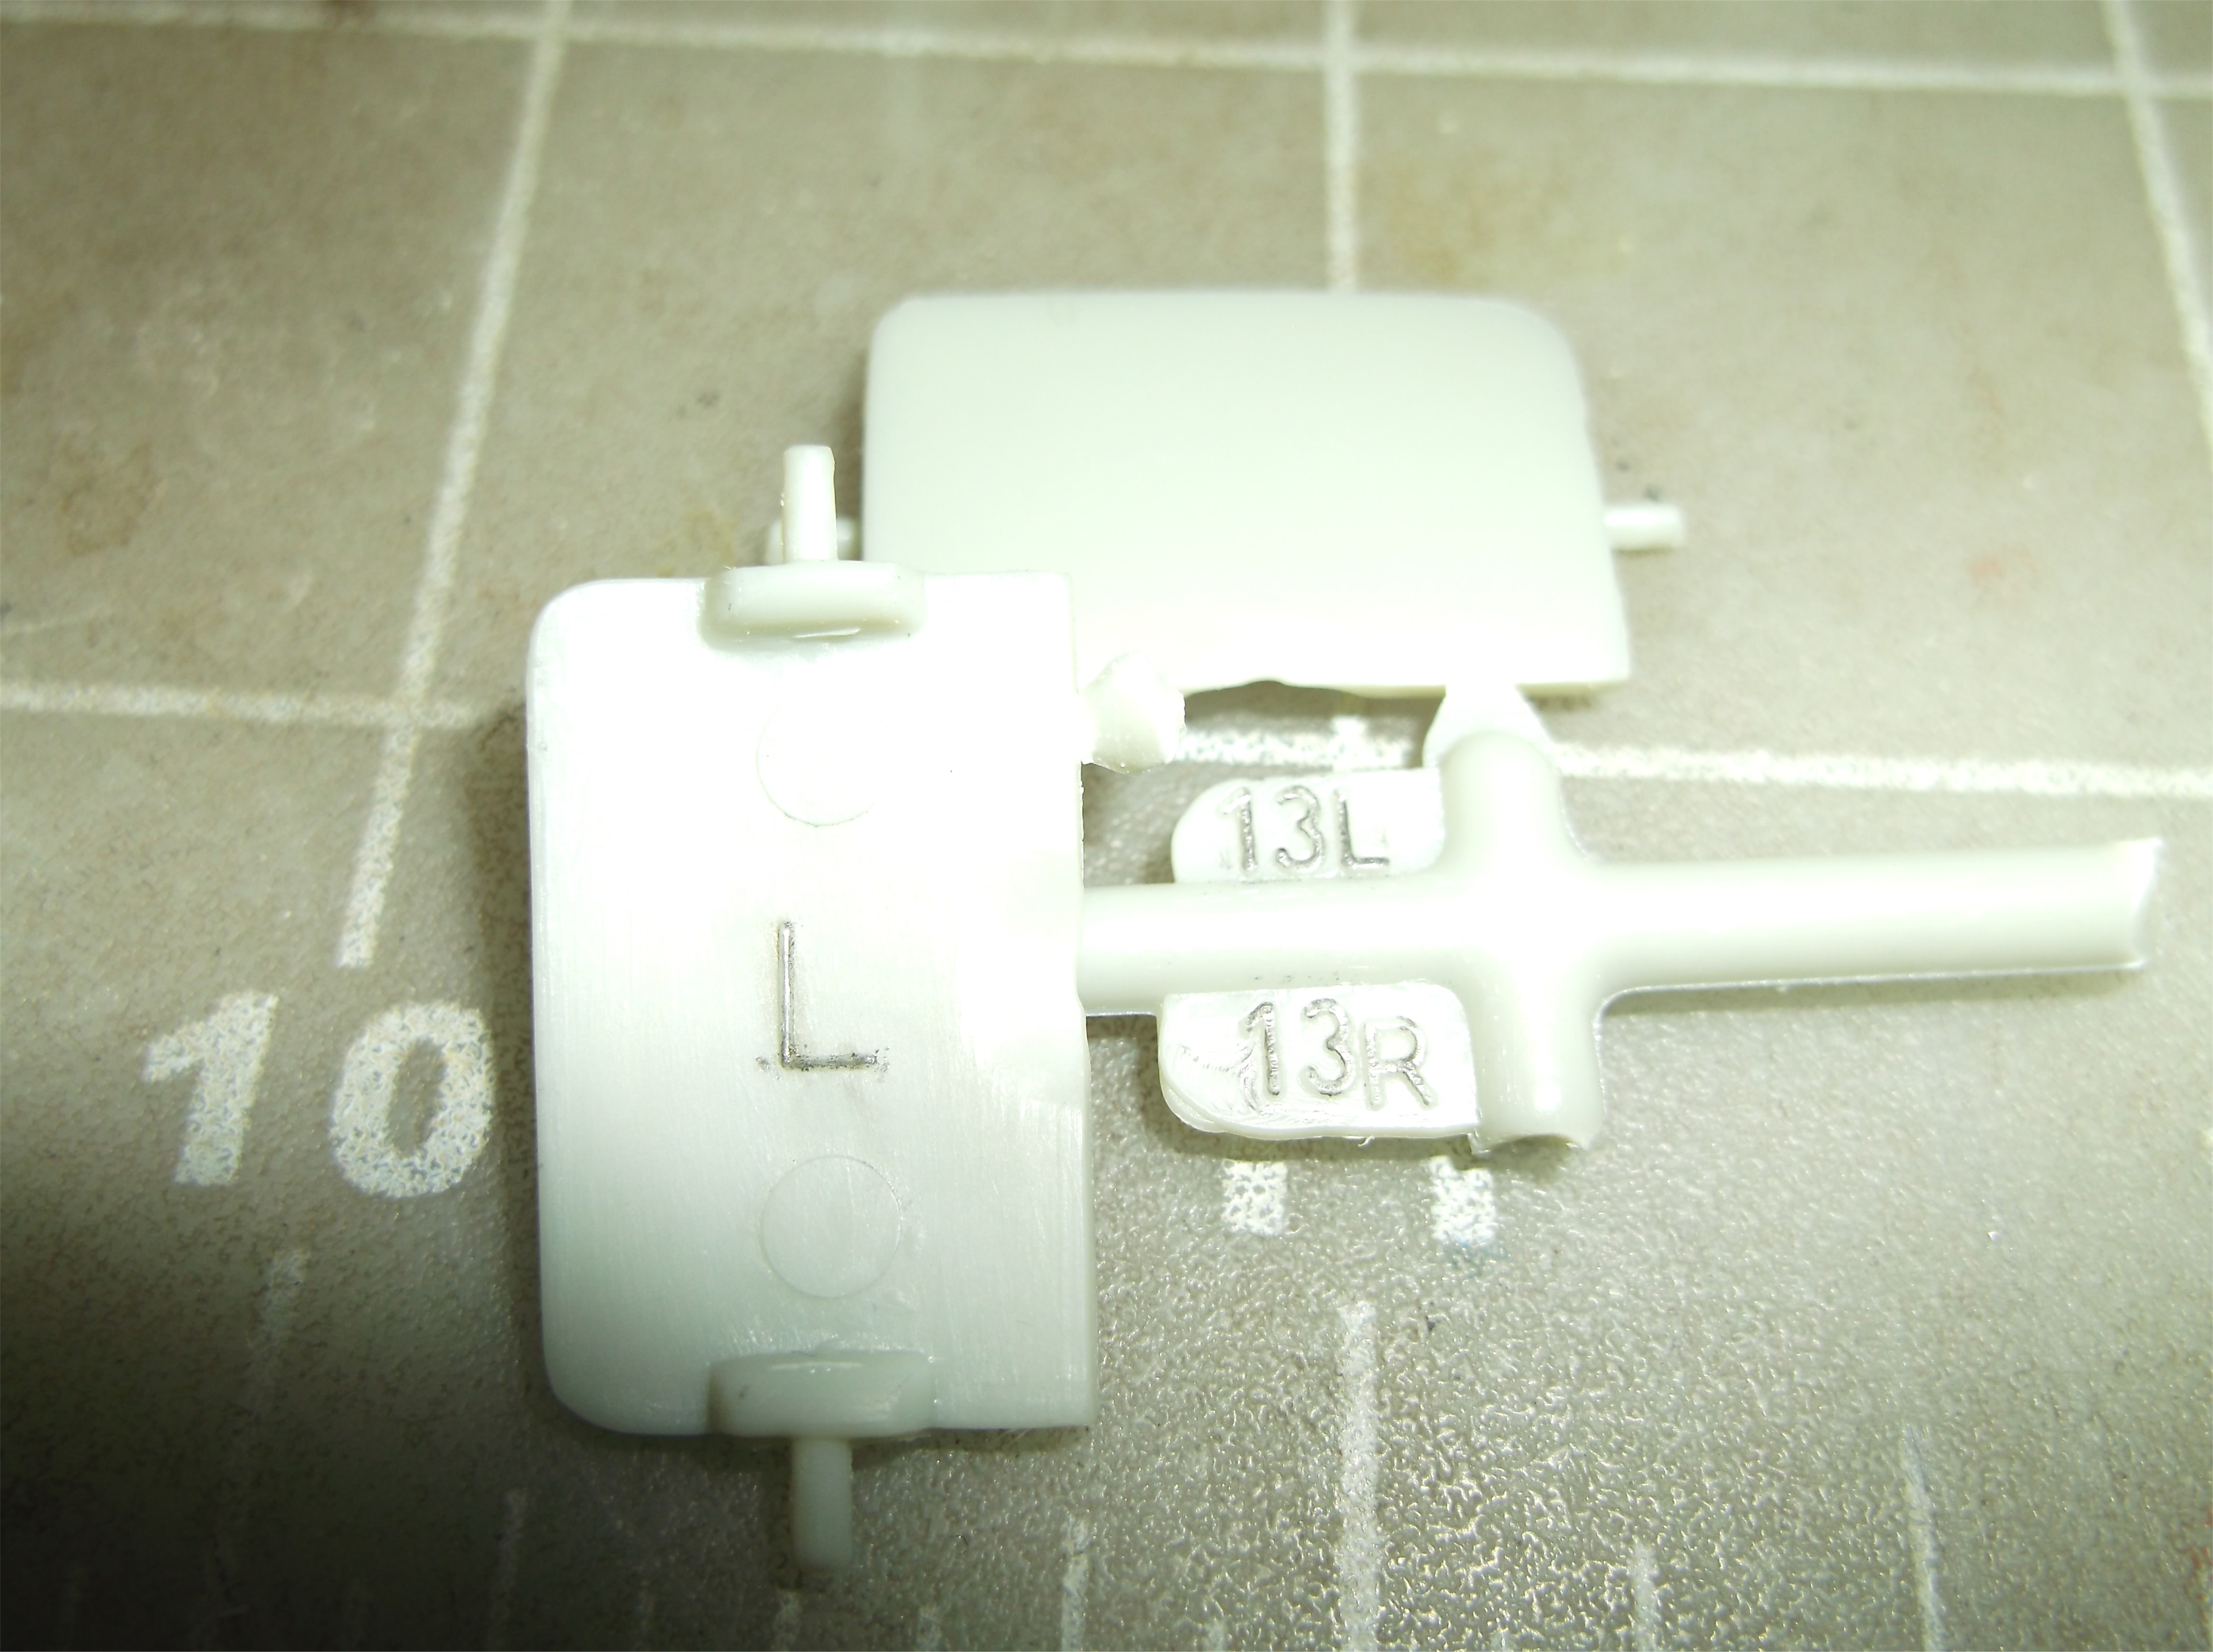
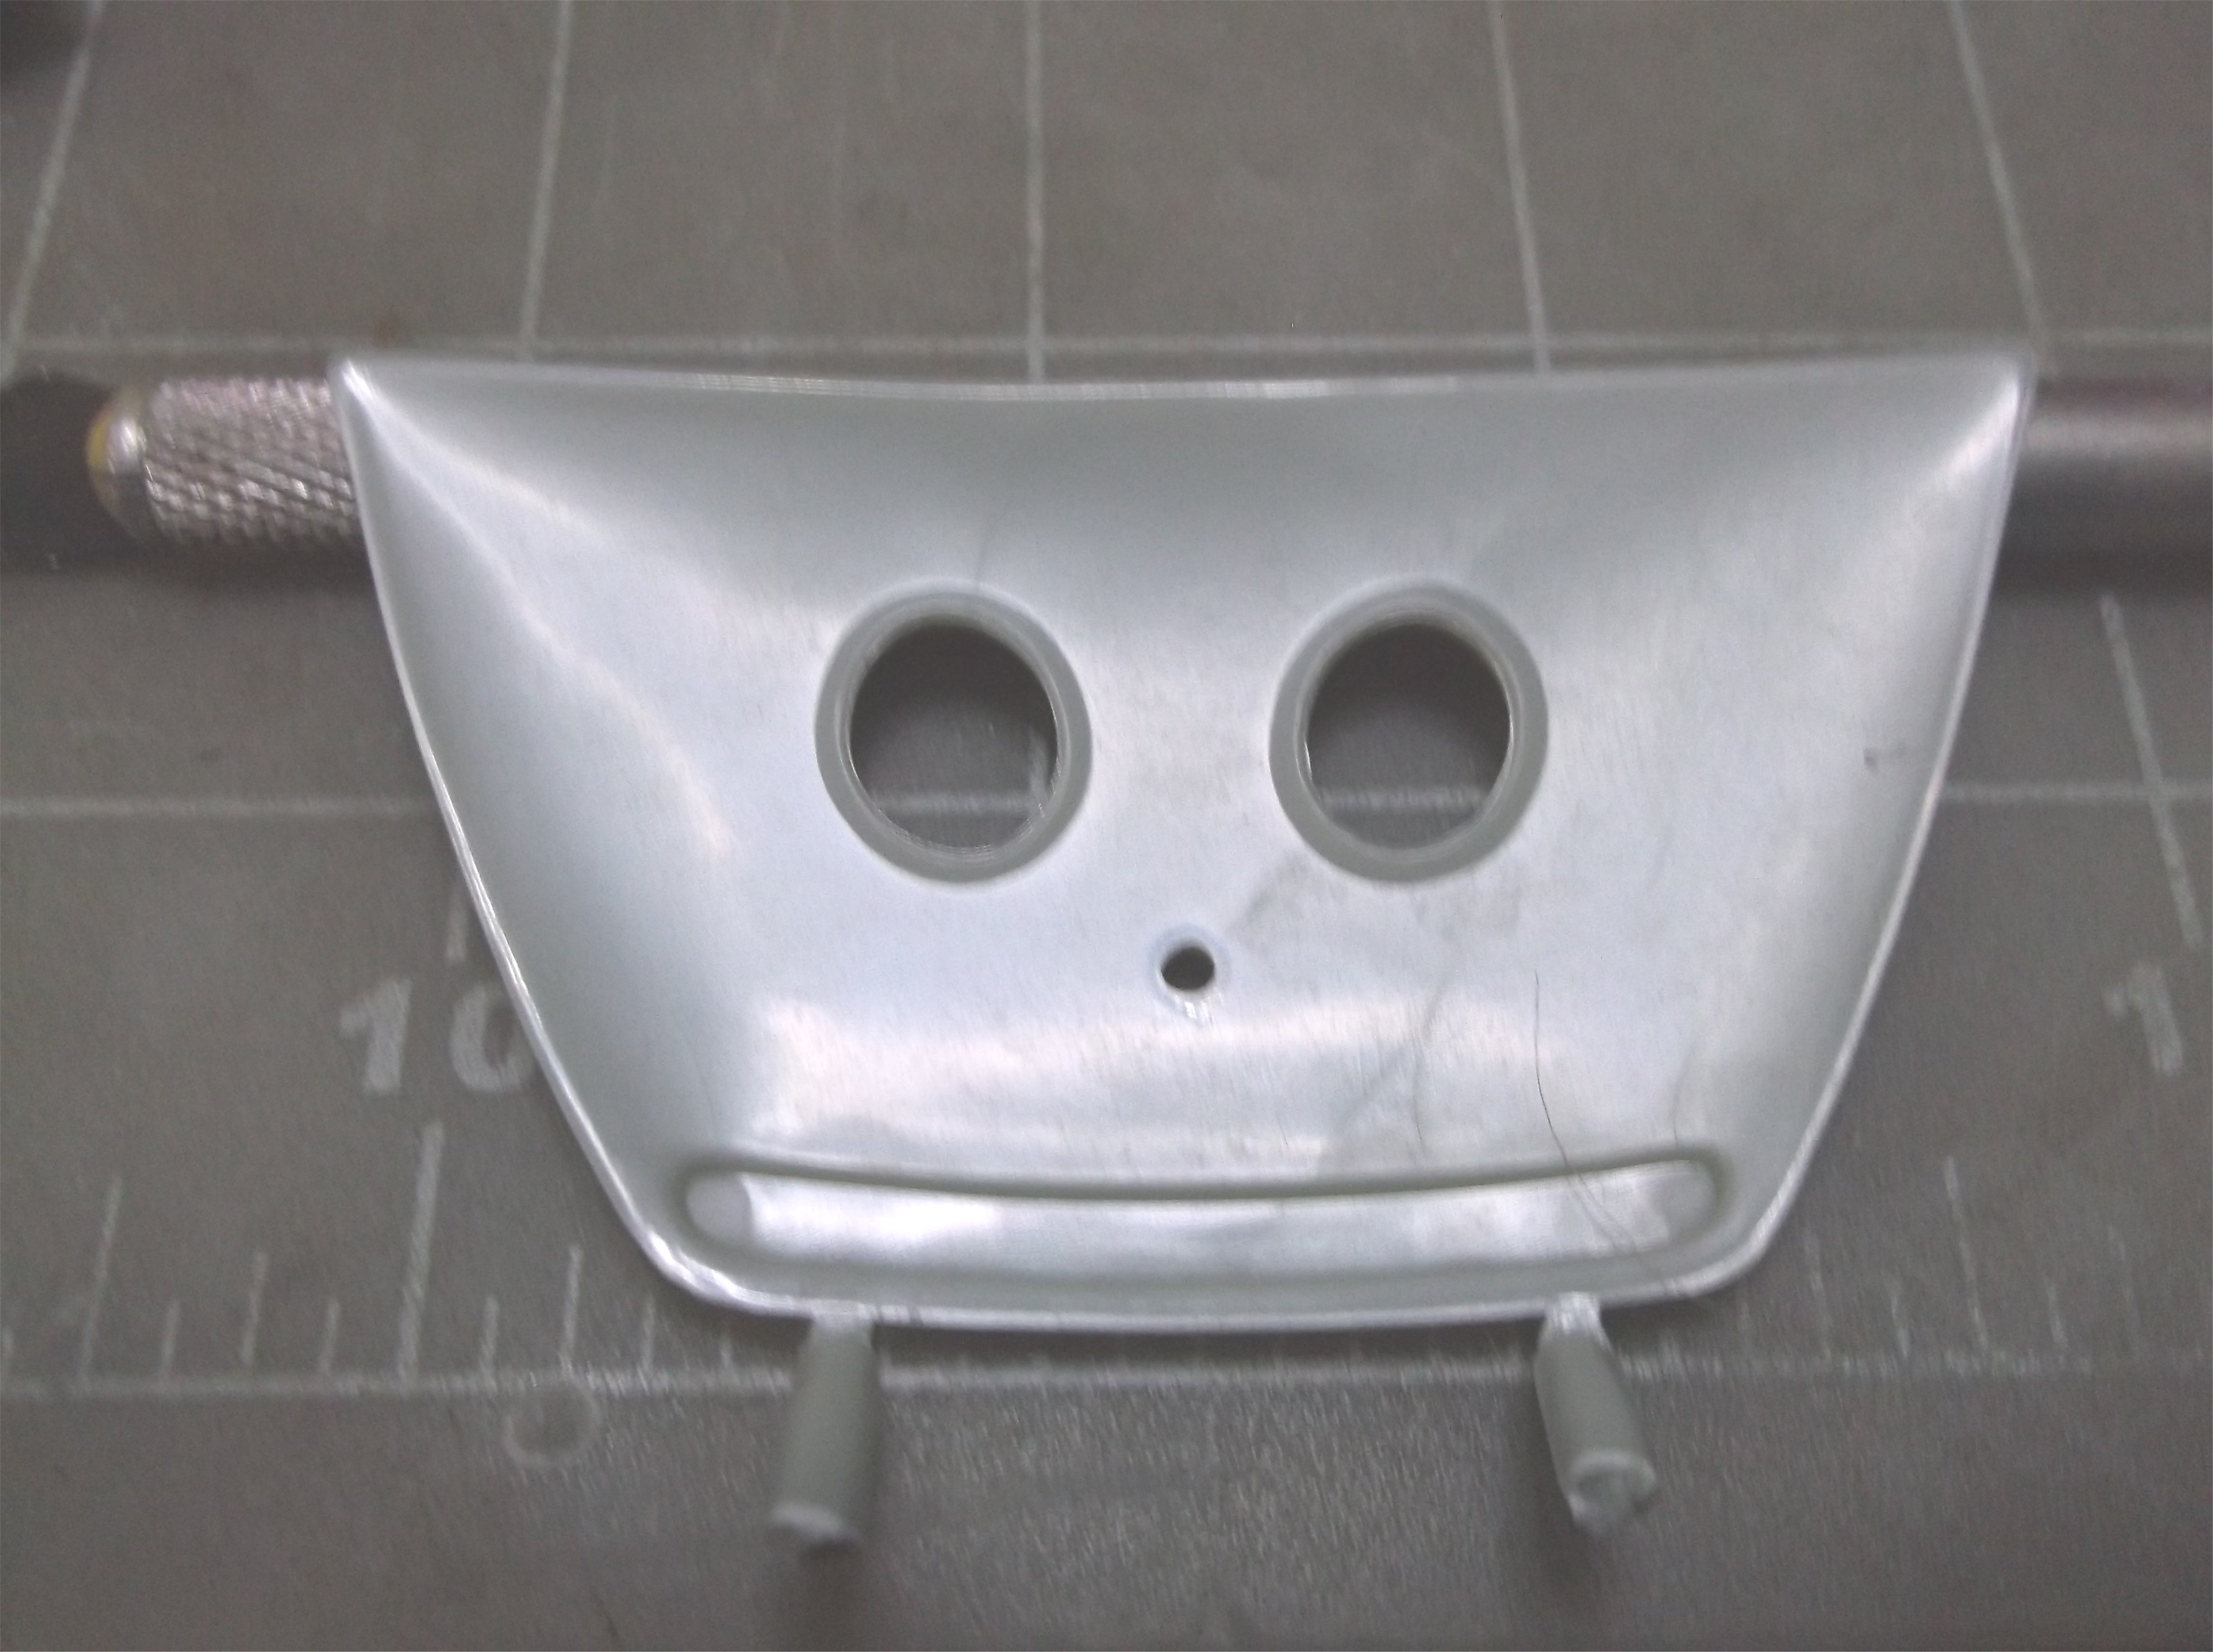
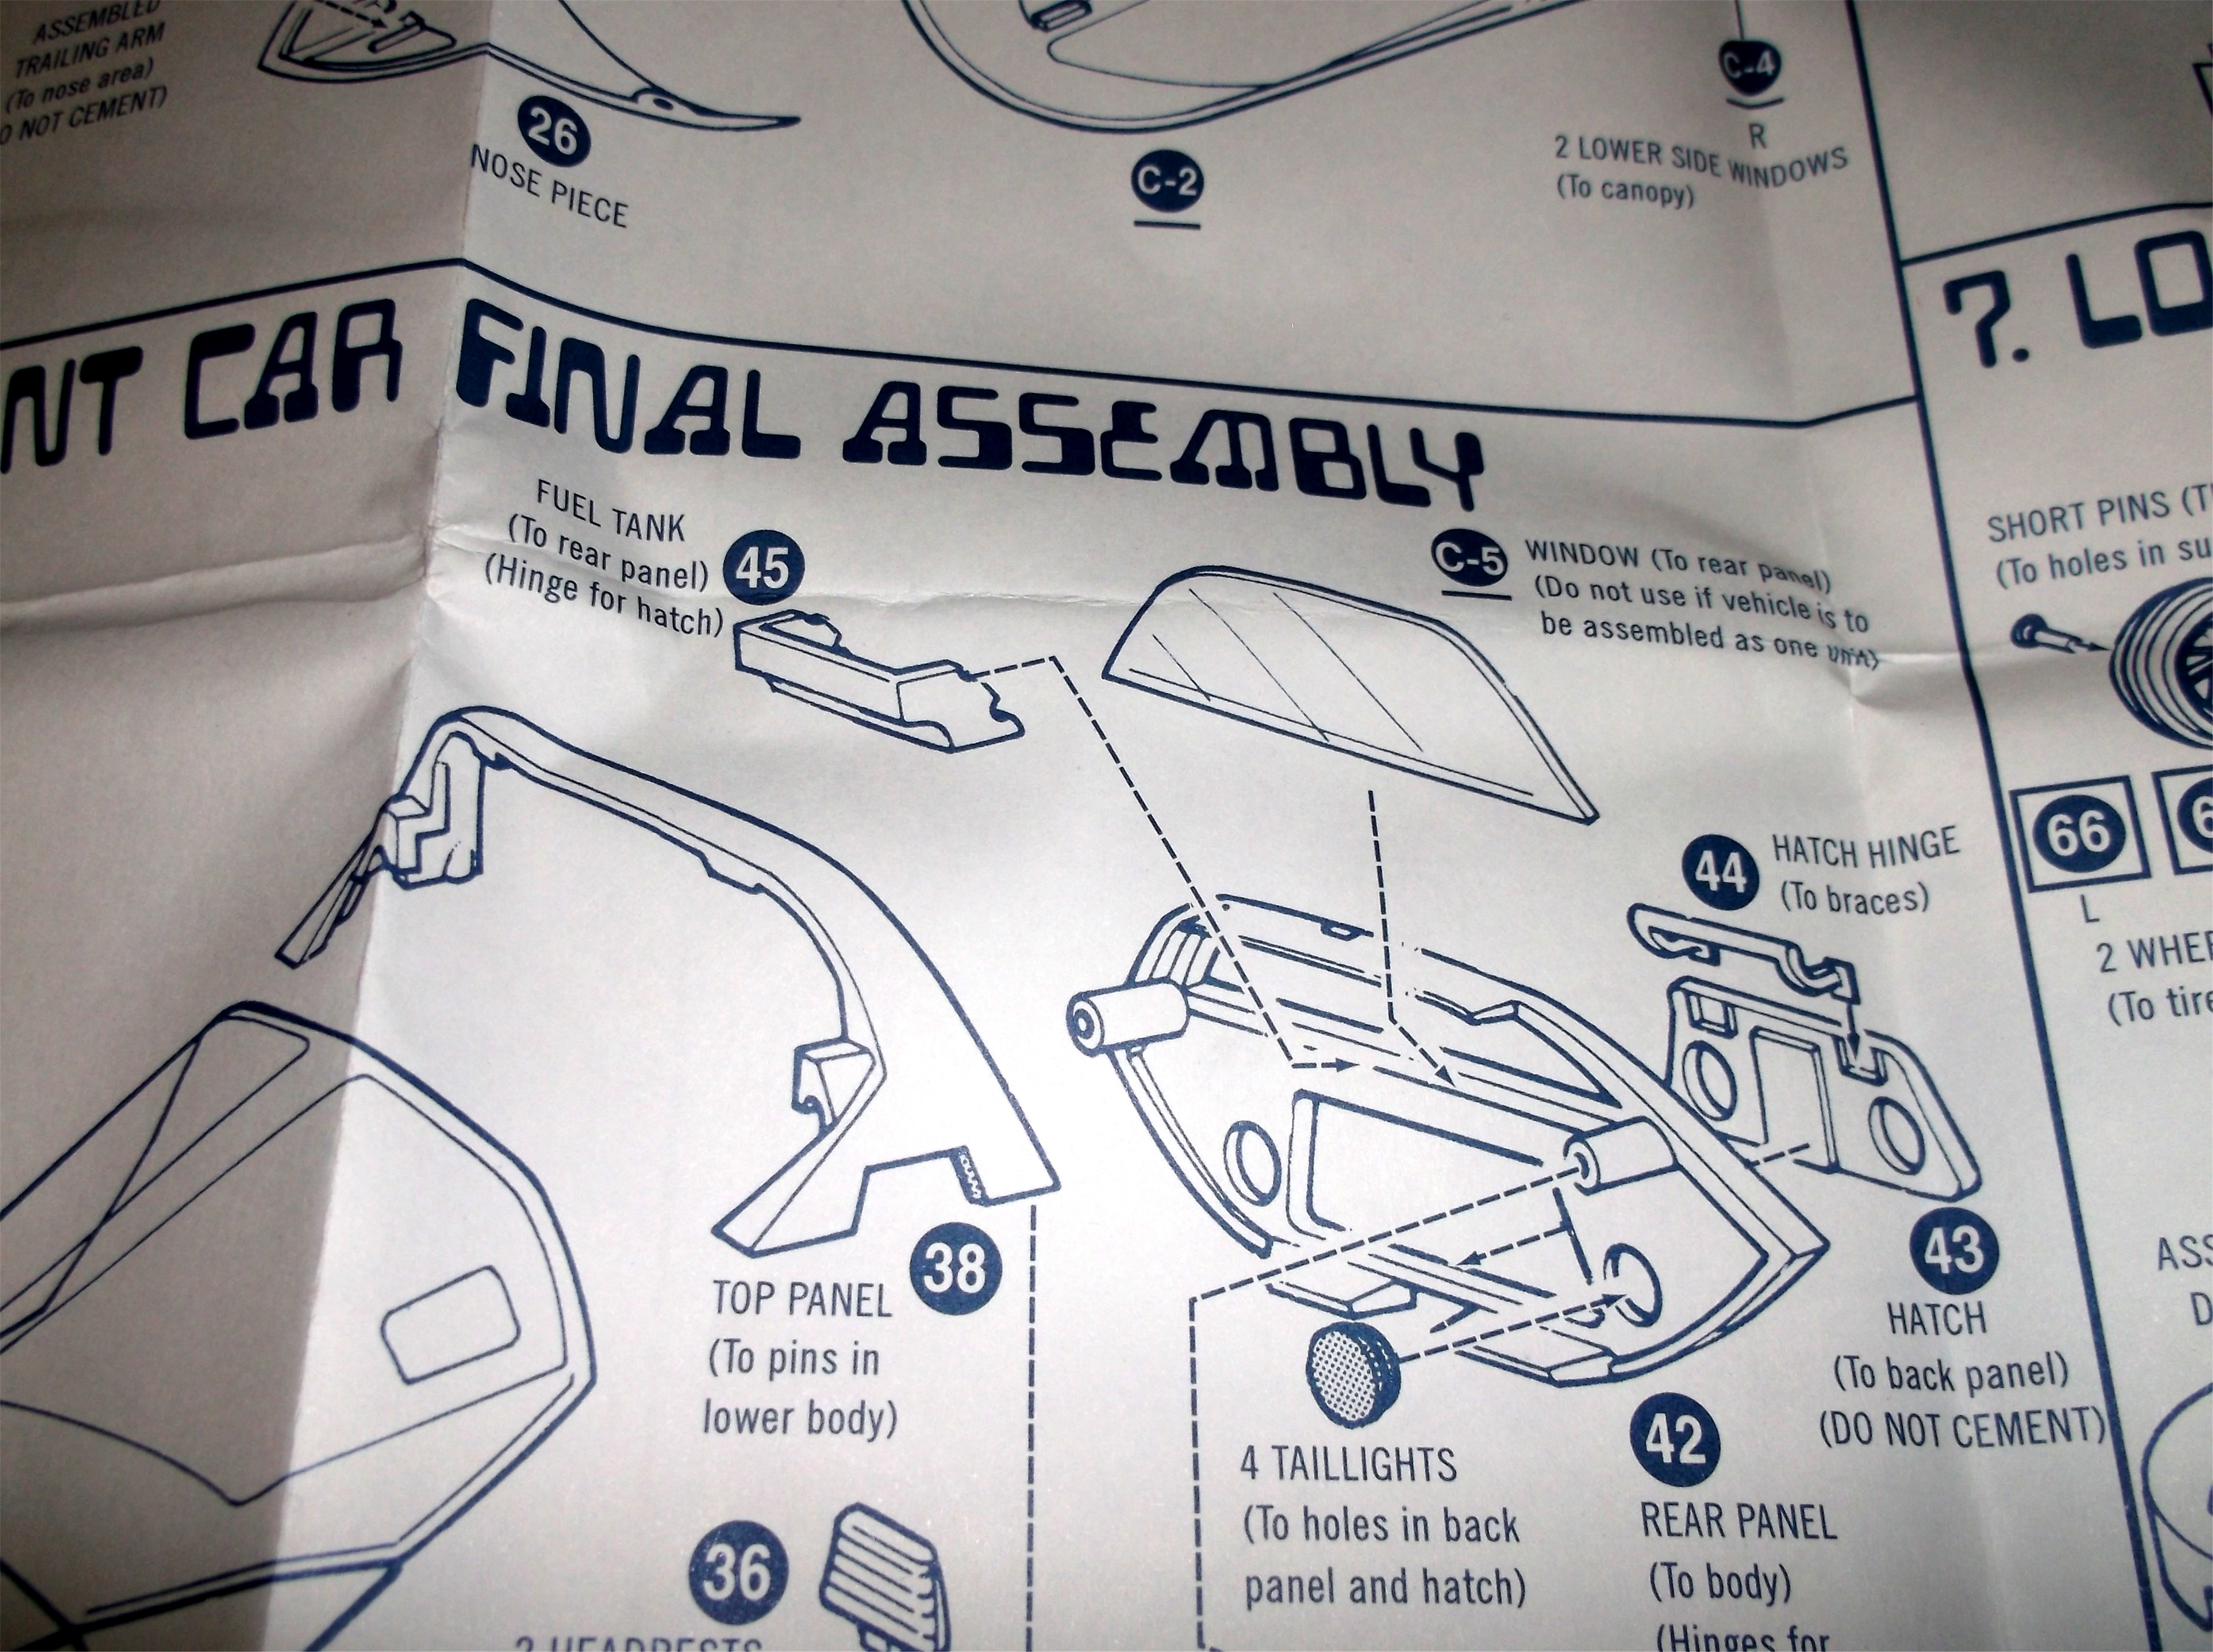
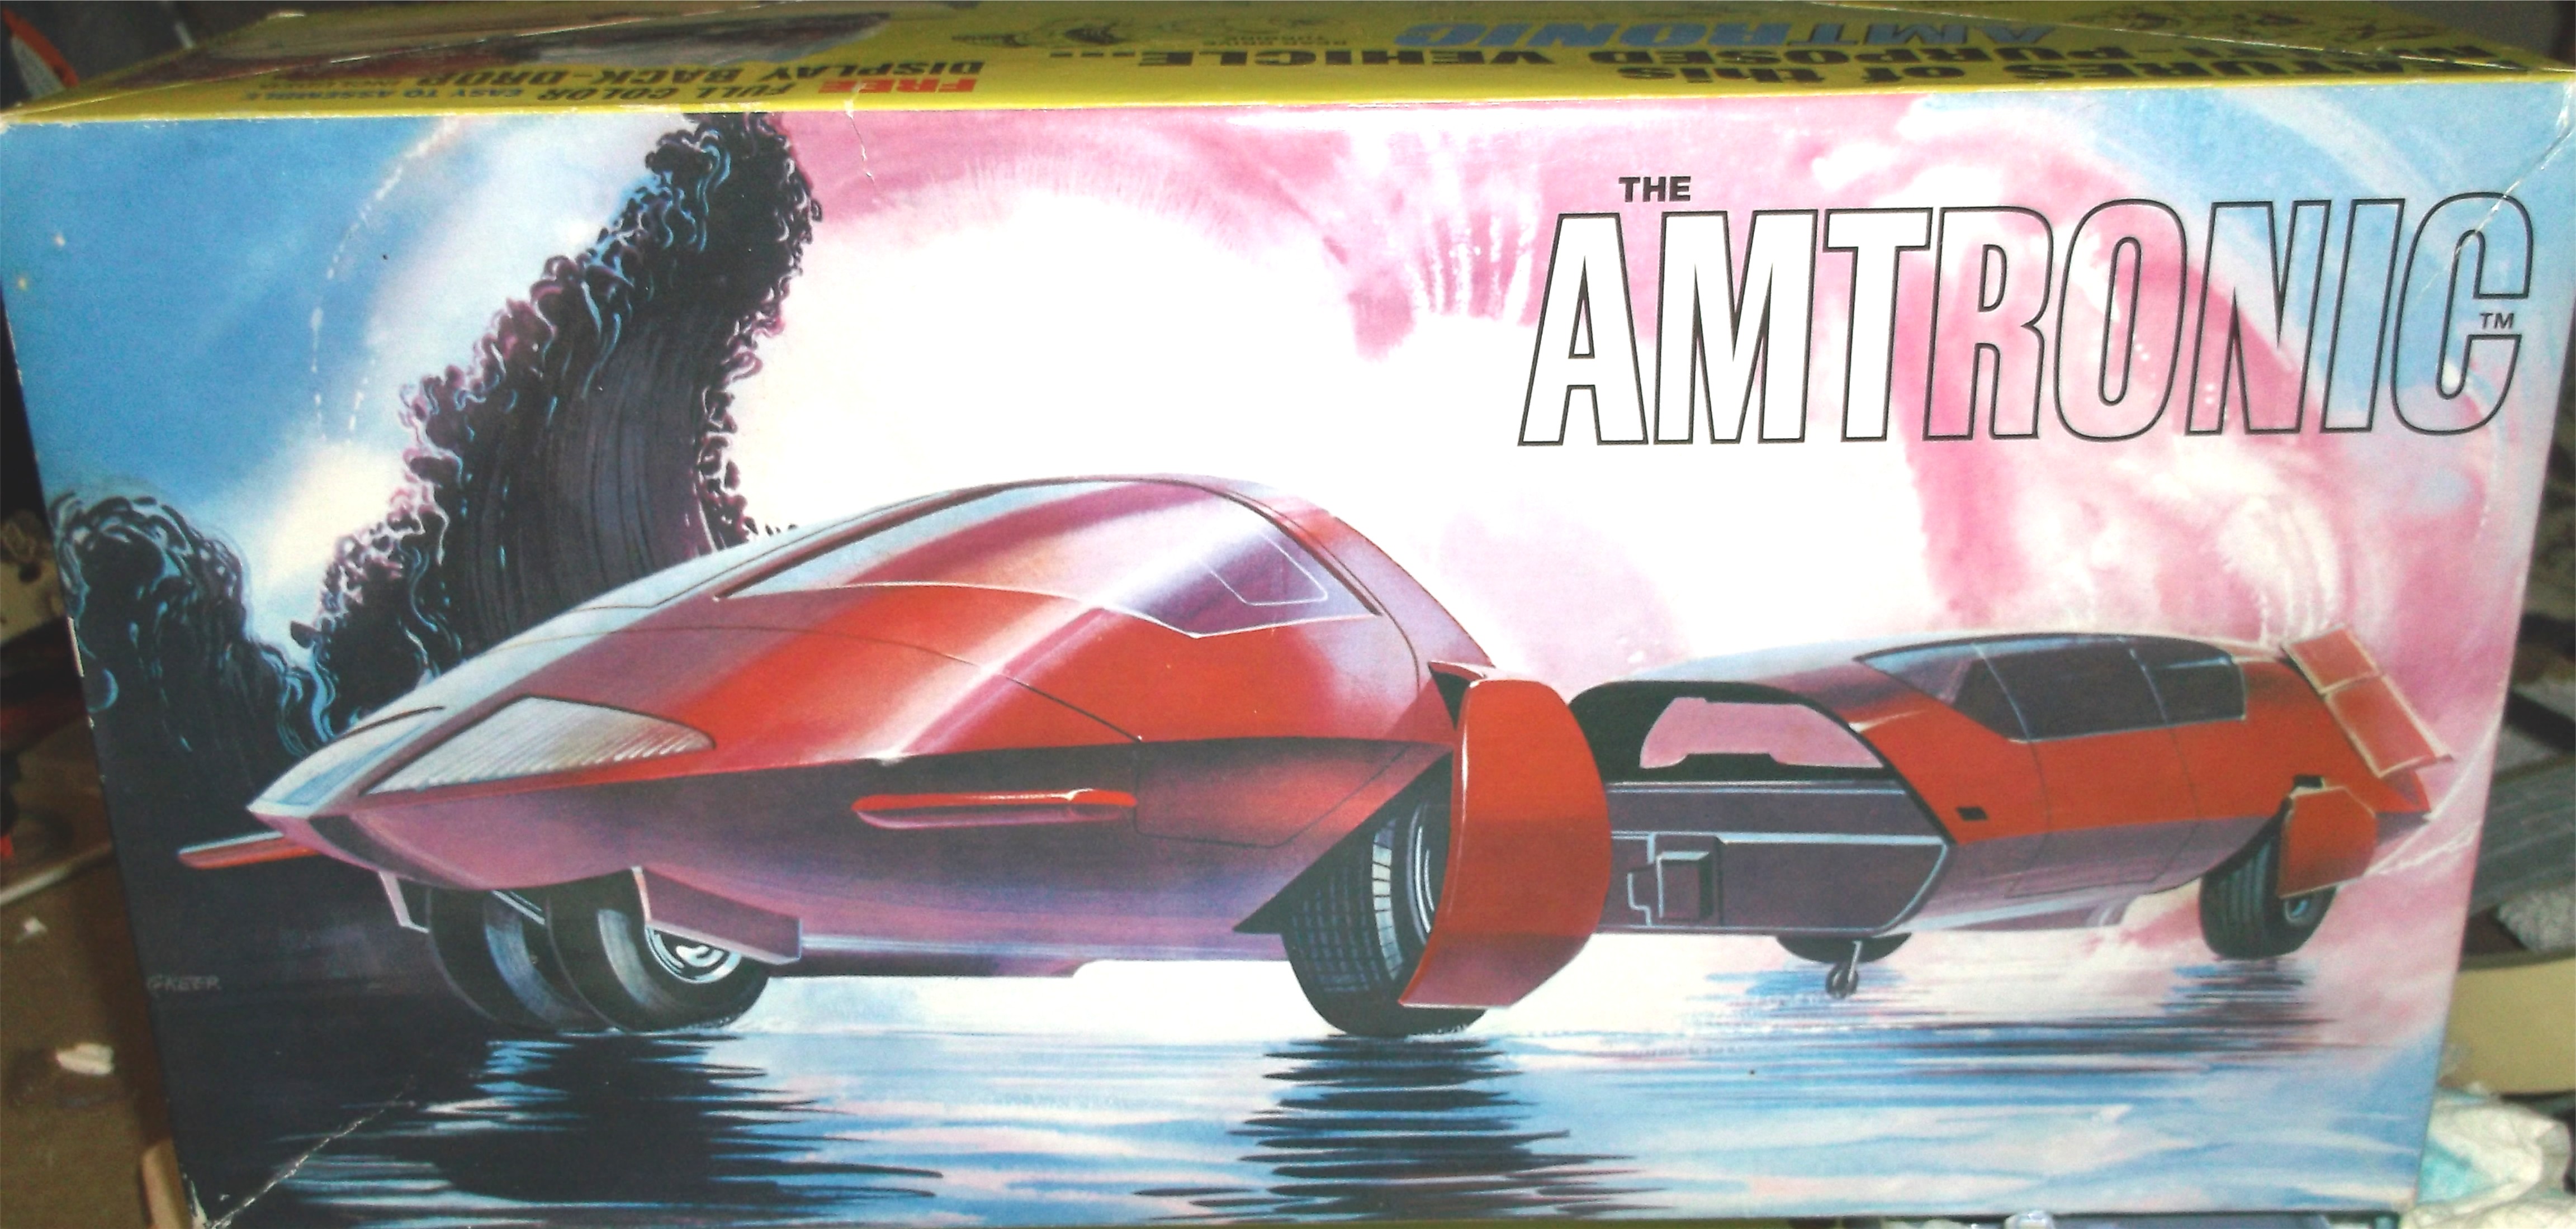
I saw the post to sign up for this years Cannonball, which is van themed. I'd have 11 months to build something for it and I've never done a community build. I have had this AMTronic kit for a while and thought "why not". Maybe I should have looked through the contents along with the instructions to the kit and perhaps read build reviews of it FIRST but no, I ponied up. I can see why no one else picked it. If you read the build reviews they list ill-fitting parts, dimples/sink marks and a few other issues. They are pretty much spot on. It's been quite a long time since I built anything and I'm rusty. Not really that good either but I am going to try to silk purse out of a sows ear on this the best I can. This is my first WIP and I'm a bit tentative. I don't mind comments, either good or bad. I have a plan, whether I can accomplish them is another thing. From what I know about the Cannonball the vehicle only needs to run for about 35 hours, give or take. Most would be interstate/high speed. I'm designing it for that. On to the build, so far: The first thing I did was take an inch and a half out of the center of the "passenger" area. It is way too long other-wise. I'm concentrating on the front section now. The vehicle will be built as a single unit though. I swapped the original front seats from a pair for the passenger section. The kit fronts are in a lay down position. If I'm driving for 35 hours the last thing I'd want to do is lay down doing it! I had a plan to fit the front seats fairly easy but being rusty I tried to finesse them. They should turn out OK but I think in hindsight I shoulda gone with my original thoughts. Lesson learned, that's what super-glue and bondo were invented for. I am not going to use the kit supplied engines. I have an old built up Porsche 911 that I took the engine from. I plan twin turbos which should push this thing along fairly well. I wanted the Porsche engine as it is air cooled, I won't need to try to fit a radiator somewhere. It's hard to say how often I will be doing updates but at least I've started. The pics should help. I've added a couple extras. There is a pic of the front wheel covers, marked Left and Right. If you look you will see that the part and the sprue numbers are backwards. I did test fit, the left is the left and the right the right. Another pic shows the rear door. Is it me or does it look like a smiling face? It does mount upside down to the pic (that is sprue still attached at the bottom of the pic). Musta been a kit designer "having fun". A random thought on things to come. I'm fairly certain that GM removed the rear center bar from the 1964 Corvette coupe because people couldn't see out of the back of the 1963 split window that well. So AMT decided to make this with a split windshield??? I know, so it could be hinged easy but come on. One last thing, and I'm sorry for rambling. I think the best use of this kit would be as a boat. Allison engine anyone?

-
I agree with mikemodeler, black with gold accents.
-
It turned out really nice Tom. Good build!!!
-

Silk Cut Jaguar XJR-8 Sprint Type
DPNM replied to stevehansen's topic in Other Racing: Road Racing, Salt Flat Racers
A rare model to see completed. Excellent craftsmanship. Looks great. -
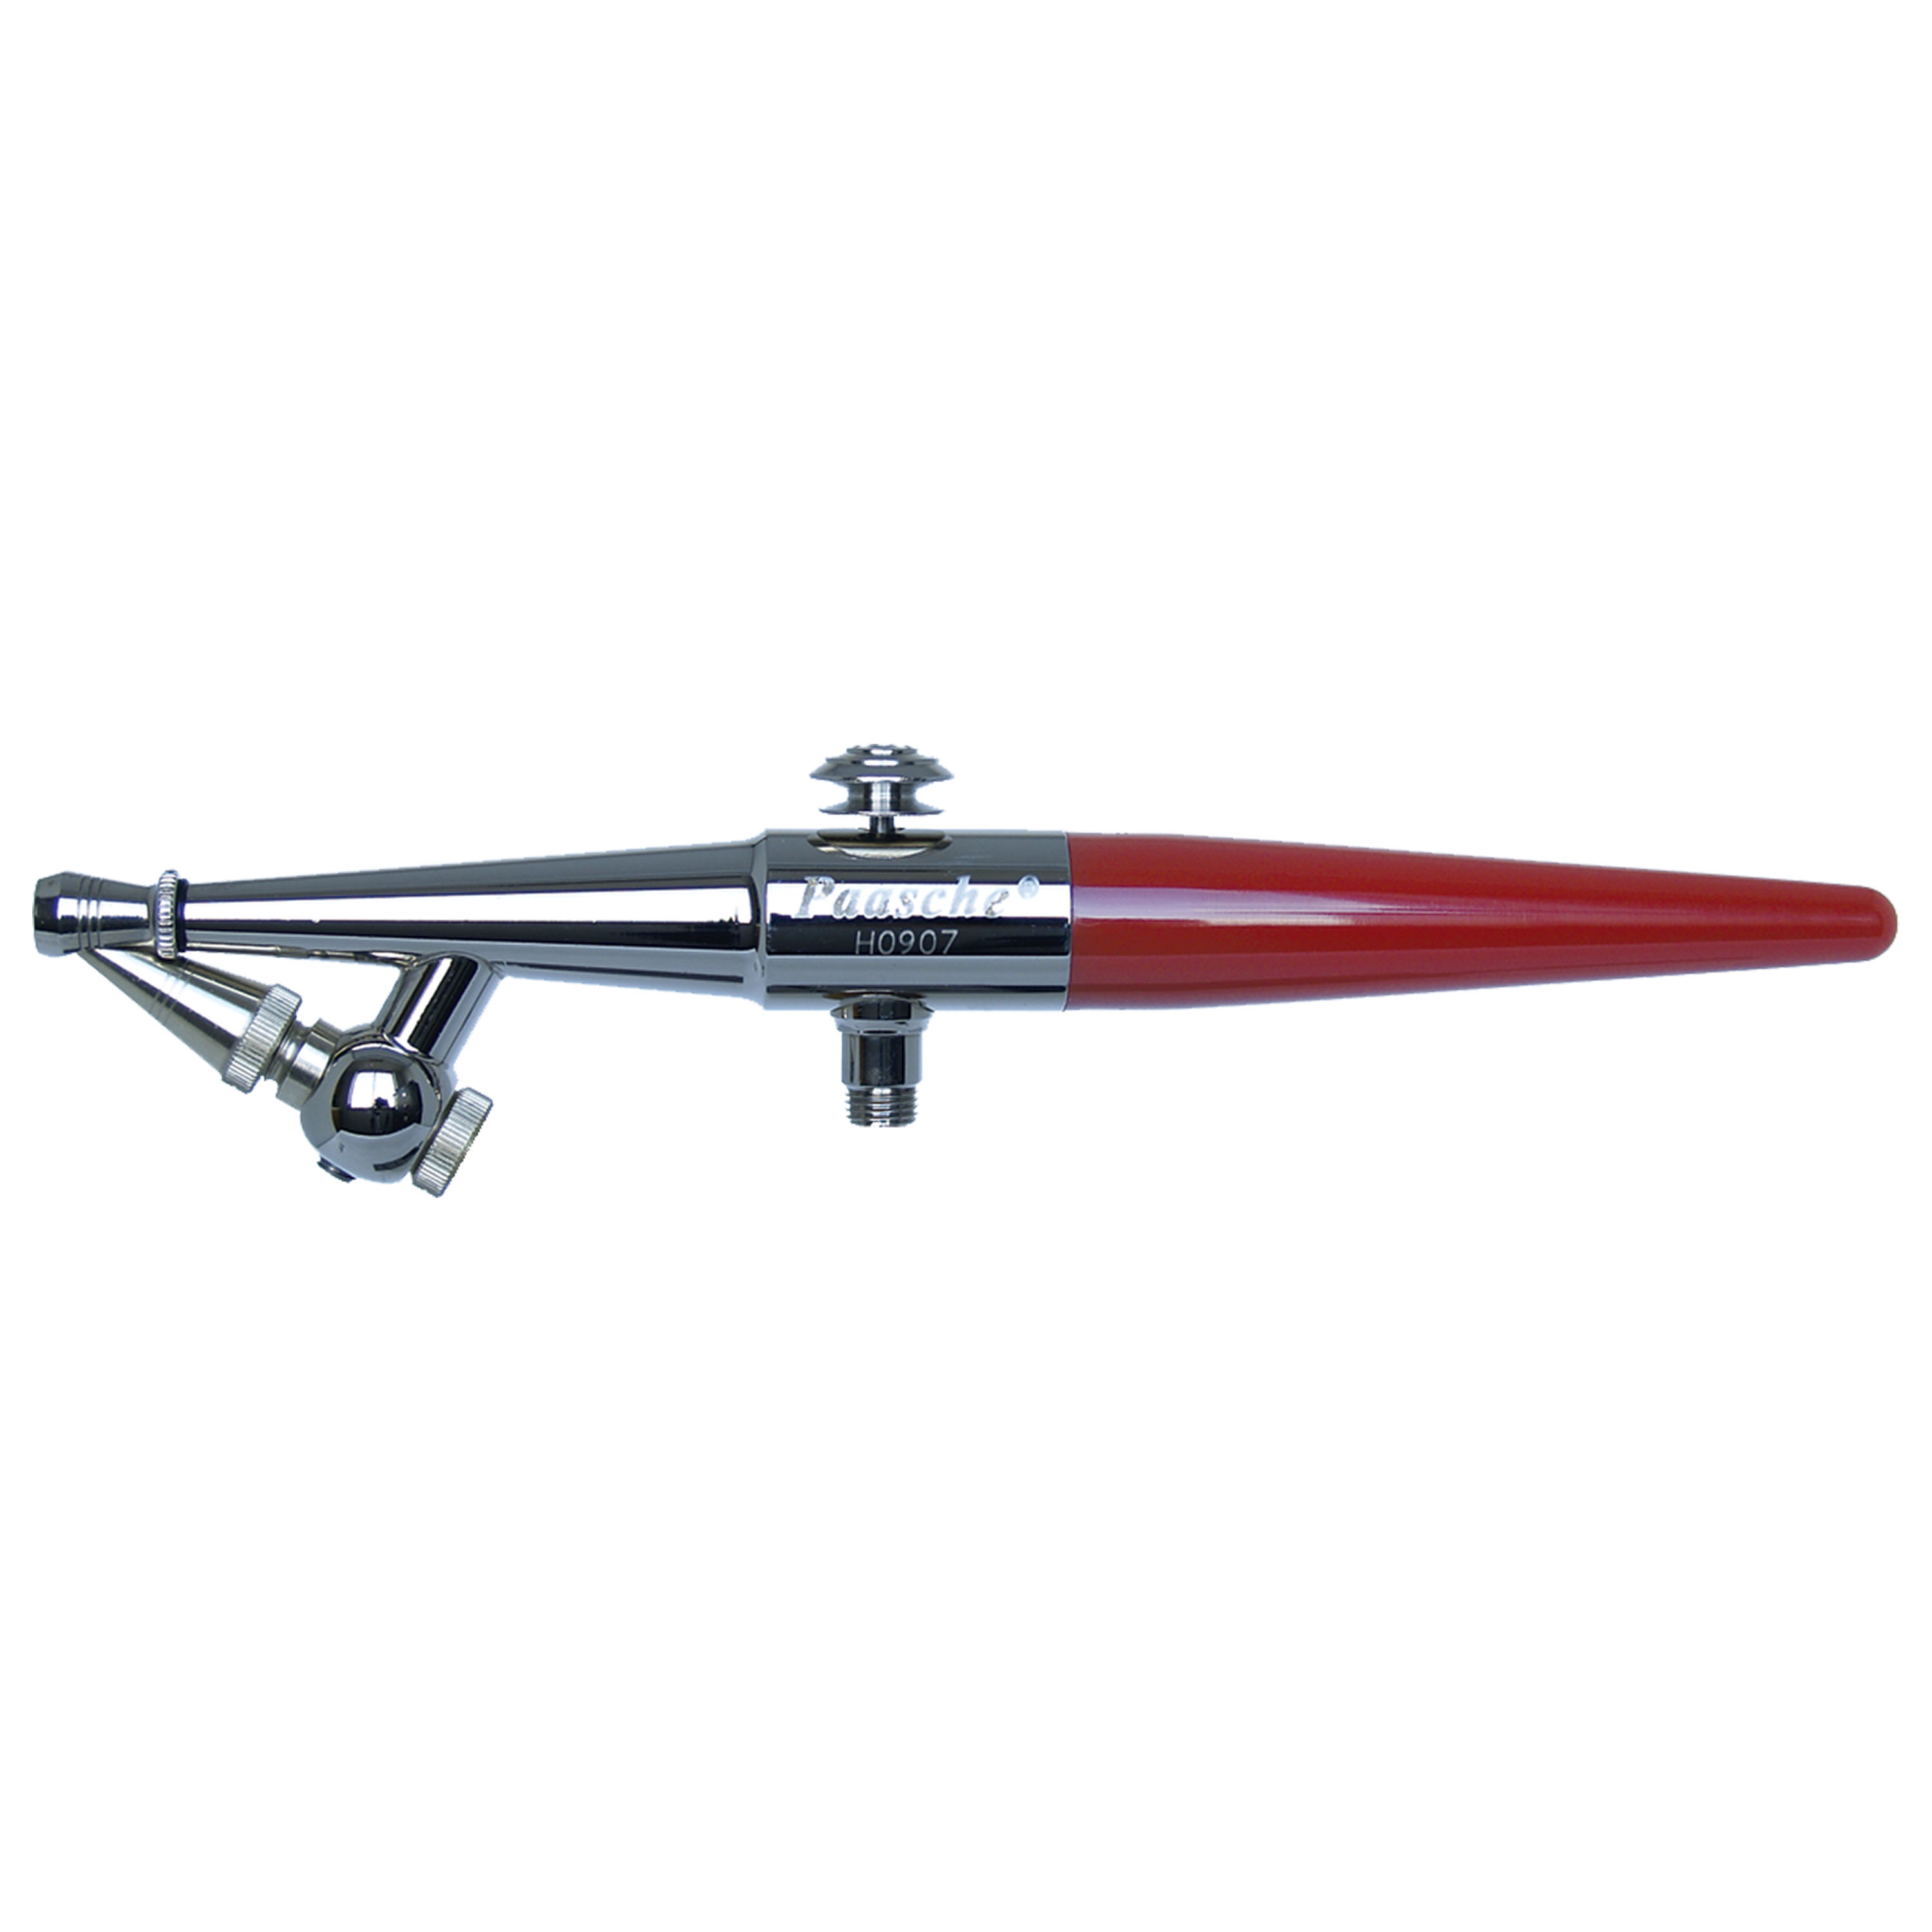
Are you talking about the one in my pic? If so, there isn't much to it. A few ideas: 1.) The nozzle/needle may still be clogged? 2.) The nozzle (outer part) may no longer have a round orifice, depending on what you used to clean it out with. 3.) The needle (inner part) may be bent at the tip. And this assuming that the material, and it's viscosity, has not changed. I paint with a Binks Wren, same basic concept. I use it for solvent based material. To clean it I disassemble the needle and nozzle. I use a stretched, twisted Q-Tip dipped in lacquer thinner. You can also soak them in thinner first if they are that bad. I never use any type of pick, be it steel or a tooth pick, on the nozzle. Water based material should clean up with warm water.
-
Came across this today. I think this is my 3rd VL. Was used but barely (or at least well kept).
-
Excellent workmanship. It's cool you could replicate your friend's, Dad's car. A seldom seen type of race car. Awesome!!!
-
I looked at the instructions. Good Grief!!! They are printed HUGE! Reminds me of the old road maps from "back in the day". I don't even need my cheater glasses. The instructions say to not use the rear glass in the front part of the vehicle if it is to be built as a one piece unit (C5). There is a partial pass through to the passenger area. I'd plan to do some modifications to it. It is rather...peculiar.
-
Being no one has suggested this, if it qualifies as a "van" I will try to do something with it. Your call.
-
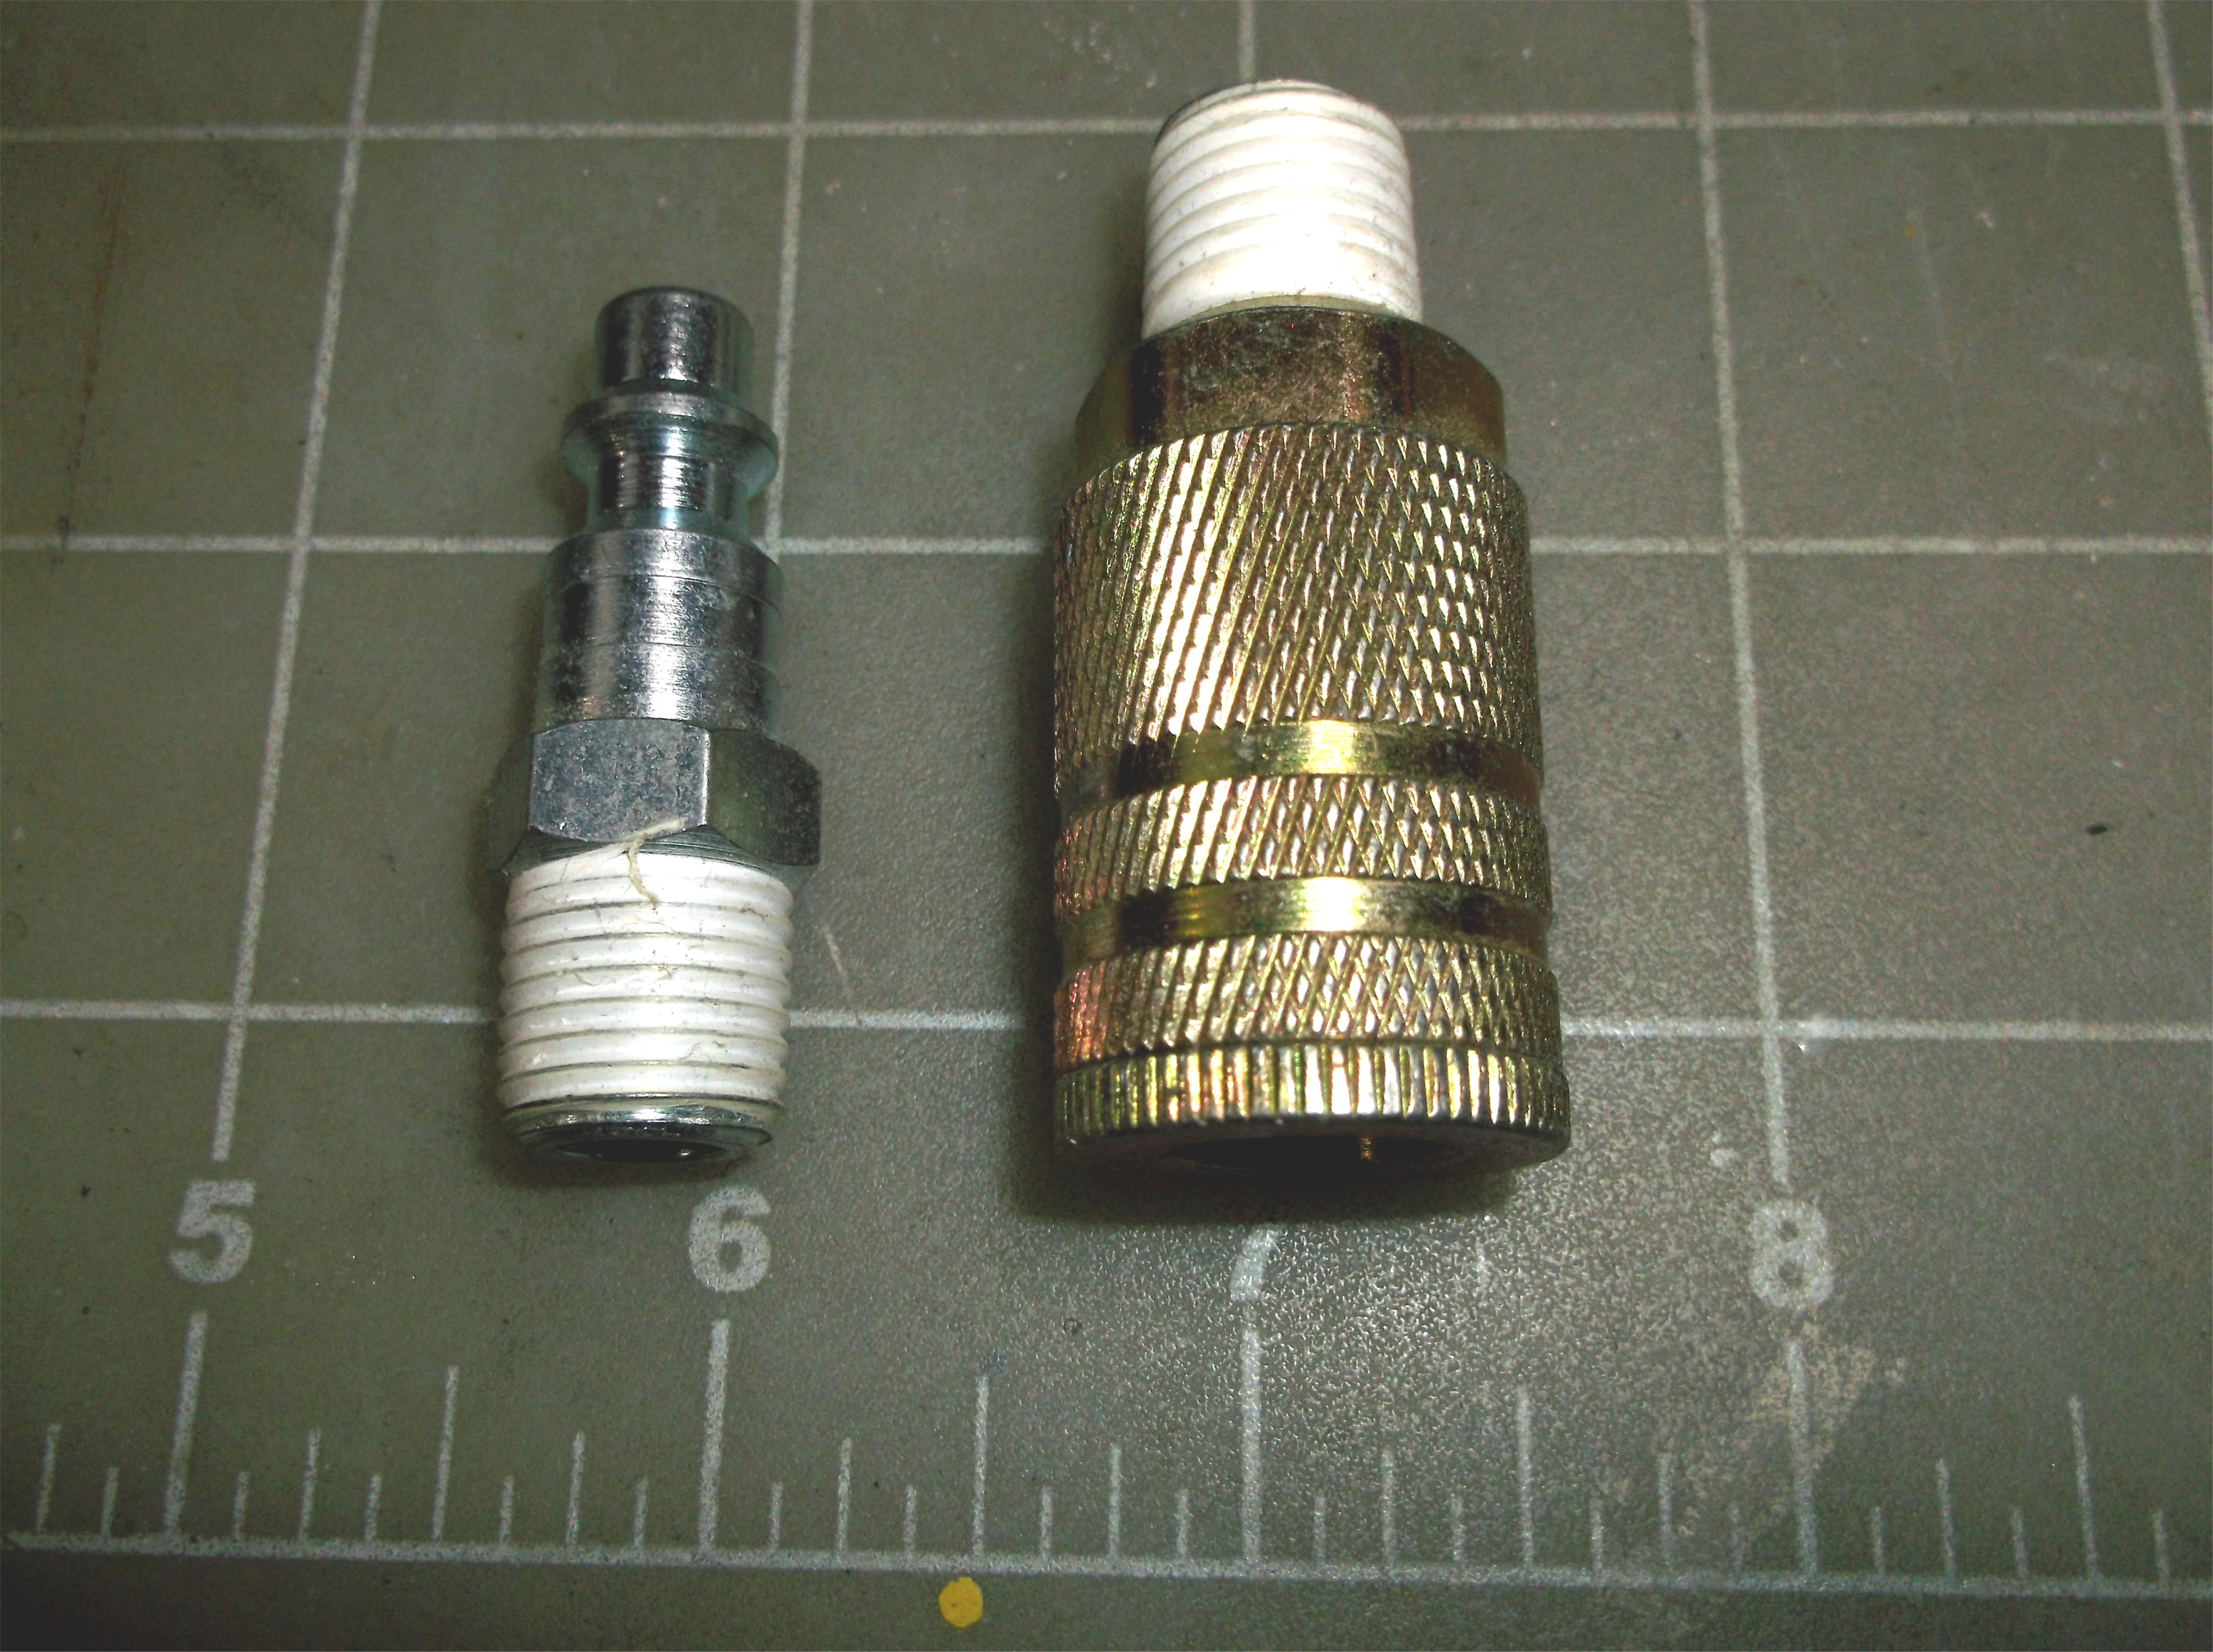
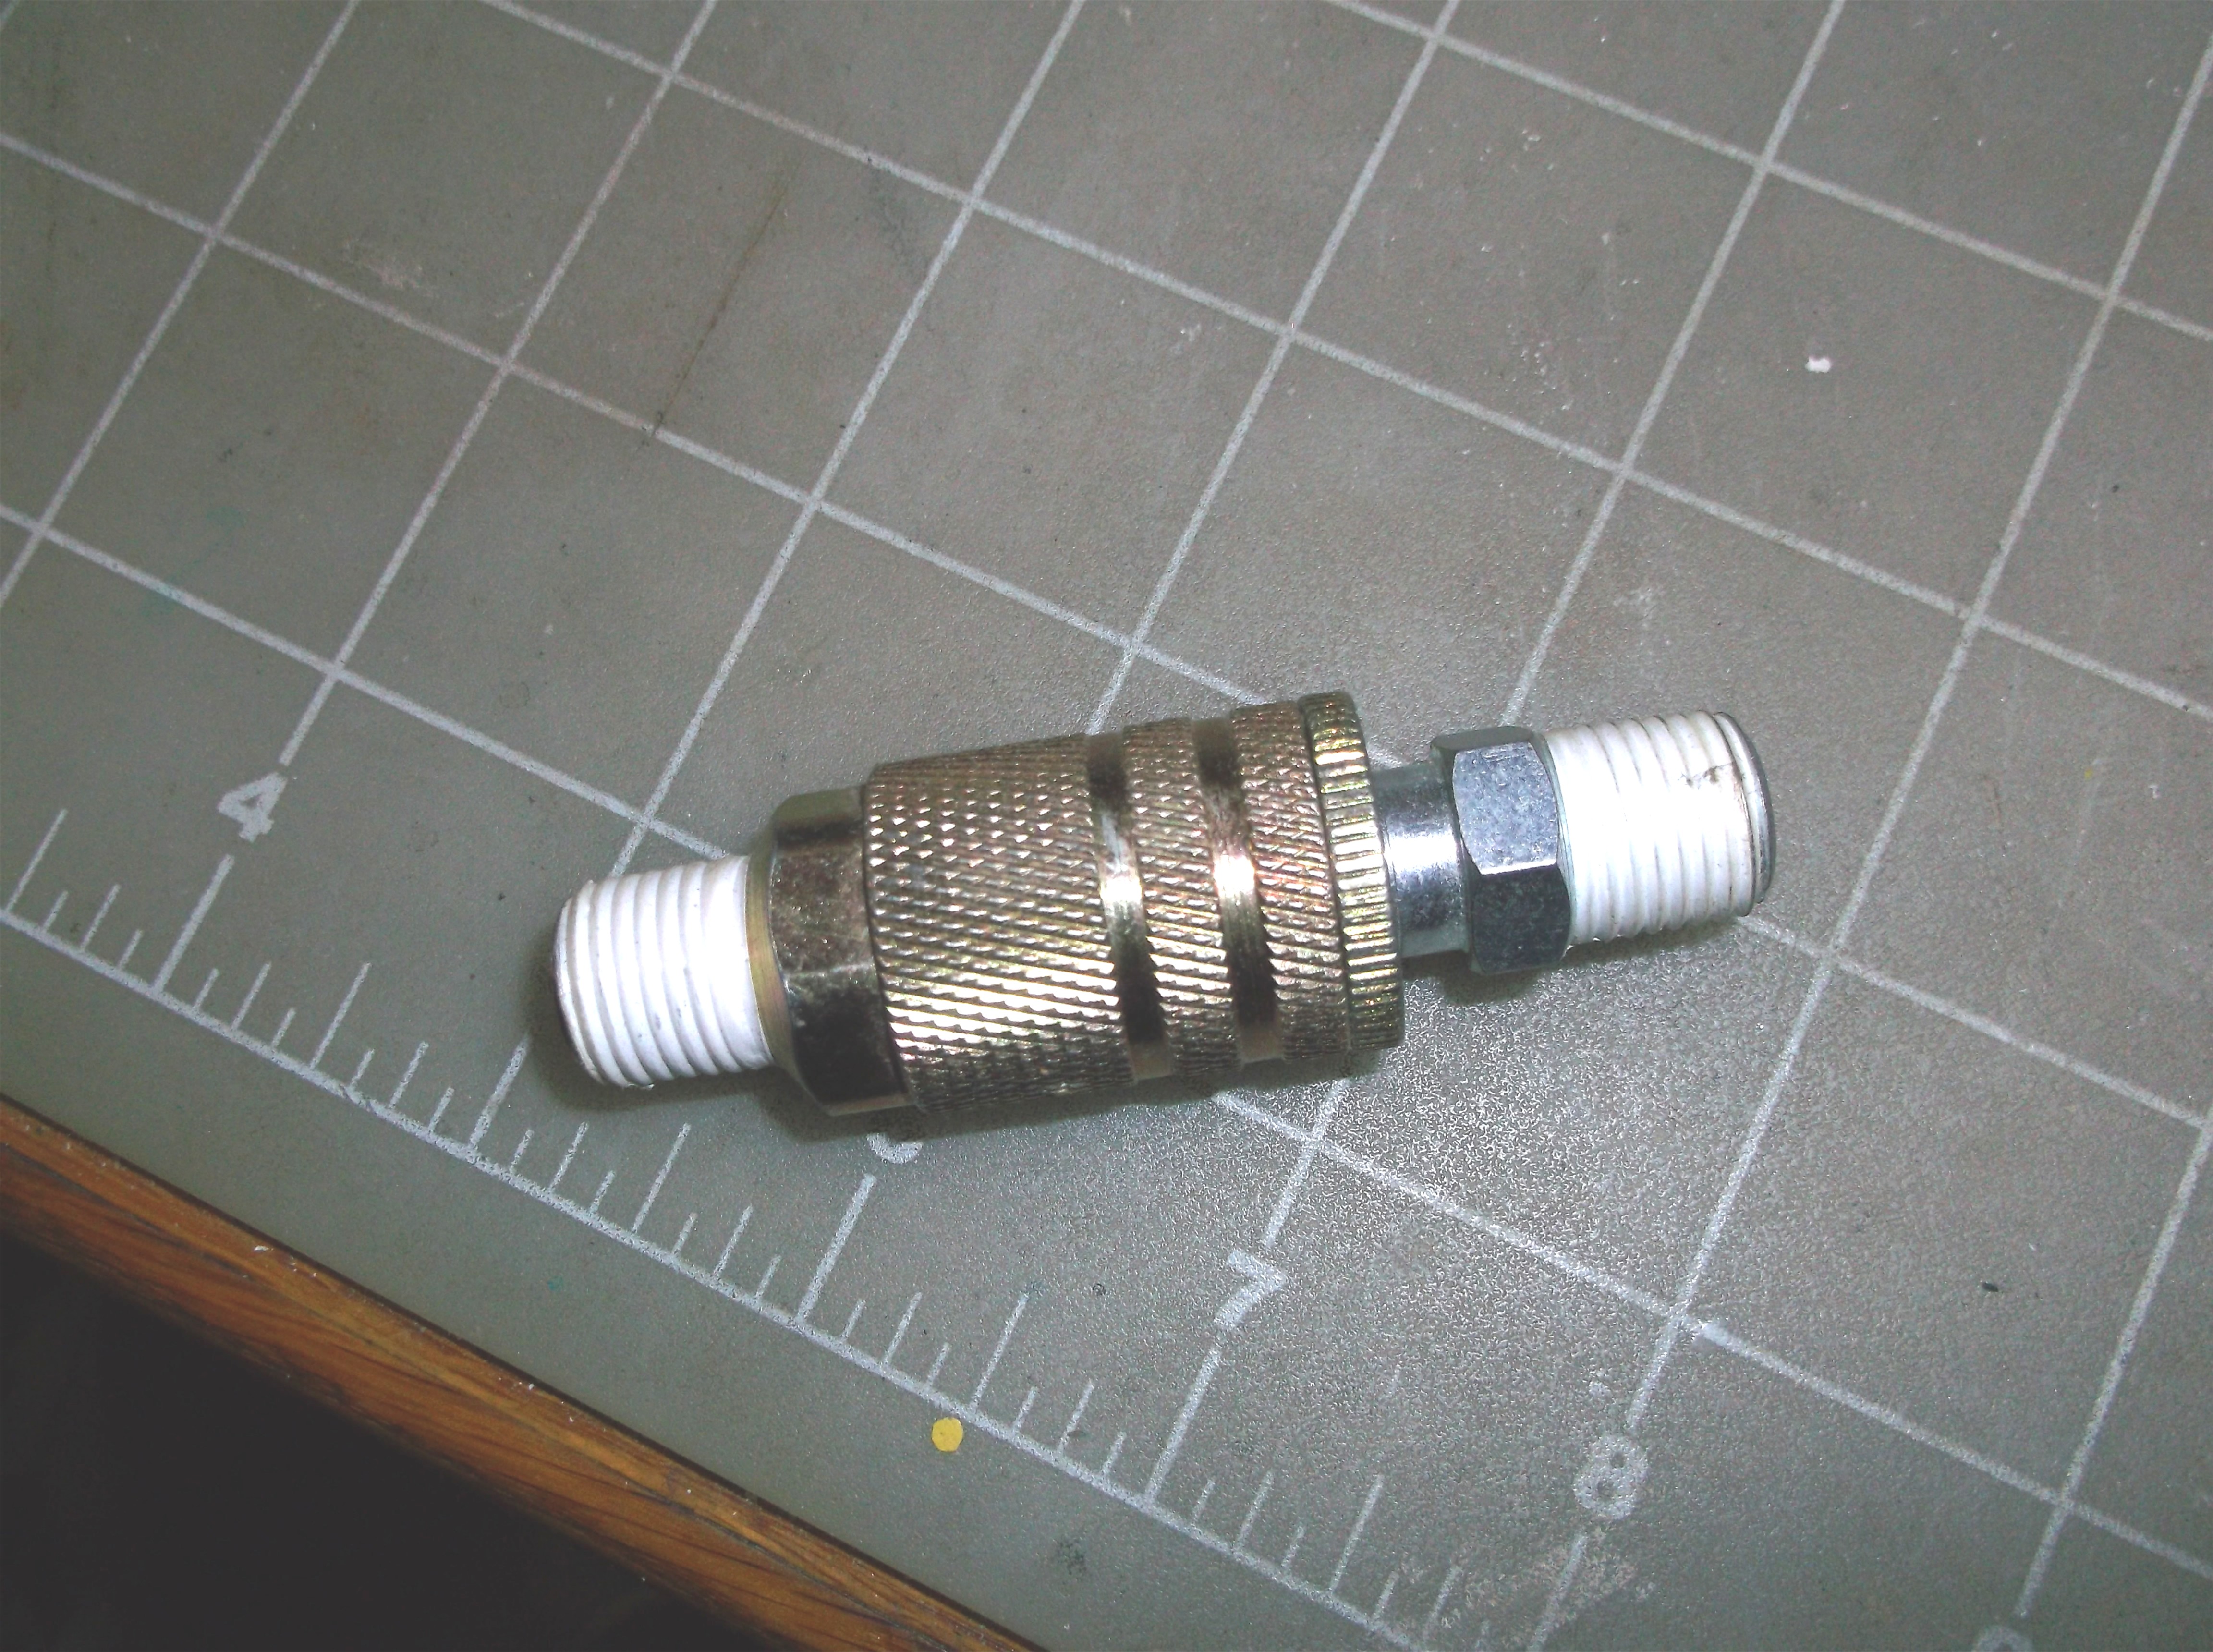
Your airbrush hose should attach to the connection off the water-trap. A better way would be to get a set of quick disconnects. The silver one would attach to your hose. The gold one would attach to the water trap. My gold one in the pic has a male end. You will need one with a female end. Also, use teflon tape on all threads. Hope this helps.
-
Nice to see one of these built. You did an excellent job, it looks really good. I have one in my stash, don't think I ever opened it. Have plans for it...someday.
-
IMO the 5 spokes match the front spokes the best out of the three choices.
-
What does "blushing" in paint look like?
DPNM replied to bykr's topic in Model Building Questions and Answers
Blushing occurs when water vapor gets caught between coats in humid conditions, as Ace said. The top coat starts to dry before the water vapors have a chance to flash off so they remain in between the two coats. It is recommended to use retarder in humid conditions to slow the drying time giving the water vapors time to flash off. -
This is looking really nice Tom. I like it. I love painting with nail polish. So many nice pearls. Where/what are the pinstripes from? Are they decals or ? I'm thinking about getting a dehydrator, which one do you use? Sorry to hear about the stitches. That had to hurt! BTW, you look nothing like your forum pic, lol.
-
Pennsylvanian Rediscovering the Hobby
DPNM replied to greg133's topic in Welcome! Introduce Yourself
Welcome to the forum from the 'Burgh!!! I hope you find what you are interested in building. -
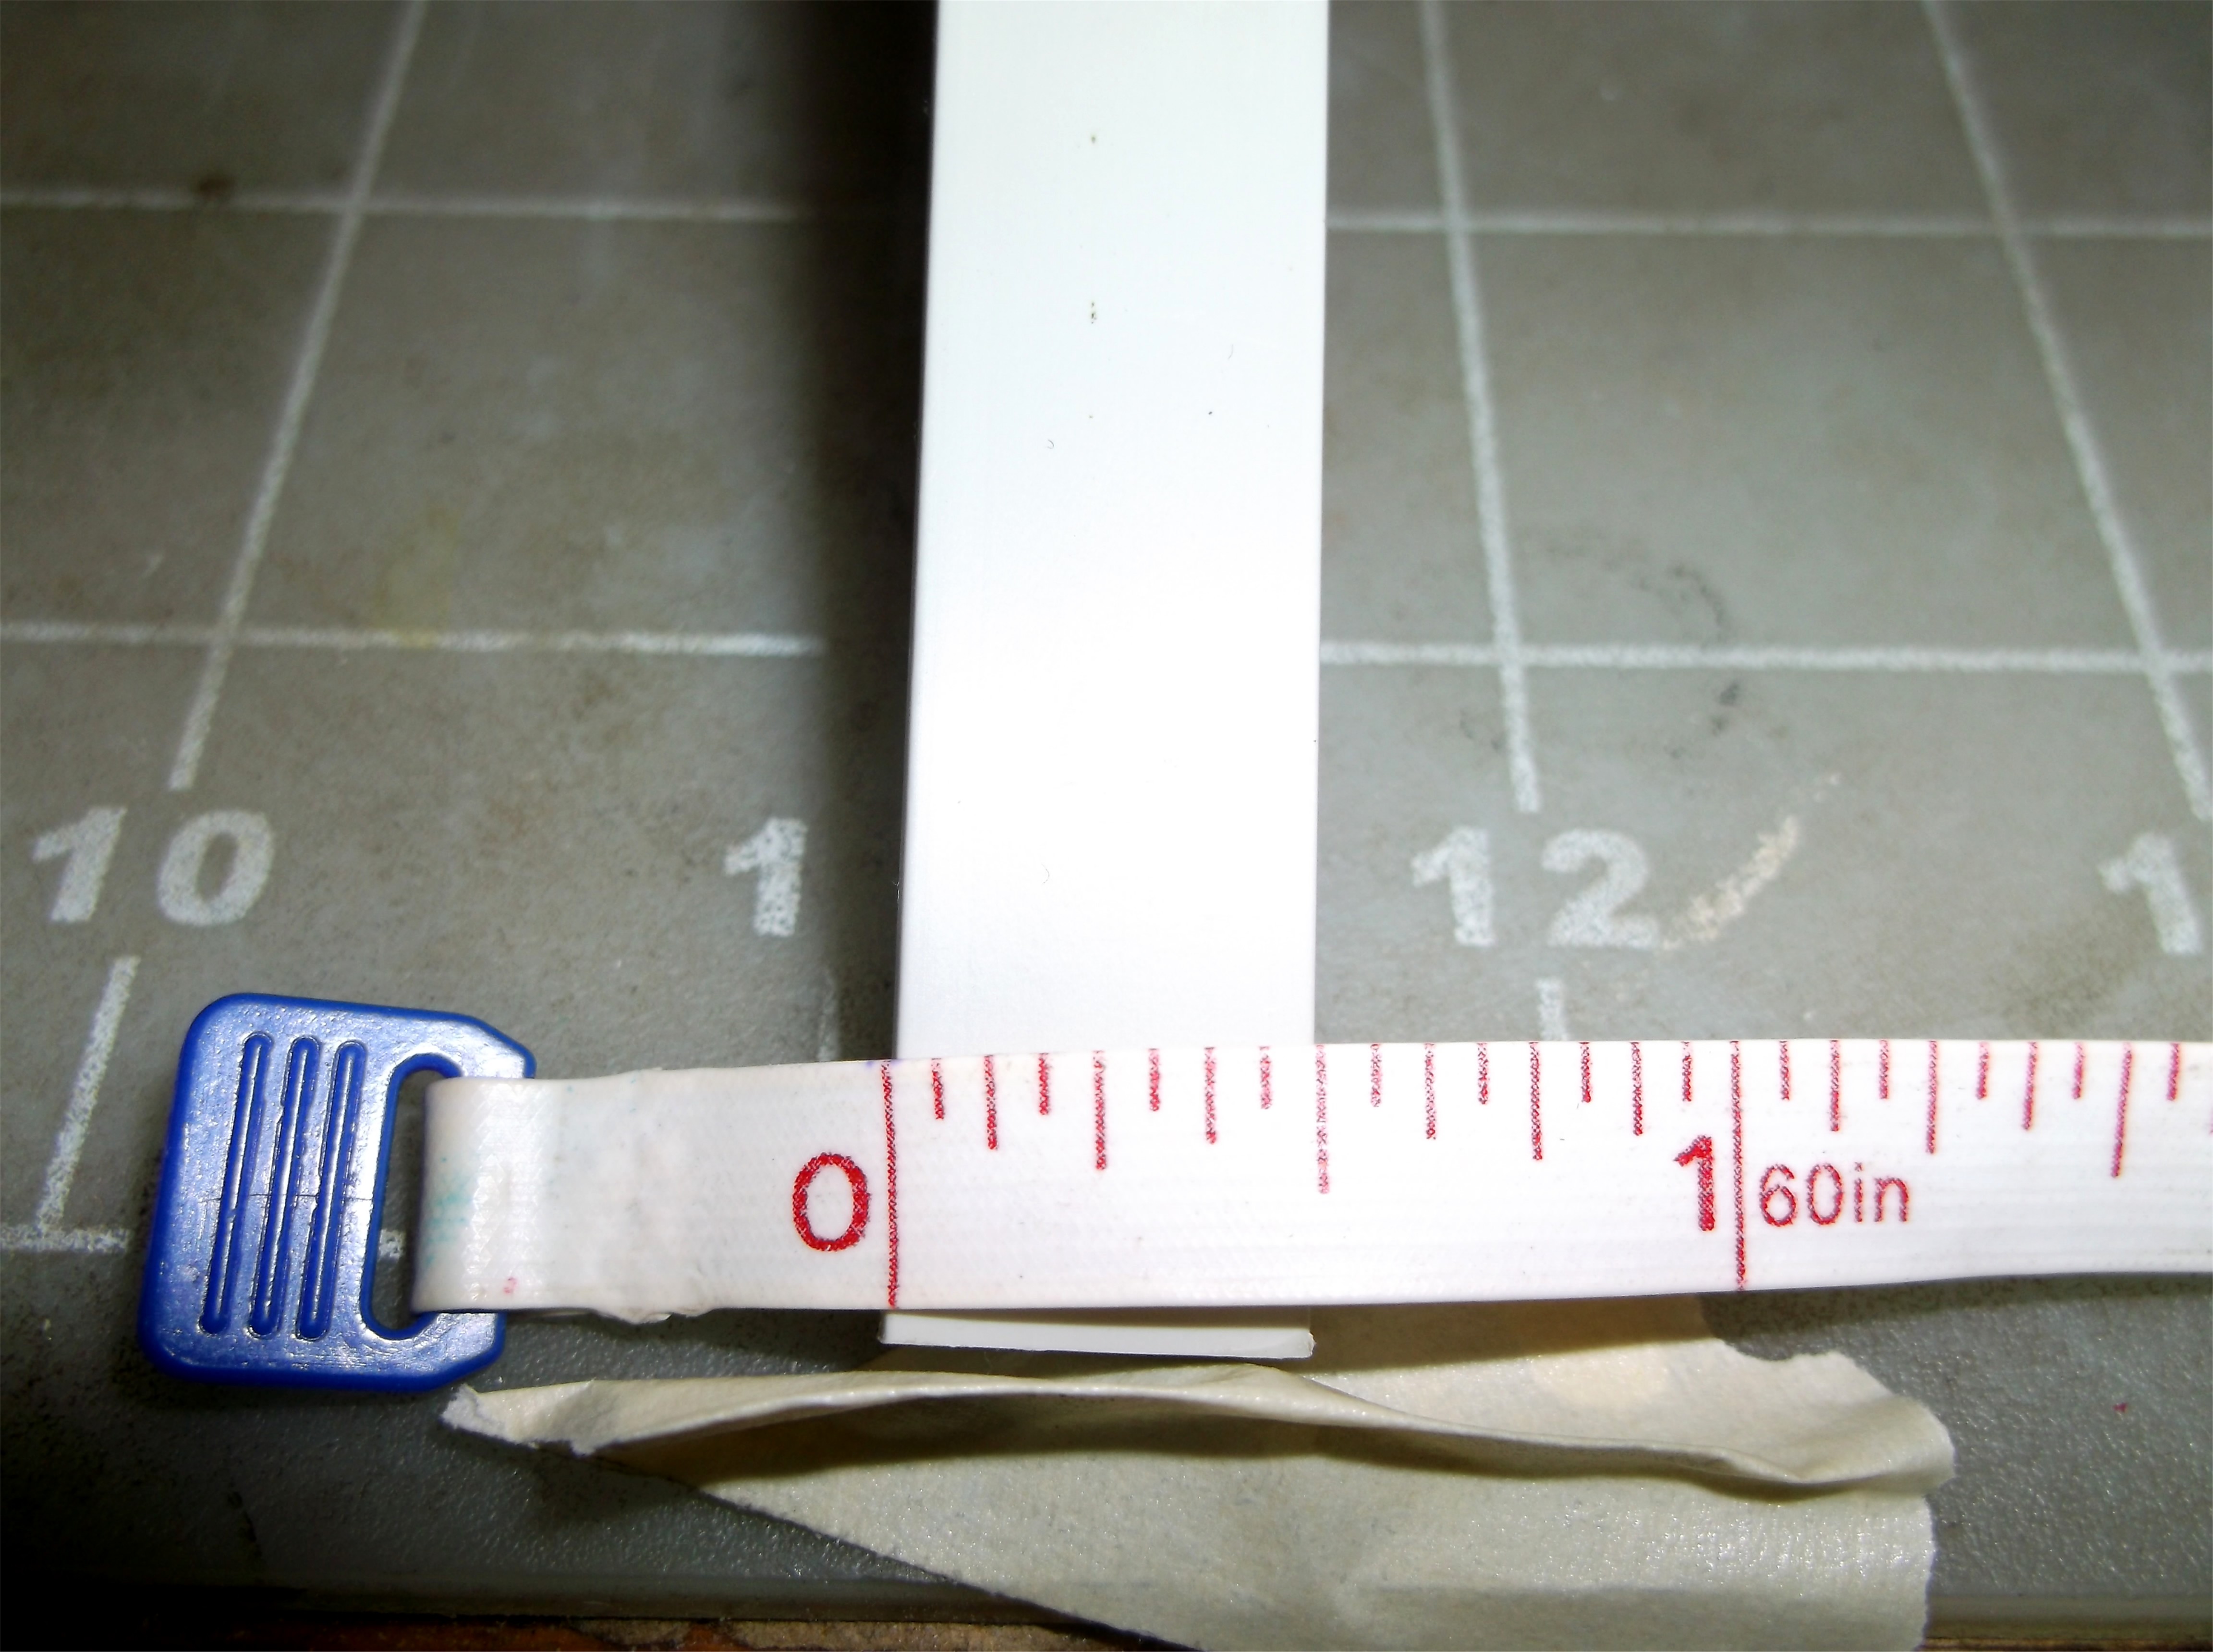
I bought a ton of styrene off someone on eBay a good while back. Included is a piece which, I believe, is close to the measurements you stated. I do not know the brand. It is 30 inches long (approx). A good hobby or scale train store might stock it if there is one near you.
-
Stripping chrome & flat black issues. Need advice
DPNM replied to DPNM's topic in Model Building Questions and Answers
I'll agree with that. I used some EZ Off, it didn't do much of anything either. -
Stripping chrome & flat black issues. Need advice
DPNM replied to DPNM's topic in Model Building Questions and Answers
Thank you for the tip Casey. I will try it. I was soaking the parts which didn't work. -
What non-auto model did you get today?
DPNM replied to chunkypeanutbutter's topic in The Off-Topic Lounge
I've seen pics of the clear version, not in person. I have some plans for the Lycoming turbine myself. -
And being from the 'Burgh, it's Stillers Nice build BTW and for a good cause. A tip of my hat to the builder!!!
-
This seems to be another old thread brought back to life. Quote is from No Country for Old Men, in my top three all time favorite movies.
-
What non-auto model did you get today?
DPNM replied to chunkypeanutbutter's topic in The Off-Topic Lounge
And these were on my porch today. I had an ad on here looking for at least one, but again, no trades forthcoming.
-
What non-auto model did you get today?
DPNM replied to chunkypeanutbutter's topic in The Off-Topic Lounge
This was on my porch today. feeBay purchase, sealed. I had a want ad on the forum looking for one but no luck. I bought this for less than I would have been willing to trade away. I missed having to go to Vietnam by the skin of my teeth. It ended just as I became of age. I plan a tribute to those that served.