hedotwo
-
Posts
1,551 -
Joined
-
Last visited
Content Type
Profiles
Forums
Events
Gallery
Everything posted by hedotwo
-
Another nice Lincoln build!
-
Very, very nice!
-
Great save on the A pillar and I like the color choice. Great job Bart!
-

AMT Munster's Koach - Like I needed to start another project ...
hedotwo replied to Jonathan's topic in WIP: Model Cars
Nice progress Jonathan! Who doesn't love the Munsters? ?
-
Beautiful paint job Steve!
-
I used Americana Ocean Blue (craft acrylic) to paint my replica of my 1:1 Harbor Blue '57. Close enough for me. Really couldn't find anything in a rattle can close, but maybe I just didn't look hard enough. Craft acrylics aren't ideal but they do offer a ton of shades and they're easy to mix to get a shade you need.
-
I'm going to take the plunge. Thanks!
-
Thank you Bill!
-
Great build and especially love the color. Must have been one of the more popular colors as I remember them a lot like that.
-
Looks promising. Anyone have any experience with them? Thanks
-
1963 ford f-100
hedotwo replied to michelle's topic in Model Trucks: Pickups, Vans, SUVs, Light Commercial
Great build Michelle... really like it! -
Thanks Steve
-
Which Johan Cadillac kits included the wreath and crest hood ornament? Thanks!
-
Finished up this Decko resin Cad finally. I'll start by saying it was a great build as the parts fit beautifully and the body required almost no prep other than the usual resin cleaning. I added a vinyl top and while I'm ok with the end result, I wouldn't do another top in this way. I used a rougher texture spray to start with and did alot of sanding to take it down to what I thought would be a decent look. But it's still too heavy and the seam strips are still too heavy as well. Otherwise, I used Scalefinishes 1969 Cadillac Palmetto Green and Tamiya's TS-7 Racing White for the interior and the top. Thanks for looking!
- 25 replies
-
- 13
-

-
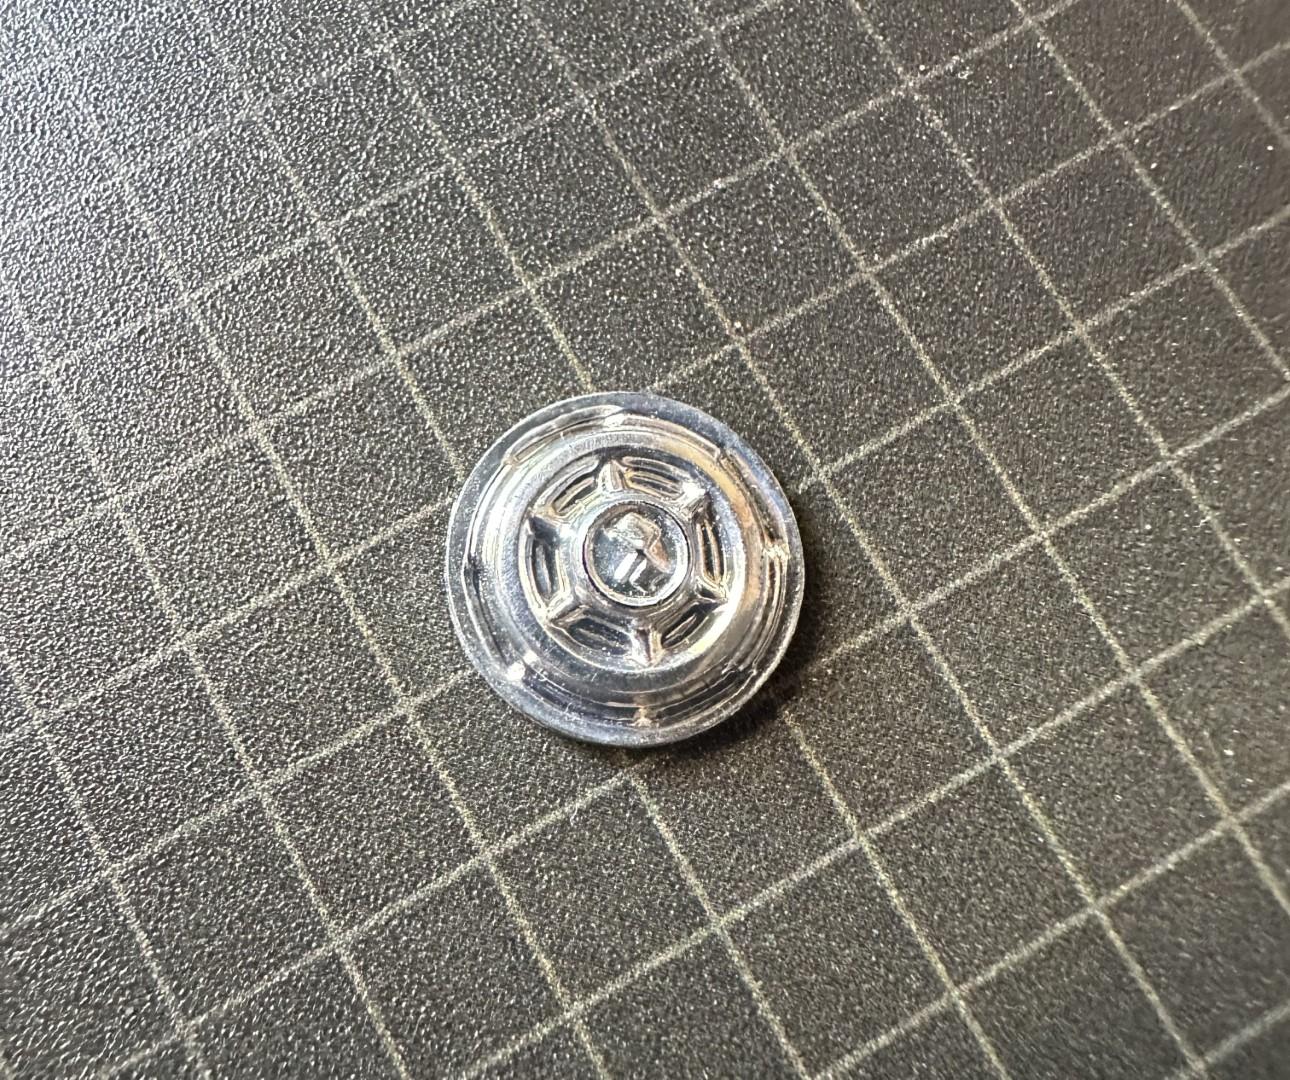
So that's an E in the center! As usual, thanks Mark!
-
Anyone? Thanks!
-
Great job! What color? Topaz?
-
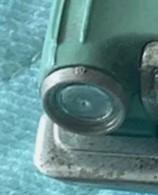
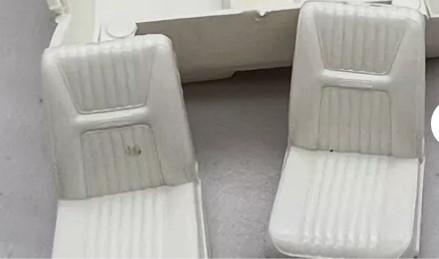
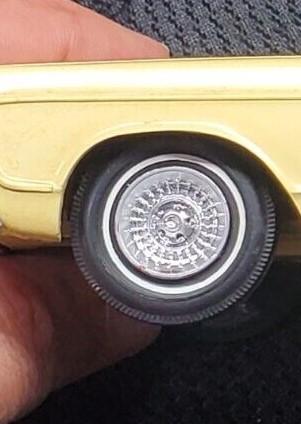
A few of my many needs: 60 Edsel ... one single chrome taillight 63 Dodge Polara ... one single headlight 61 Corvette ... stock wheel covers (need to be 15-15.5 mm diameter) 65 Chrysler 300 ... stock front seats (I have the seat backs) 66 Plymouth Fury ... stock wheel covers I have AMT and Johan annual stuff for trade as well if that works. Thanks for looking
-
Great tip! Have run into this same issue multiple times. Thanks!
-
AMT Munster's Koach - Like I needed to start another project ...
hedotwo replied to Jonathan's topic in WIP: Model Cars
Nice start to a cool vehicle! -
Great build!
-
Great build! Always good to see something different.
-
From what I've read somewhere MCW offered a resin front bumper for a 65 Olds F-85 (or Cutlass) at some point? Currently on their website they don't offer it. Anyone help me locate one? Thanks!
-
The Fotki site has this one if it's the one you're looking for. AMT '55 Corvette album | DRASTIC PLASTICS MODEL CAR CLUB | Fotki.com, photo and video sharing made easy.
-
Great build and color! Congrats!

.jpg.2b0afd0f859c8bc81ece4c9e37e4c473.jpg)
.jpg.261c493ea91b85ba1fd59ea4149b941d.jpg)
.jpg.f26c6dae09519df7916aaf8f8dc53712.jpg)
.jpg.68e27a3bc0d462790ab79d50741a206f.jpg)
.jpg.d93531975bcf6a7bfb68614335252440.jpg)
.jpg.99df7e60196f9ae02306273178c4cecd.jpg)
.jpg.7779211e2560c419d0f46d1e15615640.jpg)