Nacho Z
-
Posts
2,931 -
Joined
-
Last visited
Content Type
Profiles
Forums
Events
Gallery
Everything posted by Nacho Z
-
Pete has nailed it! BSI user here too. Use the Gold bottle for clear parts and for Photo-etch. I too brush on my accelerator. Besides using CA glue for holding parts together, I use it for filling gaps, deep scratches and ejector pin marks, besides other things. I make a nice little dome of glue and hit it with accelerator. Leave it sit for just a minute or two and begin sanding it away to level. Best to do this very shortly after using the accelerator. I have read and have experienced, (at least in my mind), that the glue gets much harder after it sits for, say, 24 hours. Just food for thought
-

Revell '76 chevy pickup sport
Nacho Z replied to Jared Roach's topic in Model Trucks: Pickups, Vans, SUVs, Light Commercial
That is soooo nice! Great job! -
Tamiya AMG GT3
Nacho Z replied to lghtngyello03's topic in Other Racing: Road Racing, Salt Flat Racers
Beautiful build, Scott! -
Repairing clear plastic window scratches
Nacho Z replied to Nelly's topic in Model Building Questions and Answers
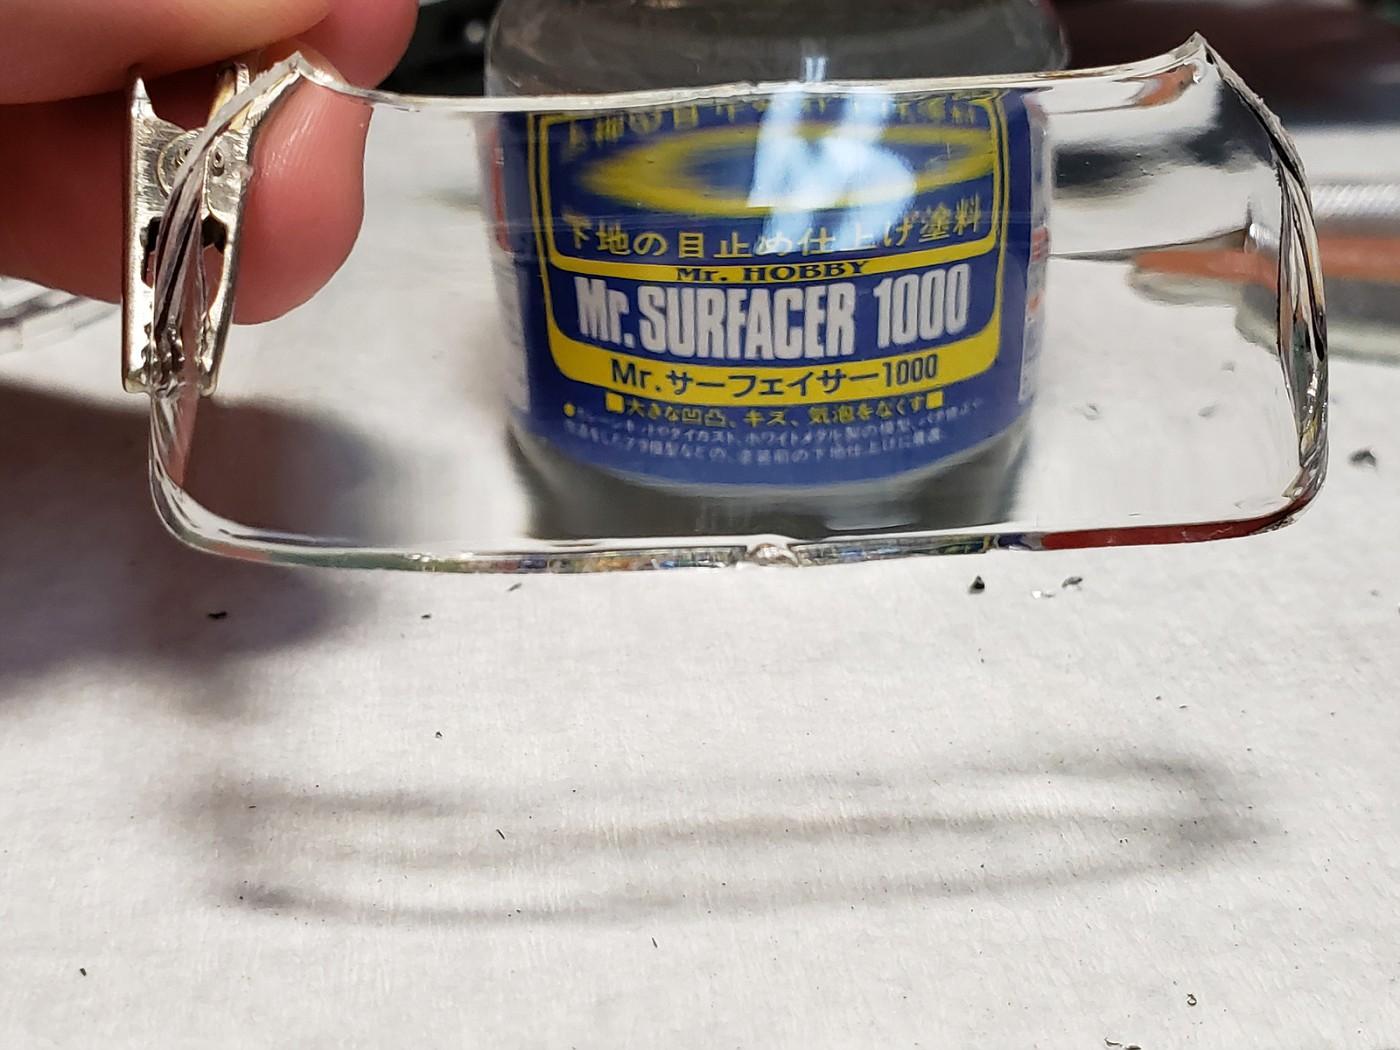
Nelson, I agree with everything that was said previously. One thing that I didn’t see, and I Amy have missed it, is to dunk the glass in Future. This would be the last step. It is a trick that airplane modelers have used forever. I have used it myself on old, scuffed up windshields. It really does work and it works great. Before - notice the distortion After - the distortion is gone and the clarity is greatly improved
-
Wow, Ray, this is just too cool!
-
Just an overall great looking model, Rusty!
-
Just chiming in here for clarification. Mark seems to have knowledge of these kits. I could have sworn that Tom over at Hobby Heaven / Spotlight Hobbies had said one time that the Chevelle was a one and done kinda thing. Maybe he said that the annual was modified to make the stocker kit and never put back? Maybe he said that it, (the stocker), was only released once and modified to something else? This was many years ago so my memory on that statement is as clear as mud. I would love to hear what the correct story is. I have the original Chevelle Stocker that I built as a kid and I have a fairly pristine kit that I picked up at NNL East a number of years ago. I also have a spare original decal sheet.
-
Another beauty, Dale! What are your thoughts on the kit? I have the other livery.
-
Absolutely gorgeous, Dale! Such a good looking car. Love the livery too. You really did a great job on it.
-
Neil Bonnett 79 Olds.
Nacho Z replied to 1320wayne's topic in Stock Cars (NASCAR, Super Stock, Late Model, etc.)
Now there’s one you don’t see very often. Very cool! You really did a nice job on this, she looks great! -
Well, Tom, I feel good about picking the GTO...lol. I think that is a good choice. Enough detail to look good but not so much to overwhelm you. One thing I did not mention in our conversation is that I also, more times than not, pick a model that I do not have a strong attachment to. Let’s face it, we are going to build all of them and they are all going to be Best of Show winners...lol, but in the previous 14 years that I have done this there are several years where I screwed up the model so bad I didn’t even come close to finishing it and put it back in the box and never looked at it again. And oddly for me, that didn’t bother me at all. I just didn’t have that strong of a feeling for the model.
-
Great looking model, Mitch! I really like these race cars and that is such a gorgeous livery. Good job and thanks for sharing!
-
Thanks, Larry! Thanks, Bob! The car was pretty much done in 24 hours but I left some items for when I was rested. I always pick relatively simple kits for the Annual 24 Hour Build. Tom, thanks for the nice words. As I said to Bob, (reply above yours), I had it pretty much completed in 24 hours. Did some final things when I got rested up. To answer your question about this year’s build, it is January 30/31. I am one of the 5 founding members of this iteration of the Annual 24 Hour Build. This year is our 15th year. We always build on the same weekend as the 24 Hours of Daytona. We have a Facebook page and that is where everything is posted and shared. If you don’t do FB we may be able to work around it. Please let me know if there is anything I can help you with. It is a fun time.
-
Thank you, Zen! Thanks, Robert! And honestly that is the whole idea behind the Annual 24 Hour Build. To harken back to the days as a kid when you ripped them open and started building them, no worries, no fuss. Thank you, Chang! Lol, I hear you. It was a fun little build.
-
With the 15th Annual 24 Hour Model Build coming up in a few weeks I thought I would share last years build with you. This was built box stock with one exception. The two piece rear slicks were garbage and I used a set of aftermarket ones from Speed City Resin. I almost completed it in the allotted 24 hours but I saved some of the finer details for when I was rested. Not much else to say about it. Let me know if you have any questions about it. Thanks for looking.
-
I just wanted to say "thank you" to everyone who took the time to comment on the T/A. It is much appreciated!
-
Here are a few pics of my finished T/A. The WIP can be seen here: MPC 1979 Pontiac Firebird Trans Am - WIP: Model Cars - Model Cars Magazine Forum In that thread I explain why I did what I did and how I got what I got...lol. Thanks for giving my less than stellar model a look!
-
That turned out very nice, John! Thanks for sharing it!
-
Ryan, it is great to see you building this. I built this kit, (not the same livery), a couple of years ago and it is one of my favorite builds. I’m really looking forward to seeing what you do with yours.
-
She is looking good, John. Funny thing, as I’m ready your thread I remembered that I didn’t use my mirrors. I’m pretty sure they really weren’t usable or they wouldn’t mount and sit correctly.
-
Beautiful! The color works well on this. You did a great job on this!
-
Stop, John, I'm blushing...lol. All kidding aside, thanks for the nice words. If you look at my last post you will be able to see some of the bubbles. It was the worst around the wheel flares. There is even a little on the nose. I probably could have eliminated some of them but in the end it was never going to be anything more than a shelf model and I just wanted to finish it up.
-
I'm sure I'm not alone here, I always love to do a quick mockup of a model, especially when you have a lot of sub-assemblies complete. I couldn't help myself and temporarily put her together before starting to do some detail painting. I masked off the window trim and painted it. I often use close up pics to see my work and to see what needs to be tidied up. The grill is passable to the naked eye, at least for a shelf model. I think that will wrap up this WIP thread. I'll post in Under Glass in the next week or two. Thanks to all who took the time to offer advice and comments. That is what makes this model car board such a great place!
-
John, that is very nice of you to offer the decals! I am good however. Actually I gave the two unused sets of colors to a hobby friend for something he had in the works. Thanks, Craig! All issues were caused by my impatience...sigh. I appreciate the advice. Thank you! With all of the issues with this build I decided to leave her as is and put her in the display case. Make sure to check out the Under Glass section as I will post this model there. I should do that in the next week or two. It is a nice 3 footer...lol.
-
Peter, no worries at all. I enjoy the dialogue. It is the lack of choice in spray cans that really prompted me to get out my airbrush. So many choices. Also, I have a secret love for 1:350 battleships with all of the PE sets and you just can’t spray bomb those. Thank you, Sonny. The photos somewhat exaggerate the flake effect. It is not so dramatic to the naked eye. Gareth, thanks for checking in on the build. The blue is a little darker than I had wanted but it still is a pretty color.