Nacho Z
-
Posts
2,931 -
Joined
-
Last visited
Content Type
Profiles
Forums
Events
Gallery
Everything posted by Nacho Z
-

Italeri Ferrari 275 gtb
Nacho Z replied to TC's topic in Other Racing: Road Racing, Salt Flat Racers
Beautiful model, Thomas! -
Great looking model, Anders! Great color choice and so cleanly built!
-
Great looking model and great photography!
-
Black Gold Chevy van resto
Nacho Z replied to Hmann68's topic in Model Trucks: Pickups, Vans, SUVs, Light Commercial
Love it!! These were the kits that I loved as a kid. It is great seeing them built up by adults who can do a nice job on them. Thanks for saving it and thanks for sharing it! -
Pavement Modified Vega build
Nacho Z replied to OldNYJim's topic in WIP: Stock Cars (NASCAR, Super Stock, Late Model, etc.)
This is just so doggone nice! I absolutely love the whole thing but those door numbers are fantastic!! Thanks for sharing. -
Jordon-Mugen-Honda 1999
Nacho Z replied to bbowser's topic in Other Racing: Road Racing, Salt Flat Racers
Very nice, Bruce! I have started this kit in the past and I know what you mean. You persevered and ended up with a great looking model! -
Beautiful Vette, Marcos! Absolutely stunning!
-
Great looking model, Rich!
-
EMI McLaren F1 GTR
Nacho Z replied to chris coller's topic in Other Racing: Road Racing, Salt Flat Racers
Beautiful model, Chris! I have a couple of these in the stash. I can only hope they turn out half as nice as yours! -
I used to have a small TV in my hobby room but found myself looking up at the TV way more than I wanted to. I got rid of it. Now it is a nice smaller stereo system and streaming Spotify.
-
Great looking truck, Randy!
-
2006 Dale Jr Black Budweiser Car
Nacho Z replied to Fieldguy06's topic in Stock Cars (NASCAR, Super Stock, Late Model, etc.)
Wow, Dustin, that is just spectacular! -
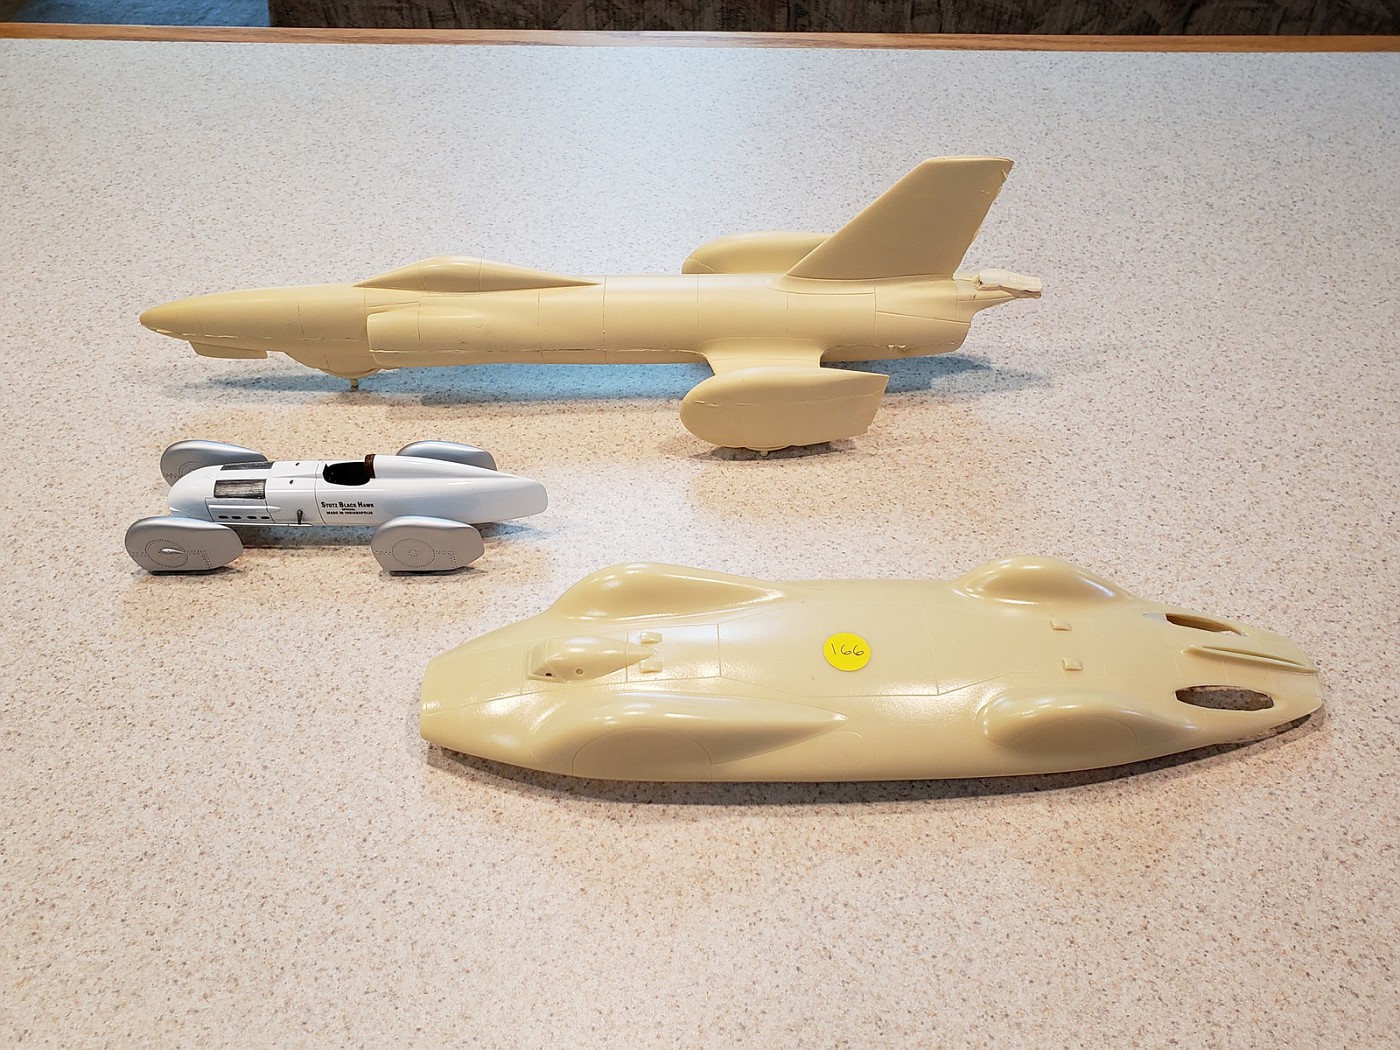
1/25 '63 Spirit of America
Nacho Z replied to Terry Jessee's topic in General Automotive Talk (Trucks and Cars)
Quite a number of years ago I was able to pick up this SoA from a vendor at NNL East. I walked past this beauty all day long and bought it as the vendor was packing up for the day. Forget what I paid but it wasn’t cheap. As a side note, the Stutz Black Hawk is mine too. My SoA has a small chip on the trailing edge of the tail. Interestingly you can see where the decals were located in my casting.
-
That is absolutely beautiful! What a stunning model!
-
I use this pencil. It works just fine. I use it mostly on PE for ships.
-
Another great tutorial! Thanks for taking the time to share all of this!
-
Wow! That is simple but soooo effective! I do believe I will be using this idea. Thank you so much for sharing this!
-
Jim Clark's Championship Wining Lotus 25
Nacho Z replied to AL.'s topic in Other Racing: Road Racing, Salt Flat Racers
Very nice! Among my favorite F1 cars. -
Very nice!
-
Very nice indeed!
-
This is just fantastic!! You just don’t see these models built. Yours is very cleanly built and those panel lines! Wow!
-
I really like this one, Ray. Nice job! I also think the wheels look great.
-
South Hills Modelers Association 11th Annual Model Show
Nacho Z replied to niteowl7710's topic in Contests and Shows
Thanks to you and your club members, James! It was a nice show. An overcrowded vendor area is almost always the case at both shows held at that venue. This year was much more comfortable, IMHO. I thought it was a great turnout, considering. As always there were some very nice models on the tables. You guys did a great job with the awards’ ceremony and the fact that you began tabulating the votes ahead of time was much appreciated. I’m looking forward to attending next year! -
Oh my, you have many sincerest condolences for the loss of your family member, Dann.
-
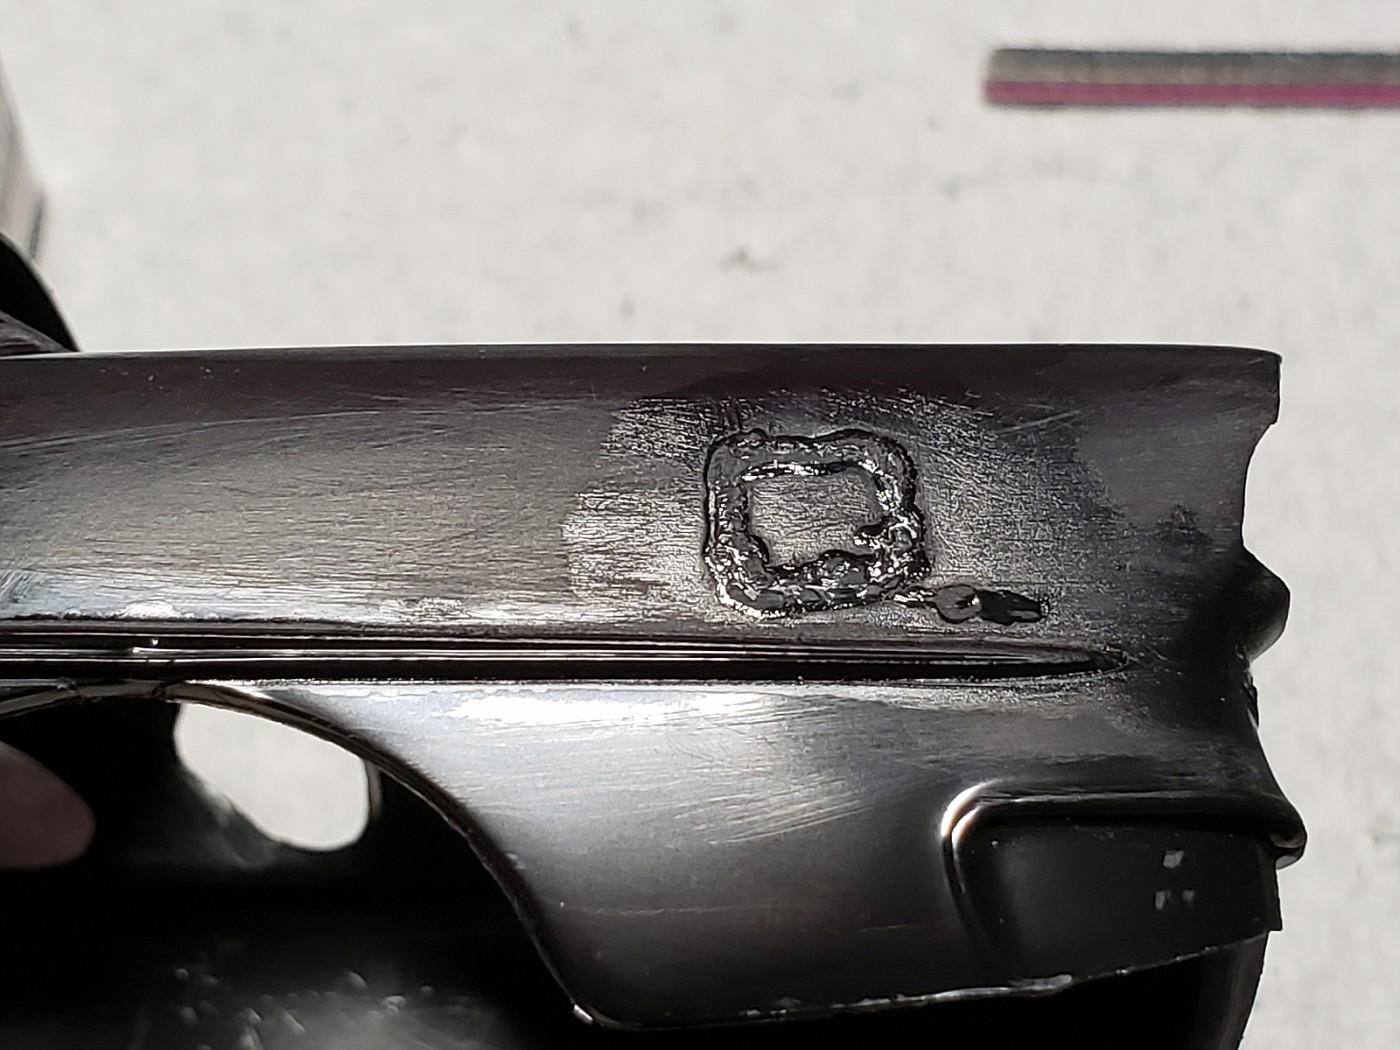
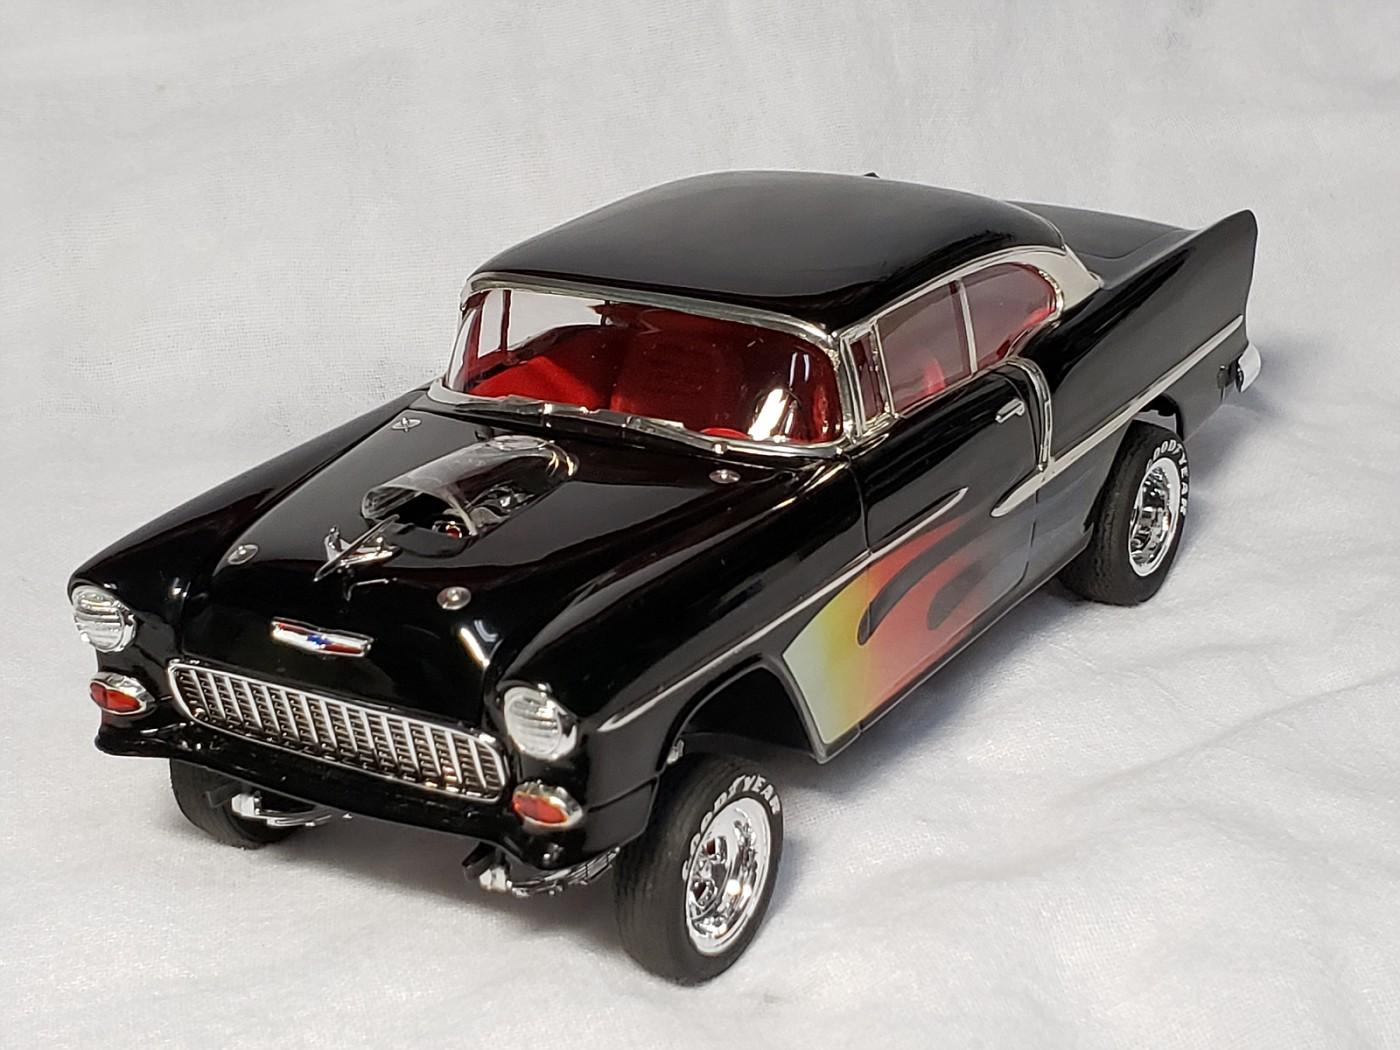
A couple of pictures to illustrate the gap filling properties. No shrinking and can be sanded smooth. My example is the gas tank door on the Monogram ‘55 Chevy Street Machine.