Funkychiken
Members-
Posts
2,662 -
Joined
-
Last visited
Content Type
Profiles
Forums
Events
Gallery
Everything posted by Funkychiken
-
That paint job is excellent, actually quite freaky!
-
VOLT GT4 Mustang
Funkychiken replied to Dr Cobra's topic in Other Racing: Road Racing, Salt Flat Racers
Cool build. So much better than the kit liveries -
Revell 1966 Pontiac GTO in Tamiya Titanium Gold.
Funkychiken replied to Dragonhawk1066's topic in Model Cars
Supee cool ride! Great quality finish -
Amazing transformation!
-
Sweet ride!
-
1992 Mclaren MP4/7 F-1
Funkychiken replied to Rich Chernosky's topic in Other Racing: Road Racing, Salt Flat Racers
Cool McLaren, engine looks great! -
1/24 NuNu Pink Pig
Funkychiken replied to skybart's topic in Other Racing: Road Racing, Salt Flat Racers
Cool build! Well executed piggie -
Sauber Mercedes C9
Funkychiken replied to kensar's topic in WIP: Other Racing: Road Racing, Land Speed Racers
Cool build so far! The tape and rivet tool is a funky idea, looks great! -
This kit is fighting me! I've been adding the detials - like the mesh covering the holes (vents) and the clear parts - Elmers doesn't quite hold, as the parts are not fitting well / twisted. So it's been glued, striped & reglued with Loctite Super glue (the runny stuff) and its been slow work. then for final assembly, there was aclash between the rear view window and the interior tub. so had to use some kitchen tissue for masking & cut off the bits from both sides, then blow out the debris & clean the clear bits (for the 3rd time) with a plastic clean & shine. This has probably been the worst engineered kit i've ever built, I'll be glad to see the back of it... Hopefully within a week this'll be done...
-
What did you see on the road today?
Funkychiken replied to Harry P.'s topic in General Automotive Talk (Trucks and Cars)
Absolutely shocked to see this on the road in real life! In my village too - Danbury, Essex, UK... This is the Gordon Murray T.50 (Tamiya recently released a kit of it) Risked my life getting a shot of it in my rear view I had to google how much its worth when I got home - £2.8Million GBP including taxes... And the plates are "Fan" - quite apt.... -
1/12 Italeri Lancia Stratos!
Funkychiken replied to jaymcminn's topic in WIP: Other Racing: Road Racing, Land Speed Racers
Cool engine! If the rest is up to that quality, its going to be a fantastic build! -
1/24 Meng Mclaren MP4/4
Funkychiken replied to Rich Chernosky's topic in Other Racing: Road Racing, Salt Flat Racers
Its a lovely build, loads of detail, probably why they cost so much, but it is an expensive kit! -
Recant builds
Funkychiken replied to Peter Lombardo's topic in Other Racing: Road Racing, Salt Flat Racers
Cool builds, amazing decal work! -
NuNu Audi R8 LMS GT3
Funkychiken replied to dougwintz's topic in Other Racing: Road Racing, Salt Flat Racers
Super cool audis! I think clear-coating over the decals keeps them secure over the long term... -
NuNu Hobby BMW M6 GT3 Rundstrecken Playstation
Funkychiken replied to Katsusauce's topic in WIP: Model Cars
Cool interior, the window nets look great! -
Beautiful build so far The das looks excellent with the 2 tone finish The body looks deep and glossy, well worth the effort of polishing! And i like all the wheels but would prefer the ones on the left too!
-
1984 Porsche 911 Carrera Cabriolet - 1/25
Funkychiken replied to Duddly01's topic in WIP: Model Cars
Loved following along with your build thread, excellent mods -
What do you drive?
Funkychiken replied to gasman's topic in General Automotive Talk (Trucks and Cars)
Company car! Now have a PHEV Suv that meets CO2 requirements! -
What do you drive?
Funkychiken replied to gasman's topic in General Automotive Talk (Trucks and Cars)
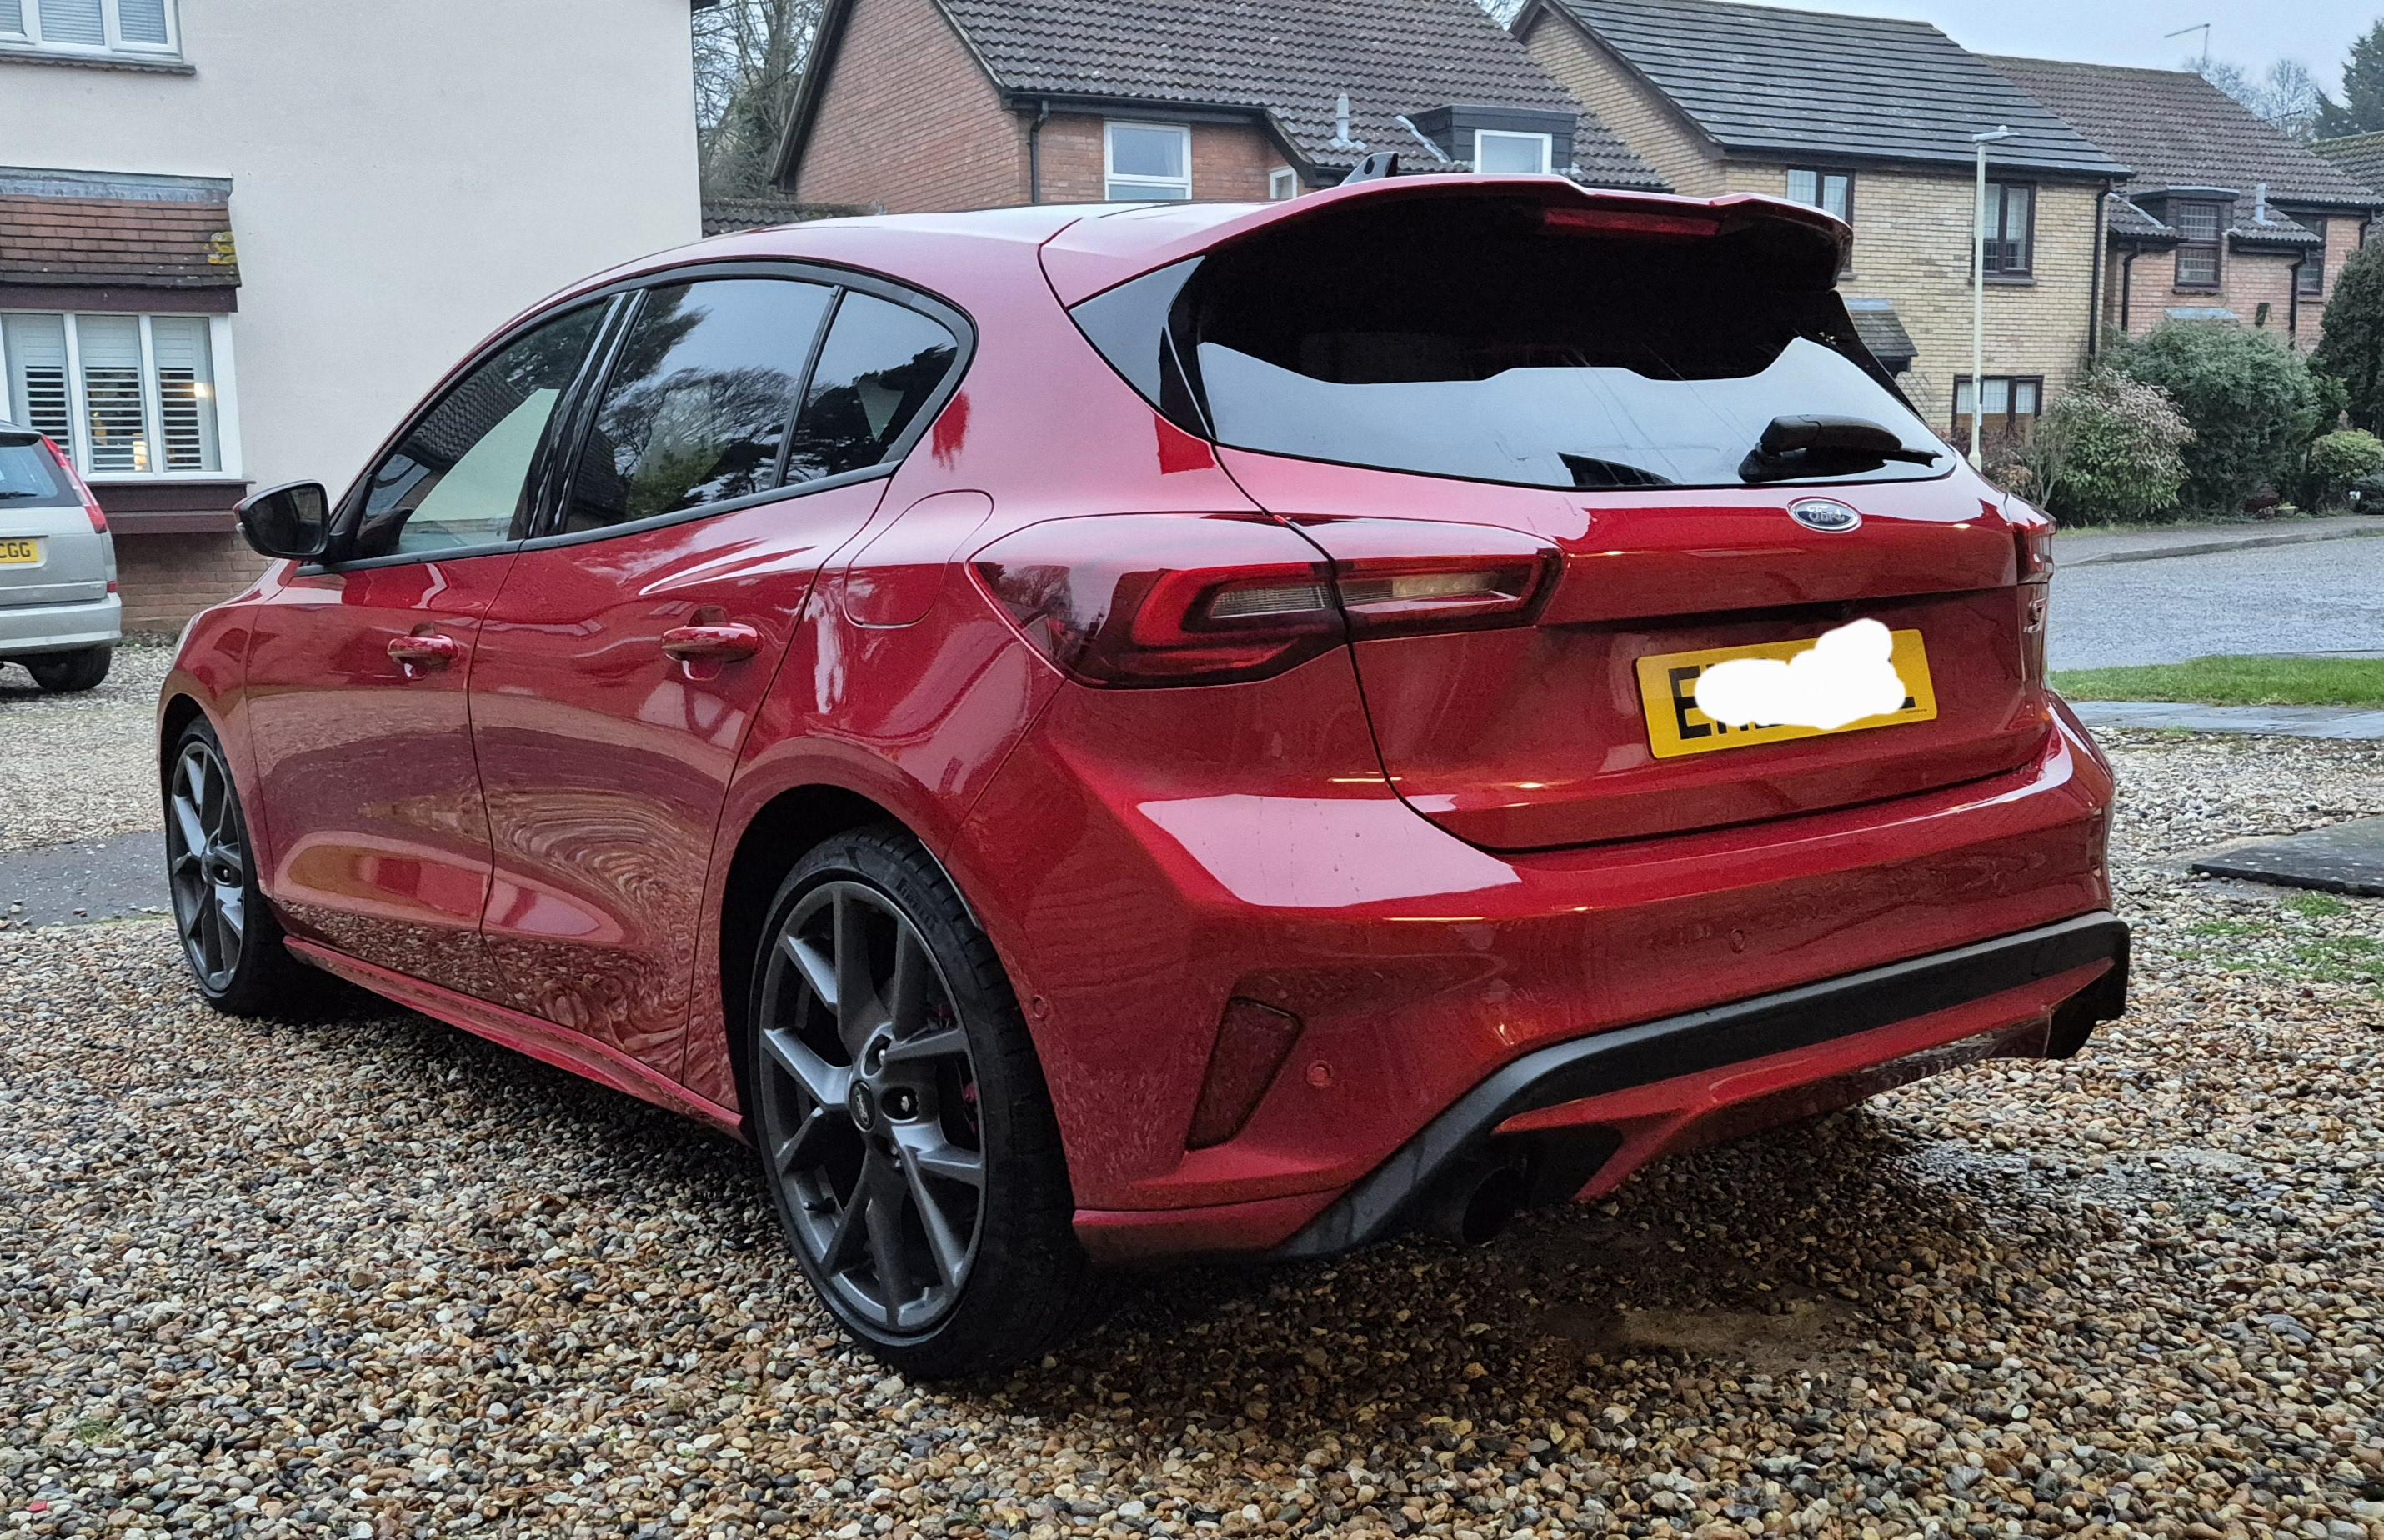
Had to give my Focus ST back last week. I'm gonna miss it. Damn shame they stop production of these in 2025😐 -
Tamiya Sauber Mercedes C9
Funkychiken replied to galaxyg's topic in Other Racing: Road Racing, Salt Flat Racers
Beautiful build GalaxyG! Love the engine details. -
Airfix Jaguar XKR GT3 1:32
Funkychiken replied to Funkychiken's topic in WIP: Other Racing: Road Racing, Land Speed Racers
And I'm calling this one done! Was a fun little build, but I did mess up the clear coat quite badly... live & learn! -
Masked inside & out for window trim & front air intakes I made the masks for the front intakes with some exposure to the front face & wiped off the excess with Thinner. Not long left now...
-
Airfix Jaguar XKR GT3 1:32
Funkychiken replied to Funkychiken's topic in WIP: Other Racing: Road Racing, Land Speed Racers
Was going to try to sand and polish this kit, but its too small with too many details, so I'll leave it as is. Started to do the final touches - masked and sprayed the window trim, and installing soe mesh for the front grille, unfortunately this PE mesh bends easily and then doesn't look great when reflecting lights - but its better than the decal provided with the kit. -
Looks like a cool kit! I'll follow along!


