-
Posts
4,498 -
Joined
-
Last visited
Content Type
Profiles
Forums
Events
Gallery
Everything posted by gotnitro?
-

Kenworth K100 Quad Mixer
gotnitro? replied to lwwoodss's topic in WIP: Model Trucks: Big Rigs and Heavy Equipment
Outstanding work -

AMT 1/25 2021 Bronco First Edition
gotnitro? replied to Jordan White's topic in Truck Kit News & Reviews
I would love a Badlands Squatch packaged Bronco, few of them are showing up around here finally yeah leave out the 2.7 and cram a 5.0 under the hood -

Maroon plastic bleed through?
gotnitro? replied to jaymcminn's topic in Model Building Questions and Answers
spray a coat of silver paint over the molded color plastic 1st, then your normal routine it seals the bleed thru -

Kenworth K100 Quad Mixer
gotnitro? replied to lwwoodss's topic in WIP: Model Trucks: Big Rigs and Heavy Equipment
Outstanding work cant wait for next update -
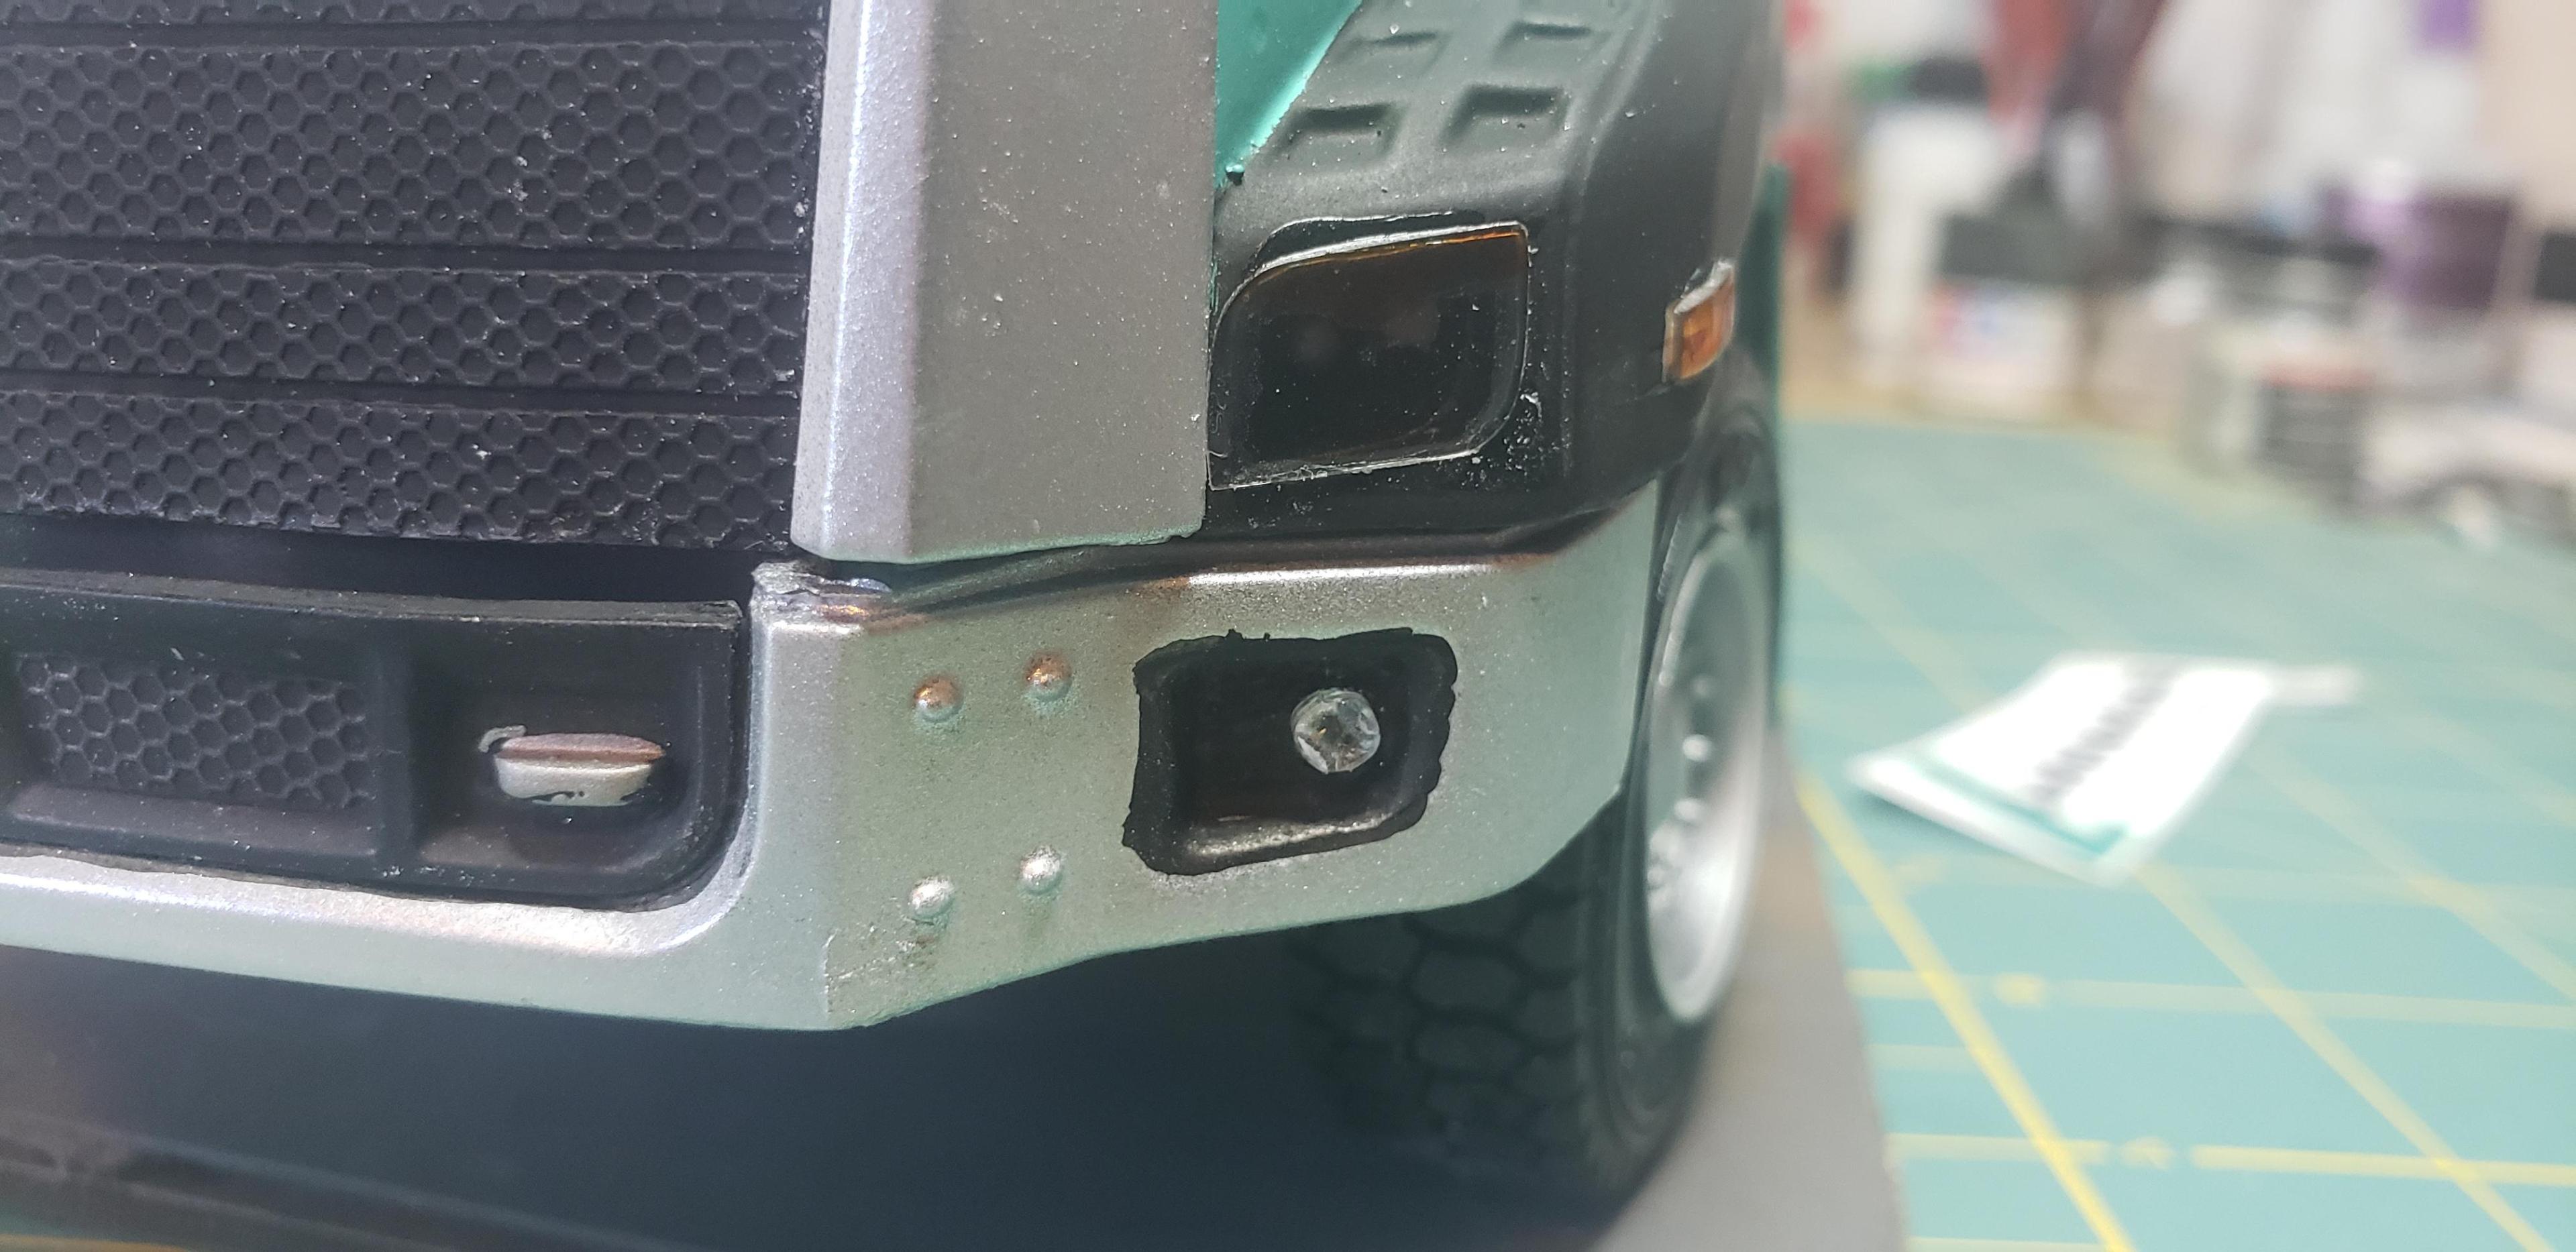
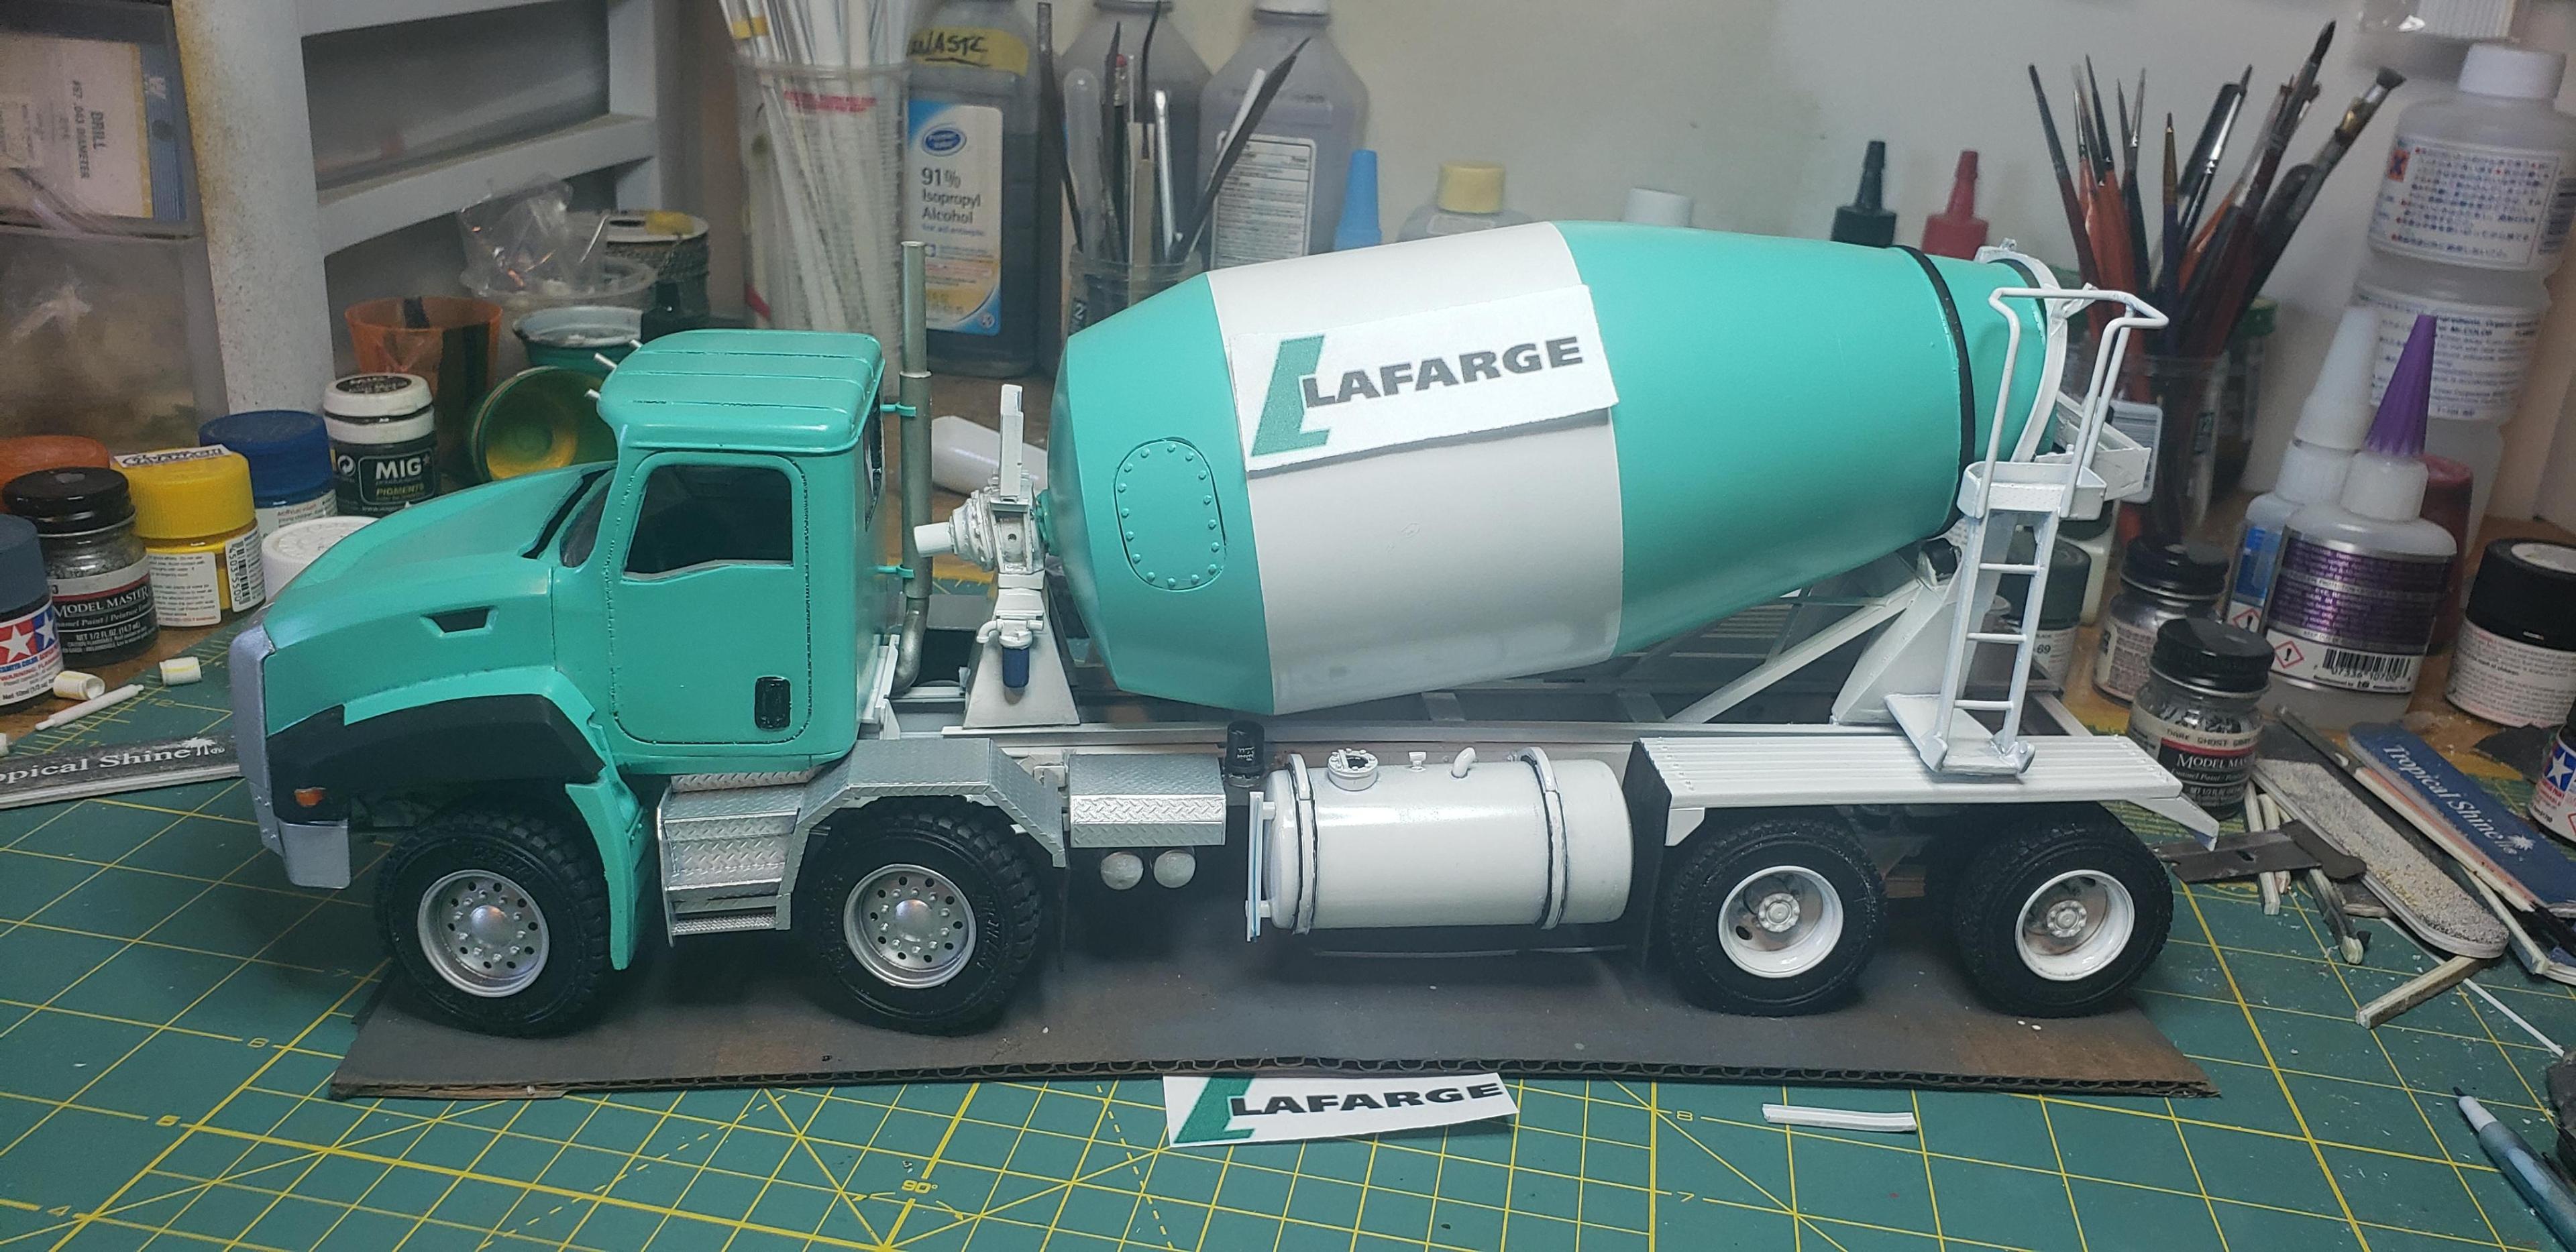
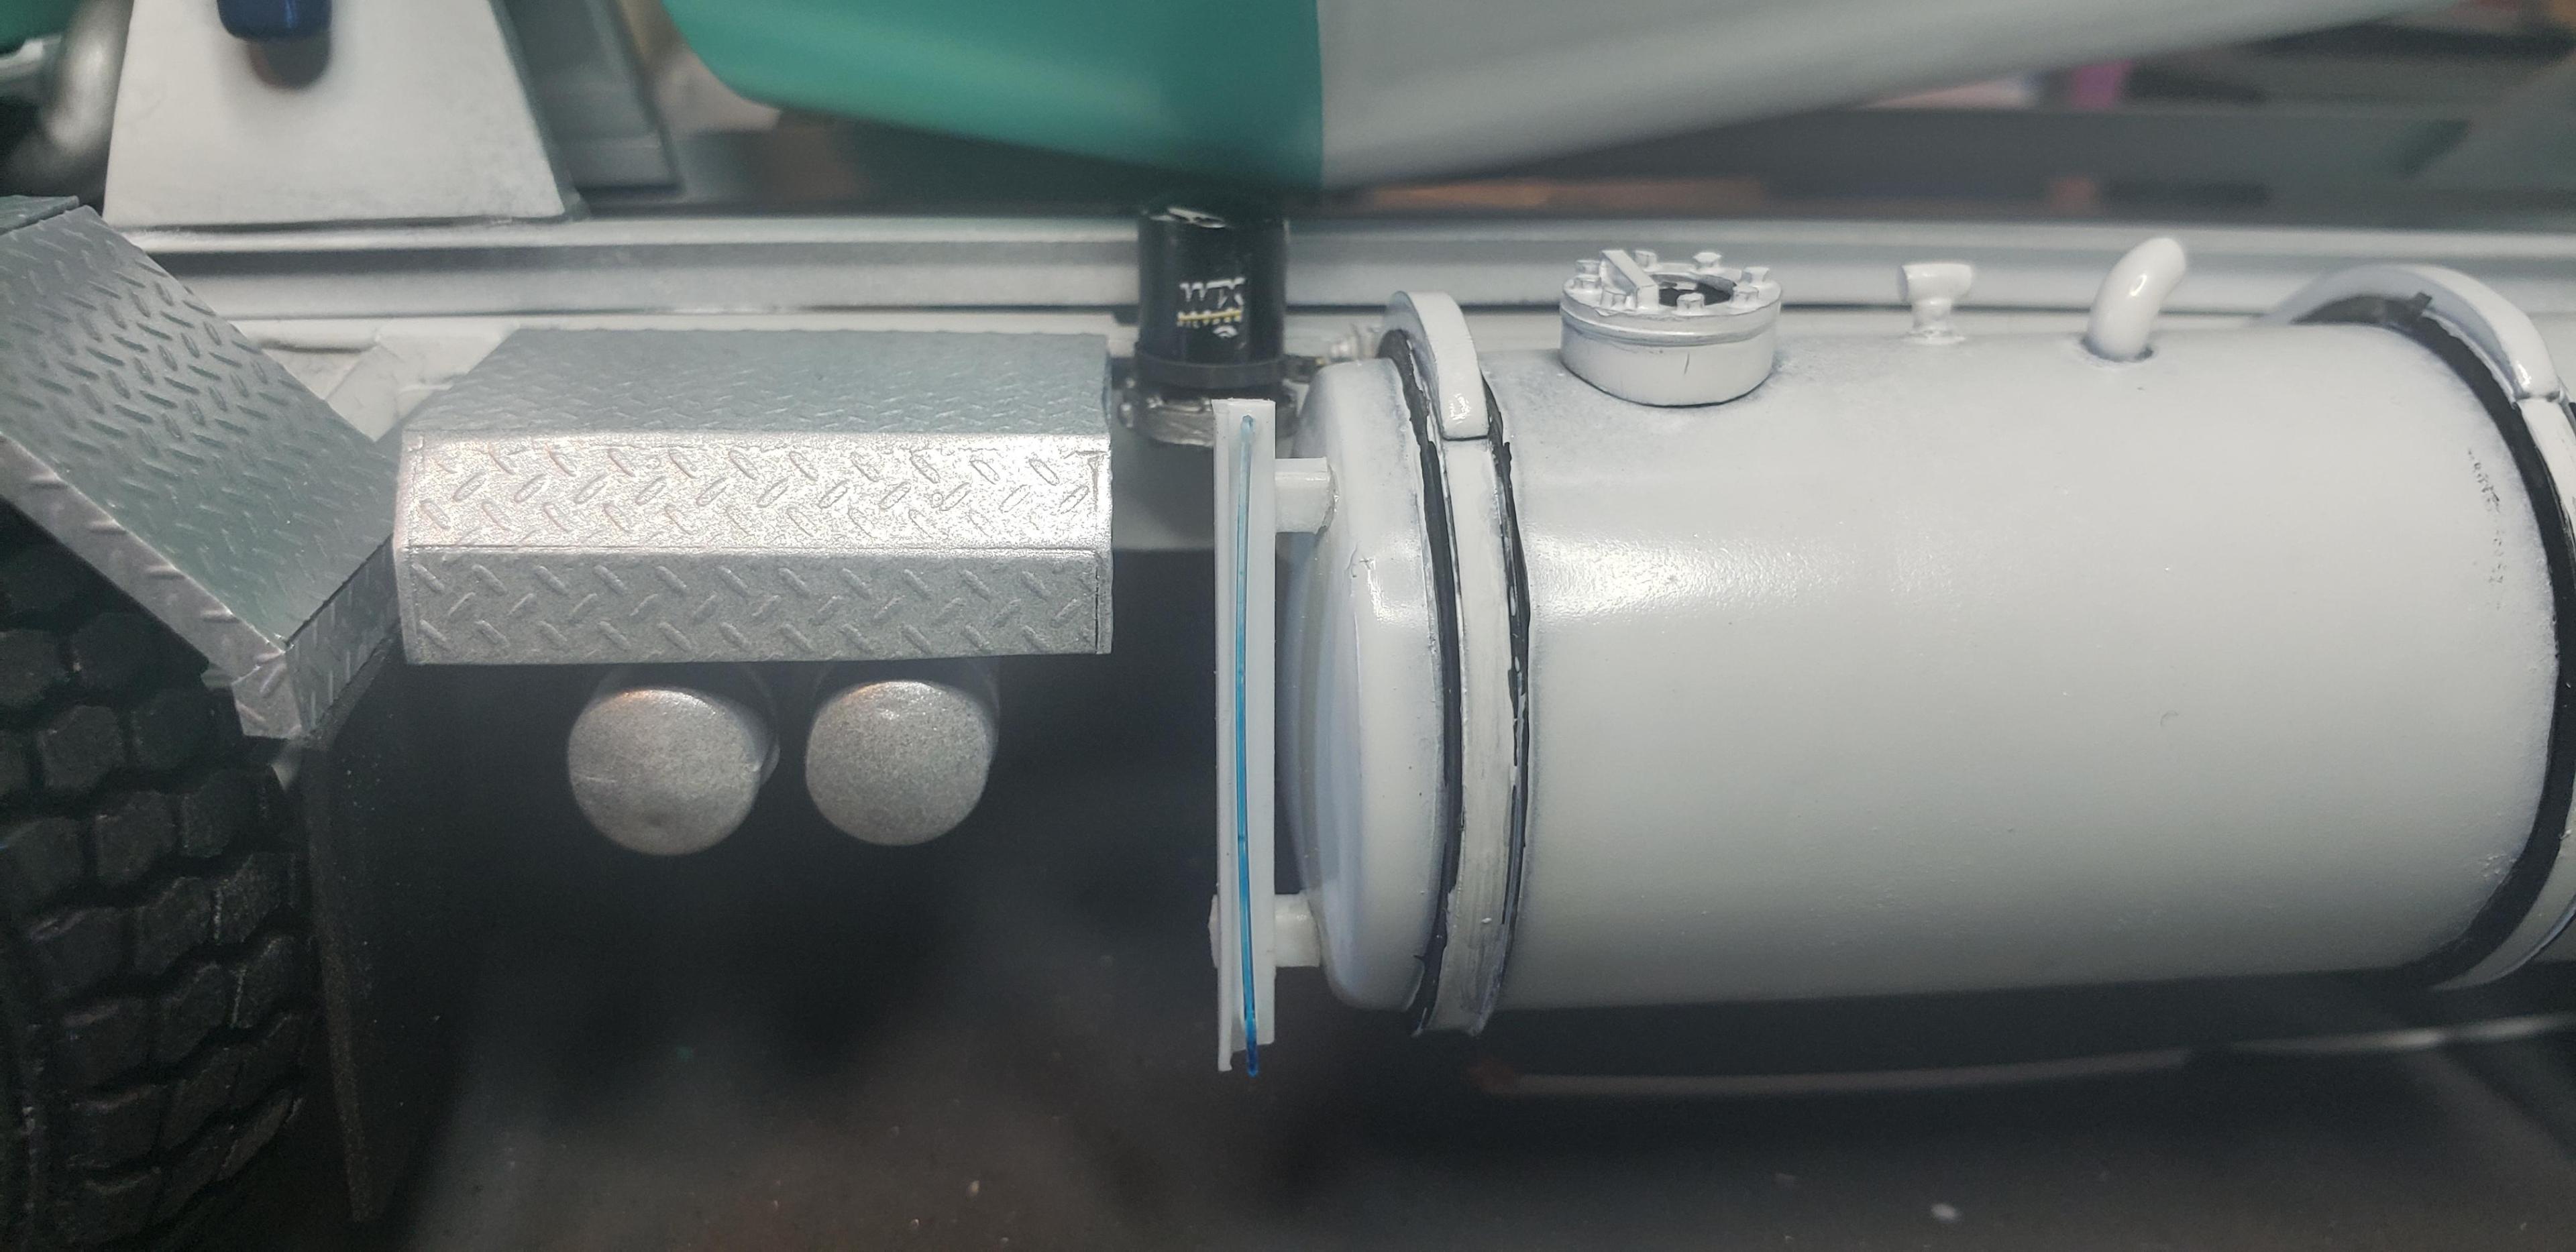
Reached the 2nd most exciting part of a build, final assembly !! Getting the headlight covers and projector lights looking right was a pain. I used small bits off clear sprue for the lights , and bubble package plastic for the covers. I sprayed the mixer frame w gloss white, then printed patterns for decals. I'm waiting for actual decal paper to print the final set Close up of the air dryer, and the driver left the water tank nearly full ! Stretched clear sprue then a quick wipe w a blue sharpie made a suitable water line. I still plan to add a few water hoses and air lines to tie the build together. Thanks for following
-

Dodge L700 Straight Truck
gotnitro? replied to OldTrucker's topic in WIP: Model Trucks: Big Rigs and Heavy Equipment
Nice work so far keep at it !! -
Huge thank you for using my Cat mixer WIP in the magazine. Its a honor to have it printed
-

Brockway 457 Garbage Truck
gotnitro? replied to Warren D's topic in WIP: Model Trucks: Big Rigs and Heavy Equipment
Good call on the color ! Turquoise and white seem to be a theme lately Like the 6-71 idea, seems more likely for a refuse truck -

Brockway 457 Garbage Truck
gotnitro? replied to Warren D's topic in WIP: Model Trucks: Big Rigs and Heavy Equipment
Looking forward to this ! Picked out your color scheme yet ? I only ask cause I wanted to beat Dan asking lol -

Trailways bus
gotnitro? replied to yellowsportwagon's topic in WIP: Model Trucks: Big Rigs and Heavy Equipment
Very cool project love the old buses -
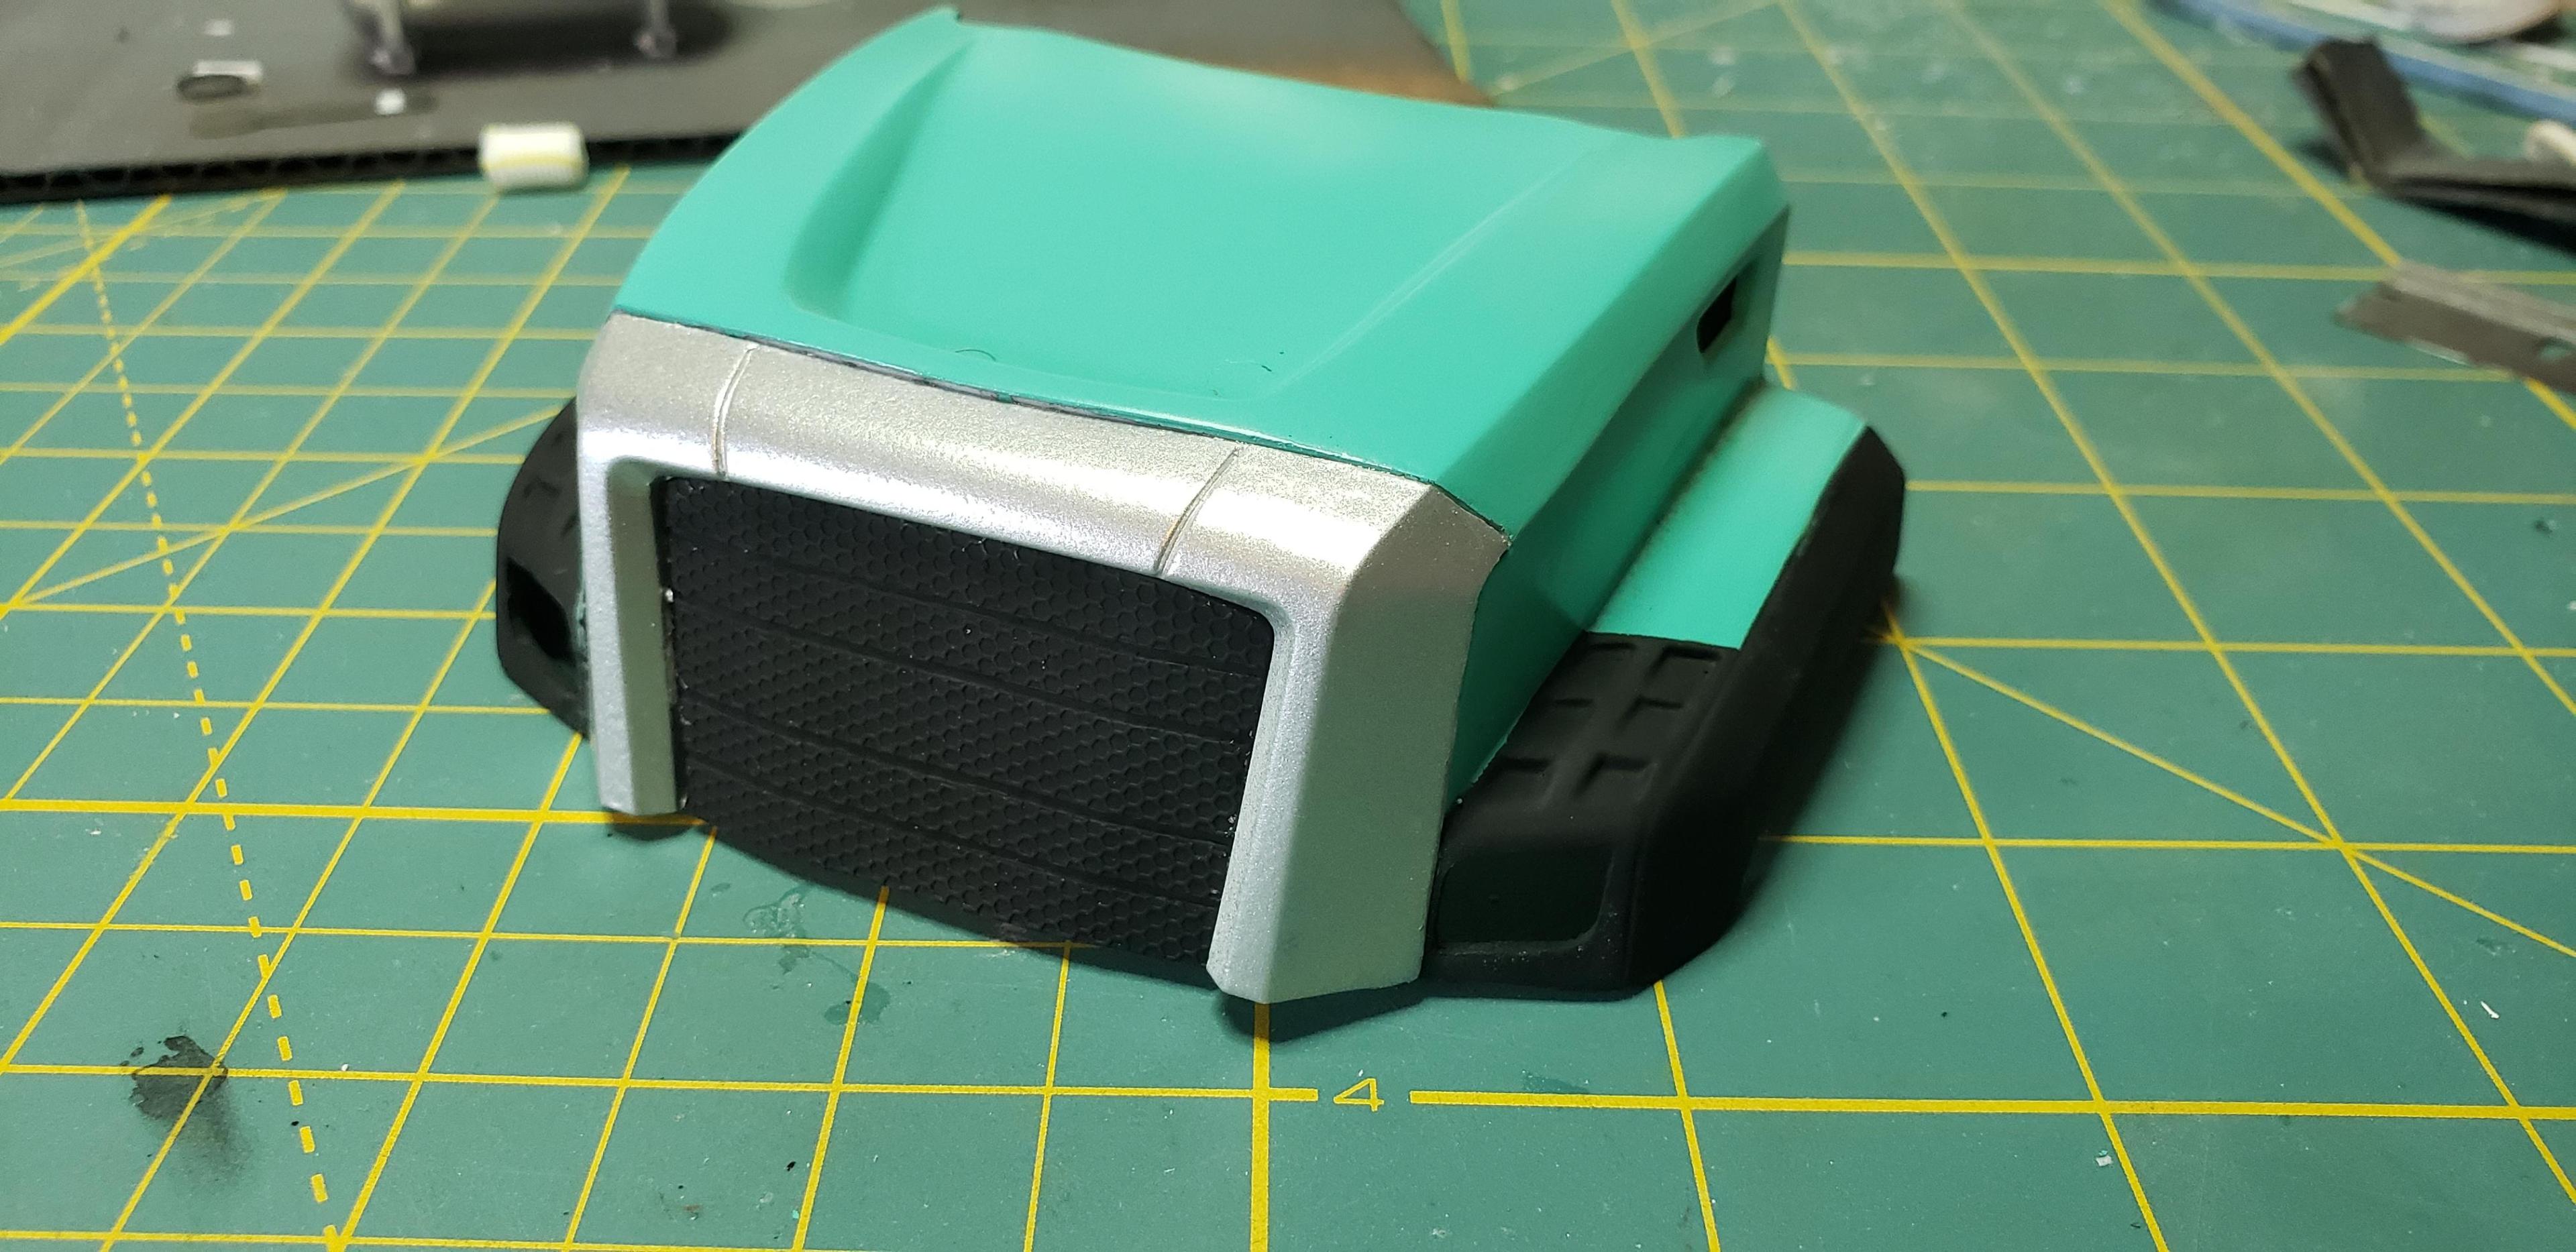
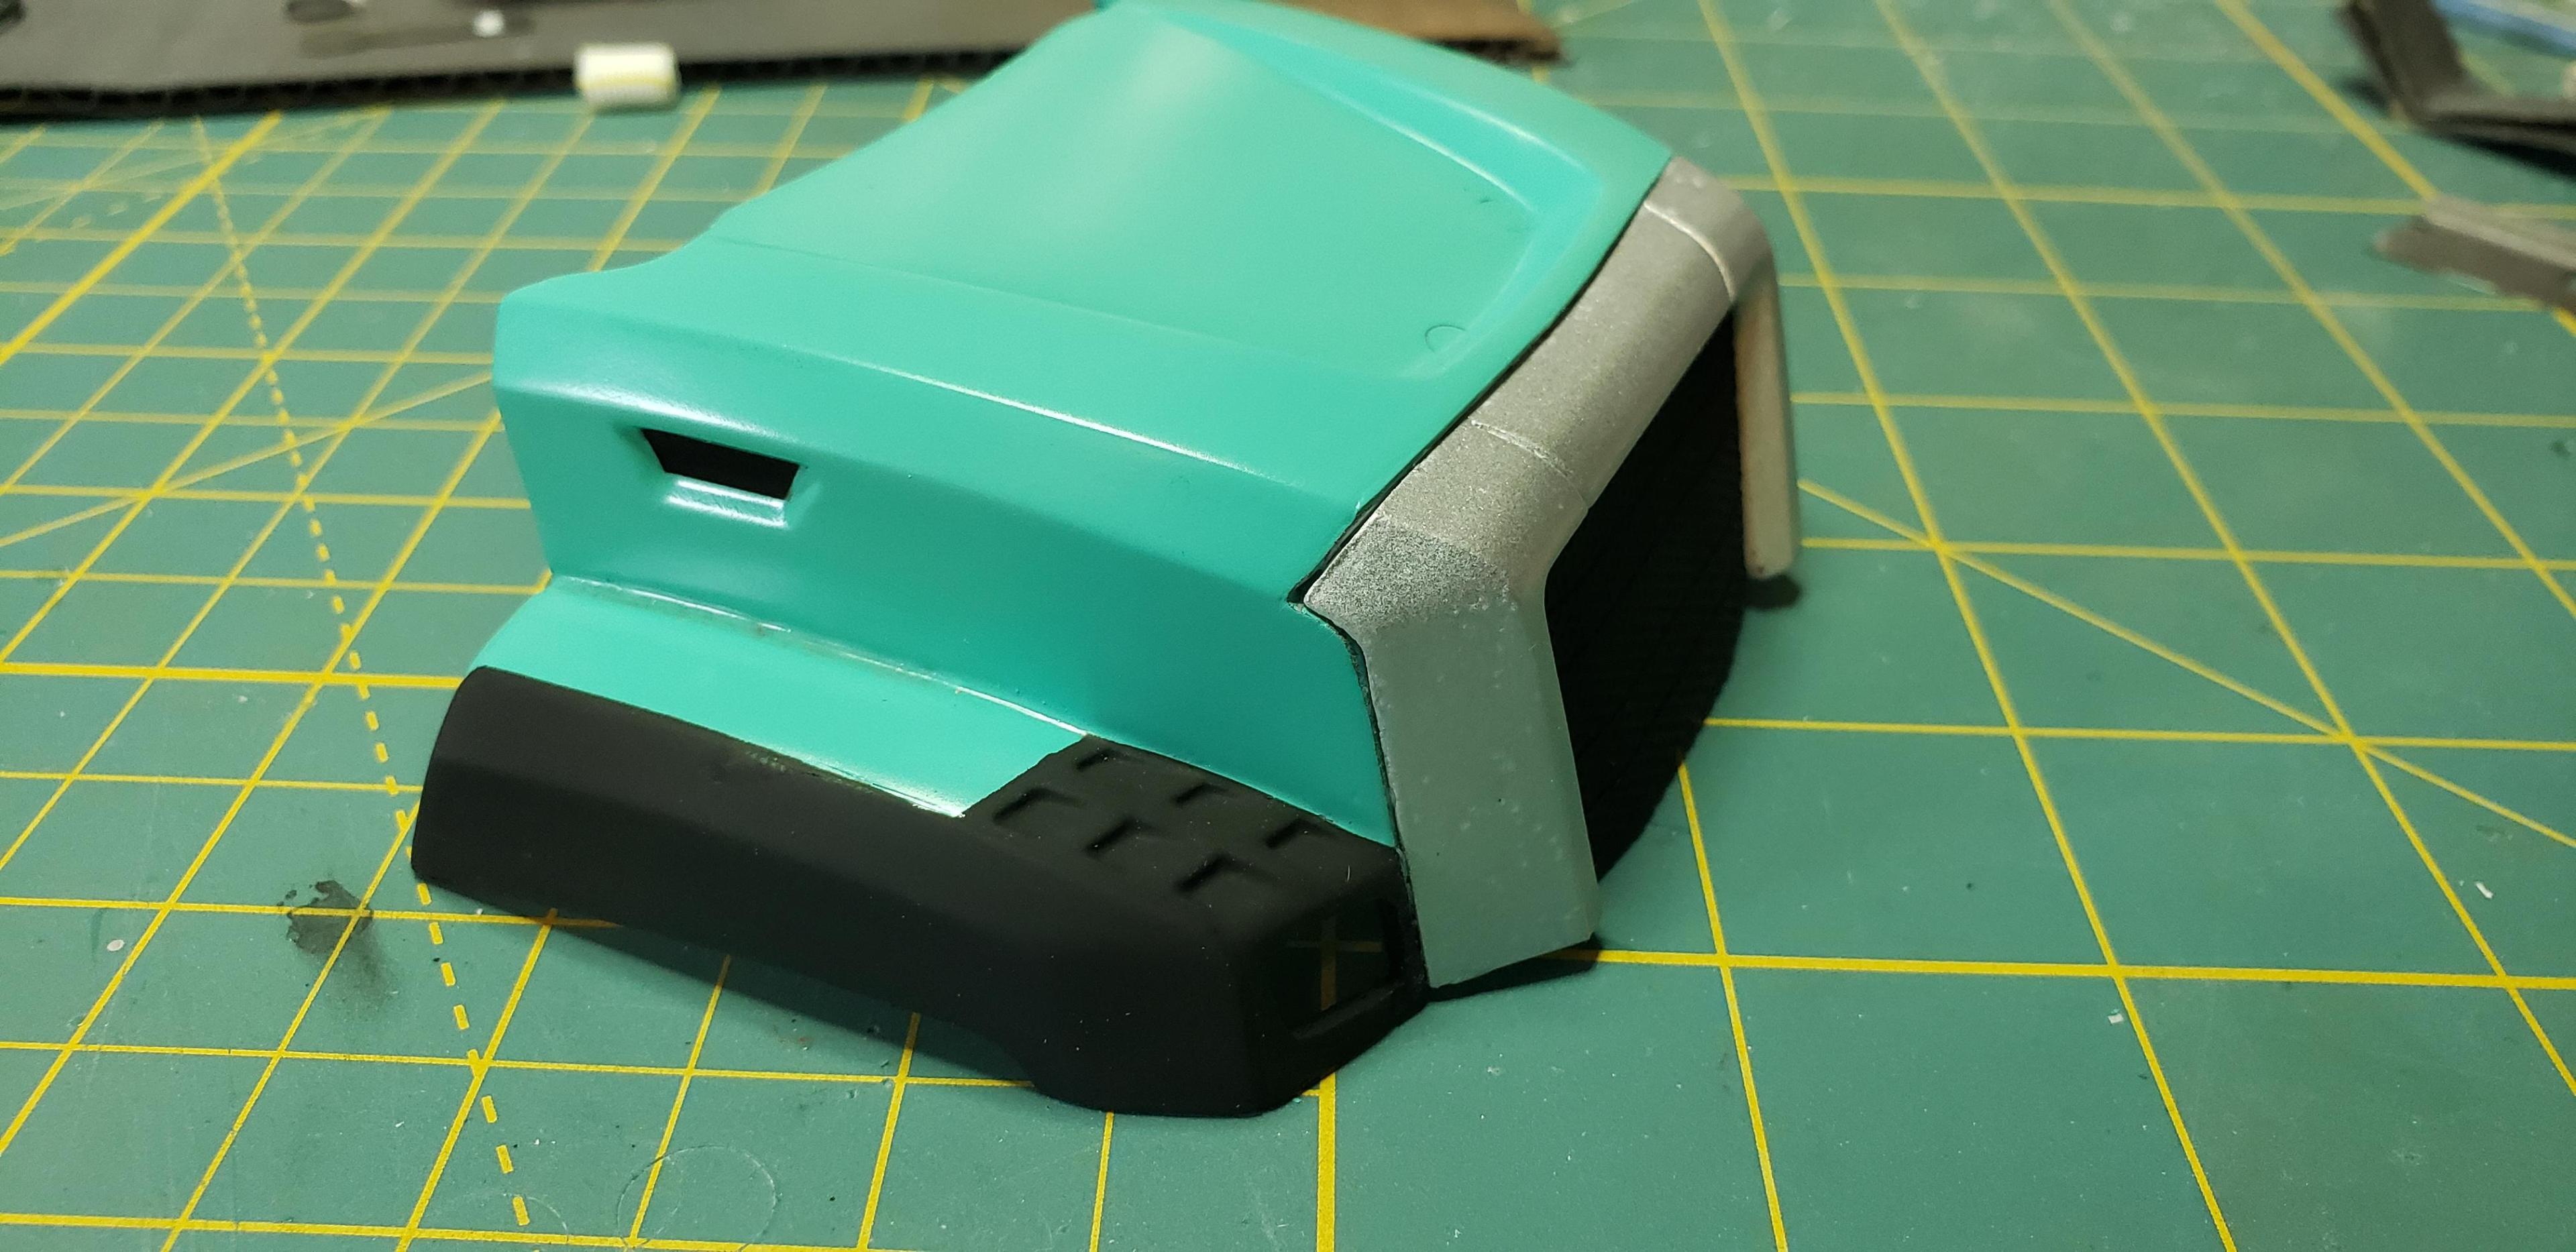
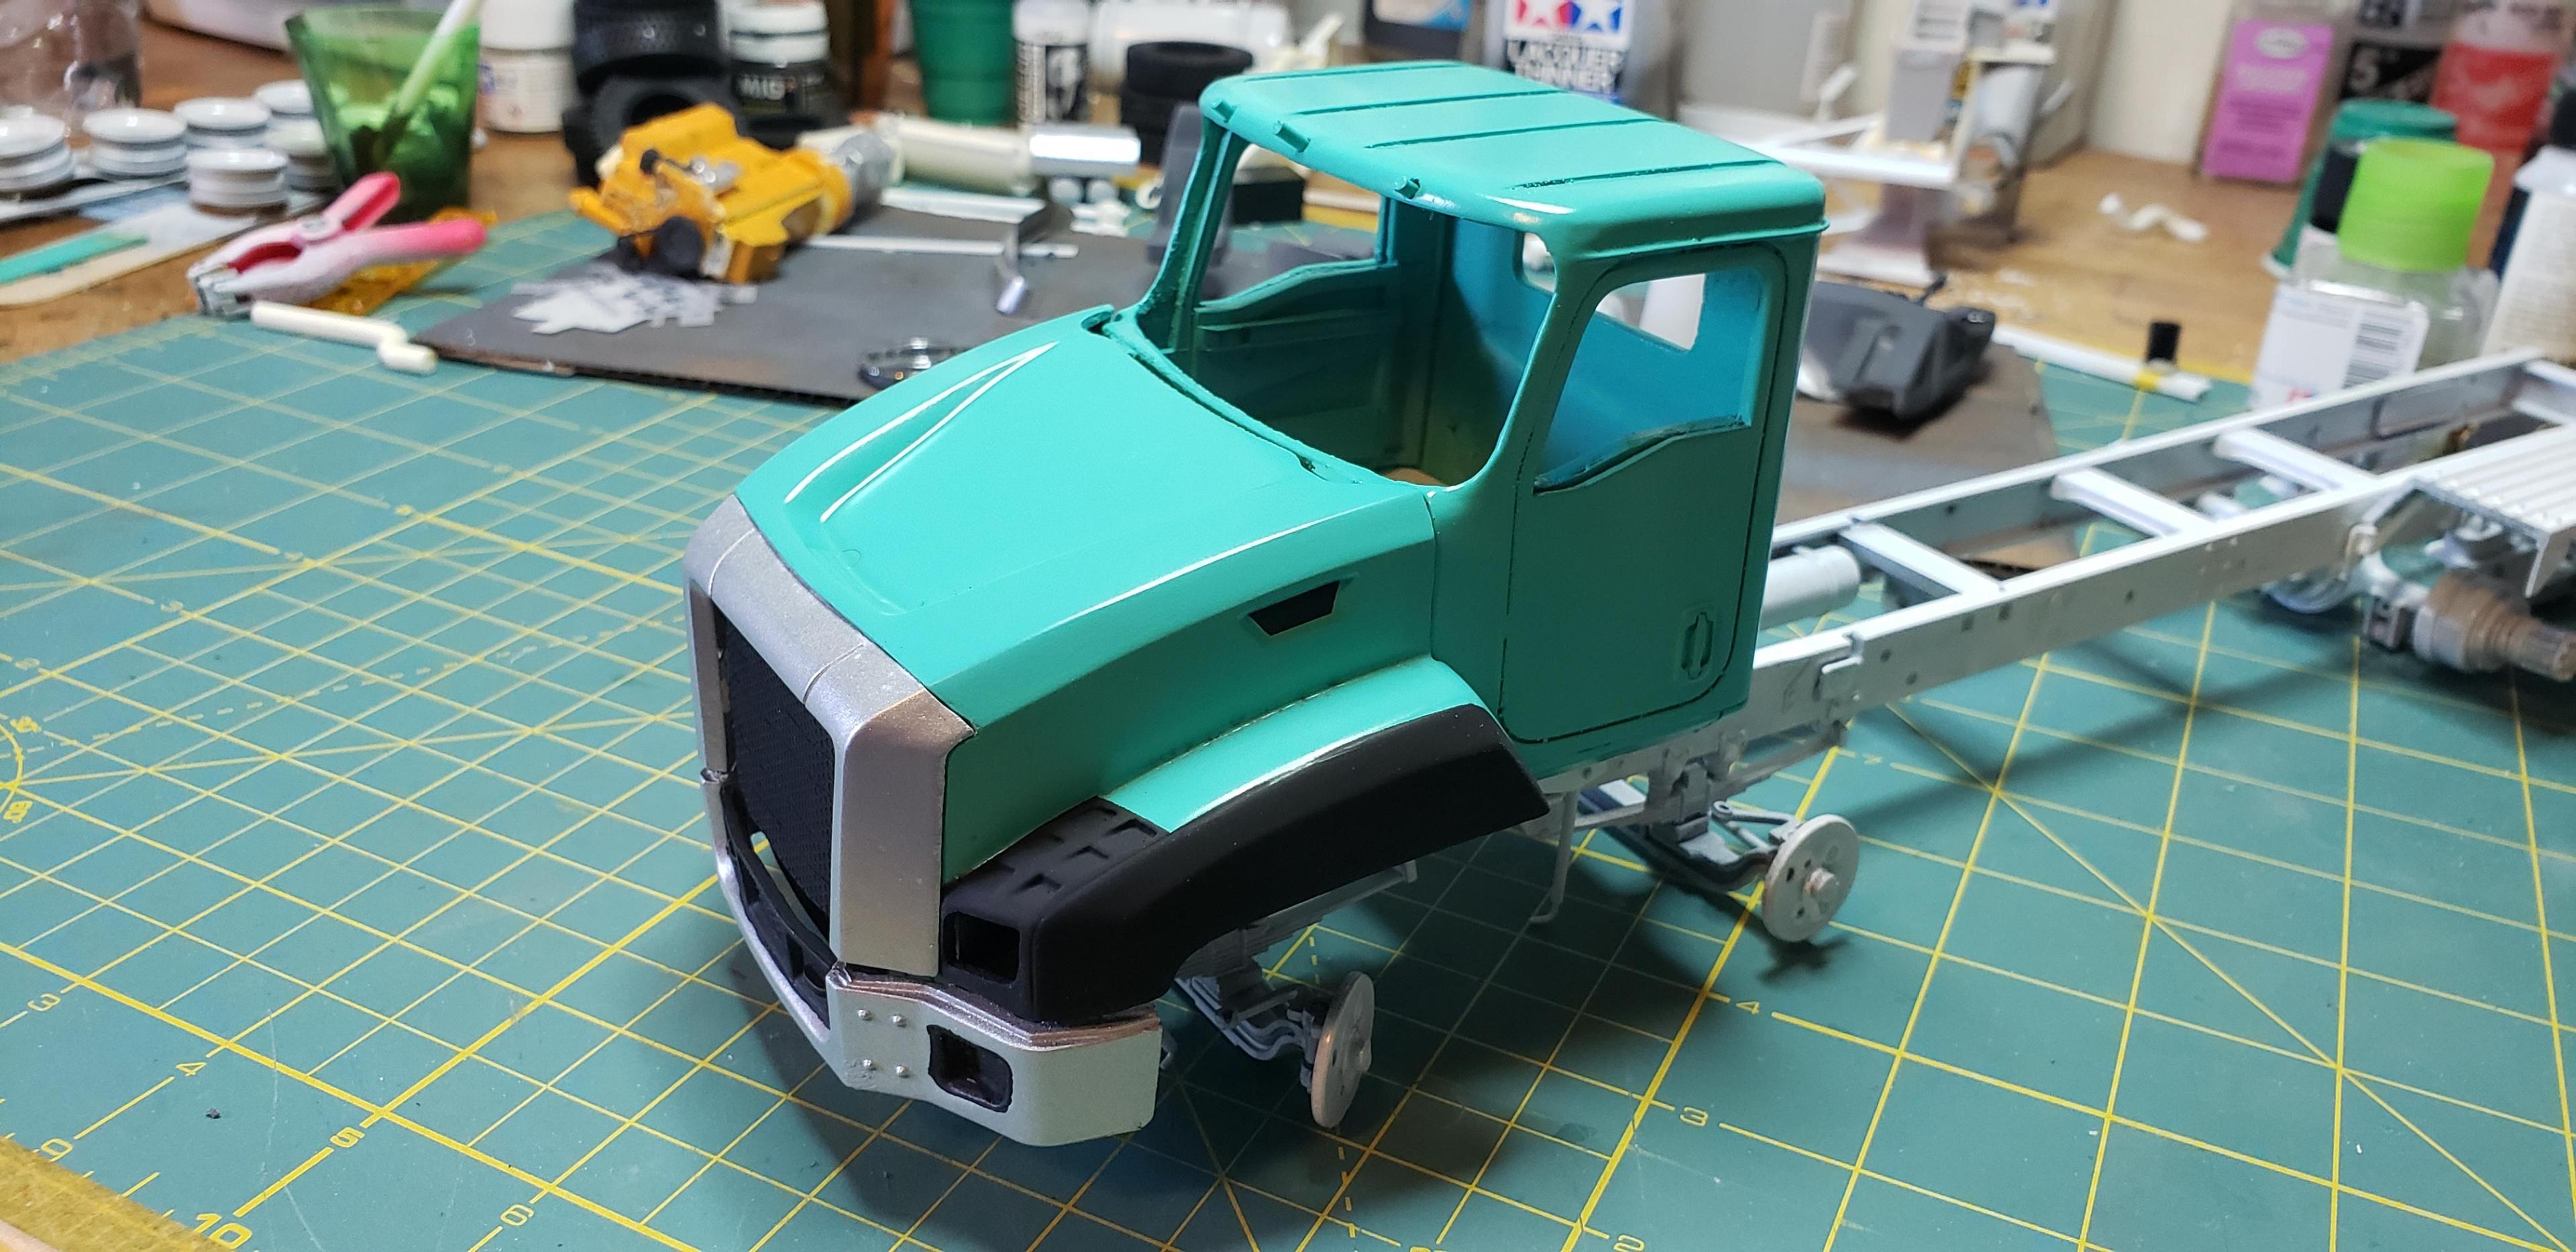
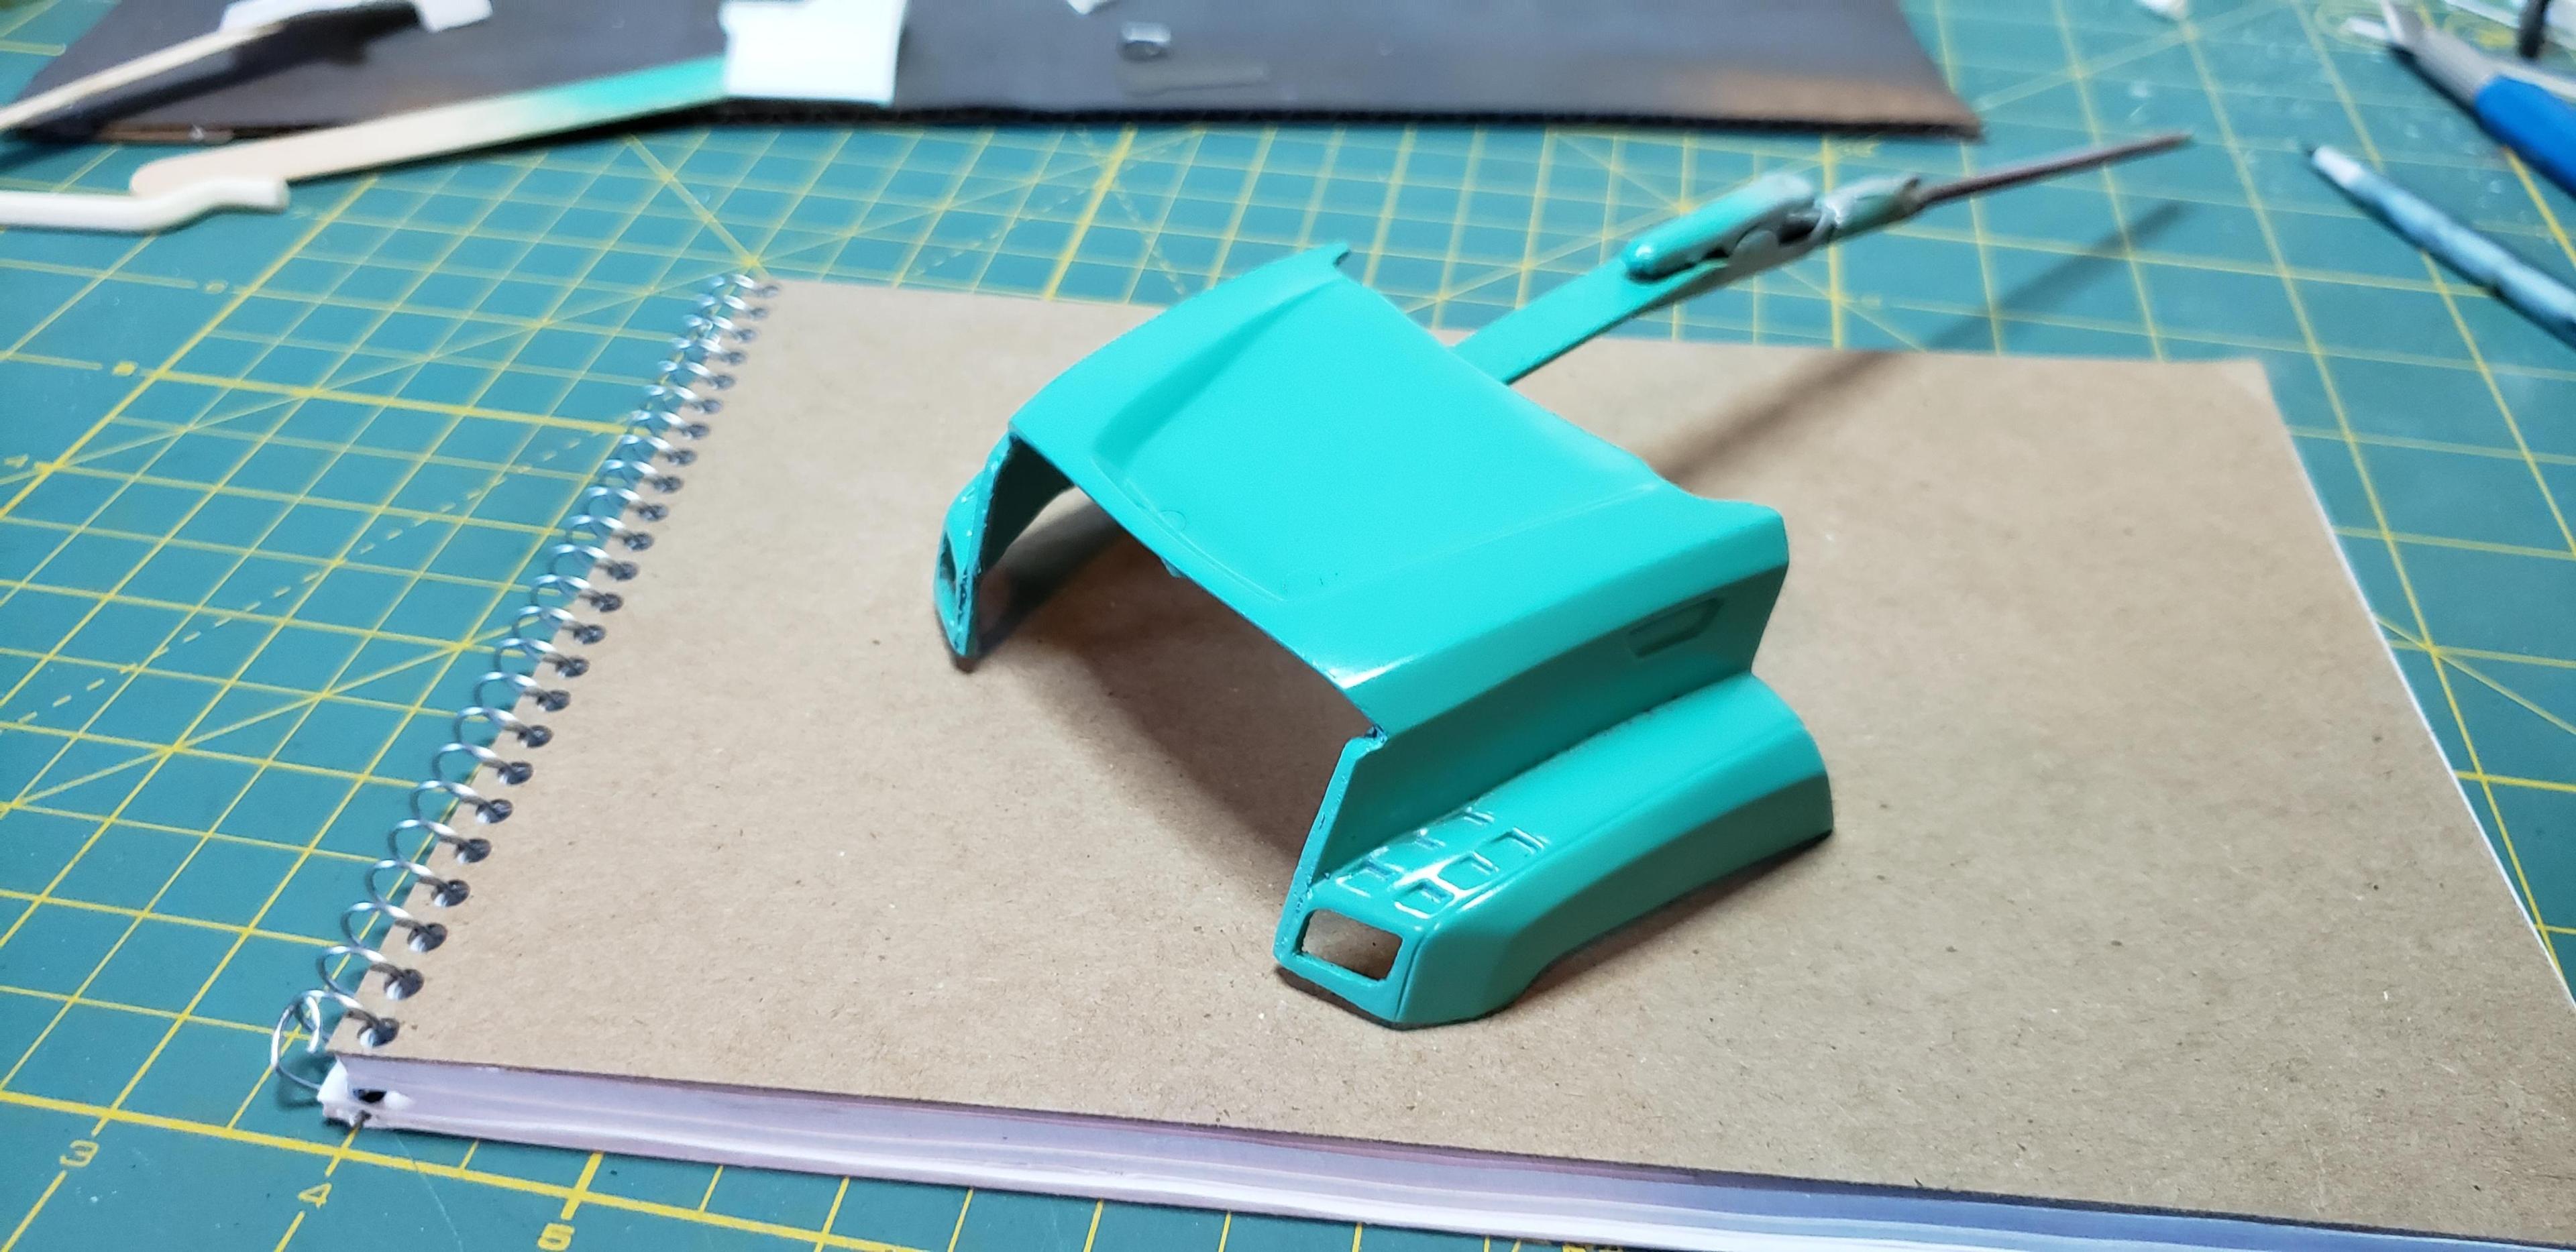
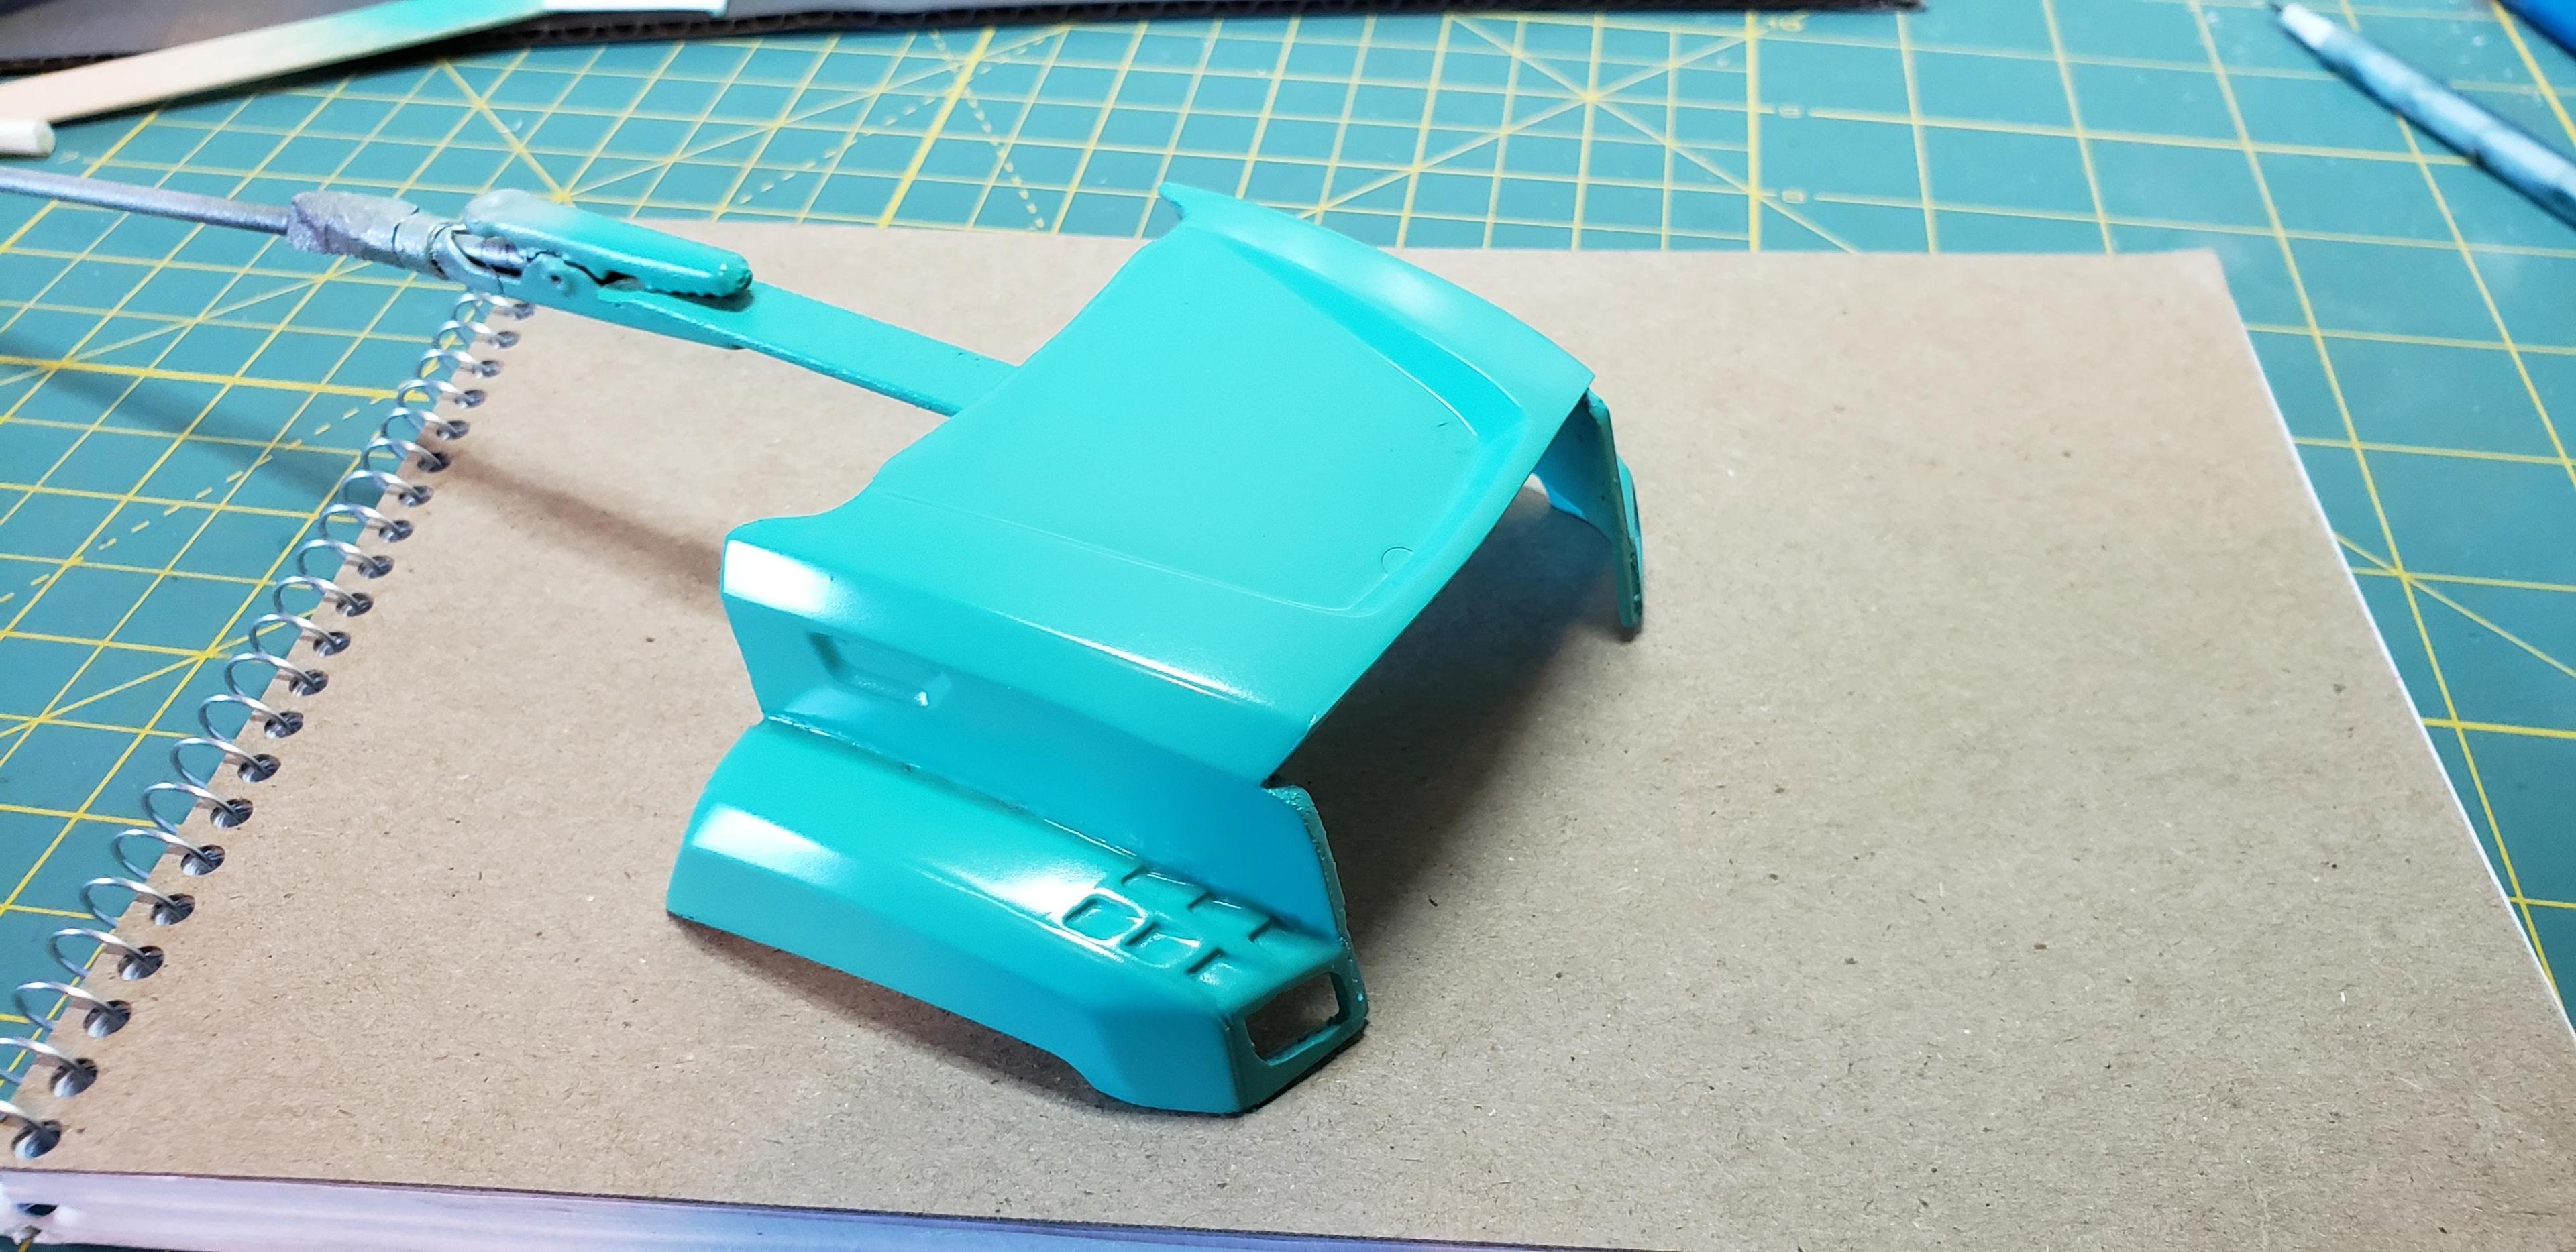
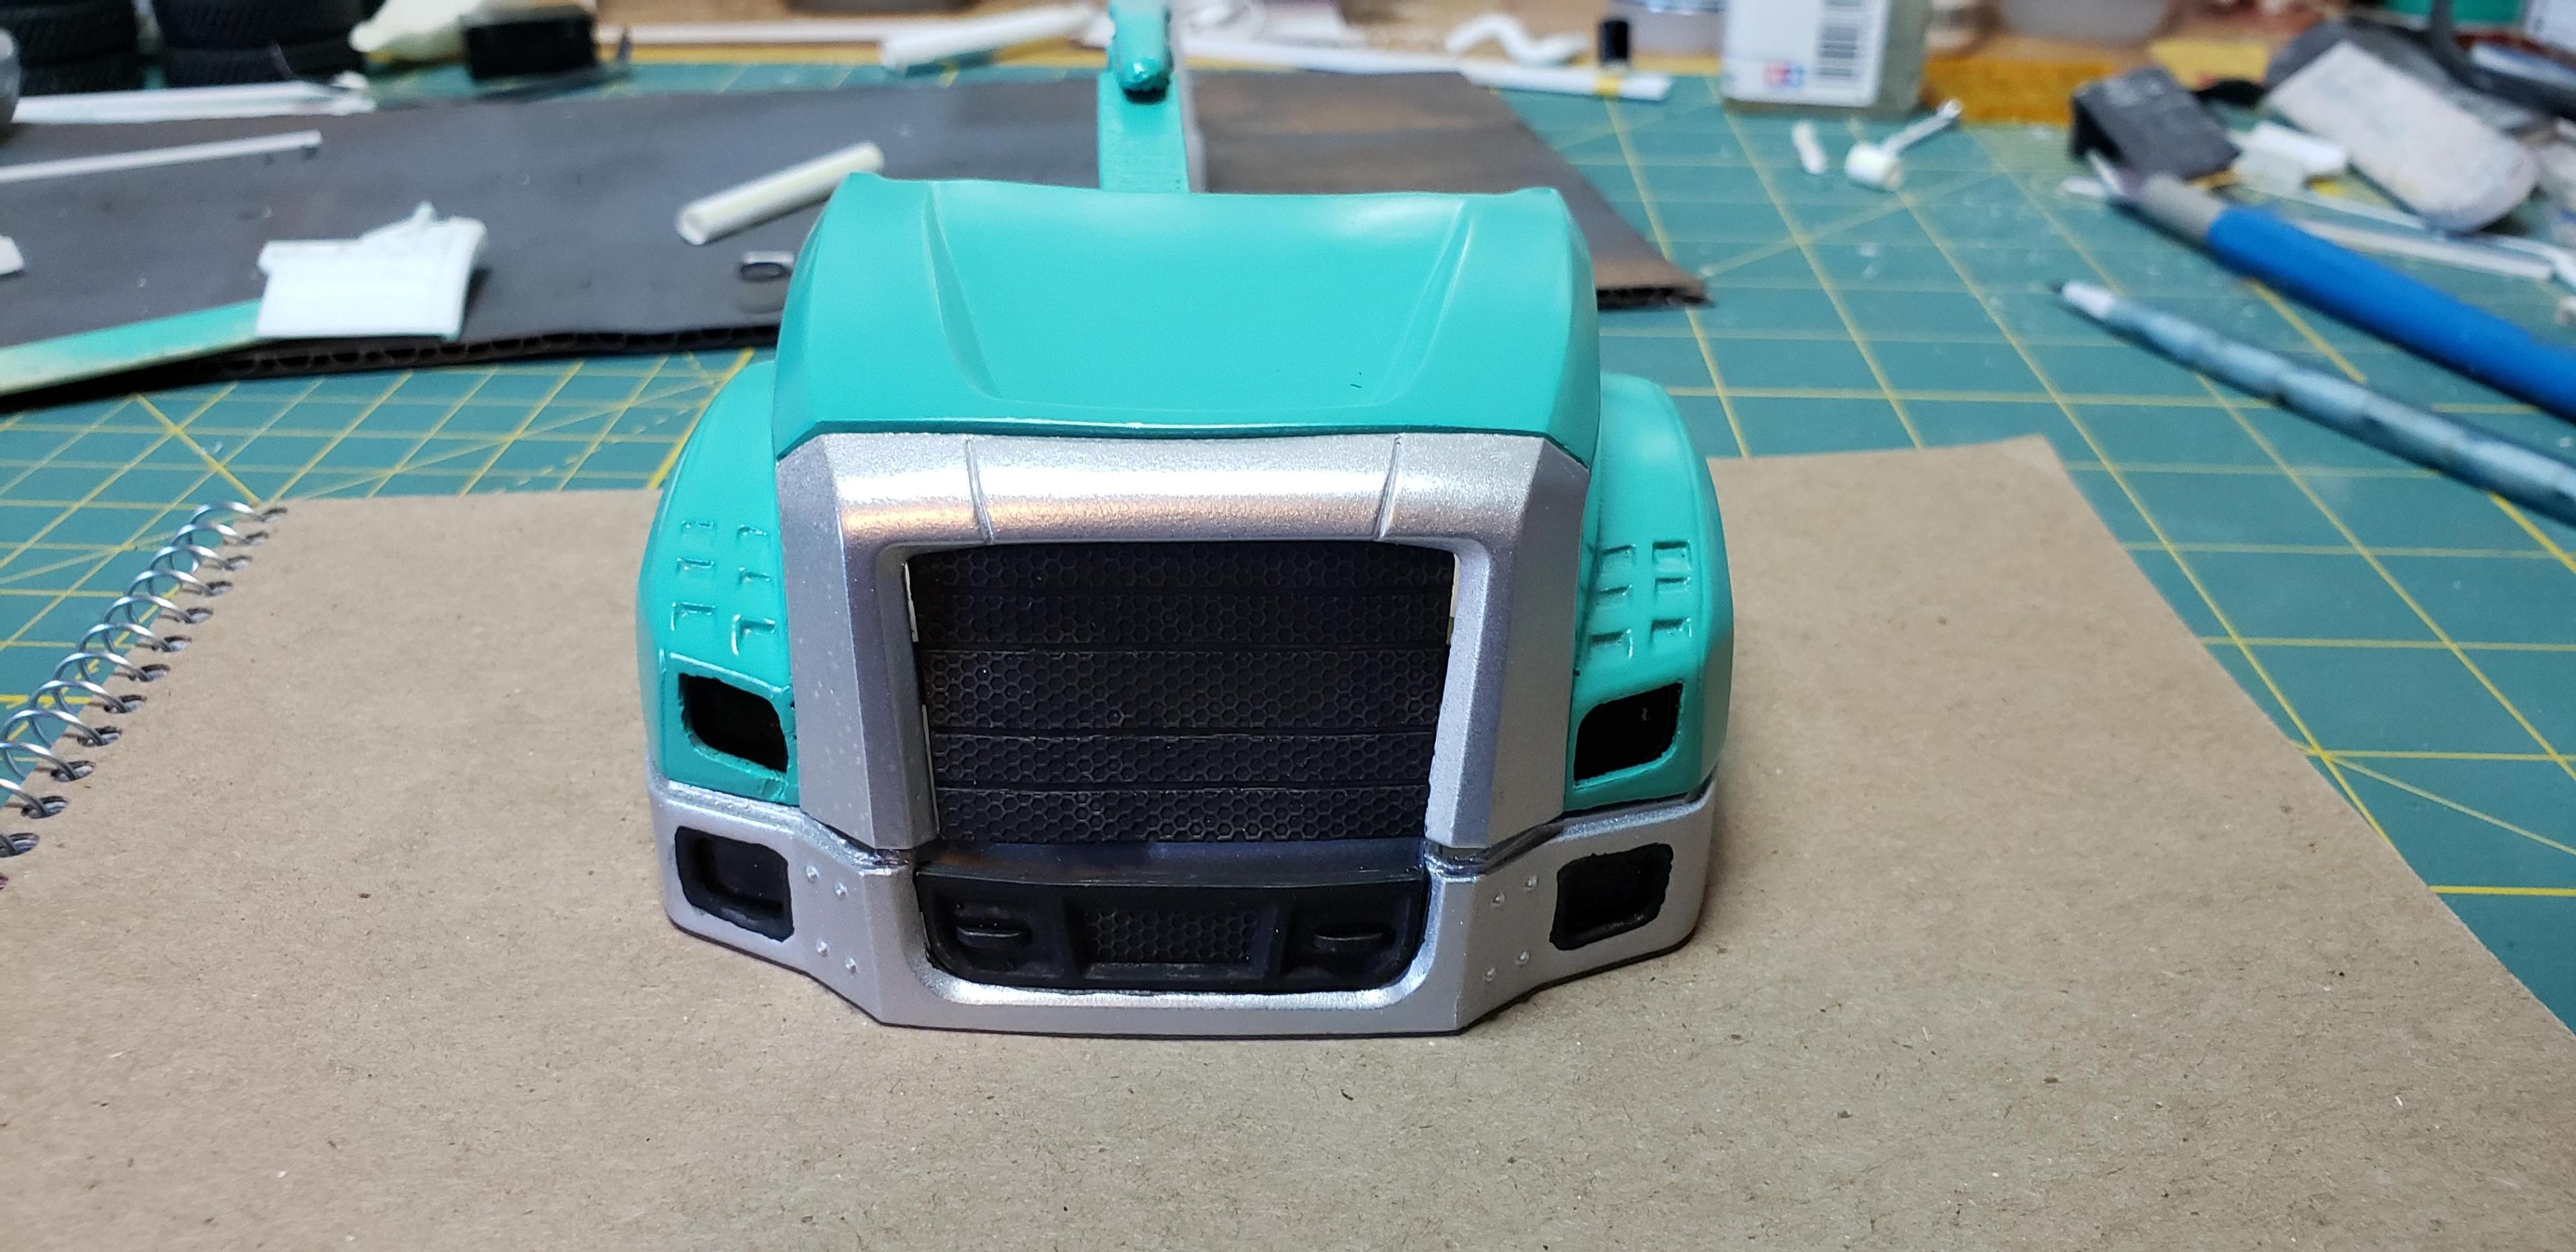
Funny you mention those... Masked w this strips of tamiya tape made it ultra simple. The small recess was dusted w flat black also, later a cat decal will live there . Now hows all these painted parts gonna look all together? I chose a steel color for the steering wheels then white on the drives . A few more details on the mixer frame then its ready for final install
-

Dodge LS1000 Day cab
gotnitro? replied to Mopar - D's topic in WIP: Model Trucks: Big Rigs and Heavy Equipment
Your fleet is really filling up w epic trucks, this Dodge looks perfect in its super bee fleet colors -

Scratchbuilt flatbed
gotnitro? replied to Rockford's topic in WIP: Model Trucks: Big Rigs and Heavy Equipment
Fantastic work!!!! Really like all the eye candy -
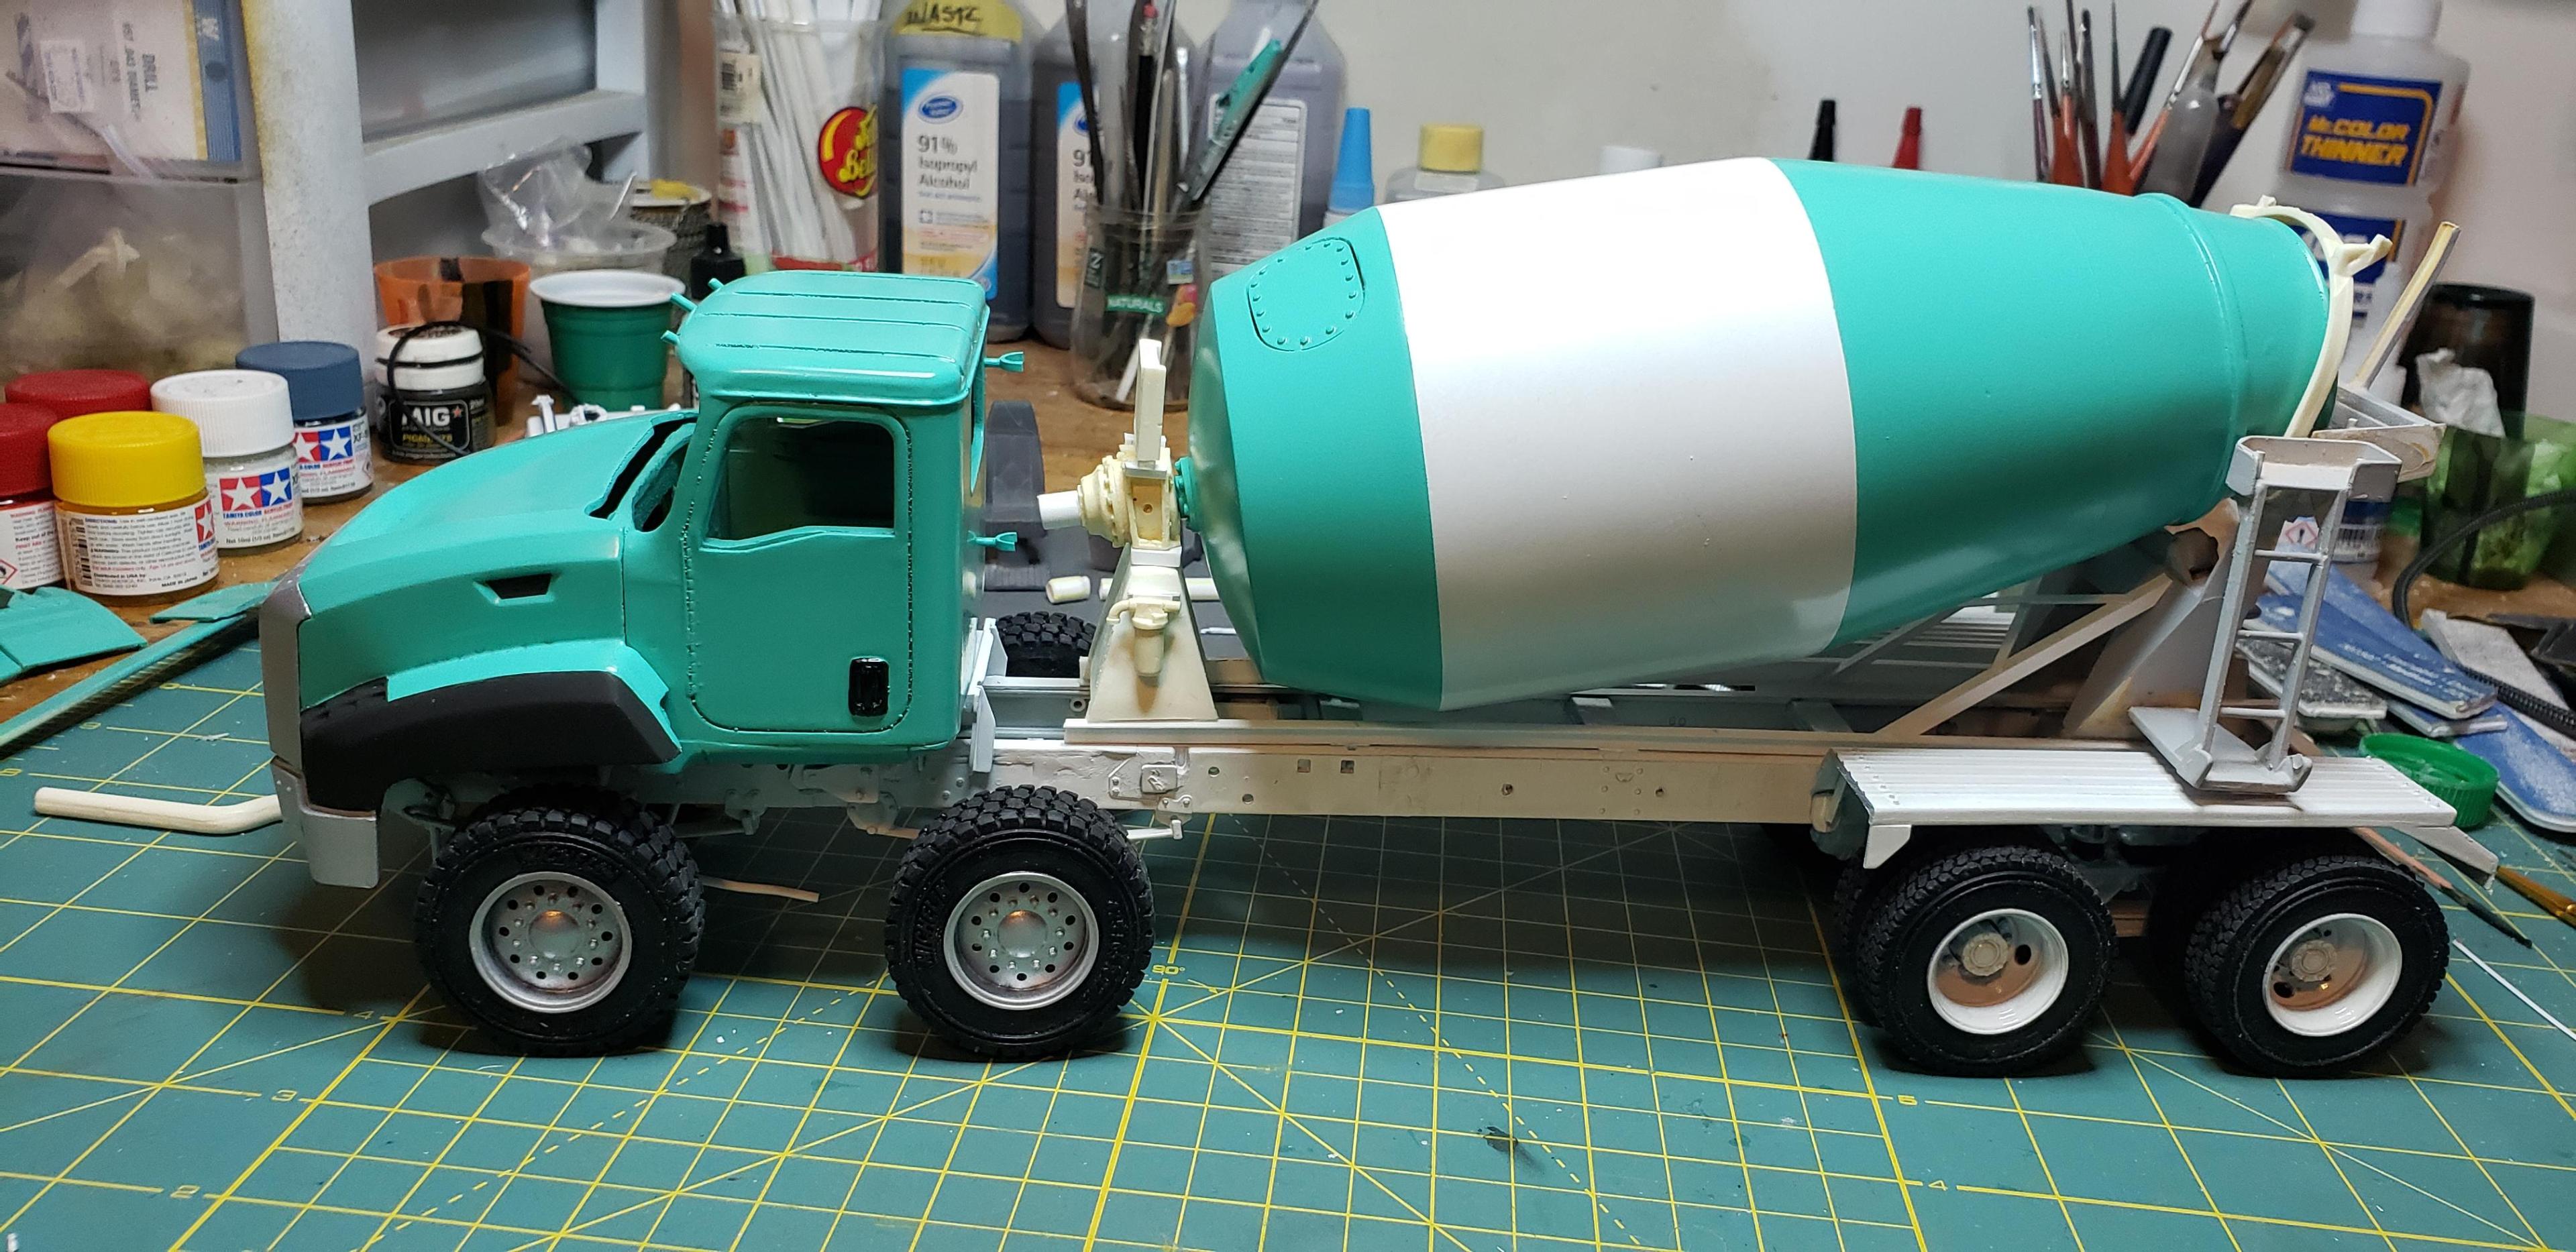
Thanks Dan ! I gotta keep working on this or it'll bog down lol Painting white over anything usually causes stress. I dusted 2 coats..difficult w this flea bomb..then one coverage coat then walked away. The frame was sprayed last night too. After a few days cure i can add the running gear, tanks, steps and other large parts. Thanks for following the progress
-
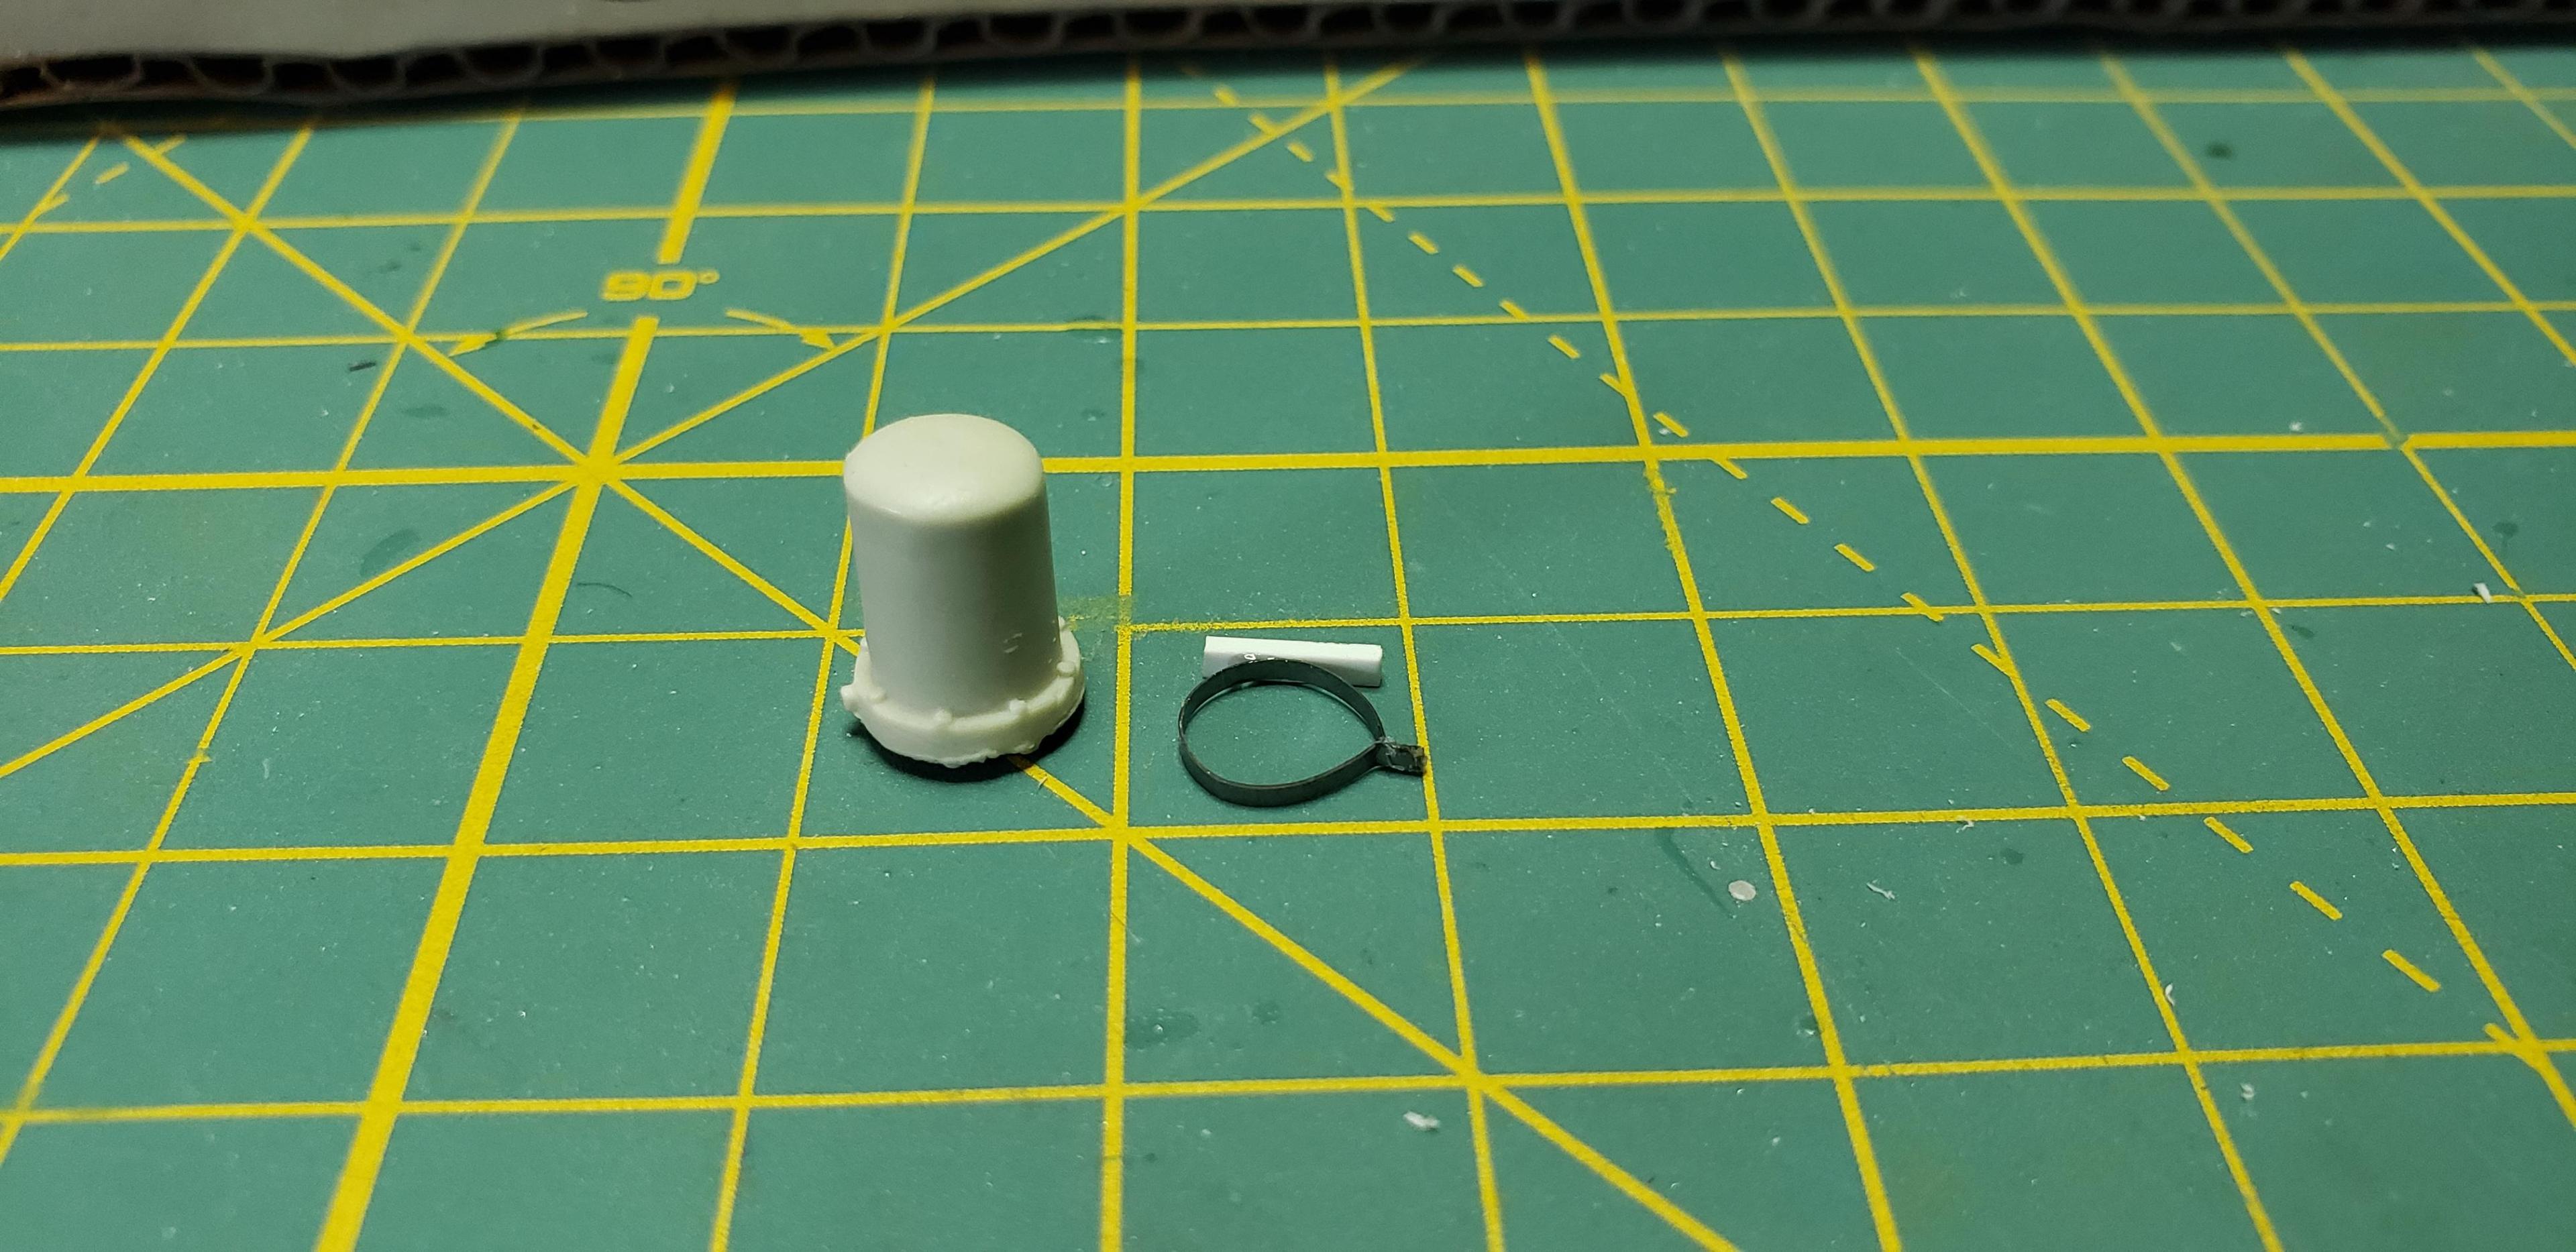
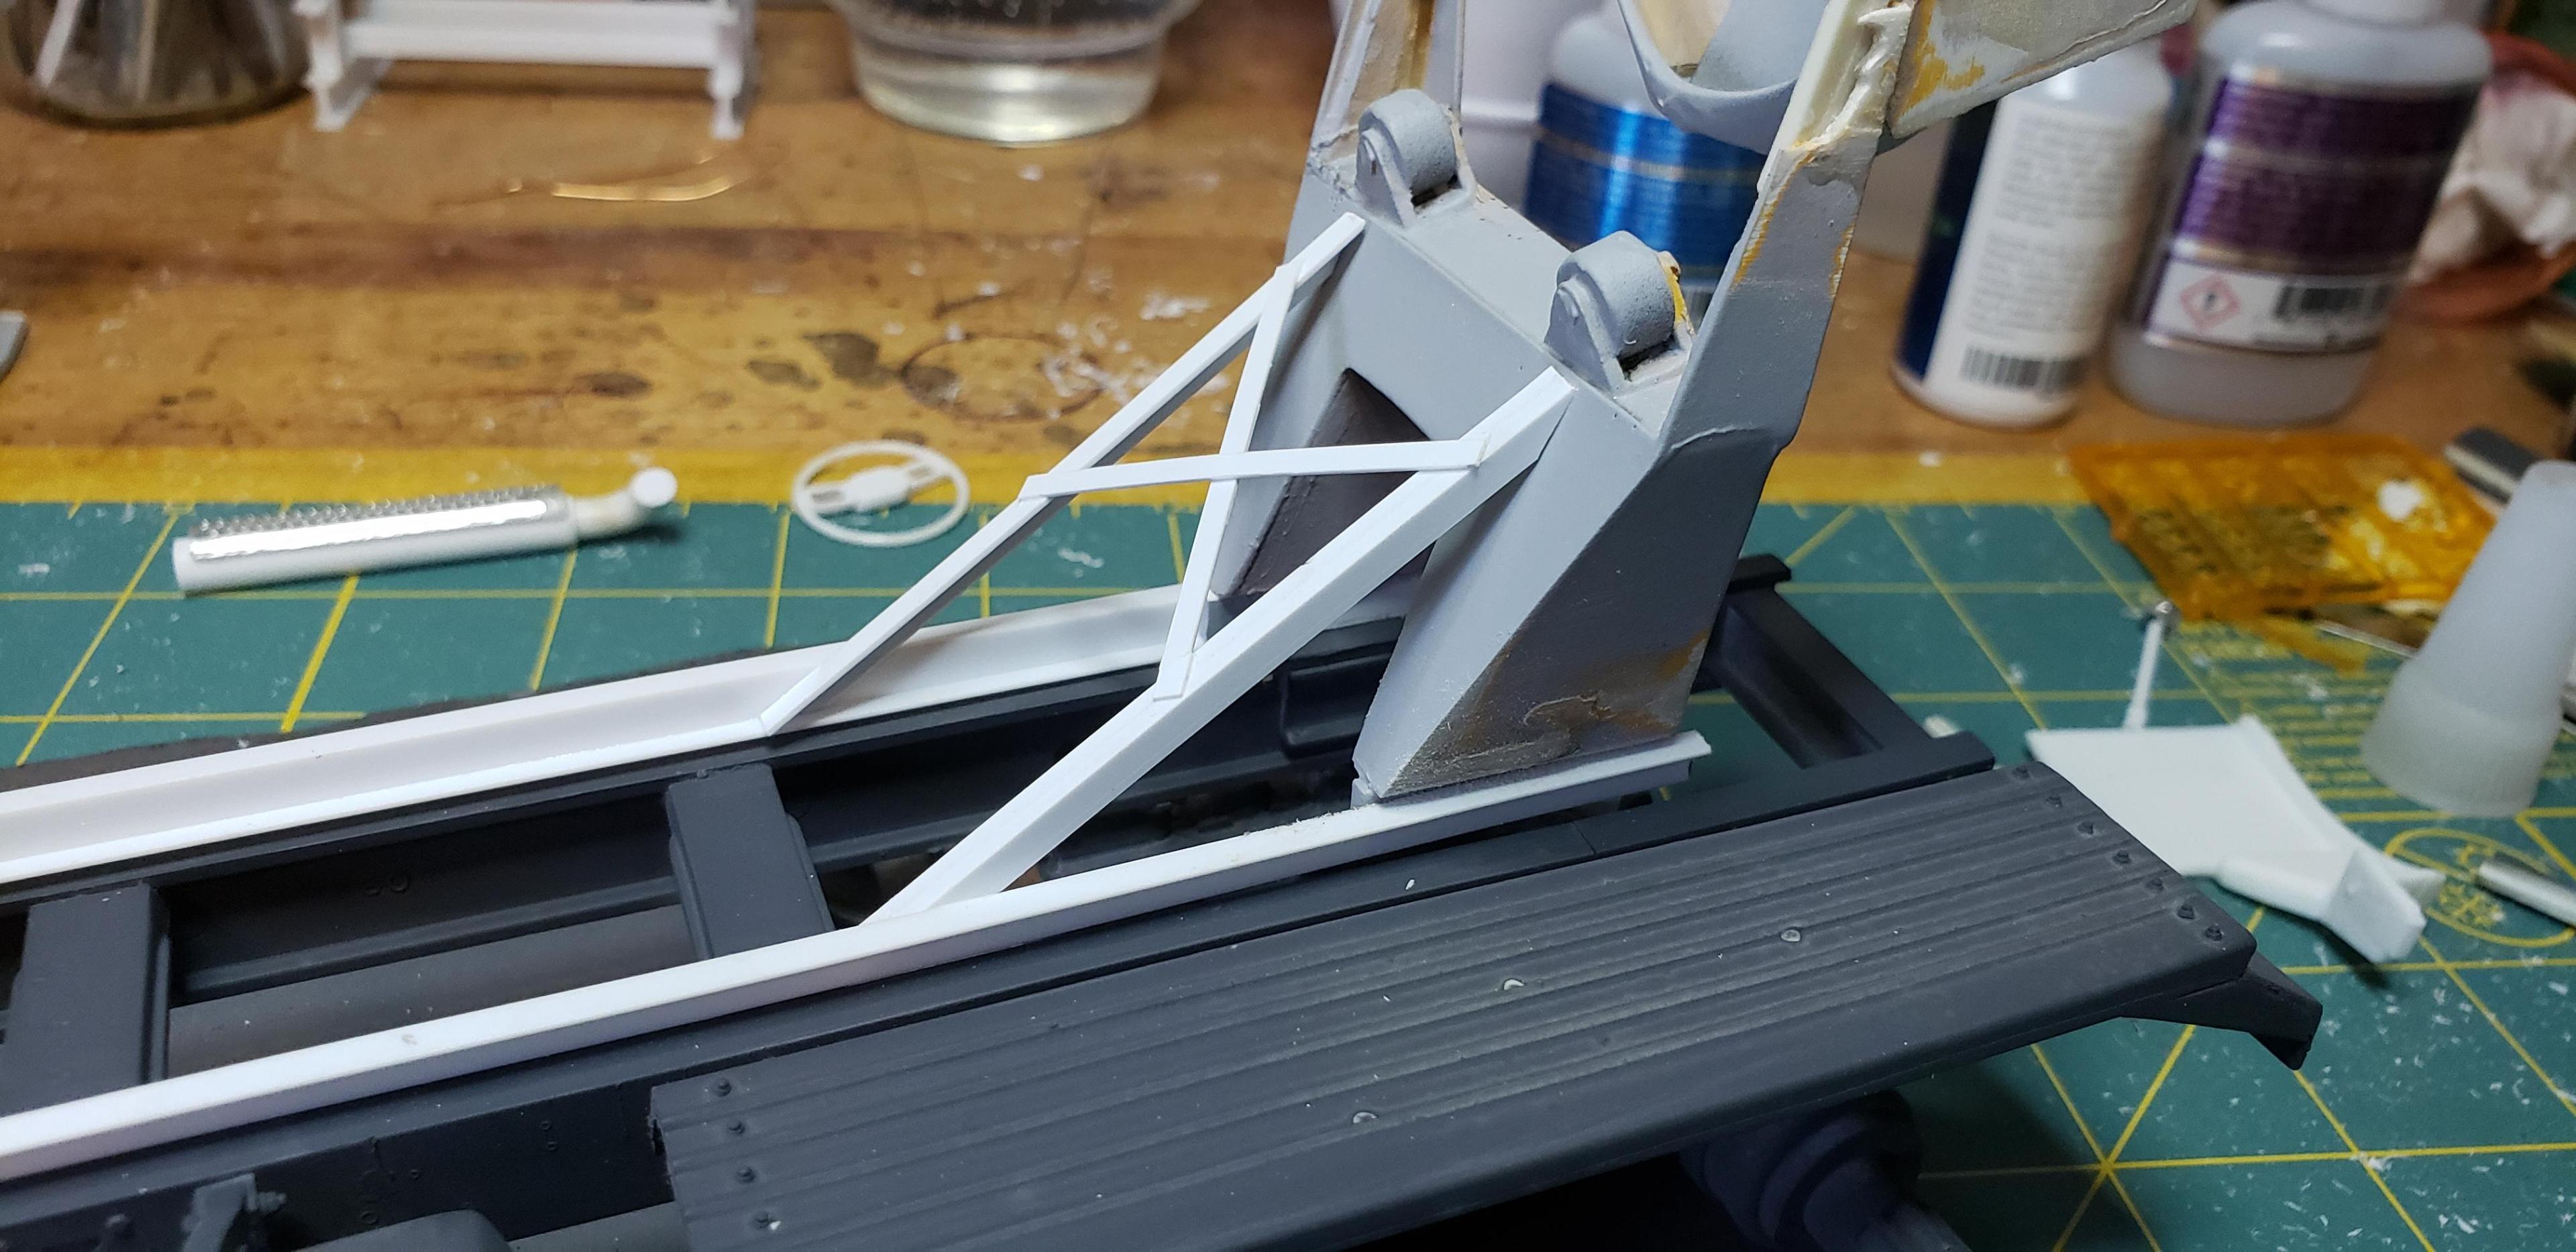
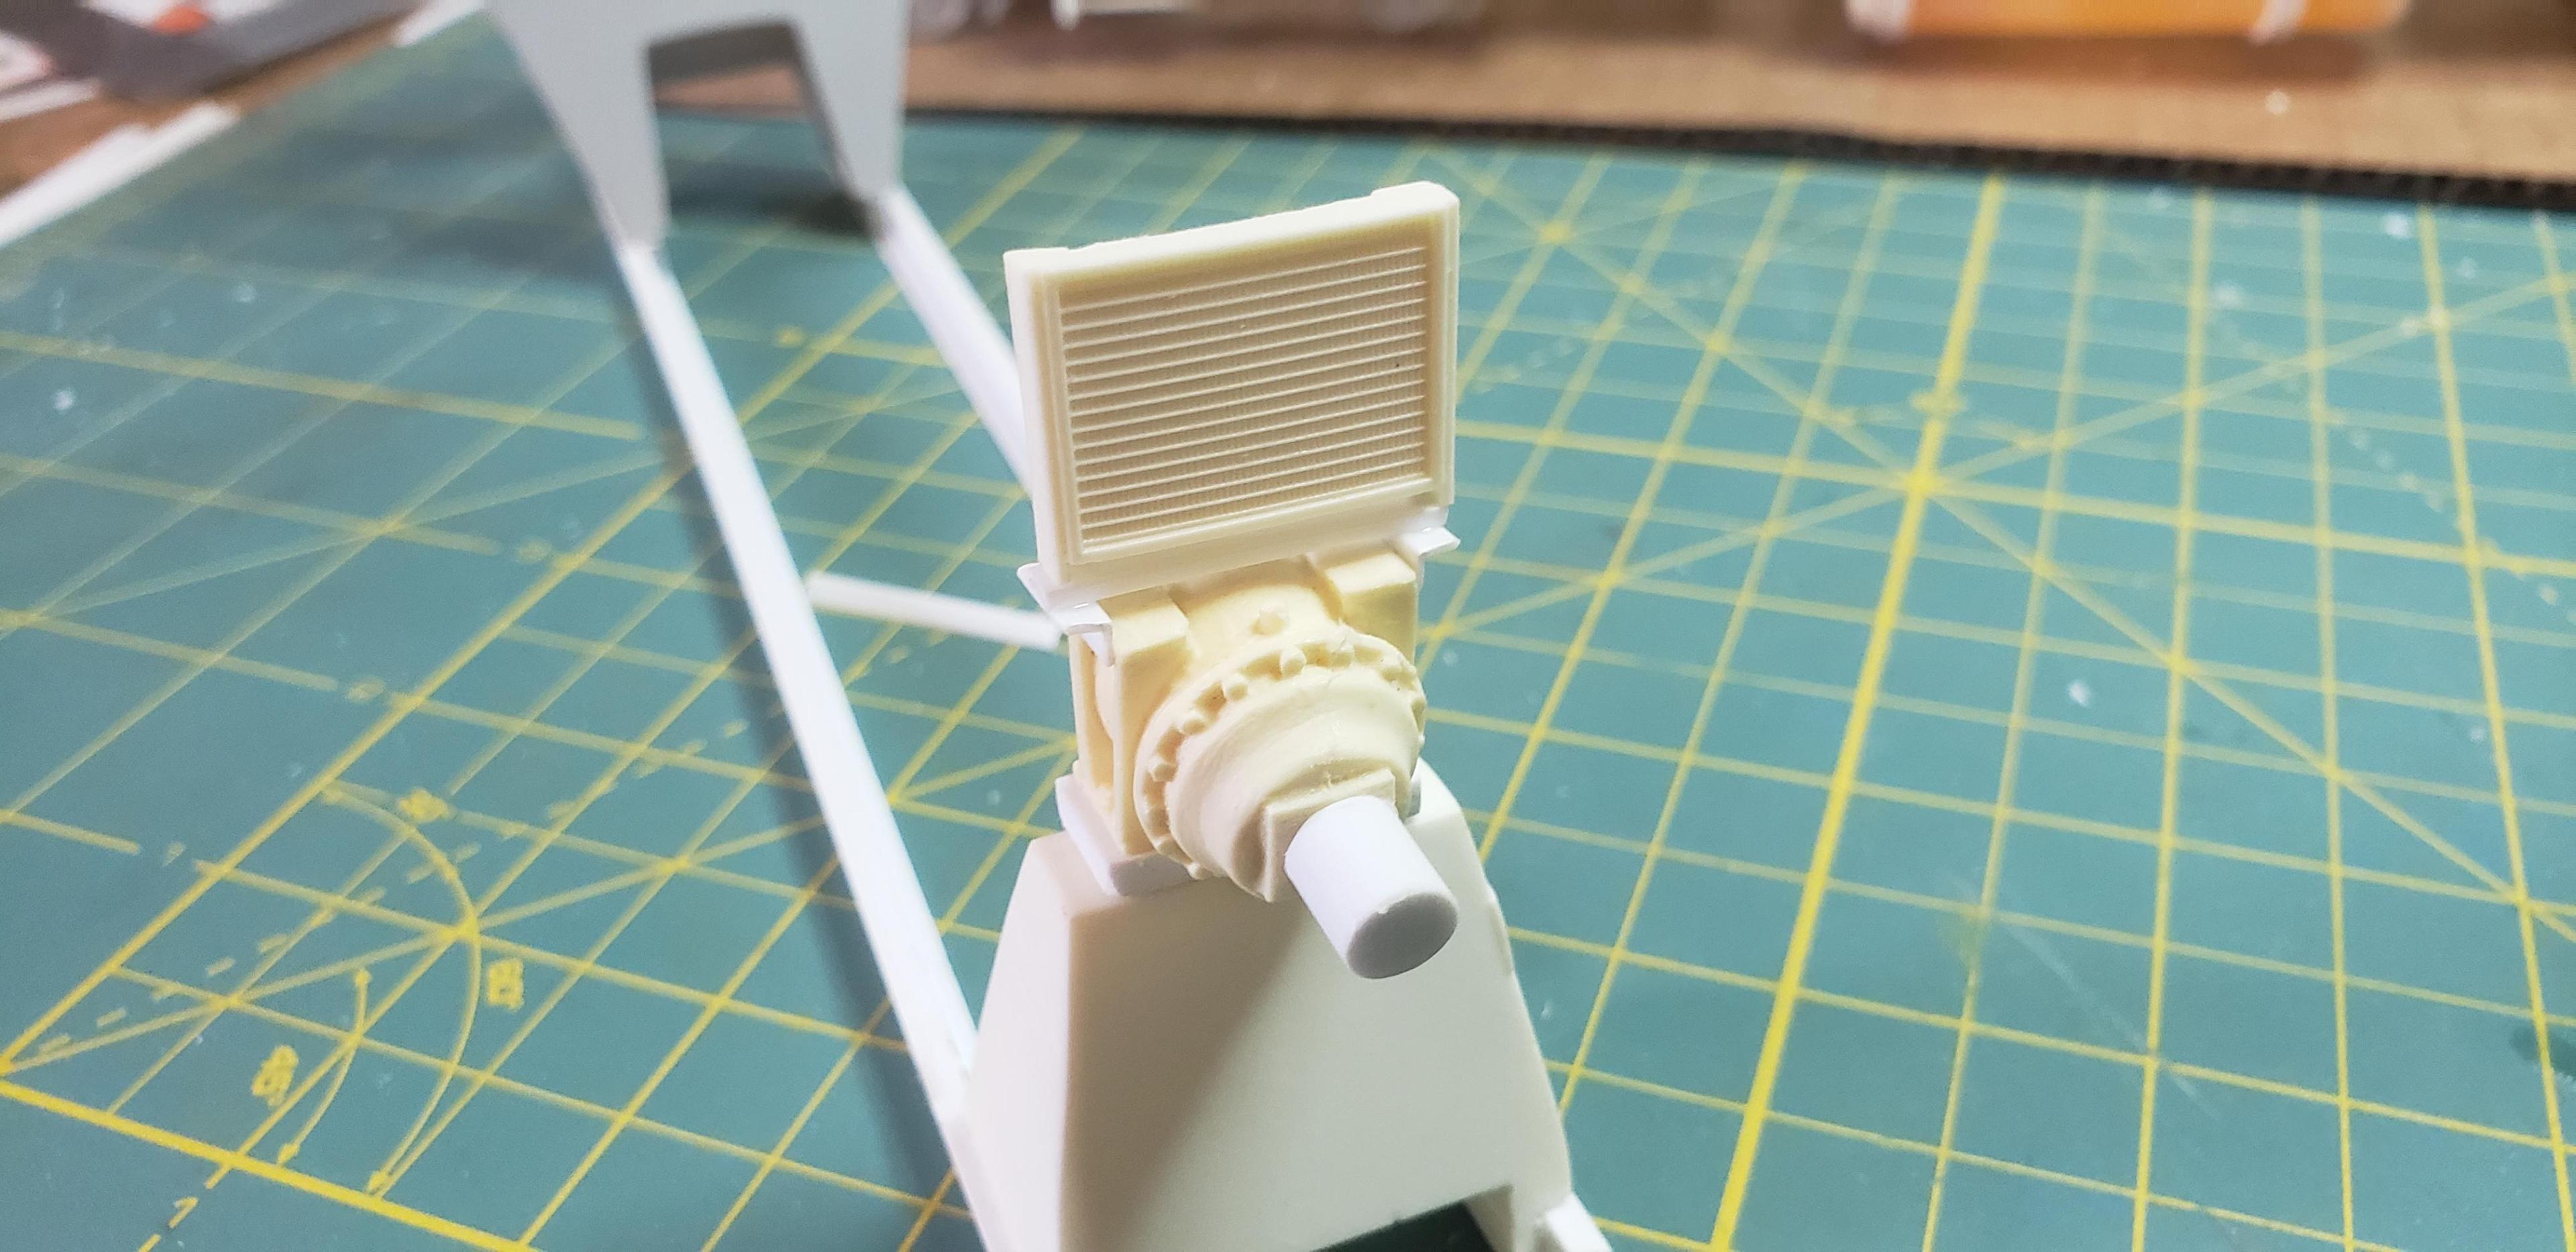
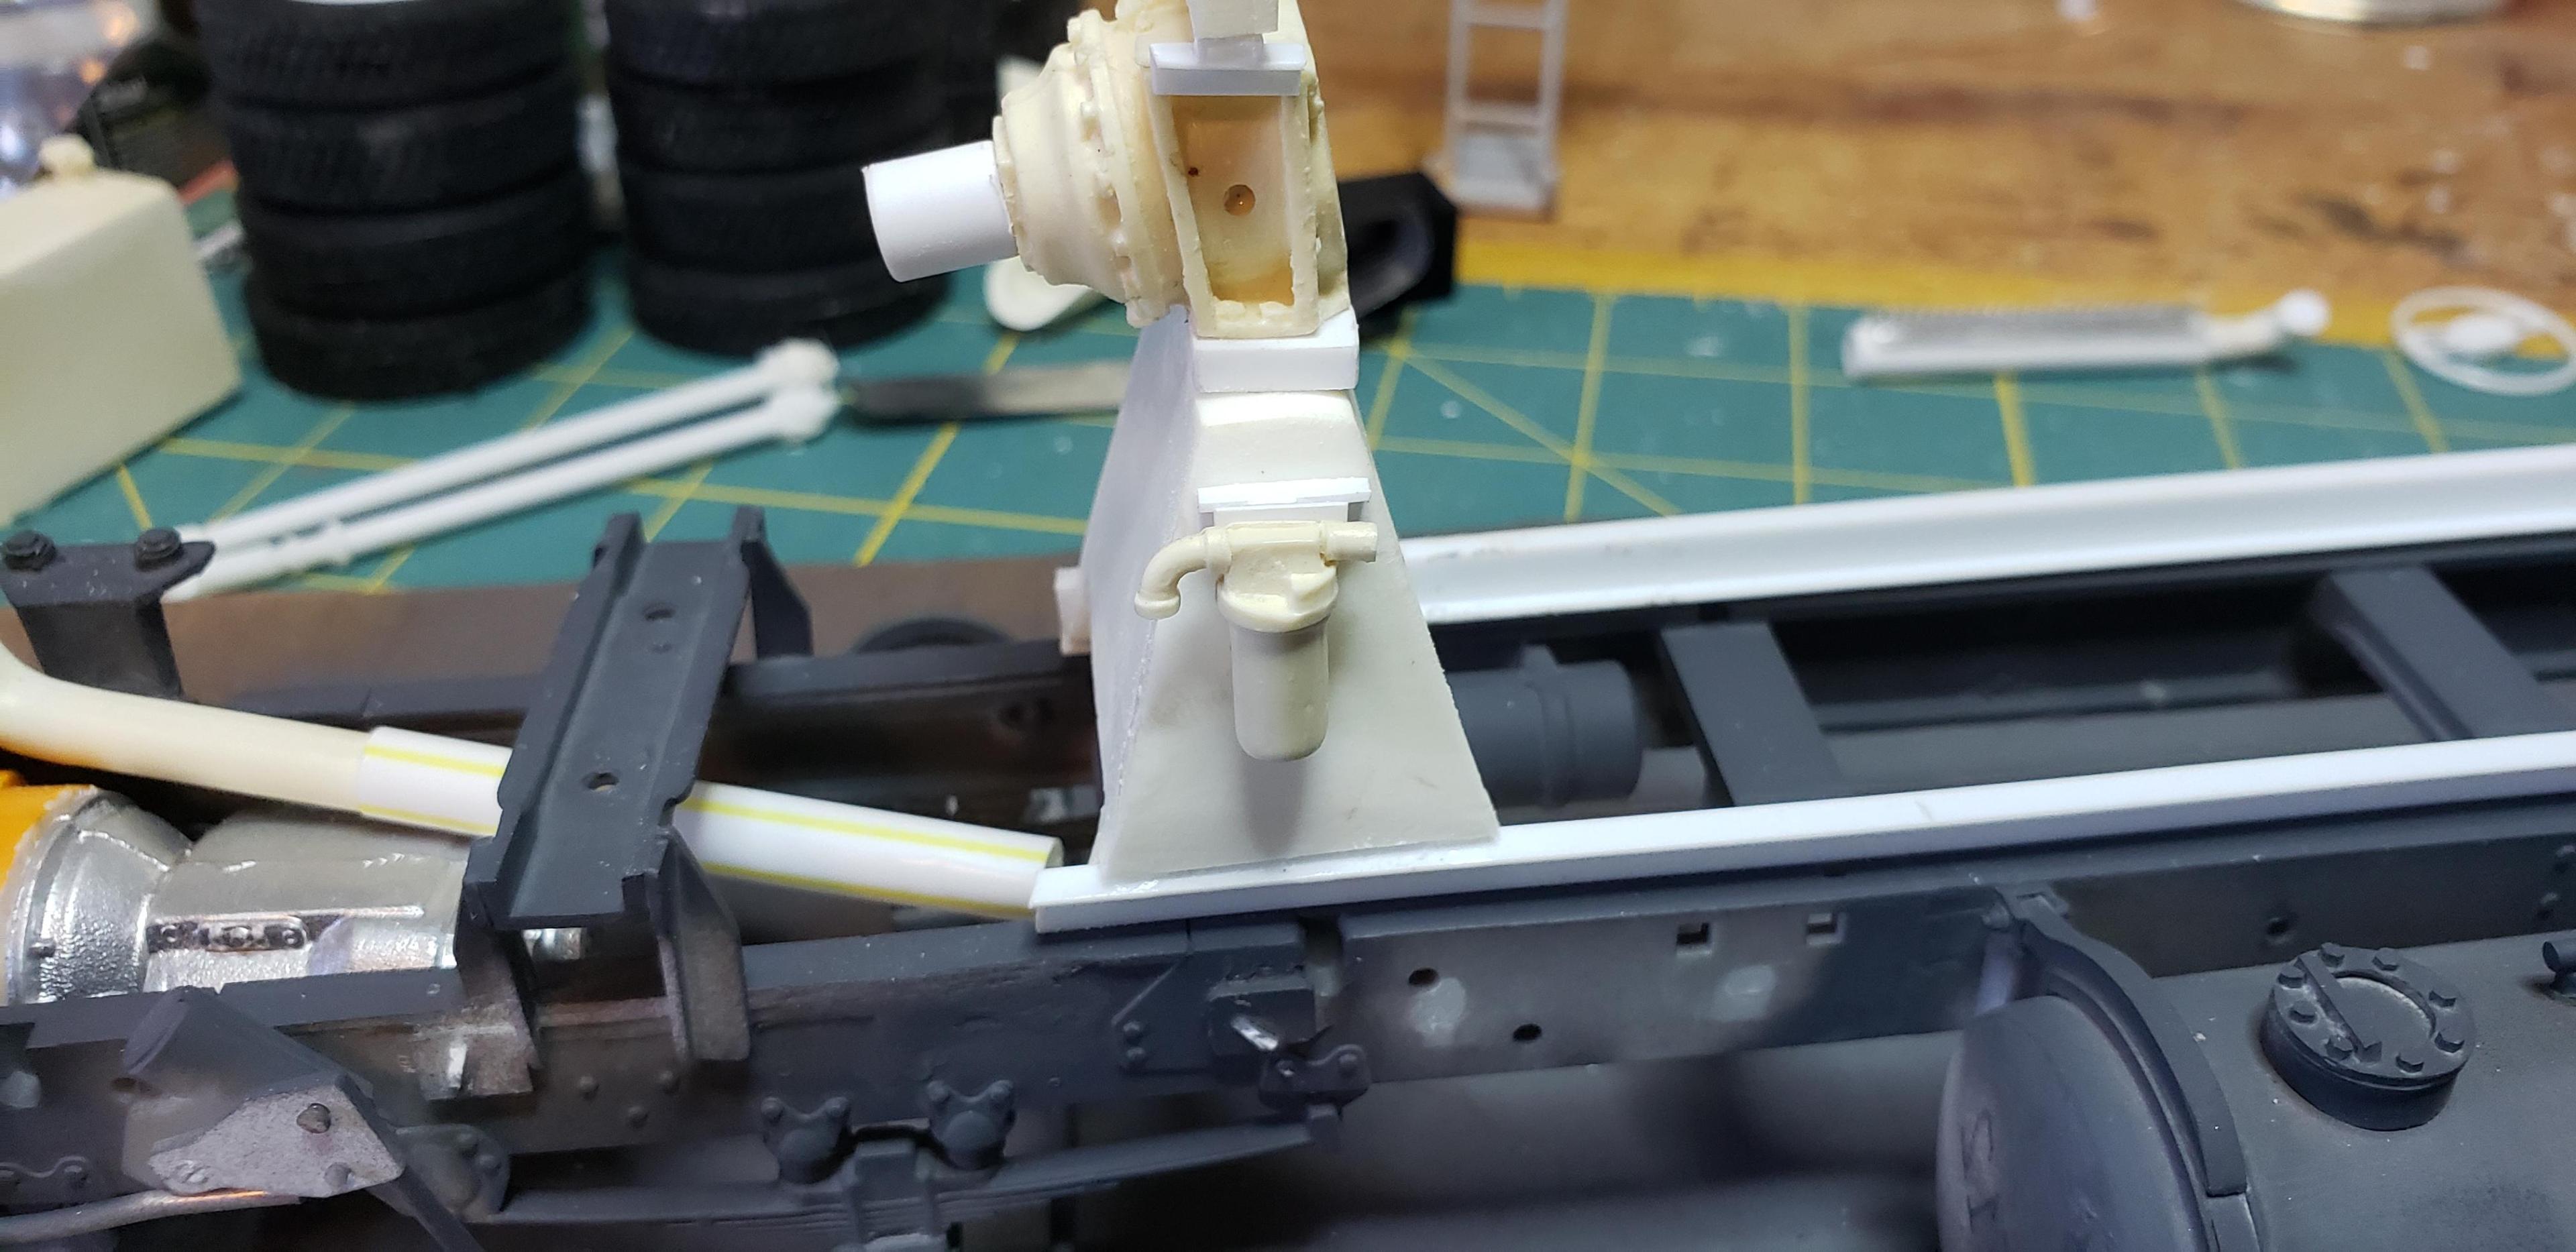
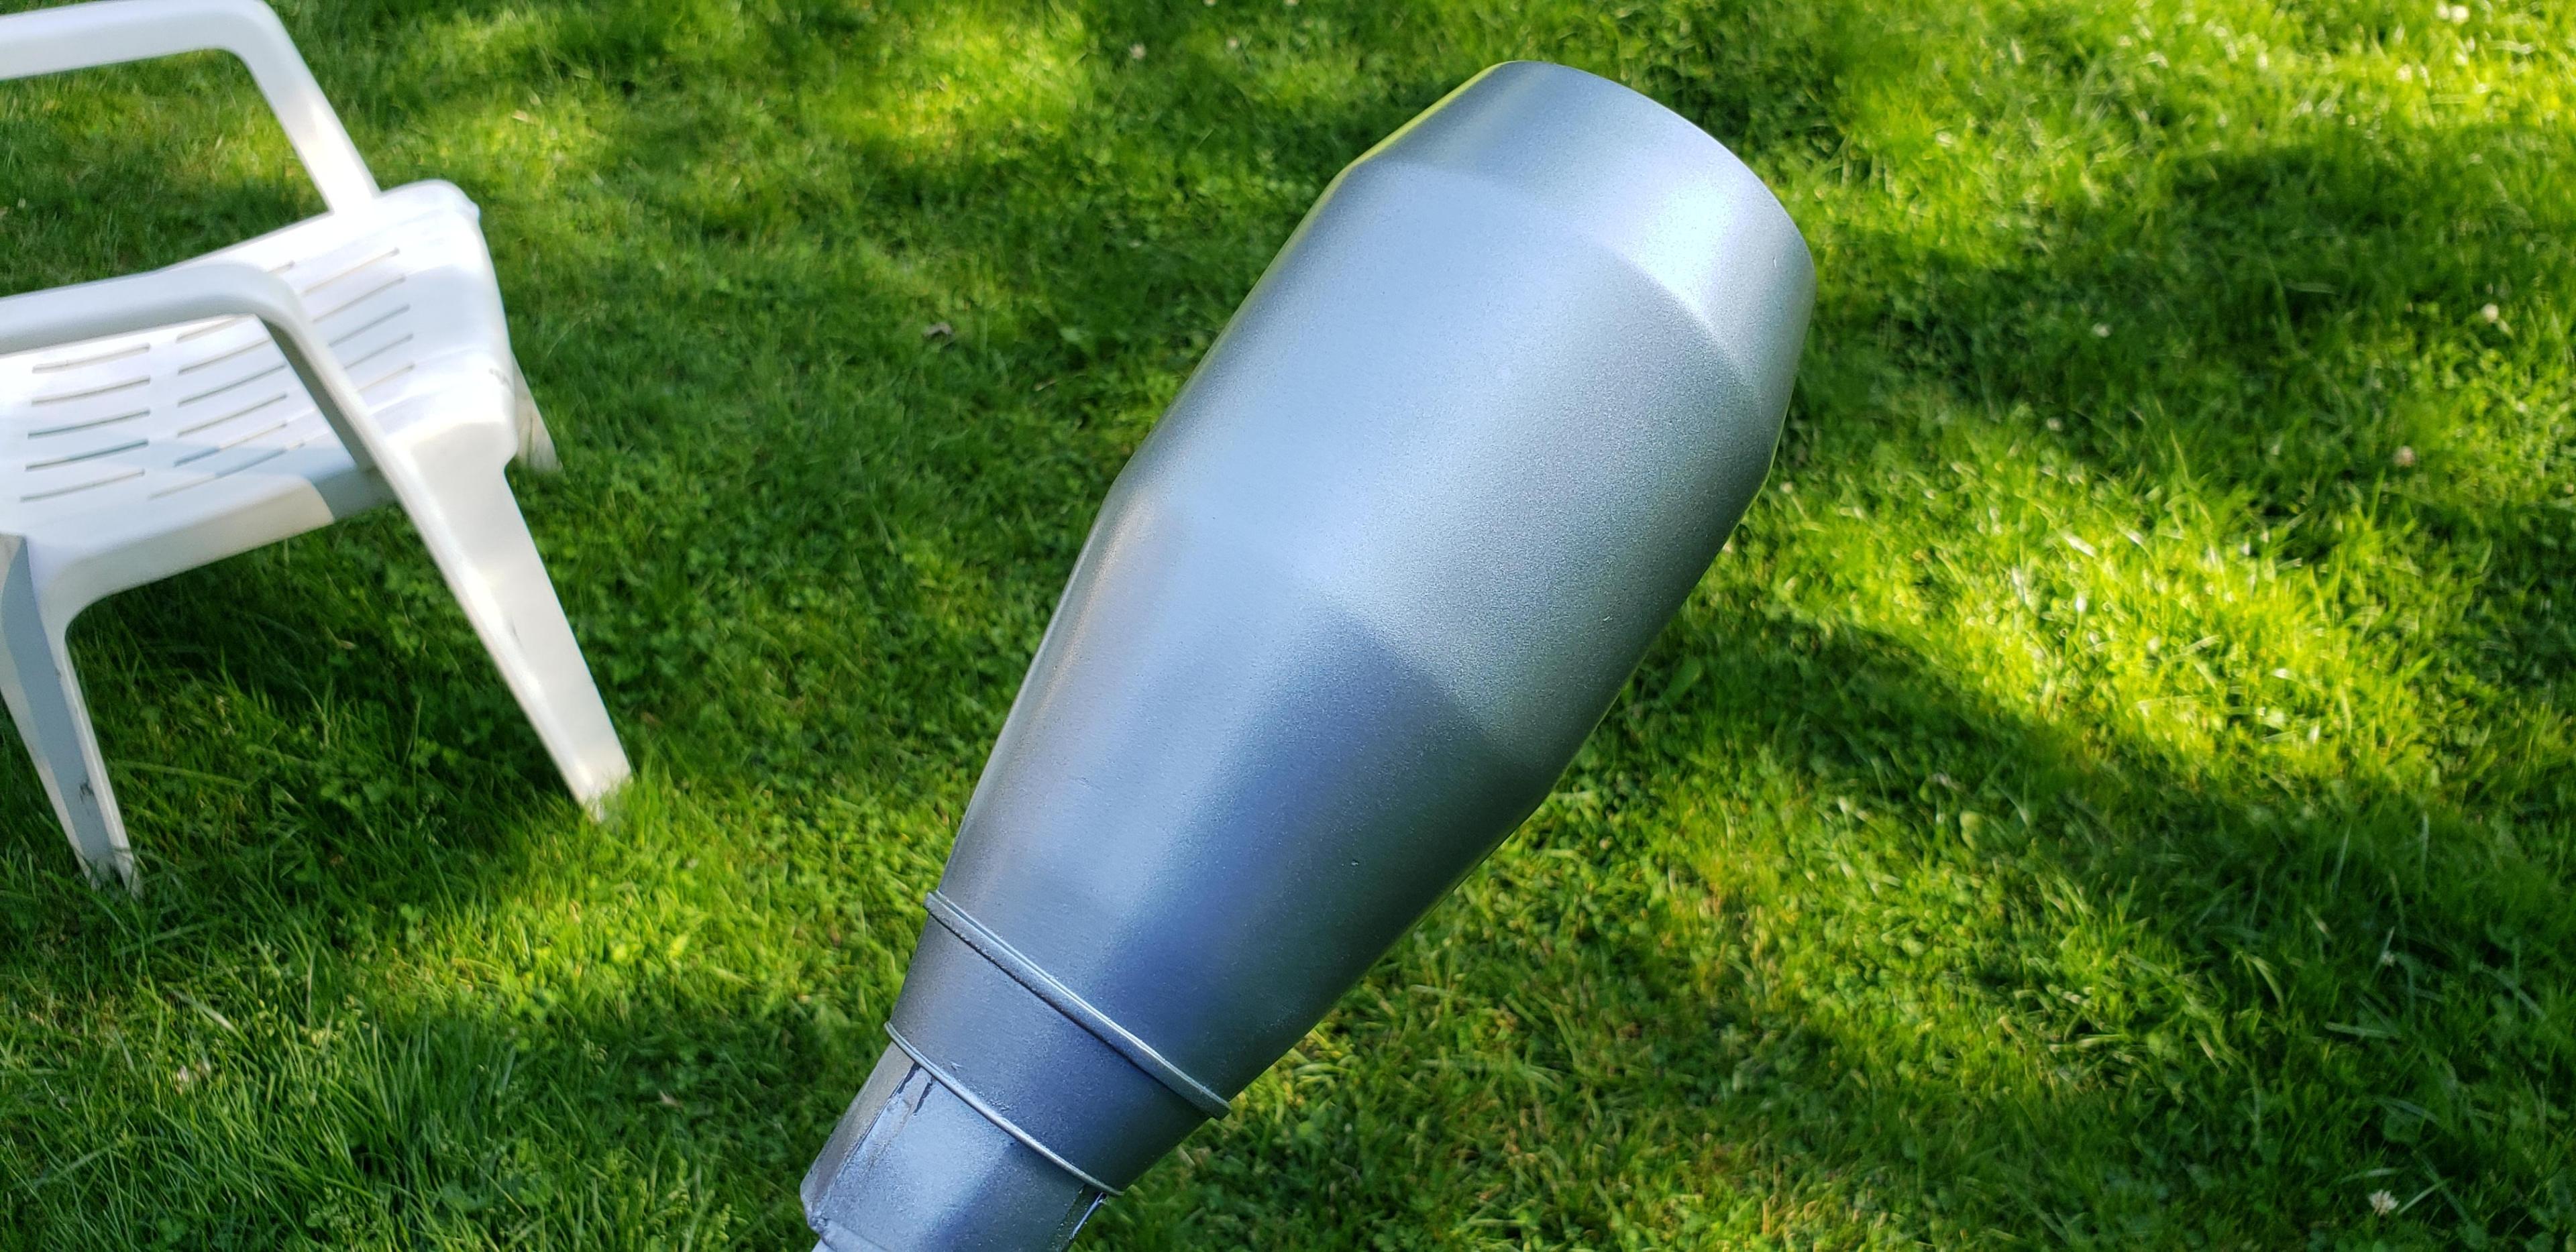
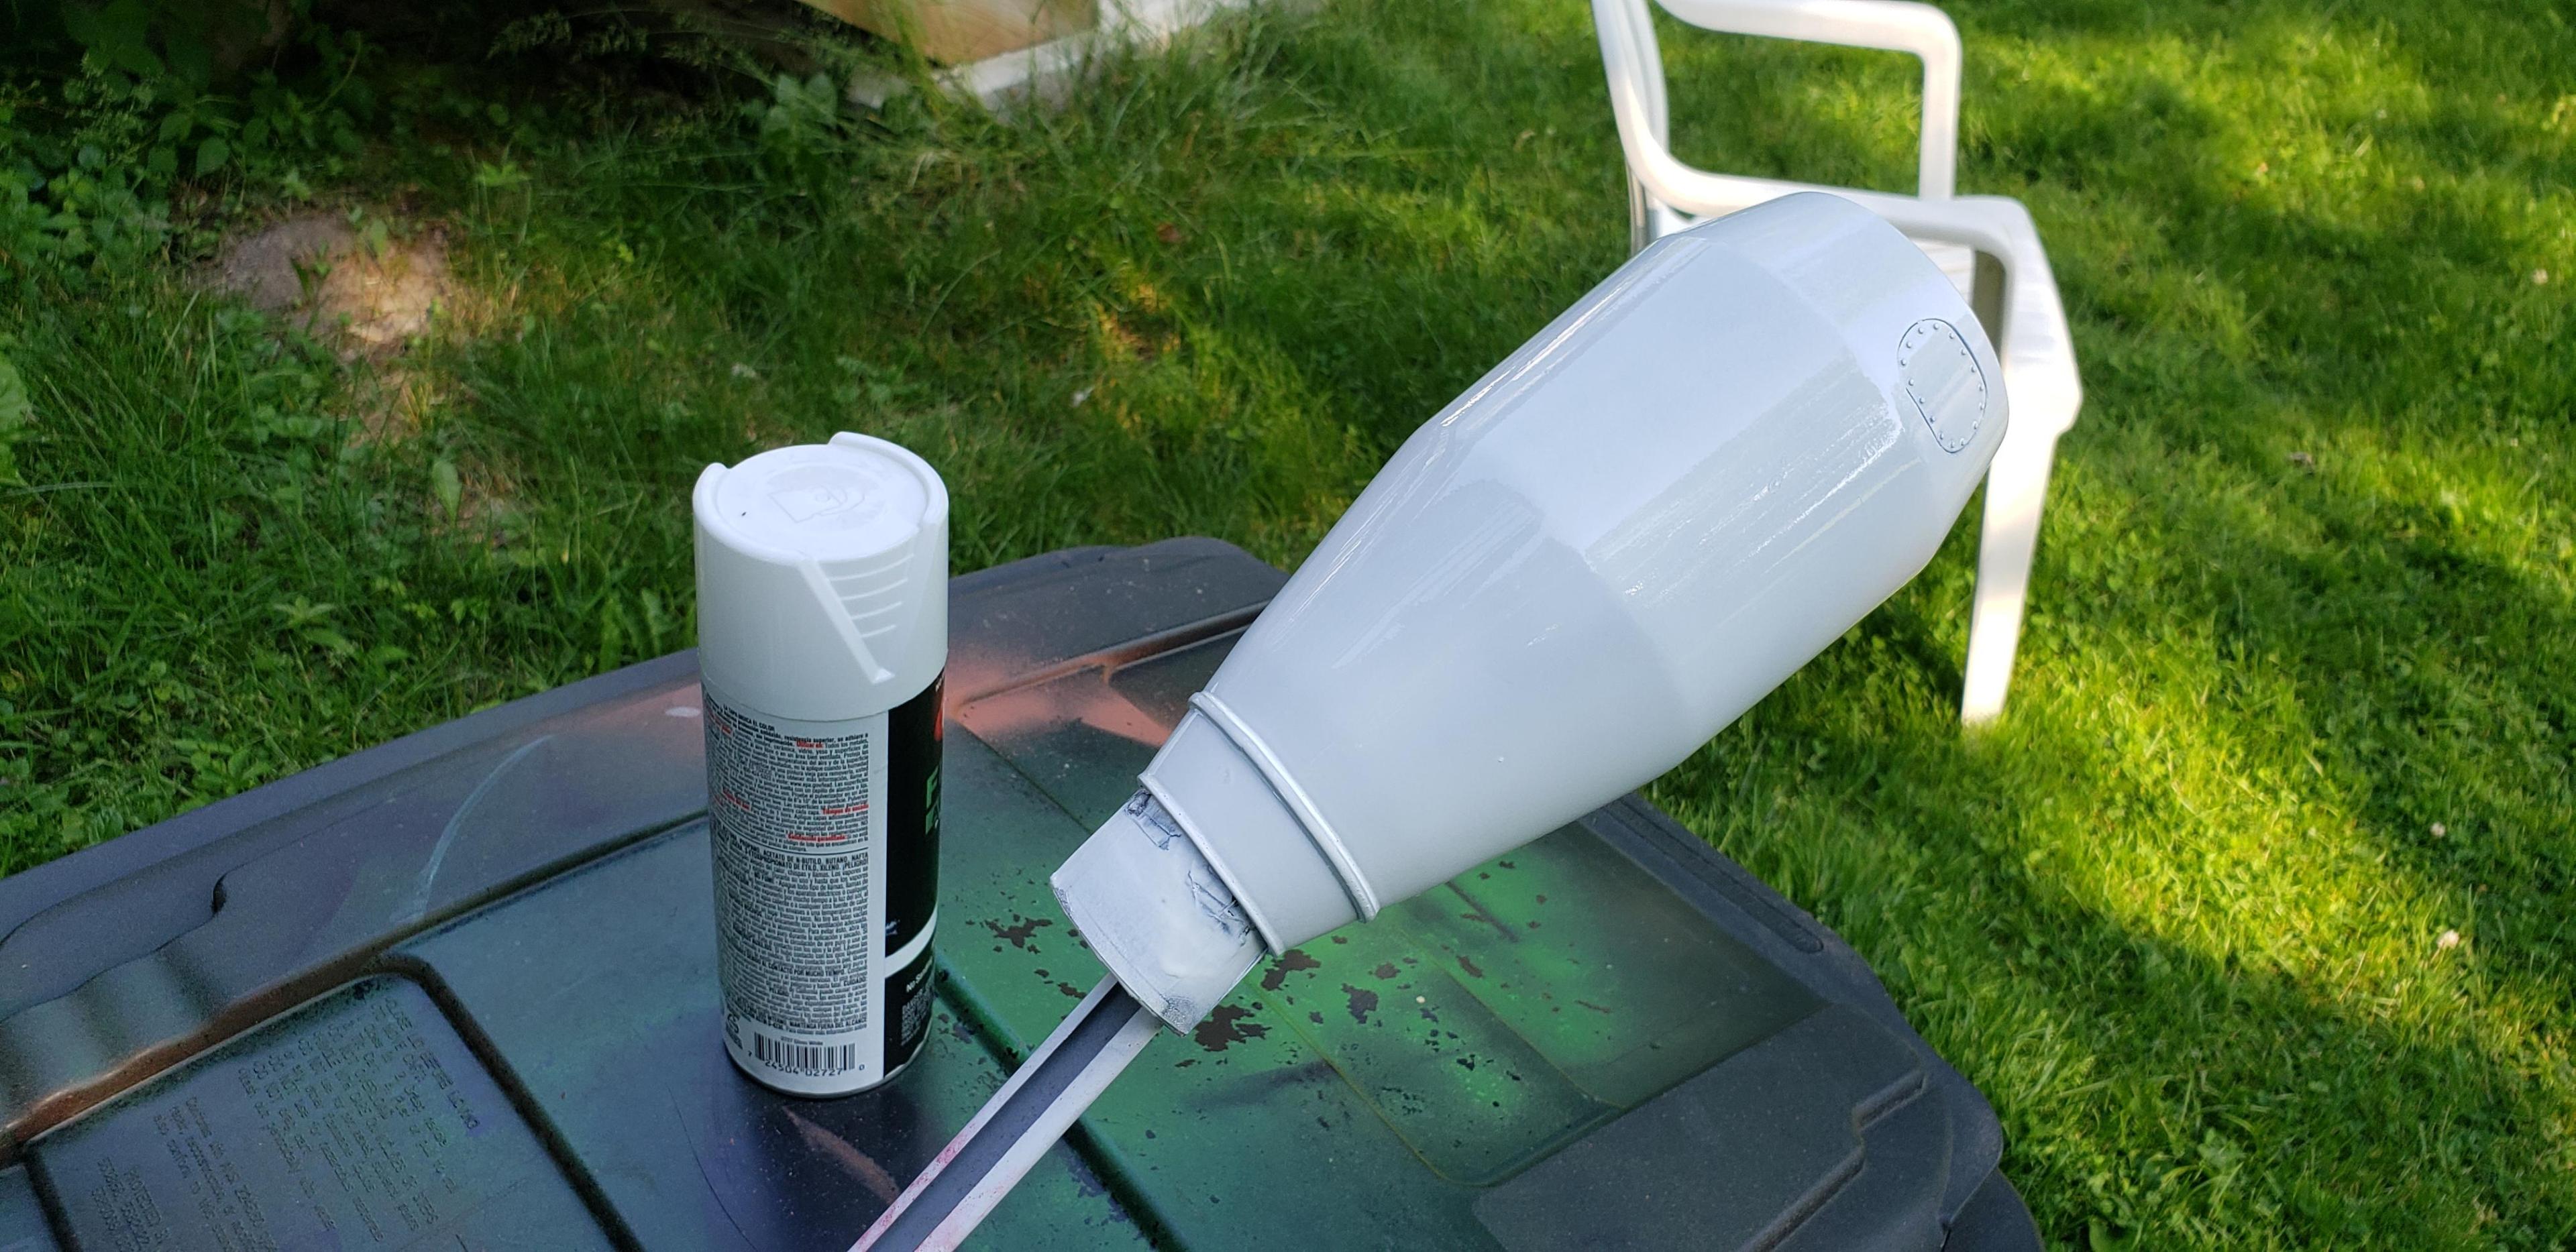
I've been puttering slowly w the Cat, ironing out details that caught my eye.. Modern trucks should have an air dryer, so a buddy donated one for my build. I bashed a mount from spare etch from an armor update set..never throw anything away lol. The rear mixer pedestal looked bare, so I checked auction sites for ideas. One photo showed some interesting bracing, thin strip and angle was called into service. A small hydraulic filter was attached to the drive pedestal along w an oil cooler, just for eye candy Finally the paint started flying !!! I had used a sharpie ( don't ever do this !!!) on the barrel for cutting length down. This kept bleeding thru my primer coats. I remembered a tip from a fellow member here about using silver paint for sealer. Thanks for the trick, it worked fantastic!!! Then krylon gloss white was sprayed on the drum. The ends will have a turquoise color like the cab/ hood..then figure out scaling down logos for my decals
-

Dodge LS1000 Day cab
gotnitro? replied to Mopar - D's topic in WIP: Model Trucks: Big Rigs and Heavy Equipment
Love these square cab trucks , you've really got this one looking good -

Kenworth K100 twinsteer triaxle
gotnitro? replied to PierreR89's topic in WIP: Model Trucks: Big Rigs and Heavy Equipment
Ditto ^^^


