gotnitro?
-
Posts
4,500 -
Joined
-
Last visited
Content Type
Profiles
Forums
Events
Gallery
Everything posted by gotnitro?
-

R model Mack garbage truck Finished
gotnitro? replied to gotnitro?'s topic in WIP: Model Trucks: Big Rigs and Heavy Equipment
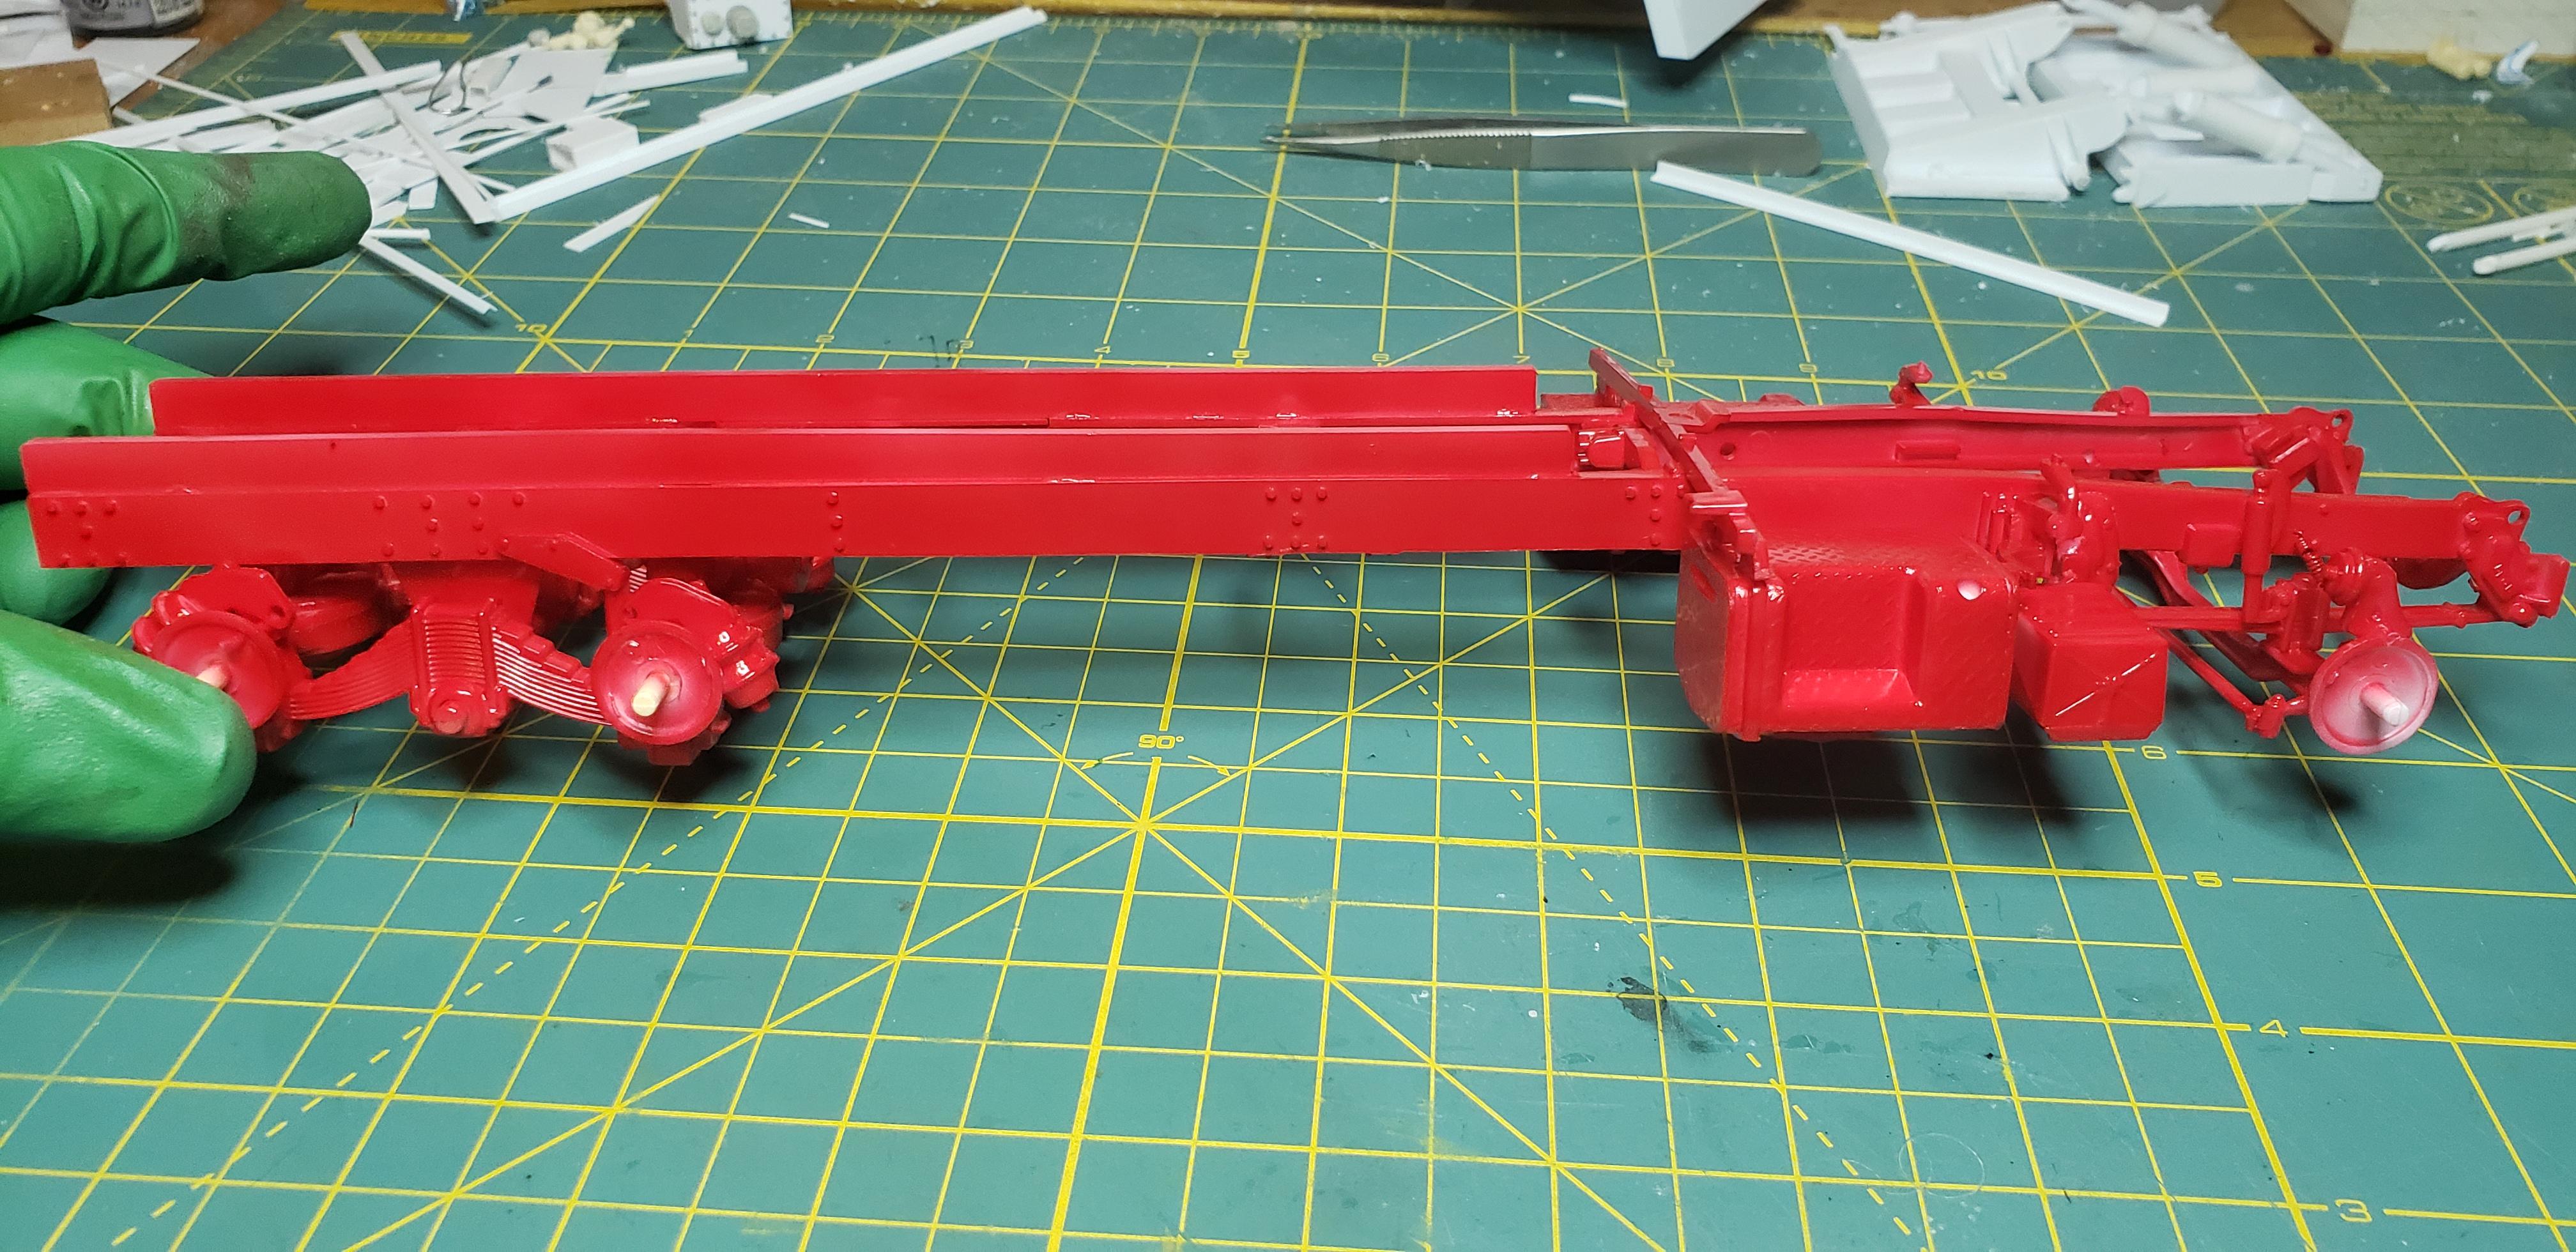
Thanks for hydraulic ram ideas..but I've had those done a few weeks now lol I sprayed the frame tonite w airbrush..man it takes forever but much less mess. Thinned rusto regal red 50/50 w tamiya lacquer. Laid down smooth w great coverage. Kinda shiny for a garbage truck..but I can address that
-
R model Mack garbage truck Finished
gotnitro? replied to gotnitro?'s topic in WIP: Model Trucks: Big Rigs and Heavy Equipment
I had a little excitement last night when I tried to paint the tins. Seems the rattle can valve was clogged inside the can. I tried cleaning the nozzle but nothing would come out. I decided to decant the can into a jar..now my yard looks like a murder scene PSA only whack a rattle can on cardboard unless ya want your green grass different colors lol I'll thin the paint and use the Iwata for now -
GMC Topkick Rollback
gotnitro? replied to DRIPTROIT 71's topic in WIP: Model Trucks: Big Rigs and Heavy Equipment
Nice start ! Another cool build for the display, and bed for storing another project lol -
R model Mack garbage truck Finished
gotnitro? replied to gotnitro?'s topic in WIP: Model Trucks: Big Rigs and Heavy Equipment
Thanks ! It won't be nearly as gorgeous as your Challenger, but a proper work truck. I just received the delivery tracking for all my inbound parts, so I should have a large amount to paint . -
Nothing more beautiful than a Countach growing up My dad still has my poster above his toolbox
-
Excellent work turned out phenomenal
-
Peterbilt 352
gotnitro? replied to Rockford's topic in WIP: Model Trucks: Big Rigs and Heavy Equipment
Fabulous stripe work, glad ya stuck w them. -
R model Mack garbage truck Finished
gotnitro? replied to gotnitro?'s topic in WIP: Model Trucks: Big Rigs and Heavy Equipment
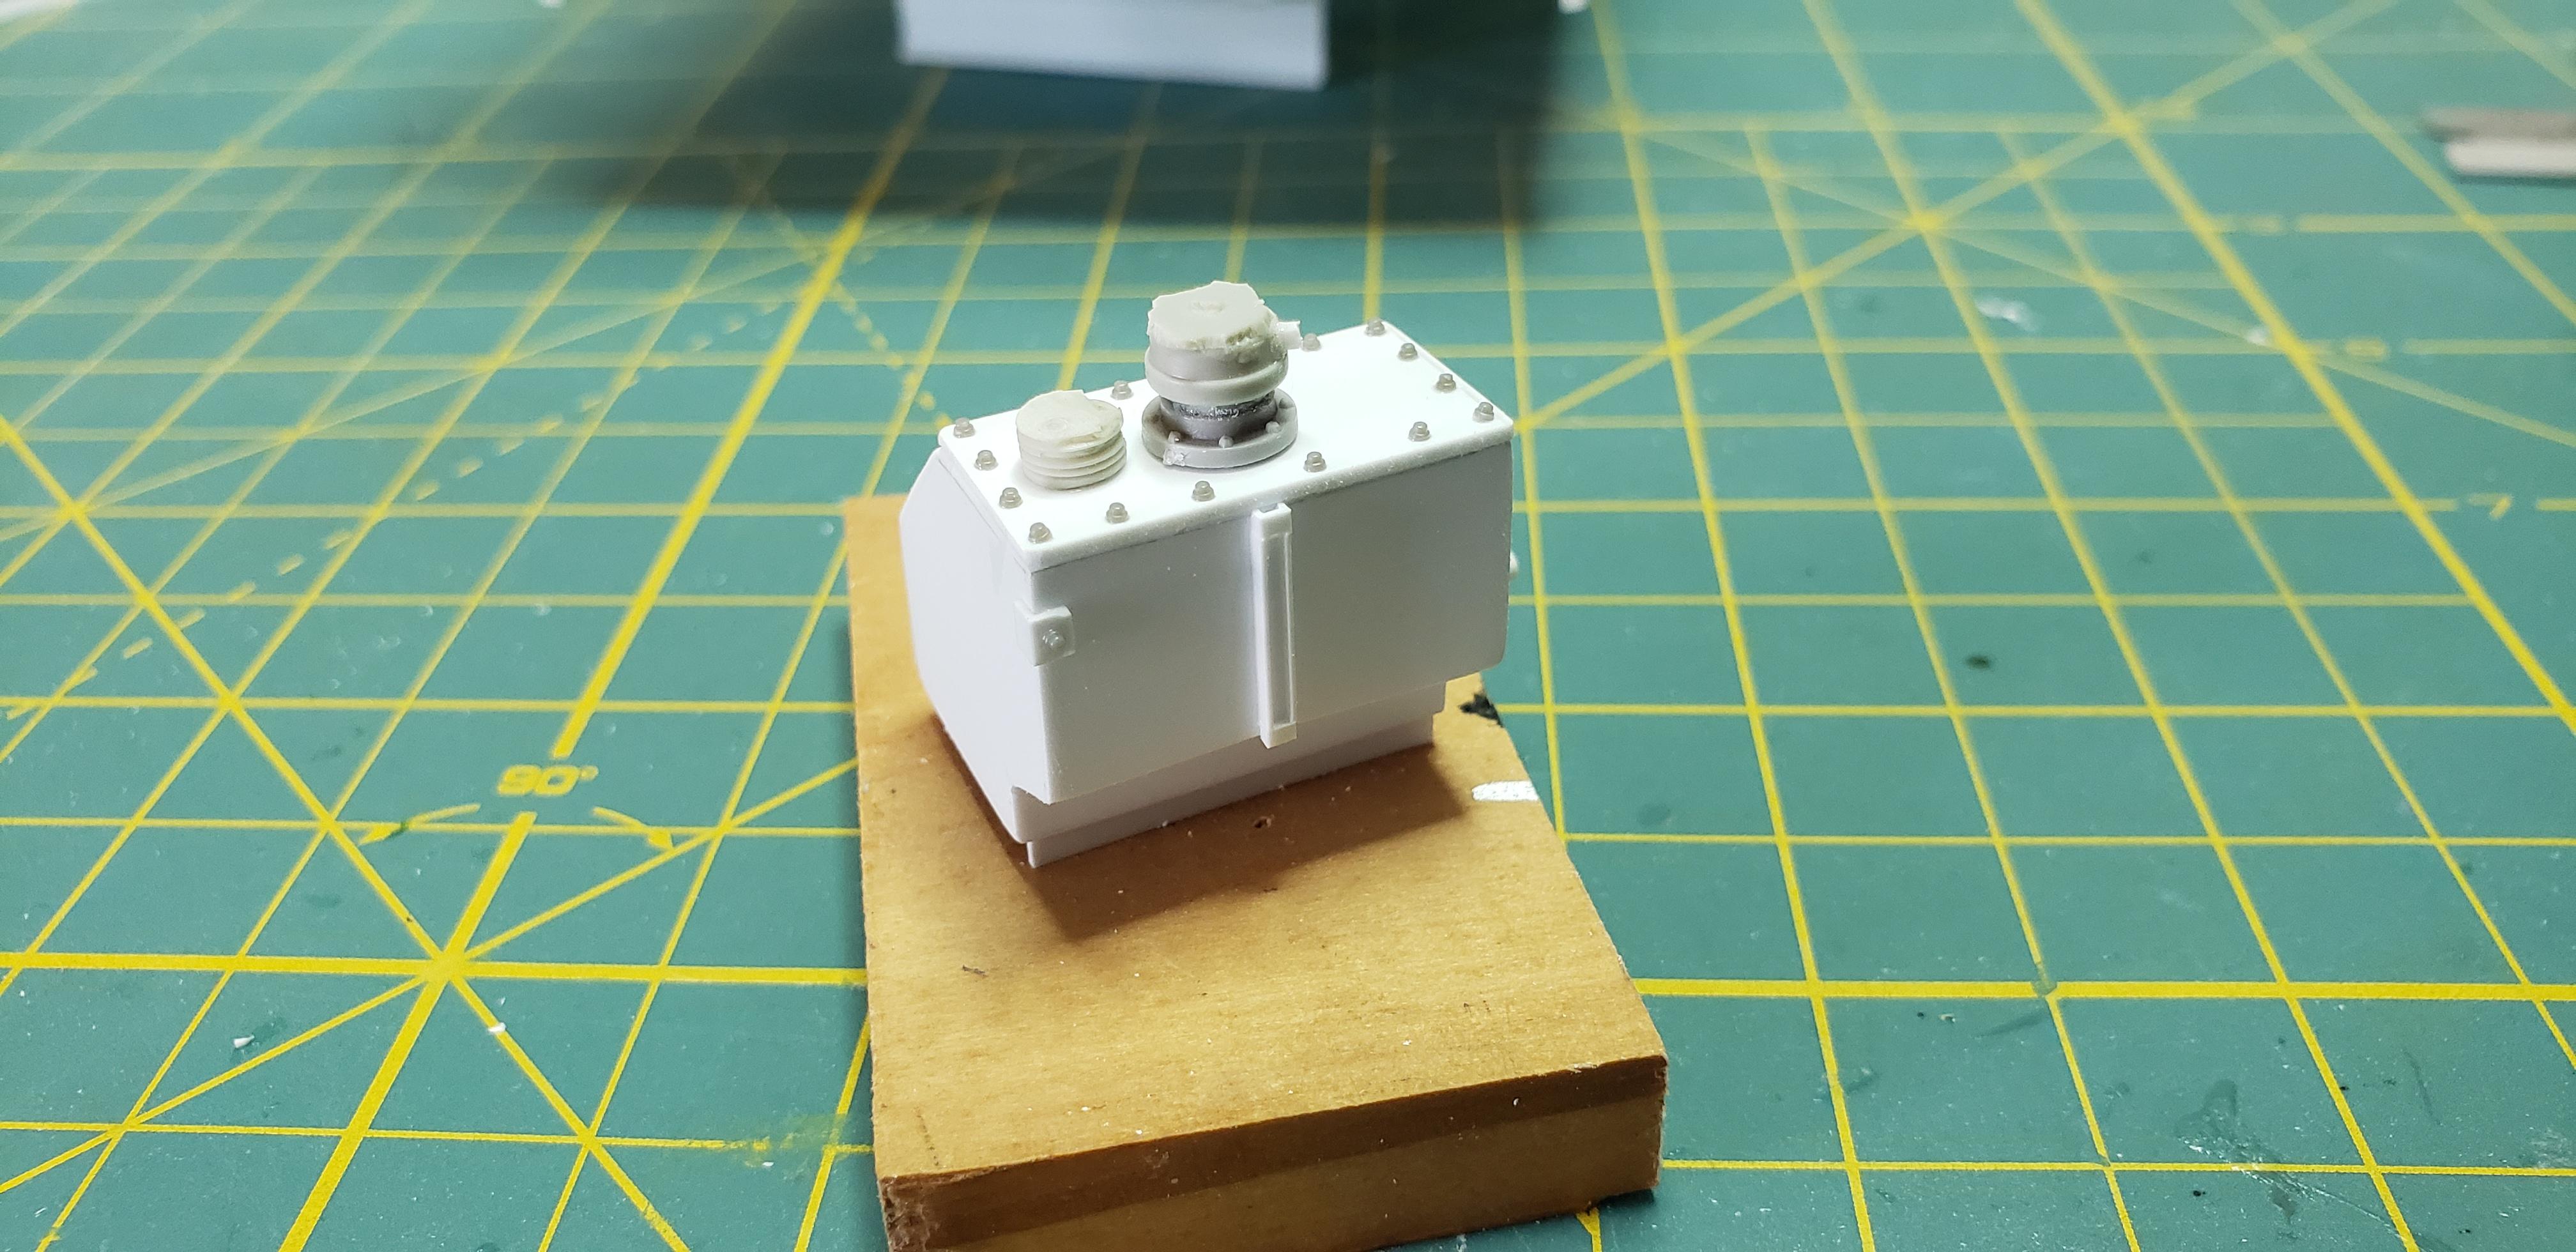
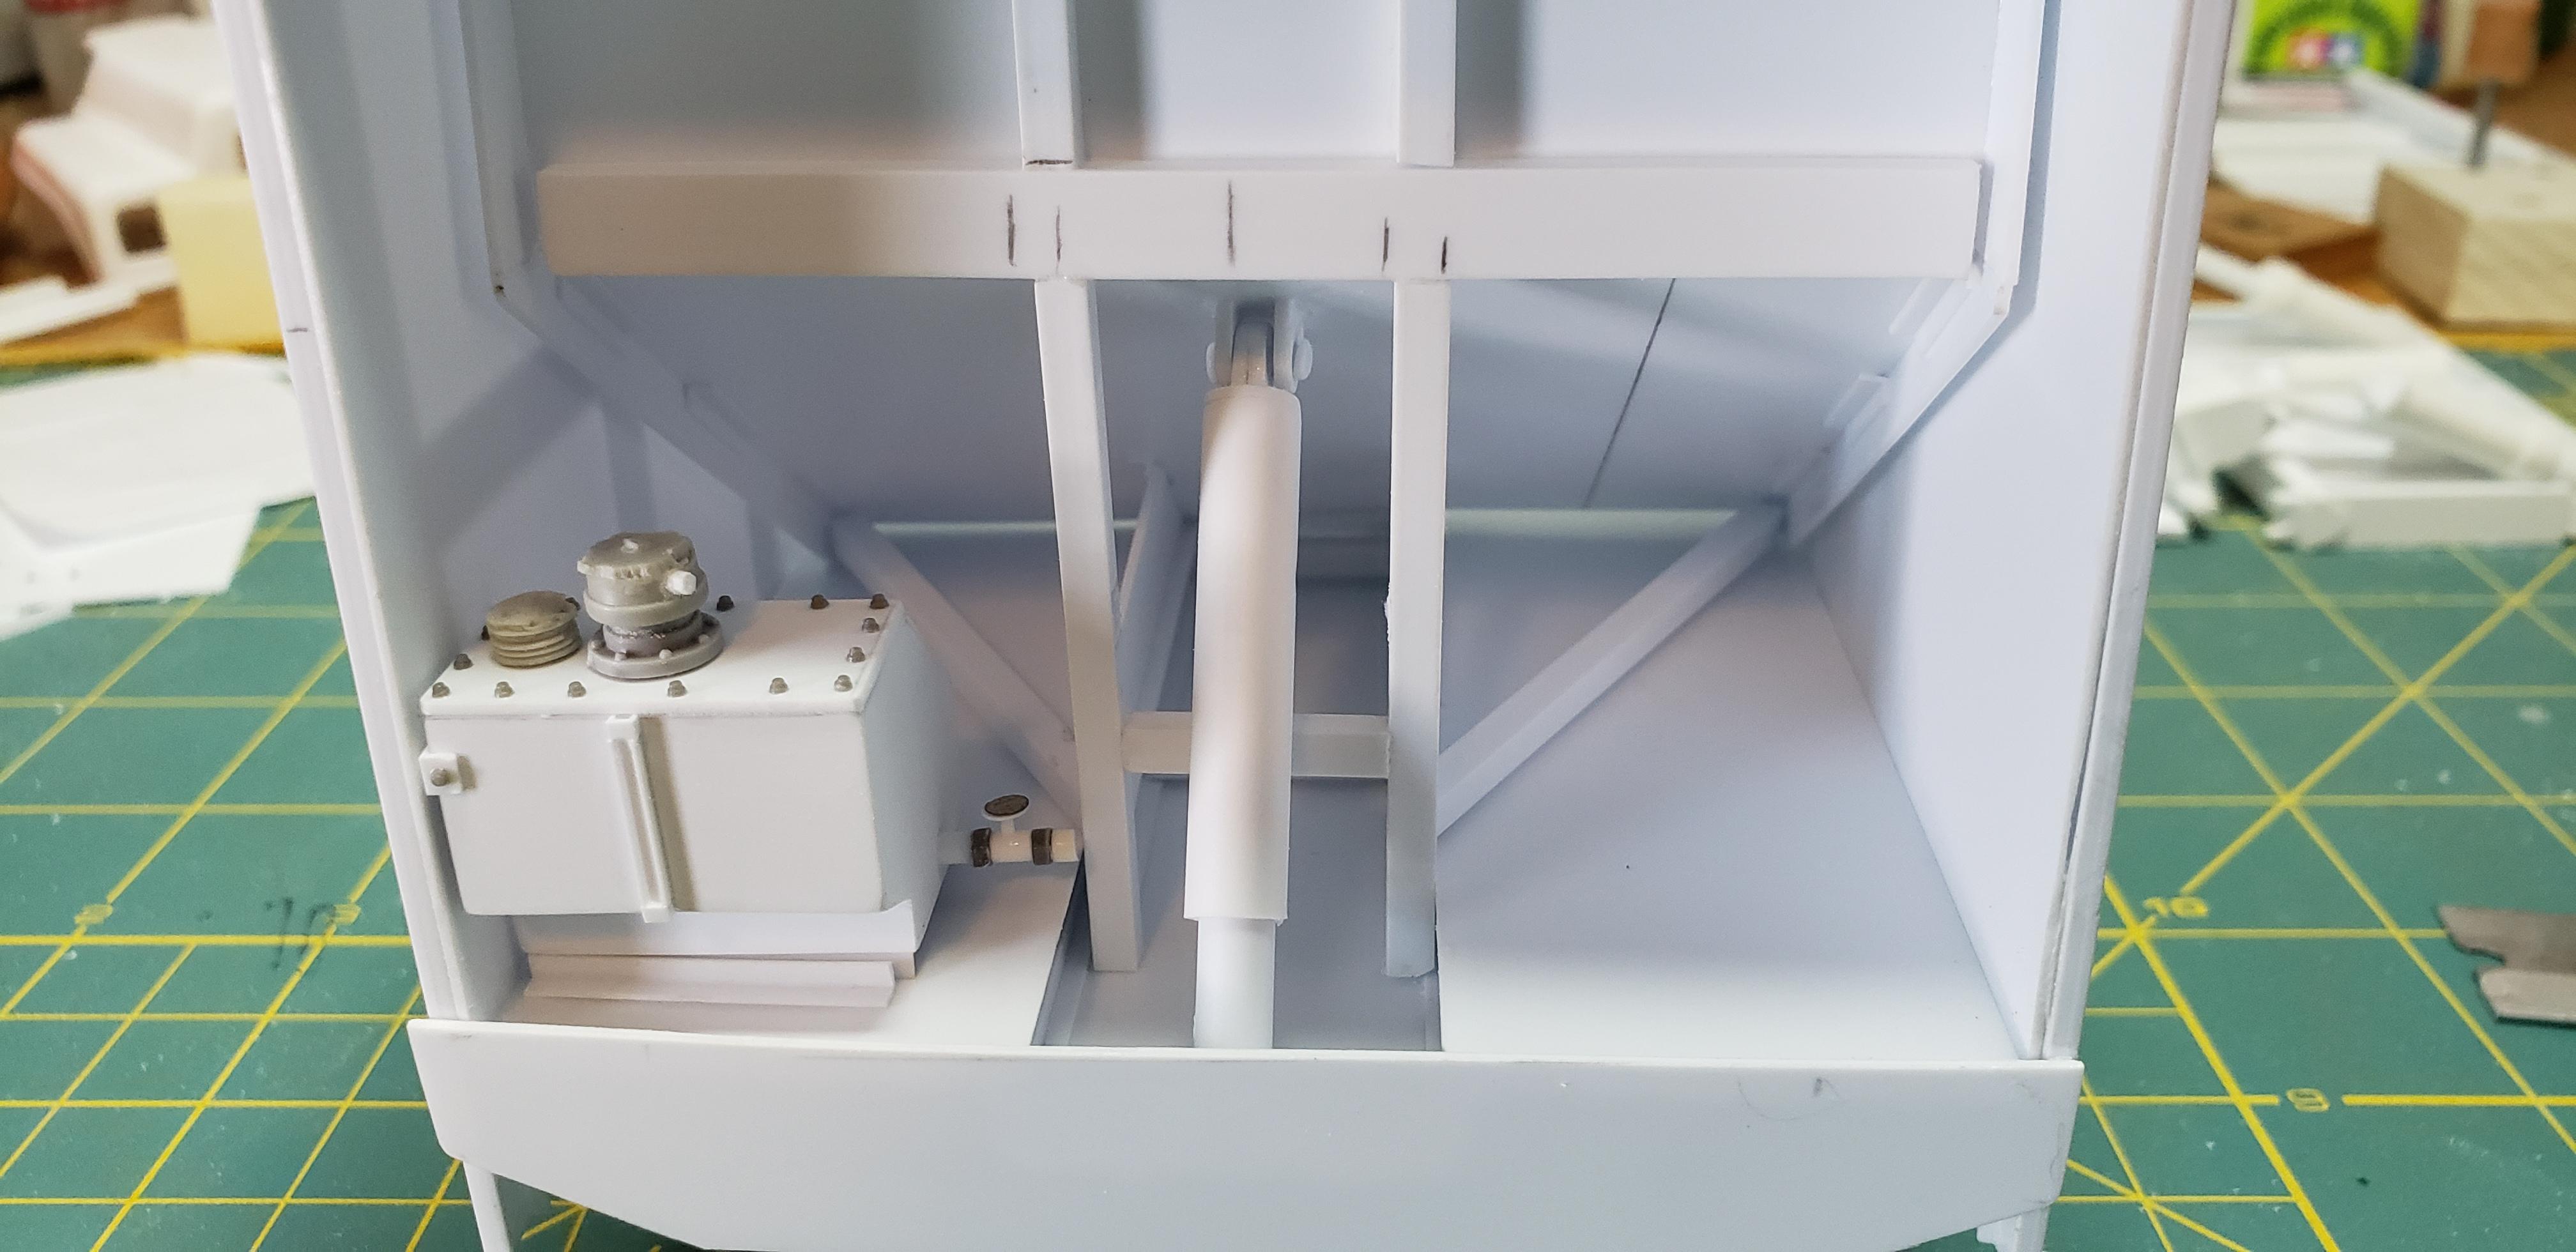
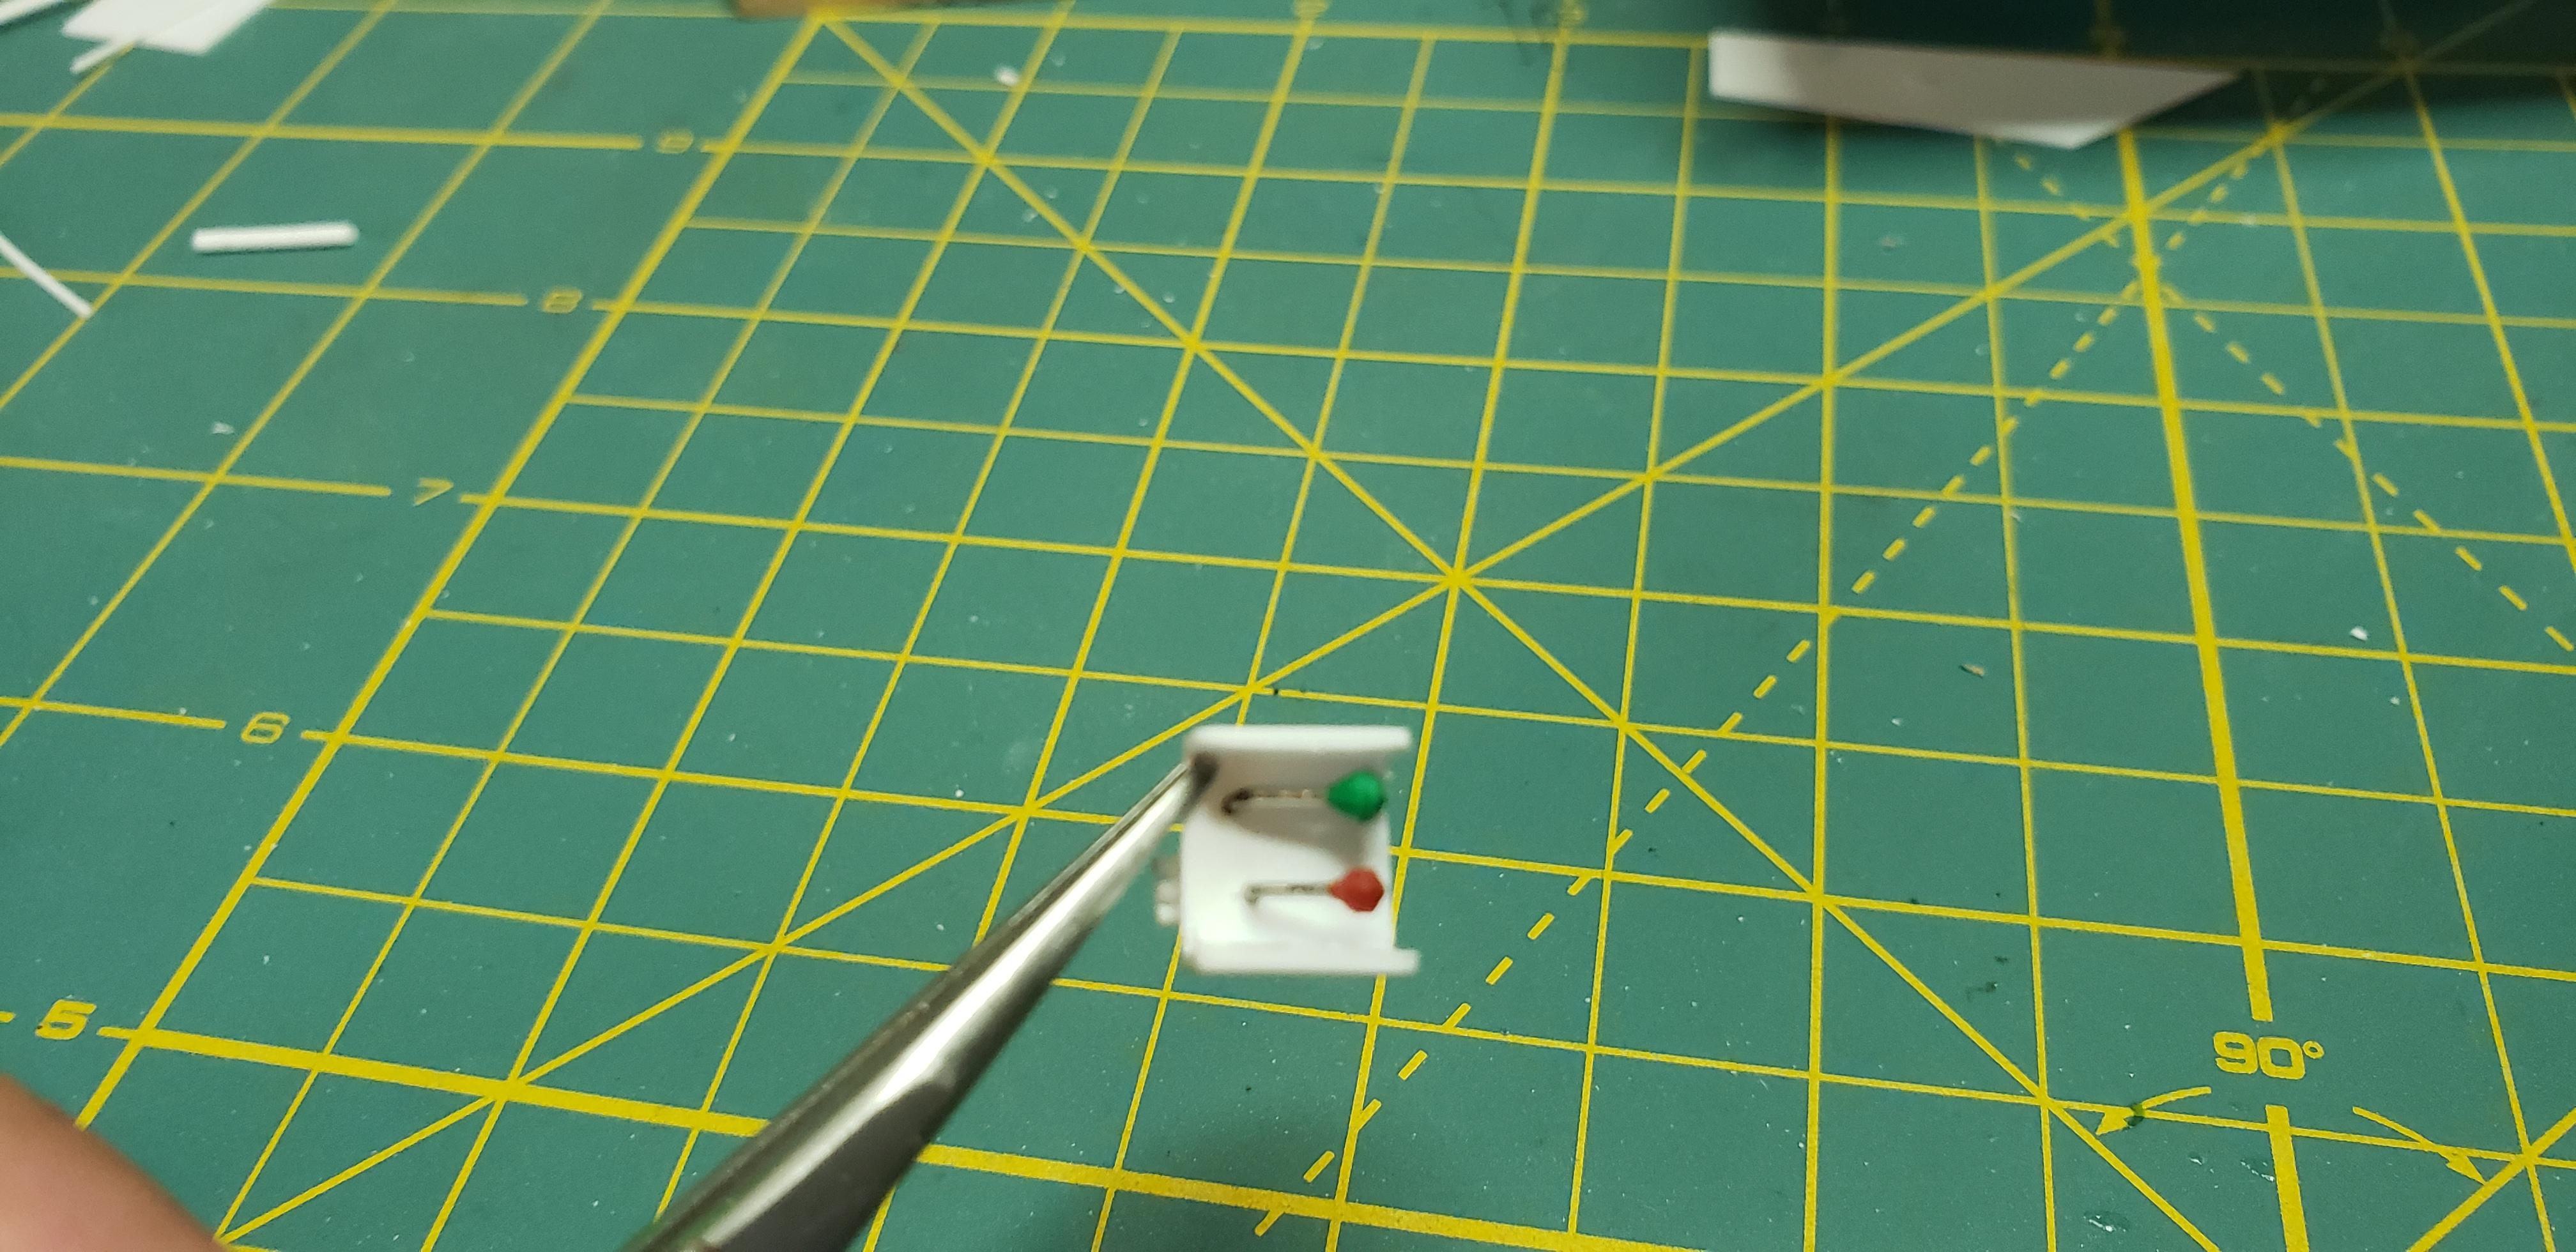
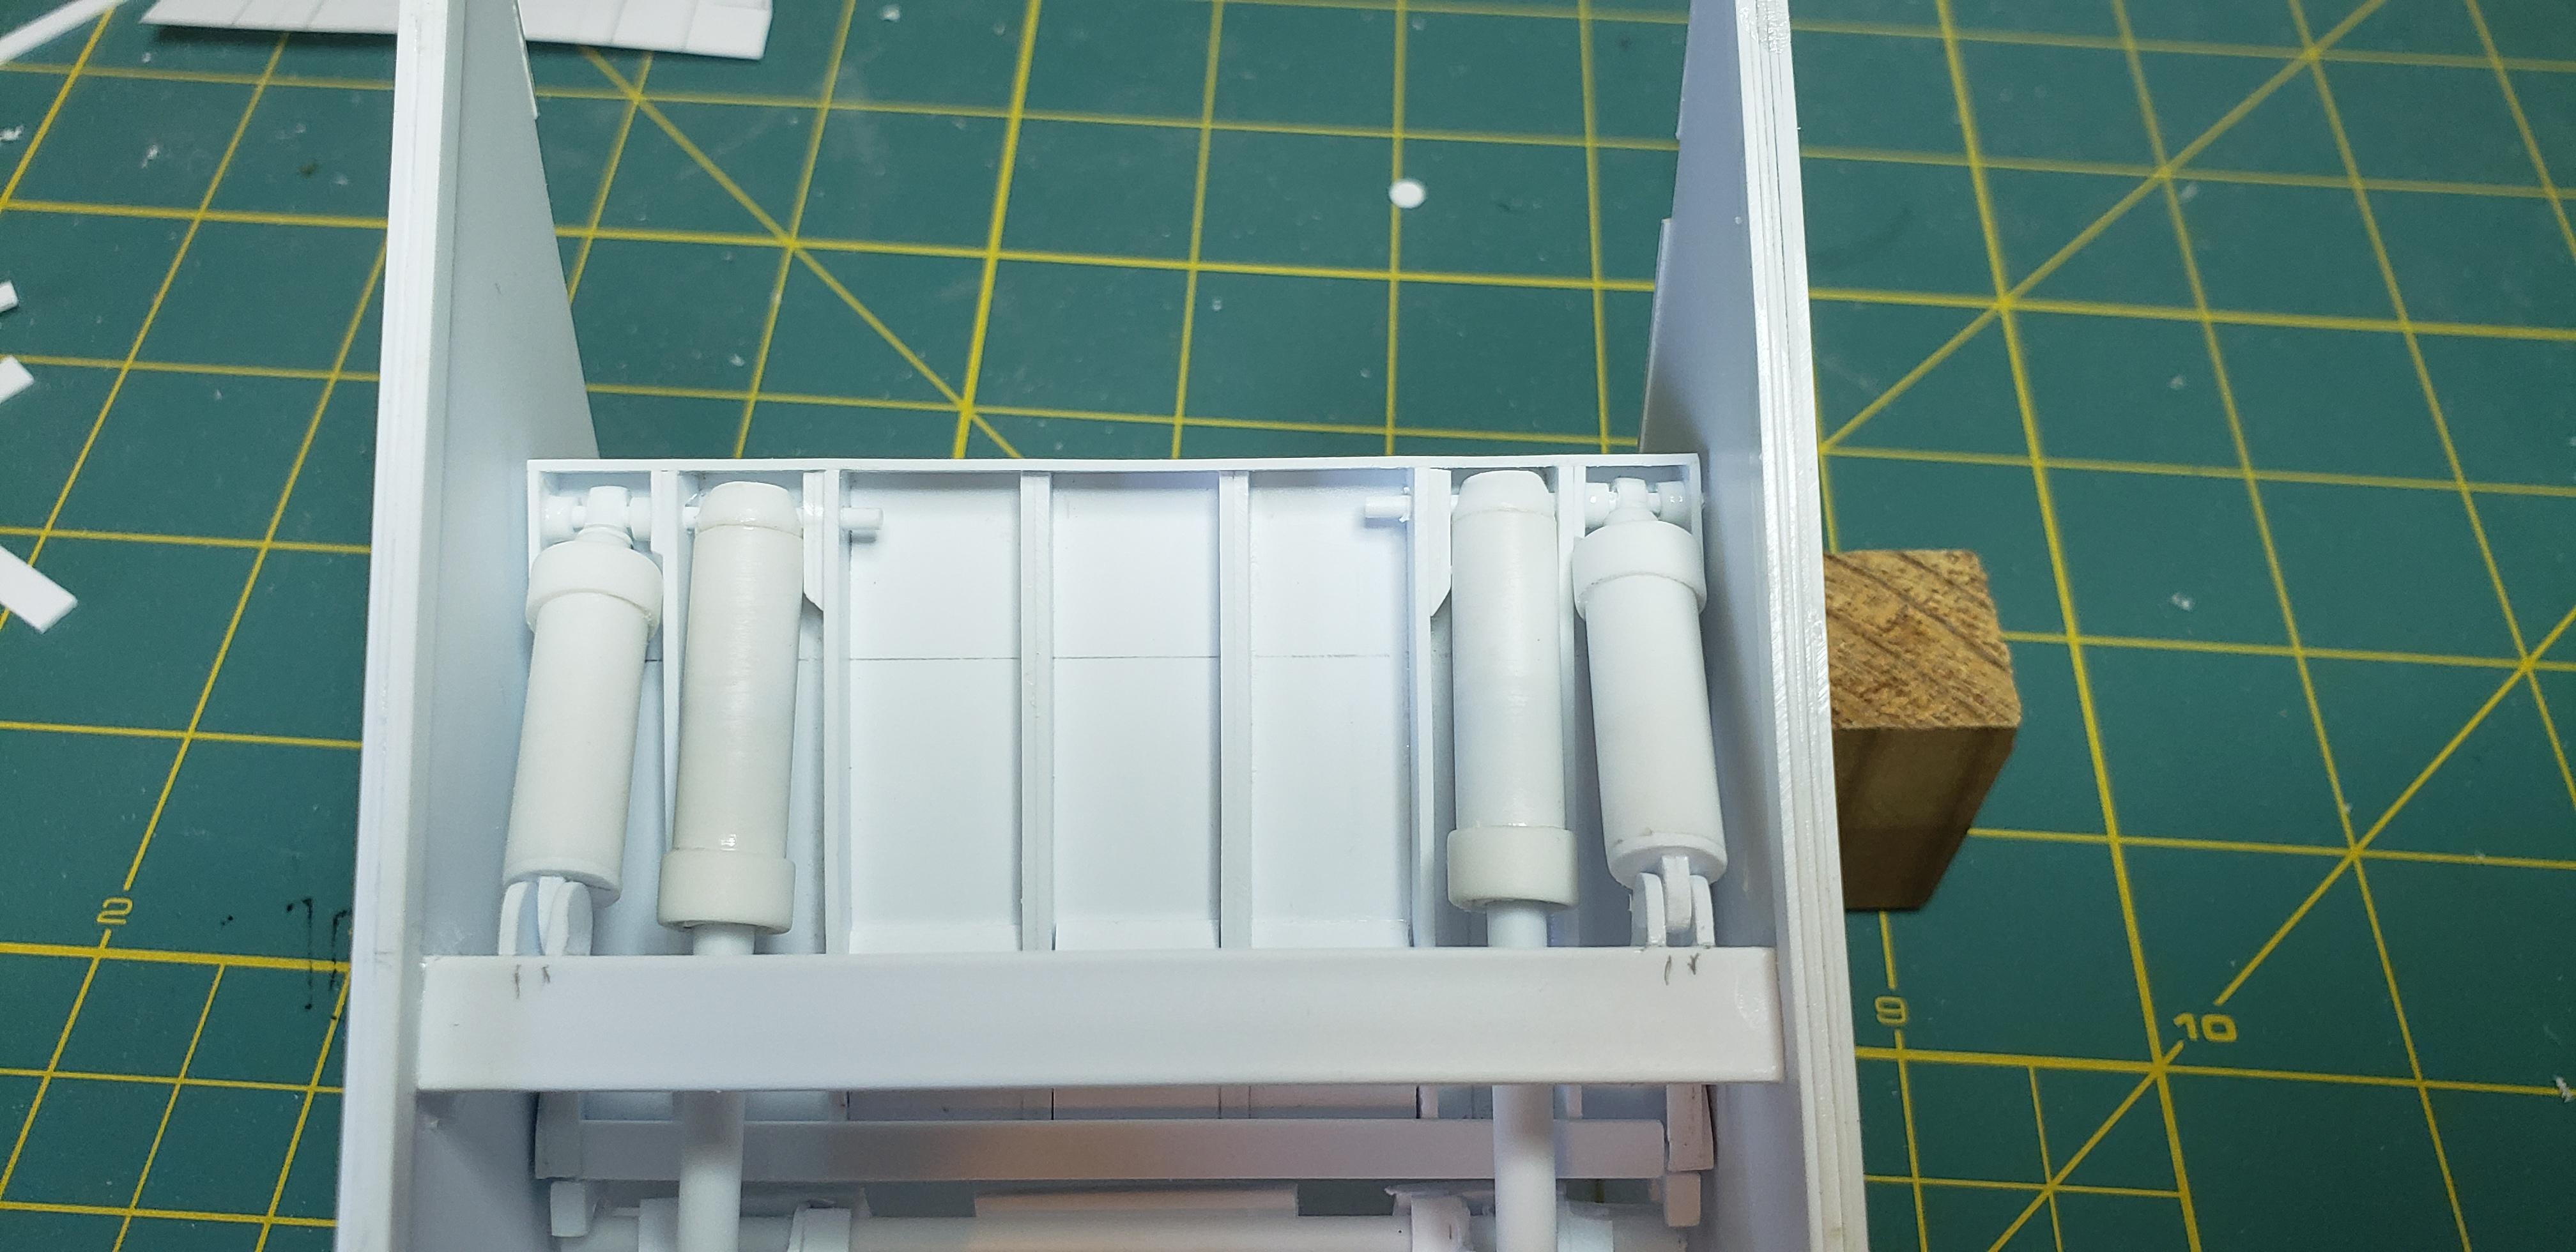
The hydraulic tank and pusher cylinder is wrapped up, as is the front controls to empty the packer. The cylinder is telescopic tube mounted w tabs . I decided to make everything functional to pose the pusher after paint . The tank is detailed w meng bolts, and the drain valve is an etch emblem from a 69 Camaro...forgive me its the closest I had. Theres even a site glass to check the oil level lol The pusher cylinder empties the garbage once full.. Last thing before I could start primer was the front controls. A couple sewing pins mounted to some square tube seemed to look close There will be a conduit of pipes running from the tank and controls, so after paint I'll add them. .032 solder wire is tasked w seed beads for hydraulic fittings
-
Ford LT9000 Dump
gotnitro? replied to DRIPTROIT 71's topic in WIP: Model Trucks: Big Rigs and Heavy Equipment
Outstanding but subtle weathering ! Well done -
Nice looking interior
-
Looks good nice progress
-
R model Mack garbage truck Finished
gotnitro? replied to gotnitro?'s topic in WIP: Model Trucks: Big Rigs and Heavy Equipment
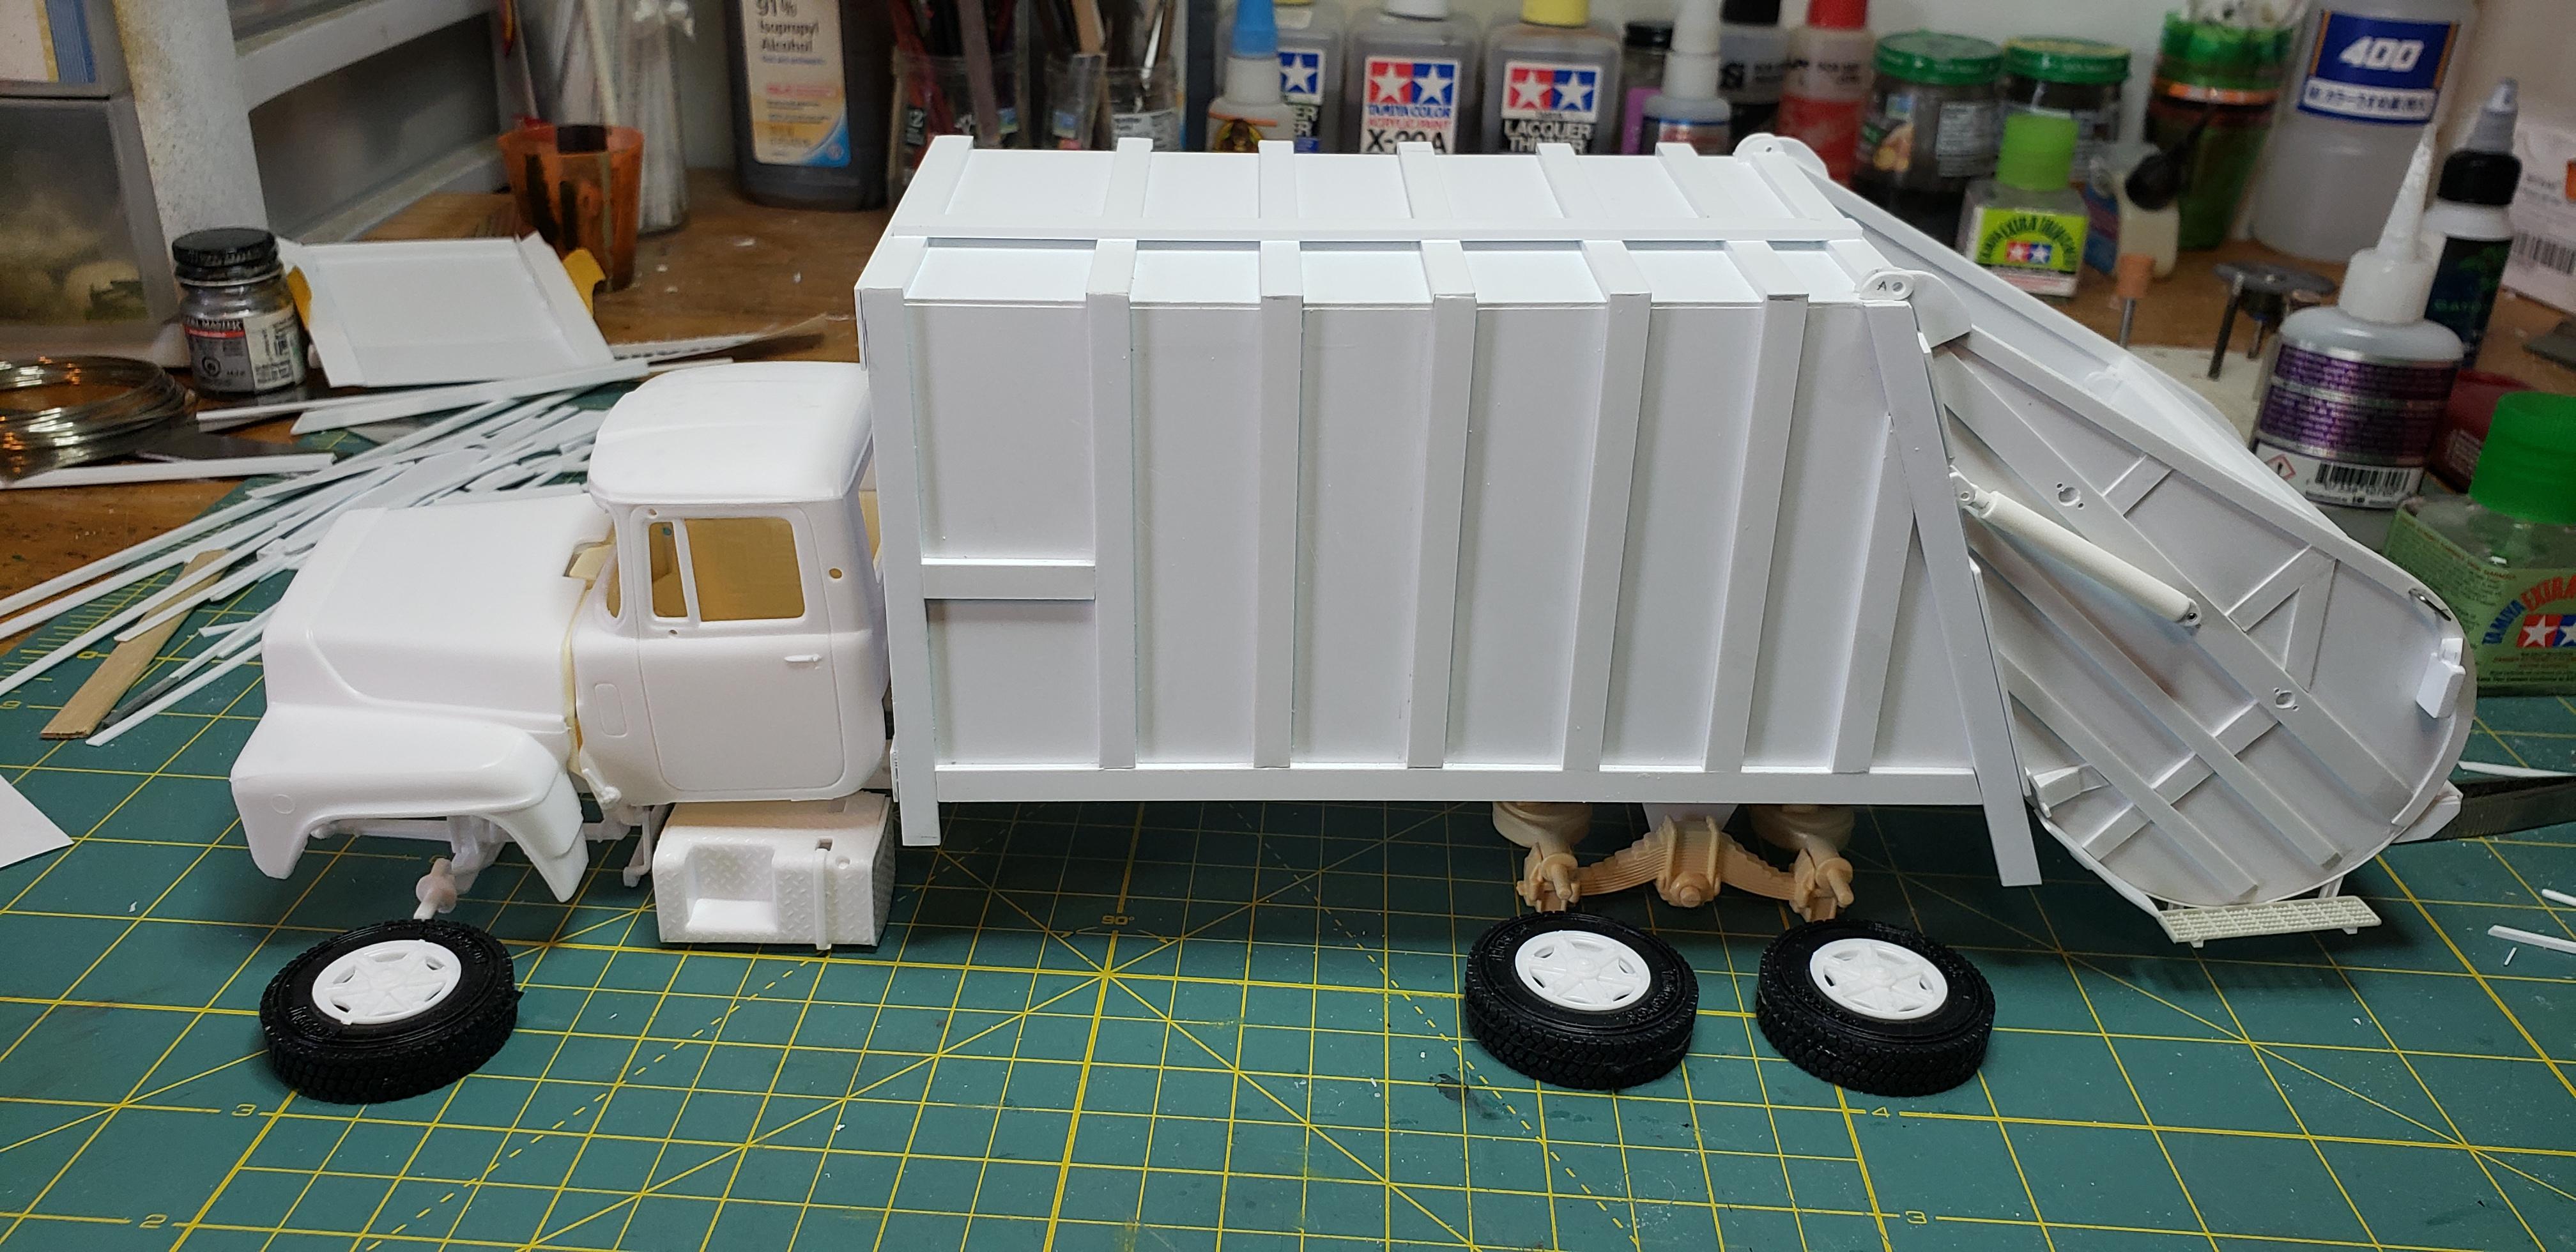
Little wknd sneak peak .. Huge mock up after getting the tailgate to function. The tires are just place holders till the real ones arrive from Moluminum. I realized I was missing a bunch of chassis parts from this parts box. A quick search on eBay net me an entire chassis bundle ..yeah more parts lol. I'm planning to shoot some primer on the packer after I fab the hydro tank
-
Days of Thunder Revisited.
gotnitro? replied to Snake45's topic in General Automotive Talk (Trucks and Cars)
I think it was the radiator right Cole? Best race movie ever lol Doesn't hurt Robert Duval reminds me of my late grandfather -
R model Mack garbage truck Finished
gotnitro? replied to gotnitro?'s topic in WIP: Model Trucks: Big Rigs and Heavy Equipment
Thanks , and glad it brought back memories! A couple worker was a trash man also, been fun showing the progress photos. He's helped answer several questions along the way. I plan to add some trash to the hopper w paint wear..dunno about the scale smell though lol. Thanks ! Very helpful tip -
R model Mack garbage truck Finished
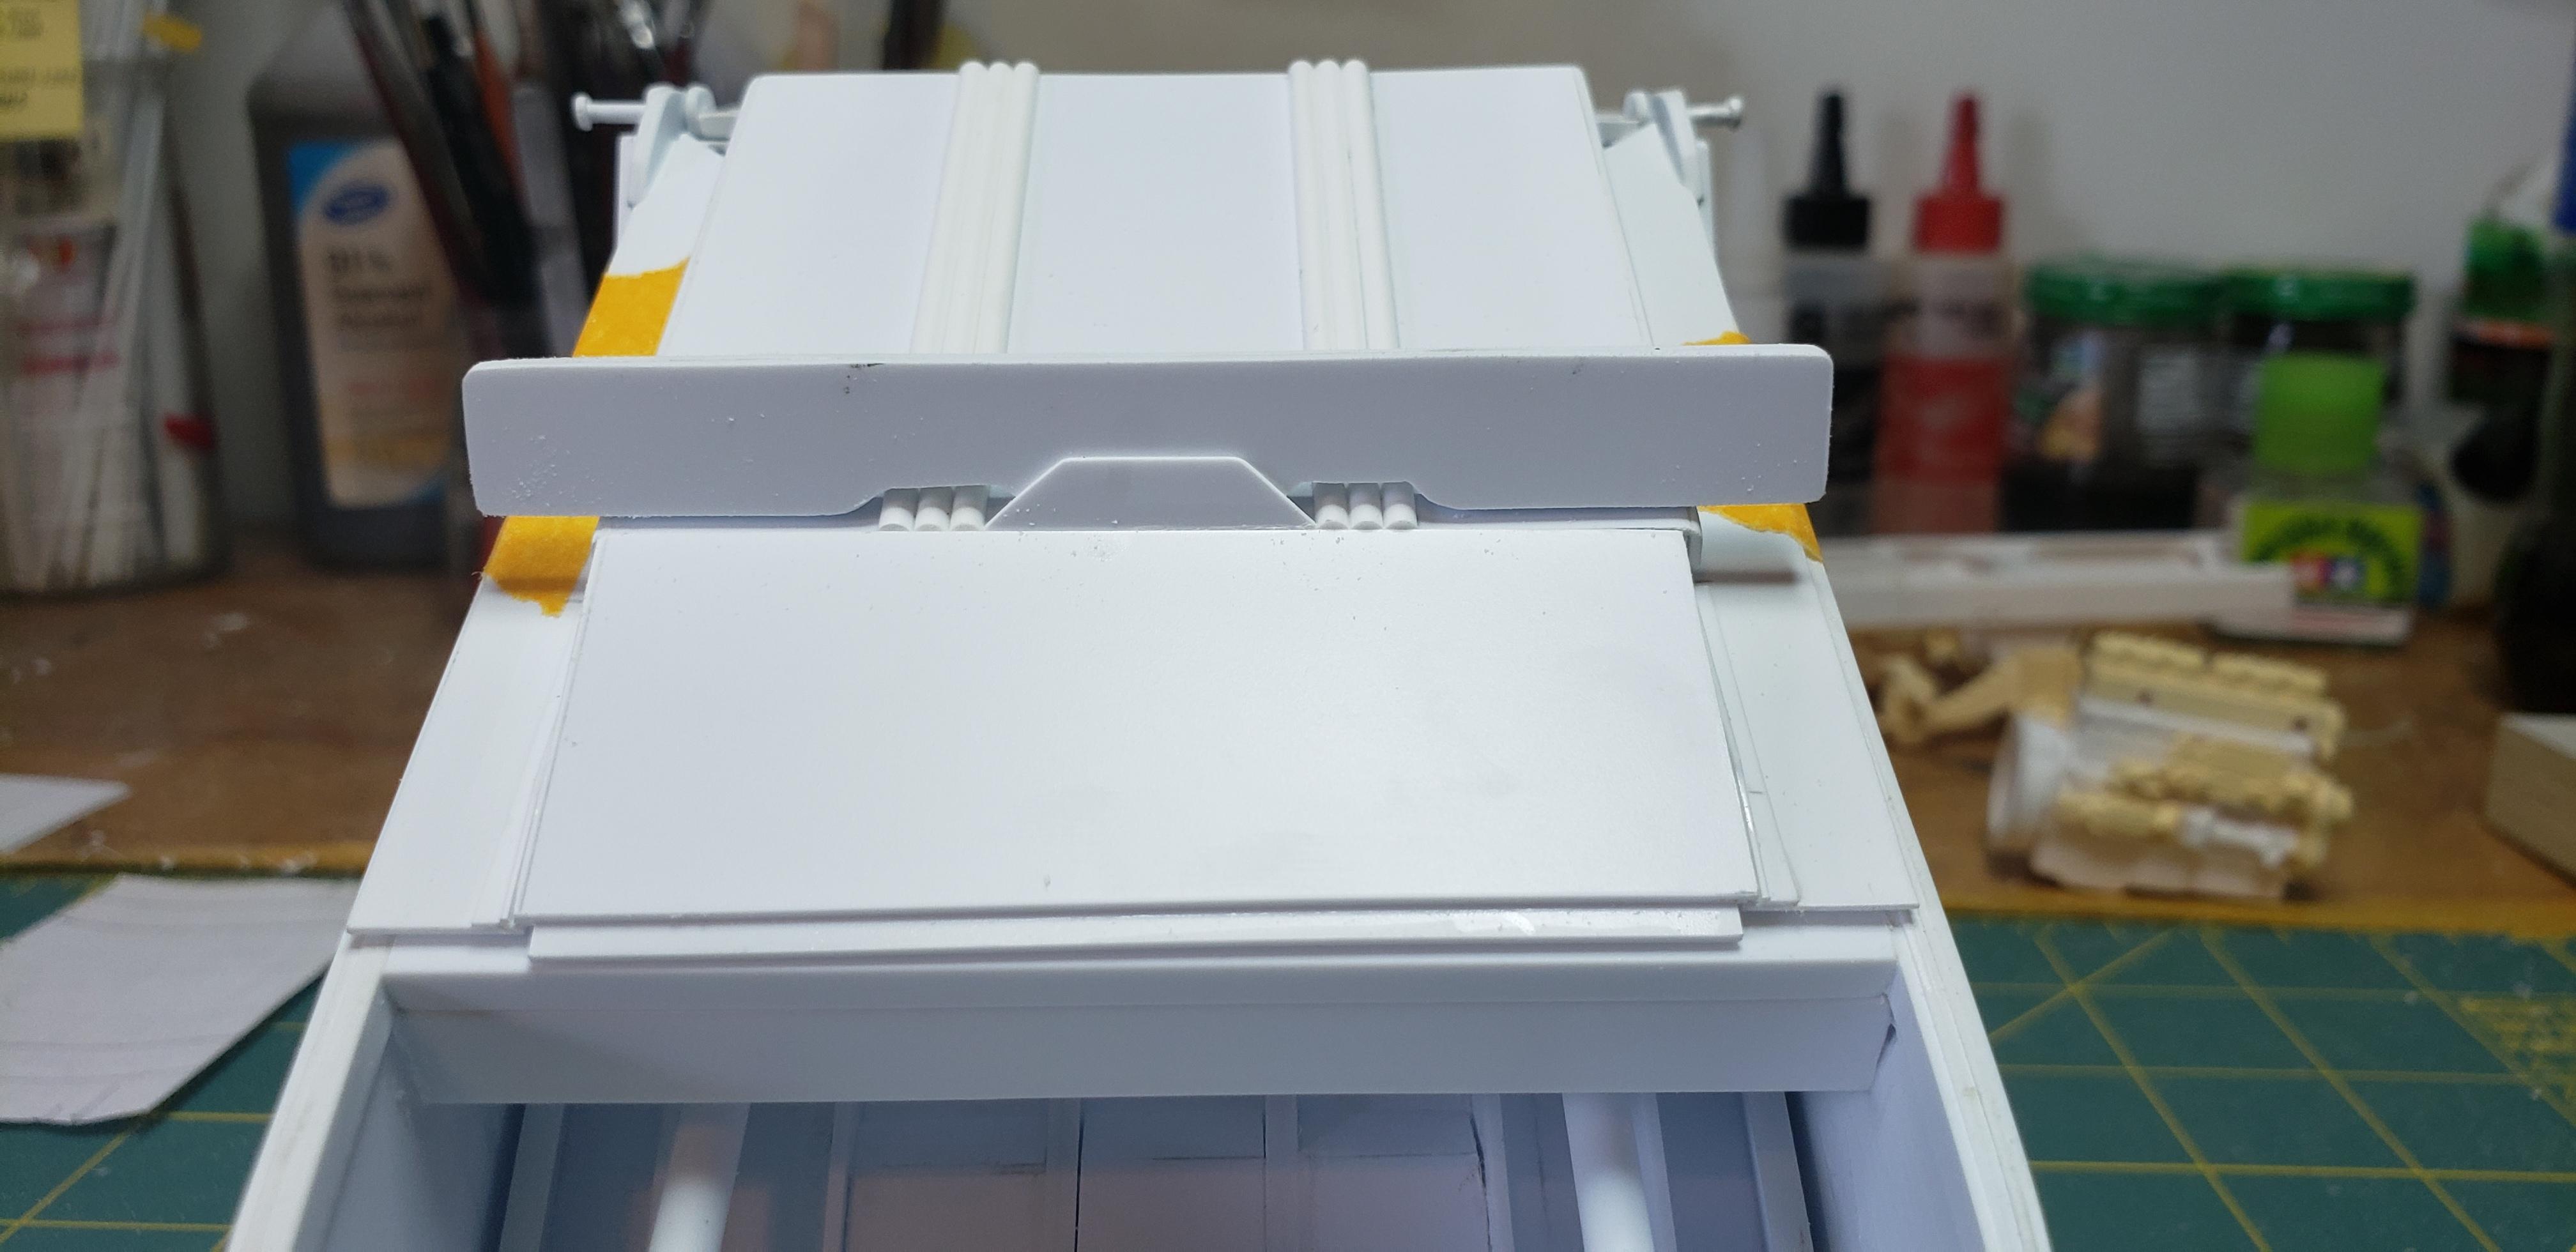
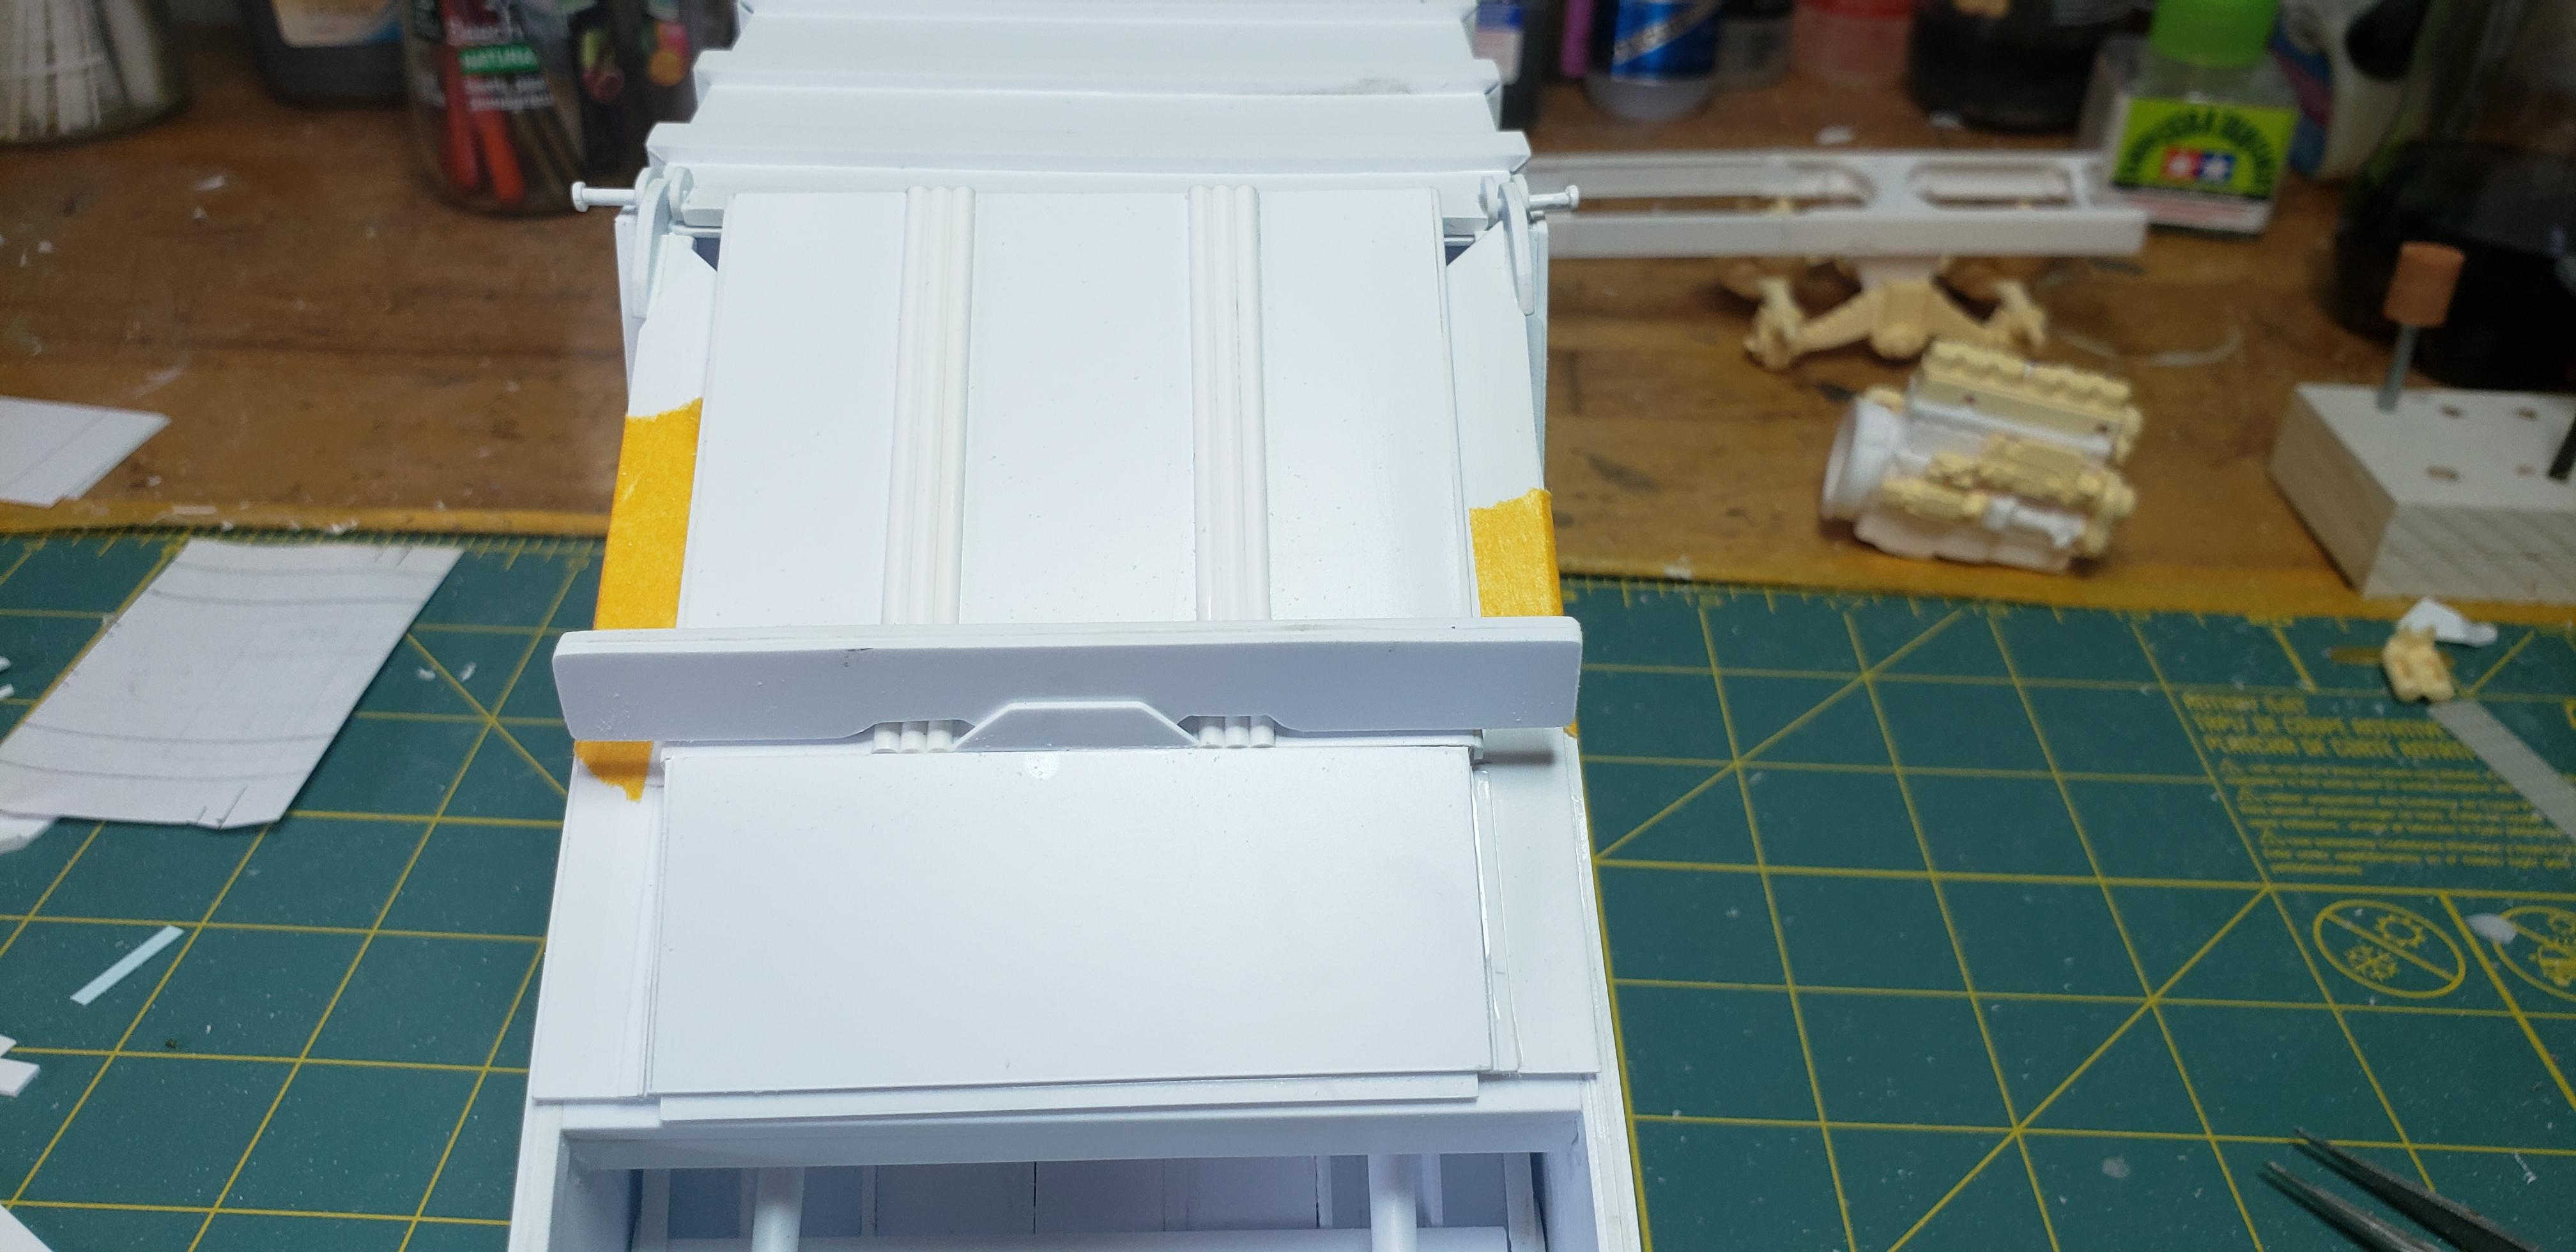
gotnitro? replied to gotnitro?'s topic in WIP: Model Trucks: Big Rigs and Heavy Equipment
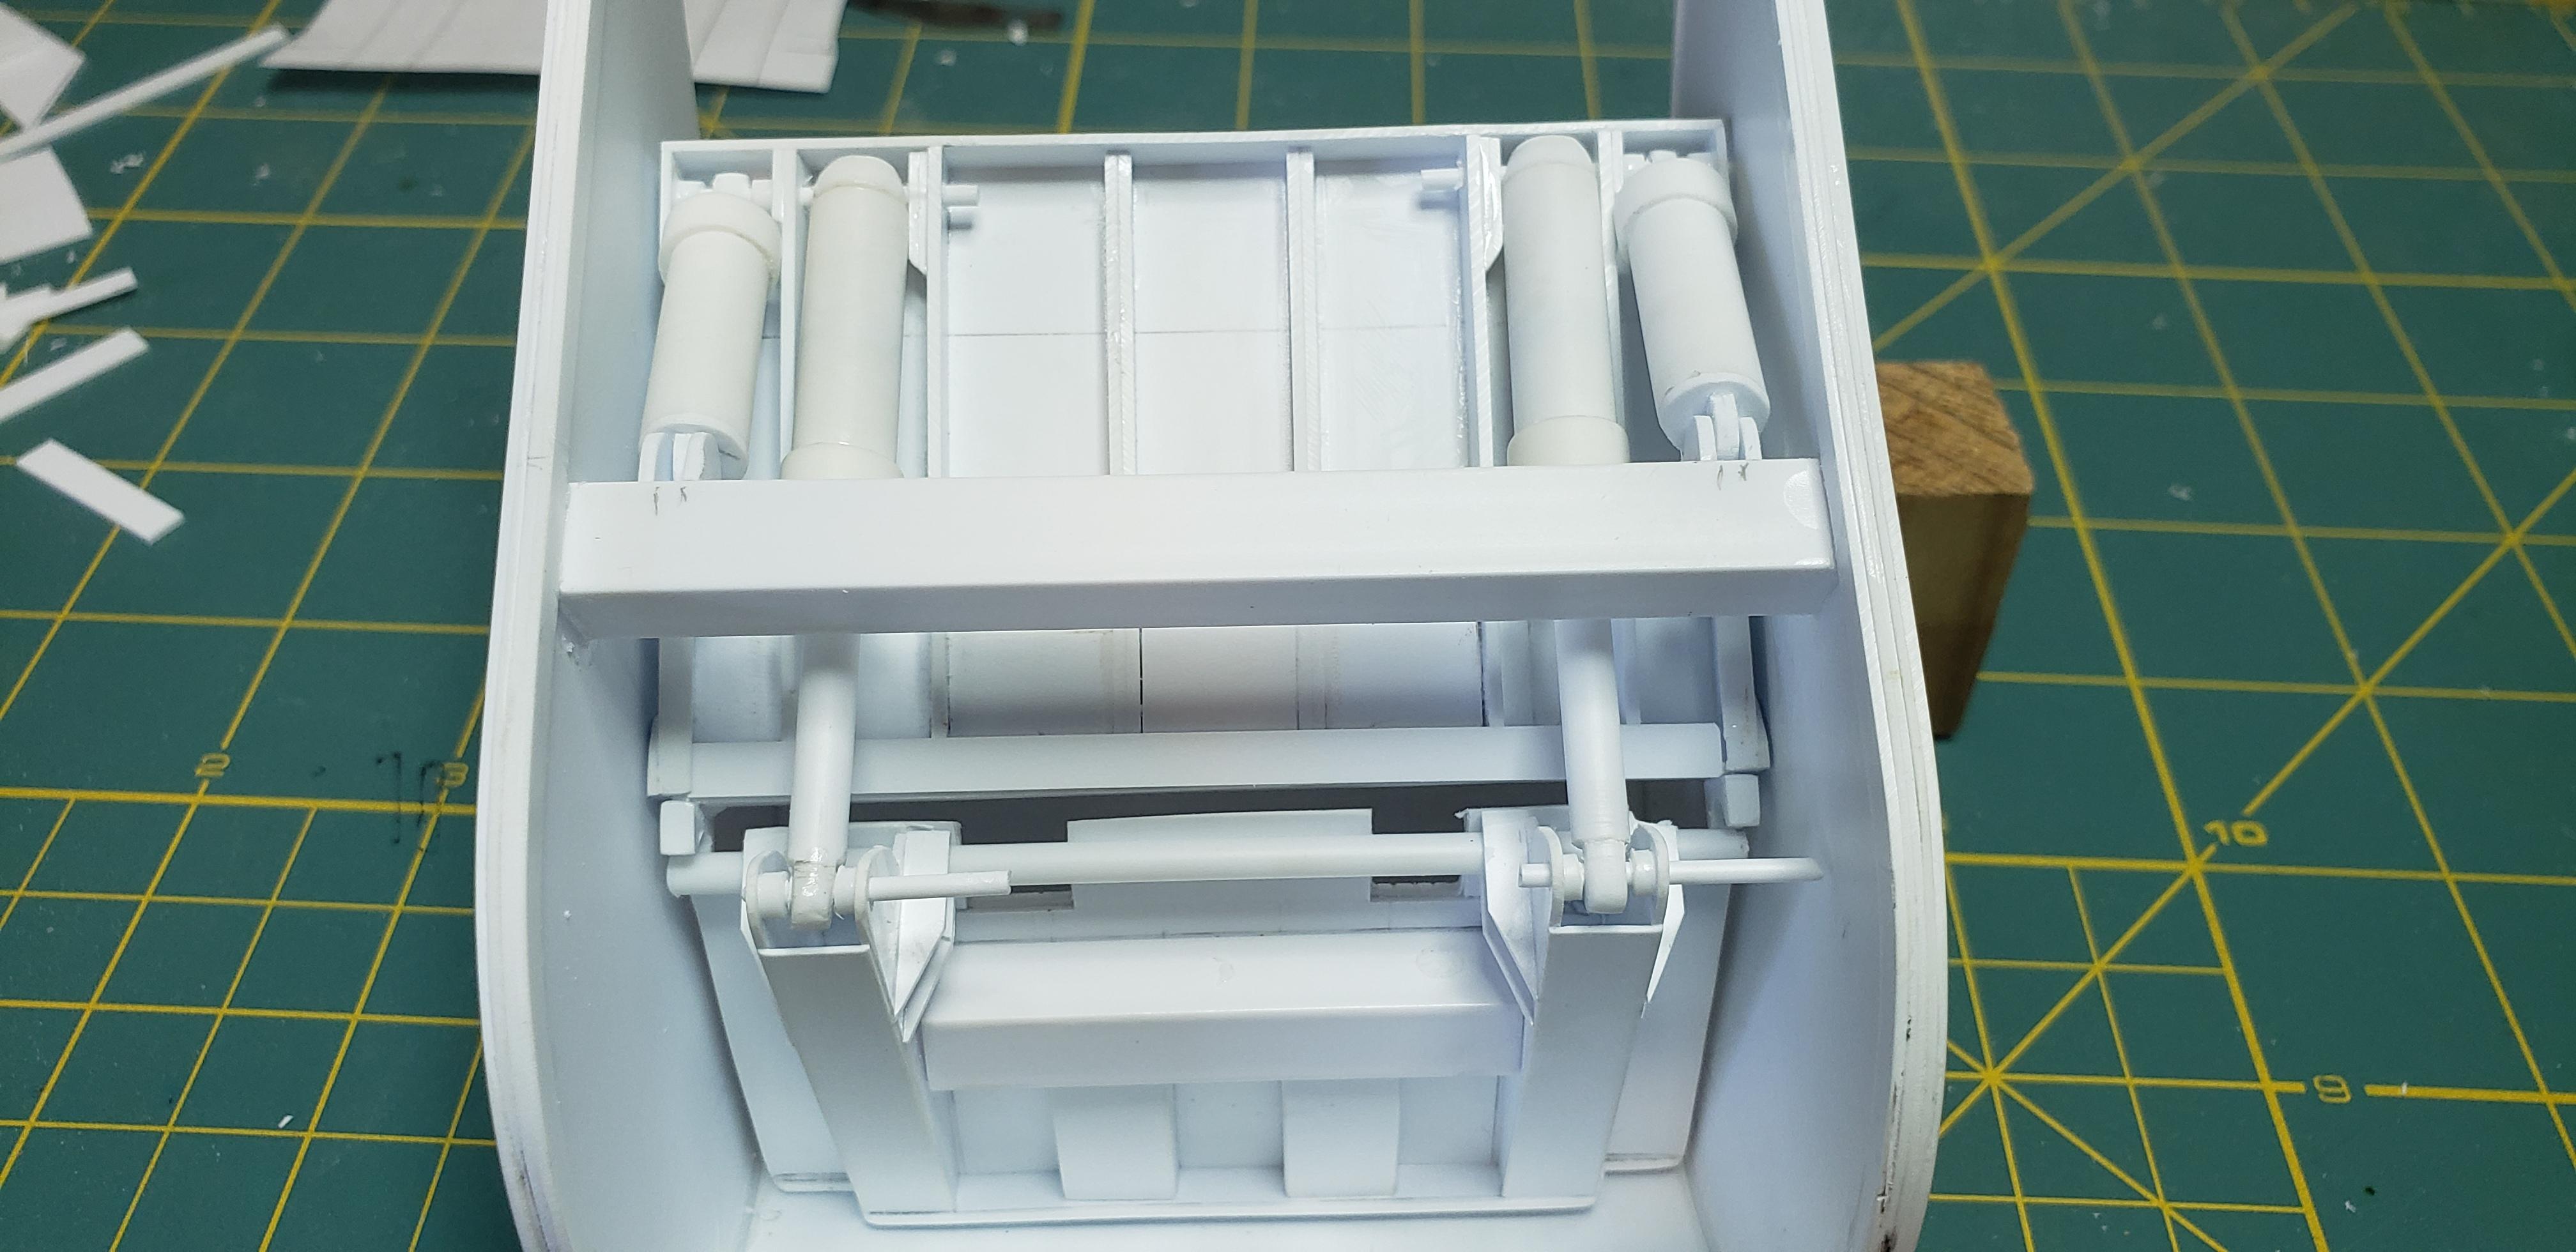
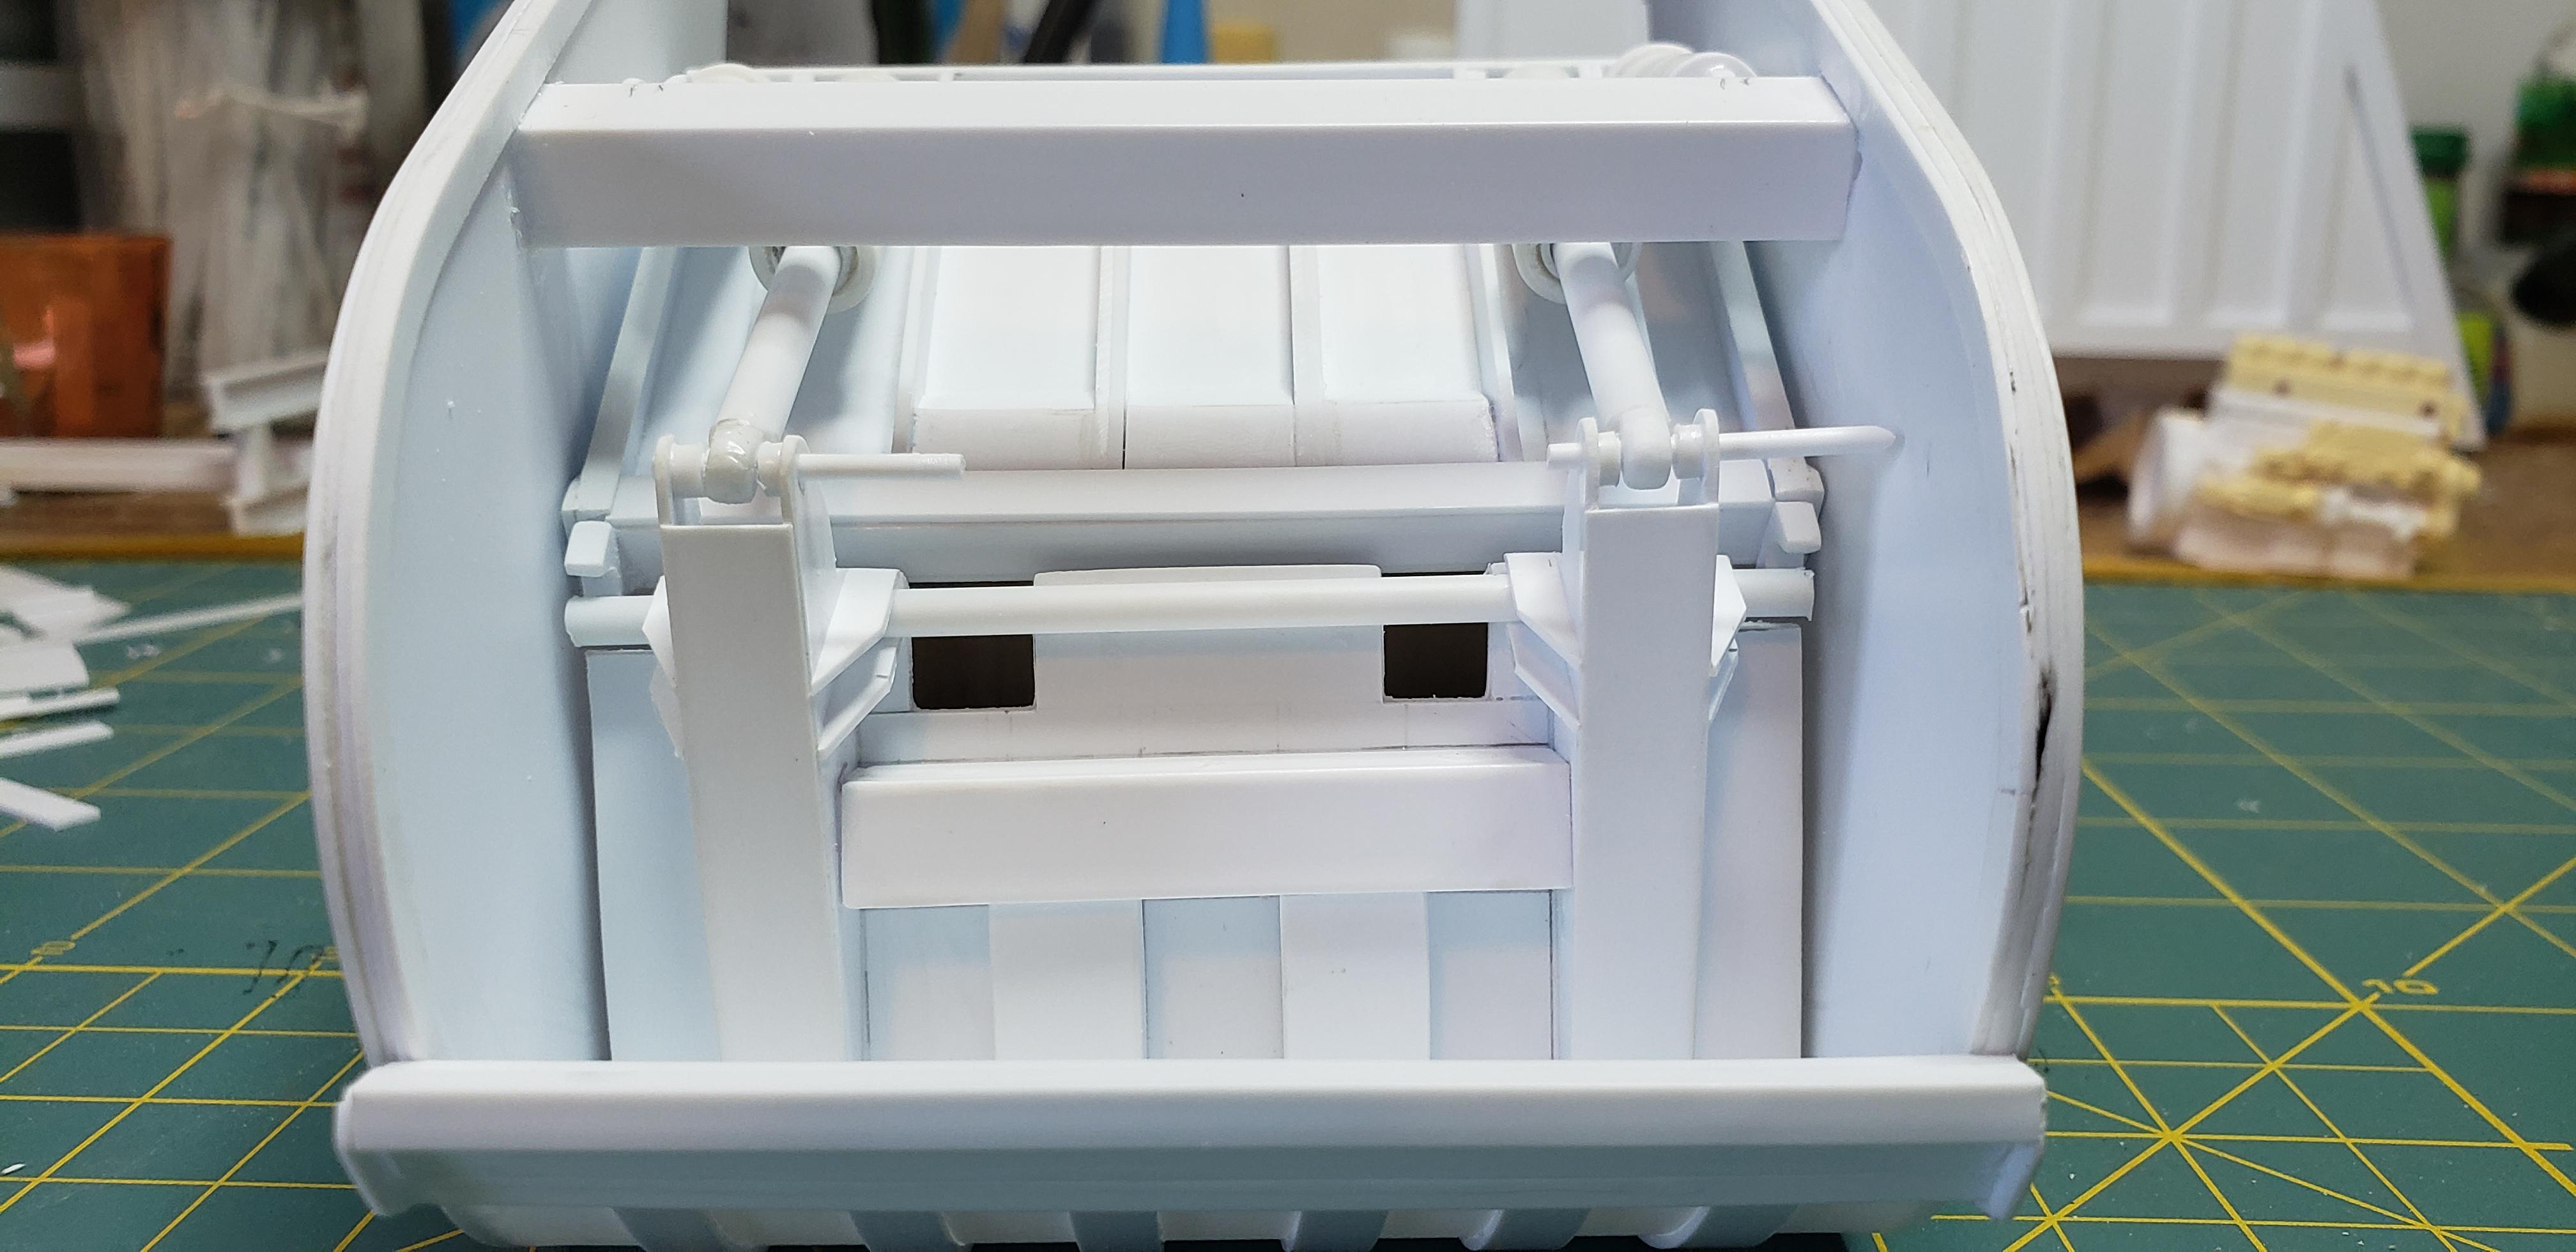
Wrapped up the blade scraper/ carrier assembly. I wanted the cylinders functional, and after a chat w Tom Decker, came up w a solution. Its basically a set of telescopic tubes, then I added a machine screw to keep tube from sliding out. The end is a tapered cap, hiding the screw ! After building 4 of these, drilling out the attachment points, then fitting together I mocked everything up. I hid a bit of angle underneath keeping the parts from shifting around. A view from the hopper I started the top cover and light bar next. Once the interior is painted this will get permanently attached Thanks for following
-
Ford LT9000 Dump
gotnitro? replied to DRIPTROIT 71's topic in WIP: Model Trucks: Big Rigs and Heavy Equipment
nice start on your Ford looking forward to your progress -
AMT 1971 Autocar A64B
gotnitro? replied to Jim B's topic in Model Trucks: Big Rigs and Heavy Equipment
Excellent job and stellar details -
Fantastic color choice
-
Canadian Kenworth LW 900
gotnitro? replied to lwwoodss's topic in WIP: Model Trucks: Big Rigs and Heavy Equipment
Nice mockup and start on the steps / battery box -
1944 Diamond T 6x6
gotnitro? replied to Chariots of Fire's topic in WIP: Model Trucks: Big Rigs and Heavy Equipment
Whichever body you choose will make an outstanding build..following -
Good looking pair
-
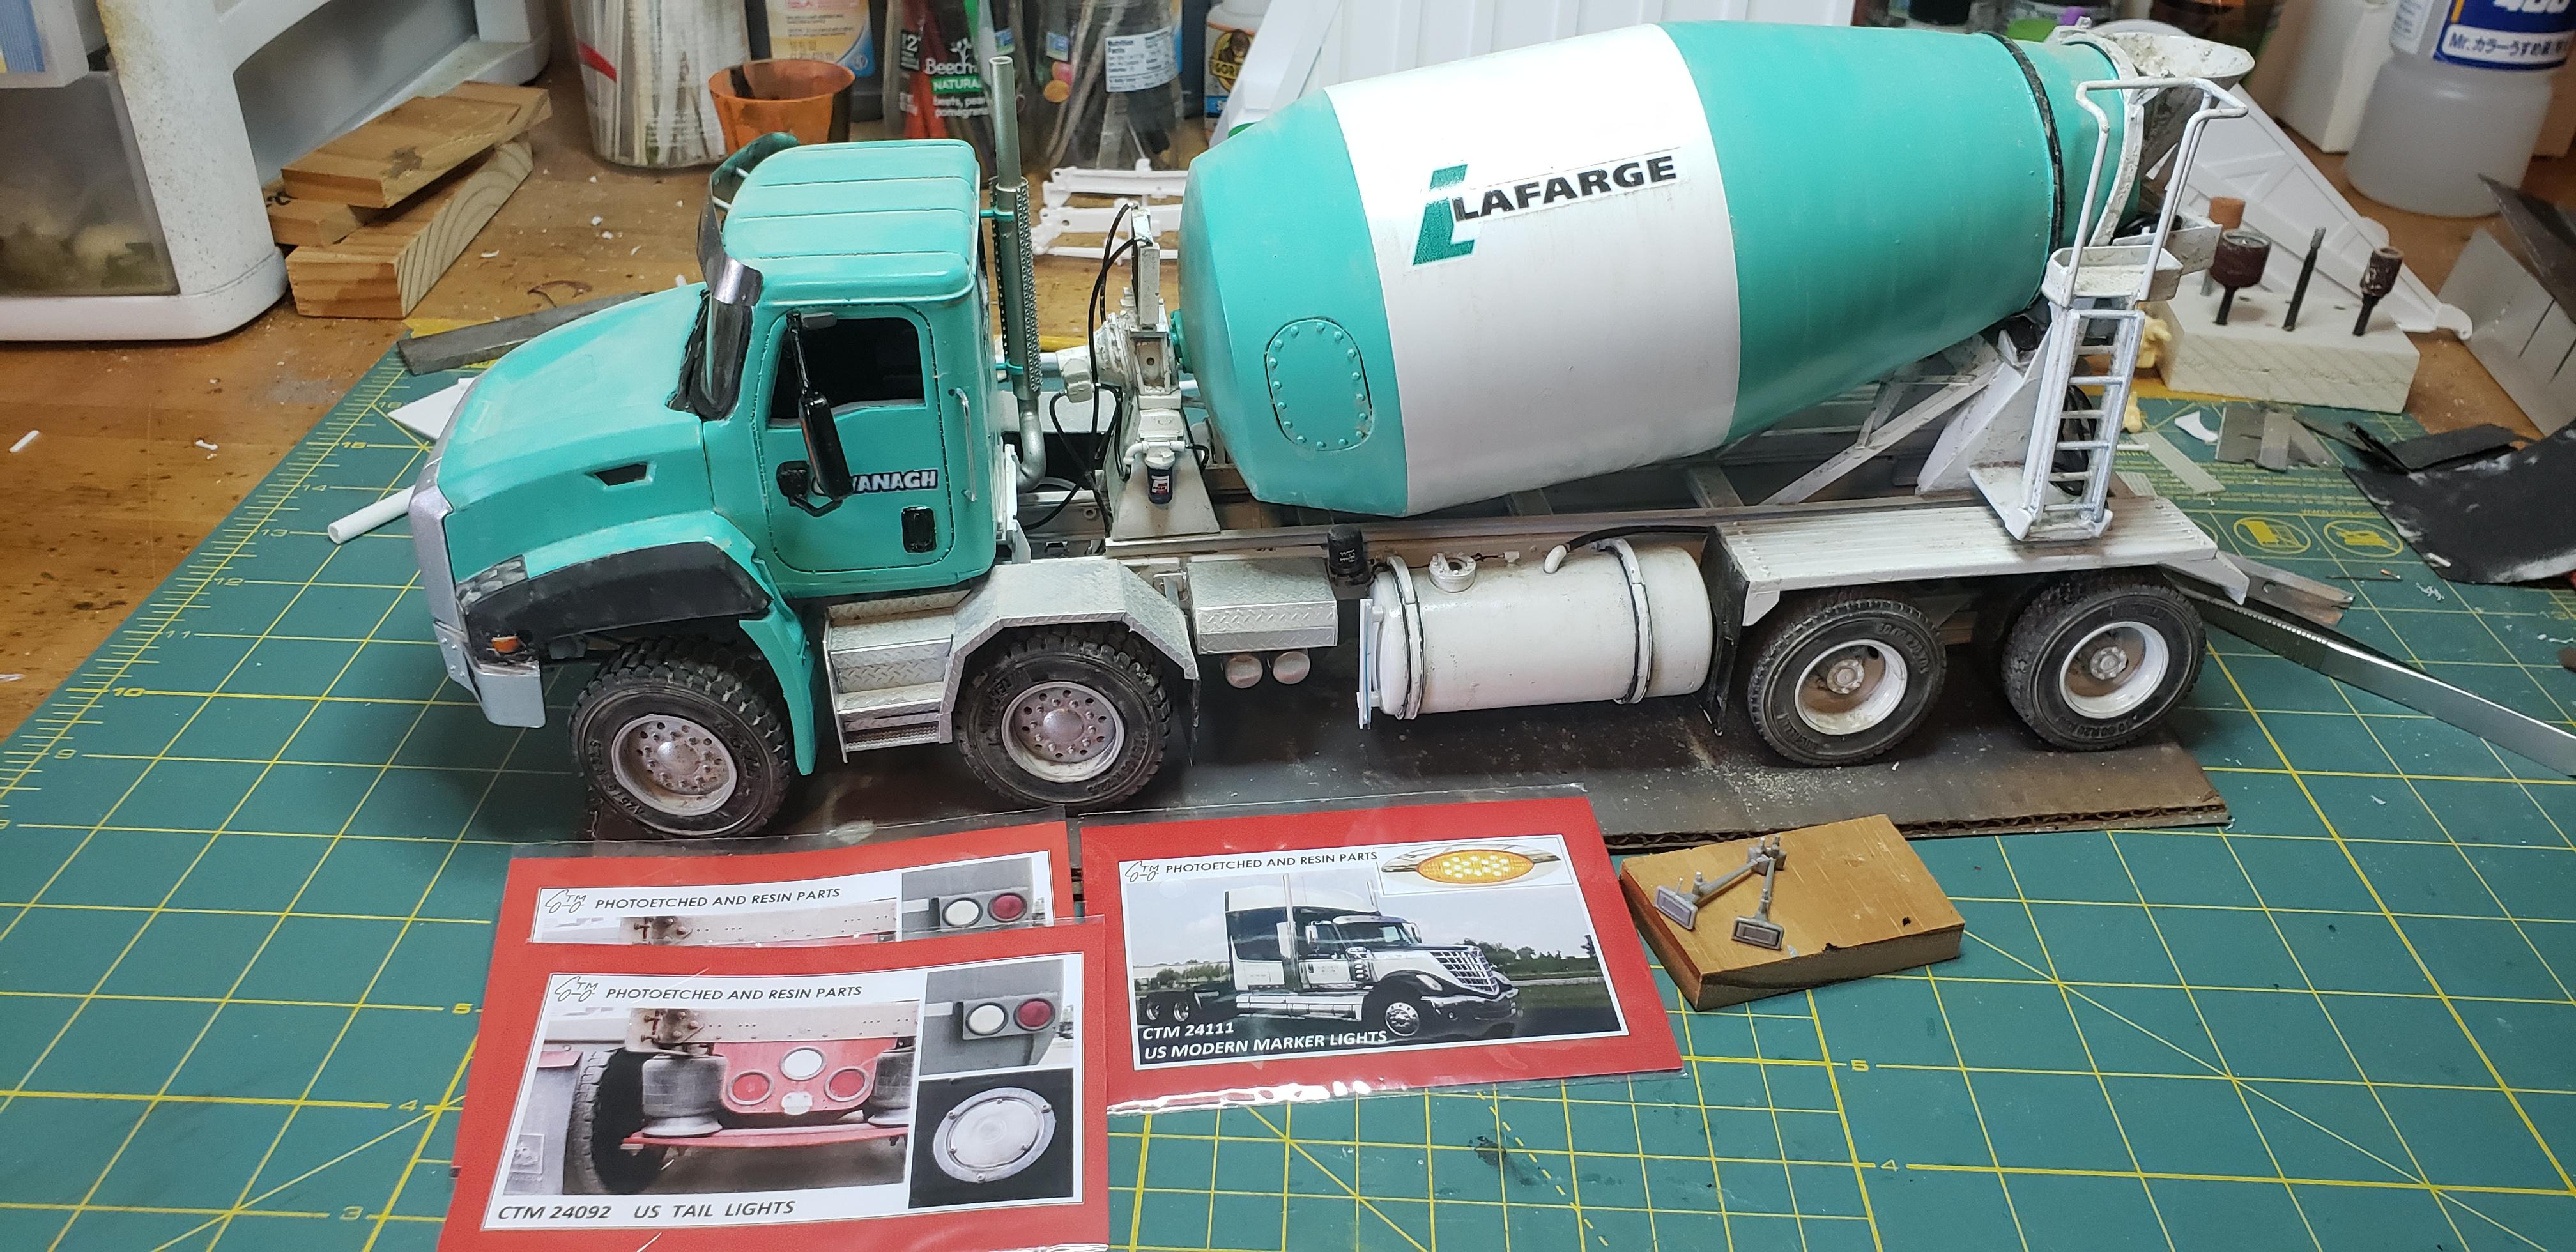
Thanks..she's a Cat not a Dog lol
-
Here's the goodies still to be installed to finish off this build. Proper rectangular air horns from ST supply, and etch goodies from CTM. Every time I see this mixer , it brings a smile. These colors are totally different from anything I usually build
-
Kaiser-Jeep M54A2 progress
gotnitro? replied to Terry Jessee's topic in WIP: Model Trucks: Big Rigs and Heavy Equipment
Looks good !!! Don't forget the floor lined w ammo cans ! There was a special on tv showing all these nam built gun trucks ..amazing the purpose built fabrication that went into each one by their crews -
Mack R/Leach Garbage Truck
gotnitro? replied to kuhnj's topic in WIP: Model Trucks: Big Rigs and Heavy Equipment
C- cabs were everywhere growing up ! Now all I see are Mack cabovers