jwrass
-
Posts
848 -
Joined
-
Last visited
Content Type
Profiles
Forums
Events
Gallery
Everything posted by jwrass
-
OMG.... It's alive.... It's alive...... 1) Number 9, Number 9, Number 9........... 2) Can't seem to face up to the facts I'm tense and nervous can't relax 3) Cause if they catch you in the back seat Trying too pick her locks 4) You're coming to me with that soulful look on our face You're coming looking like you you've never ever done one thing wrong 5) He had white horses and ladies by the score All dressed in satin and waiting by the door
-
Harry, If your referring to the last photo on the key ring it's a tiger eye that I did under a magnifying glass.... In person it looks photo realistic. I made that piece for my Daughter who is into big cats, she displays it as a piece of artwork. She has keys hanging on it for effect and always has a magnifying glass near by as it is often asked about. Peace, Jimmy "RASS"
-
Hey Gang, I have been using Aleenes Tacky and Turbo Tacky glue (Hobby Lobby) for mock ups with much success. I typically use it when I'm at a point where I'm not going to be handling the parts for 12 hours or so. I apply it to the area I want to fasten and let it tack up a bit before I attach the parts. Once dry it has pretty good durability and will take some abuse without falling apart ( although not 100% infallible) When done I simply put the parts in warm water and the whole thing comes apart as the glue is water soluble. This has worked really well for me.... I'd be interested in what others may be using as a mock up glue! Peace, Jimmy "RASS"
-
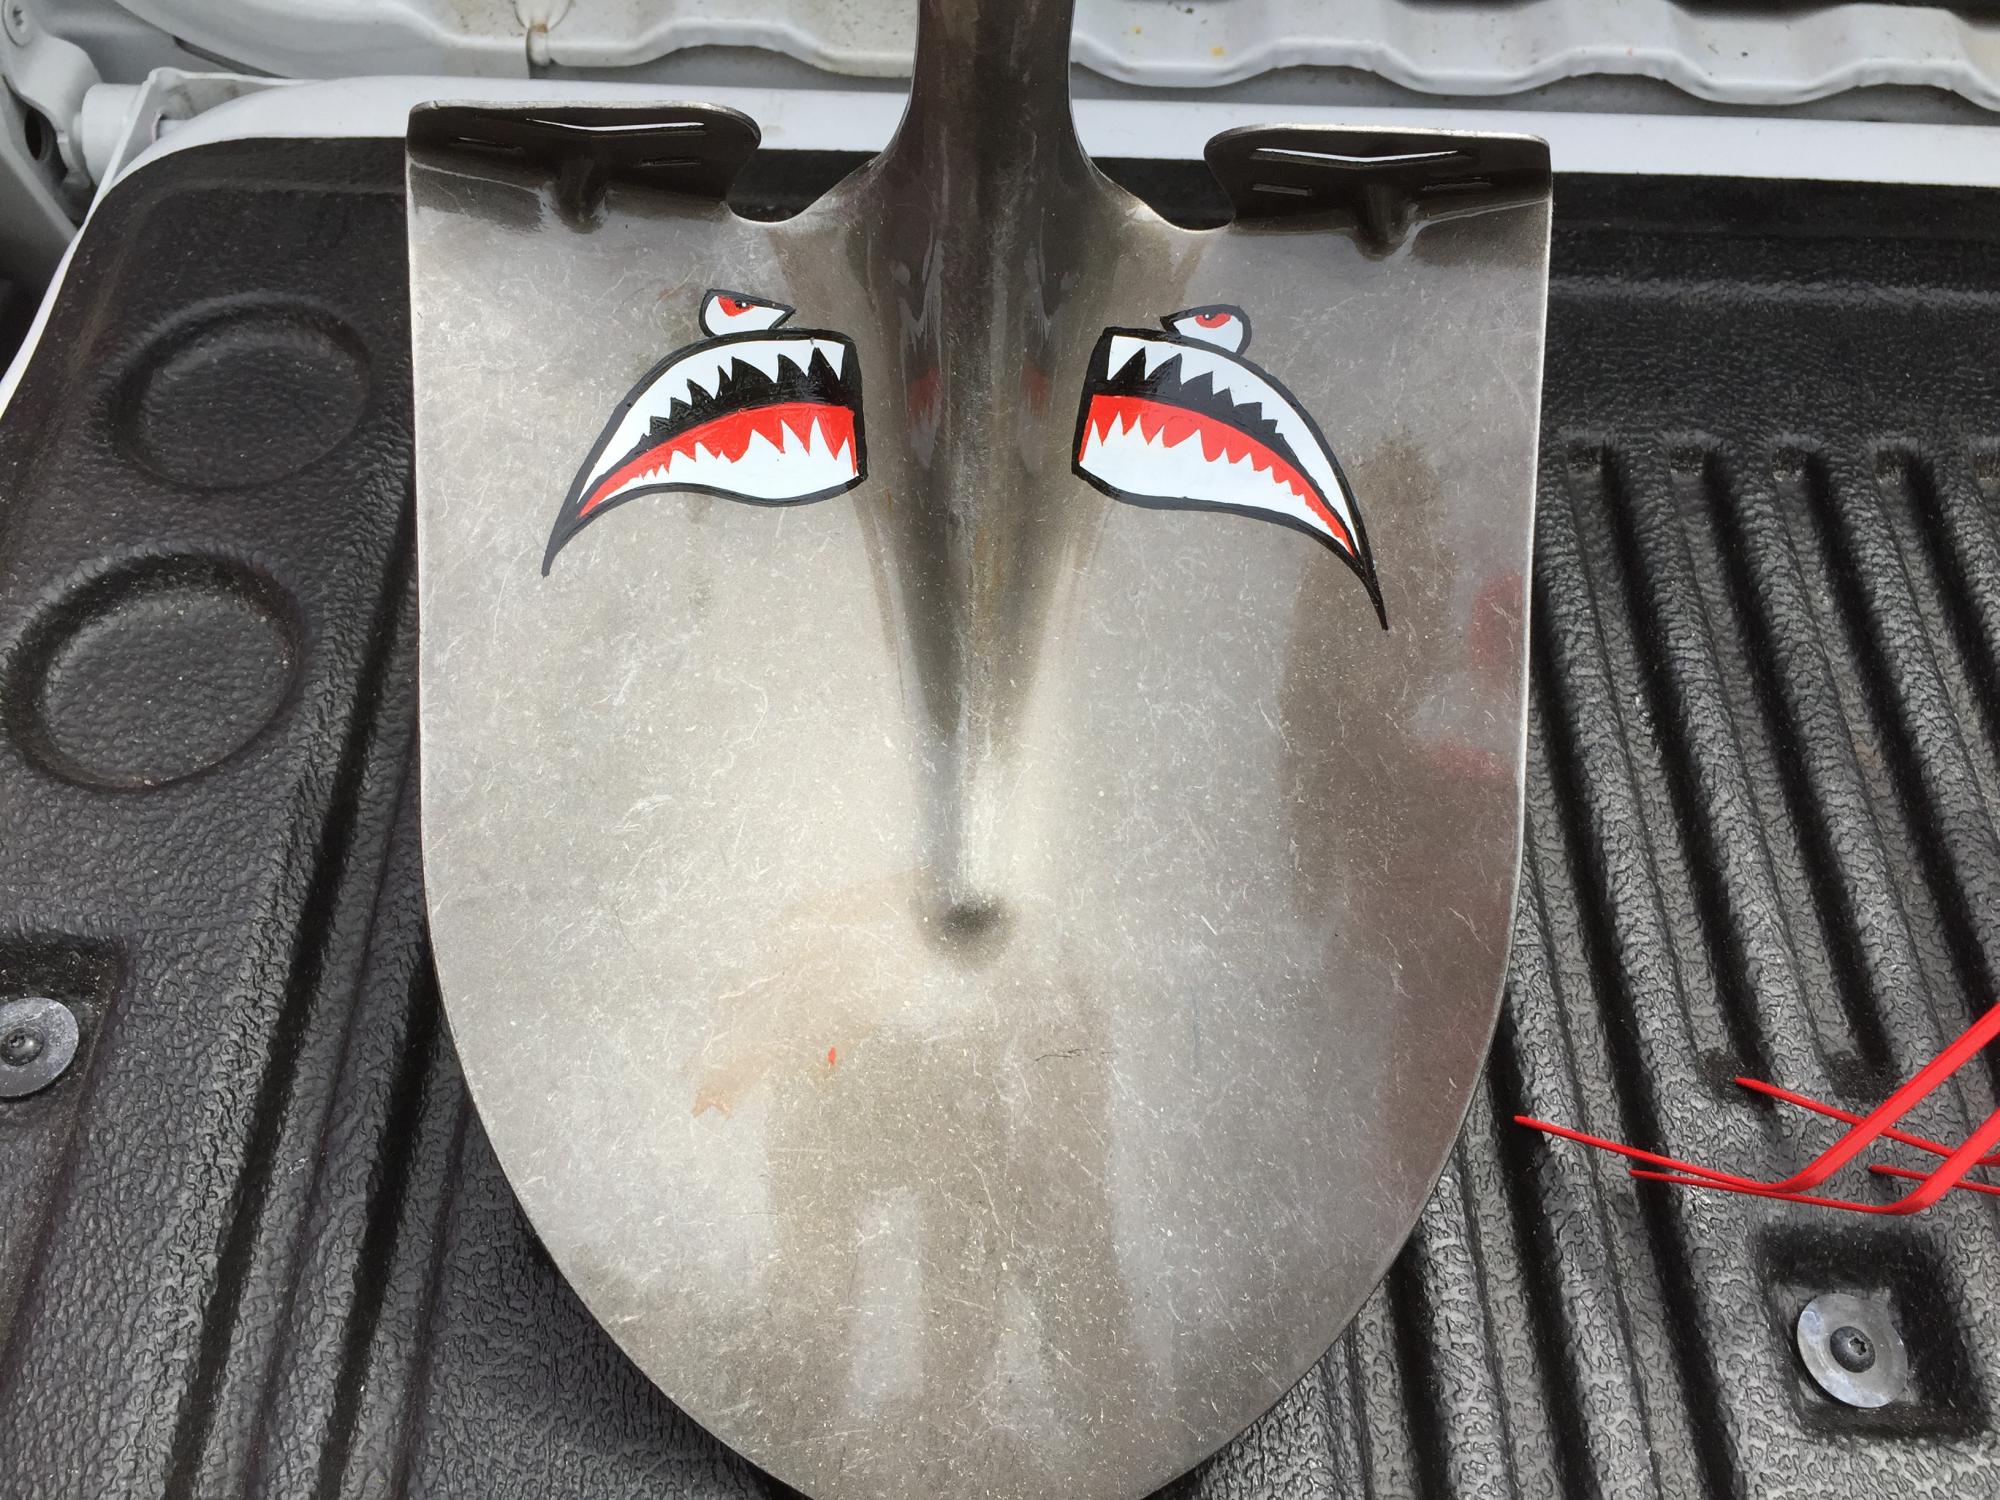
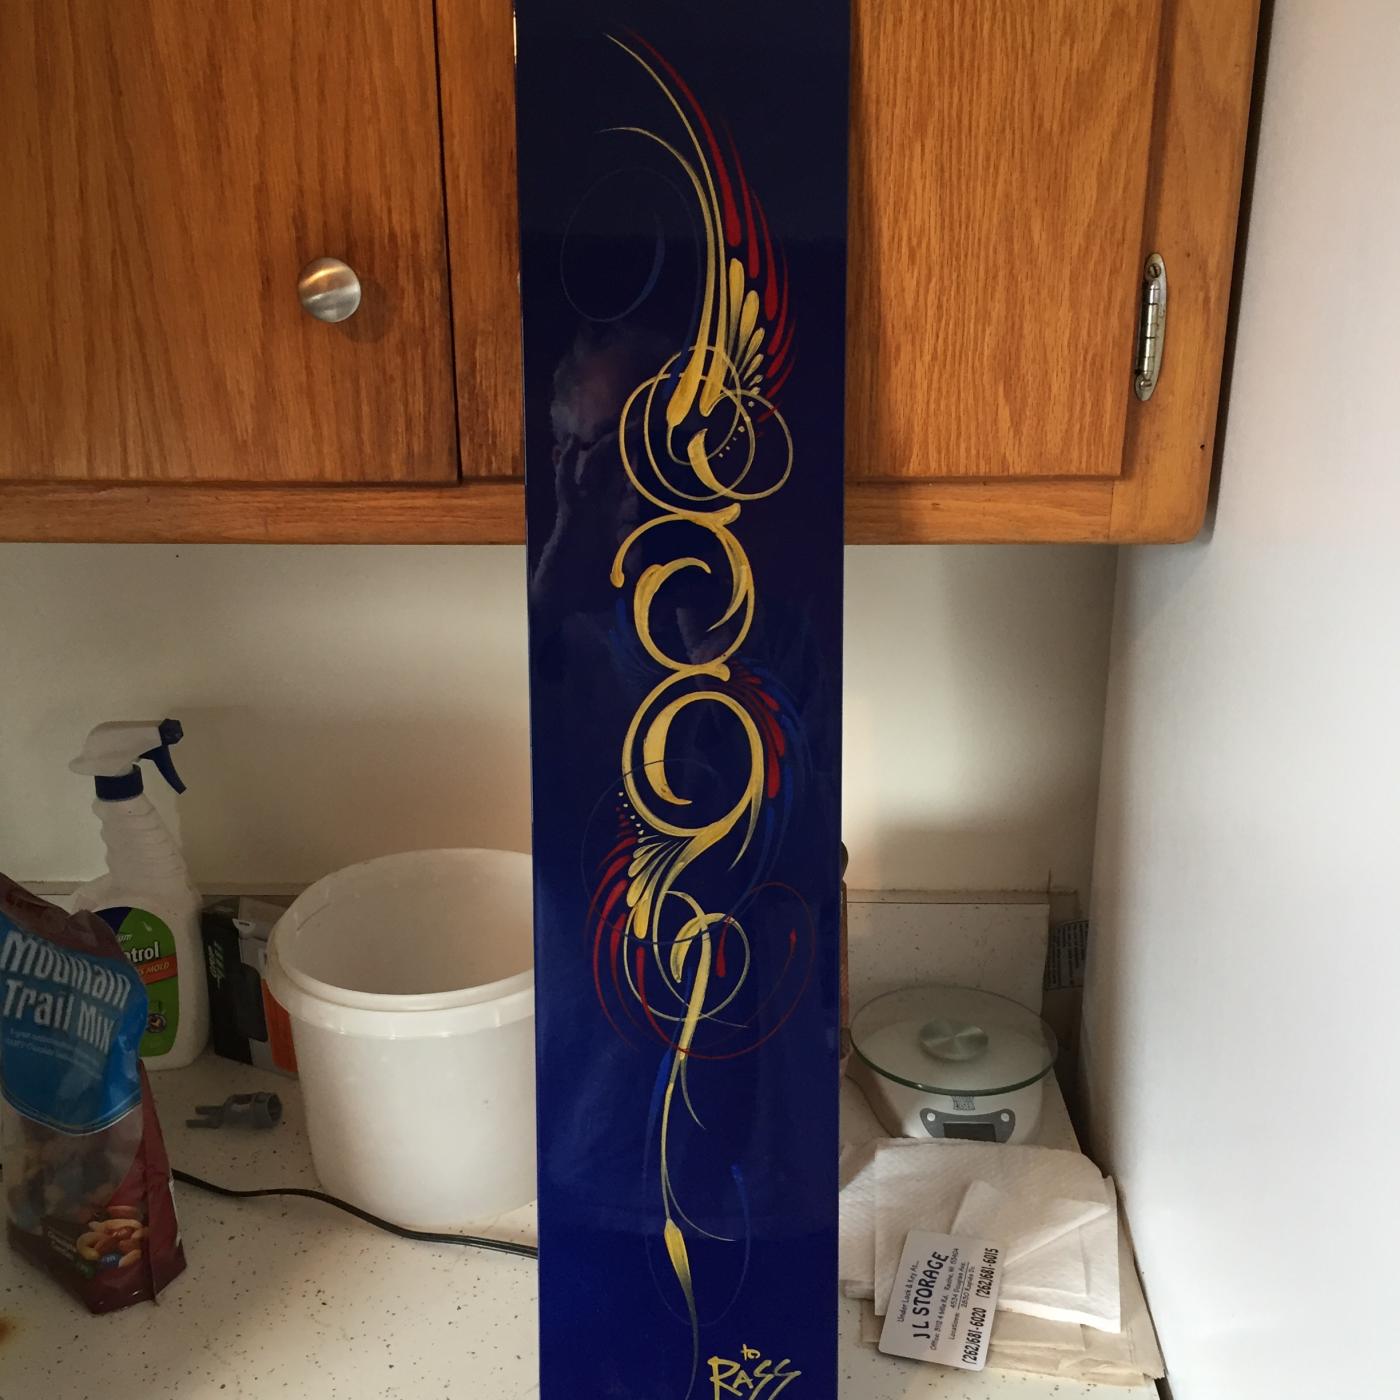
Most of my art is custom paint work done in the 1:1 world, however in the past year I have had more requests than ever for panels and various unusual projects. Here's a few! All work done freehand. Airbrush, Lettering, Pin-Striping and Leafing Thanks for looking.... Jimmy "RASS"

-
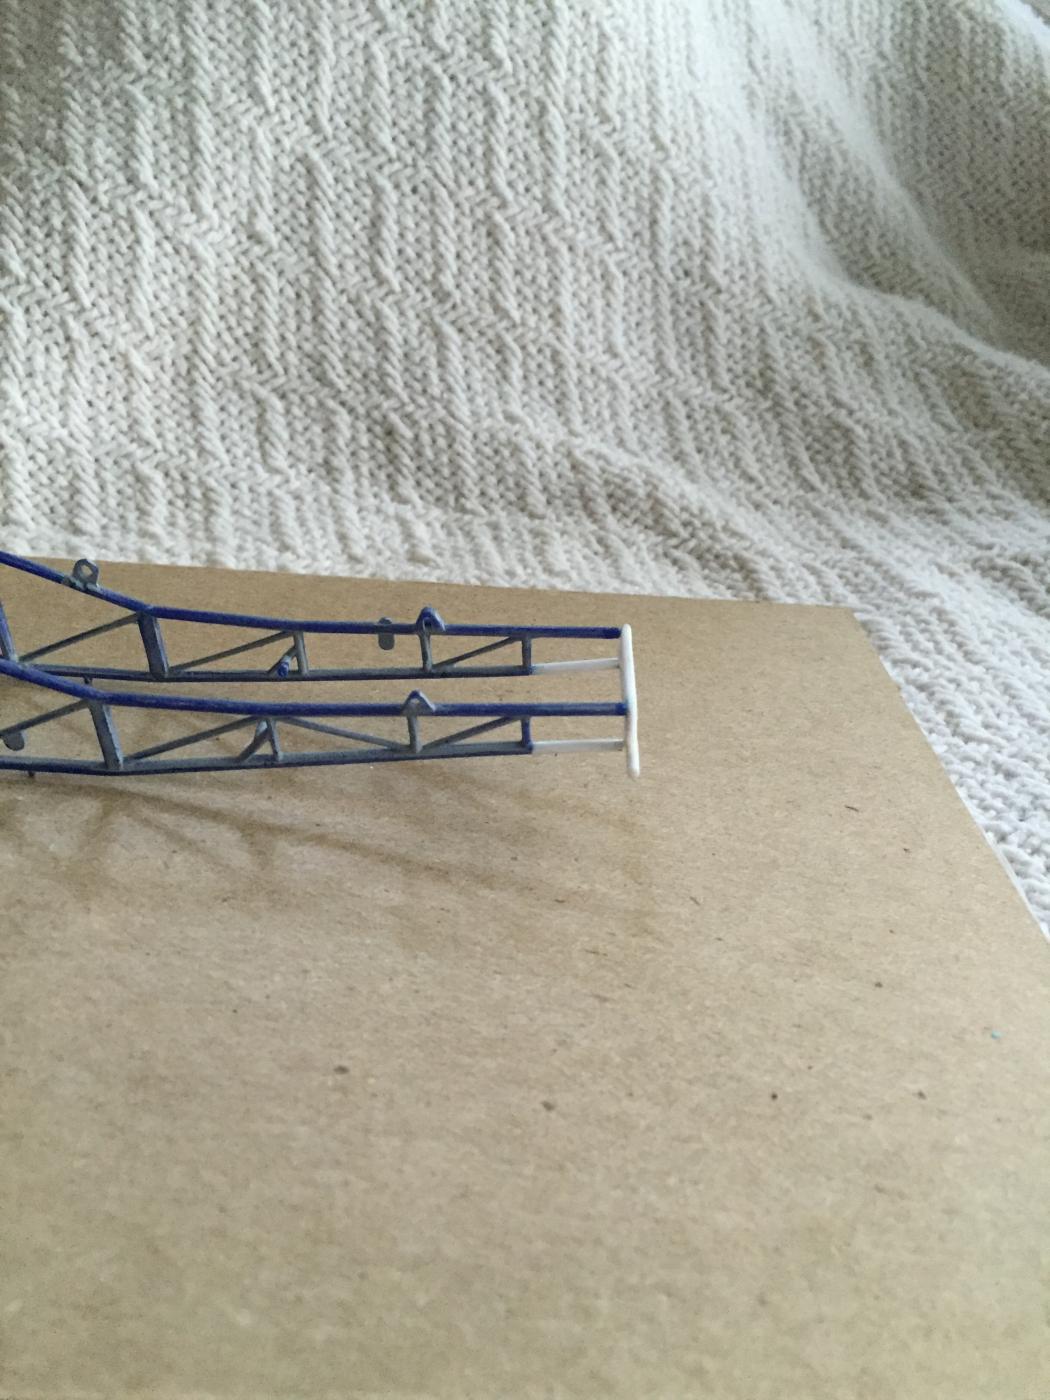
Gentlemen, I pretty much put the JJ Car back in the box around April as I had somewhat of setback.... More like brain fart.... In Wisconsin when the sun shines you (I) pretty much don't have time to do much Modeling. I did however pull the JJ box last week and took a look at what I'm faced with. The problem I had was the frame had a slight twist in it and being the anal retentive sort I wanted to get the twist out of it.... I did the hot water thing and the tea pot steam thing.... it helped but I wanted better results ( in retrospect I should have left it alone) so out came the heat gun...... I was making really good progress and....... Off the rails. I was oh so close..... Sometimes it's better to be close rather than perfect. I could toss it but I'm going to put a front clip on it due to the fact that I bought the kit new when it was issued in the 70s and wanted to preserve as much of the kit as possible. Thanks for the interest! Jimmy "RASS" Edit: I actually put together a reply last night and failed to post it.... I found some inspiration last night at about 4 am due to insomnia. I started to clip the front end that I melted... I still have a twist in it however I'm going to try to correct that before I put the chassis cross member between the frame rails, this time I'm not going for perfect! Any suggestions on best practices on moving the styrene around would be most helpful! A bit of fitment, tweaking, sanding and primer and we may be back on the rails... "RASS" P.S. I would like to move this thread to On The Bench! Any help would be appreciated!
-
Pretty much sums it all up for me!
-
Inspiration for the Revell 30 Ford Coupe
jwrass replied to modelfink's topic in WIP: Drag Racing Models
Hang em high..... Sweet! -
John, Killer paint (as always) Shading, Blends, use of color, Composition and period correctness.... Right on! By the way do you get everything for your builds for free (sarcasm) lol Great Build!!! Jimmy "RASS"
-
John, Super Sanitary build.....Excellent job of period correct Wheels, Tires, Paint and Livery. Nicely done! I always enjoy your builds and contributions. Thanks for sharing! Jimmy "RASS"
-
Ray, Super Build from top to bottom! Great color choice....The ice blue has always been a fav of mine. The third photo really shows how that color flips and flops..... the hue of turquoise on the roof really pops! Awesome job Ray! Jimmy "RASS"
-
David, Excellent fade.. Well done!!! Yes give the Copper a whack, it truly has a very warm feel. It's been my go to base coat for a long time! Based on the photos you have shared, IMO you have some great painting skills.....Keep em coming! Much respect....... Jimmy "RASS"
-
Datsun 510 Pro/Stock "SWEET PAIN" COMPLETED BUILD
jwrass replied to LeadFred's topic in WIP: Drag Racing Models
Fred, Super Trick Build! Awesome Craftsmanship...... The silicone jig is very cleaver. Thank you for sharing is build. Jimmy "RASS" -
Ray, Off the hook!!! Awesome build....You hit this one waaaaaaaay out of the park!
-
Ray, This is great stuff.... Keep em coming.... You can never go wrong with any Kandie Color.... Kandie Apple Red would be super trick! Any Kandie color for that subject matter would be period correct. Please don't paint it Black! Jimmy "RASS" P.S. Right on Mike!
-
David, Your test spoons look awesome. I love it when people work outside the box and share. Another great base coat for transparent paint is Copper... Not commonly used, However the great Larry Watson used copper as a base for some of his most famous paint work. When I paint Kandies on 1:1 be it full on or for graphics I always keep this in mind as far as how the tone of the base coat affects the color coat. Pearl White: Very Cool, Silver: Cool, Gold: Warm, Copper: Warmer Again...Lookin Good Jimmy "RASS"
-
Alternative to BMF/ Imitation Silver Leaf
jwrass replied to jwrass's topic in Tips, Tricks, and Tutorials
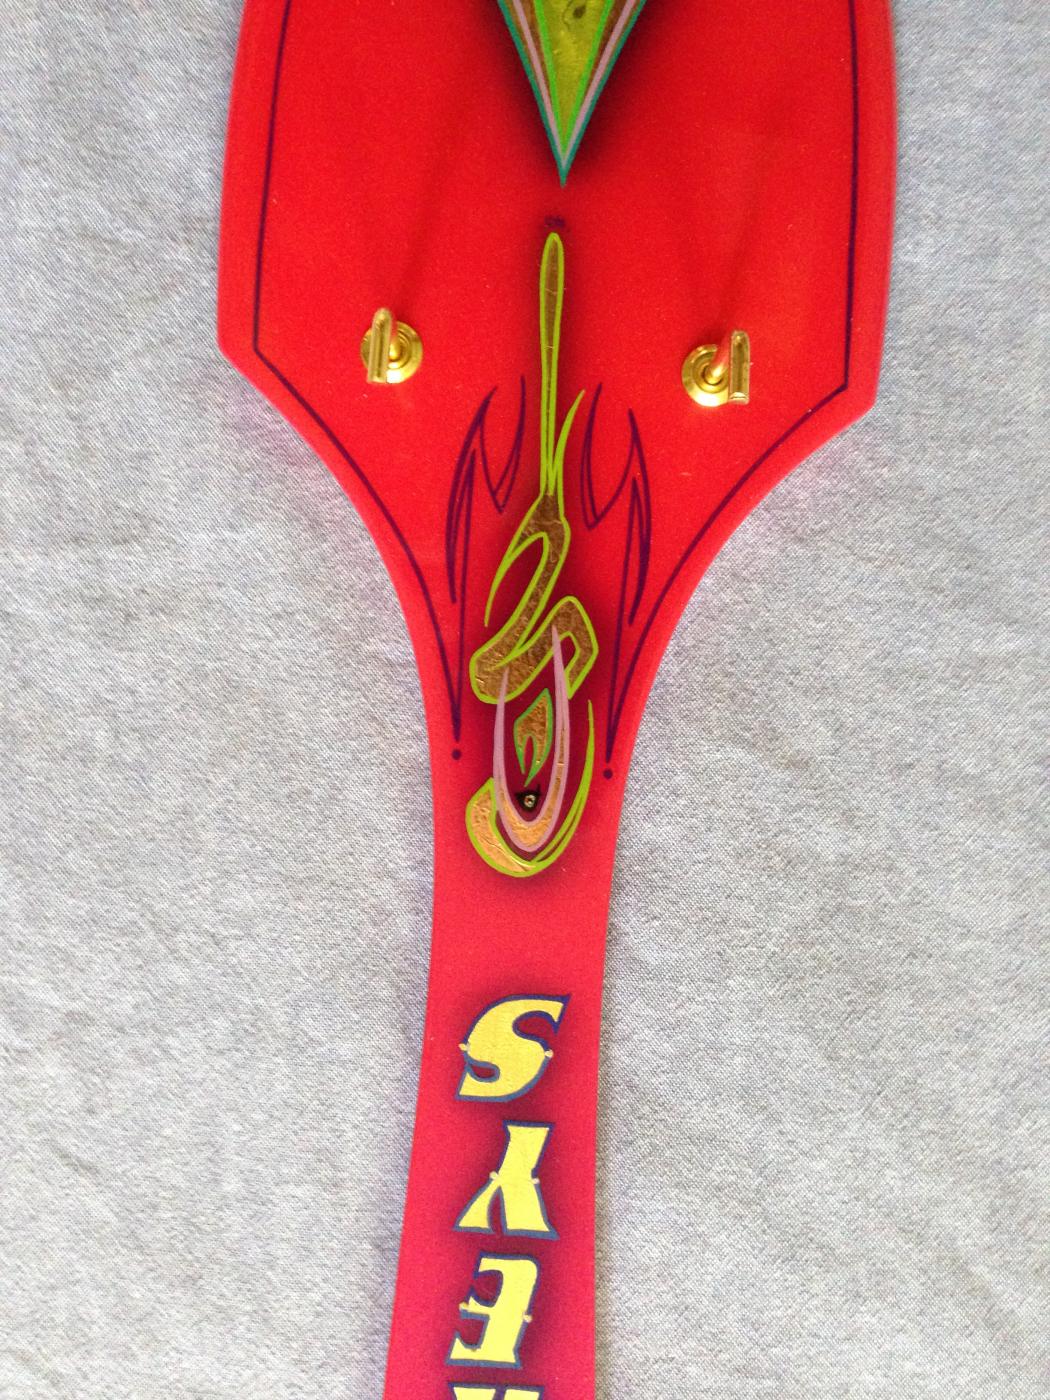
Thanks to all have replied to this post be it positive or not so much. I am working on a edit to the process to put to bed what I feel is a much superior effect to BMF Here a few reasons why I think it blows away BMF 1) You can manipulate the texture to pretty much what you desire 2) You don't have to take a knife to your substrate.... every time I see someone cutting on paint it makes me cringe. 3) You can patch in any area seamlessly. Skip makes some very great points (Thanks Skip) The leafing process is so much easier than you think and not very time consuming at all. I'll break in down. 1) Brushing the size: 5 minutes. 2) Lying the leaf: 10 minutes. 3) Burnishing the leaf :10 minutes. DONE I based these figures on doing both sides and front and rear windscreen trim. Emblems and door handles come out so clean as the leaf only sticks where the size was applied no cutting on the surface. That's a total time of 25 minutes..... I'd pay good money to see someone lay that amount of BMF in that amount of time. The most time consuming part of the process is waiting for the size to tack up for application I used to use BMF and one day after doing some leaf on a Race Car I hauled out a body and gave it a whack.... there was no turning back. I personally will never use BMF again as IMO it's inferior to the leafing process. In closing. I was offering a alternative to BMF which is really quite simple. I was surprised by some of the blow back..... lets see we hone our skills to do many types of processes yet some are not open to trying a new process, which is fine by me, I personally can't wrap my brain around that type of thinking.... different strokes I guess. It's just another tool in the tool box. Yes Skip and I have much experience in the process, However I agree with everything he wrote. He is right on A bit of eye candy...... Here are a couple of examples of various types of leaf. This is actually a wooden Pizza spatula that I made into a Key Holder for my Daughter, Kandies, Pearl, Flake, Leaf and Freehand Pinstiping. I wish the pictures were clearer.. They are very clear in my pictures folder, However when I attached them here they are fuzzy. The fan design consists of three types of imitation leaf, From the middle out is Silver leaf with a Kandie lime green misted over the leaf. Next is gold and the outer rim is Copper. The freeform design is various colors of variegated leaf. Keys is the real deal.... Genuine 23 Karat Gold. Roughly $20 dollars worth Enjoy.... Jimmy "RASS"
-
Ray, Silly..... No way! I love those morphidite drag cars in the era of run what ya brung. I was fortune enough to have a father who loved all forms of racing and used to take me to the races on a regular basis. I am old enough to have seen many a strange combination of years gone by. They all did it in an effort to build a better mouse trap.... Most were brilliant outhouse engineers. IMO al forms of racing have become too sanitary.... I get it.... Insurance, Liability yada yada. we will never see a era like that again. Great thinking out of the box! looking forward to seeing more. Kudo's my friend! Jimmy "RASS"
-
1/16 Scale Army Vega Funny Car - Finished 10/14/2018
jwrass replied to Mooneyzs's topic in WIP: Drag Racing Models
Chris, I've been waiting for someone to come up with a Jigs such as yours for a long time! The Jigs look superb!!!! The ancillary devices that could go with the Jigs are only limited to ones imagination! Any thoughts of engraving any types of units of measure? You can put me down for one of each! Sorry to hear of the Modelers Blues.... It will come back when it's meant to be! Keep the Faith....... Jimmy "RASS" -
Alternative to BMF/ Imitation Silver Leaf
jwrass replied to jwrass's topic in Tips, Tricks, and Tutorials
Harry, Well Well......I'm confused as to why anyone would be afraid to ask.... As the title states it's a Alternative! The pictures really don't do the final outcome the justice it deserves, I took them during a power outage from storms that had gone through our area the lighting was poor and a flash wasn't cutting it. I will take more photos at the end of the week and post as I am currently waiting for my flight out for a business trip. These photos will more clearly show how nice the application is. Even though the sheets are actually 5.5 x 5.5 the transition from were one stops and starts is seamless. I and many others really find the quality of BMF gets worse with each day. If you make a mistake or don't like the results of this type of application it can easily be wiped off with turpentine or mineral spirts before it thoroughly dry's with no damage to the paint (the exception would be enamel) so it's very forgiving. No Purple Pond! I clearly state that any areas can be masked with fine line tape, you don't have to have special skills to get straight lines. I also state that the materials can be purchased in rolls so you could do the side of a model 22 yards long..... I don't know what scale that would be. Different strokes for different folks, Just trying to contribute a technique to those who may be open minded to attempt this technique. You may have lost your calling...... You are a funny man! Peace, Jimmy "RASS" -
Ace, Very interesting! Big $$$$ paint doesn't necessarily mean it's good or will perform well. I won't go deep into the chemistry of Cheapo vs Big $$$ in a nut shell the Big $$$ paints ingredients are just more refined. I see so many on this forum and others with so many paint problems... IMO most are due to improper preparation. My favorite is the I sanded it with 9 million grit paper and nothing will stick! I really don't think Ricky's adhesion problem had much to do with the product as much as the tooth on the Duplicolor ( not a fan of the Duplicolor brand) Great Post! I will be watching this for the results..... My money is on it's going to look great! P.S. Remember the days when the finest grit would could get was 600.... those days put a whole new meaning to sand and rub and rub and rub...... Peace Jimmy "RASS
-
Alternative to BMF/ Imitation Silver Leaf
jwrass replied to jwrass's topic in Tips, Tricks, and Tutorials
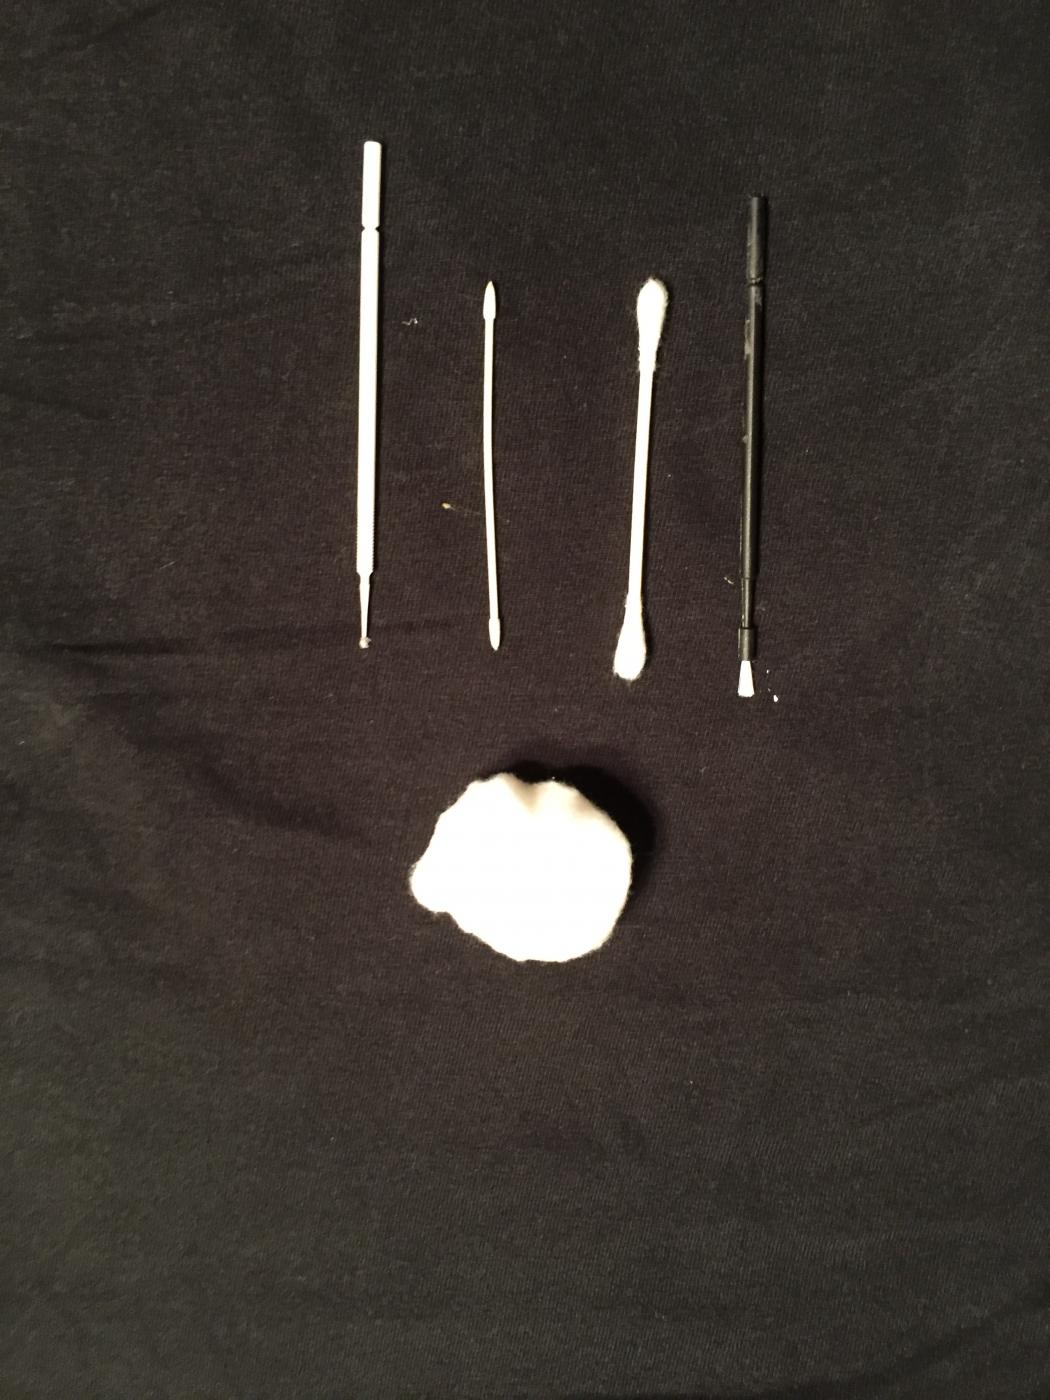
Alternative to BMF/ Imitation Silver Leaf........FINAL! This is how the Leaf should look once it has been laid into the size. The leaf is now ready to be pushed into the size and burnished These are the tools I use to push the leaf into the size. Pushing the leaf into the size.... A very light touch is critical in this step as not to damage the leaf..... Just gently push the leaf into the areas that were sized, the leaf will lay down and adhere just fine. Notice how nicely the leaf is conforming to the concave and convex forms. Allow the leaf to set for at least a half hour before you start to burnish the excess leaf away. The burnishing process is defined as removing the excess leaf from the areas that are not sized. In this photo I am gently rubbing back and forth and up and down to remove the excess leaf. This photo is on the trim where the windshield would sit. This is before the leaf has been thoroughly pushed into the size and burnished, even at this stage the leaf is conforming nicely to the series of compound curves. Excess Leaf removed and burnished to a semi dull finish. The leaf can be polished to a higher sheen with a cotton ball or dulled down with a piece of velvet. In summary: The process does take some practice and experimentation to perfect, when done properly the results can be seamless with many variations of texture. This project was done with imitation leaf that can be purchased at most arts and craft stores, it is thicker than real silver leaf and IMO looks and conforms much better than BMF. If you want really superior looks you can give real Silver Leaf a try! The real Silver lays down smoother as it is thinner than the imitation, the process of laying the real silver is the same. Imitation leaf is about $7 dollars for 25 leaves and genuine Silver is $25 dollars for 25 leaves. Real Silver can also be purchased in 22 yard rolls in 1/2 and 3/4 inch widths and cost $15 and $19 dollars respectively. In my 1:1 work I rarely use imitation leafs be it Silver or Gold, however for modeling I think the imitation works just fine. It is my hope that some of the talent on this site will give this a try. I hope you found this informative.... Any questions give me a shout! Necessary safety equipment and a life line.......Peace Jimmy "RASS"
-
Sven, Great composition, use of color and blending skills. The use of color and effect on the blasts and canon shot..... absolutely brilliant.... Much respect! Peace... Jimmy "RASS
-
Arnie, Darren makes some very valid points! Their are several ways to remedy your problem however this could be a slippery slope! if you brought this to my shop or I visited the port of call this is how I would approach putting a protective clear on your lettering and graphics. First lets hope you haven't been using a wax that contains silicone, if you have been your pretty much up the creek with no paddle due to the fact that any product that you will have to use to remove the silicone will most likely damage the paint. if not this is the approach or a variation of prep I would take to the area for a protective clear. 1) Clean the area with a solution of Isopropyl Alcohol and water with a clean cotton cloth or micro fiber (I use various ratios by volume depending on the job) I'd start with a 20% Iso/water. Test in a small area to make sure you are not going remove to much paint (One Shot is pretty durable and I doubt you would remove the paint however test to be sure) You will most likely will have a trace of the colors when you clean the areas but this will be mostly oxidation (not much of a concern) 2) Now you want to remove the oxidation with a light automotive cleaner, I use Meguiars sealer and reseal glaze #7 or corn starch mixed to a paste like consistency. Rub gently as not to remove too much color you just want to knock down the oxidation and perk up the color a bit. 3) Clean the area again with the Iso/water mix to remove any residue and kill the static from rubbing on the hull. 4) I have used lacquer thinner to thin One Shot for airbrushing and have used lacquer clear over One Shot however it is not for the faint of heart or someone who has no experience in the process or potential failures ( yes I have had failures with lacquer clear over the oil based One Shot..... you don't want to go there!) 5) One Shot makes 3 products that would be compatible as a clear coat over your lettering and graphics they are as follows: # 4003 oil based clear, # 4005 Speed Dry acrylic clear, and # 4005AA Speed Dry acrylic clear in a aerosol spray can. The first two are brush-able products and I would recommend the brushes stated in my original post. I have used all three of these products with success. If it were my boat I would use the # 4003. 6) Give the surface a light go over with a tack cloth and have at it! I hope this helps! May you have great success in reviving that One Shot and protecting it for many years to come.... Stickers we don't need no stinking stickers! Peace... Jimmy "RASS"
-
Greg, I think you will find these procedures quite useful! I think you may have dodged a few bullets along the way with no prep..... Good Luck on your future projects! Peace... Jimmy "RASS"
-
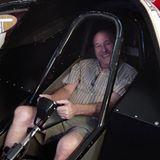
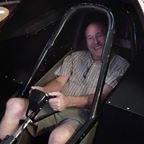
Remembering Armed Forces Day.... Thank You To all who have Served. Currently Active, and those who have paid the Ultimate Sacrifice! Proud to be the Father of Major Amanda Jane Rasmussen.... Call Sign "ZAP"

.JPG.780dd6d53f748b80012864087aa171e5.JPG)