Straightliner59
-
Posts
5,802 -
Joined
-
Last visited
Content Type
Profiles
Forums
Events
Gallery
Everything posted by Straightliner59
-
 I totally relate!
 -
Decal setting solutions
Straightliner59 replied to bandit1's topic in Model Building Questions and Answers
Burbank's House Of Hobbies will have both Micro Set and Micro Sol. They're pretty much all I have ever used, because they never gave me a reason, not to! -
I have never had a problem with it. I had it wrapped around an in and out box, while I was building an engine, for a couple of weeks, and didn't see any ill-effects.
-
That has become my favorite masking medium. The stuff is awesome! You can seal the edges by using the heat from your fingers, and it never lifts paint. I used it last night on fresh,unprotected Testors metalizer. It didn't lift a thing! Give it a go! It's also great to protect parts that are being handled, during construction. Thanks to Andy Sapiro, for that one.
-
I've noticed that the ads I see are related to my browsing history. For instance, when I'm doing research for a project, the ads will often be for Jeg's, or something similar. I was doing research for BBC engine blocks, and the ads were for crate motors. Currently, it's ads for homes in a new subdivision, and Etsy. Nothing salacious at this time...dangit!😅
-
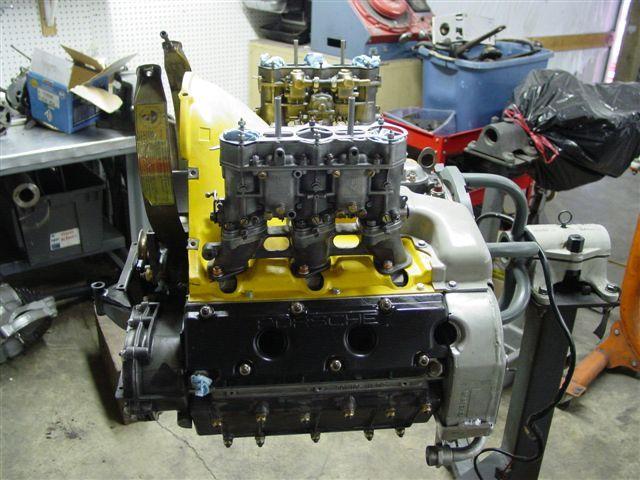
Thanks, Bill. I had never built one of these engines before, so it's been enjoyable researching them, and adding the little stuff that looks more like it should!
-
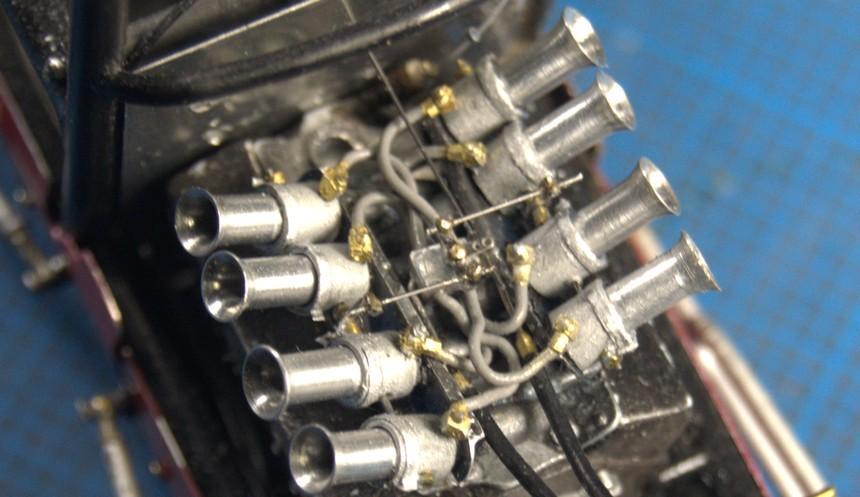
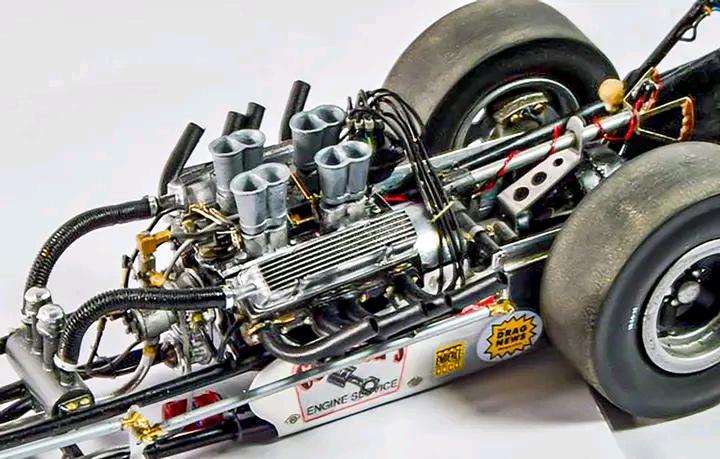
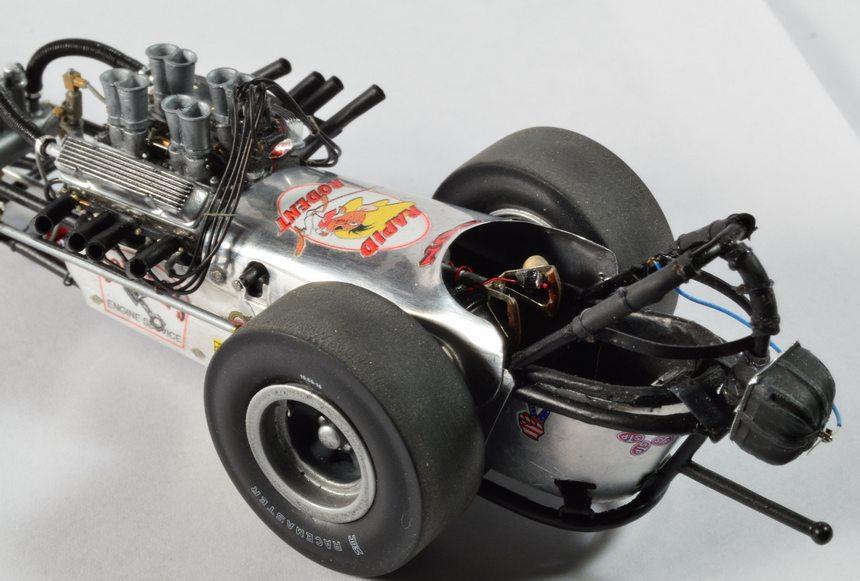
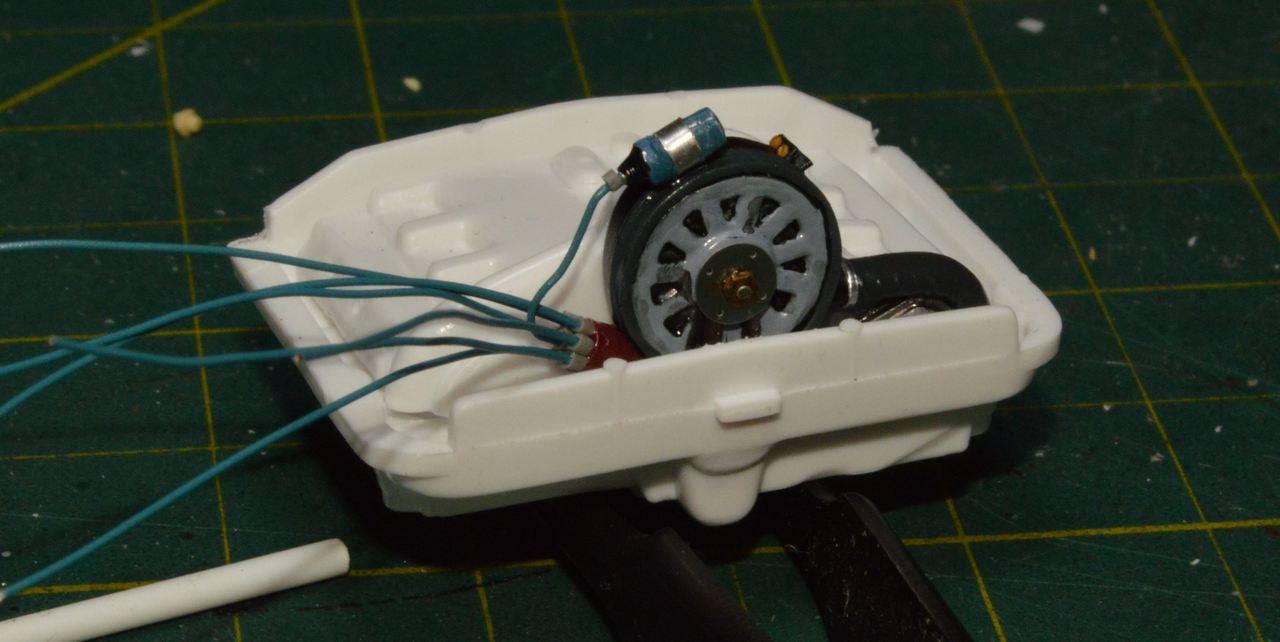
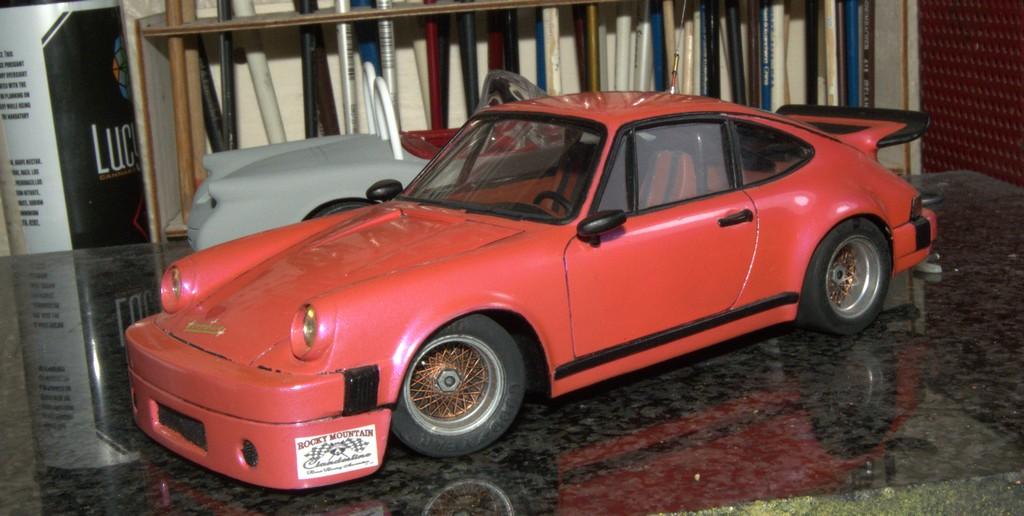
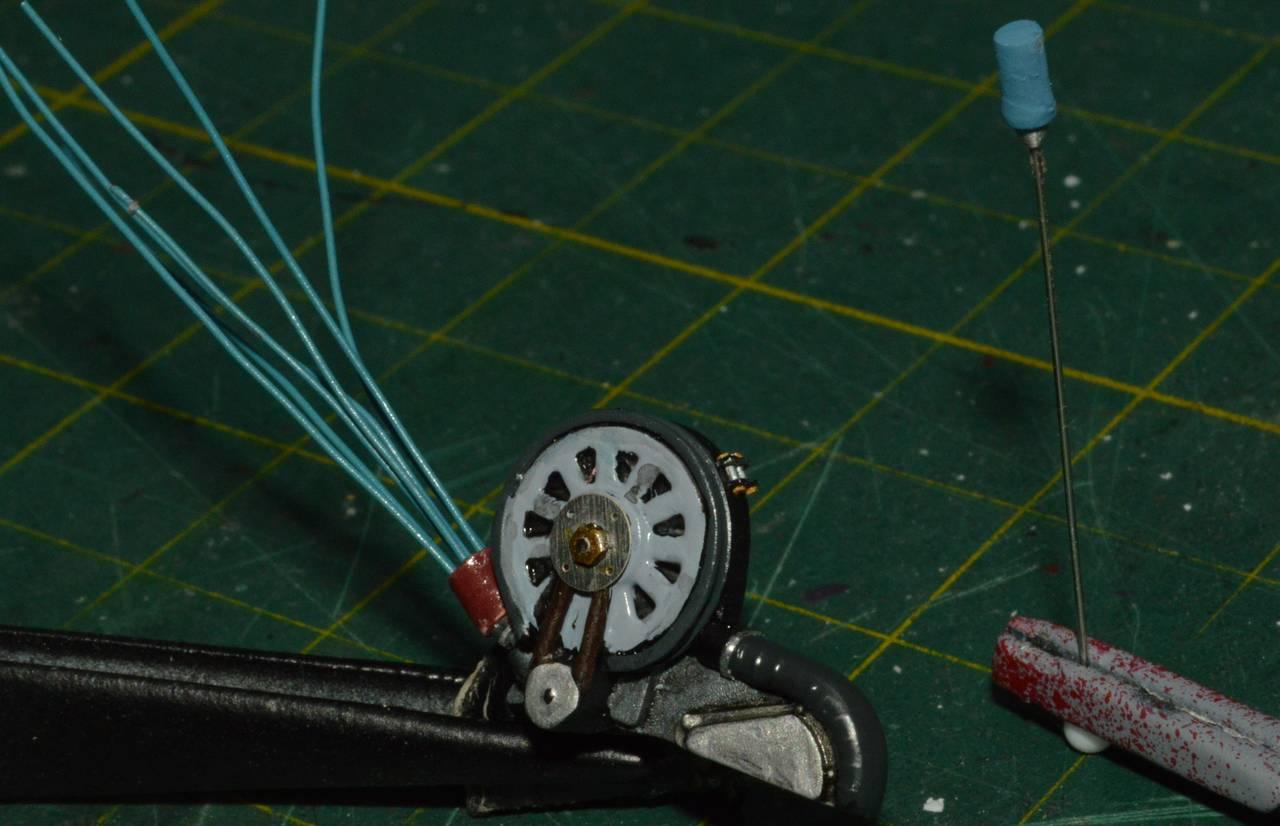
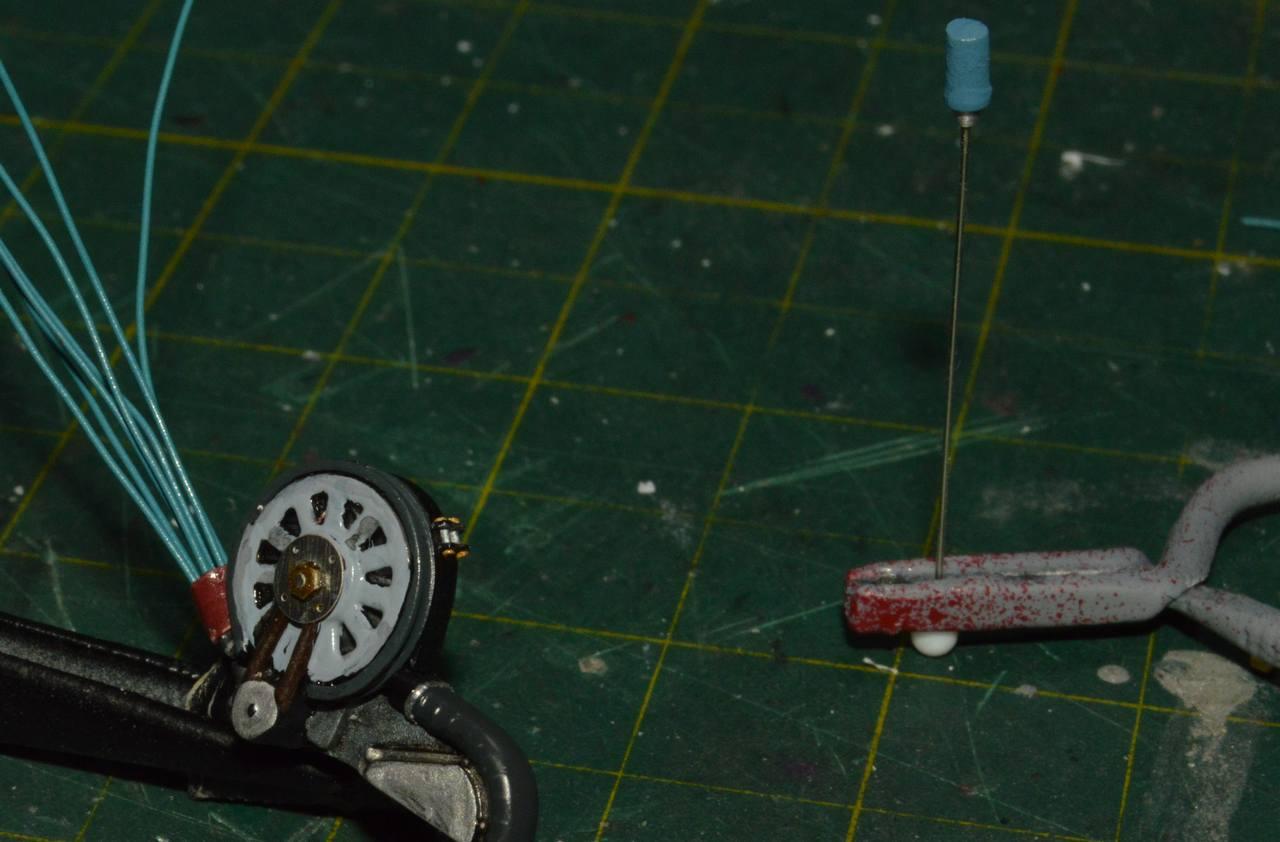
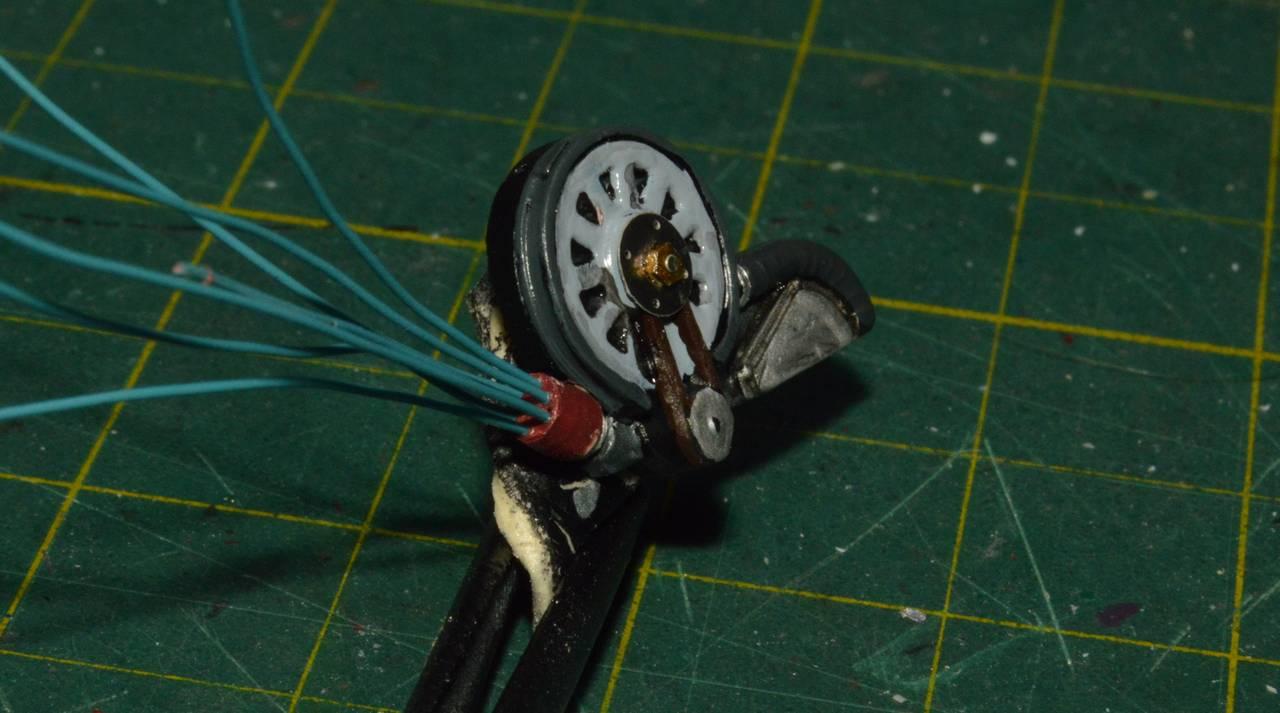
I thought I was almost done with the main engine assembly--except, because I need the correct firing order, I get to replace some wires for replacements that are long enough to reach their proper destinations!🙄Other than that, and some touchups and a wash, we're good! I shot most of the lower end with Testors Metalizers. I maked with Parafilm, which is my new favorite masking medium. You can seal it down, and around tight corners using the heat from your fingers. It never leaves residue, and I've never seen it lift paint. If it does--you have bigger problems to address!🙂Oh, yeah...That green will be the color of the car. It's a can of some decorator color I bought, years ago, at Michael's. It's called "Basil". As always, your comments and questions are welcomed. Thanks for looking!

-
I have one, as well. I also have a lot of issues of Plastic Fanatic, from which this magazine was born.
-
I did the same. The main reason I don't use it is because I don't really have a place I can leave it set up for use. I have a ton of ideas, for it. Most of them involve using it to cut my own decals that are printed on white film. I don't regret buying it, though, just wish I had a better place to set it up!
-
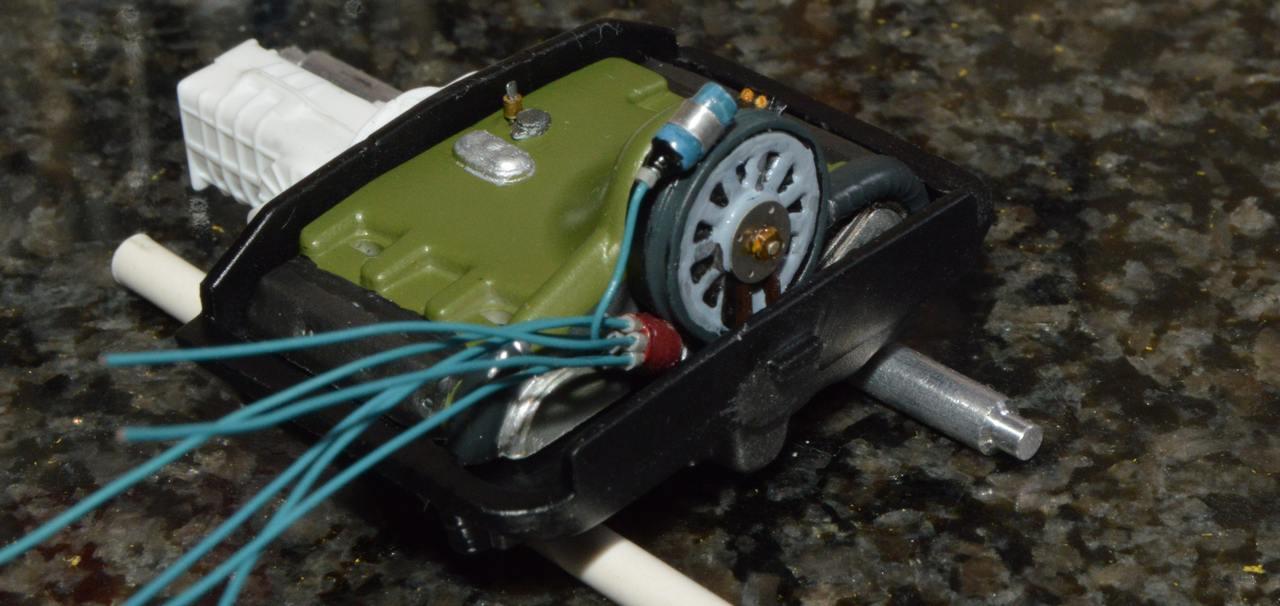
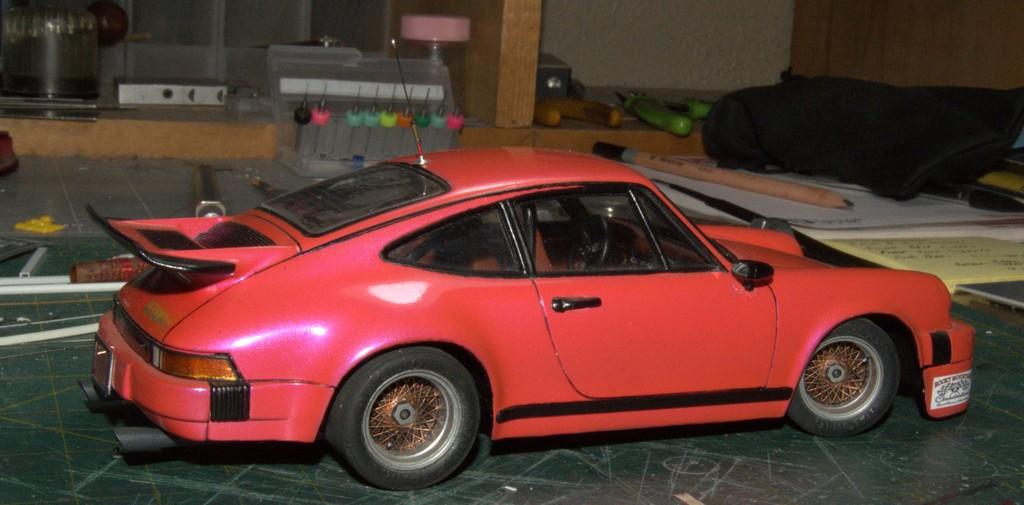
Got a bit more done. Threw on some plug wires, and got the coil mounted. Those plug wires match the Prussian Dragoon Blue I used on the coil, pretty nicely. Now, on to the rest of the engine and bay. I'm trying to decide wheter I want to paint the upper shrouding body color, as I have seen a couple done that way, or semi-flat black. I'm also considering taping it off and giving it a coat of "Zolatone" (just thought of that, this very second!). I'm likely going to go with a green, for the body--likely trending towards lime. In researching these things, I saw one photo of a 914 with flares more similar to a 911. I really liked the way it looked! I don't think I'll mess with that, because I want to complete this relatively quickly. Also, I didn't save the pic, and I couldn't find it, when I went back to. Oh, well...Thanks for looking!
-
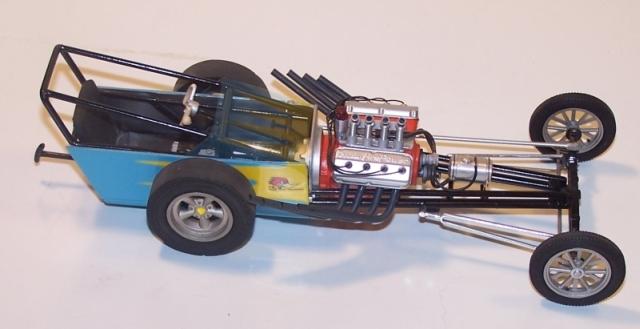
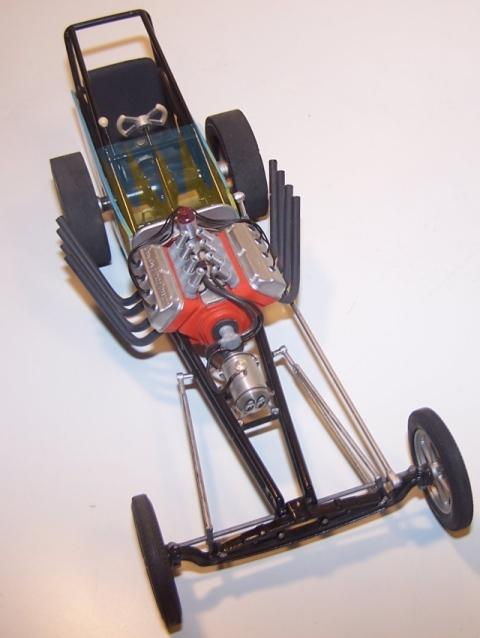
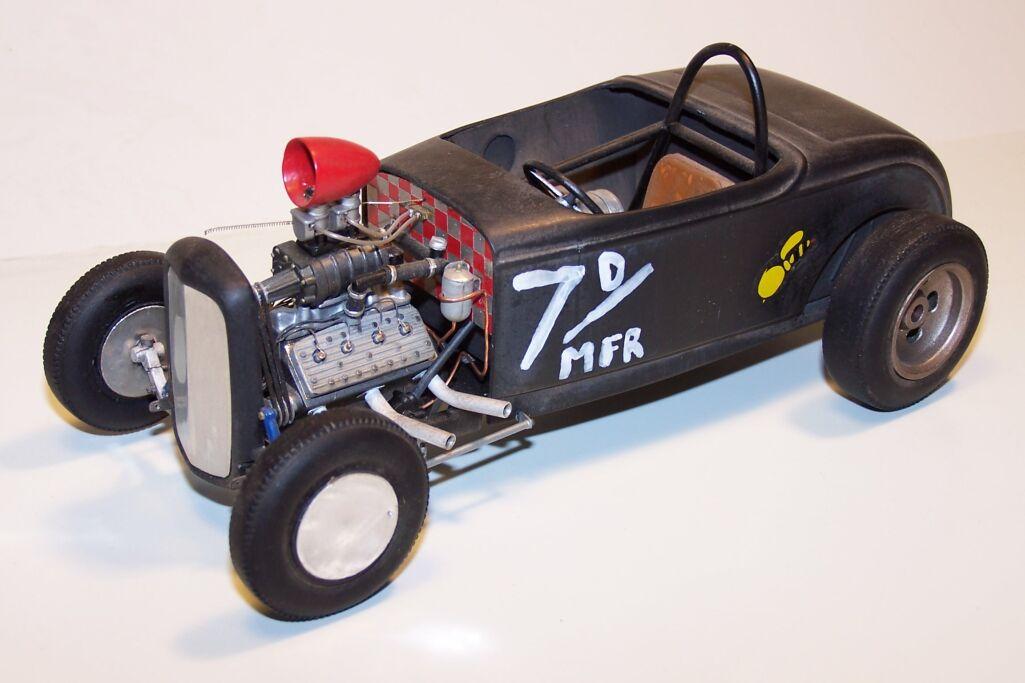
When I began building, fifty-odd years ago, I would have said AMT and MPC. I just liked the way they designed their kits. There were a handful of Revell kits I liked. Same with Monogram, but, like Trevor mentioned their stuff seemed mostly toylike, and often oversimplified. Still, their stuff I liked, I really liked:, especially Badman and California Street 'Vette. At some point in the mid-late '80s, a friend gave me a glue-bomb Long John, because "I'm never going to build it." The kit's passing resemblance to Romeo Palamides' dragster piqued my interest, so I cleaned it up and built it. I had a ball! That led me to covet another friend's glue-bomb Sizzler (at the time, none of the reissues had been done) so much, I asked him if I could build it for him. He acquiesced, and refused to take it, once I'd finished. I picked up a Sling Shot bagger for a buck at a swap meet, because I'd noted its resemblance to the Cook and Bedwell dragster. It was really those three models that led to the great love I have for Monogram's kits, today! Besides the aforementioned three projects, I have also built a Drag Strip Hot Rod (not too long after its initial re-release), their Kurtis Kraft Indy Car (which, to my great amazement) placed fourth at GSL in 1997), the Midget, Don Edmonds Supermodified, 1926 Mack Dump Truck, and a Badman (twice-once in about 1973-4, the other was completed, earlier this year). There's just something deeply nostalgic in them, for me. I probably go more nuts with them, than some folks would feel is rational, but, a touch of "crazy" ain't such a bad thing! 😄
-
Best approach to painting these wheels?
Straightliner59 replied to Monty's topic in Model Building Questions and Answers
That's how I would do it, as well. A cast aluminum color, overall, then bright silver for the vanes, etc. This seems like a good place for Molotow, silver Sharpie, etc. -
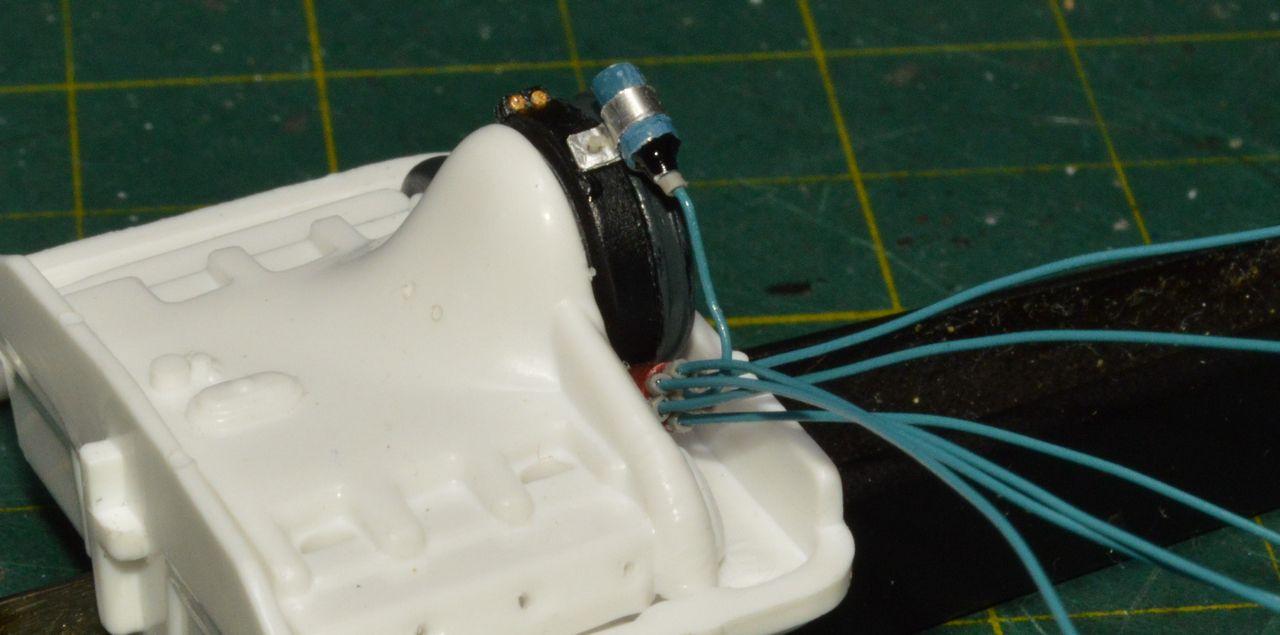
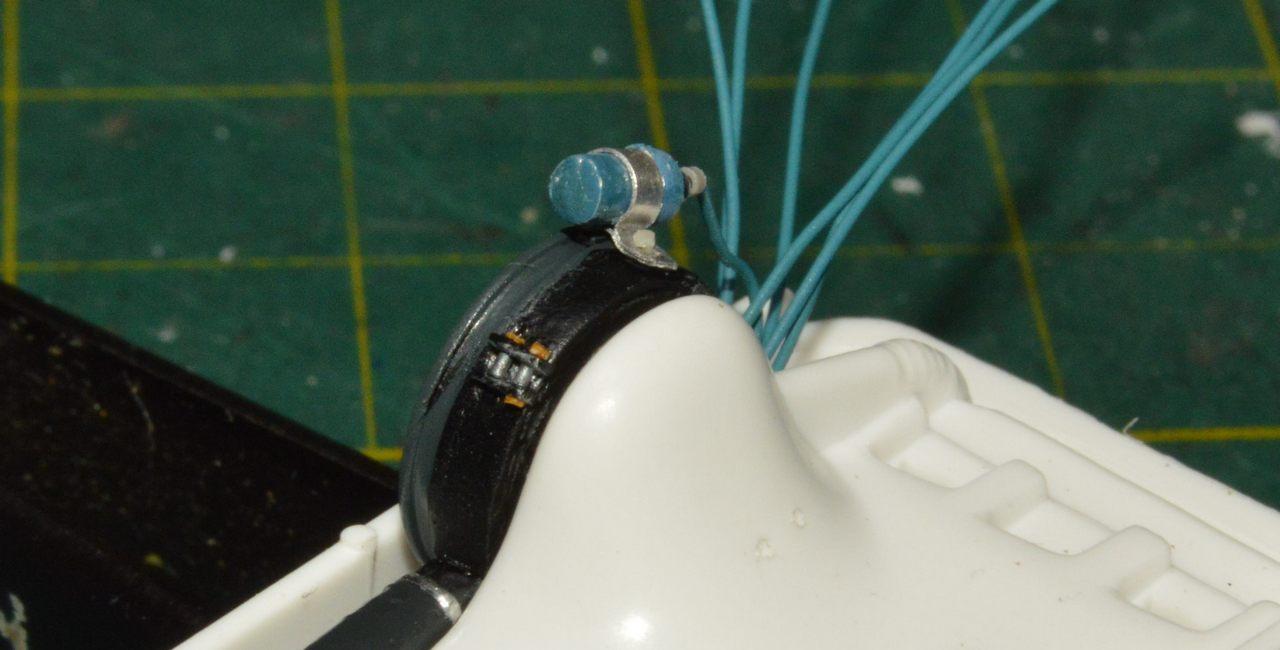
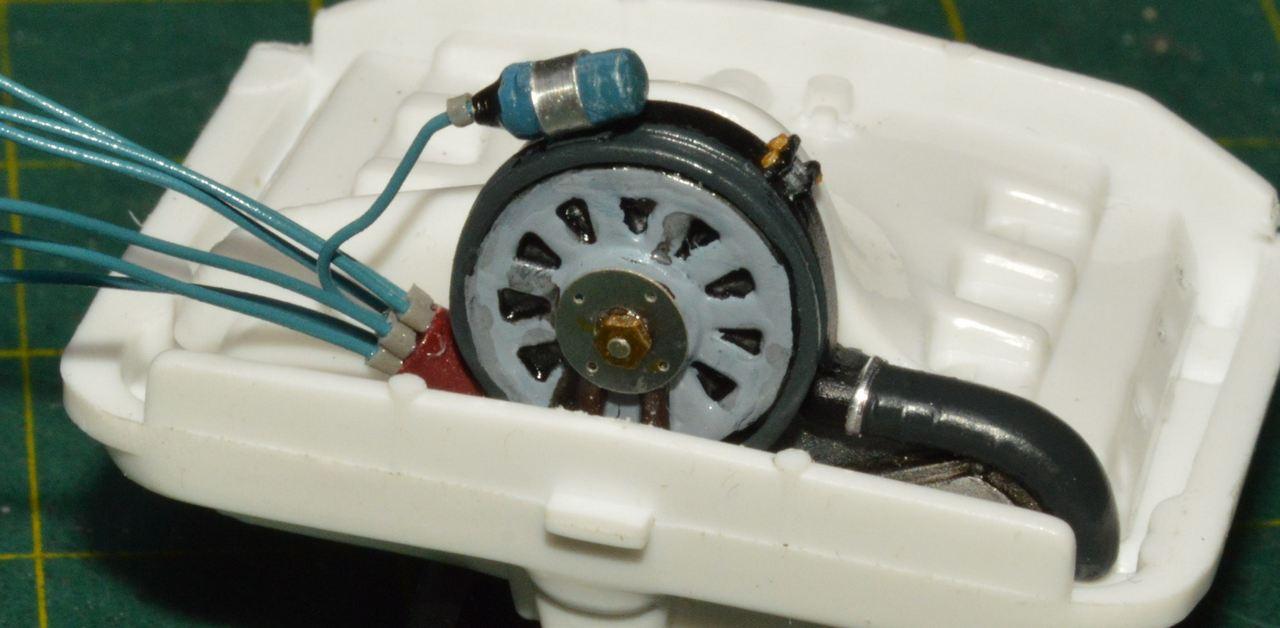
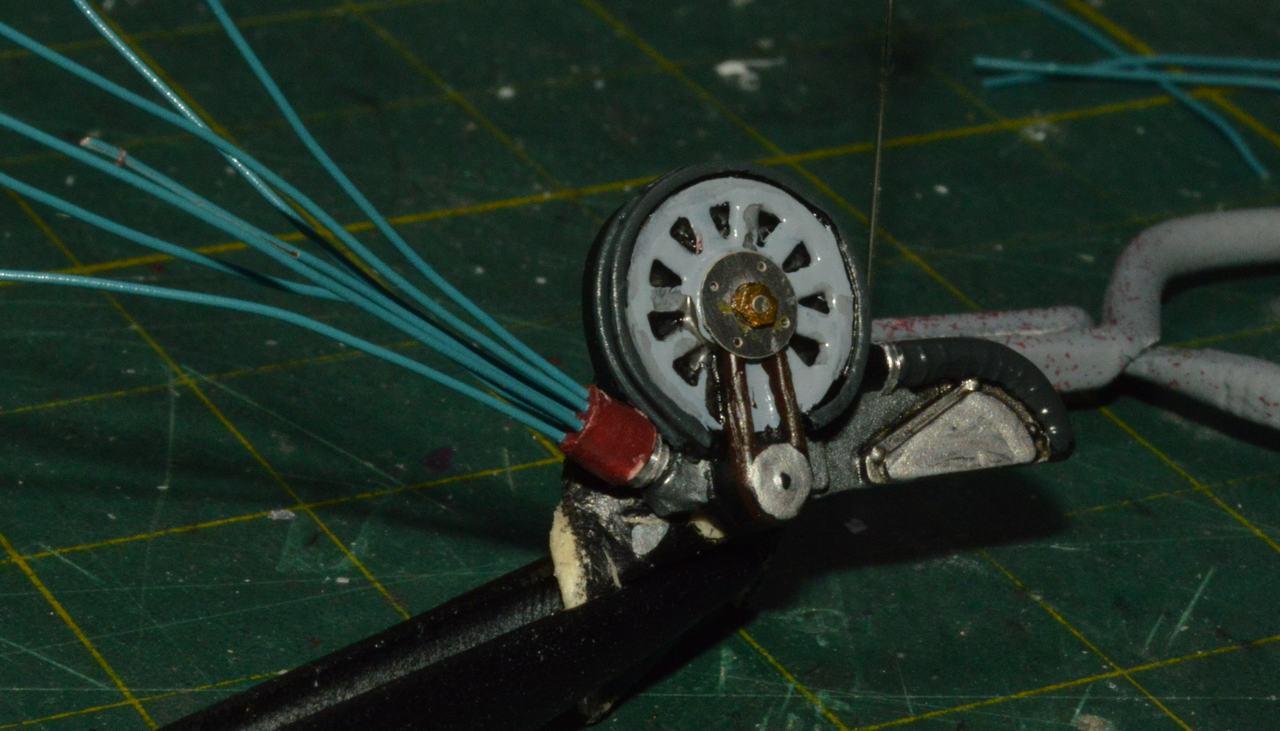
I got the fan end of the engine done, except for a touch of weather, and boots for the plug wires. I'm not doing any wiring beyond plug wires and the visible cables at the battery.The plug wires are from some crafting set. They're under .0197" in diameter, so less than 1/4" in scale, for anyone curious. I plan to print the firing order decal for the fan clamp, and a Bosch label for the coil. All-in-all, I reckon it's not too shabby! Comment, questions and critiques are always welcomed. Thanks for looking!
-
I understand why they don't have the super detailing, It would just be nice, if they'd get the basic shapes right. Then again, there's that!
-
1940 Ford Sedan Early 60’s Gas
Straightliner59 replied to Dennis Lacy's topic in WIP: Drag Racing Models
Oh, hell, yeah! I don't know what else to say. That is super freaking cool! -
Revell's '67 Camaro is another that's getting harder to come by, especially for under about $60. Most list for more than that. As far as their Sox and Martin 'Cuda--It generally lists for more than the John counterpart, nowadays.
-
I have been terribly disappointed in kit-supplied injecctor units. Every time I want fuel injection, I end up scratchbuilding the entire system! Cases in point:
-
I agree! One simply cannot have too many scratchbuilding supplies. If I'm in a hobby shop, and there isn't a kit I "have" to own, I'll dig through the Evergreen, Plastruct and K&S racks. Recently, I'm seeing a lot more smaller sizes of aluminum and brass tubing, beyond what Special Shapes has.
-
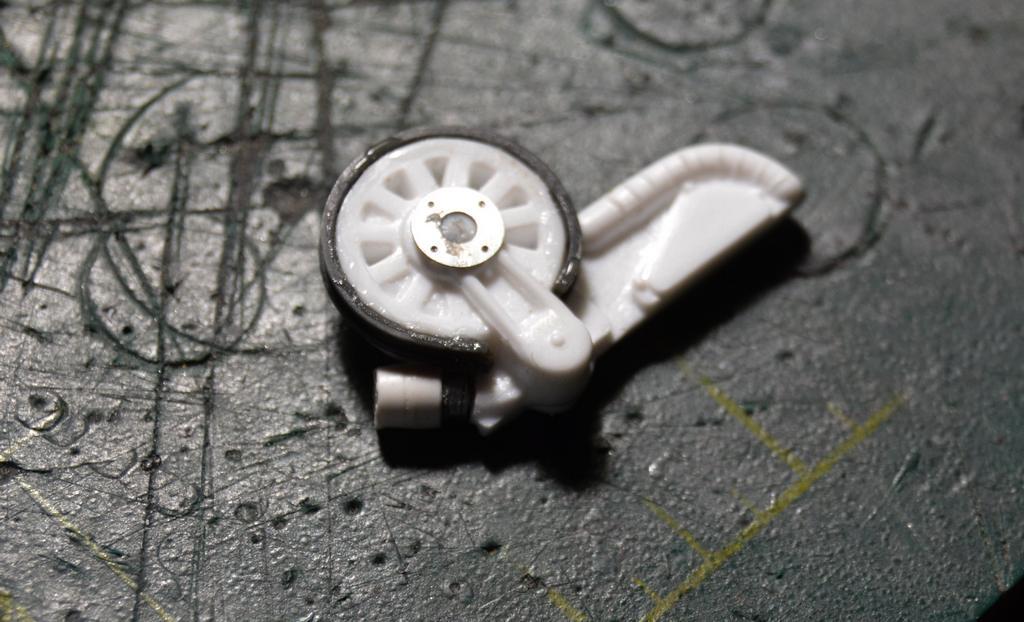
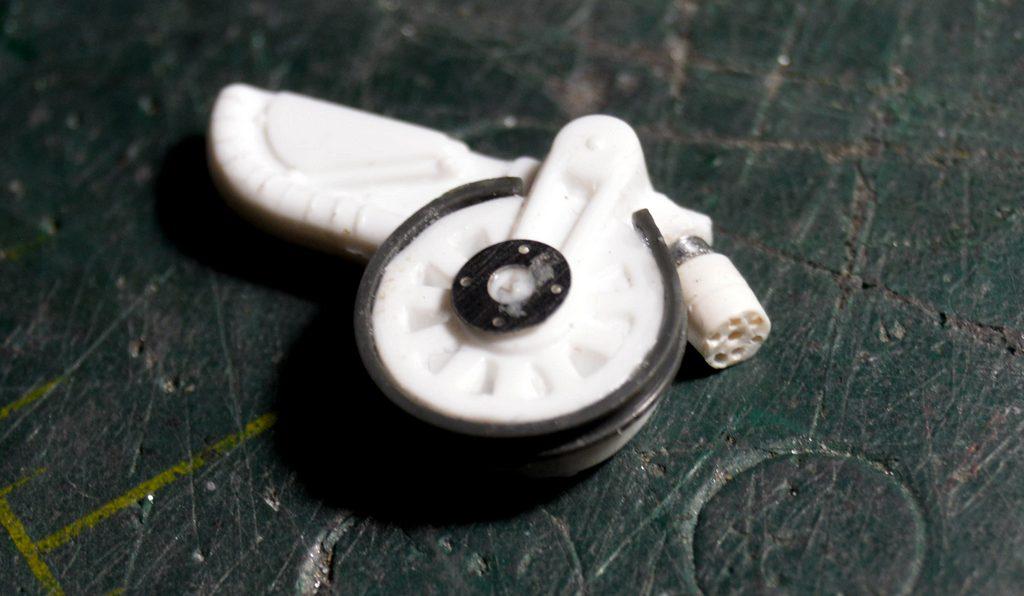
I've added a few more bits. I'm close to painting the fan section, once I figure out the best way to go about it. I turned a new ignition coil, as well. I think it looks better than that blob of plastic, alongside it!😄Thanks for looking!
-
Mini Lathe suggestions
Straightliner59 replied to 58 Impala's topic in Model Building Questions and Answers
-
Mini Lathe suggestions
Straightliner59 replied to 58 Impala's topic in Model Building Questions and Answers
I stand to correct myself. There isn't the Unimat, on their website. It is in the last catalog they sent me, which might actually be a couple of years old, at this point. -
Mini Lathe suggestions
Straightliner59 replied to 58 Impala's topic in Model Building Questions and Answers
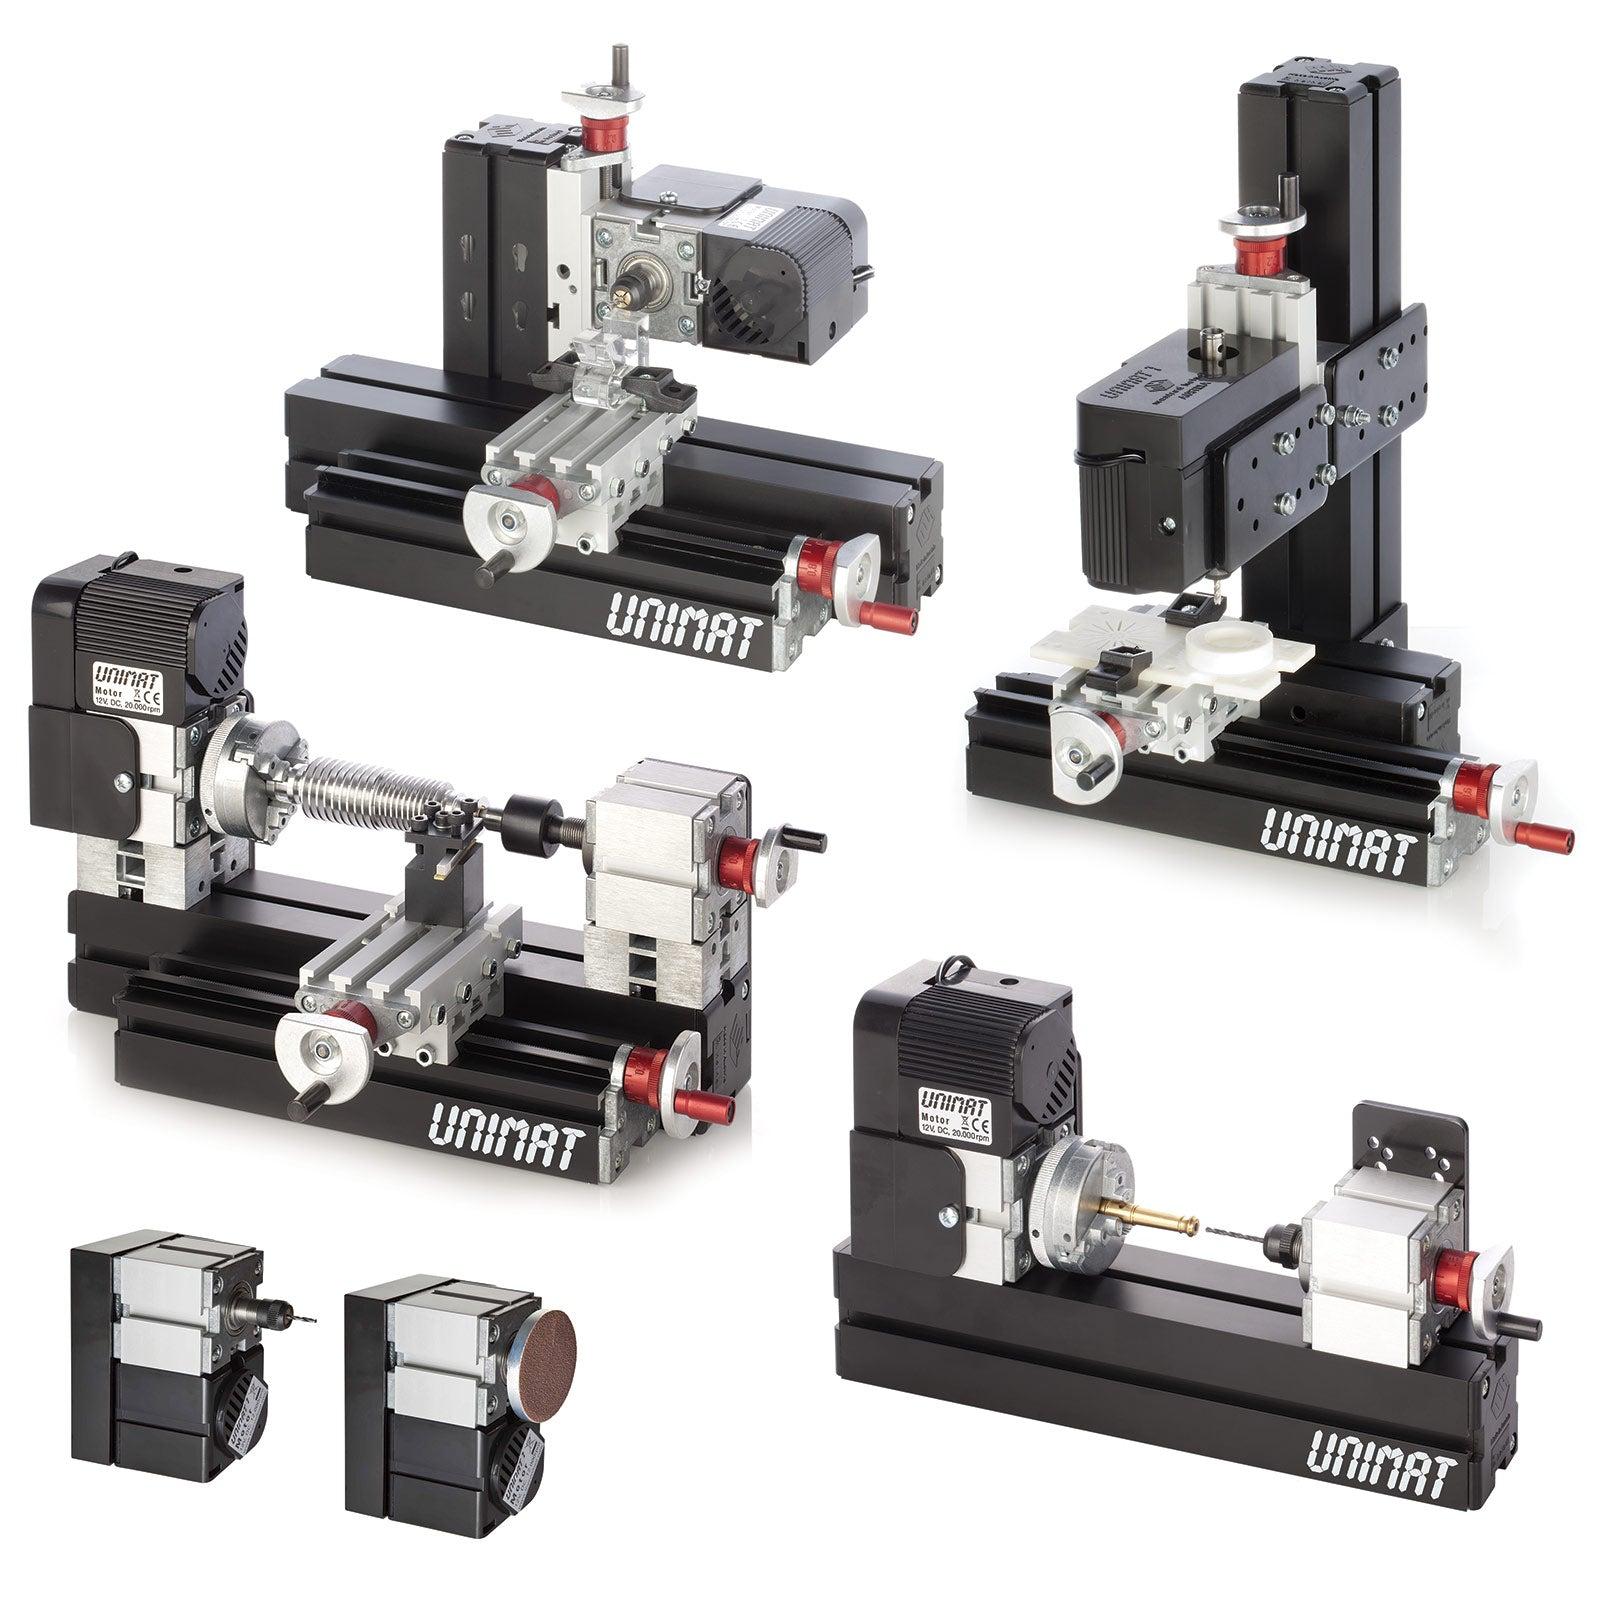
My first lathe was one of those. My second was, too! They worked okay, but you really had to watch the load. Currently, Micro Mark sells a machine called a Unimat. I doubt it has anything much in common with the earlier ones. It's likely someone just paid for the name. I've had my Sherline machines for over 20 years now. I love them. My current skills don't deserve the mill, but, I'm getting a little more proficient with it, due only to more frequent use. It is especially useful in performing simple operations, like drilling a radial array. -
-
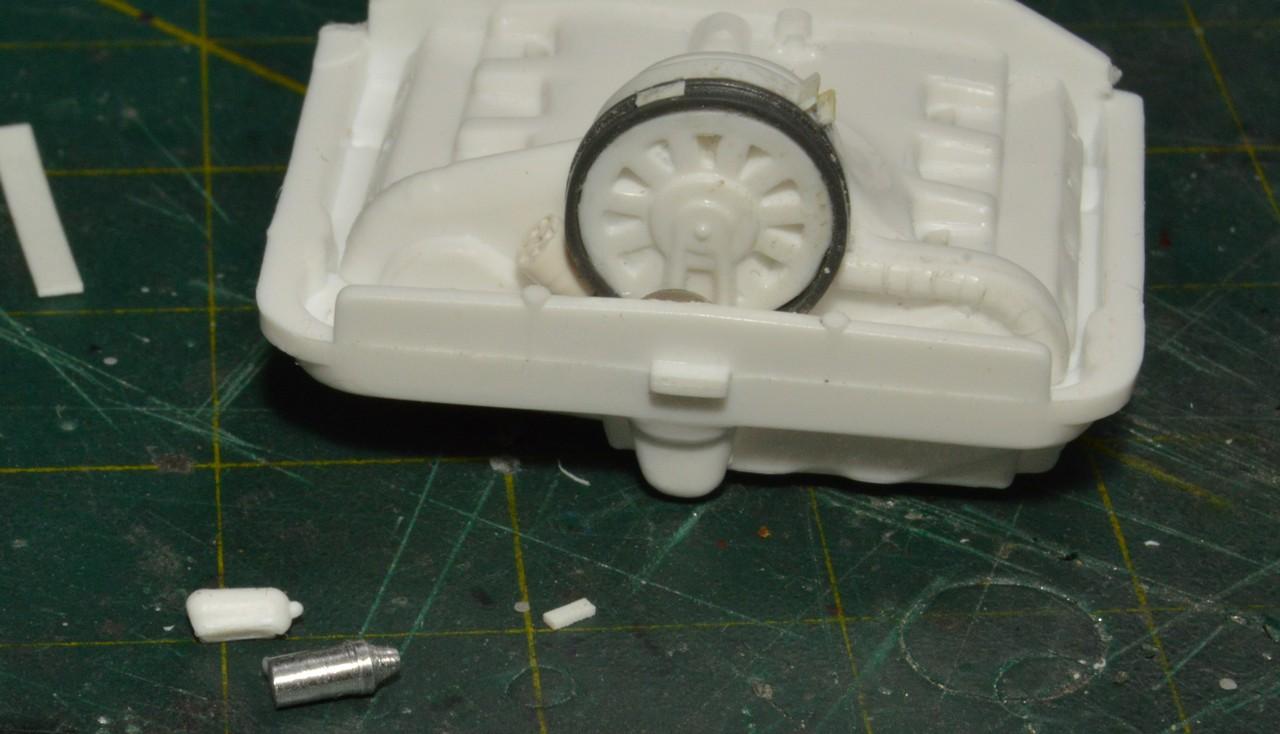
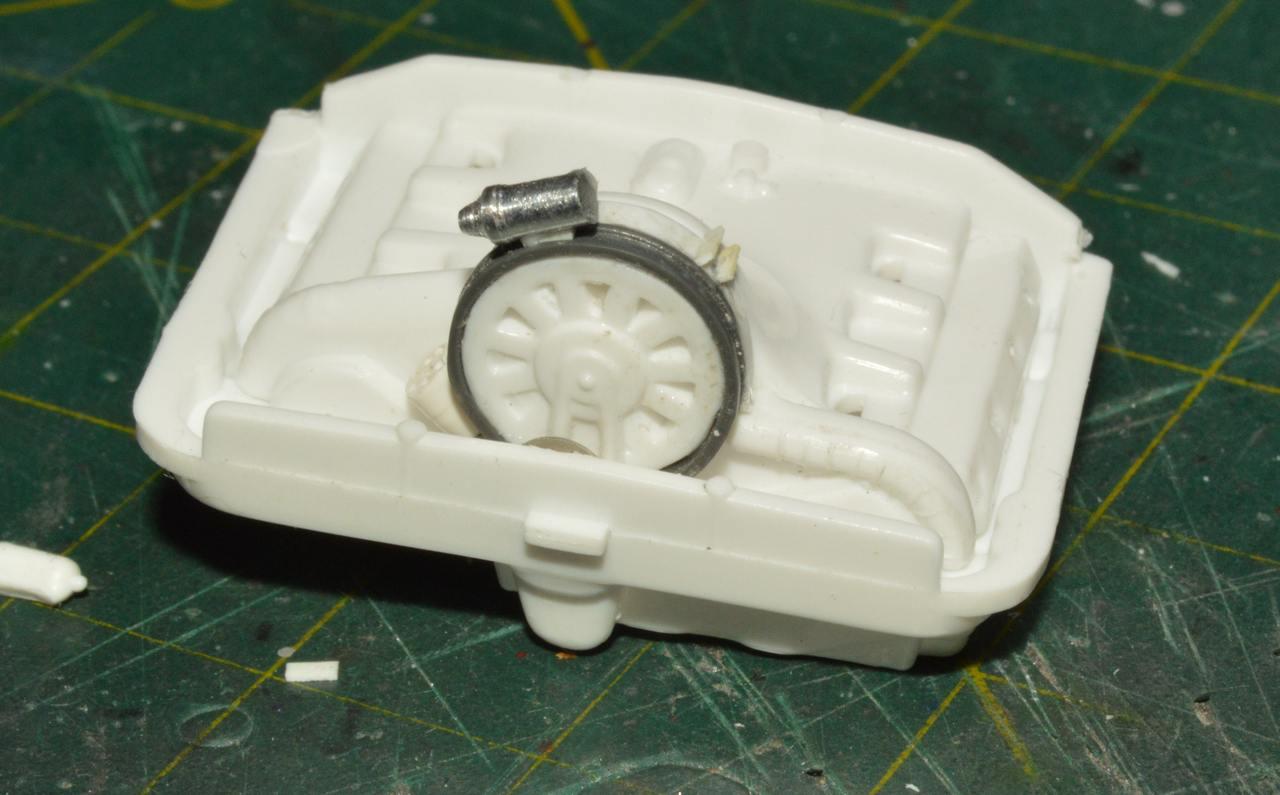
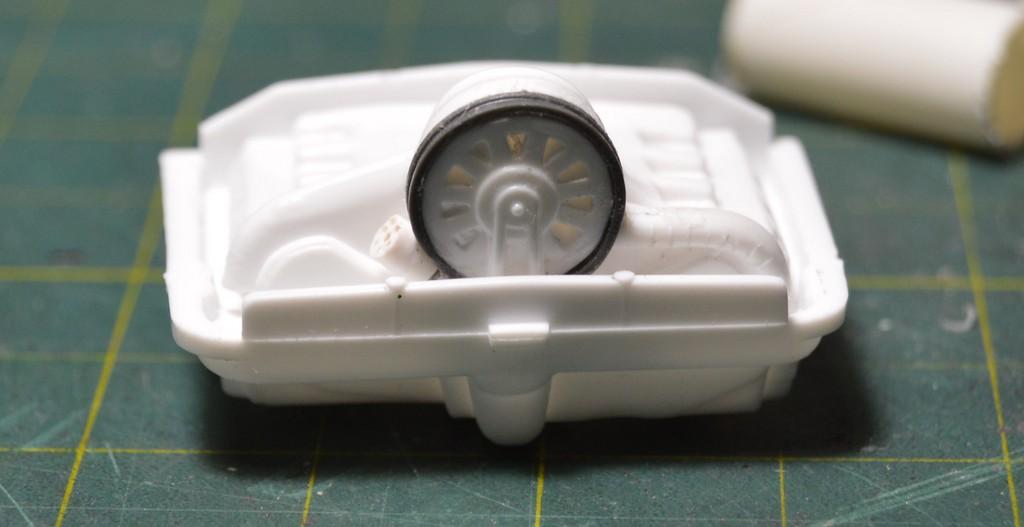
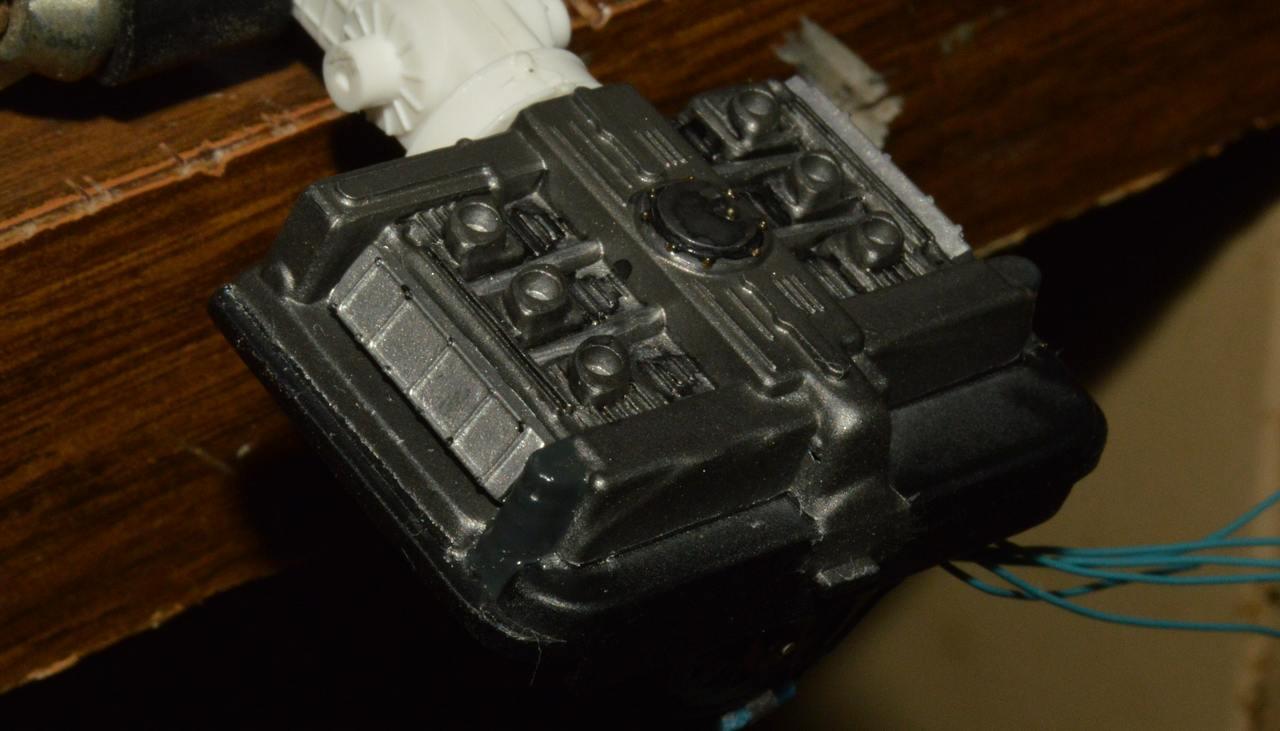
Actually, most of that is a molded cover that shrouds the engine. I think it helps direct the air to the engine. There are a couple of little details I can add to it, but not a ton.
-
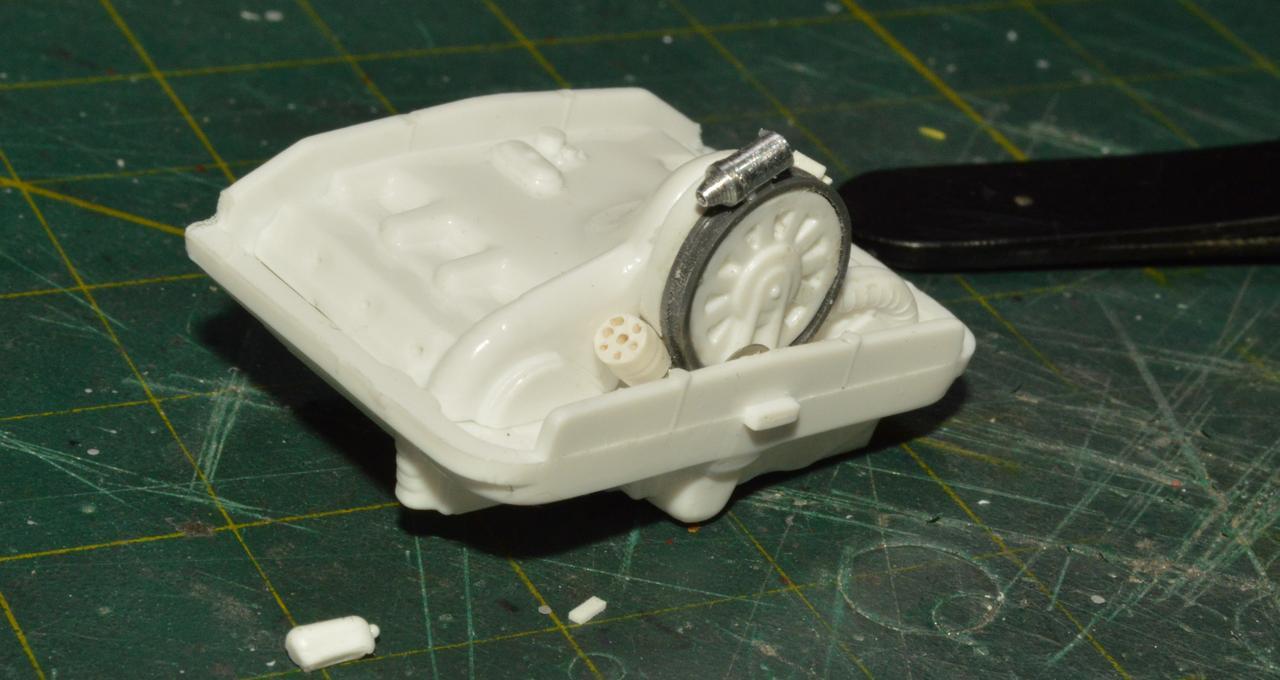
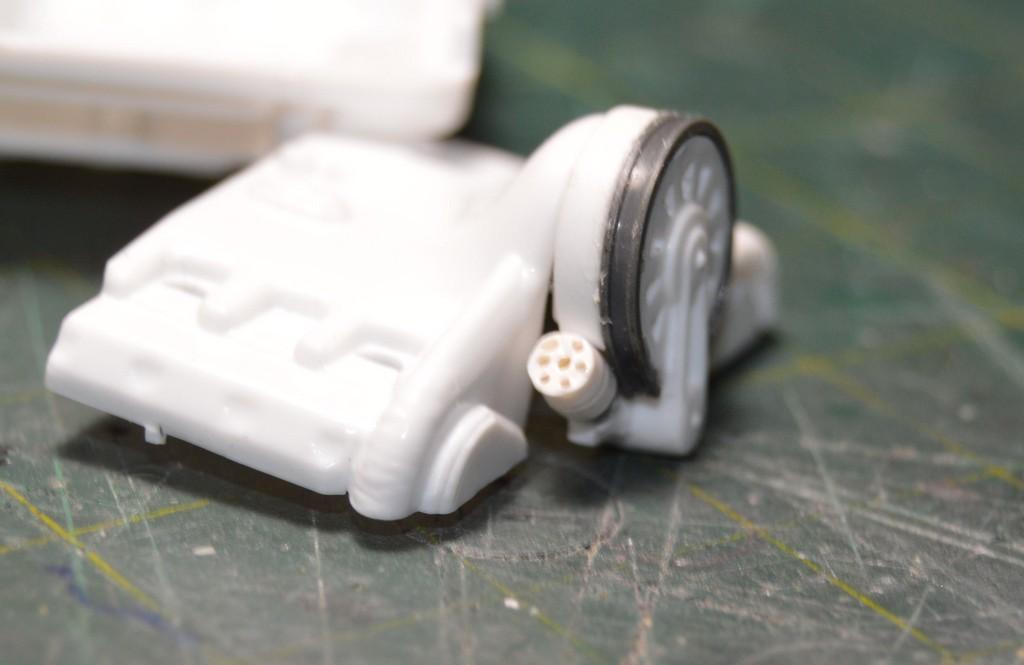
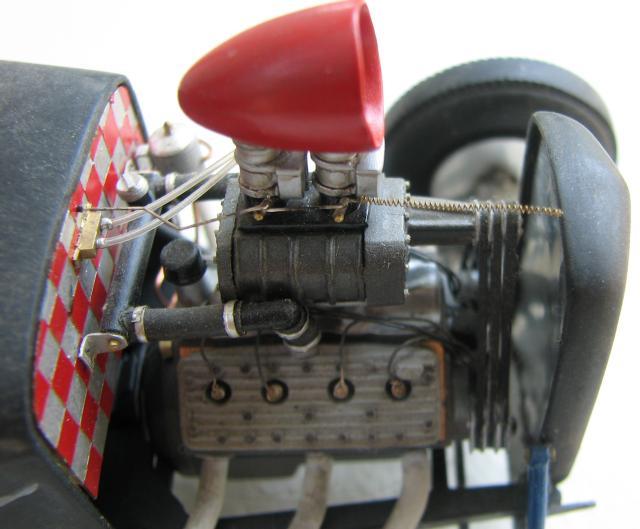
Thanks to Les, I believe, for moving this. It is appreciated. To begin, the kit's distributor was nothing more than a blob--which is understandable, as it doesn't appear too be readily visible, once assembled. I removed it, and made a simplified one, but with six holes drilled for plug wires, and of course, one for the coil. As I am prone to do, I overcomplicated things! In looking at photos of engines, one thing that stood out was the ribs on the fan housing (I guess?). To duplicate this, I needed .060" channel, which I didn't have. I did have some Plastruct .060" H-beam. I used the edge of a blade to shave off one side, resulting in channel stock I could use. I wrapped it around the molded fan housing. I also added the band that, I assume is the clamp that holds the fan housing in place. I'll add the tensioning bolts, as well. The outer pulley face is a miscellaneous bit of photoetch I found. It's been said that a journey of a thousand miles begins with the first step. Here we go, I reckon! Thanks for looking!


.jpg.e0f4debb82ad14df9d10e246233cbb25.jpg)