Straightliner59
-
Posts
5,817 -
Joined
-
Last visited
Content Type
Profiles
Forums
Events
Gallery
Everything posted by Straightliner59
-
 I recently purchased a couple of tubes--a dozen each of two sizes--of Gyros bits for about ten bucks per, on Ebay. Theirs are good bits, and that's about half the price of the hobby shop.
- 39,081 replies
-
- 1
-

-
- johan
- glue bombs
- (and 1 more)
-
Love the safety wiring! Such a nice detail--a fine detail.
-
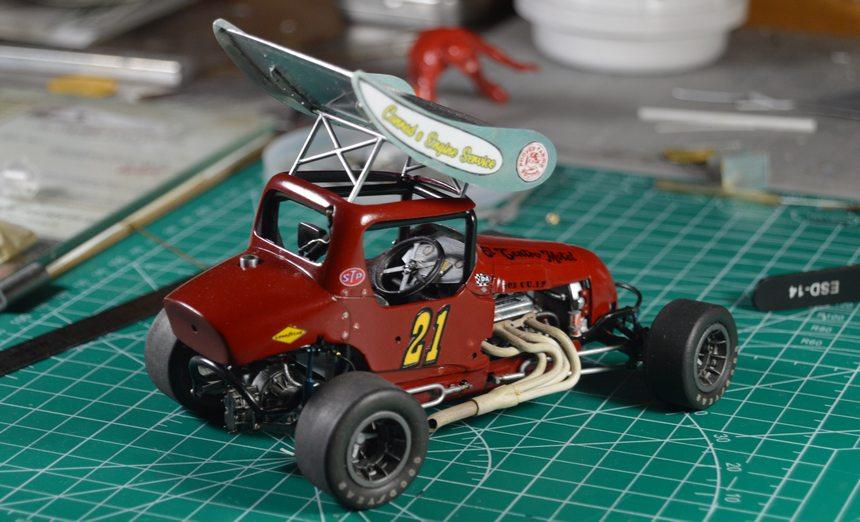
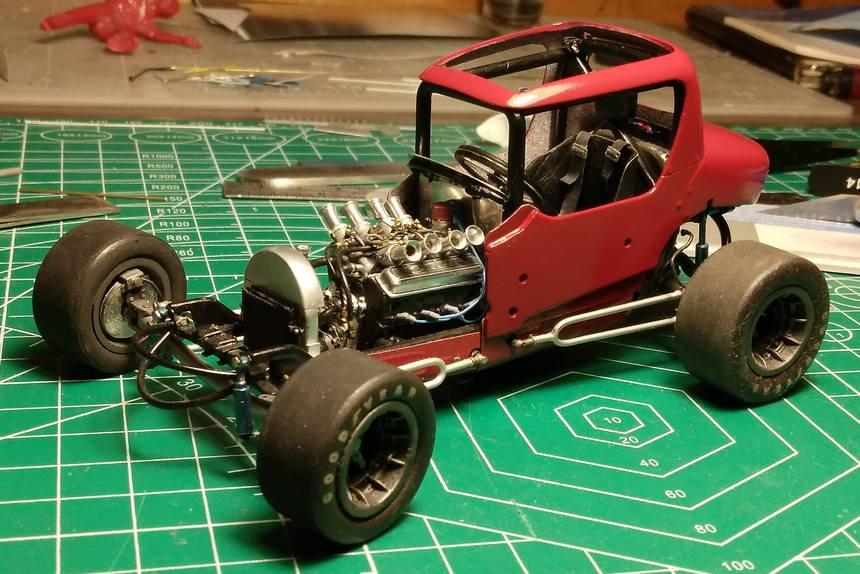
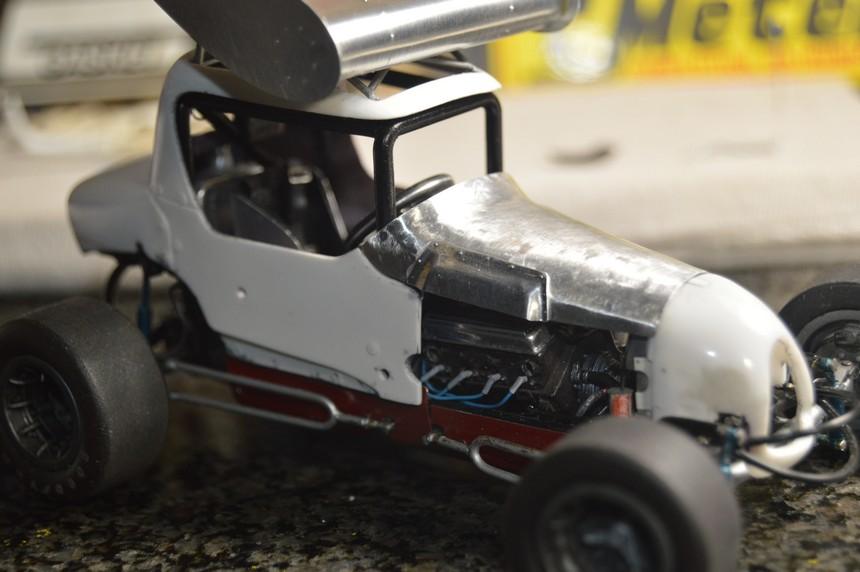
Thank you, Francis. I have a blast, coming up with the local business sponsors! I got some more decals added. The body is now permanently mounted, as well (although, not in these photos). This thing is getting very close!

-
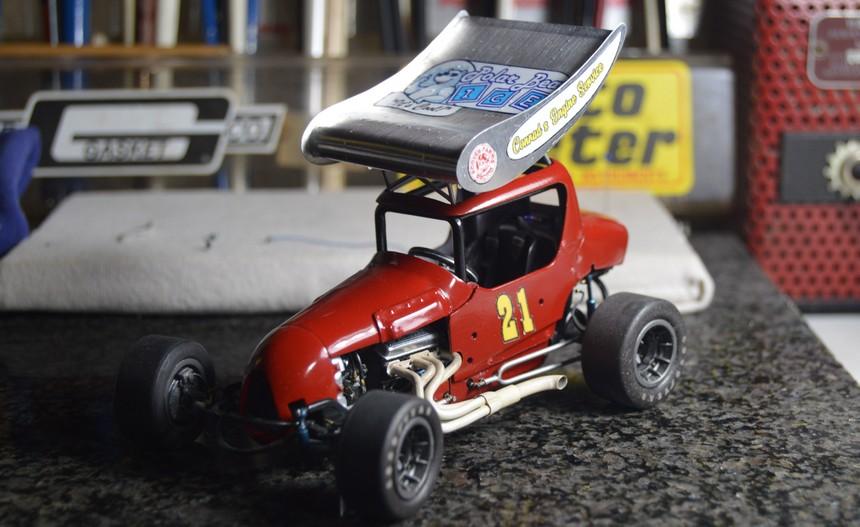
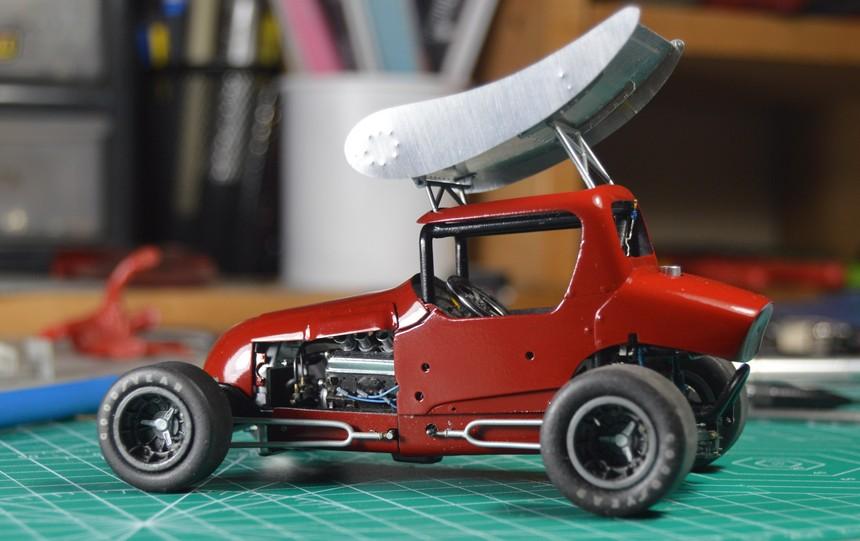
I got the numbers on one side. I will print new outlines for the numbers, on a clear sheet, once I have finished putting that sheet together. This film snuggled down, nicely, over the rivets on the wing. I may add another small-town business name, or two, to the car. At the time I took this photo, the numbers hadn't settled down, yet, after application of Micro-Sol. They since have.
-
Thanks, Andy! I got the white background decals printed, and began applying them. I still need to decide on fonts, for a couple of those that will go on the clear sheet. The number 21 is a tribute to Roberto Clemente (my favorite all-time player), and the black and gold go nicely with the red.
-
It's looking great! Day cabs are cool. Real workhorses.
-
I've not seen much better than that! Looks great!
-
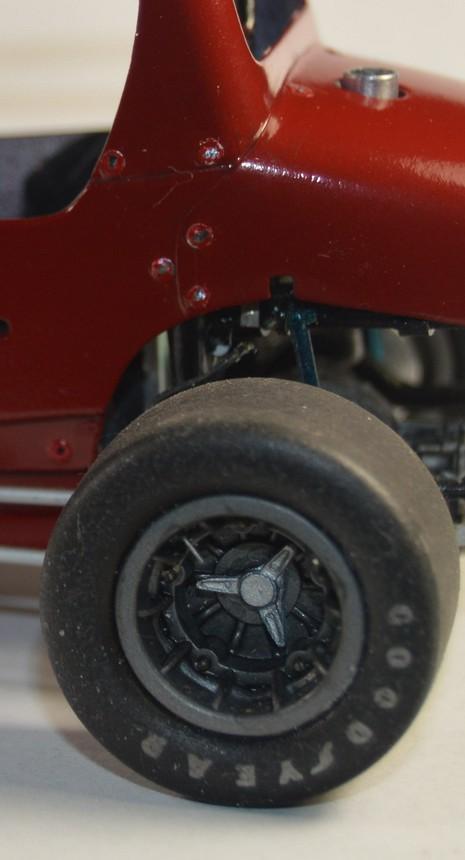
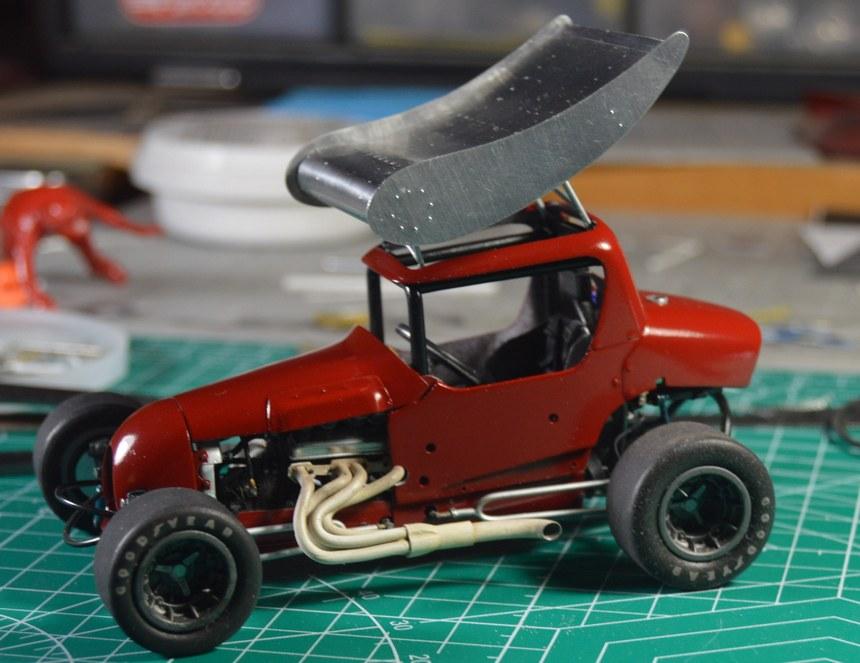
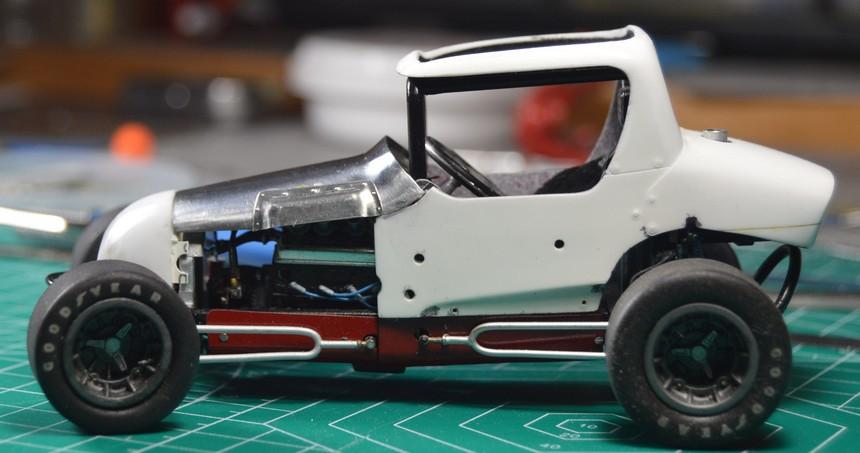
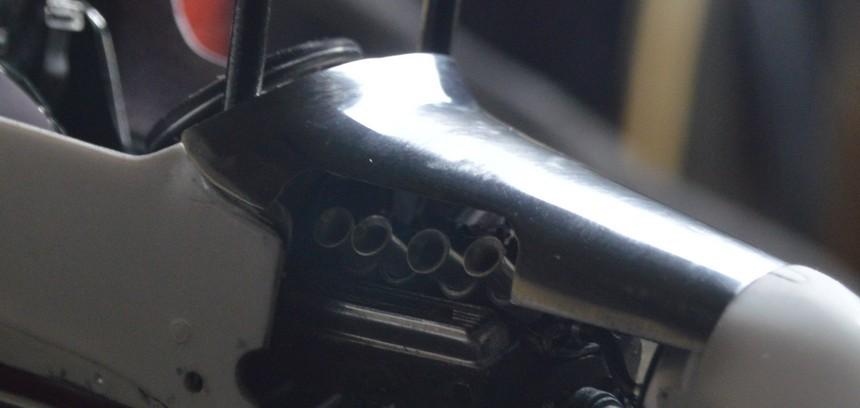
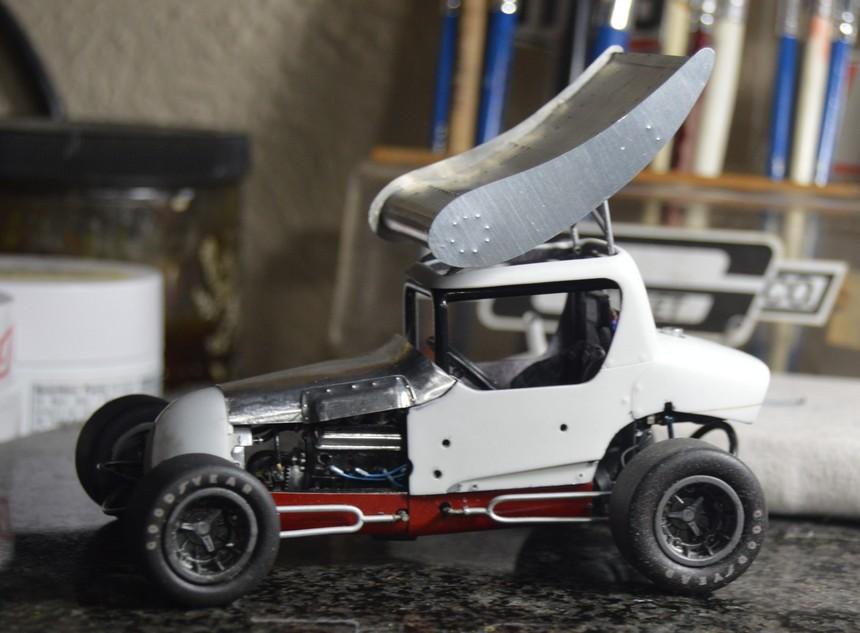
I punched some discs of BMF to cover the molded-on Dzus fasteners. They looked exactly like shiny polka-dots, which is exactly what they were! ? I found an old (not like there's any new ones!) bottle of Dark Red Pactra Acrylic which is an perfect match for the Krylon red I shot the body with. I cut a tiny shred of natural sponge, and dabbed the red onto the BMF discs. I then used a toothpick to clean the paint from the buttons in the middle of the fasteners. Also seen here--I used a 4-way buffer to clean paint from some of the "rivets" that are mounting the hood bulges. Questions, critiques and comments are always welcome. Thanks for looking!
-
Claude, this is incredible! Excellent work, sir!
-
This is very cool, Brad! It's got "it". Nice job!
-
A year or so, ago, I bought a built-up California Street Vette. It's cleanly built, and unpainted. I had never had one, before, and always loved it. I thought I would take it apart, and build it properly, as soon as I got it. I decided to wait. I stuck it in the display case, and I enjoy seeing it! It did come with a box, and three or four extra pieces. It will probably be within the next couple of things I work on. I have a couple of ideas for it, but, I won't change it much. I am thinking of doing the louvers in carbon fiber decals, and going with a nice pearl orange paint, and, maybe, just maybe, see if I can make a set of aluminum slots, for it. Nice score!
-
I see what you mean. That's a very odd shape that doesn't lend itself well to using a flat piece. At least short of a complete scratchbuild. I like the blue varnish.
-
I bought an inexpensive XY table for my Dremel Workstation, and clamped the work to that. I don't recall what I used as an abrasive, though. It may have been the erasers that came with the power eraser I'd bought, earlier, in the same pursuit. I intend to try Scott Colmer's use of cloth-backed polishing sheet(s) in ultra-fine grits (1200+), mounted to small dowels, or perhaps aluminum or brass rod. I would think that light pressure would be preferable, no matter which shaft is used. So far, every method I've experimented with has been a complete pain in the anus, and results were hit-and-miss.
-
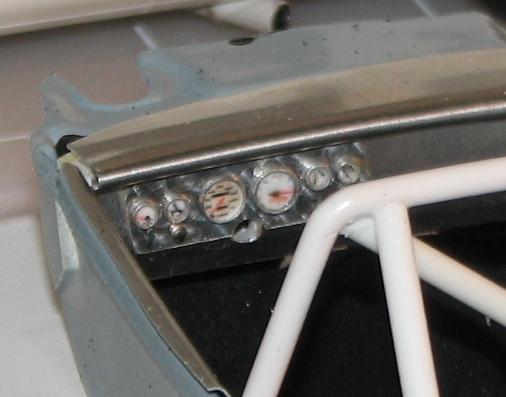
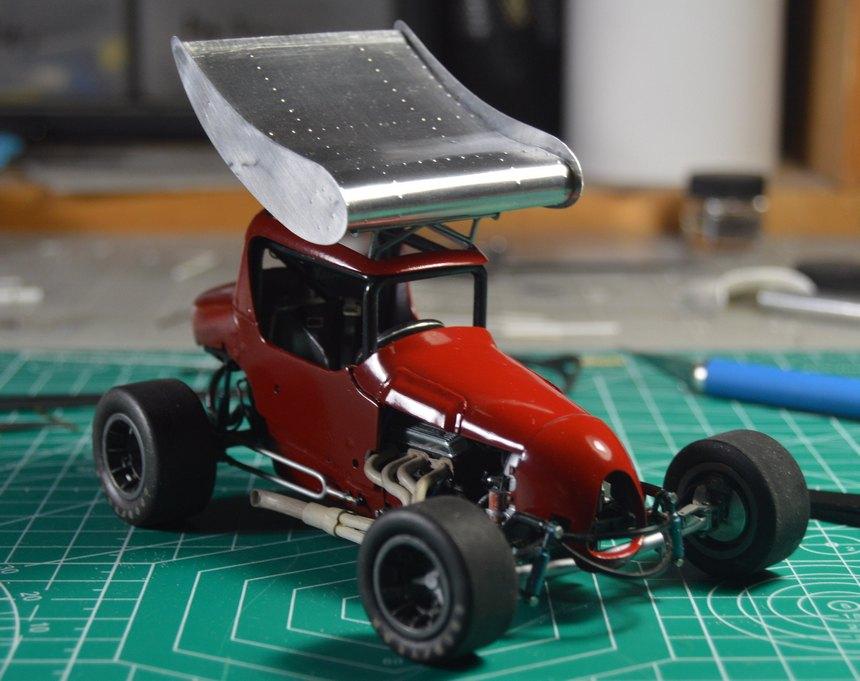
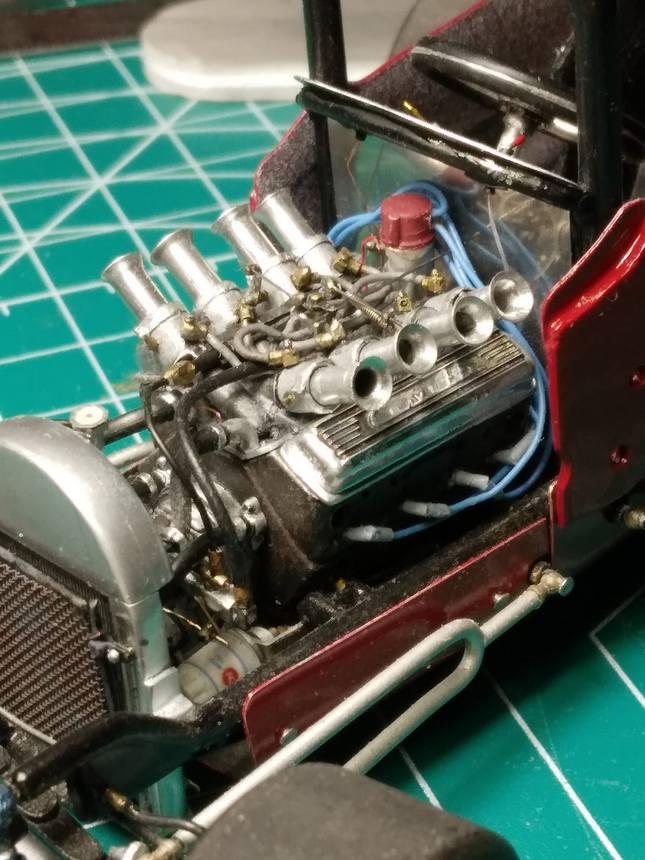
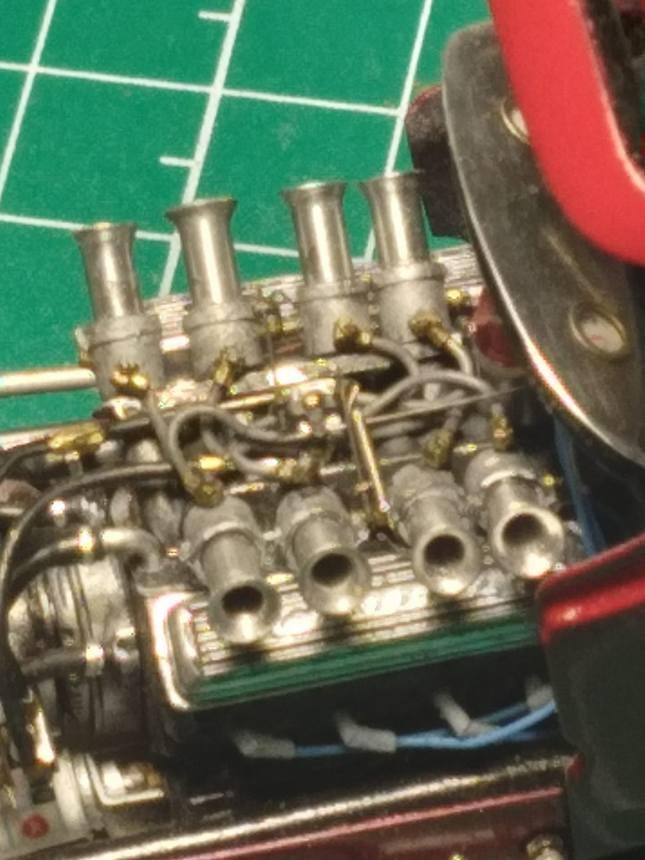
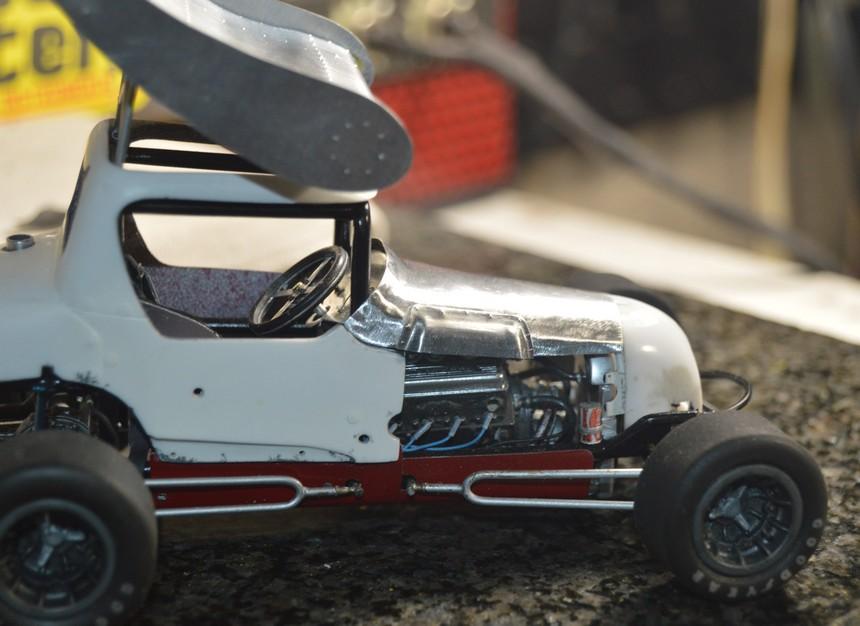
Thank you, Richard and Andrew! The headers are on. I'm working on the areas around them, on the body. Once I have proper clearance, I will touch them up, and add some heat discoloration.
-
Thanks, Francis! I need to find a space to set up my Cricut, so I can (I hope) make a real nice set of decals, for this thing. It's getting pretty close. I am about to go see if I can get the headers mounted...
-
Questions - brush painted chrome
Straightliner59 replied to bh1701's topic in Model Building Questions and Answers
If you are going to paint the chrome on, I would do it after all the clear coats have been applied. Also, I recently saw that BMF has cleared up their issues. If you order directly from them, you should get the newest material. As for the best silver to apply with a brush--I would probably go with Testors Chrome Silver? I am sure you will get plenty of better suggestions! -
64 Dodge D100 Pickup Pro Street
Straightliner59 replied to AmericanMuscleFan's topic in WIP: Drag Racing Models
I love that touch, with the taillights! I will be stealing that idea!? You're closing in, friend. It's going to be killer! -
Nice! If for no other reason (and there are plenty!) than I love line drawings of things mechanical!
-
Cool! Thanks, Andy. I'll check it out, when I have a few!
-
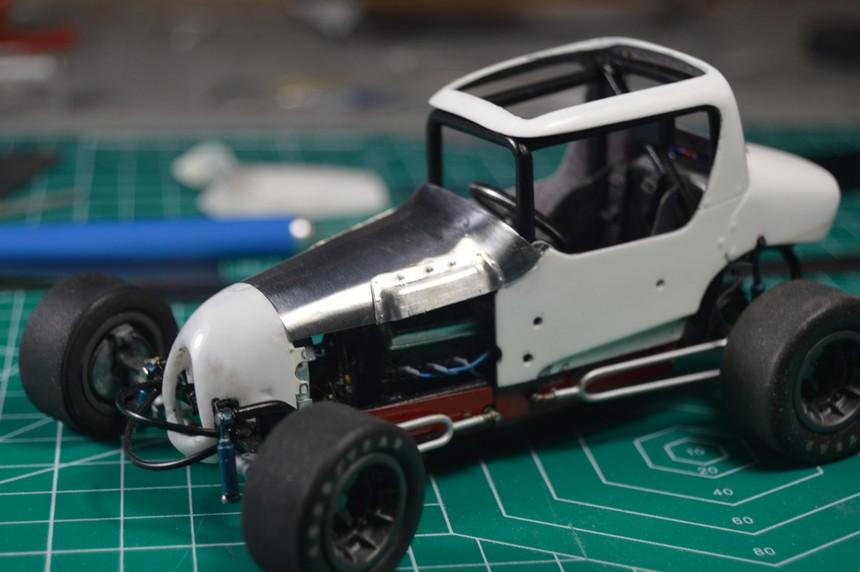
Thanks so much, Jim! I am aware of how those distractions go! I got the rest of the paint on the car! I'm going to let it cure for a few days, and work on the graphics. I plan to use my Cricut, in their creation. It's time I started learning what the thing can do for me! Thanks again for your kind words.
-
I wish you success, in this pursuit! While I have had some success at creating it, I haven't found a way that I have fallen in love with, by any means!
-
I shot some red on the body. I had to get a new phone, so I thought I would try the camera on this...
-
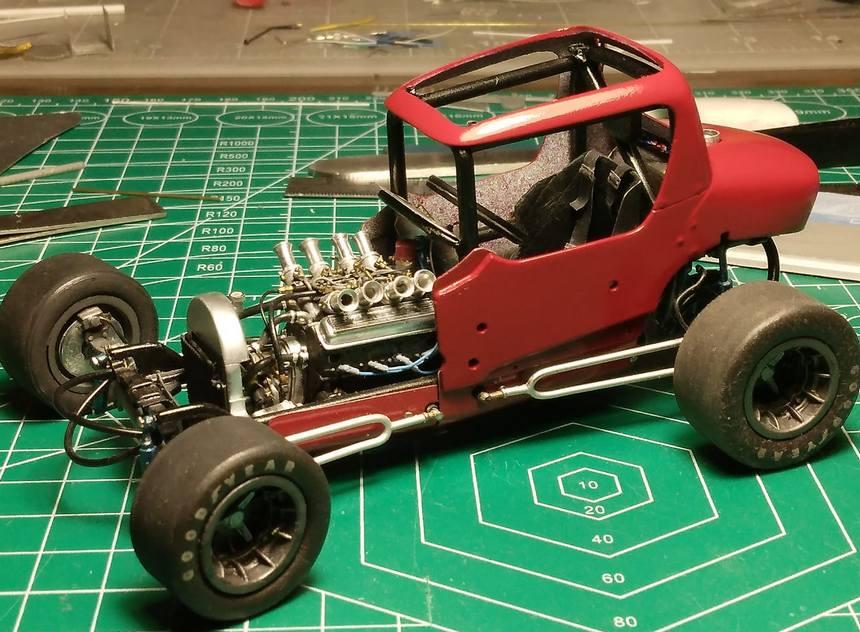
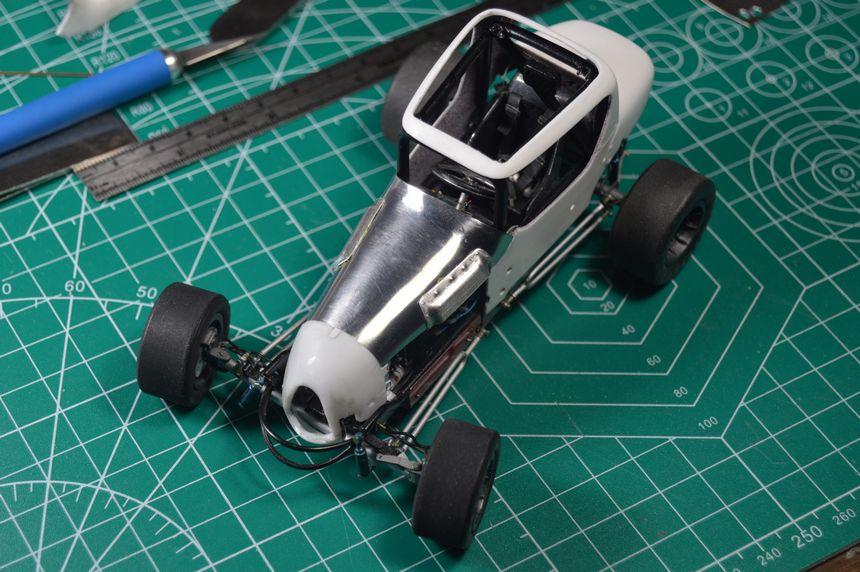
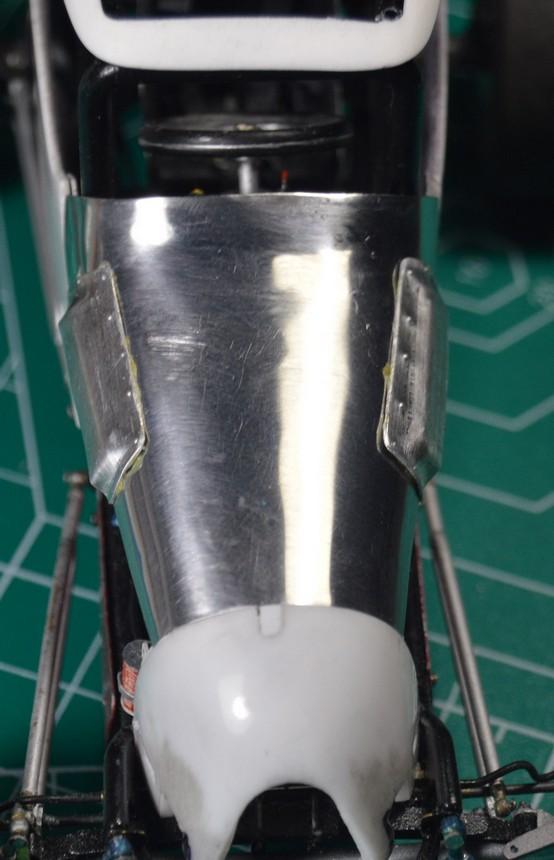
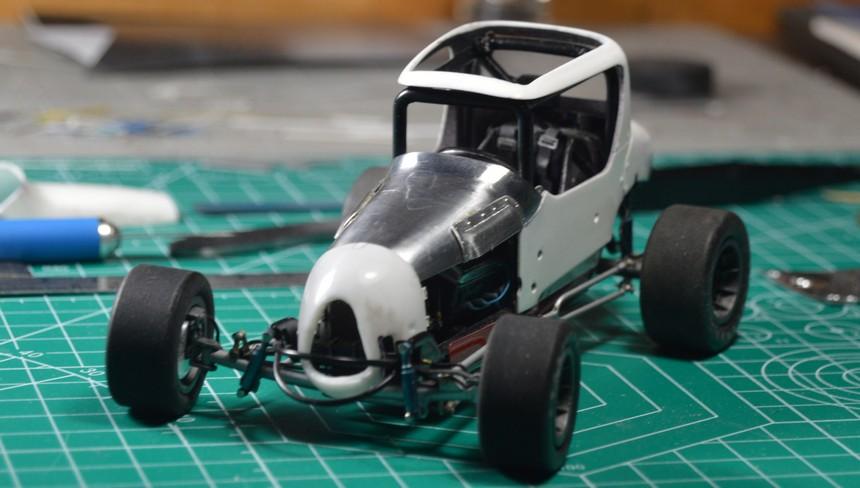
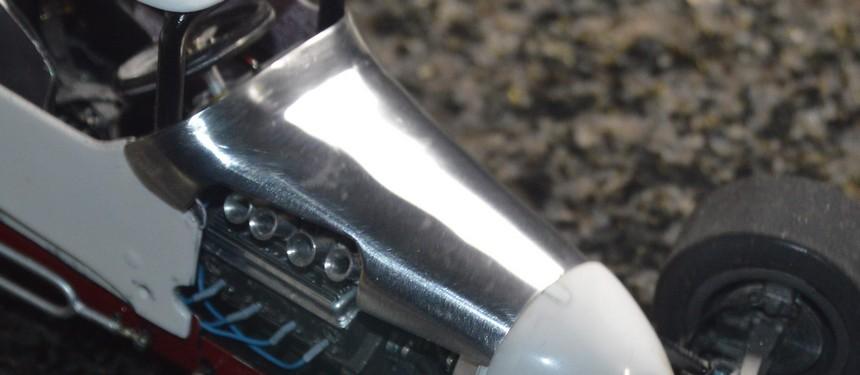
I polished the hood, and permanently installed the clearance blisters. I used contact cement to attach them. They need a tad of cleanup, but, the hood is otherwise ready for paint! Got it on the first try! I will finish cleaning up the nose, then, it's time for paint. I think I might be closing in, on this thing...
-
I added the "rivets" to the clearance bumps. They look more finished, now. I guess it's time to sand the hood, and prep the body for paint!
-
Seat Belt Material
Straightliner59 replied to 69NovaYenko's topic in Model Building Questions and Answers
I use the foil from wine bottles. There's really no need for texture, beyond matte paint. Just look at the belts on the opposite side of your car. You can't really see any texture. Just my $.02.