Straightliner59
-
Posts
5,811 -
Joined
-
Last visited
Content Type
Profiles
Forums
Events
Gallery
Everything posted by Straightliner59
-

AMT Pete 352 Day Cab
Straightliner59 replied to Straightliner59's topic in WIP: Model Trucks: Big Rigs and Heavy Equipment
Thanks, Pat! I really like trucks that are something less than glamorous. You definitely are not the only one! I keep finding stuff around here, "I must have started this about twenty years ago."... -
AMT Pete 352 Day Cab
Straightliner59 replied to Straightliner59's topic in WIP: Model Trucks: Big Rigs and Heavy Equipment
Thank you, Doug! Cutting the front of the chassis was exactly what I was thinking, to get the cab centered over the wheels. The sad part is, you have to get it to this point, before that becomes apparent! Had I known, I would have simply installed the front axle about three inches forward. I've been hankering to build a truck for a few years, now. I decided it was time. I was lucky enough to get a nice, clean cut, on the cab. I think a little stretched sprue, and some liquid cement will fill it, and leave the cleanup easy enough to save the rivets, since I'm not sure what the proper decals would be to order from Archer. Thank you, Bill! Thanks, Jim. I'm really having fun, with it! Thanks again, Guido! Got a couple of bugs to work out, but, it'll be fine! -
"Bring Out Your Dead" Completion Build--ROUND 2 Is On!
Straightliner59 replied to Snake45's topic in WIP: Model Cars
Cab is temporarily mounted, along with the rear cab supports (which is I had to get the cab mounted)...
-
AMT Pete 352 Day Cab
Straightliner59 replied to Straightliner59's topic in WIP: Model Trucks: Big Rigs and Heavy Equipment
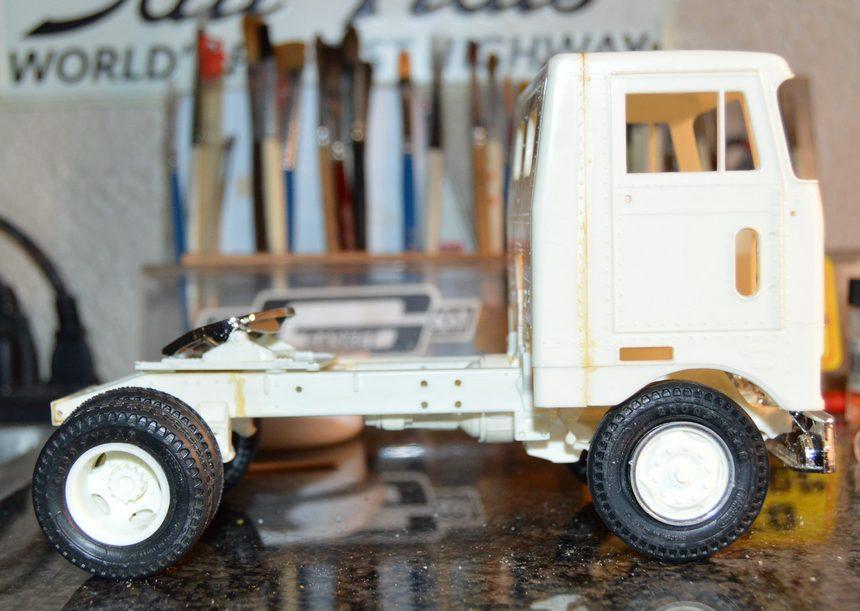
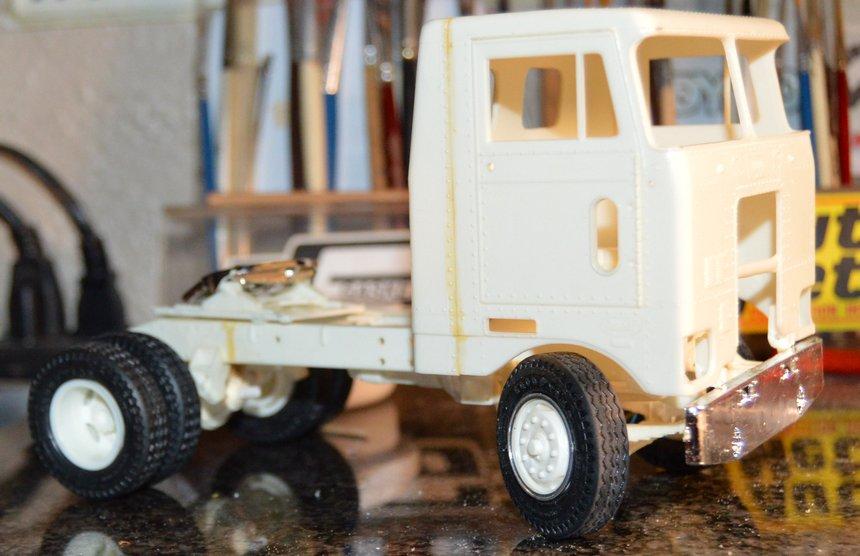
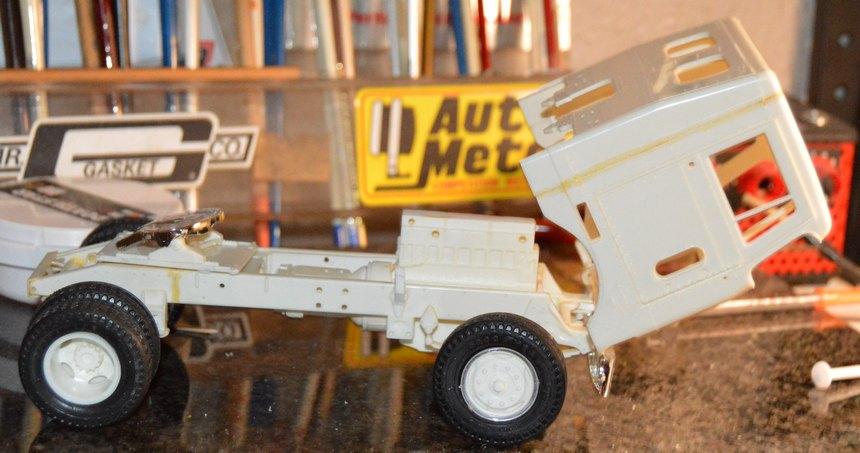
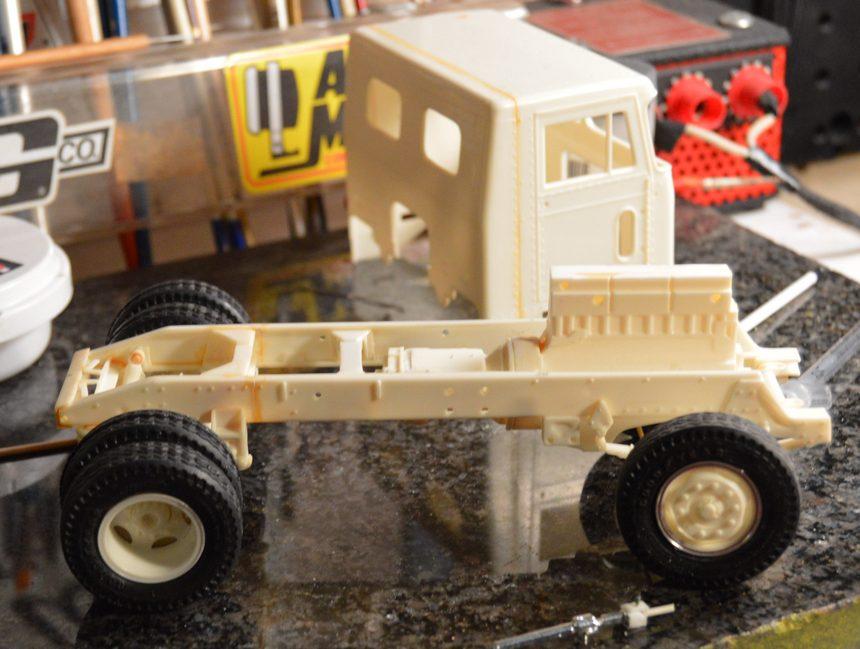
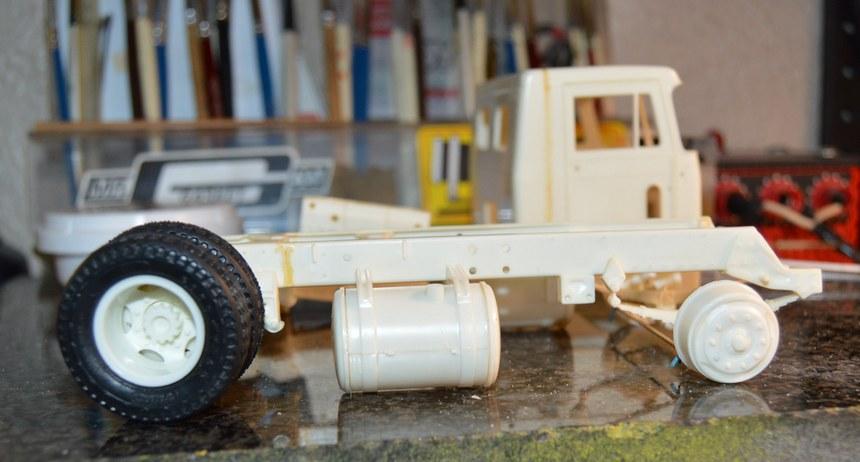
Thanks, Guido! I think I just need to narrow the rear axle. I think that may be what looks odd, to me. I dry-assembled the hinges to the bumper (not worried about its finish, it will be painted, and likely, bobbed), then I mounted some Evergreen strip to extend the kit's molded-in "tabs" to locate the bumper. Once those were cured, I was able to insert them into the hollows at the front of the chassis, to mount the cab. At that point, I was able to install the rear cab supports. Then, I cemented one side of each hinge to the cab (the same side--left, or right, otherwise the hinge will be trapped between the hinge halves.). To disassemble it, I only have to remove the loose hinge side, and slip it apart. At any rate, here it is with the cab mounted.
-
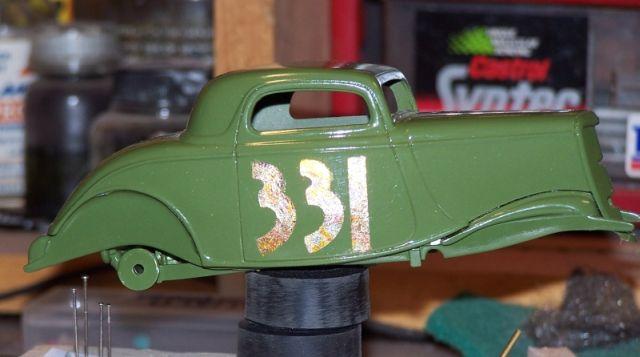
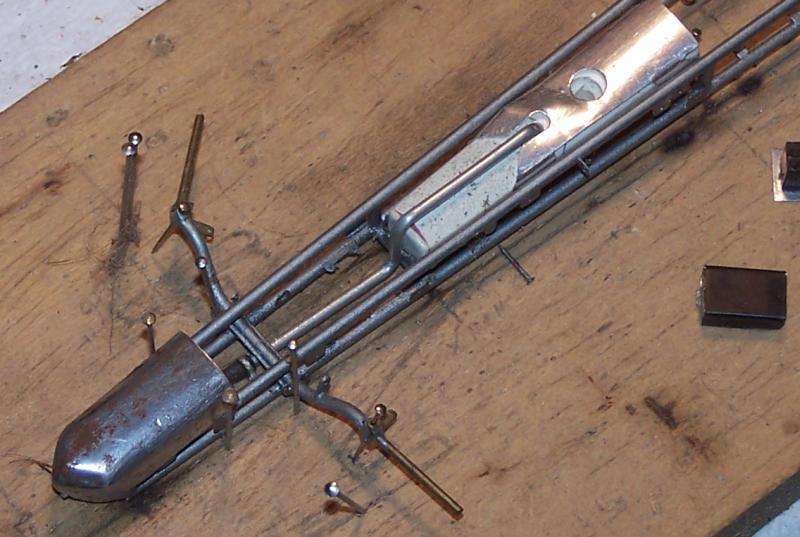
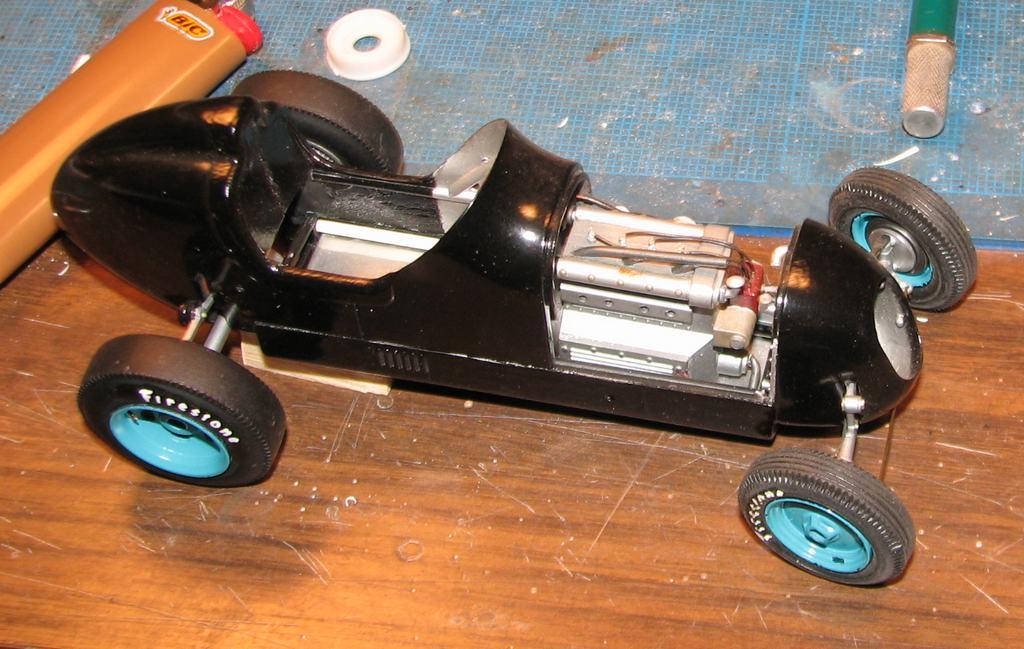
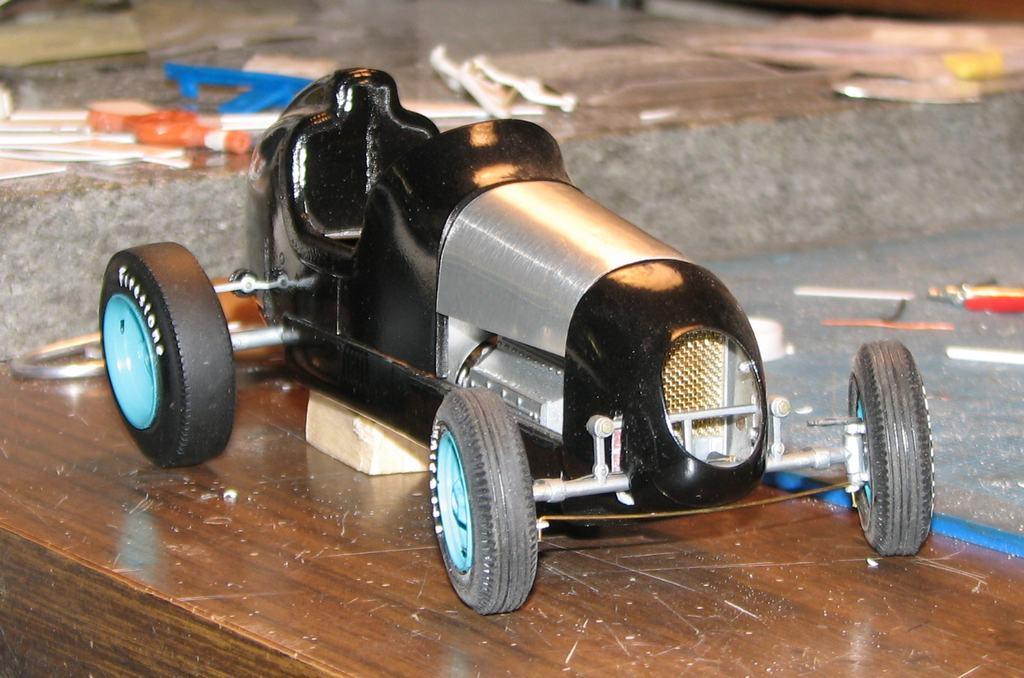
It was a big, slab-sided thing that somebody said resembled a Coca-Cola stand. I have only ever seen one photo of it. That's cool, Tom! That's just the kind of fun I like to have with my models. I always dug that Setzer 'liner! Nice start on that! That's neat. Looks so long and low. Here are some more of mine... Just playing around with some gold leaf, on (yet another) Revell snapper '34. The nostalgia fueler is brass with an aluminum and tin body. Finally, is a Studebaker powered dragster built on the frame of a Heller BMW. I thought the chassis resembled some home-built jobs, from back in the early days.
-
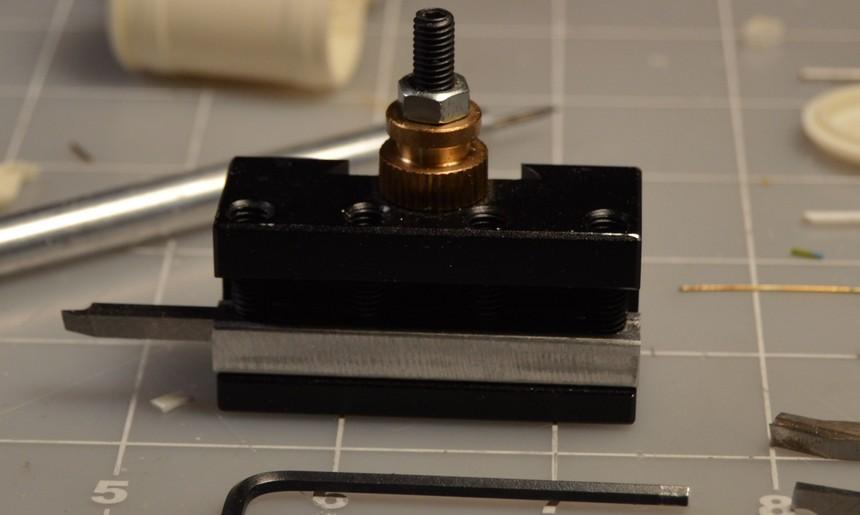
I milled this holder for all these cool 1/8" lathe bits. I can tighten the last set screw to keep the holder in place, and serve as a stop for the bits. I used aluminum, because I didn't have any 1/4" steel, on hand. The aluminum should be fine, since you don't want to put too much pressure on a 1/8" bit, anyhoo...
-
AMT Pete 352 Day Cab
Straightliner59 replied to Straightliner59's topic in WIP: Model Trucks: Big Rigs and Heavy Equipment
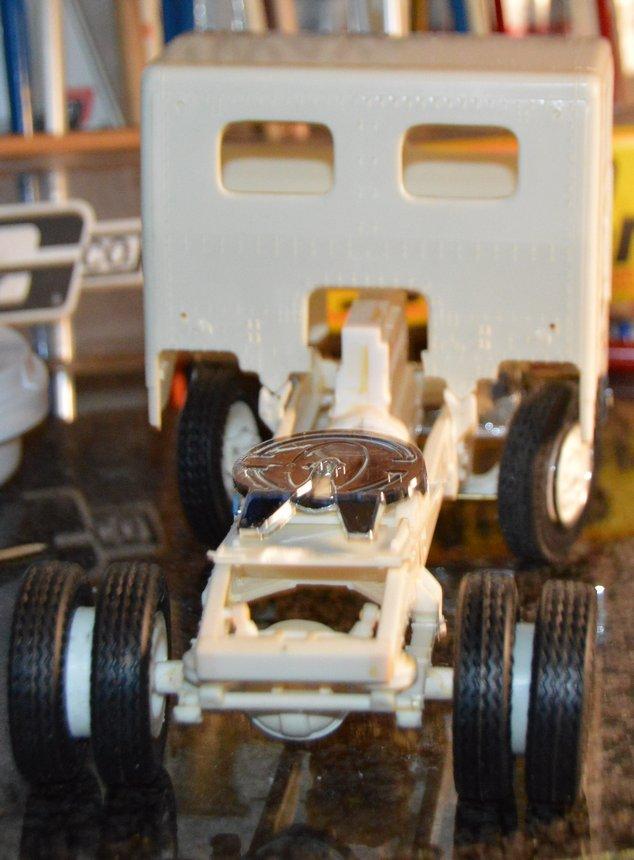
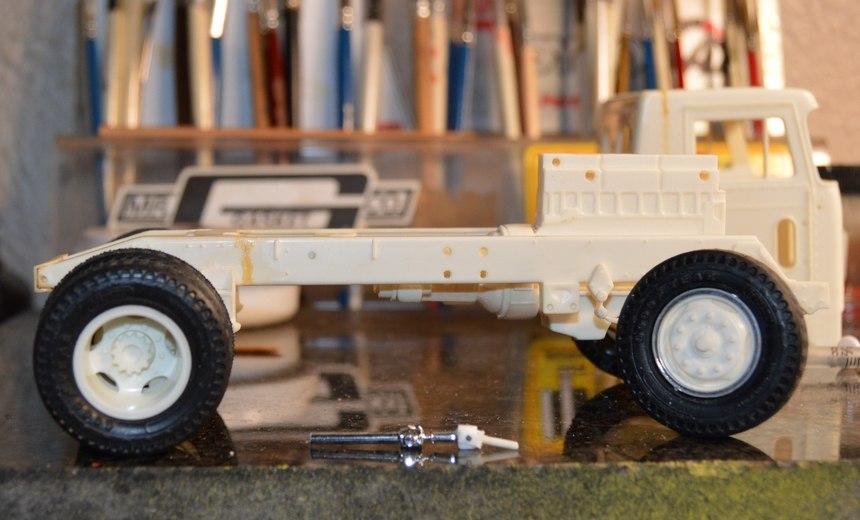
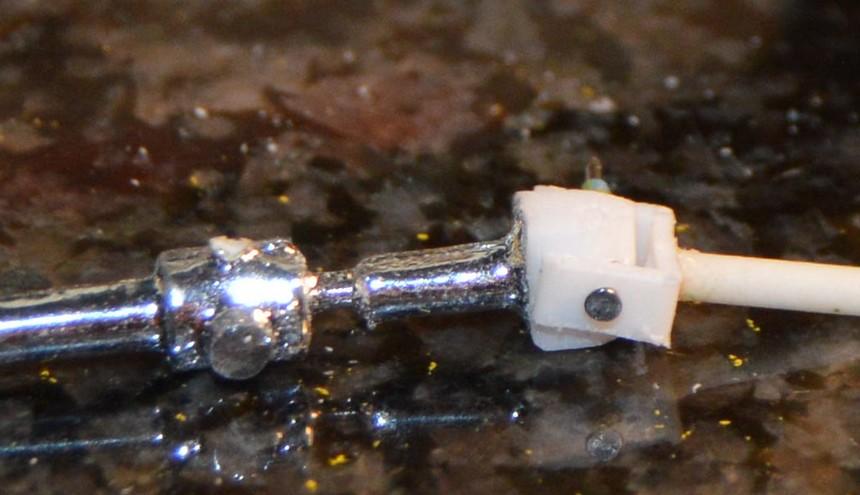
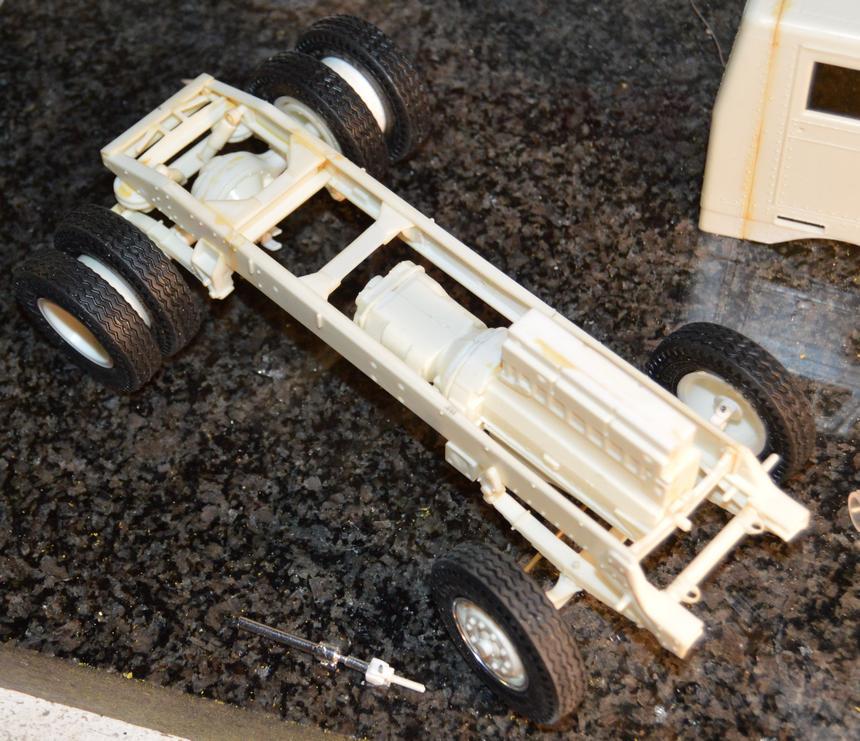
Got it on the wheels. Something looks off, to me. Any ideas? I made yokes for both ends of the driveshaft. Questions, comments and critiques are always welcome! Thanks for looking!
-
"Bring Out Your Dead" Completion Build--ROUND 2 Is On!
Straightliner59 replied to Snake45's topic in WIP: Model Cars
Since this is all I've worked on, today, I am declaring in, with it:
-
1932 Ford Four Door Sedan 50's Hot Rod!
Straightliner59 replied to Dennis Lacy's topic in Model Cars
What a beauty! A perfect hot rod. -
AMT Pete 352 Day Cab
Straightliner59 replied to Straightliner59's topic in WIP: Model Trucks: Big Rigs and Heavy Equipment
Yep. My favorite kind! -
GMC Astro 95 (АМТ 1:25)
Straightliner59 replied to yura1961's topic in Model Trucks: Big Rigs and Heavy Equipment
This thing is absolutely gorgeous! Excellent work, sir! -
Indeed! Otherwise, it would be congress, and we all know that's no BLAH_BLAH_BLAH_BLAH good! ?
-
Thank you, Randy! I appreciate it, a lot, when a craftsman such as yourself notices my work. Thanks for stopping by!
-
AMT Pete 352 Day Cab
Straightliner59 replied to Straightliner59's topic in WIP: Model Trucks: Big Rigs and Heavy Equipment
Thanks, Vince. It's just going to be a basic, down and dirty worker! -
"Bring Out Your Dead" Completion Build--ROUND 2 Is On!
Straightliner59 replied to Snake45's topic in WIP: Model Cars
Thanks, John! Much appreciated. It;s probably about time to get this one finished! -
"Bring Out Your Dead" Completion Build--ROUND 2 Is On!
Straightliner59 replied to Snake45's topic in WIP: Model Cars
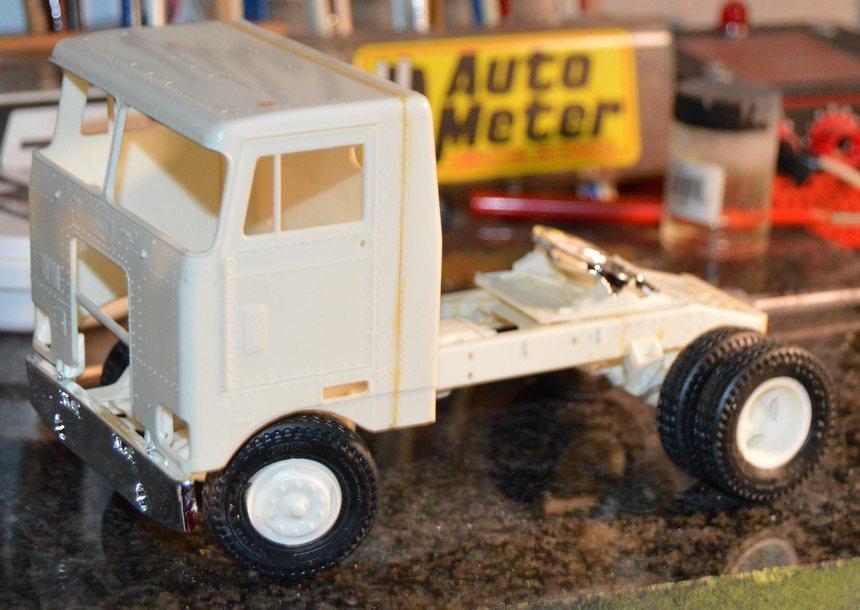
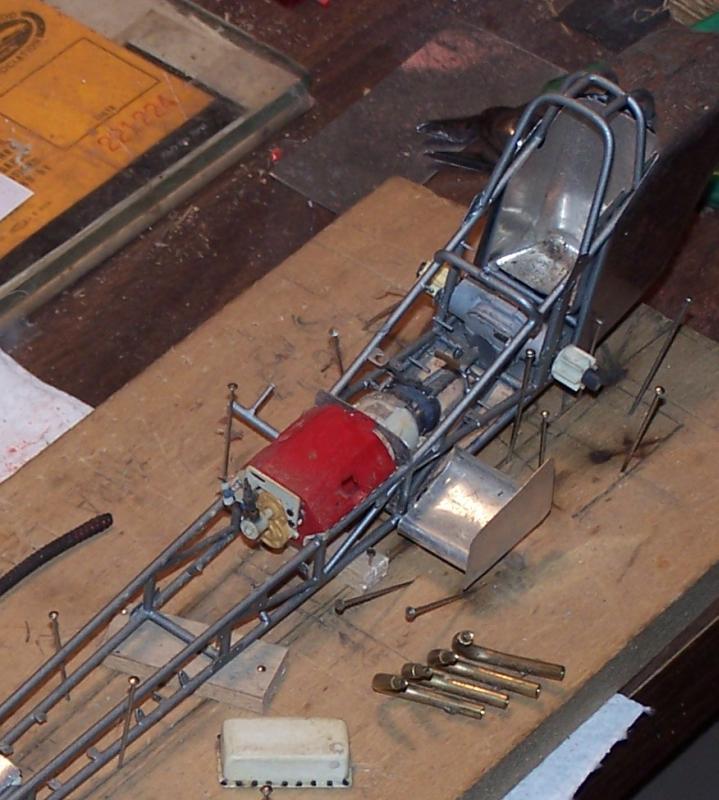
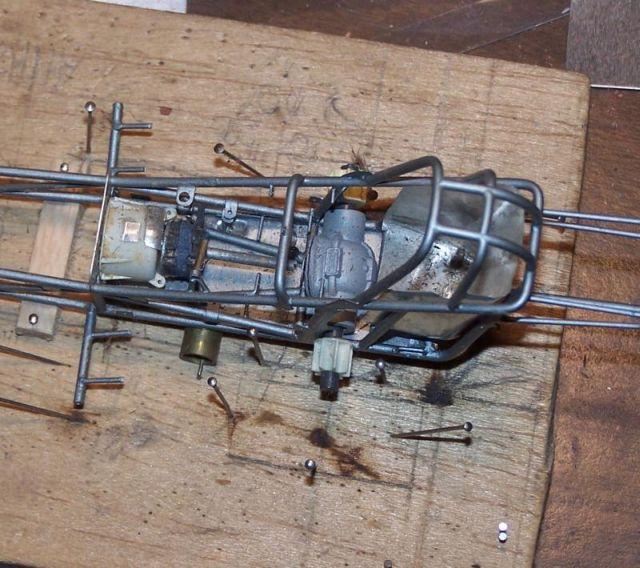
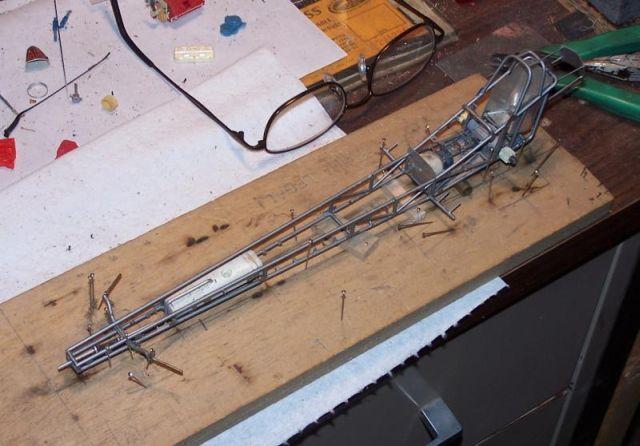
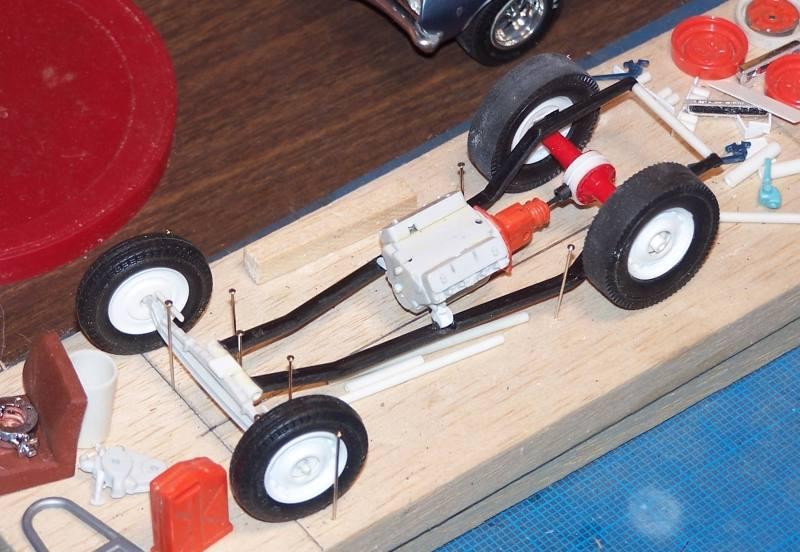
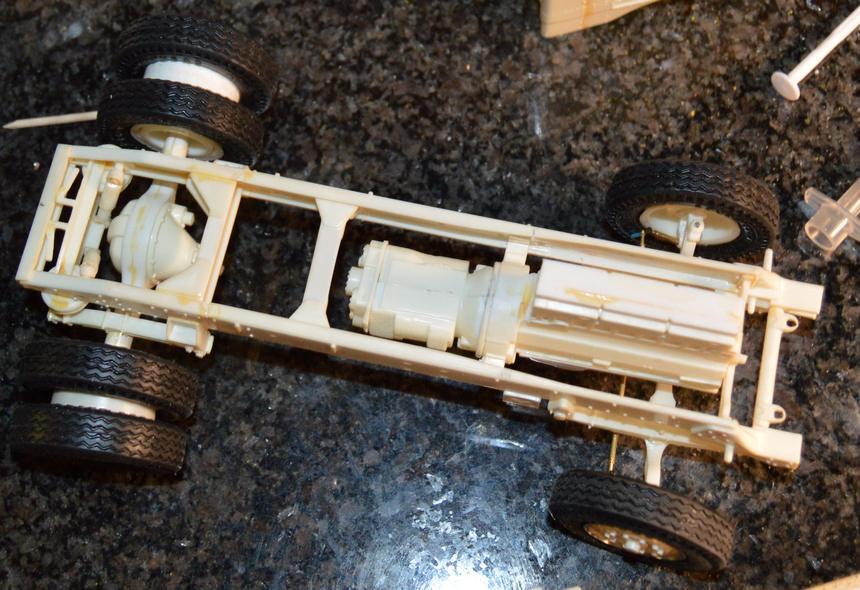
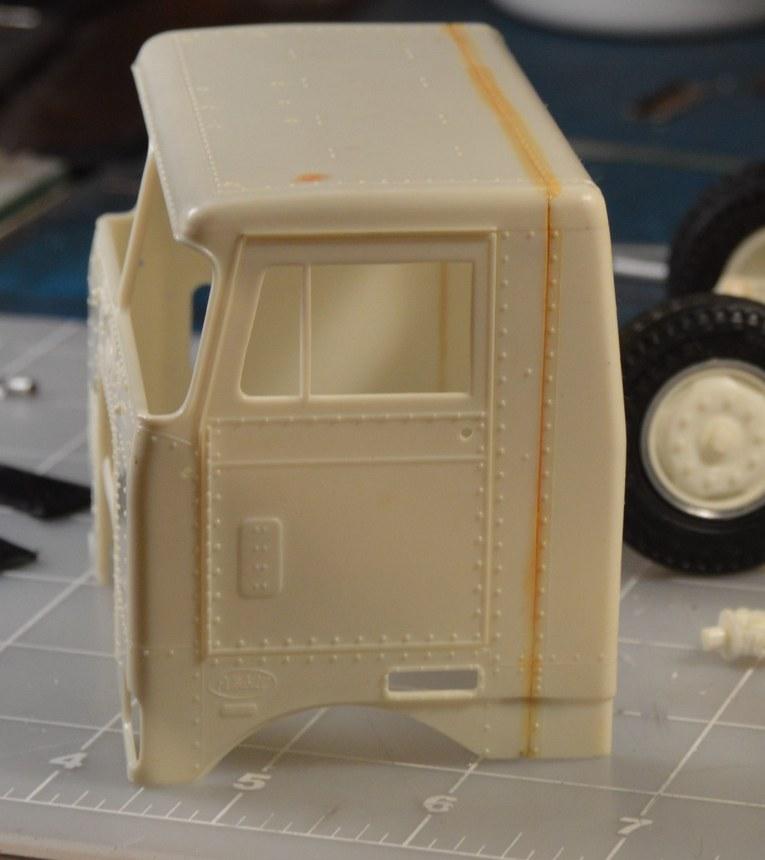
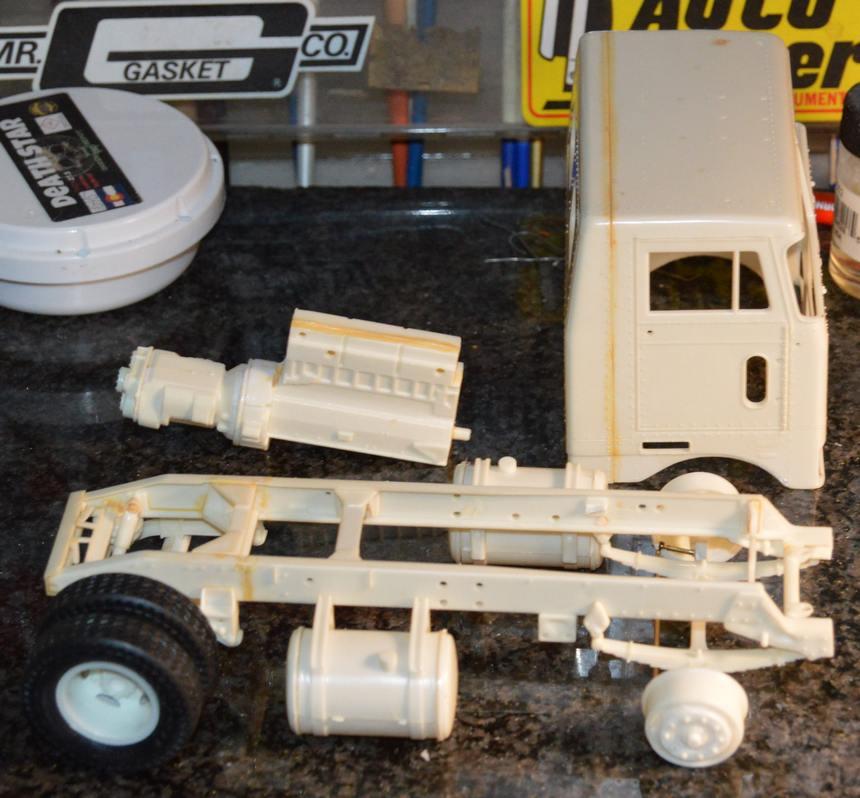
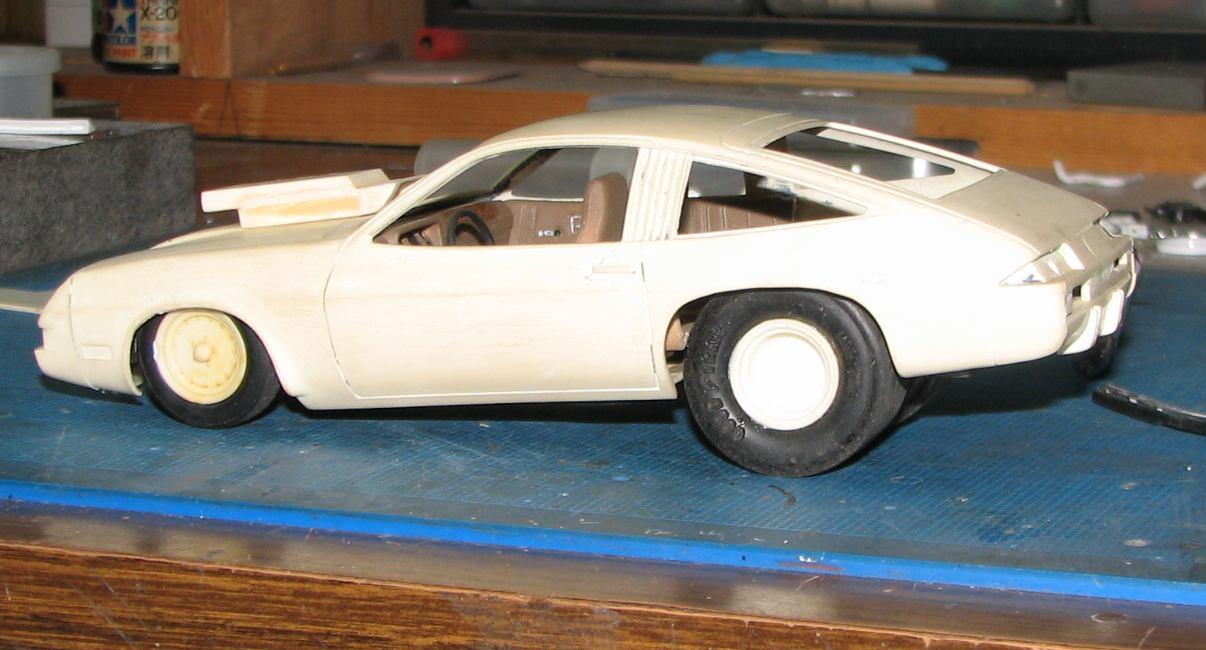
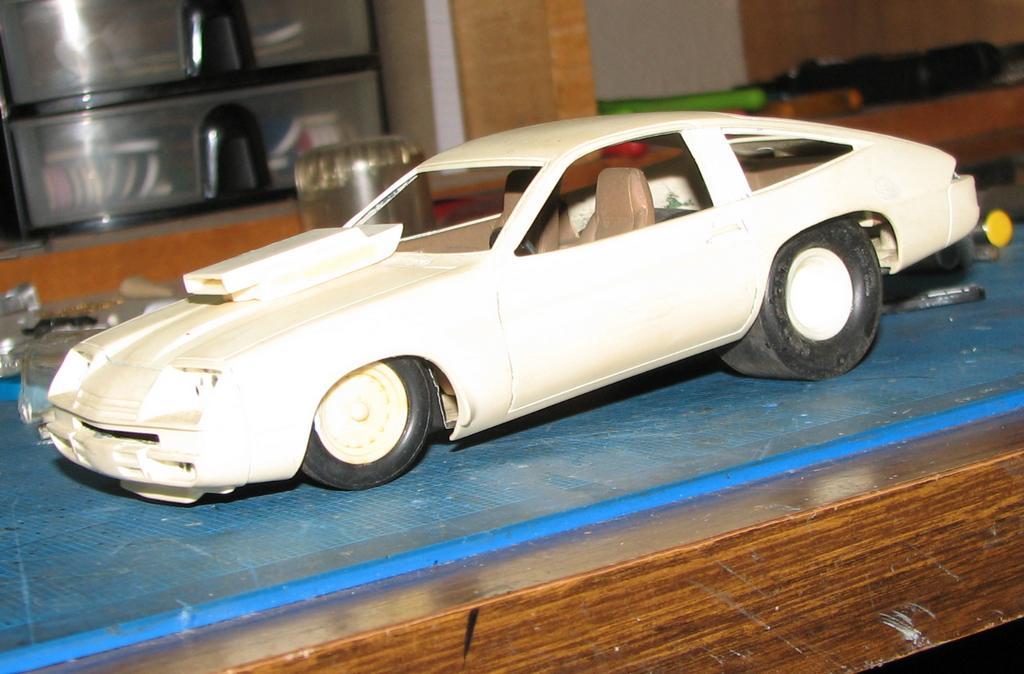
Since I'm considering the Model A coupe a long-term project. I have a couple of possibilities, and I may declare. Option one is an old Monogram Midget that I started converting to a "big car" almost 20 years ago. The other is a project I just dug out an started messing with, again, is a Peterbilt 352 cabover that I cut to make a day cab on a 120" WB chassis I started on too long ago to remember. I will have some time, tomorrow, to assess which is the better candidate. Meantime, here are some photos of the possibilities...
-
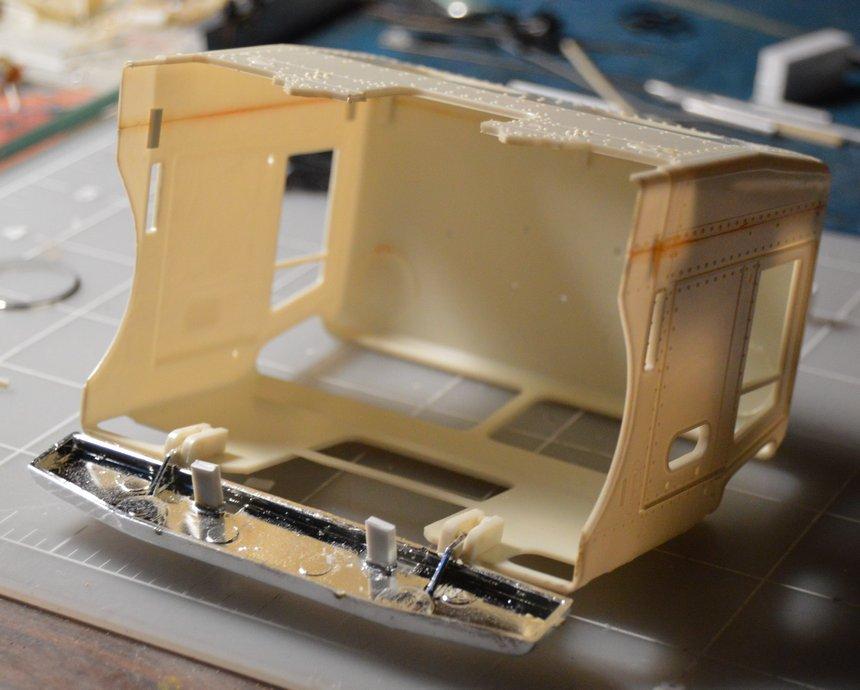
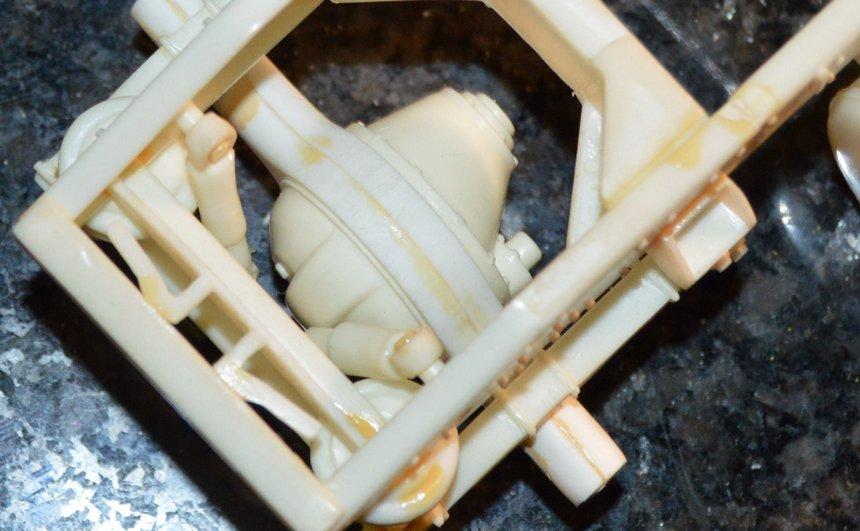
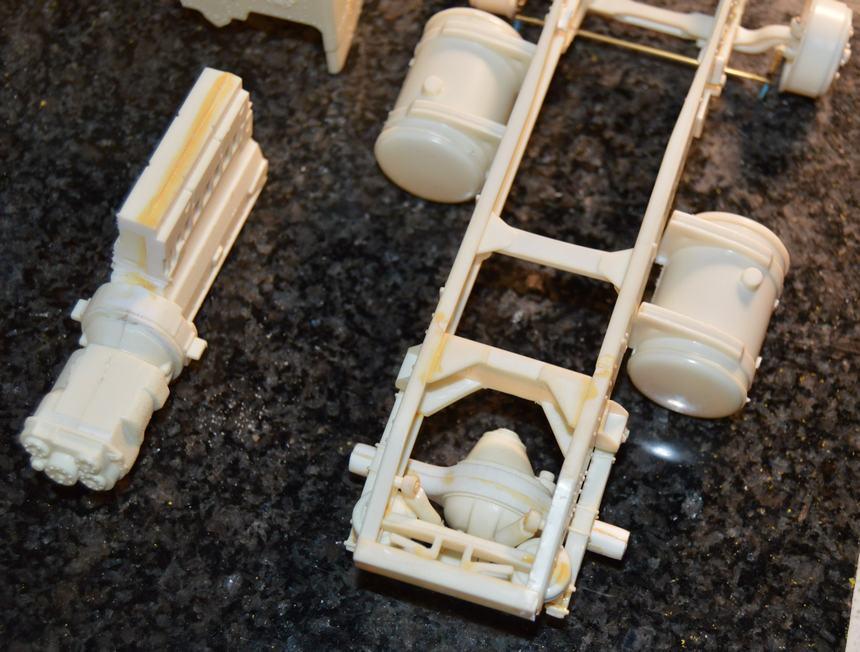
Recently, while reorganizing some stuff in the shop, I pulled this out. I don't recall when I cut the chassis and cab, but, as you can see by the yellowed liquid cement, it's been a while! It's a 60" cab on a 120" WB. I'm going with an AMT Cummins for power. I haven't decided yet, whether turbo or naturally aspirated. I'm not sure where the rear axle came from. It had stubs on the ends, with a ball on the end. Was that an Ertl thing? As I recall, MPC favored plugging that big, ol' square end into the wheels. It appears to have something like an Eaton or Spicer two-speed, which would be appropriate for this truck's job. It would represent a small local/regional freight company, and be used to tow 27' boxes. Critiques, questions and comments always welcome! Thanks for looking!
-
64 Dodge D100 Pickup Pro Street
Straightliner59 replied to AmericanMuscleFan's topic in WIP: Drag Racing Models
Just NICE! -
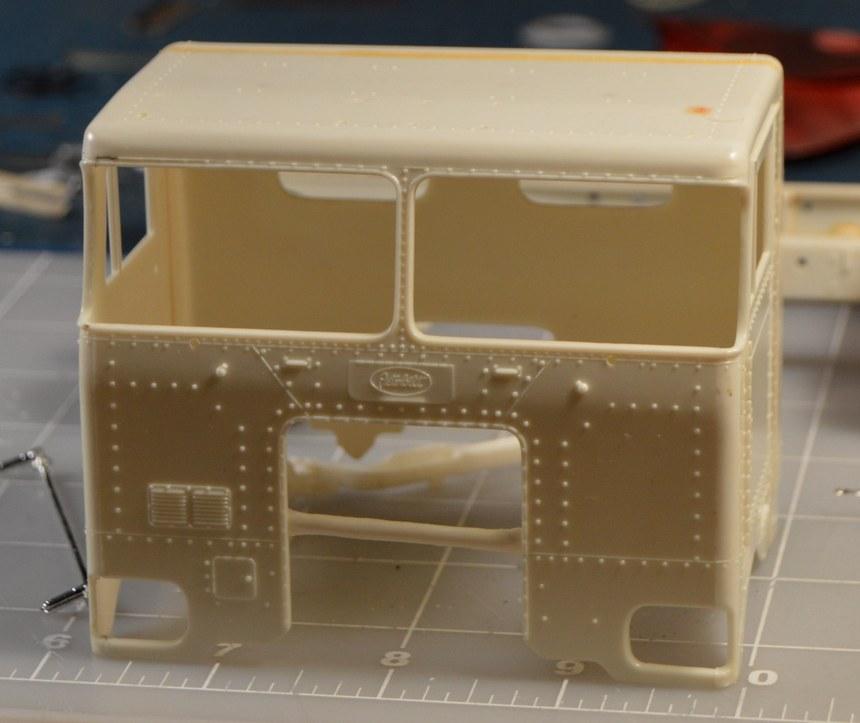
Six views of the body. Not much going on, lately. I have been distracted with organizing some stuff in the shop. I have a large number of parts kits, and boxes of parts kits. I see them and see a lot of space that could be used for other things, if I was only to sort those kits. I digress...Included here is a photo of the bottom of the body. I am waiting on a package of .060" Evergreen angle stock, to replace the .100" that's bridging the bottoms of the door openings, now.
-
The Cragars look much more at home! That's what I'd go with.
-
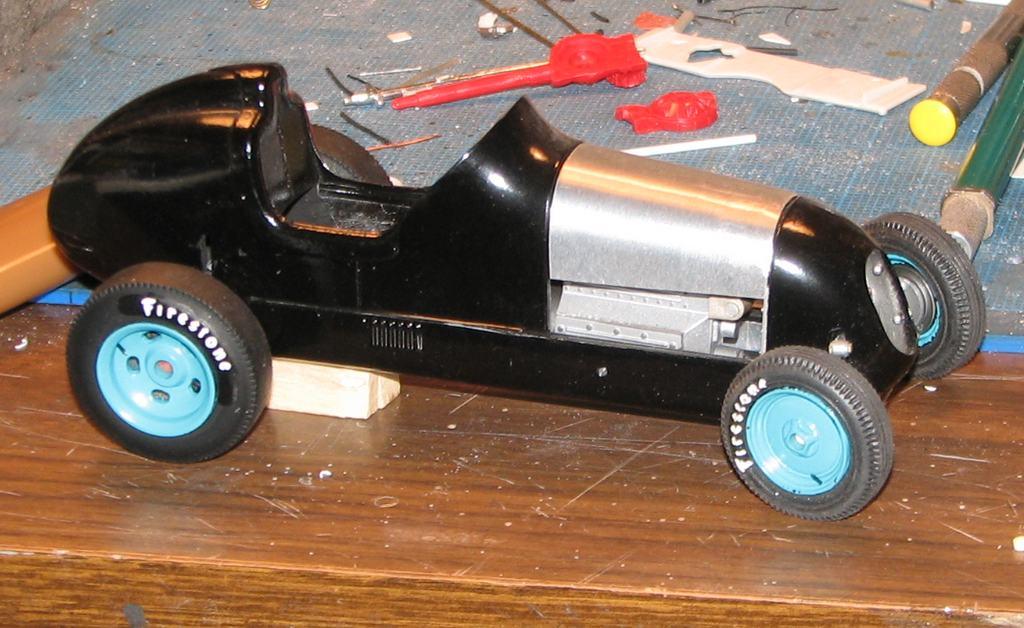
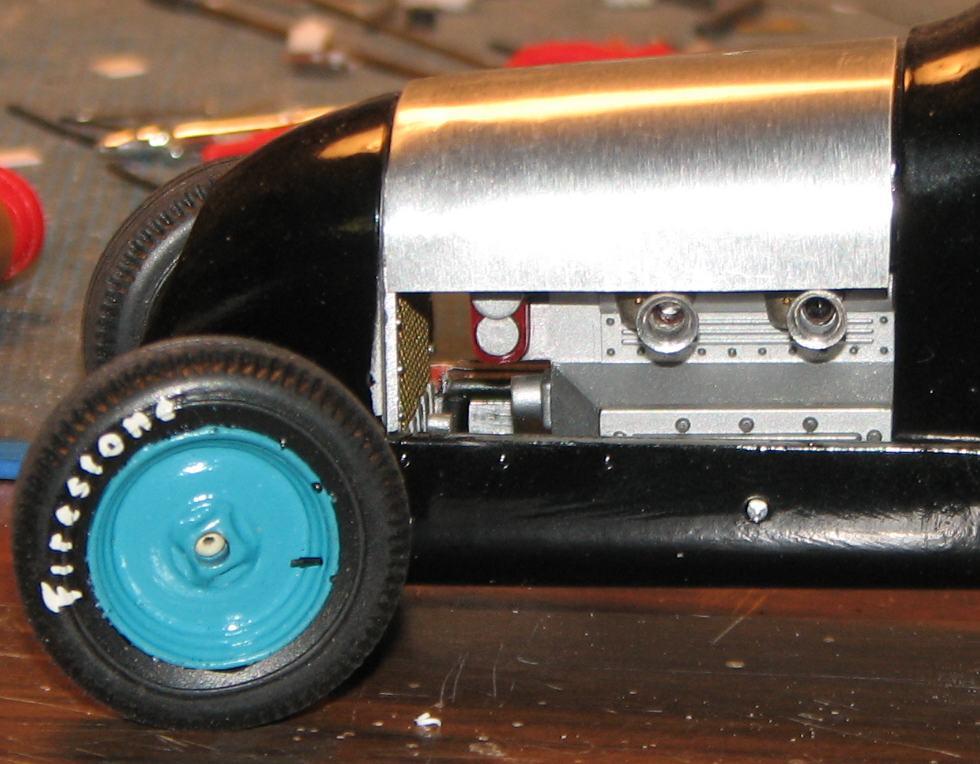
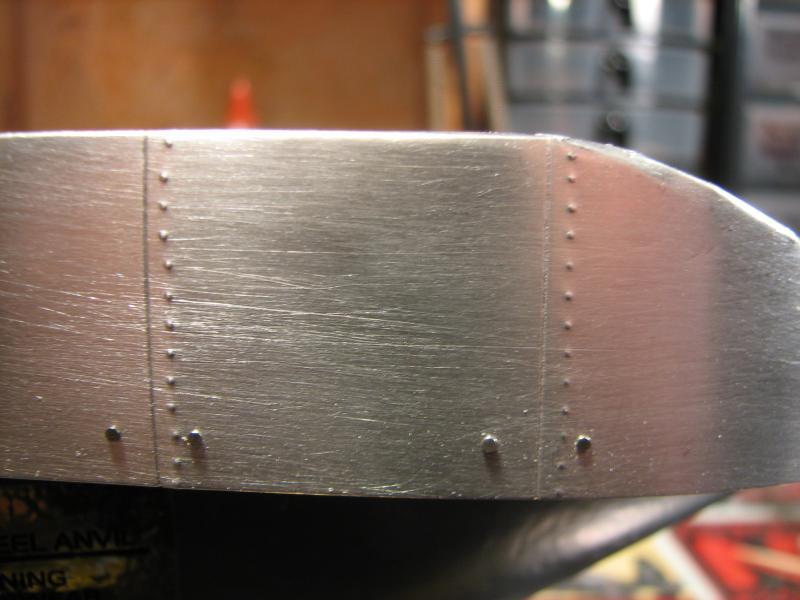
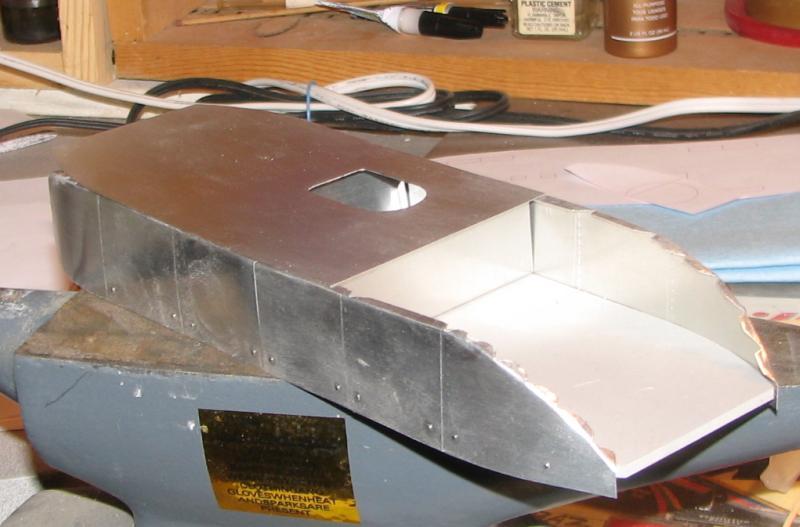
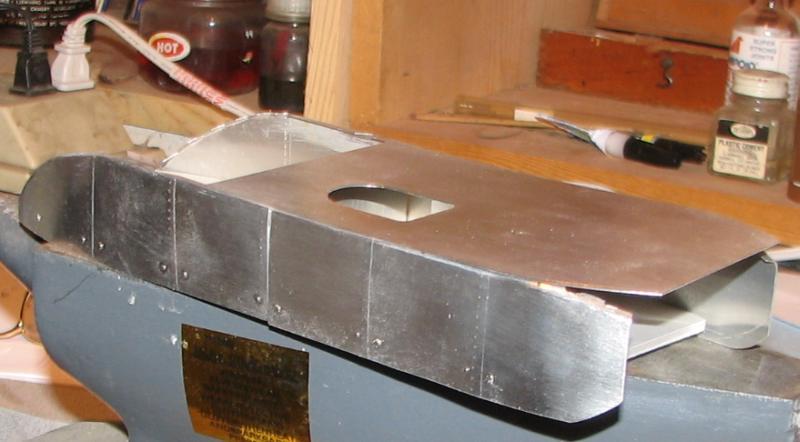
Thought it might be fun to see what's sitting around your shop that's maybe been sitting for years (or, in my case, often decades!). Who knows, maybe you'll run across something perfect for the next round of Snake's "Bring Out Your Dead" thread. I think that thread has prompted me to push three old projects across the finish line. I'll start with a couple. I'll add more, if this takes off! First up, one of Grumpy's Toys based on a promo. I will likely go curbside, on this, and build an interior for it, but no chassis or engine. Next up, a Monogram Midget, sort of converted to a "big car". Lastly, for now a streamliner loosely based on the "Coca Cola Stand". It's an old lakes runner whose guts became the Chrisman #25 dragster. Bottom plate is some old, thick sheet I had lying around. Body is made from aluminum step flashing, which is one of my favorite scratch building materials. Panel lines are scribed, rivets were made with an awl/scriber. Let's see what's been languishing on your work bench!
-
Bingo! Whether or not there might be contest/show I want to enter is irrelevant--I build what I want to see in a model. With each project, I generally try something that I haven't, before, and, I work to make it my most "complete" piece, yet.
-
Excellent work, and, very well-deserved! Congratulations.
-
Bantam Fuel Altered - New pics 1-7
Straightliner59 replied to Codi's topic in WIP: Drag Racing Models
Congratulations, Tim! A nice benefit, for your hard work. Very, very well deserved! -
I like Irfanview. Another free program I've been using using for years is FastStone Image Viewer. It has some pretty nice editing software, as well.