Straightliner59
-
Posts
5,813 -
Joined
-
Last visited
Content Type
Profiles
Forums
Events
Gallery
Everything posted by Straightliner59
-
Geddy and Les are good friends!
-
I prefer this one! But, neither is a slouch!

-

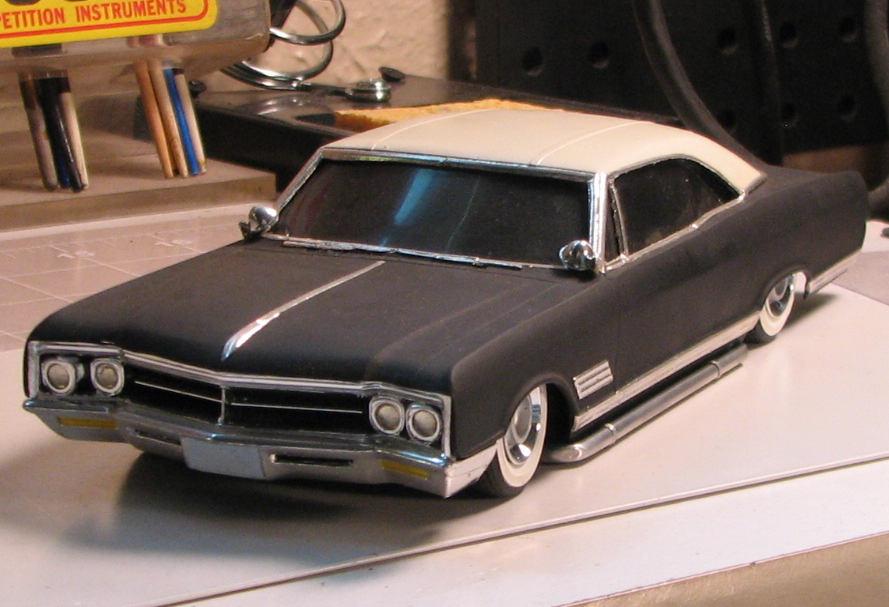
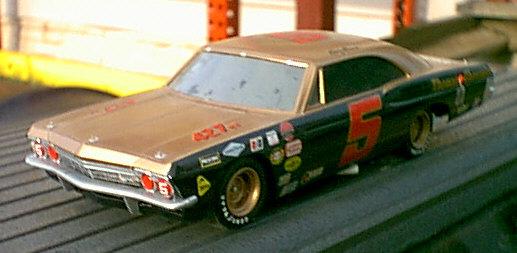
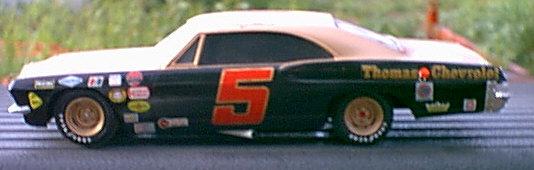
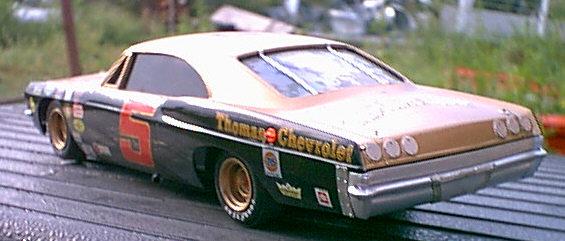
Hasegawa 1966 American Lowrider Type C
Straightliner59 replied to fumi's topic in Car Kit News & Reviews
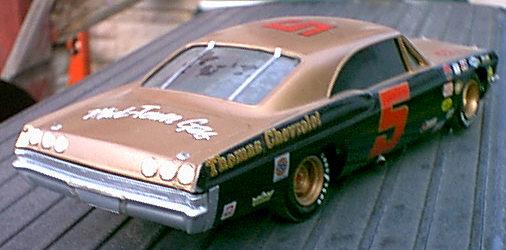
I built both of these slammers, using the kits when they were released in the '80s. Sorry for the photos. I had a crappy camera, back ten, and haven't bothered to take better photos, since. I don't ever recall seeing an Impala in NASCAR, but, I used the car as a canvas for trying a few things I wanted t0 try. I used the Buick, to try a technique for doing a vinyl top.
-
I have posted this tutorial in several places, online, including this forum. I can't understand why so many guys are so set on drilling tiny holes in their distributor caps. This method is inexpensive, uses readily available materials, and works GREAT! I've been using it since the mid-'80s, or so, since Don Fahrni developed the technique.
-
Race Car Seat Belts / Harness?
Straightliner59 replied to Jonathan's topic in Tips, Tricks, and Tutorials
Thanks, man! I hope you find some useful info, there. Thank you, Jonathan. I usually buy DM directly from them, unless I am at the hobby shop, when I need them. -
Race Car Seat Belts / Harness?
Straightliner59 replied to Jonathan's topic in Tips, Tricks, and Tutorials
Thanks for your kind words, Mike! I wish I'd blended the highlighting and shading better, but, I am happy with them! It's later than that. I called it lead, because it feels and works very much like lead. I would guess it's some sort of aluminum alloy. Verlinden used to sell lead foil. It was commonly used by military and figure modelers. -
I was going to mention Springsteen, but, that's not even fair! I mean, has he written any songs that don't mention a car?! ?
-
Race Car Seat Belts / Harness?
Straightliner59 replied to Jonathan's topic in Tips, Tricks, and Tutorials
Thank you, Jim! Indeed, there is: -
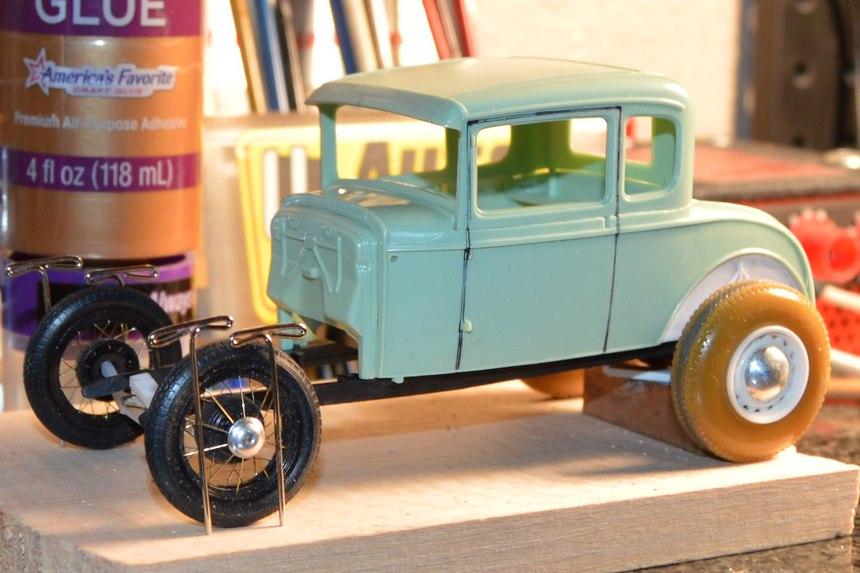
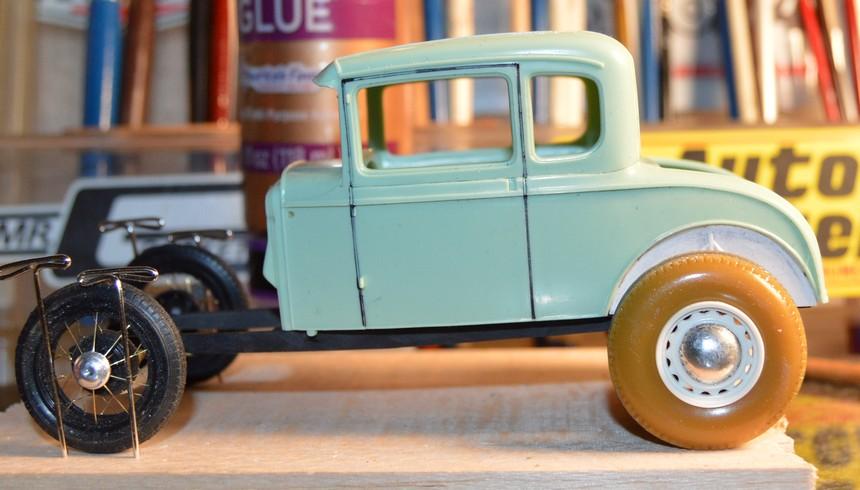
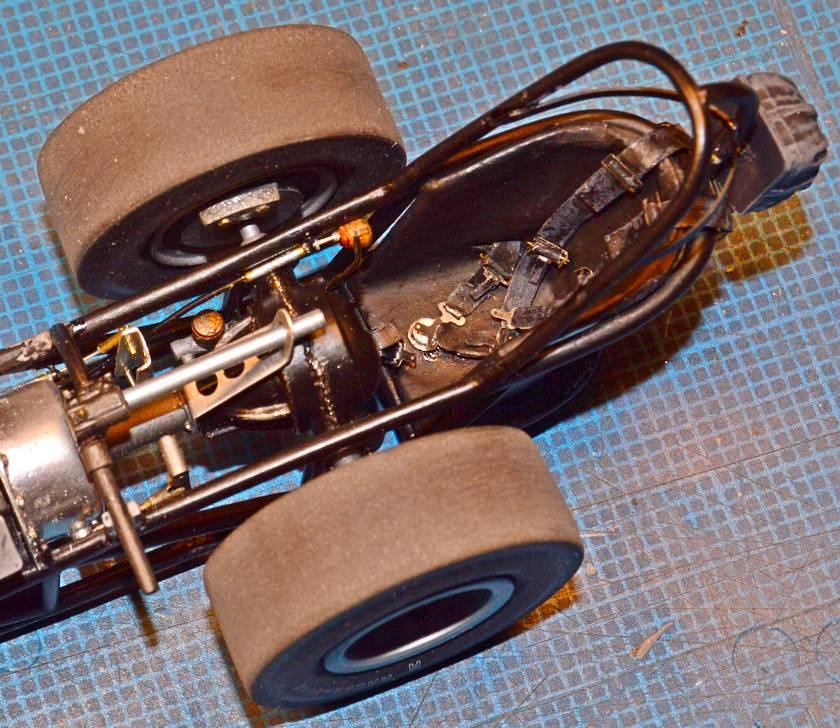
Thanks, JC. Much appreciated! I got the stance finalized. The rear wheels aren't attached to the axles, yet. The one in these photos has rolled forward. It will be in the proper location, once everything is in place.
-
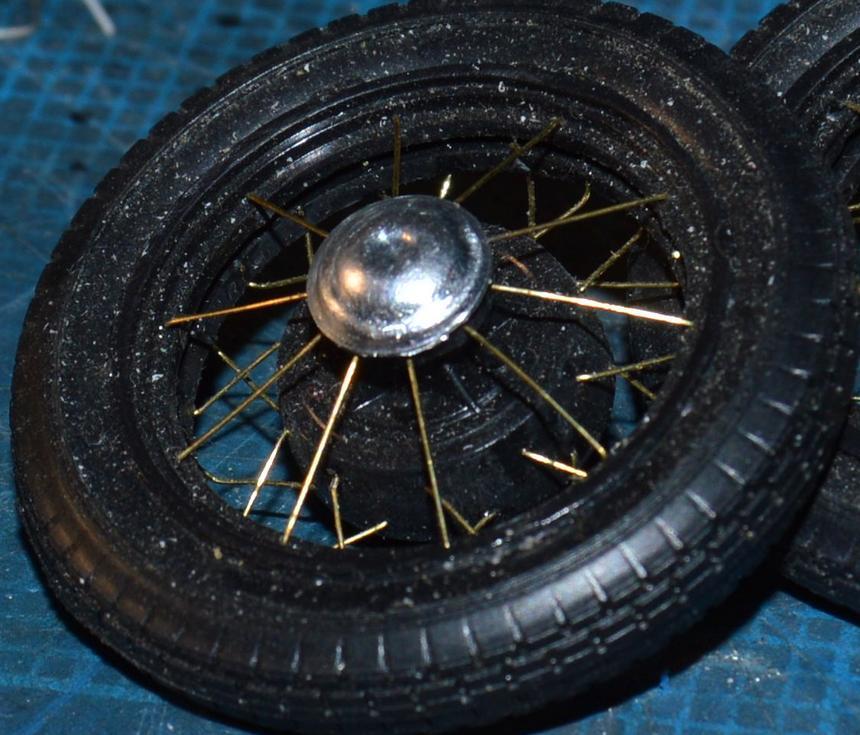
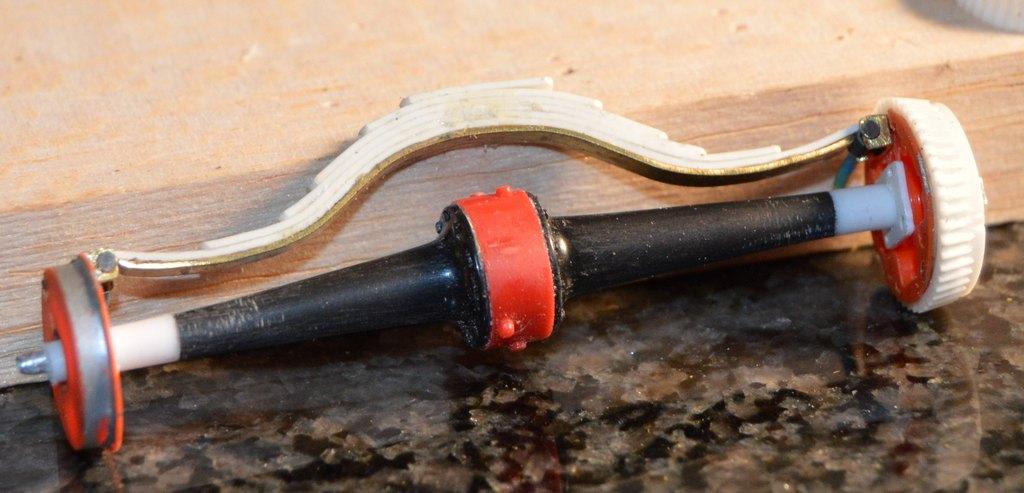
I don't. All I did was cut out a spoke at a time, and replace it with .008" brass wire (rod). That kept everything aligned! It was pretty easy, it just took some time.
-
1/25 Revell 1957 Ford Sedan Gasser
Straightliner59 replied to Casey's topic in Car Kit News & Reviews
I would think C/G is a good bet, and agree, possibly D/G. -
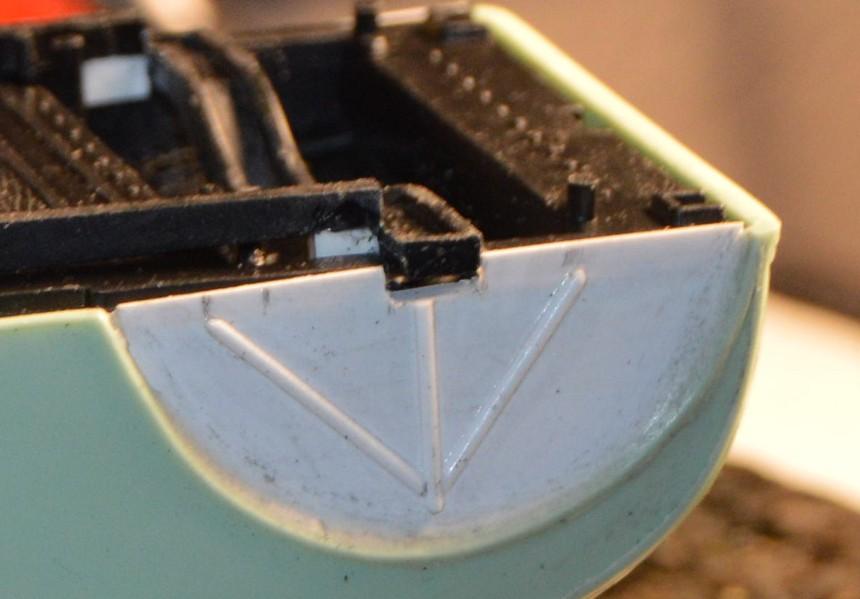
A very small update: I made these front wheel/hub covers by using various diameters of tubing to form sift aluminum sheet (tooling aluminum) over a kit wheel. I then used a hole punch to remove it from the sheet. I will clean up the edges, a bit, but, I think that worked out, pretty well!
-
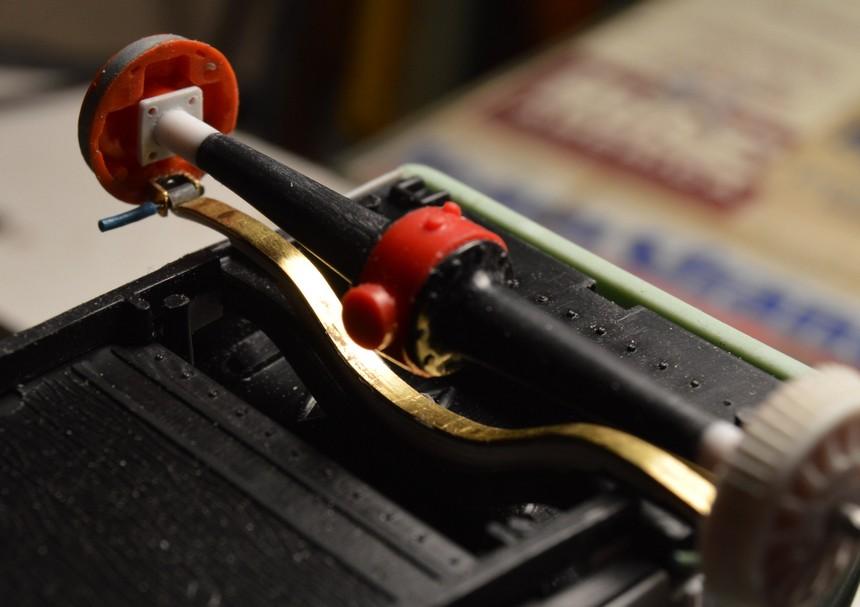
I just love these kinds of details! This and your seat back tilt latch buttons are super cool! Beautifully executed!
-
Race Car Seat Belts / Harness?
Straightliner59 replied to Jonathan's topic in Tips, Tricks, and Tutorials
I like to use lead foil from a wine bottle for the belts. Detail Master makes a nice set of hardware. That's what I used for this harness.
-
Very nice work! Thanks for sharing that. I thoroughly enjoyed it!
-
I did it that way, because, when I built "The Bug", that's how it was done, so, I did it out of familiarity. When I was looking for photos, it became apparent that guys mounted them in whatever way worked for them. It's not too late to change it, if it sits too high!
-
I had to move the rear crossmember up. The car was just going to sit too high, if I hadn't. I have the rear suspension mostly worked out.
-
Cool project. I remember when these things were EVERYWHERE! I have a 1/43 KW I converted to a day cab (with a stubby bumper) and a set of doubles, for it. Most of the major conversion work is done, including the dolly. I look at it, every once in a while, but haven't worked on it in a long time.
-
Studibaker Avanti Gasser Project
Straightliner59 replied to streetmachine11's topic in WIP: Drag Racing Models
That paint is gorgeous! -
I would have to agree! Excellent work!
-
That is a mean looking Porsche. Very nice work! Thanks, Snake and Bruce. I appreciate it!
-
"Bring Out Your Dead" Completion Build--ROUND 2 Is On!
Straightliner59 replied to Snake45's topic in WIP: Model Cars
Thanks, Rusty! I was thinking Kilz was shellac-based. Thanks for the confirmation. I think that is exactly what I will get! Mr. Geary recommends it, as well. -
Yeah, it's just a curbside, but, this is the one that grabs my attention, every time I look at the display case. The only thing I would change, were I to do it over, would be to omit the tach. I don't hate it, it's just a little obtrusive.
-
That's very cool! Where did the tank come from?
-
I kinda' like that, too! Nice work