Straightliner59
-
Posts
5,809 -
Joined
-
Last visited
Content Type
Profiles
Forums
Events
Gallery
Everything posted by Straightliner59
-

"Bring Out Your Dead" Completion Build--ROUND 2 Is On!
Straightliner59 replied to Snake45's topic in WIP: Model Cars
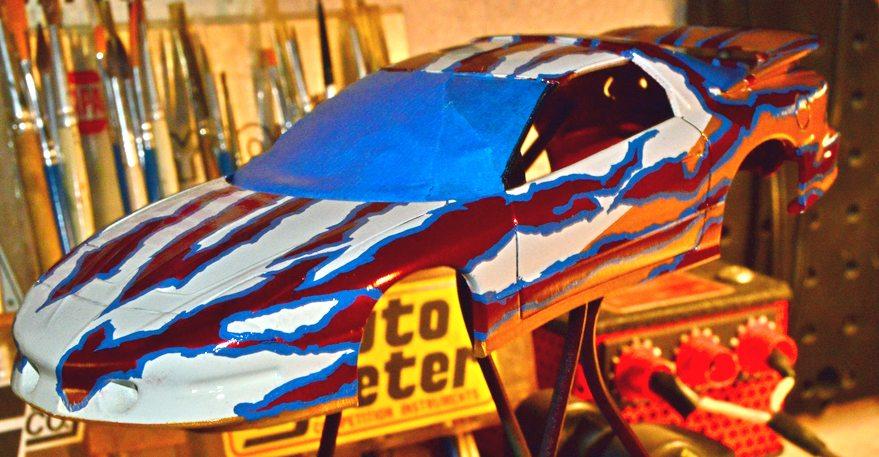
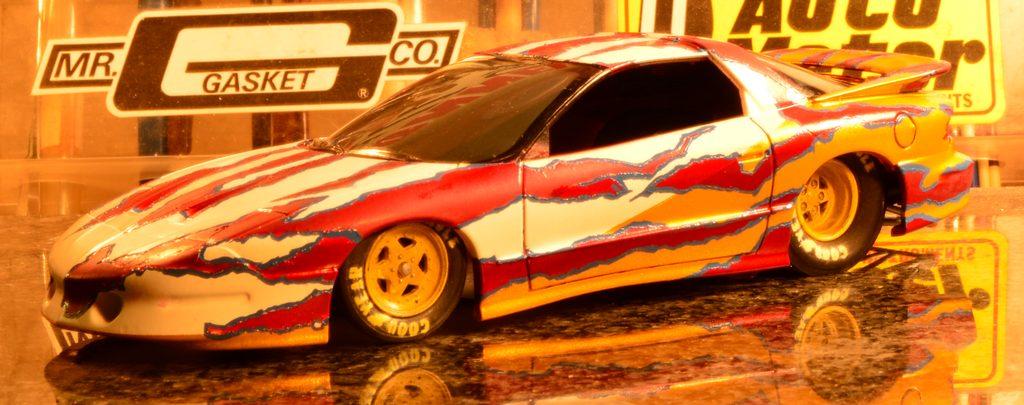
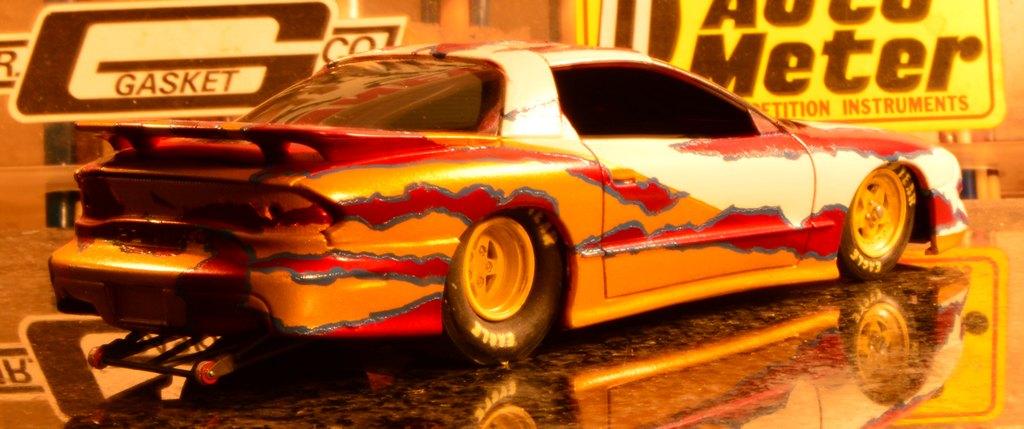
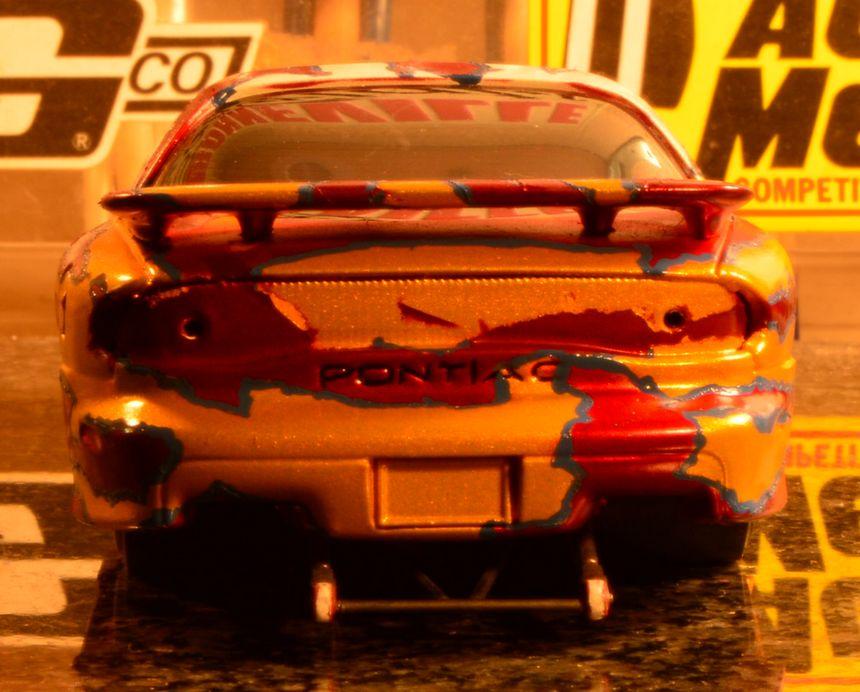
Thanks, Vince. Like I said, I think I can fix it. Here are a few photos: The yellow arrows show where the damages occurred to the spoiler. The ellipses show a spot where the blue stripes "bubbled" on the hood. There are a few spots in which that happened. It's not good, but, it's not nearly as bad as I first feared. I believe some wet sanding will clean it up, a lot. I will smooth out the areas on the spoiler, as well, and redo the stripes, on it.
-
You know what would make a great diorama? Flamin' Frank's coupe, in the top end turnout area, with the 'chute deployed, and lying on the ground with a rattlesnake (in real life, it had been caught by the chute, and was inside of it, but, if no one can see the snake, the rest of the dio wouldn't make sense). Out of the roof of the coupe, are Flamin' Frank's legs, after he dove head-first, to get back into the car!
-
"Bring Out Your Dead" Completion Build--ROUND 2 Is On!
Straightliner59 replied to Snake45's topic in WIP: Model Cars
Nope! I'm convinced I can fix it, having taken a look at it. It took the ol' double whammy! On the way outside, to shoot clear on it, as I was opening the front door, something caused the body to leap from the paint stand, right to the tile floor, below. Off comes the spoiler, with chunks of paint missing, in three places. I placed small bits of tape, to surround the holes in the paint, re-primed that, and have shot some red, over that One more coat of red should suffice. Then I can peel the tape and see if I can live with it. Then I can re-stripe the spoiler and clear coat that. As for the body, it was apparently none the worse for wear, so I cleaned it up, and cleared it. I must have been feeling a little too relieved, because I shot a little too much clear on the second coat, on the right hand side of the car, and slightly wrinkled some of the One Shot. In a couple of days, I'll wet sand the entire body (anyway) and, touch those stripes up, if necessary. Hell, it wasn't going to win any "Best Paint" awards, anyway. I like the door graphics I designed for it. too much, not to finish it in this scheme! It might take me three weeks to get it finished now, instead of two! -
"Bring Out Your Dead" Completion Build--ROUND 2 Is On!
Straightliner59 replied to Snake45's topic in WIP: Model Cars
I may have just ruined the paint on my Firebird. If that's the case, it's a dead player! -
Anybody interested in this?
Straightliner59 replied to GaryR's topic in General Automotive Talk (Trucks and Cars)
Thanks for (re)posting these, Bill. I never noticed all the engine-turning, on Mailliard's 'winder. I wouldn't really care to be anywhere near that chain drive, though! -
Why do you build models?
Straightliner59 replied to Oldmopars's topic in General Automotive Talk (Trucks and Cars)
John, that is exactly how Paeth did it! This site has it available in several quantities. http://www.whimsie.com/toolingfoilcoppermetal.html It's known as "tooling" or "embossing" foil. It is also available in actual brass and copper, as well. I saw some on Ebay that is 38 ga. which might work even easier. I only saw it in longer rolls, at a much greater price. The stuff I have comes in a yellow tube. The foil is 12" wide and 36" long. I must have gone nuts, at some point, because I have 3+ rolls of the stuff! If you were in my neighborhood, I'd say swing on by and I'll give you one of them! ? -
Why do you build models?
Straightliner59 replied to Oldmopars's topic in General Automotive Talk (Trucks and Cars)
Bob Paeth used to form foil over the straight body parts, then dent the new aluminum parts. I saw him demonstrate it at a contest, once. It looks great! I think tooling aluminum (Maid-O-Metal is what I have. Available at HL and Michael's) would be best suited to this application. -
Lindberg '34 pickup questions
Straightliner59 replied to JollySipper's topic in Model Building Questions and Answers
That's the story of my life, TJ. I am certain we are not alone, in that! -
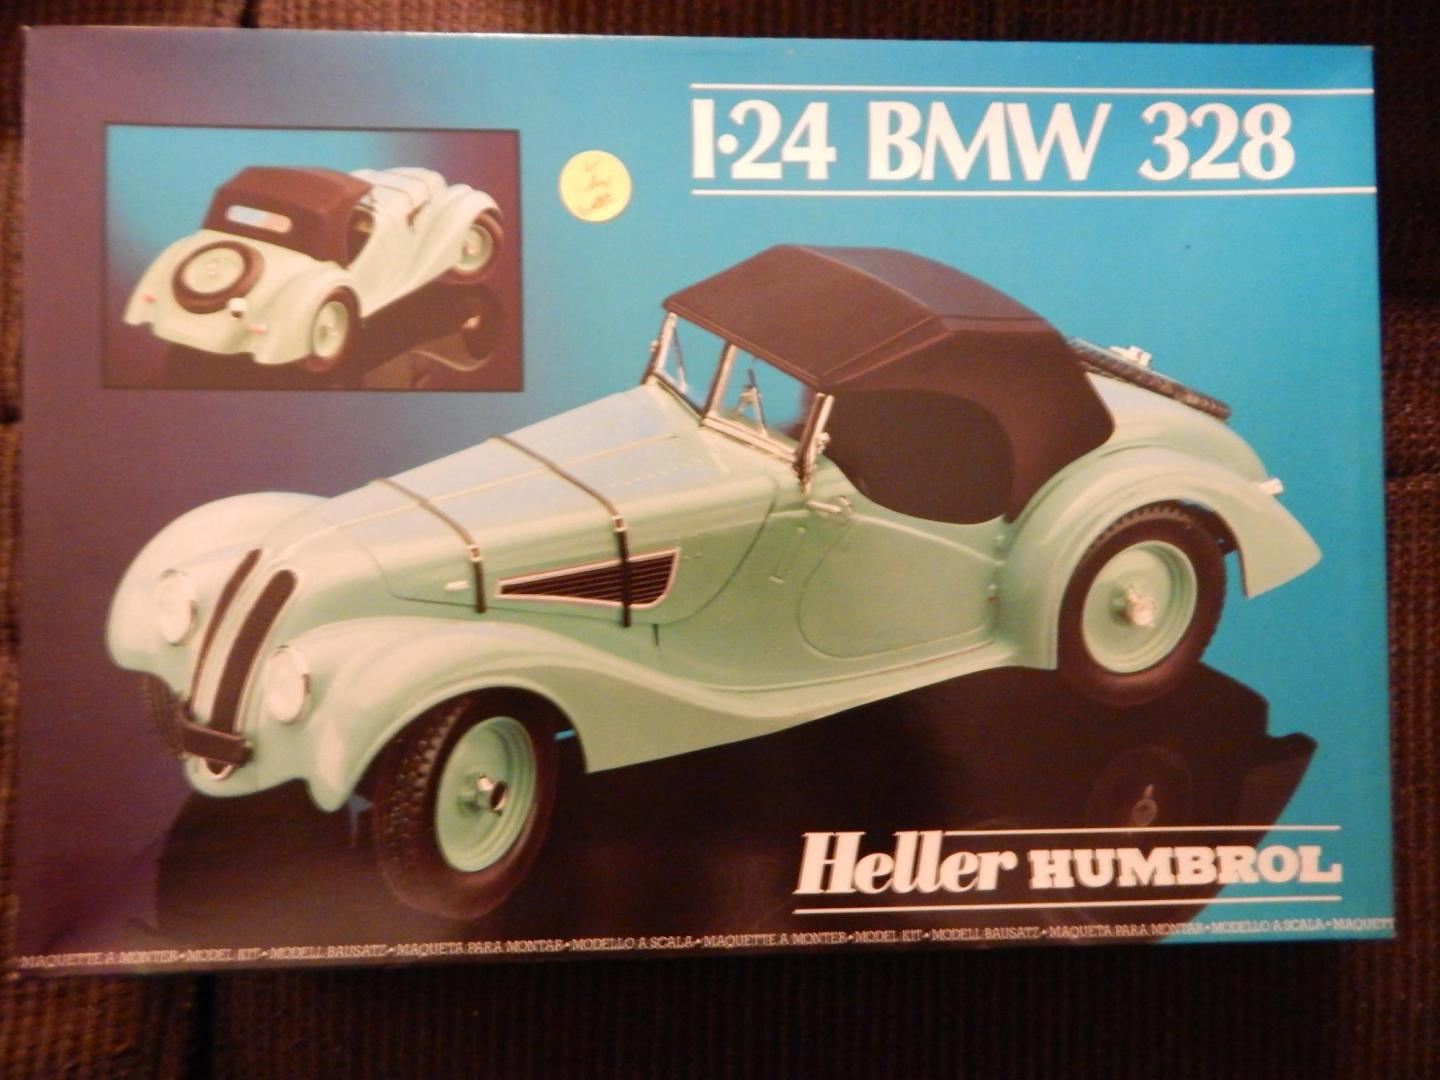
Upon further review, the Beemer has knockoffs. Still, I could make a new center with notches for five lugs...
-
Lindberg '34 pickup questions
Straightliner59 replied to JollySipper's topic in Model Building Questions and Answers
That's right! I don't have one, and couldn't remember what it was. Thanks, Steve. -
That is a cool comp "coupe"!
-
That is about a butt-ugly MF!
-
AMT '67-'68 Camaro Review & Improvements
Straightliner59 replied to Snake45's topic in Tips, Tricks, and Tutorials
This is one of the most useful threads I've read. Inspirational, too! It's got me wanting to buy one of these, just so I can watch it take shape! It looks a thousand times better. I know this is similar to my other post, but, it bears repeating! -
I got a pound of rubber, in the mail, yesterday. Guess I need to figure out what I want to have molds of! I recently made a mold of a wheel from the Heller BMW. I think they'd look great on a hot rod! In fact, I may remove its center cap, and replace it with one with five notches, since I assume the notches are for lugs.
-
That's a fine looking hot rod, sir! It's unique, yet it has a classic look about it.
-
Hahahahaha!
-
Lindberg '34 pickup questions
Straightliner59 replied to JollySipper's topic in Model Building Questions and Answers
A great source for the dropped front axle is the Revell '29 roadster pickup. It has a beautiful dropped axle, with a separate spring. You shouldn't have any problem with the floorboards mounted directly to the chassis. If I remember correctly, the engine is a Lincoln, but, I wouldn't go to the bank, with that! -
Why do you build models?
Straightliner59 replied to Oldmopars's topic in General Automotive Talk (Trucks and Cars)
It's funny, Tom. I live alone (I'm unfit for human consumption!?) and, over the last couple of years, I feel most at home, when I'm in the shop. I love that "Can I do that?", and you are so right about the satisfaction that comes with discovering that, "Yep! I can!" There's so much zen, in creation. -
Why do you build models?
Straightliner59 replied to Oldmopars's topic in General Automotive Talk (Trucks and Cars)
This is the most apt description of why I build. Like Shirley Muldowney said, when asked why she drag raced, "It's what I do." I get a vision/idea for something, and I want to see what it looks like. There's only one way to do that (Since I can't really draw)! I enjoy competing, but I have never built a model for competition--only to satisfy my own curiosity and desires. I enjoy trying new things, like forming aluminum sheet, building a chassis from brass, making a master, then casting it (like the Enderle injection setup on my junior fueler), or some crazy paint scheme, like on my current Firebird project. Modeling also helps me get away from what may be troubling me. -
NHRA GT/AA '96 Firebird Slammer
Straightliner59 replied to Straightliner59's topic in WIP: Drag Racing Models
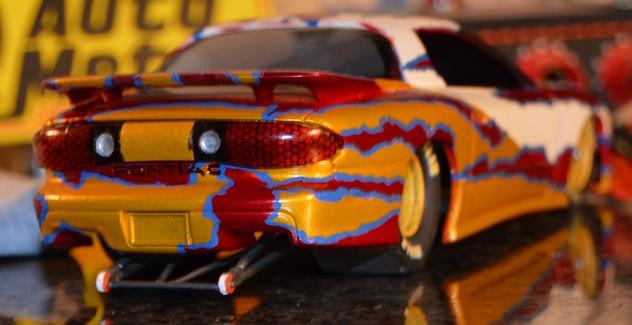
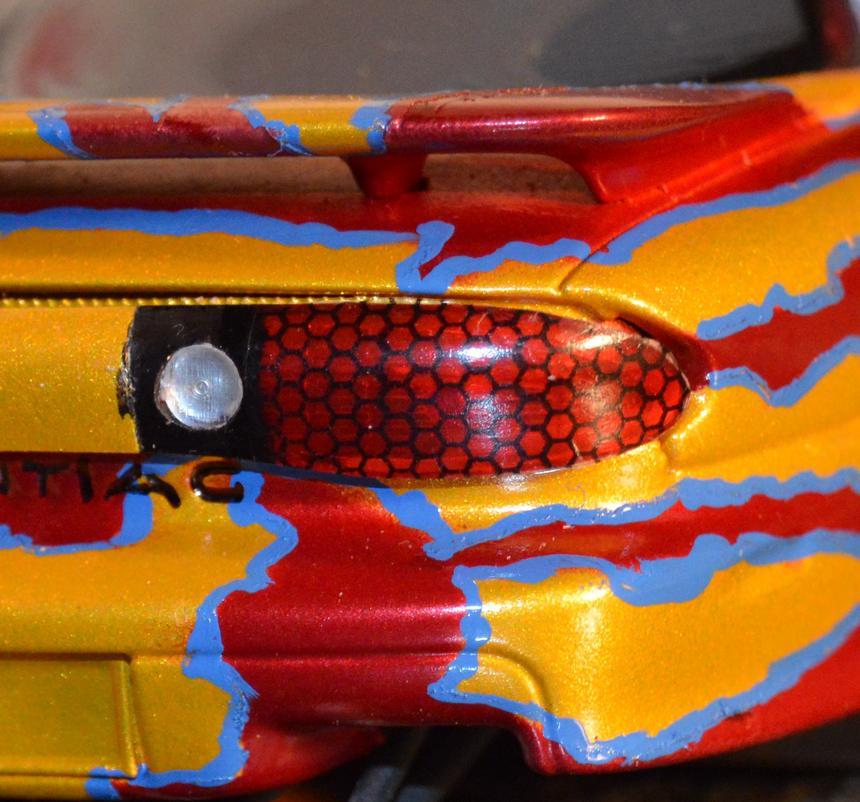
Thanks, Rick. I agree, it's a better looking taillight! -
"Bring Out Your Dead" Completion Build--ROUND 2 Is On!
Straightliner59 replied to Snake45's topic in WIP: Model Cars
I dressed up the taillights, and changed their model year! I need to clean up the center panel. It probably should be black, but, I'm not exactly running factory paint!
-
NHRA GT/AA '96 Firebird Slammer
Straightliner59 replied to Straightliner59's topic in WIP: Drag Racing Models
Apparently, I can no longer just leave the lights on my models alone. In my research, I learned that the taillights for this iteration of the Firebird are interchangeable from year to year. I thought the hex pattern on the later years ('08-2002 ?) taillights looked more interesting, than the rectangular grid on the earlier years' cars. I used PhotoImpact Pro to "draw" the hex pattern (It's a tad large, and the hexes could stand to be "fatter"), and printed it on Blingasm clear decal sheet. It's taken a fair amount of Micro Set and Sol to get them to conform to the lens. I also drilled the taillight "panel" to accept a couple of small lenses I found in the parts box. The backup lamps are different on the later cars, and I already know that I didn't want to piece in a section of clear plastic between sections of the cut-apart red taillight lenses. Yeah, I learned that, with the Monza! Once the backup lights were installed, I punched a couple of discs to represent the reflector pans, behind the bulbs. I'm pretty happy with the way they turned out. First, a couple of pics of the differences between the early and later years of the Firebird's taillights. As always, critiques, comments and questions are welcomed!
-
NHRA GT/AA '96 Firebird Slammer
Straightliner59 replied to Straightliner59's topic in WIP: Drag Racing Models
I got the striping done before I went to bed, this morning. I like the way it came out. Now, I wait while paint cures, and see if I can get my decals to print like they're supposed to!
-
NHRA GT/AA '96 Firebird Slammer
Straightliner59 replied to Straightliner59's topic in WIP: Drag Racing Models
That's always a possibility! I have it sorted out, now, thanks to several sources. It could be GT/xx. or GT/x. Just like the NHRA's other classes, it's determined by advertised shipping weight to cubic inches (which I understood). The second "A", or lack, thereof designates an automatic trans, or a manual one. I just wasn't sure how the class was designated.Now, I know! I will go with GT/A(A), depending on whether I feel like shiftingl, when i am ready to letter the window. -
"Bring Out Your Dead" Completion Build--ROUND 2 Is On!
Straightliner59 replied to Snake45's topic in WIP: Model Cars
Thank you, Bob! It went from "I don't know what to do with it", to basically done, just like that! The stripes went on pretty easily, thanks to the way the One Shot flows, and covers. It's the only way to go, for something like that.