Straightliner59
-
Posts
5,809 -
Joined
-
Last visited
Content Type
Profiles
Forums
Events
Gallery
Everything posted by Straightliner59
-
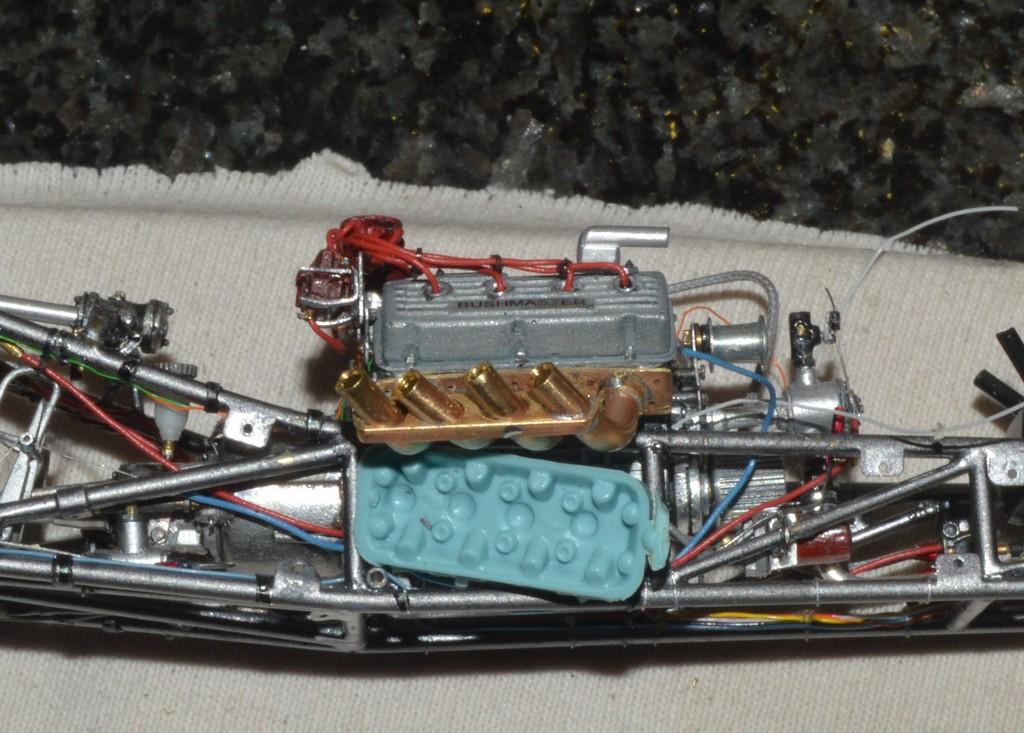
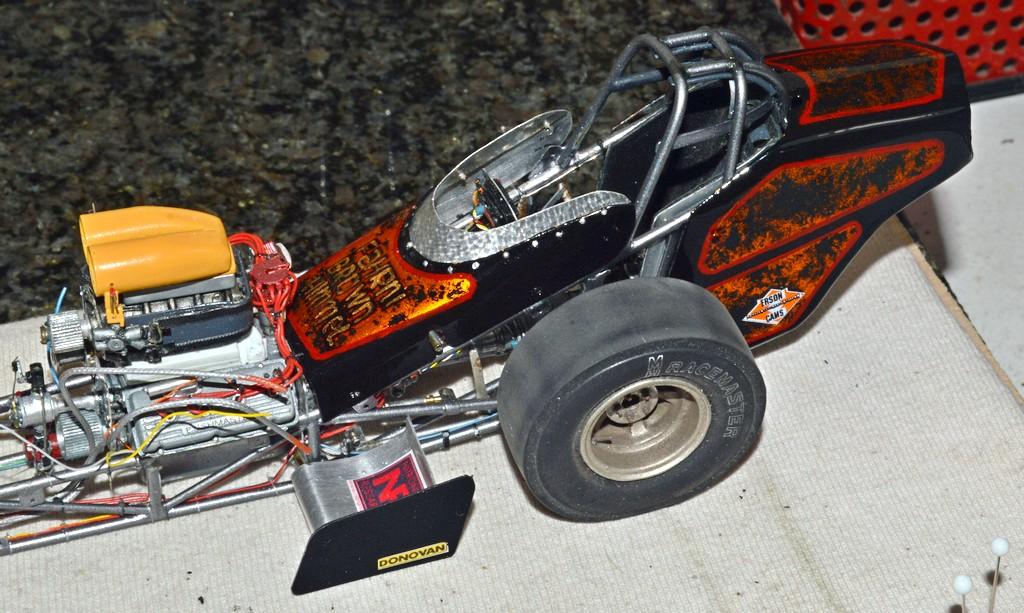
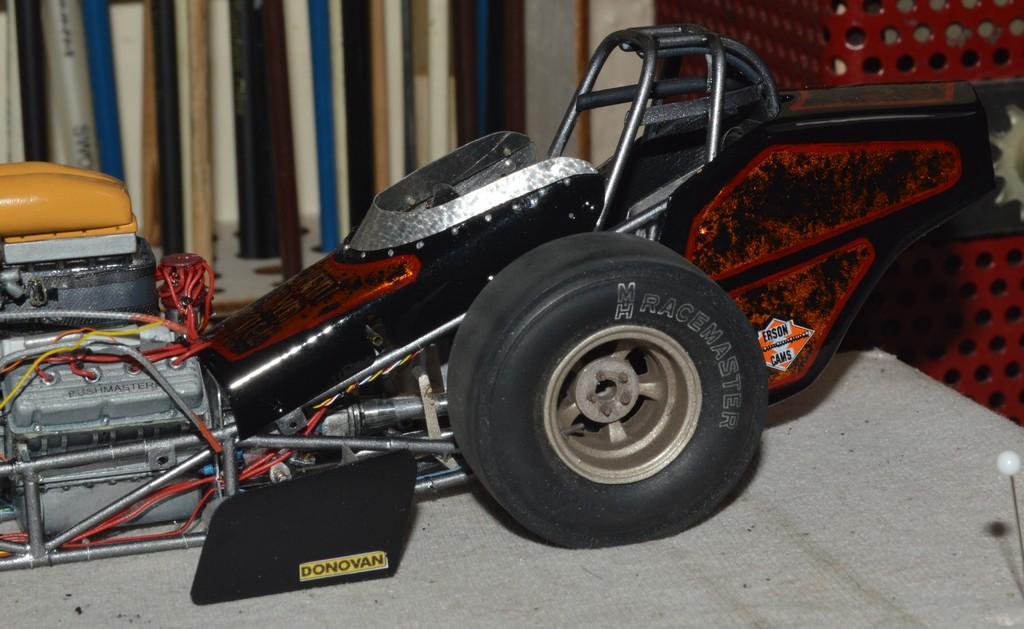
 Headers are almost to the point they can be painted--just a few little fixes, to do. I got both sides fitted to the heads. I think they look pretty good! I have to shorten the right-side tie rod add the chute release handles, then--I think--I can mount the body panels! At that point, the wheels and tires can go on. Comments are always welcomed. Thanks for looking!
-
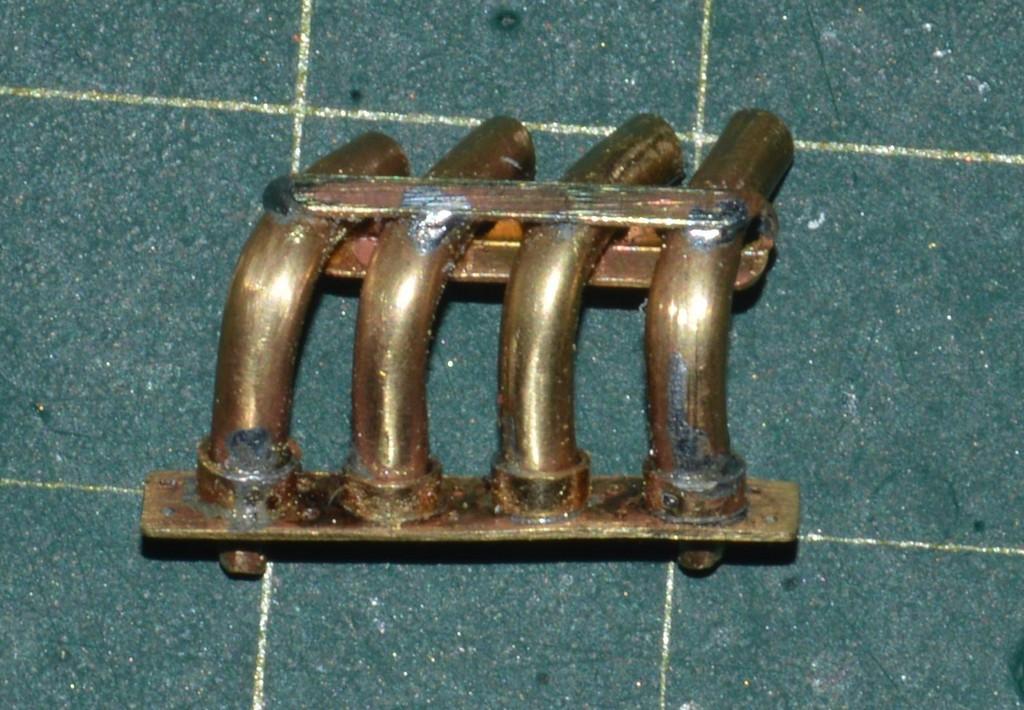
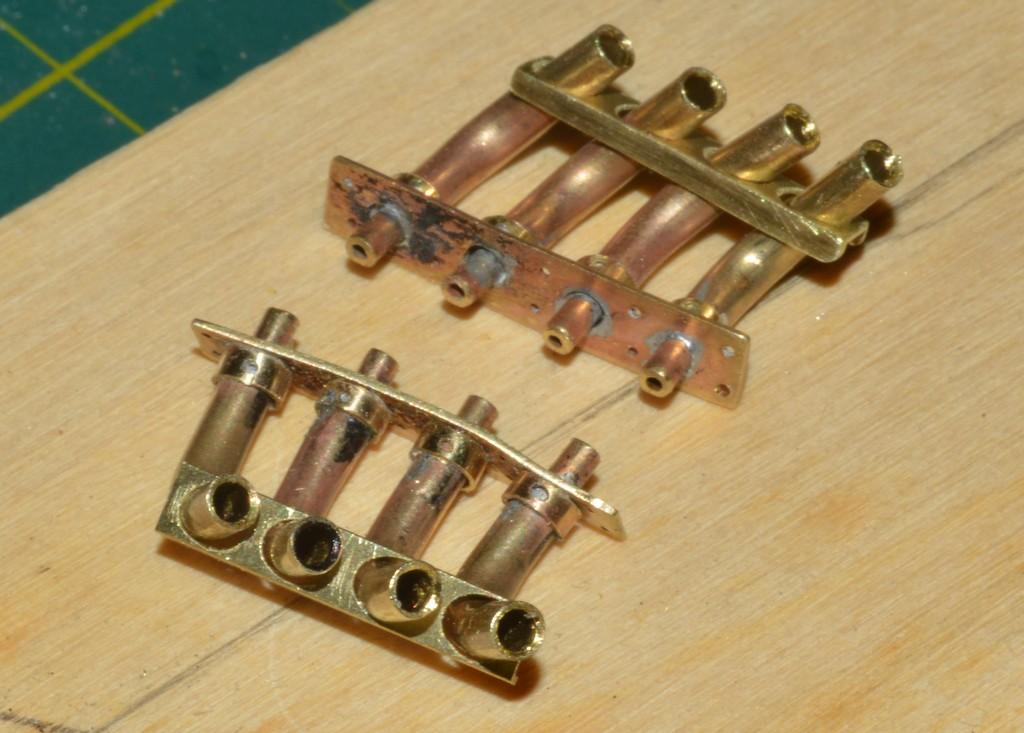
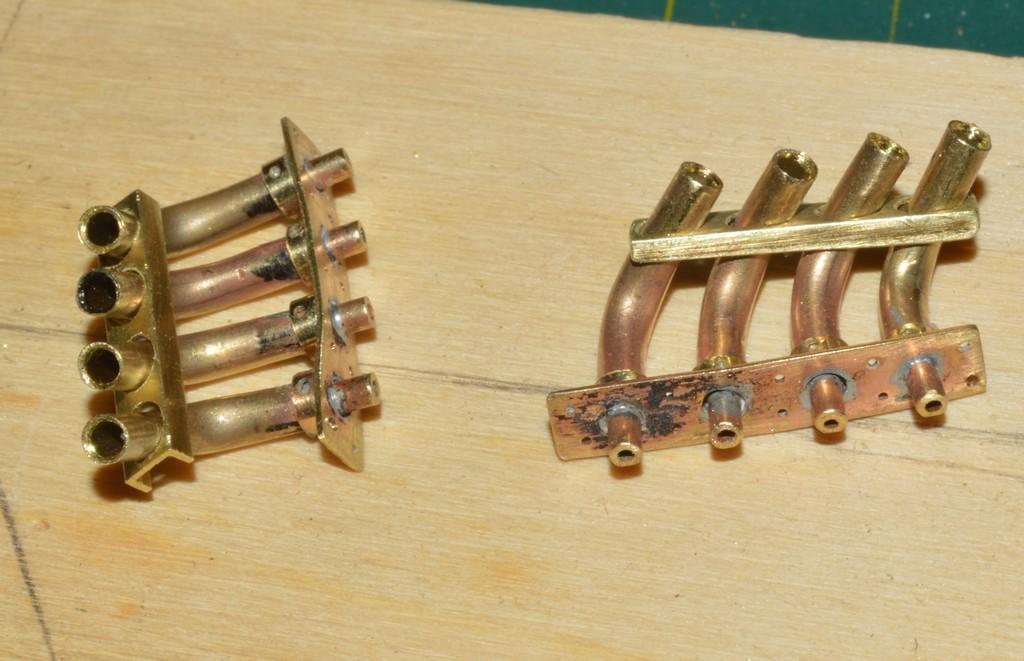
Work continues on the headers. I made the "ties" from brass channel. Some headers use a strap welded down each side of the tubes. Others use these kind of boxy units. Once they were drilled, it was necessary to file the openings at an angle, to better fit the headers. The brackets/"ties" aren't soldered, yet. Since these photos were taken, I have fixed the problem that was causing the flange to bend. I also used a 1/32" end mill to open the holes in the donuts that will mount the temp sensors. I'll insert and solder 1/32" brass tube into those to connect the leads. They're starting to look like Top Fuel headers. Comments are always welcome. Thanks for looking!
-
I would say you managed that quite nicely, Pierre. Great work!
-
My take on the most famous ‘55 gasser street machine’…
Straightliner59 replied to OldNYJim's topic in WIP: Model Cars
Congratulations, Jim! Nice job with this model--it's probably the best Badman I've seen. The display is awesome! Great work! -
Porsche 356
Straightliner59 replied to afx's topic in WIP: Other Racing: Road Racing, Land Speed Racers
You're really doing some beautiful work, here, JC. Love the attention to the headlights, and the door handle mounting is ingenious! Great job, sir. -
29 Ford Roadster - Dragster
Straightliner59 replied to SpeedShift's topic in WIP: Drag Racing Models
Fantastic job! Captures the essence of its inspiration, beautifully. -
Those look fantastic! I'm really enjoying this project, Pierre. I'm going to have to get some of the solder balls. There are situations they would be very useful in soldering, too.
-
For '80s, you can't go wrong with the Monogram (later Revell) 1/24 kits. '70s, you'll likely want one of Revell's 1/25 scale kits, although they can be fiddly, they're nicely detailed. Revell also released a Chi-Town Hustler and a Hawaiian mini-Charger, within the last 20 years, or so that are very nice.
-
Thank you, Pierre!
-
Soldered up some Zoomies. Still lots of details to add, but the basic assembly is there...
-
Beautiful work, Pierre! Grille looks excellent.
-
Looks great! Good job, putting on the contingency decals after the clear coat!
-
Mystery motorcycle kit, help identify
Straightliner59 replied to bisc63's topic in Model Building Questions and Answers
I have this kit in an ITC box. Same box art, except the mfg. label. It's kinda cool! -
Ah, Francis! Good to hear from you. Thank you, my friend. It was some work, but, I am very happy with the result! Like you, painting isn't my favorite thing. I know that summer is your busy season, but, we'll be looking forward to the resumption of your work. Thanks for checking in!
-
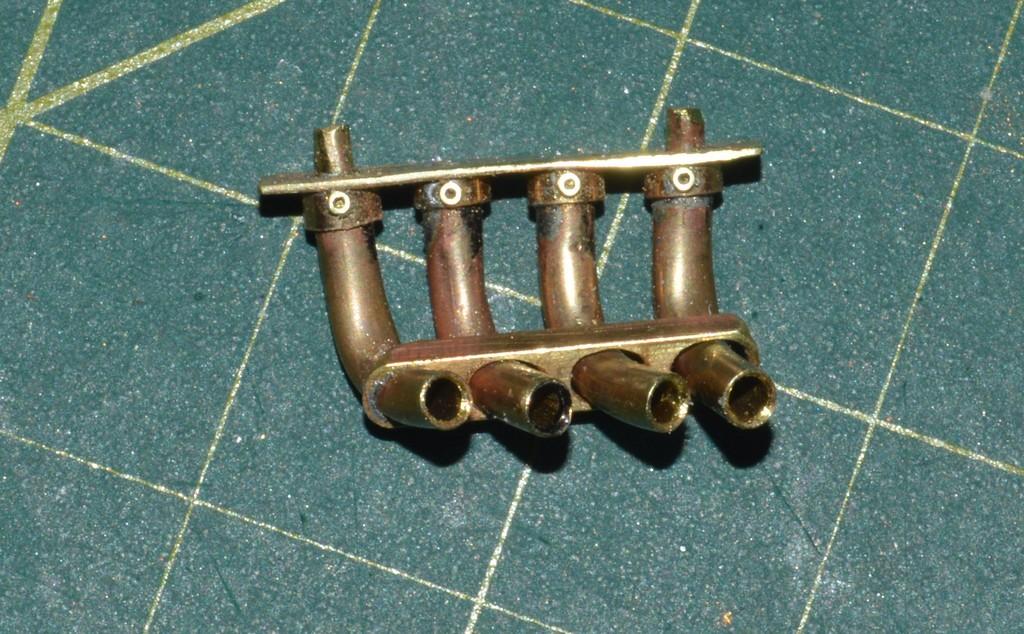
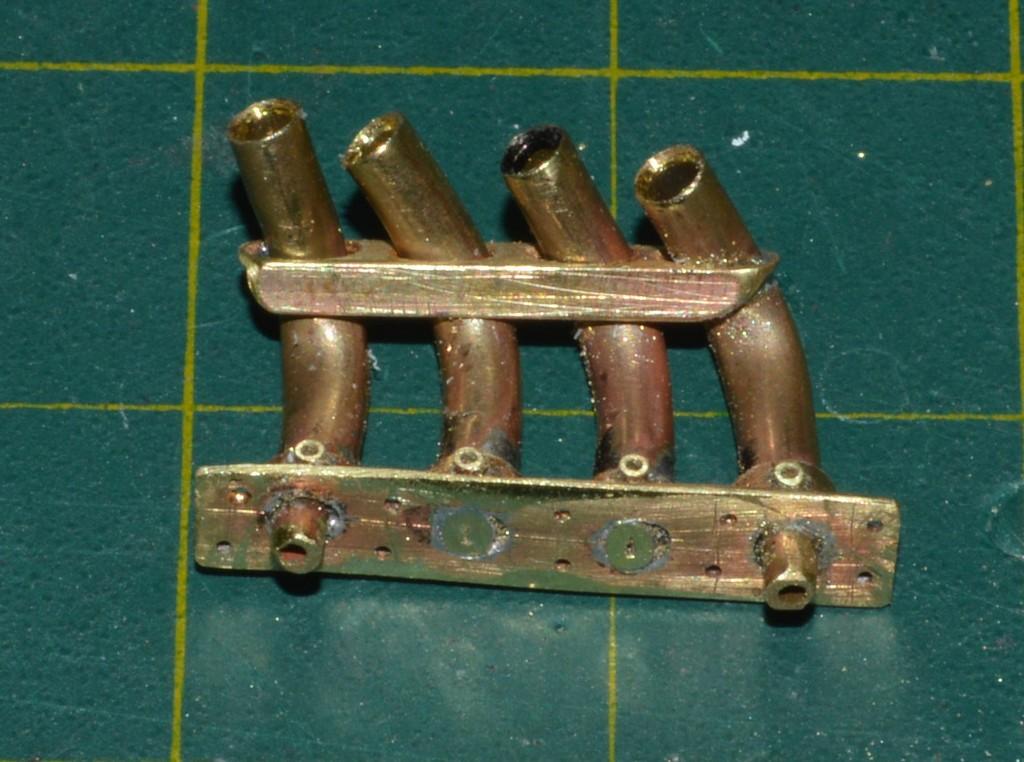
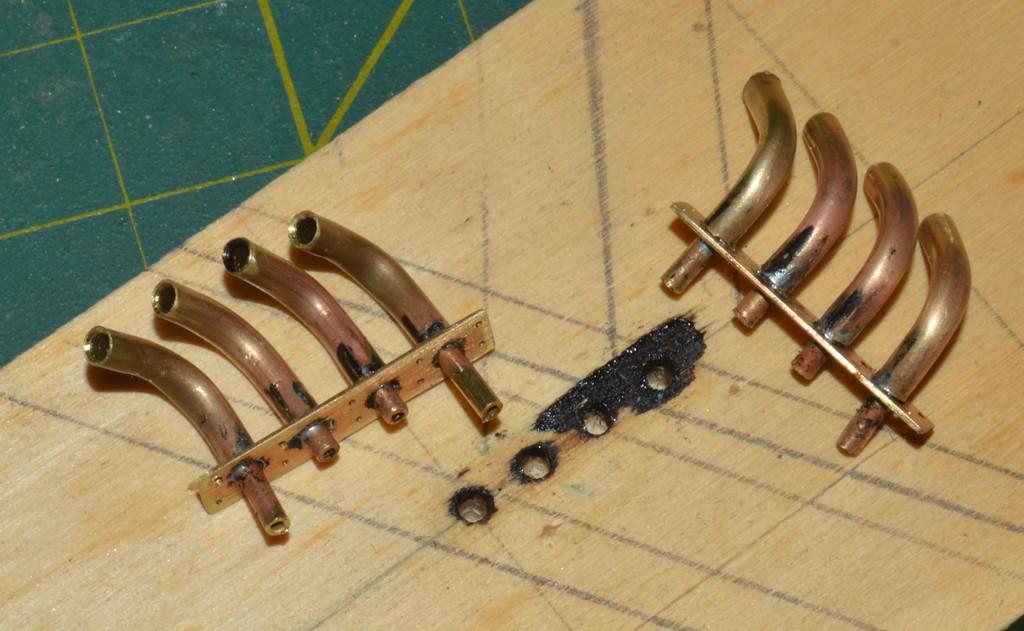
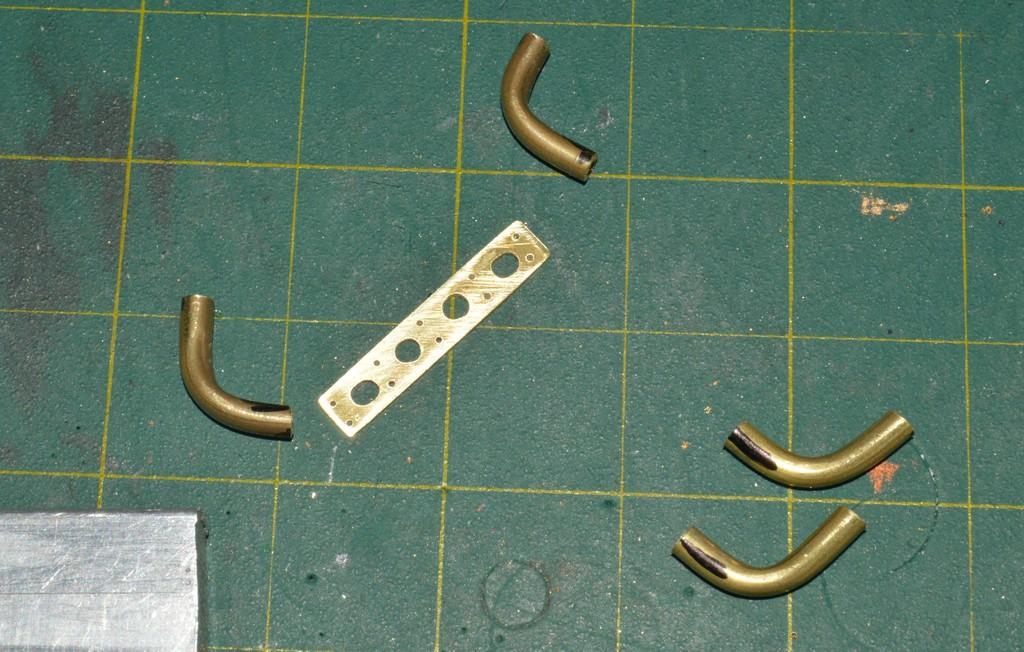
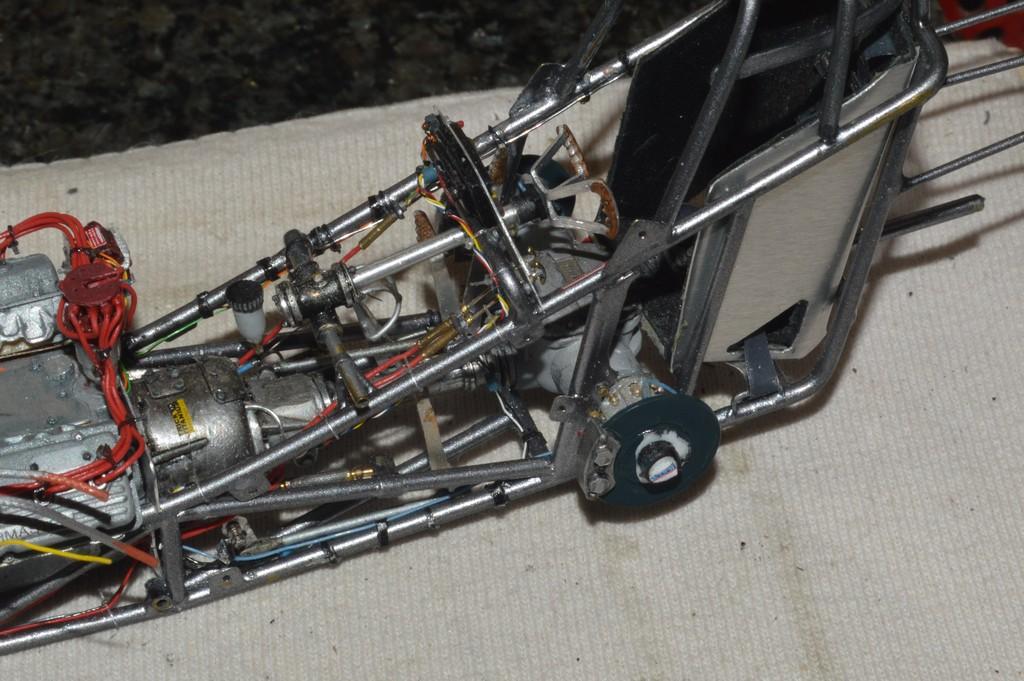
I've been working on the headers. I finally got the bends I wanted and the pipes, the length I wanted. The flanges are drilled so that I can glue plastic bolts through them, for appearance, and solder brass ones through, to mount the hold downs for the restraints and diaper. These will be pretty involved, by the time they're done. I've also got almost all the cage padding installed--just a couple of pieces on the lower section of the middle cross tube, to go. When I installed the curved pieces, there was some daylight visible, between the tubes and the padding. To remedy that, I made a slurry of a few drops of water, some Alene's Tacky Glue and some India ink. I flowed it into the gaps with a fine brush. It seems to have done the trick! I'll give it a coat of some matte acrylic clear, to finish it off. Questions, comments and critiques are always welcomed. Thanks for looking!
-
Thank you, Pierre. I promise to do just that, once I have mounted the body panels permanently! I'm very excited to get to that point!
-
1969 Nova F/SA NHRA Stock Eliminator
Straightliner59 replied to R. Thorne's topic in WIP: Drag Racing Models
I'll have to give those #15 blades a try! Good tip, Ron. Scalpel blades are a world cheaper than X-Acto blades. -
Thank you, Mark. I appreciate that! I have been installing the roll cage padding, and decided to Set the cowl and tail on the chassis, just for grins. Getting ever closer!
-
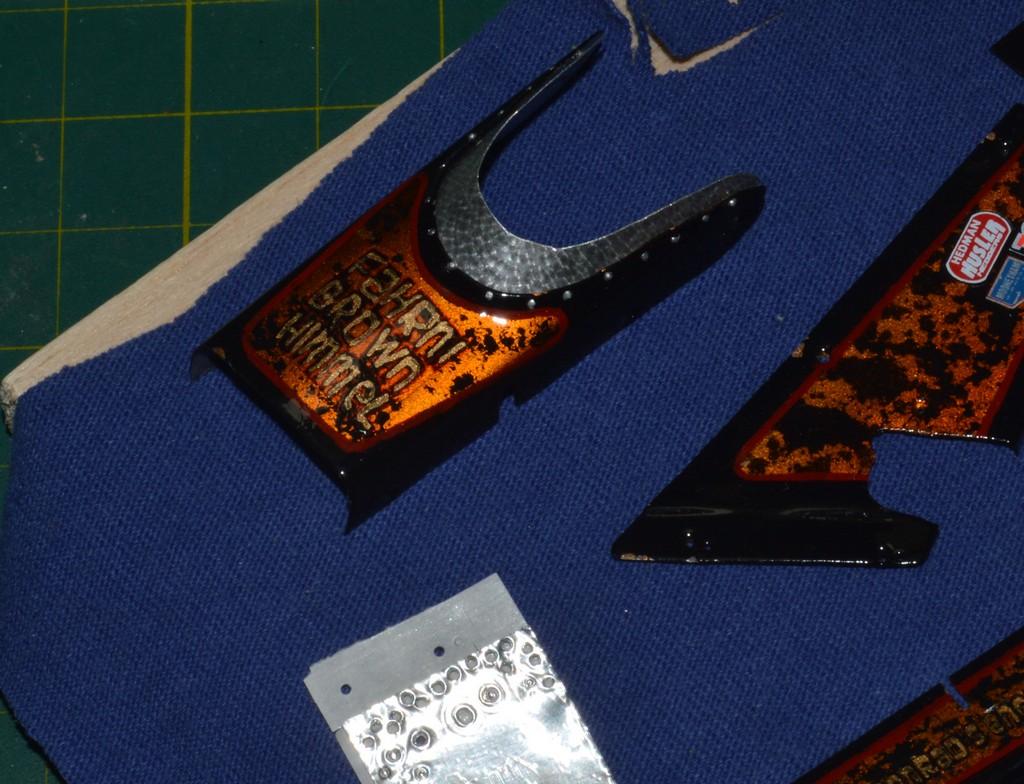
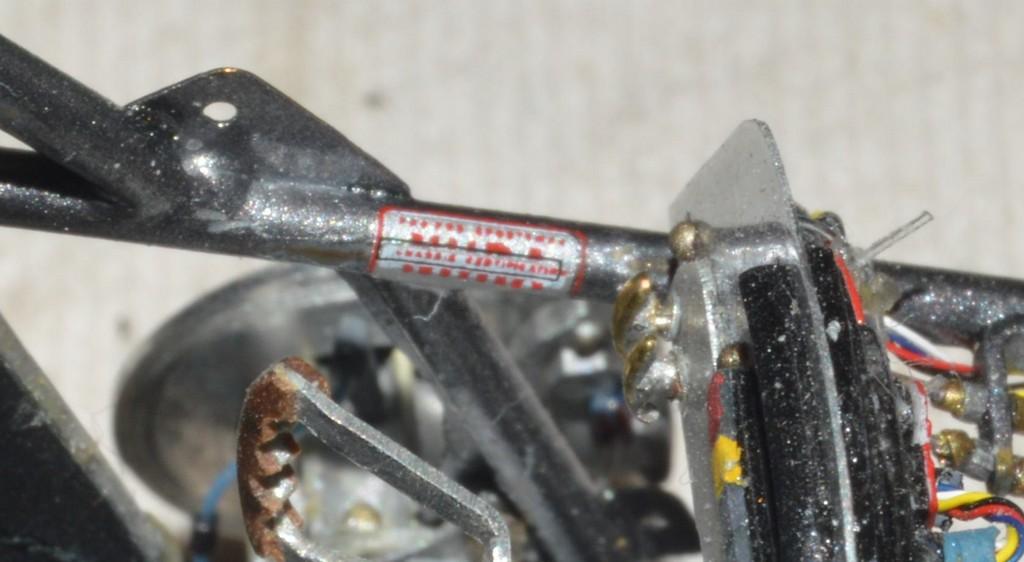
I made a punch from 1/32" brass tube to make discs to represent rivets for the windscreen. I decided to simply paint the rotors a dark greyish color, rather than try to fit decals to the rotors. I'll put a little weathering/dust on them, and they'll look fine--what little of them will be seen. I added Strange tags to the rear axle ends. I'm currently working on the roll cage padding. I'm using .080" half-round, that's sanded to be a tad narrower. Thanks for looking!
-
I appreciate that, Ian. Thankfully, it's a labor of love! It's sometimes frustrating, but it's usually a lot of fun, just to see where I can go! Thanks again, my friend!
-
It is. I used 1.5 oz. bookbinding leather. I think the weight designation is per square foot. The stuff I have is about .015"-.020" thick. It worked out pretty decently, I think! I found it on Ebay.
-
I wouldn't have any argument, with that. I'd say that programming CNC is much more similar to designing parts for 3-D printing, than either is to creating parts from raw materials with your hands.
-
Wanting to is the most important part! You're on your way, my friend! Keep up the great work.
-
This thing just looks bad! Very cool project Marcos. Thanks for sharing it.
-
Thanks, Marcos! I got the helmet bar/pad added. Still figuring out the rest of the padding. My chassis is certified!