StevenGuthmiller
-
Posts
15,071 -
Joined
-
Last visited
Content Type
Profiles
Forums
Events
Gallery
Everything posted by StevenGuthmiller
-
Sounds simple, but how do you do that? Joseph’s door handles are cast on blocks with a couple of handles per block with the base of the handle molded to the block. The handles then need to be cut from the block at the base. Add a pin to the back and it changes the whole dynamic of the mold. I don’t think that it would be as easy as it sounds. Steve
-
I should warn people that have not used these door handles that they are very small, extremely thin and not the easiest thing in the world to work with. Luckily, the resin that Joseph uses is very tough and flexible, so they hold up to handling pretty well. They are just large enough on the backside of the button portion to be able to drill and pin which makes them a whole lot easier to install. I used Alclad chrome on them, but I don’t think that Molotow would work very well on the finely engraved detail of these handles. It would be quite easy to bury the detail with something like Molotow and make them look like a chrome lump. Steve
-
Fireball Modelworks makes extremely nice GM style, early and late B Mopar and GM truck handles. I used the GM style handles on my last couple of builds and was very impressed. Steve

-
I don't know. But I'm going without on this one. Steve
-
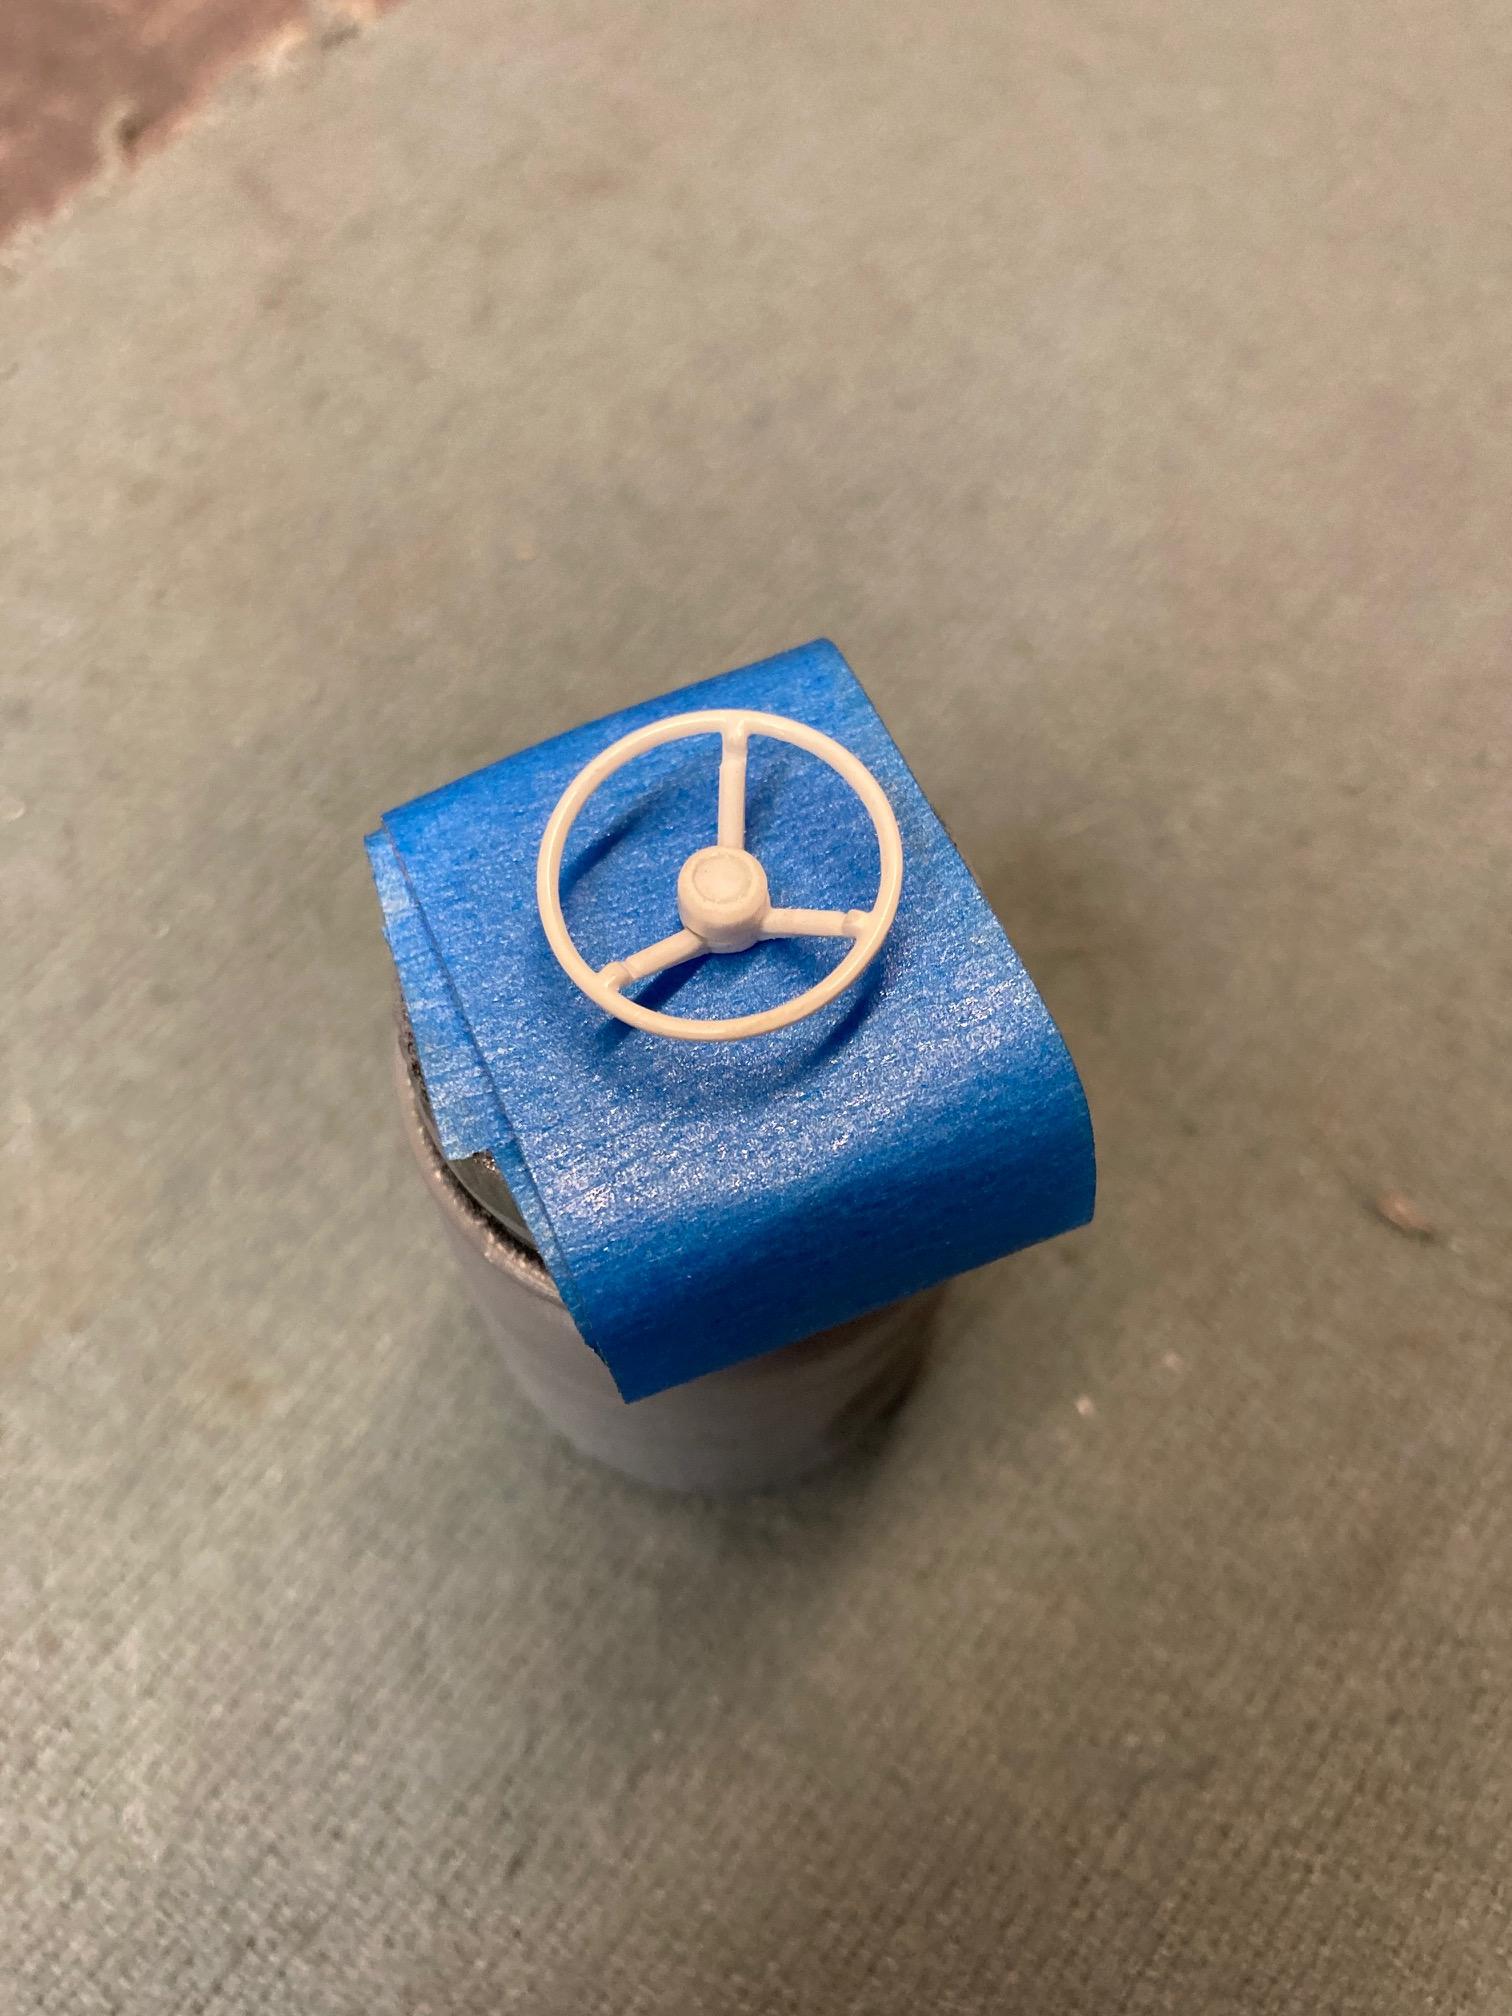
Looking great Bob!! I'm kind of at that, "make it work, or not" stage with the steering wheel and column I'm working on right now. It would take no extra work whatsoever to install the steering wheel so that it turns, but being as it won't actually steer the wheels, I guess it's kind of pointless, although it's going to be just as easy to do either way. Same thing happened when I made the buddy seat for my Coronet. Really very little more work to make it functional, so why not. Steve
-
I've done the spring thing a couple of times. They're really not difficult to do. Easier than carburetor return springs anyway! She's looking great Roger!! Steve
-
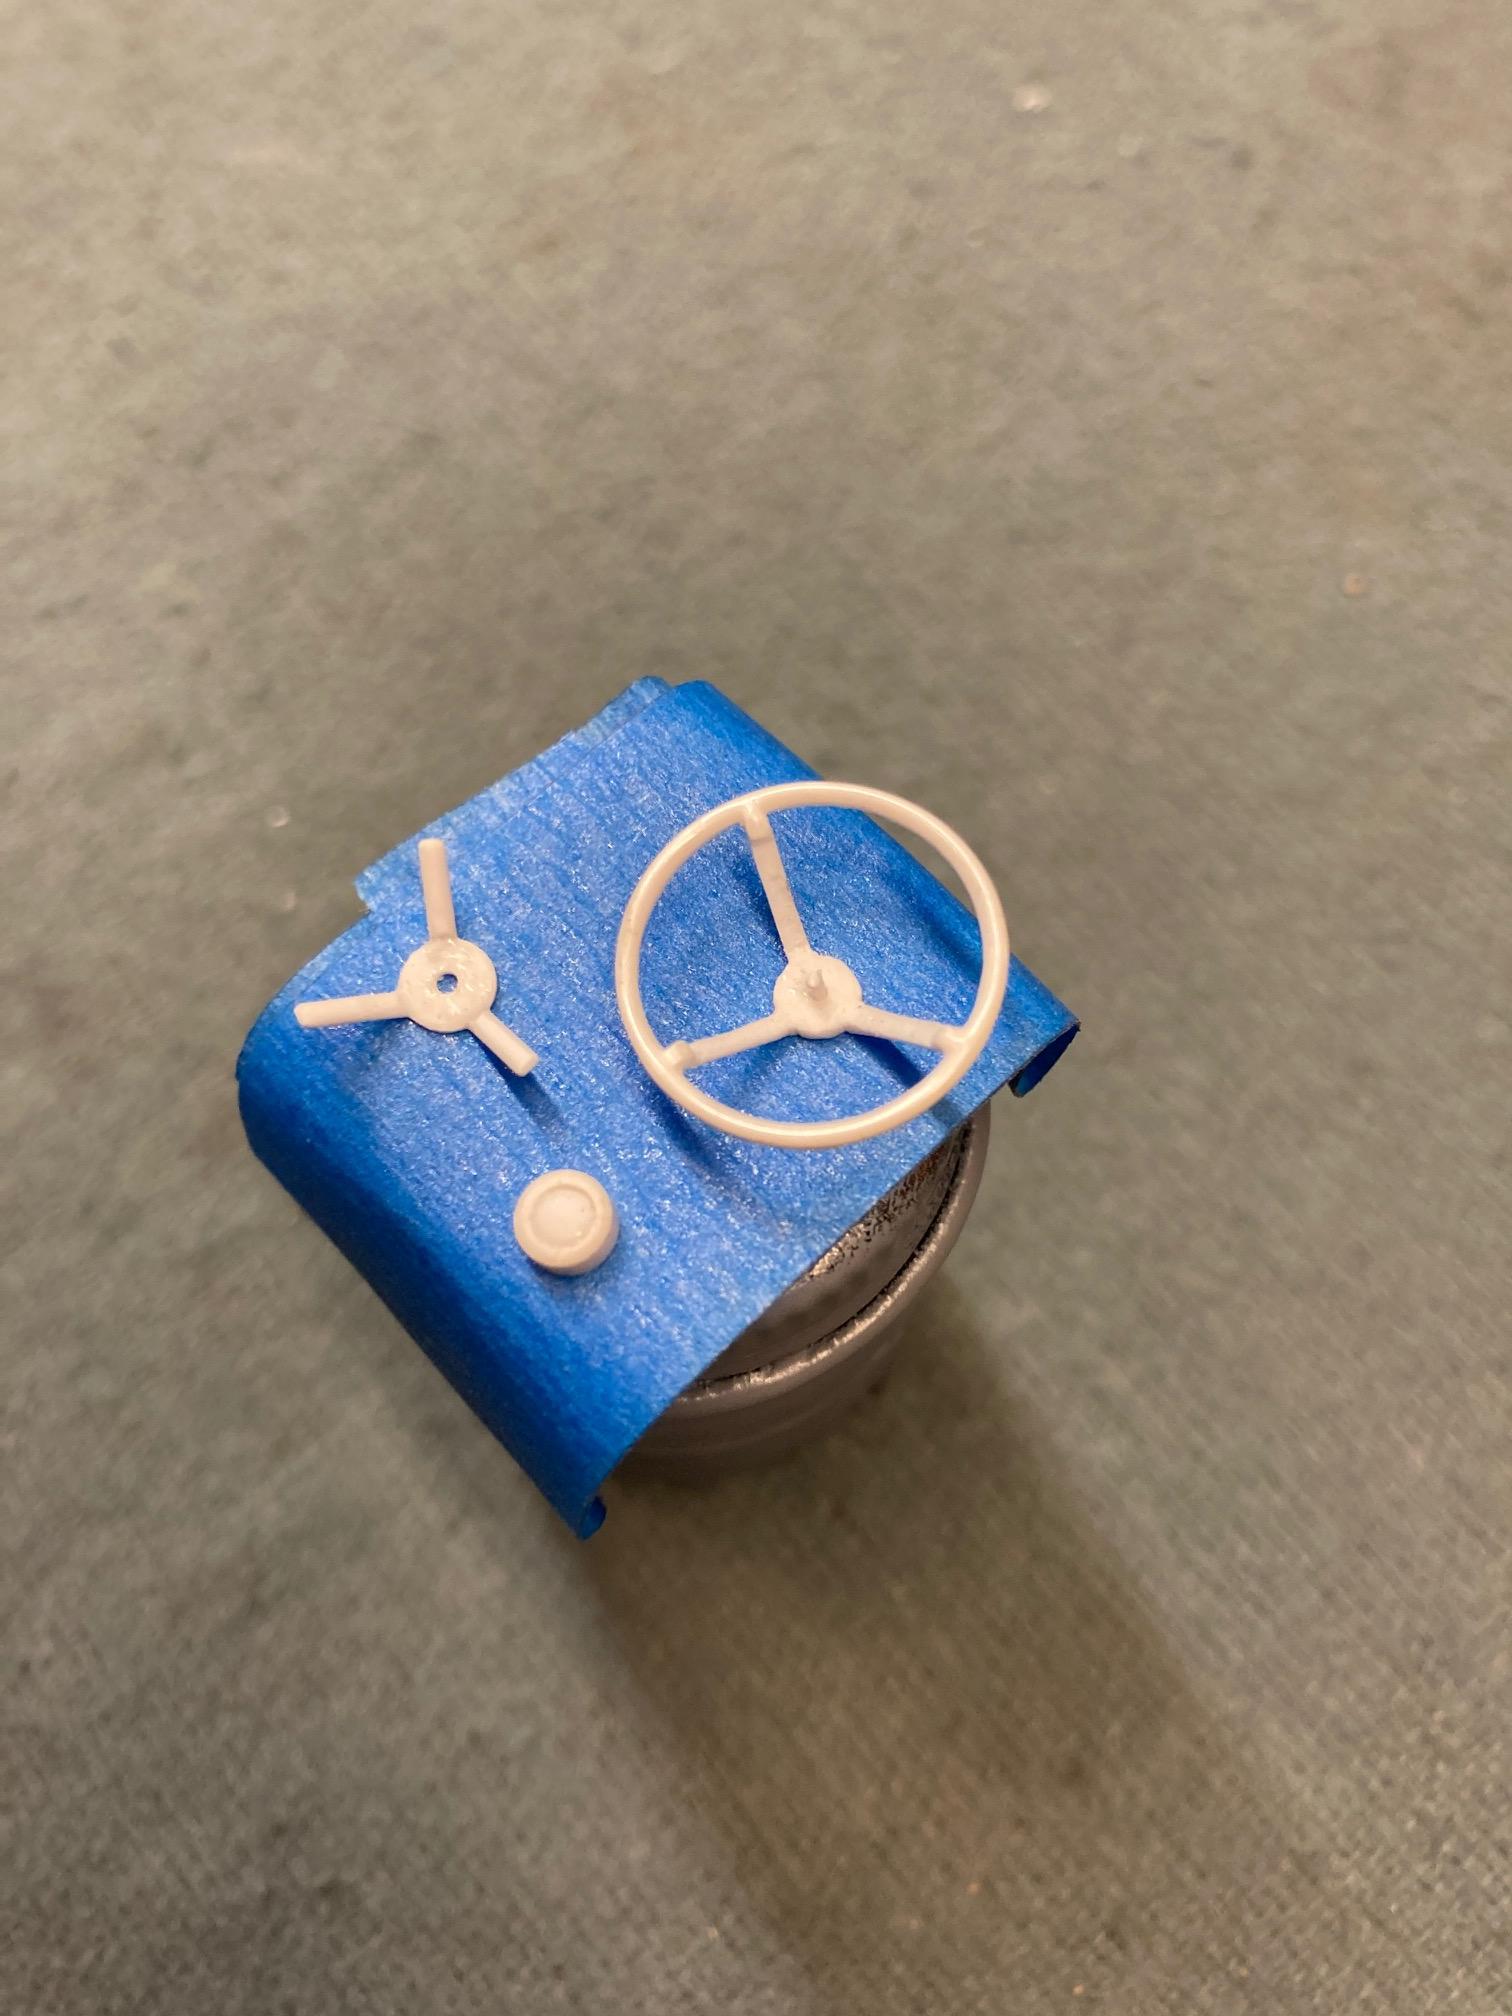
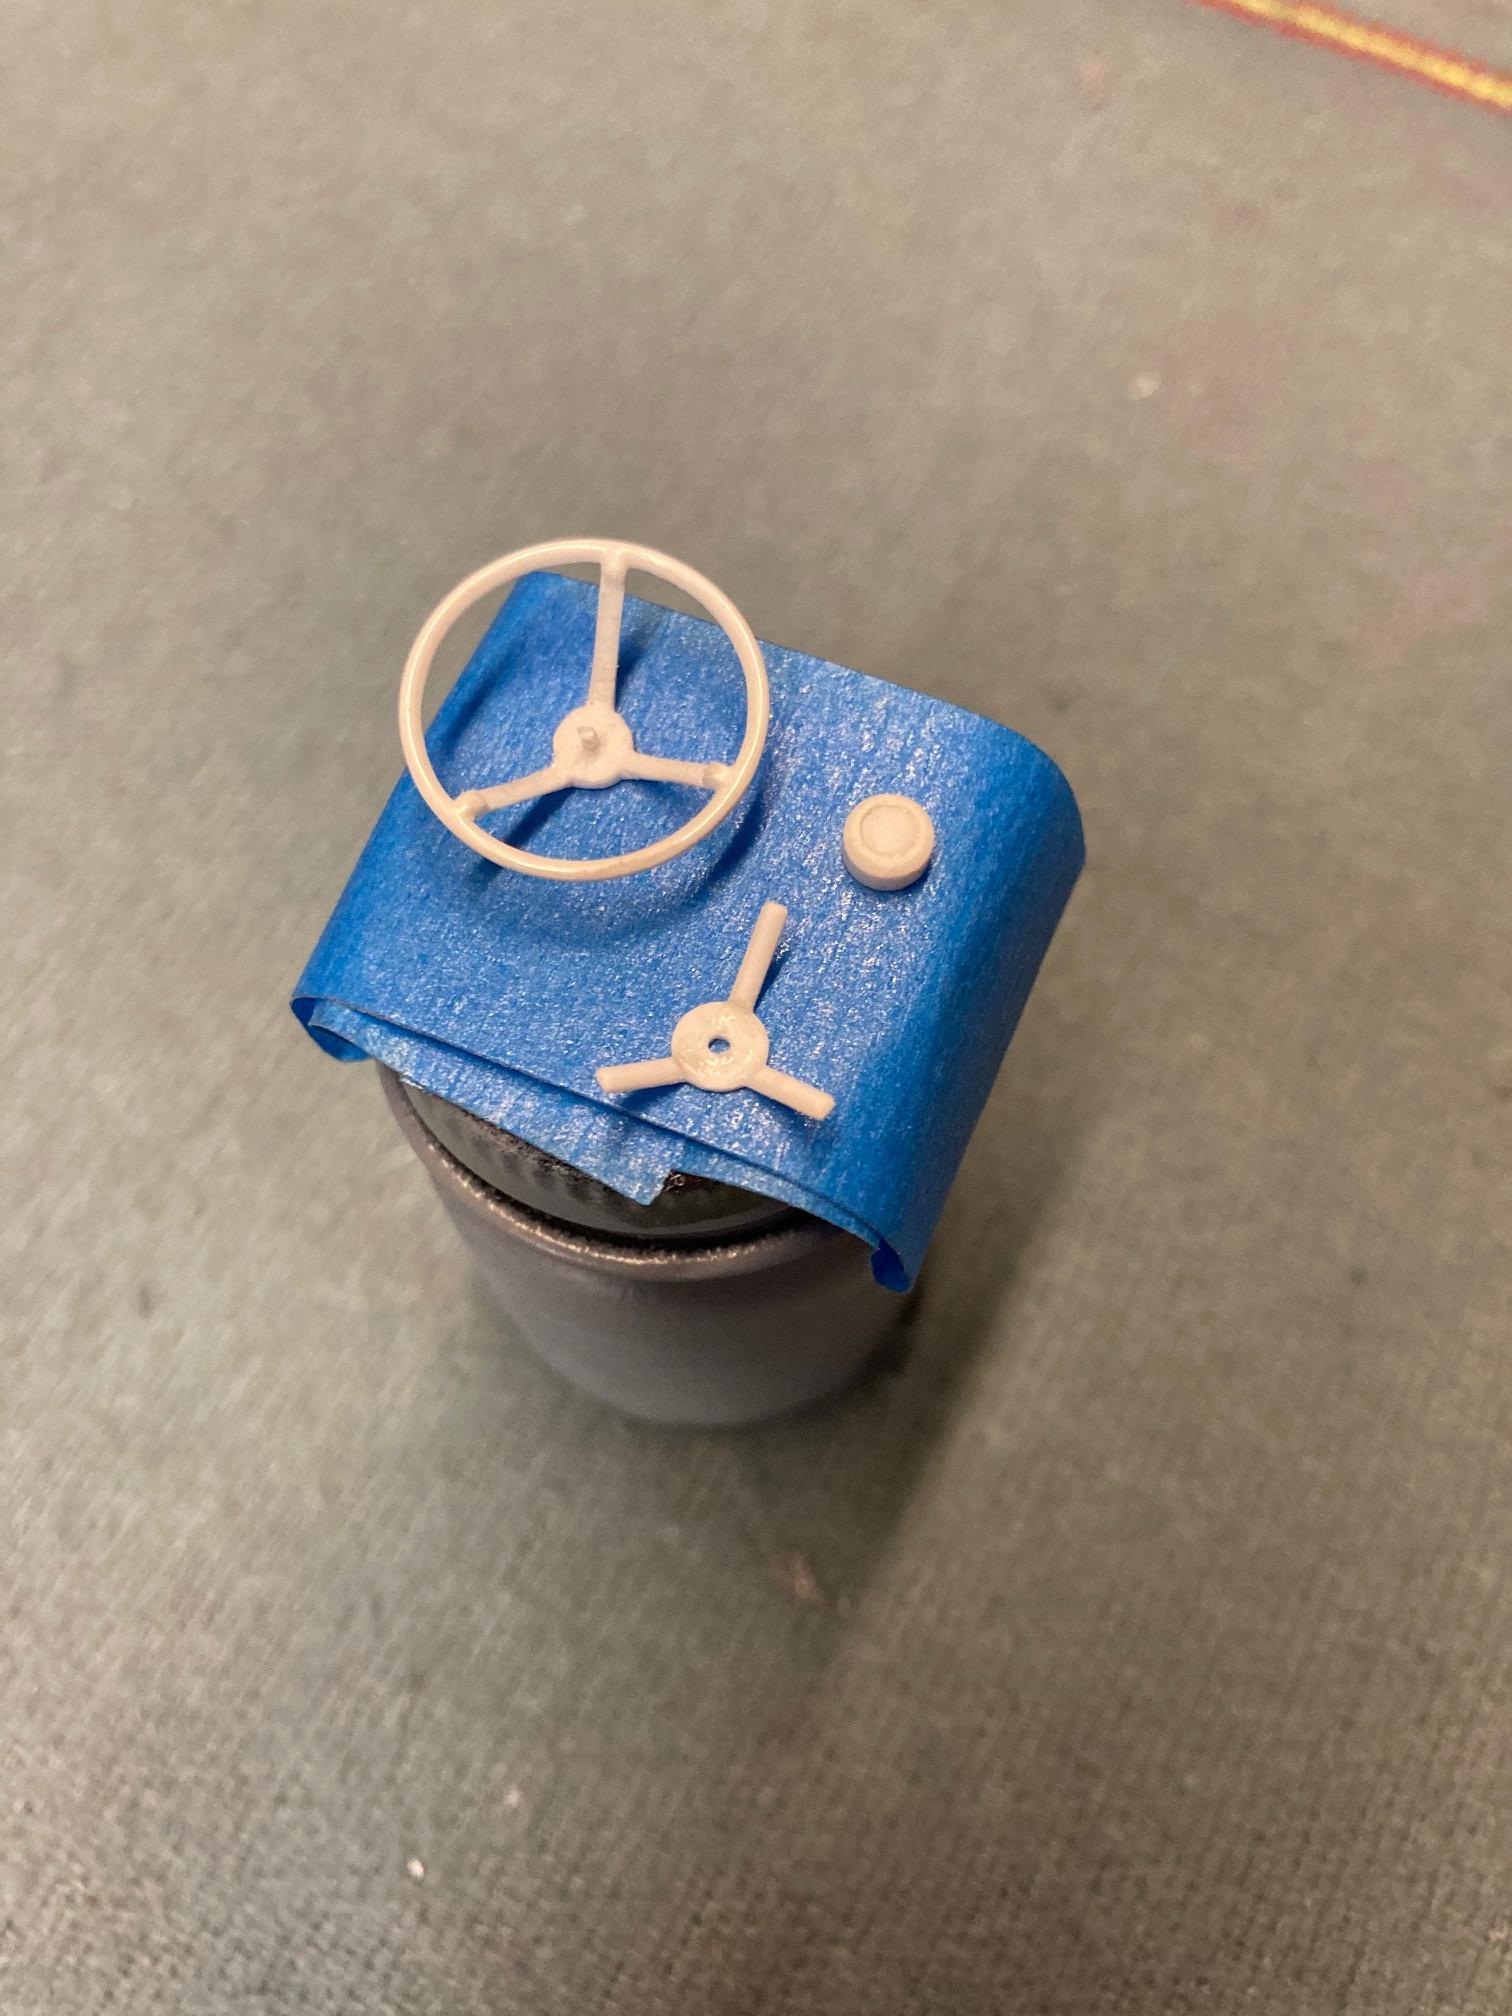
Thanks Bob! I think that I have all of the steering column components finished and ready to paint. I kind of wish that I was doing them in a color other than black. They would stand out better. Steve
-
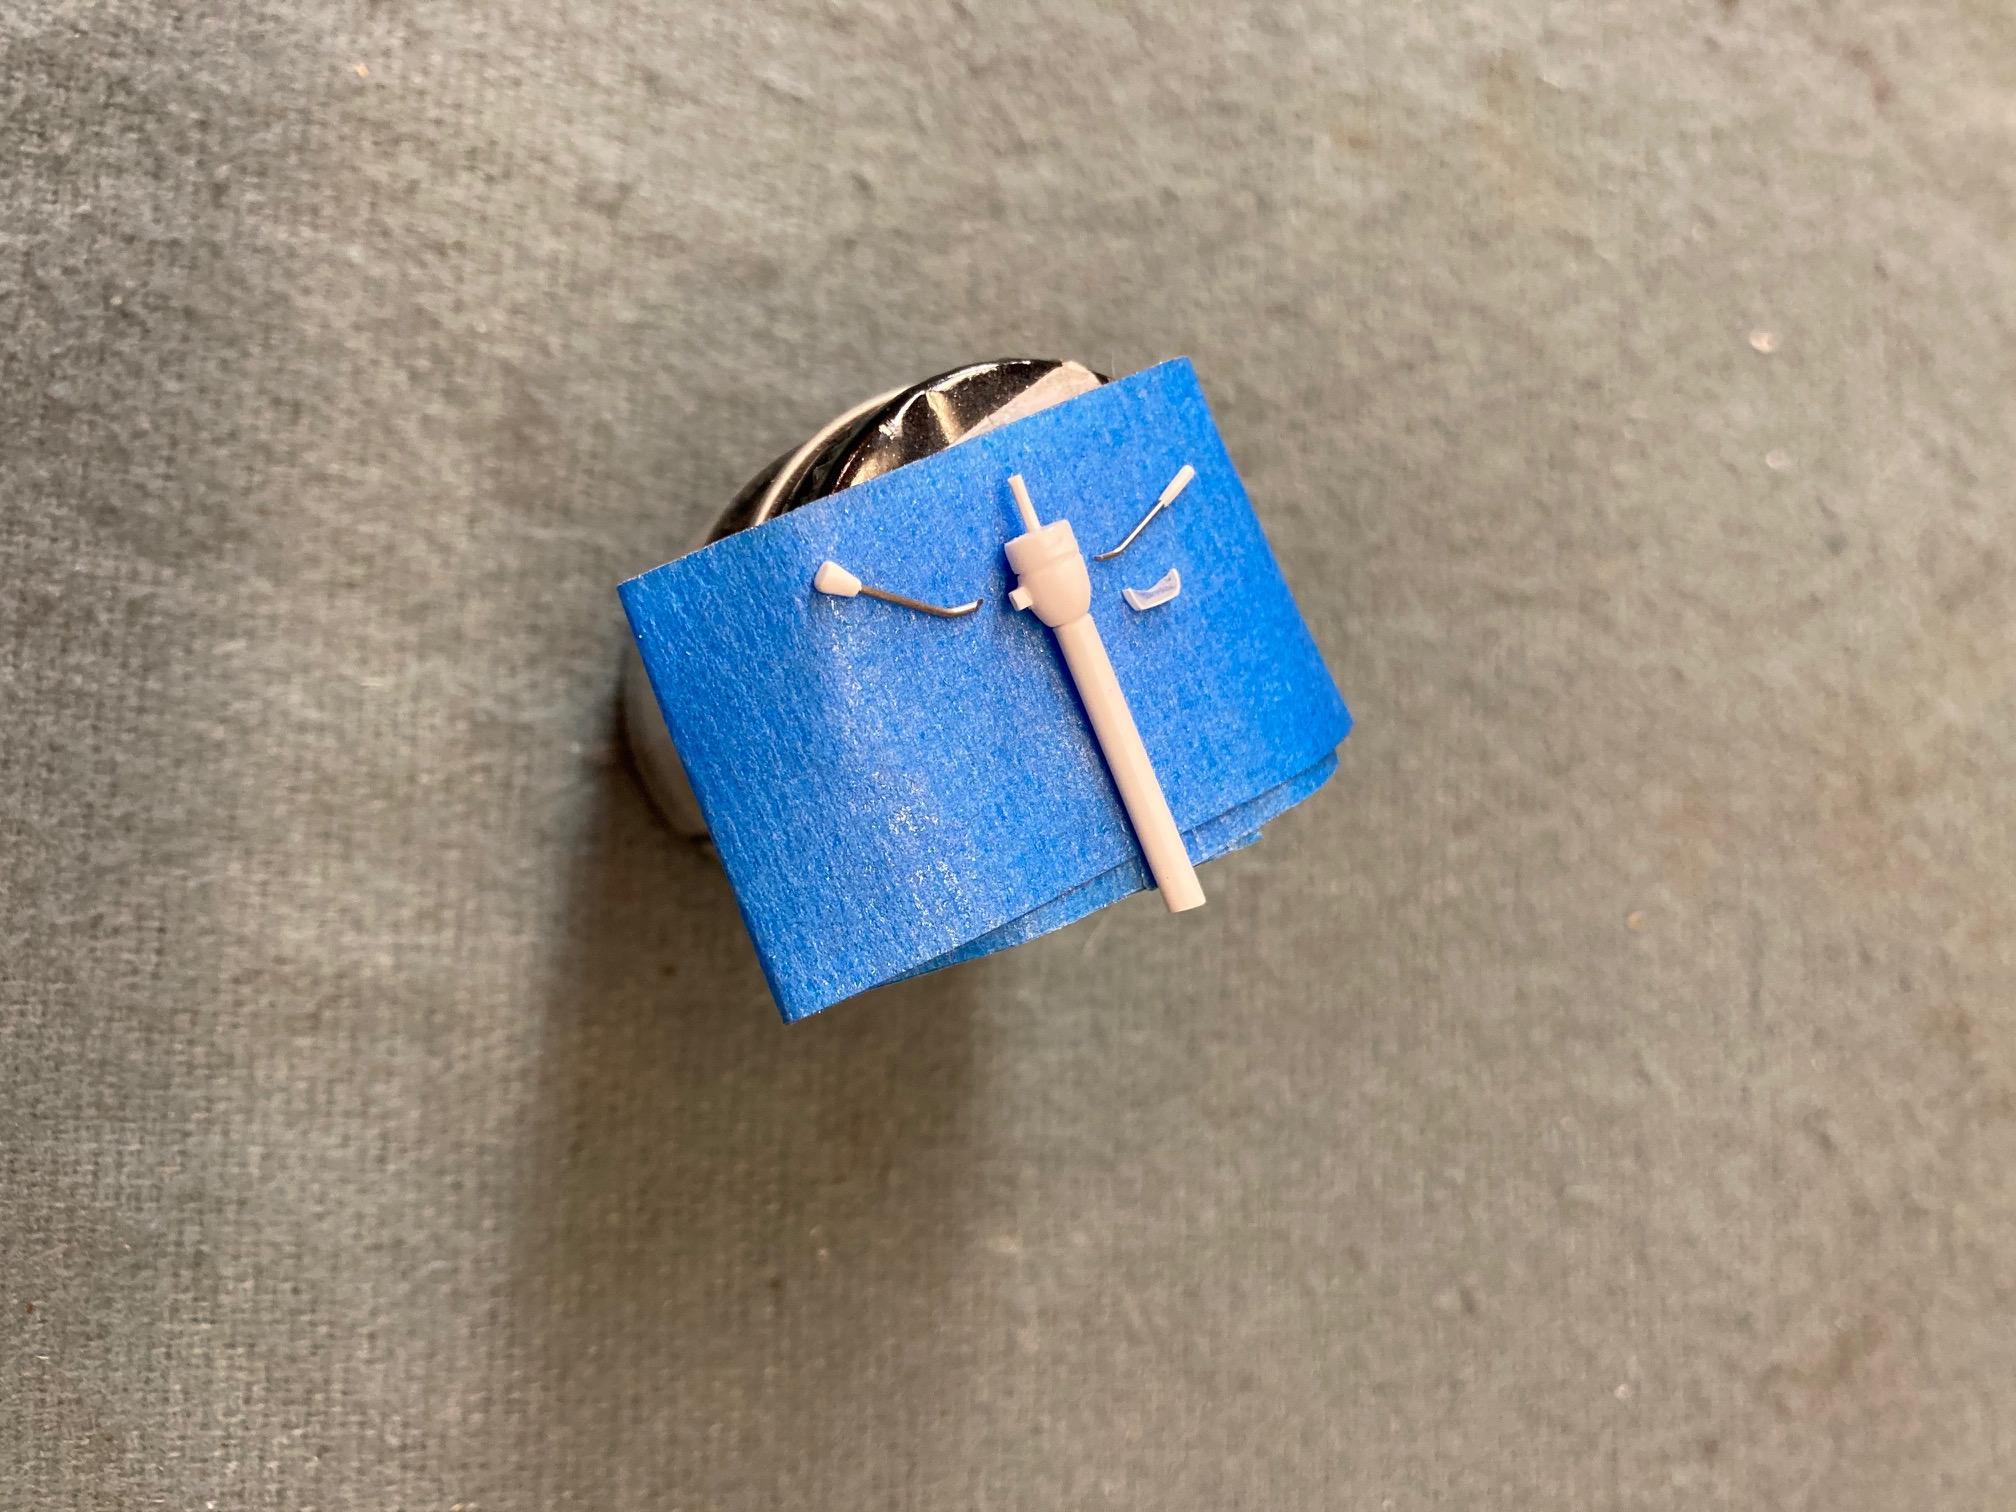
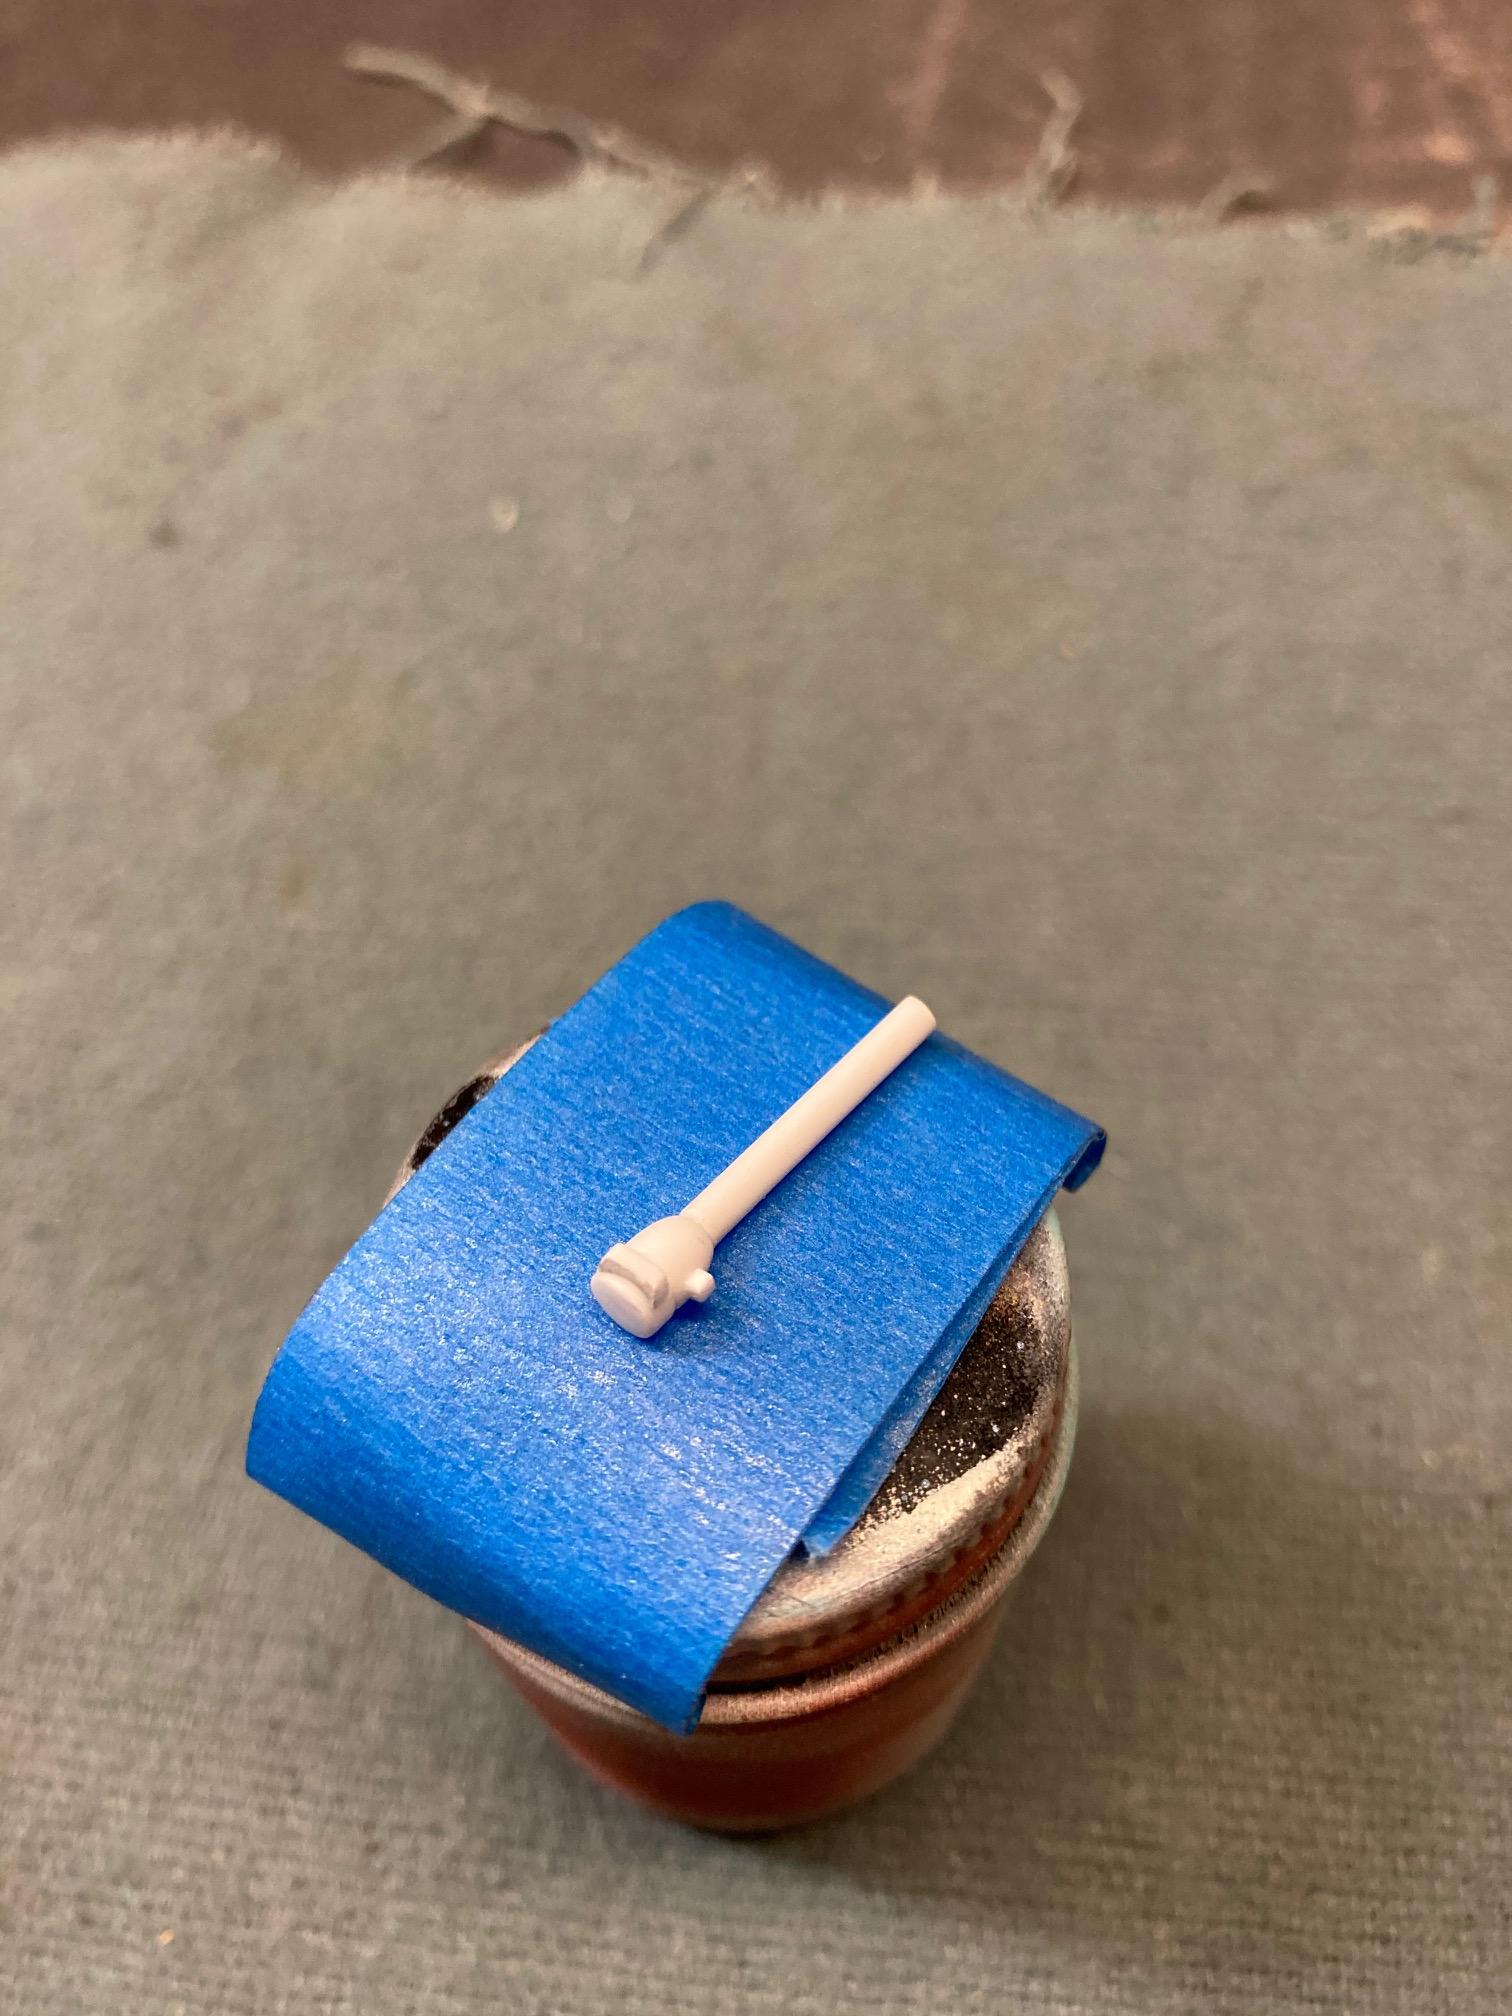
Got the steering wheel about where I want it, so now it's time to scratch build a steering column. It's probably not easy to see in the photos, but the window in the gear selector is a piece of clear plastic from a vent window wrapped in a piece of thin plastic strip. The selector window is a separate part so that I can add it after paint. Steve
-
 On another note, it might be helpful to know that there are several "USA Oldies" kits that have incorrect interiors or interior parts. For instance, as is widely known, the interior in the '62 Chrysler 300 kit is not a '62 interior, but rather the interior from a 1965 Chrysler 300 promo with a '62 dash. Likewise, as far as incorrect interior parts go, the USA Oldies '64 Cadillac has a correct tub, but the front seats are not correct. The upholstery patterns don't come close to matching between the front and rear seats. There are others as well. Just a little more info to those that might not be aware of these anomalies. Steve
 -
Modelhaus Tires
StevenGuthmiller replied to mikemodeler's topic in Car Aftermarket / Resin / 3D Printed
I have it bookmarked on my desktop and it works just fine. Be sure that you're trying the new tire website and not the old Modelhaus site. The old site no longer exists. The new site is, www.modelhaustires.com. Steve -
I didn’t mean to insinuate that you have any problems with your paint jobs Peter, I’m only referring to the “why did the plastic craze”, “why did I rub through the paint” and “why can’t I get my paint stripped” type of questions that along with other questions, pop up quite frequently on the forums. I’ve had all of these kinds of problems over the years, which is how I’ve come to use the paint regimen that I use. I just wanted to stress that it is possible to use a lot of paint without the model looking like it’s buried in paint, and that there are some pretty strong advantages that can come from using many coats of paint. Steve
-
It can be. But then again, age is often the culprit when it comes to brittle plastic. Old kits from other manufacturers can often be brittle as well, and as we know, there are no new Johan kits. ? Steve
-
The number of coats of paint that you can apply depends a great deal on the paint that you use. As I’ve said repeatedly, (probably ad nauseum to some of you) I routinely use as many as 6 coats of primer, 5 color coats and up to 5 clear coats. I use almost exclusively automotive primer and acrylic lacquer paints and clear, and I think that anyone viewing my builds will recognize that there is no detail hide or other issues commonly associated with heavy paint whatsoever. There are reasons why I use this number of coats of primer, color and clear that I won’t discuss here, but let’s just say that it’s because of problems with painting and finishing that I see others experience often on this forum and others. ? Steve
-
All Johan kits were manufactured from molds produced prior to the 80s, so like most kits from that era, they are generally simple kits with simplified tub interiors and slab chassis. While the Chassis and interiors are not great, they're really no worse than other kits produced by AMT or MPC in the 60s and 70s. Johan's engines are generally on par with the competition from their era, but where Johan really shines is in the body accuracy department. I think you'll find little argument that Johan produced some of the most accurate bodies ever produced in 1/25th scale back then, and you can make the argument that it still holds true today. Steve
-
I don’t think it’s so much that some of us were disappointed in the contents of the purchase, but more that we found it a little humorous how they got so excited about some pretty common or mundane items and pretty much just kind of passed over some of the most interesting or rare items. Maybe that was by design? Maybe they didn’t want anybody to notice the stuff that was actually worth something? Or do they just not have a lot of knowledge in that area of the hobby? I have my doubts that the latter is the case, so I suppose it will remain a mystery. Steve
-
The real answer is......who cares!!? we’re painting model cars. They’re not going to be exposed to any harsh environmental conditions. They will sit for decades on a display shelf or be hermetically sealed in cases for all time, and if they ever are to be rebuilt, the easier the paint is to remove, the better. Use whatever paint you’re comfortable using. Regardless of what type it is, if you do it right and care for your models afterwards, they will very easily outlive you. It’s just a bit humorous to me that we’re having a discussion about what the durability properties of different paints are, and yet a growing number of people have no compunction whatsoever with using a complete durability mystery like Molotow ink on their models. In my opinion, if there was ever a potential for the complete failure of a product, Molotow is it. ? Steve
-
Same here. Sometimes I get deep into working on something and don't take a look at my reference photos. Once I view them together, I realize that I need to do some more work. I think that I now have the steering wheel a little closer to what I envisioned. I wanted to keep these parts separate so that I could do the steering wheel itself black, the horn buttons chrome with some Alclad, and then the center cap black again. It was more work this way, but it'll save me from having to try to paint or foil the silver portions after painting. I'll just have to fashion a horn ring out of wire to add at final assembly. Steve
-
They're all yours. Steve
-
Almost certain that those are '60 Imperial Hubcaps. I just traded off a set a little while ago, so I can't do a comparison, but I would be willing to bet. Steve
-
I’ll have to check out those Scale Motor Sports bolts and washers. I’ve been using Grandt Line washers for my antenna bases, but I have to paint those. Steve
-
Ooooo, look at all of these cool NASCAR and modified stocker kits!! (that are everywhere and nobody wants them) Steve
-
I'll have to consider this. They are re-roofing a Catholic church just down the street from us. I could pick up a whole dumpster full of used shingles if I wanted. Steve
-
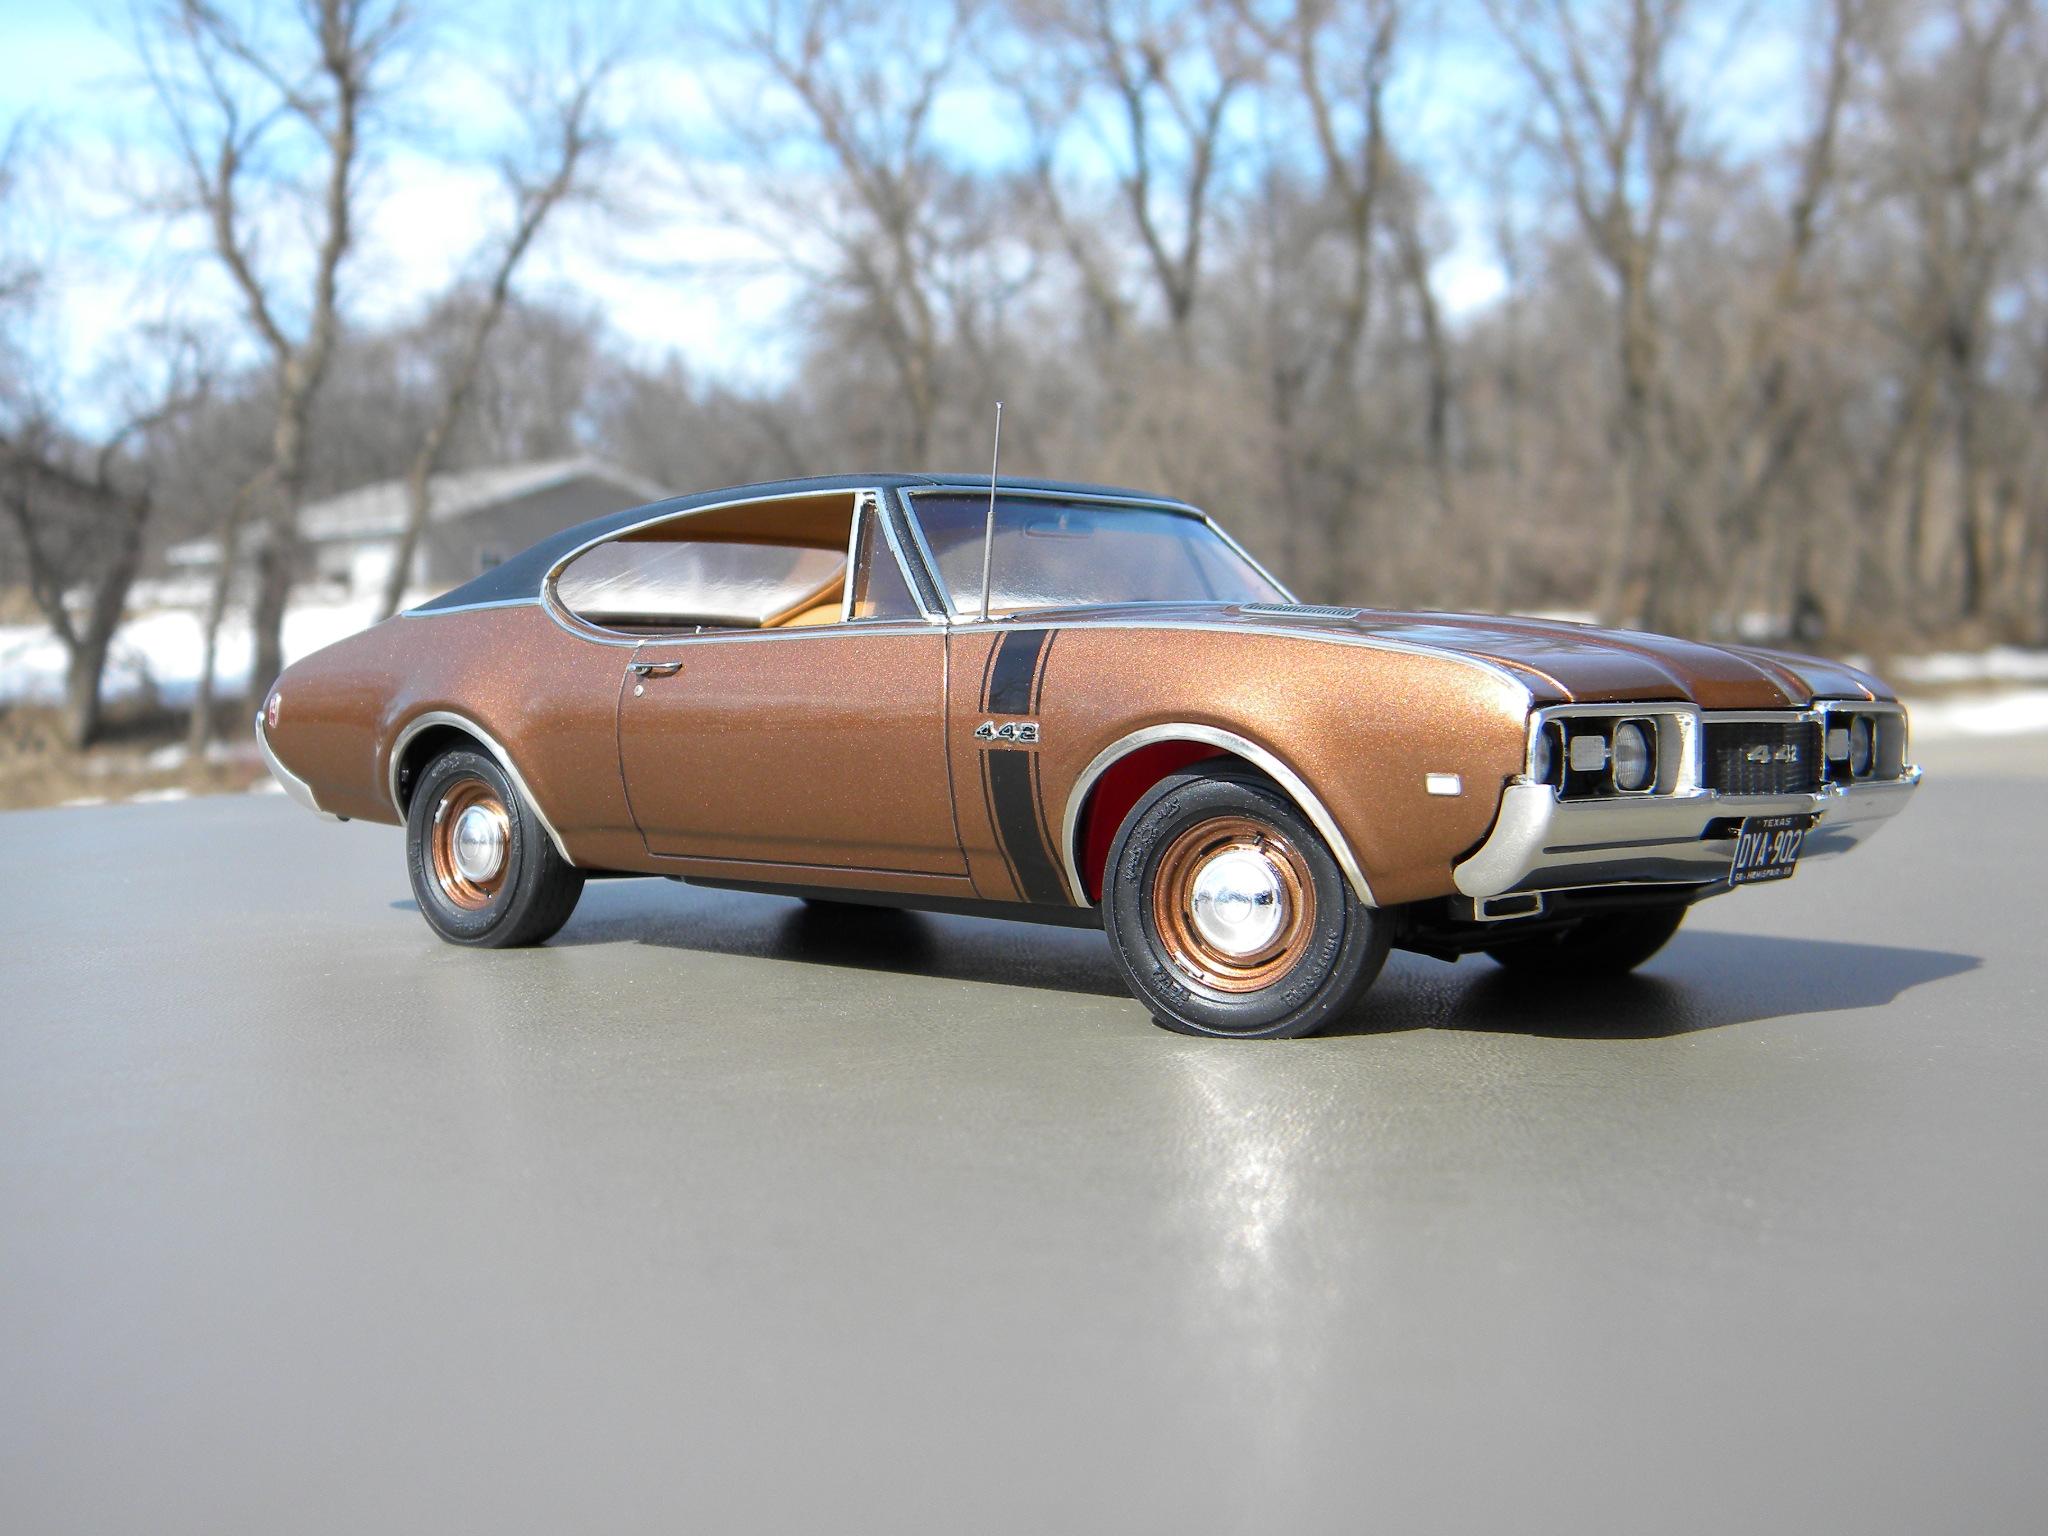
Foiling a 1961 Lincoln "Up-top" convertible.
StevenGuthmiller replied to carbuilder1950's topic in WIP: Model Cars
There is a technique that I use that helps keep those long pieces of molding as straight as an arrow. It involves placing a piece of foil over the trim, burnishing down the edges and then laying thin pieces of blue painters tape with the edges straightened with a straight edge along the sides of the trim. The tape gives the blade something to ride against as you cut giving you nice straight cuts and the blue color of the tape gives a contrast between the blade and the tape which makes it considerably easier to see what you’re doing. To see a basic tutorial on what I’m talking about, see my tutorial under the pinned topics in the “Tips, Tricks and Tutorials” section under the heading, “Wheel Arch Molding Foiling Tutorial”. This technique has taken a great deal of frustration out of the foiling operation for me. ? Steve -
I watched the second video and it really wasn't much more impressive than the first. Of all of the models revealed, there were only a handful that were something worth sharing. In one box, there was an SMP 1961 Impala convertible, a '68 Toronado and an MPC '66 Charger. In another there was a bunch of X-EL mid 50s Oldsmobiles and Plymouths, and a box that was labeled as a built '64 Lemans, (which they never opened) In a third box, a half dozen Johan Javelins, which was kind of cool. The rest of it I would probably put out on the garage sale tables. Steve
-
body paint stripping
StevenGuthmiller replied to youpey's topic in Model Building Questions and Answers
I suspect that the majority of responses that you'll get will be to use one of the degreasers/ cleaners such as Purple Power, Simple Green or Super Clean. Either that or Easy Off oven cleaner, Isopropyl alcohol, or brake fluid. Here are a few pros and cons of each. Brake fluid will remove pretty much any thing, but as mentioned, it can do some weird things to the plastic, it can be very slow acting, and it's difficult to dispose of when it's useful life is over. I haven't used brake fluid in many years just because of some of these aspects. I haven't had much luck using alcohol. At least no more than any of the others listed above. I have a '65 Olds interior painted flat black that was soaked in alcohol to try to remove the paint. I forgot that it was in there, and it wound up soaking for well over a month.........the alcohol did nothing. Easy off oven cleaner is a good option. It will remove many different types of paint. But the fumes are highly caustic, and it's a one time shot kind of deal. You can't reuse it. You'll get the best results putting the parts in a plastic bag, spraying with easy off and then sealing the bag to soak. So it works pretty well, but it's not very user friendly or economical. Wear gloves, and probably some sort of breathing protection when using it. The fumes are very strong and it's very hard on your skin. The degreaser/ cleaners such as Purple Power, Simple Green and Super Clean are some of best options in this list in my opinion, but it's also my opinion that if you're going to use one of them, do yourself a favor and get the best......Super Clean. Purple Power and many of the other knock offs absolutely do not have the same concentration of the working ingredients as Super Clean. By the way, the key ingredient in these cleaners, as well as others such as Easy Off oven cleaner, is lye, so it is necessary to wear gloves when working with it. The pros of using Super Clean over some other options are that it can be used over and over again, there are really no fumes to speak of, ( although you still will want to avoid breathing it in for too long as with any chemical) and it is biodegradable. Although I would still recommend disposing of it properly, as once it's no longer usable, it will contain a lot of paint residue. Keep in mind that most all of these options have their limitations and will not work in every circumstance. In the case of the degreasing cleaners, such as Super Clean or easy off, success will often depend a great deal on the type of paint that you are stripping, and in some cases, even more dependent on the primer that you are using. In the case of lacquer paints, these cleaners will have little affect for the most part on the paint itself, but if the right primer is used, it will work quite well. As long as the cleaner is able to get to the primer itself, the solution will dissolve the primer, causing the paint to slough off in sheets. A good practice is to scratch the surface of the paint in several areas down to the primer to allow the solution to work it's way under the paint to begin to loosen it. Be patient and leave the parts in the Super Clean for an extended period of time, and the paint should come off cleanly. There may be some remaining primer once the paint has been removed, but this is generally quite easy to remove with a little alcohol or even alcohol wipes. I have had very good results removing multiple layers of automotive type lacquers with Super Clean using the methods described, but as I said, the primer is the key in these instances. I use a combination of Testors lacquer primer and Duplicolor automotive primers and they are susceptible to these types of cleaners. As a side note, cleaners such as Super Clean or Easy Off will have no ill affects whatsoever on the plastic as can be the case with some other chemicals used for stripping paint. I have soaked parts in Super Clean for weeks with no affect on the plastic at all. I have heard that people have good results with products such as ELO, but I have not used it myself, so I will leave it for others to comment on. Steve