StevenGuthmiller
-
Posts
15,088 -
Joined
-
Last visited
Content Type
Profiles
Forums
Events
Gallery
Everything posted by StevenGuthmiller
-
 I've always wanted to do a '58 Edsel in "Sunset Coral" and "Charcoal Brown", or "Jonquil Yellow" and "Charcoal Brown". Both are 1957 Ford color combinations, but all colors were available on the '58 Edsel. MCW carries Charcoal Brown in their line-up under the '57 Ford color name, "Silver Mocha". I guess I'll just have to do a '57 Fairlane in one of these combos some day. Steve
 -
Something I noticed today MPC 72 GTO
StevenGuthmiller replied to SCRWDRVR's topic in Model Building Questions and Answers
That's very common with older kits. There are plenty of newer kits that contain no outside mirrors as well. Just off of the top of my head, the new tool AMT '67 Impala and the AMT '62 Catalina are both without mirrors. I'm certain there are many more that have been produced in the past 25 or 30 years. Steve -
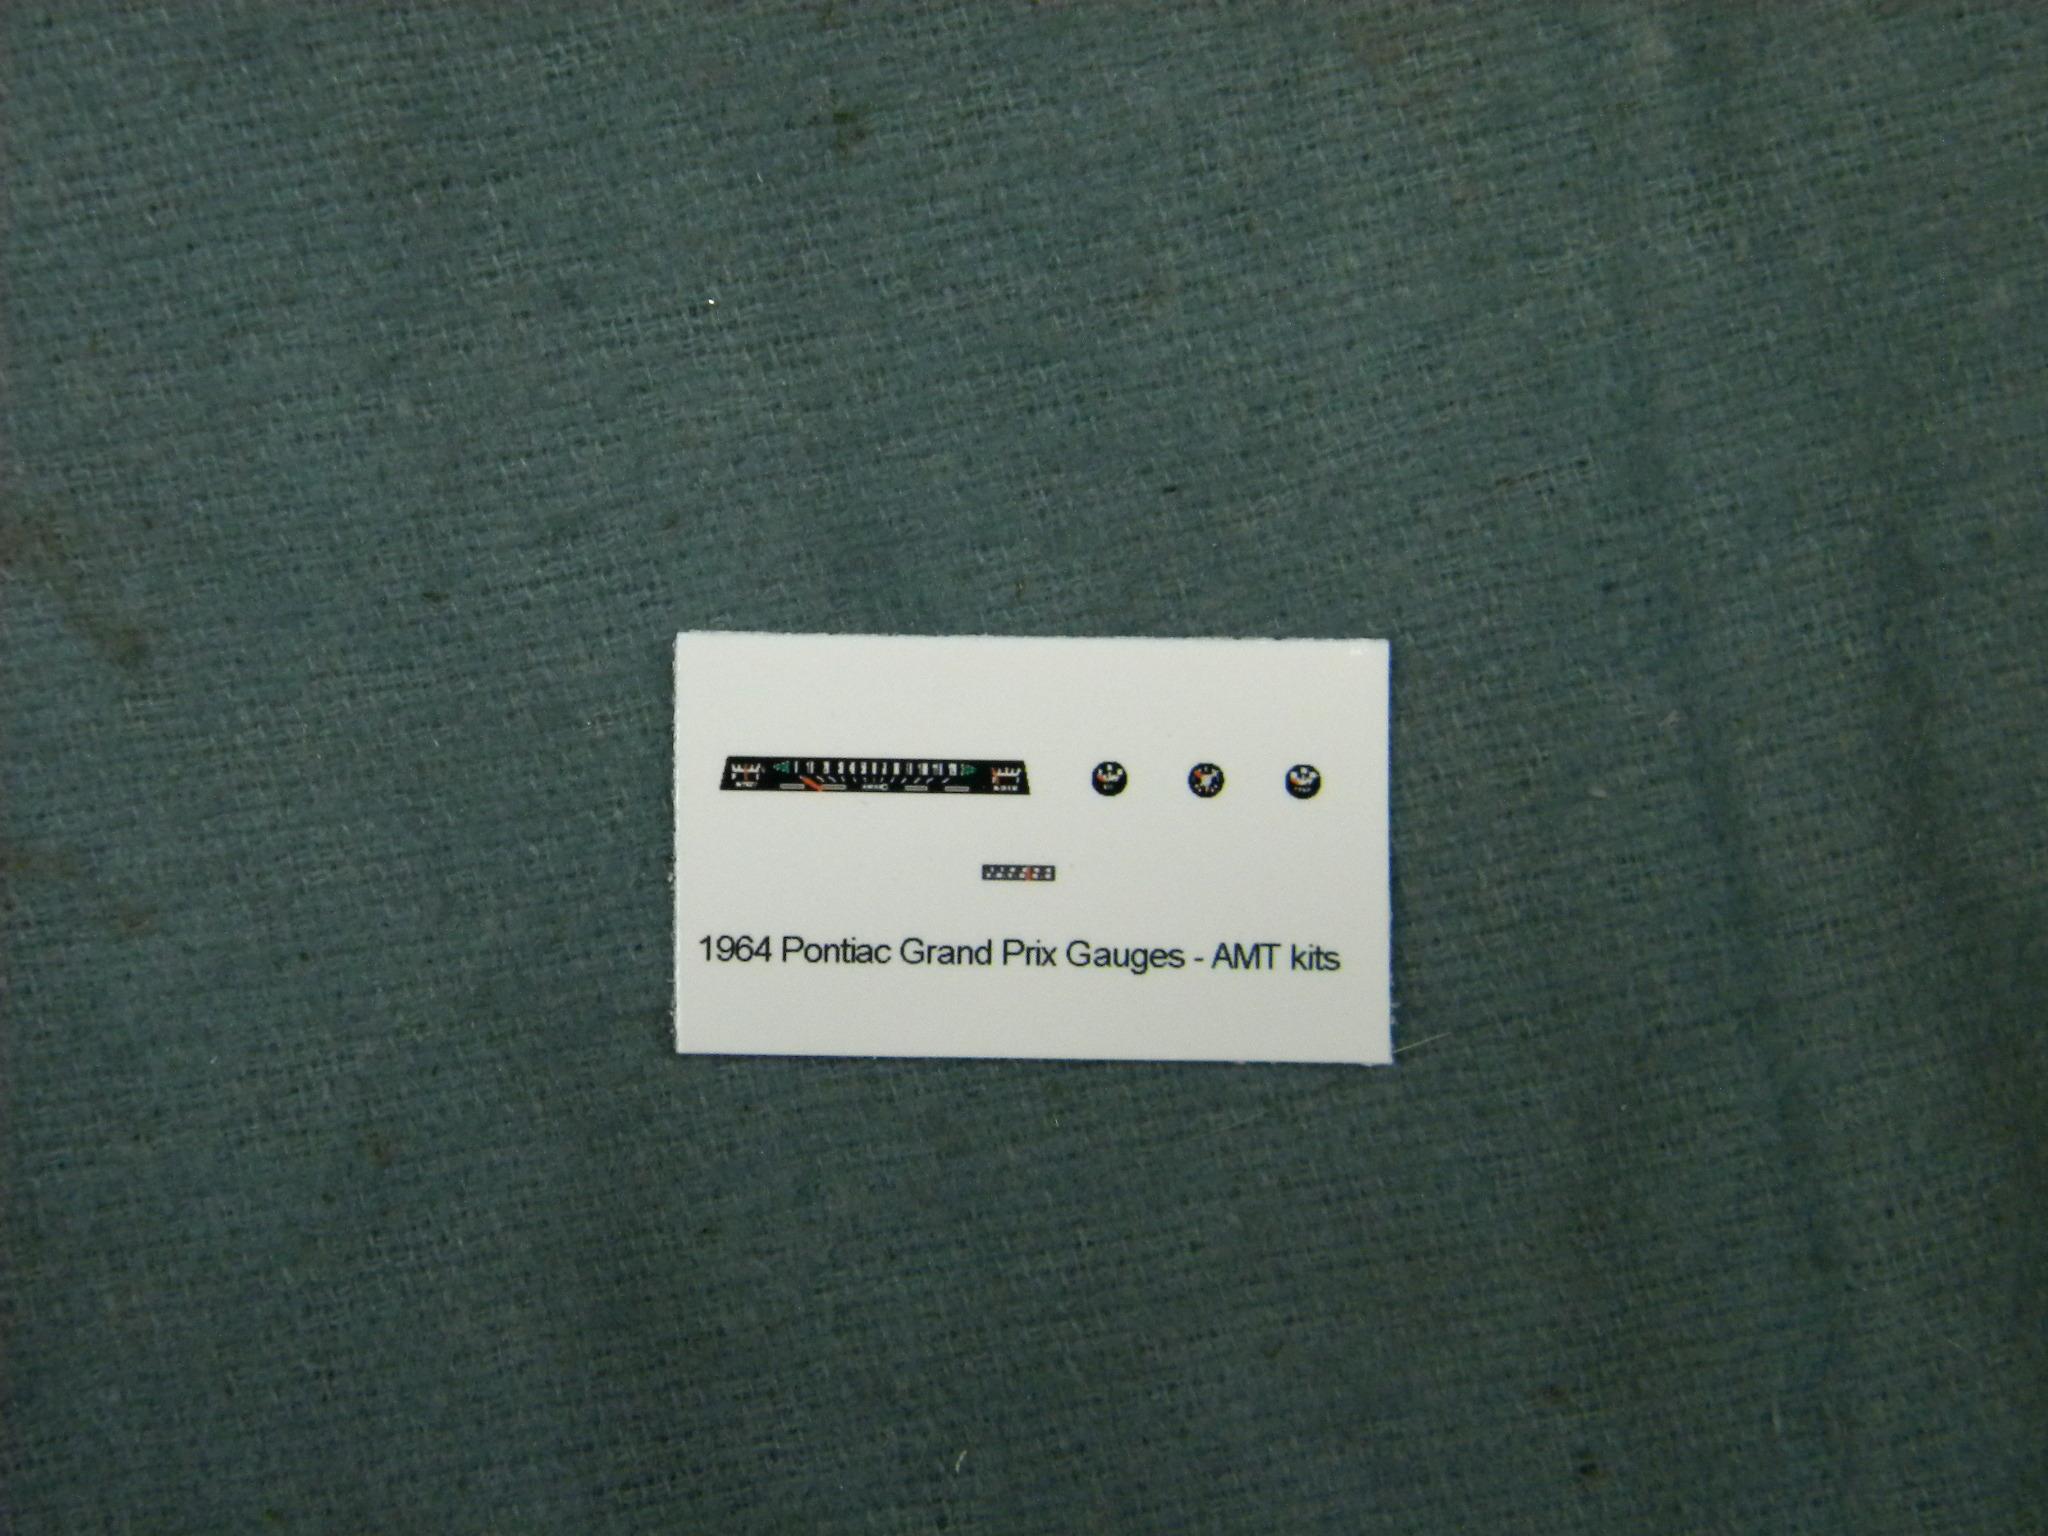
I'm just happy that somebody produces anything for a 56 year old kit! I'm okay with the black. I'm no good with printing decals anyway. Steve
-
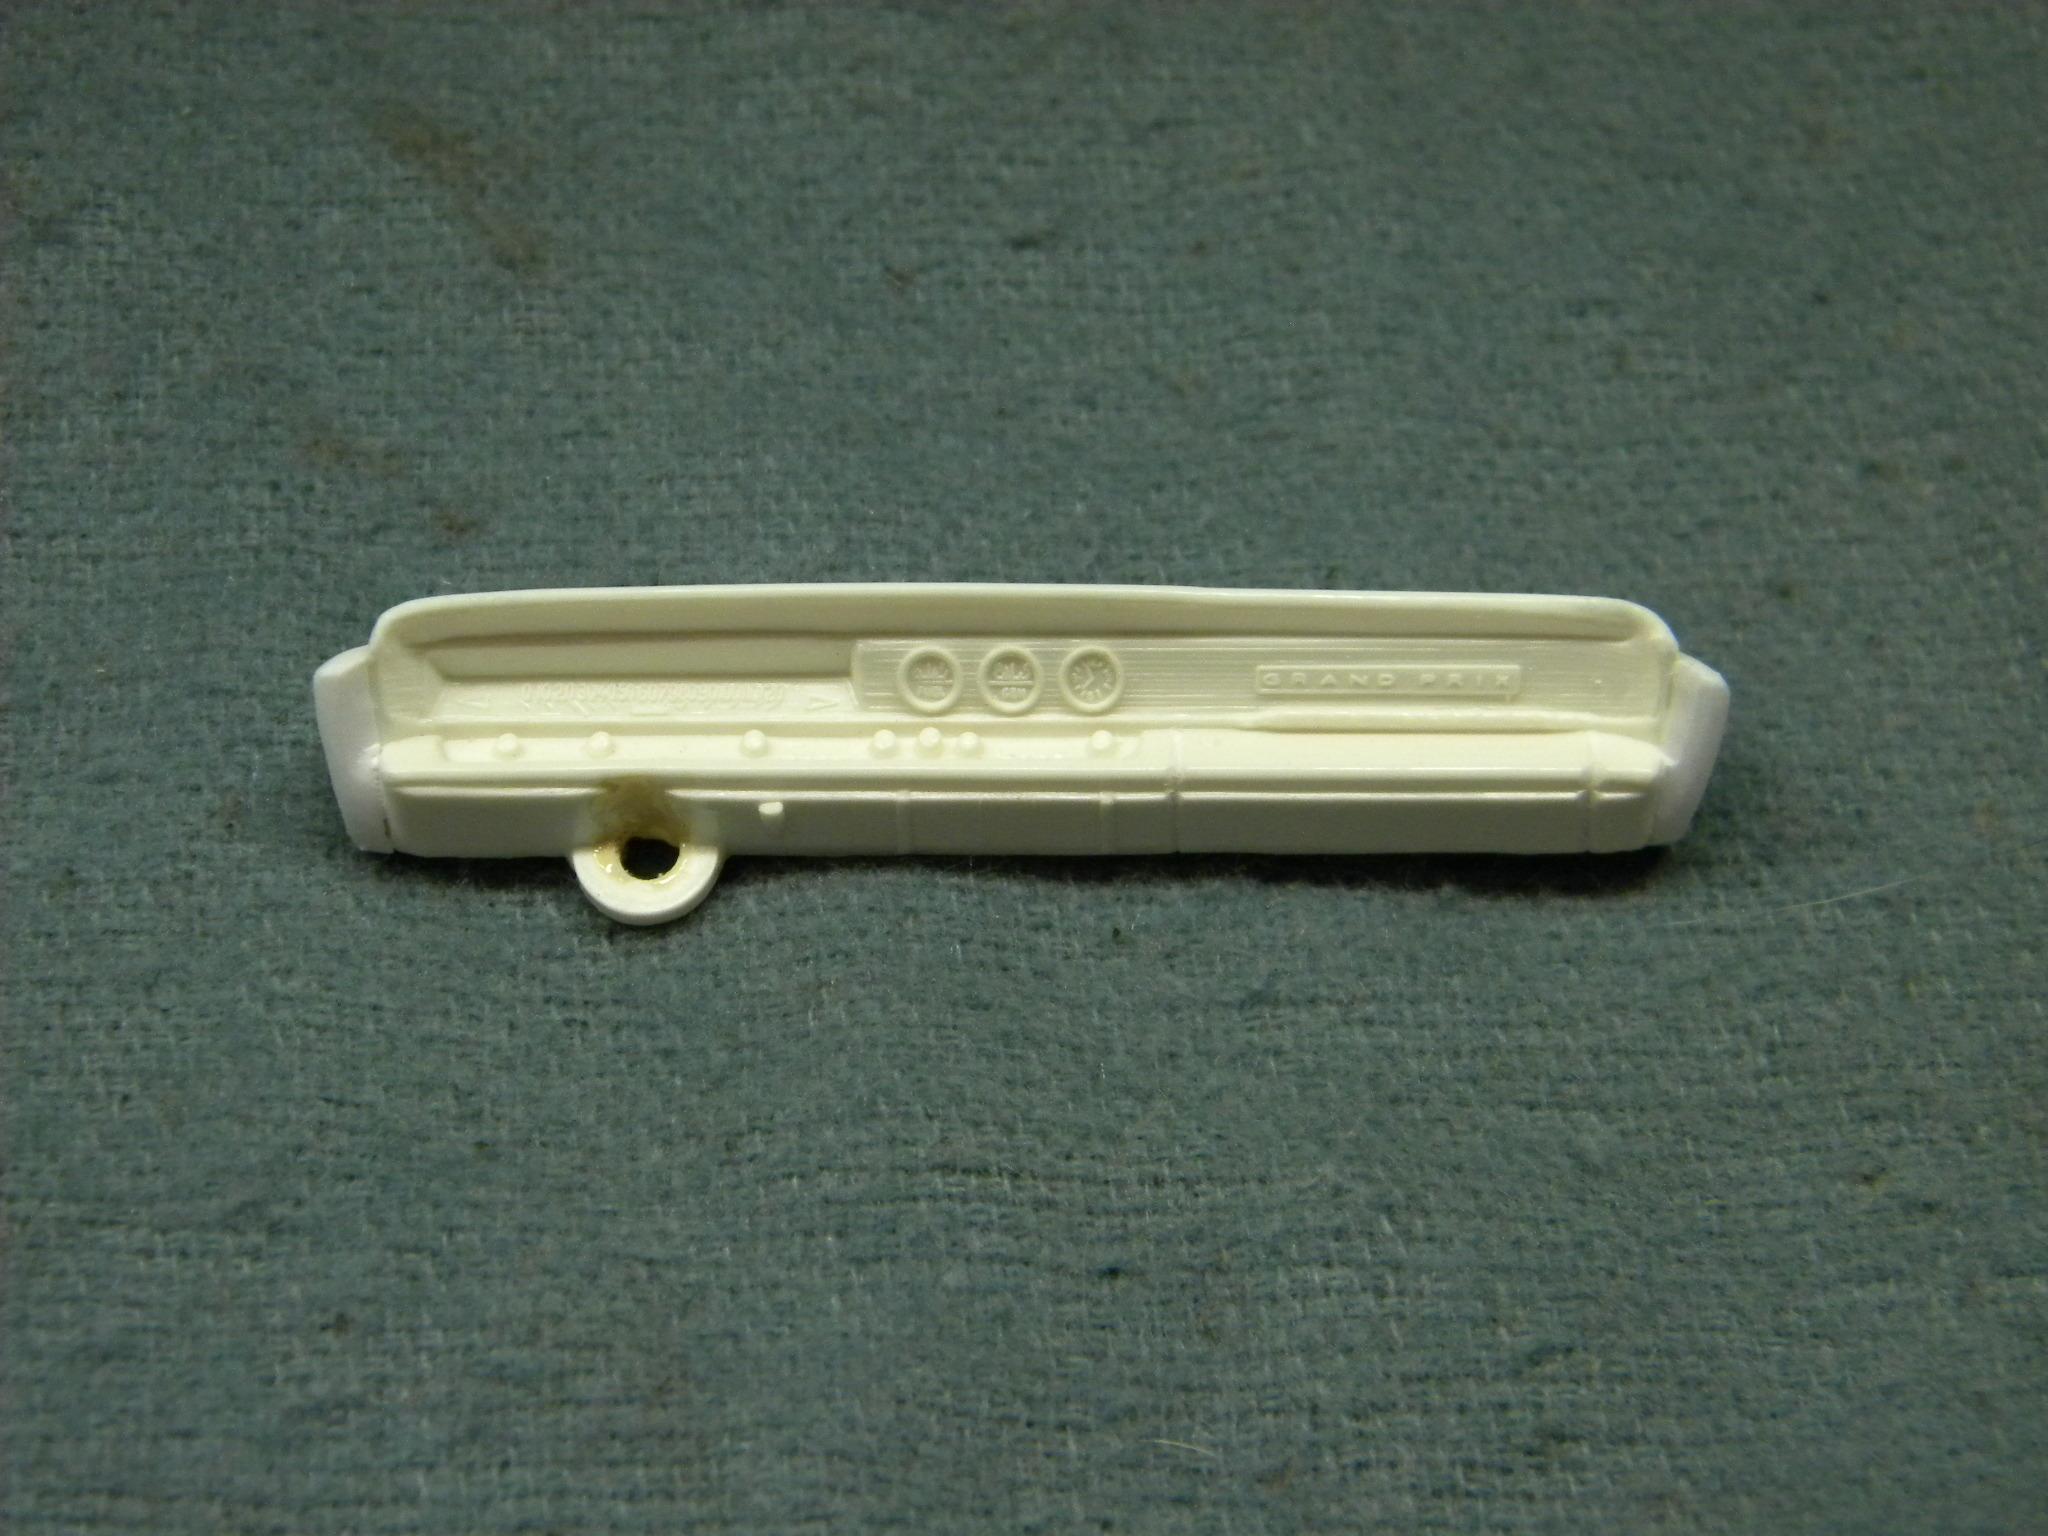
Thanks guys. The knobs will be pieces of plastic rod, the base slightly larger and drilled out for a smaller knob to be slid into the base. I used this technique once before on a 1967 Pontiac Bonneville dash. Actually Keith, believe it or not, they are readily available from "Best Model Car Parts". Steve

-
Thank you for your response Dann. I knew that there had to be something going on. Over 200 entries to organize in one week sounds very difficult to me! I hope that people with pending entries will take mercy upon you and "GET THEIR ACT TOGETHER"!!!!!! Steve
-
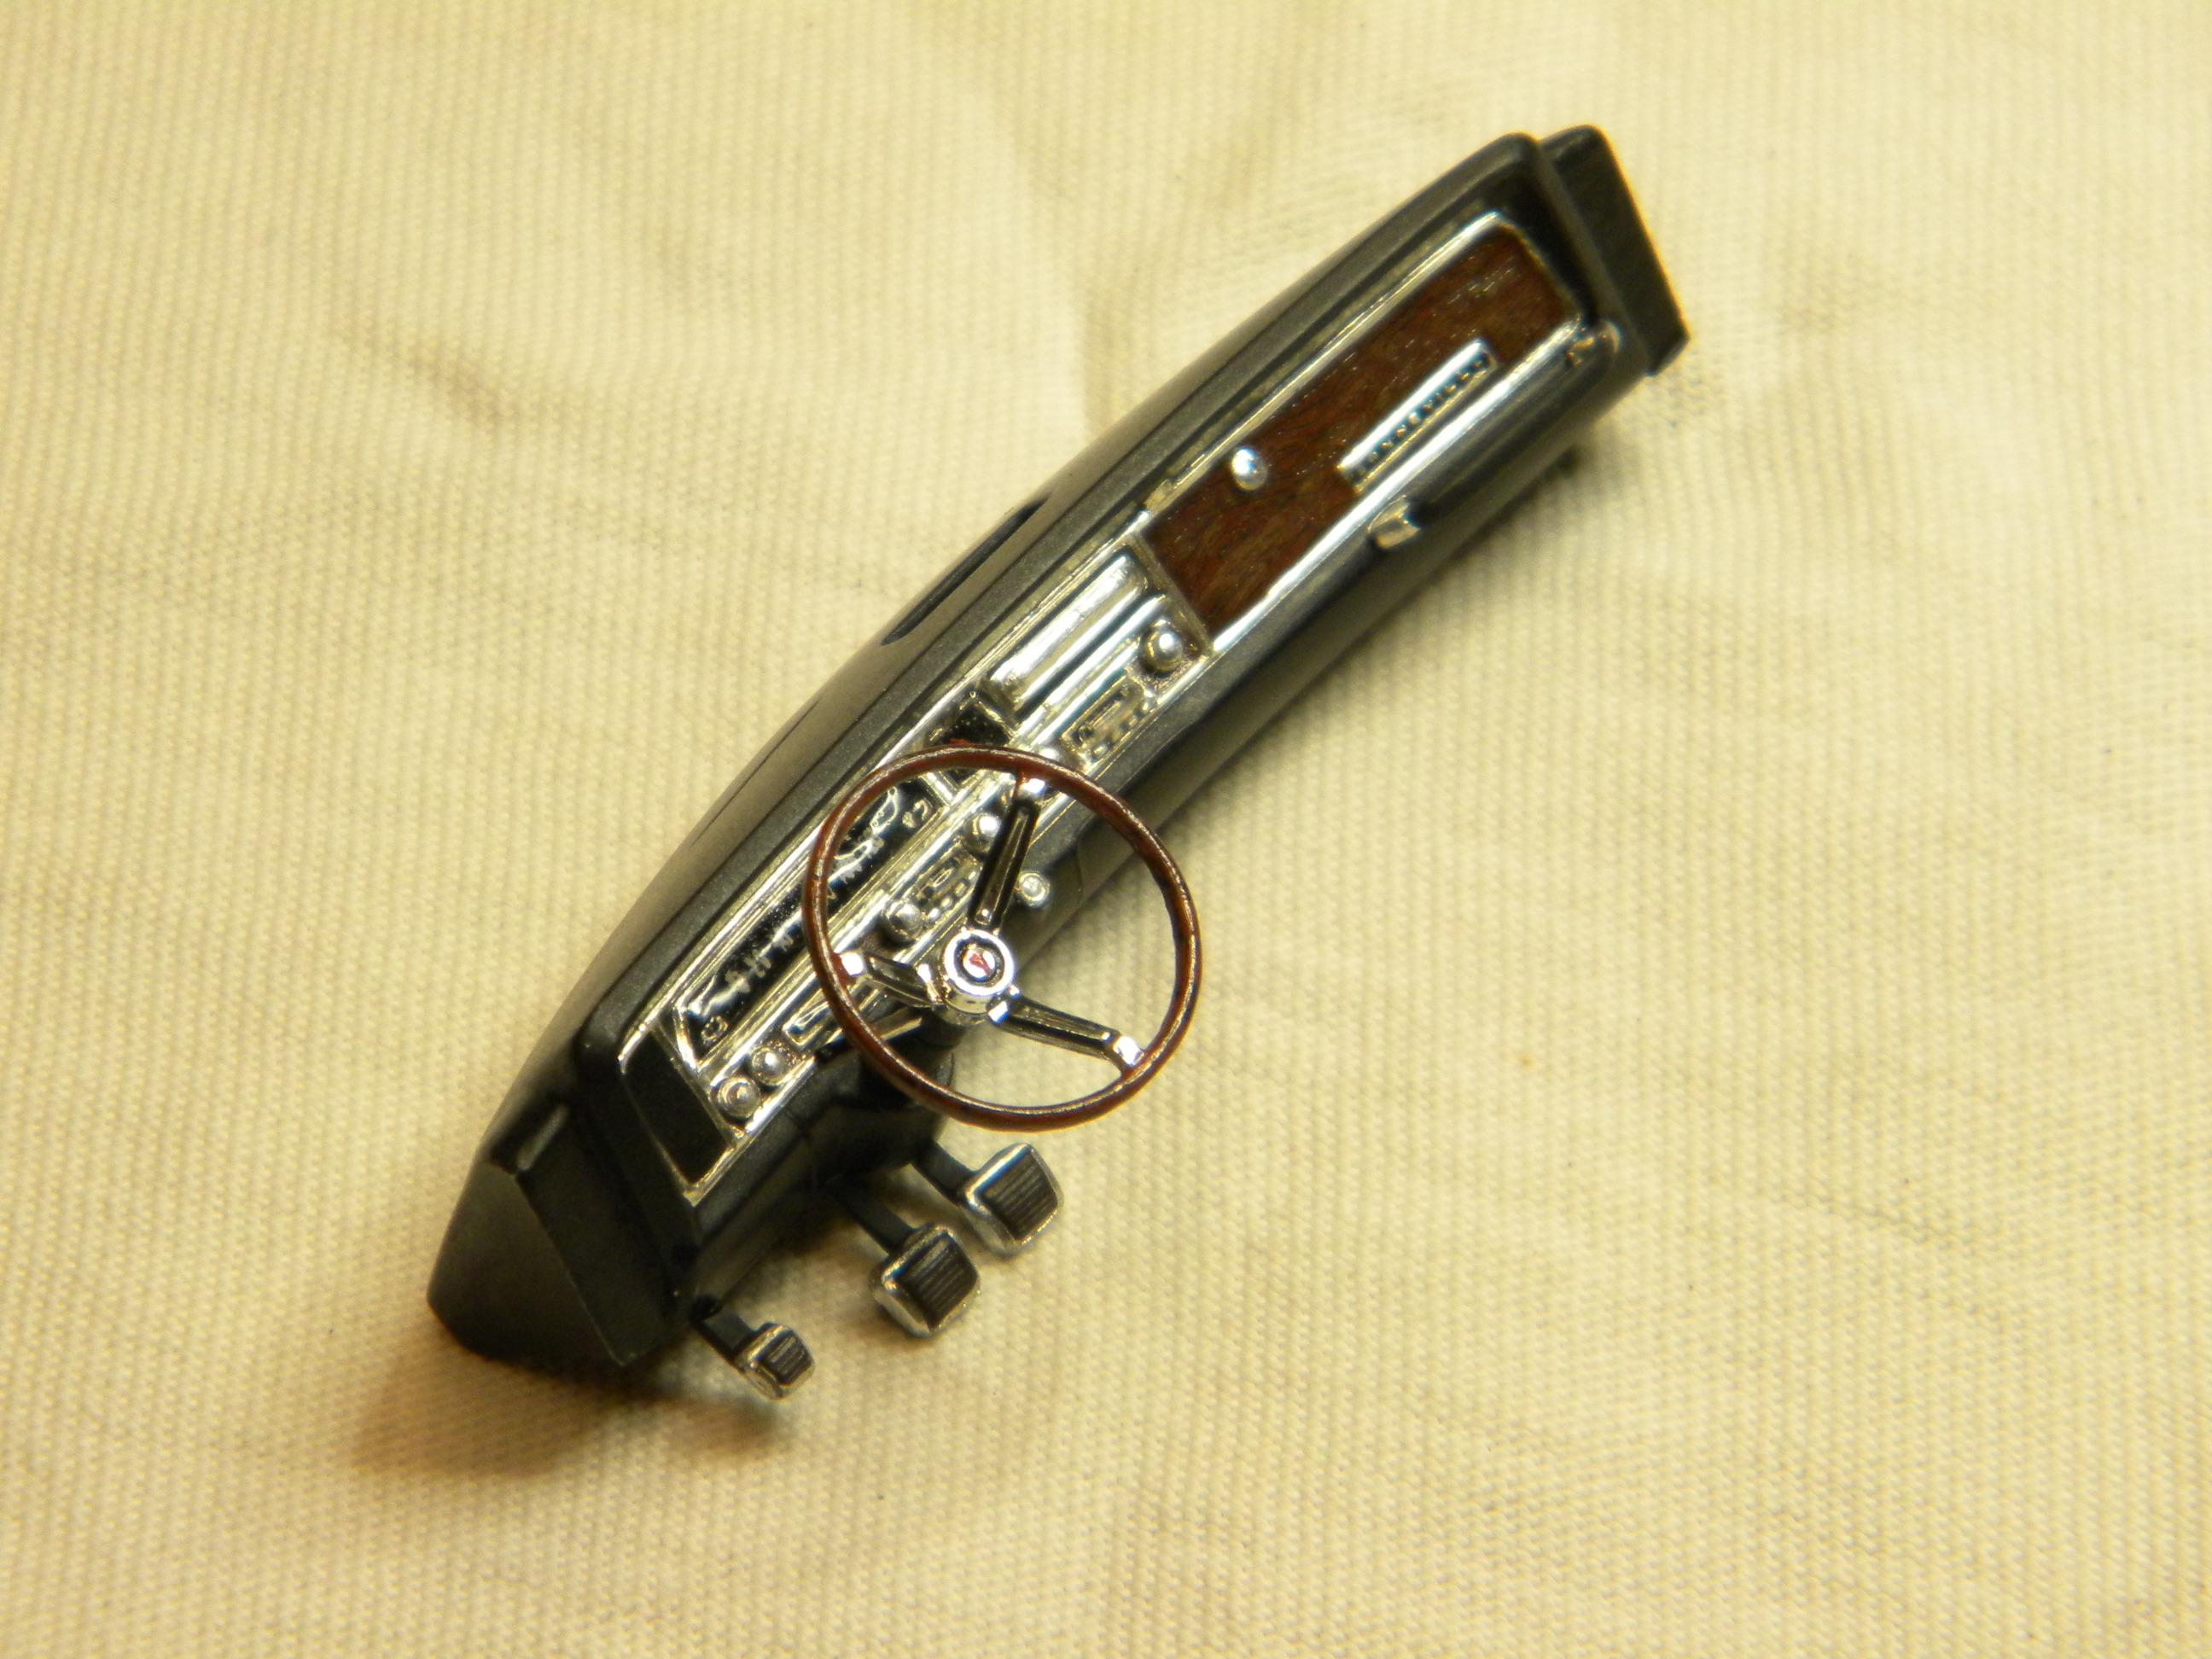
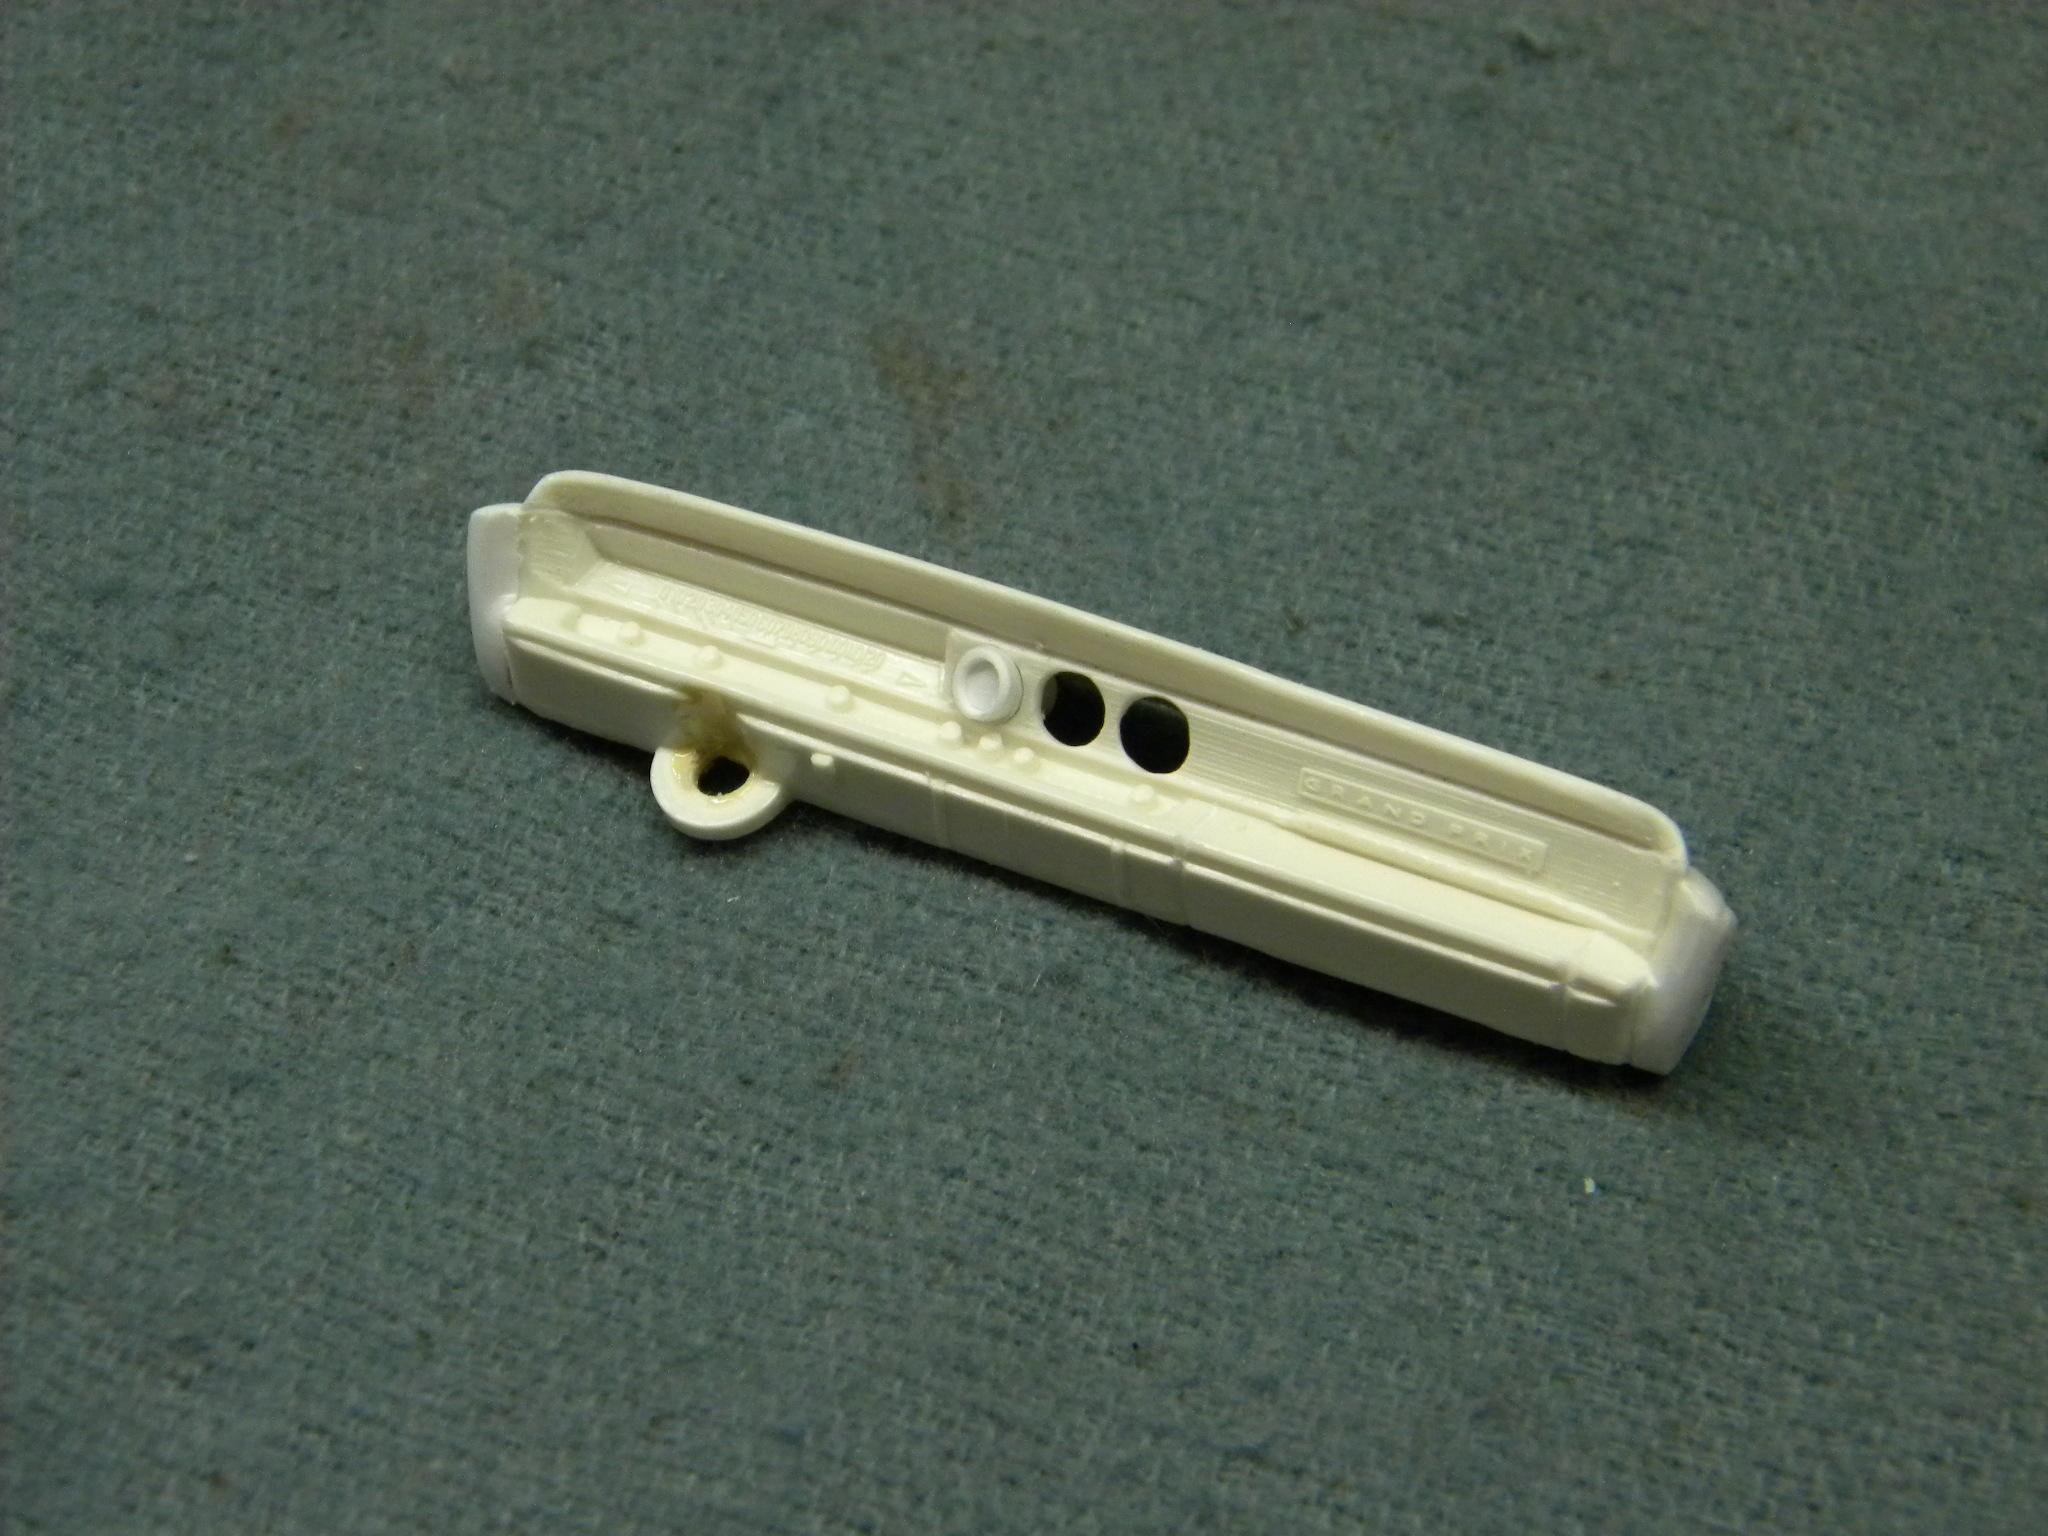
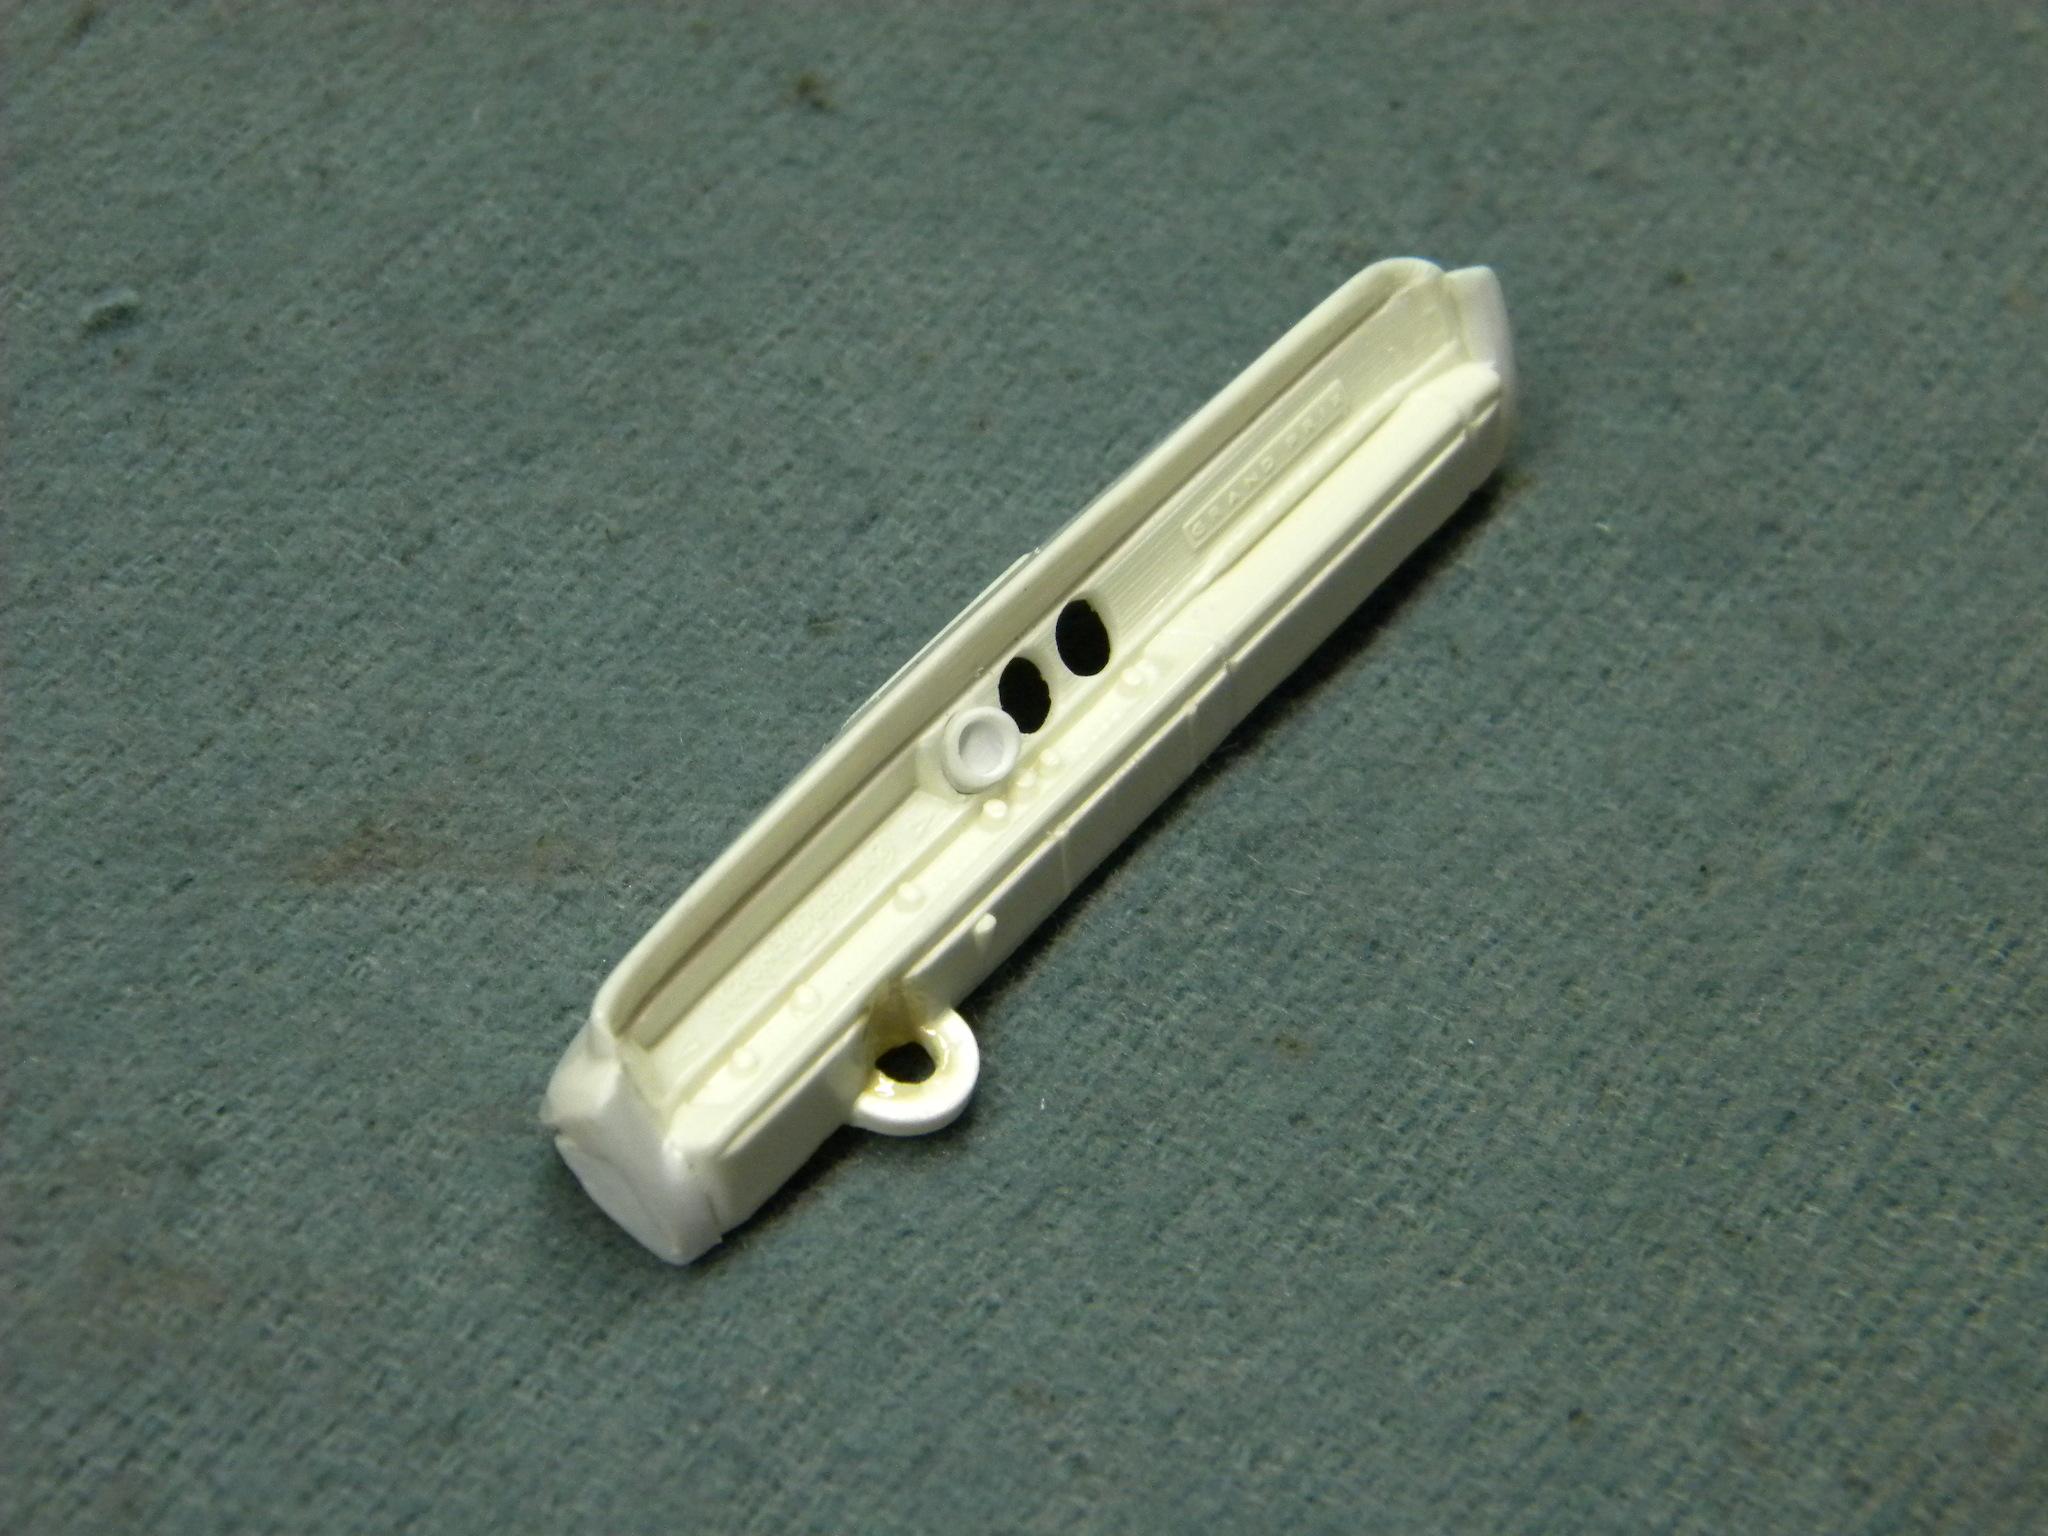
Thanks guys! I was a little nervous about that, but I knew that I could make it work one way or another. So much so that I decided to drill out and replace the dash knobs as well. A couple of the knobs were very close together, but once the knobs are in place, there shouldn't be a problem. Steve
-
Extracting Those Pesky Screws
StevenGuthmiller replied to Bucky's topic in Model Building Questions and Answers
In the future Keith, there is a pretty simple way to remove stripped screws without any fancy tools required. All you need are 2 flat blade screw drivers. If a particular screw, (or screws) are stripped, simply slip the blade of a flat screw driver under the chassis some place, (there is always somewhere that you can do this) and very lightly pry up as you back out the screws with the other screw driver. As the screws begin to release and you have space to get a finger tip between the body and the chassis, you can pull up on the chassis as you back out the screws. What it basically boils down to, is that all you need to do is add some light pressure under the chassis plate to assist the screws. I have removed a lot of stripped screws, and this works every time as long as the chassis is not glued in place. Steve -
Hi Dann. I have to ask. I have visited the website several times over the past couple of weeks, and particularly the "Championship" section containing all of the entrants. It appeared to me that there were no where near 300 entries the last time that I visited, (very recently) so I counted them and came up with 87 entrants. Am I missing something? Are there other pages of entrants that I'm not seeing? If so, I have not been able to find a way to turn the page. Many of the categories contain only one or two entrants, including categories such as "Customs" and "Street Machines". I have to be missing something. Steve
-
Nice progress Steve! I wish mine was at the same stage! It always seems that I am making no progress in the fabrication stages of the project, even though I know that I am. Glad to see that you are moving along at a faster pace. Steve
-
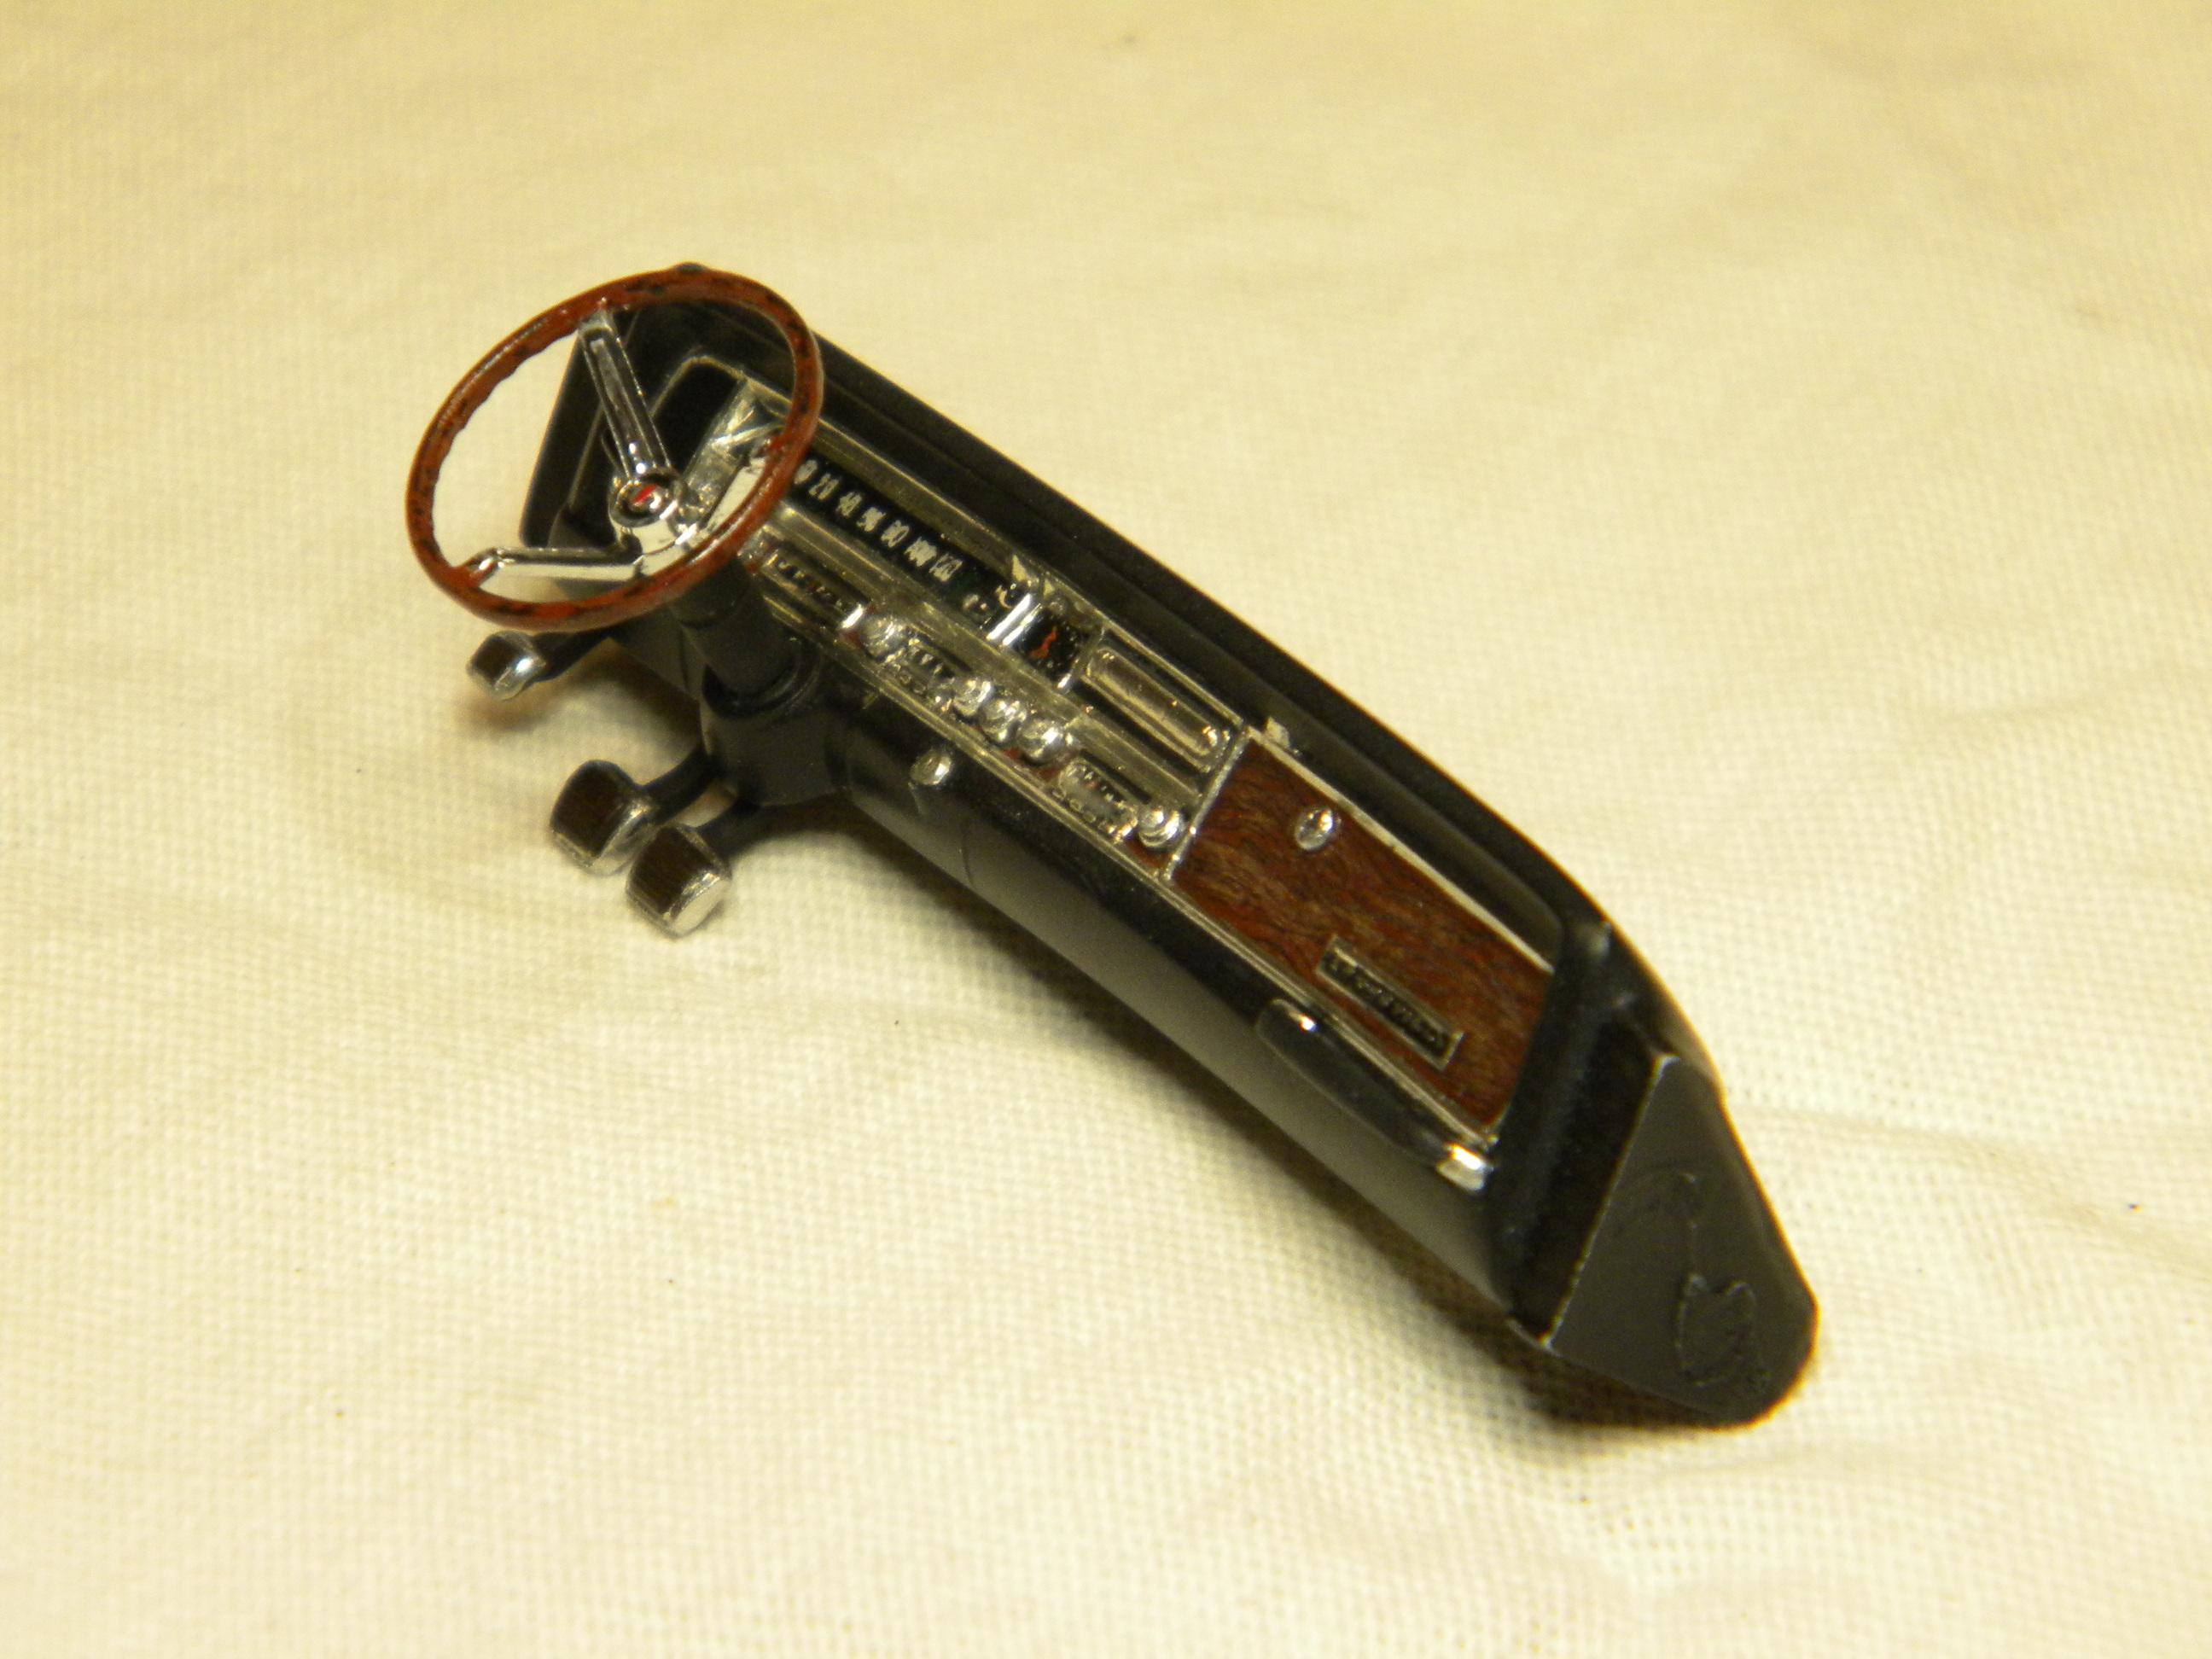
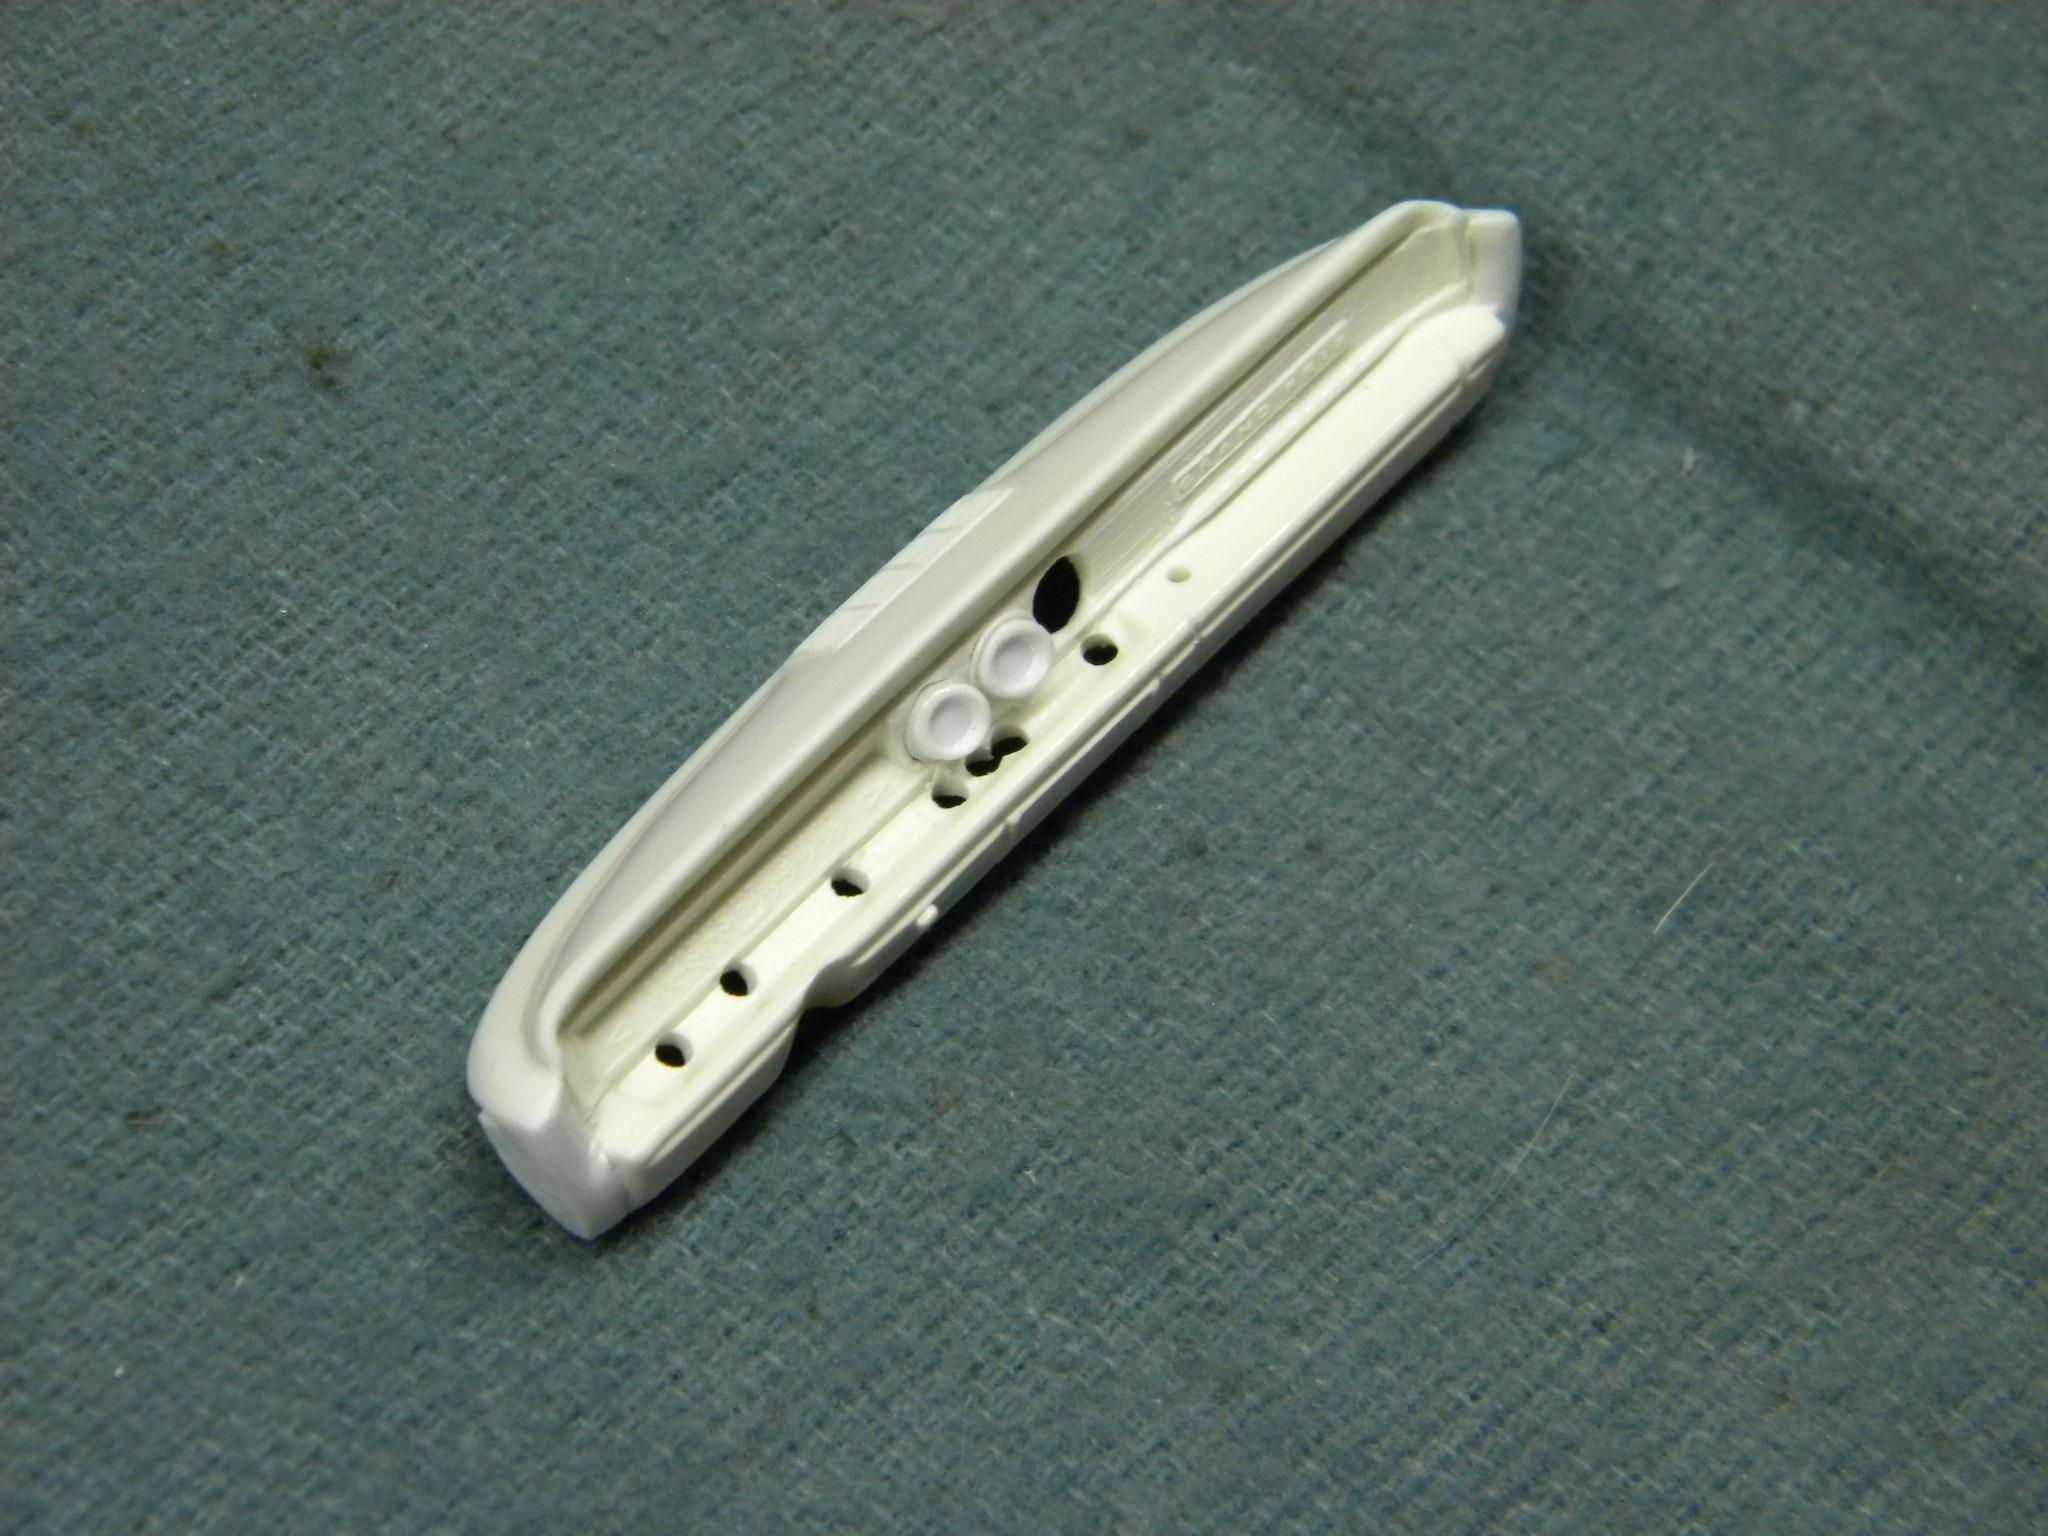
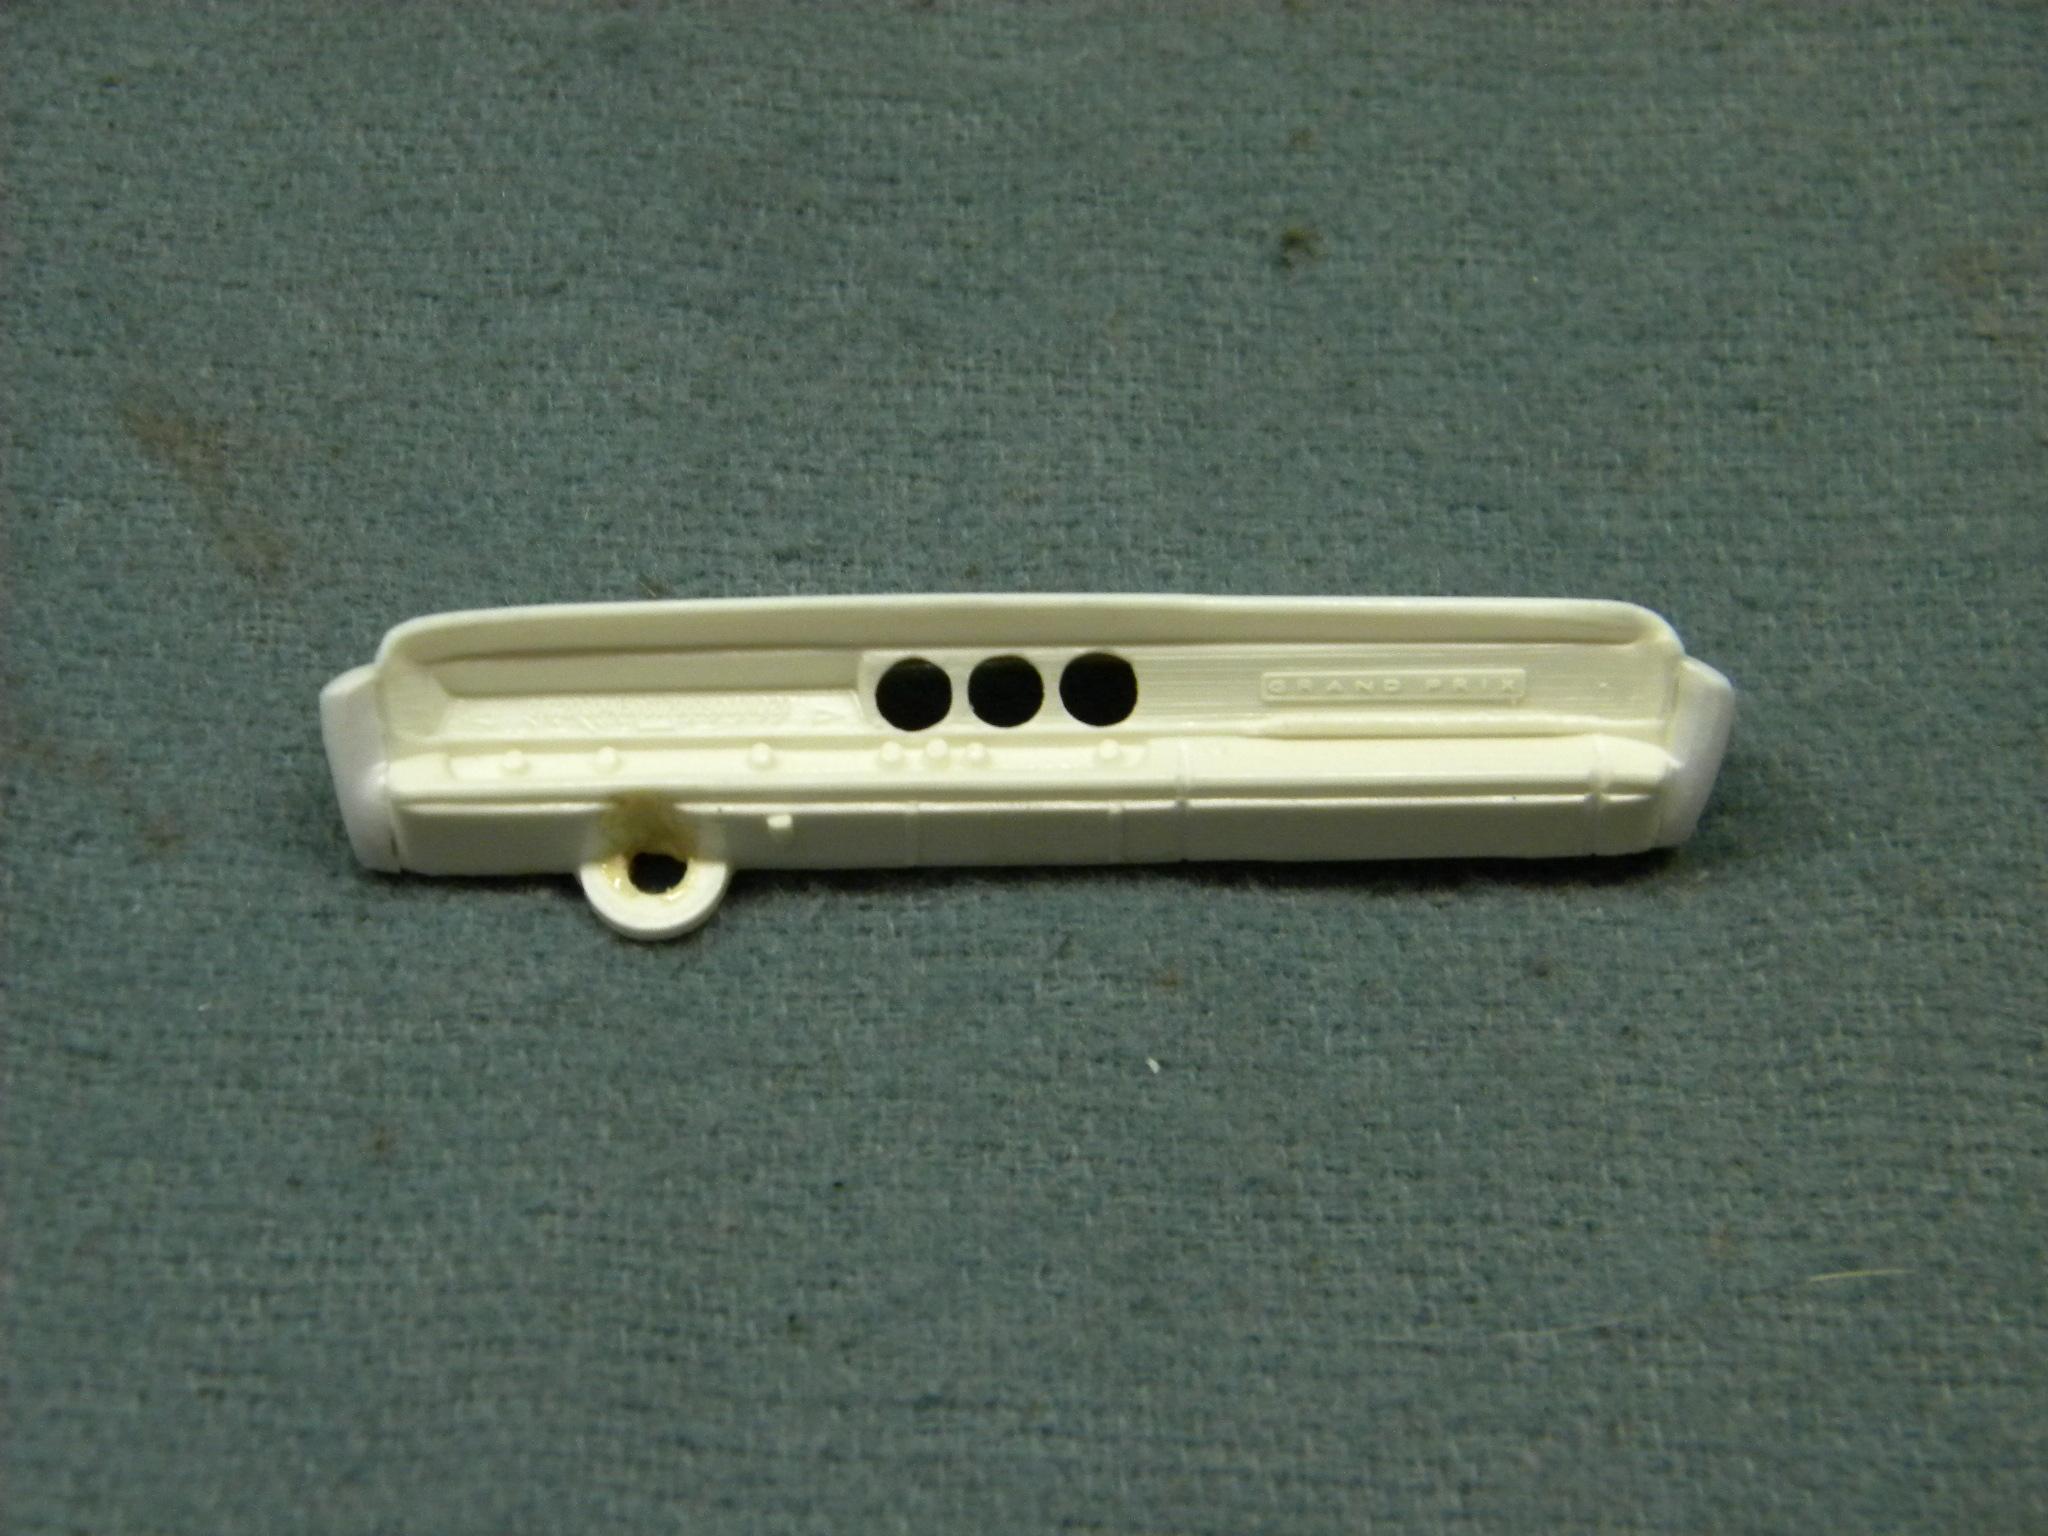
Thanks guys! Decided to focus a bit on the dashboard today. I didn't care for the flat gauge cluster on the dash, so I thought that I would try to remedy that. I drilled out the original gauges and started on the task of trying to make new ones that stood out from the dash a bit further and angled towards the driver a little as they should. Steve
-
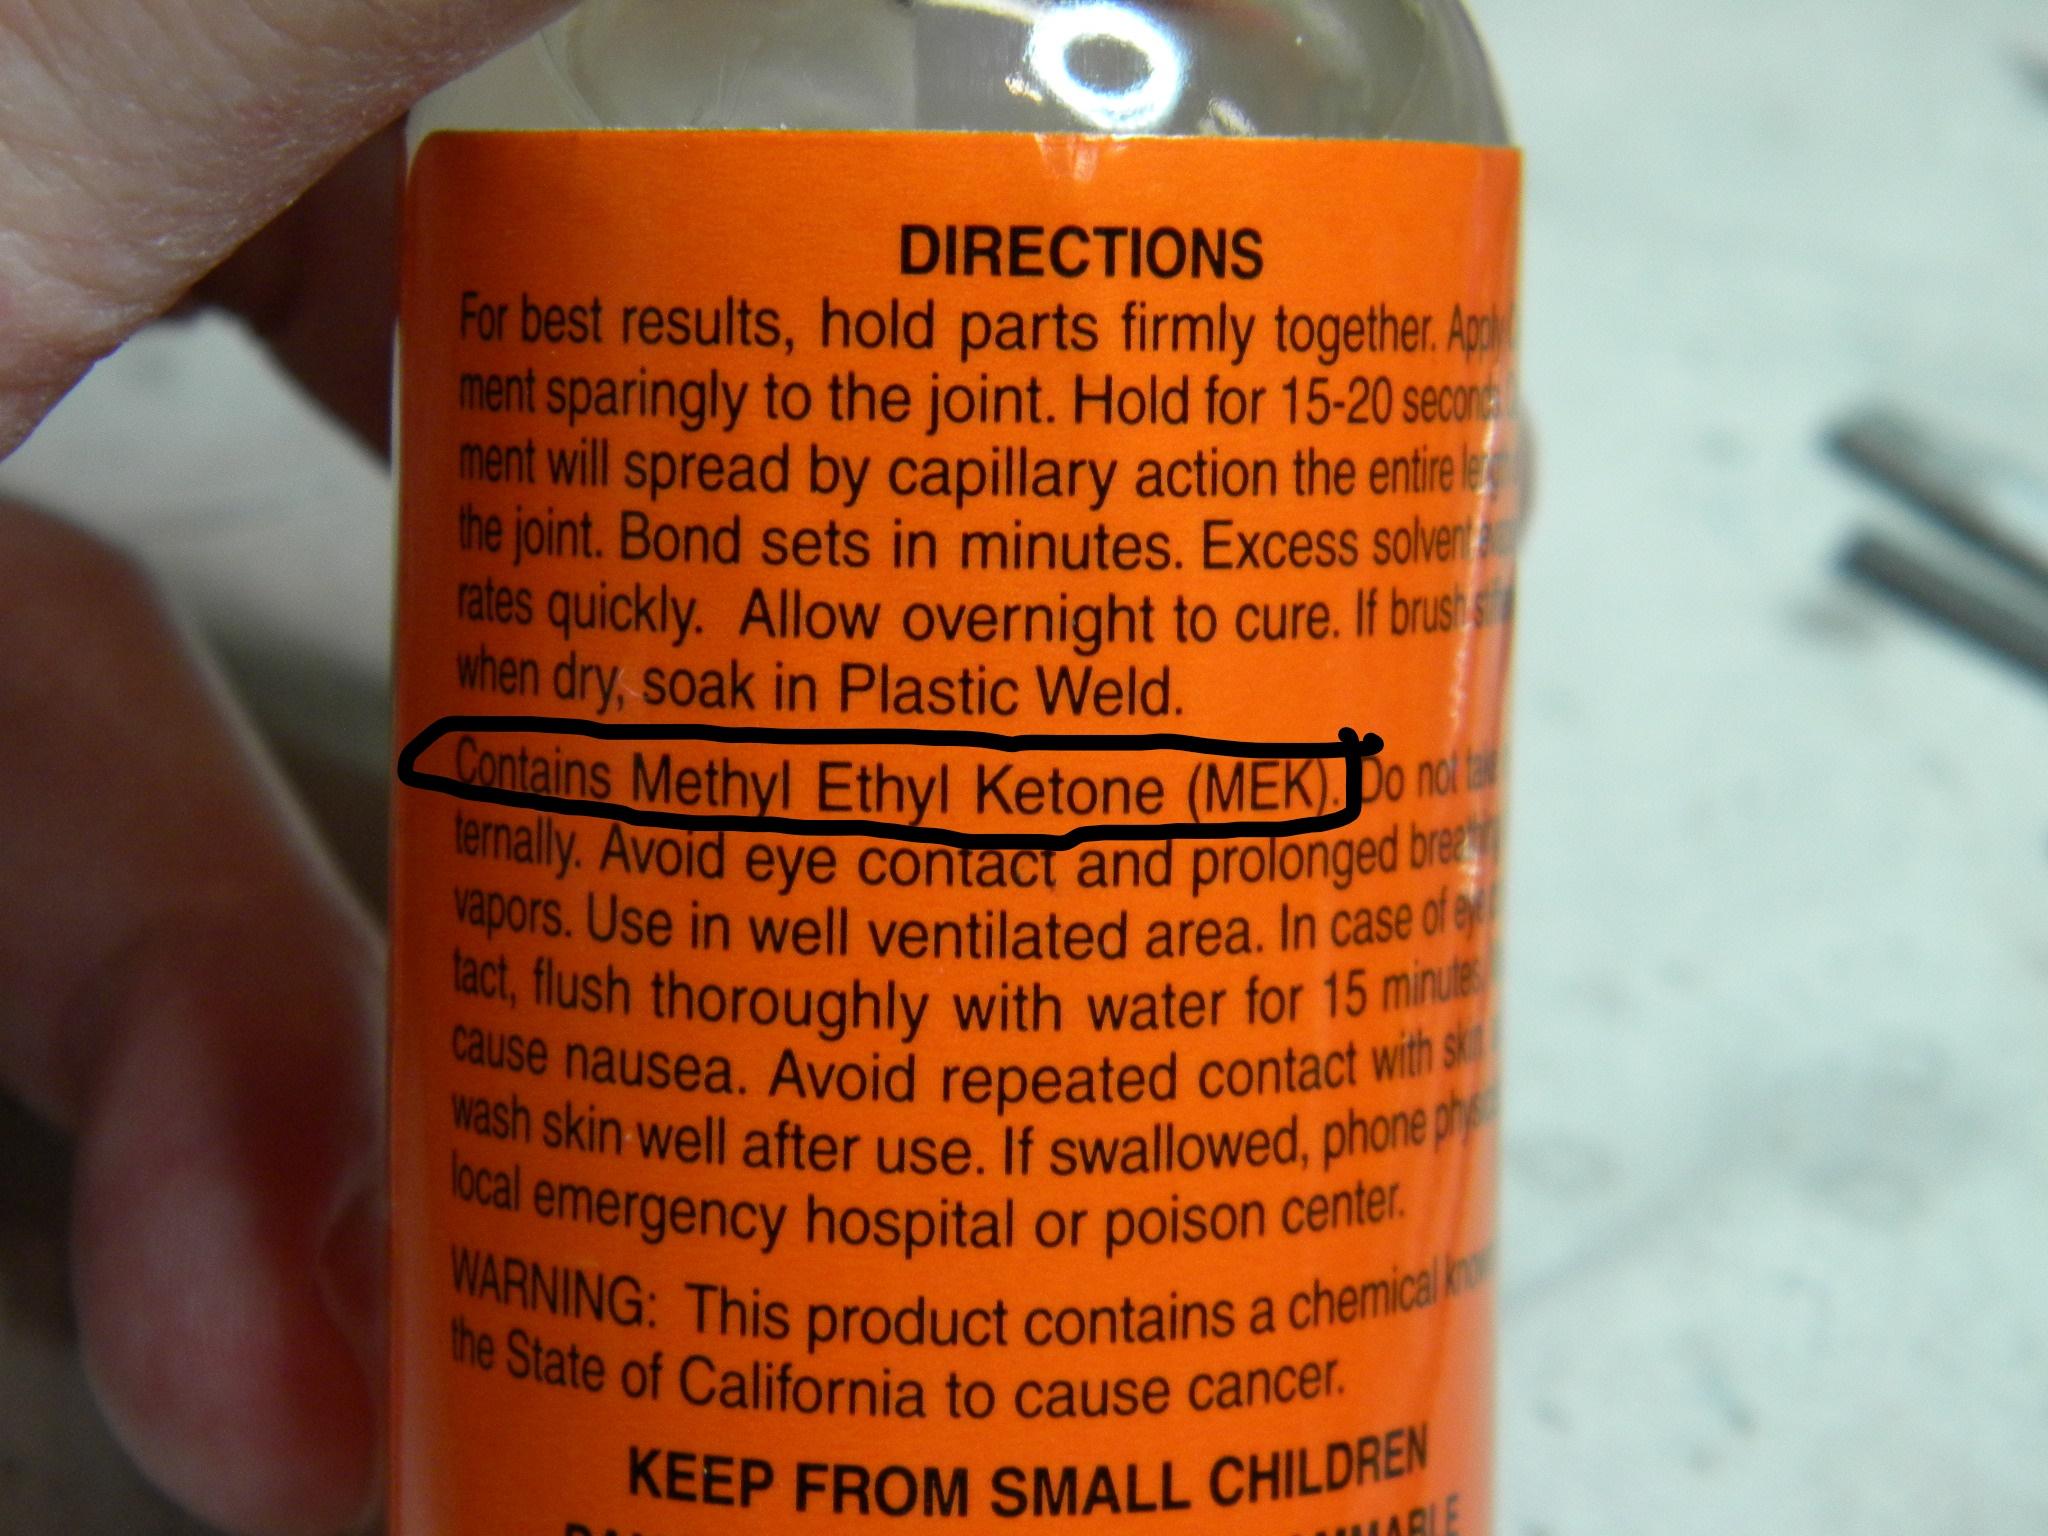
I just got this bottle in the mail last Friday. Steve
-
Plastistruct Plastic Weld is a MEK based product. Steve
-
Modelhaus Resincast 1960 Dodge Dart Phoenix WIP
StevenGuthmiller replied to THarrison351's topic in WIP: Model Cars
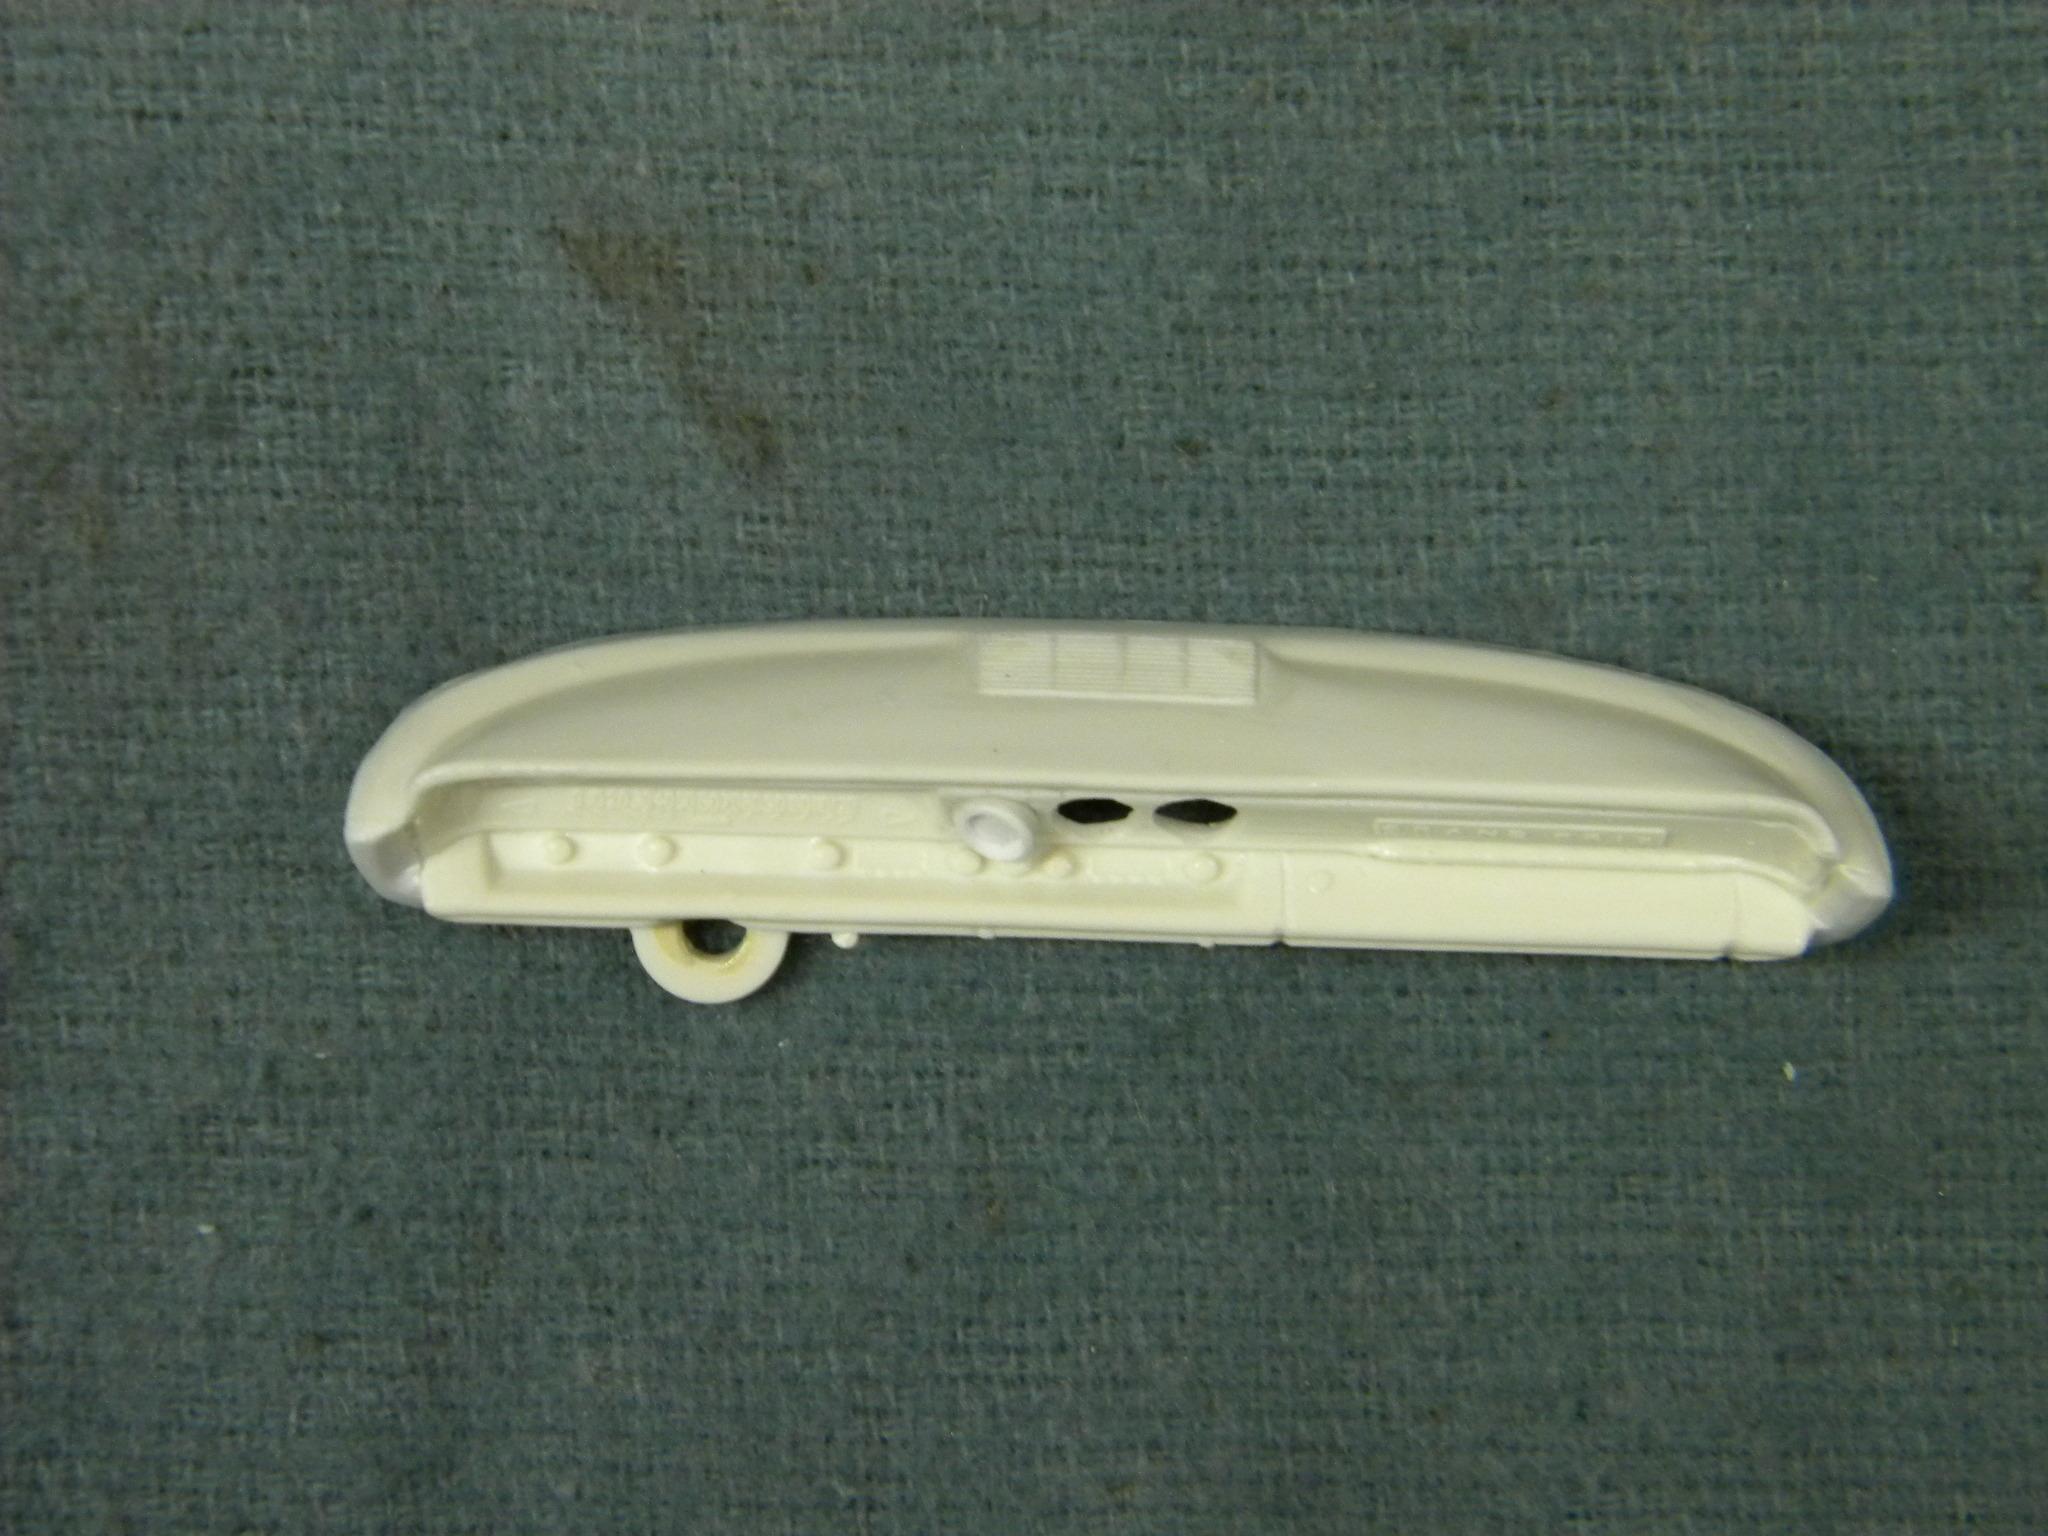
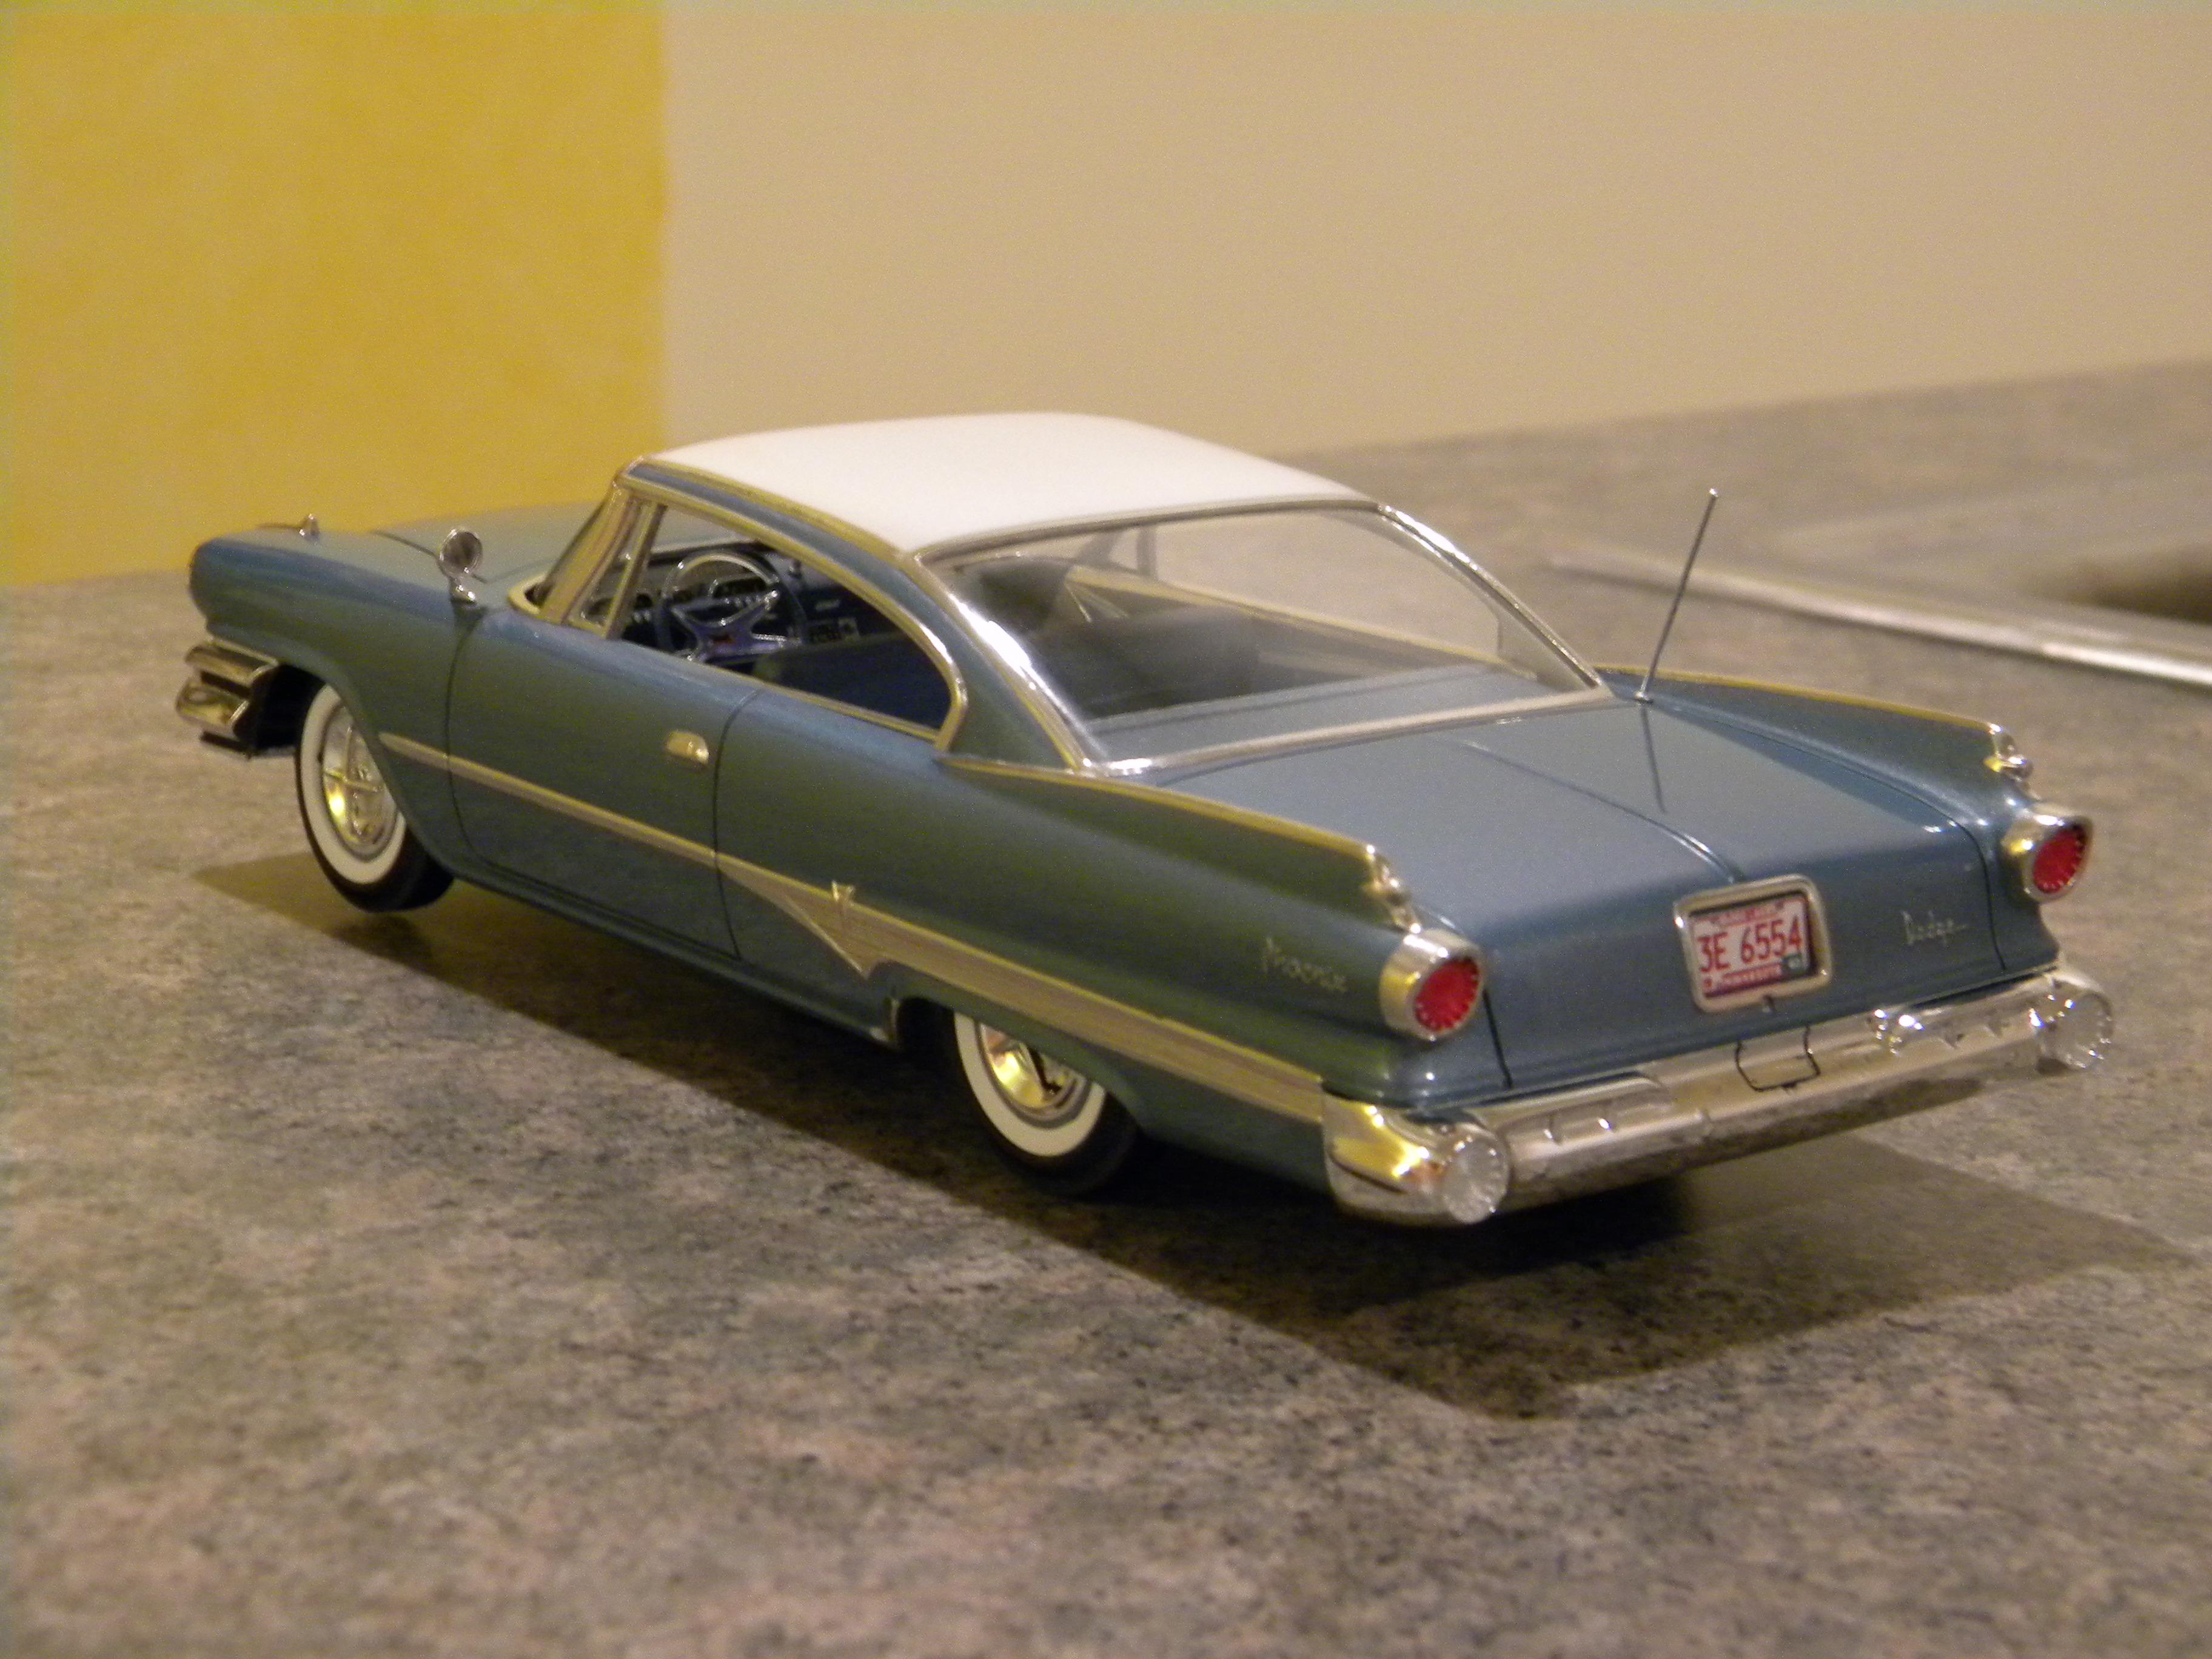
I'm curious as to why Don included the '59 Dodge steering wheel with this kit. It is indeed the '59 steering wheel. Maybe just oversight? They were usually very good about including all of the correct parts in their kits and the original Johan '60 Dodge did have the correct wheel. This is the interior of the Johan '59. And the '60. Sorry, not a very good photo, but it seems to be the only one that I have at the moment with a view of the steering wheel. Steve
-
We have it better than many. My wife and I both continue to work. She has been reduced to teaching her nursing students on line making it much more frustrating and time consuming. If I had to guess, I would say that she spends upwards of 60 hours a week sitting in front of her computer in conjunction with her job. I am still working in a part time valet position at a local cancer center. We are no longer parking patient's vehicles, but we are still helping patients in and out of their vehicles, helping to guide them around the building, and helping the nurses now stationed in the entry of the building, with the COVID 19 screening process I am very lucky to still be working as almost the entire "guest services" staff throughout the entire Sanford Health system has been laid off indefinitely. It's sad to say, but the patients in our facility are sick and frail enough that my job is still warranted in these tough times. It's also a little scary because you could say that my job puts me at the very point of the front line and there have been a couple of close calls in recent weeks. It's hard on everyone, but we have been lucky at least with the employment aspect, and we can't complain too much. Steve
-
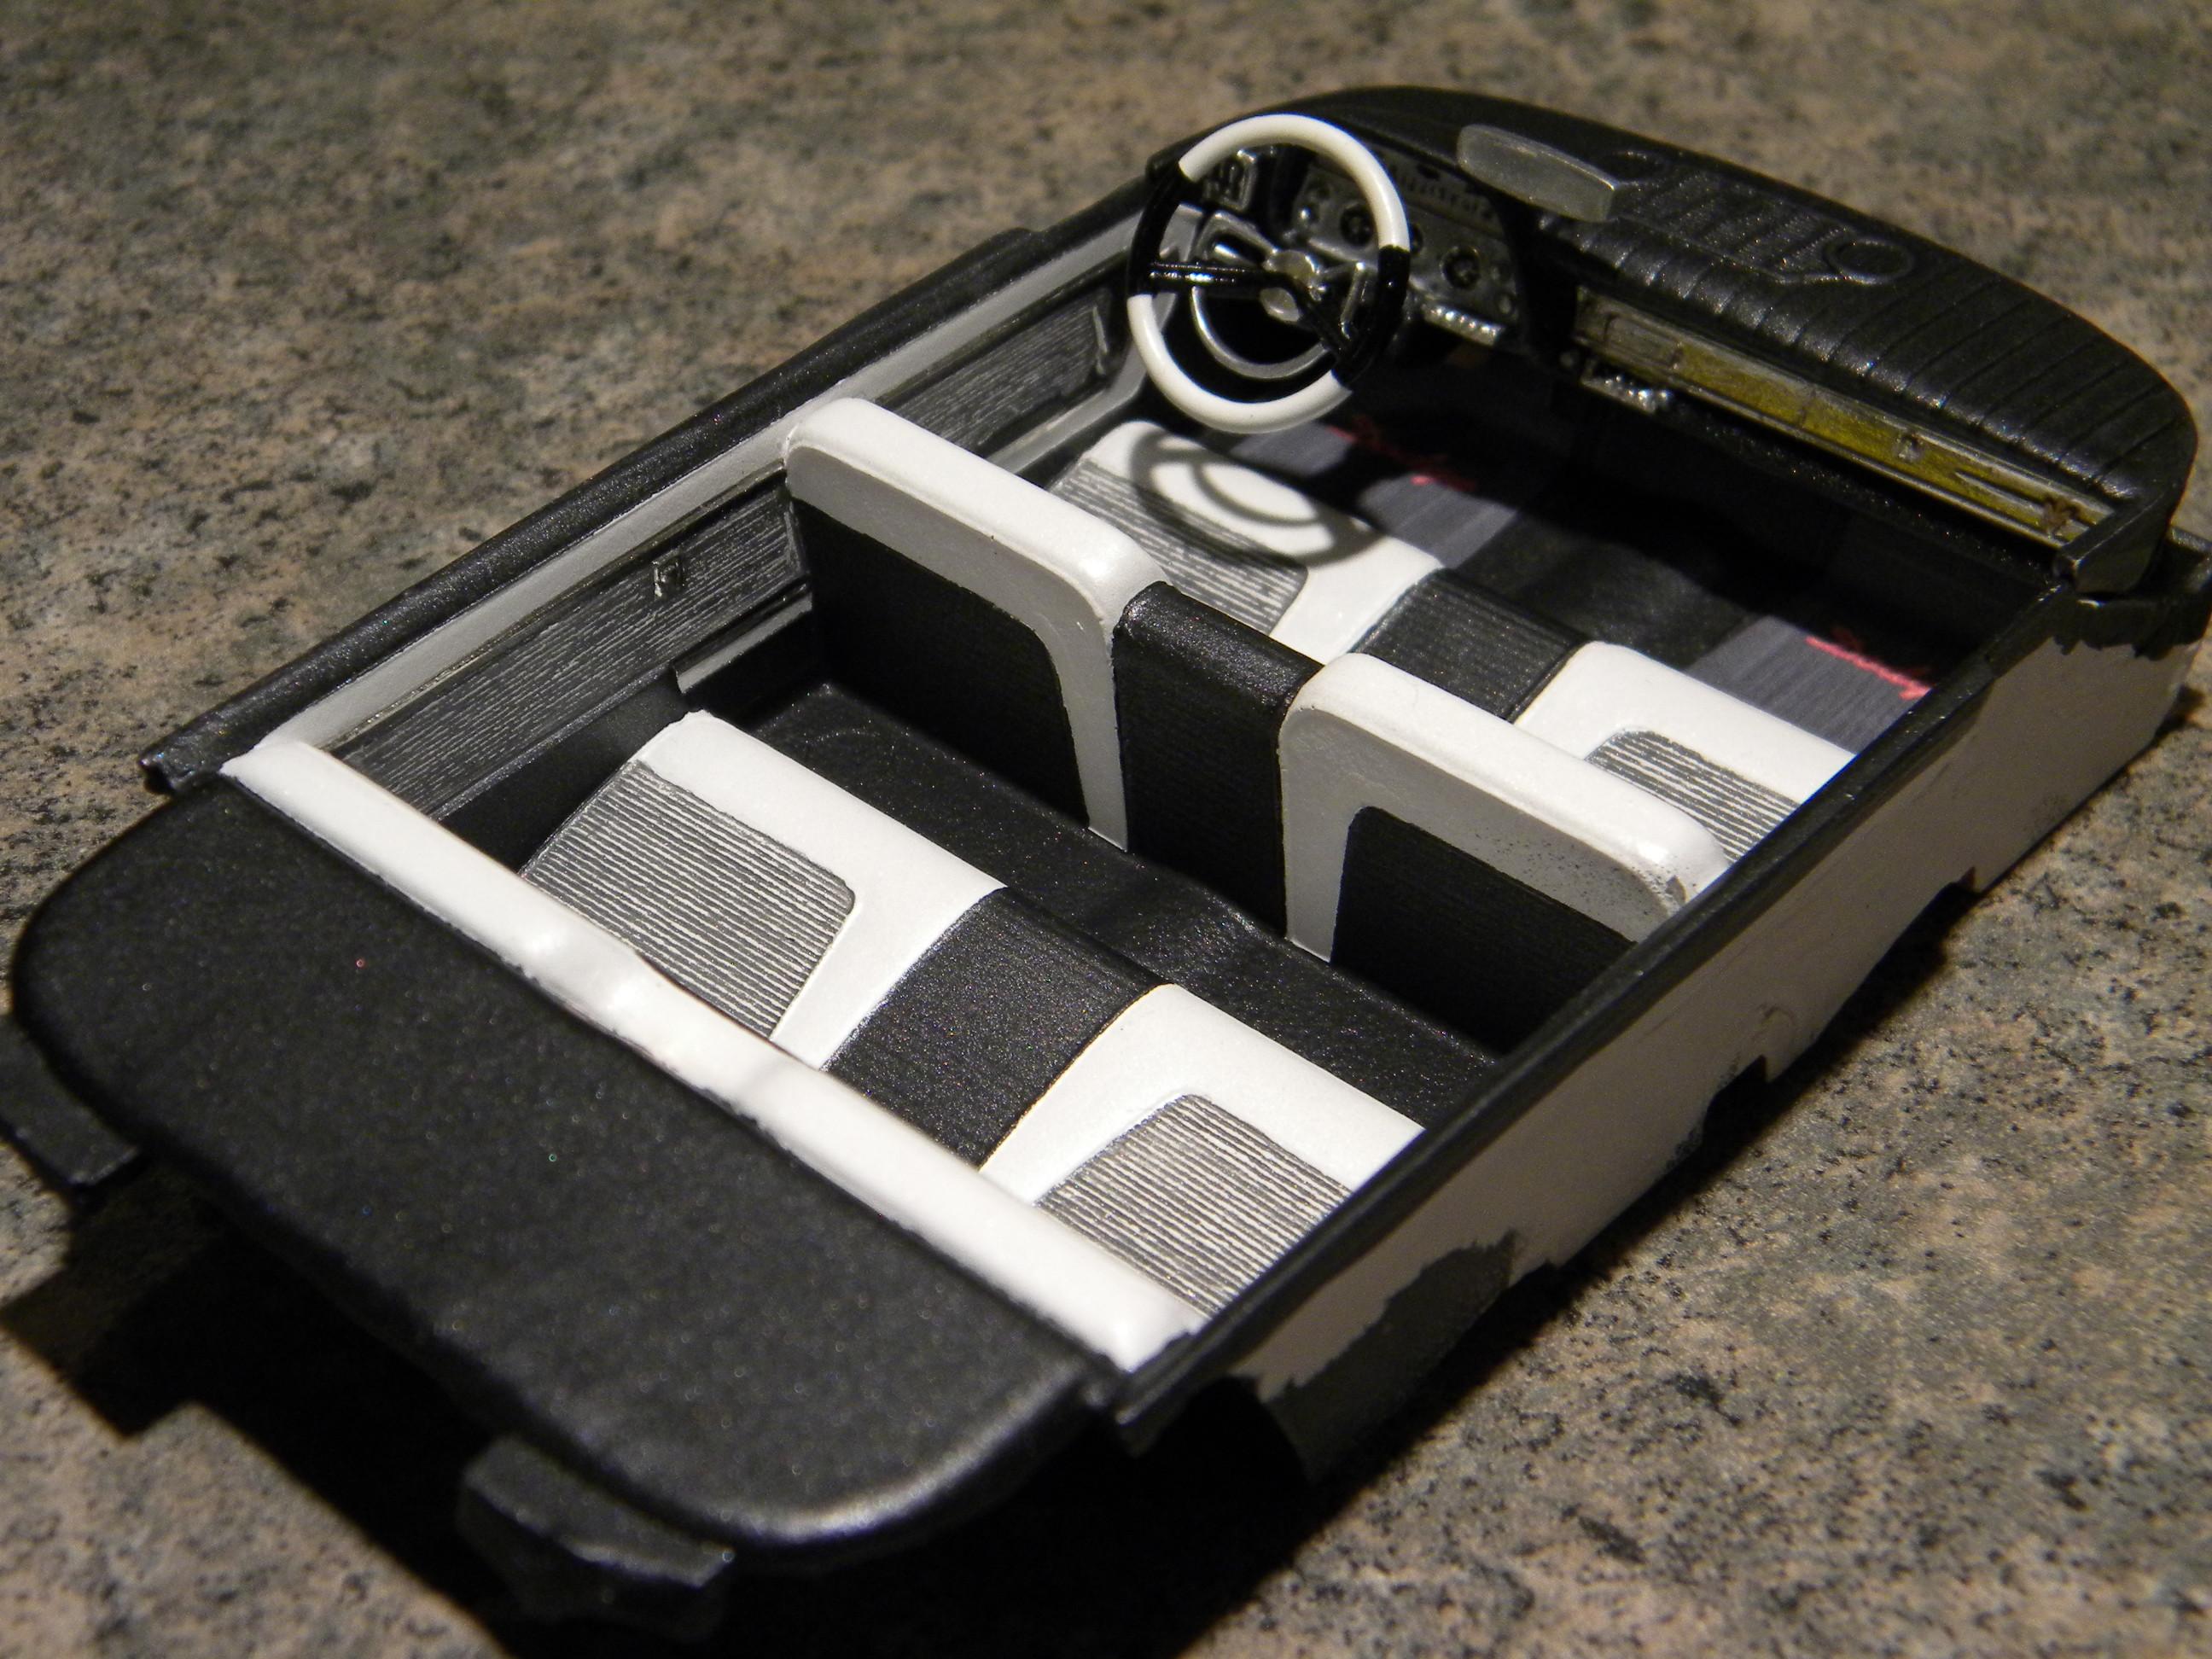
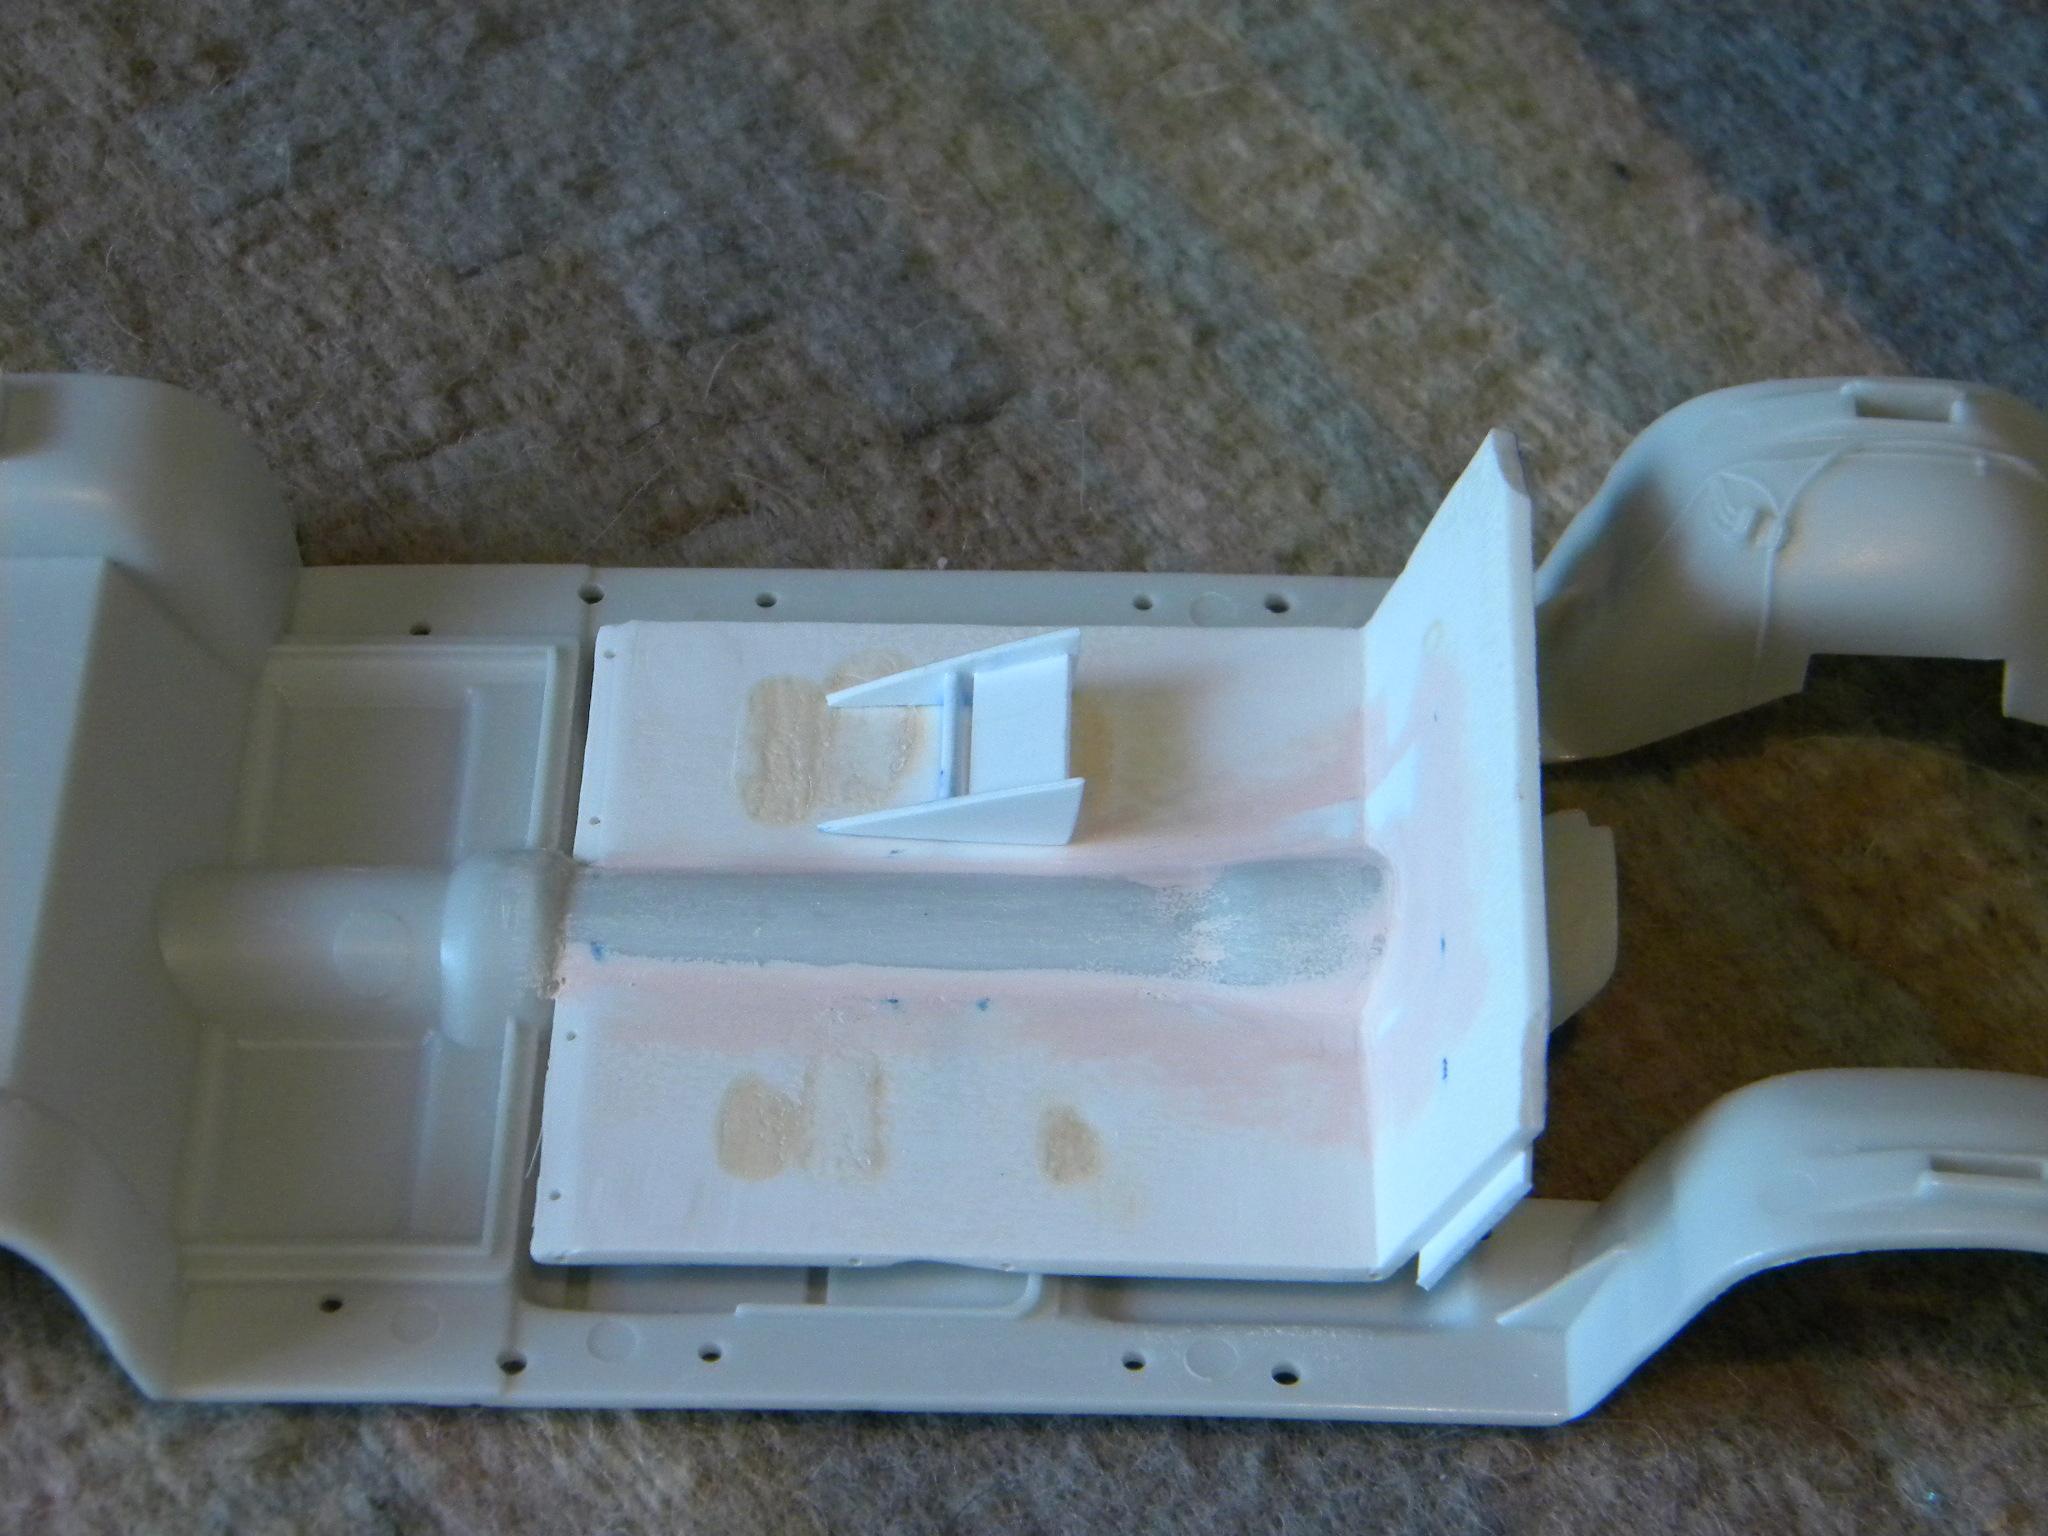
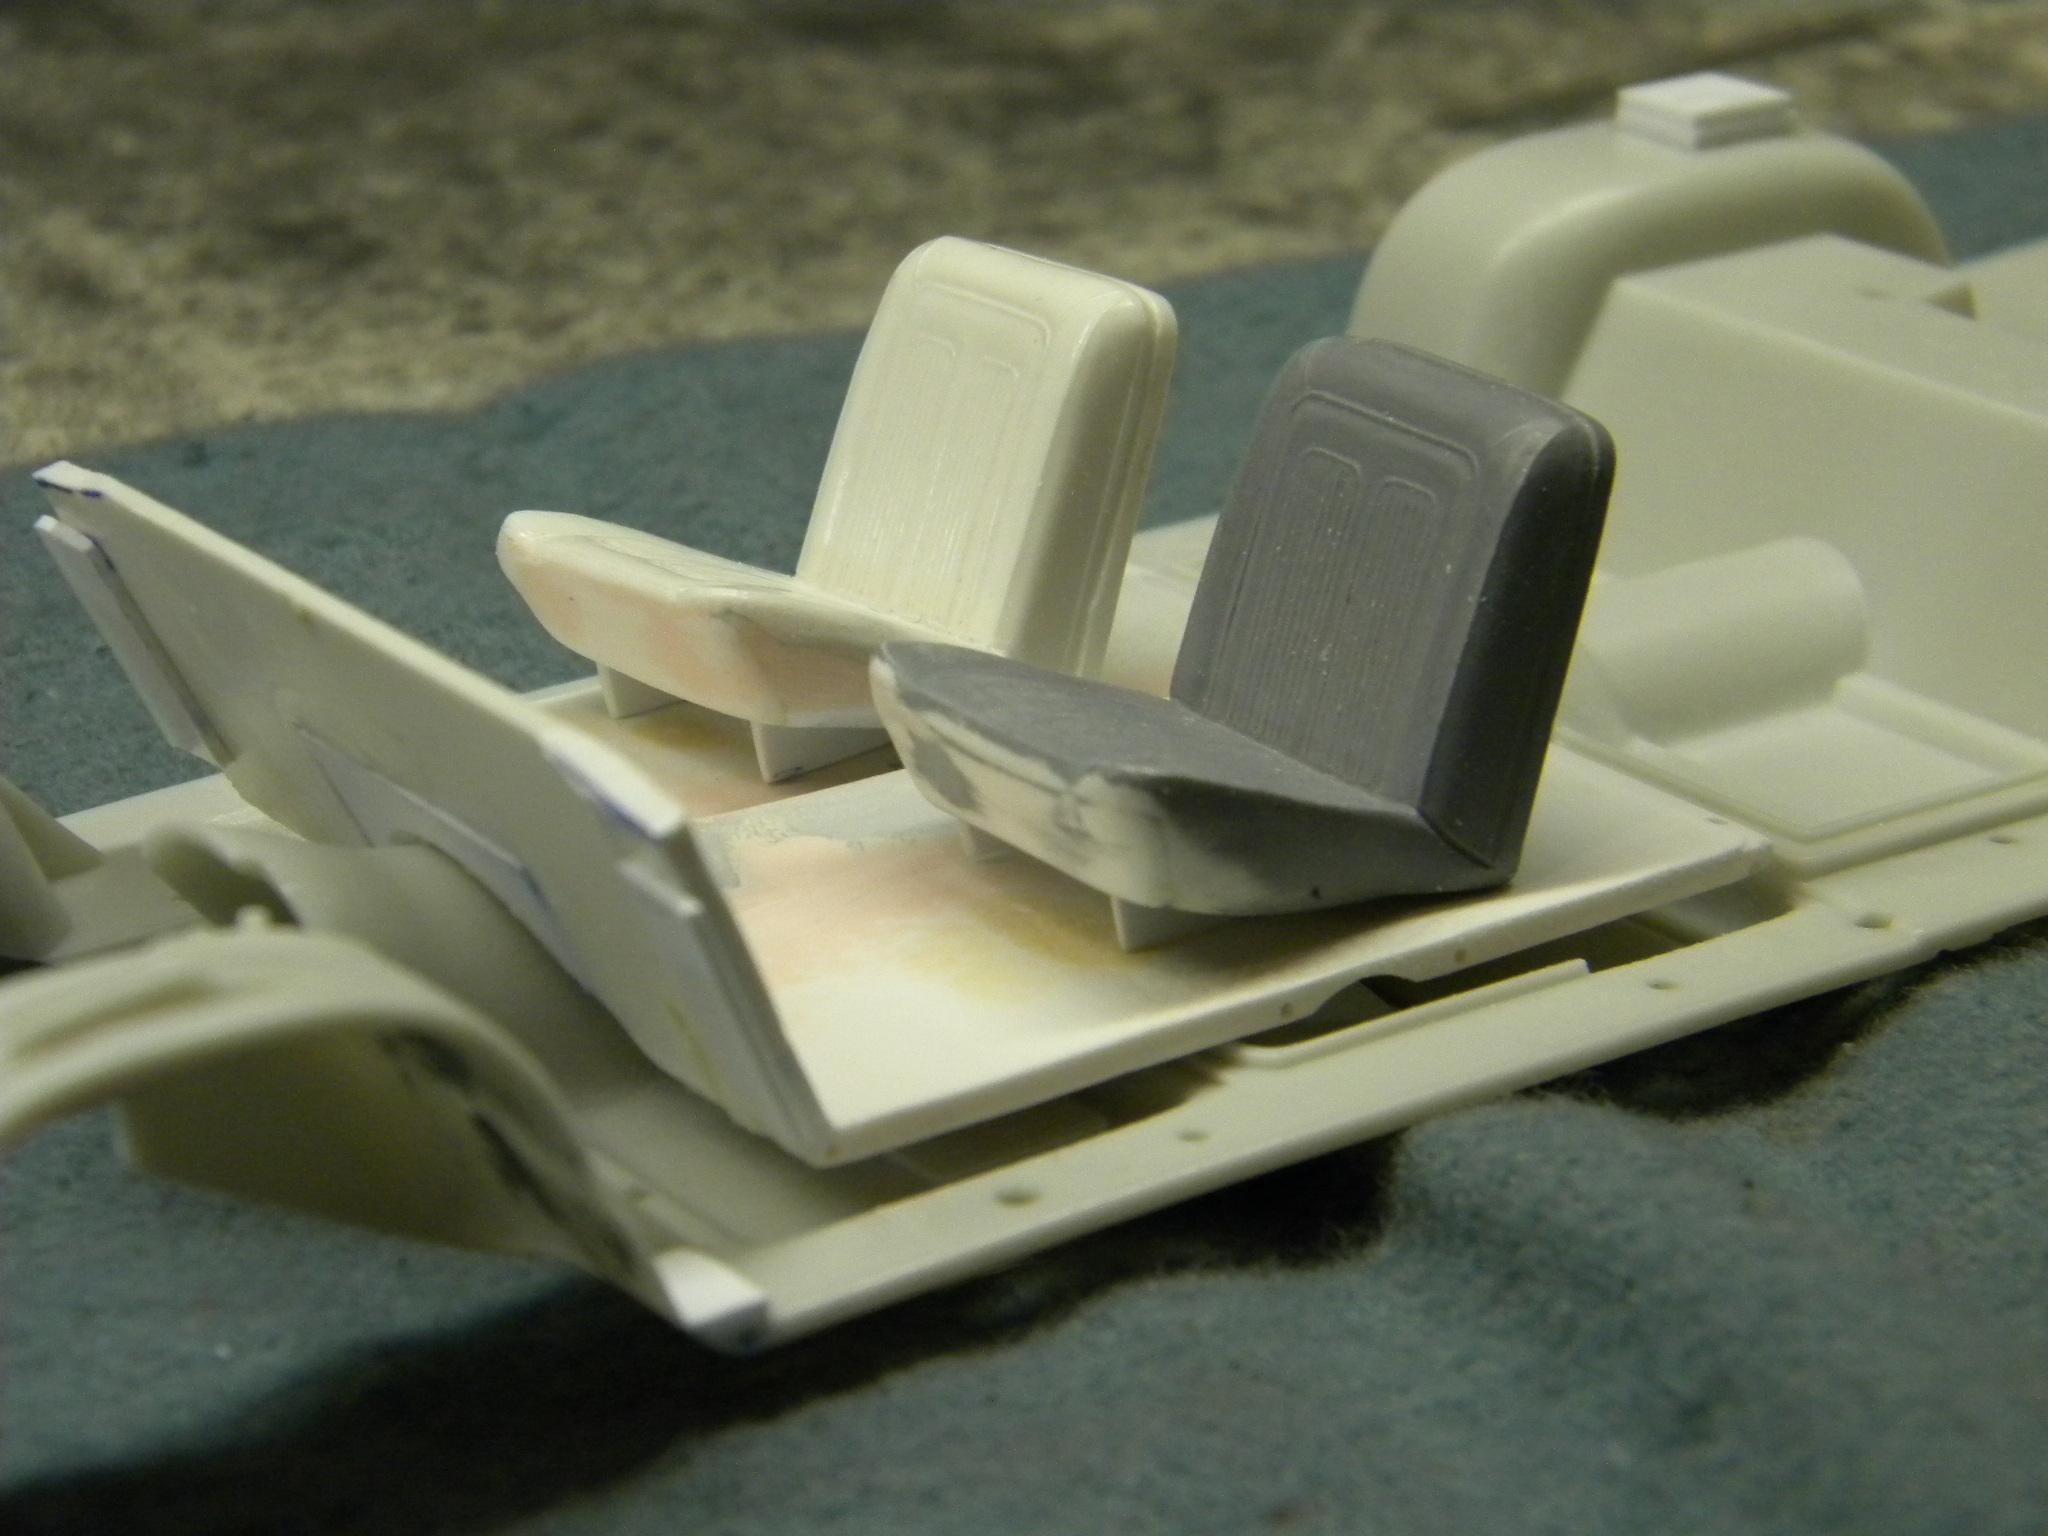
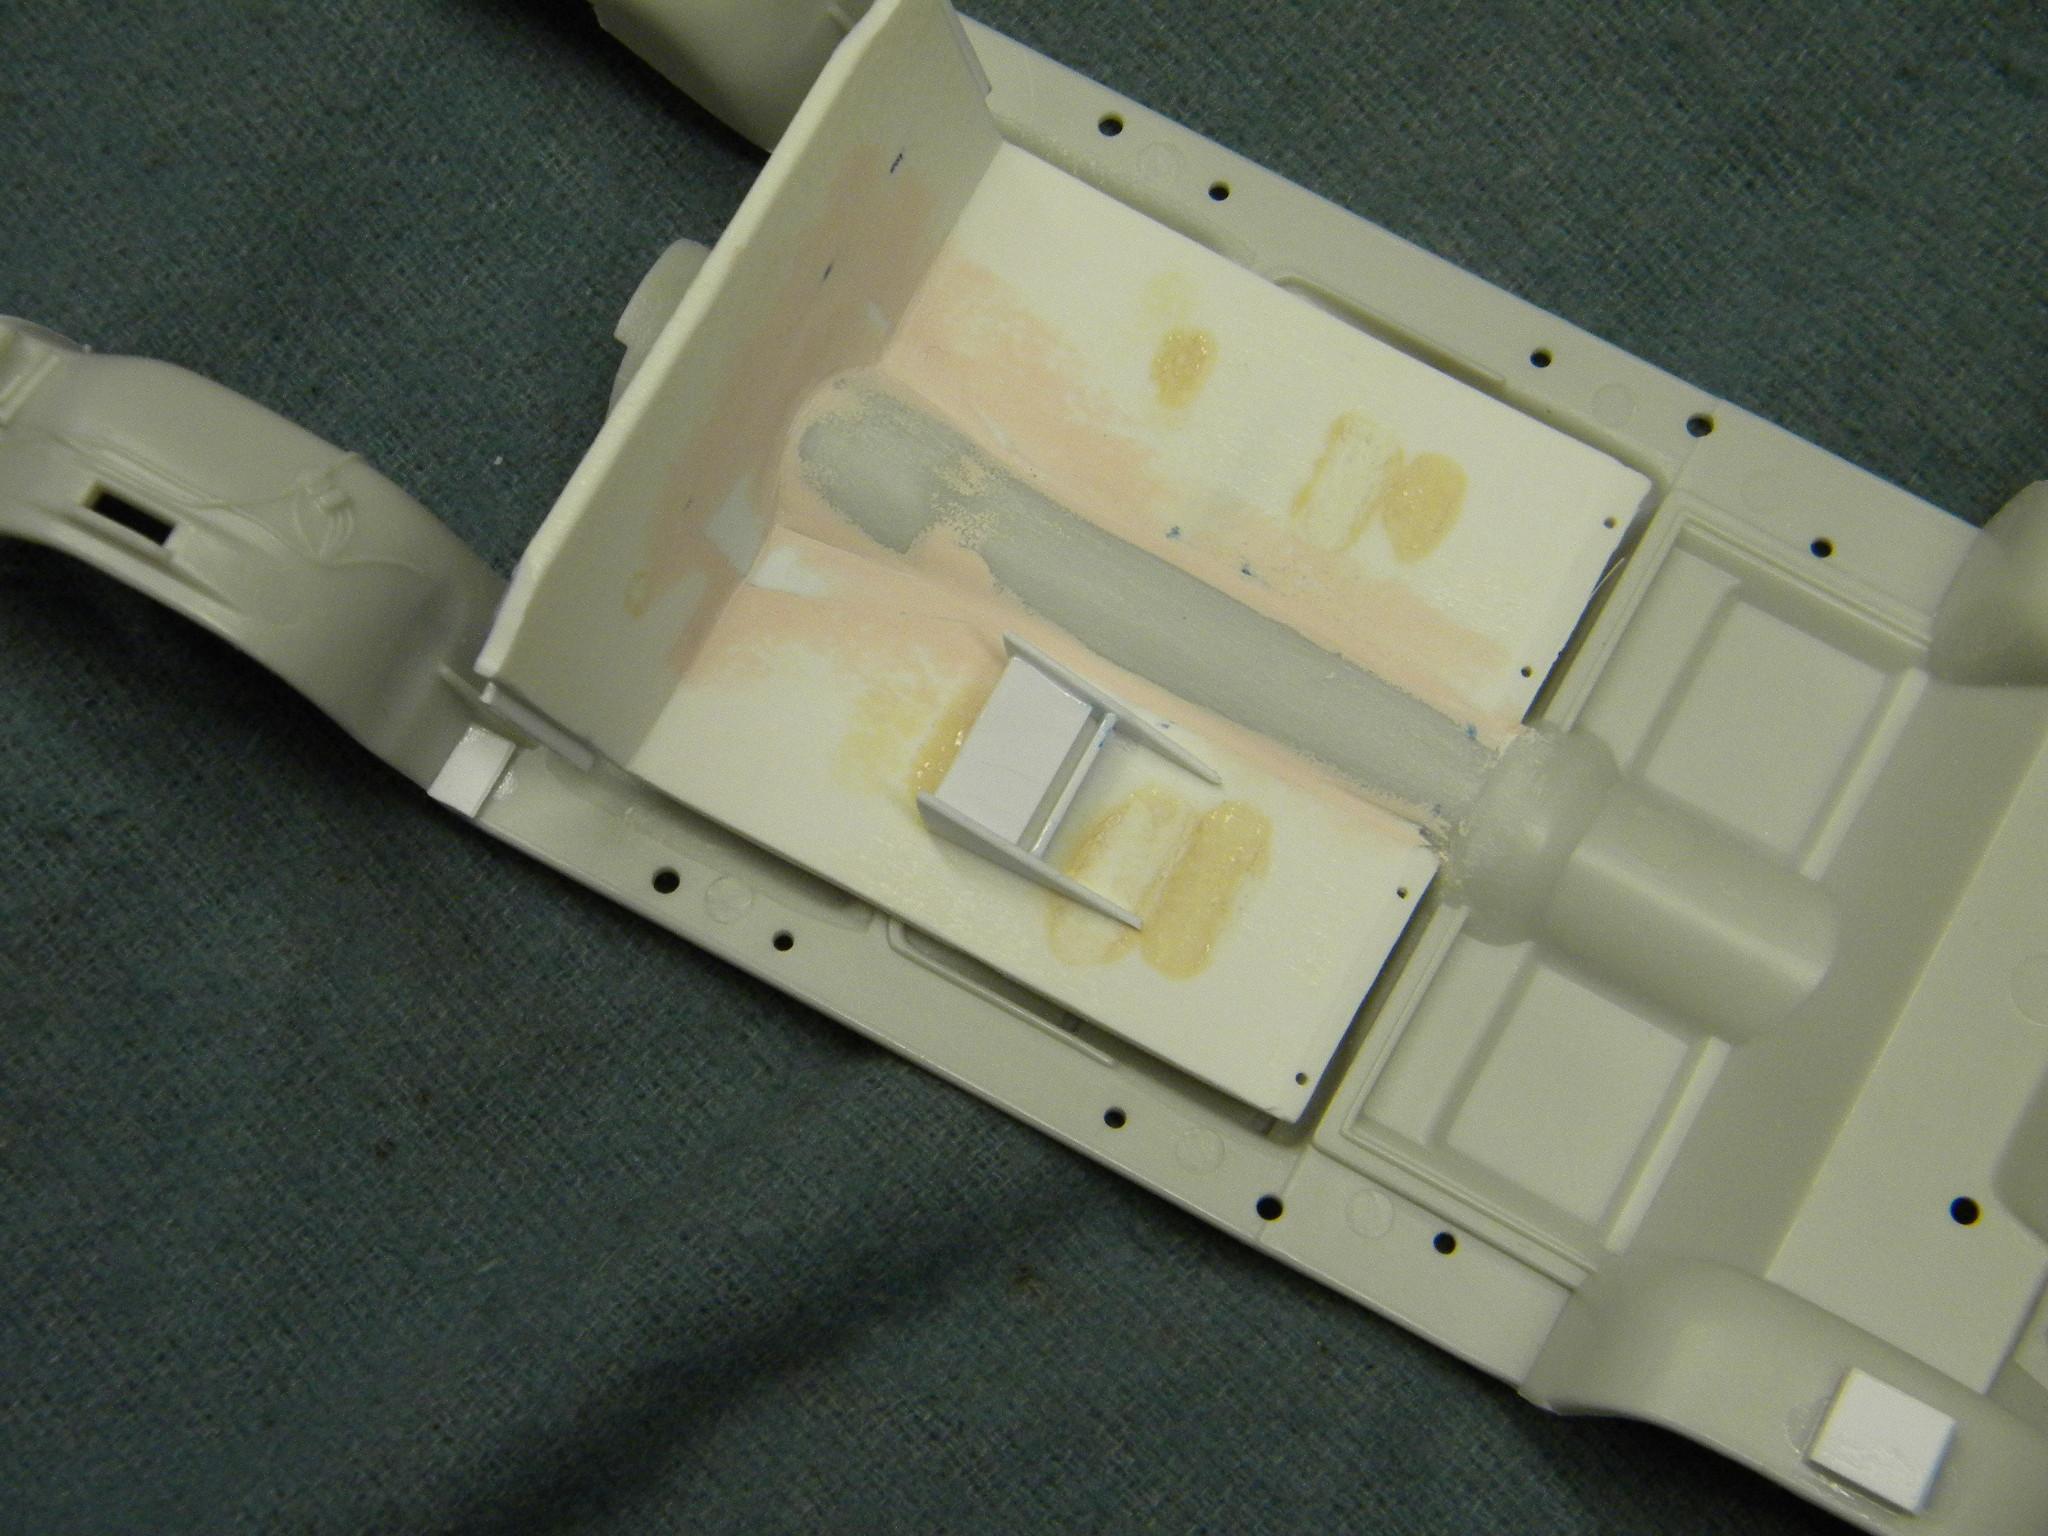
Yesterday I added the courtesy lights to the door panels using pieces of thinly stretched sprue, and today made some seat tracks to lift the buckets up off of the floor and tilt them back slightly. Steve
-
Today I made a set of seat tracks to lift the seats up off of the floor and tilt them back slightly. Steve
-
Depending on the thickness of the plastic, (which is usually pretty thick in these old annuals) I will cut with a #11 blade on the inside. But, as impatient as I am, I usually wind up resorting to a razor saw from the outside, occasionally even a Dremel with a cutting wheel. Steve
-
I thought I became dyslexic over night for a moment when I logged on this morning! It will take a little getting used to, but I suspect that we will manage. Steve
-
I use Plastistruct "Plastic Weld". Love the stuff! The cost of a 2oz. bottle is nearly identical to 1oz. of Tamiya and just a little more than 1oz. of Testors. Mr. Hobby is generally a couple bucks more expensive for around an ounce. A no brainer for me. Steve
-
Reworking Door Panels.
StevenGuthmiller replied to StevenGuthmiller's topic in Tips, Tricks, and Tutorials
There is really no way that I can give you a definitive set of rules for dissecting a tub. They are all different to some degree, and to date I have been lucky that I have only cut apart interiors with separate front seat assemblies. I imagine it would be a bit more involved trying to re-work a tub with a molded in from seat, although that scenario would probably net the most rewarding results in the end. The main objective of course is to remove the side panels from the tub. That can be achieved in a number of different ways, including razor saws and X-acto blades, which is my method of choice. The remainder of any interior modifications after that are completely dictated by the configuration of particular interior that you are working with. Steve -
65 chevelle, challenger, 1940s Willy gasser
StevenGuthmiller replied to Spindlerm464's topic in Model Cars
Another technique is to use one of the UV light setting glues like "Laser Bond" to initially set the glass in place. You can place the glass into the opening, put a few thin strips of tape strategically around the glass to hold it securely and then put a few dabs of Laser Bond around the perimeter of the edge of the glass. ( maybe every inch or so). Zap it with the light and the glass should be positioned correctly at this point. Remove the tape and fill all the way around the perimeter with clear 2 part epoxy. After the epoxy dries, it will take 2 men and a boy to knock the glass loose. Clean the glass inside and out and continue with assembly. Steve -
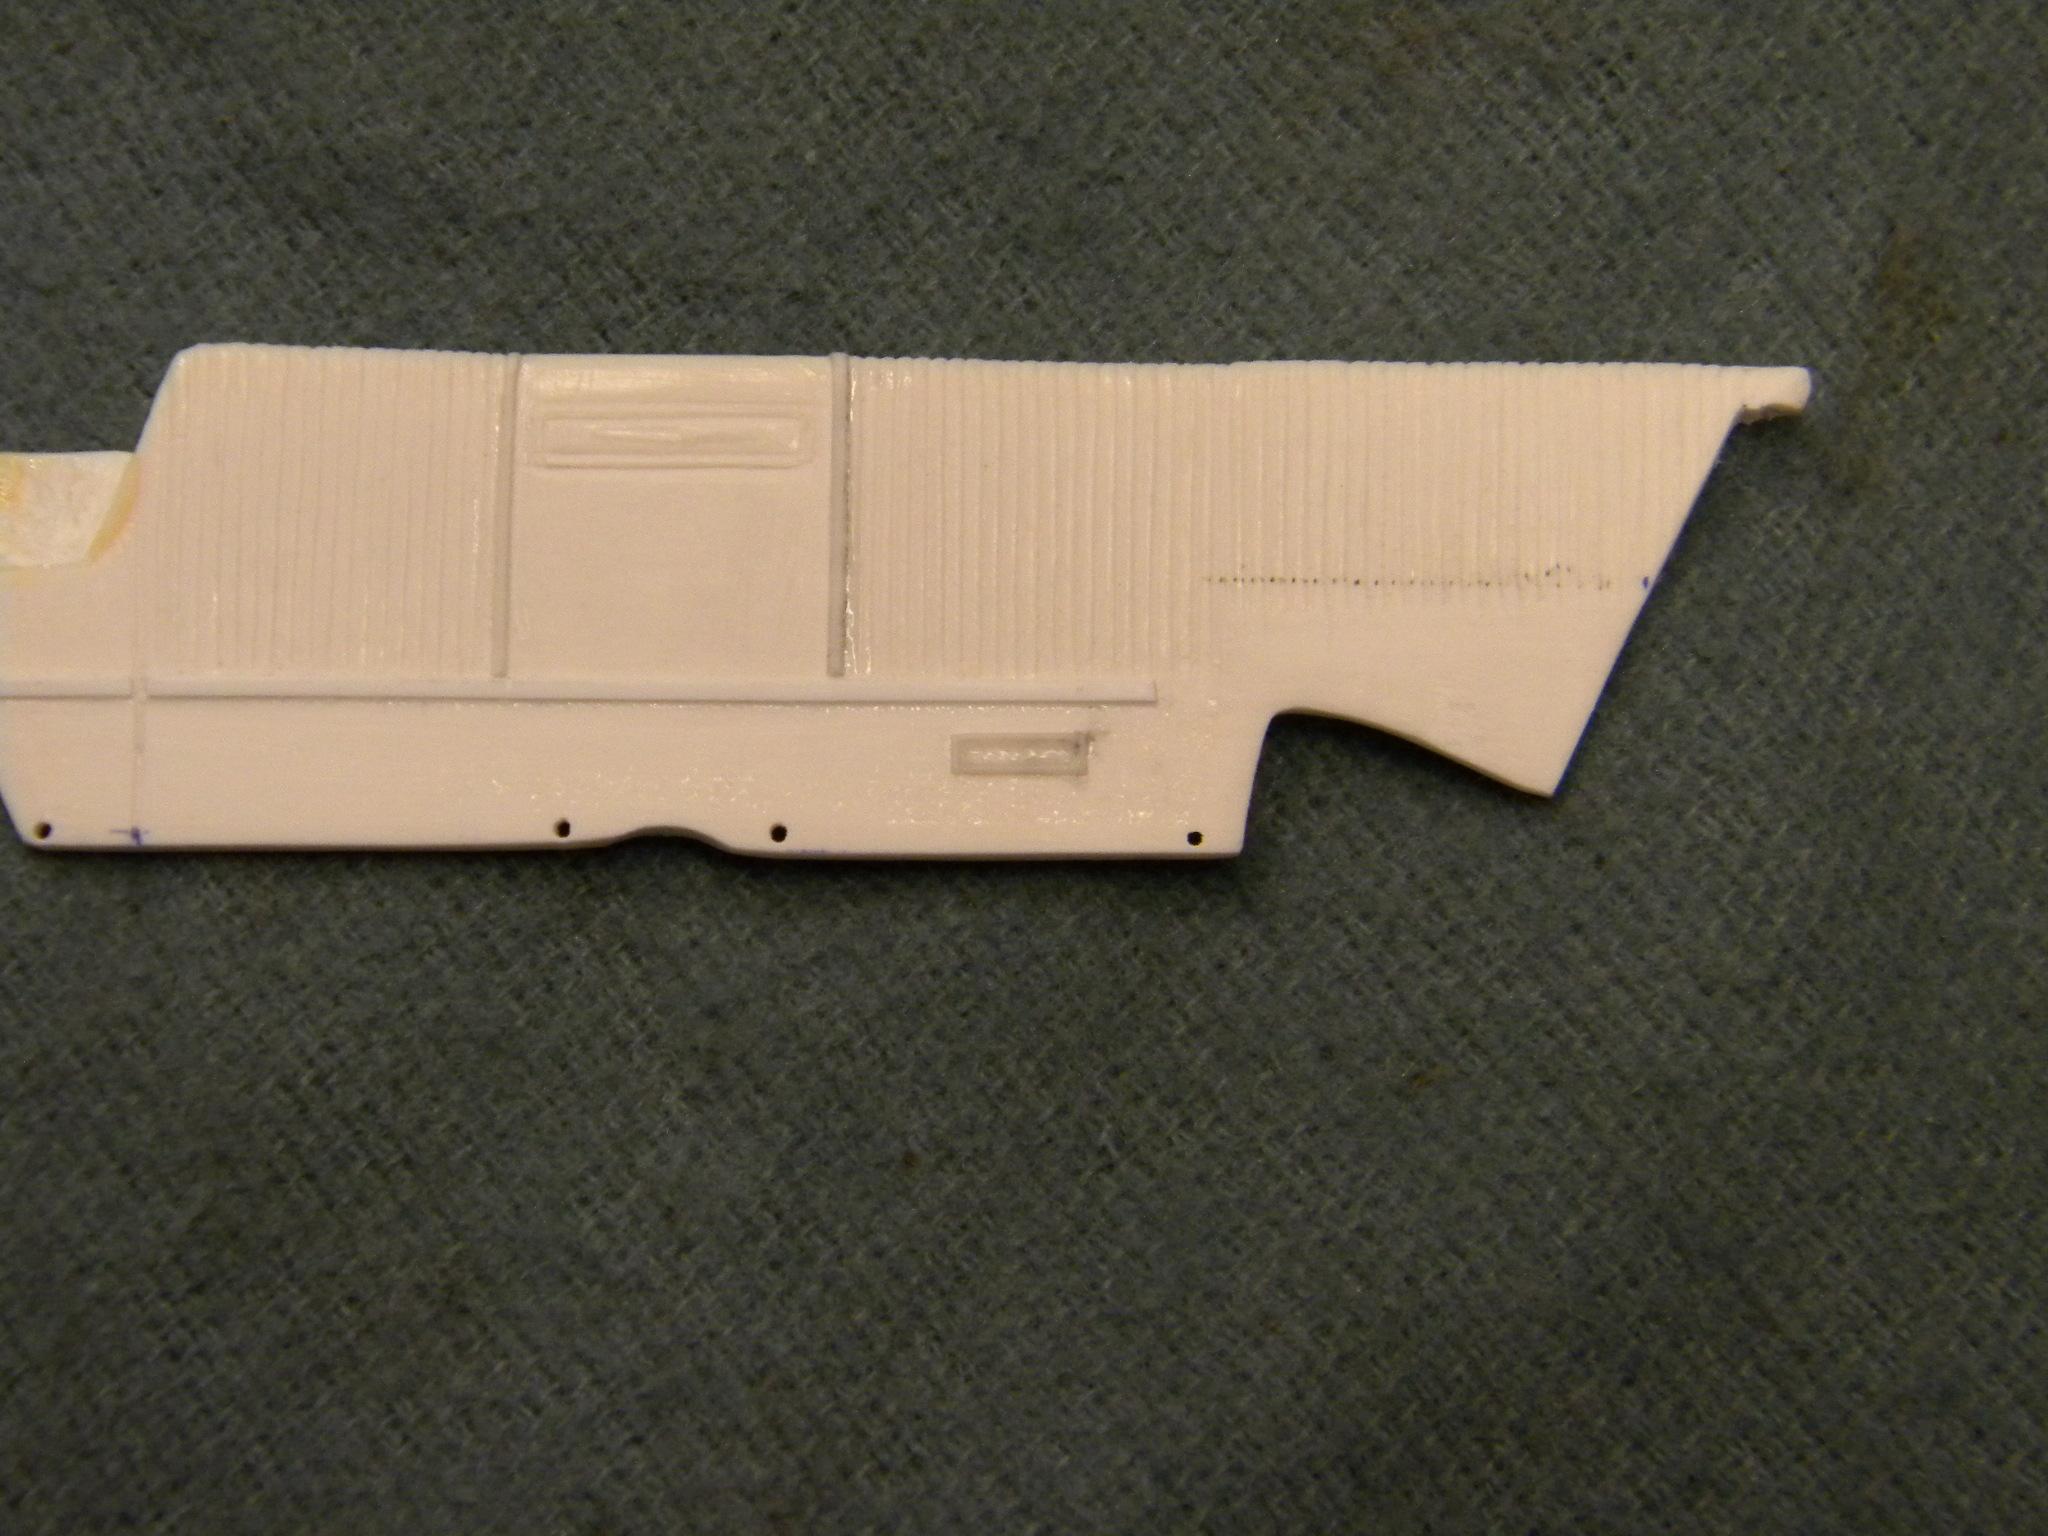
Adding some courtesy light detail to the door panels of my '64 GP by gluing down pieces of thinly stretched sprue. Steve
-
Nice work! You would never know that someone had attempted to use an entire tube of glue on this one model! Steve
-
65 chevelle, challenger, 1940s Willy gasser
StevenGuthmiller replied to Spindlerm464's topic in Model Cars
Here are some tips to help with the glass smudges. First, before you are going to install it, check the fit to be certain that it will fit properly. Once you know it will, clean the glass with Windex, liquid polish, or whatever you prefer. Set the glass aside and leave it alone. Get some 2 part epoxy, such as JB Weld "Clear Weld", which you can pick up at most auto parts stores or on line. Mix a small amount of the epoxy and apply a small bead of it around the inside of the windshield frame of the body. If possible, depending on the size of the glass, keep the epoxy back away from the edge of the trim about 1/8" or so to allow a little positioning room. Now just walk away for 5 to 10 minutes to allow the epoxy to tack up. I wait until the glue is nearly set completely so that when I insert a tooth pick into the leftover glue, it basically dents it, but does not make "strings" of glue when pulled back out. Then very carefully position the top of the glass into the opening and then slowly lay the glass into the opening. You will then be able to make slight adjustments if necessary, but do not lift the glass. Once positioned, you can lightly press the glass into the nearly cured glue. Allowing the glue to set up to this point will help eliminate glue "squeeze out" resulting in glue smudges from your fingers. After allowing the glue to continue curing for another ten minutes or so, you should be able to go back and "press" the glass again to be certain that it is secure and tight. After the glue has cured for 24 hours or so, go back and clean it again, inside and out with the cleaner of your choice before continuing with any other assembly. Steve -
Did I get a fair price.
StevenGuthmiller replied to Styx231's topic in General Automotive Talk (Trucks and Cars)
A mint looking hard top in "Charcoal Blue" on ebay as well with bidding at $227.00. Yeah, I would say that you did considerably better than it was probably worth, unless the gold is an extremely rare color or something. Steve