landman
-
Posts
7,920 -
Joined
-
Last visited
Content Type
Profiles
Forums
Events
Gallery
Everything posted by landman
-
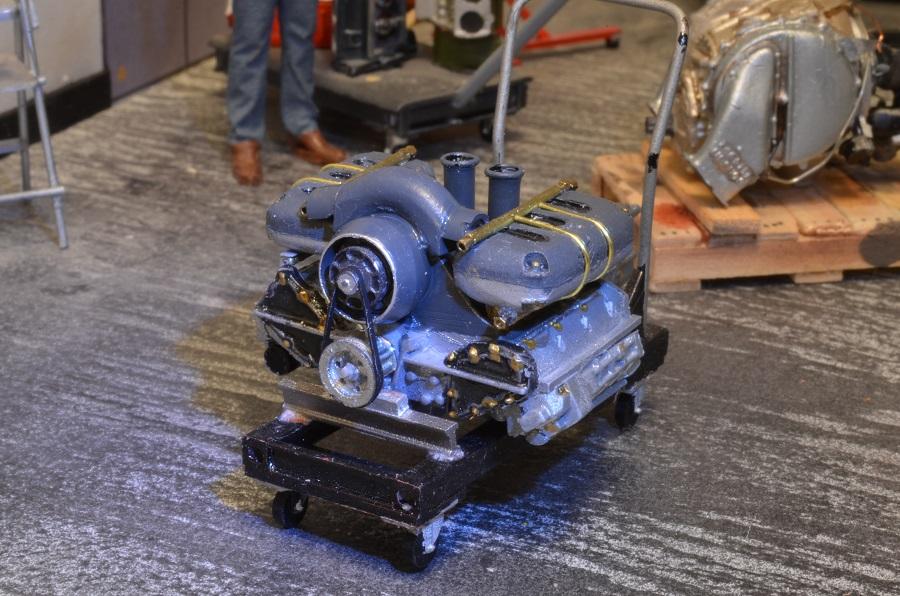
You'll notice that I didn't get the crossover tube of the intake quite right.
-
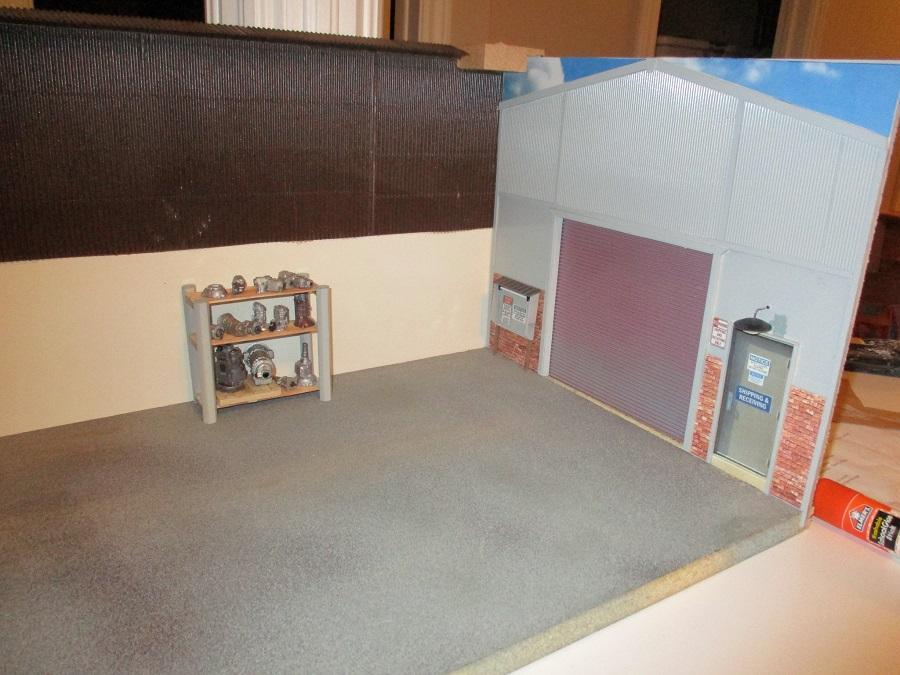
 Turns out we are planning to move and I have started packing some stuff. When I looked at the empty shop, I couldn't help it. It called for a photo.
 -
Sure.
-
I scratched it based on a 911 Turbo using Signer's own photos.

-
Too bad it is curbside I have a Singer engine.
-
1976 Kenworth VIT 200 Bicentennial (W900)
landman replied to steve1970's topic in Model Trucks: Big Rigs and Heavy Equipment
X2 -
AMT Kenworth W925
landman replied to Doug 1061's topic in Model Trucks: Big Rigs and Heavy Equipment
X2 -
Bad news.... FTB has gone bankrupt. The Repo man has been by.
-
Coming together. The tranny rack will have an overhang roof over it. I have to figure something for the bottom of the overhead door. I may remove it and repaint it as the red came through the aluminum paint.
-
Nice Dio. Everytime I see a two post lift I say i have to get one haven't done it yet. My old single post looks elderly compared to these.
-
Patina’d 34 Pick Up
landman replied to OldNYJim's topic in WIP: Model Trucks: Pickups, Vans, SUVs, Light Commercial
Absolutely! Watching and learning here. -
Challenging all right, but you can do it.
-
Estikséboça! Fantastique, Claude. Absolutely well done!!
-
X2
-
Beaudiful rendition of a beautiful car.
-
I have no doubt this will be super nice. What blows me away, though, is the cutting mat.Do you buy a new one for each build??
-
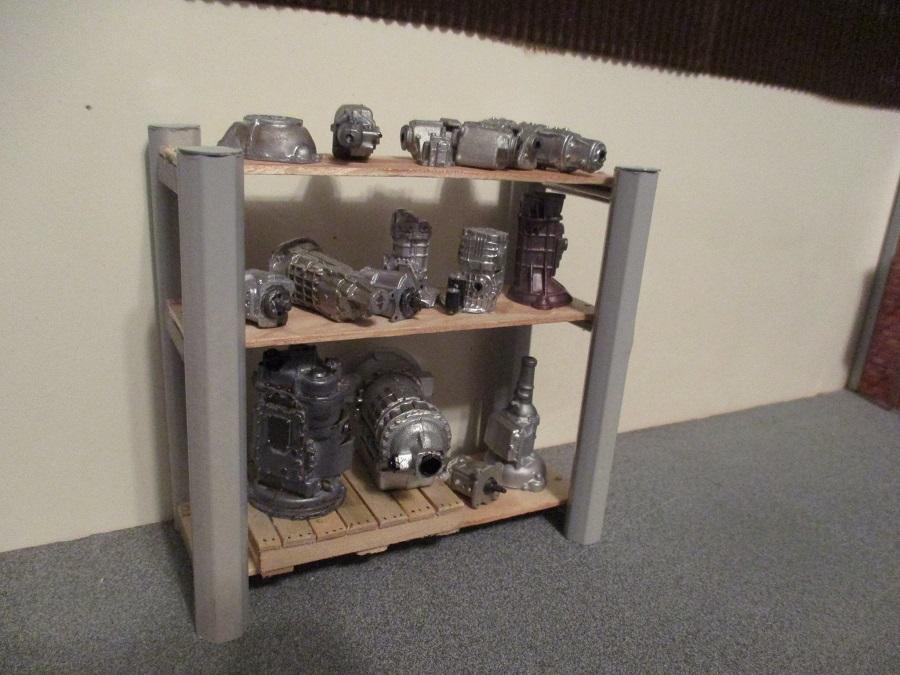
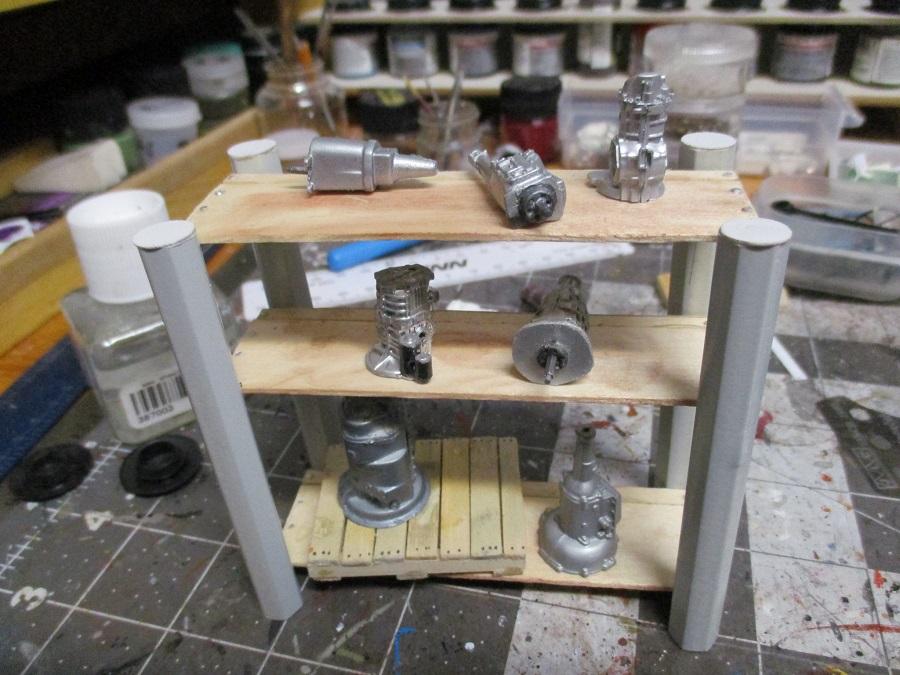
The shelf stand will likely hold some trannies.
-
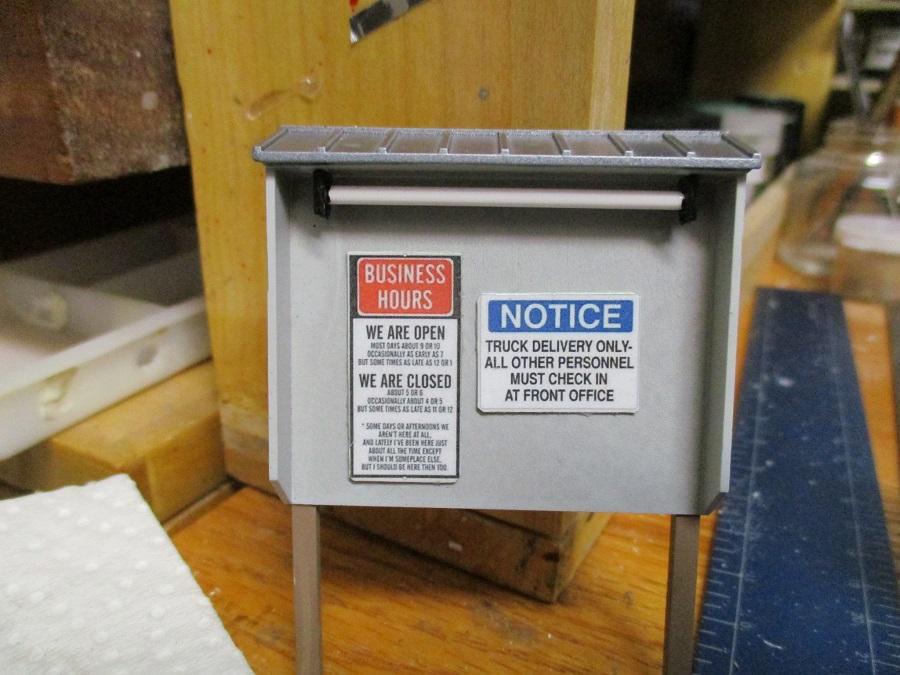
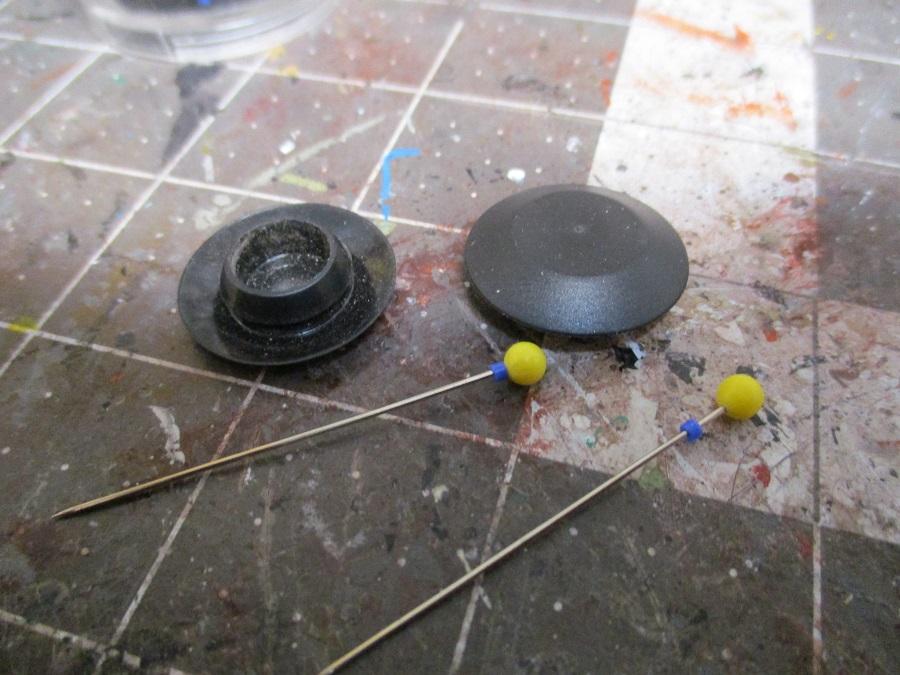
Used the hooded bulletin board from one of the Fujimi garage sets to make a notice board. Added a fluorescent light to it. A couple of plugs, pins and beads will turn into lamps.
-
The end panel has its brick, door , signage etc. i even gave it a sky although I doubt any pictures would show it.
-
Good looking truck.
-
OOps! Can't edit so they'll stay like that.
-
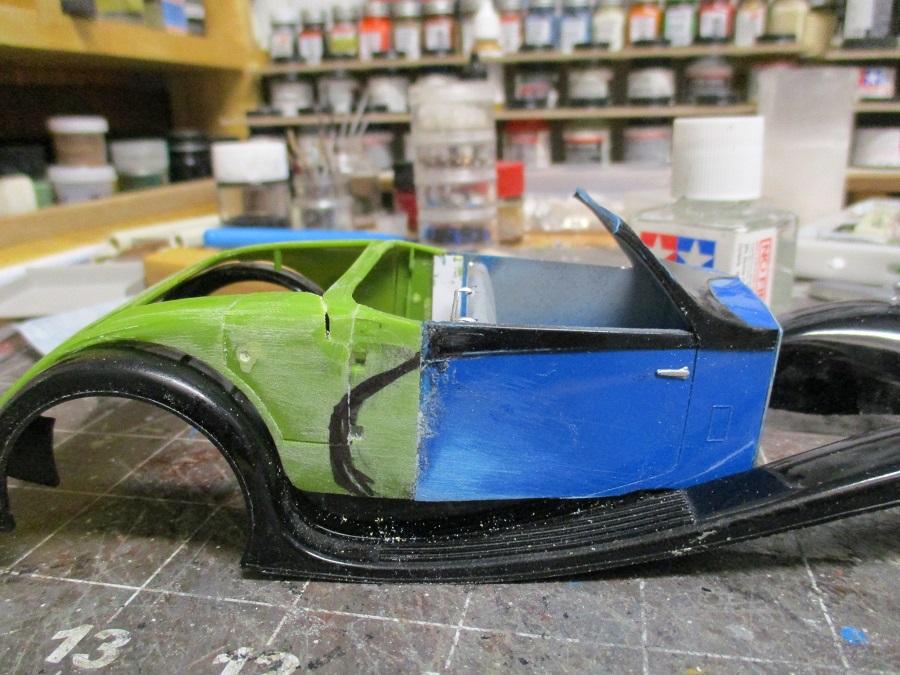
The bodies are back together. Now I'm debating whether to do a black stripe loosely based on the suject car or a Bugatti swoop.
-
Russell, that is what it is. Sometime back I changed my credit card and I somehow forgot to update that account, so I'll likely do as Carl did and let it lapse. I'll also try to replace the photos.
-
Oooh,I love this
-
I used to pay somewhere around $40 a year, although I'm not sure if that is still happening. I'll have to login and see the account.


.JPG.abf23f9d52b0563dd4be72d75deb222e.JPG)
.JPG.1e727a1f8dec495c3fd09ae1363b1674.JPG)
.JPG.26f5fab6426b5080d263b9217a419bac.JPG)
.JPG.5b5967d17201cc8679e55b79363d450c.JPG)