Snake45
-
Posts
22,539 -
Joined
-
Last visited
Content Type
Profiles
Forums
Events
Gallery
Everything posted by Snake45
-
In other words, not "straight out of the box" at all. But it's a VERY nice model, one of the cleanest builds of this kit I've ever seen. Well done and model on!
-
It would be hard for Dan Blocker to get in that car NOT wearing the hat!
-

Purple Pond Distortion ?
Snake45 replied to Jon Haigwood's topic in Model Building Questions and Answers
Heat will shrink styrene. How hot is your dehydrator set? I'd think you'd need to be on the high side of 150-160*--maybe quite a bit high--for it to have any effect, but maybe the time does it. -
This thread and the other one caused me to dig out the one I've been building "at" for decades and take another look at it. Wow, this body needs a lot of work. The whole front end is more wrong than right. But I'm now in the mood to drive on and hopefully drag it across the finish line.
-
Very nice model, but I don't understand why you needed to replace parts.
-
Shorty wagon are cool!
-
Been looking at pics of real ones and you're absolutely right. Would take a LOT of work to make this right, but it might be possible to set the bottom edge back a little bit. I'd have never noticed this if you hadn't mentioned it. Now I can't UN-see it.
-
Never seen a silver Judge before. Looks great! Model on!
-
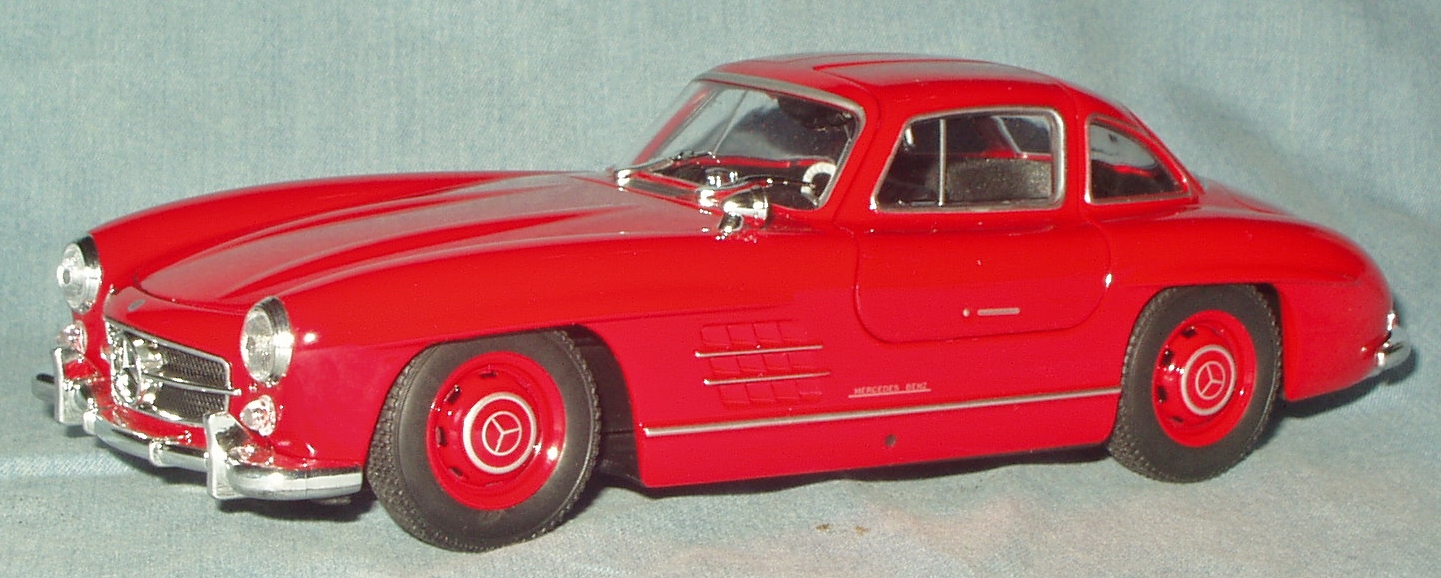
AMT Autobahn 300SL Gullwing
Snake45 replied to 89AKurt's topic in General Automotive Talk (Trucks and Cars)
Welly diecast, $10 brand new at Rite Aid, 2 hours or less of Snake-Fu, on my shelf, DONE! Next!
-
I believe this also explains where the term "high-impact styrene" (not seen that much anymore, but common in the '60s) comes from.
-
It could have been one of those Renwal Revivals!
-
This is the best way to do it, if you can get away with it. Some kits can't be assembled this way though, at least not without major surgery to the chassis.
-
Man-A-Fre Manifold & Induction
Snake45 replied to Snake45's topic in General Automotive Talk (Trucks and Cars)
Yeah, I think that's from the '67 Camaro. I was noticing that the location of the ports on the one I have don't look right, either--too far back. The kit gave you the option of short velocity stacks instead of air cleaners for the carbs, too. I don't think I have any of the stacks. -
Never noticed that. I bought both versions of this kit when they first appeared but have never actually finished one, though I have one I've been working "at" for years. Time to get that one out and kick it through the goalposts. Thanks for the heads-up on the grille. I did notice that the hood has too much gap on the sides. That's easily fixed. (I'll do a tutorial when I fix mine.) I'm currently working on a Nomad that has some problems and I suspect the sedan kit shares some of them. The front pan isn't right. You don't notice this if you use the front bumper, but if running bumperless (gasser-style), the lip at the bottom of the pan needs to thinned back to almost nothing. The headlight rims are too thick (front to back) and so protrude too much. I think I've got an easy fix for that, too. The cuts in the body for the taillights leave an ugly gap at the lower corners. These need to be filled. (This is on the Nomad body--not sure if it was carried over to the sedan, too; I'll have to check.)
-
I'm thinking of just gluing the doors shut and having done with it. If I want to slam scale doors, I've got plenty of diecasts. I might eventually build one "stock," but my first one is going to be candyapple red. And I have several of the kits, so I'm gonna combine two of the hardtops and make a "station wagon" top for it, too.
-
I could swear the "street machine" one I bought back in the day had the Nomad drag front axle.
-
Tom, those Valiants were so ugly that there's almost nothing you can do to them to make them any worse. Still, I remember when I was small, before I really got into cars, I thought they were kinda cool looking. Maybe just because they were so different.
-
I'd have never guess that! It looks fabulous. Drive on!
-
Oh my yes! Put me down for at least 6. I just spent a few minutes on their site. They have some cool and interesting stuff, and looks like more to come!
-
That paint is BEAUTIFUL in both color and finish! What is the paint?
-
Yeah, very cool! Hopefully it will include the Nomad's drag front suspension. Probably too much to hope for for the Nomad's beautiful Torq-Thrust wheels, though.
-
I have a mint unbuilt '64 Vette roadster kit that has that top (and other custom parts). Thanks for showing what it looks like installed!
-
That Pyro article was a walk down memory lane. I four of the 1/1200 warships at my grandparents' house--a US and a Japanese aircraft carrier and battleship. Had many "battles" between them on the bed. Have the 1:1 scale Colt "Peacemaker" I bought and started in the '70s--need to finish that someday. I have at least one Triumph GT-6, maybe two, and at least two of the 1/48 Gloster Gladiators, maybe three, a kit that's still spoken of with respect in Model Airplane World. I got a Design-A-Plane for Christmas or Easter or birthday or something when I was about 5. I spent countless hours building the various semi-accurate configurations, and designing my own. About a decade ago I bought what seems to be a complete set with original box, etc., off eBay. I think I paid about $40 or $50 for it and was glad to get it. This one--and all the ones I've seen reference to, such as in the article--came with a "slide rule" gizmo that was supposed to be of some sort of use. I don't remember that in the one I had as a kid. I seem to remember a booklet or manual or maybe it was just a big sheet that folded up that illustrated and detailed the various "real" airplanes you could build with the thing. Was disappointed that the one I bought didn't have that booklet. Then again, maybe I completely imagined the thing.
-
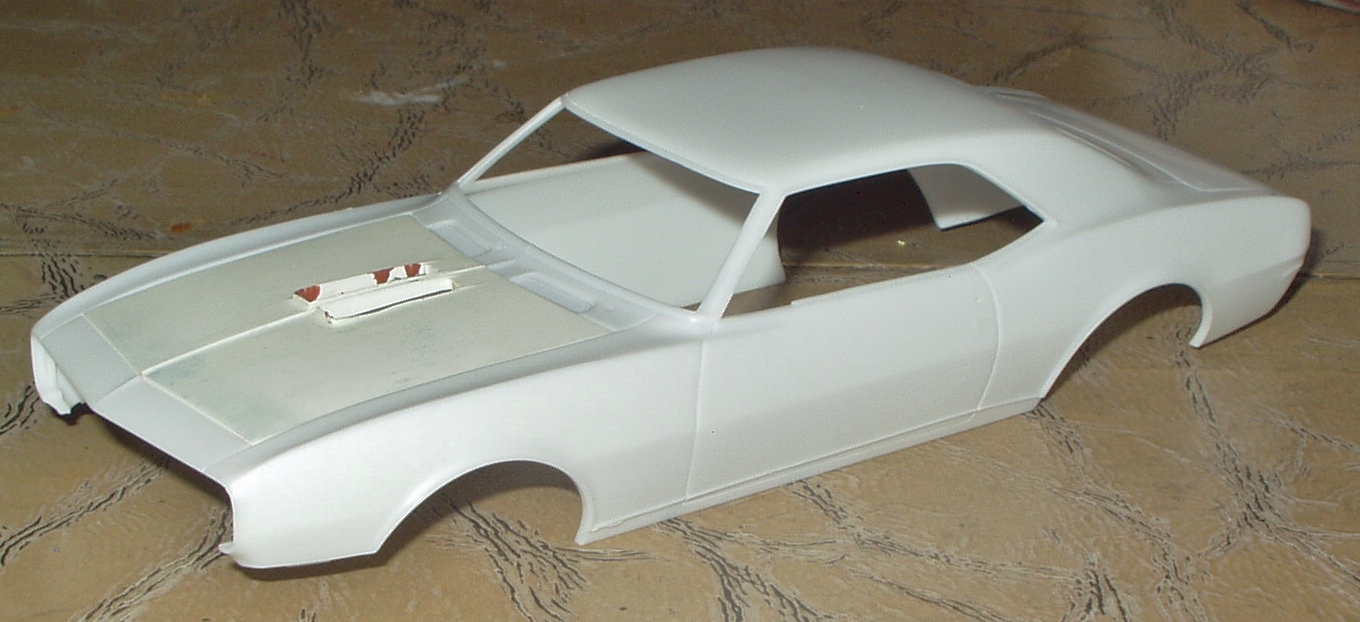
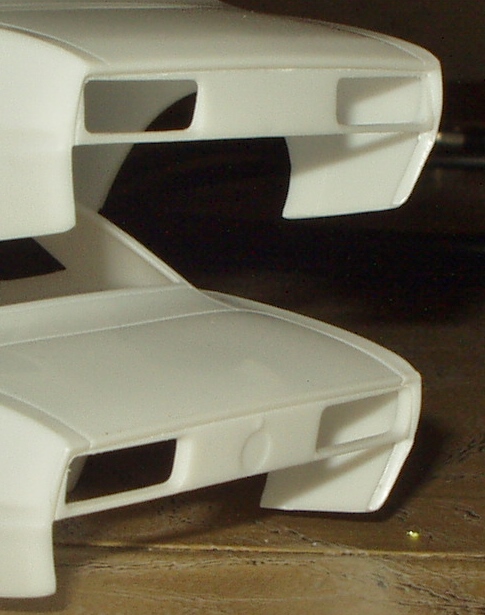
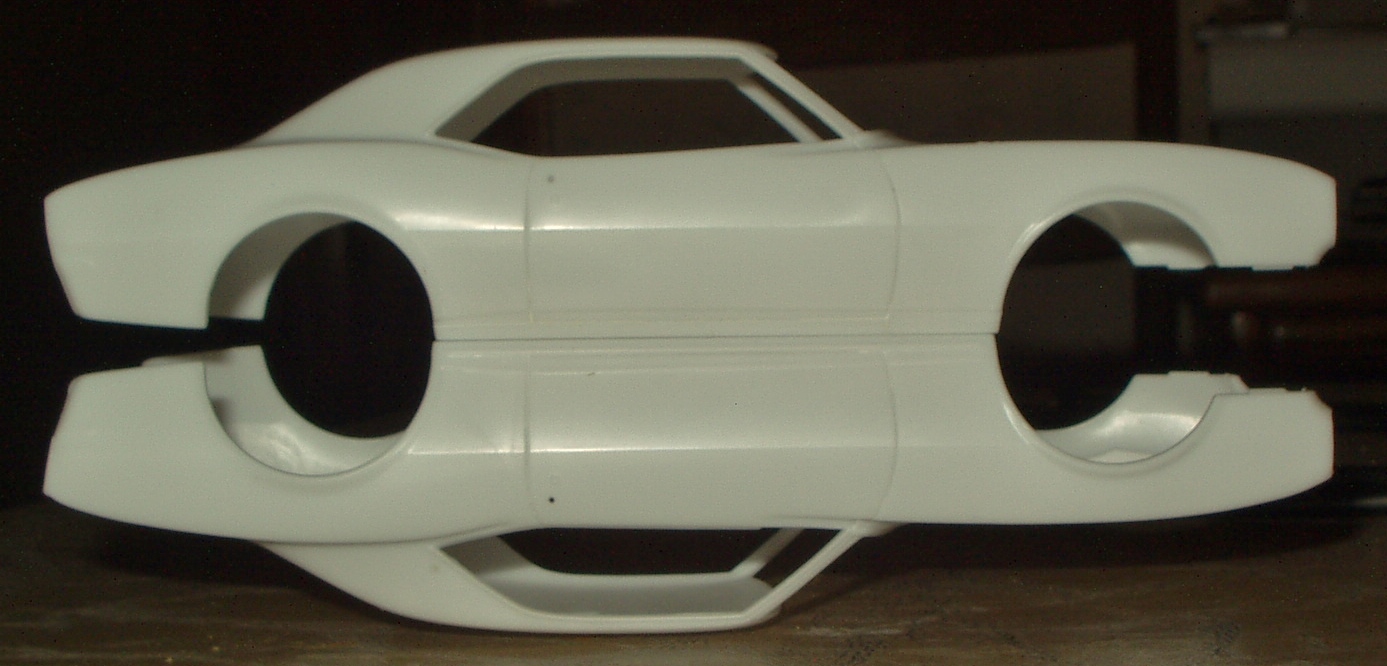
Old School Retro Cool Custom '67 Camaro--Update, New Pics 10/9/18
Snake45 replied to Snake45's topic in WIP: Model Cars
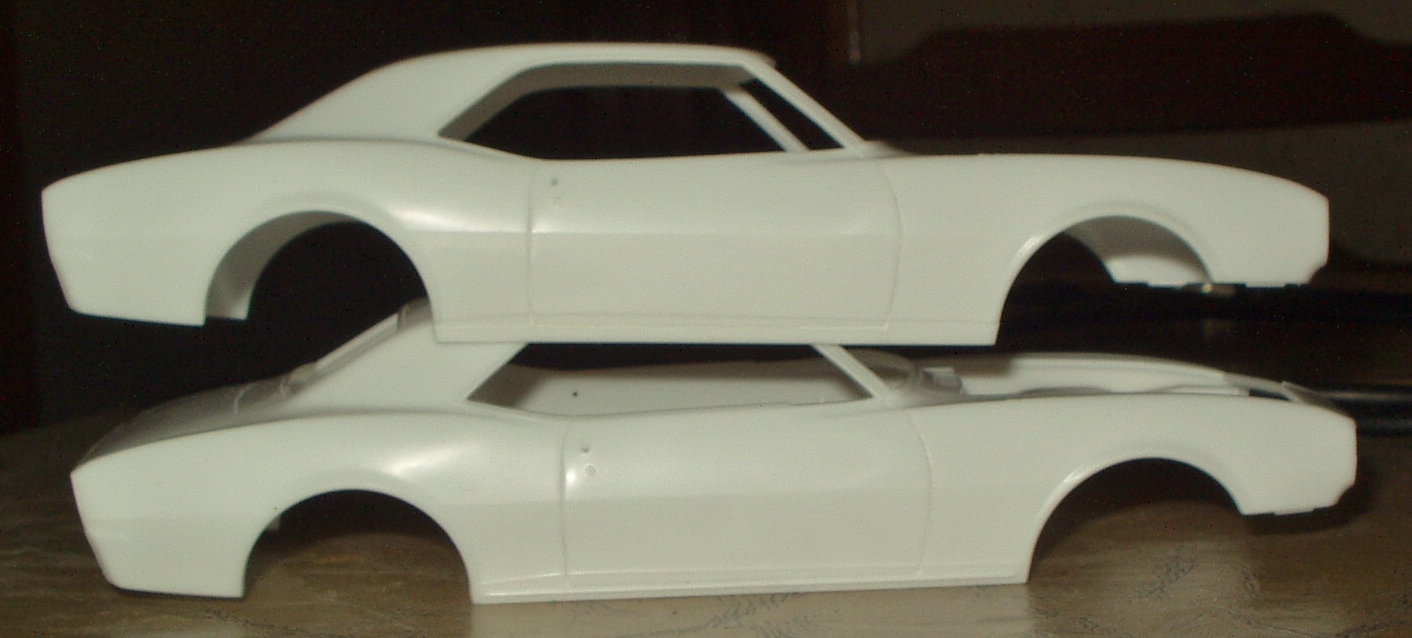
Making some progress. Got the hood stripped and fitted. Easy-Off had no effect on the hood paint, but rubbing alcohol took it RIGHT off, so I'm pretty sure it was AMT Blue Fog lacquer. Under that was gold. Then I carefully filed the sides and front and VERY slightly reshaped the rear until it fit the Revell hood hole. Then I had to thin the undersides along both side so it would fit down flush. It's still not perfect--the AMT hood has slightly less curve in it than Revell's--but it's at least 98% good and I may let it go as good enough. Still have a lot of work to do on the vents. They were somewhat crudely cut out and it's a lot of careful and tedious work to correct and repair this. I removed the '67-only rocker trim from the body sides by shaving and filing with a riffler file. This looks easy but trust me, it is a LOT of delicate and tedious work. Had to do it for the clean look I'm going for. Also scribed in the front fender separation and the rocker panel joint at the end. Mod body on top, stock body underneath. Note that the arch around the wheel openings does NOT go all the way down to the bottom of the rocker panels, as Revell has molded it, but terminates at that lower body character line. I'd never even noticed this kit booboo until I started looking at reference photos to do this job. I didn't like the shape of the lower edge of the side windows, so filed off the chrome trim molded there and then lowered that line just a little at the rear of the door and reshaped it. This also required reshaping the front part of the kick-up bulge on the rear fender. I guess you'd have to be a real 1G Camaro nut to see or care about this, but it looks better to me. Can you see the change in this pic? Again, modified body on top, stocker underneath. Getting close to being finished with the rear end. I filed the rear edge of the trunk lid back about halfway, then cleaned the sides of the fender ends. Still need to increase the angle of the lower pan, but I think it already looks a lot more like a real Camaro than what comes out of the Revell box. More to come, I hope....As always, comments welcome.
-
Looks pretty good! I have a couple of these in the stash that I haven't gotten to yet because I don't care for the front end but can't figure out what I want to do about it.