peteski
-
Posts
9,227 -
Joined
-
Last visited
Content Type
Profiles
Forums
Events
Gallery
Everything posted by peteski
-
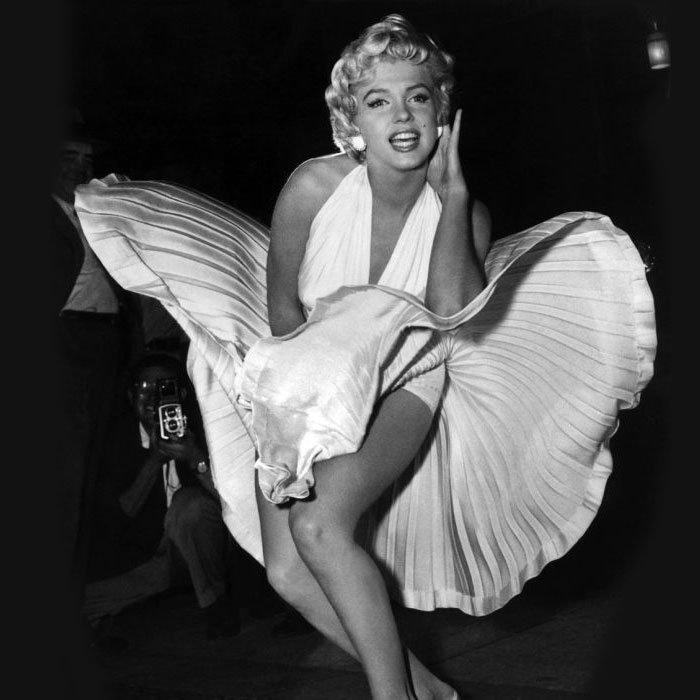
Not sure if those represent wings or a wind-lifted skirt? Cute, either way. This is what it reminds me of. But it could also be this;

-
You are estimating January 2022 for the completion of this model? Is this the longest time you will spend on creating a model car? I used "creating" because you are doing much more than just assembling a model kit.
-

Advice for an Easy to clean Airbrush
peteski replied to Mattilacken's topic in Model Building Questions and Answers
My airbrushes all have siphon feed with a jar attached on the bottom. I find cups/bowls cumbersome, and they don't hold enough paint for painting many of my models. -
That's too bad. Bonfire Night sounds like a fun holiday. Especially the roasted potatoes. When I was growing up in Poland we used to roast potatoes in fire embers. They are delicious, with that smoky flavor! I repeated that few years ago when my GF had an outdoor fireplace in her yard. She was first taken aback by the burned outside, but once I split one of the potatoes open, and the delicious smelling steam hit her nose, she we a convert. Even her dogs couldn't get enough of those roasted potatoes. Unfortunately she sold the house, so no more ember-roasted potatoes.
-
This eBay seller is nuts...
peteski replied to BlackSheep214's topic in General Automotive Talk (Trucks and Cars)
Ah, we are discussing outrageous prices for eBay items again. Since eBay changed their fee structure years ago, those crazy auctions are found often. Back in the day, when you had to pay the insertion fee (for even creating a listing), then another fee, based on the starting bid amount, you never saw this craziness. There used to be lots of auctions starting at 99 cents! Those were the days. -
In my experience the visible bead of a wheel is 1.5" larger than the diameter specified on the tire. I suppose the chart will come in handy, but my caliper and a calculator for scale calculation also works well.
-
Some more aggressive setting solutions can actually attack the paint surface. If a gentle wash with dishwashing detergent and water doe not remove the stain then it has affected the paint. Well, you could first try to take a cotton swab moistened with some of the setting solution you used on decals and gently rub the stains. In my experience, if the stains are not very prominent, the clear coat will hide them.
-
Advice for an Easy to clean Airbrush
peteski replied to Mattilacken's topic in Model Building Questions and Answers
The answer might depend on what paints you use. I use old-school (stinky) paints, and never had any problems cleaning my Badger airbrushes. Immediately when I'm done painting I just spray 3 or 4 doses of lacquer thinner. Each one gets progressively cleaner. On the last batch I put a piece of paper towel in front of the nozzle (well, against it) so the lacquer thinner backwashes and cleans out the outside of the nozzle. About once a year I do a full disassembly for a thorough cleaning. But even then there is a very thin film of paint residue on the internal parts. The important thing is to do the cleaning right after finishing painting. If you let the airbrush sit for a while (and clean it after an hour or tomorrow), the lacquer thinner flush will not work. If you use water-based paints then I heard those are more difficult to clean out (but I can't offer any advice on those). -
Didn't someone recently post a tutorial on this method of doing raised lettering?
-
Starting a Stingray
peteski replied to Fifer's topic in WIP: All The Rest: Motorcycles, Aviation, Military, Sci-Fi, Figures
Well, ok then. So, where did you find this kit. Is this a new re-release? I guess I have not been keeping up with all the recent releases. I'm curious to see how yours comes out. Maybe I'll pick one of these up too (to add to my growing collection of unbuilt models, to be built some day). -
Starting a Stingray
peteski replied to Fifer's topic in WIP: All The Rest: Motorcycles, Aviation, Military, Sci-Fi, Figures
The Railwire has lots of superb modelers who are chock-full of ideas and techniques they are willing to share with everybody. This place is like that too. And flair-ups and differences of opinion happen on every forum - it is worth ignoring them, and just take in the good stuff. I see drama happen here from time to time too. No place is perfect. And some of the arm-chairing actually provides some good ideas. Again, go with the positives and ignore the negatives. -
Starting a Stingray
peteski replied to Fifer's topic in WIP: All The Rest: Motorcycles, Aviation, Military, Sci-Fi, Figures
Nice to see you here too! -
Starting a Stingray
peteski replied to Fifer's topic in WIP: All The Rest: Motorcycles, Aviation, Military, Sci-Fi, Figures
I like unusual models like this one. I hope it doesn't give you too many fits while you're building it. Mike, you wouldn't happen to be into N scale model trains too, would you? -
Using Acrylic Fingernail filler for bodywork
peteski replied to Custom Mike's topic in Tips, Tricks, and Tutorials
Yes, you can find pretty much anything on eBay or Amazon. And the stuff described here was originally made as a dental resin for temporary fillings or caps. Then nail salons started using it on fingernails. I believe Paul Budzik (dentist by trade and an excellent modeler) was my introduction to using this type of material (for casting small parts). Back then it was still only available from dental suppliers. IIRC I learned this technique in Paul's article in FineScale Modeler Magazine. Yes, that unloved by car modelers magazine. But since the time it started being used by nail salons, the acrylic powder and liquid were easily obtainable (in larger quantities) from beauty supply stores. I often go there with my GF and I find all sorts of useful modeling supplies. All sorts of emery boards, sanding sticks, tweezers and other tools, nail polish remover in (acetone and non-acetone) in gallon size bottles, small rhinestones, brushes, sponge applications, and hundreds of nail polishes in many colors which are prefect "car colors". They also have rub-on transfers with all sorts of images that make excellent model car graphics. If you have one of the beauty supply stores, I highly recommend going there and checking out their inventory. -
Yes, that is an excellent flex-shaft tool. My drill however will be much slower speed (my motor is geared 16:1 to slow it down), and motor is in the handpiece (no stiff shaft behind the handpiece).
-
Tamiya paints in little glass jars are kind of an oddity. While they are low odor, and maybe even thinkable with water, they are alcohol-based. However because they are alcohol-based not water-based, any thinner used for other hotter paints can also be used (as shown in the posts above). T suspect that better results using denatured alcohol are because it is pure alcohol (no water in it), while most Isopropyl Alcohols (IPAs) modelers use are simple rubbing alcohols are 70% or 91% IPA and rest is water. I suspect that if 99% IPA was used, it woudl dry as shiny as when using denatured alcohol. Also, Tamiya does sell a dedicated thinner for those paints (in a little larger glass jar). That should be the safest thinner for it. The TS spray can pint is a much hotter lacquer paint which needs to be thinner with either Tamiya's Lacquer Thinner or a generic lacquer thinner.
-
Billy Carter's Truck
peteski replied to Brizio's topic in WIP: Model Trucks: Pickups, Vans, SUVs, Light Commercial
The Billy Beer cans I bought on eBay were thankfully emptied (holes drilled on the bottom). If yours still have what they described as "beer", it is now around 40 years old anyway, and unlike wine or cognac, I don't think beer gets better with age. -
I would only start using it if it provided an ability to sort the photos in sub-folders (like the photo hosting services do). Otherwise I don't see any advantage for uploading the images to the gallery instead of just attaching them to the posts. At least for me.
-
Billy Carter's Truck
peteski replied to Brizio's topic in WIP: Model Trucks: Pickups, Vans, SUVs, Light Commercial
I did not know that there was a 3rd, peanut license plate. That would be good too use, and non-controversial. Too bad we don't have any photos of that one. And the photo you attached above is the same one I cropped the front license plate from in my post. I did see the "GEORGIA B.C." on the fender, but that looks more like a sticker or a magnet than a license plate. As you said, Revell did put that (with slightly different lettering) on the decal sheet, and also on the box art. But it looks like it was retouched (added) on the boxart. What I would like to find out is what "real" "license plate numbers were on the back of the truck. I have not found any photos of the truck's rear. I suppose if I don't find that info I'll just put "BC" on the rear plate on my decal sheet. I wonder if the real truck is still around in someones collection? -
I will do that, but finding the parts I used will be a challenge. The gearhead motor was a surplus item I found at the Electronic Goldmine website several years ago and never seen them again. The Dremel Flex-shaft handpiece is the older, smaller size made of aluminum. Those are not made anymore. The new ones are fatter and plastic. Still, it will give give folks some ideas on how to build something similar.
-
Billy Carter's Truck
peteski replied to Brizio's topic in WIP: Model Trucks: Pickups, Vans, SUVs, Light Commercial
Since we are looking at the details, the original truck has a front license plate which was also changed in the box art. I found couple of photos showing the original license plate. I know that it is not politically correct nowadays, but for the sake of accuracy, I would like to include that plate on my model. I which I could find a straight-on photo of it so I could then use it for my decal artwork. But I think the chances that I'll find a better photo of that plate are slim to none.
-
Billy Carter's Truck
peteski replied to Brizio's topic in WIP: Model Trucks: Pickups, Vans, SUVs, Light Commercial
The photo on box cover clearly shows the rear fender and the filler piece between the cab and the fender. Nothing on the rear of the fender. I also found photos online of another truck. it is either a 2nd truck Billy had or a replica. The lettering on the doors and few other small details (like door mirrors, exhaust stacks and some other items) are different from the original truck.
-
Billy Carter's Truck
peteski replied to Brizio's topic in WIP: Model Trucks: Pickups, Vans, SUVs, Light Commercial
What you found it is exactly the reason I'm planning on using the rear fenders (and maybe even the bed) from the MPC model. Its fenders are correct for the Billy Carter's truck. I didn't want to futz around with removing the flares. The MPC fenders also have the rear side marker lights. Before anybody mentions that the box art doesn't show those rear side marker reflectors, I think they were touched up (erased) on those photos. I found more photos of the original truck and the markers are there.
-
Looks like you intended it to look.
-
OK, - staying away from the gallery.