stitchdup
-
Posts
7,205 -
Joined
-
Last visited
Content Type
Profiles
Forums
Events
Gallery
Everything posted by stitchdup
-

19 inch wheels & tires 1/24
stitchdup replied to matthijsgrit's topic in Car Aftermarket / Resin / 3D Printed
Scale production, hobby design and ucsp both have rotiform wheels in their catalogues and plenty of similar styles too. look for a seller called 1224 motoring on ebay too, i recently got some 21" rotiforms (cant remember the name but the first rims rotiform made, blqs maybe?) from them -
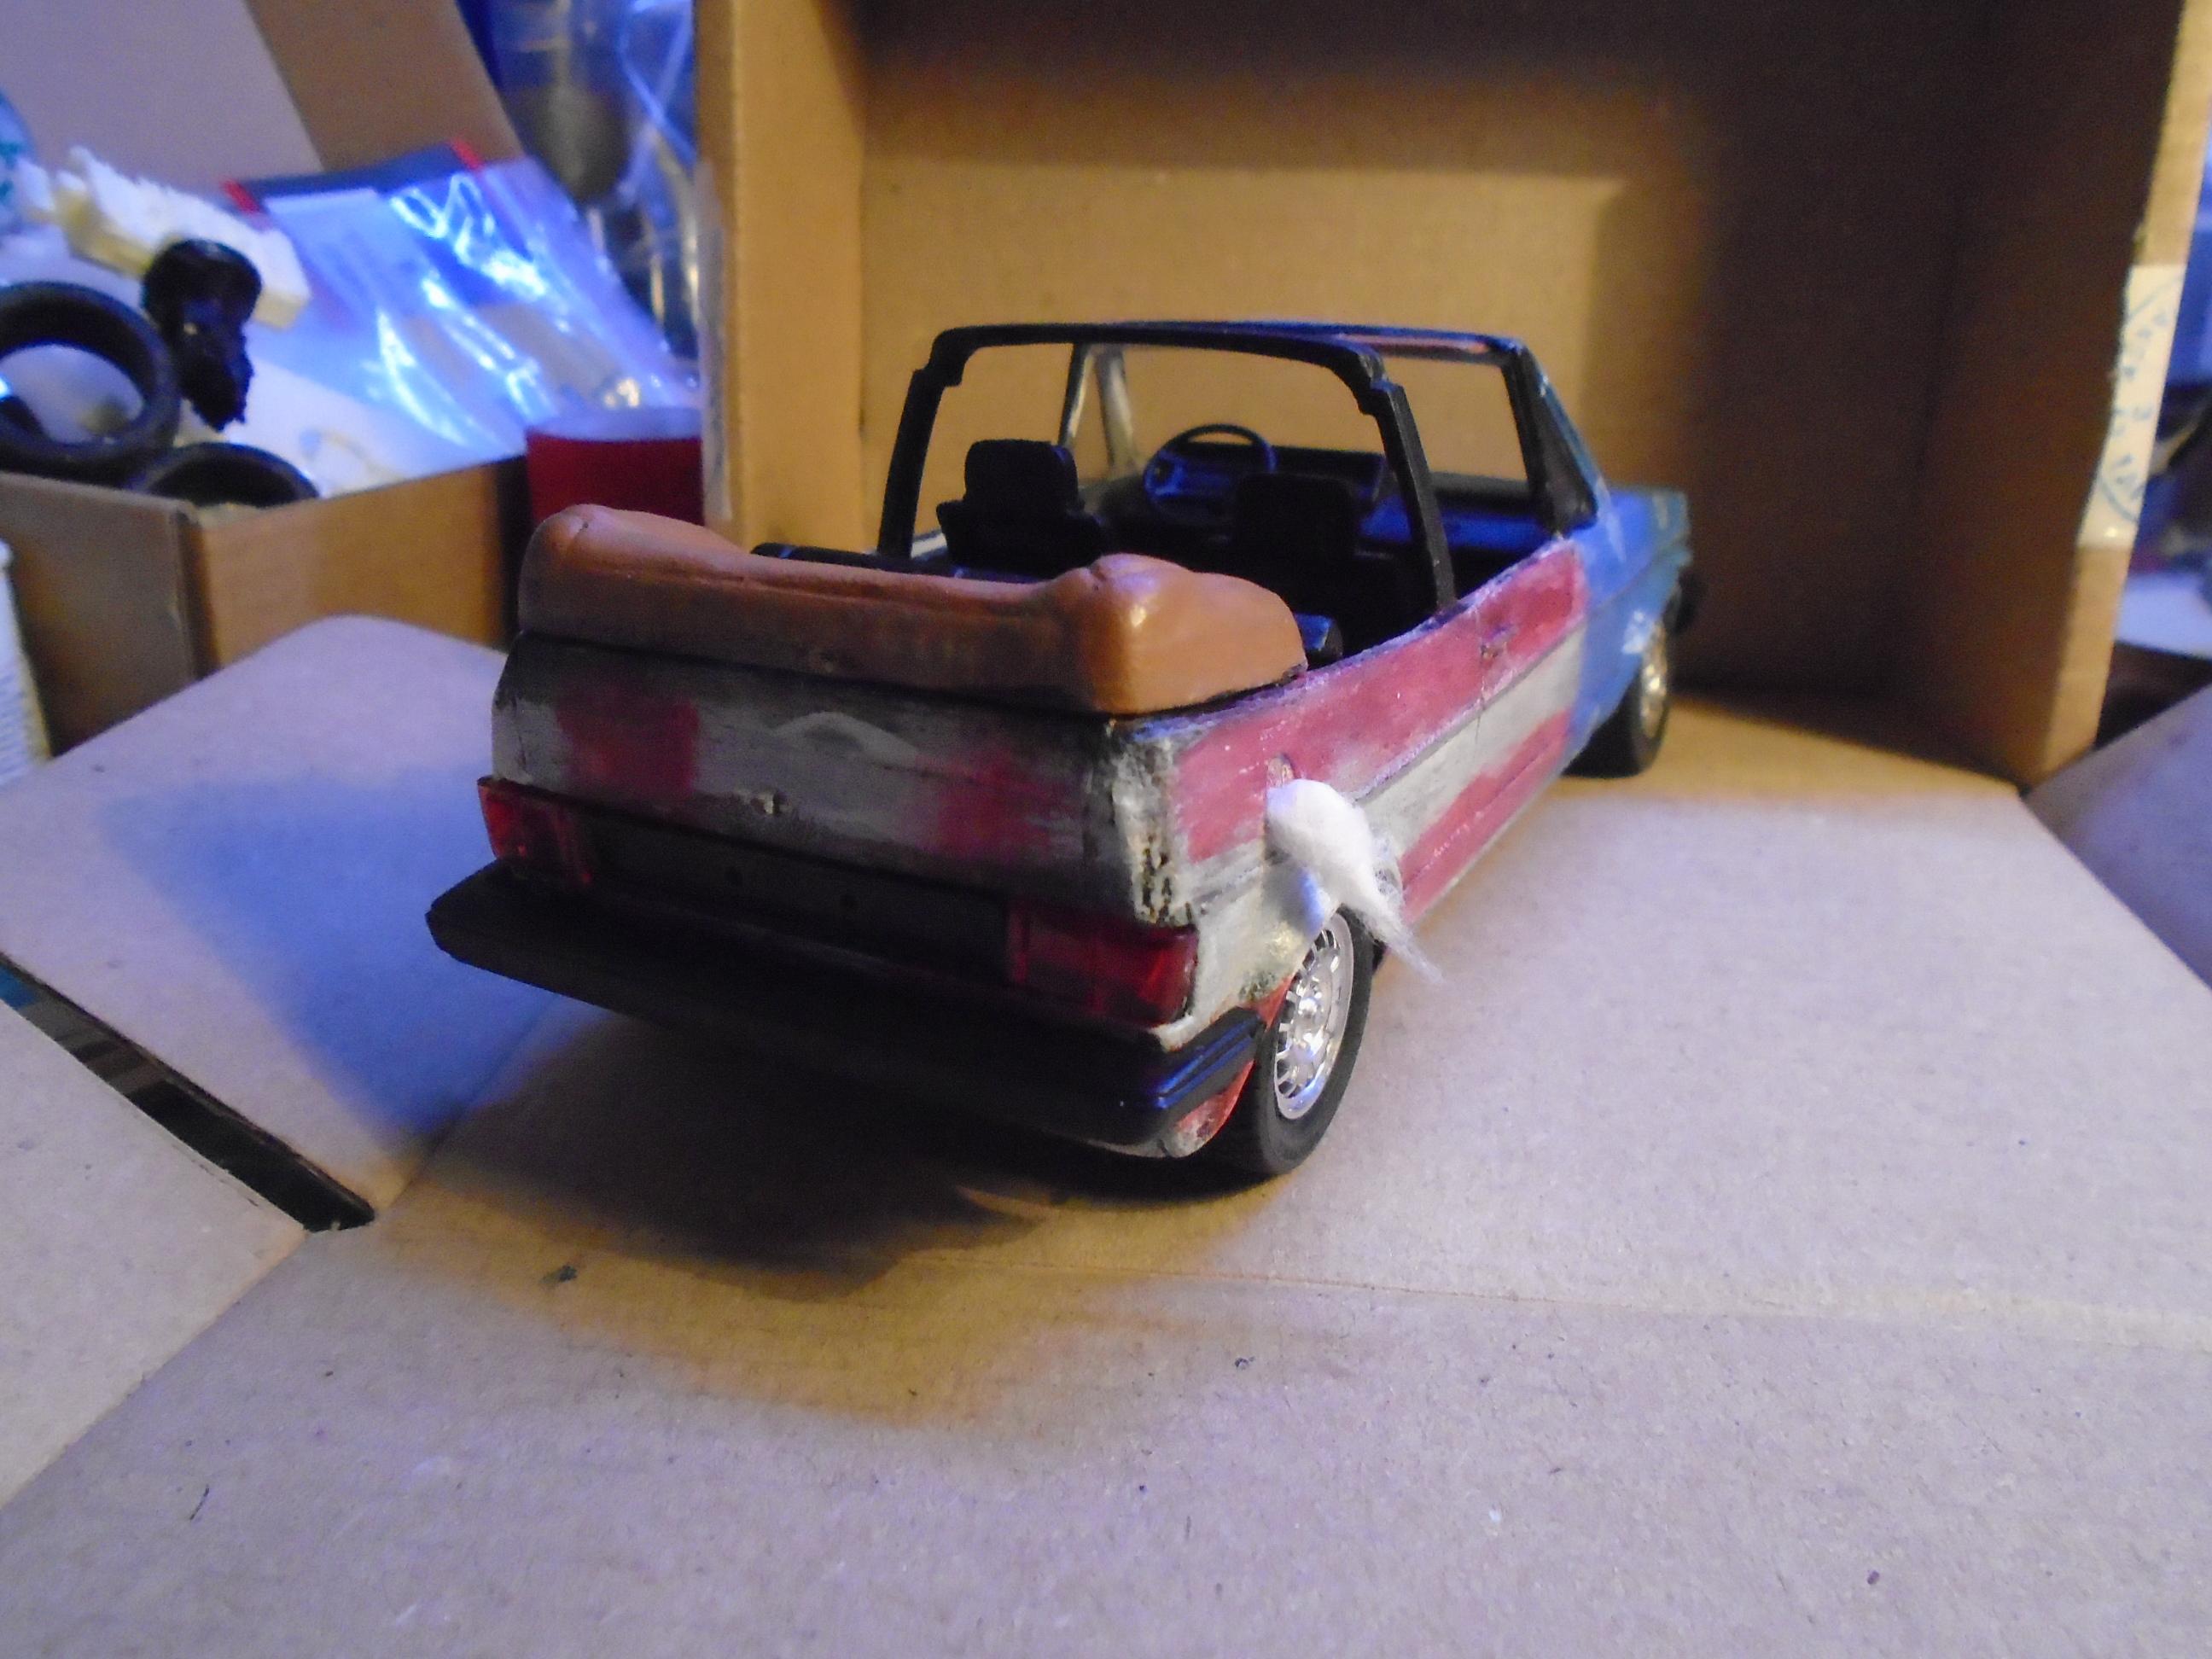
This is the mitsuawa golf cab kit. While this one looks like a golf now, there is 24 hours of shaping in the body. If you want a mk1 golf cab, get the revell one. The door panels dont even fit and just look at the dash, lol, but I'm not worried about that as it'll be a scrapper in a dio sometime. After taking this to work to build and seeing how bad it is it became a paint experiment after the body was more golf like. Apart from the body shaping this only took 3 hours to build and most of that was paint drying.

-
Neat, nice to see one of these built
-
I got them from ucsp on ebay, but they have their own site too. I would look on both as theres usually some differences between their site and ebay listings. They come with tyres and mounting parts for tamiya and aoshima mounts.
-
1966 ish vw crew cab
stitchdup replied to stitchdup's topic in WIP: Model Trucks: Pickups, Vans, SUVs, Light Commercial
Which version do you mean? I know some guys call the bay window a vanagon and some the t3. If its the t3 you had it shouldn't be too hard to build one out of the magnum/un/politzei vans -
Custom Channeled Hot Rod Tub (mostly scratchbuilt)
stitchdup replied to traditional's topic in Model Cars
Very cool, it has a sorta modern version of the bower bentlet look to it -
Can we see your model stash?
stitchdup replied to Fifer's topic in General Automotive Talk (Trucks and Cars)
Where id you get the high top splittie? -
still better looking than 2 spokes though
-
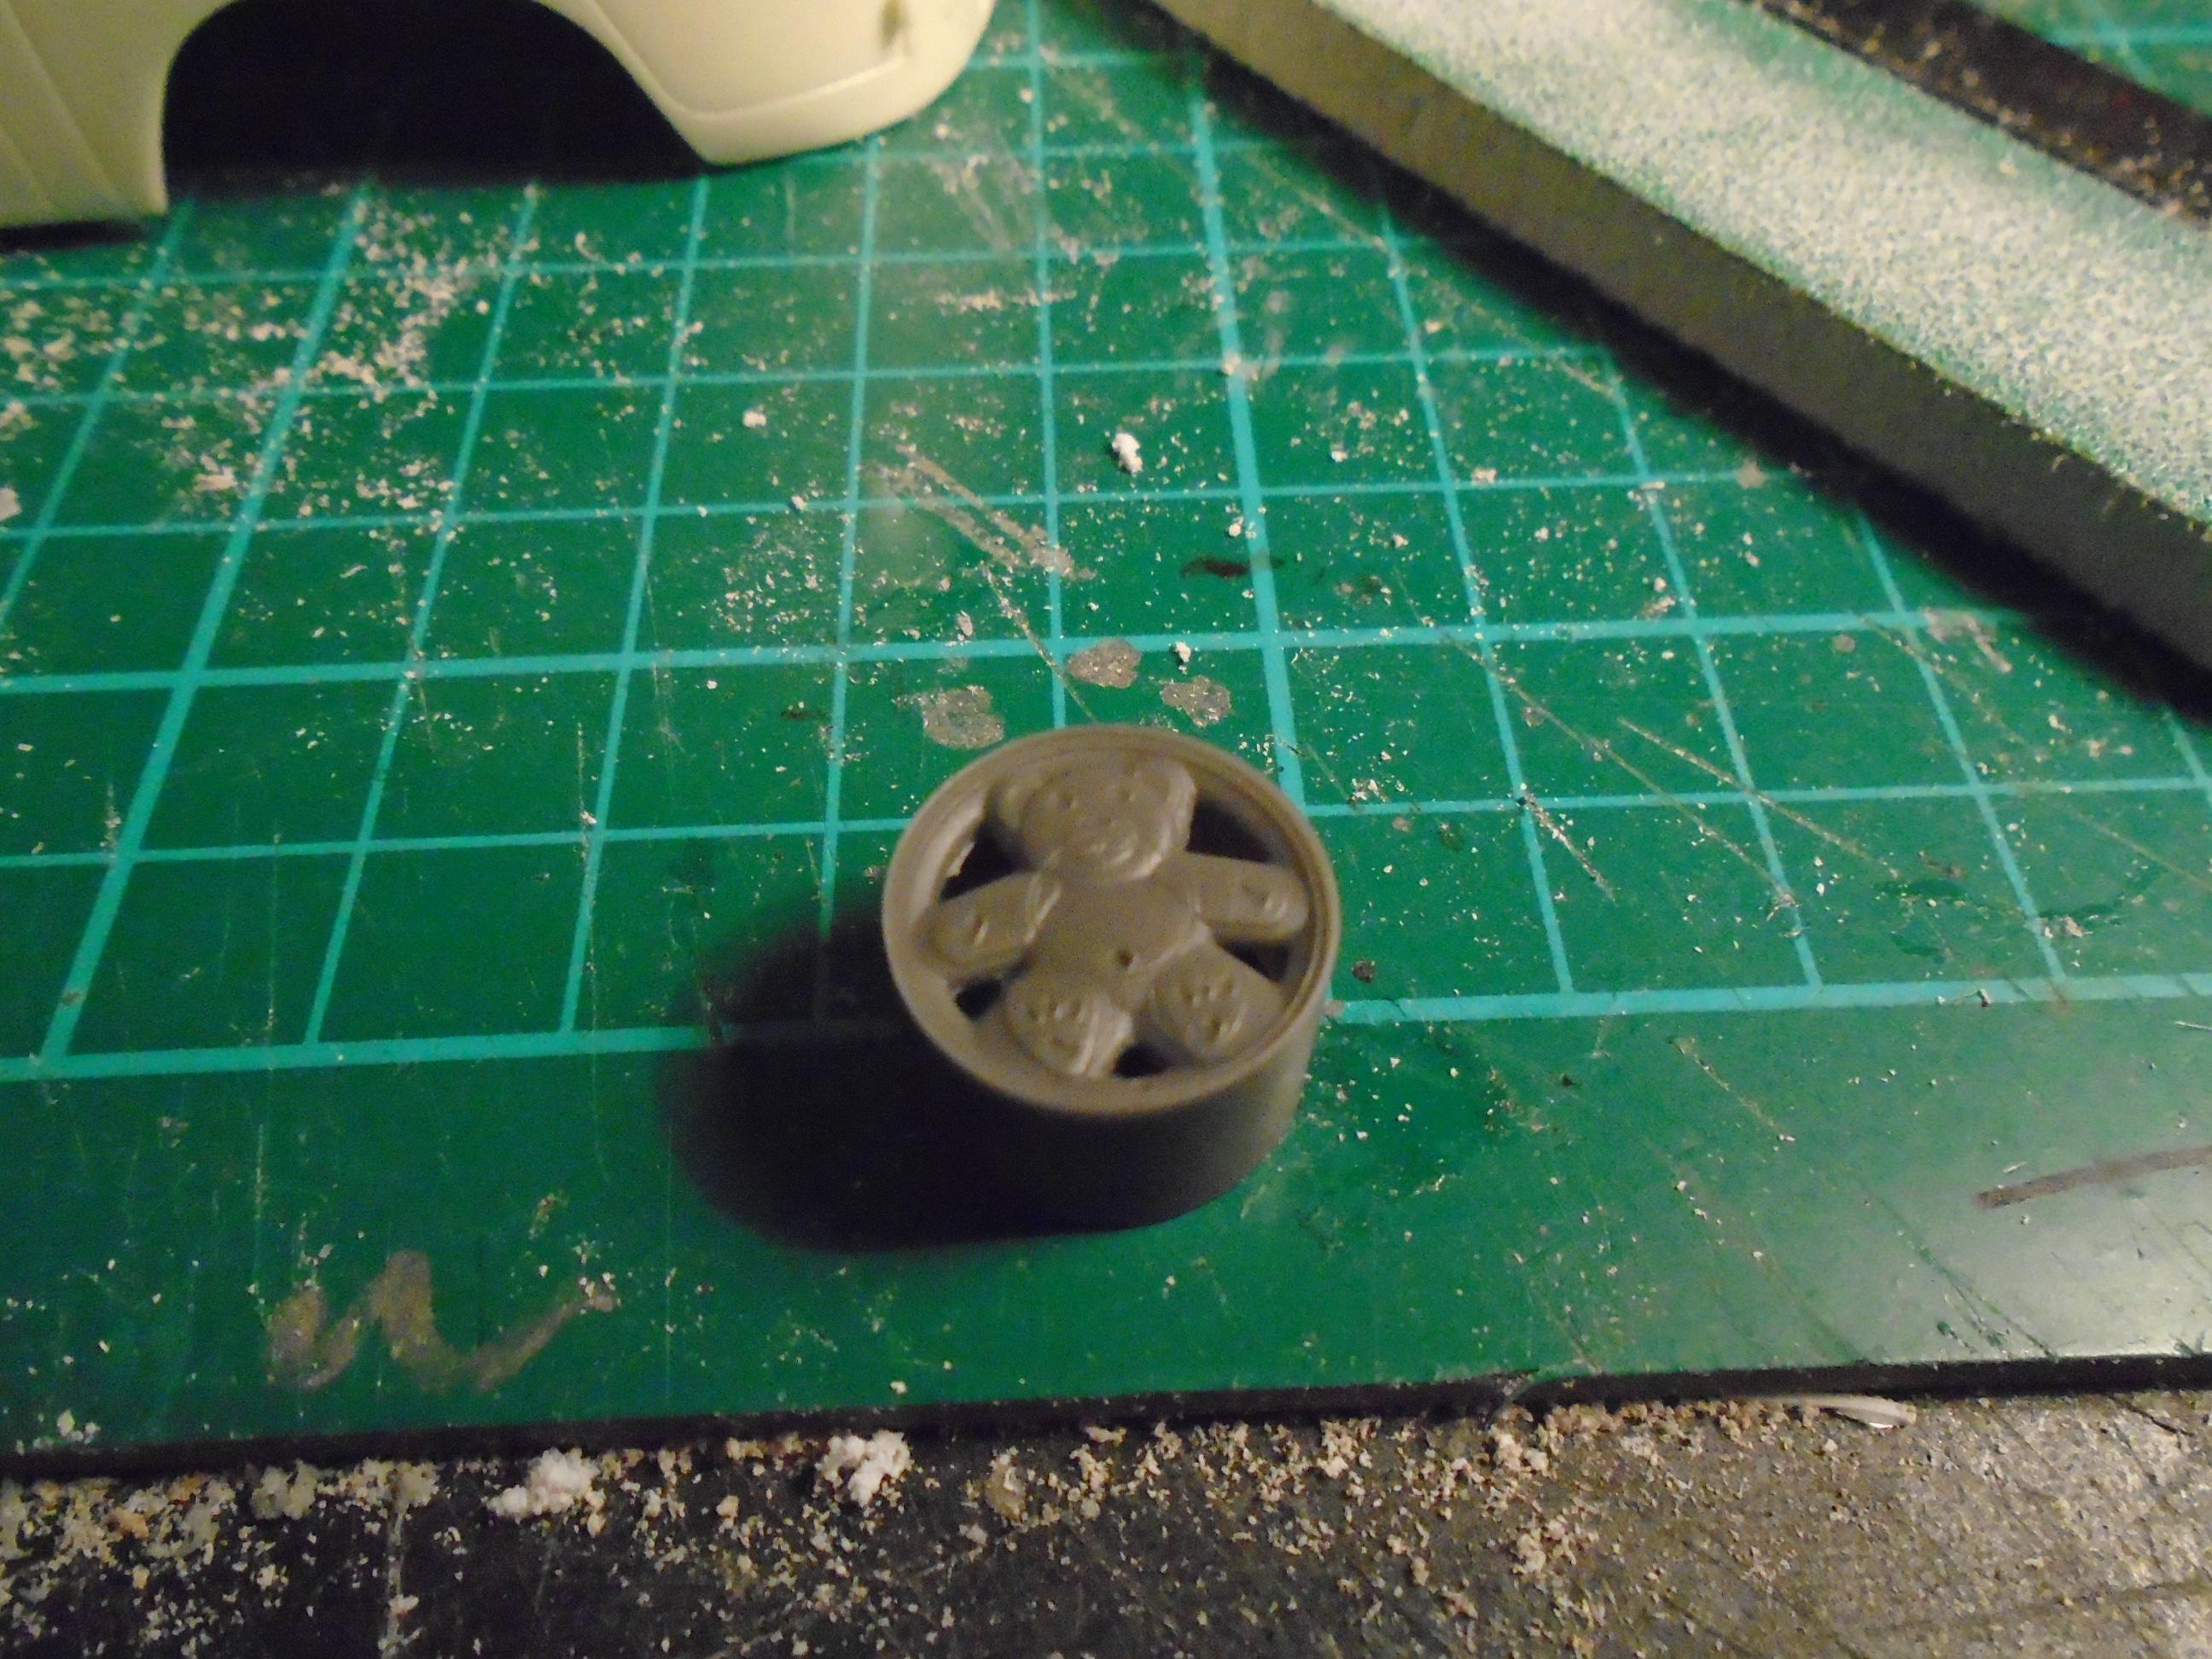
Who can resist teddy bears on their wheels, lol. I forsee a golf harlequin in my future because nothing else would suit them (pick up just for sizing)
-
I think opel may have been marketed as opalas in south america
-
Porsche Outlaws & Hot Rods
stitchdup replied to afx's topic in General Automotive Talk (Trucks and Cars)
-
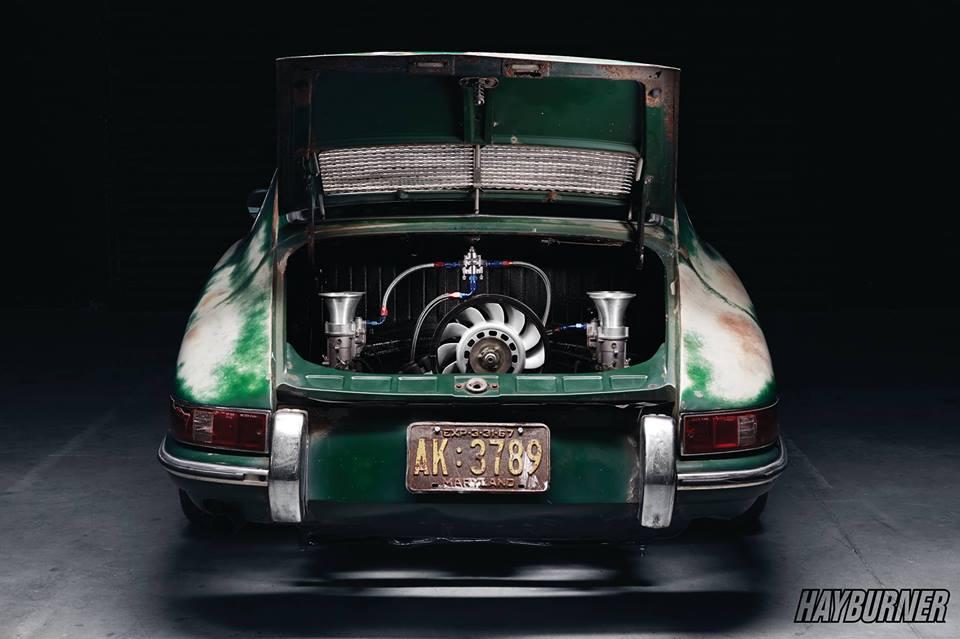
cool little rod, beautifully simple but enough details to keep you looking
-
1966 ish vw crew cab
stitchdup replied to stitchdup's topic in WIP: Model Trucks: Pickups, Vans, SUVs, Light Commercial
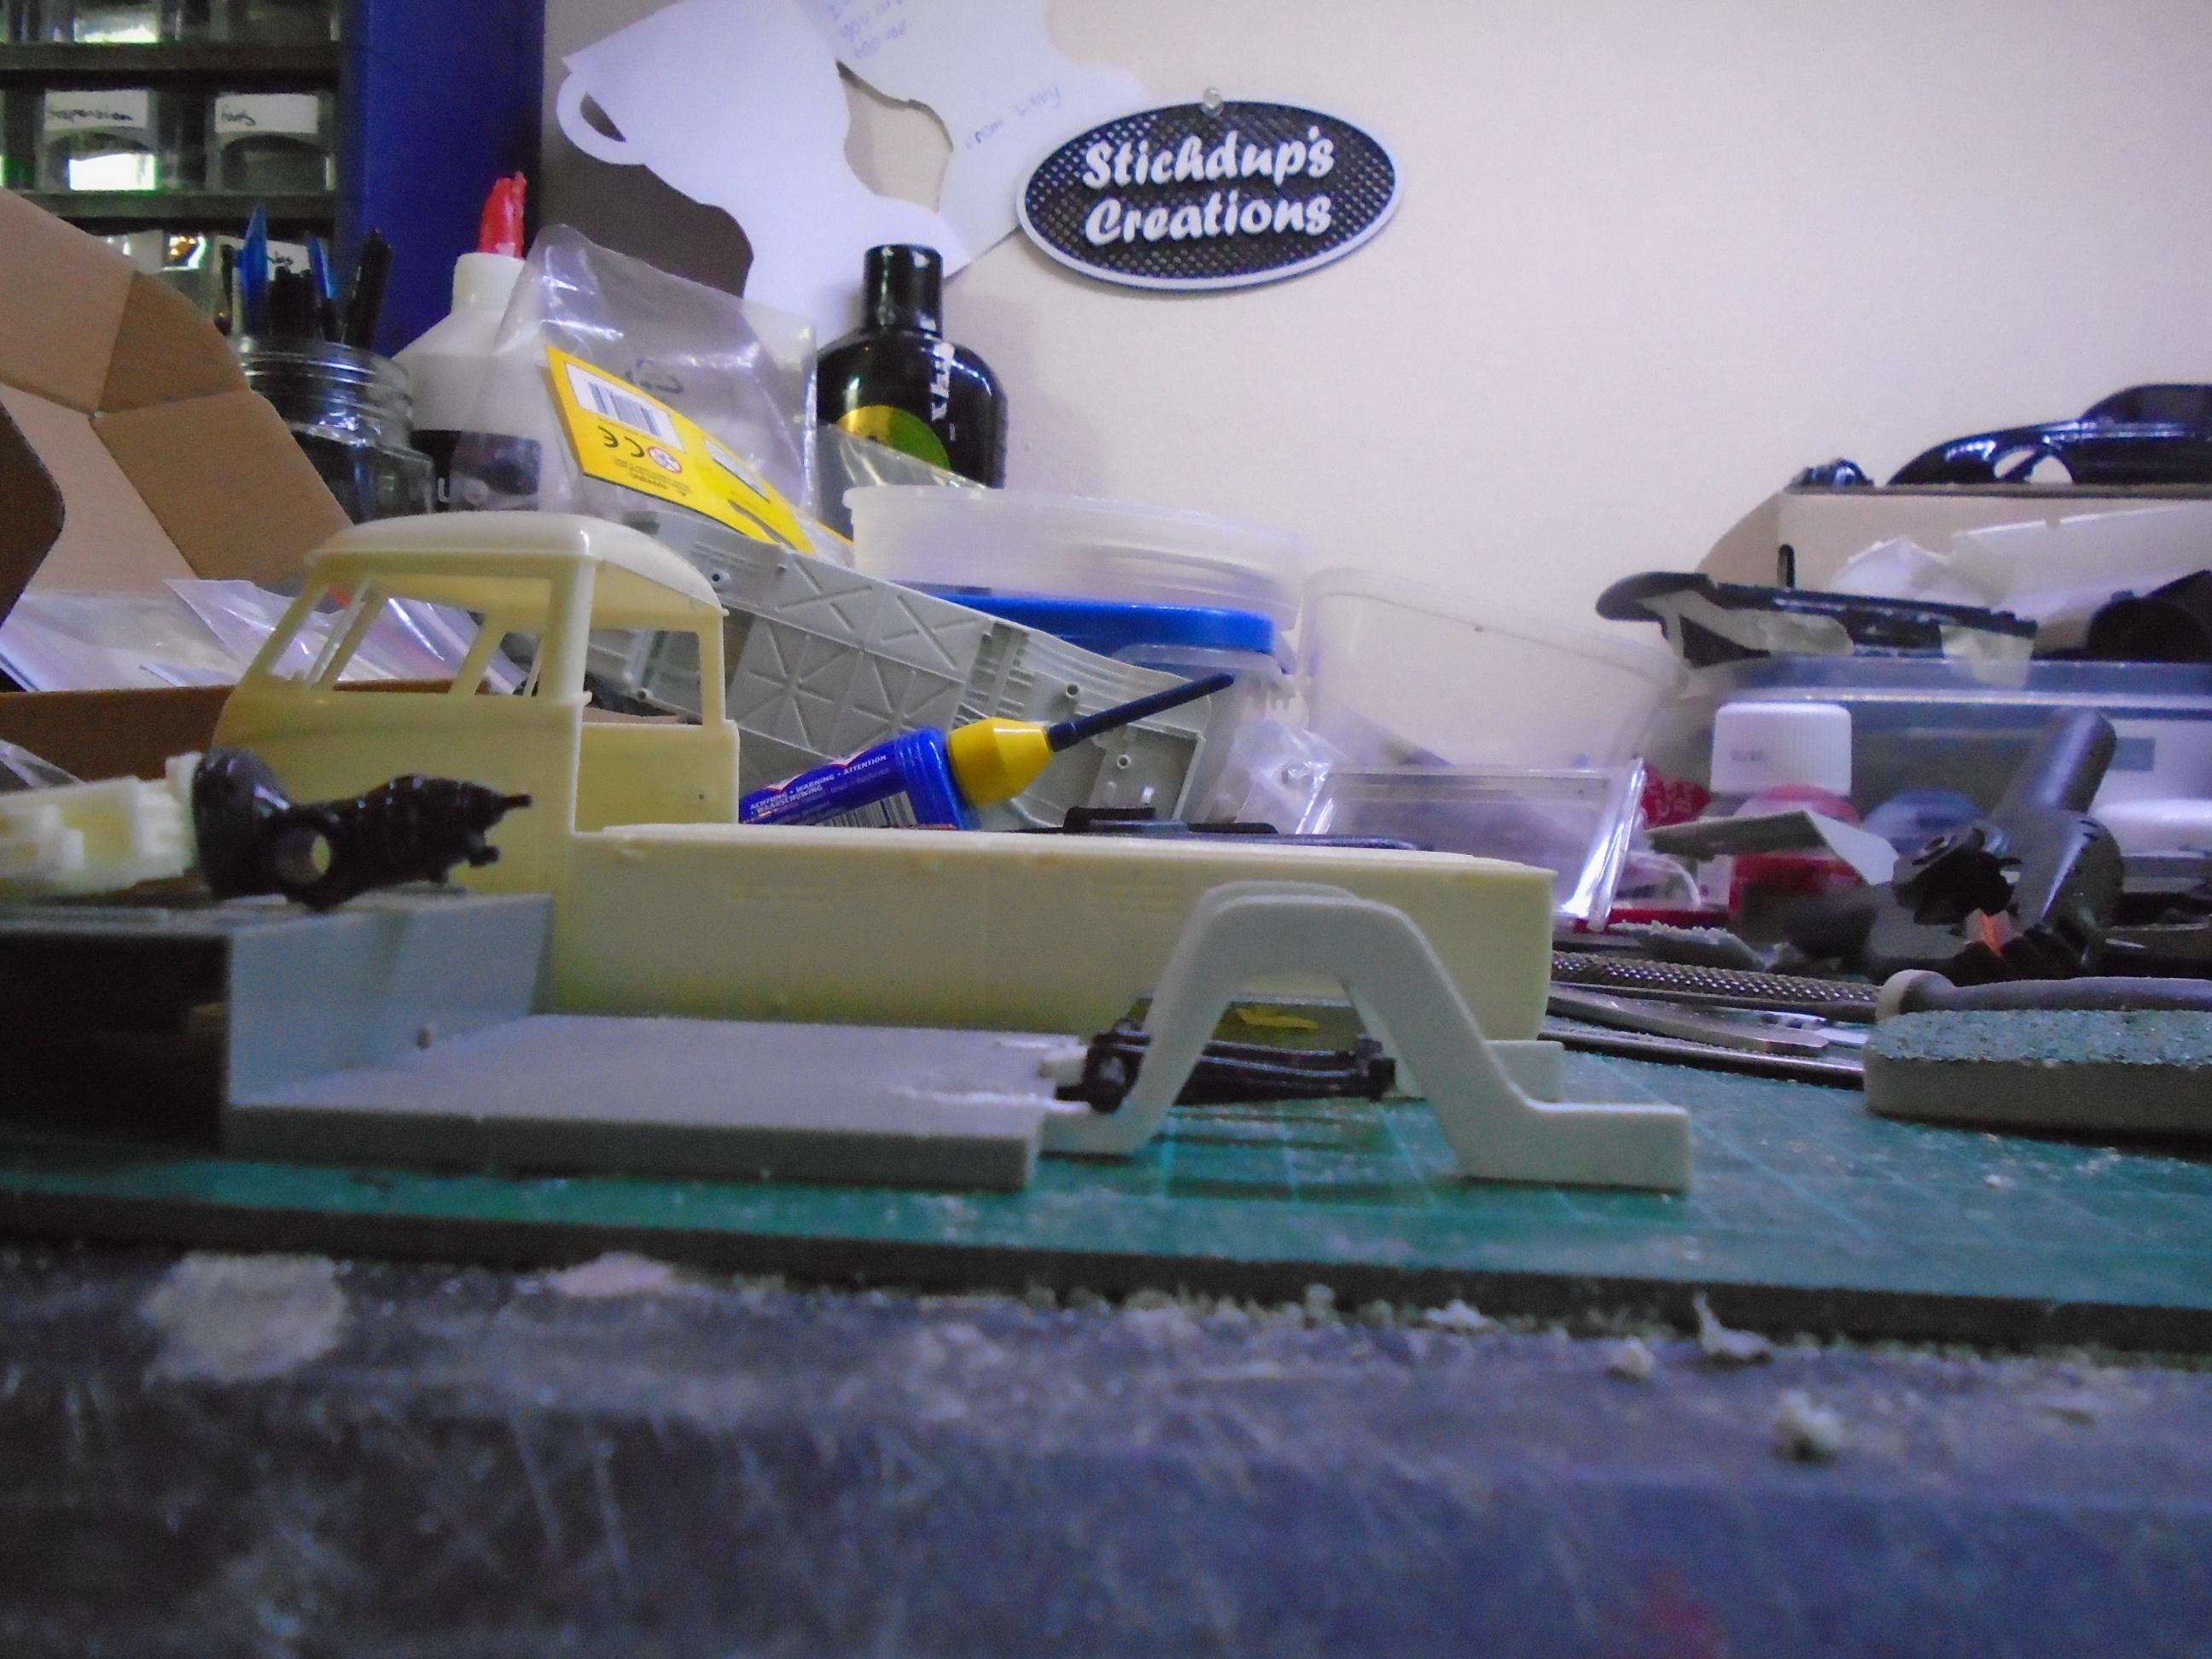
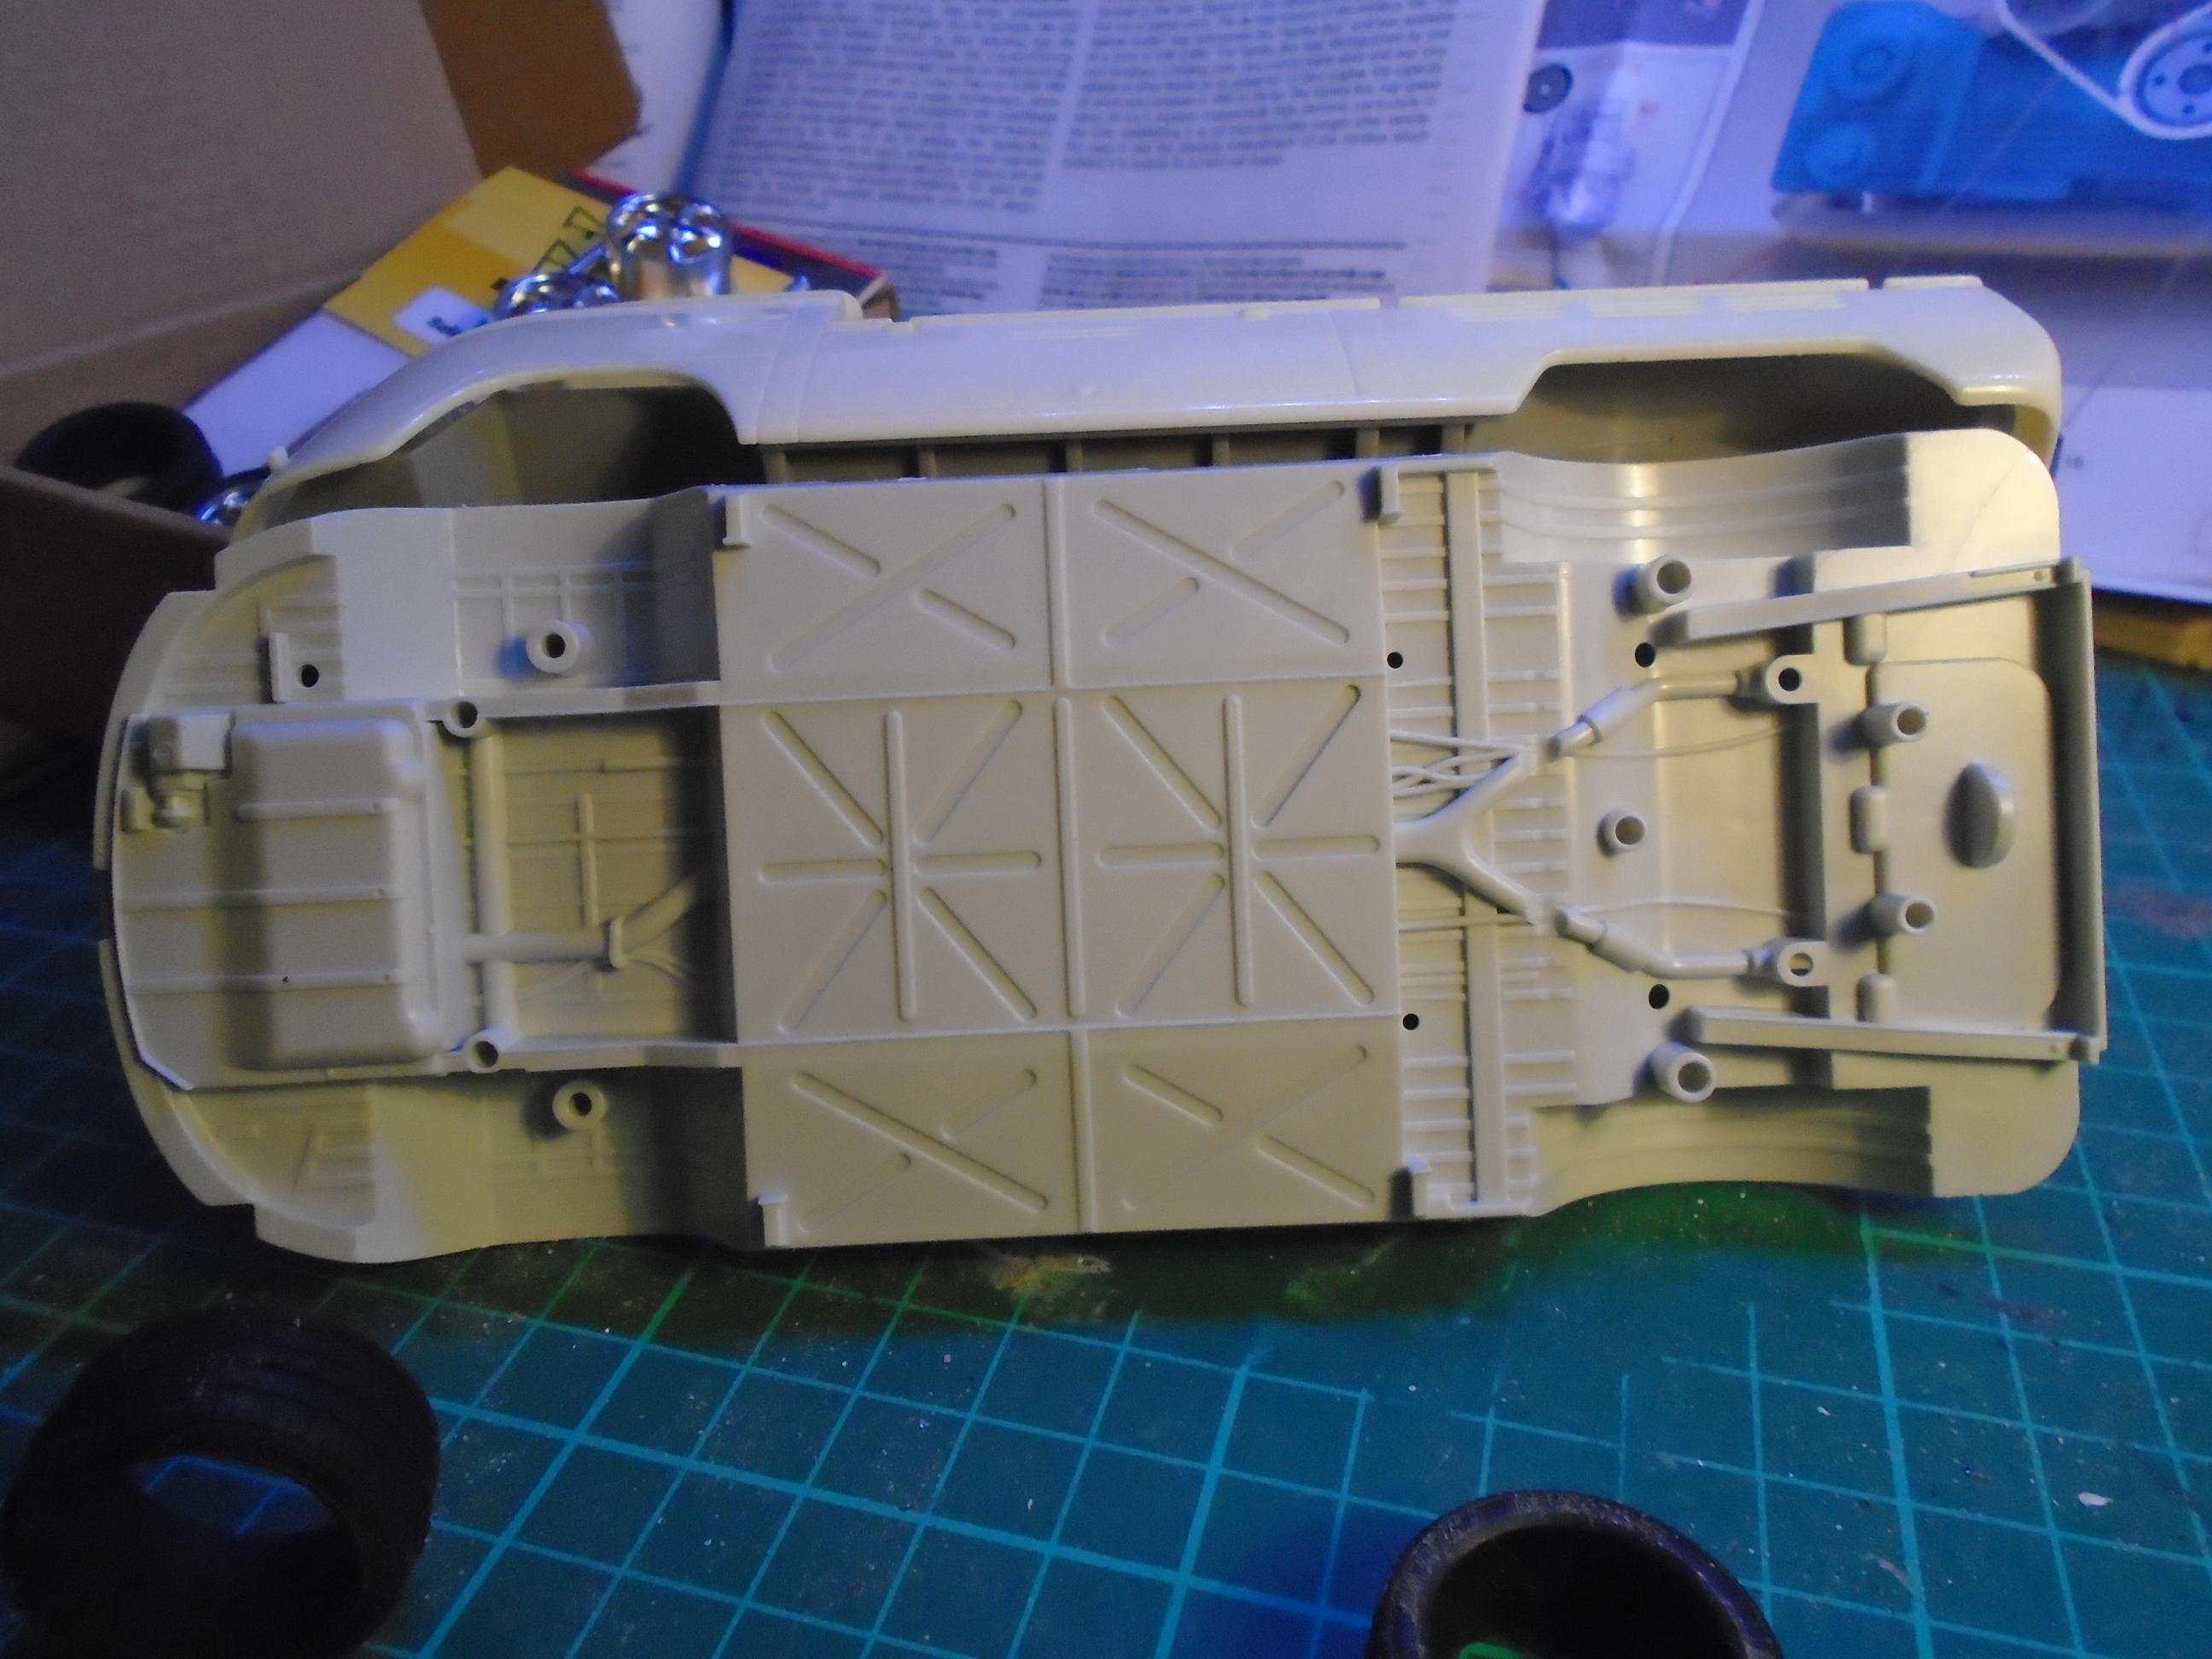
So the rear end wasn't sitting as low as i wanted it to. I spent an hour or so modifying the hasegawa rails before deciding it would be far easier to just chop them off and build some new ones. I cut 6 of each rail then glued them in batches of 3 then temp glued these together so i could get the 2 sides the same shape. Obviously I made them so it would sit on the floor on slightly smaller wheels but then my brakes wont fit. I'll be doing more work on the suspension next to ensure it will stay this low so all the mounts will be to suit this stance. I have to build a new engine bay but since vws are pretty much all flat surfaces that shouldn't be too hard and I can build it to suit the engine and other parts. Since I have to fit a radiator I might use the vents from the van left overs on the side panels so I can move the radiator under the bed and give me a much cleaner looking engine bay since the suburu engine is pretty ugly. It means I'll have to open them up to show it off but that also gives me somewhere to put the air tank and pumps and using the van vents will keep it original looking too
-
1966 ish vw crew cab
stitchdup replied to stitchdup's topic in WIP: Model Trucks: Pickups, Vans, SUVs, Light Commercial
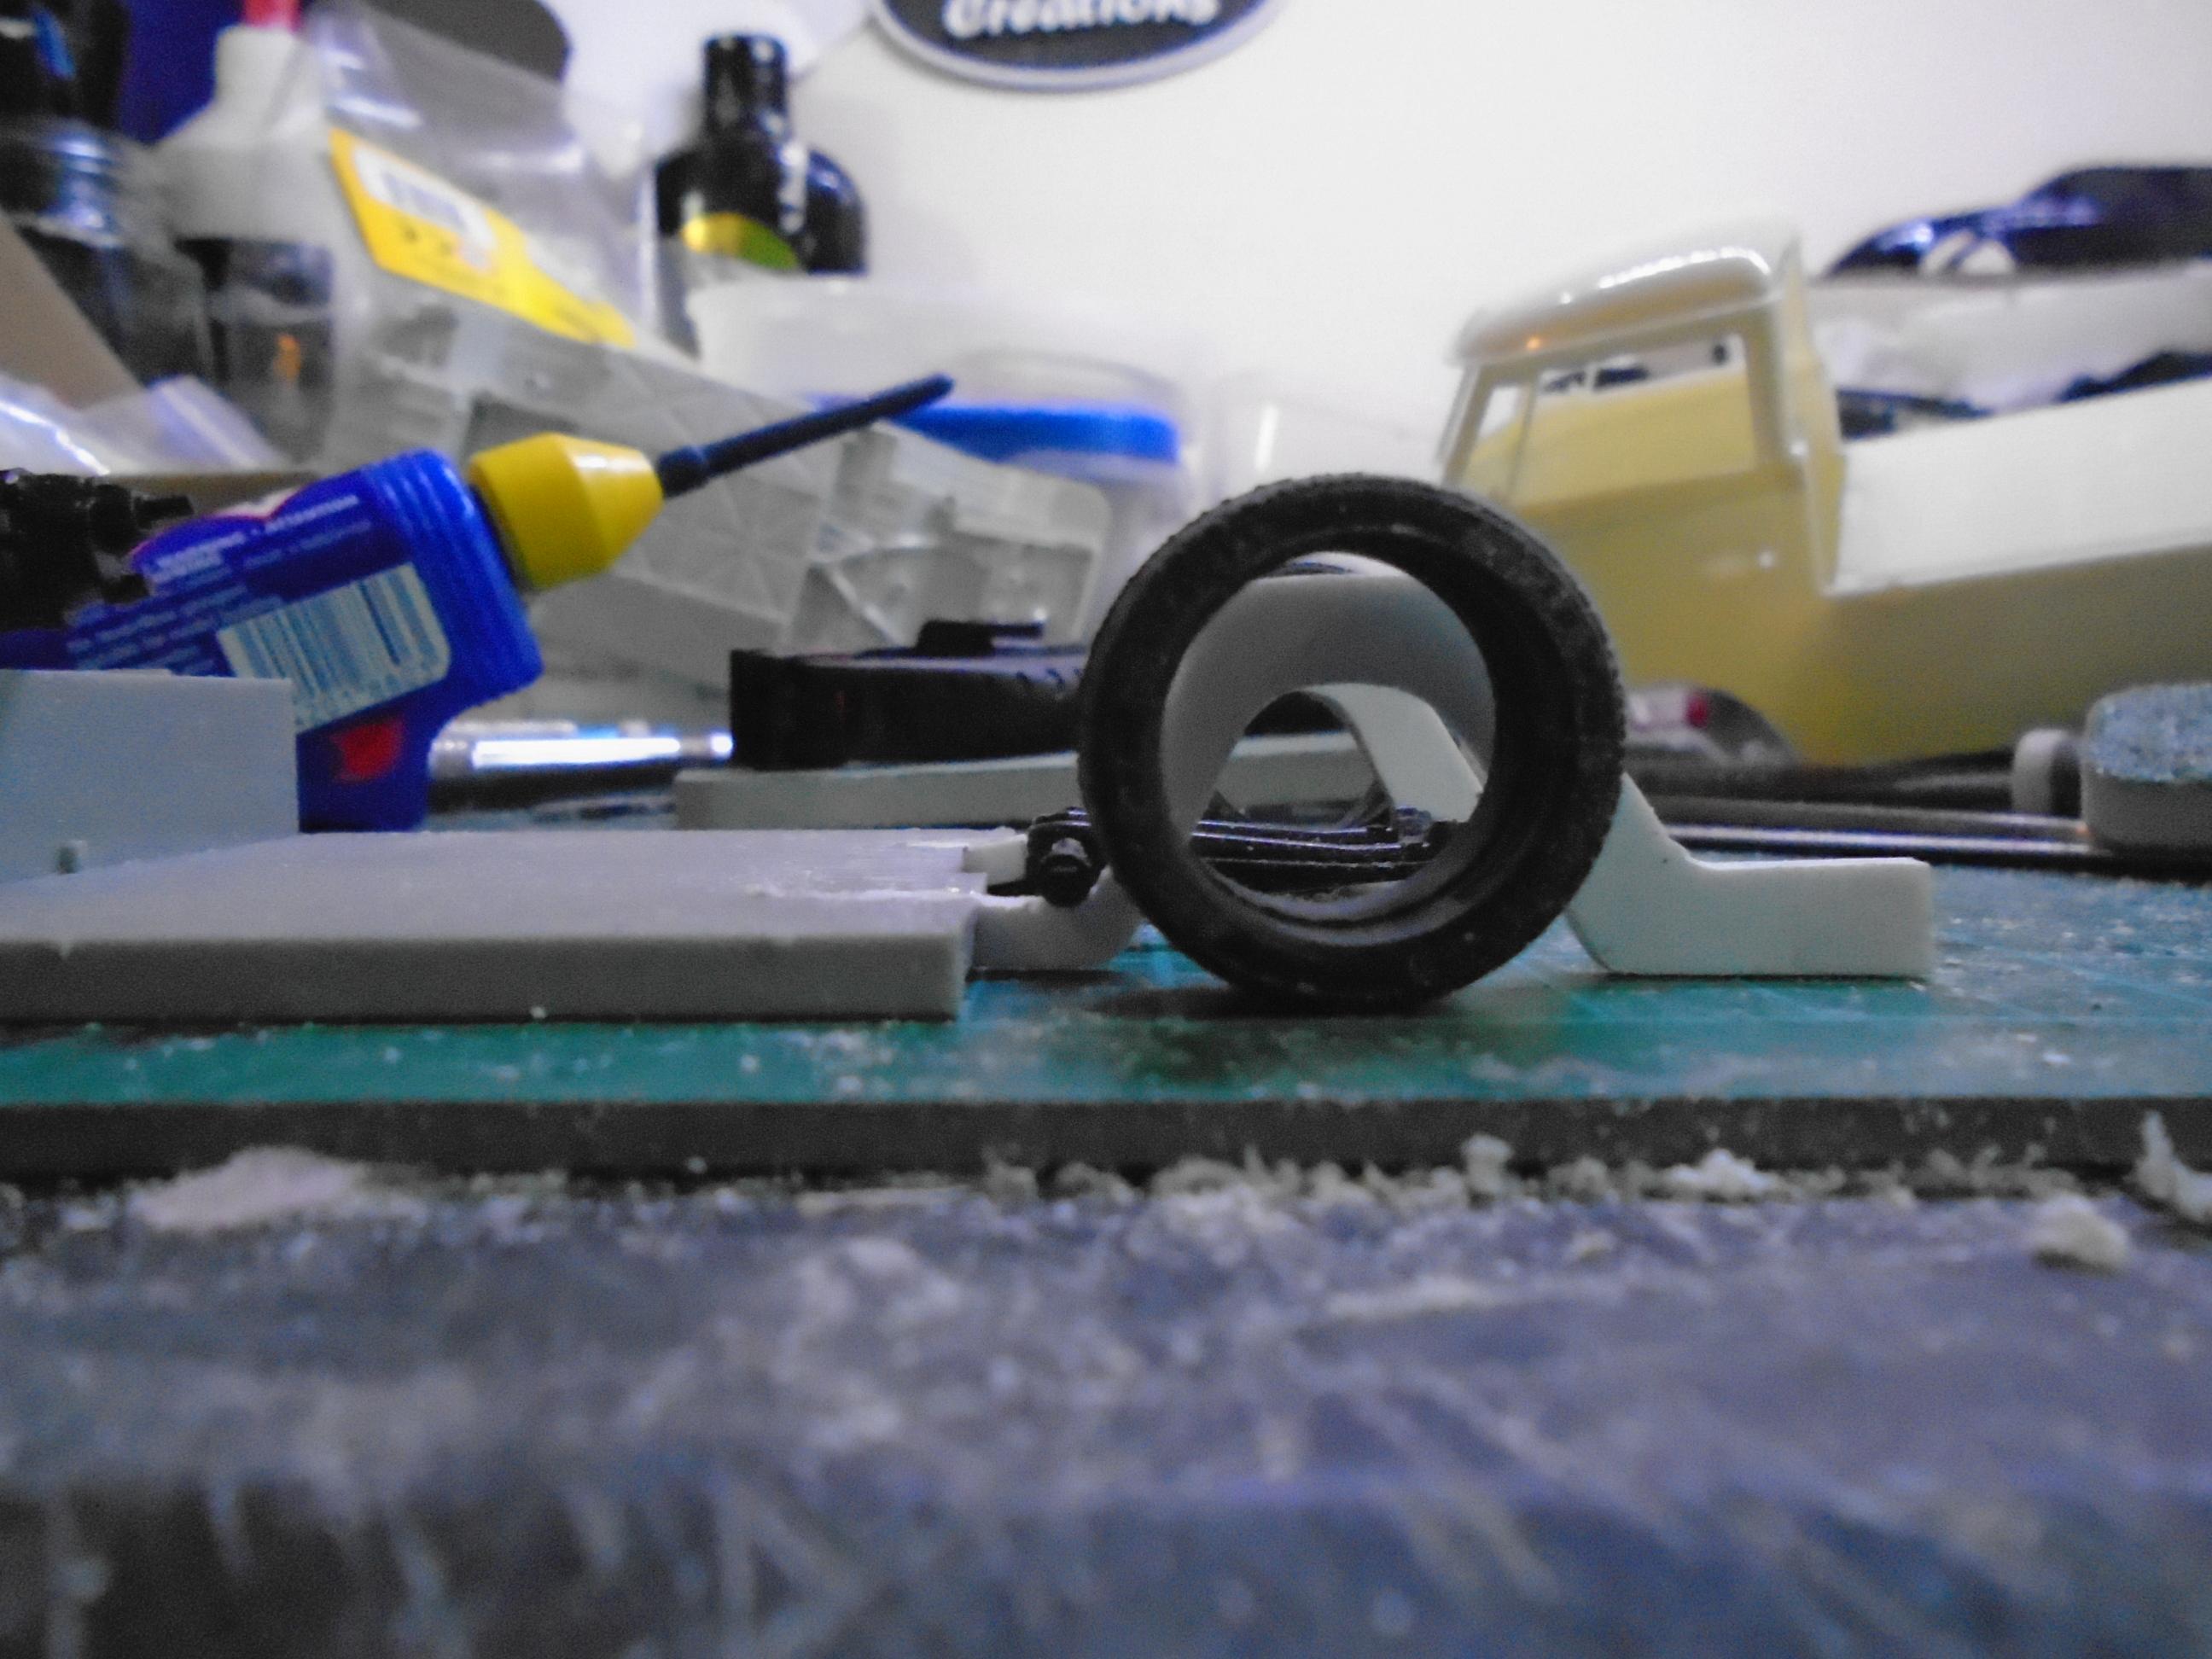
Well i thought i really should get the saw warmed up since I'm effectivelly got half the time due to work. I'm starting with the rear since it will set the ride height due to the bed floor. Its the reason the big rims dont fit how i want so have been swapped for porsche 5 spokes. I am using the tamiya beetle rear chassis since it has gearbox mounts and is simple enough to narrow. I will be using the hasegawa rear torsion arms though as they allow a little more space than the bug versions. I am using the beetle gearbox as the suburu one is about twice the length so it can go in the spares box for now. I've put together the engine block and gearbox to help with mockups and to give a reference for the suspension. I'll be grafting the beetle rear onto the hasegawa chassis but all that will be staying is the the two rails as the bug parts replace most of the rest. The rails will also give me somewhere to build up the engine bay around the engine as neither the revell nor hasegawa offer much in this area and building from scratch will be simpler than modifying the kits. There's really not much to one of these bays anyway and doing it this way will allow me to fit the rads in a space designed for them instead of where theres a gap. I'll get the suspension built up and engine complete before starting this as the engine has a lot of bits still to fit.
-
Cool, I like the look without the race decals but maybe some white squares/circles for race numbers but without numbers on them would look cool
-
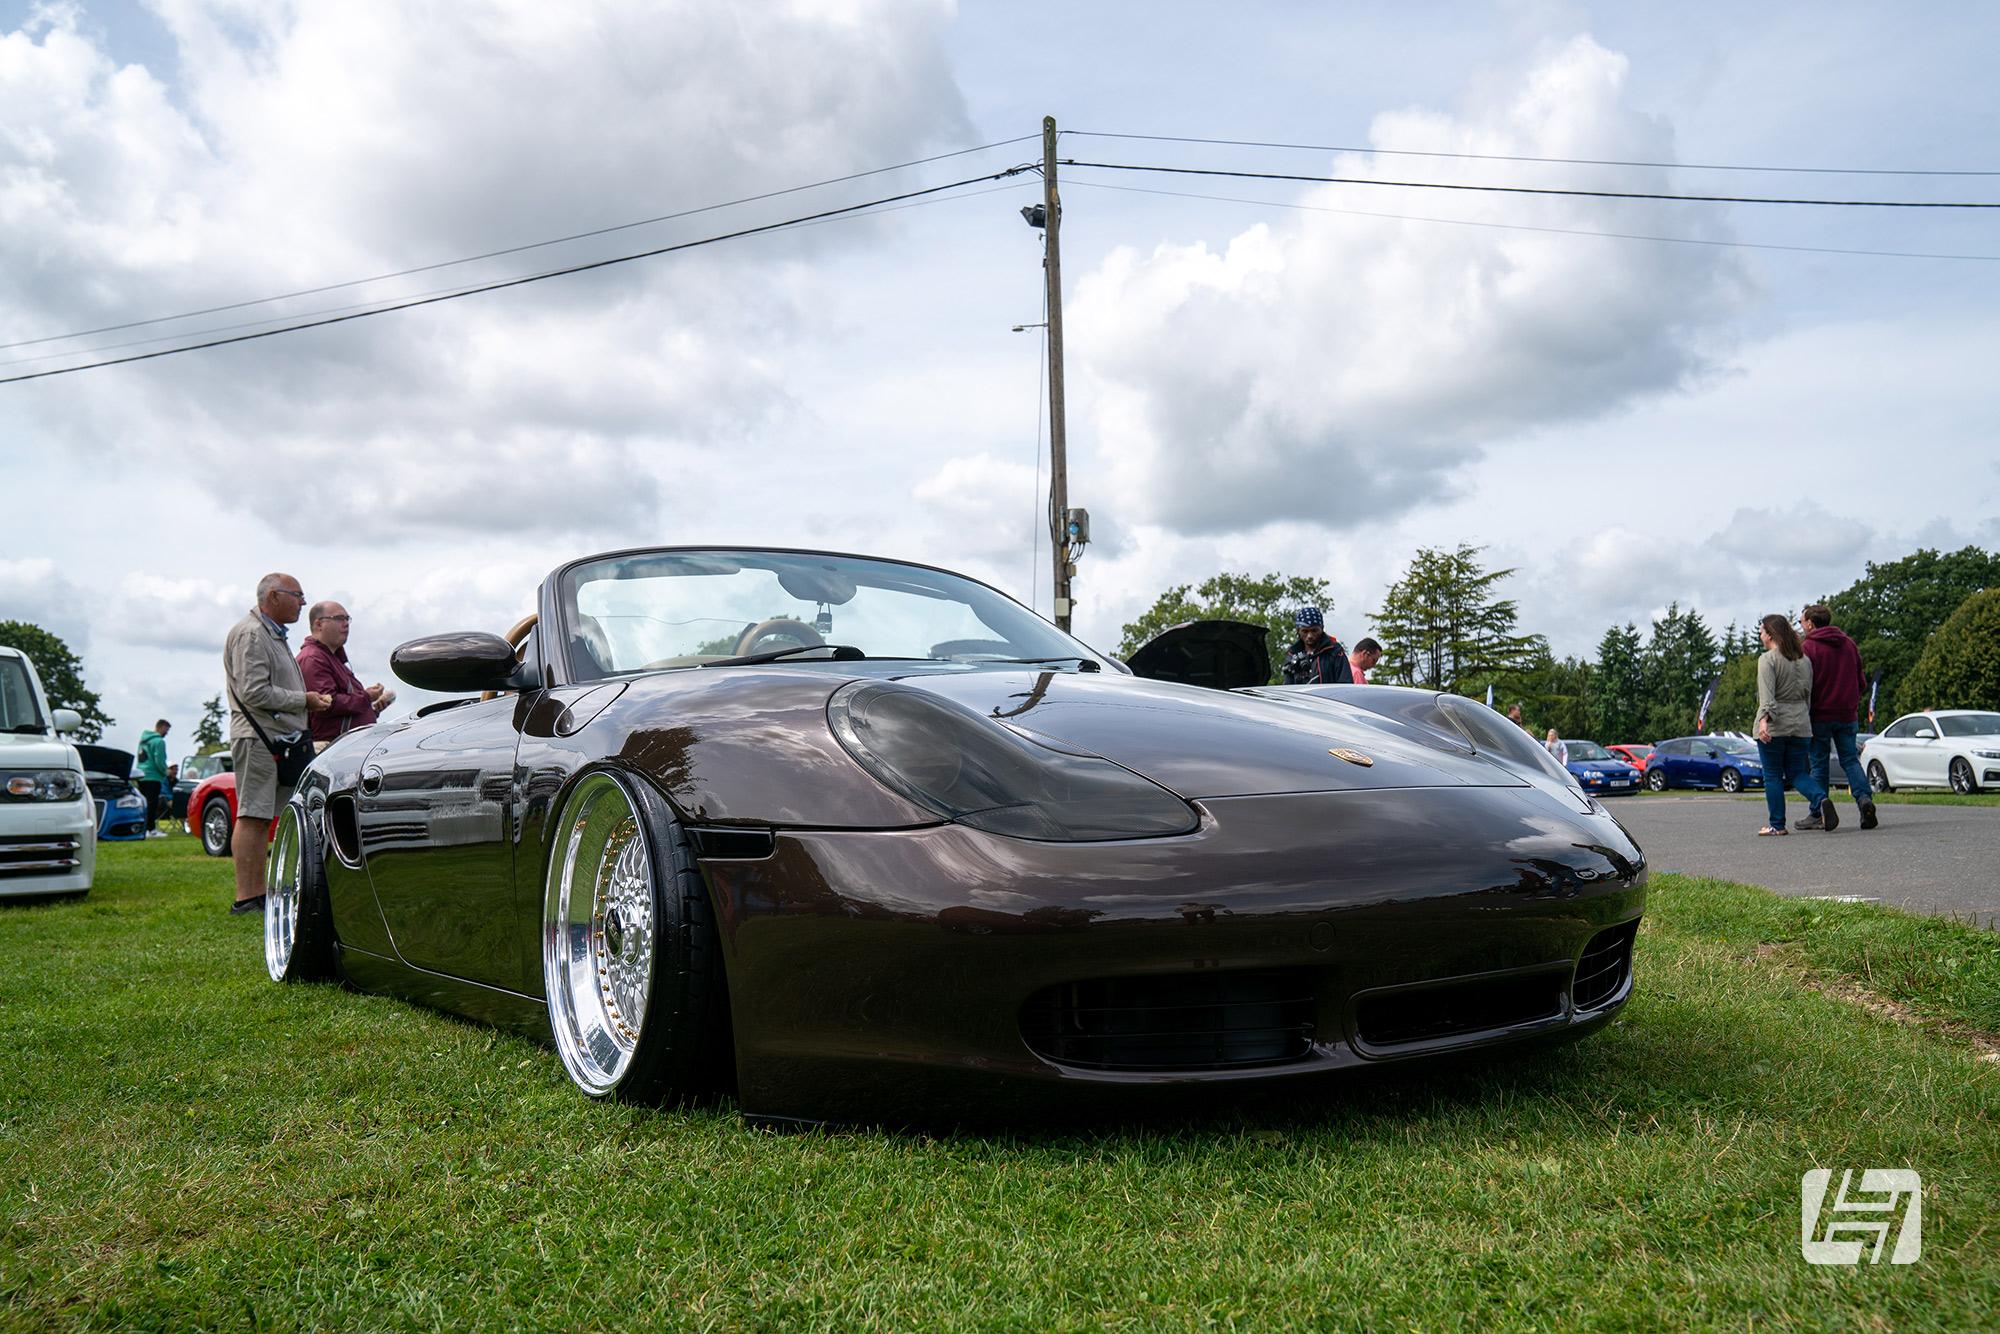
I think your idea is what I'm going to do, I have the van kit so if the centres fit I'll use them in some resin rims. I think due to how the car arches are that I'll probably only go for 18 inch wheels so i can get it a little lower. Thanks for your advice gents
-
Cool, your wheel save is some good work mate
-
remember it has to all the distance so having a close look at the grand canyon, lol
-
these are scale production 17 inch versions but i think they are resin centres now. ucsp also do them in resin in other sizes with tyres. I'll post up some comparison pics later if i mind on
-
i appreciate the offer but it appears complete mate
-
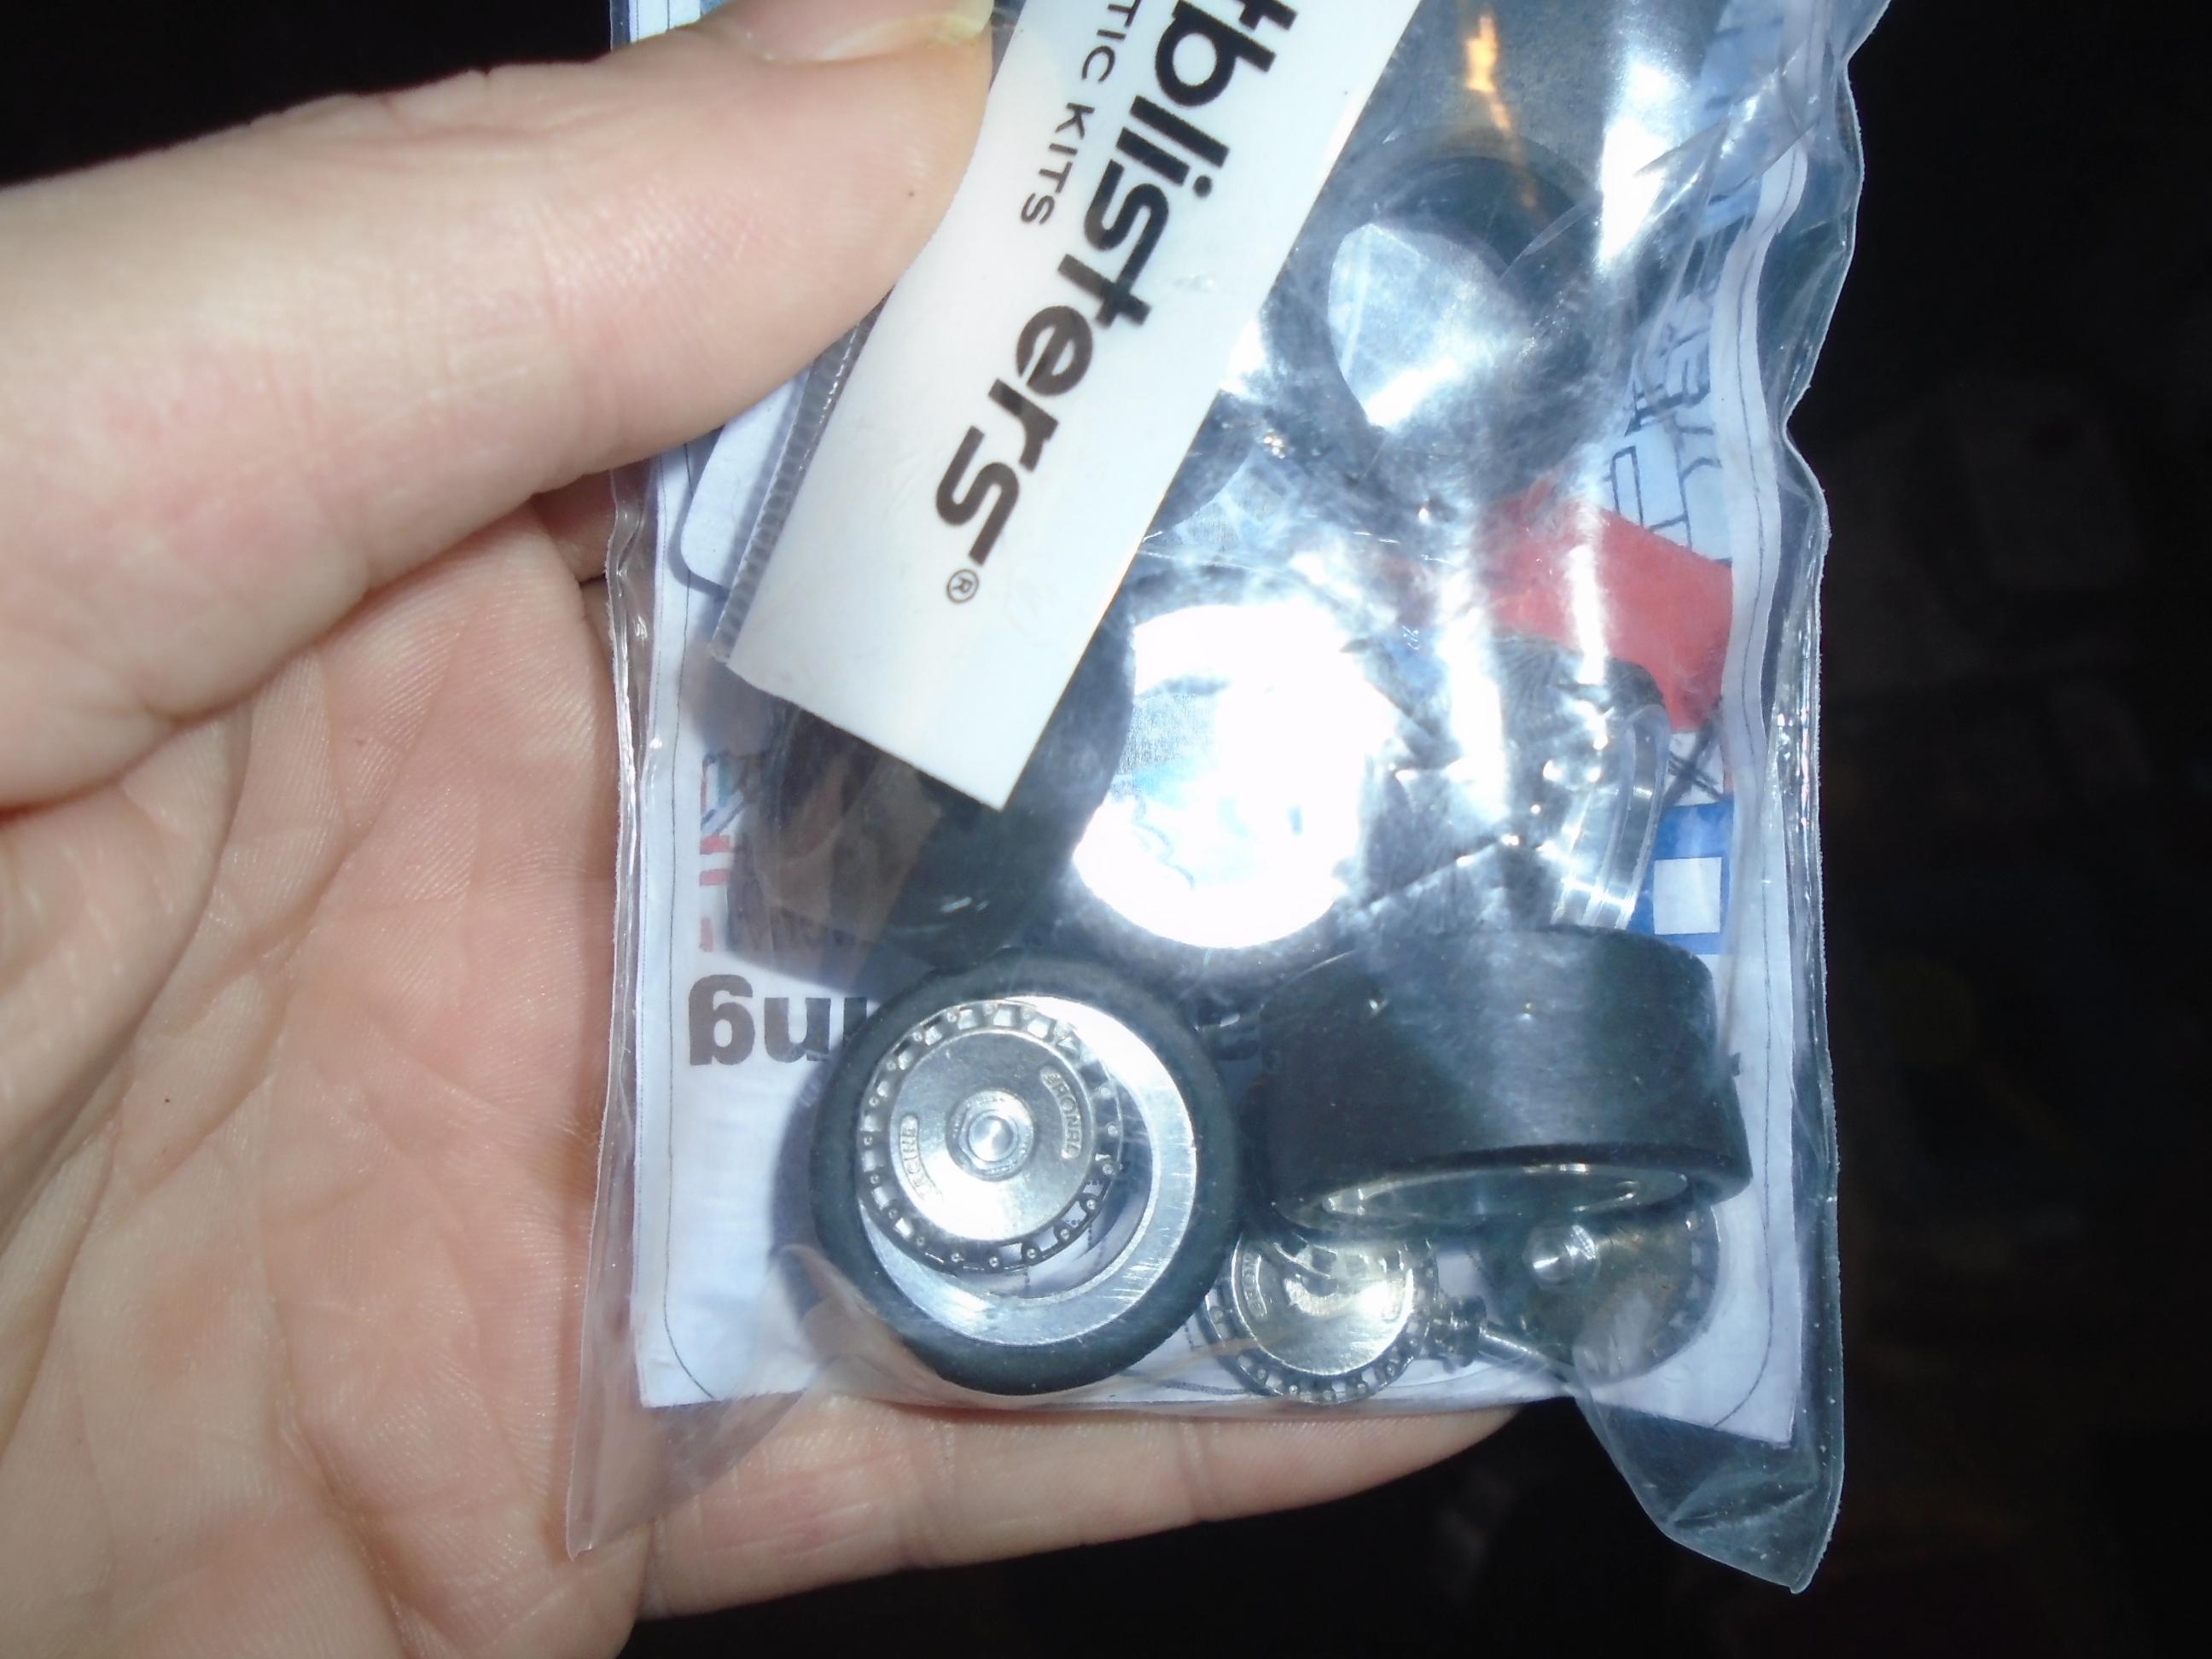
Some more arrivals this week. I didn't realise the wheels were all metal until they arrived so I'll put some street blisters tyres on them for one of my vws. The frog merc is pretty nice but the front of the body has a ridge where the mold wasn't properly aligned but should be an easy fix. The buick and pontiac are both rebuilders
-
Fujmi 1967 Porsche 911R
stitchdup replied to porschercr's topic in Model Building Questions and Answers
I see what you mean, the version i have looks to have similar looking lights but the housings are seperate parts from the body. Maybe the builder of this one smoothed them in -
Cool, you just need a version of the 4 door cuda front and centre for an awesome pic
-
Fujmi 1967 Porsche 911R
stitchdup replied to porschercr's topic in Model Building Questions and Answers
Do you have a pic of the possibly new part? I have a 67 i could compare the parts too -
They would work for the smokey and the bandit car, but all the pics of the hooper car seem to show it on chromed weld style or truck style rims.